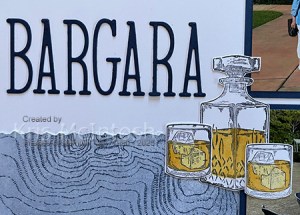
Bargara
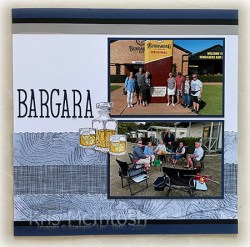
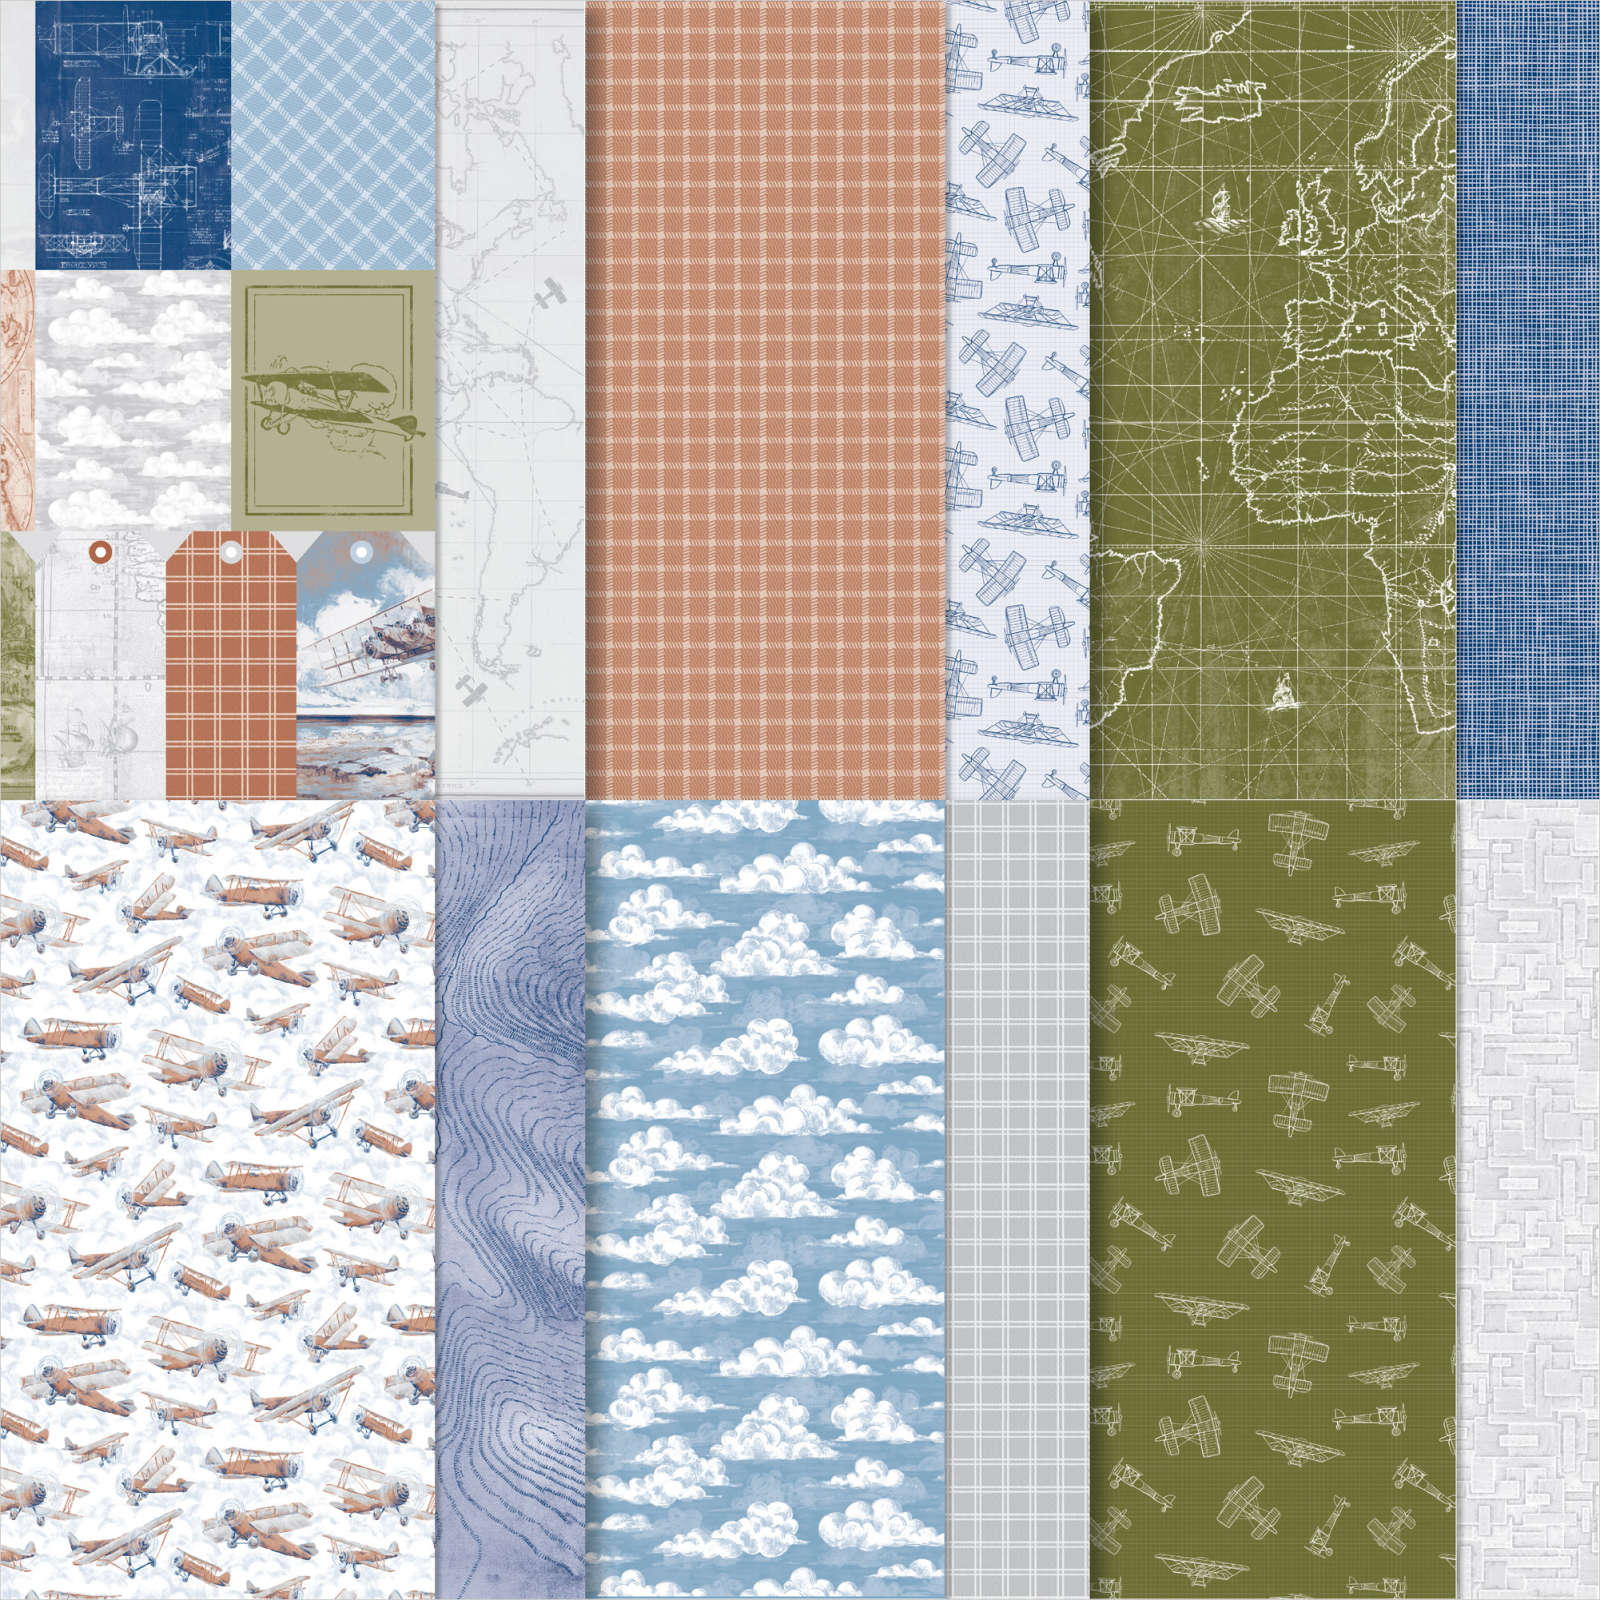
Last year we had a great time with our friends travelling from Brisbane to Yeppoon and back. Today’s page shows off some photos from our stay in Bargara. I cut 6 strips of Take to the Sky 12″ x 12″ Designer Series Paper and used my ruler to tear the top of each strip. I attached three strips across the bottom of two Basic White 12″ x 12″ pages.
I also added strips of Night of Navy, Basic Black and Gray Granite A4 card across the top of each pages. I attached a strip of Night of Navy and Basic Black card across the bottom of each page as well. I attached each of my photos to Night of Navy card before attaching them to the pages.

I cut the title from Night of Navy card using the Alphabet A La Mode Dies which I attached to the left hand page. I stamped the bottle and two glass images from the now retired Whiskey Business stamp set onto Basic White card using Memento Tuxedo Black ink.

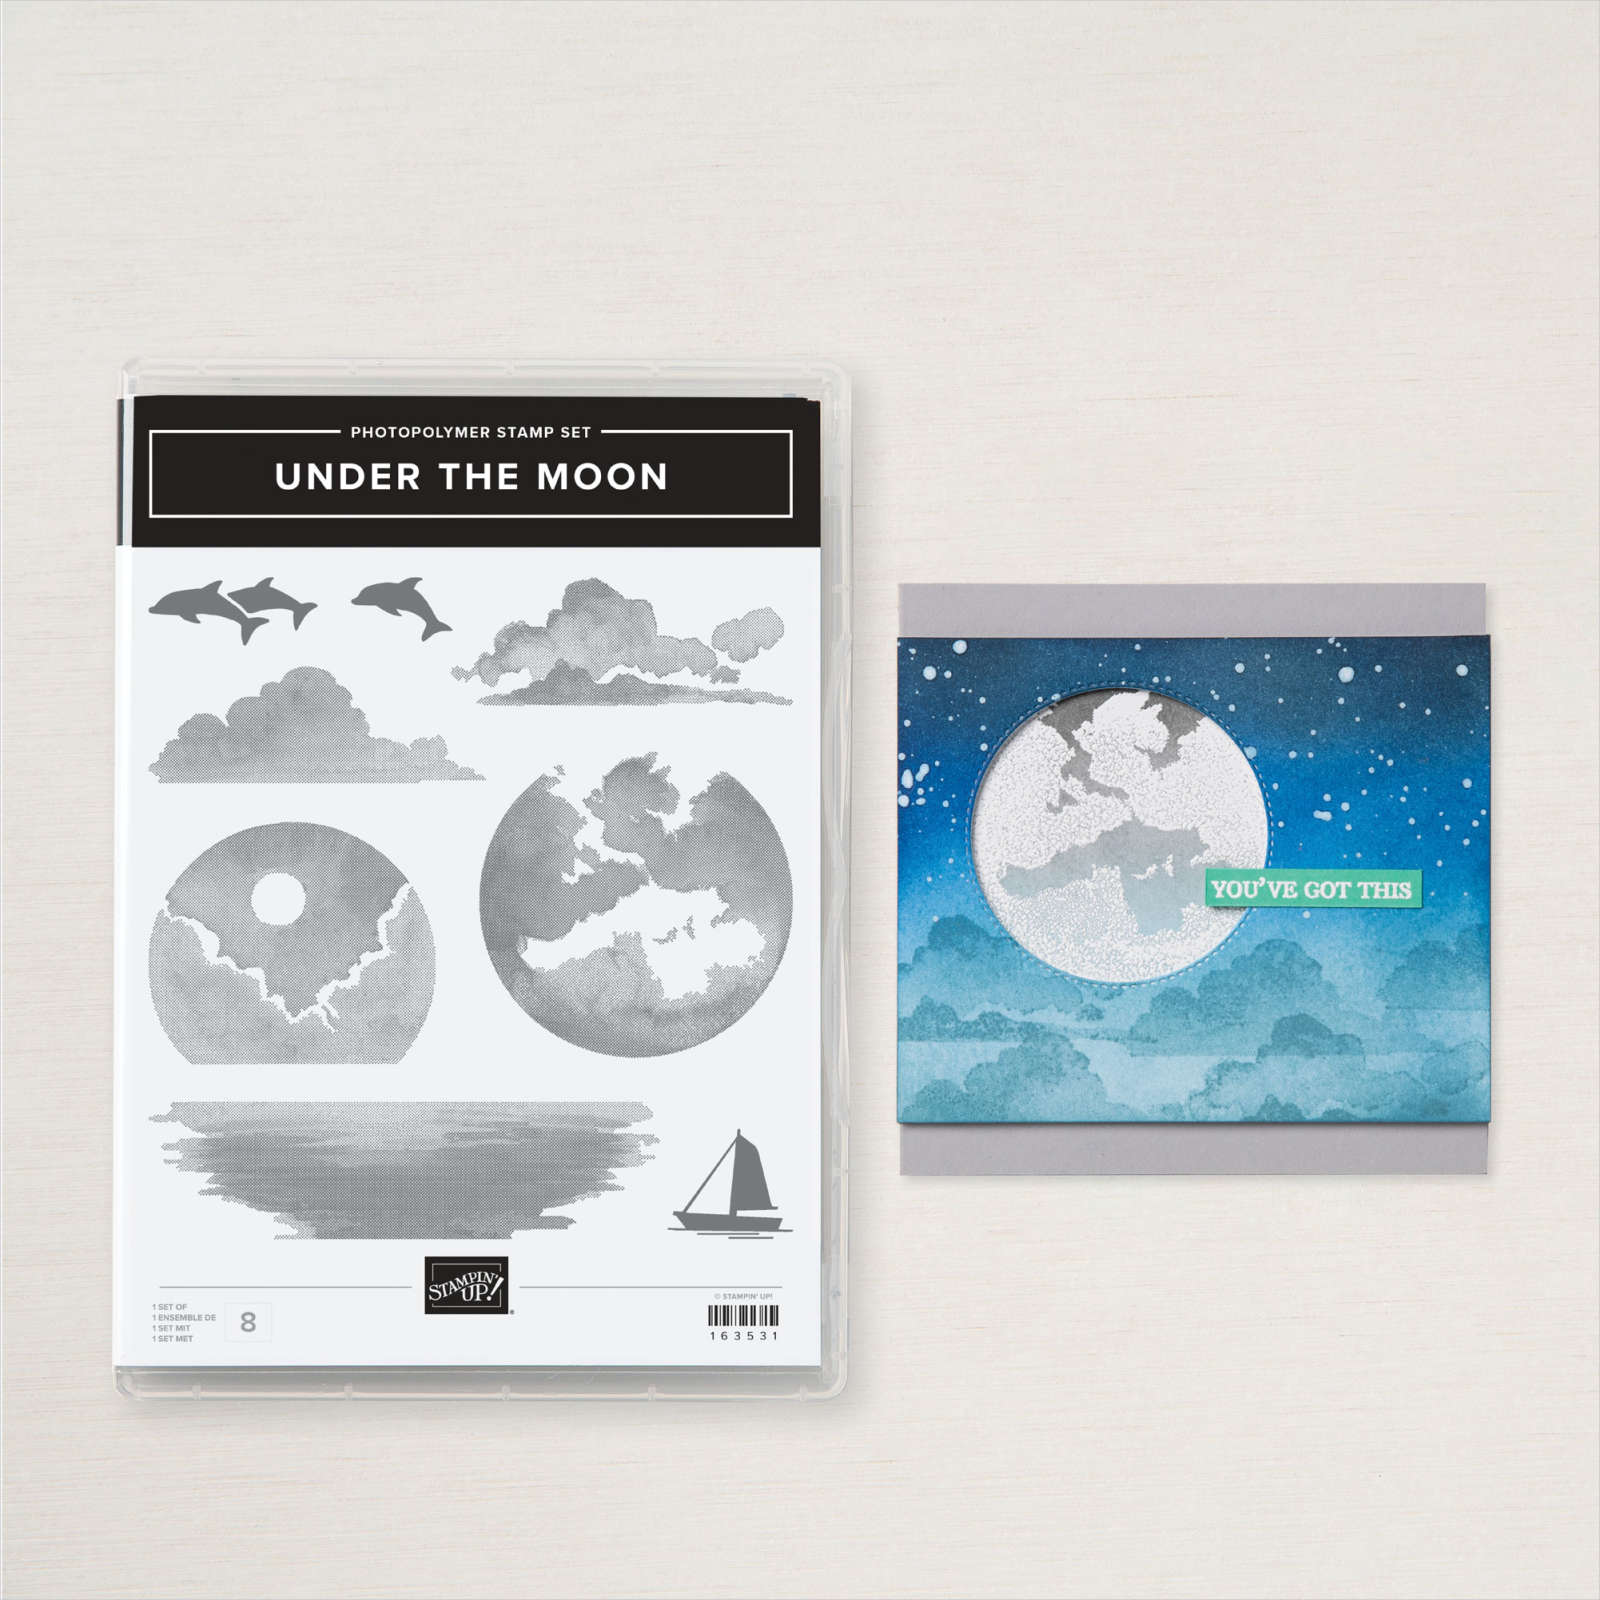
I coloured the images using Daffodil Delight Stampin’ Blends, cut them out and attached them to the left hand page. To create the journaling panel, I printed onto Basic White card. I stamped the sea image from the Under the Moon stamp set across the bottom of the Basic White panel using Night of Navy ink. I stamped one of the cloud images from the Under the Moon stamp set twice above the sea image using Balmy Blue ink. I stamped the sailing ship and the dolphin images from the same stamp set onto the panel using Night of Navy ink. I attached the journaling panel to Night of Navy card before attaching it to the right hand page.

I love how these page turned out and how many happy memories it brings to mind.
Bye for now,
Kris
Product Used:


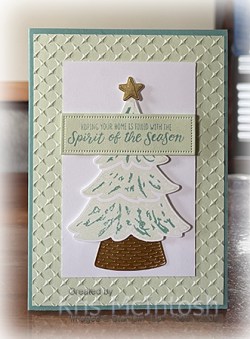
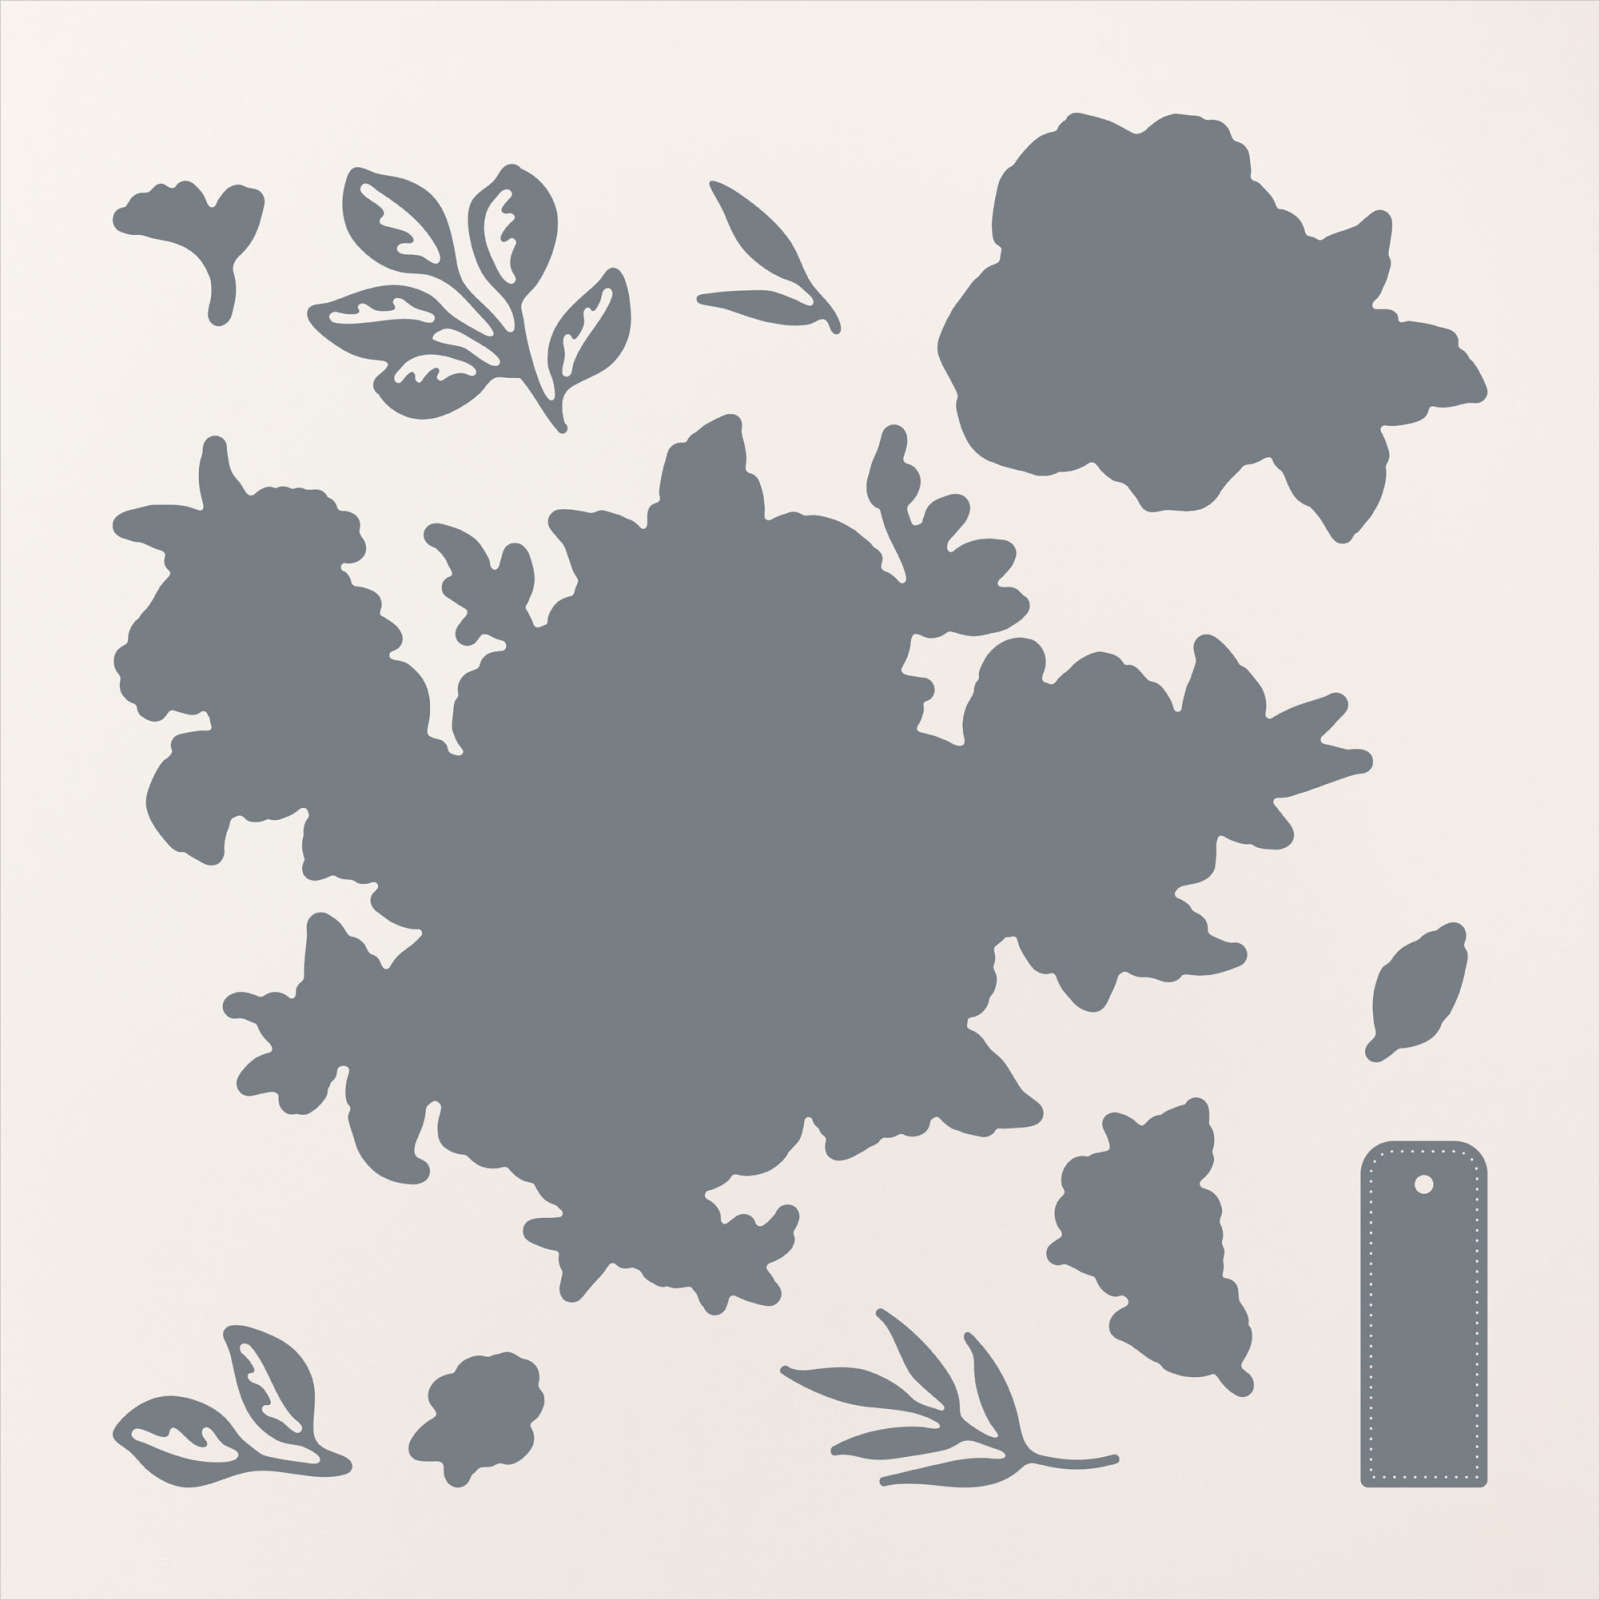
Golden Greenery Christmas
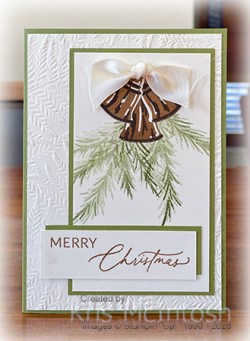
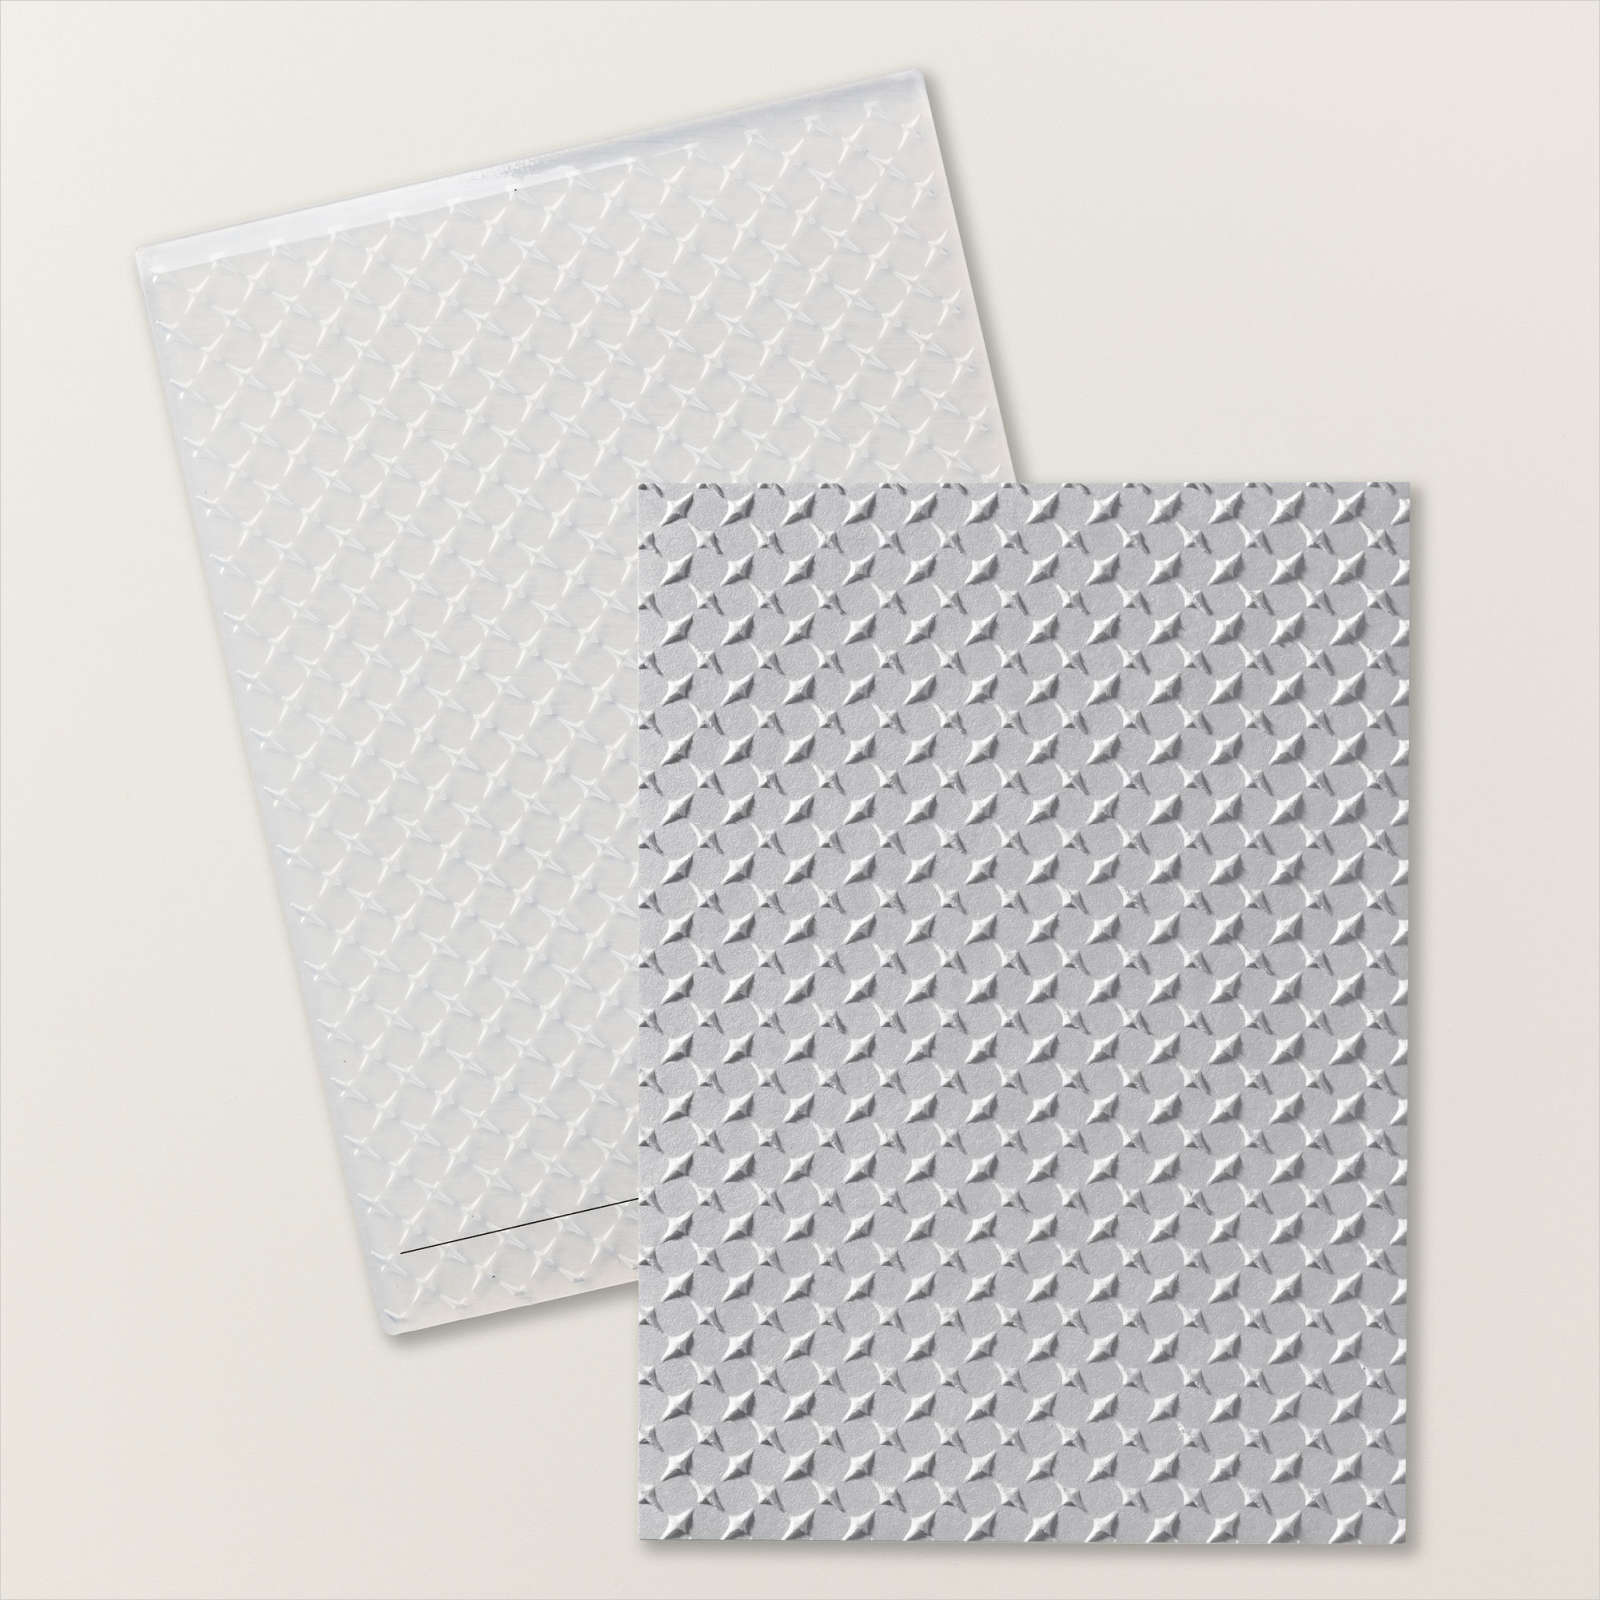
This week in my Facebook Live, I shared some cards I made using the Golden Greenery Bundle and the Greetings of the Season Bundle which are a new release as part of the Online Exclusive range of products. For this card, I embossed Very Vanilla card using the Fern 3D Embossing Folder which I attached to scored and folded Old Olive card. I stamped the solid large bell image from the Golden Greenery stamp set onto Very Vanilla card using Pecan Pie ink. I stamped the detailed large bell image over the top using Early Espresso ink. I masked the bell and stamped the solid fern image from the Golden Greenery stamp set twice using Old Olive ink which I stamped onto scrap paper first.

I stamped the detailed fern image over the top using Old Olive ink. I attached the stamped panel to Old Olive card and then the card front. I stamped the greetings from the Greetings of the Season stamp set onto Very Vanilla card using Pecan Pie ink. The greeting is attached to Old Olive card and then the card front.

I stamped the small solid bell image from the Golden Greenery stamp set twice onto Very Vanilla card using Pecan Pie ink. I stamped the detailed small bell image of the top using Early Espresso ink. I cut out the images using the co-ordinating Golden Greenery Die. I attached one small bell flat onto the image panel and one using dimensionals. I tied a knot in a length of the Very Vanilla 3/4″ Satin Ribbon and attached it to the top of the bells using a Glue Dot. To decorate the inside of the card I stamped a greeting from the Greetings of the Season stamp set onto Very Vanilla card using Pecan Pie ink. What a gorgeous product suite this is to play with. You will find it only in the Online Exclusive section of my Online Store.
Bye for now,
Kris
Product Used:
You can find the Golden Greenery Bundle and the Greetings of the Season Bundle here in my Online Store.


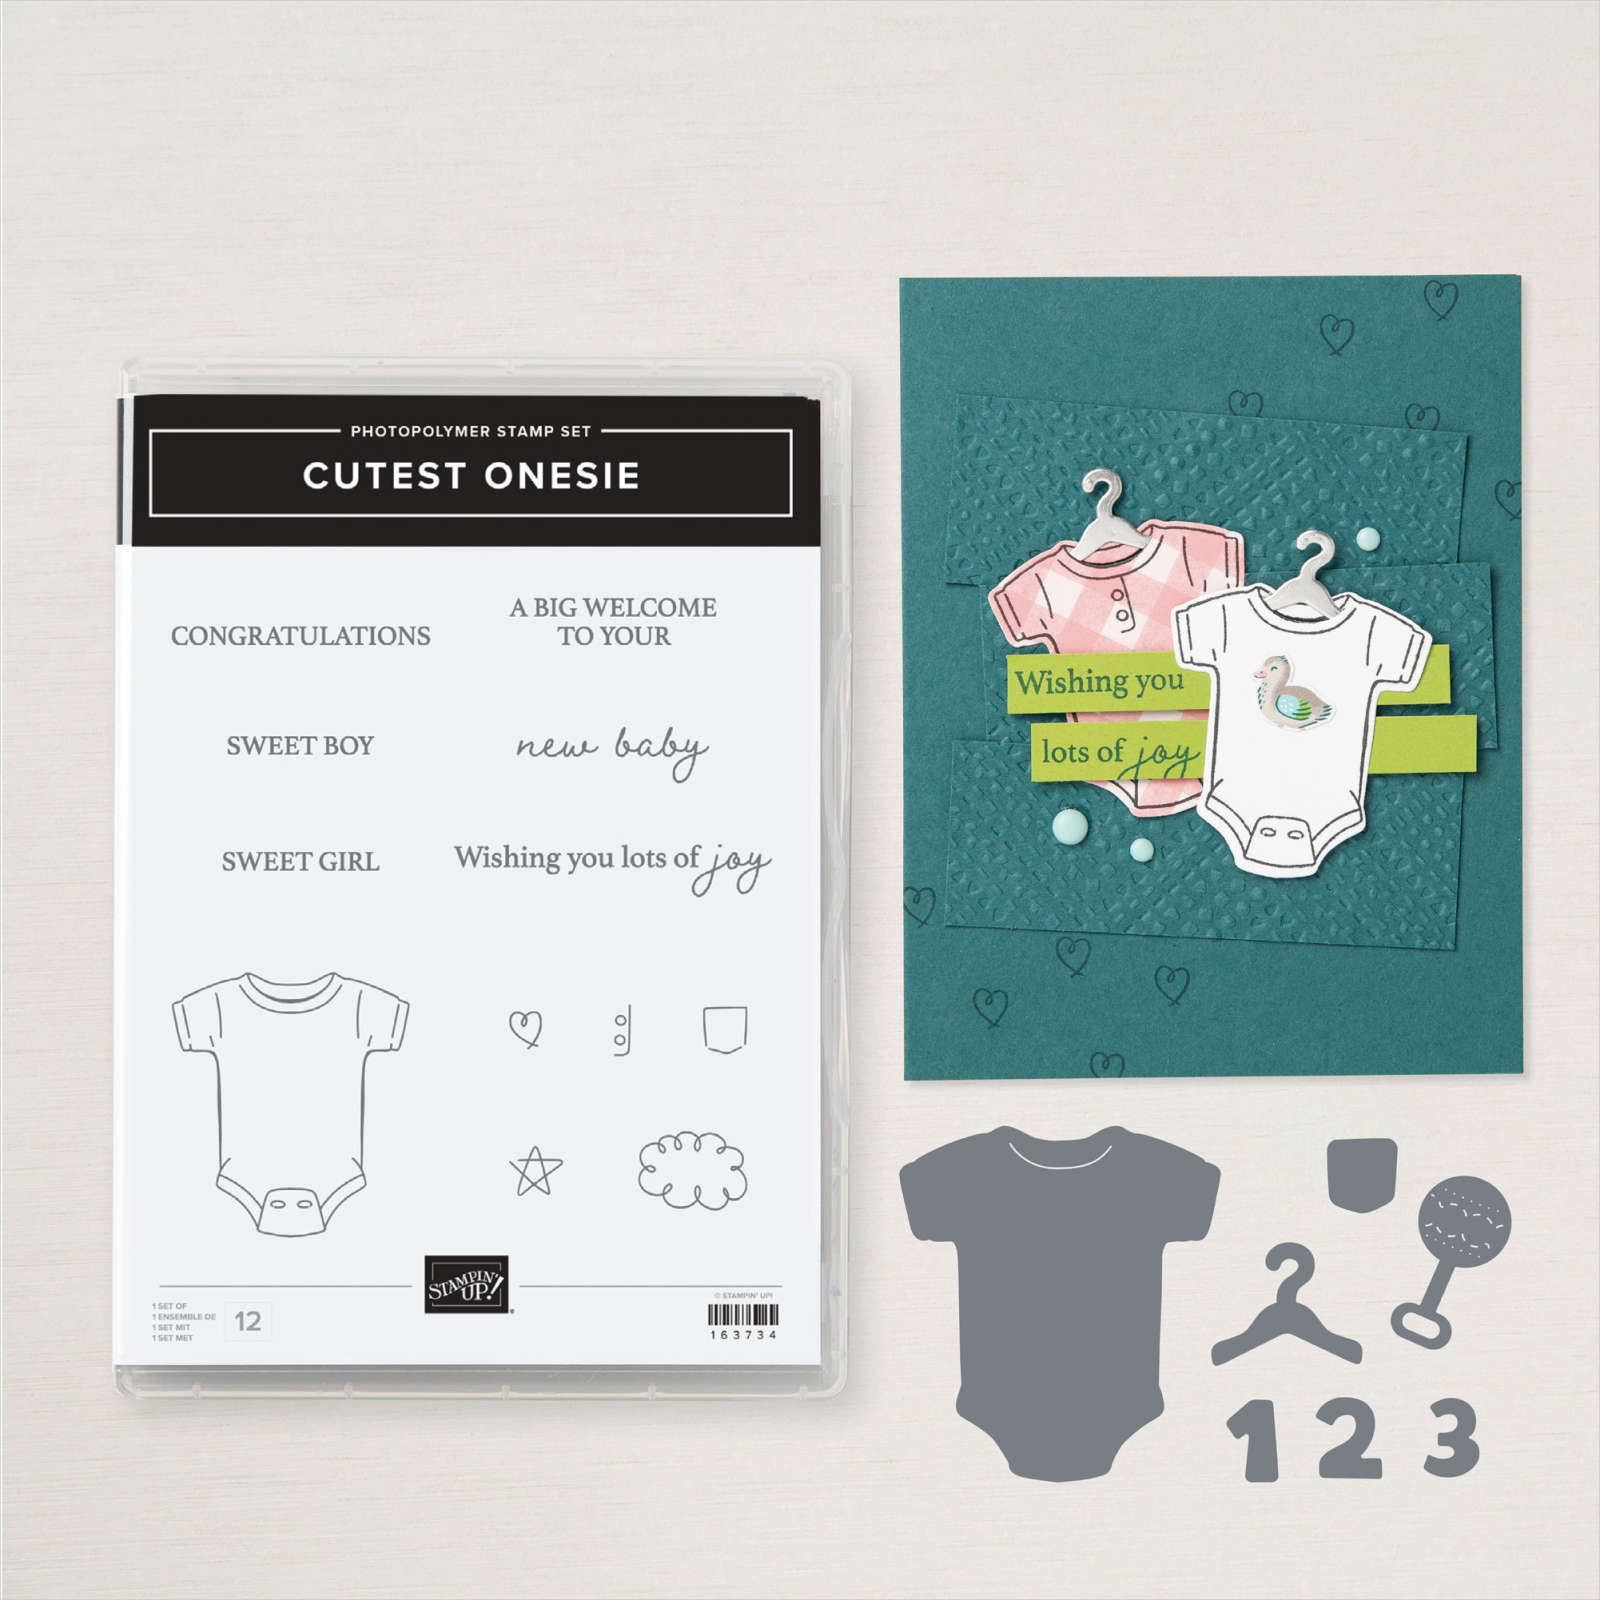
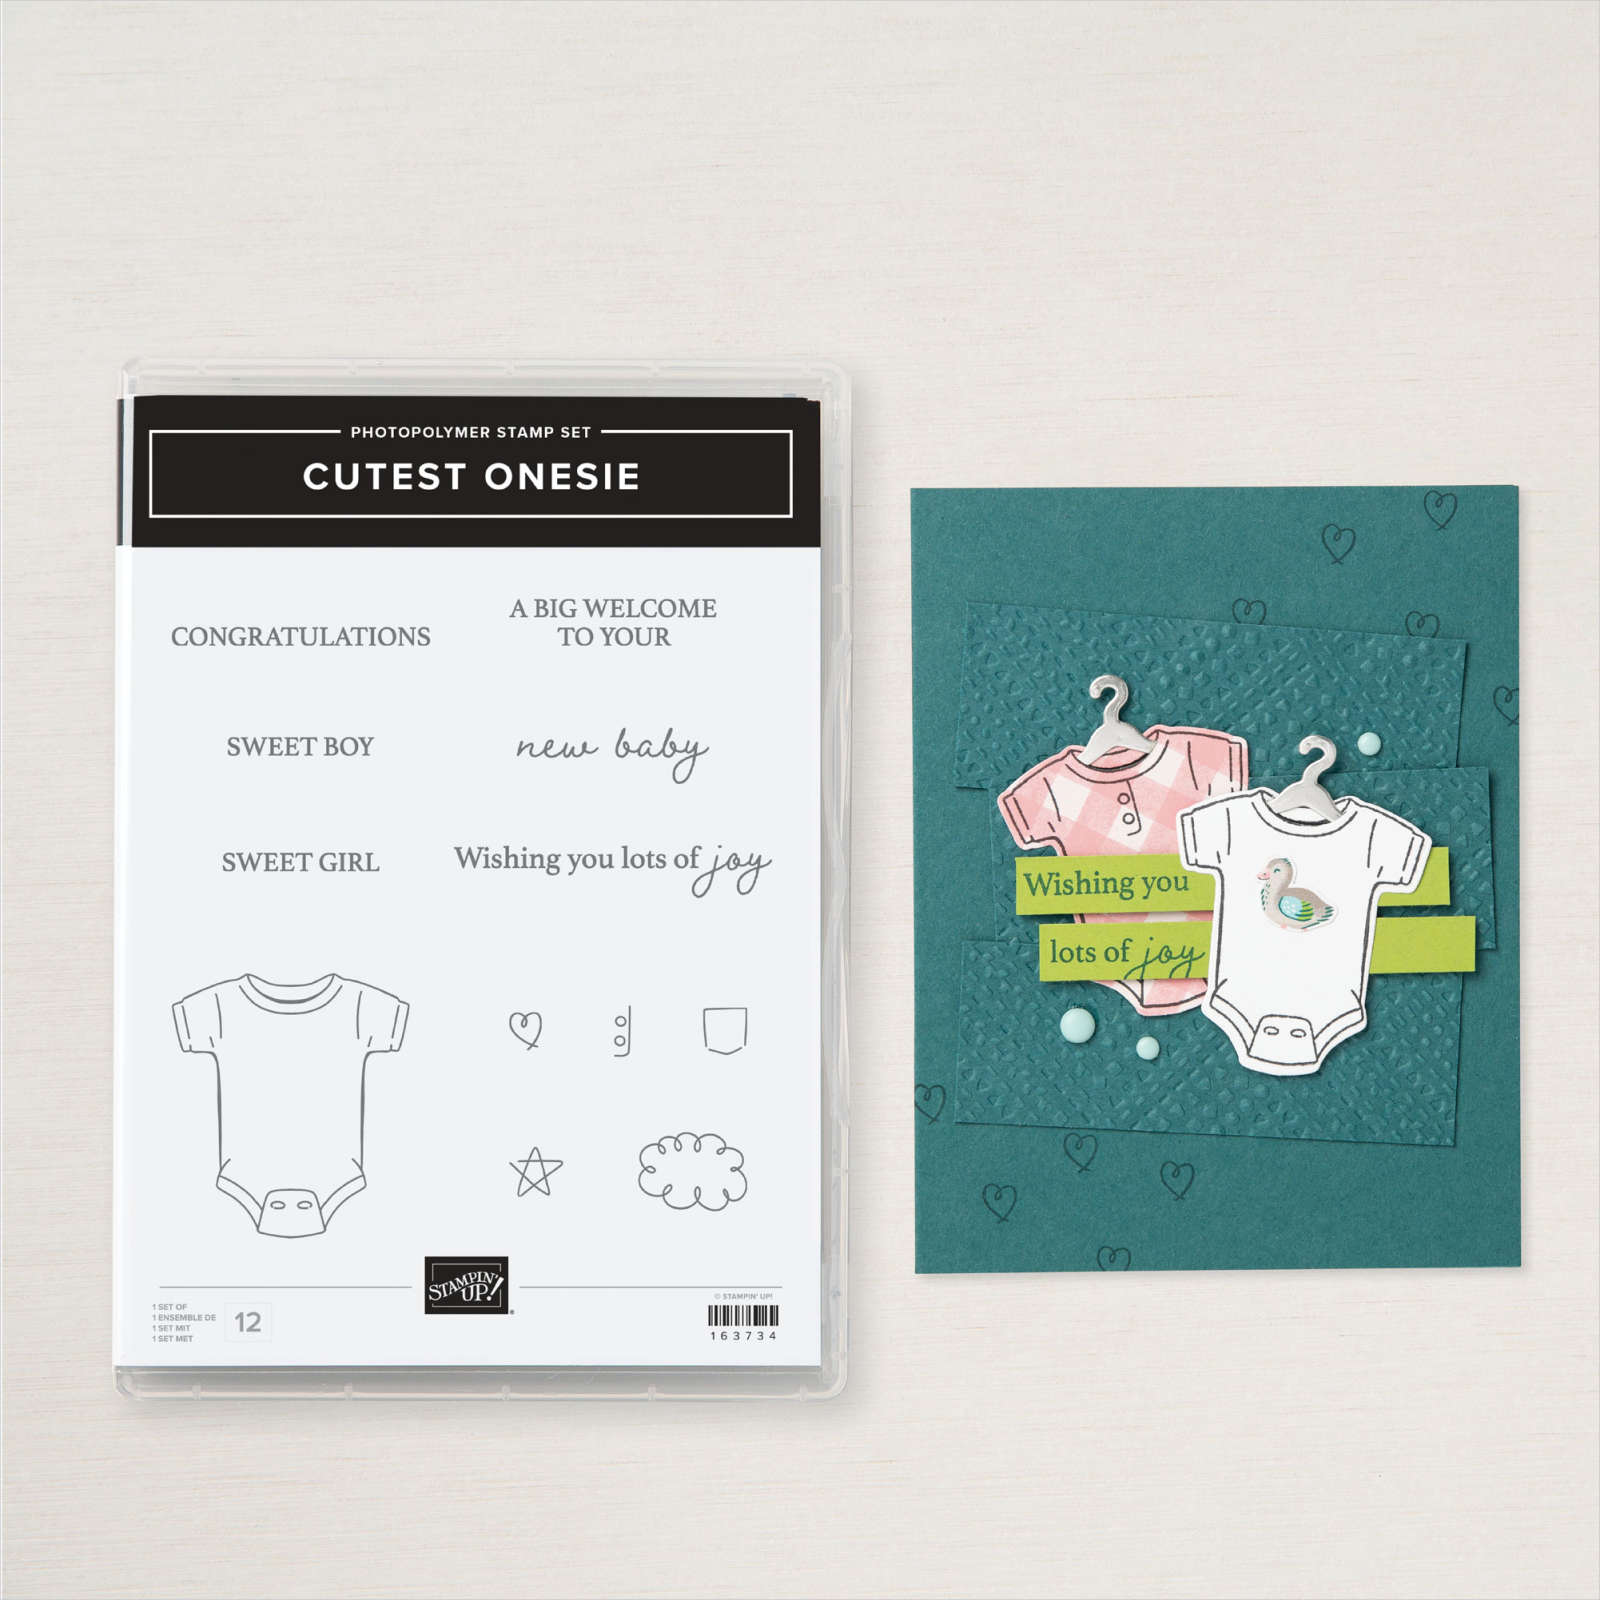
Wishing You Lots of Joy
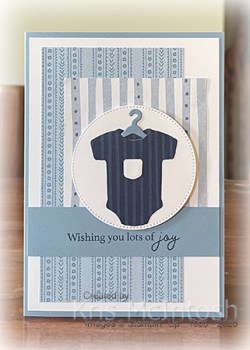
Today’s card again uses the Cutest Onsie stamp set. For this card I cut two pieces of Countryside Inn 12″ x 12″ Designer Series Paper and attached them to Basic White card. I stamped the greeting from the Cutest Onsie stamp set across a piece of Boho Blue card using Night of Navy ink. I attached the stamped panel across the Designer Series Paper before attaching the whole panel to scored and folded Boho Blue card. I cut Basic White card using the second largest circle from the Stylish Shapes Dies and attached it to the card front using dimensionals.
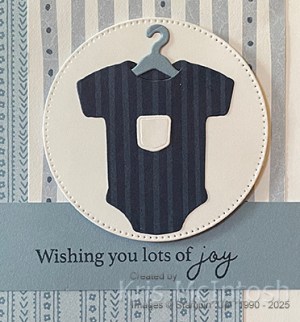
I cut a piece of Countryside Inn Designer Series Paper using the onsie die from the Cutest Onsie Dies. I cut the hanger from Boho Blue card and the pocket from Basic White card.

I attached the die cut pieces together before attaching them to the Basic White circle. To decorate the inside of the card I stamped the greetings from the Cutest Onsie stamp set onto Basic White card using Night of Navy ink. I cut the rattle from Boho Blue card using the Cutest Onsie Die and attached it beside the greetings. I attached a piece of Countryside Inn Designer Series Paper across the bottom of the stamped card before attaching the whole panel to the inside of the card base. Another card using this bundle which I love. Let me know what you think. Have I inspired you to take a closer look at this stamp set?
Bye for now,
Kris
Product Used:


July Promotions

As you are probably all aware, Close to My Heart, a scrapbooking company has closed and Stampin’ Up! invited the Close to My Heart Makers to join Stampin’ Up!. As part of the process Stampin’ Up! also purchased some Close to My Heart product which is being released on Wednesday. This product will be while stocks last only and so if you love Memory Keeping/Scrapbooking then be ready to jump in early and place your order. EDIT: Please note these items are only available to previous Close to My Heart Makers and customers. (So sad everyone can’t purchase these but I do realise that there is only limited stock.)
Wednesday 3rd July also marks the release of some fabulous new Online Exclusives. You can download this flyer showing the Iconic Celebrations Suite Collection or this flyer showing the Season of Green & Gold Suite Collection. Of course these two collections are only part of the product release so check out the Online Exclusives in my Online Store on Wednesday to see what else is new.
Wednesday also marks the beginning of Bonus Days. This means that from 3rd to 31st July for every $90.00 you spend, you will receive a $9.00 voucher which you can spend during August. Bargain! You need to keep your vouchers safe because if you lose them, they cannot be replaced by Stampin’ Up!. So mark your calendars and get ready to spend and earn during July.
Bye for now,
Kris
Tin Can Bay

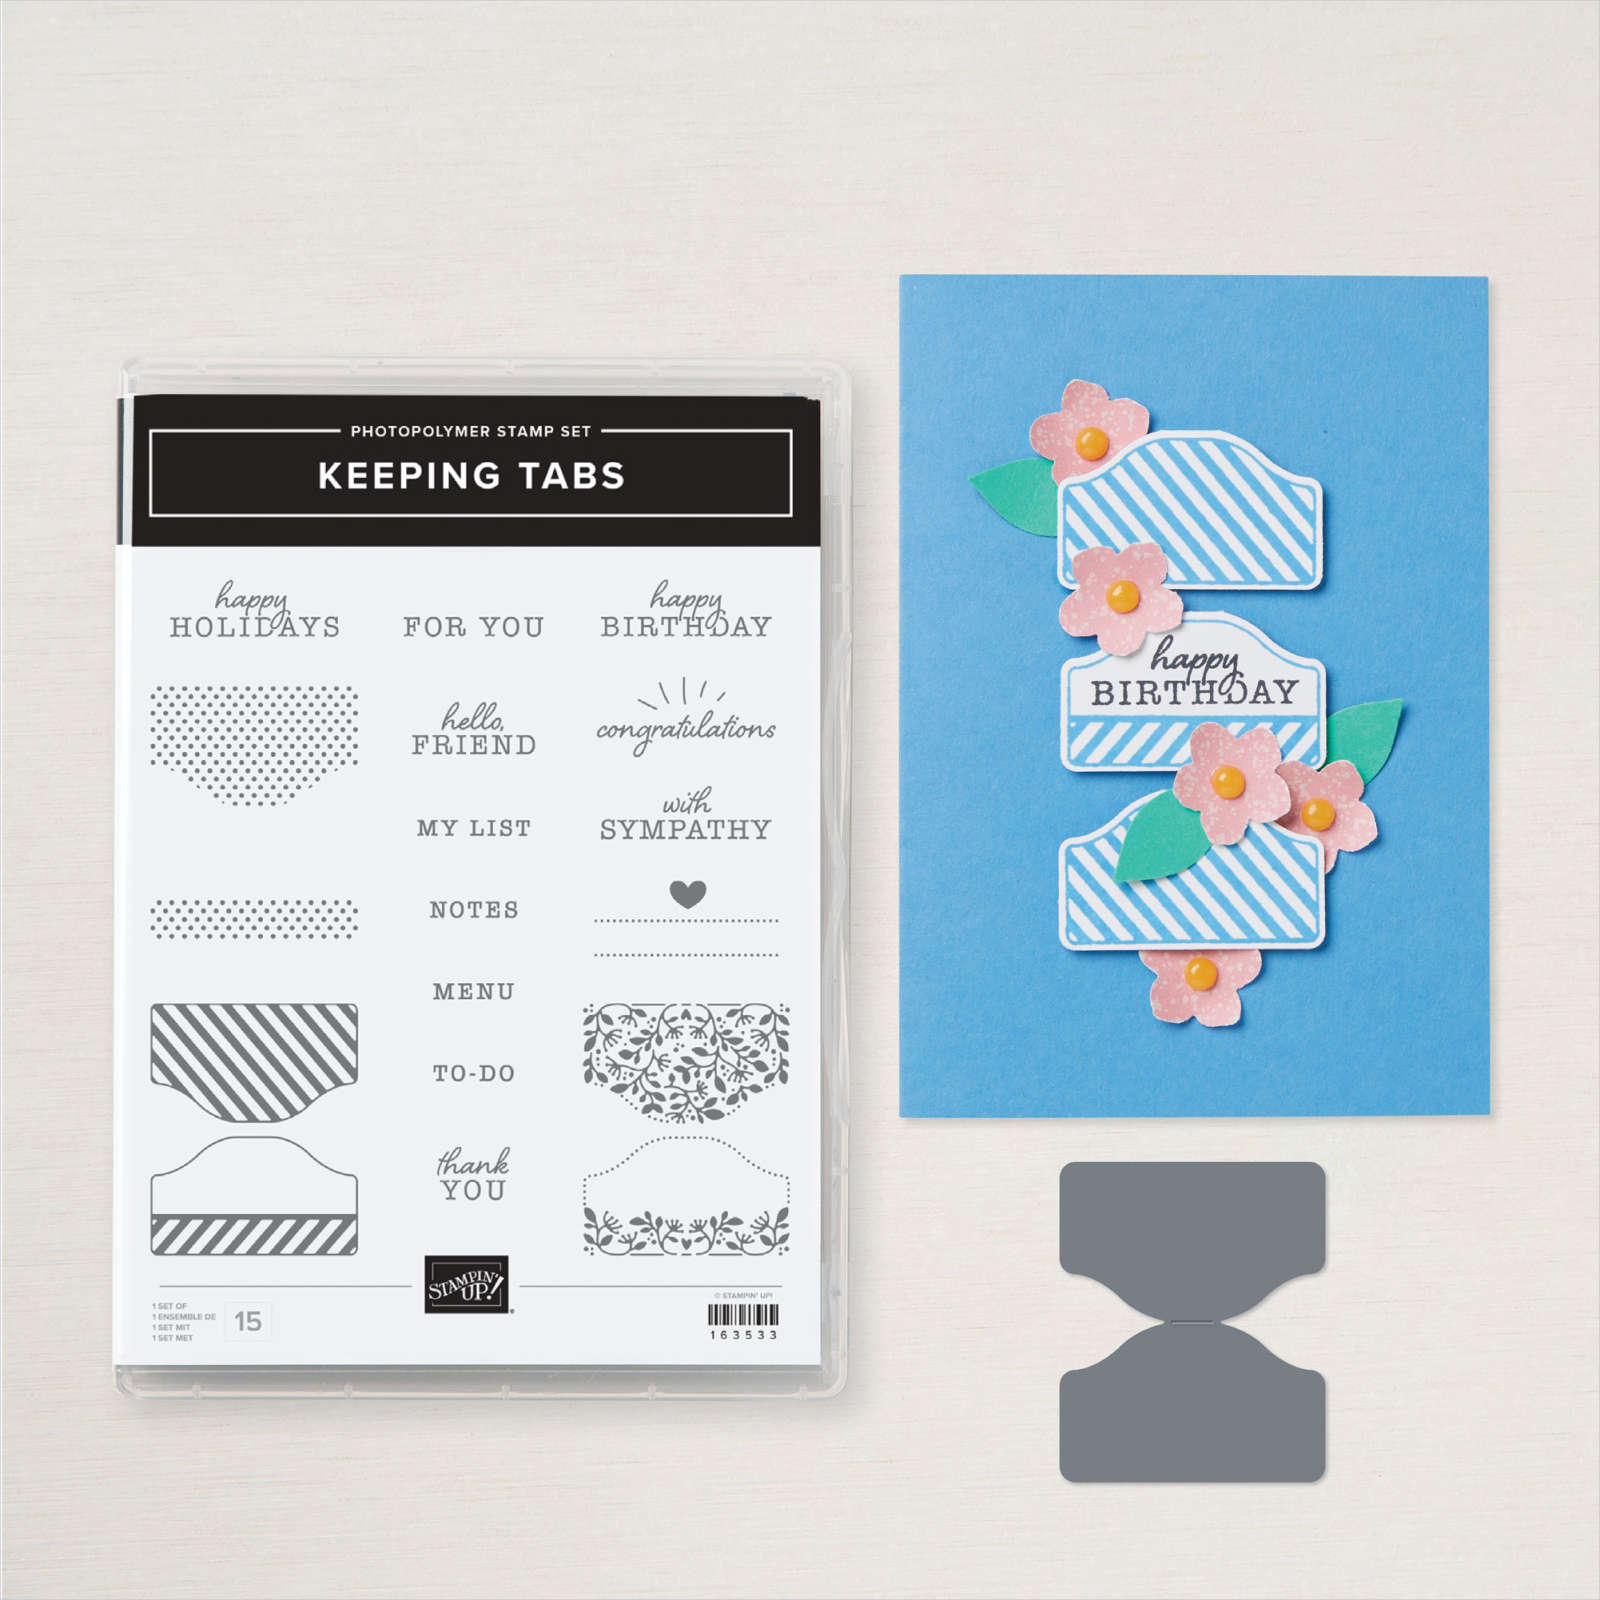
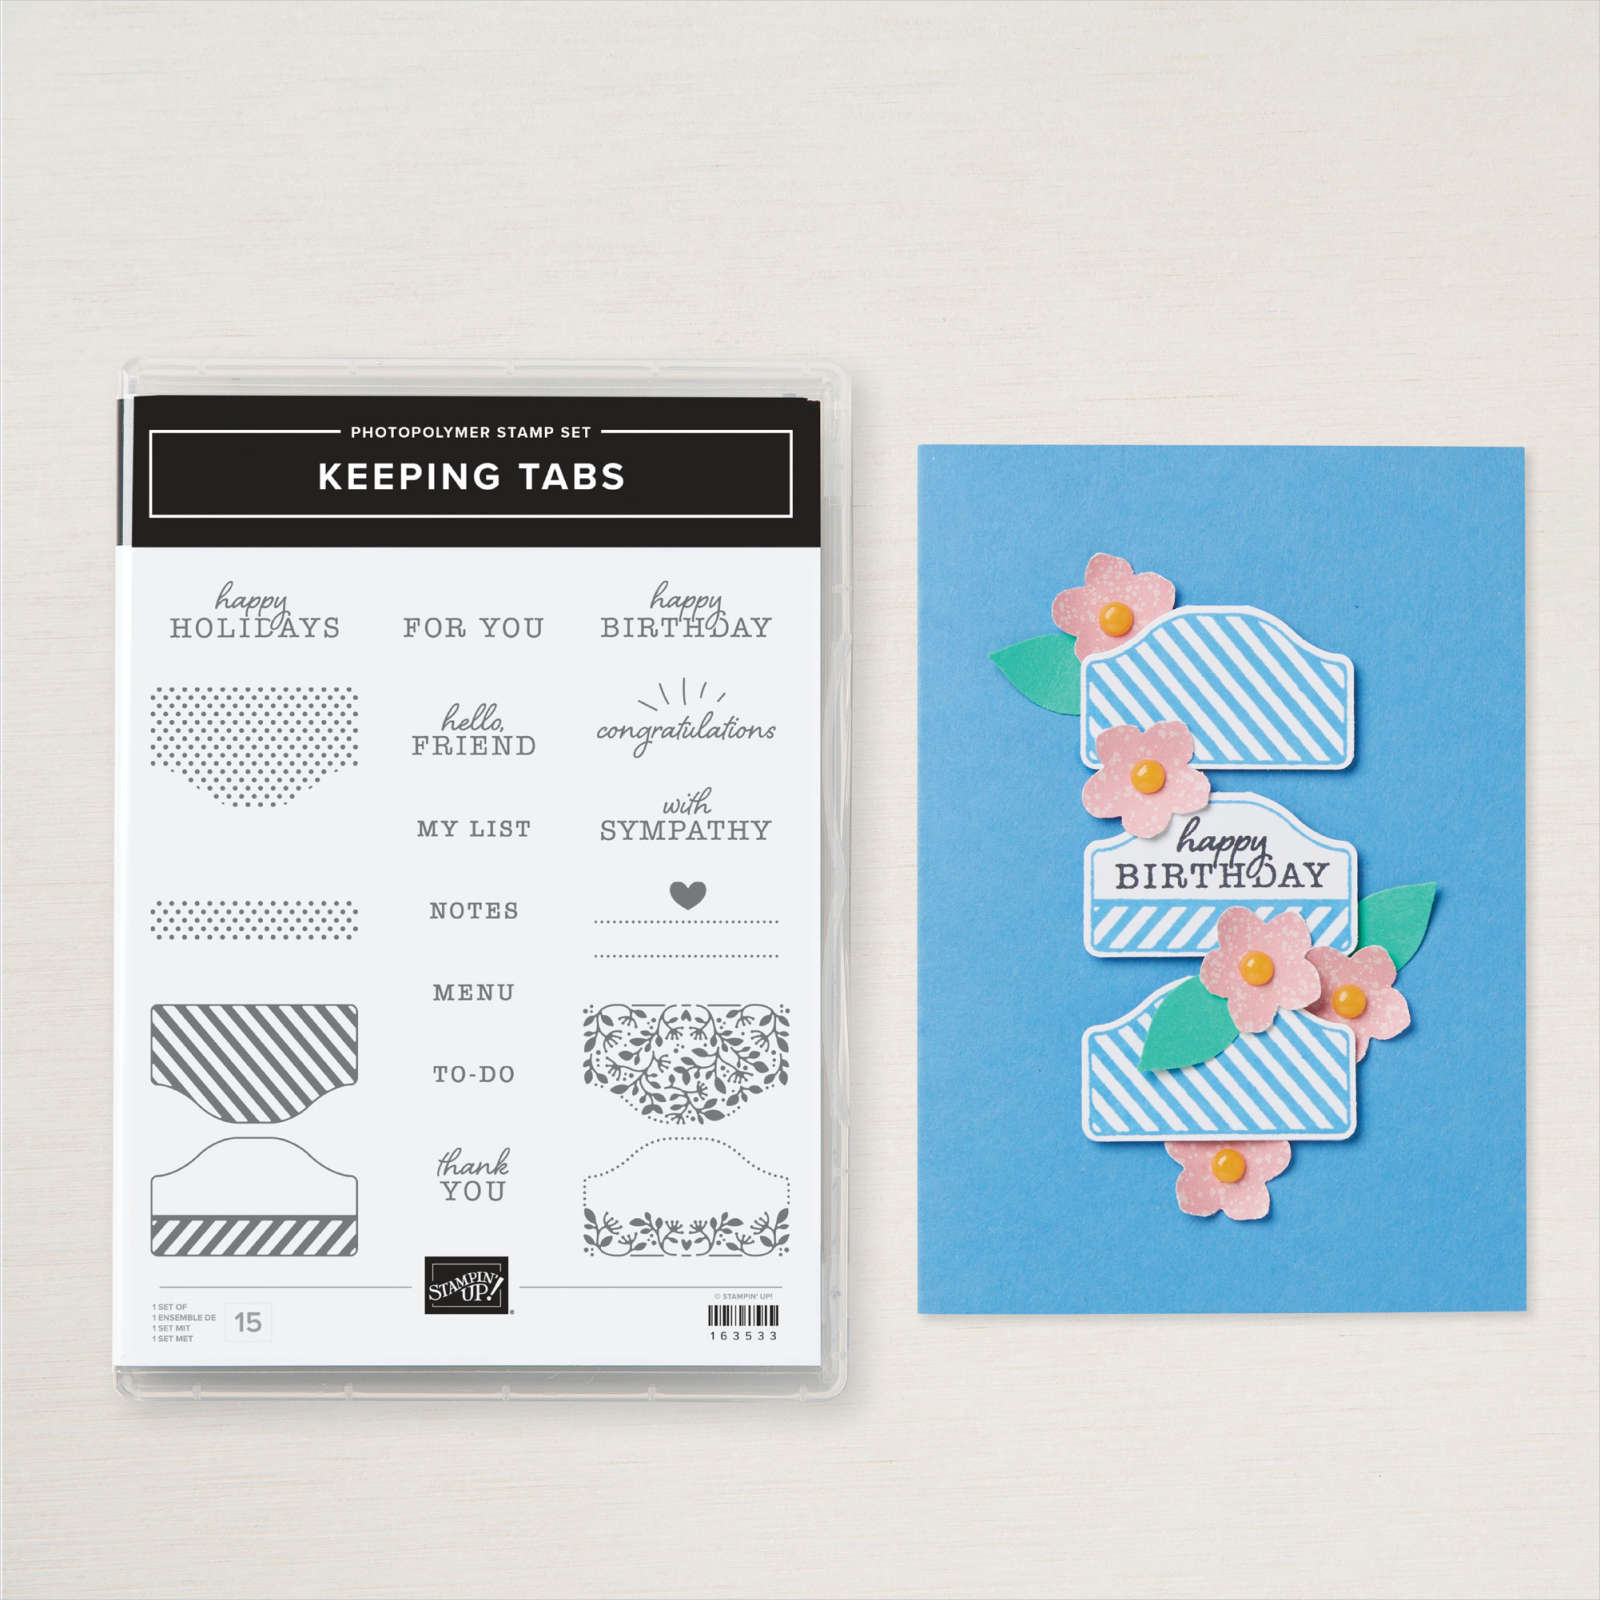
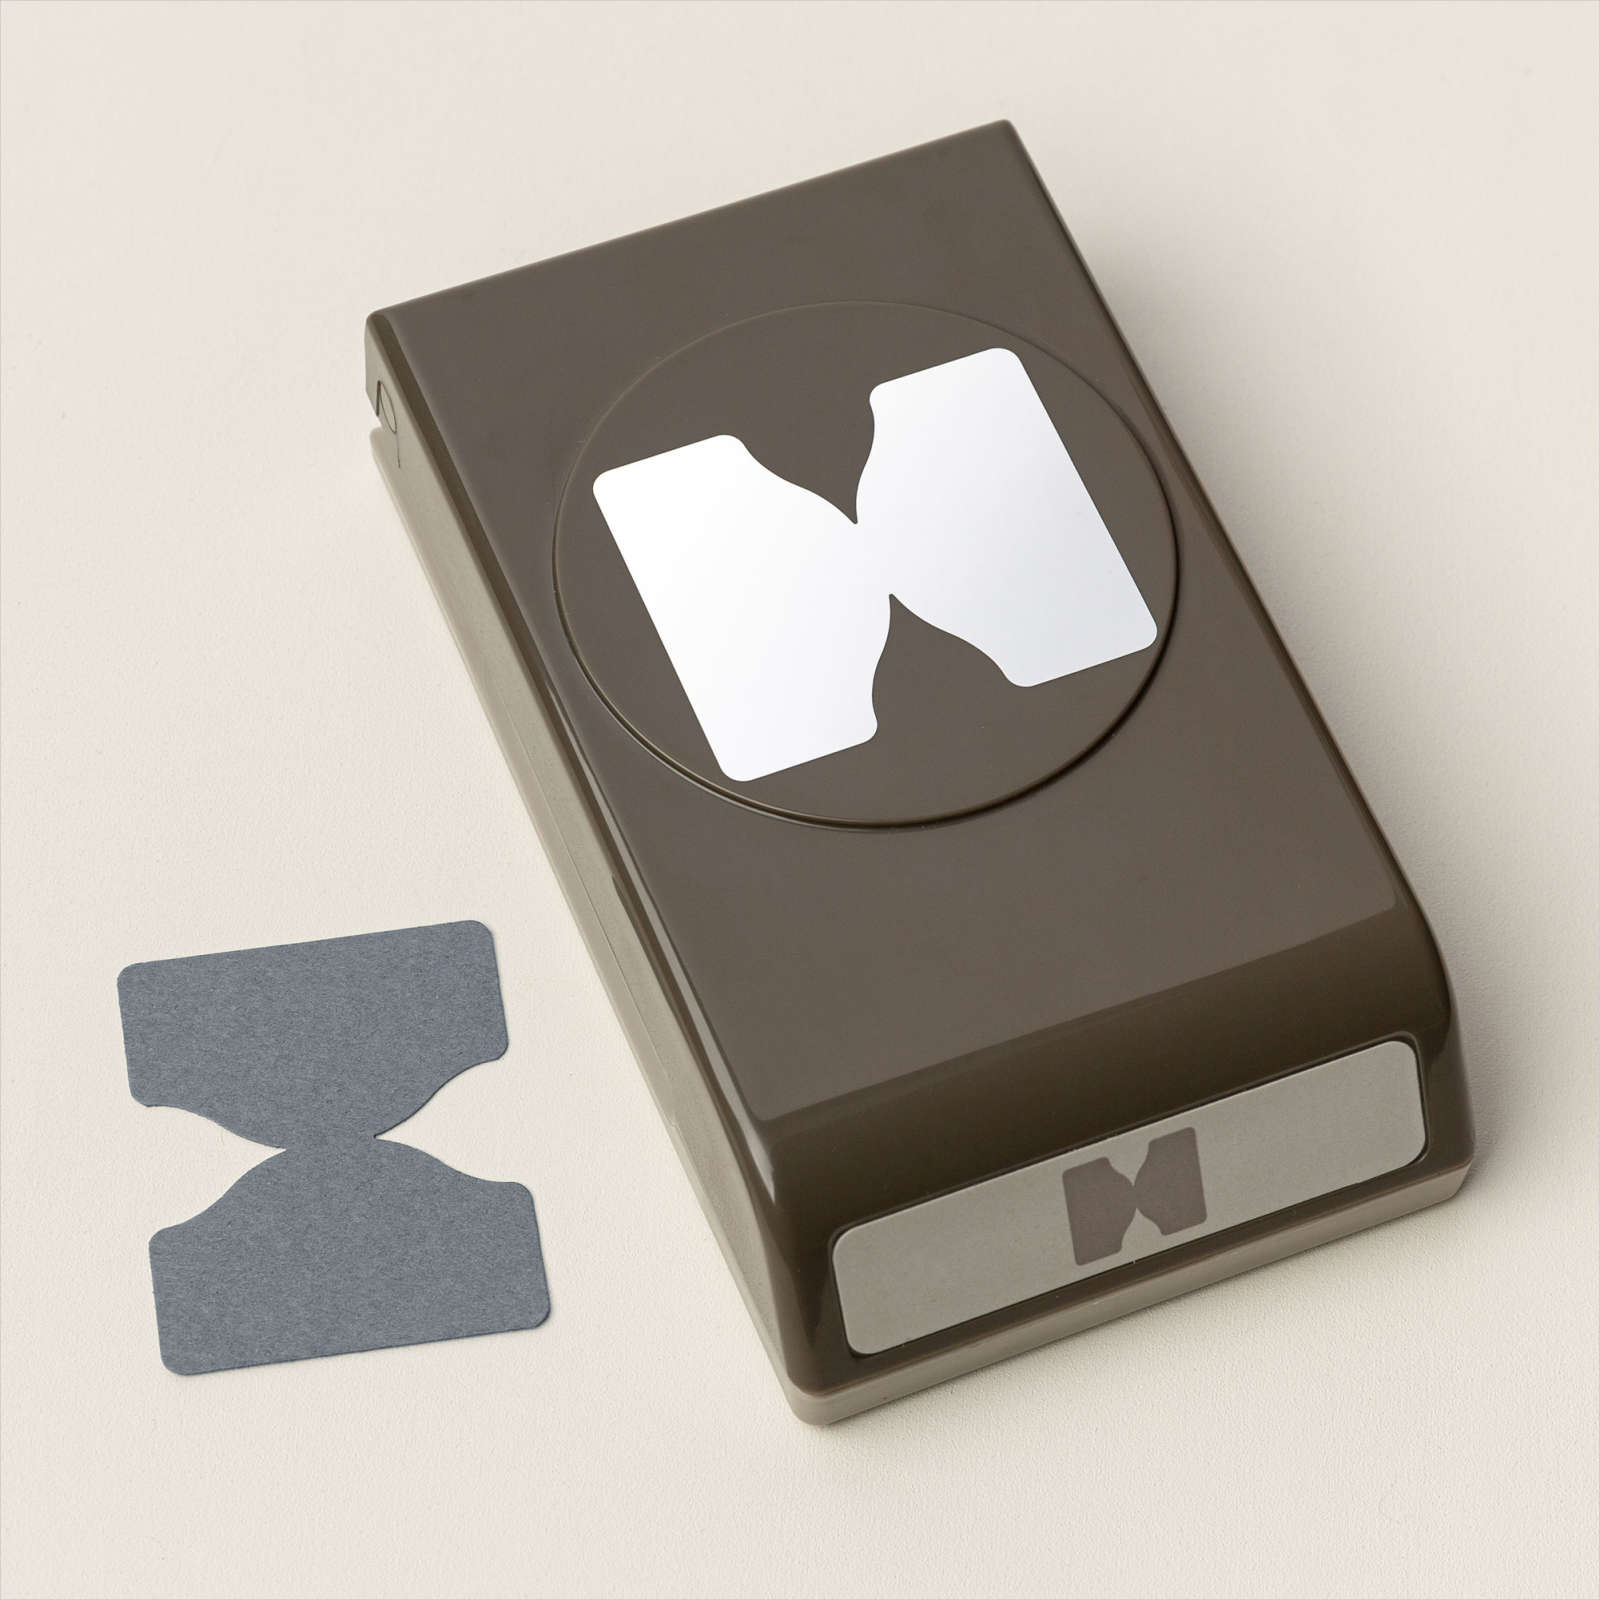
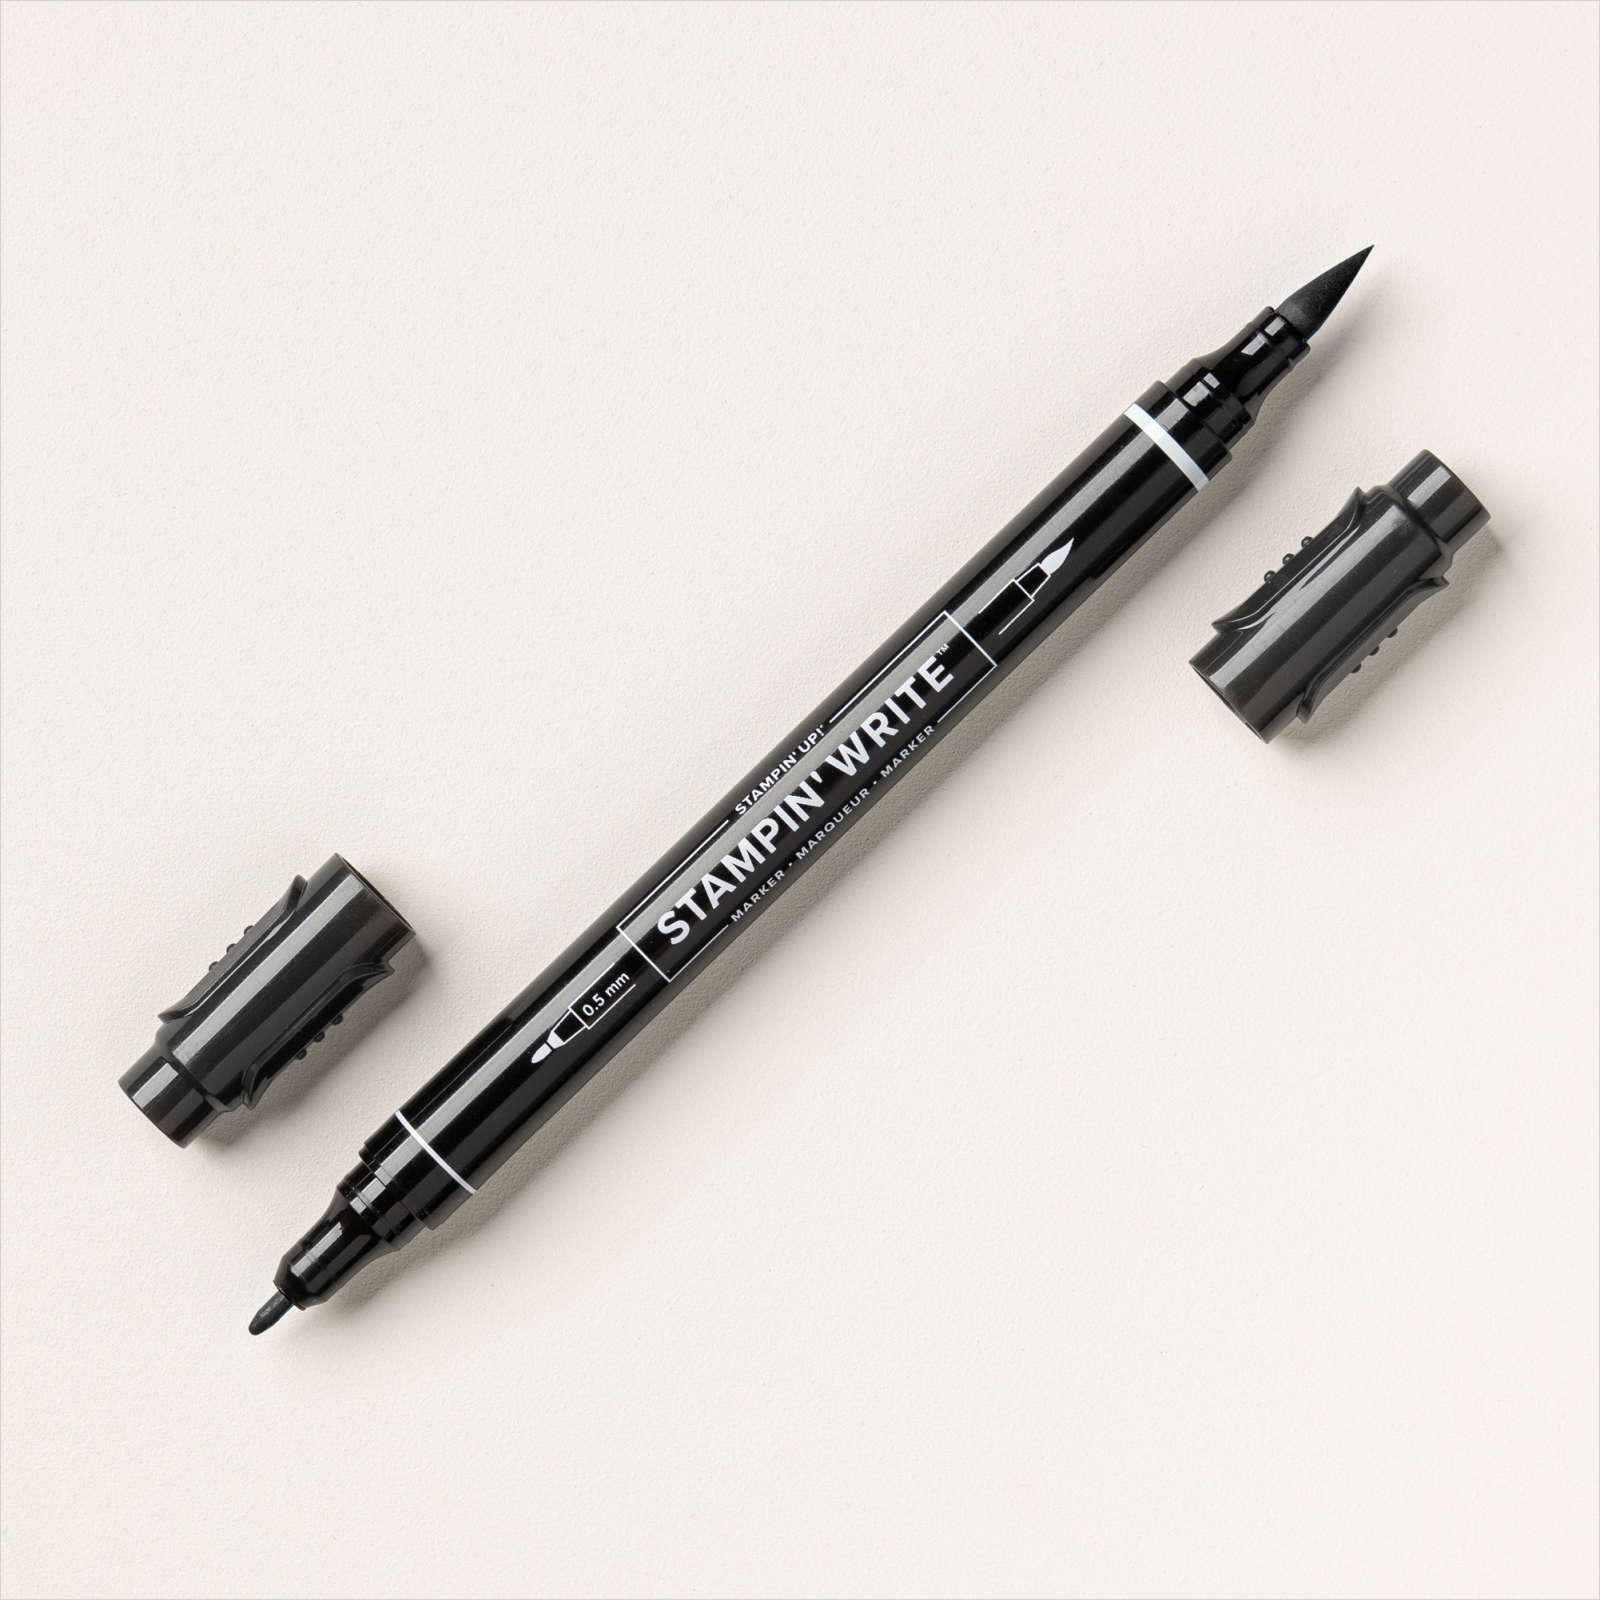
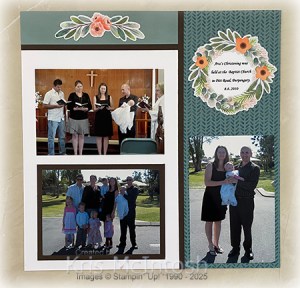
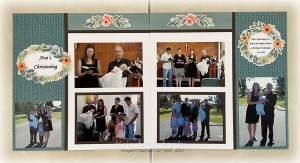
Today’s page shows off some photos from our Road Trip last year to Yeppoon with out friends. We stayed 3 days in Tin Can Bay and really enjoyed our day out at Rainbow Beach. I attached a piece of Misty Moonlight card across a Basic White 12″ x 12″ page. I stamped the line image from the Love This Moment stamp set onto Basic White card uisng Misty Moonlight ink. I hand wrote my journaling using the Basic Black Stampin’ Write Marker. I stamped the image from the Keeping Tabs stamp set onto Basic White card using Misty Moonlight ink. I also stamped “happy holidays” from the same stamp set using the same ink. I punched out the image using the Keeping Tabs Punch. I layered my photos and the journaling panel onto the page, making sure to add the tab to the top of the photo first. I cut the title from Misty Moonlight card using the Mini Alphabet Dies before attaching it to the top of the page. I love creating pages to showcase my photos and keep the memories flowing.
Bye for now,
Kris
Product Used: