Enjoy Your Day

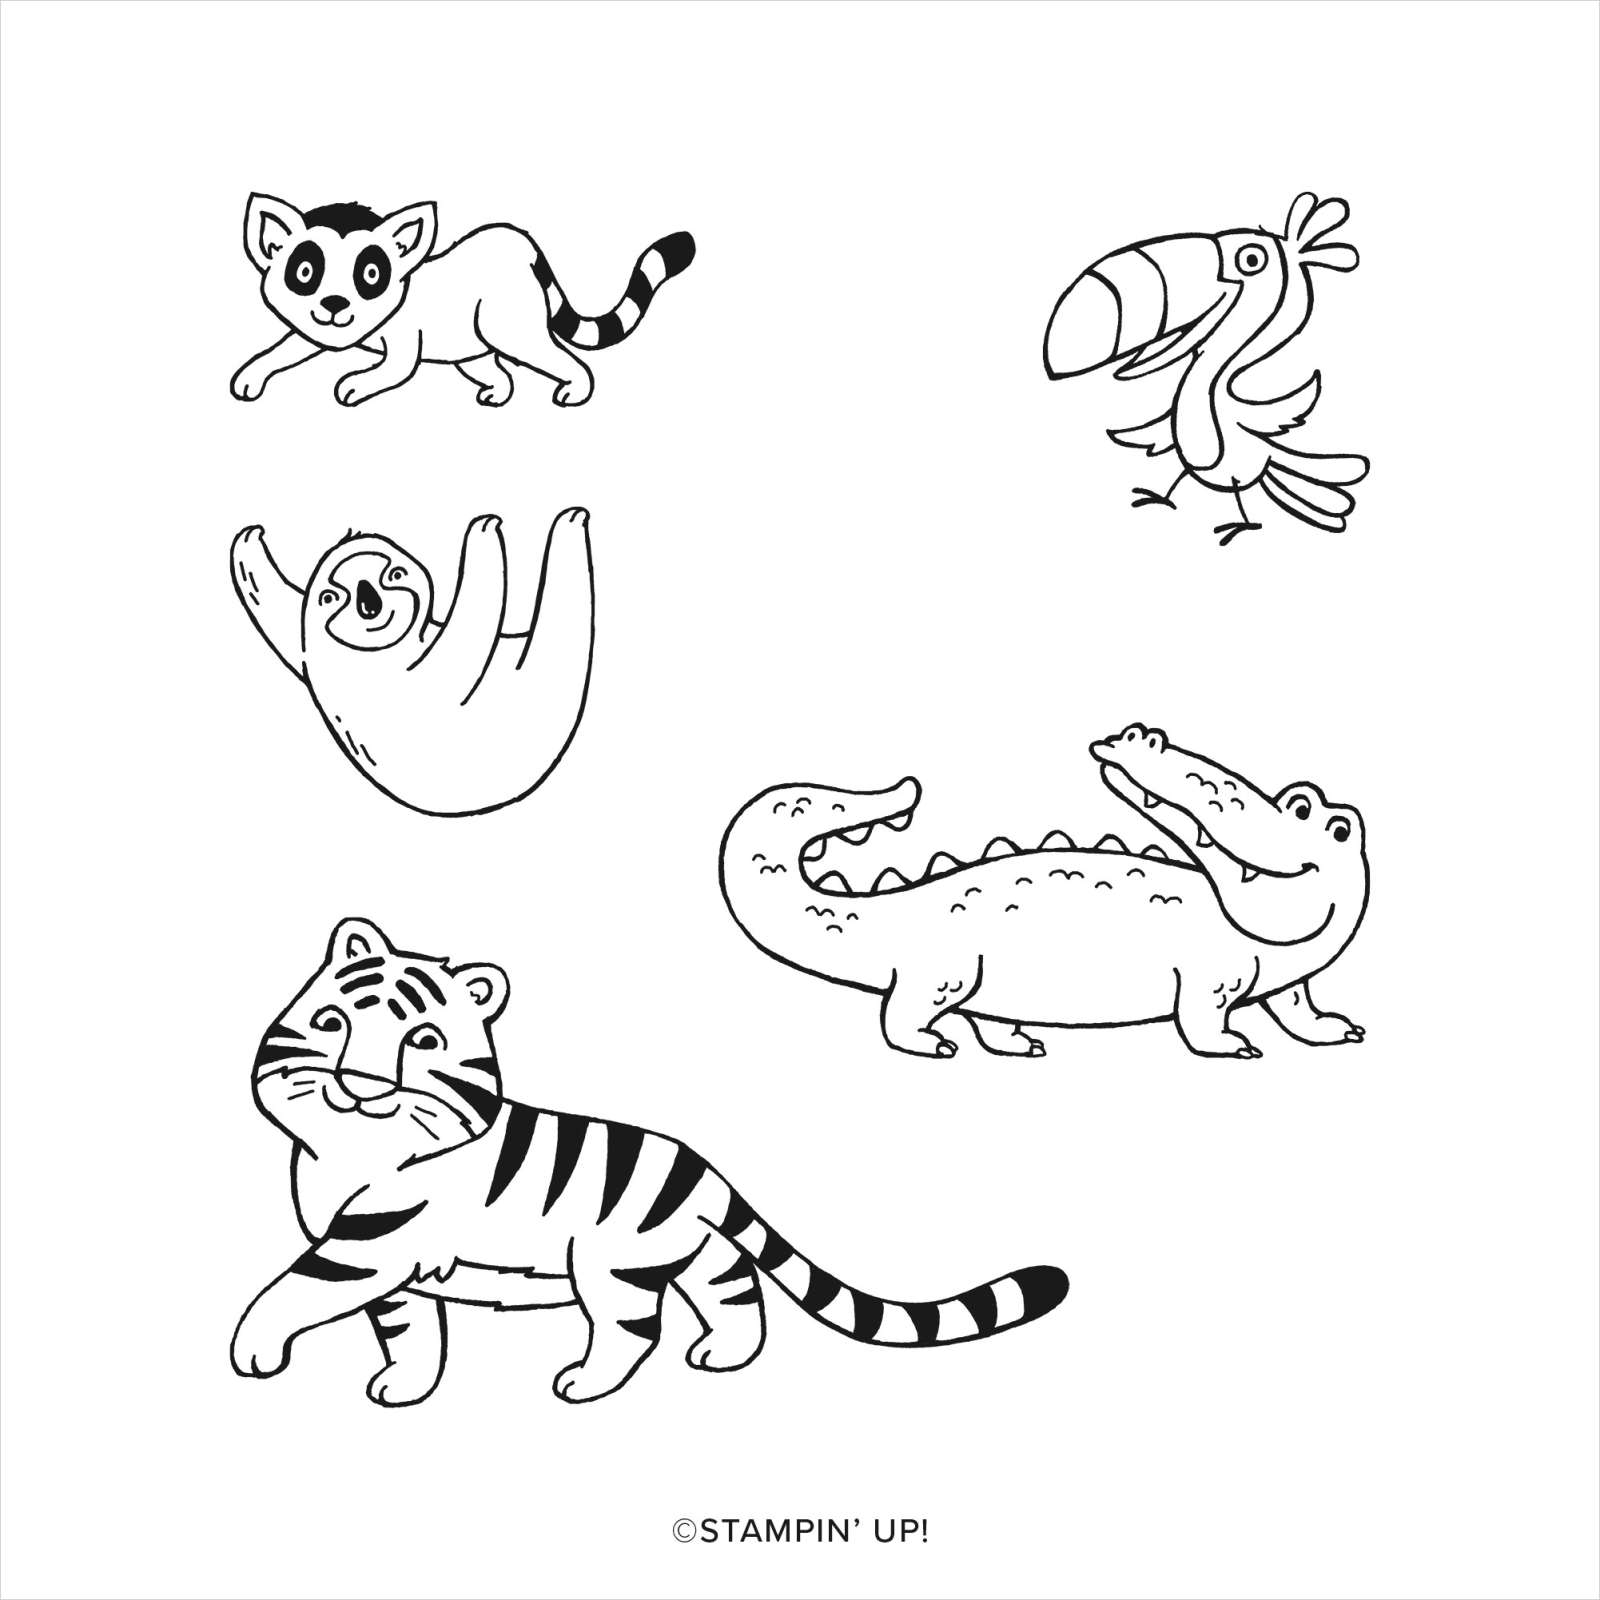
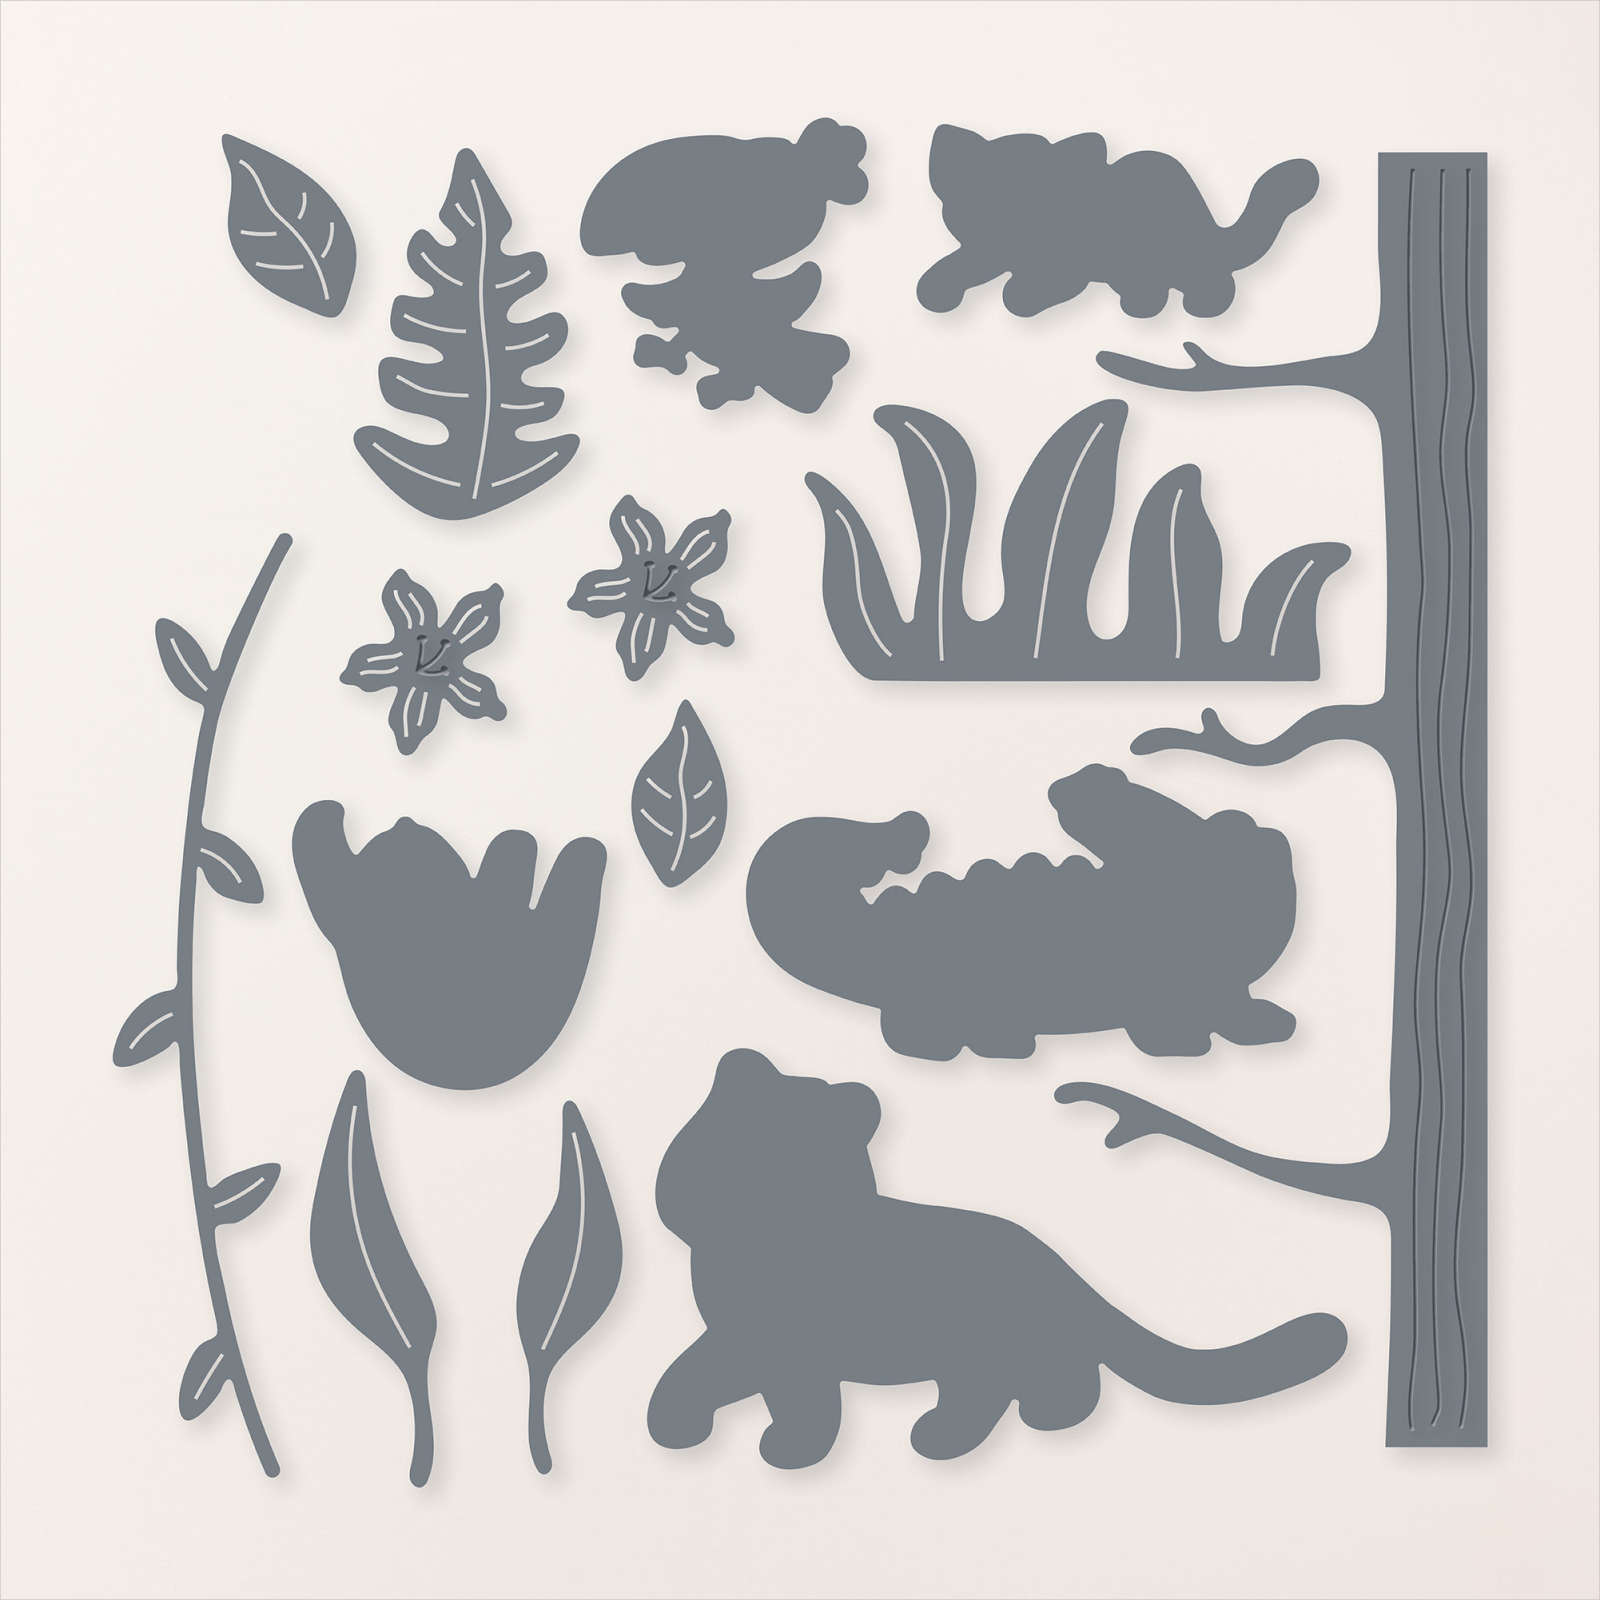
Today’s card uses lots of different but co-ordinating stamp sets, dies and a punch. I embossed Soft Sea Foam card using the Fern 3D Embossing Folder. I cut Garden Green card using the grass and vine dies from the Jungle Pals Dies. (You can earn these dies for Free during Sale-a-Bration with a $180.00 order.) I attached the grass and vine to the embossed Soft Sea Foam card. The whole panel is attached to scored and folded Thick Basic White card. I stamped the sloth image from the Jungle Pals stamp set onto Basic White card using Memento Tuxedo Black ink. (You can earn this stamp set for free during Sale-a-Bration with a $90.00 order.)
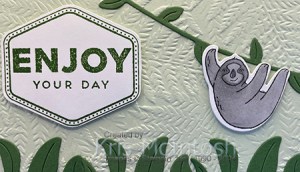
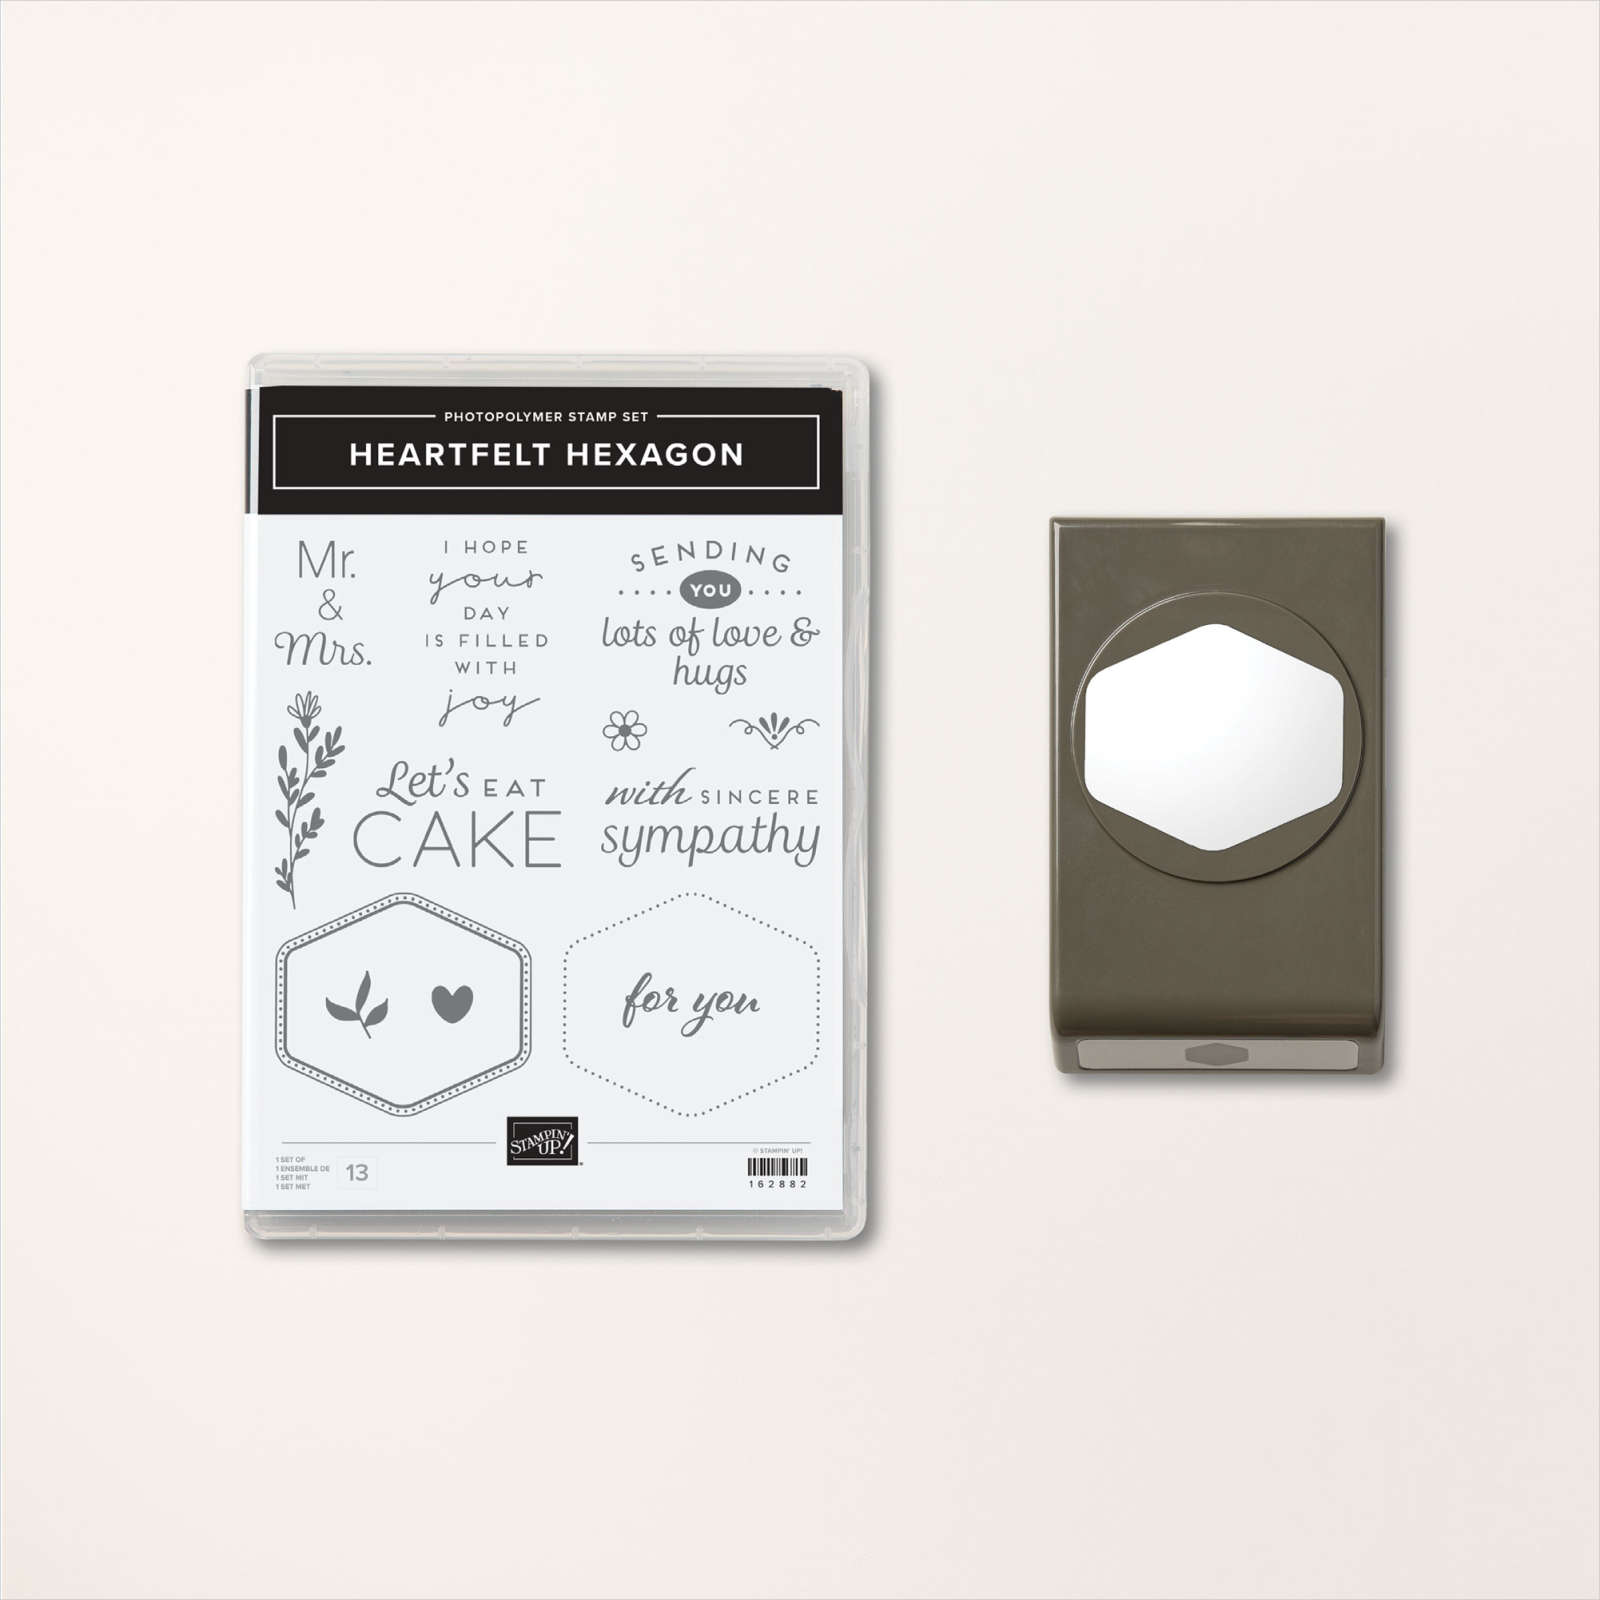
I coloured the image using Light & Dark Smoky Slate Stampin’ Blends. I cut out the coloured image using the co-ordinating Jungle Pals Die before attaching the image to the card front using dimensionals. I stamped the border image from the Heartfelt Hexagon stamp set onto Basic White card using Garden Green ink. I stamped the greeting from the Heartfelt Hellos stamp set inside the border before punching out the greeting using Heartfelt Hexagon Punch. (You can earn the Heartfelt Hellos stamp set for Free during Sale-a-Bration with a $90.00 order.)
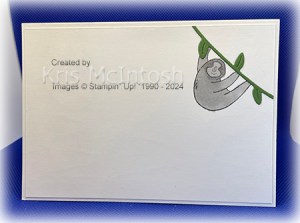
The greeting is attached to the card front using dimensionals. To decorate the inside of the card, I stamped the sloth image from the Jungle Pals stamp set onto the upper right hand corner of Basic White card using Memento Tuxedo Black ink. I coloured the image using the Light & Dark Smoky Slate Stampin’ Blends. I cut garden green card using the vine die from the Jungle Pals Dies and attached it across the top of the sloth. After trimming away some of the vine the stamped panel is attached to the inside of the card base. This was such a fun card to create and I got to use lots of co-ordinating products, most of which you can earn for Free during Sale-a-Bration. How good is that?
Bye for now,
Kris
Product Used:


Long Jetty
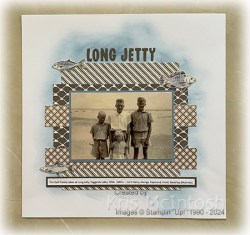
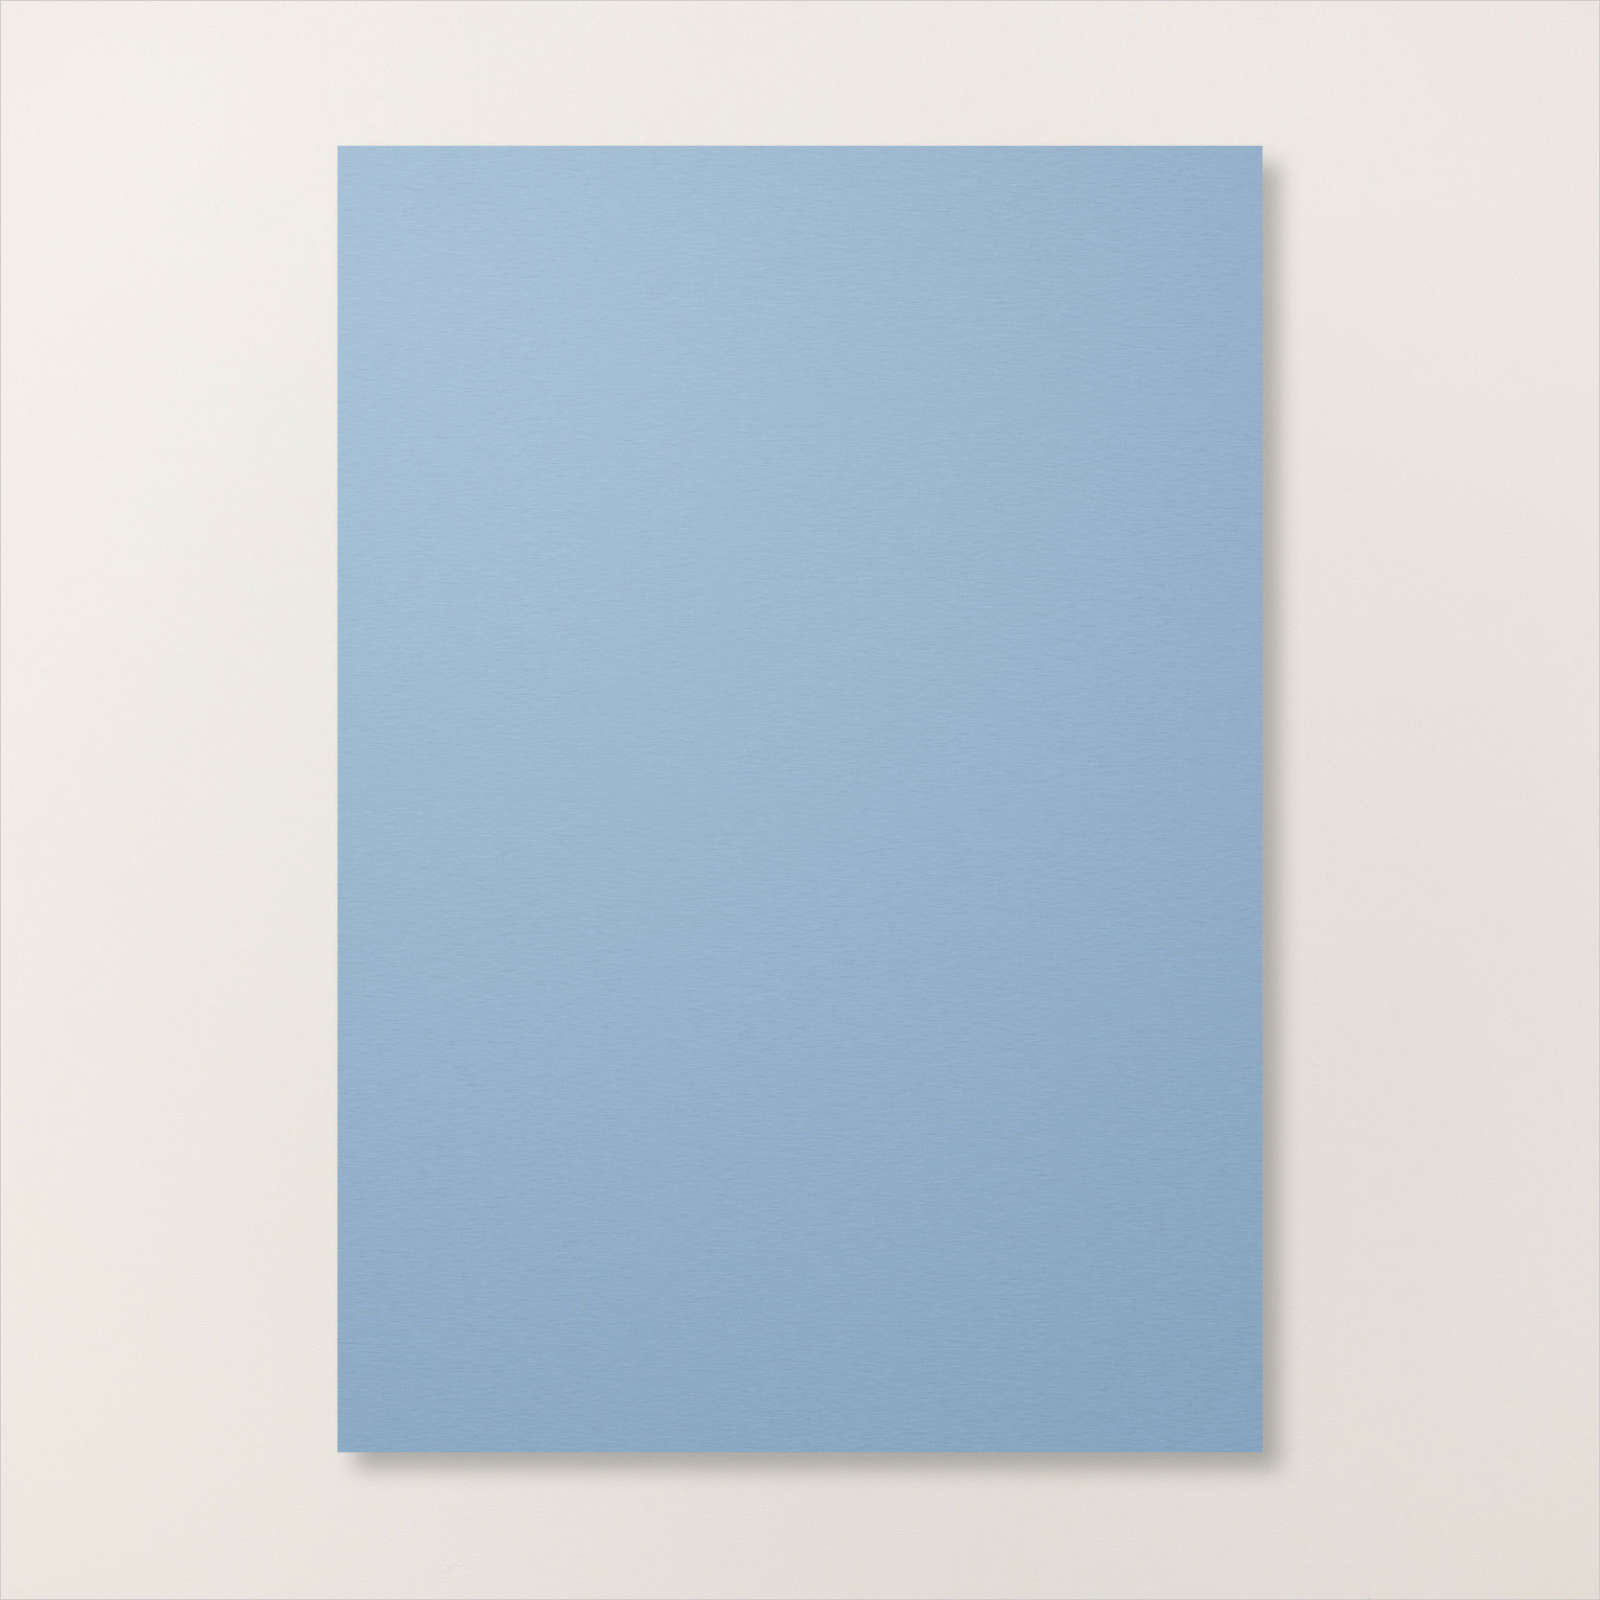
Today’s page shows off a photo of my Dad with his Father and brother and sister at Long Jetty on the New South Wales Central Coast. I don’t have an exact date but it was taken in the 1940’s and judging by my Dad, probably mid 1940’s. I used a Blending Brush to add Boho Blue ink to a Basic White 12″ x 12″ page before attaching strips of the Let’s Go Fishing 12″ x 12″ Designer Series Paper.

I attached my photo to Boho Blue card before attaching it to the page. I cut three fish from the Let’s Go Fishing Designer Series Paper and attached them to the page. I printed my journaling onto Basic White card, cut it into a narrow strip, attached it to Pebbled Path card before attaching it across the bottom of the page. I cut the title from Pebbled Path card using the Mini Alphabet Dies which you can find in the current Mini Catalogue. I love these dies because with one cut you can get enough letters to create lots of different words. Another simple page, but I would love to know what you think.
Bye for now,
Kris
Product Used:


Trusty Tools,

Yesterday in my Facebook Live I shared some cards I made using the Trusty Tools Bundle from the new mini catalogue. Not only is this an awesome bundle but it co-ordinates with the Trusty Toolbox 12″ x 12″ Designer Series Paper (Free with a qualifying order during Sale-a-Bration). Today’s card does not feature that Designer Series Paper but this card shows that you can use this Bundle with any Paper you may have in your stash. I attached a piece of Night of Navy card to Basic White card and then scored and folded Night of Navy card

I attached a piece of Countryside Inn 12″ x 12″ Designer Series Paper across the centre of the card using dimensionals. I stamped “you’re the most awesome” and “DAD” from the Trusty Tools stamp set onto Basic White card using Memento Tuxedo Black ink.
I stamped two of the tools from the Trusty Tools stamp set onto Basic White card and coloured them using Boho Blue and Light Night of Navy Stampin’ Blends. I cut out the tools using the co-ordinating Trusty Tools die and attached them to the card front. I did use dimensionals underneath the hammer. To decorate the inside of the card, I attached a narrow strip of the same pattern paper from the Countryside Inn 12″ x 12″ Designer Series Paper across the bottom of Basic White card. I stamped the greeting from the Charming Sentiments stamp set onto the Basic White card using Night of Navy ink. I am sure this is going to be a fantastic bundle to have in my stash.
Bye for now,
Kris
Product Used:


Happy Anniversary
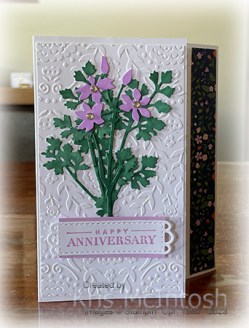
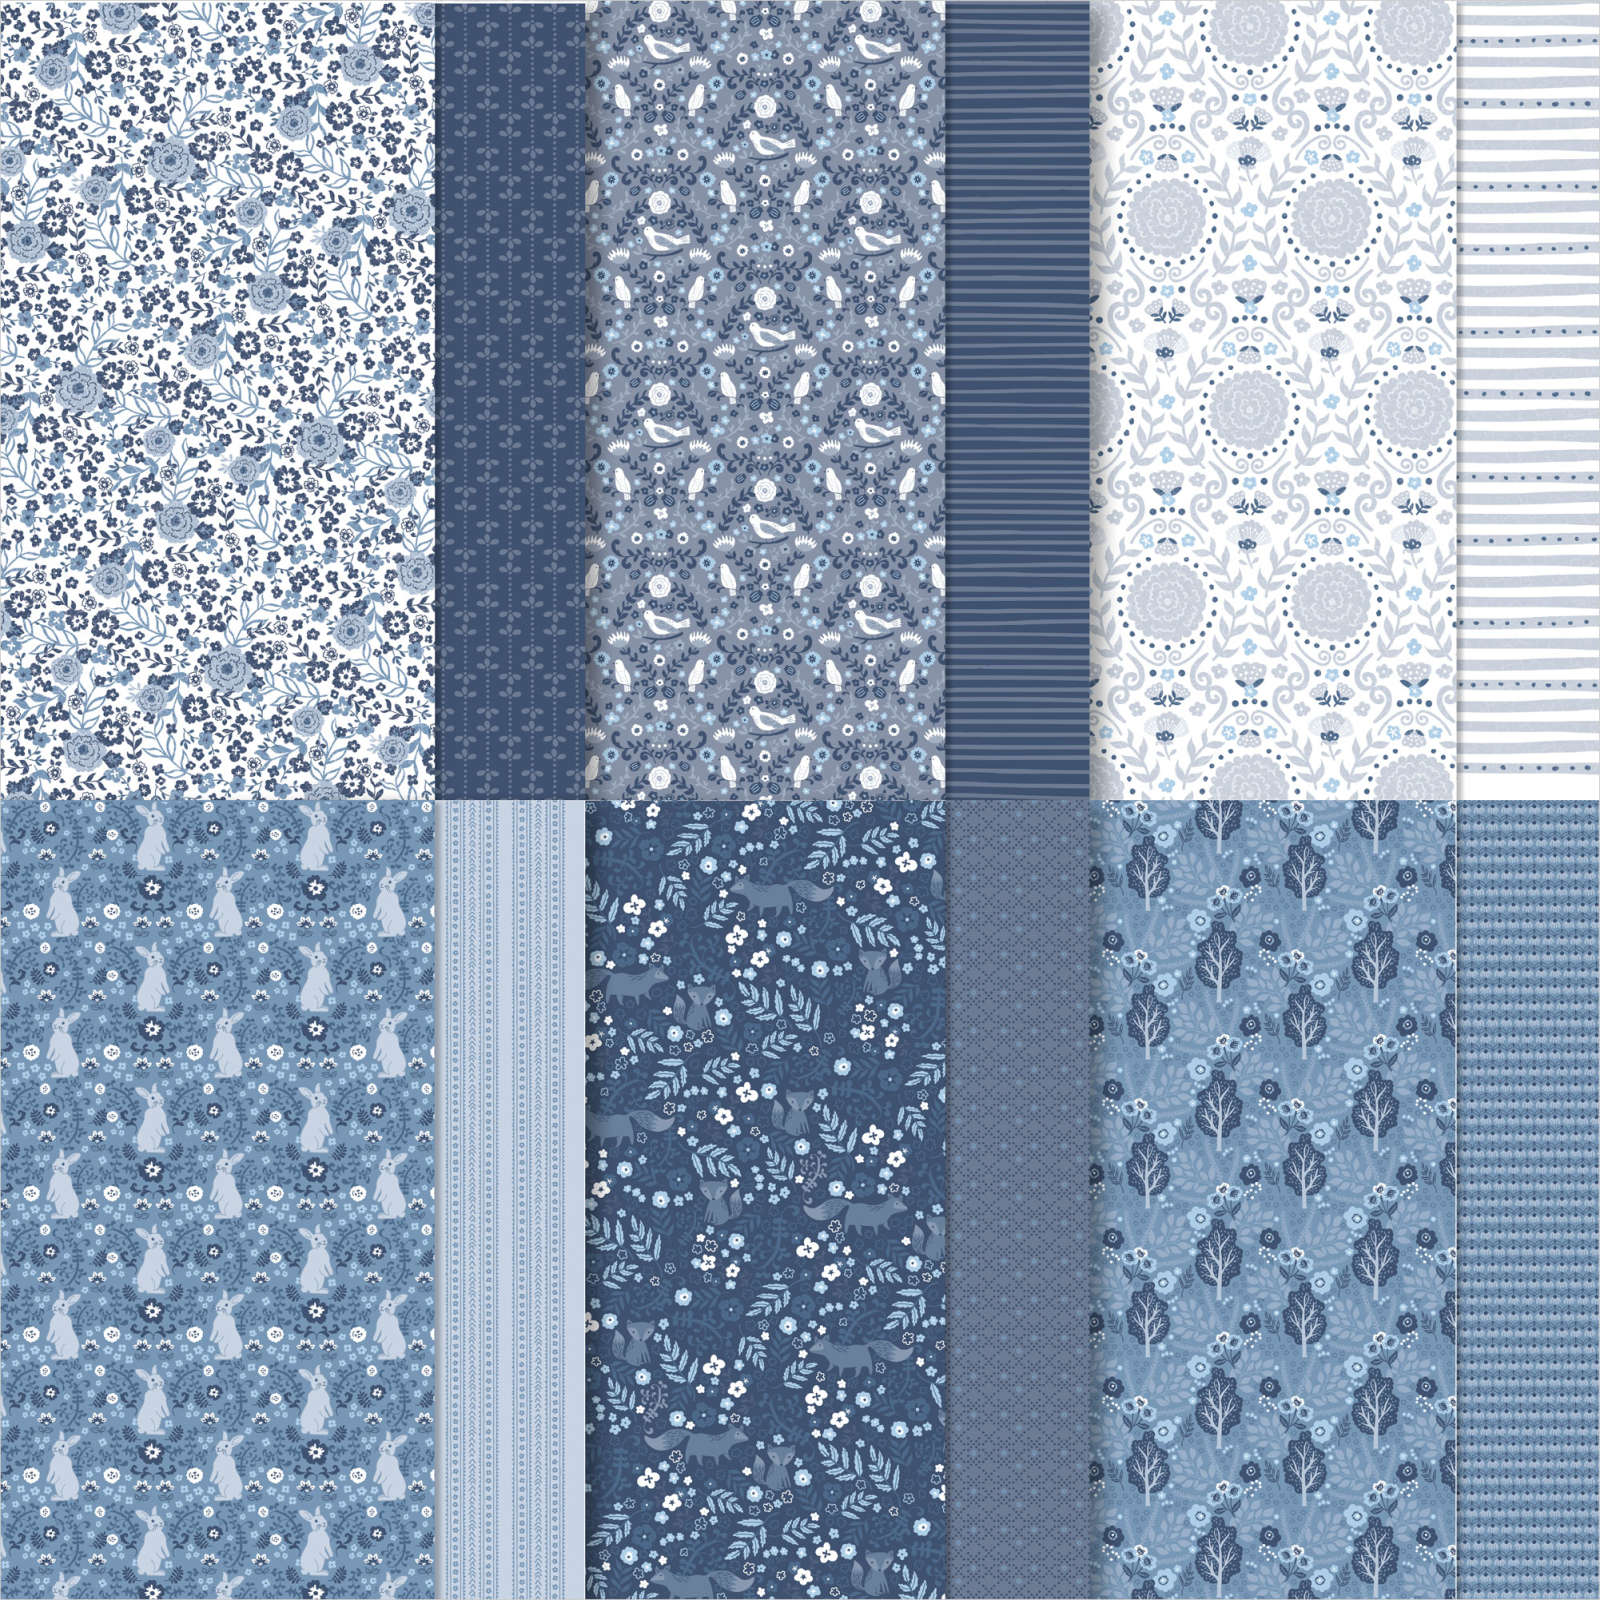
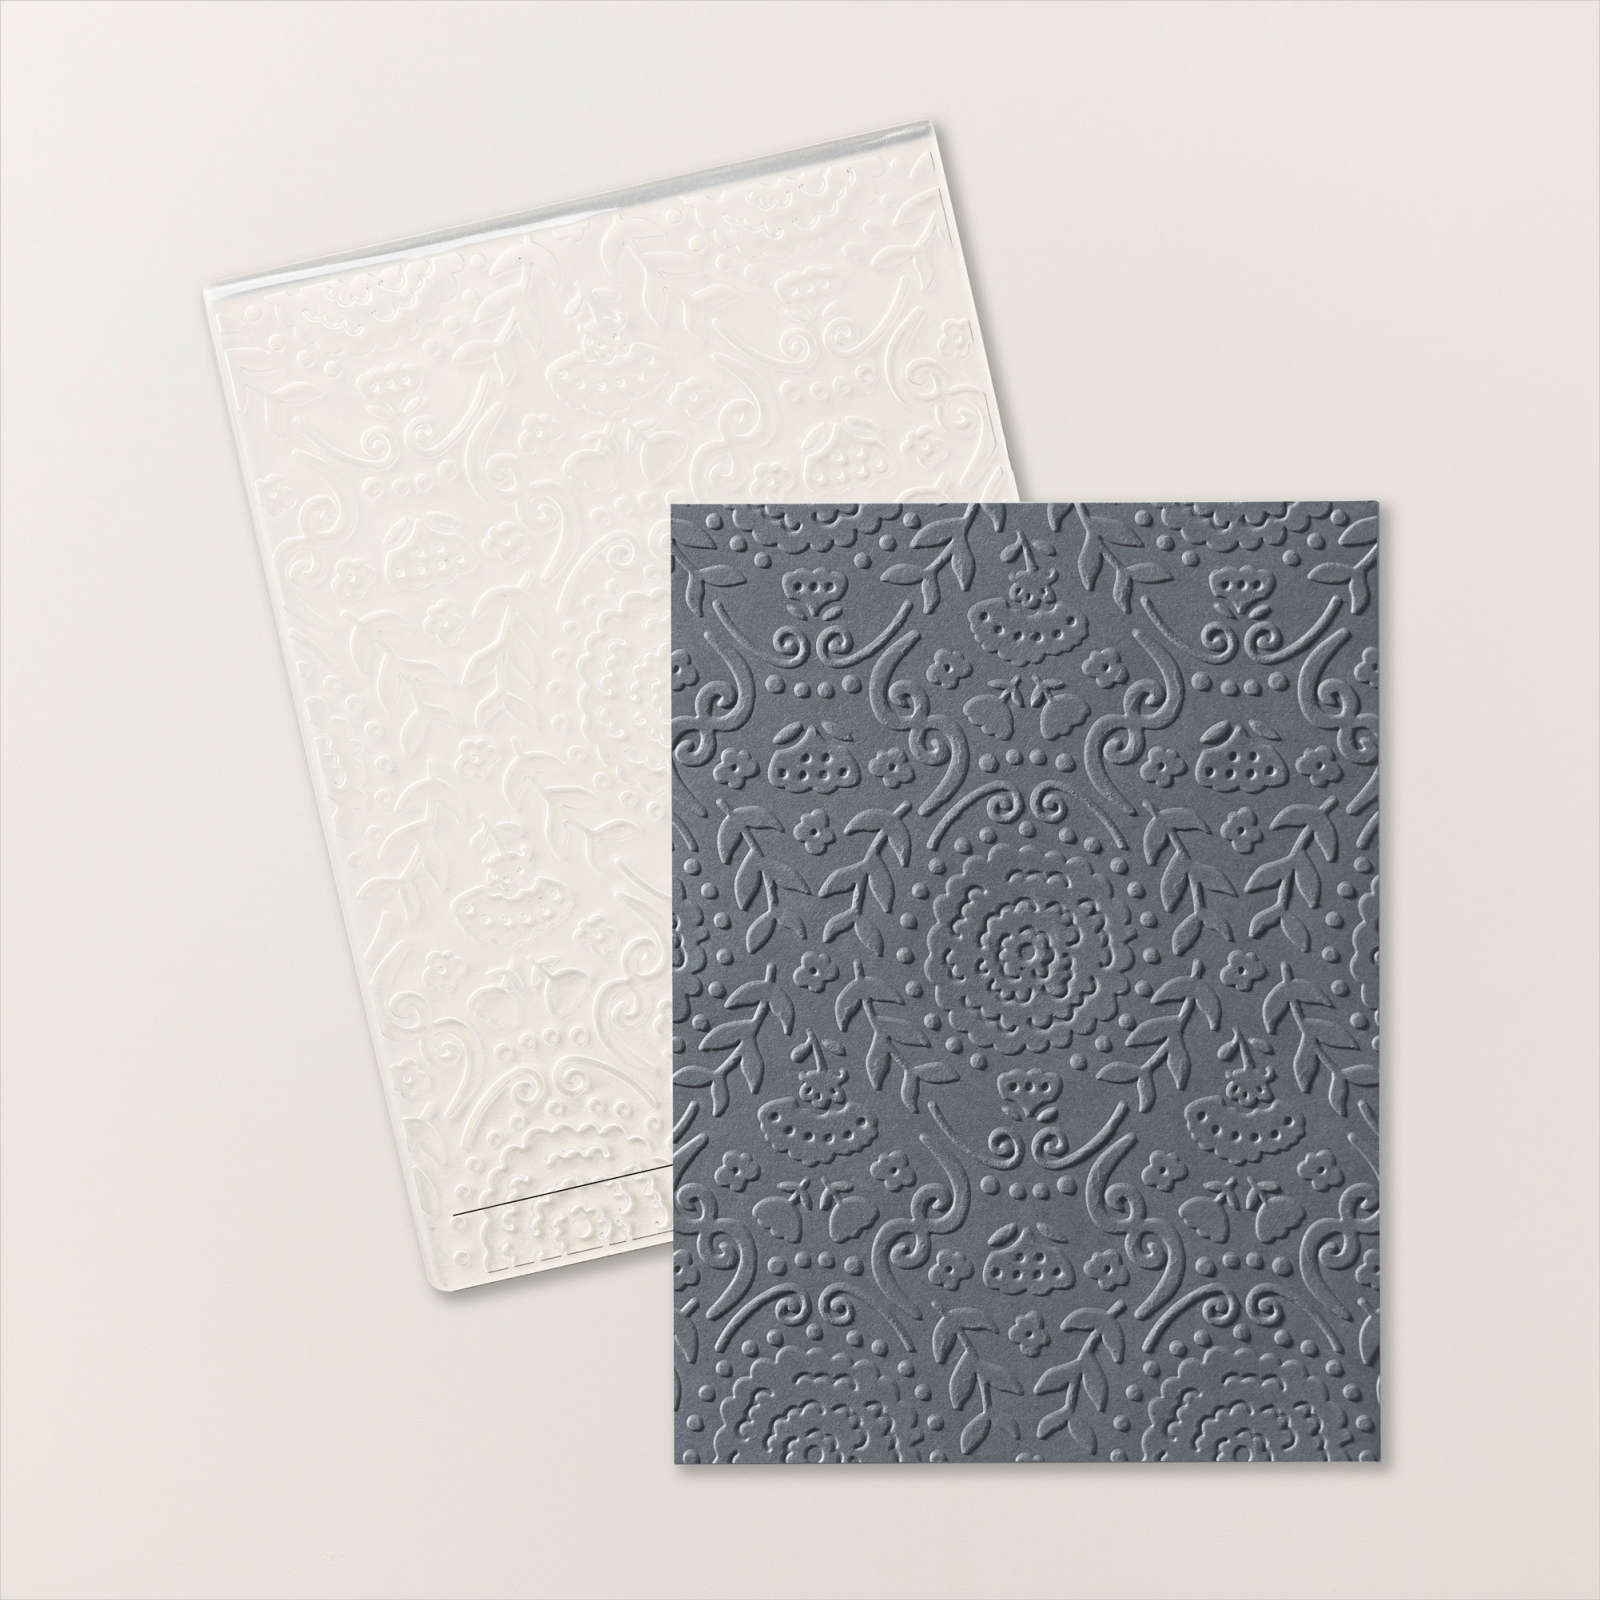
My sister recently celebrated her Wedding Anniversary and today I am sharing the card I made for her. I followed instructions from Susan Camperfield to create a Book Jacket Fold card. I cut my card base pieces from Thick Basic White card. I added two pieces of the Delightfully Eclectic 12″ x 12″ Designer Series Paper, one to the spine of the book and one to the right hand side of the inside flap. I embossed three pieces of Basic White card using the Countryside Corners 3D Embossing Folder and attached one to the front flap one to the inside of the card and one to the right hand flap next to the Designer Series Paper.
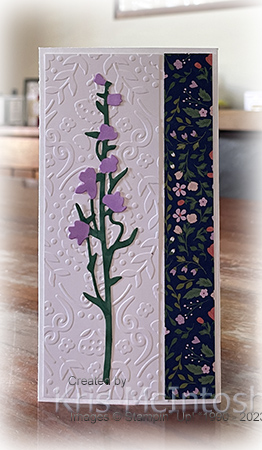
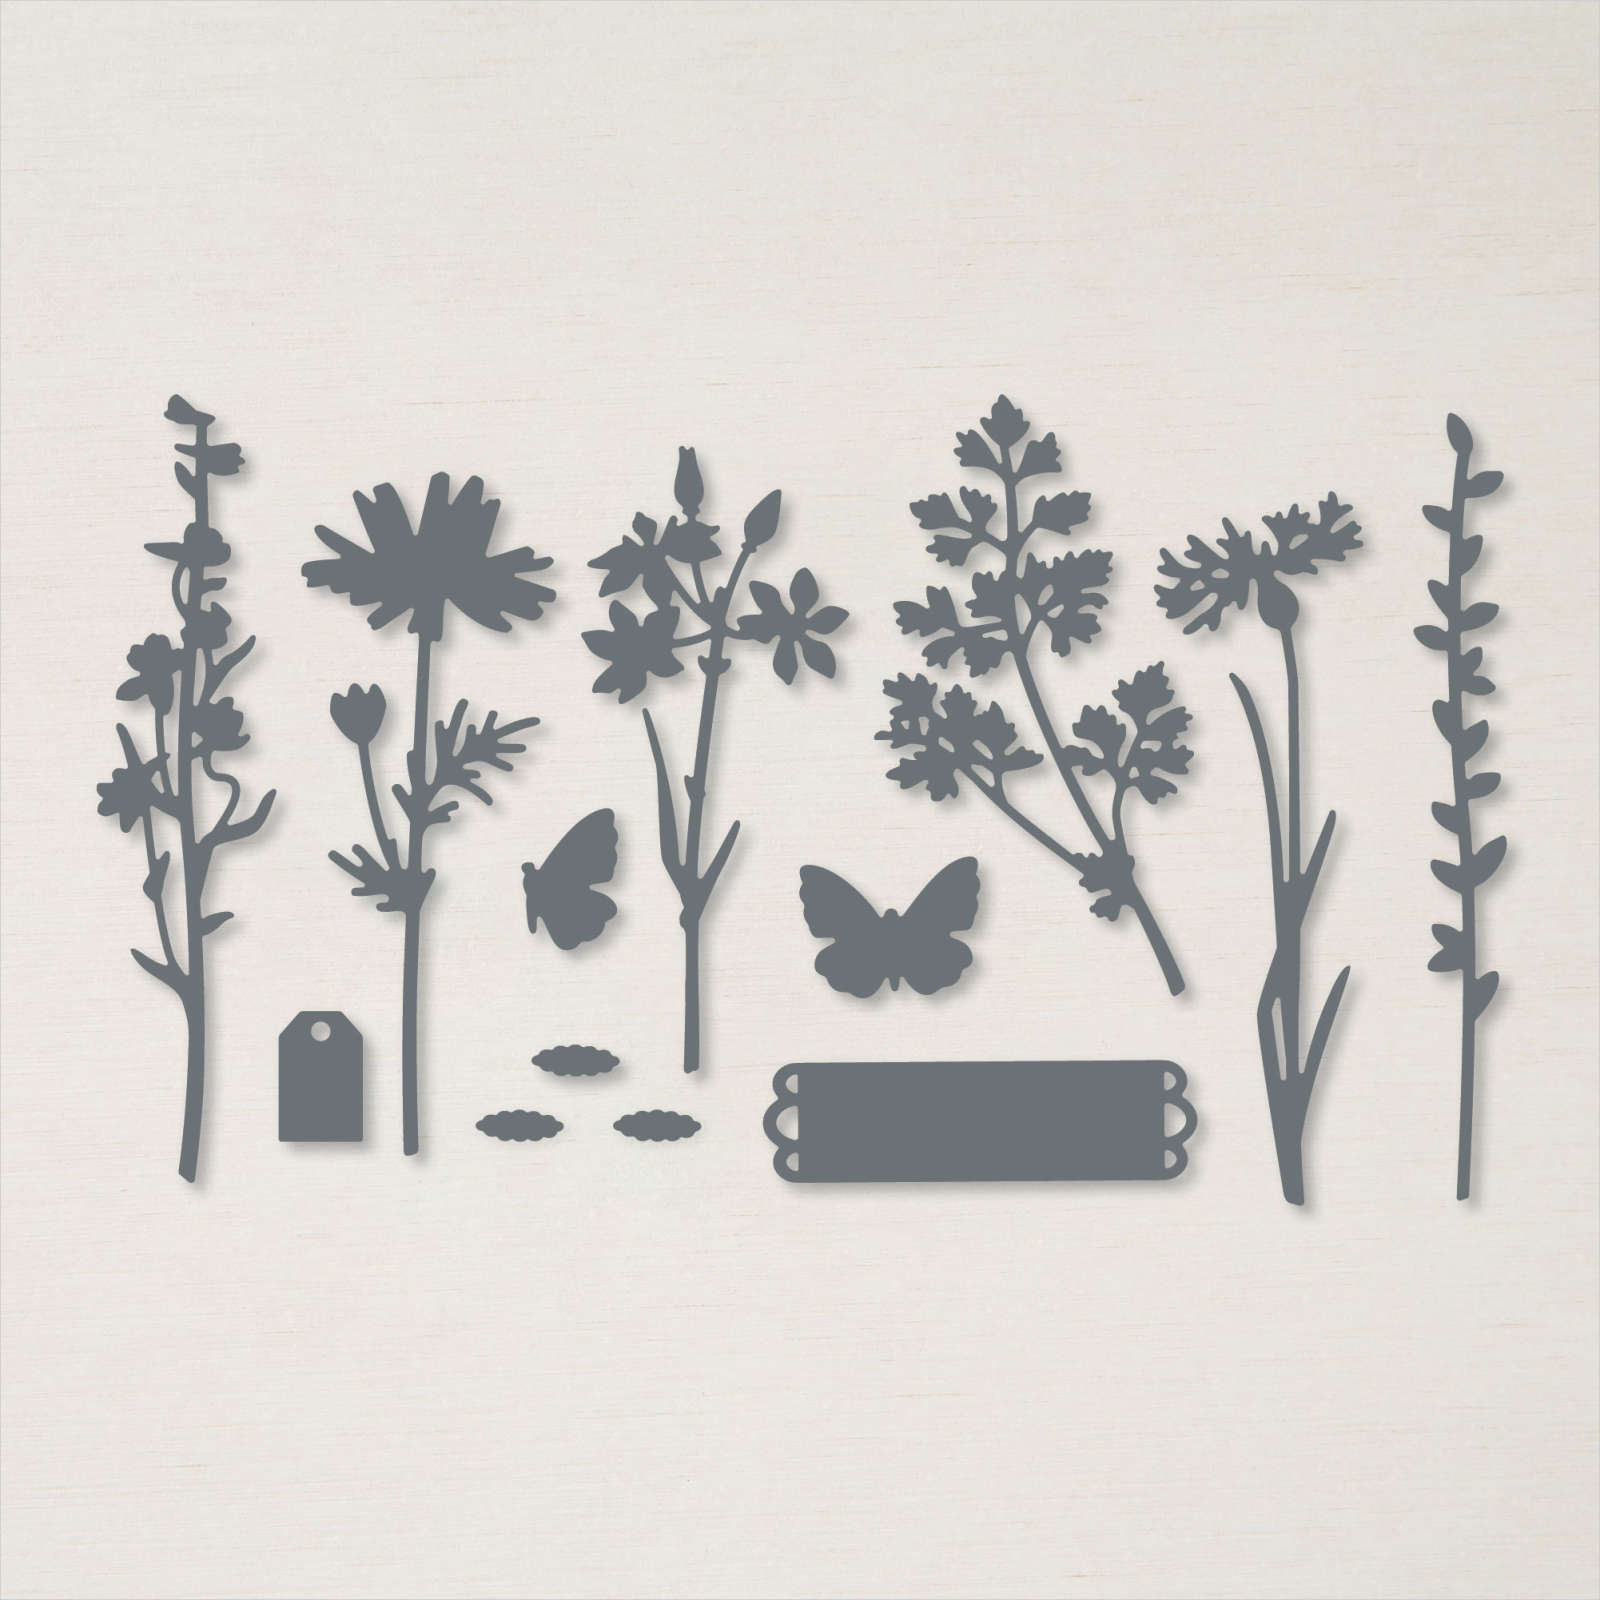
I die cut two leaves and one of the two of the flowers from Basic White card using the Meadow Dies. I used a Dark Shaded Spruce and a Dark Fresh Freesia Stampin’ Blends to colour the die cuts before attaching two sets of leaves and one of the flowers to the card front.

I stamped “happy anniversary” from the now retired Celebrating You stamp set onto Basic White card using Fresh Freesia ink. I cut out the greeting using the banner die from the Meadows Dies. I attached a piece of Fresh Freesia card behind the banner before attaching it to the card front using dimensionals. I attached the last flower to the right hand flap onto the embossed Basic White card. I also stamped a greeting from the Charming Sentiments stamp set onto the inside of the folding flap using Fresh Freesia ink. This is a fun fold which is relatively easy to create and it folds flat to go in an envelope to post. So thanks Susan for the inspiration. I’d love to know what you think.
Bye for now,
Kris
Product Used:


Noel
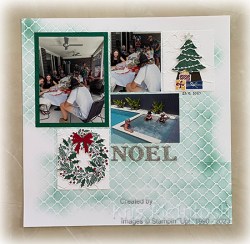
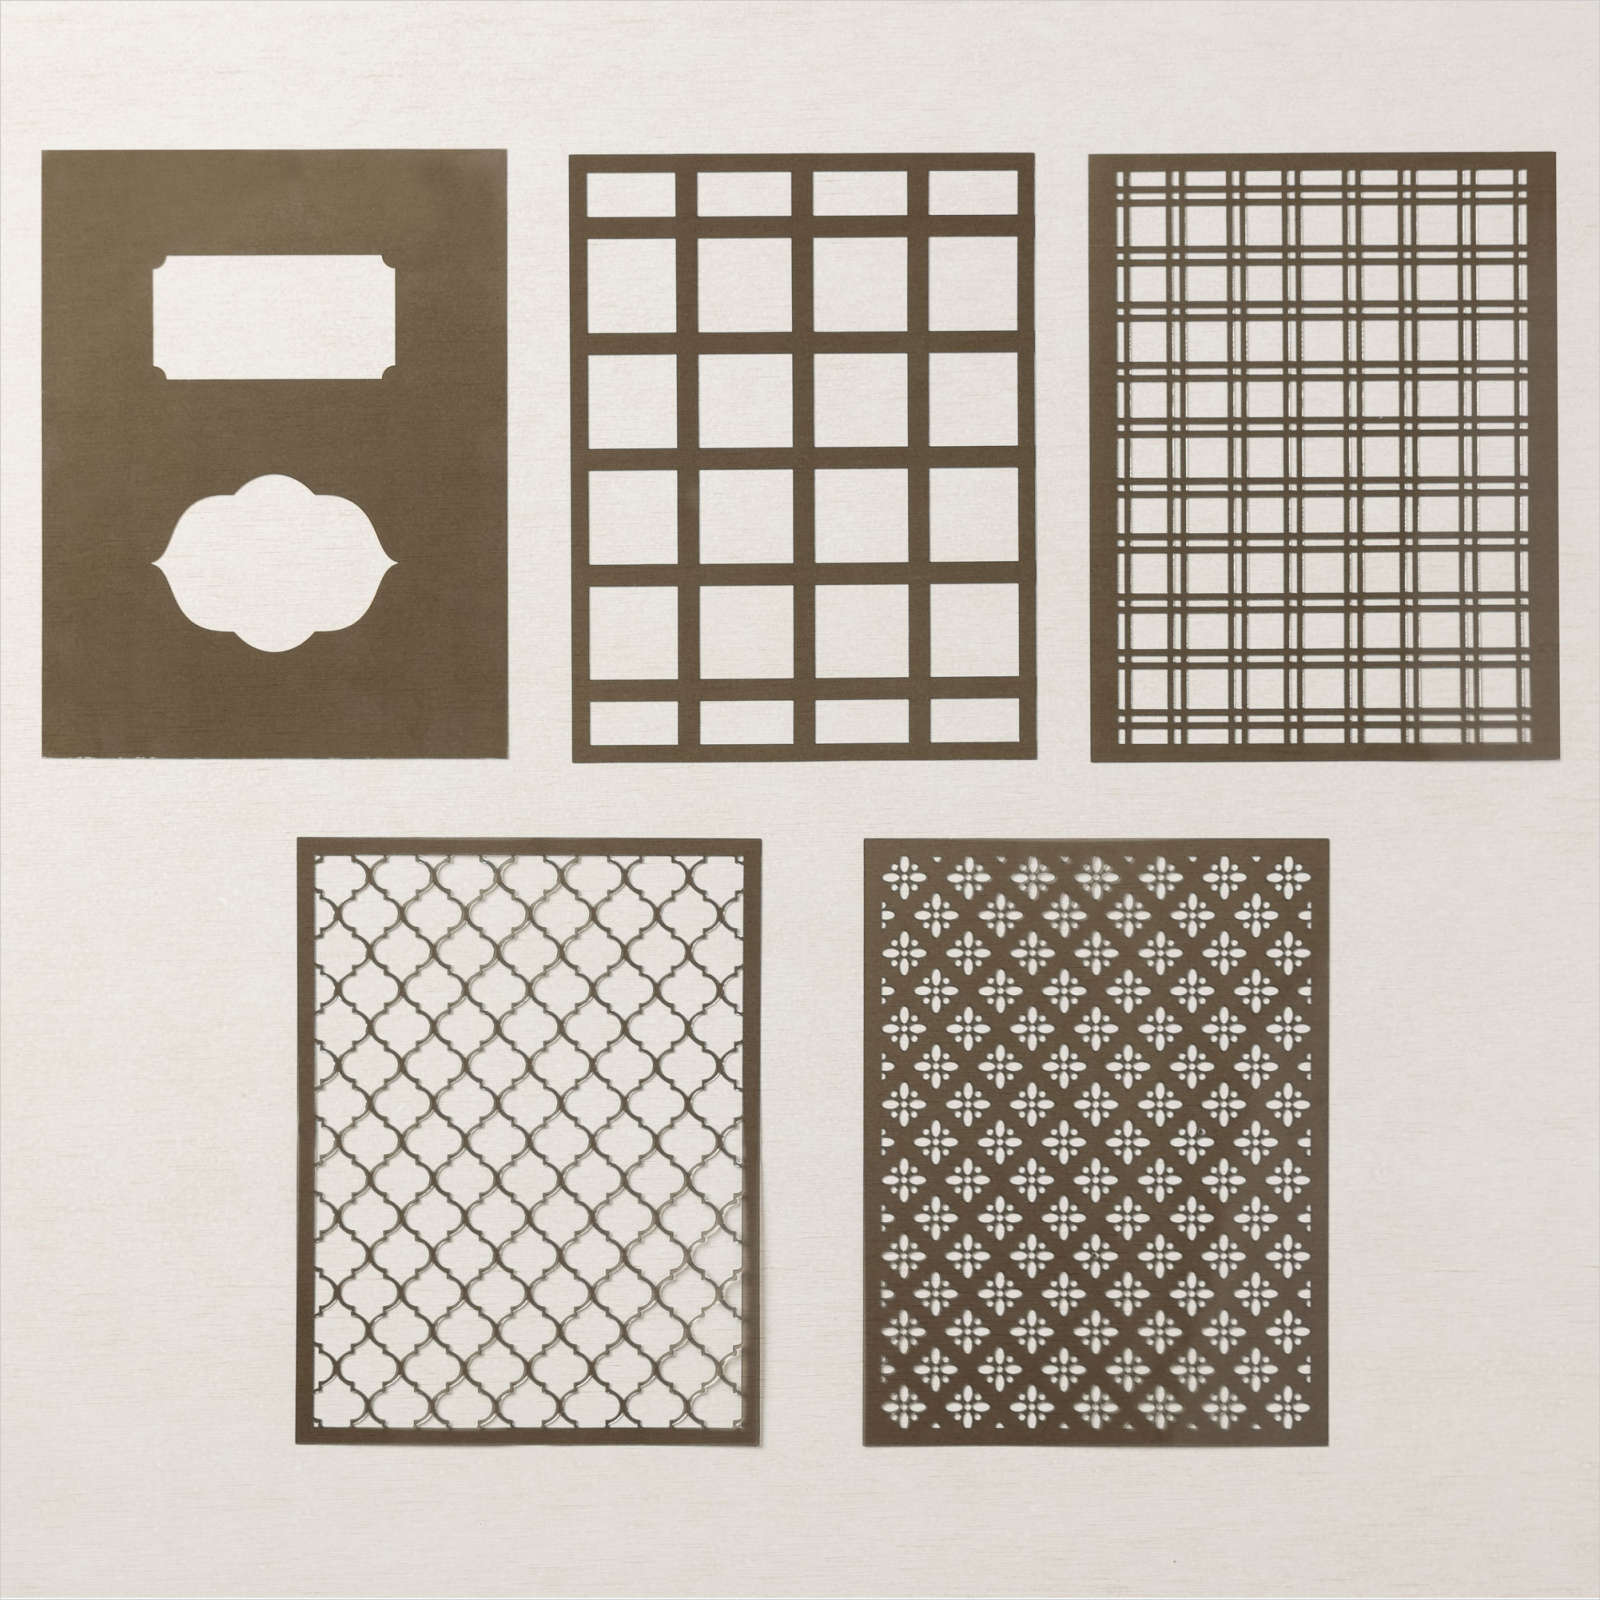
My page today shows off some photos from our family get together just before Christmas at our youngest daughter’s home. I used one of the Artistic Mix Decorative Masks to add Shaded Spruce ink to a Basic White 12″ x 12″ page. I embossed a panel of Shaded Spruce card using the Painted Texture 3D Embossing Folder and attached the main photo before attaching the photos to the page. I don’t have any Christmas Designer Series Paper left as I created lots of cards for this year and some for next, so I decided to decorate a couple of panels to add to the page.

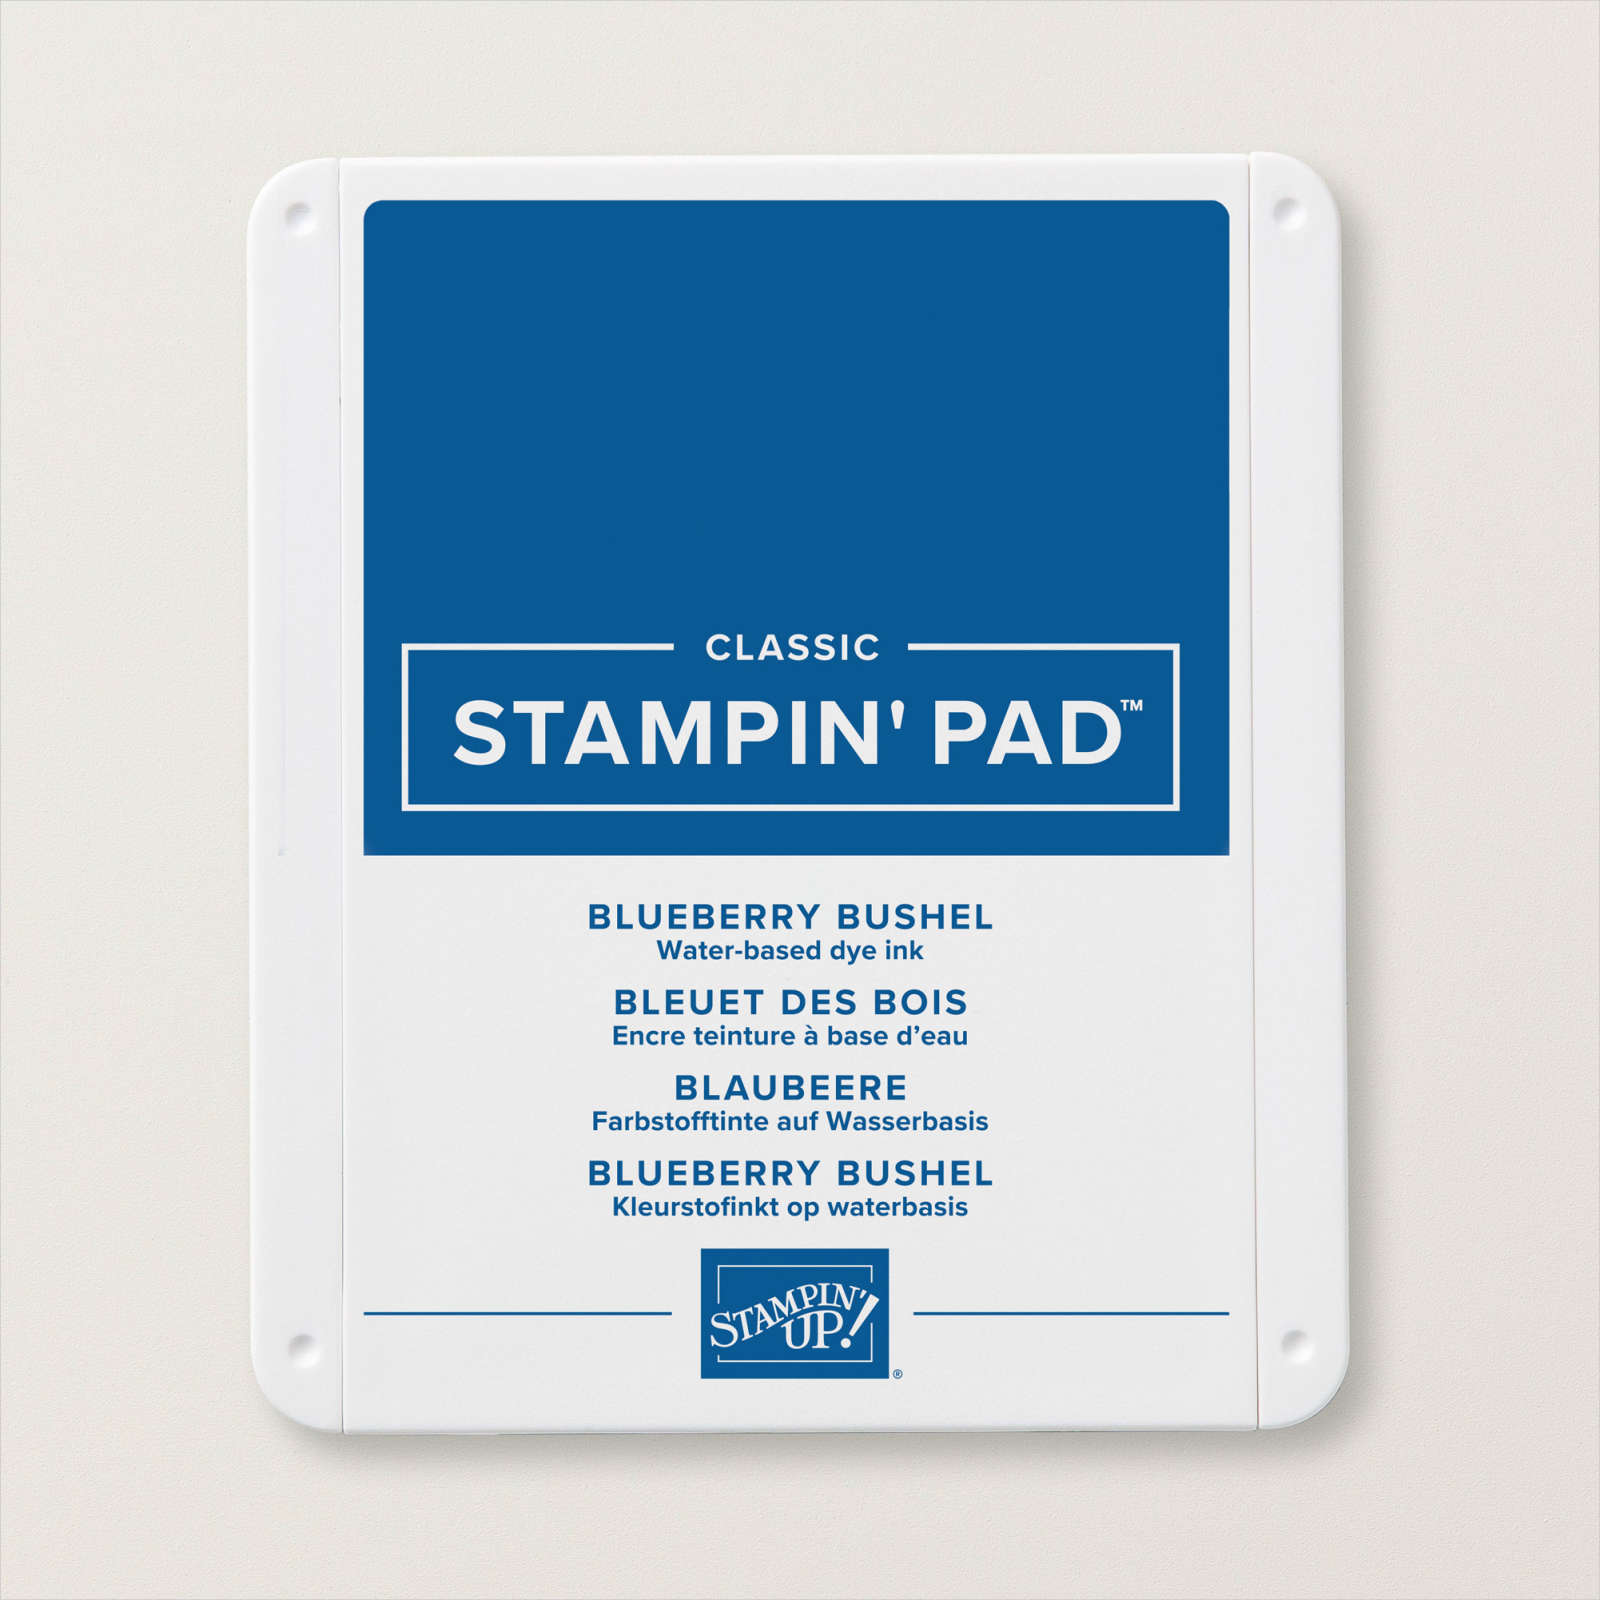
Each panel is Basic White card which I embossed using the Painted Texture 3D Embossing Folder. For the panel on the top right hand side of the page, I used the Merriest Trees Bundle. I stamped the tree image onto Basic White card using Shaded Spruce ink. I also stamped the presents and bows using Blueberry Bushel, Crushed Curry & Real Red ink. Each of the images are cut out using the co-ordinating Merriest Trees Die. I also used the dies to cut the tinsel and the star from retired Silver Adhesive Backed Glimmer Paper
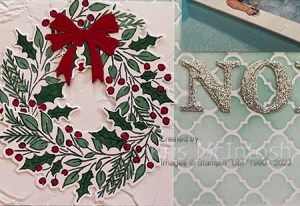
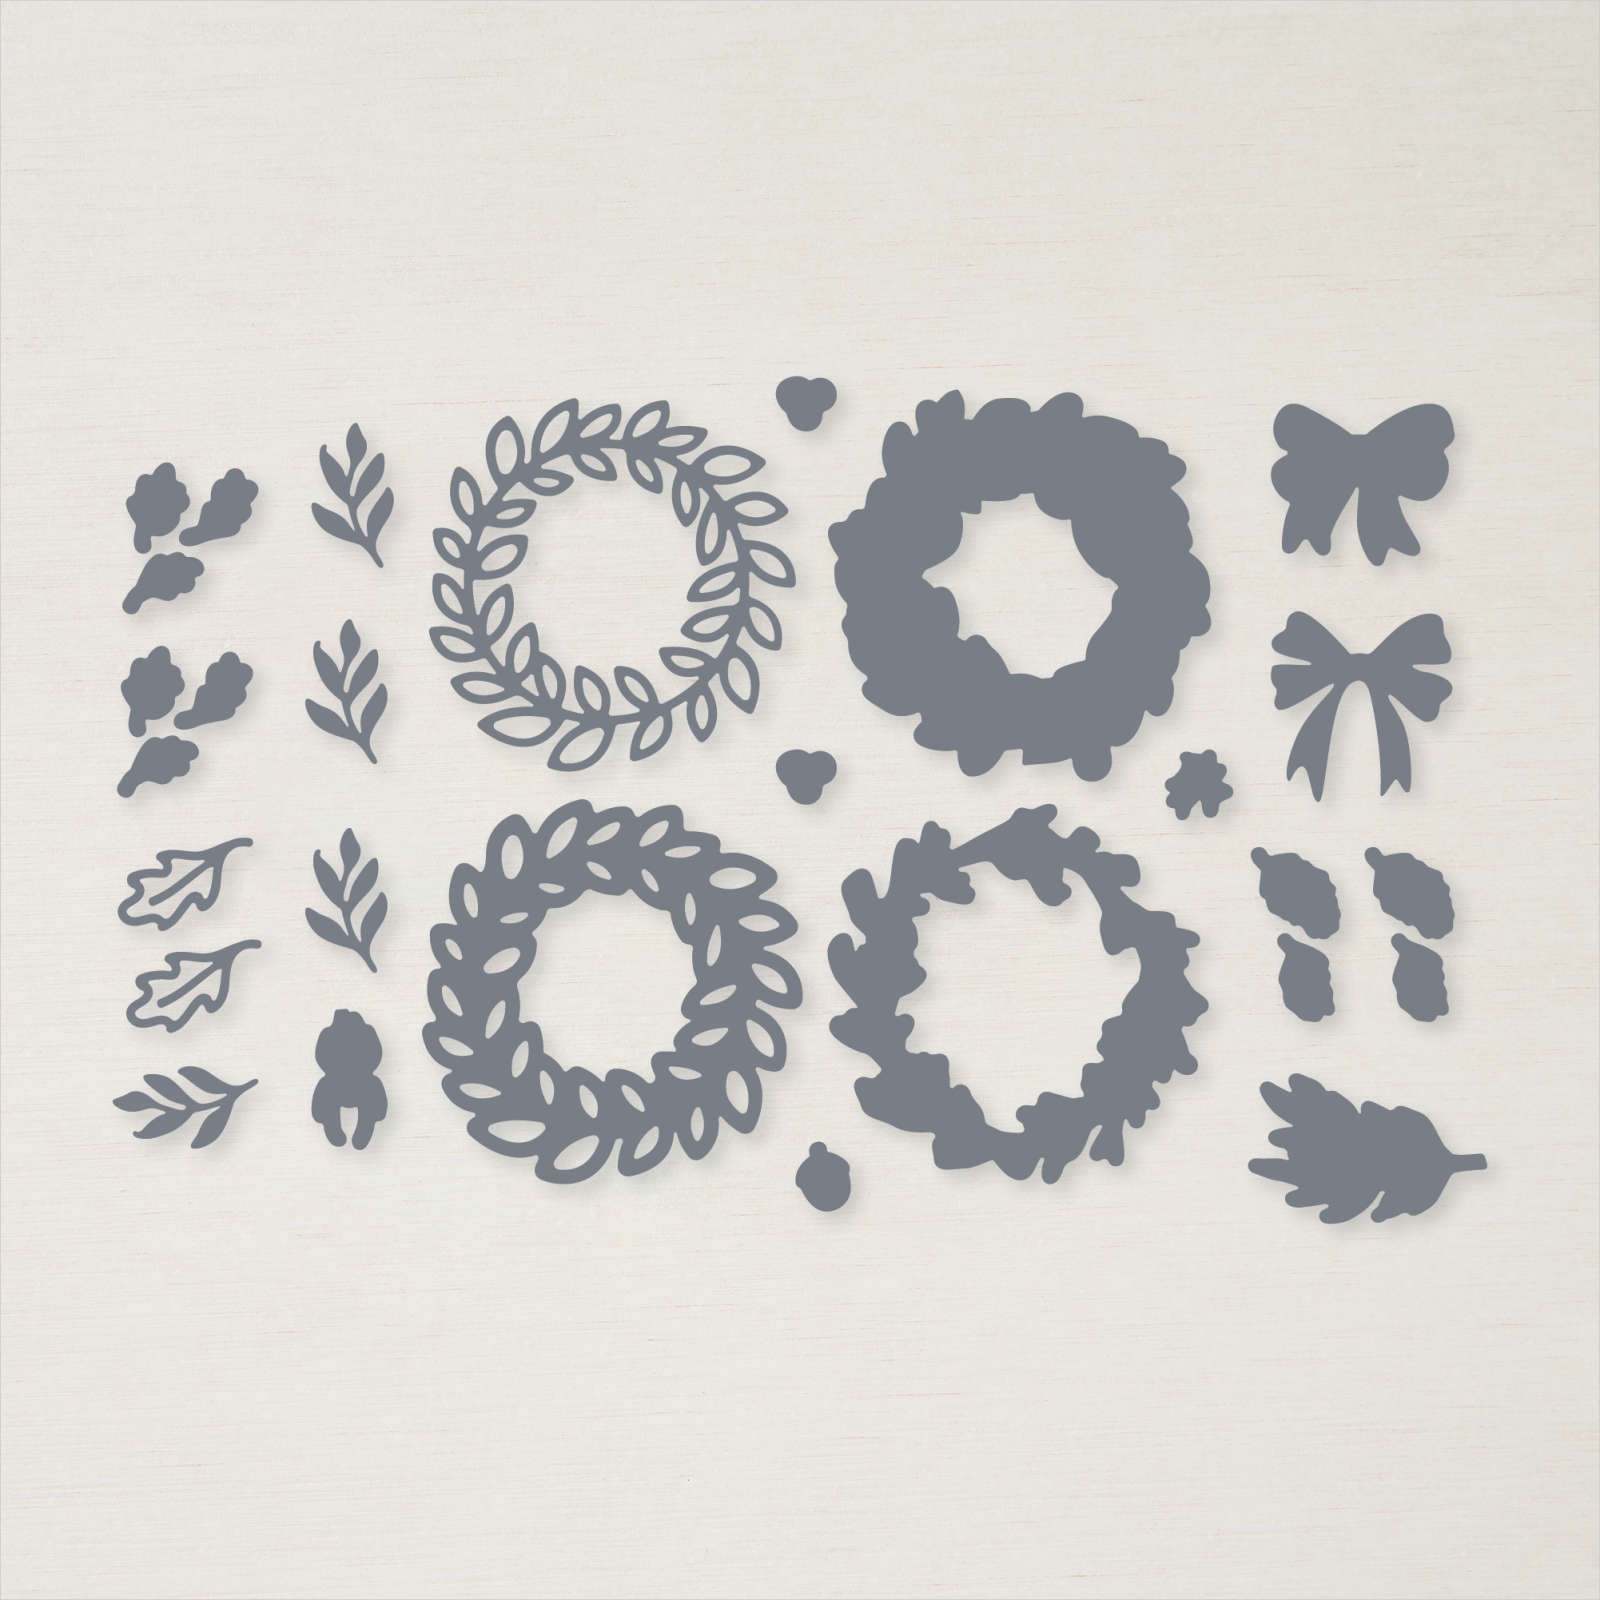
For the panel on the lower left of the page, I stamped the image from the retired Joy of Noel stamp set onto Basic White card using Memento Tuxedo Black ink. I coloured the images using Shaded Spruce and Dark Real Red Stampin’ Blends. The images are cut out using the co-ordinating retired Joy of Noel Dies before being attached to the embossed Basic White card. I die cut Real Red card using the bow die from the Country Wreaths Dies. Lastly I cut Silver Adhesive Backed Glimmer Paper to create the title using the Joy of Noel Die. I love using the Decorative Masks but I think I need to practice my technique more, however, I just love how the page turned out, don’t you?
Bye for now,
Kris
Product Used:


Happy Birthday Dad
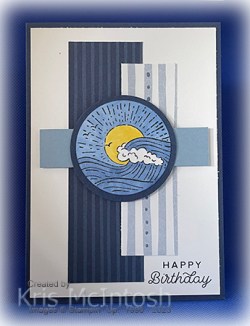
My Dad recently celebrated his 93rd birthday and I today I am sharing the card I made for him. I attached two pieces of Countryside Inn 12″ x 12″ Designer Series Paper to Basic White card. I stamped the greeting from the Circle Sayings stamp set onto the bottom right hand corner of the Basic White card using Night of Navy ink. I attached a piece of Boho Blue card across the panel using dimensionals.
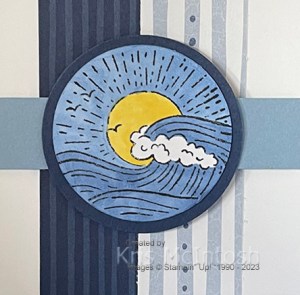
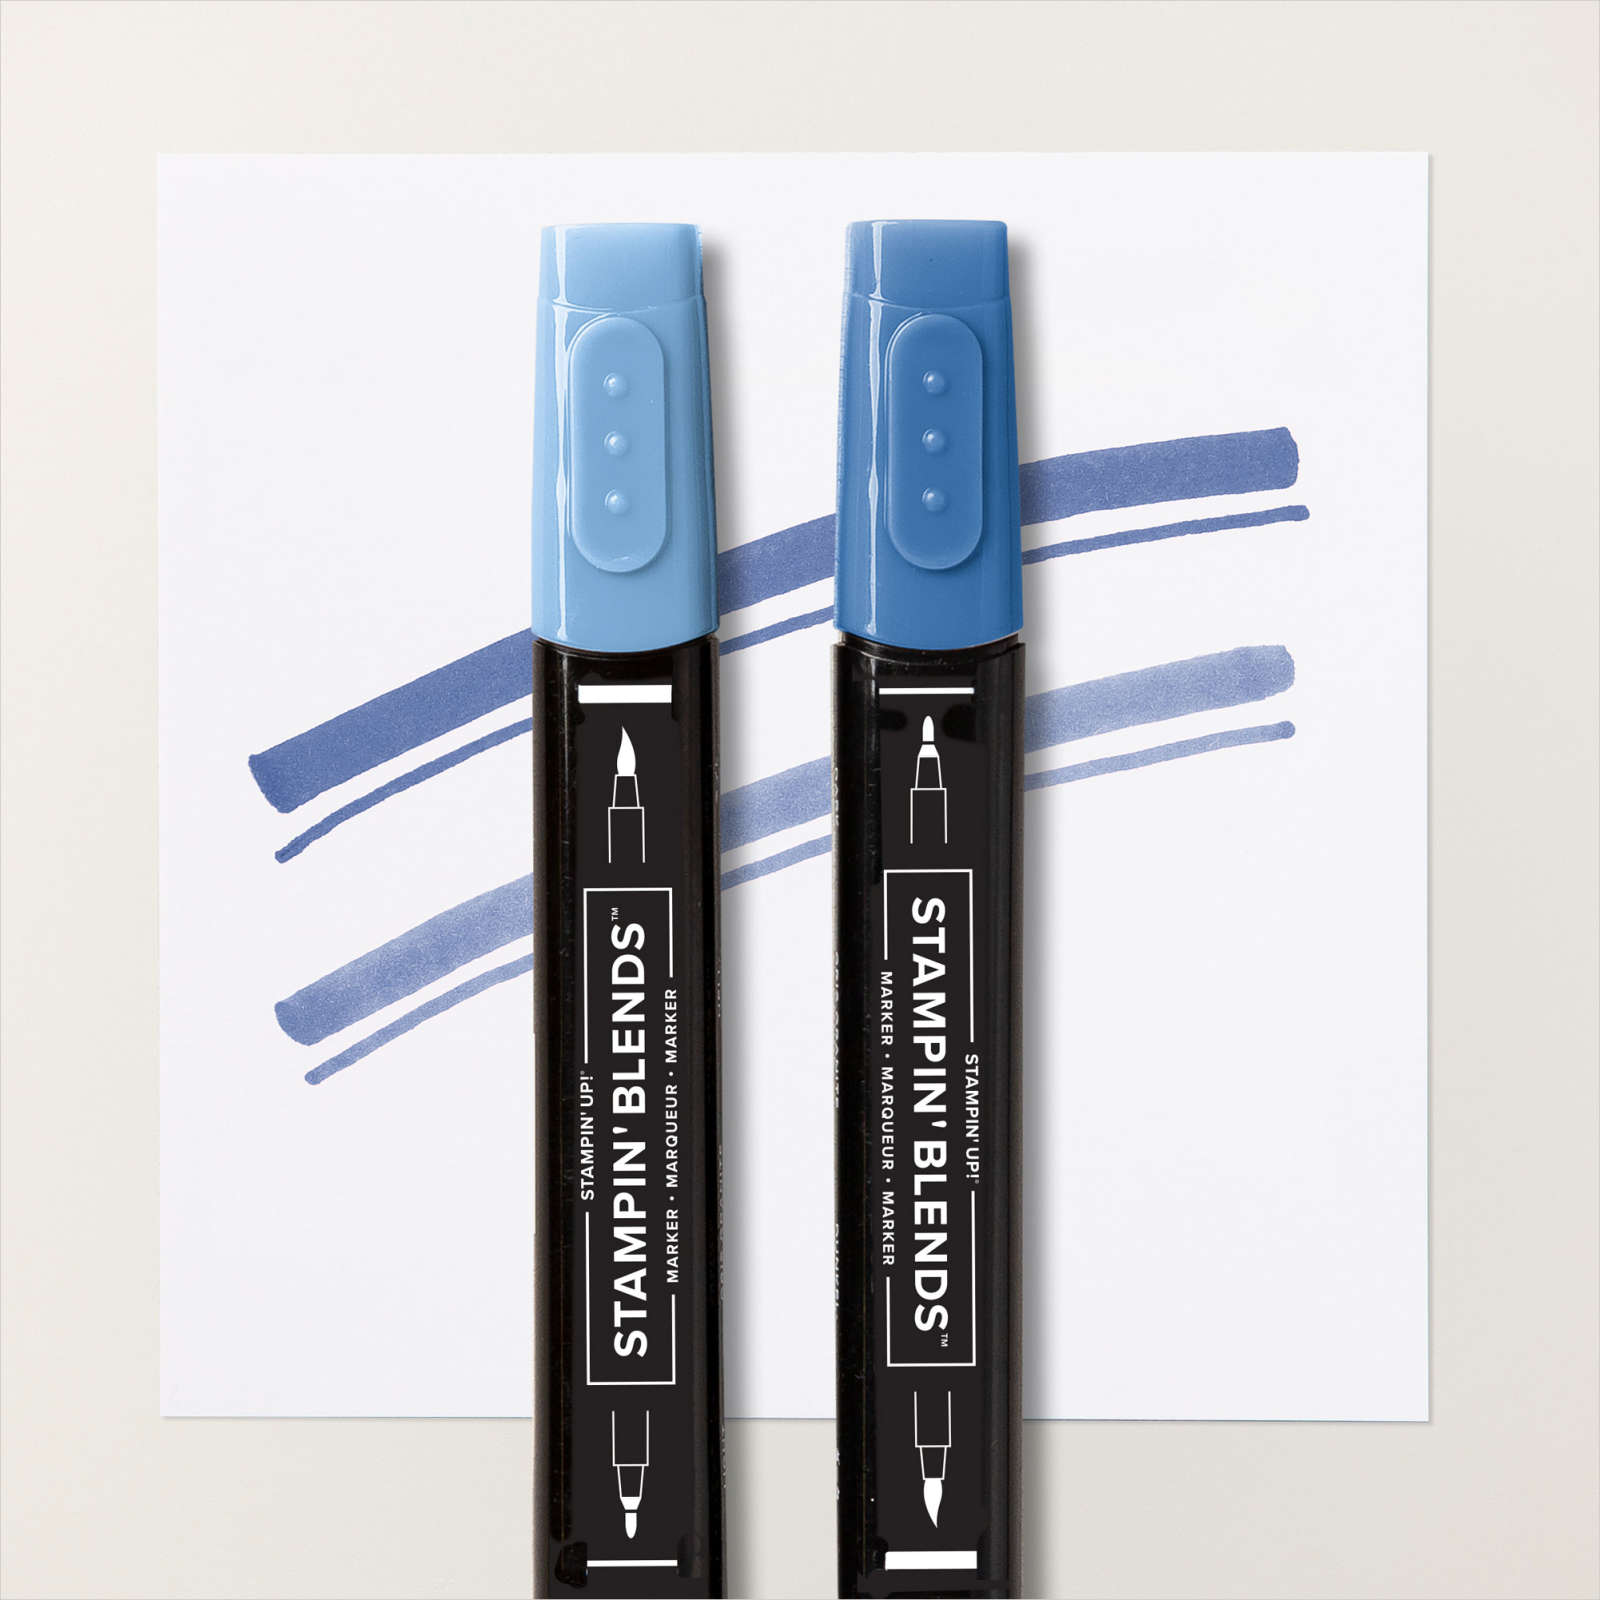
The Basic White panel is attached to scored and folded Night of Navy card. I stamped the wave image from the Circle Sayings stamp set onto Basic White card using Memento Tuxedo Black ink and coloured it using Boho Blue and Light Daffodil Delight Stampin’ Blends.
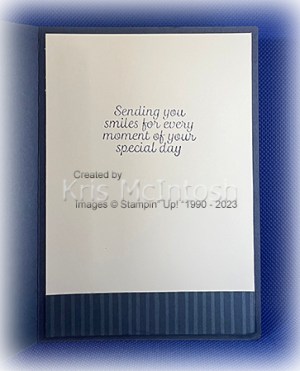
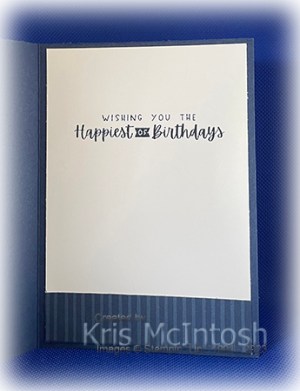
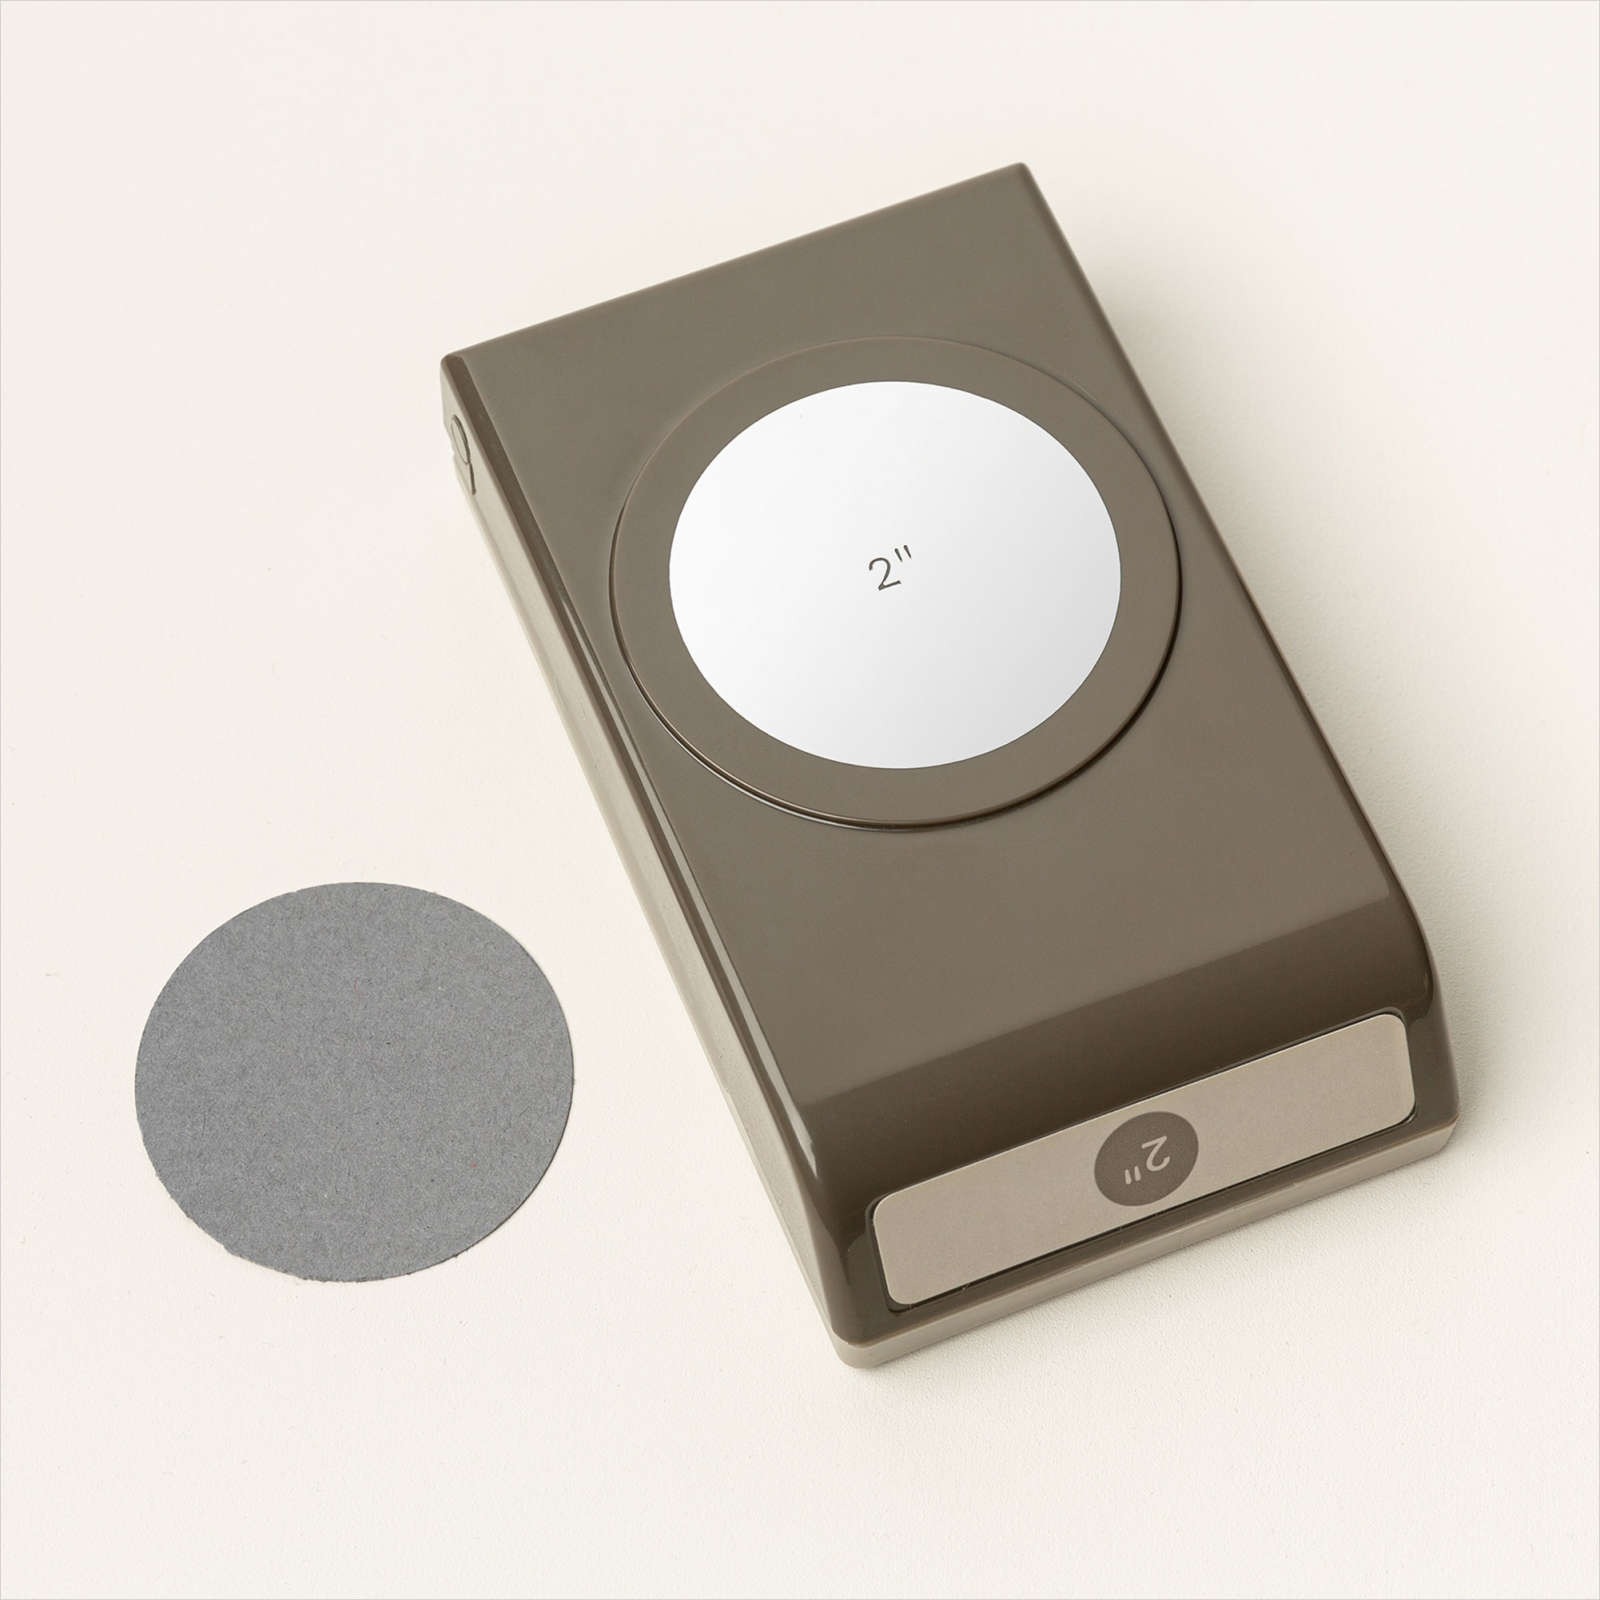
I punched out the image using the 2″ circle punch and attached it to a Night of Navy circle punched using the retired 2-1/4″ Circle Punch. The image panel is attached to the card front using dimensionals where needed. I decorated the inside panel by stamping a greeting from the Very Best Occasion stamp set onto Basic White card using Night of Navy ink. I attached a narrow strip of Countryside Inn Designer Series Paper across the bottom of the Basic White card. Kind of simple but just the thing for a male, don’t you think?
Bye for now,
Kris
Product Used:

Happy Mother’s Day
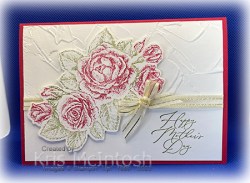
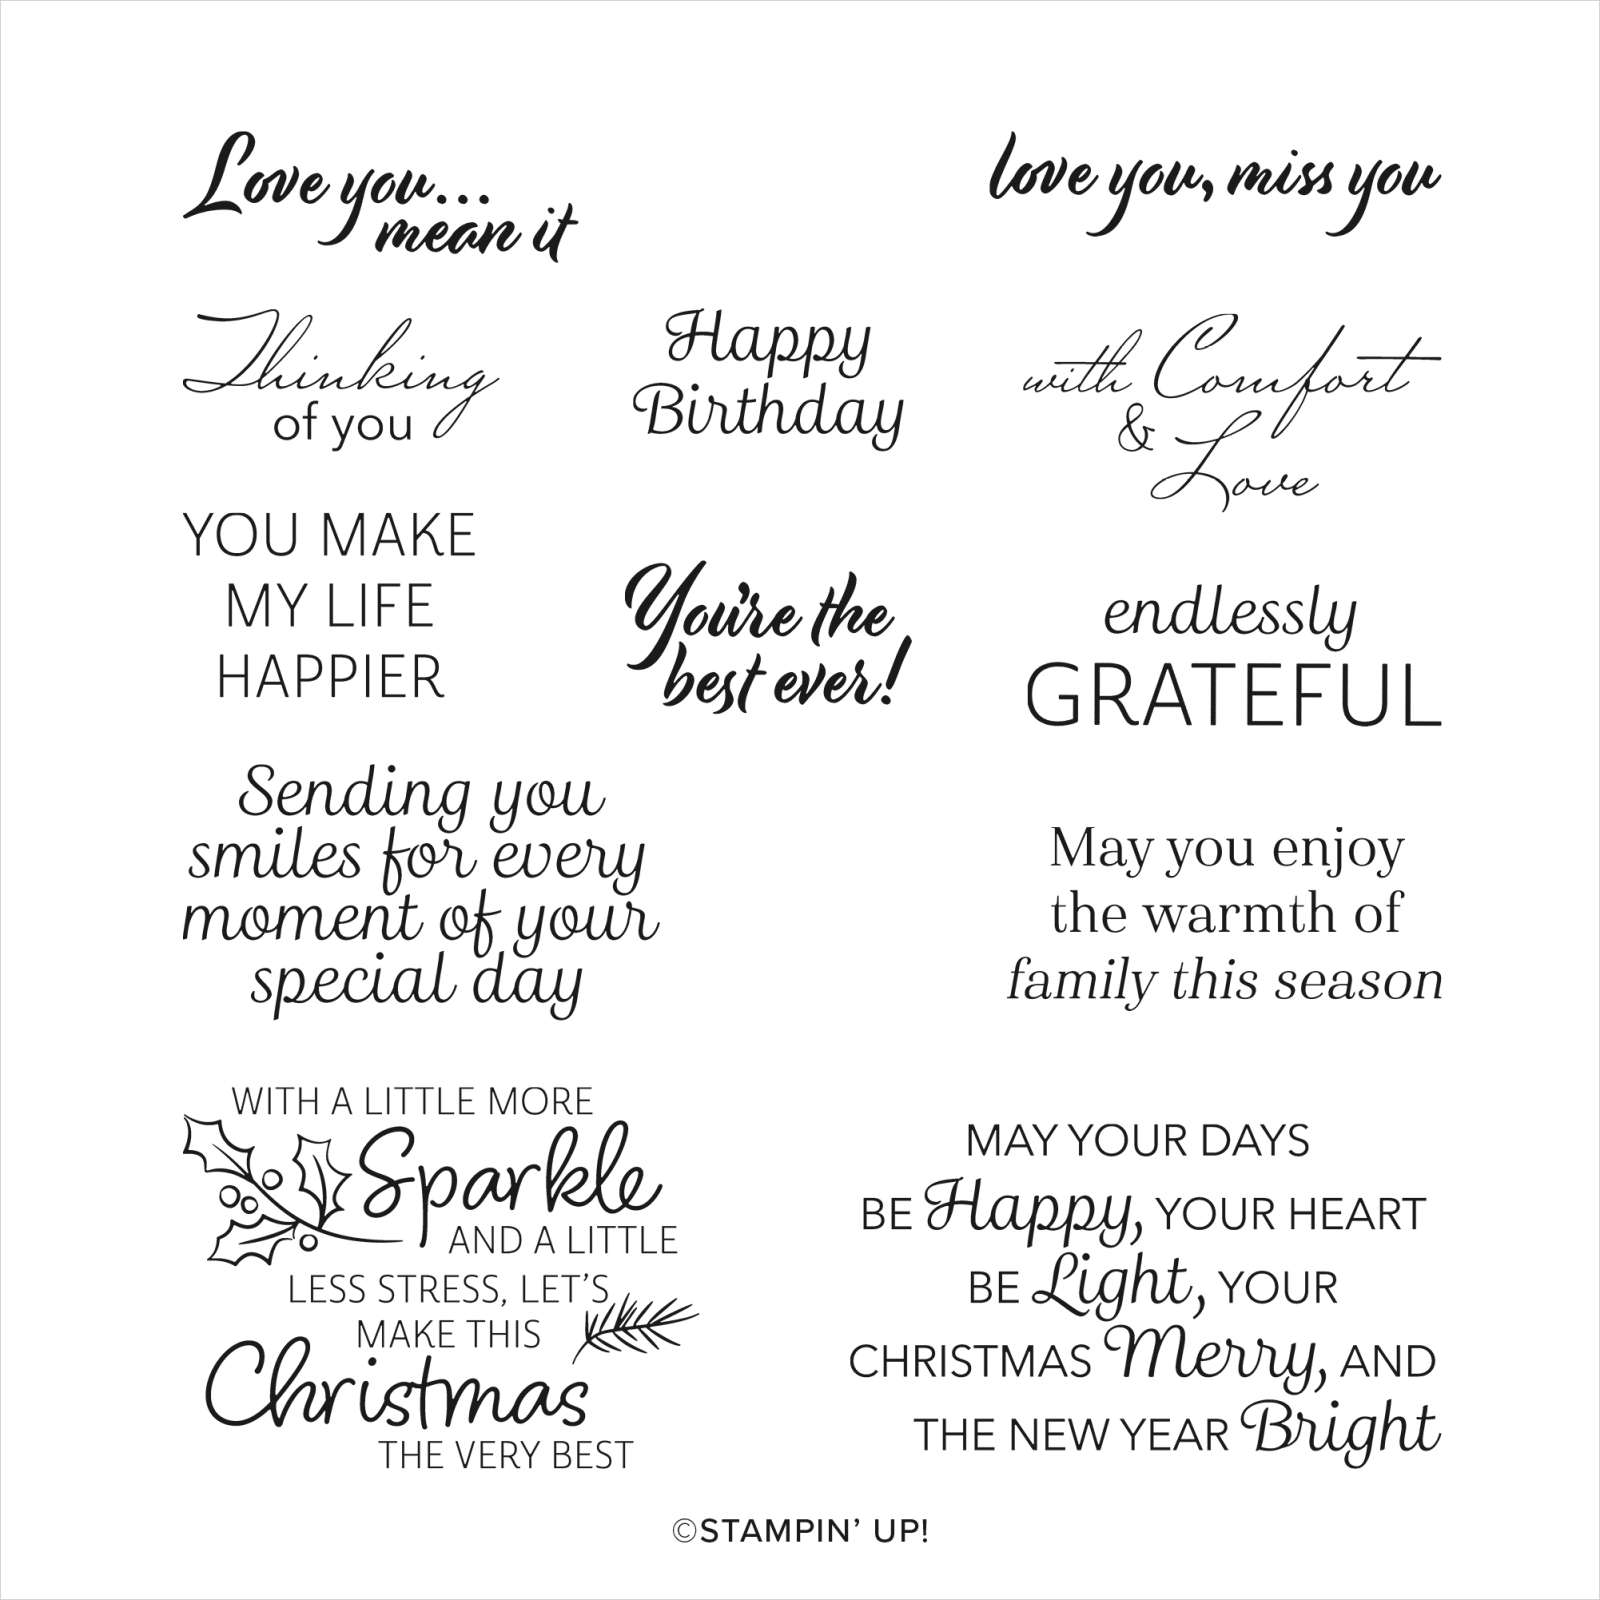
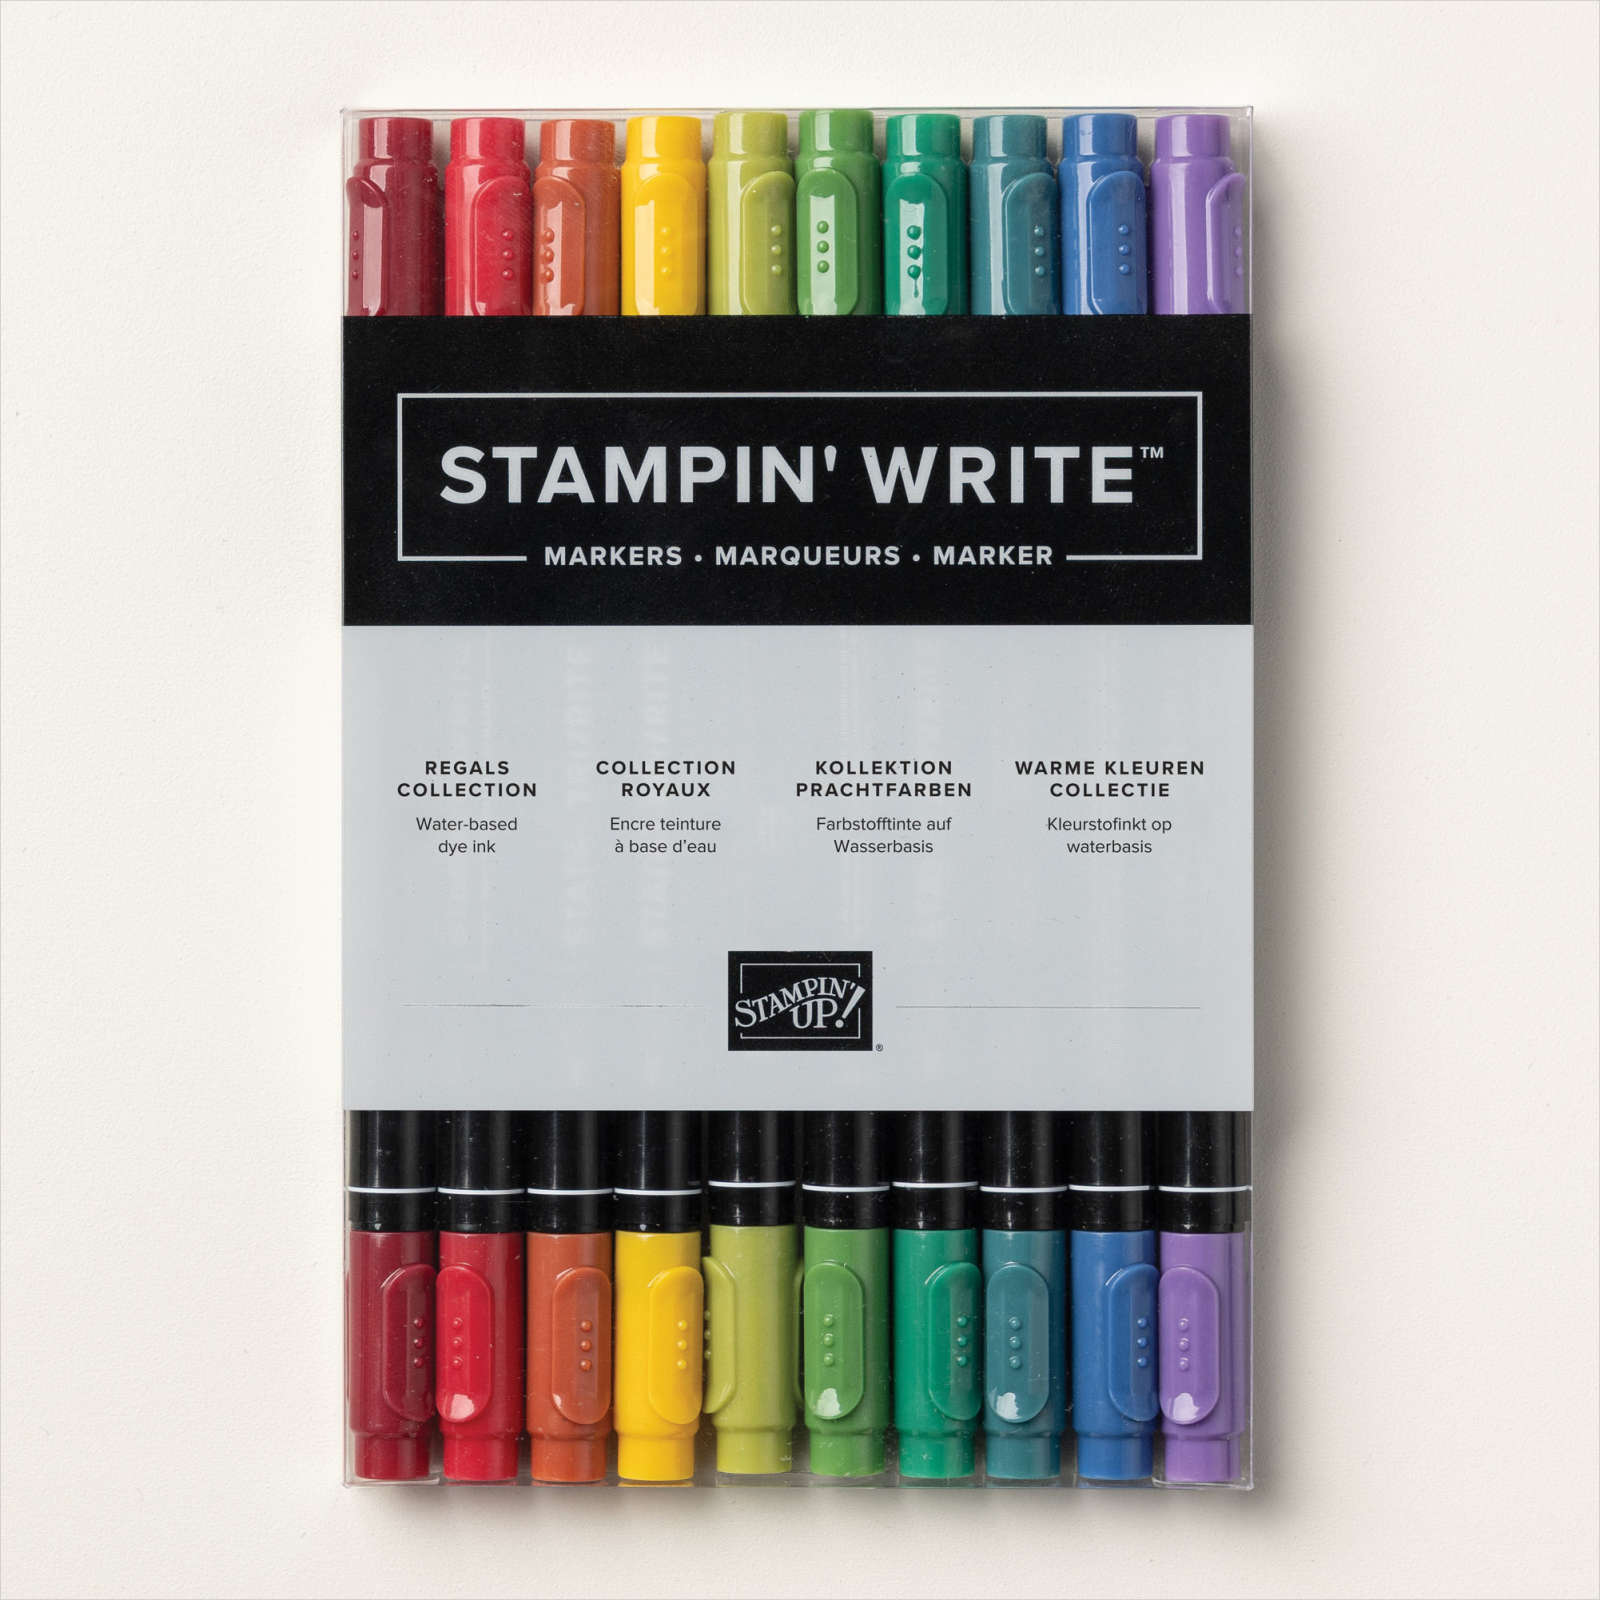
The stamp set I am using today, I featured in my Facebook Live this week. It is from the Mini Catalogue which went live yesterday. There are so many gorgeous products in the new catalogue but the Stippled Rose Bundle was high on my list to use. For this card, I stamped the greeting from the Stippled Roses stamp set onto the lower right hand corner of Basic White card using Old Olive ink.
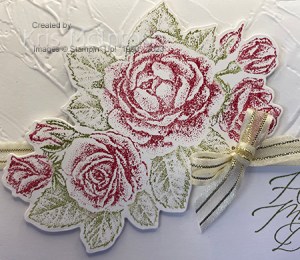
I embossed the top portion of this panel using the Painted Texture 3D Embossing Folder. I wrapped the bottom edge of the embossing using the Gold & Vanilla Satin Edge Ribbon. I stamped the greeting from the Stippled Roses stamp set onto the lower right hand corner of the Basic White card using Old Olive ink. The whole panel is attached to scored and folded Real Red card. I inked the large rose bouquet from the Stippled Roses stamp set using an Old Olive and Real Red Stampin’ Write Marker and stamped onto Basic White card
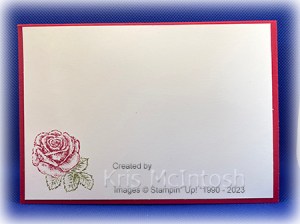
I used the co-ordinating Stippled Roses Die to cut out the flower. I attached the flower to the card front using dimensionals. I tied a bow in a length of the Satin Edge Ribbon and attached it to the card front using a Glue Dot. To decorate the inside of the card, I inked the small rose using the same Stampin’ Write Markers and stamped onto the lower left hand corner of Basic White card.
I absolutely love this stamp set. What about you, do you love it too?
Bye for now,
Kris
Product Used:
You can find the Stippled Roses Bundle here in my online store.


Fancy Congrats
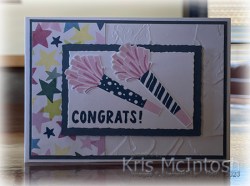
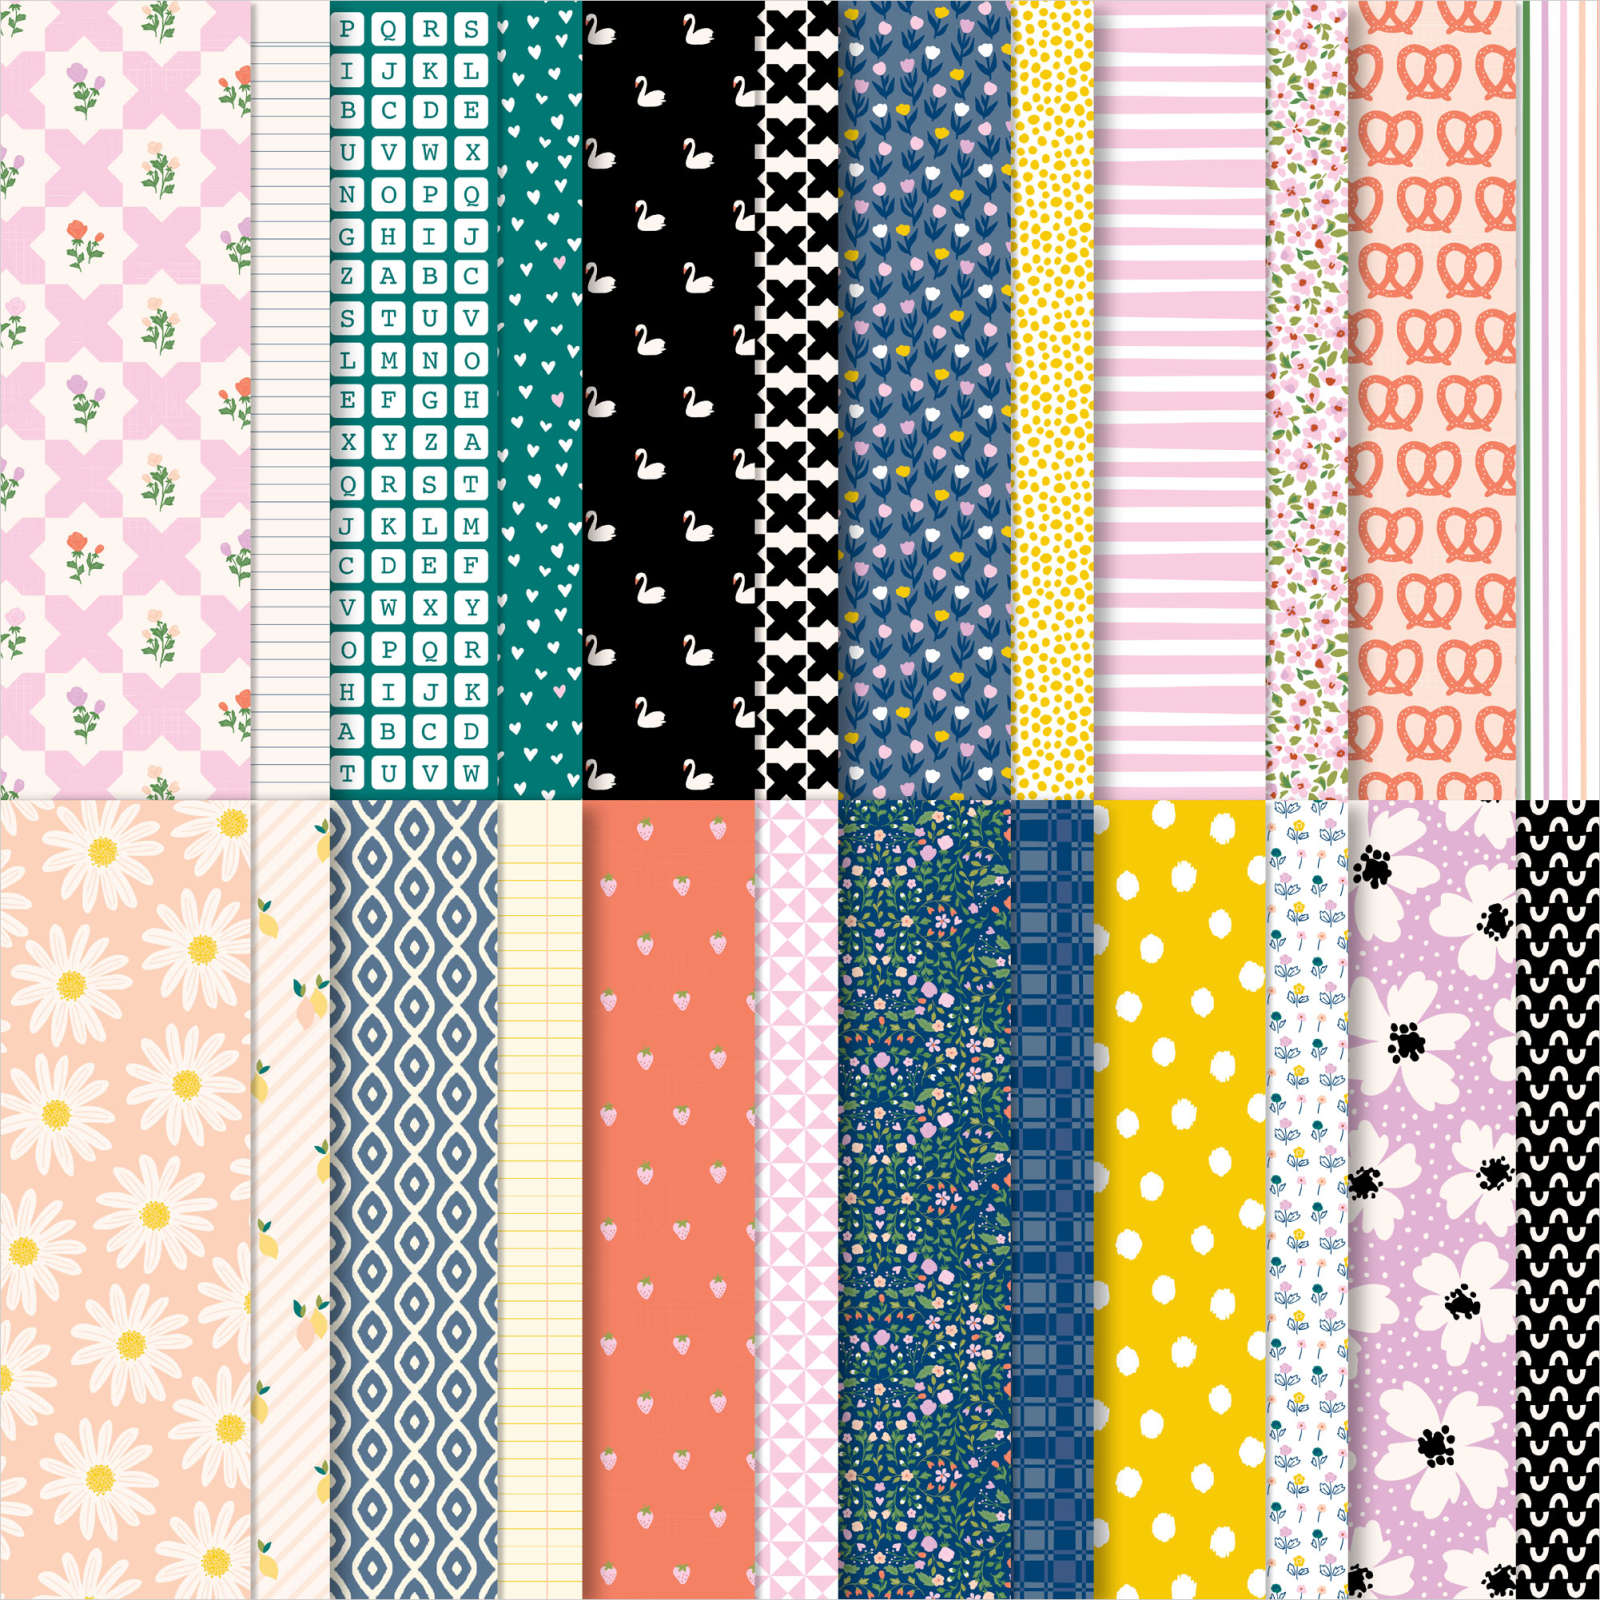
Have you seen the Pretty Pleats Card Design that Susan Camperfield shared on her blog. It is so amazing and a great way to show off some of the gorgeous new papers being released in the new Mini Catalogue. I decided to use her card design but I did change up the folds in the centre of my card. I used the Bright and Beautiful 6″ x 6″ Designer Series Paper but I did add more folds than Susan does with her 6″ x 6″ paper. I cut my card base from Thick Basic White card and added a panel of Misty Moonlight card to the front panel. I embossed Basic White card using the Painted Texture 3D Embossing Folder and attached a piece of Bright and Beautiful 6″ x 6″ Designer Series Paper down the left hand side.
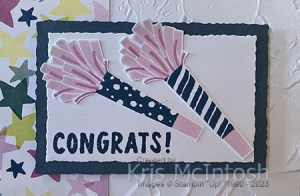
This panel is attached to the card front. I cut Misty Moonlight card and Basic White card using one of the Deckled Rectangle Dies. I stamped the greeting from the now retired Year to Celebrate stamp set onto the lower left hand corner of the Basic White rectangle using Misty Moonlight ink. I attached the stamped Basic White rectangle to the Misty Moonlight rectangle and then the card front using dimensionals. I stamped the images from the Year to Celebrate stamp set onto scrap basic white card using Misty Moonlight, Fresh Freesia and Bubble Bath ink. I cut out the images and attached them to the stamped Basic White rectangle. Inside the card I attached two pieces of Misty Moonlight card, one on each outer edge.

I attached a Basic White panel embossed using the Painted Texture 3D Embossing Folder to the left hand panel. I attached plain Basic White card to the right hand panel to give me somewhere to write my message. I scored my 10cm strip of 6″ Bright & Beautiful Designer Series Paper every 3/4″ before attached to the two outside sections to the inside of the card base. I stamped the greeting from the Year to Celebration stamp set onto Basic White card using Misty Moonlight ink. I punched out the greeting using the 2″ Circle Punch and attached it to the centre panel of the Designer Series Paper. What a fun card to create and the Bright & Beautiful Designer Series Paper worked really well don’t you think? I am sure you will see me creating more of these gorgeous cards in the future.
Bye for now
Kris
Product Used:


Action Station
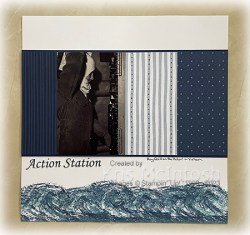
Today’s page is rather simple but it is dedicated to a photo of my Dad in the Gun Turret on the HMAS Hobart while he was serving in Vietnam. I cut three pieces of Countryside Inn 12″ x 12″ Designer Series Paper. I attached the pieces to a length of Night of Navy card along with the photo. This panel is attached across a Basic White 12″ x 12″ page. I printed the title onto Basic White card and fussy cut it before attaching it to the page below the photo.

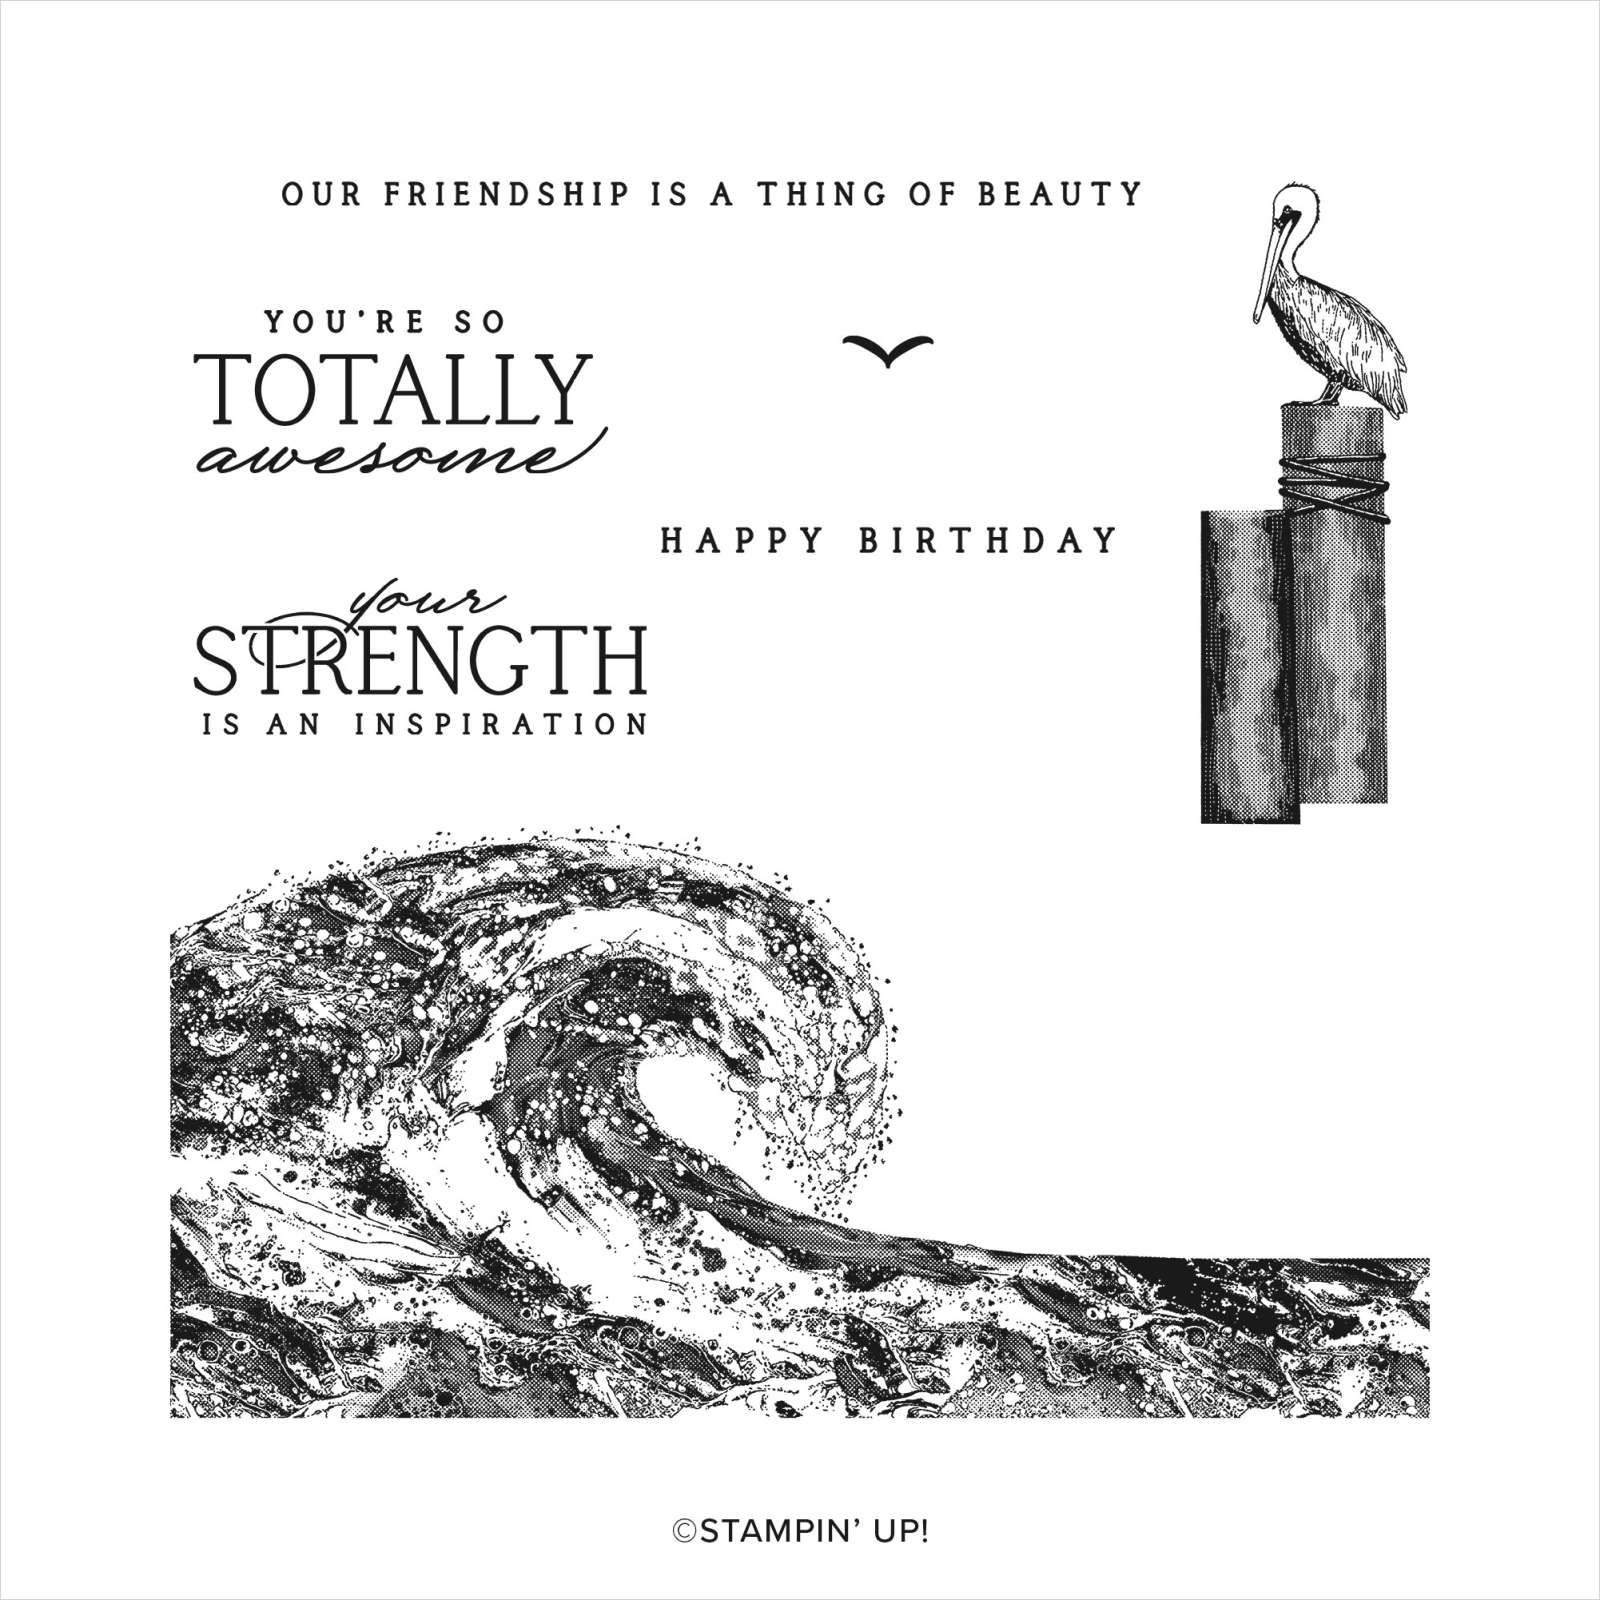
I added a little more information using a now retired Journaling Pen. I used the wave image from the Waves of Inspiration stamp set to stamp across the bottom of the page. Firstly I stamped the image with Misty Moonlight ink, then I stamped across the page using Boho Blue ink and then I stamped again using Balmy Blue ink. I am rather happy with the way this simple page turned out.
Bye for now,
Kris
Product Used:


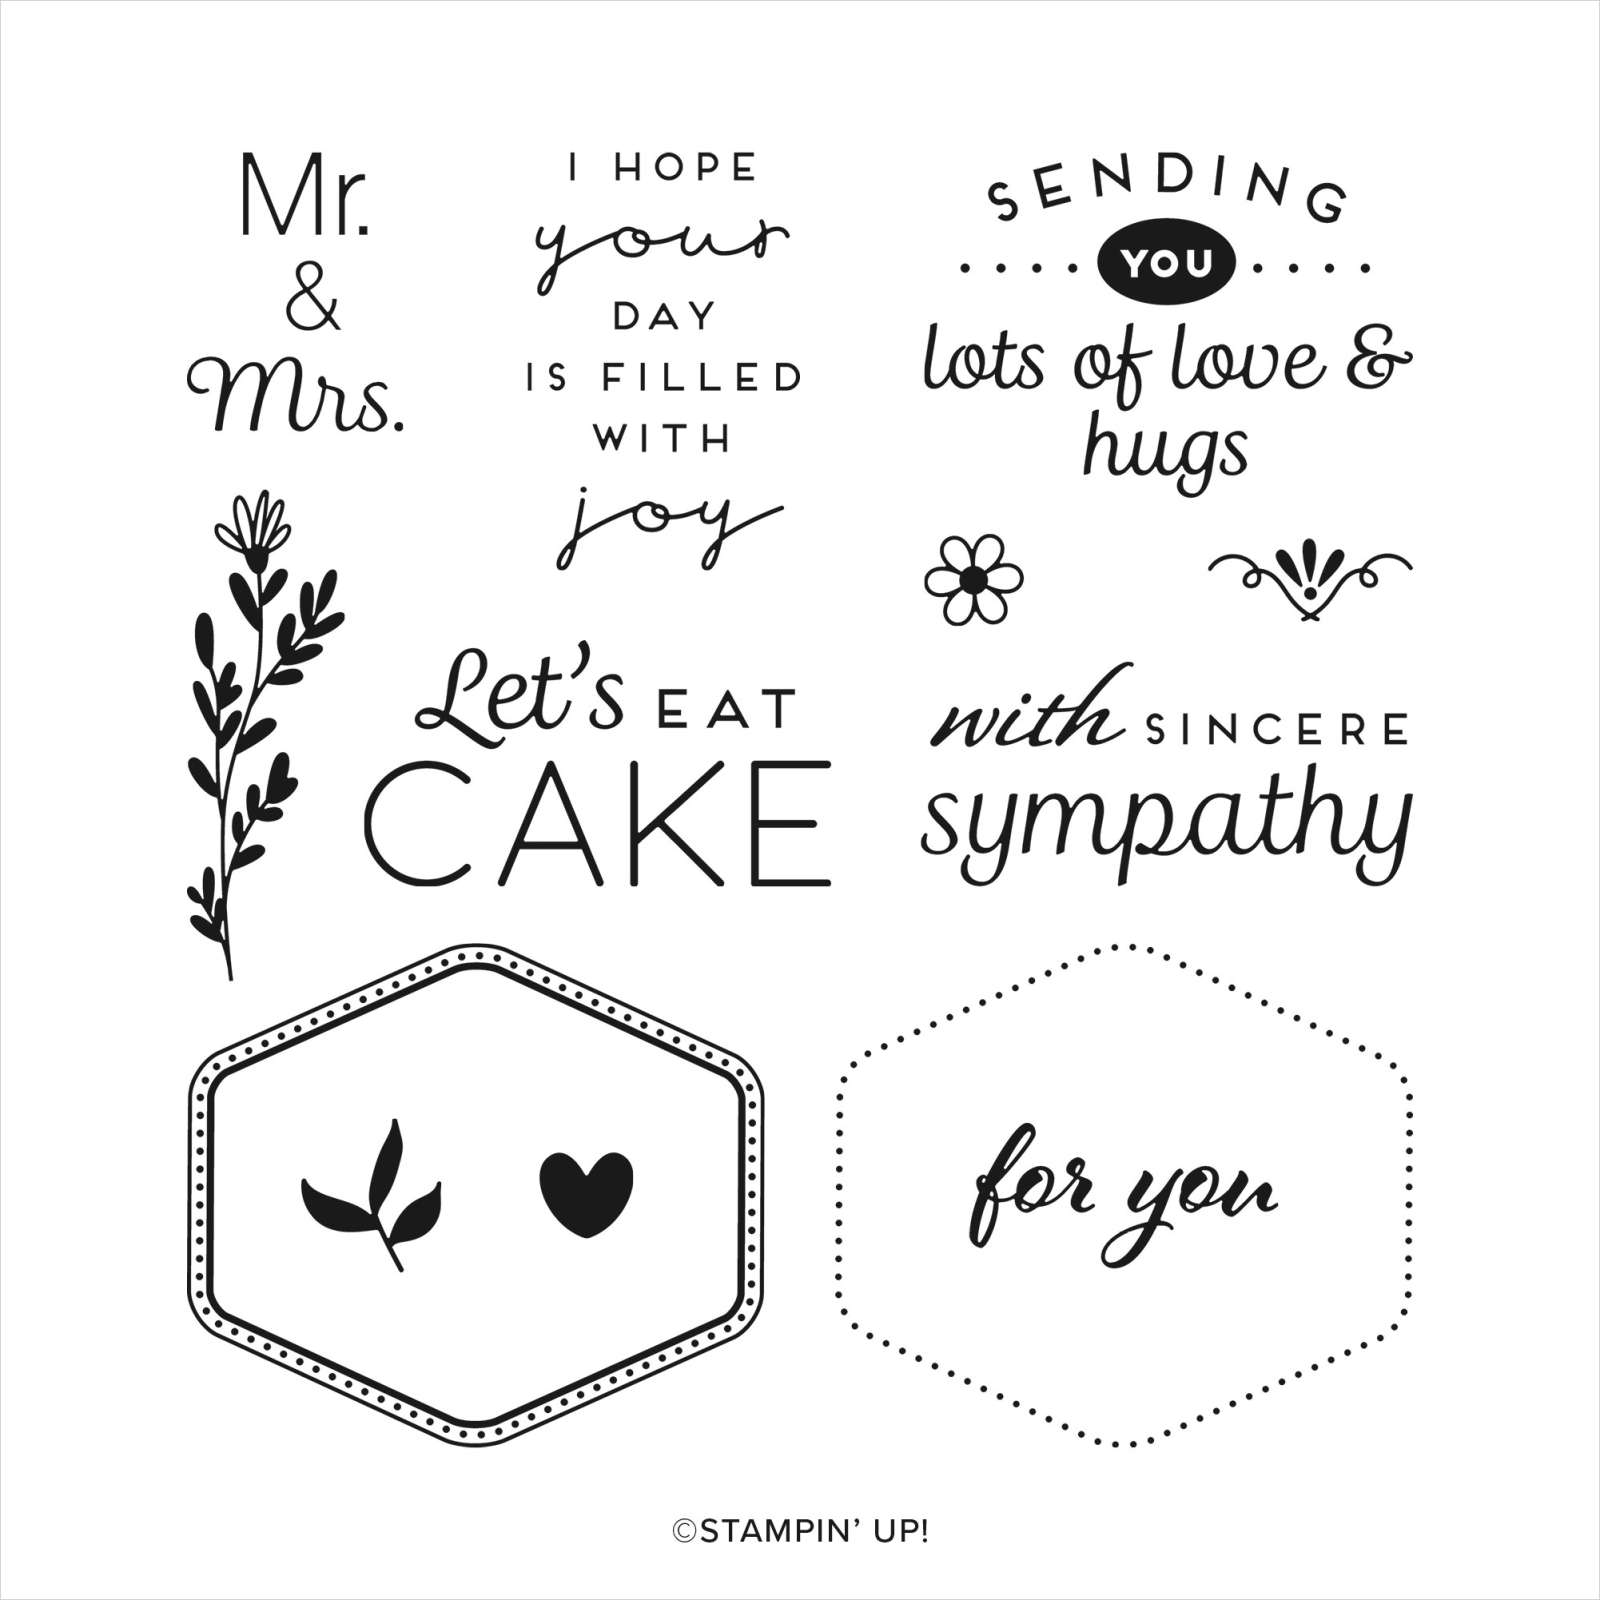
Let’s Eat Cake

This week on my Facebook Live I shared some cards I made using the Heartfelt Hexagon Bundle which is in the next Mini Catalogue. As a Demonstrator I was able to purchase this stamp set a while ago for a Demonstrator only Online Event. Unfortunately, it got put to one side whilst preparing for Christmas but I am so happy to be playing with this Bundle again.

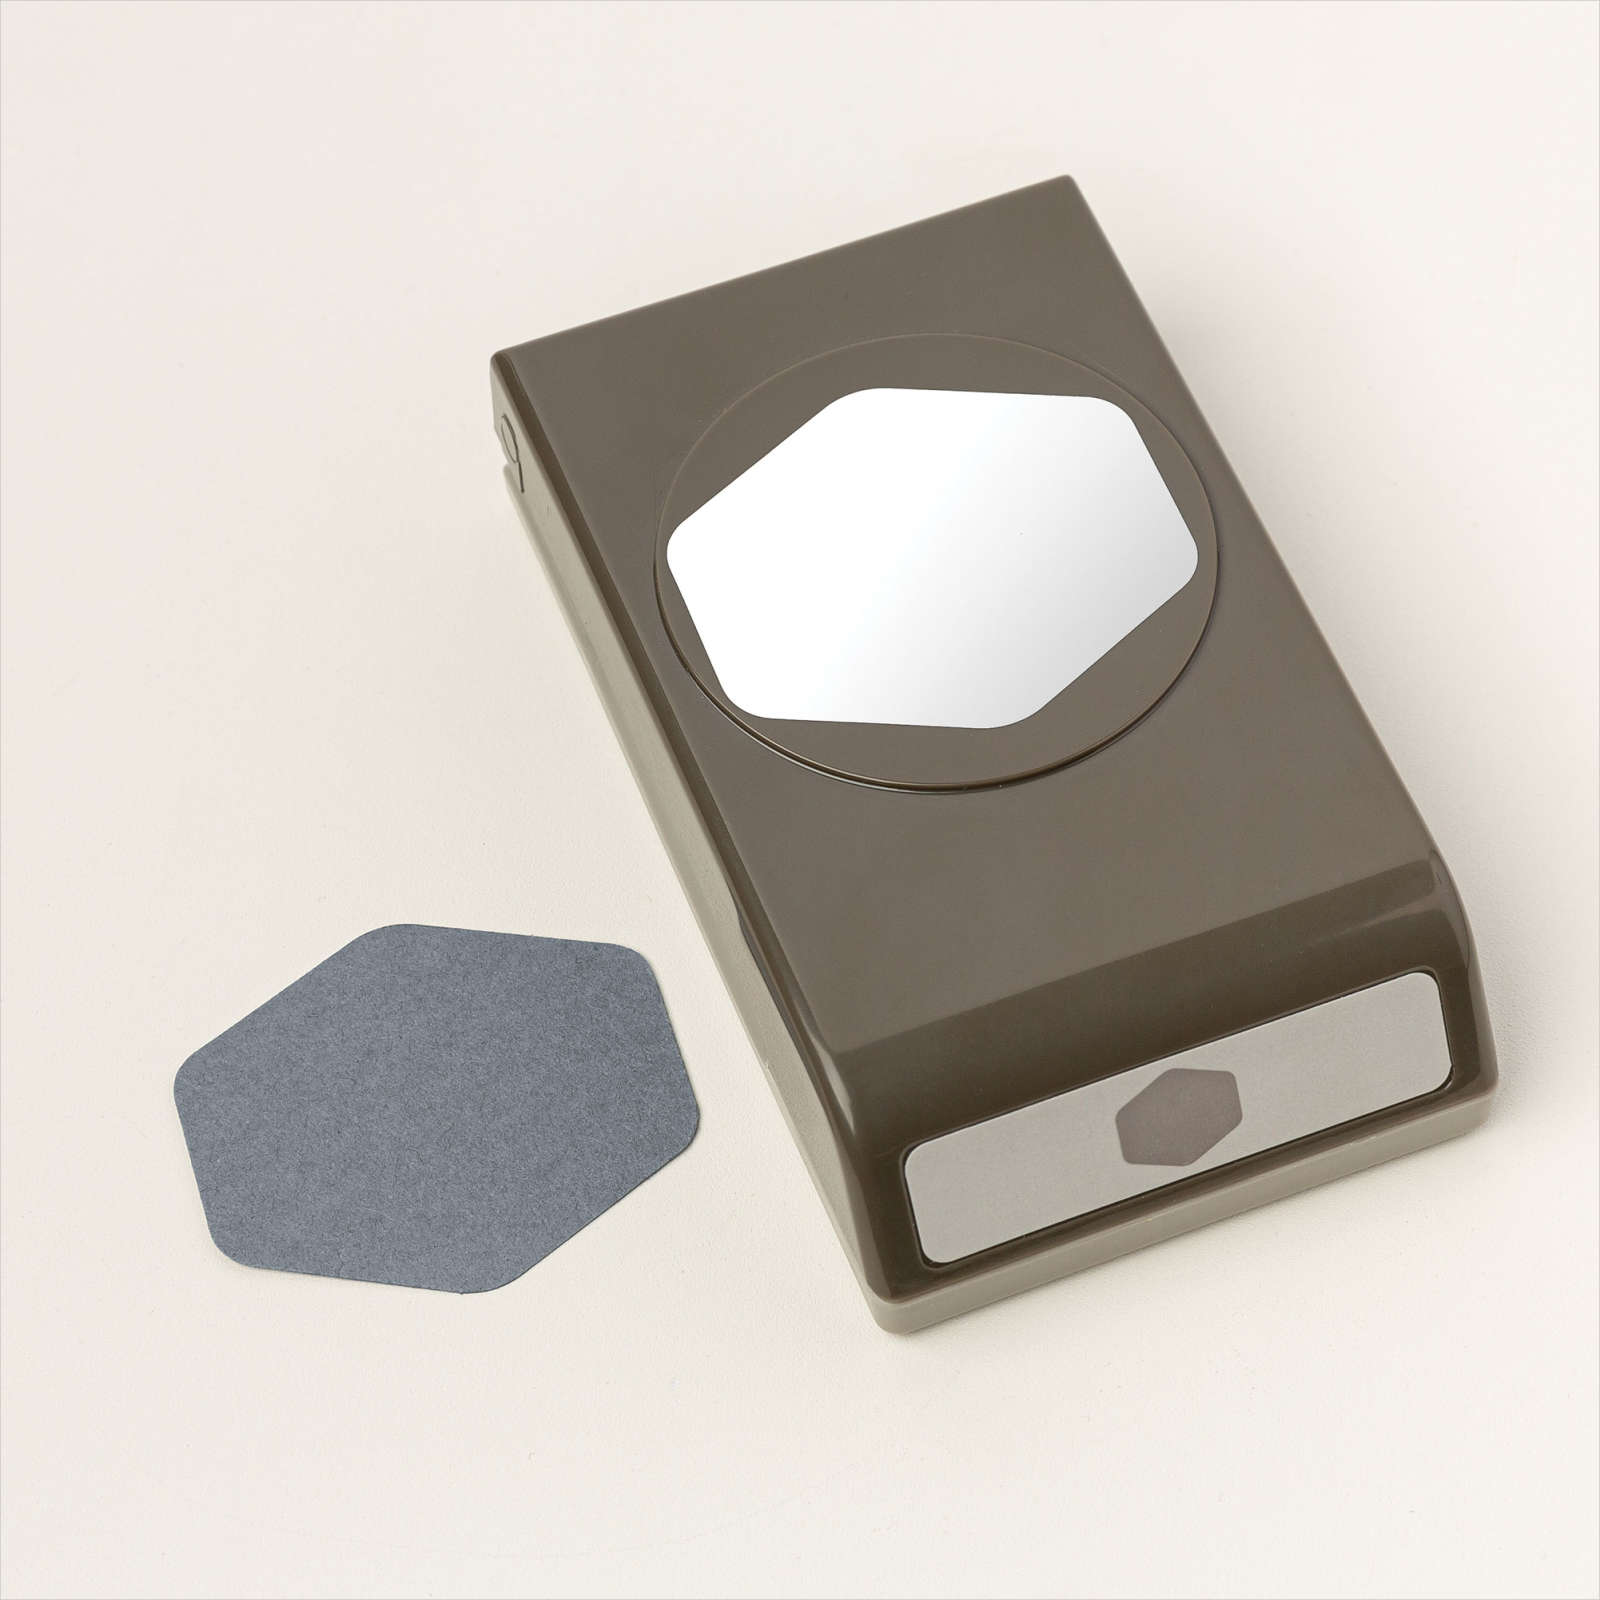
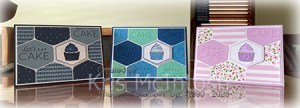
For today’s card I wanted to create a background using the Heartfelt Punch and this is what I created. I punched three hexagons each from Coastal Cabana, Azure Afternoon card and two from Night of Navy card. I stamped the greeting from the Heartfelt Hexagon stamp set onto each hexagon using the co-ordinating ink

I also stamped the border image from the Heartfelt Hexagon stamp set onto Basic White card using Night of Navy ink. I stamped the cupcake image from the Circle Sayings stamp set inside the border image using Memento Tuxedo Black ink. I punched out the image using the Heartfelt Hexagon Punch and coloured the cupcake using Dark Asure Afternoon, Light Balmy Blue and Light Crumb Cake Stampin’ Blends

I attached each of the stamped hexagons to a Basic White panel and trimmed off the excess. I attached the cupcake hexagon onto the panel using dimensionals. The whole piece is attached to Basic White card and then scored and folded Night of Navy card. To decorate the inside of the card I stamped another greeting from the Heartfelt Hexagon stamp set onto Basic White card using Night of Navy ink
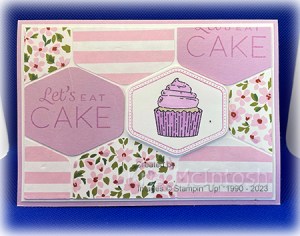
I decided that I loved this layout but wanted to add some designer series paper so I created two more cards. One using the Countryside Inn 12″ x 12″ Designer Series Paper and another using the Delightfully Eclectic 12″ x 12″ Designer Series Paper. The stamping on the blue card is done in Night of Navy and I used Night of Navy and Light Crumb Cake Stampin’ Blends to colour the cupcake. The stamping on the pink card is done using Fresh Freesia ink and the cupcake is coloured using Fresh Freesia and Light Crumb Cake Stampin’ Blends
I just love how all of these cards turned out, don’t you? As a customer you will be able to purchase this great bundle when the new mini catalogue goes live on the 3rd January.
Bye for now,
Kris
Product Used:
You can view the Heartfelt Hexagon bundle in my Online Store.