Ava’s Christening
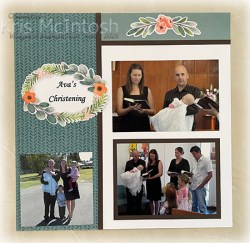
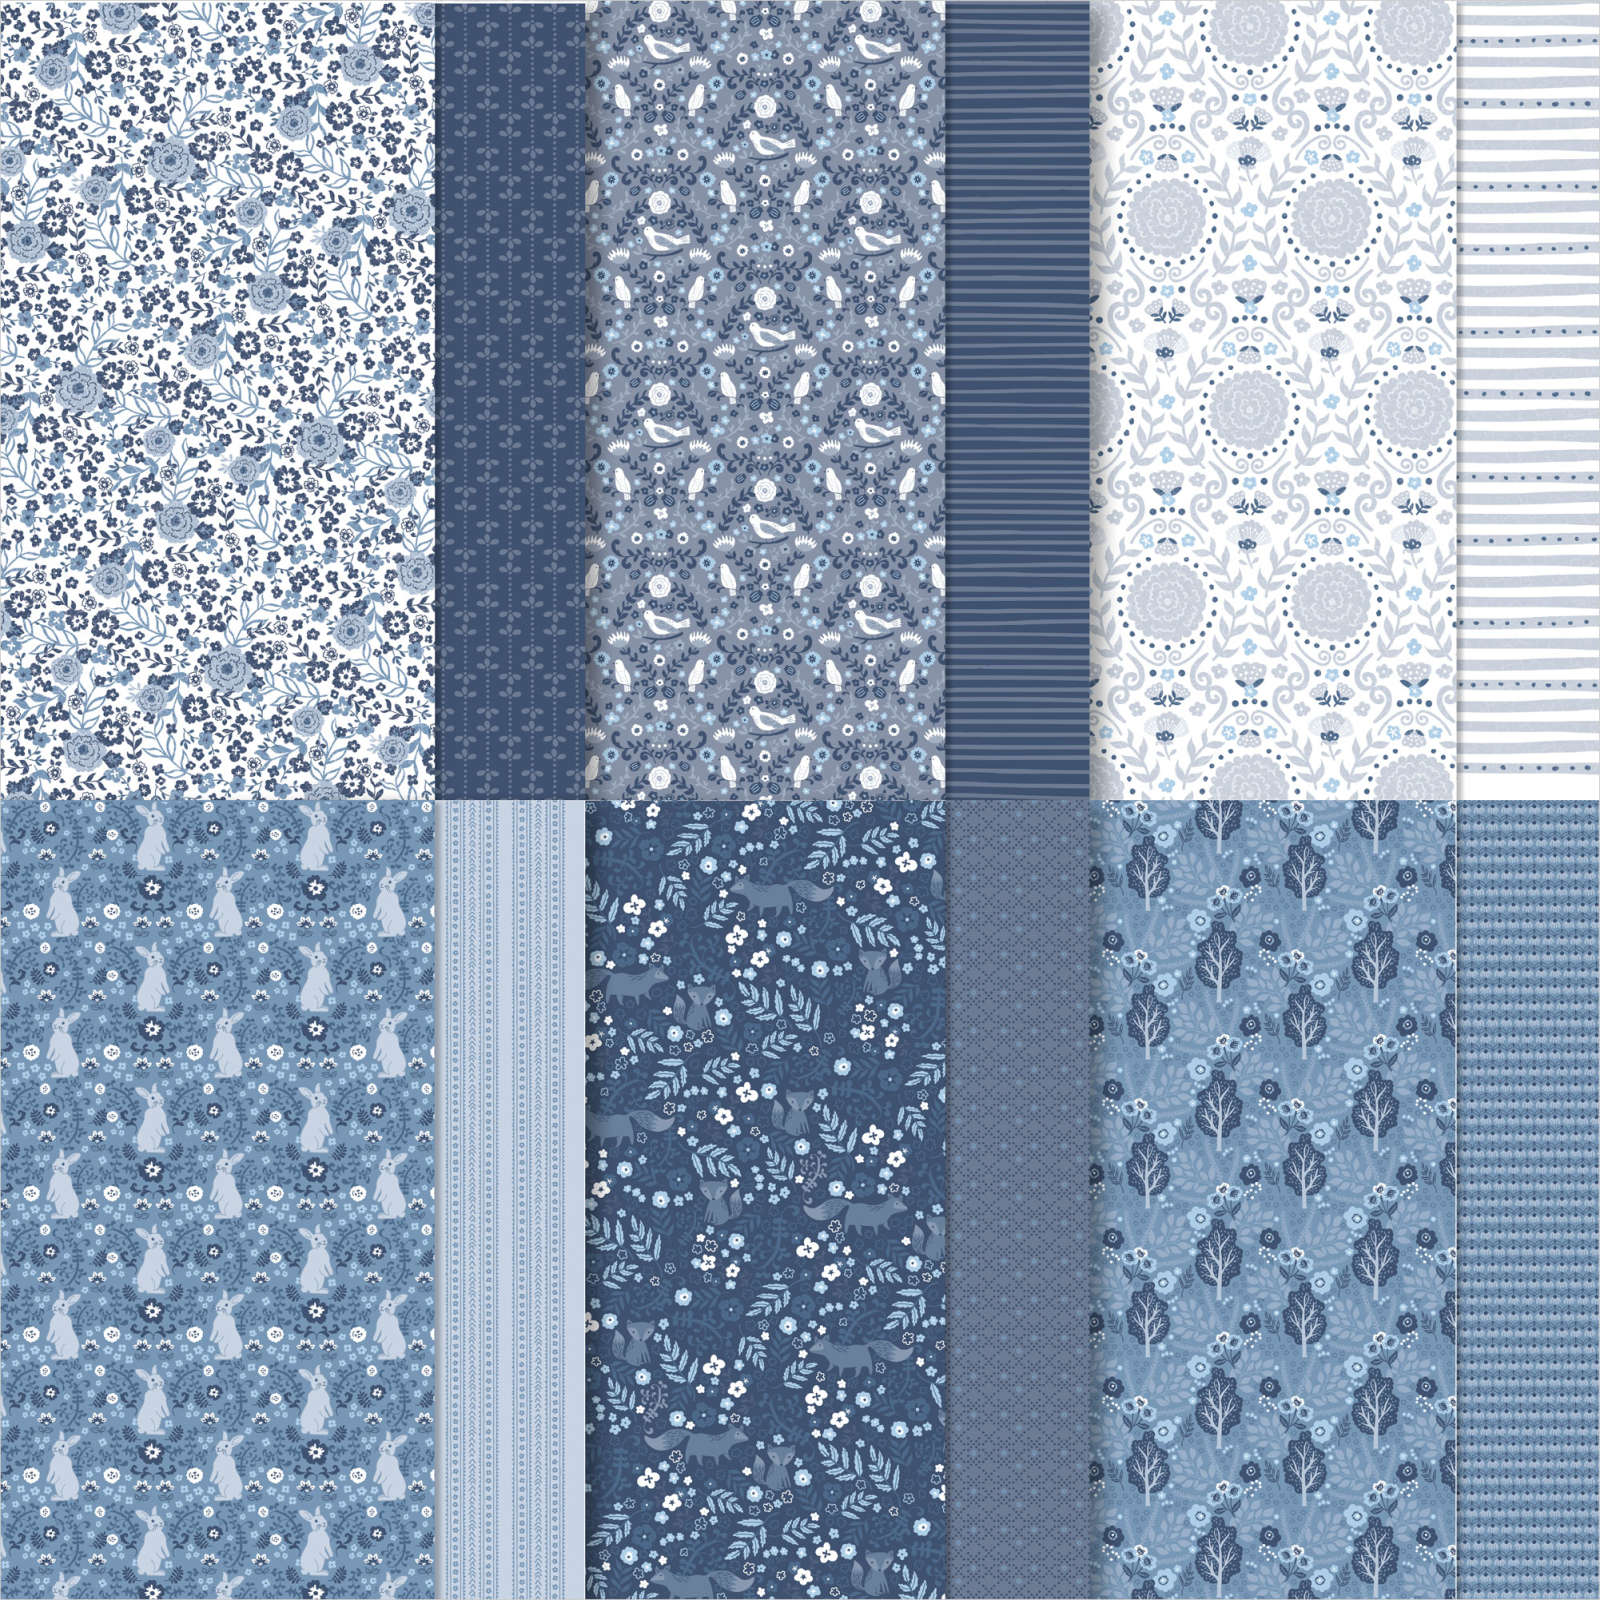
Today’s page shows off some photos of my youngest granddaughter’s Christening way back in 2010. I used the gorgeous Frames & Flowers 12″ x 12″ Designer Series Paper to create this page. I found some instructions for this layout on Pinterest (sorry I don’t have the link), although I did change it up a bit. I attached large strips of the Frames & Flowers 12″ x 12″ Designer Series Paper down the outside edge of each Basic White 12″ x 12″ page.
I attached narrow strips of a different pattern of the Frames & Flowers Designer Series Paper across the top of each page. I cut narrow strips of Early Espresso card and attached a strip down the inside edge of each of the large strips of Designer Series Paper. I also attached a narrow strip of Early Espresso card across the bottom of the narrow strips of Designer Series Paper.
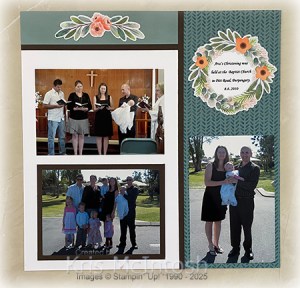
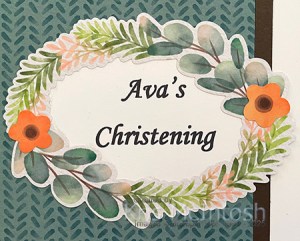
I attached two of the photos to Early Espresso card before attaching all of the photos to the page. I printed the title onto Basic White card and attached it behind one of the frames from the Frames & Flowers Designer Series Paper. I attached two flowers from the Designer Series Paper to the wreath which I attached to the left hand page. I attached two of the same floral banners from the Frames & Flowers Designer Series Paper, one to the top of each page. I printed my journaling onto Basic White card, punched it out using the 2-3/8″ Circle Punch and attached it behind one of the wreaths from the Designer Series Paper. I also attached three flowers to the wreath before attaching it to the right hand page.
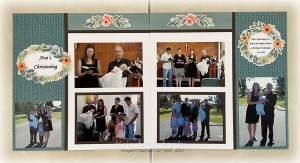
Just love how these pages turned out and so simple with the gorgeous Frames & Flowers Designer Series Paper.
Bye for now,
Kris
Product Used:



Happy Anniversary

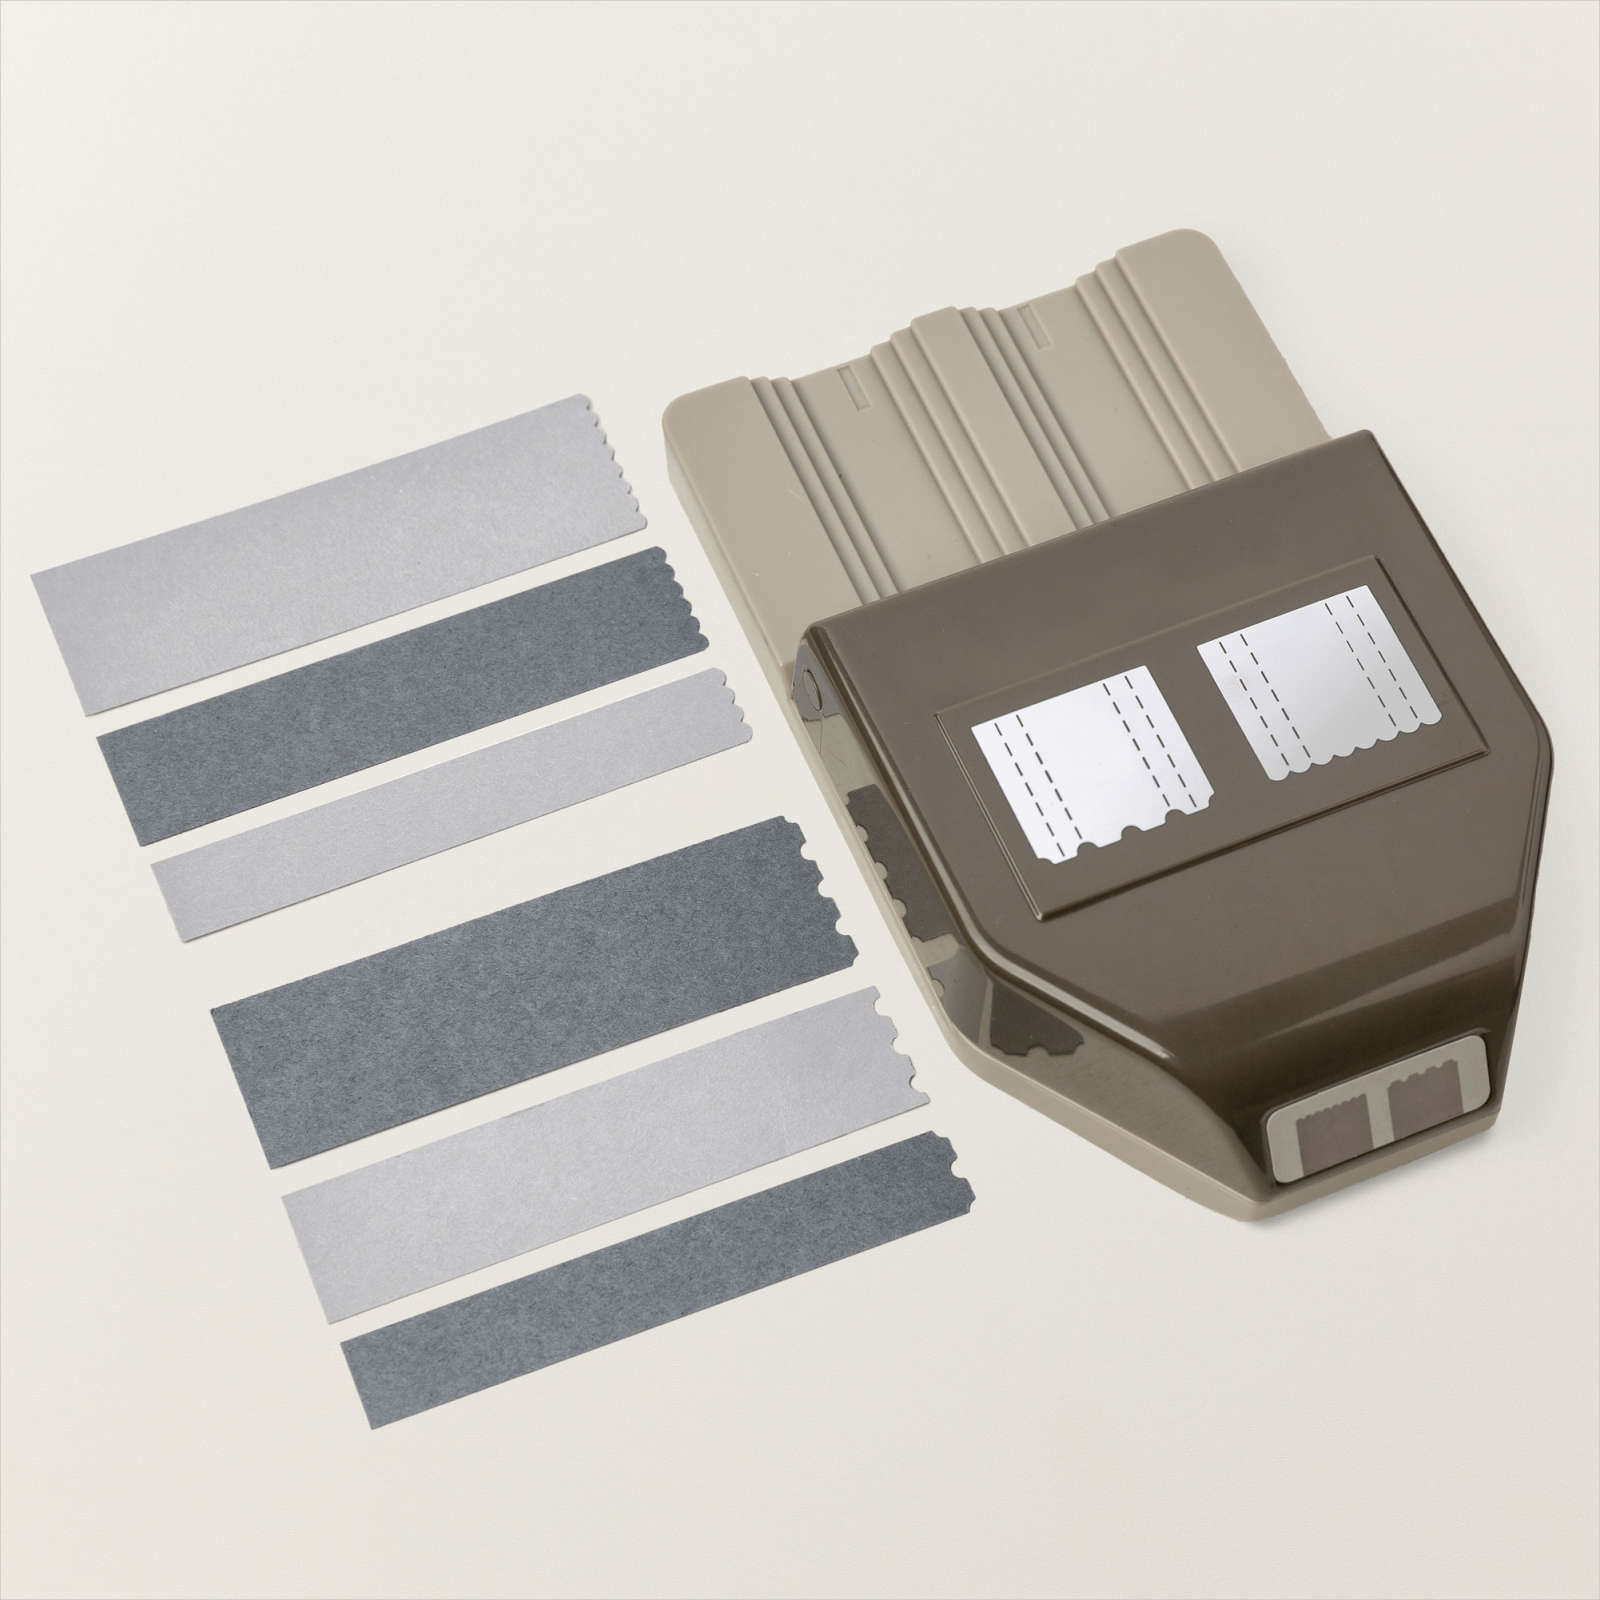
Today I am sharing a card which uses the Frames & Flowers 12″ x 12″ Designer Series Paper and the Poised Peony stamp set. I shared some cards on my Facebook Live this week using these producsts as well. I cut five narrow strips of the Frames & Flowers Designer Series Paper. I punched one end of the strips using the Happy Labels Pick A Punch before attaching the strips to Basic White card. I stamped the greeting from the Sweetly Scripted stamp set across the bottom of the panel using Lost Lagoon ink.

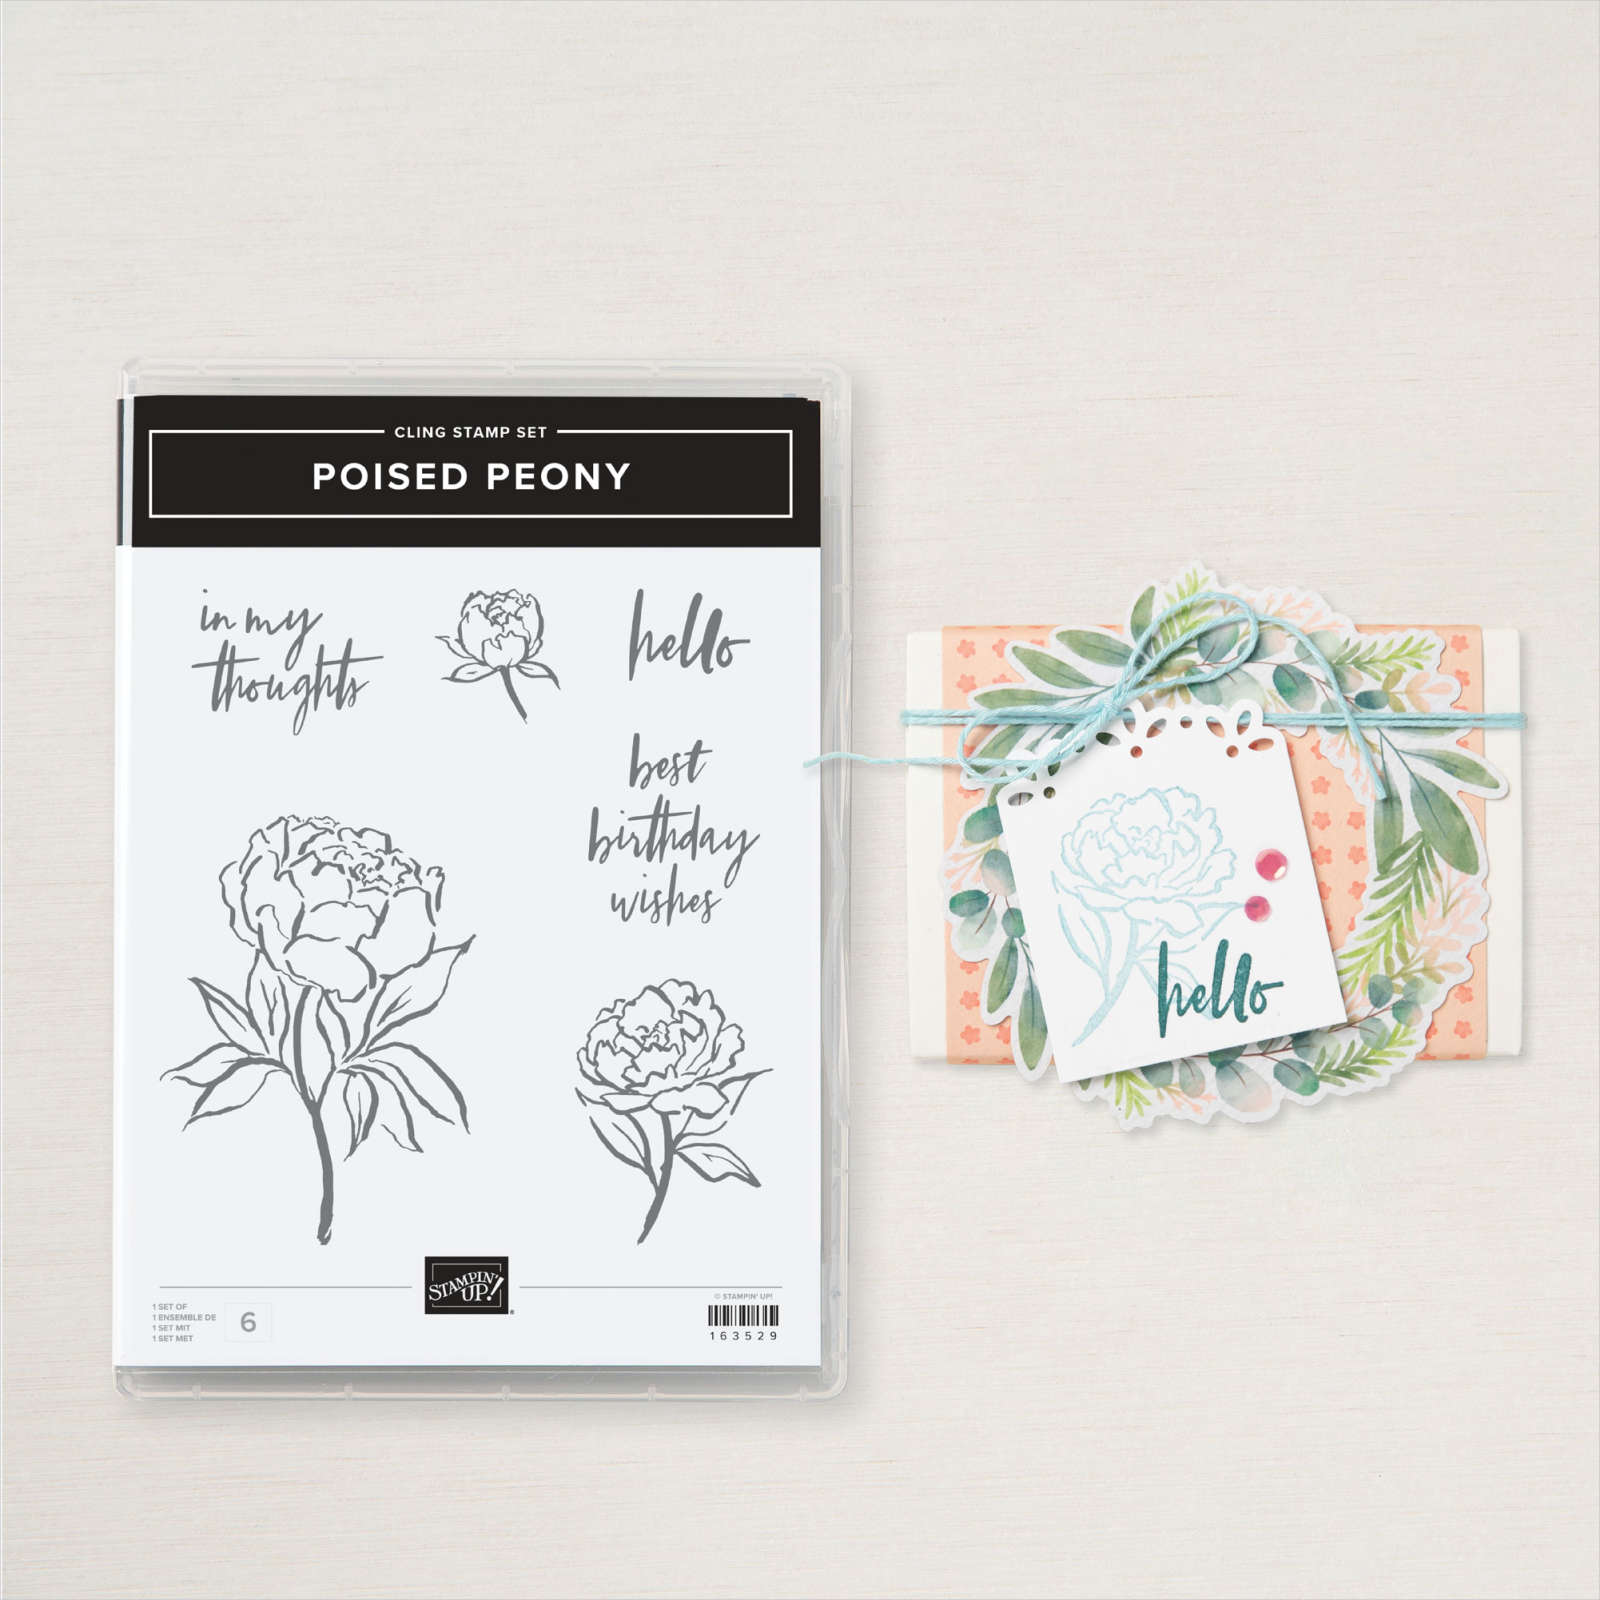
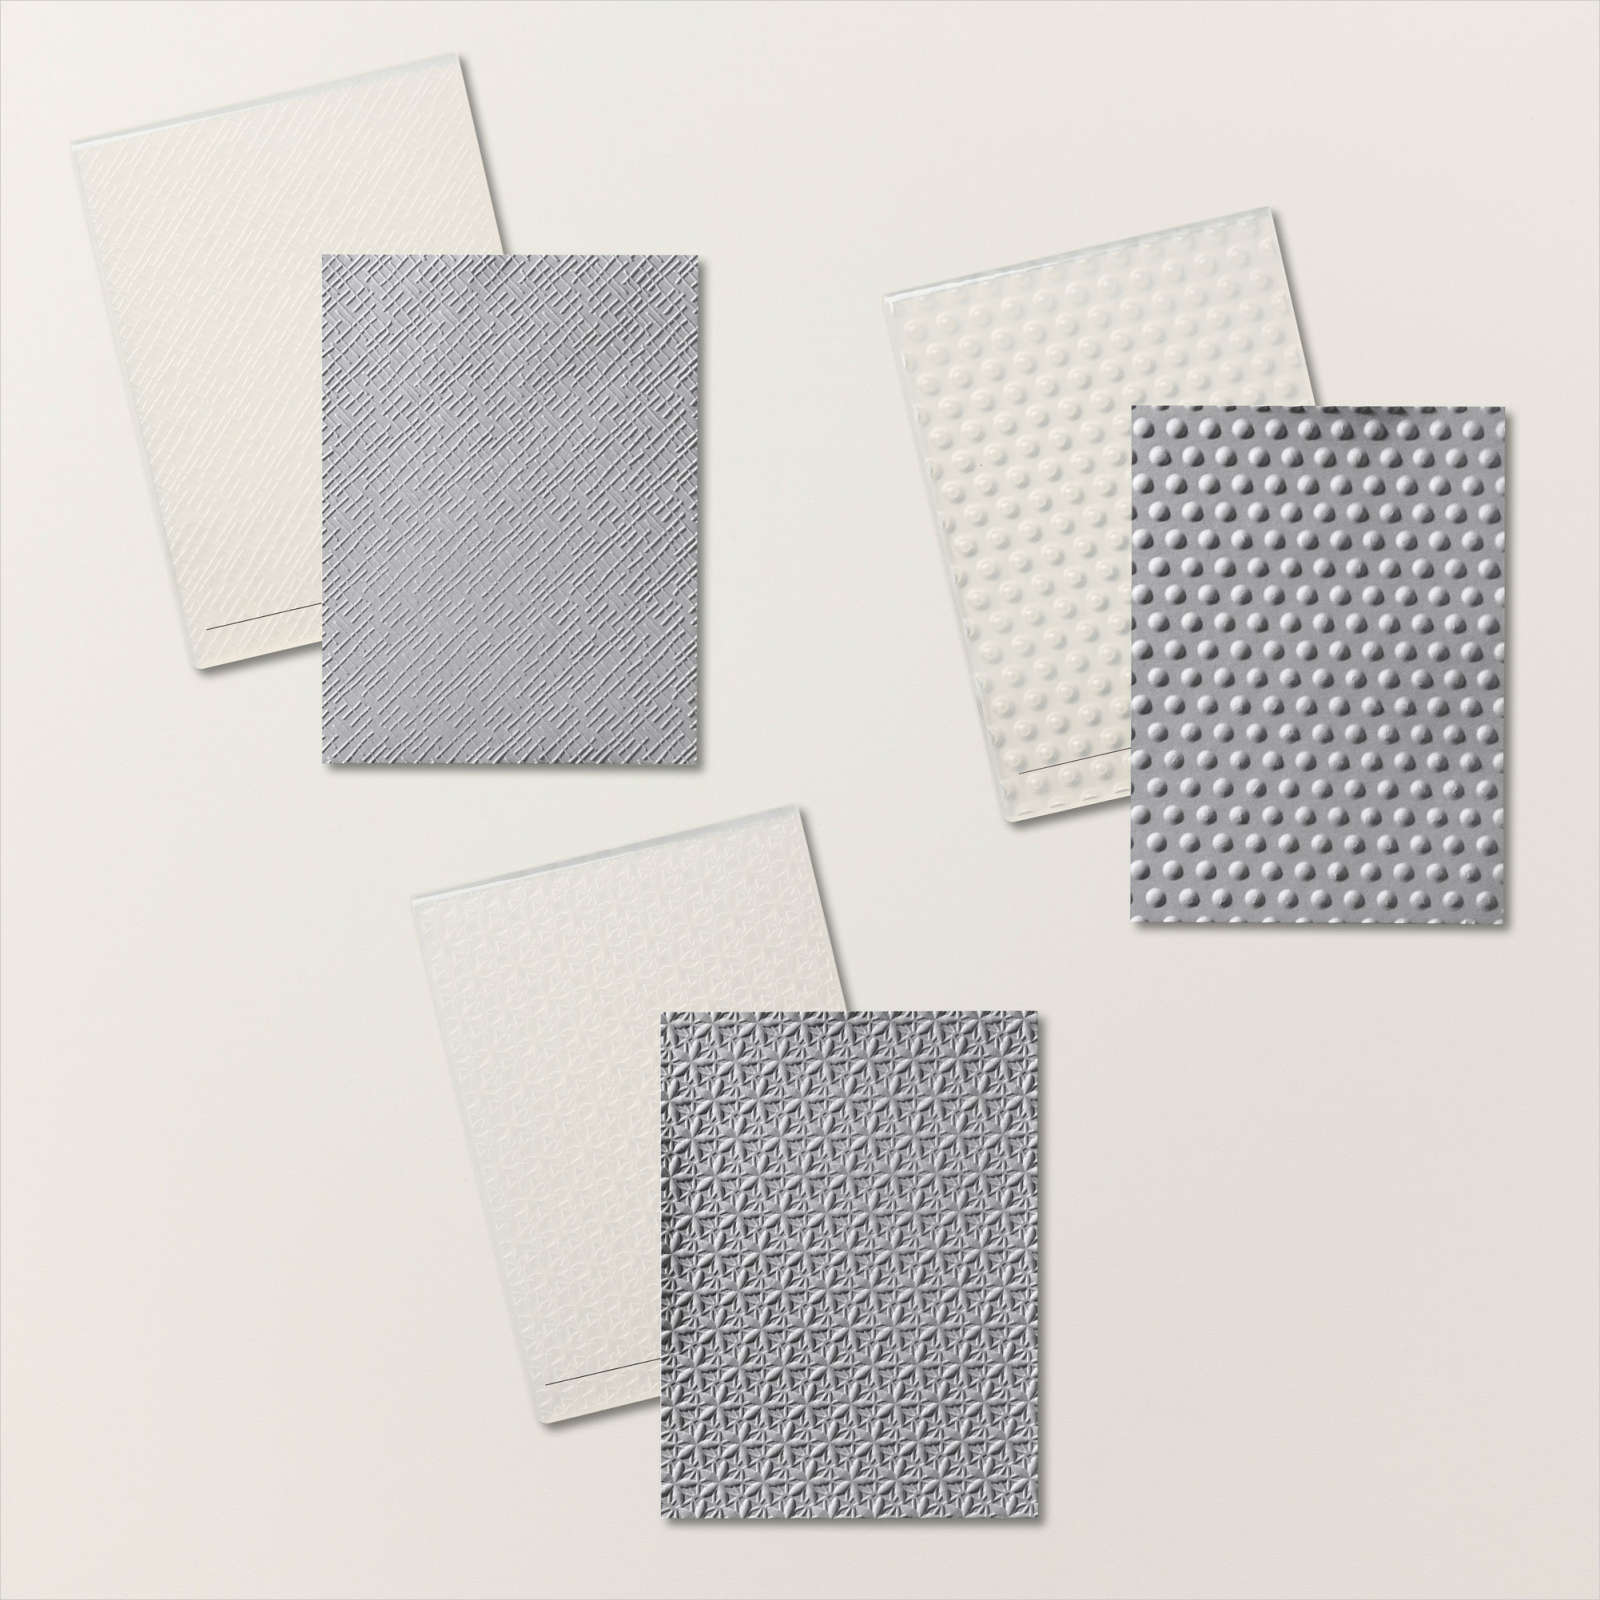
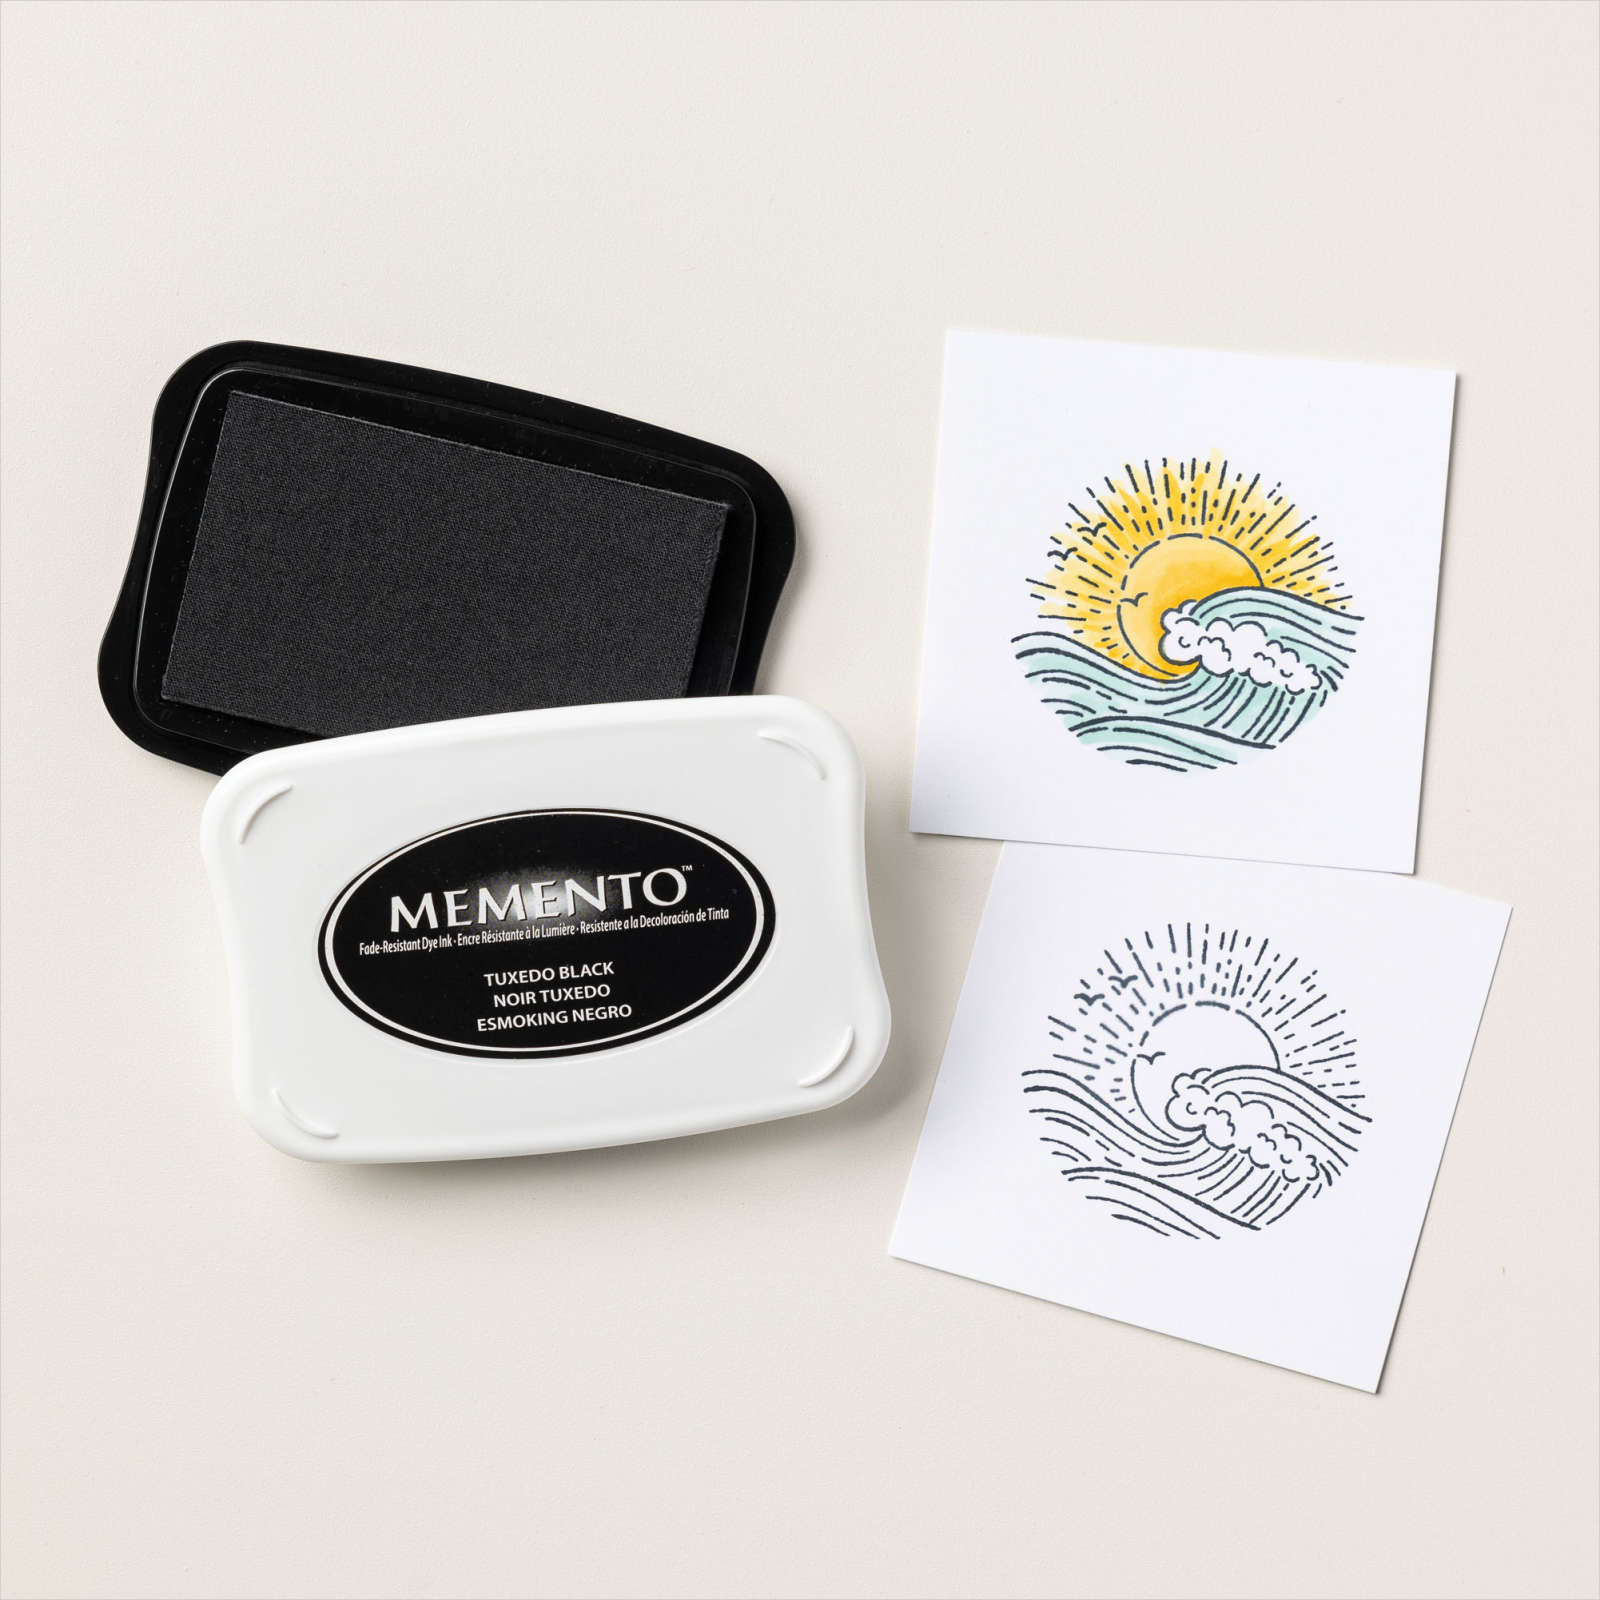
I embossed the panel using one of the Basics 3D Embossing Folders before attaching the panel to scored and folded Lost Lagoon card. I attached a piece of Lost Lagoon across the card front using dimensionals. I stamped the middle sized floral image from the Poised Peony stamp set onto Basic White card using Memento Tuxedo Black ink.
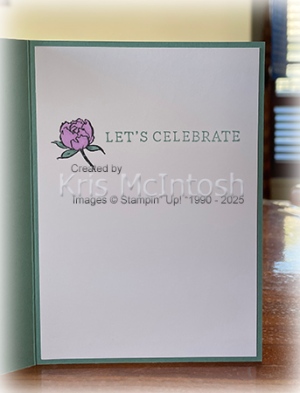
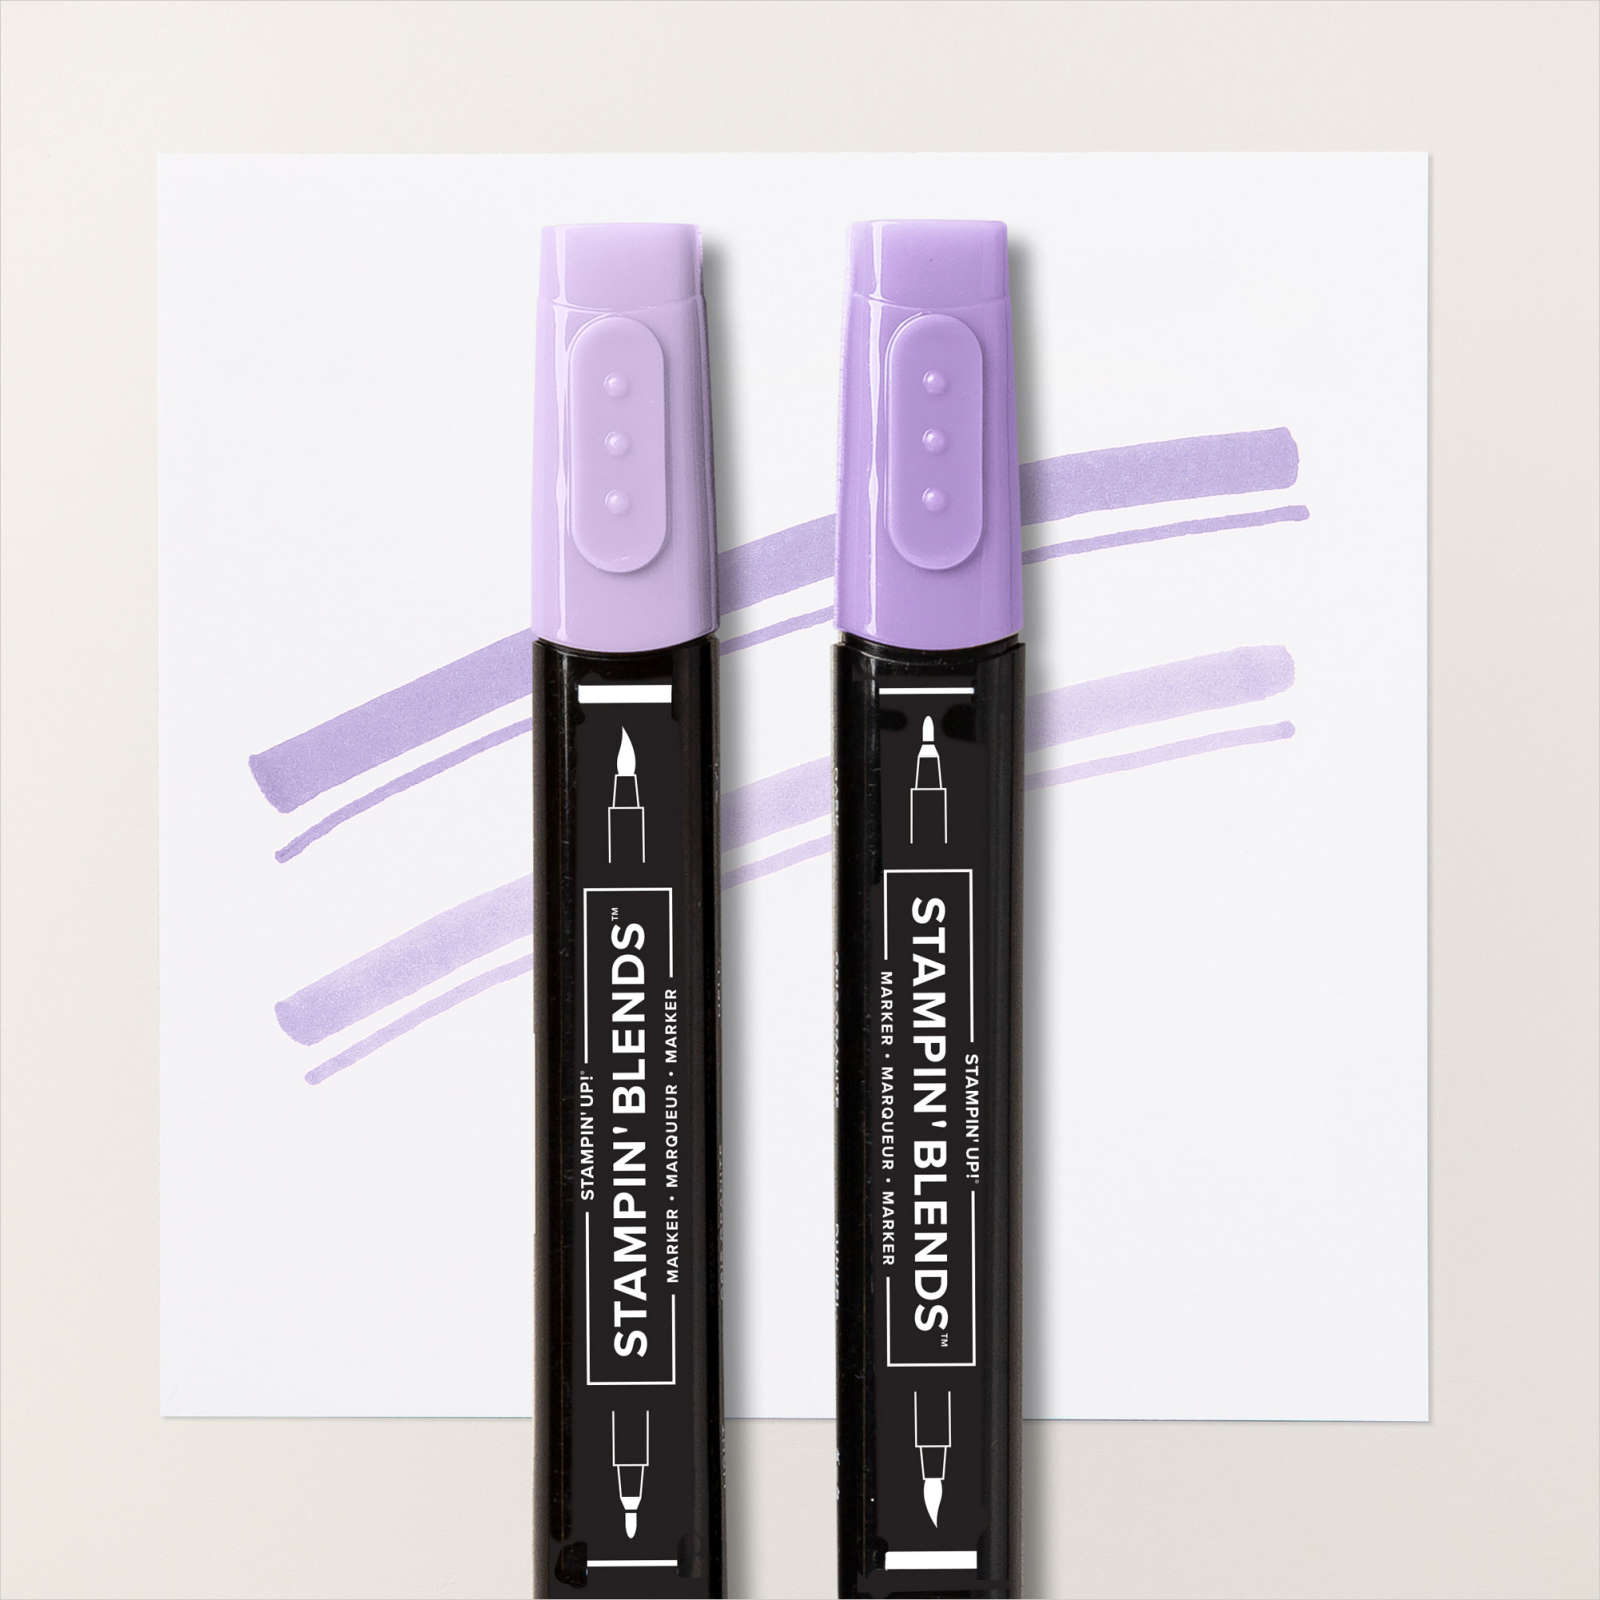
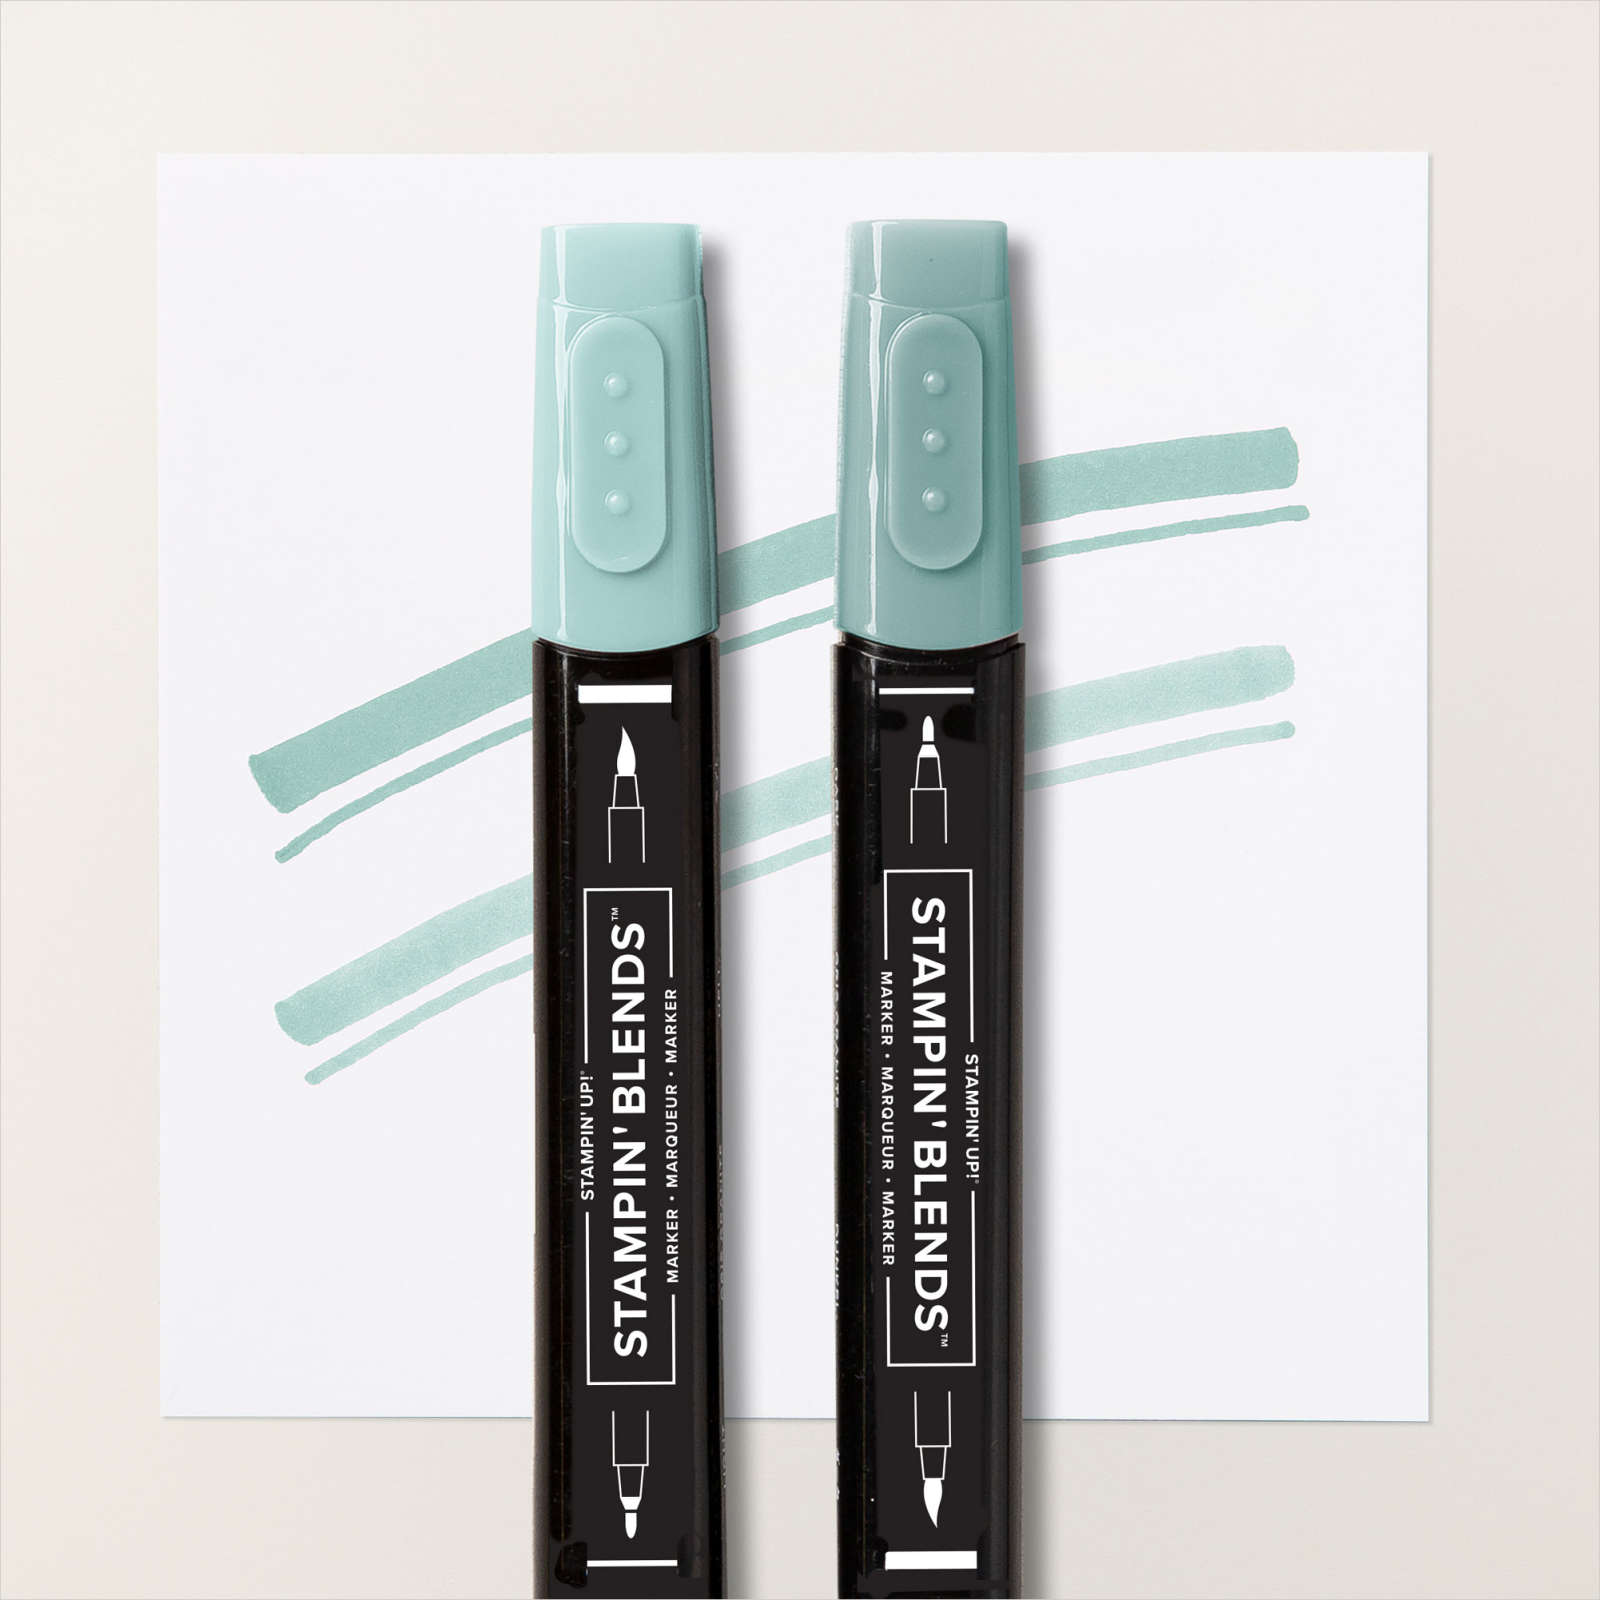
I coloured the image using Highland Heather and Lost Lagoon Stampin’ Blends. I cut out the image using one of the circles from the Stylish Shapes Dies. The image is attached to the card front using dimensionals where necessary. To decorate the inside of the card I stamped the greeting from the Simply Said stamp set onto Basic White card using Lost Lagoon ink. I stamped the smallest floral image from the Poised Peony stamp set beside the greeting using Memento Tuxedo Black ink. I coloured the image using Highland Heather and Lost Lagoon Stampin’Blends. The stamped panel is attached to the inside of the Lost Lagoon card base.
Bye for now,
Kris
Product Used:




Beautiful Birthday

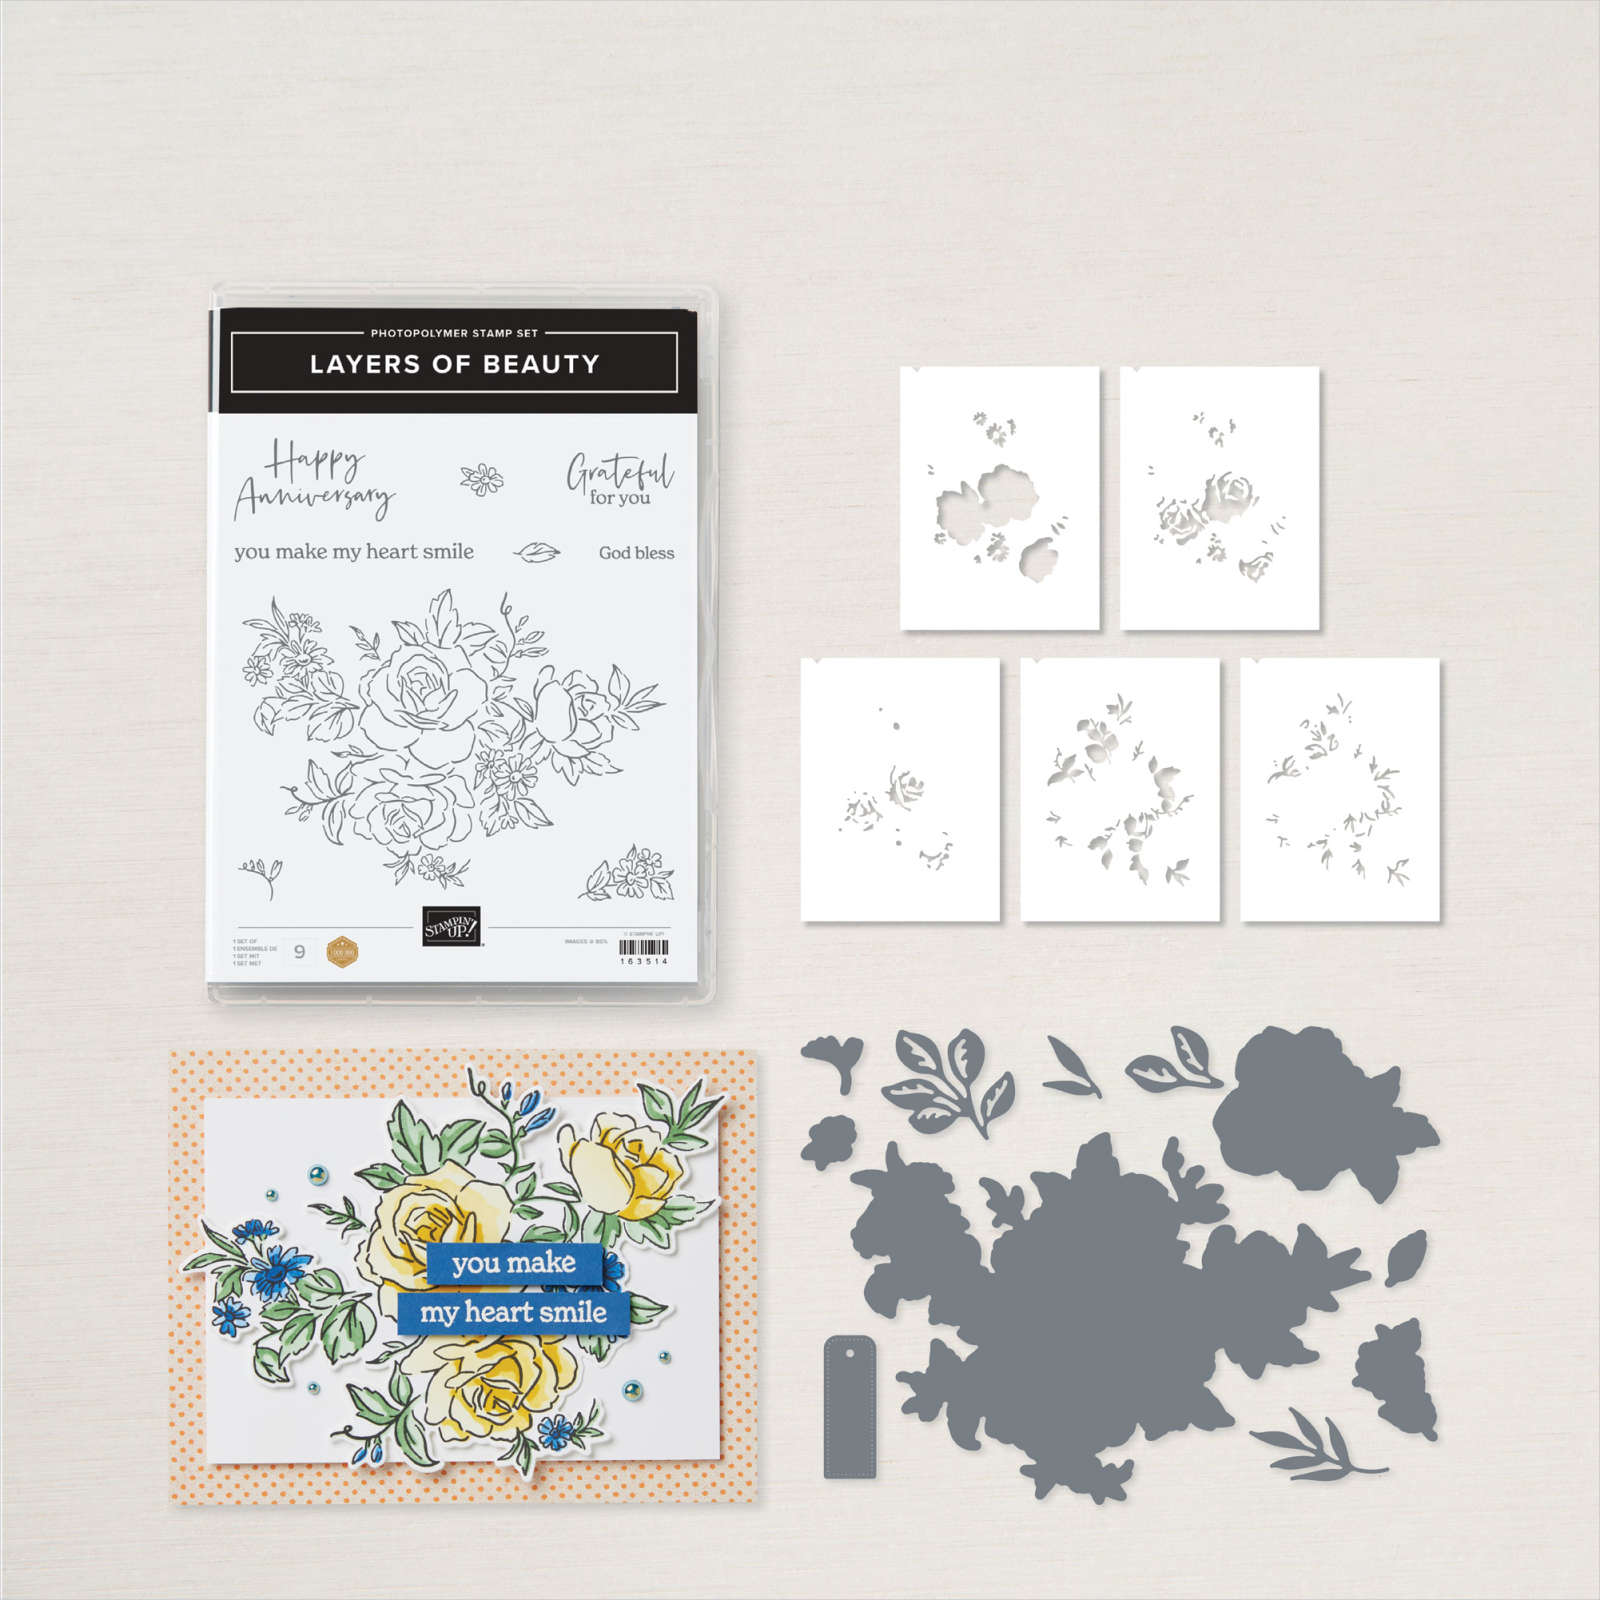
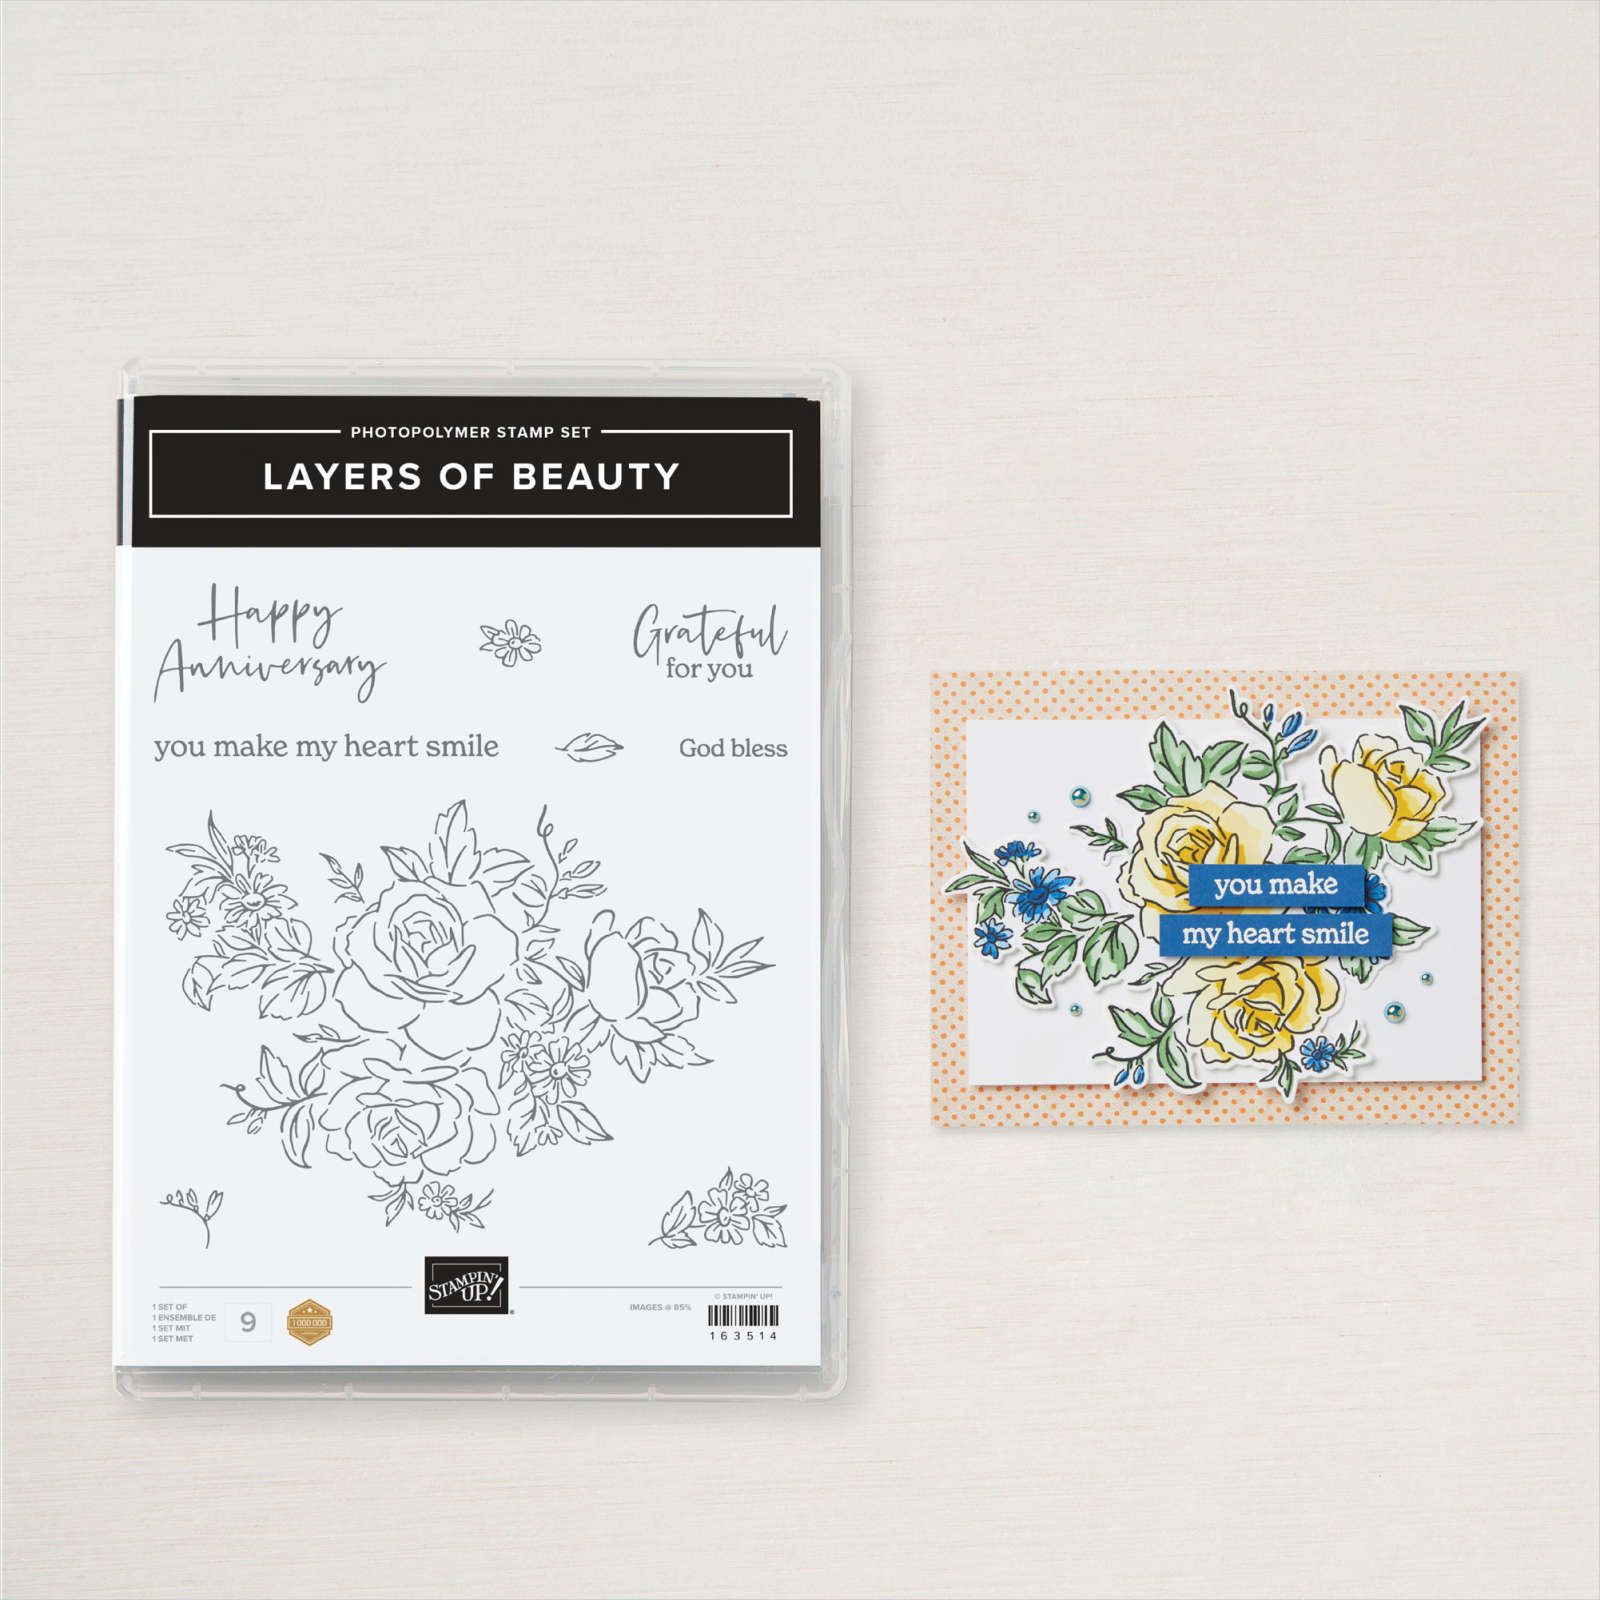
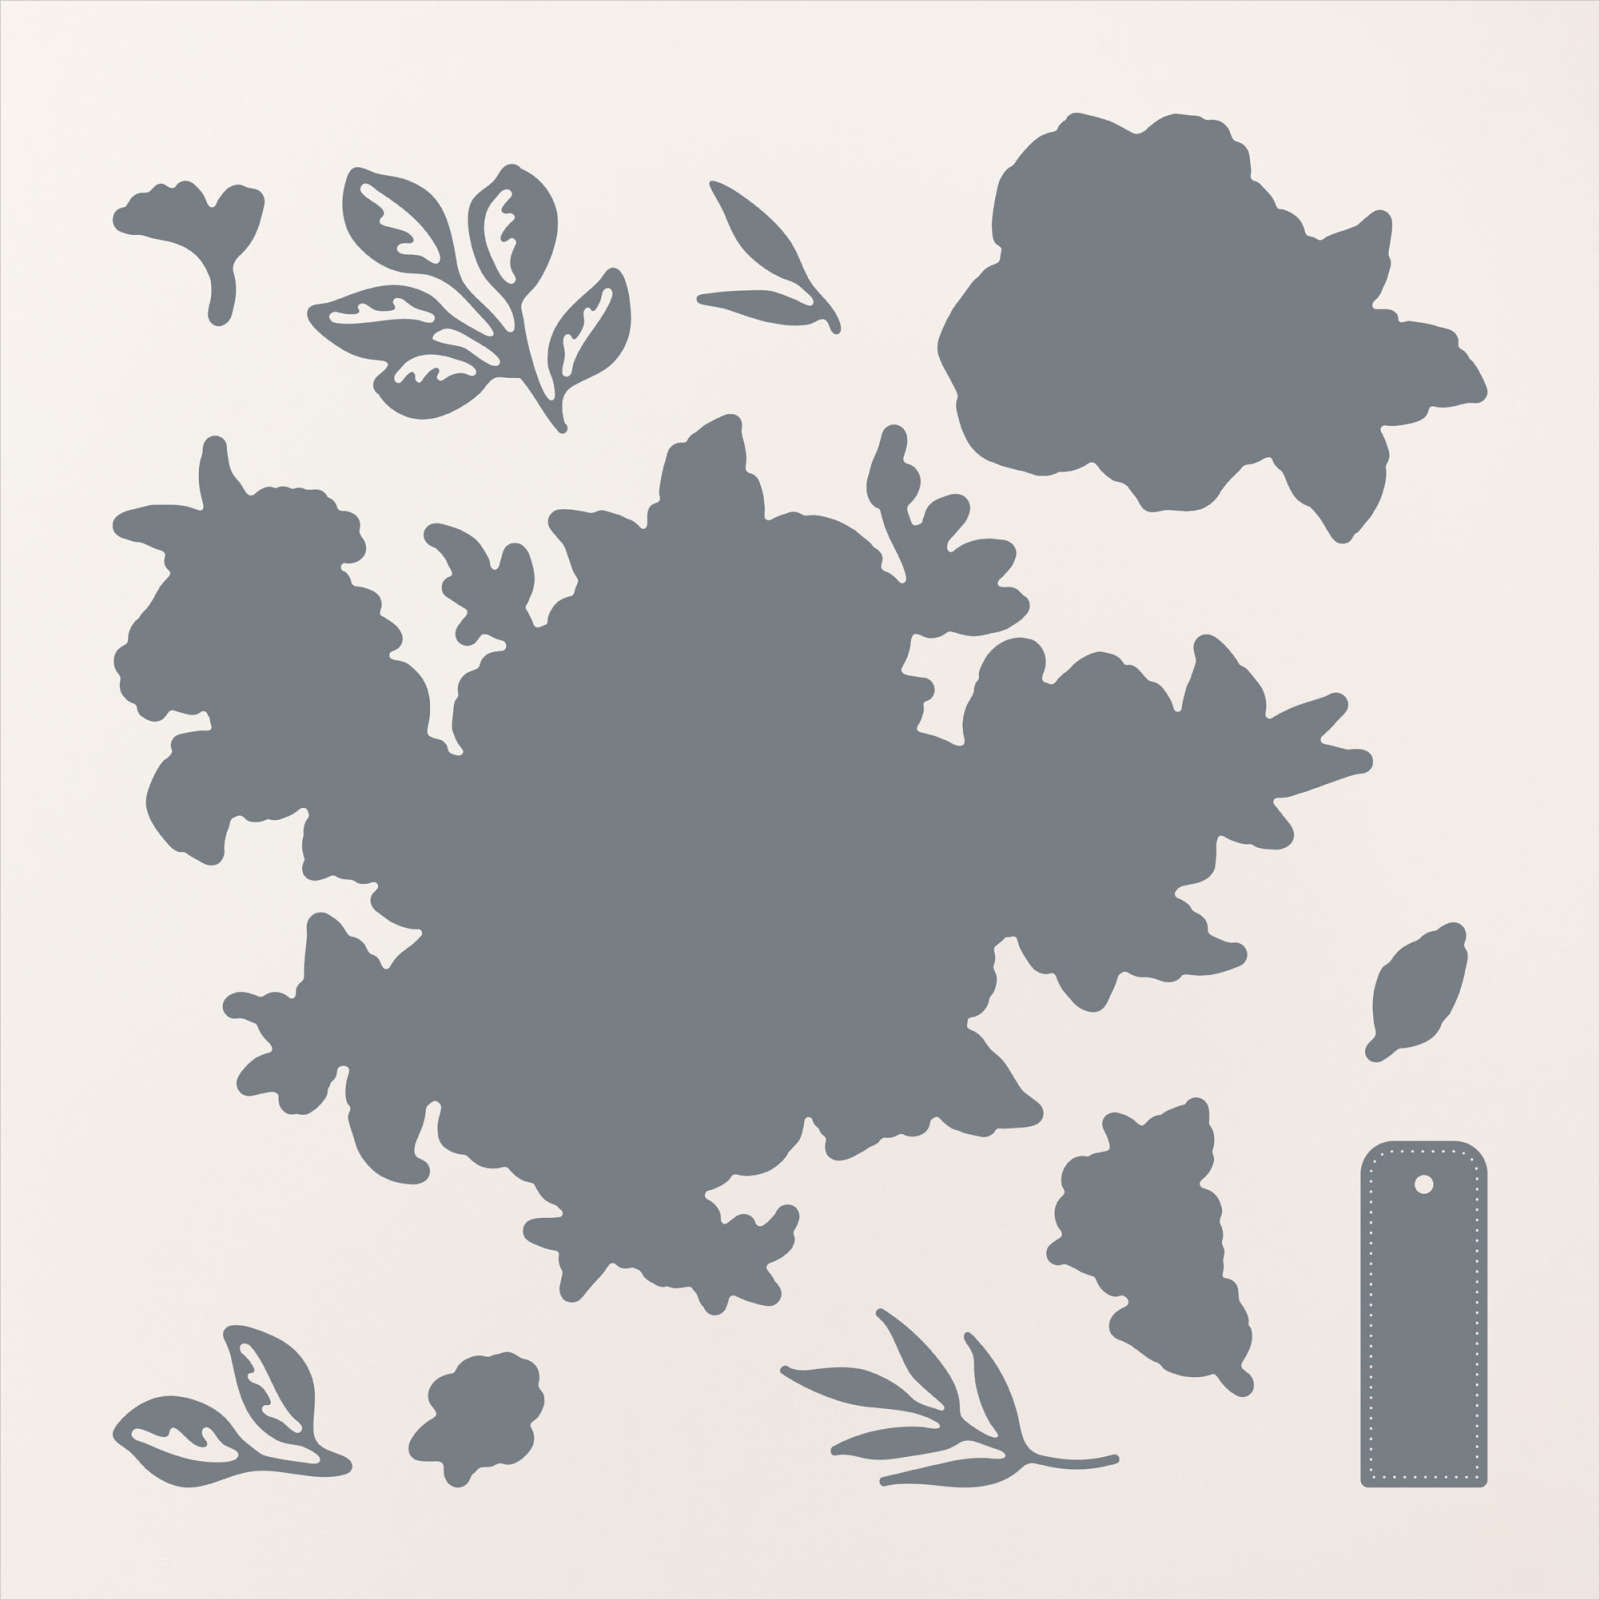
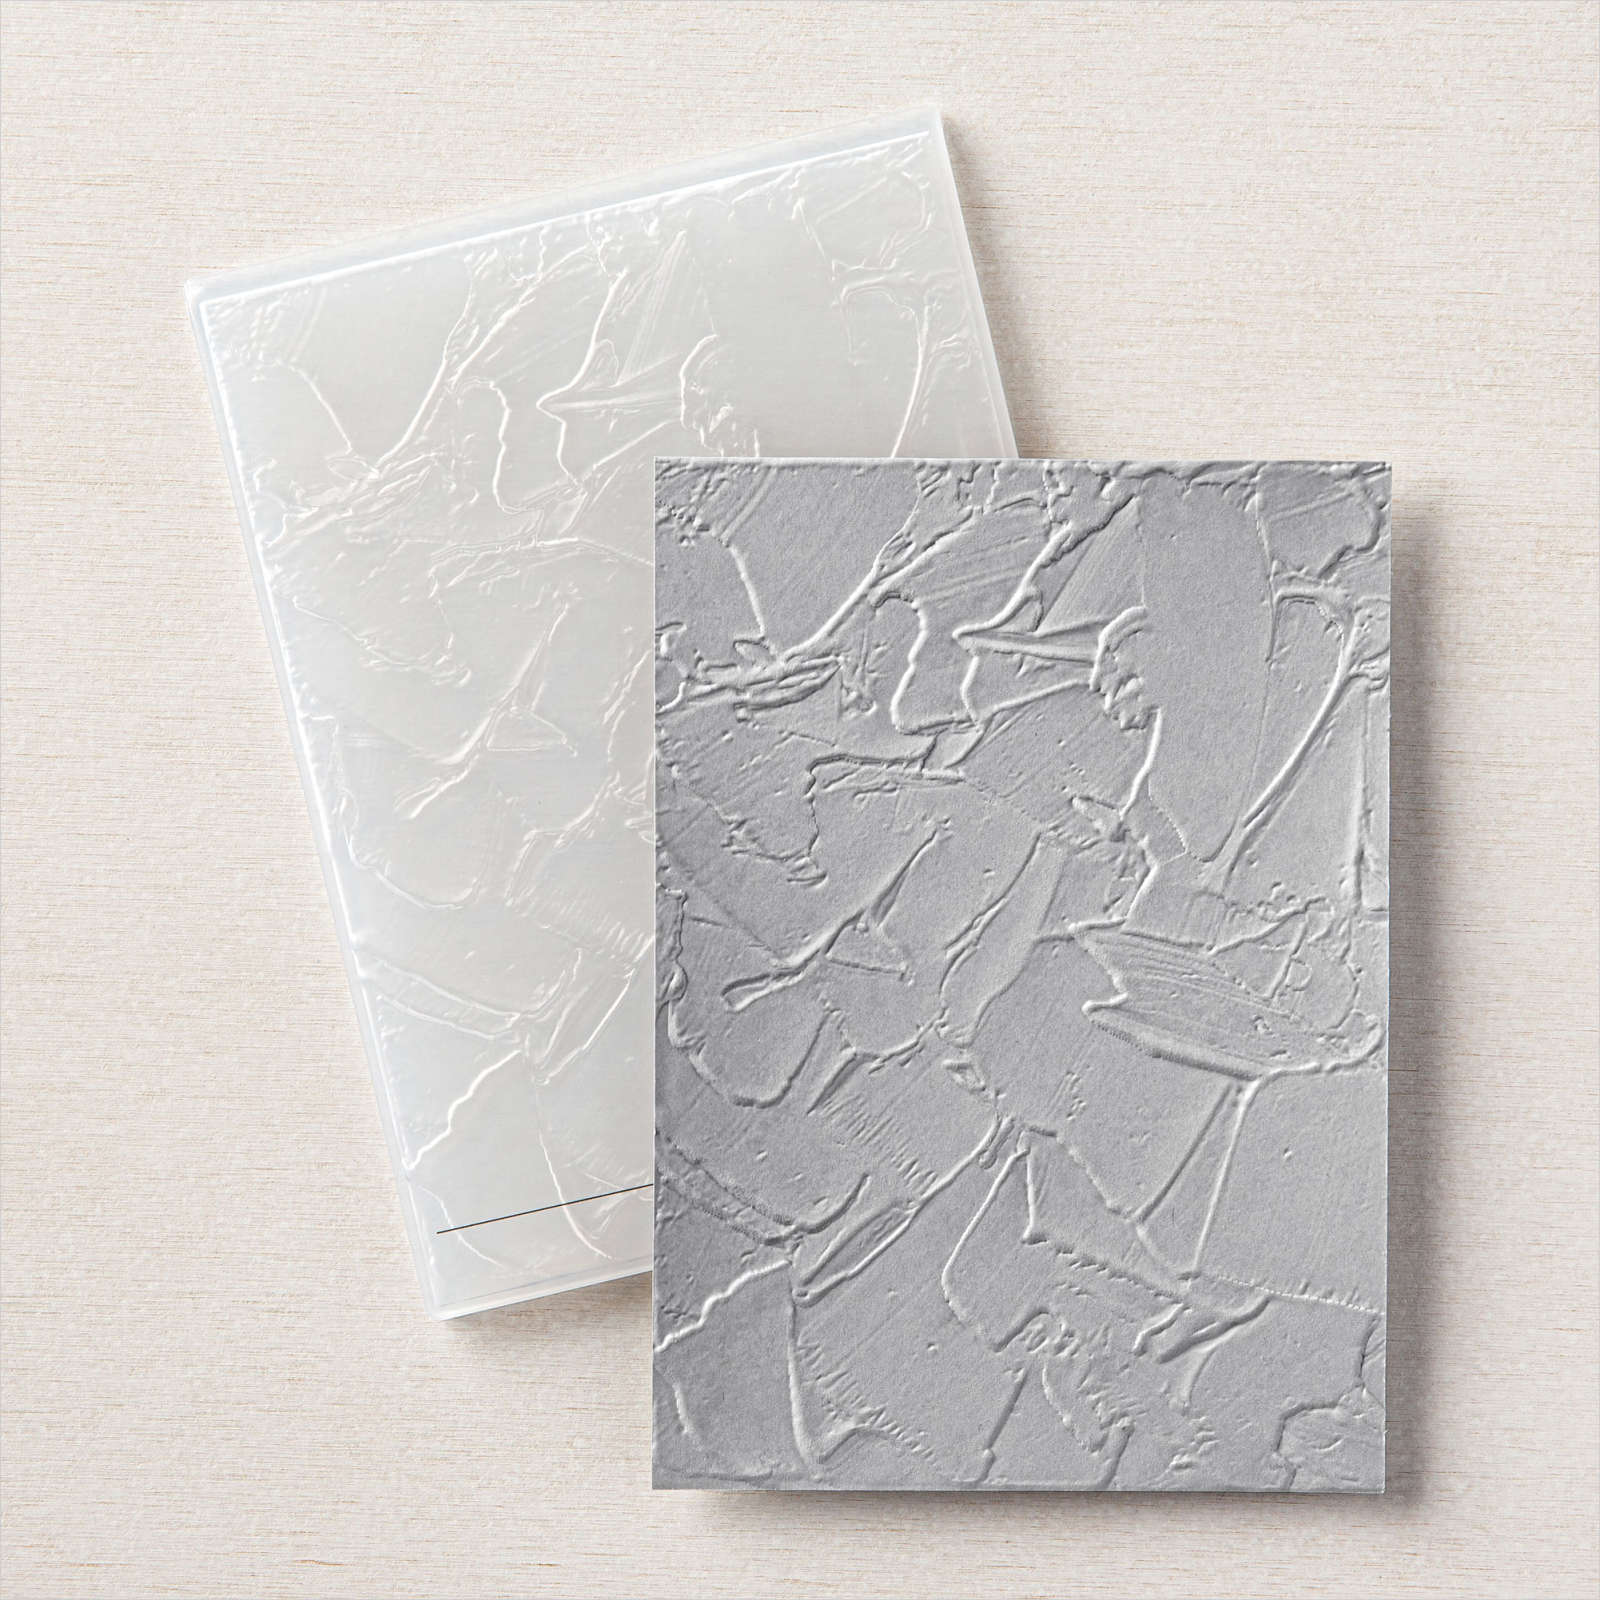
I thought I would share the birthday card I made for my youngest daughter using the Layers of Beauty Bundle. I embossed a piece of Basic White card using the Painted Texture 3D Embossing Folder and attached it to scored and folded Granny Apple Green card. I stamped the large flower from the Layers of Beauty stamp set onto Basic White card using Memento Tuxedo Black ink.

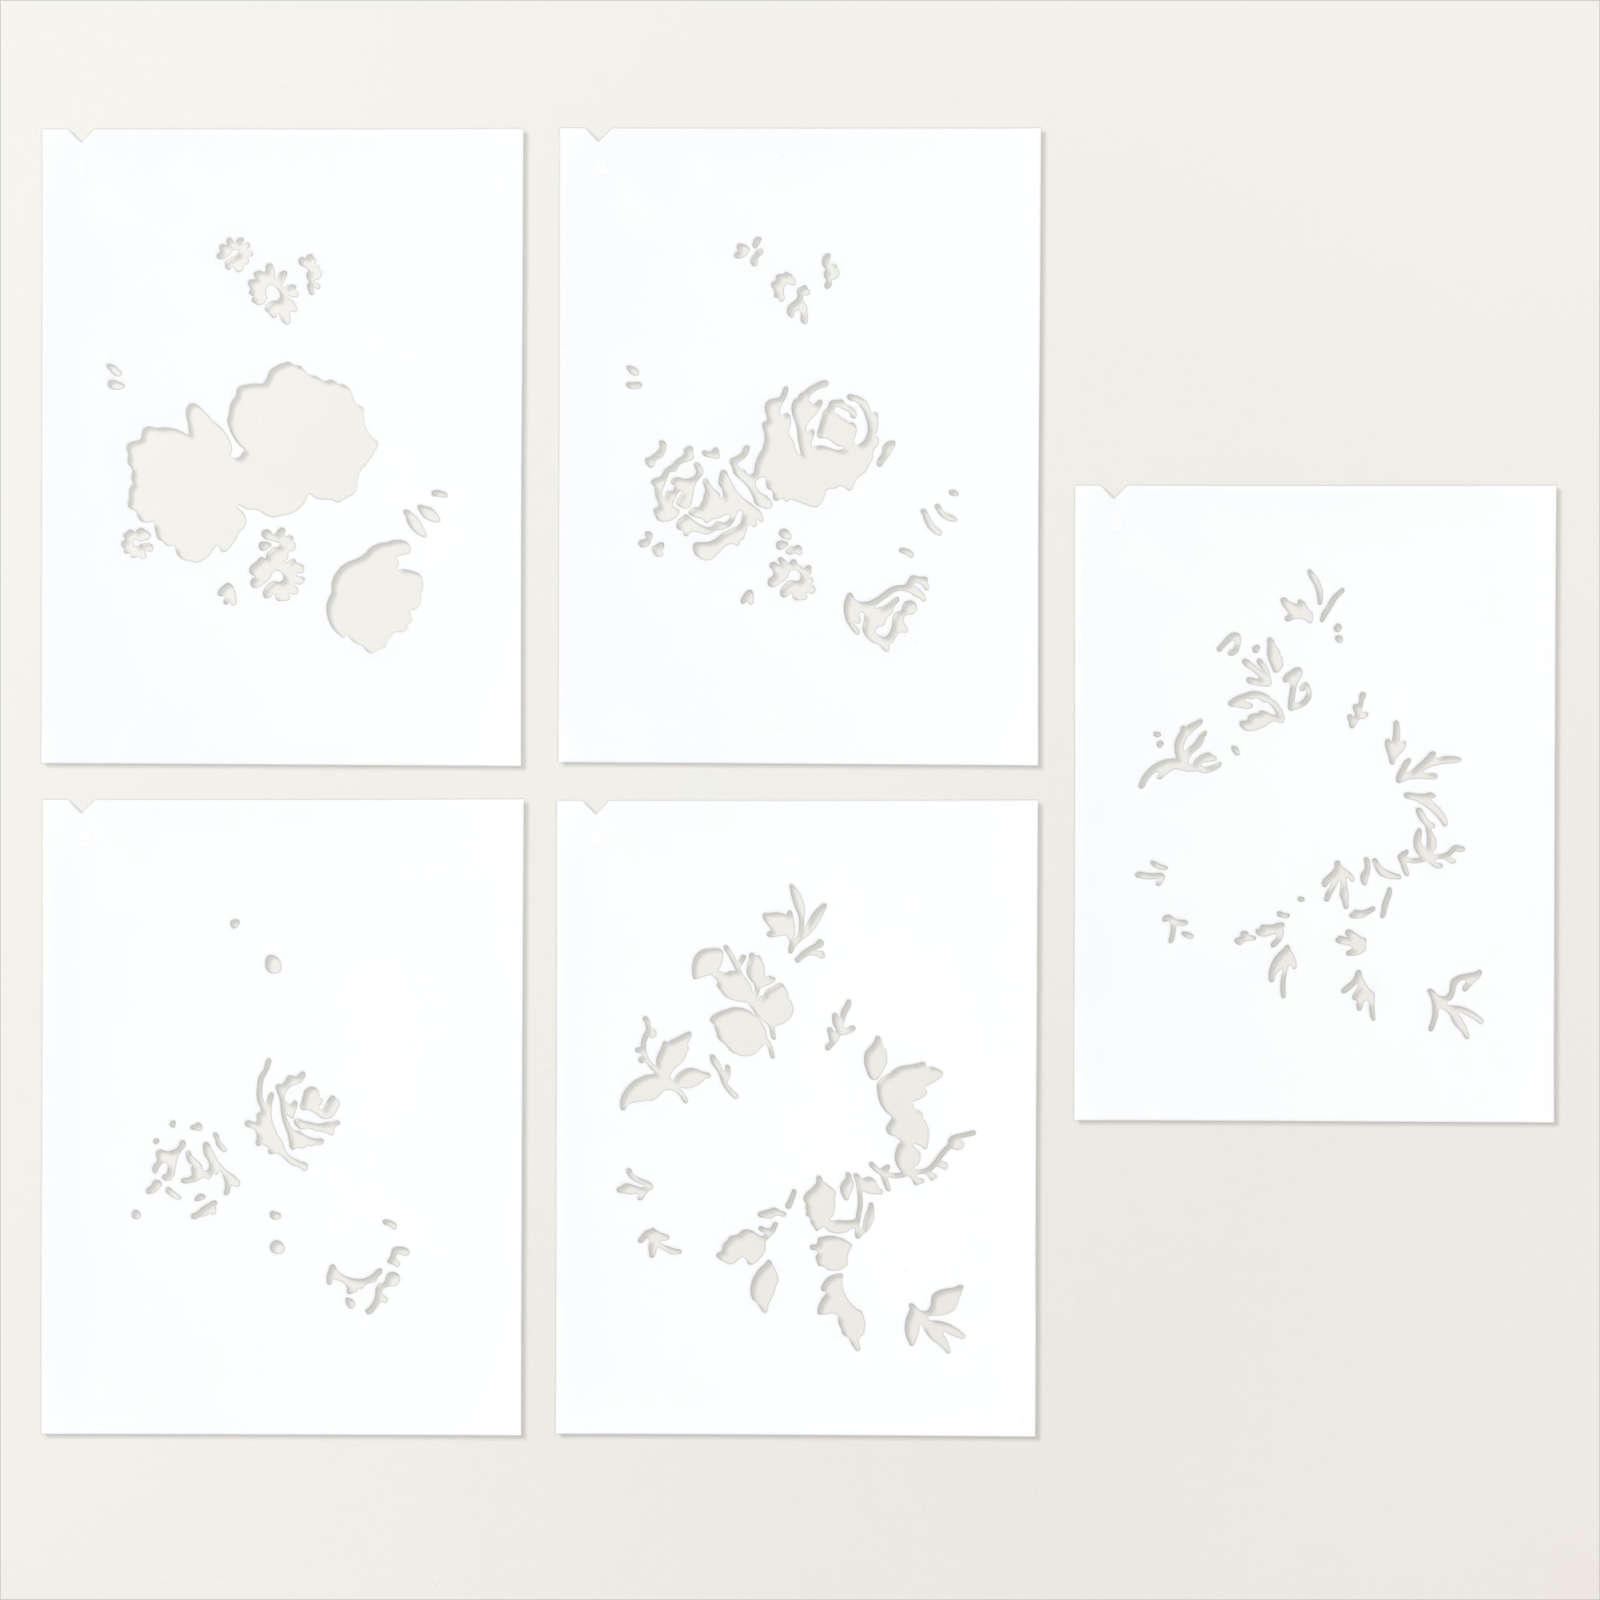
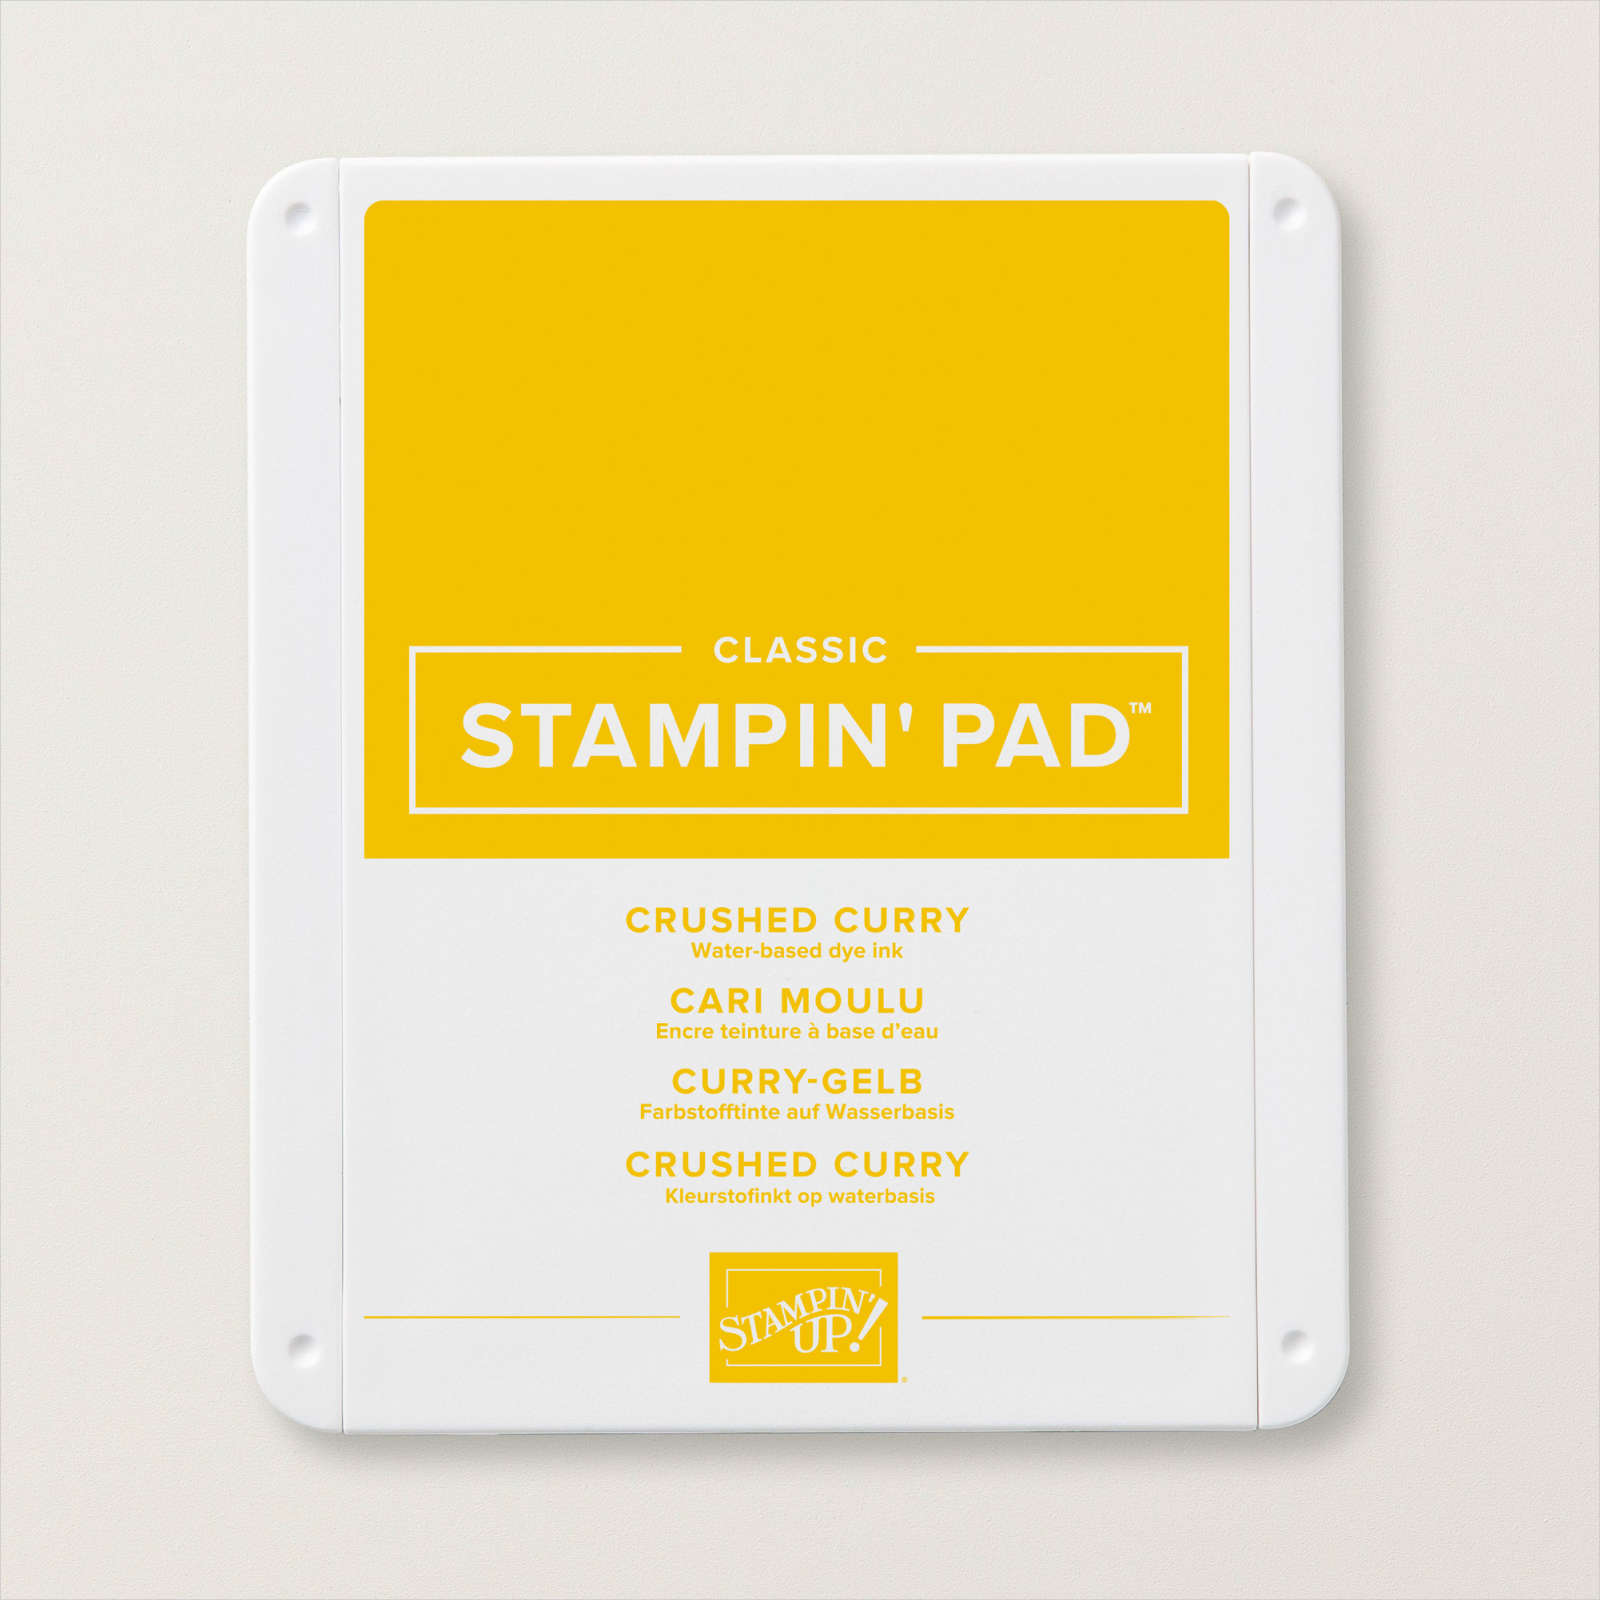
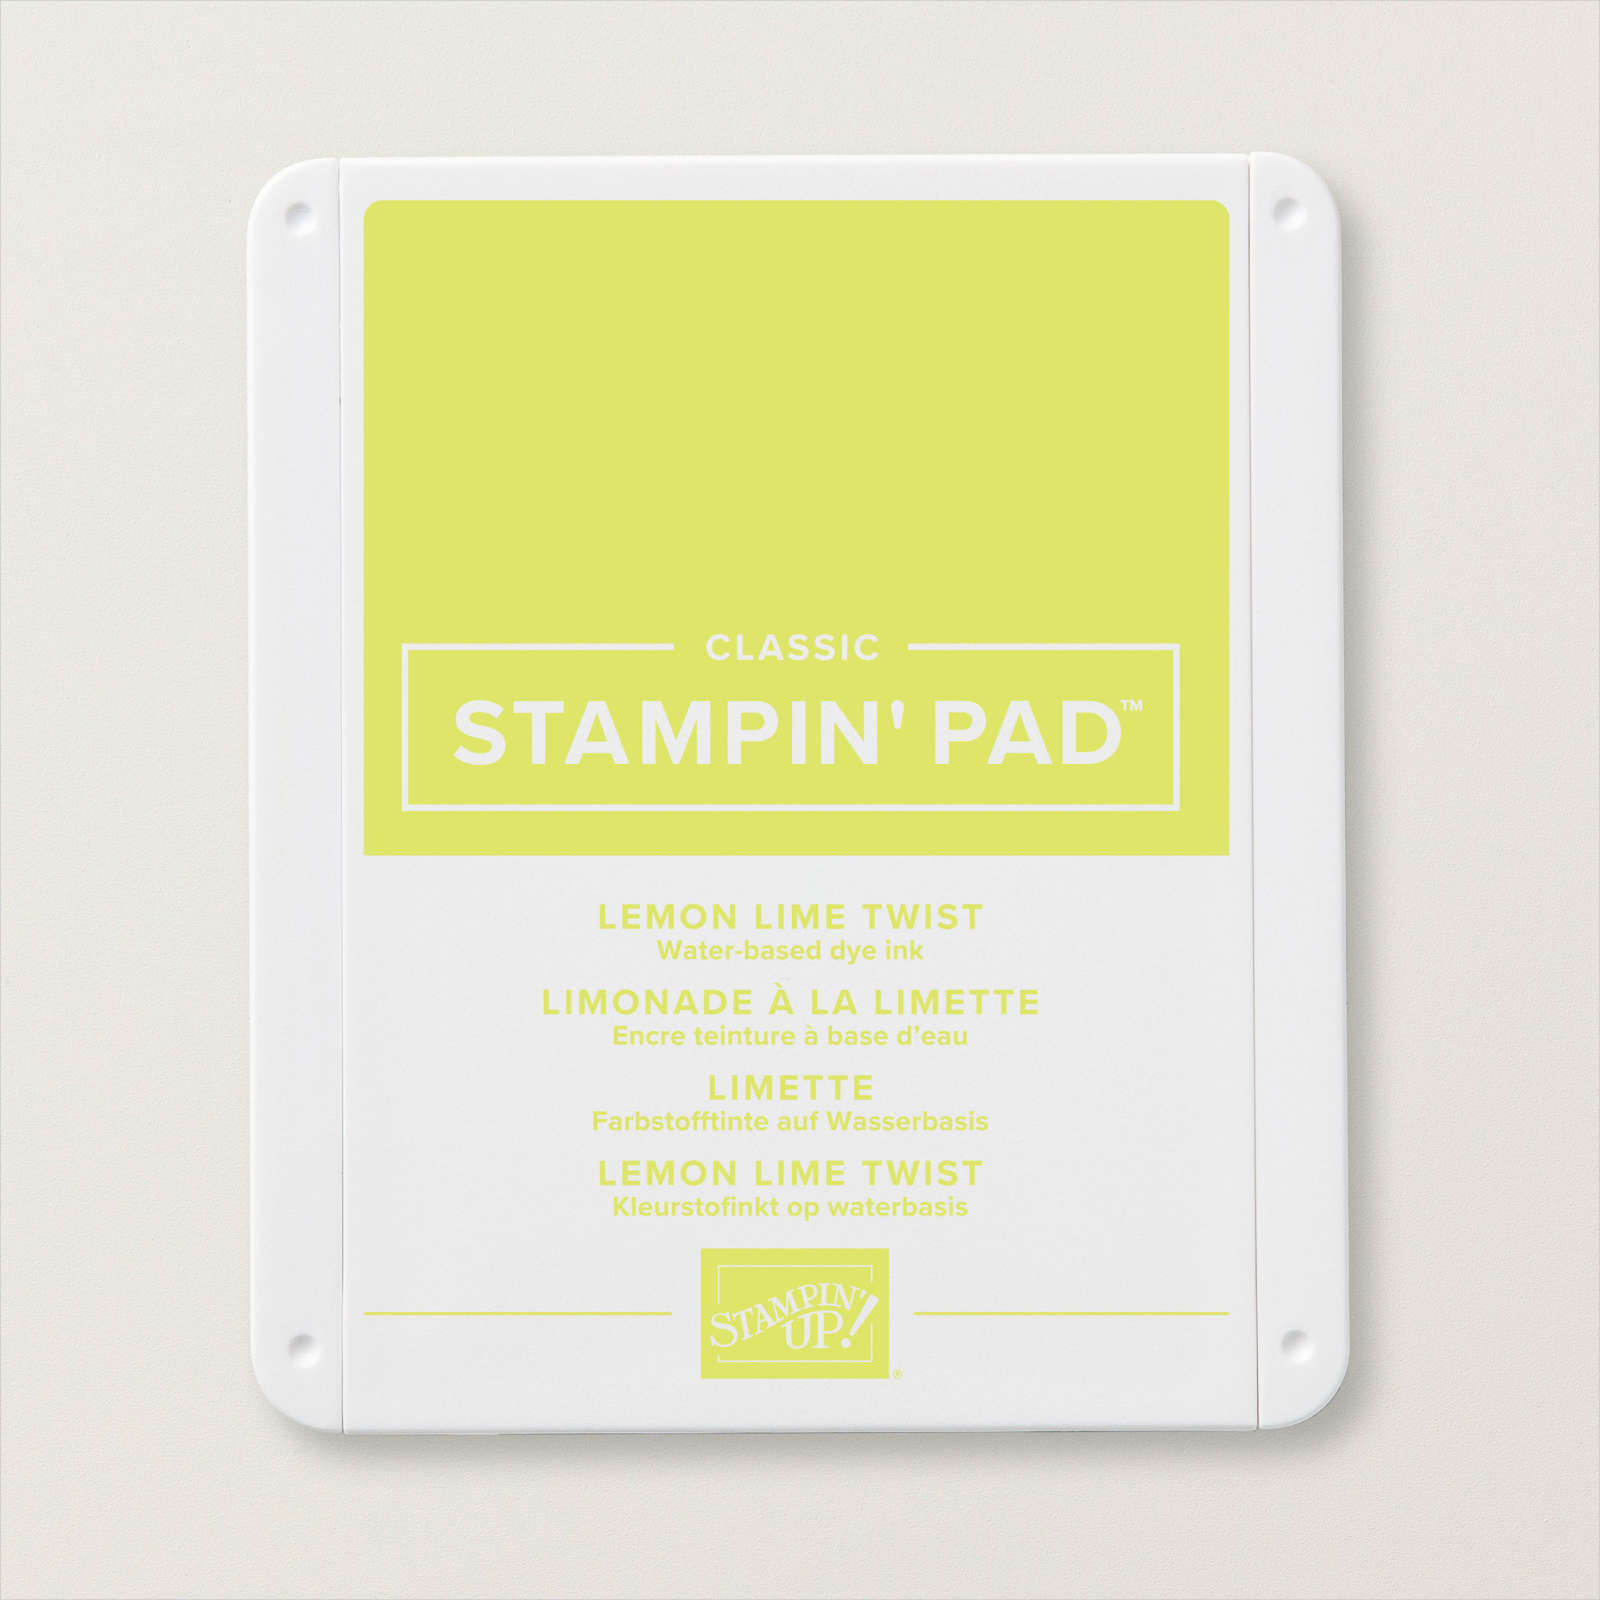
I used the Layers of Beauty Decorative Masks to add Daffodil Delight, Crushed Curry, Lemon Lime Twist and Granny Apple Green to the flower. I used the co-ordinating Layers of Beauty Die to cut out the flower. I attached the image to the embossed Basic White card. I stamped “happy birthday” from the Simply Said stamp set onto Basic White card using Granny Apple Green ink. I used one of the Happy Little Things Dies to cut out the greeting. I cut Granny Apple Green card using one of the banners from the Stylish Shapes Dies.

I attached the banners together before attaching them to the card front using dimensionals. To decorate the inside of the card, I stamped a greeting from the Unbounded Love stamp set onto Basic White card using Granny Apple Green ink. I stamped part of the large floral image onto Basic White Card and coloured it using the Layers of Beauty Decorative Masks and the same ink colours as before. I used the single flower die to cut out the flower. I also cut Granny Apple Green card using one of the leaf dies from the Layers of Beauty Dies. I attached the flower and leaf to the lower left hand corner of the stamped Basic White card before attaching the panel inside the card base. I love how pretty this card is and so did my daughter.
Bye for now,
Kris
Product Used:


‘P’ Plater

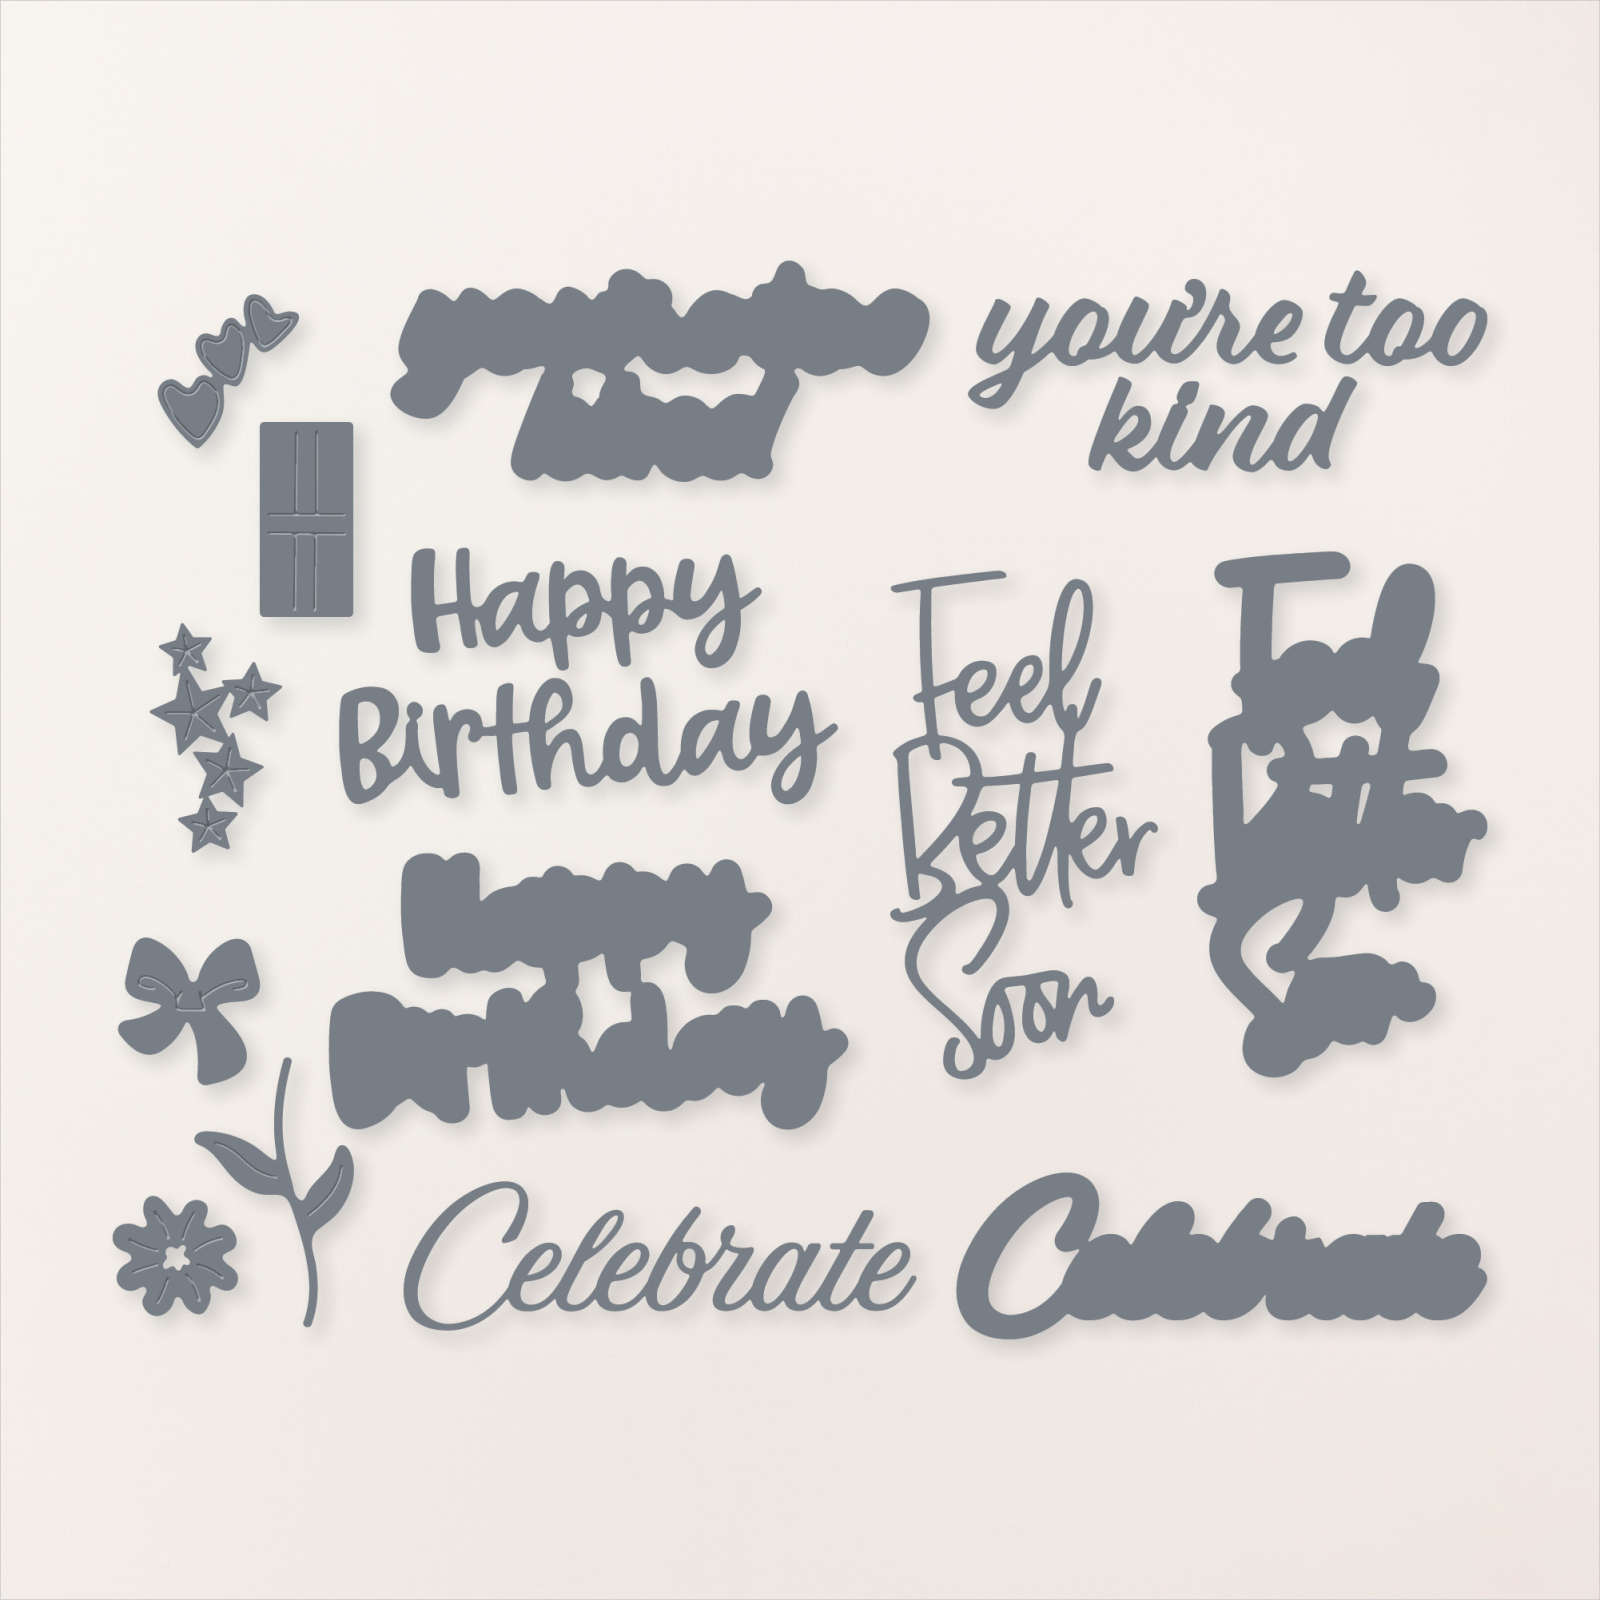
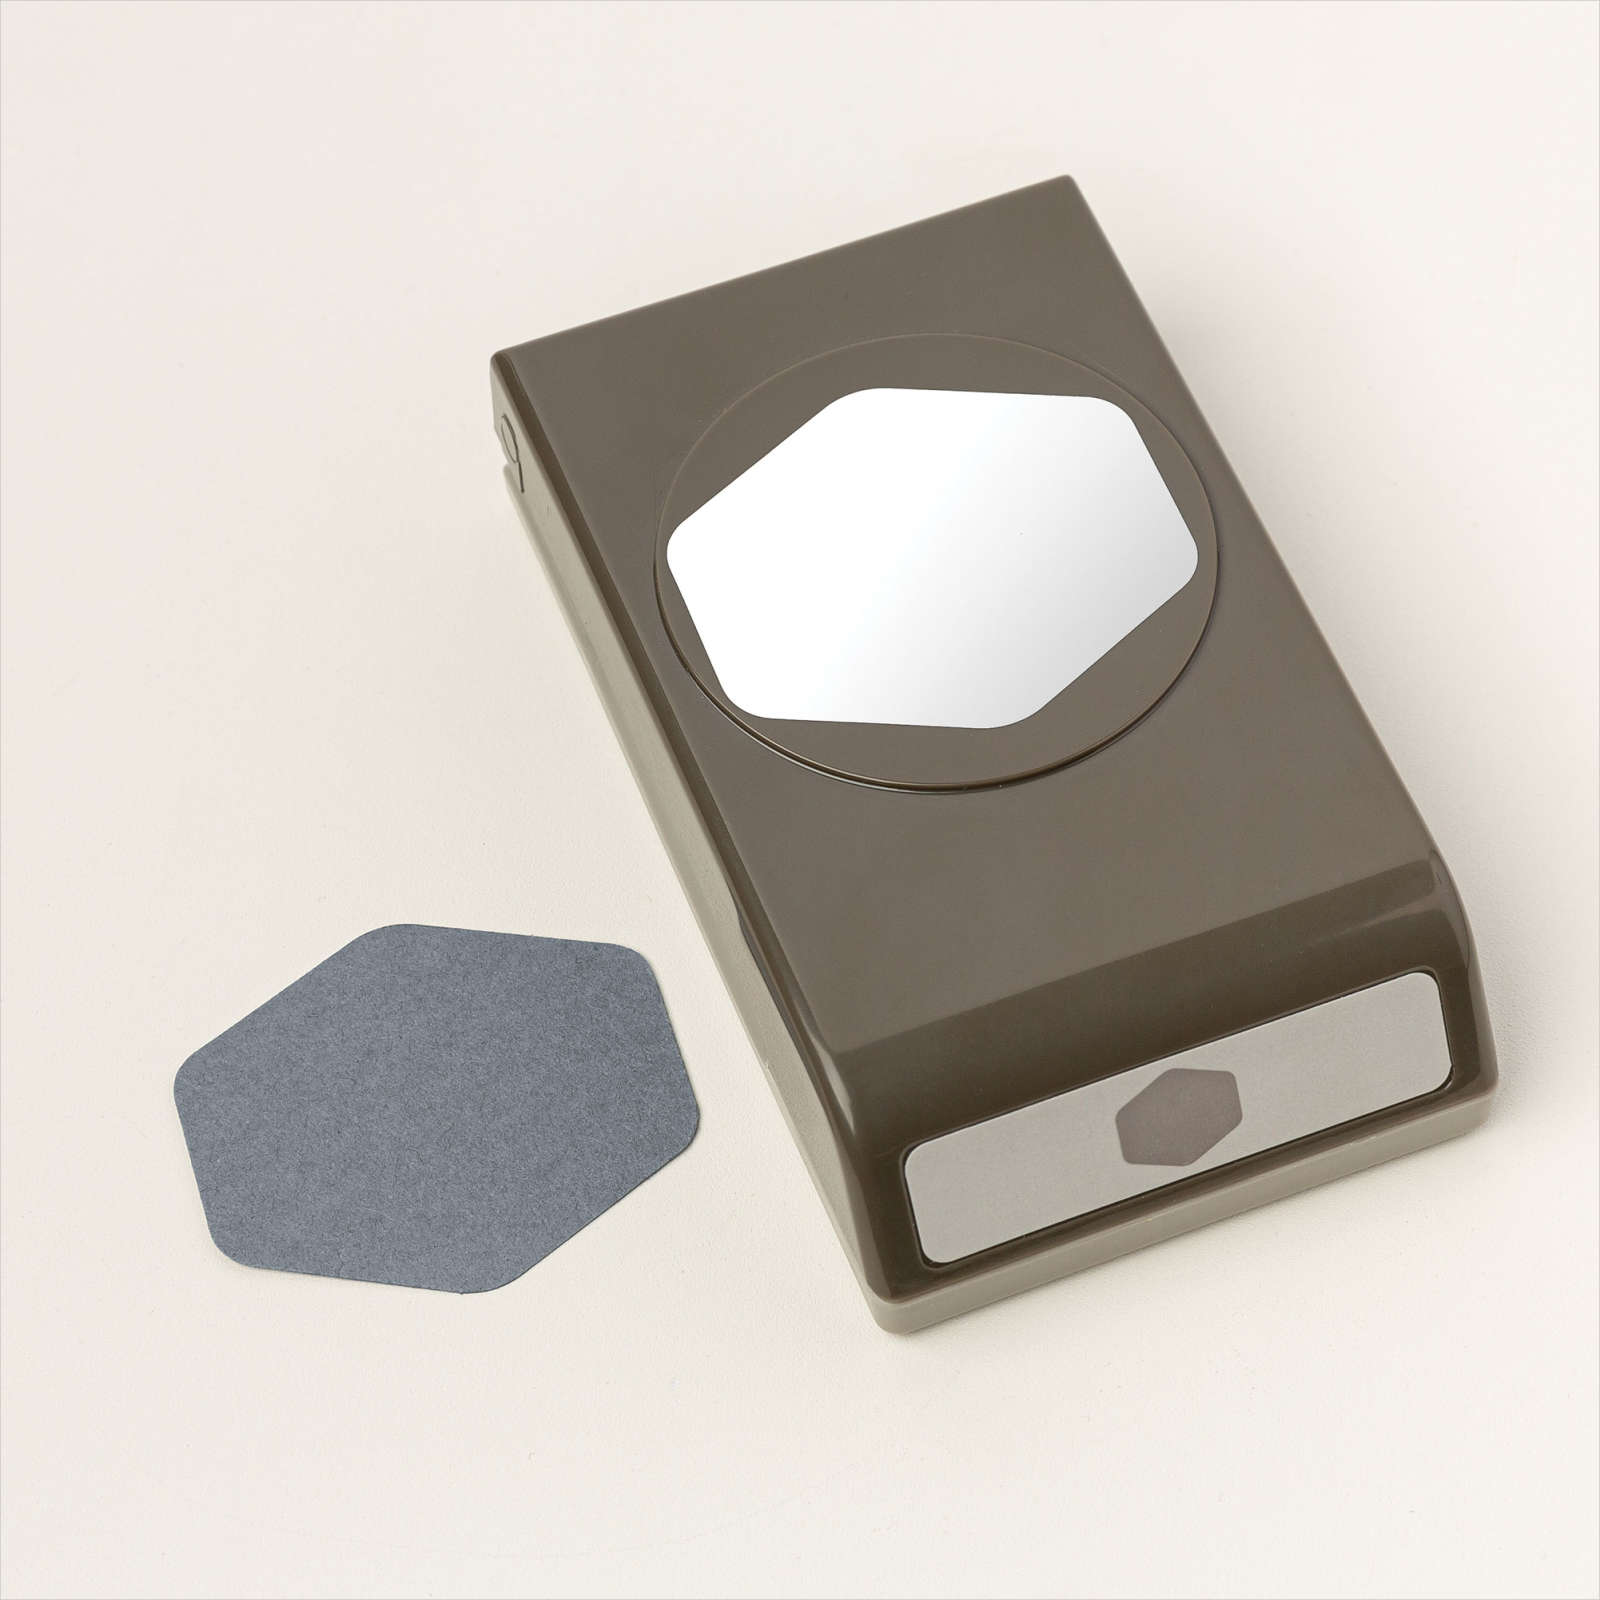
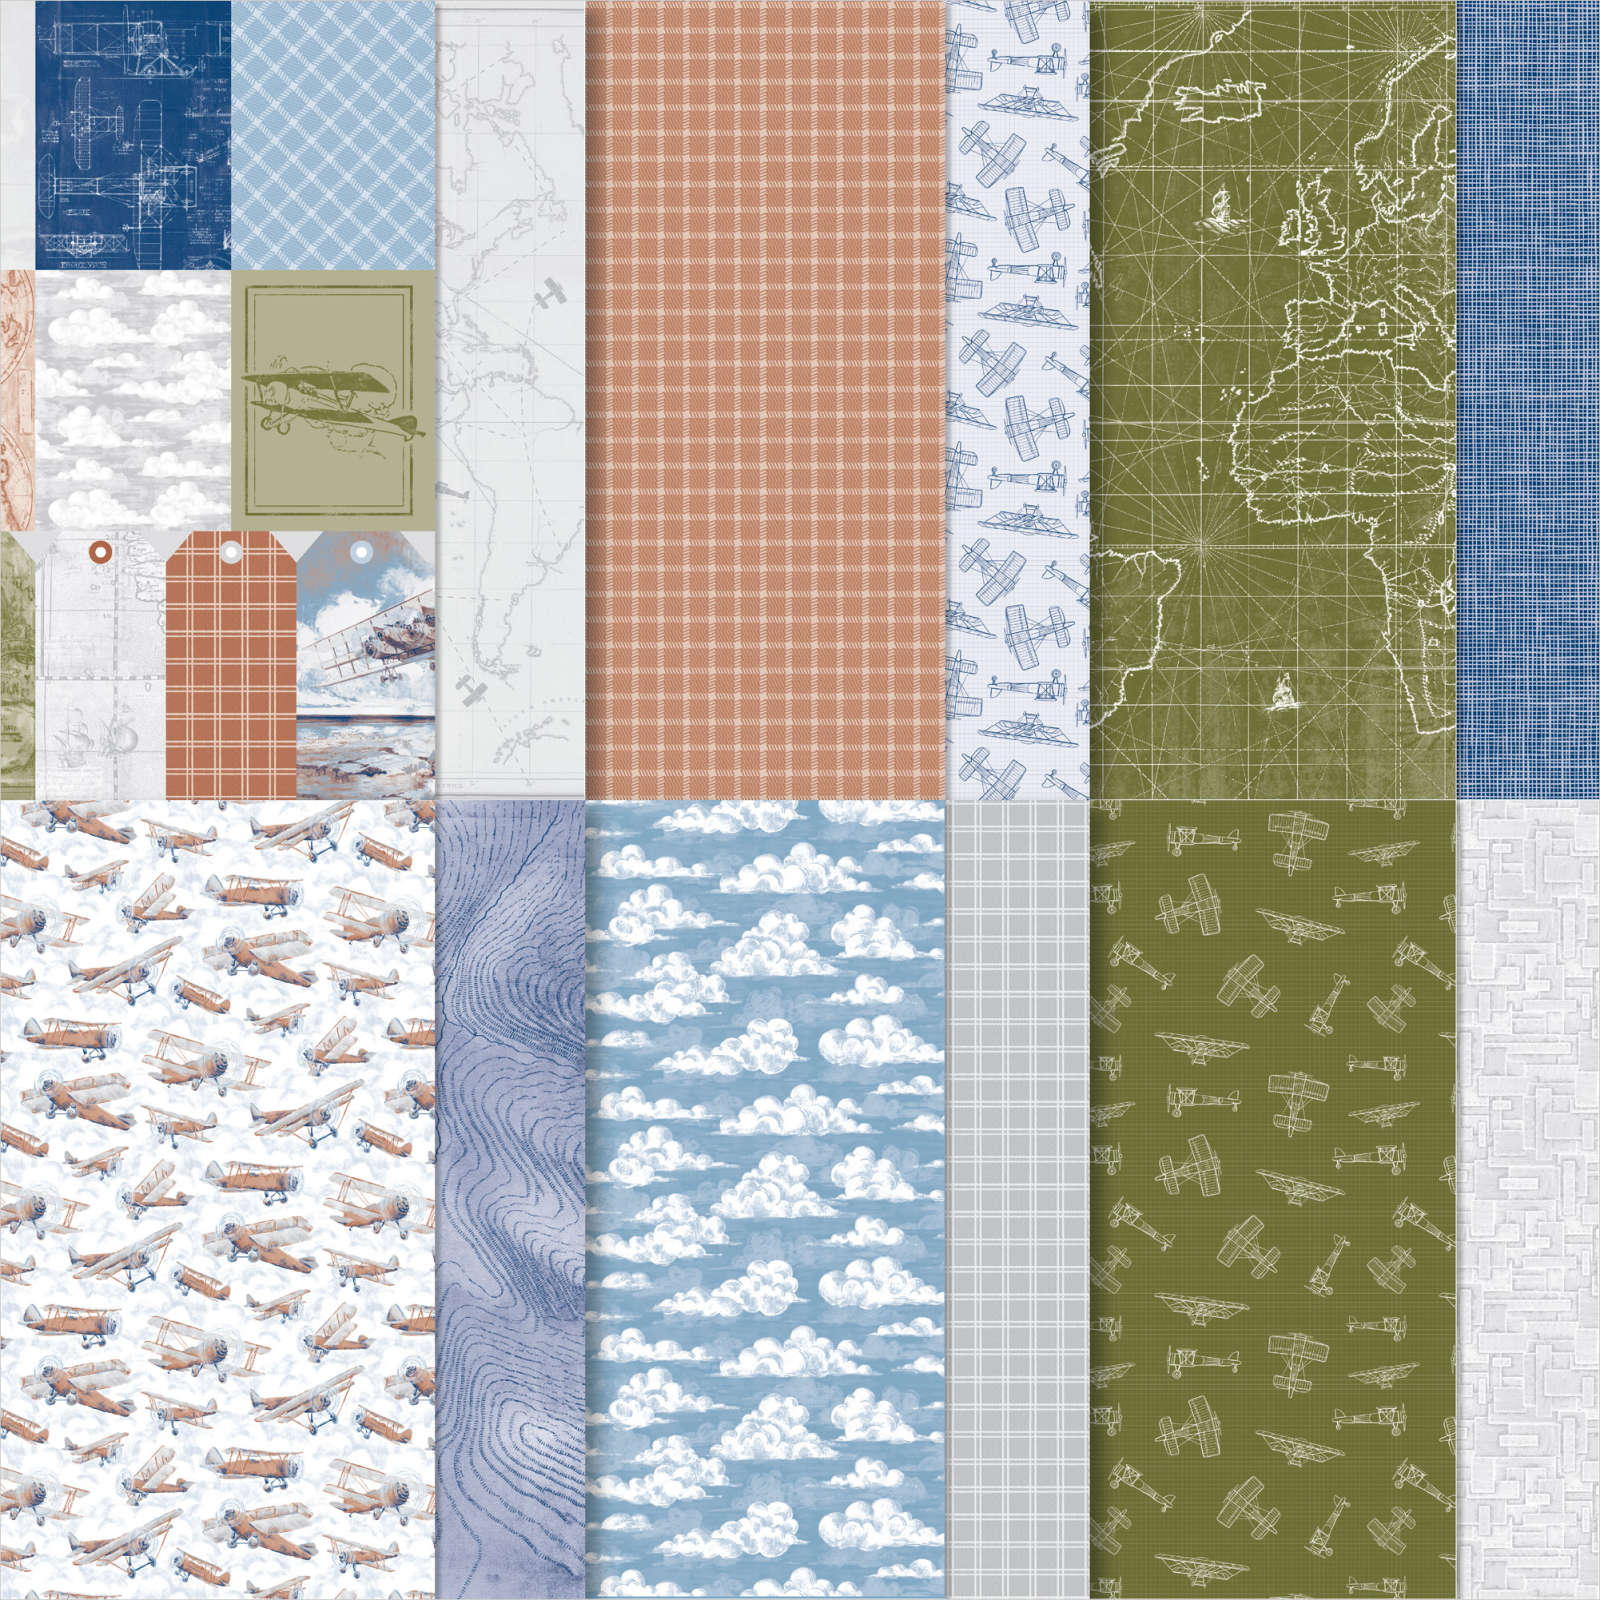
Today’s page shows off a couple of photos the day my youngest grandson got his ‘P’ Plates. The look on his face says it all! I layered up some pieces of the Take to the Sky 12″ x 12″ Designer Series Paper onto a Basic White 12″ x 12″ page. I attached a strip of Night of Navy card, which has one end punched using the Heartfelt Hexagon Punch, across the Designer Series Paper. I attached my photos so that they both sit onto the Night of Navy card. I printed the title onto Basic White card and punched one end using the Heartfelt Hexagon Punch. I cut two strips of the Take to the Sky Designer Series Paper and punched one end of each using the Heartfelt Hexagon Punch. The title is attached to the Night of Navy card strip and the Designer Series Paper either side. I cut “celebrate” from Basic White and Night of Navy A4 card using the Wanted to Say Dies. The die cuts are attached together and then to the page. I love how this page turned out. So exciting for him.
Bye for now,
Kris
Product Used:
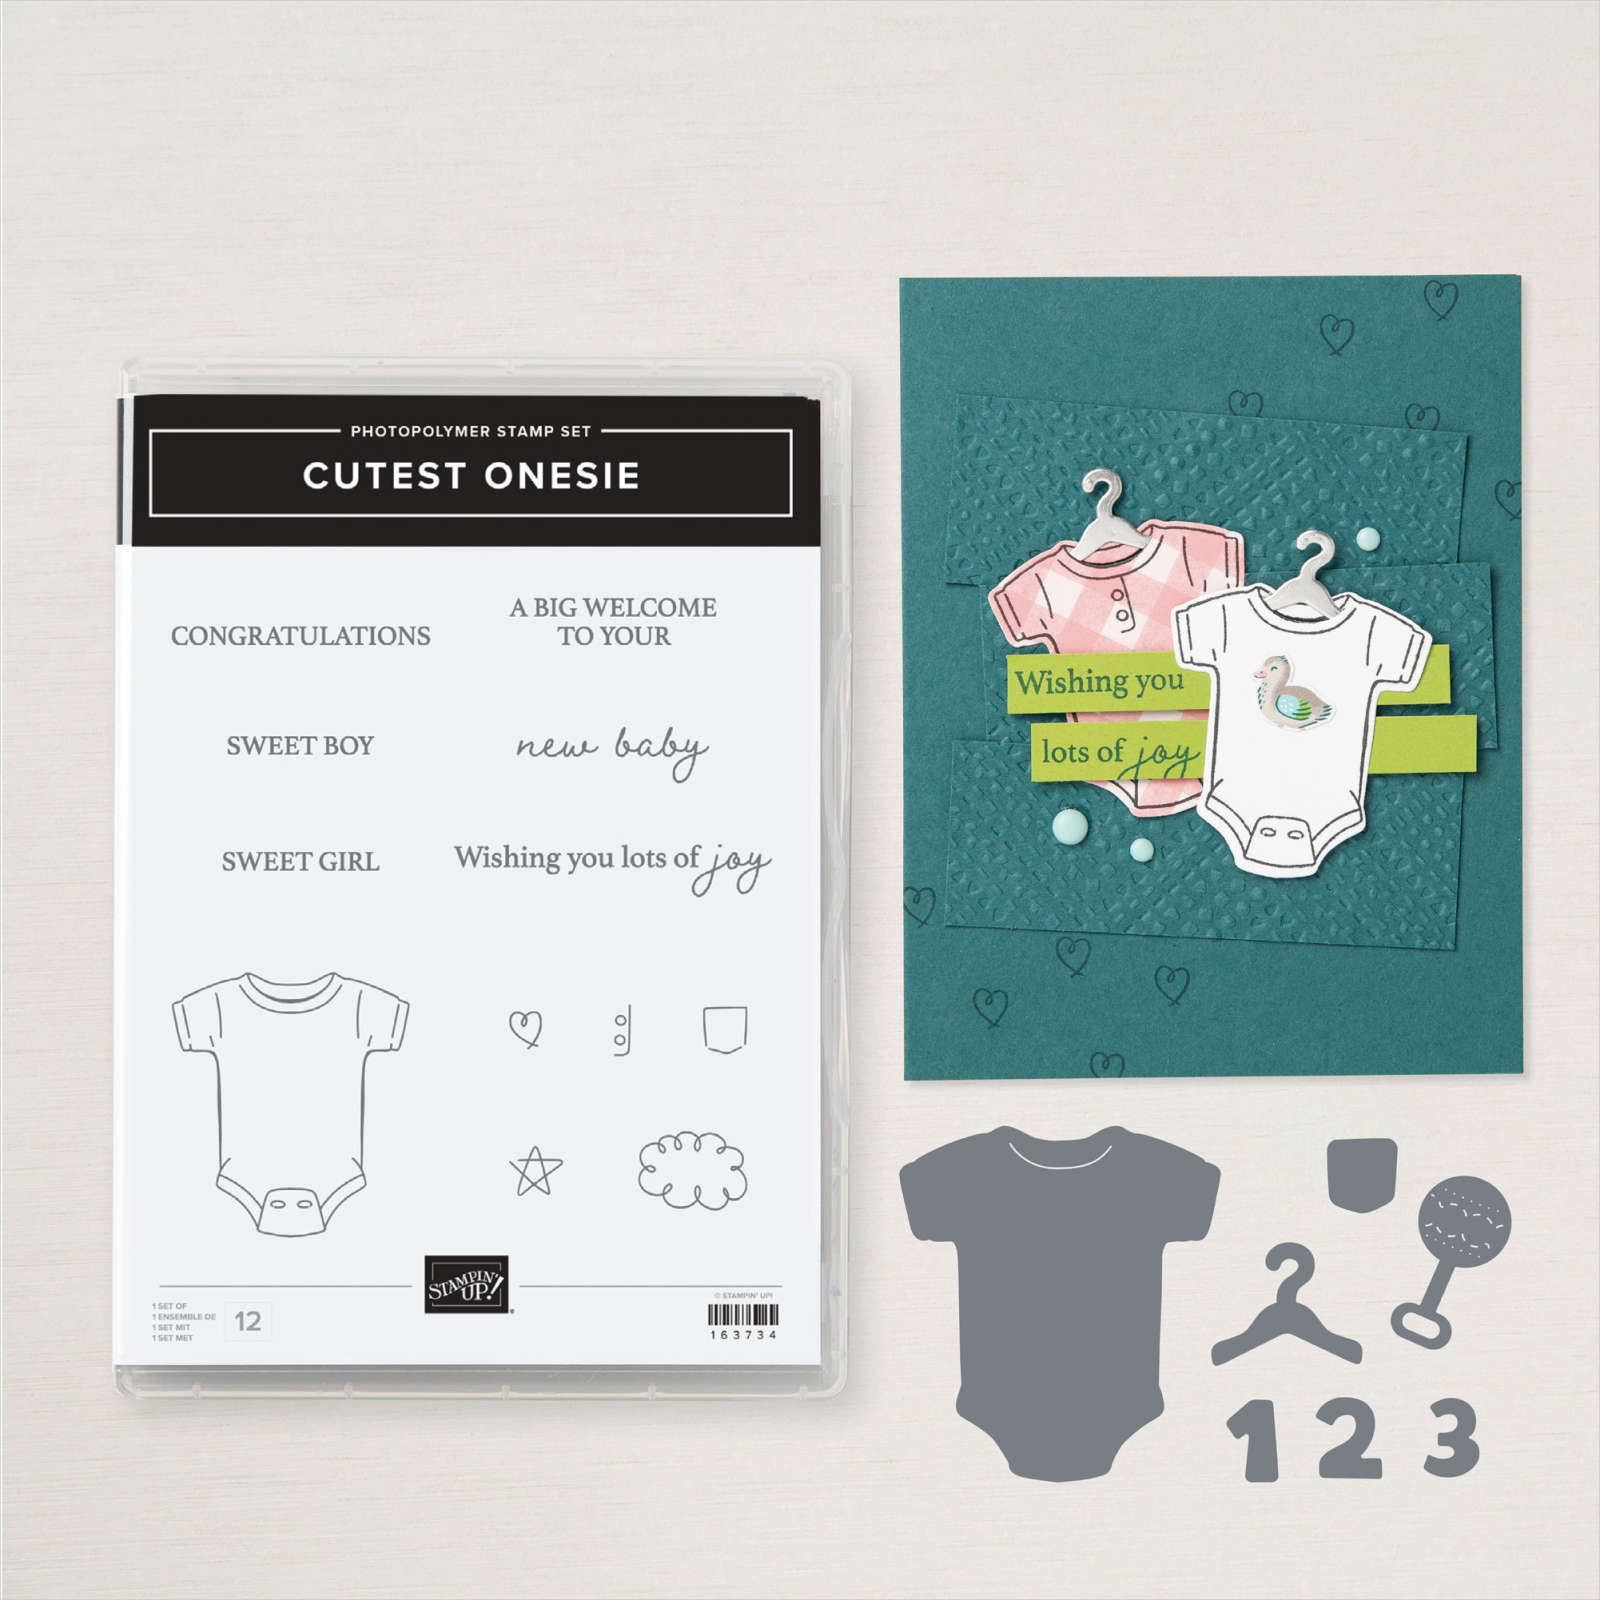
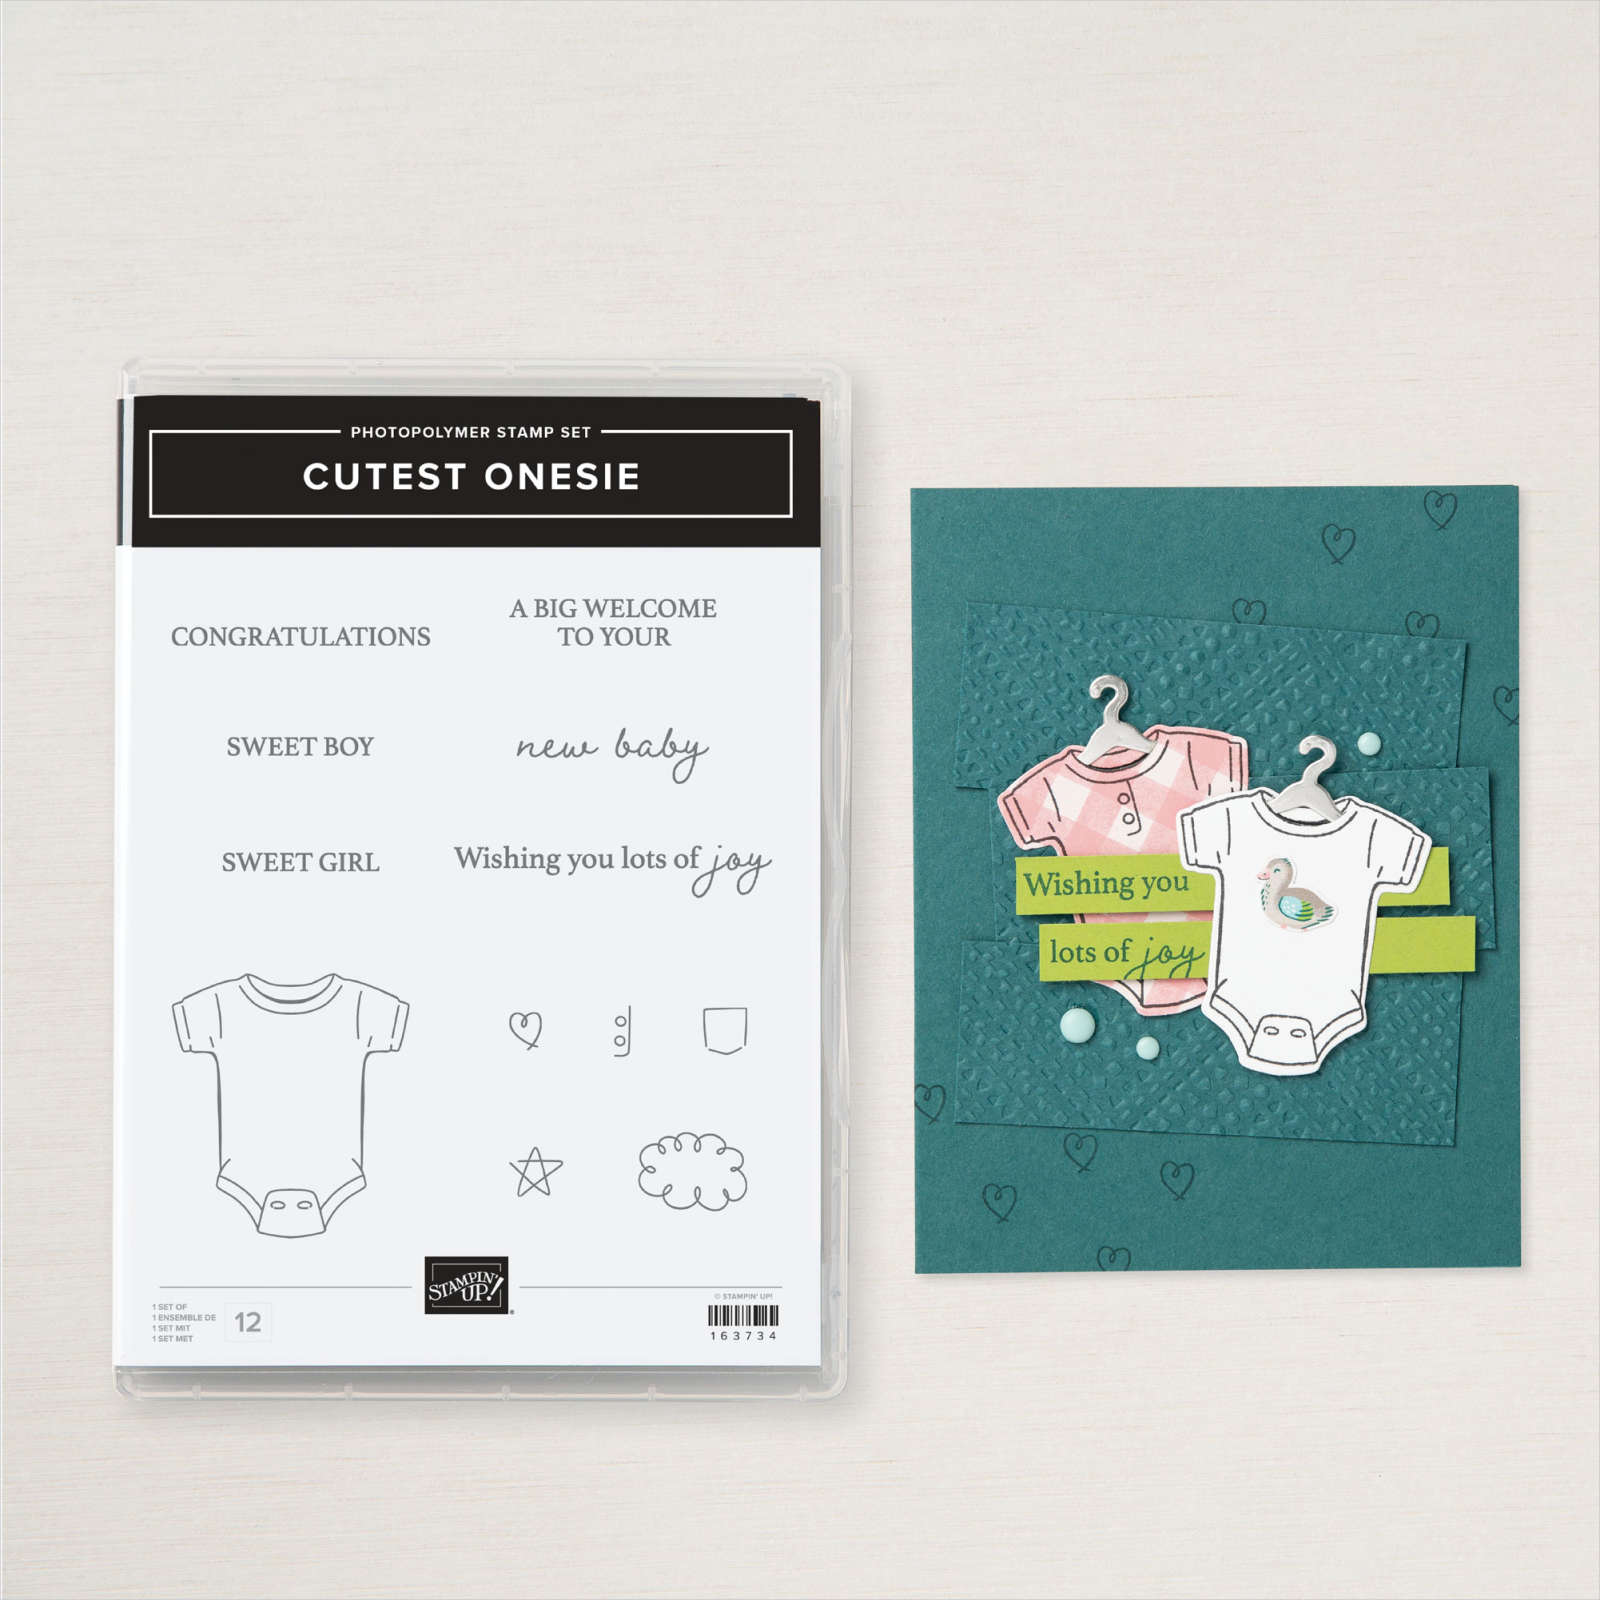
Cutest Onsie
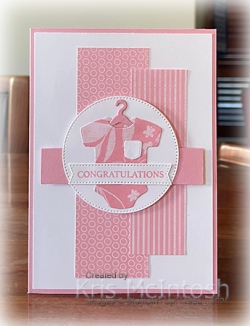
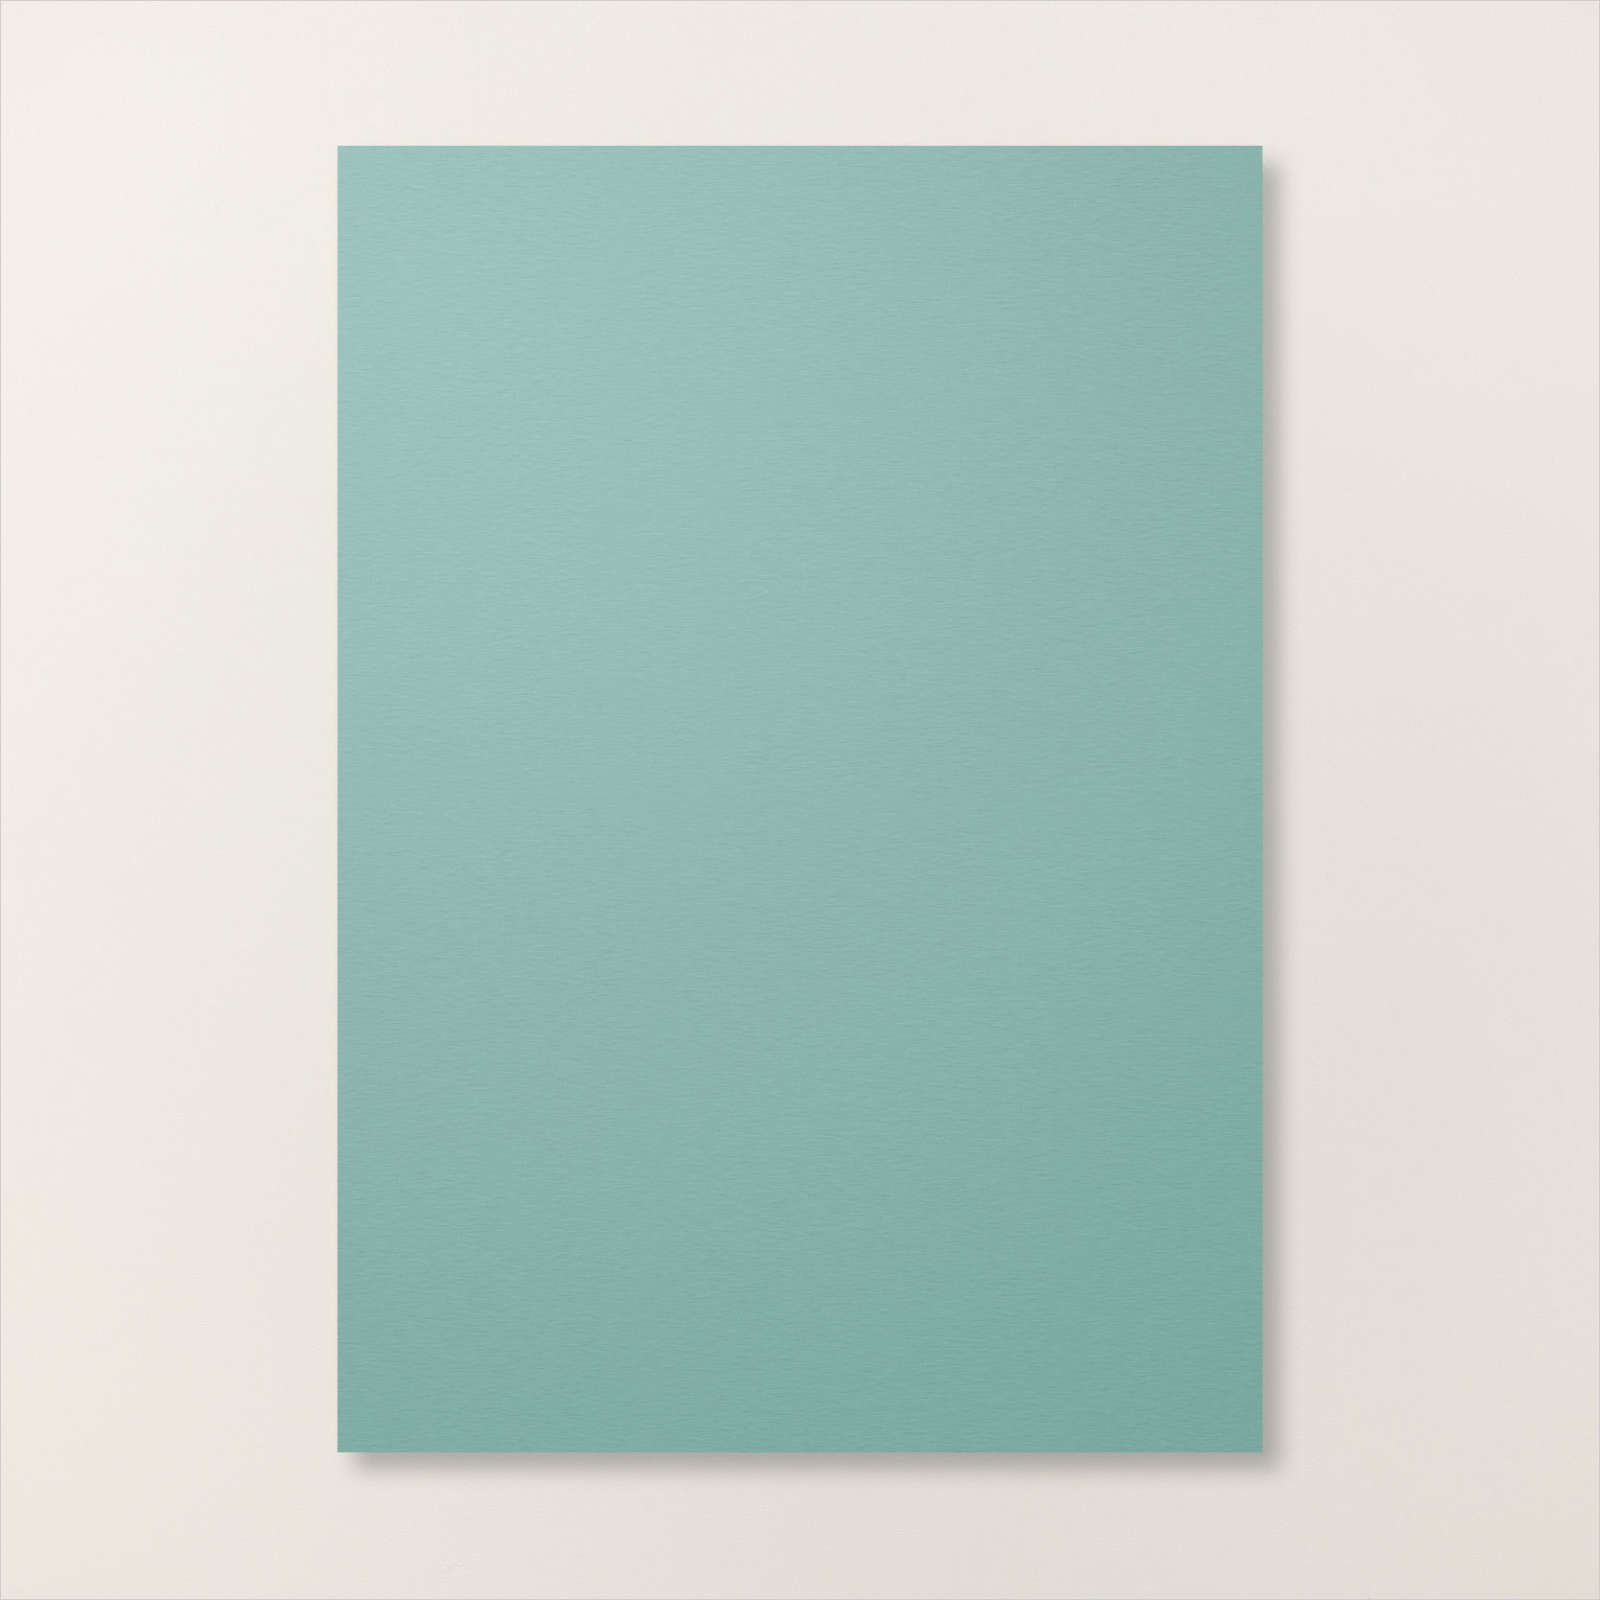
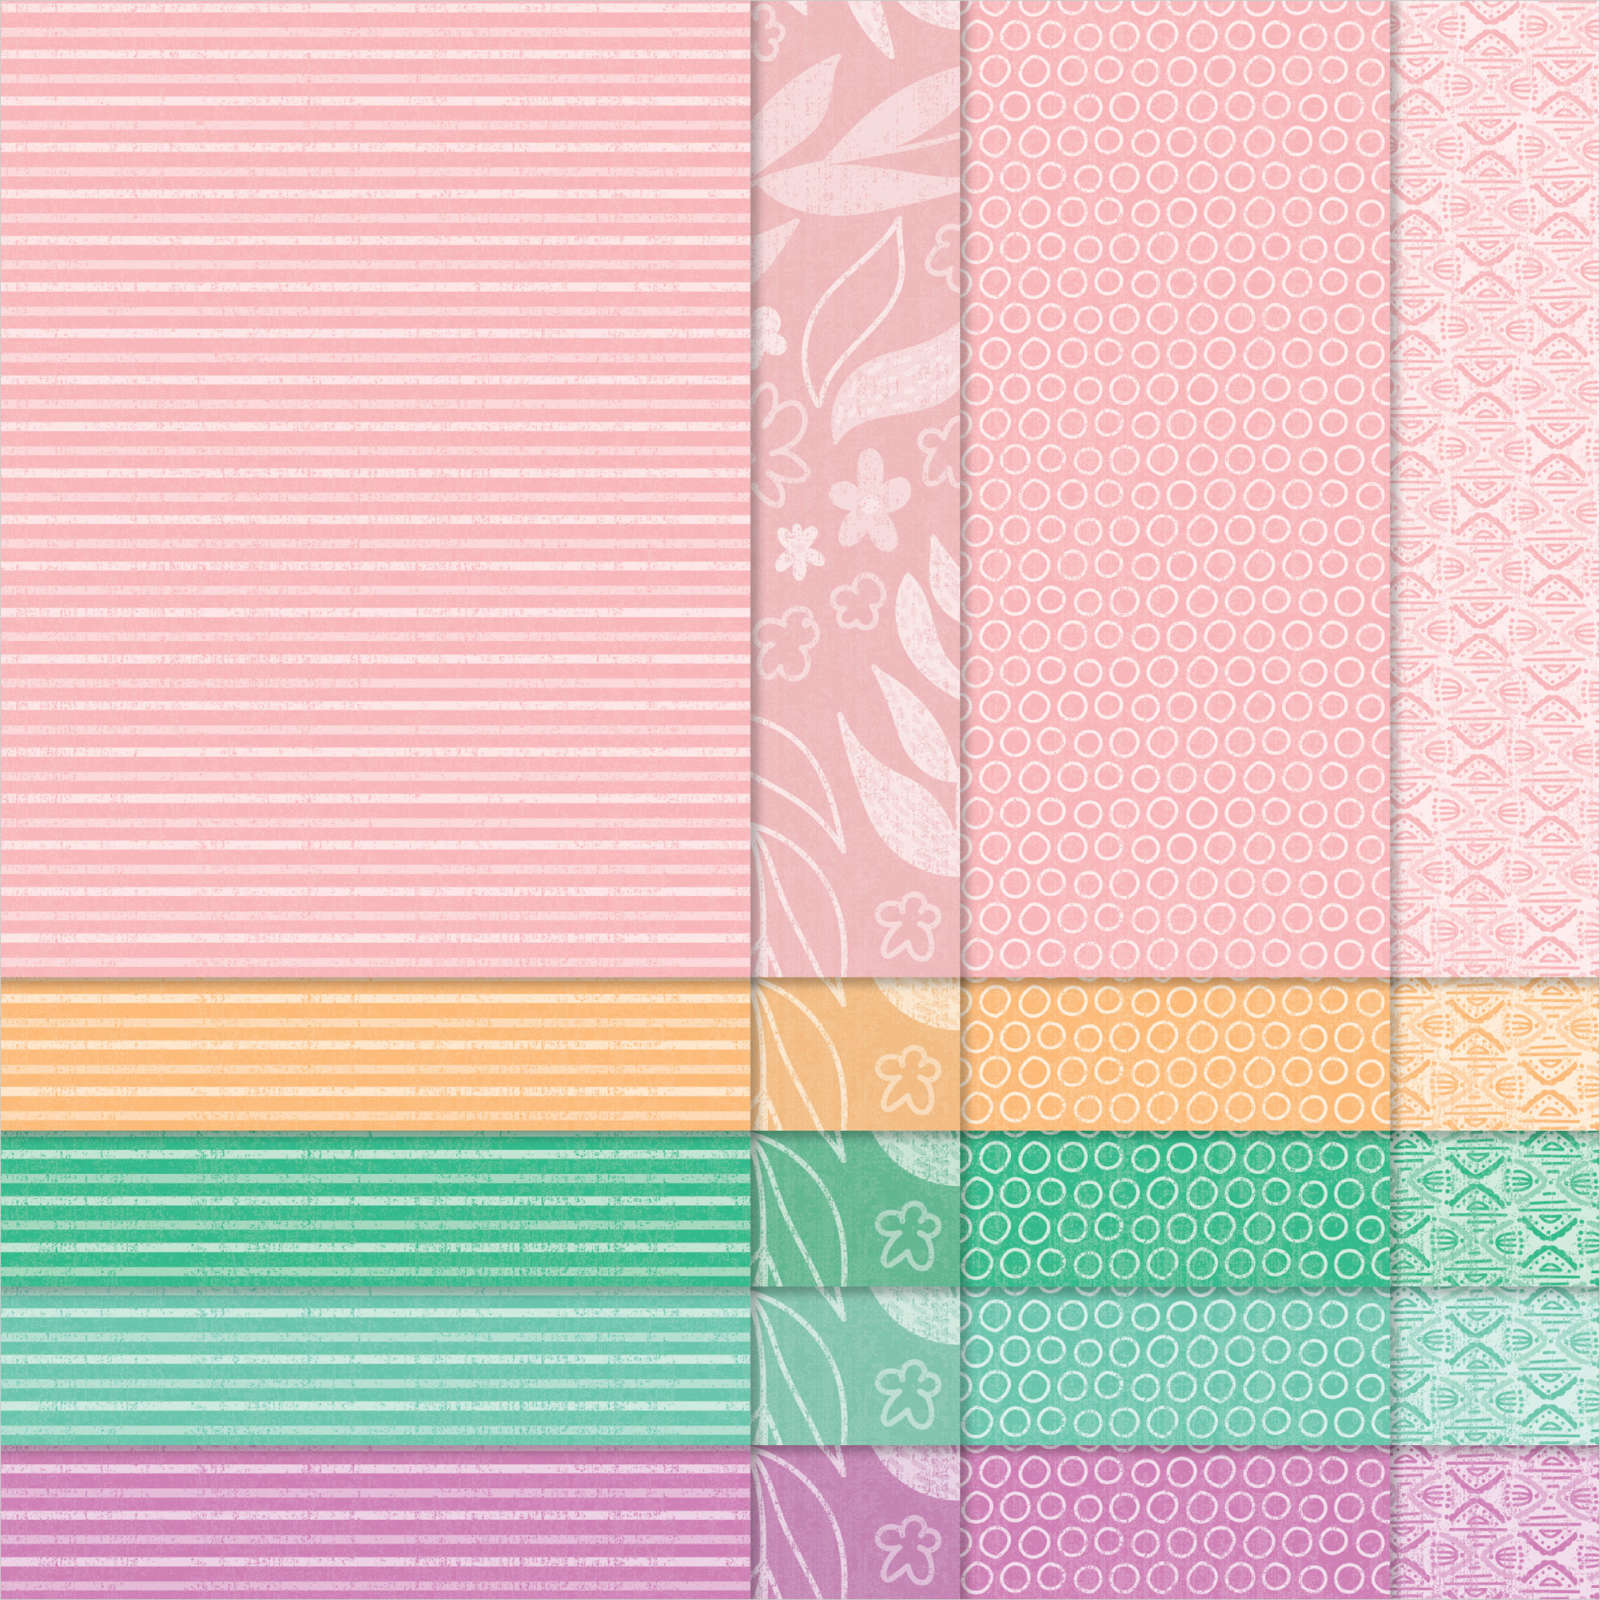
This week in my Facebook Live I shared some cards using this gorgeous little stamp set and today I have another one to share. For this card I cut two pieces of Pretty in Pink Designer Series Paper from the 2024-2026 In Colour 6″ x 6″ Designer Series Paper and attached them to Basic White card. I cut a piece of Pretty in Pink card and attached it across the Designer Series Paper using dimensionals. I attached the whole panel to scored and folded Pretty in Pink card.
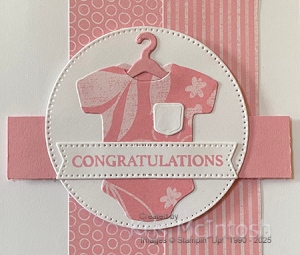
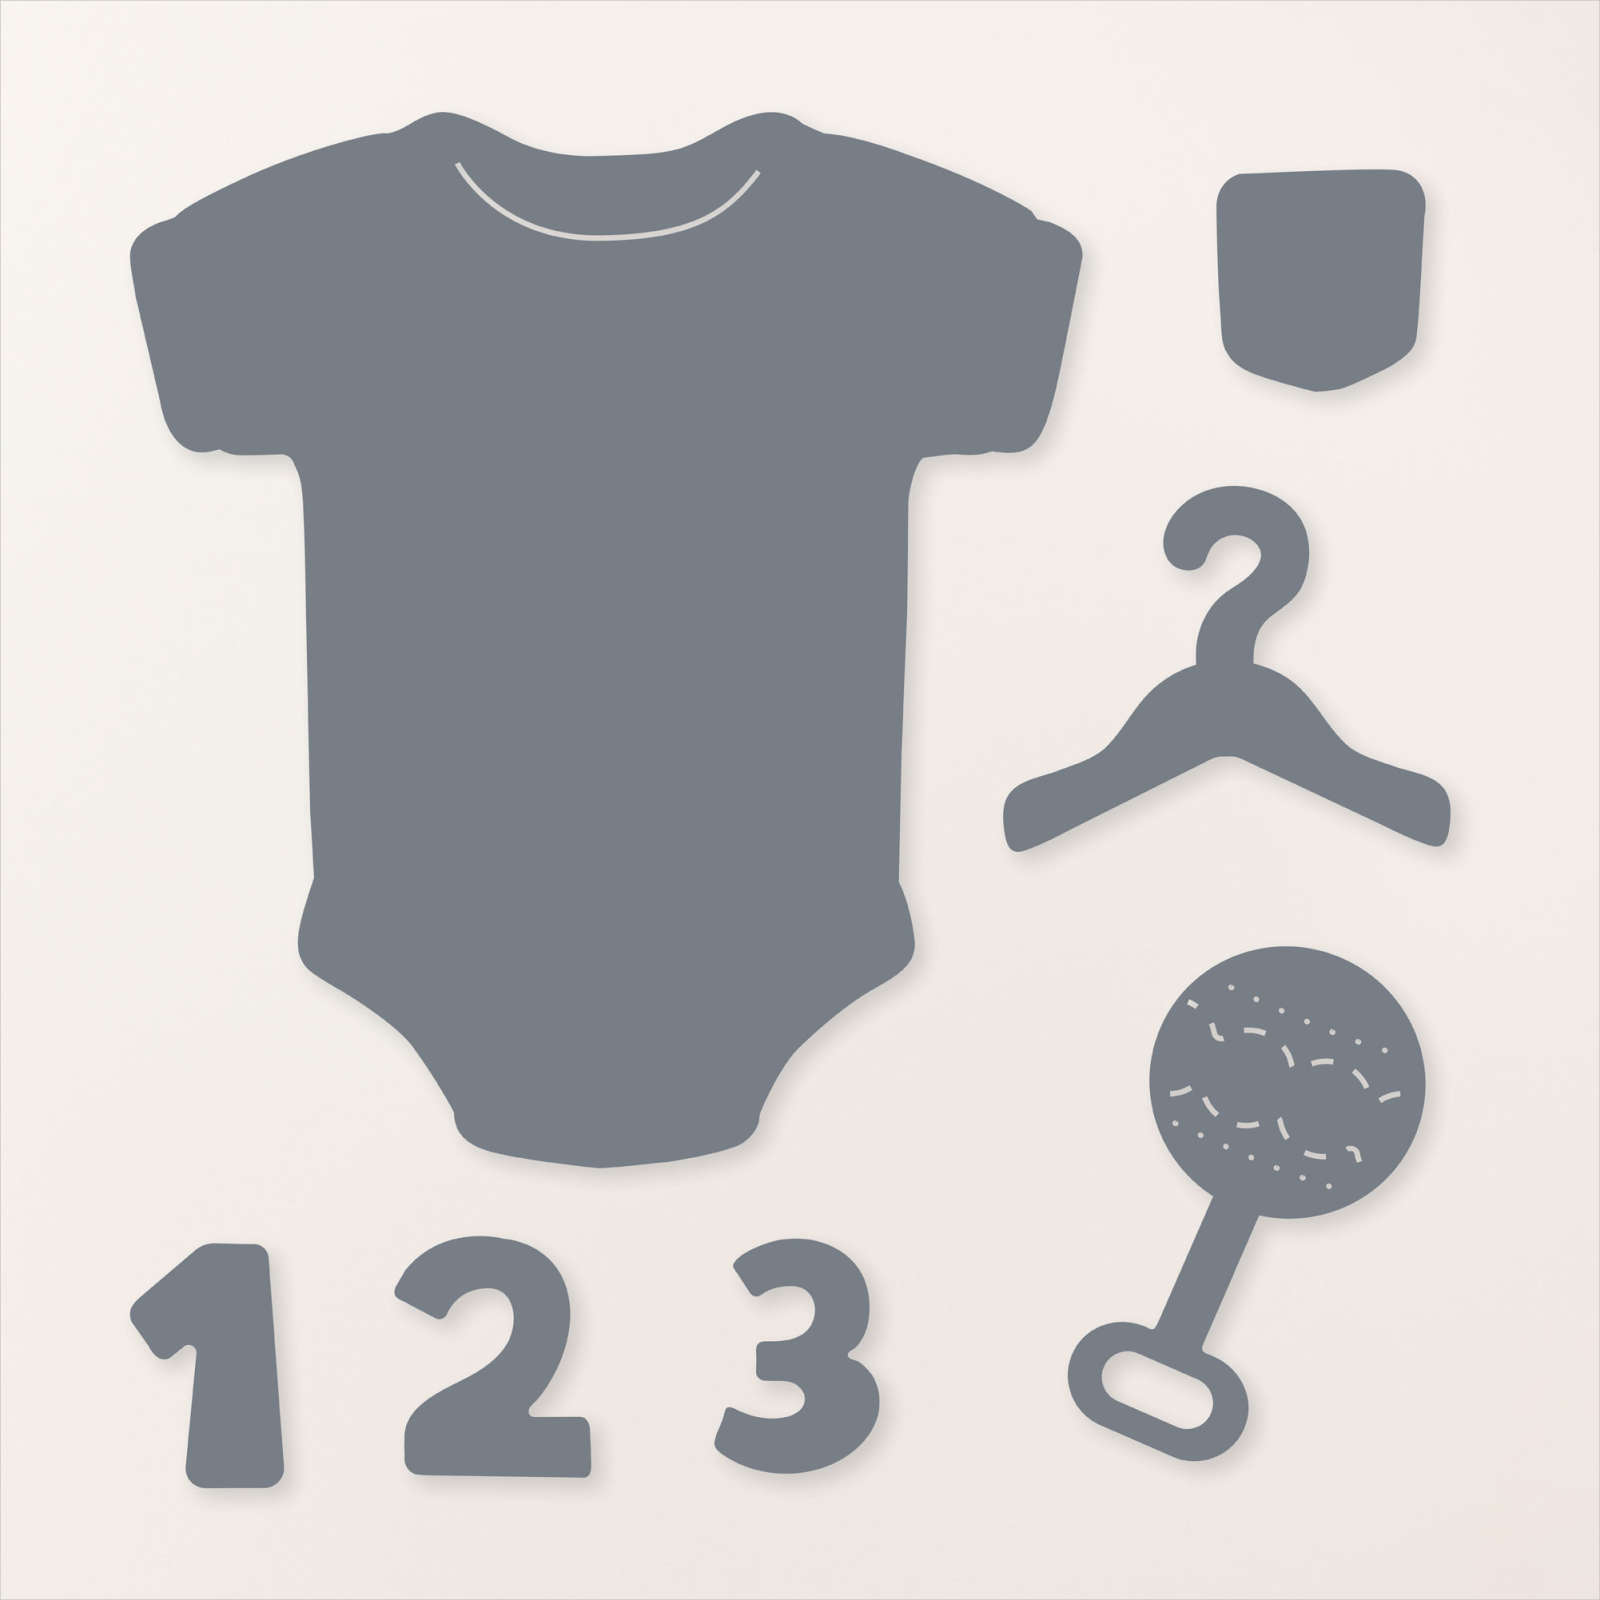
I cut Basic White card using the second largest circle from the Stylish Shapes Dies and attached it to the card front using dimensionals where necessary. I cut the onsie from a piece of Pretty in Pink In Colour Designer Series Paper using the Cutest Onsie Die.

I also cut the “hanger” from Pretty in Pink card and the “pocket” from Basic White card using the Cutest Onsie Dies. I attached the “hanger” through the onsie and attached the pocket before attaching the dies to the Basic White circle. I stamped “congratulations” from the Cutest Onsie stamp set onto Basic White card using Pretty in Pink ink. I used the smallest banner from the Stylish Shapes Dies to cut out the greeting. I did cut it twice to extend the length. The greeting is attached across the image panel. To decorate the inside of the card I stamped the greetings from the Cutest Onsie stamp set using Pretty in Pink ink. I die cut the “rattle” from Pretty in Pink card and attached it beside the greeting. I attached a piece of Pretty in Pink Designer Series Paper across the bottom of the Basic White card before attaching it inside the Pretty in Pink card base. This is such a cute set and I am sure I will find many uses for it in the future.
Bye for now,
Kris
Product Used:
Floral Mother’s Day
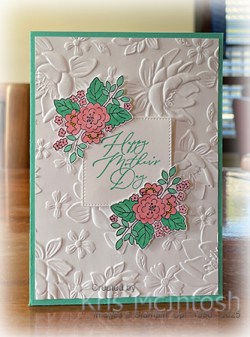
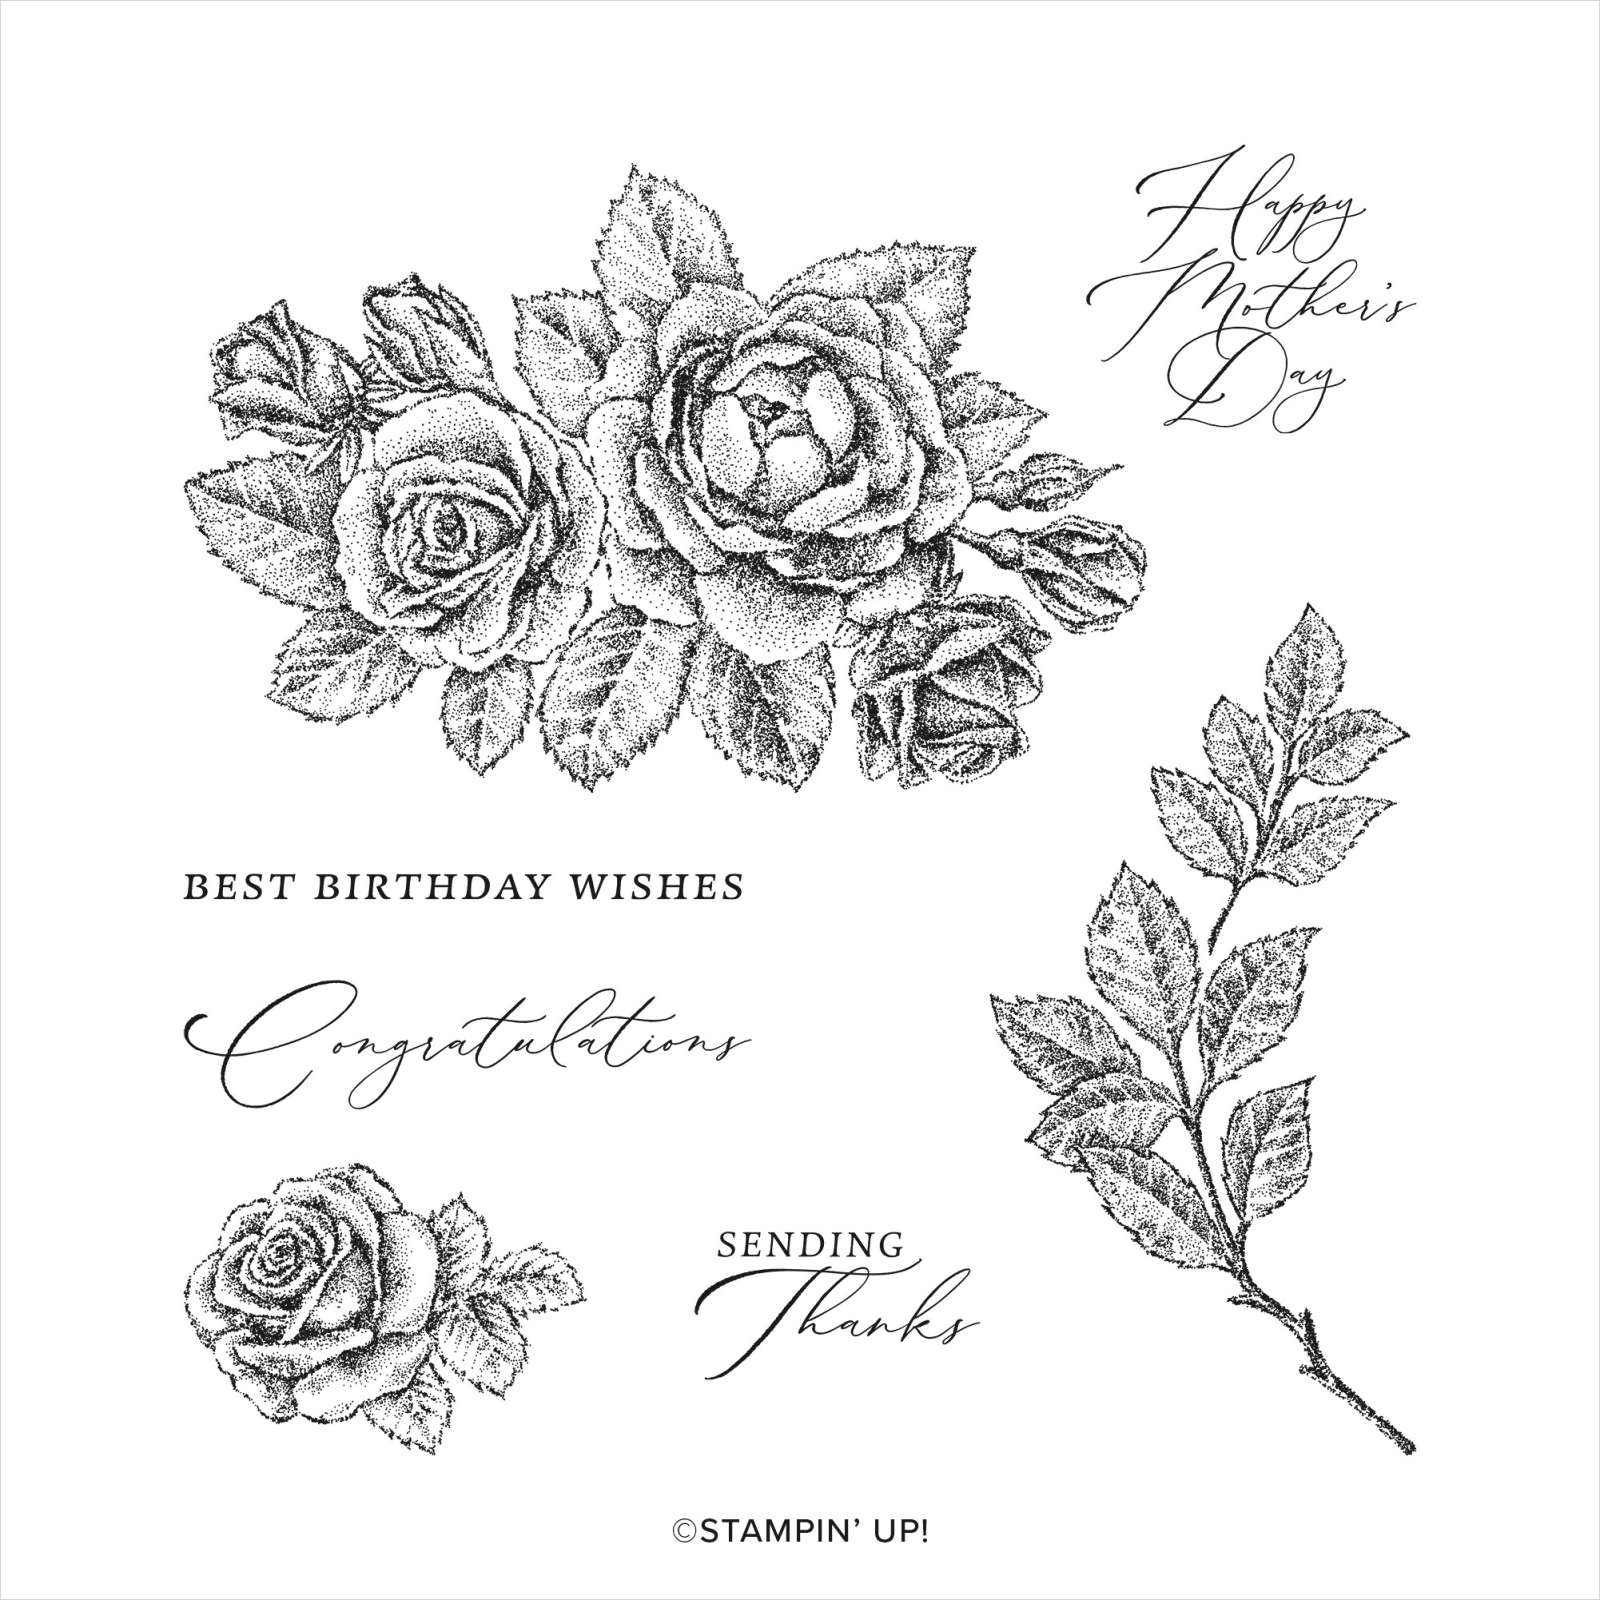
Today’s card uses a few pieces that have been sitting on my desk for a while! I embossed Basic White card using the Layered Florals 3D Embossing Folder. The embossed panel is attached to scored and folded Summer Splash card. I stamped the greeting from the Stippled Roses stamp set onto Basic White card using Summer Splash ink. I cut out the greeting using one of the Stylish Shapes Dies. I attached the greeting to the centre of the embossed Basic White card. I stamped the floral images from the Love This Moment stamp set twice onto Basic White card using Memento Tuxedo Black ink.

I coloured the images using Pretty in Pink and Summer Splash Stampin’ Blends before cutting out the images. I attached one image over the top left hand corner and one image over the bottom right hand corner of the greeting panel using dimensionals where necessary.

To decorate the inside of the card, I stamped the image from the Love This Moment stamp set onto the lower left hand corner of Basic White card. I coloured the image using Pretty in Pink and Summer Splash Stampin’ Blends before attaching the panel to the inside of the card. Although it is a little late for Mother’s Day this year, it will be handy to have this card on hand for next year.
Bye for now,
Kris
Product Used:



‘L’ Plates

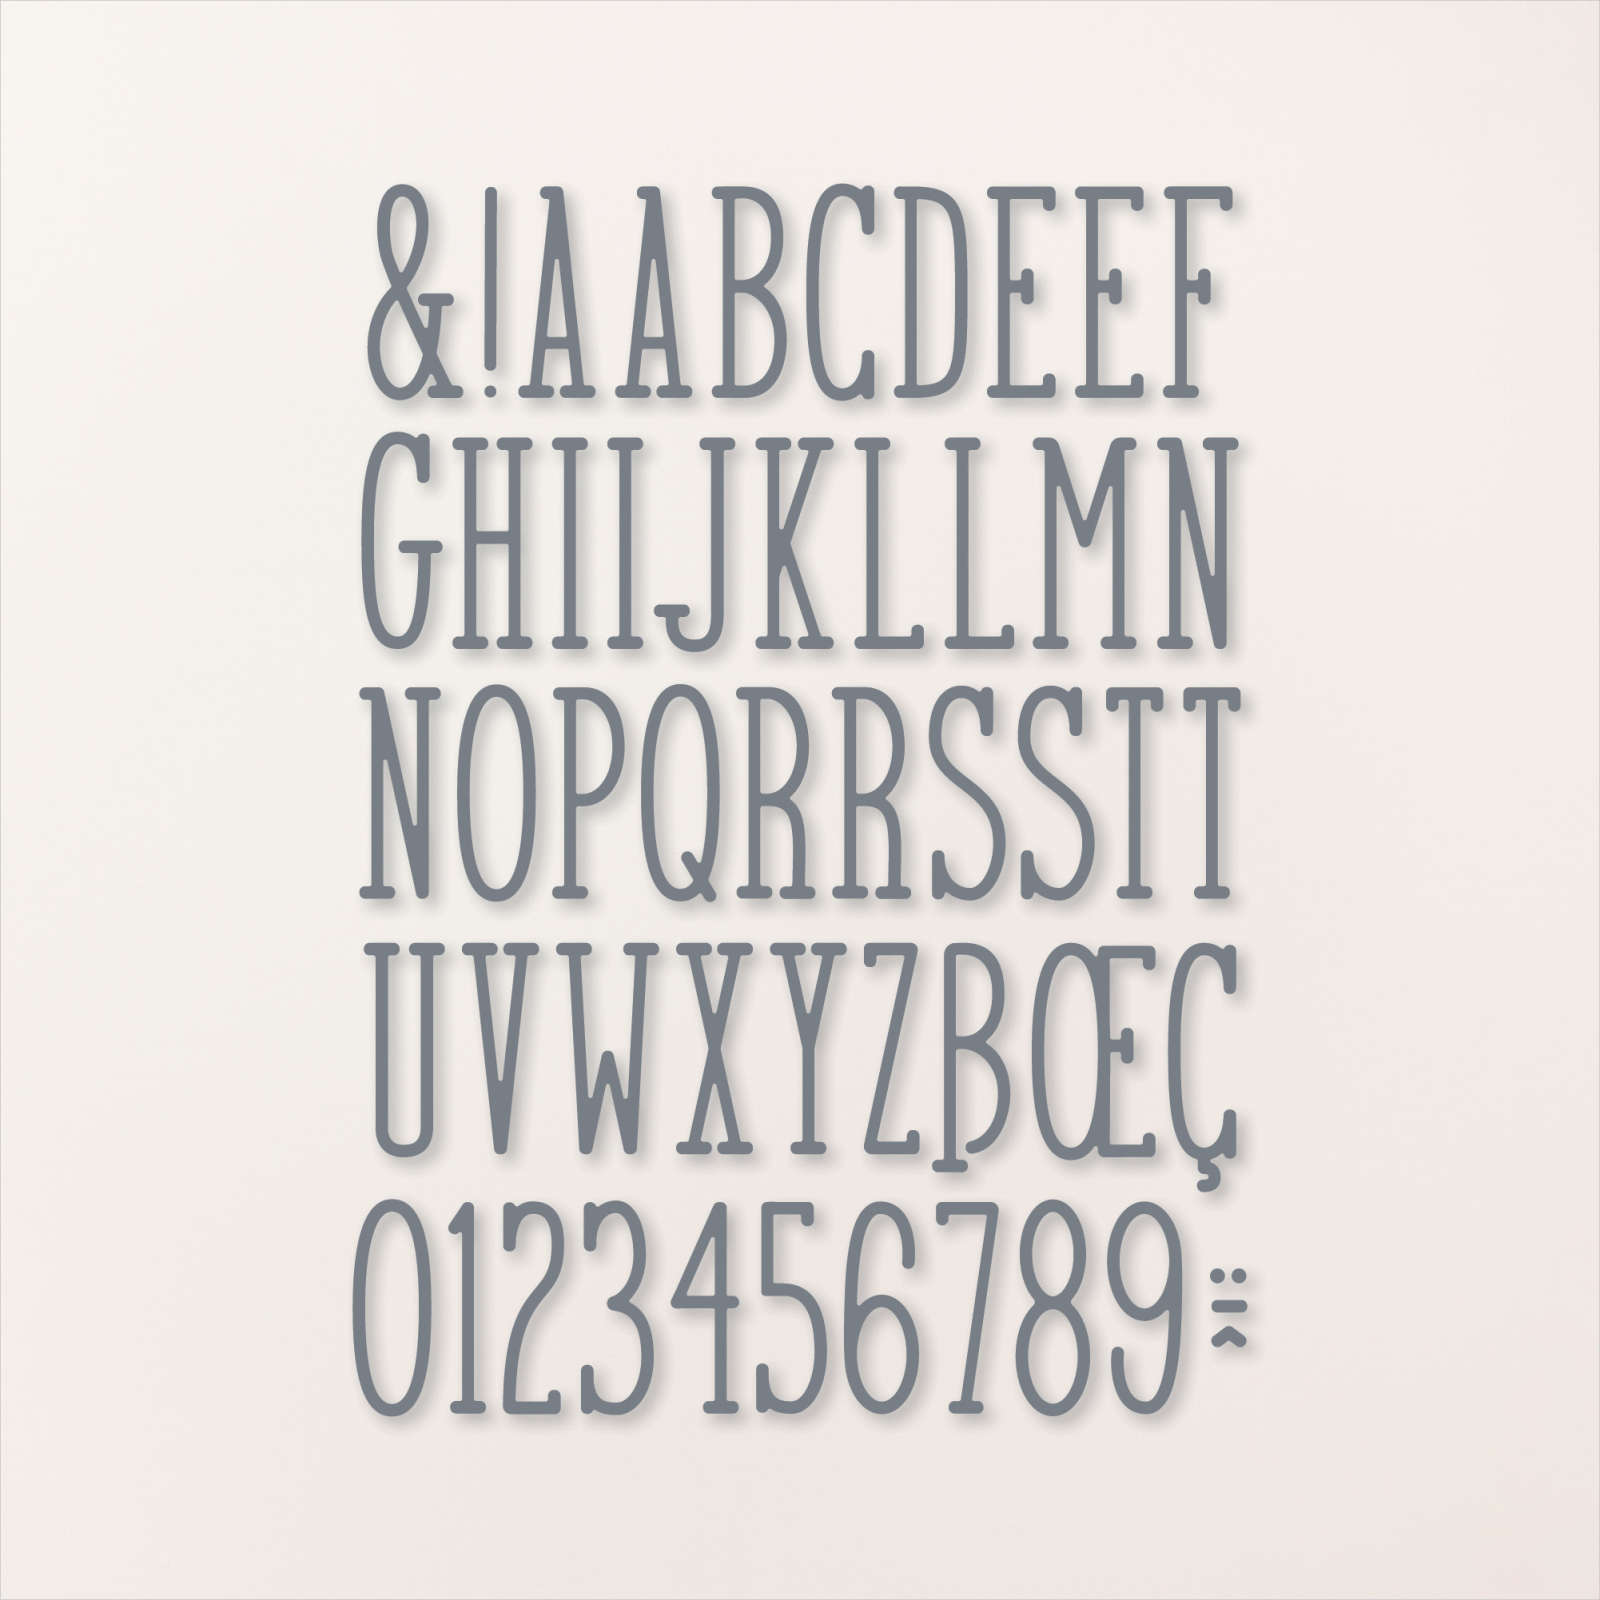
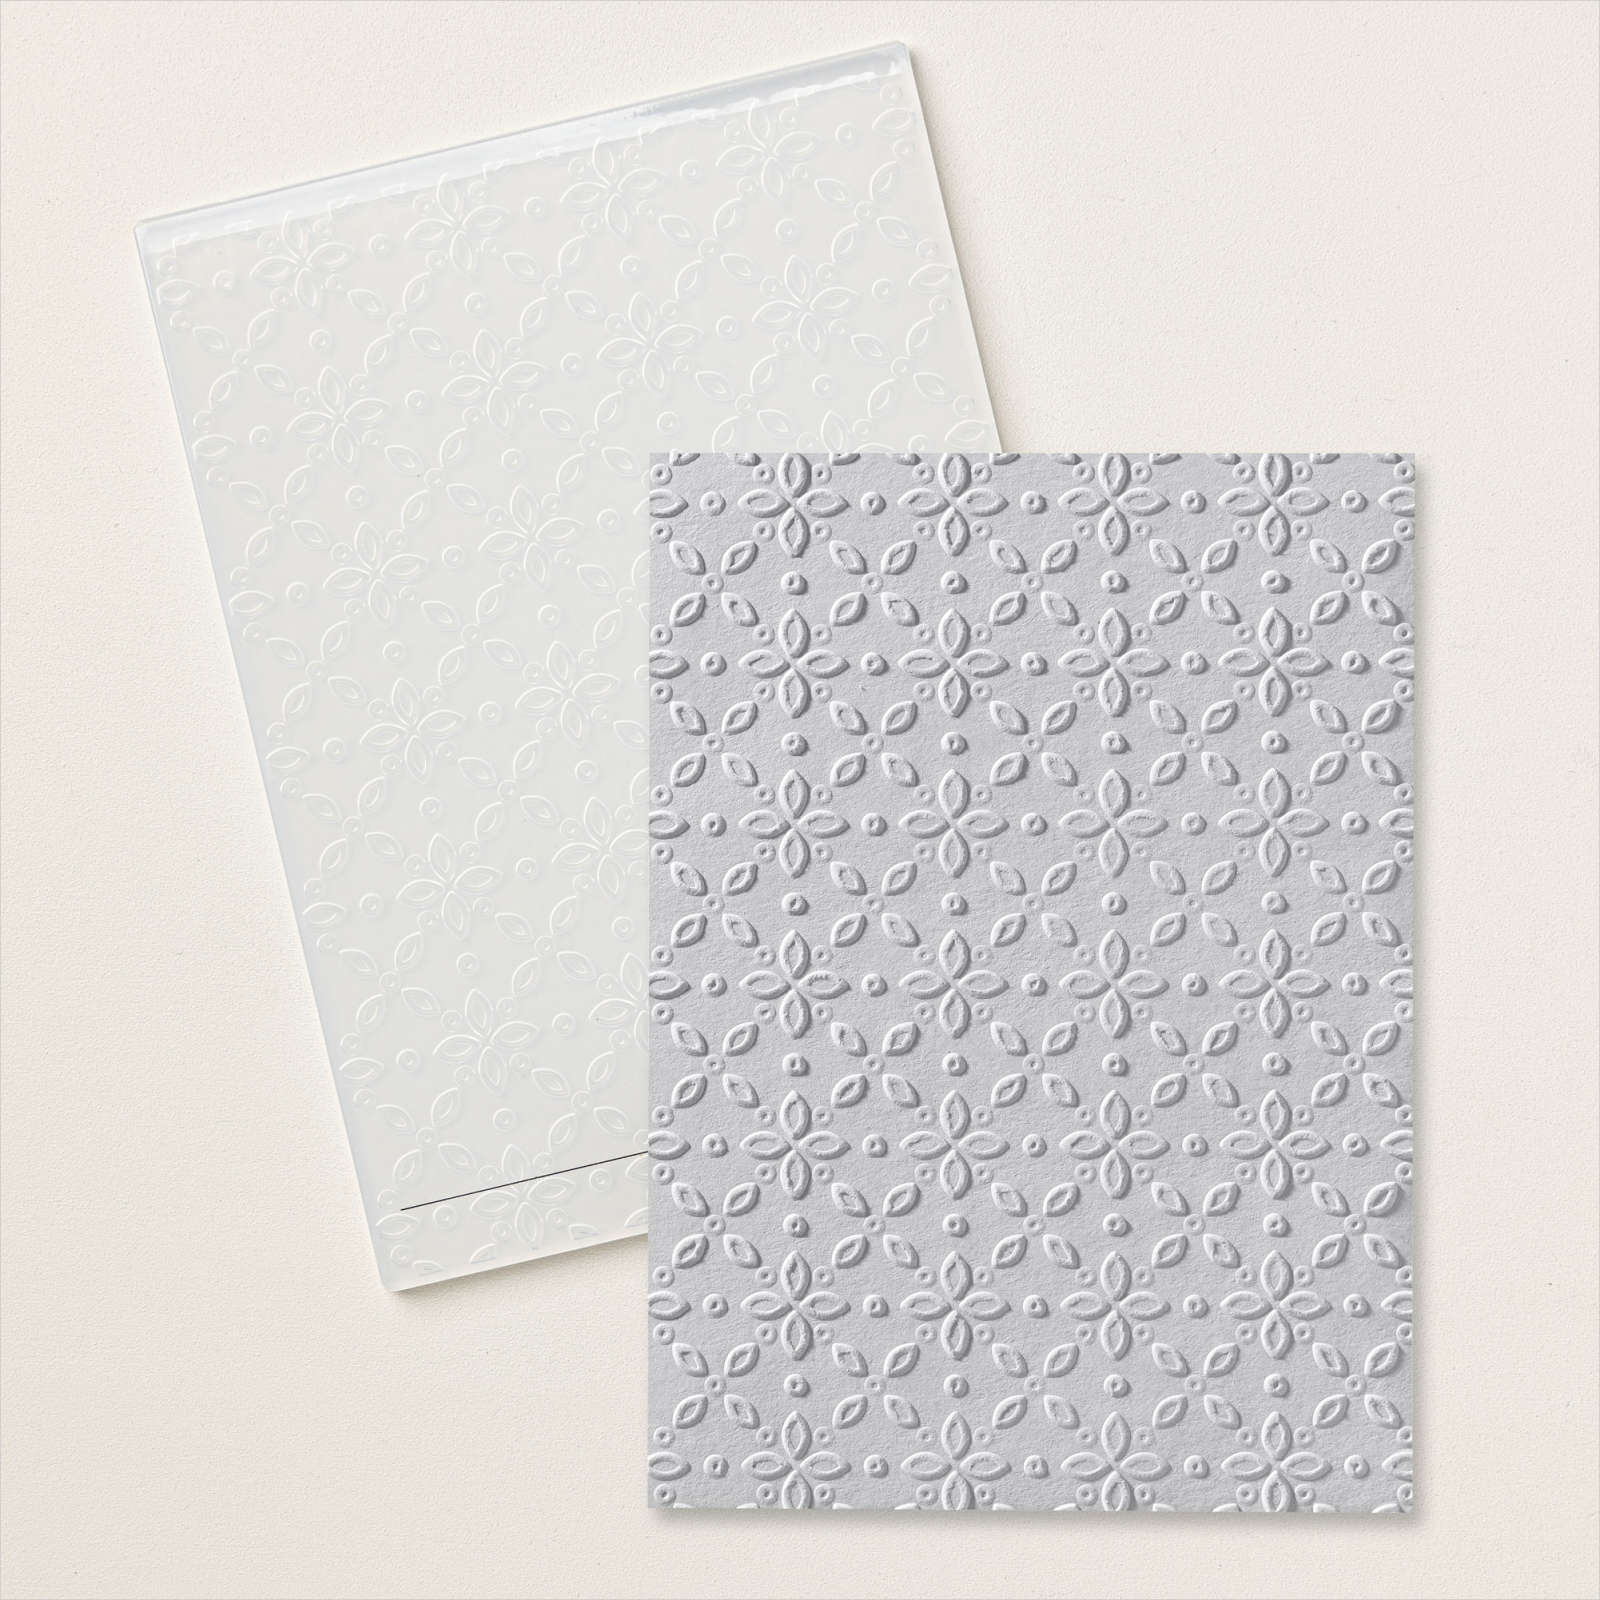
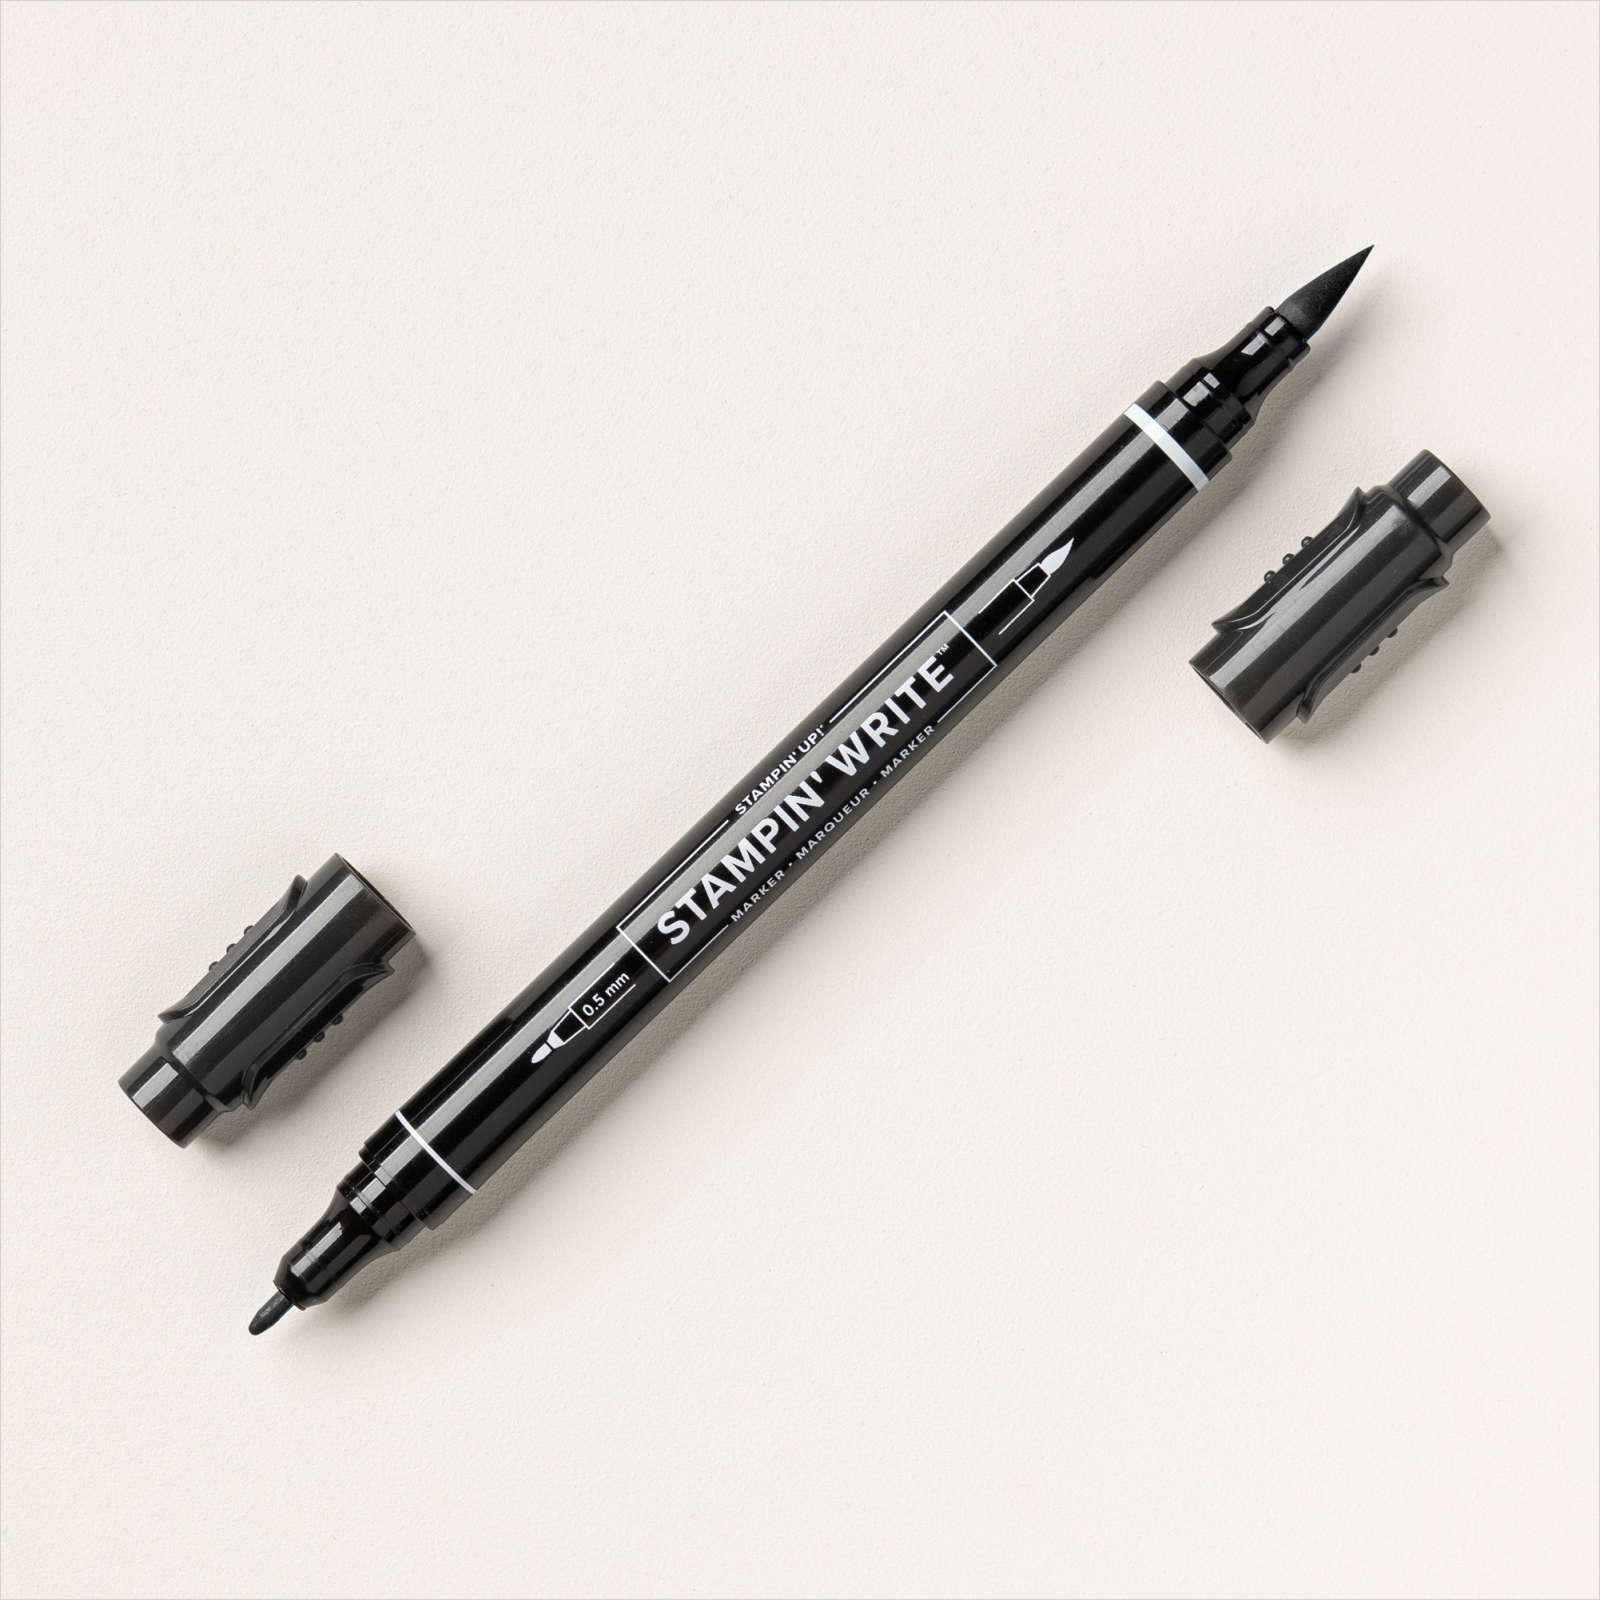
My granddaughter got her learner plates in March this year and she was so excited! I just had to memory keep her photos. I attached the photos directly onto a Very Vanilla 12″ x 12″ page. I cut squares from Boho Blue and Wild Wheat card and embossed them using the Eyelet 3D Embossing Folder. I attached the squares below the photos. I cut the title from Basic Black card using the Alphabet A La Mode Dies and attached it above the photos. I cut Basic Black and Crushed Curry card using two of the Deckled Circle Dies and attached them together. I cut an “L” from Basic Black card using the retired Large Letters Dies and attached it to the Crushed Curry Circle. The circle panel is attached between the two photos. I wrote the date using the Basic Black Stampin’ Write Marker. I love that smile, she is just so happy.
Bye for now,
Kris McIntosh
Product Used:
You can view the Deckled Circle Dies here in my online store.

Nature Thanks

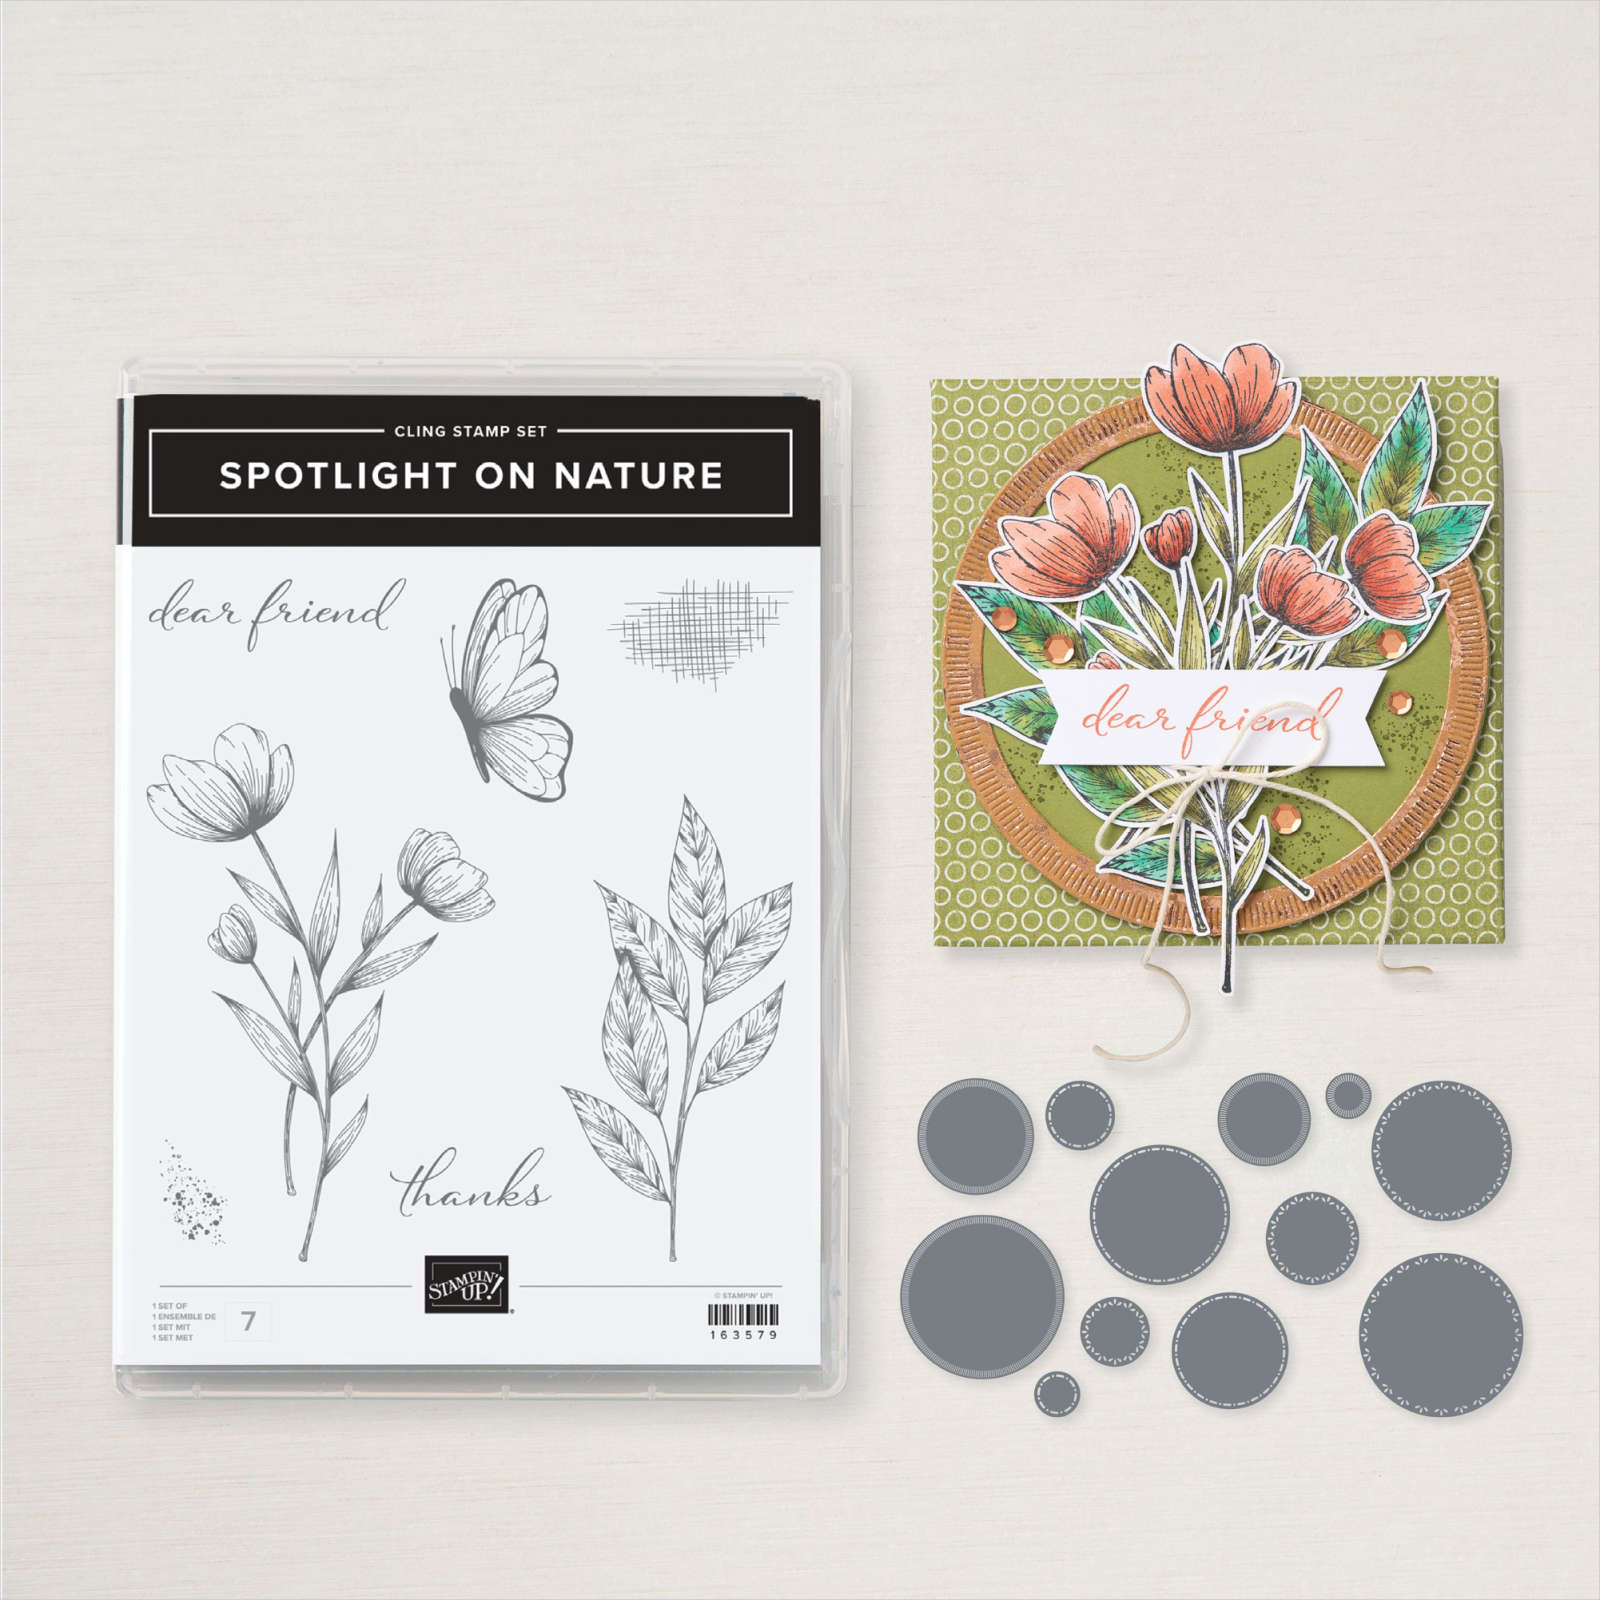
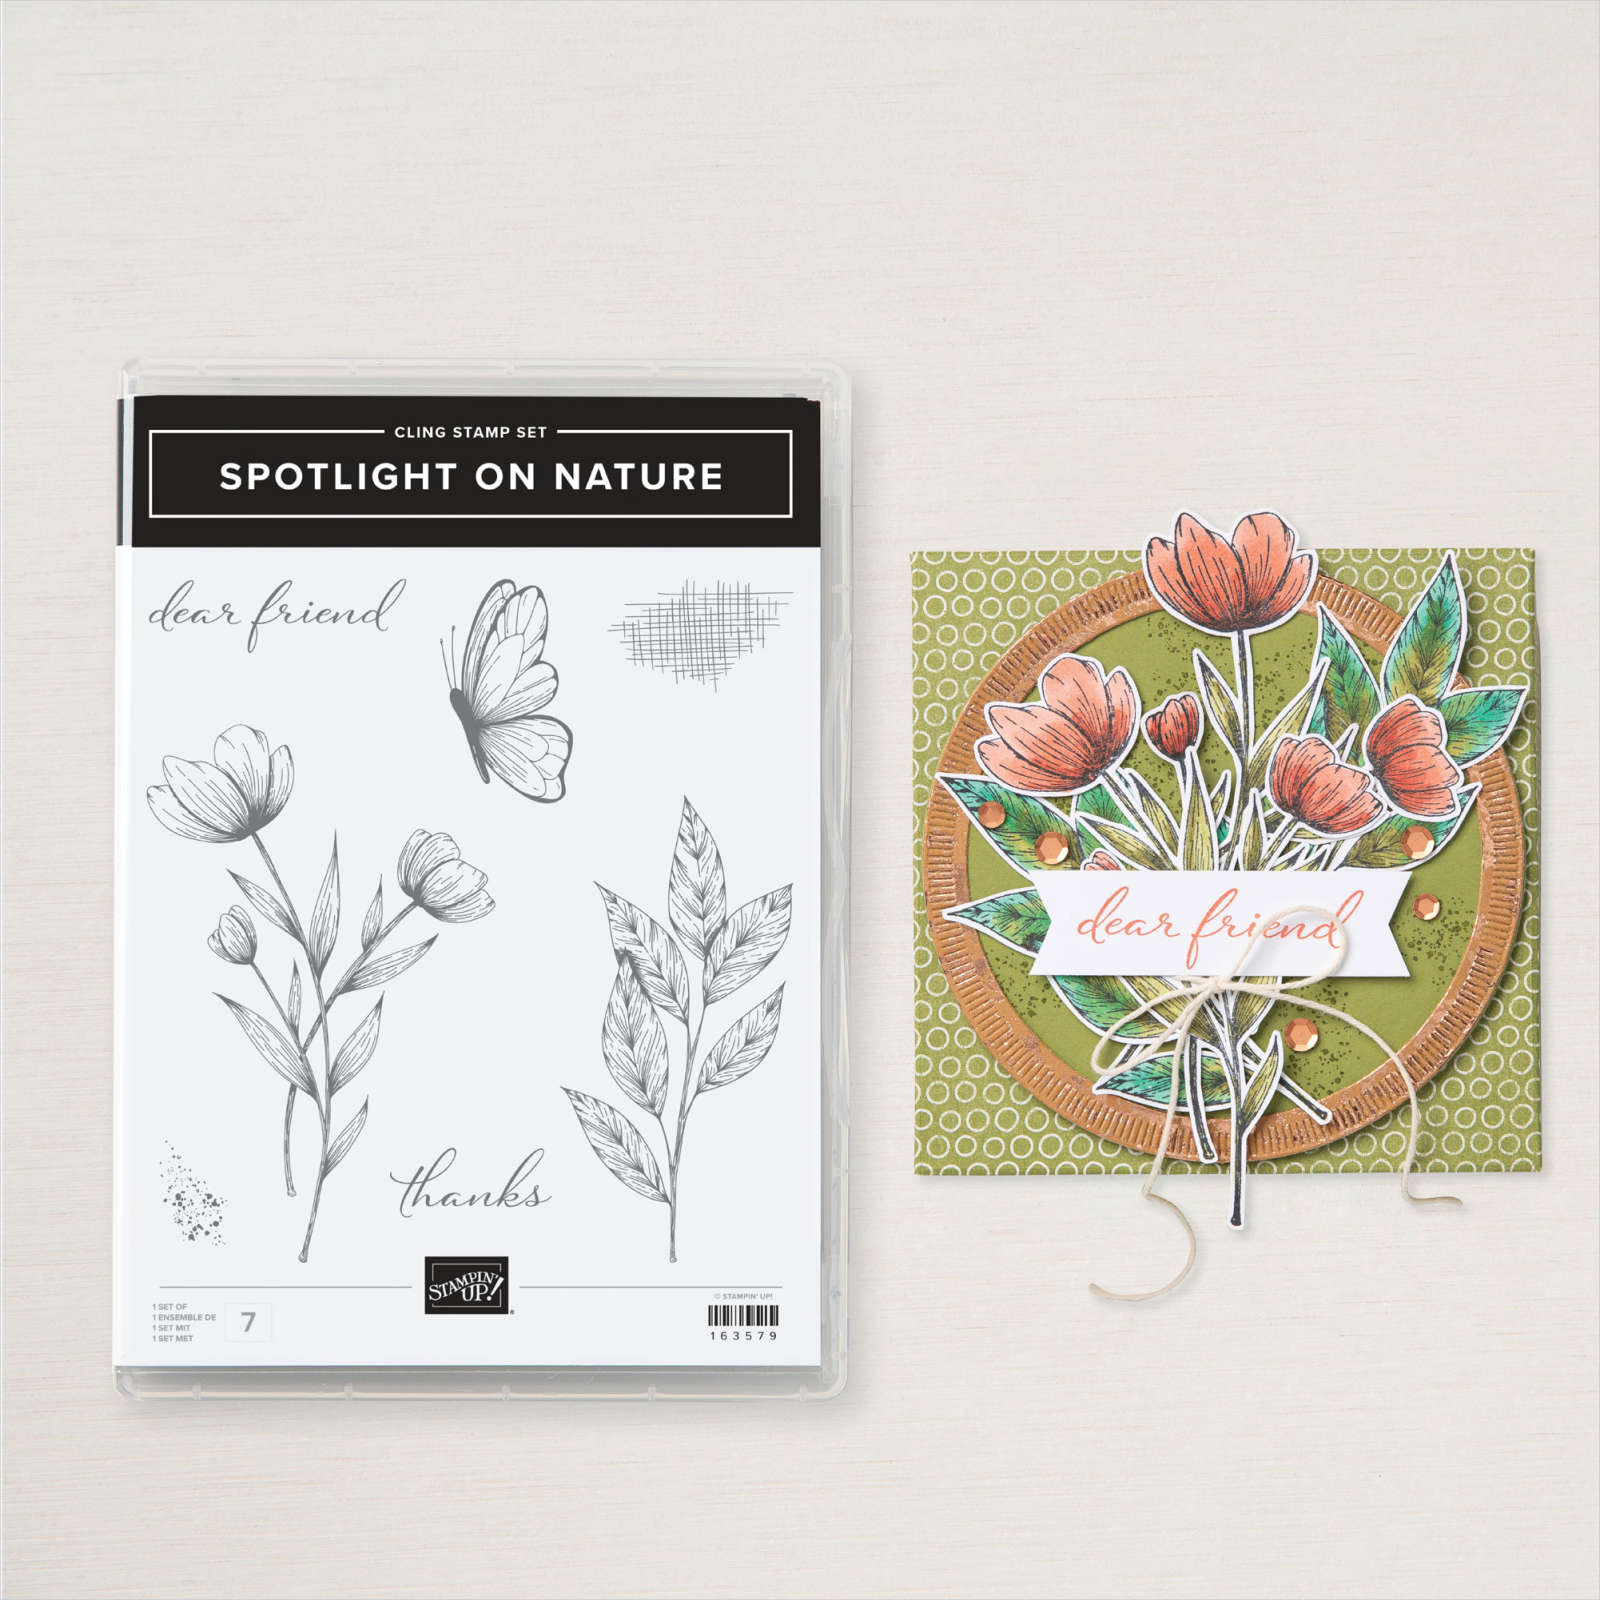
This week in my Facebook Live, I shared some cards I created using the Spotlight on Nature Bundle and today I have another card to share. I embossed a piece of Basic White card using the Painted Texture 3D Embossing Folder. I cut a piece of Countryside Inn 12″ x 12″ Designer Series Paper on the diagonal and attached it to the embossed card. I cut a rectangle of another pattern of the Countryside Inn Designer Series Paper and attached it to the left hand side of the embossed panel.

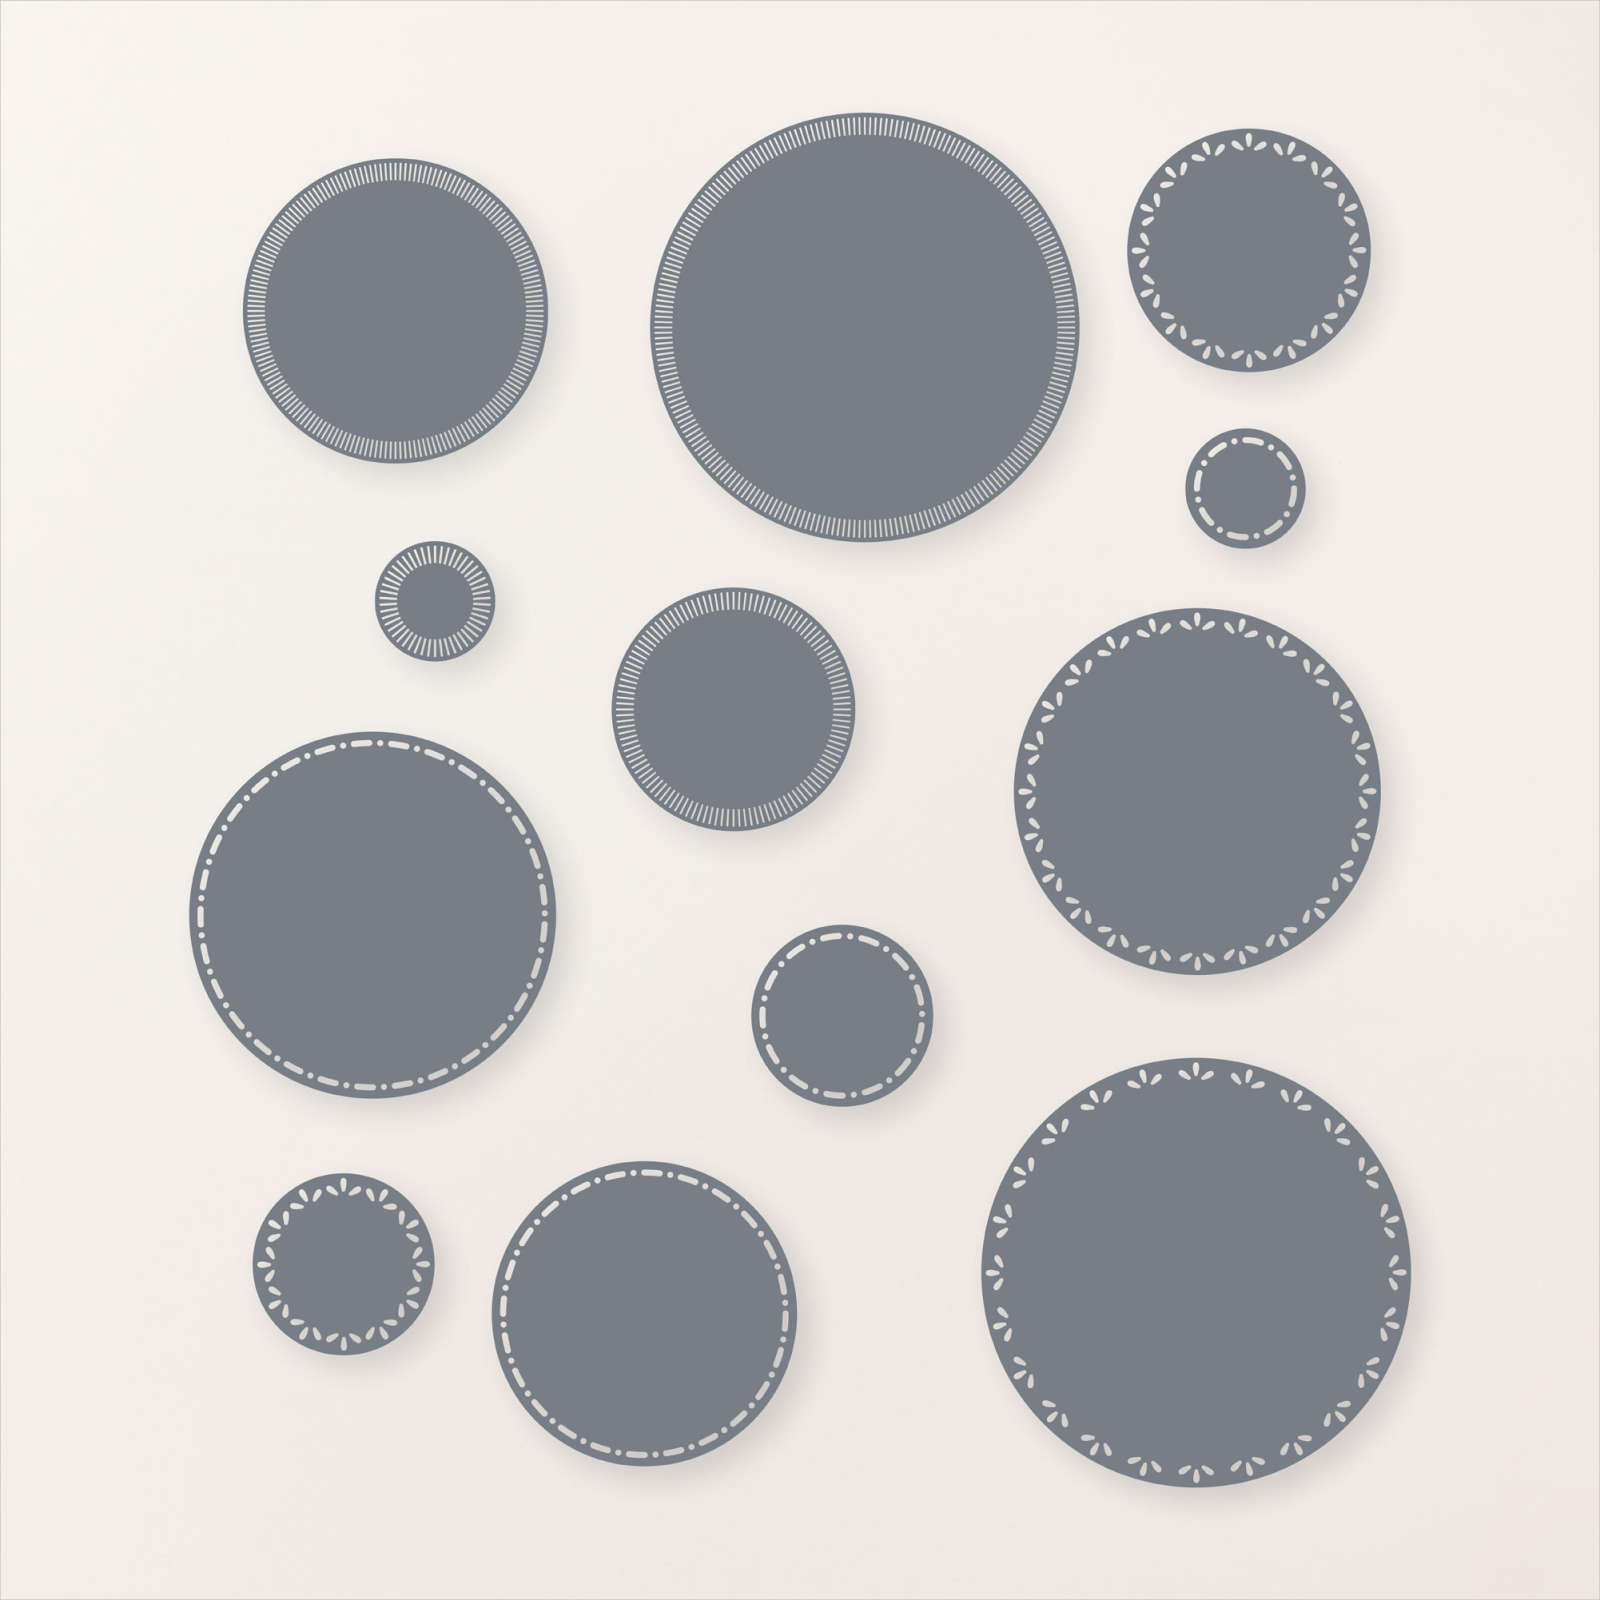
I attached a narrow strip of another pattern from the same Designer Series Paper before attaching the whole panel to scored and folded Balmy Blue card. I cut Basic White card using one of the Spotlight on Nature Dies. I masked the bottom of the die cut before stamping the large floral image from the Spotlight on Nature stamp set using Memento Tuxedo Black ink.
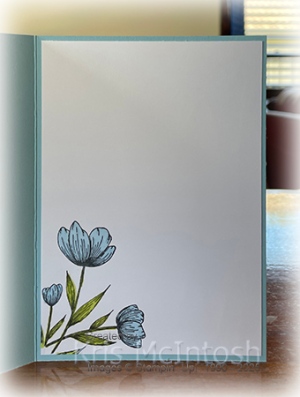
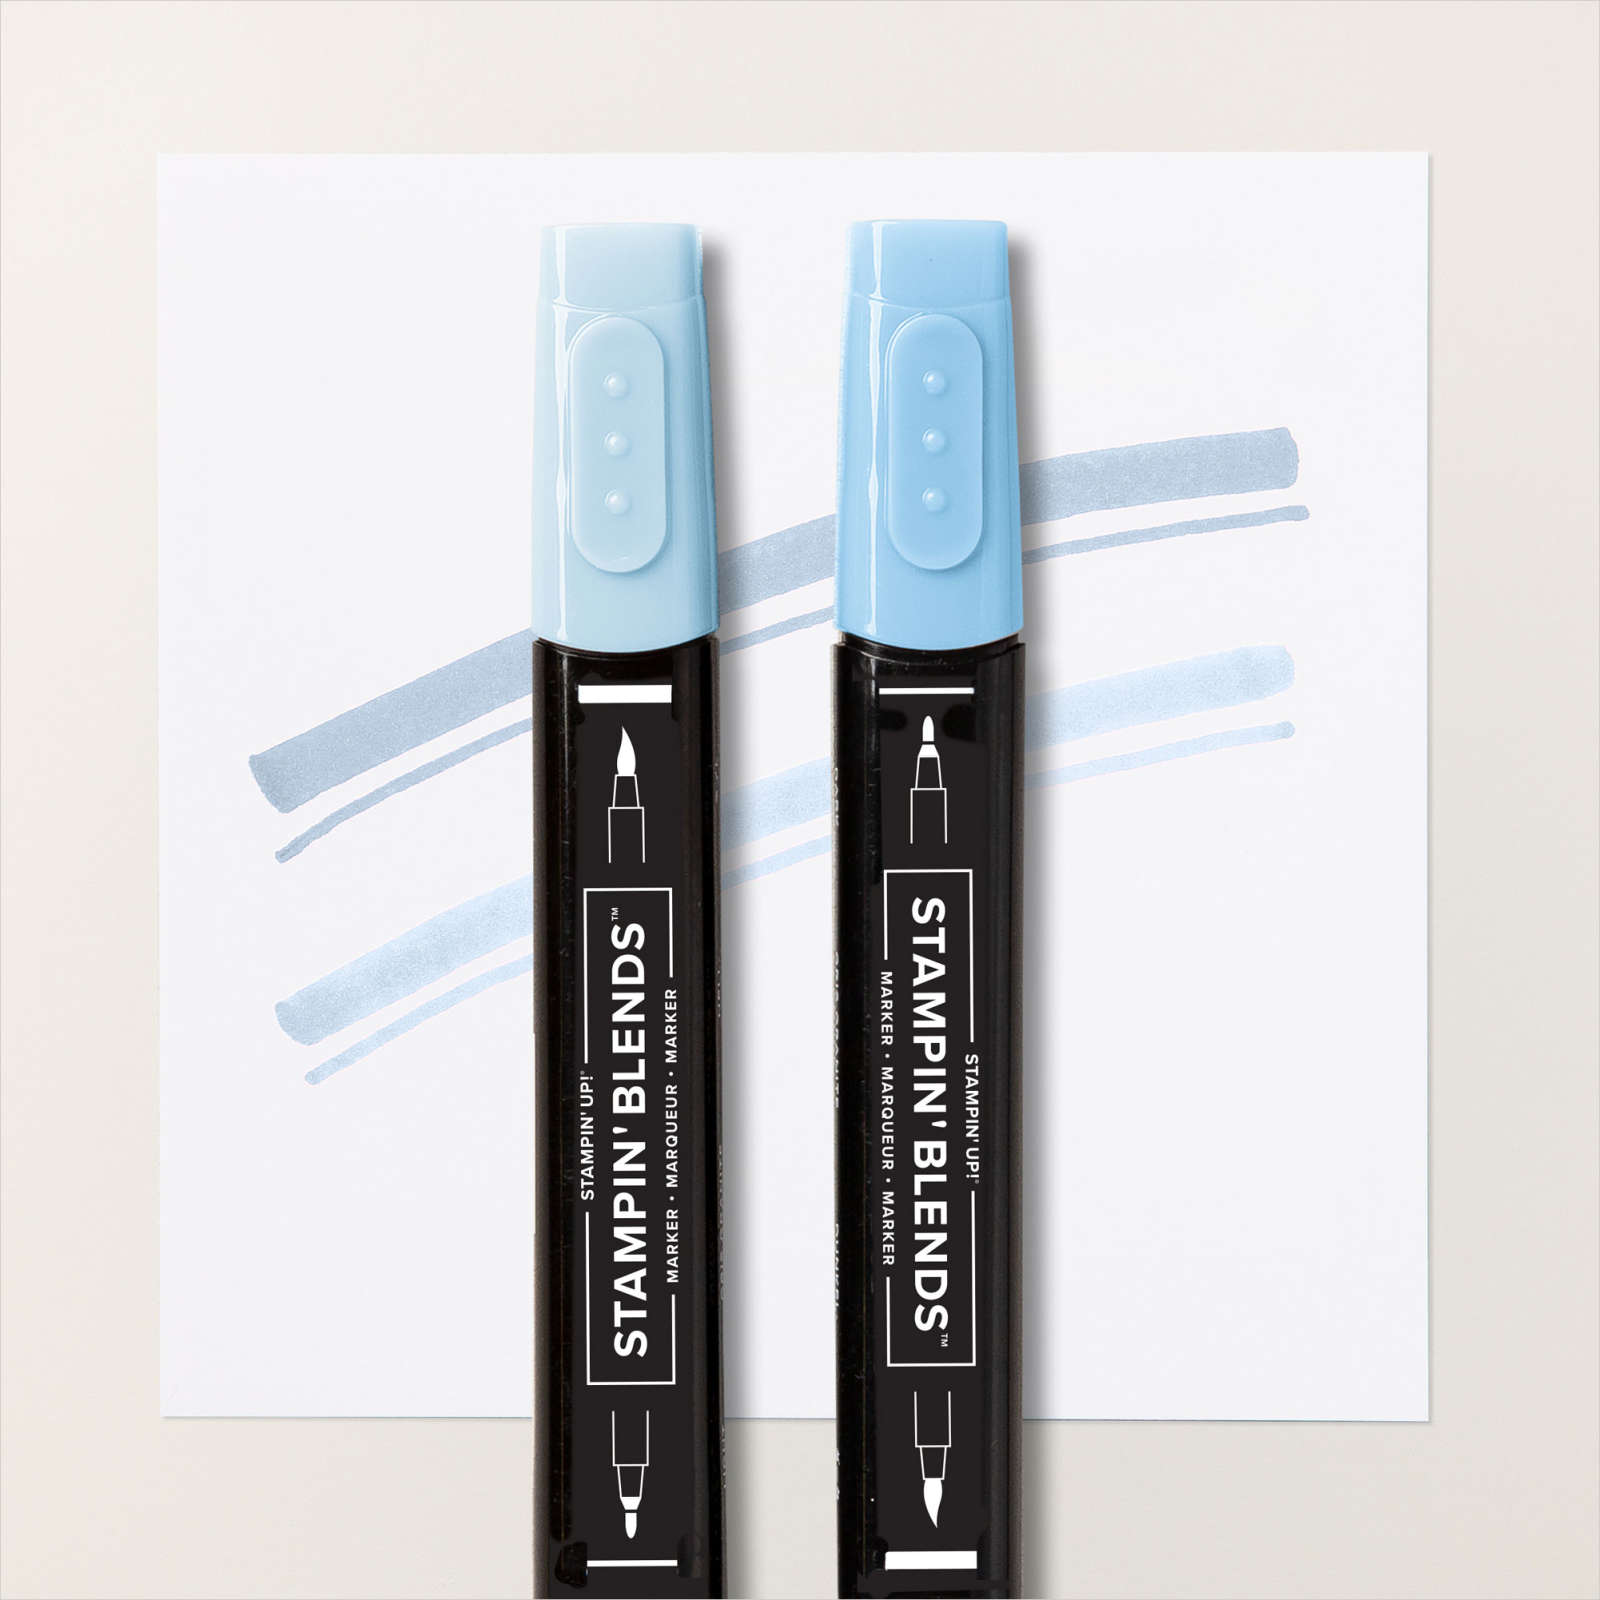
I coloured the image using Balmy Blue and Granny Apple Green Stampin’ Blends. I stamped “thanks” from the Spotlight on Nature stamp set onto the die cut using Memento Tuxedo Black ink before attaching it to the card front using dimensionals. To decorate the inside of the card, I stamped part of the large floral image from the Spotlight on Nature stamp set onto the lower left hand corner using Memento Tuxedo Black ink. The image is again coloured using the Balmy Blue and Granny Apple Green Stampin’ Blends. I absolutely adore this stamp set and I am sure you will see more projects created using the Spotlight on Nature Bundle.
Bye for now,
Kris
Product Used:
You can find the Painted Texture 3D Embossing Folder here in my online store.

Bundled Savings

From today (5th June) up until the 30th June you can save an additional 10% off the price of a stamp & die bundle. Any bundle. That’s right any current stamp & die bundle. So if you have your eye on something now is the perfect time to purchase and make a great saving as well. You can also get 10% off the price of a Stampin’ Cut n’ Emboss machine and the Mini Cut n’ Emboss machine. So if you have been wanting to update your die cutting capablities now is also the time to jump right in and save at the same time. So don’t forget from today, the 5th June up until the 30th June place your order and SAVE.
Happy Shopping.
Bye for now,
Kris
Sunny Thoughts
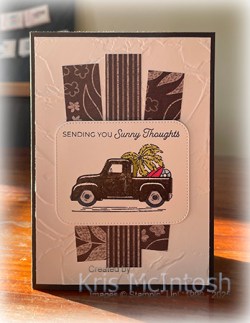
Today I have a card I created using the Online Exclusive Trucking Along stamp set. To begin I embossed Basic White card using the Painted Texture 3D Embossing Folder and attached it to scored and folded Early Espresso card. I cut three pieces of Early Espresso patterned paper from the Neutrals 6″ x 6″ Designer Series Paper and attached them onto the embossed card front. I cut Basic White card using one of the Nested Essential Shape Dies. I stamped the “road” image from the Trucking Along stamp set onto the bottom of the Basic White die cut using Memento Tuxedo Black ink.
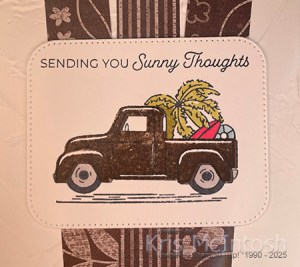
I stamped the outline truck image from the Trucking Along stamp set just above the “road” image also using Memento Tuxedo Black ink. I stamped the fill image using Early Espresso ink. I stamped the palm tree image onto the truck image using Memento Tuxedo Black ink.

I coloured the image using Old Olive, Real Red and Balmy Blue Stampin’ Blends. Lastly I stamped the greeting from the Trucking Along stamp set above the card using Memento Tuxedo Black ink. The image panel is attached to the card front using dimensionals. To decorate the inside of the card I stamped a greeting from the So Sincere stamp set using Early Espresso ink. I also attached a piece of Early Espresso patterned paper from the Neutrals 6″ x 6″ Designer Series Paper across the bottom of the stamped Basic White card. I love how happy this card makes me feel. Let me know what you think.
Bye for now,
Kris
Product Used: