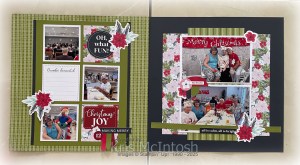
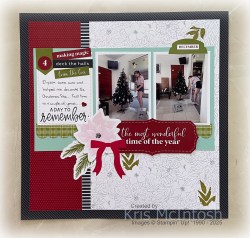
Oh What Fun
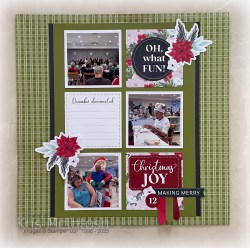
Today’s pages show off the Christmas celebration at my Mum’s Nursing Home. We had a lovely afternoon being entertained by an amazing group of young people who sang and danced for an hour, followed by a wonderful dinner. I used Layout 1 from the Keeping Traditions Scrapbooking Workshop Kit. I had the main Designer Series Paper panels ready to go so I only had to add my photos and the embellishments.
I still have to add my journaling but otherwise the photos are ready to go. I love having these pages ready to use to document events in my life. It makes me happy to have this memory already documented.
If you have every wanted to start Memory Keeping, then I fully recommend these kits as a great place to start. Everything you needs comes in the kit to create three double page layouts – paper, card, embellishments – everything. I hope I am inspiring you to start looking at documenting your photos.
Bye for now,
Kris
Product Used:

Slimline Christmas
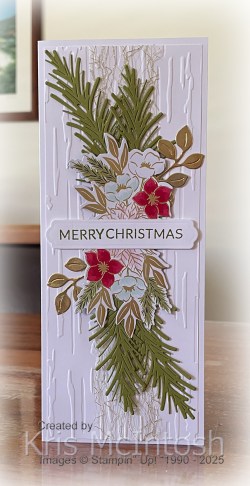
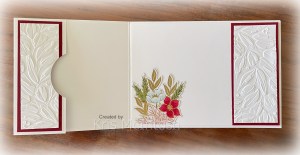
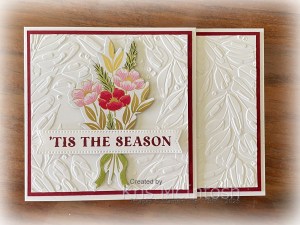
Merry Christmas everyone. Hope you all have a wonderful day celebrating with family and friends. Today I am sharing with you the card I created for my daughters using the Christmas Greenery Bundle. I cut a piece of Basic White card and embossed it using the Birch 3D Embossing Folder. I wrapped the panel with a length of the Open Weave Trim (now Last Chance) before attaching the embossed panel to scored and folded Basic White card. I die cut the beautiful bouquet from the Traditions of Christmas 12″ x 12″ Specialty Designer Series Paper. I die cut Old Olive card using large leafy image from the Christmas Greenery Die. I also die cut Gold Foil using the small leaf image from the Christmas Greenery Dies.
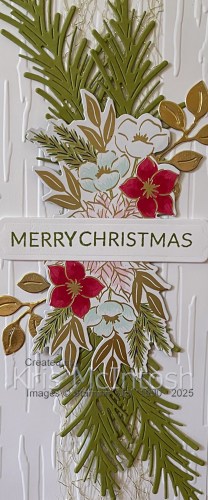
I attached the large leafy die cuts flat onto the card front. The bouquet cut from the Designer Series Paper is attached over the top. I tucked the Gold Foil leaves underneath the bouquet image. I stamped “merry Christmas” onto Basic White card using the greetings from the retired Greetings of the Season stamp set using Old Olive ink. I cut out the greeting using one of the banner dies from the Beautiful Butterfly Dies (now Last Chance).

The greeting is attached across the centre of the bouquet using dimensionals where necessary. To decorate the inside of the card I stamped another greeting from the Greetings of the Season stamp set onto Basic White card using Old Olive ink. I cut the flowers from the edges of the Traditions of Christmas Designer Series Paper and layered them beside the greeting.
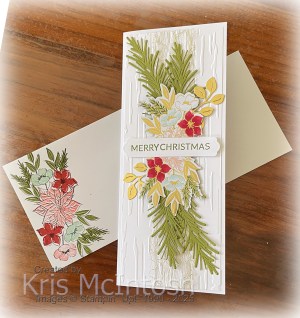
I know I have used a few retired products on this card but I am sure you will still have these in your stash as I have. I found some Slimline envelopes that Stampin’ Up! used to sell and decorated the front by stamping the floral image from the Christmas Greenery stamped set using Memento Tuxedo Black ink. I stamped the fill images using Cherry Cobbler, Pool Party, Flirty Flamingo and Old Olive ink. I had so much fun creating this card which was inspired by one of the classes from the 31 days of Christmas class which I signed up for in October.
Bye for now,
Kris
Product Used:


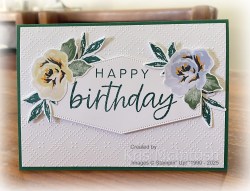
Special Birthday

Today I have a card to share with you which I created for my Granddaughter’s 21st birthday. I was inspired to create this whilst taking part in the CDT 31 Days of Christmas in October this year. I embossed Basic White card using the Birch 3D Embossing Folder and attached it to Soft Sea Foam card. The whole panel is attached to scored and folded Basic White card. I cut Basic White and Soft Sea Foam card twice each using a leaf die from the Charming Day Dies. I also stamped the large floral image from the Charming Day stamp set onto Basic White card using Memento Tuxedo Black ink. I stamped the smaller floral image from the same stamp set twice onto Basic White card using Memento Tuxedo Black ink. The floral images are coloured using Balmy Blue, Soft Sea Foam and Dark Daffodil Delight Stampin’ Blends.

The floral images were cut out using the co-ordinating dies from the Charming Day Dies. I layered the flowers onto the card front using dimensionals. I attached the Basic White and Soft Sea Foam Leaves above and below the flowers without dimensionals. I stamped the “happy birthday” from the Charming Day stamp set onto Basic White card using Memento Tuxedo Black ink. I fussy cut the greeting before attaching it to the card front.

To decorate the inside of the card I stamped the greeting from The Right Words stamp set onto Basic White card using Memento Tuxedo Black ink. I stamped the small floral image from the Charming Day stamp set beside the greeting using Memento Tuxedo Black ink. I coloured the image using Balmy Blue, Soft Sea Foam and Dark Daffodil Delight Stampin’ Blends. The Basic White card is attached to Soft Sea Foam card and then the inside of the Basic White card base. I found some slim line envelopes which I had in my stash and attached the image which I cut from Soft Sea Foam card using one of the Charming Day Dies. I love how pretty this card turned out and can’t thank Julie from the CDT 31 Days of Christmas for the inspiration.
Bye for now,
Kris
Product Used:


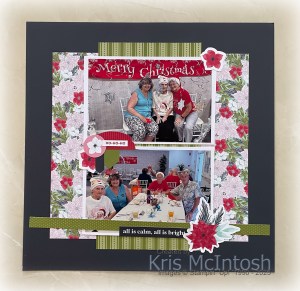
Decorating the Tree
It’s been a couple of years since I have put up our tree or done any Christmas decorations at all. But this year my granddaughter Elyssa came around and we decorated the tree and put up some decorations. The house feels much more like Christmas.

I decided to document this event by using Layout 2 from the Keeping Traditions Scrapbooking Workshop Kit. I already had the designer series paper panels created so all I had to do was add the photos and the decorative pieces.
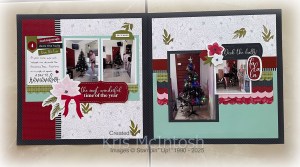
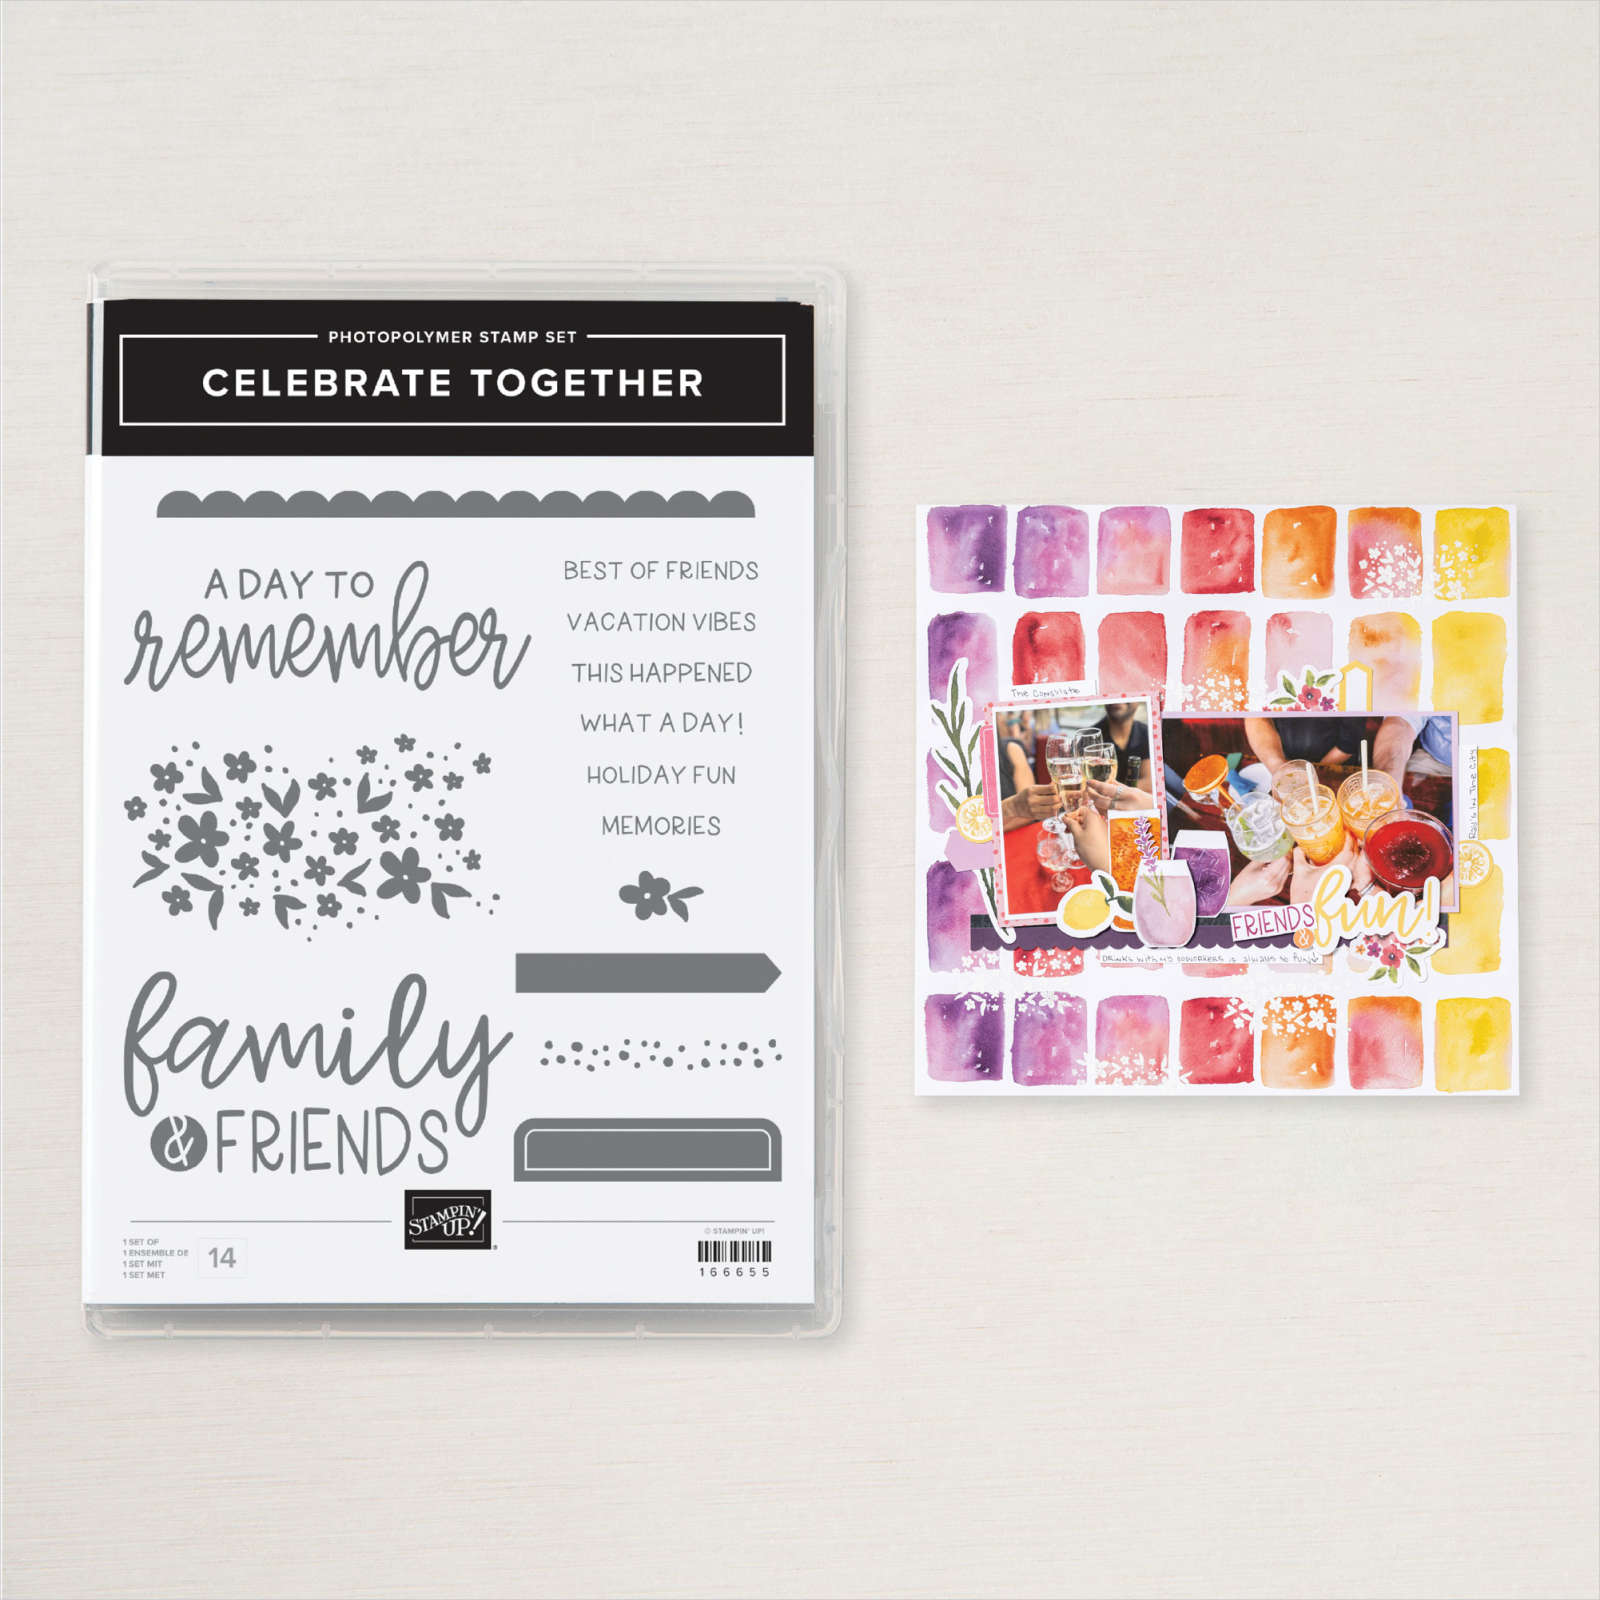
I didn’t really change anything on the pages, except I used an Dark Old Olive Stampin’ Blend instead of a Blender Pen to colour a few of the leaves on the Designer Series Paper before covering them again withWink of Stella. I also added a greeting from the Celebrate Together stamp set onto the journaling panel using Memento Tuxedo Black ink. I am very happy with this page and very happy with the tree. Not long ’til Santa arrives now!
Bye for now,
Kris
Product Used:

Joyful Birthday
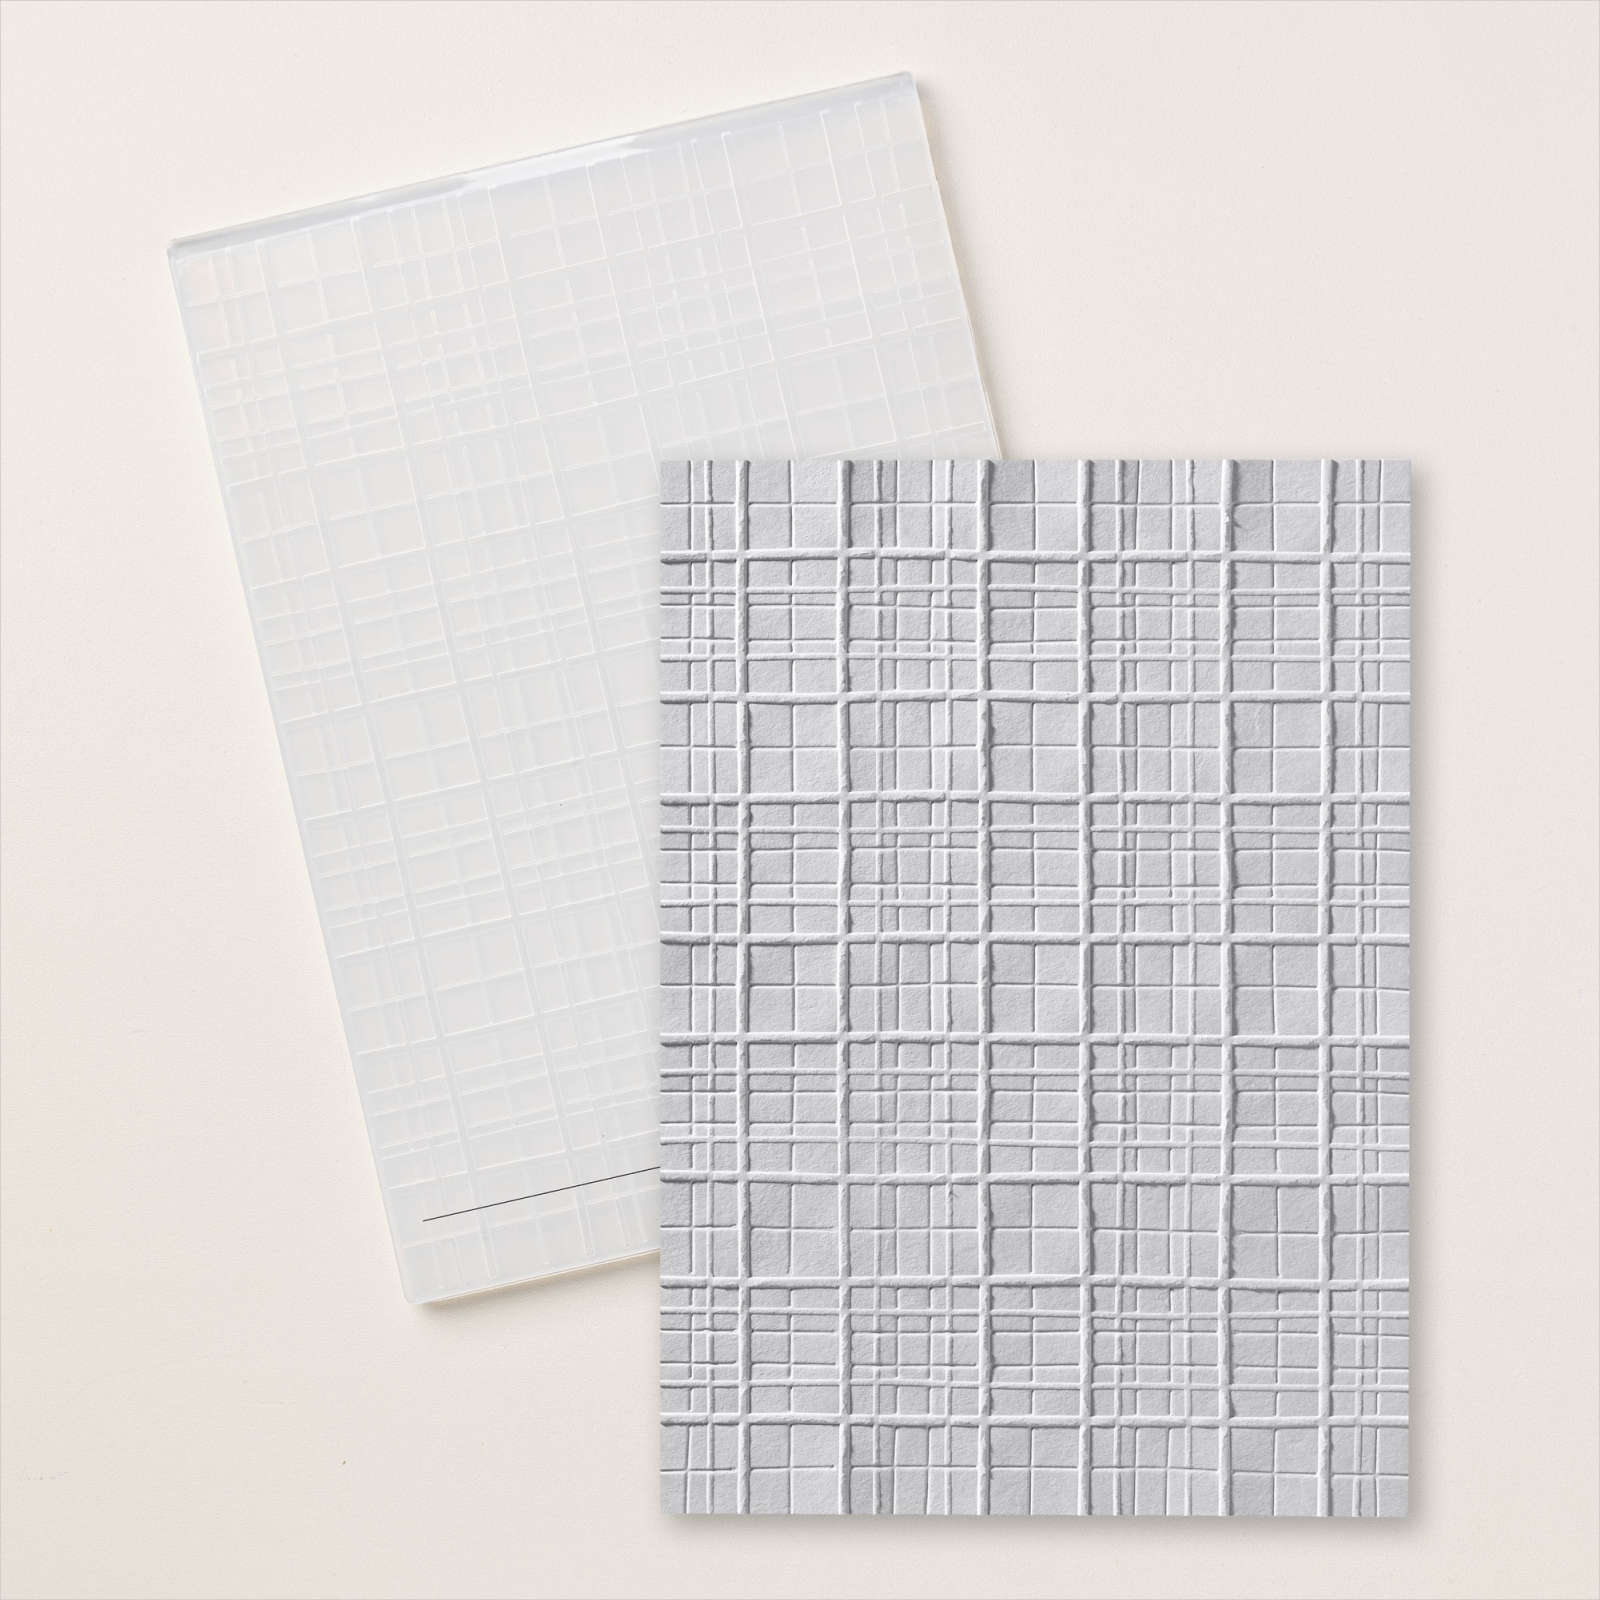
This week in my Facebook Live I shared some cards I created using the Joyful Squares Bundle. This bundle will be available for you to purchase once the Mini Catalogue goes live in January. For today’s card I embossed Basic White card using the Beautiful Pattern Embossing Folder. The embossed panel is attached to scored and folded Shaded Spruce card. I cut Basic White card using one of the Nested Essential Dies and stamped the greeting from the With You in Mind stamp set using Shaded Spruce ink. I attached the stamped Basic White die cut to the card front using dimensionals.

I cut the flowers from the Square Snippets 12″ x 12″ Designer Series Paper. The flowers are attached around the greeting using dimensionals where necessary. I stamped the leaf image from the Joyful Squares stamp set four times onto Basic White card using Shaded Spruce ink. I cut out the leaves using the co-ordinating die from the Joyful Squares Dies. I attached the leaves around the flowers using dimensionals where necessary.

To decorate the inside of the card I stamped the greeting from The Right Words stamp set onto Basic White card using Shaded Spruce ink. I cut out the greeting using one of the Nested Essential Dies before attaching it to Basic White card. I stamped two leaves from the Joyful Squares stamp set onto Basic White card using Shaded Spruce ink. I cut out the leaves using the co-ordinating Joyful Squares Die. The leaves are attached on either side of the greeting. I am loving this beautiful Bundle and the co-ordinating Square Snippets Designer Series Paper. I hope that I have inspired you to take a closer look at these products when the new Mini Catalogue becomes live in January.
Bye for now,
Kris
Product Used:


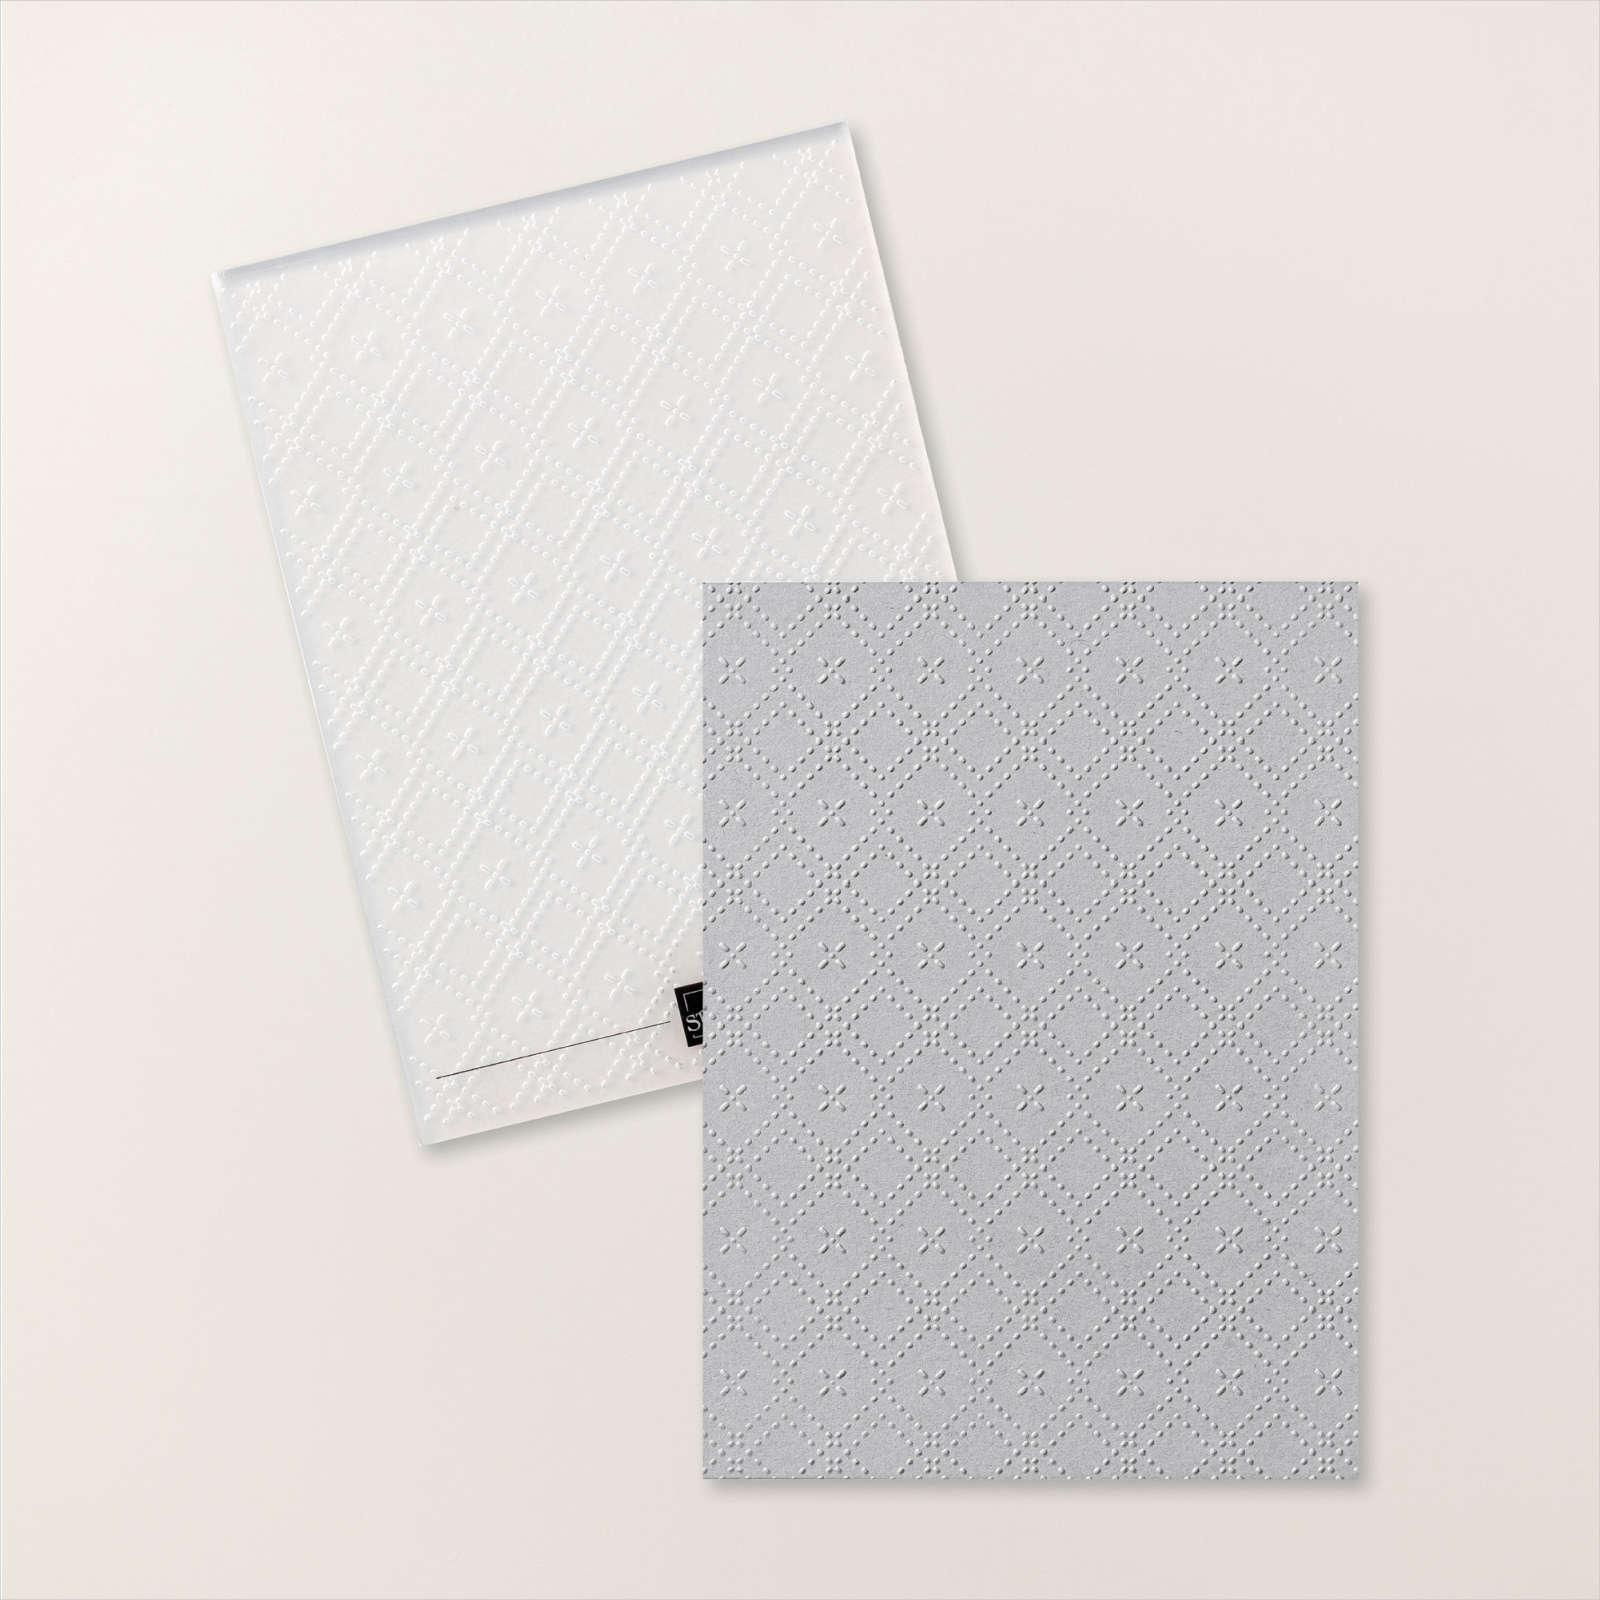

Faux Embossing
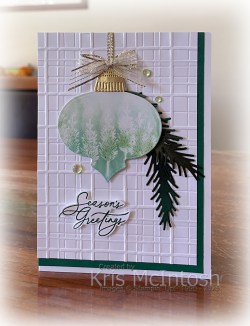
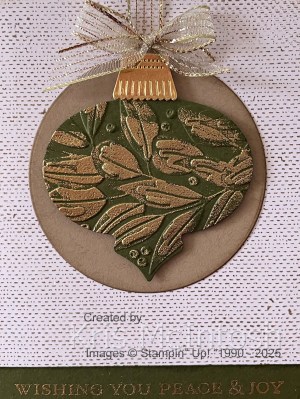
Here is another card I created after watching a video by Julie Carriere on CDT 31 Days of Christmas. I am so loving these creative classes I signed up for. I followed Julies instructions to create the card base but I used Shaded Spruce card. I created my faux embossing panel following Julie’s ink suggestions. I did not have the same stamps she used but I did use the smallest tree stamp from the Scenic Adventure stamp set. I didn’t use glossy photo paper but I had some Glossy White card stock in my stash which I used instead.
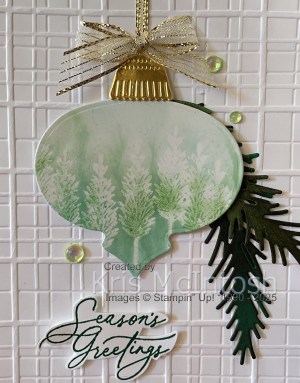
I die cut Garden Green and Shaded Spruce using the retired Golden Greenery Dies. I added some Early Espresso ink to the leaves as suggested by Julie. I didn’t have any gold metallic ink so I had to forego that step. I used the Ornamental Christmas Dies to cut out the Bauble from the Glossy White card stock and added a bauble topper cut from Gold Foil card using the same dies.
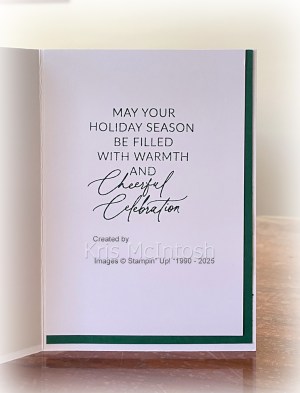
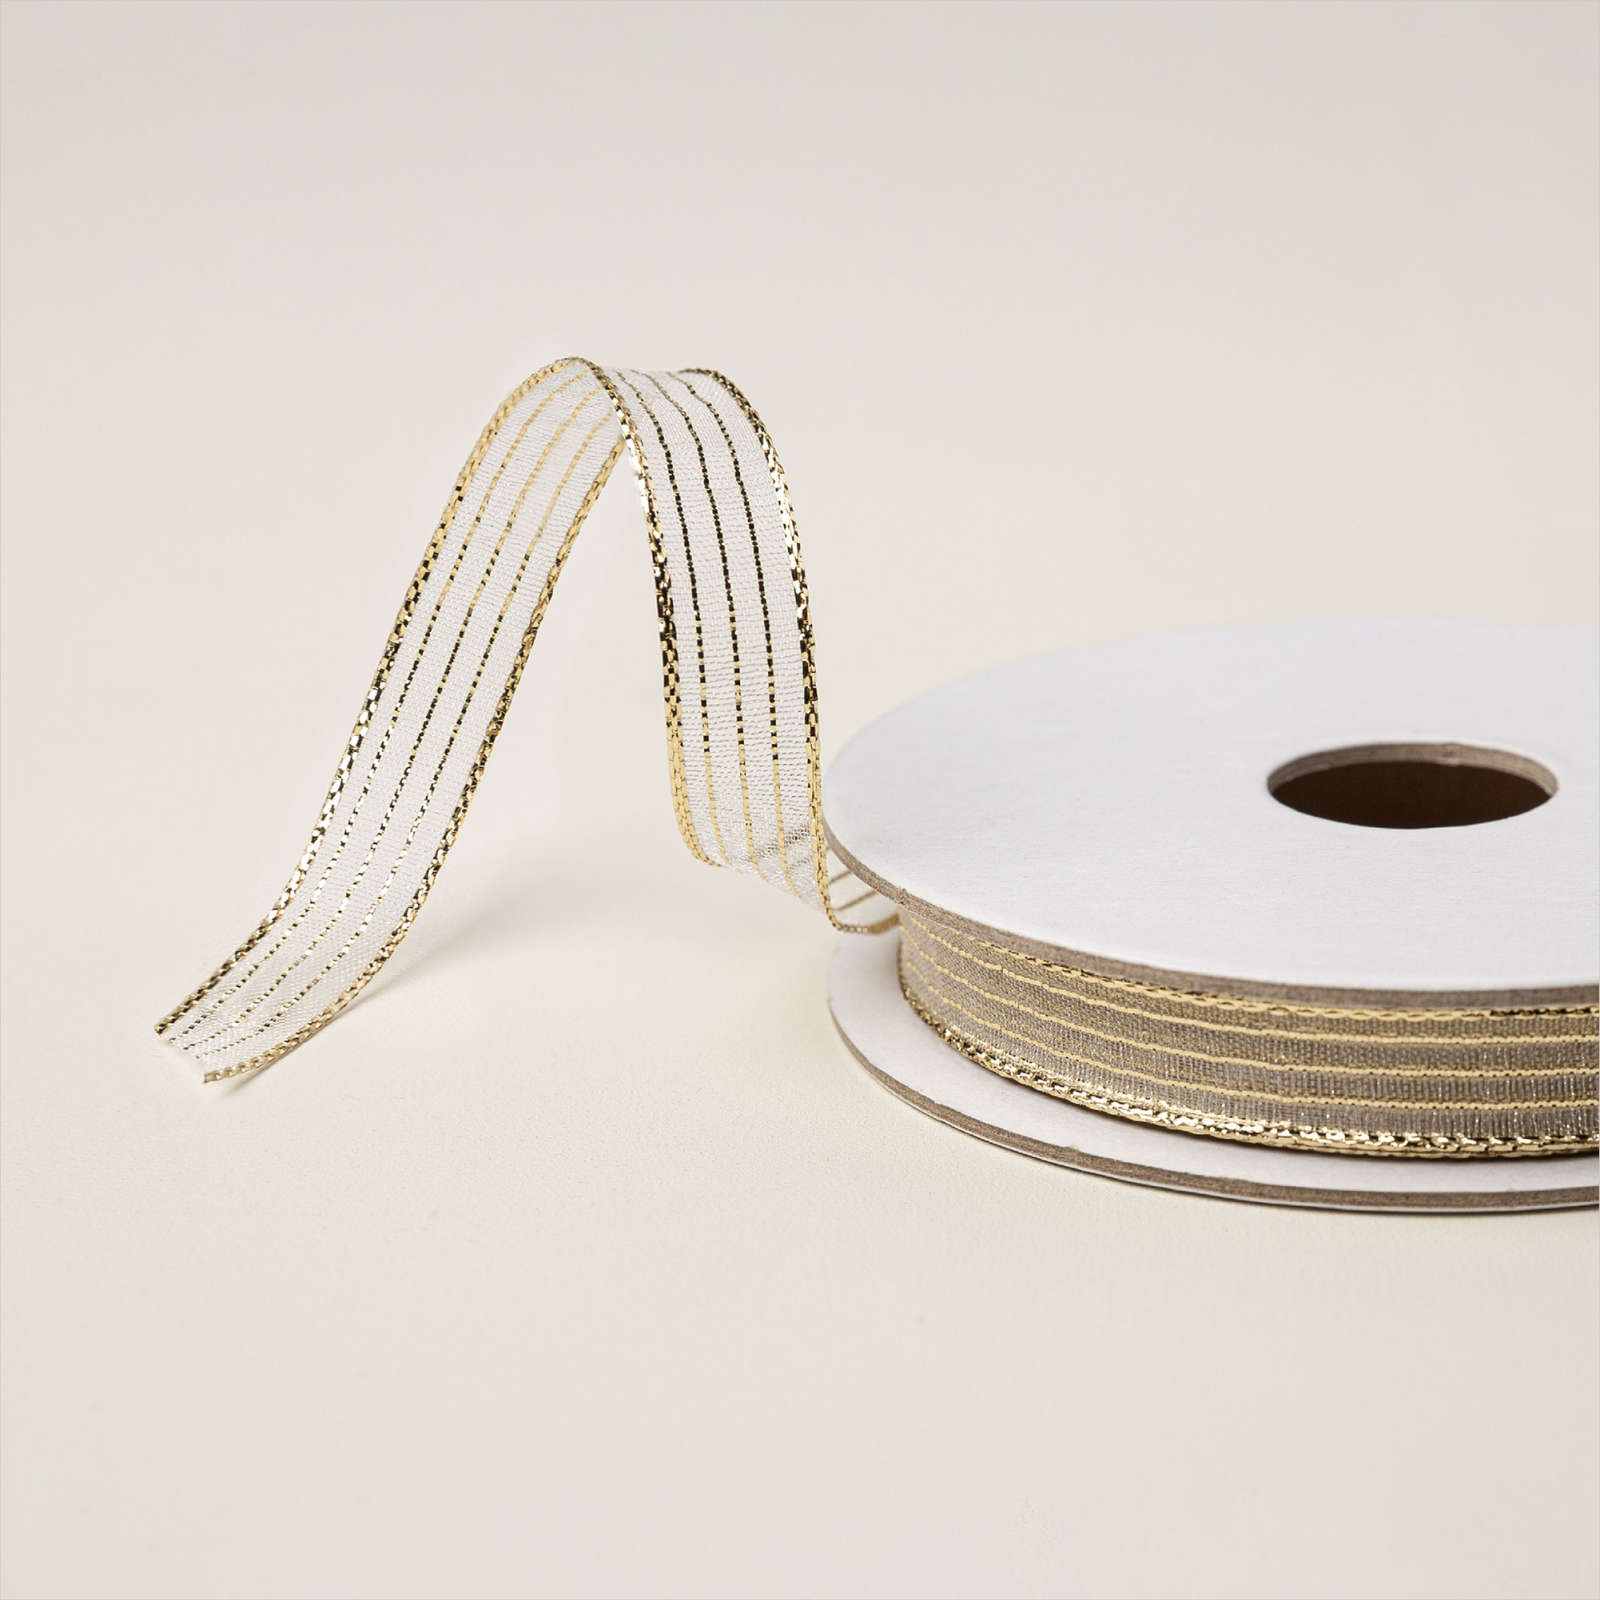
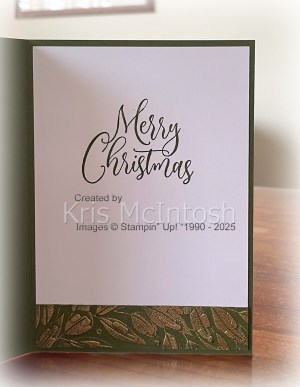
I attached a length of the retired Gold Trim from the retired Gold & Silver Trim Combo Pack behind the bauble and wrapped it over onto the back of the Shaded Spruce card. I used the Gold Striped 3/8″ Mesh Ribbon to tie a bow which I added to the top of my bauble. I stamped the greeting from the retired Greetings of the Season onto Basic White card using Shaded Spruce ink and fussy cut it out. I attached the greeting to the card front using dimensionals. I also added three Halographic Resin Dots to the card front. To decorate the inside of the card I stamped another greeting from the retired Greetings of the Season stamp set onto Basic White card using Shaded Spruce ink. I attached the stamped Basic White card to Shaded Spruce card and then to the inside of the Thick Basic White card base. My faux embossing is not quite as deep in colour as I would have liked however, I am happy with the finished card. So thank you Julie for the inspiration.
Bye for now,
Kris
Product Used:


Inverell in Review
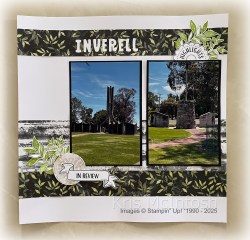
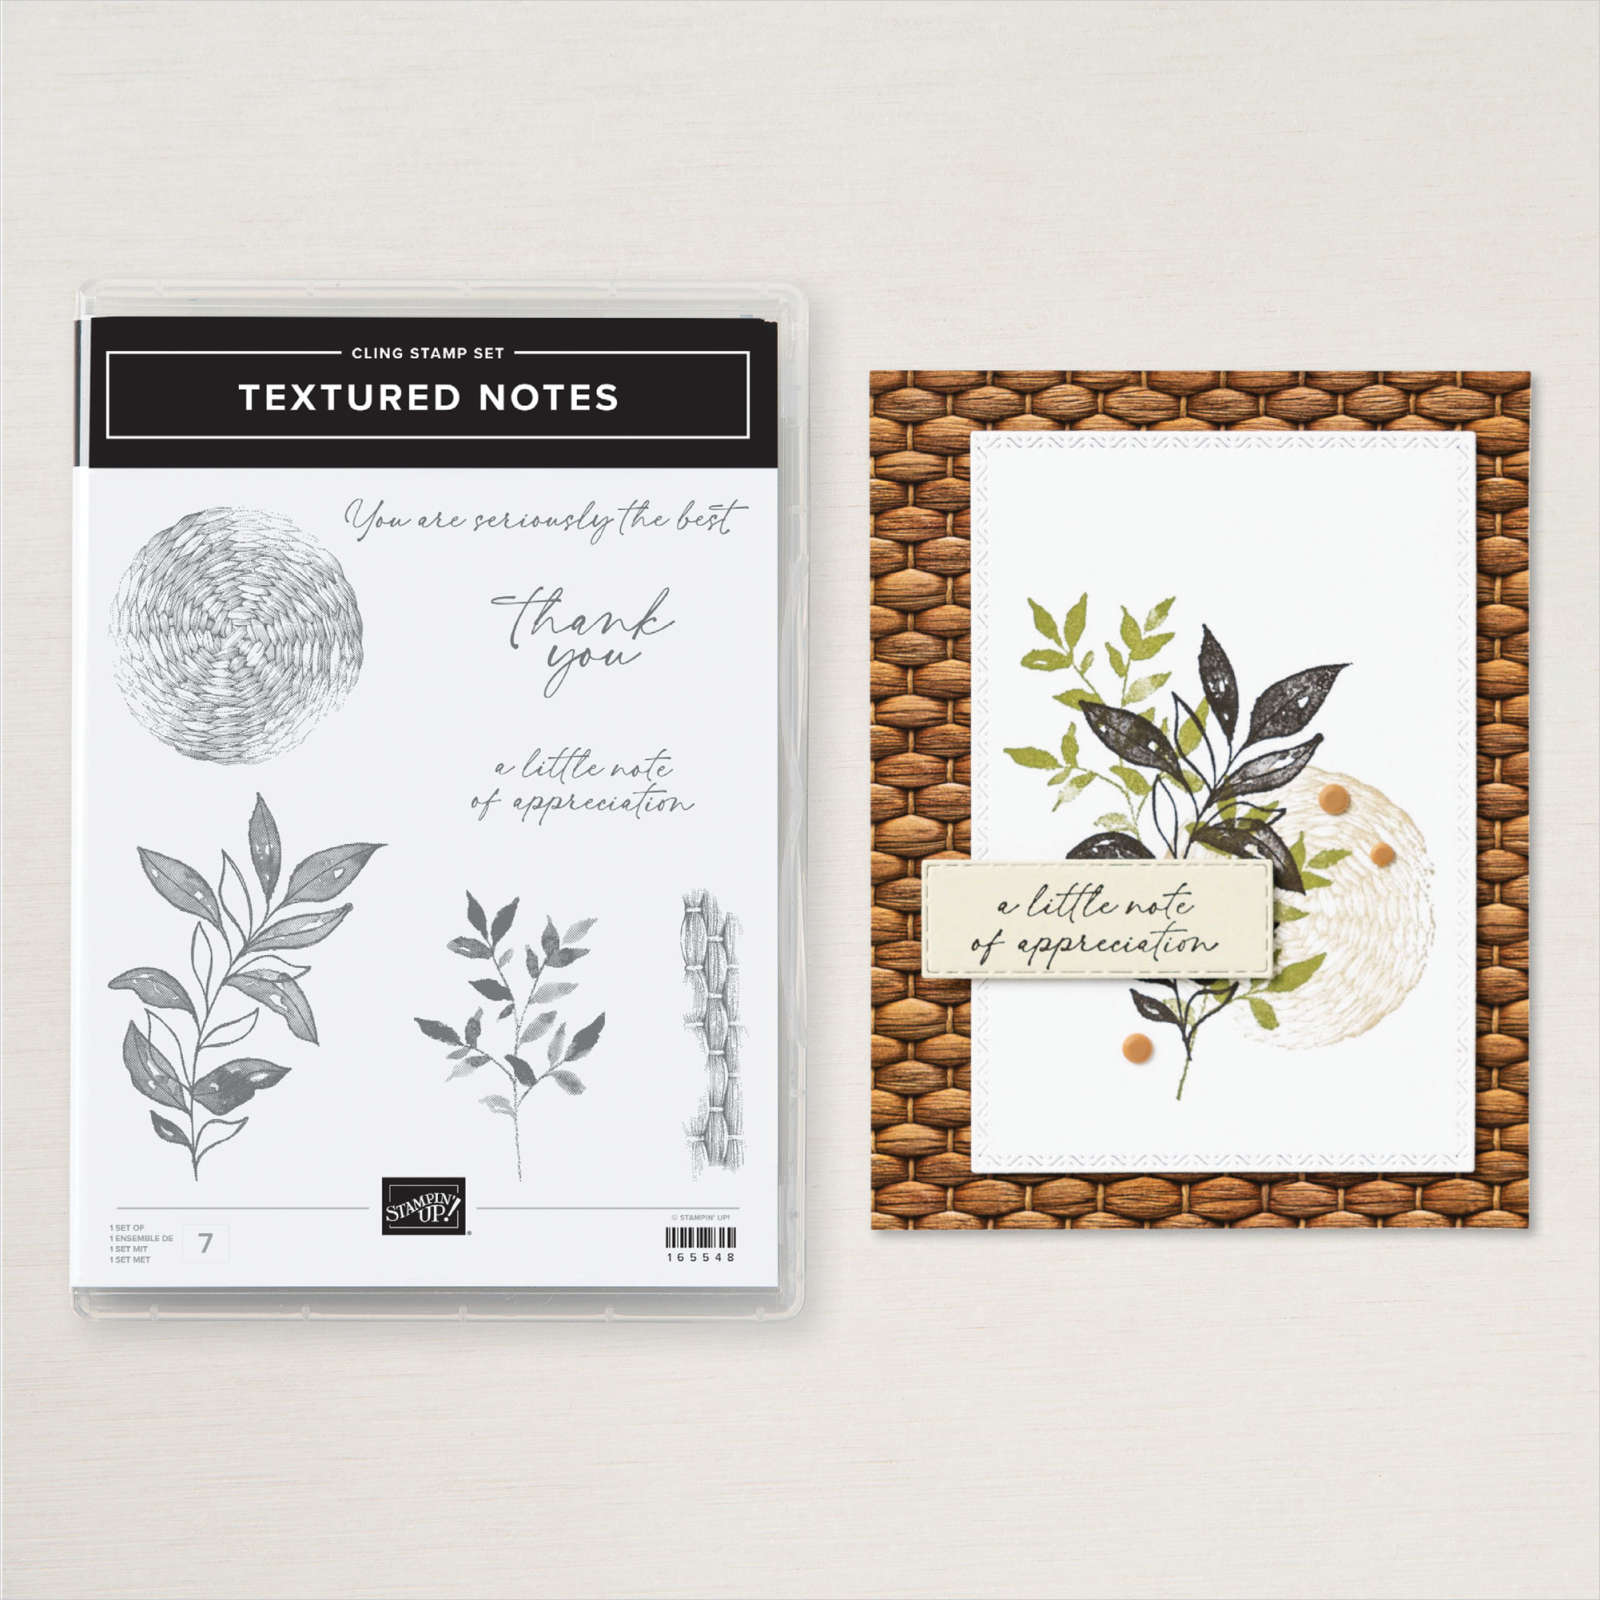
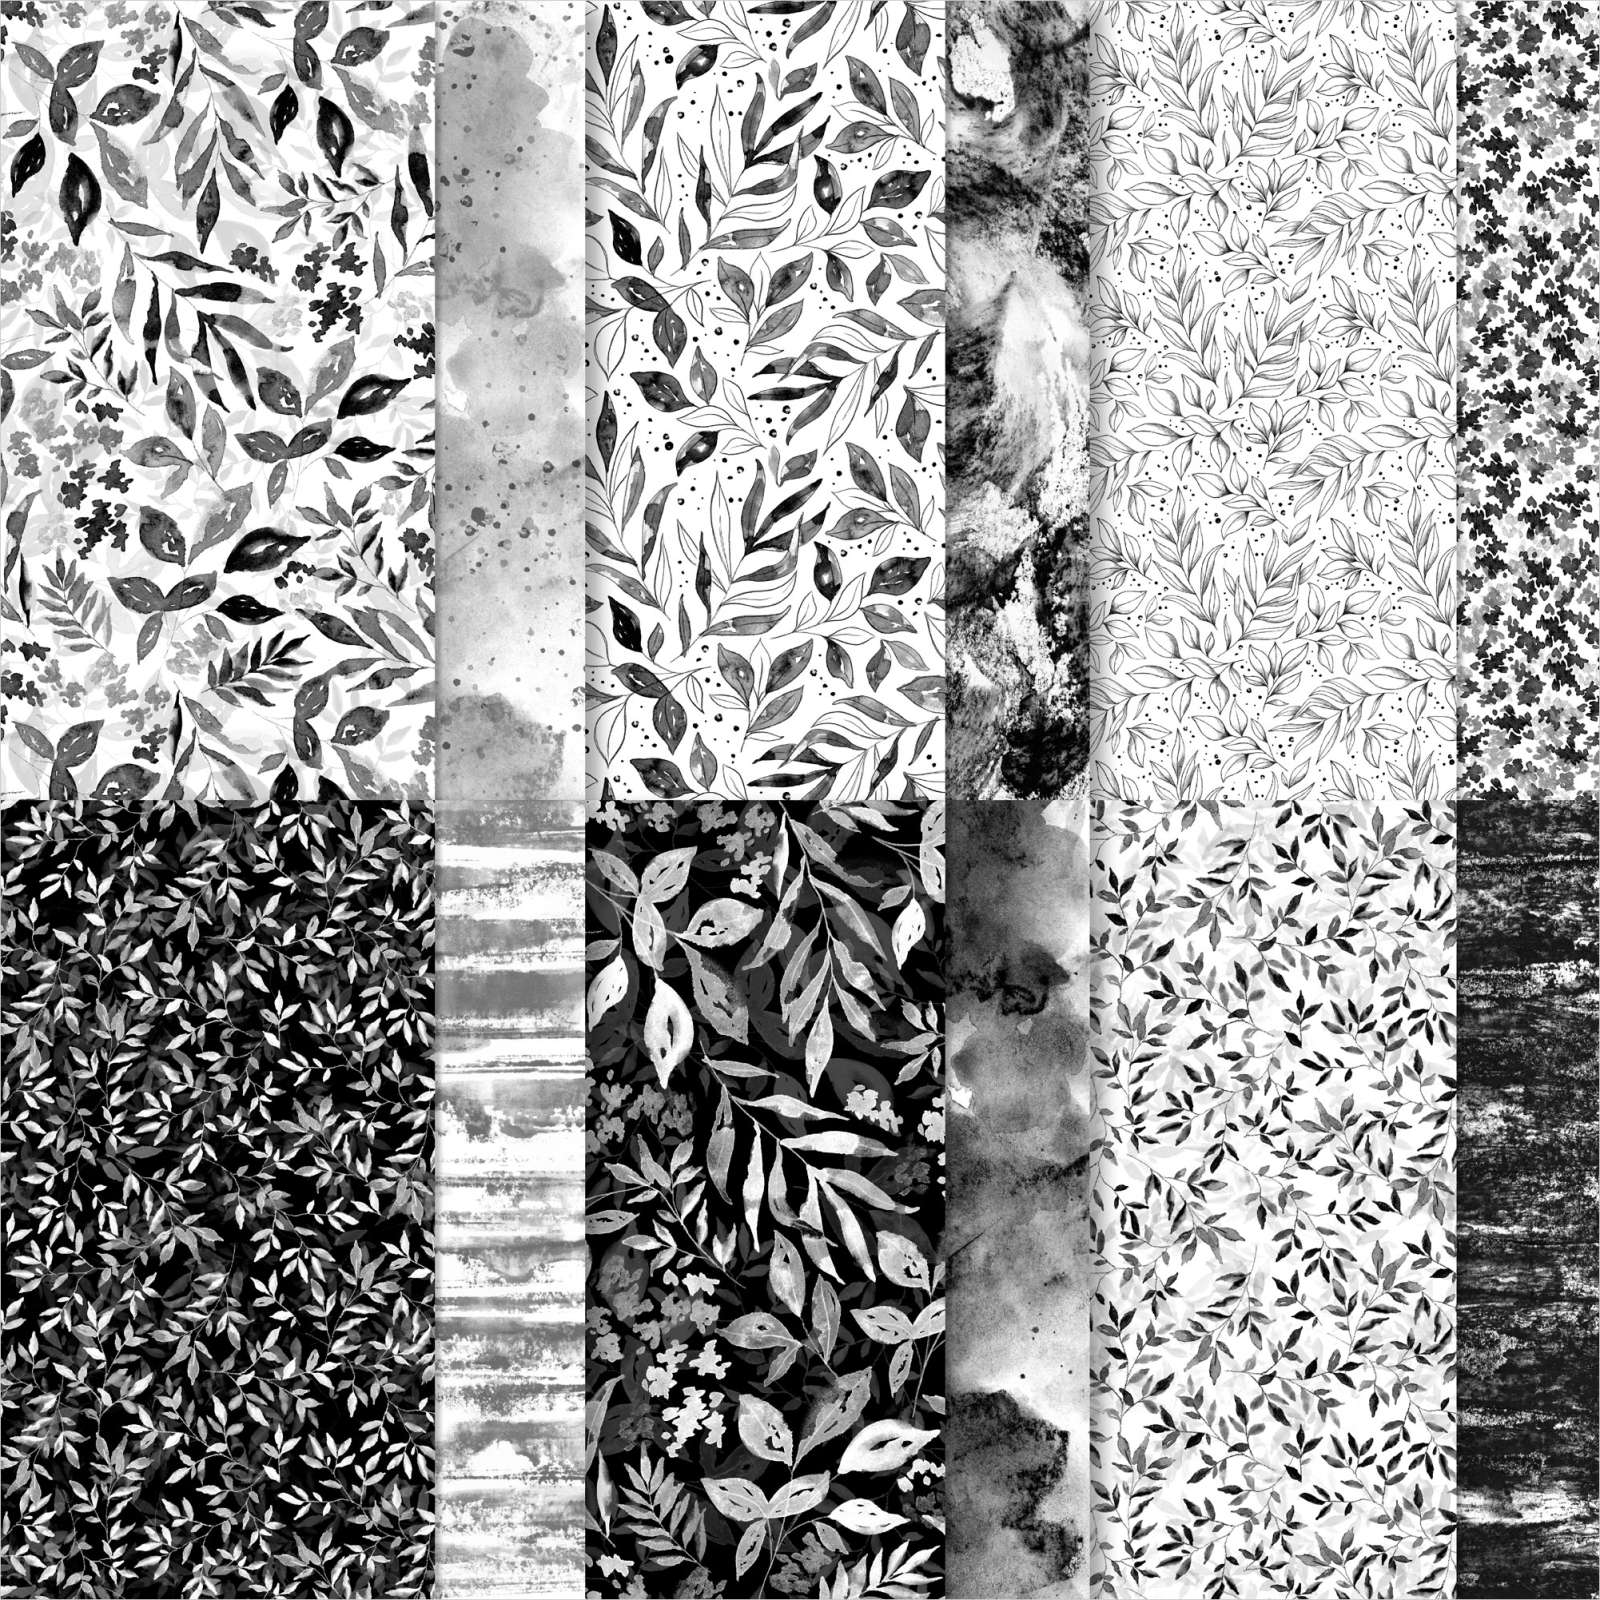
Today’s pages use the 1, 2, 3 Layout from November’s class. I decided to use photos from our latest visit to Inverell. I cut a piece of Botanical Textures 12″ x 12″ Designer Series Paper as the basis for my pages. I did colour the leaves on the narrow strips using the Light Granny Apple Green Stampin’ Blend. I stamped the leaf images from the Textured Notes stamp set onto Basic White card using Granny Apple Green ink and cut them out.
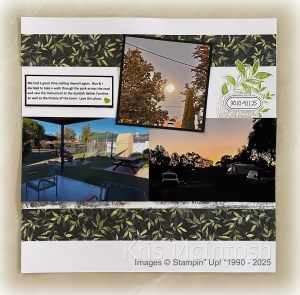
I also stamped the round basket weave image from the Textured Notes stamp set onto Basic White card using Crumb Cake ink. I punched out these images using the 1-7/8″ Circle Punch. I used the Month by Month Alphabet stamp set to stamp the banner images onto Basic White card using Memento Tuxedo Black ink. I filled two of the images using greetings from the Month by Month Stamp Set using the same ink.

I used a journaling pen to add the date to the oval shaped banner before layering the images together to attach to the pages. I printed my journaling onto Basic White card, attached it to Basic Black card and then the right hand page. I did add Basic Black layers to three of my photos before attaching them to the pages. I was a little nervous using this all black Botanical Textures Designer Series Paper but I love how they turned out. If you love the idea of using one 12″ x 12″ sheet of Designer Series Paper to create a double page layout, you can find the 1, 2, 3 Layout ideas from the Organized and Creative Mom on You Tube.
Bye for now,
Kris
Product Used:
If you want the Month by Month stamp set and Month by Month Alphabet stamp set they are still available to purchase in the Month by Month Album Retreat 2025 which you can find here in my Online Store.


Traditional Gift Card Holders

This week in my Facebook Live I shared three different gift card holders and today I have another version of one of those. For my project today I used Thick Basic White card as the base which I scored as per version three from my Live yesterday. I embossed Basic White card using the Traditional Wreath 3D Embossing Folder and attached the panels to Cherry Cobbler card.
One panel is attached to Basic White card and attached to the inside of the card base. One panel is attached to the gift card pocket before being punched using the 1-3/4″ Circle Punch. I attached narrow strips of Tear ‘n Tape to the outside edges to create the pocket. The last panel is attached to the front of the card base.
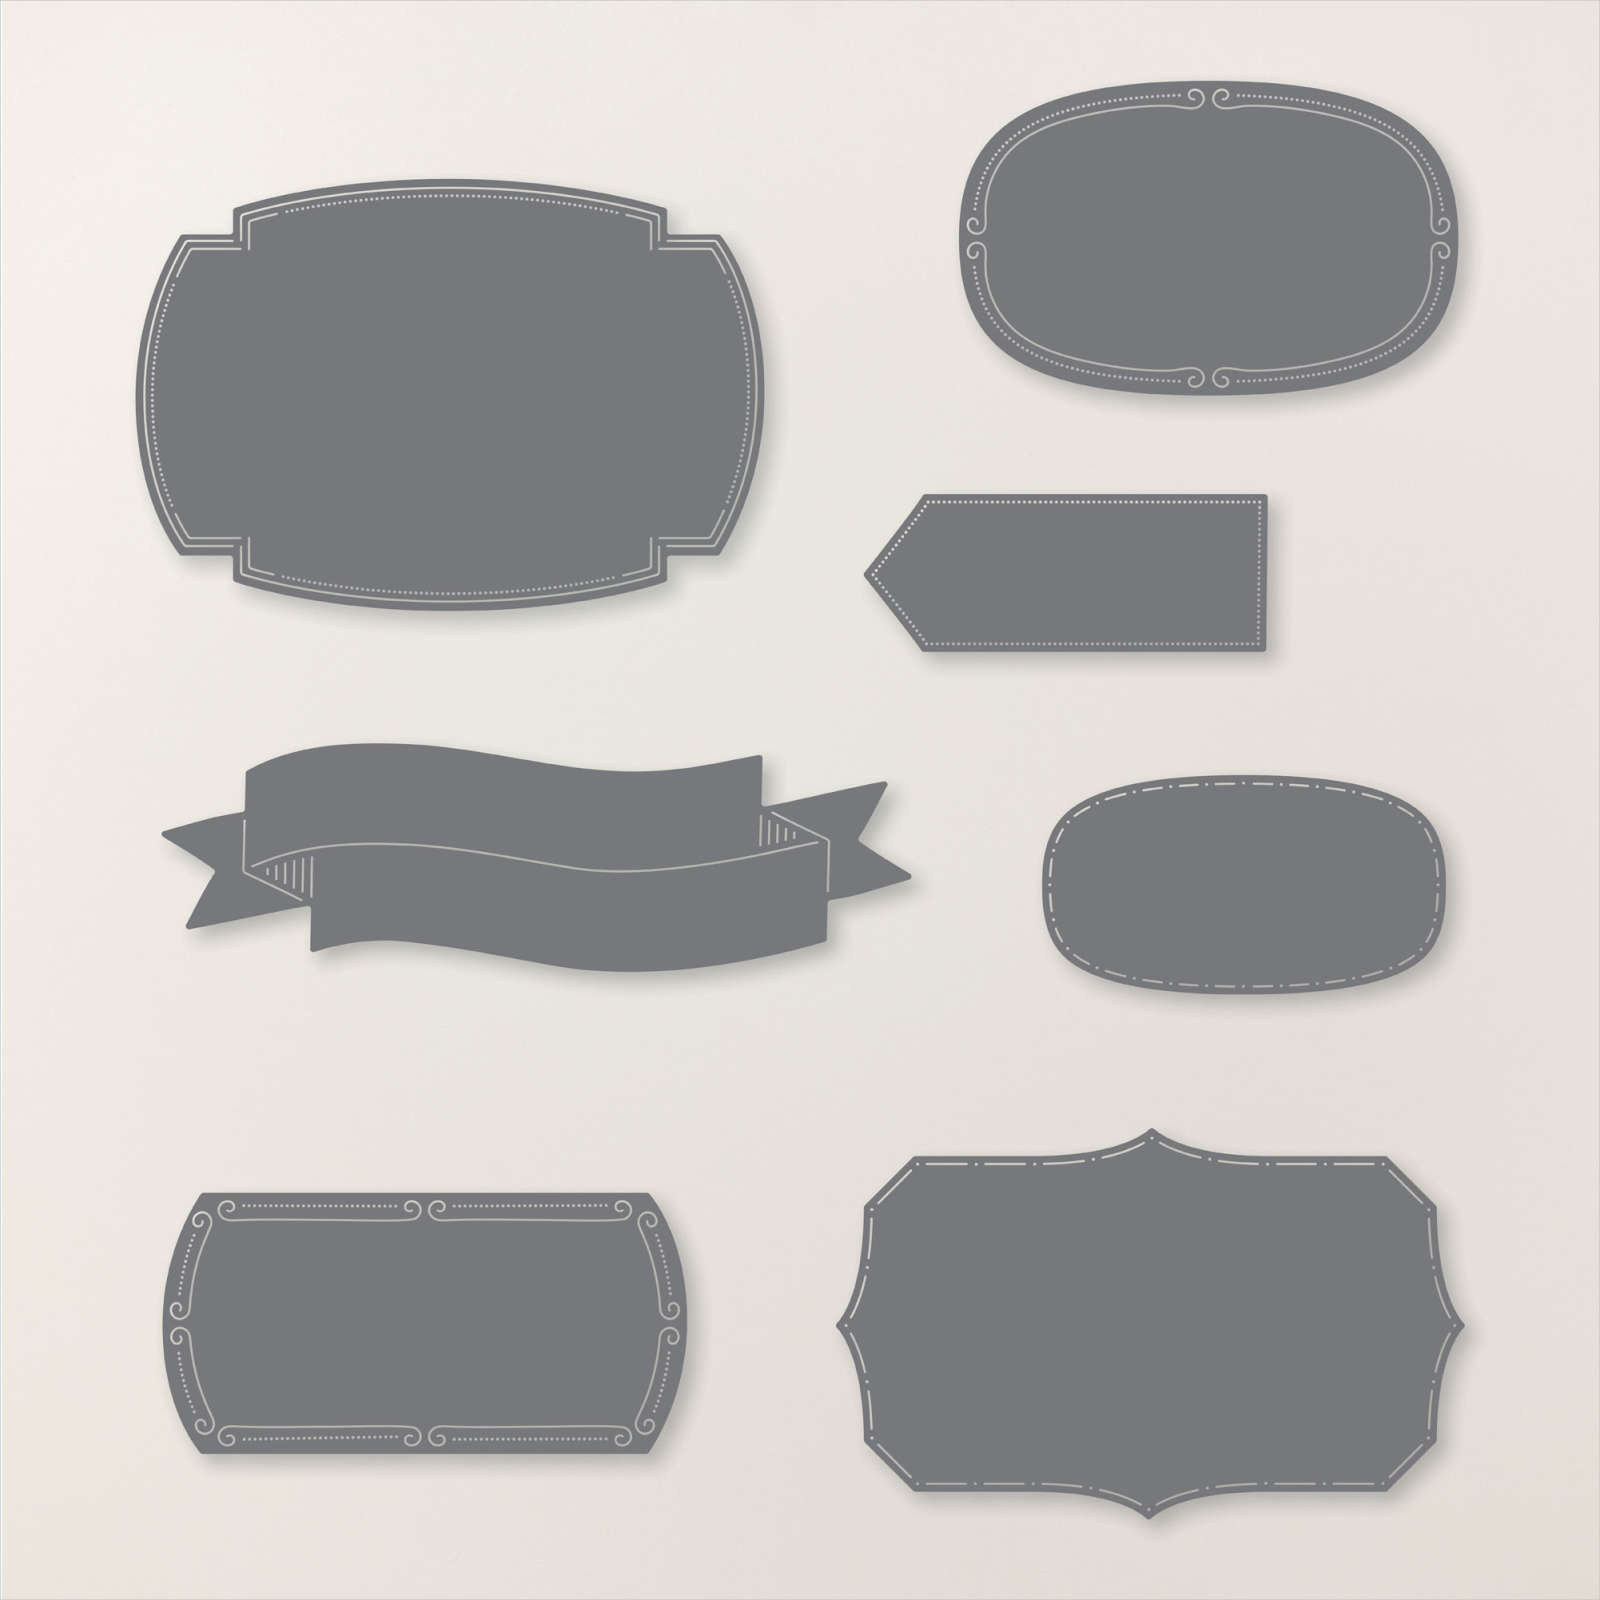
I cut the floral image from the Traditions of Christmas 12″ x 12″ Designer Series Paper using one of the Christmas Greenery Dies. I die cut Basic White card using one of the Traditional Labels Dies and stamped the greetings from the Traditional Labels stamp set on the Basic White die cut using Cherry Cobbler ink. I attached the greeting panel to the card front using dimensionals.
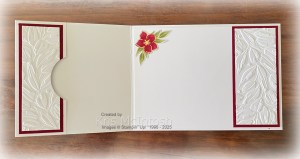
I attached the floral image onto the card front using dimensionals so that it sits partially over the greeting panel. To decorate the inside panel I attached a floral image that I cut from the edge of the Traditions of Christmas Designer Series to the lower left hand corner. I loved the layout but wanted to use the other floral image from the Traditions of Christmas Designer Series Paper. I followed the same basic details to create the second Gift Card Holder but this time I attached the floral bouquet to the card front using dimensionals.
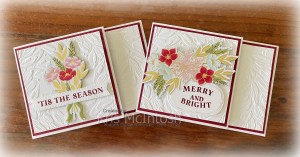
I stamped the greeting from the Traditional Labels stamp set onto Basic White card and used one of the Stylish Shapes Banners to cut out the greeting. The greeting is attached to the card front using dimensionals. This time I fussy cut a small flower from the Traditions of Christmas Designer Series Paper to decorate the inside panel. I love having these gift card (or money) holders ready to go for Christmas but also for birthdays as well. The templates and cutting instructions can be found on my Facebook Page .
Bye for now,
Kris
Product Used:


Embossed Bauble
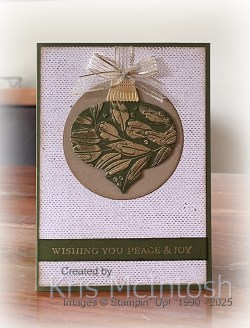
Today’s card shows off another technique we learned in the CDT 31 days of Christmas. I used the Layering Linen Background stamp which is a new Online Exclusive which becomes available for customers on the 4th of November. I stamped the Layering Linen stamp onto Basic White card using Crumb Cake ink. I sponged the edges of the stamped card also using Crumb Cake ink. I cut Crumb Cake card using the circle die from the Ornamental Christmas Dies and sponged the edges using Crumb Cake ink. The circle is attached to the stamped Basic White card.I used the bauble die from the Ornamental Christmas Dies to cut Mossy Meadow ink. I embossed the bauble using the Traditional Wreath 3D Embossing Folder. I used a Versamark ink pad to add ink to the raised areas of the embossed bauble.
I sprinkled the bauble with Gold Embossing Powder from the Metallics Wow Embossing Powder and heat set it. I attached a length of Gold Striped 3/8″ Mesh Ribbon behind the top of the bauble before attaching it to the Crumb Cake Circle using dimensionals. I secured the end of the ribbon to the back of the panel before attaching it to scored and folded Mossy Meadow card. I cut the bauble topper from Gold Foil card using the Ornamental Christmas Die. I attached the bauble topper to the bauble. I tied a bow in a length of Gold Striped Mesh Ribbon and attached at the top of the bauble. I stamped the greeting from the Ornamental Christmas stamp set onto a narrow strip of Mossy Meadow card using Versamark ink.
I sprinkled the greeting with Gold Embossing Powder and heat set it. The greeting is attached across the bottom of the card front. I stamped Merry Christmas from the Ornamental Christmas stamp set onto Basic White card using Mossy Meadow ink. I embossed a narrow strip of Mossy Meadow card using the Traditional Wreath 3D Embossing Folder. I used a Versamark ink pad to ink the raised areas of the embossed card. I sprinkled the card with Gold Embossing Powder and Heat set it. The panel is attached across the bottom of the Basic White stamped card. The Basic White panel is attached inside the Mossy Meadow card base. What a fun technique this was to learn and try, Thank you Jayma for your great video.
Bye for now,
Kris
Product Used:


Congratulations Graduate

Today I am sharing with you a page I created during Stampin’ Up!’s Brushed with Beauty Craft Class. This is the second class that I have joined and I loved everything about it. The projects, the presenters and all the hints, tips and tricks we learned along the way. The great thing about these classes is that you can still purchase the class and the product if you wish. Once you have purchased the class you will get linked to a Facebook Page where you can find all the information and links to the video to watch and create any time you want. Anyway when I was creating this page I thought it would be perfect to show off a photo of my granddaughter on the day she graduates from High School. The base of the page is a piece of Brushed with Beauty 12″ x 12″ Designer Series Paper. On top of that is a piece of Vellum 12″ x 12″ Specialty Paper. We were shown how to cut the leaves and a flowers from the Brushed with Beauty Designer Series Paper using the Petals of Beauty Dies. We were also shown how to add texture to the Very Vanilla solid flowers using Embossing Paste. The labels on the page are cut using the Words of Beauty Dies. Two of the greetings used on this page are from the retired Cap & Gown stamp set. The other greeting is from the Words of Beauty stamp set. I love how pretty this page is and how the Brushed with Beauty Suite Collection (Online Exclusive) works for this project.
Bye for now,
Kris
Product Used:
You can find the Brushed with Beauty Craft Class here in my online store.