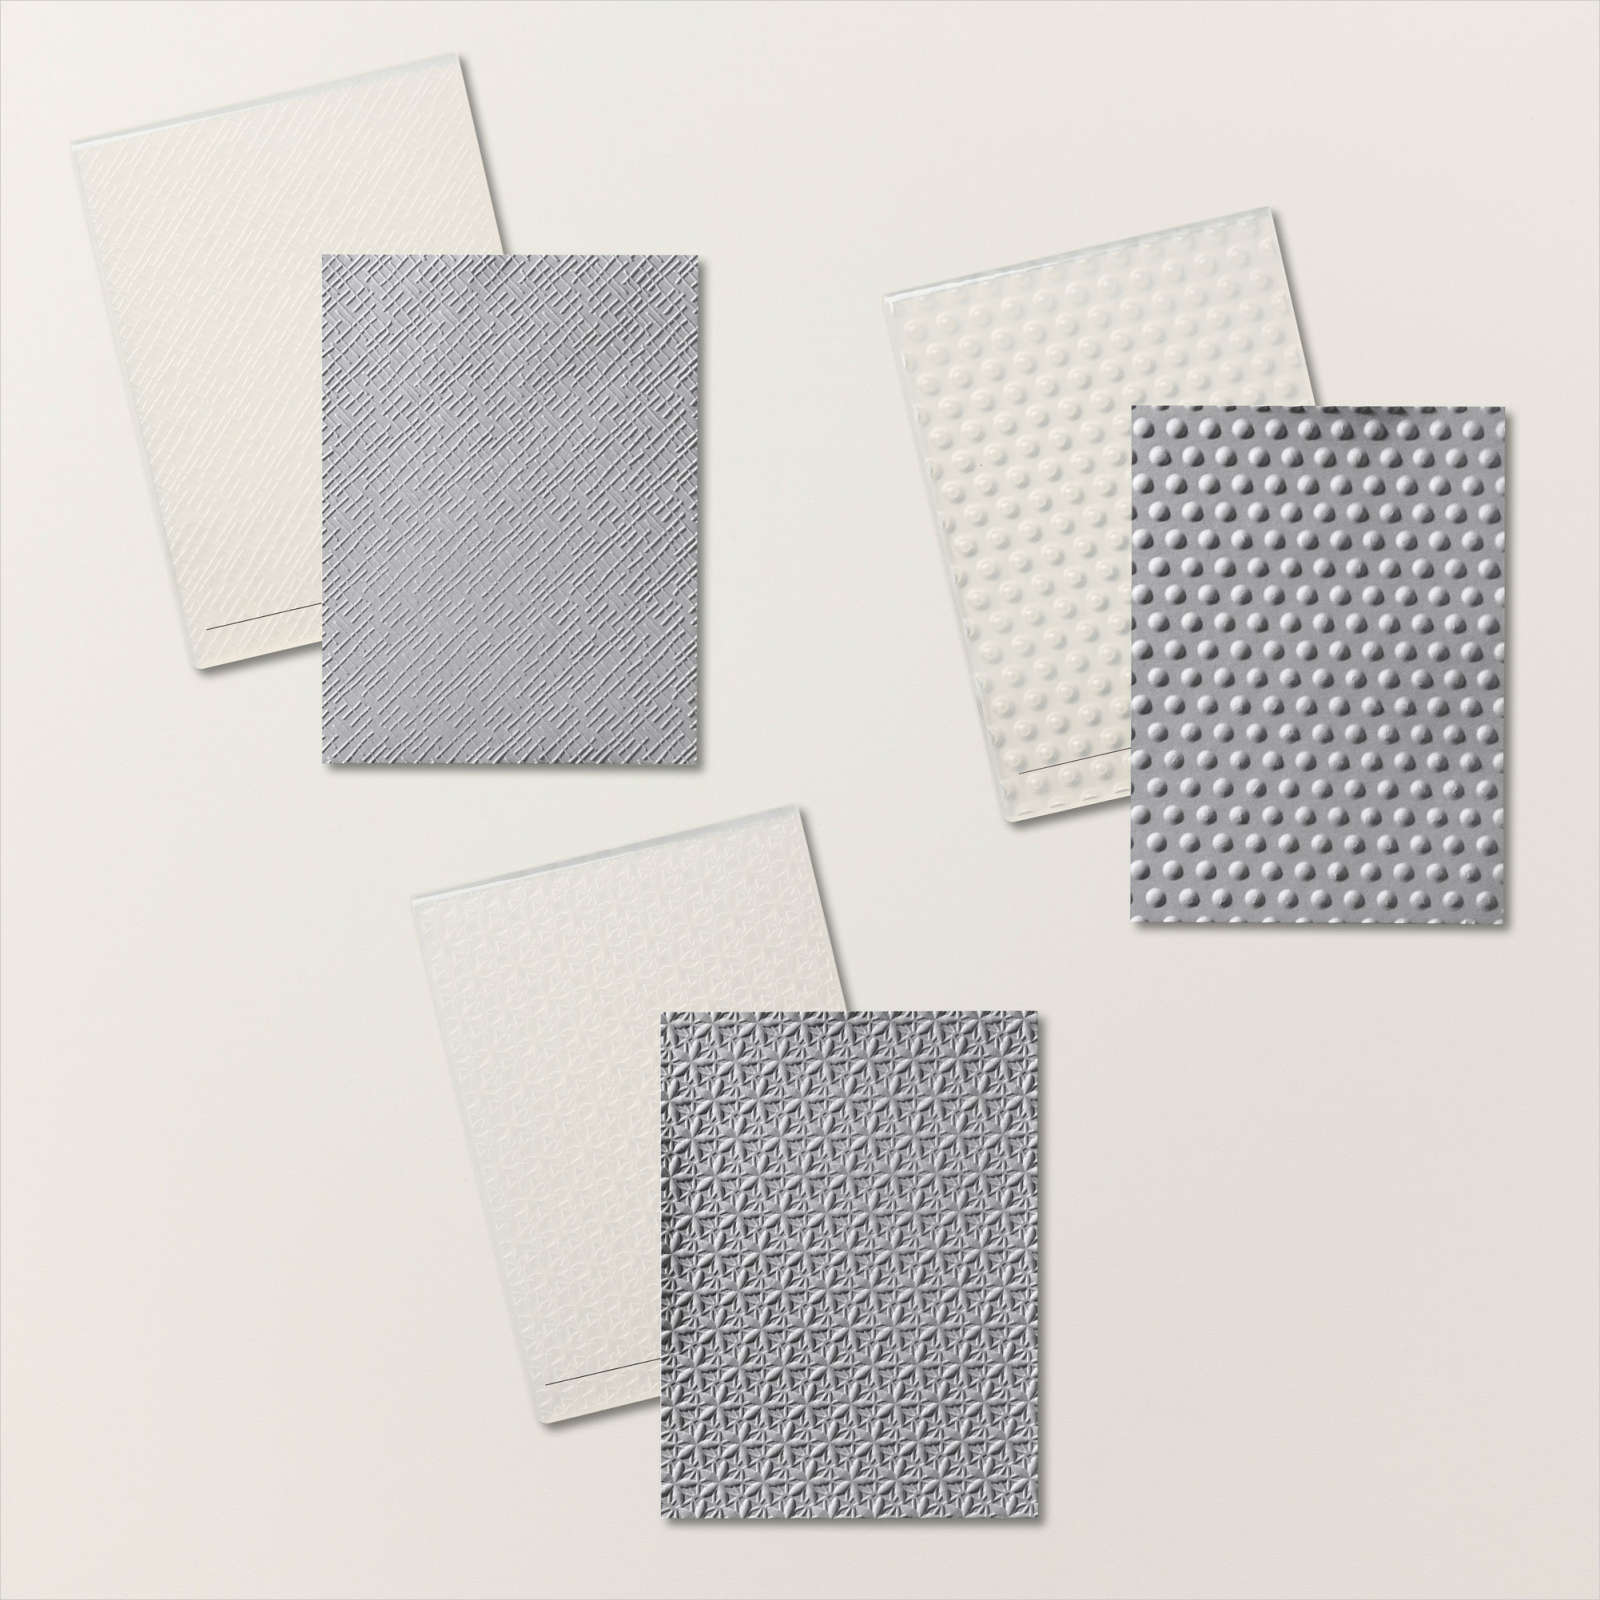
Lattice Birthday

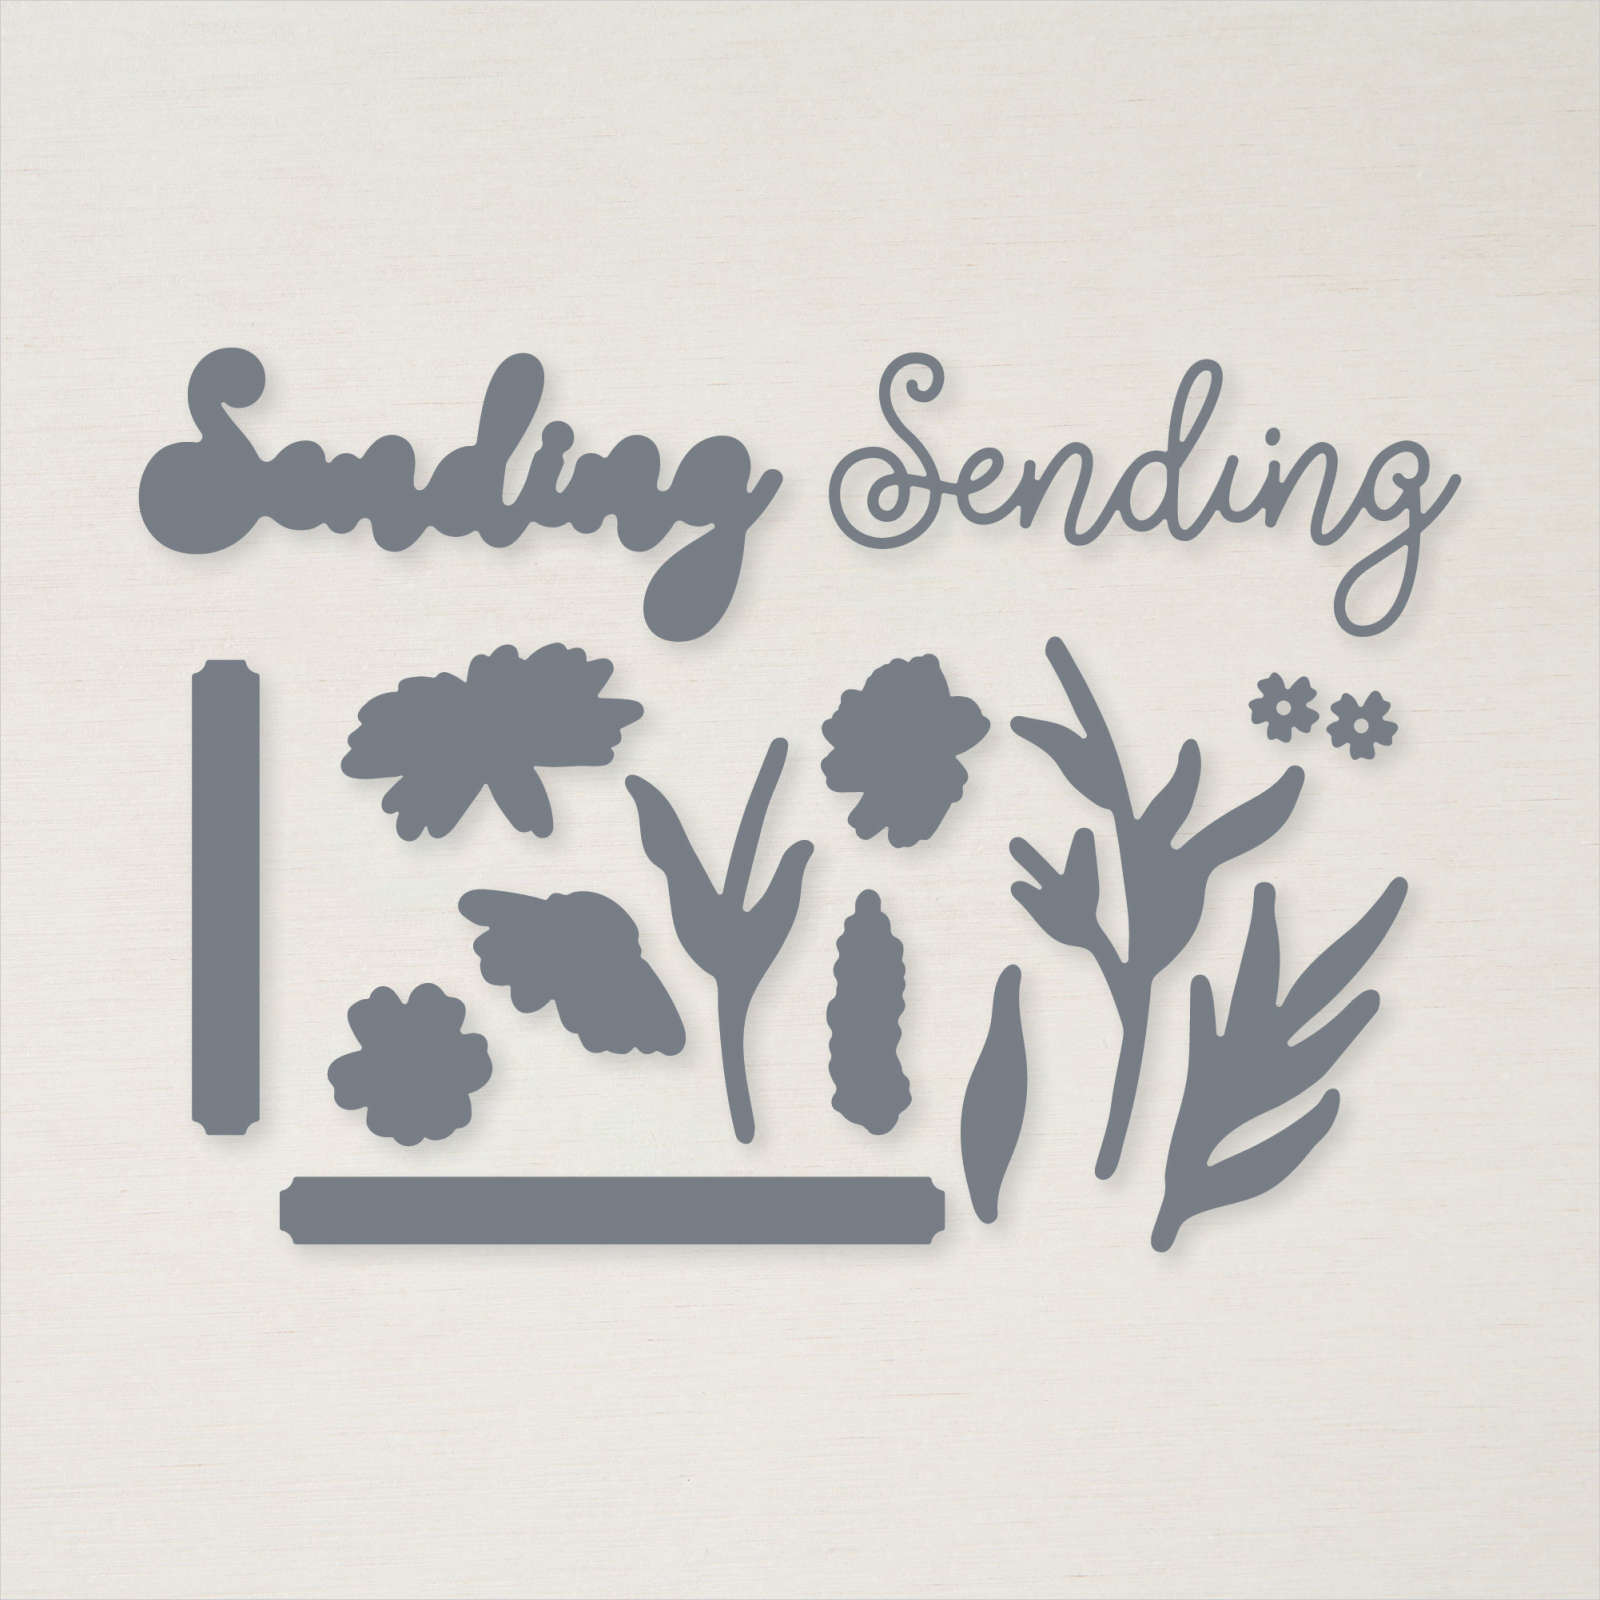
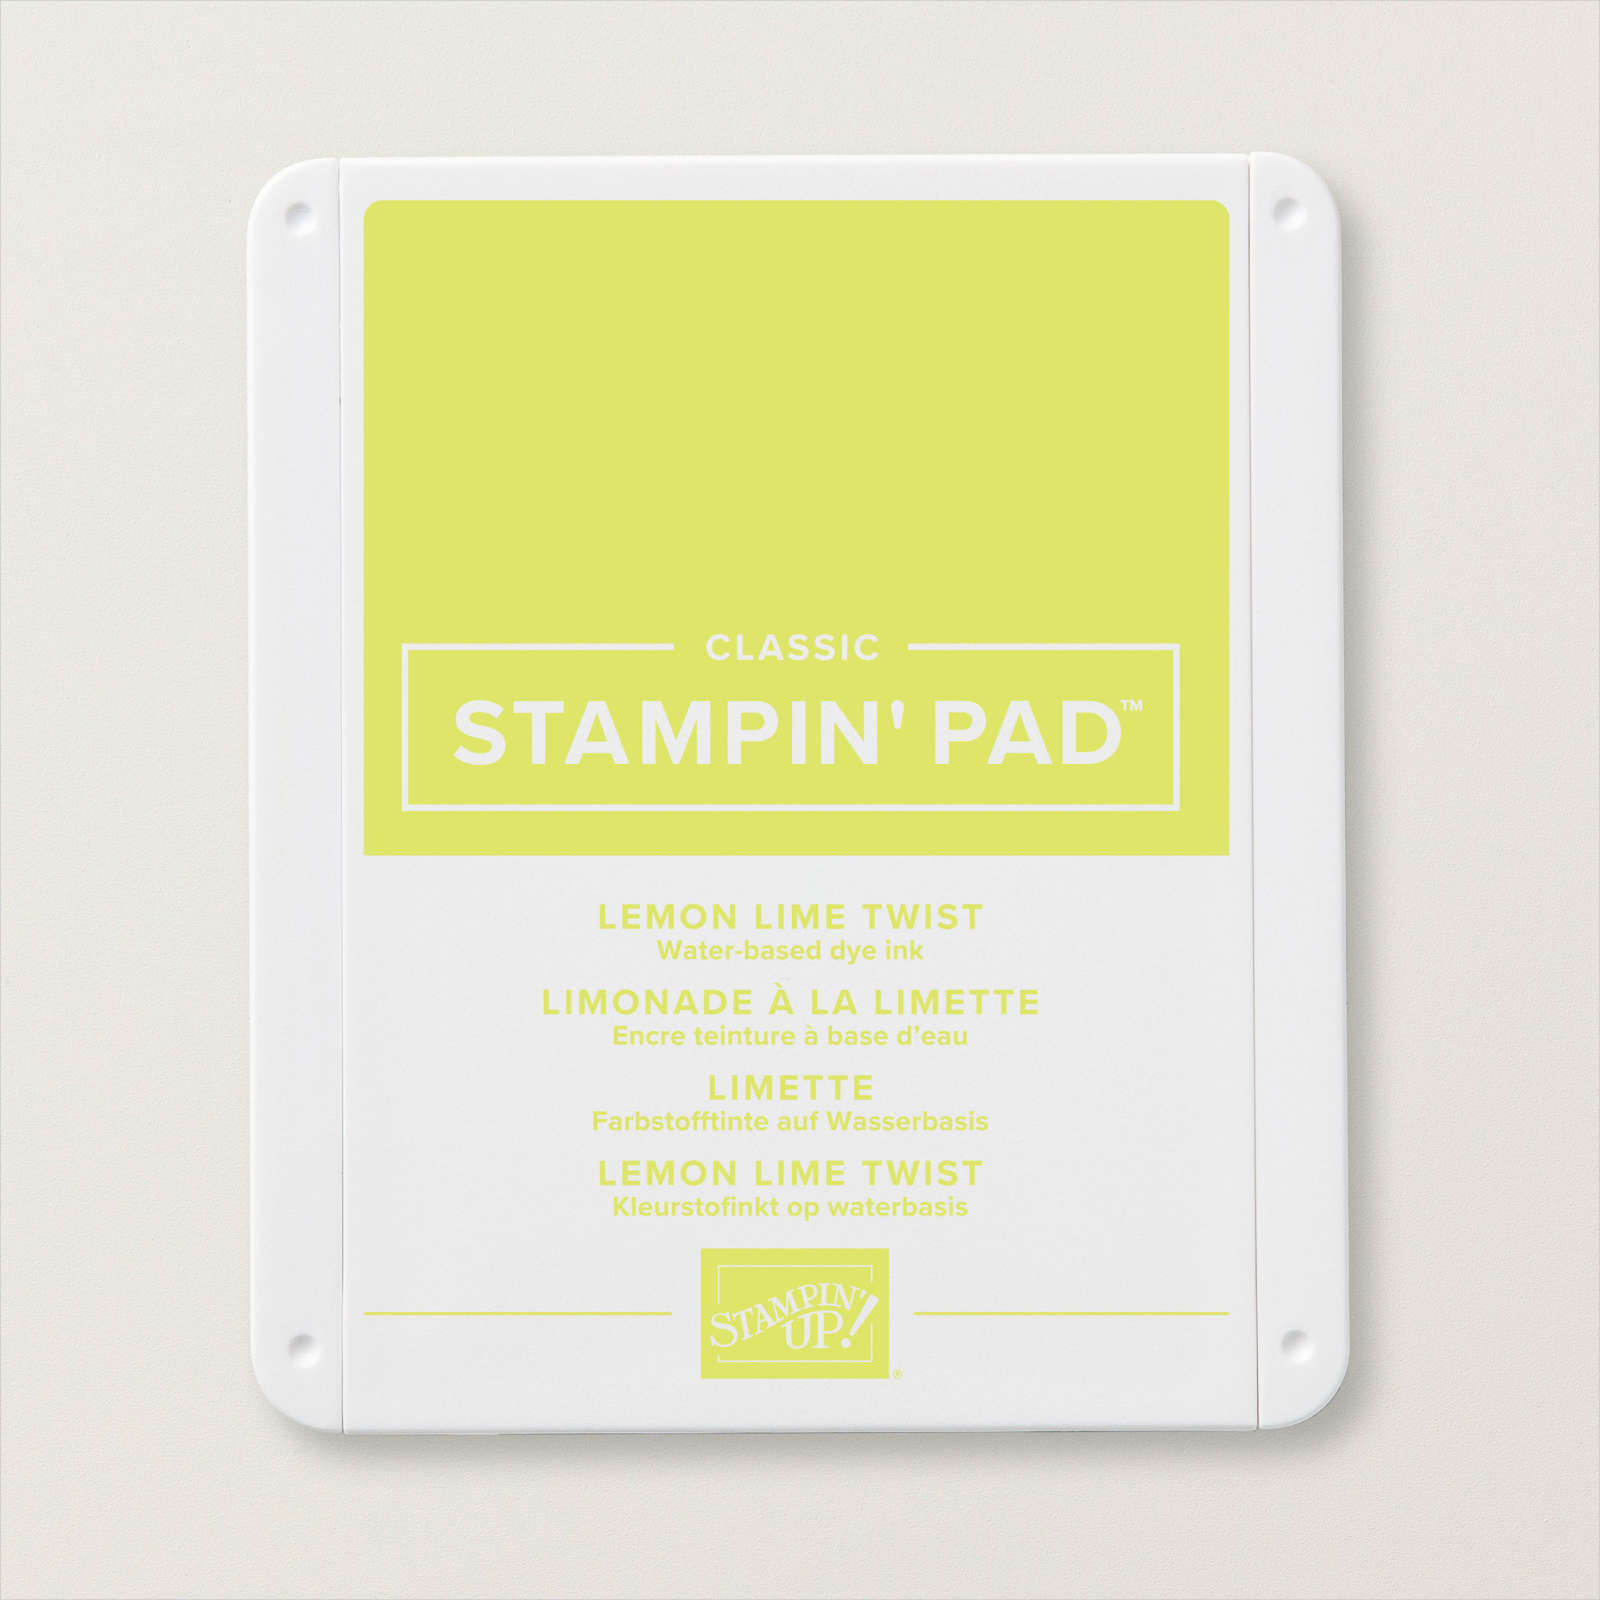
This week in my Facebook Live, I shared some cards I made using the fun Lattice technique. Today I have another card to share with you. For this card, I cut my card base from Thick Basic White card. After attaching the narrow strips to the card front, I embossed a piece of Lemon Lolly card using one of the Basics 3D Embossing Folders and attached it to the top panel on the card front. I stamped two of the large flower stems from the Sending Smiles stamp set onto Basic White card using Lemon Lime Twist ink.
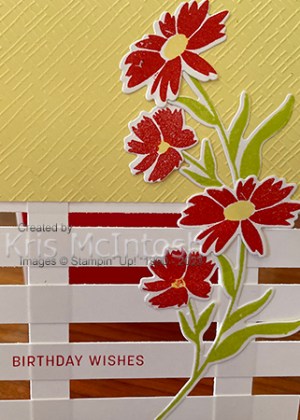
I stamped two large flowers and two smaller flowers from the same stamp set onto Basic White card using Poppy Parade ink. I stamped the flower centres from the Sending Smiles stamp set onto the flowers using Lemon Lolly ink.
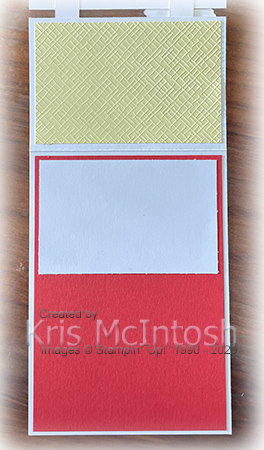
All of the flowers and the flower stems were cut out using the co-ordinating Sending Dies. I attached the flower stems and the flowers to the right hand side of the card front. I also stamped the greeting from the Sending Smiles onto one of the cross panels using Poppy Parade ink. To decorate the inside of the card, I embossed another panel of Lemon Lolly card using the Basics 3D Embossing Folder and attached it to the back of the card front. I attached a piece of Basic White card across the top of a panel of Poppy Parade card before attaching the whole piece to the inside of the card. I love how much fun these cards are to create. You are only limited by your imagination.
Bye for now,
Kris
Product Used:


Timeless thinking of you
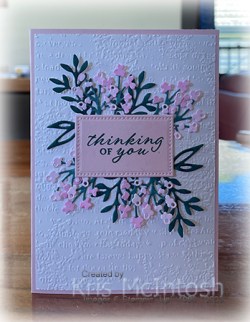
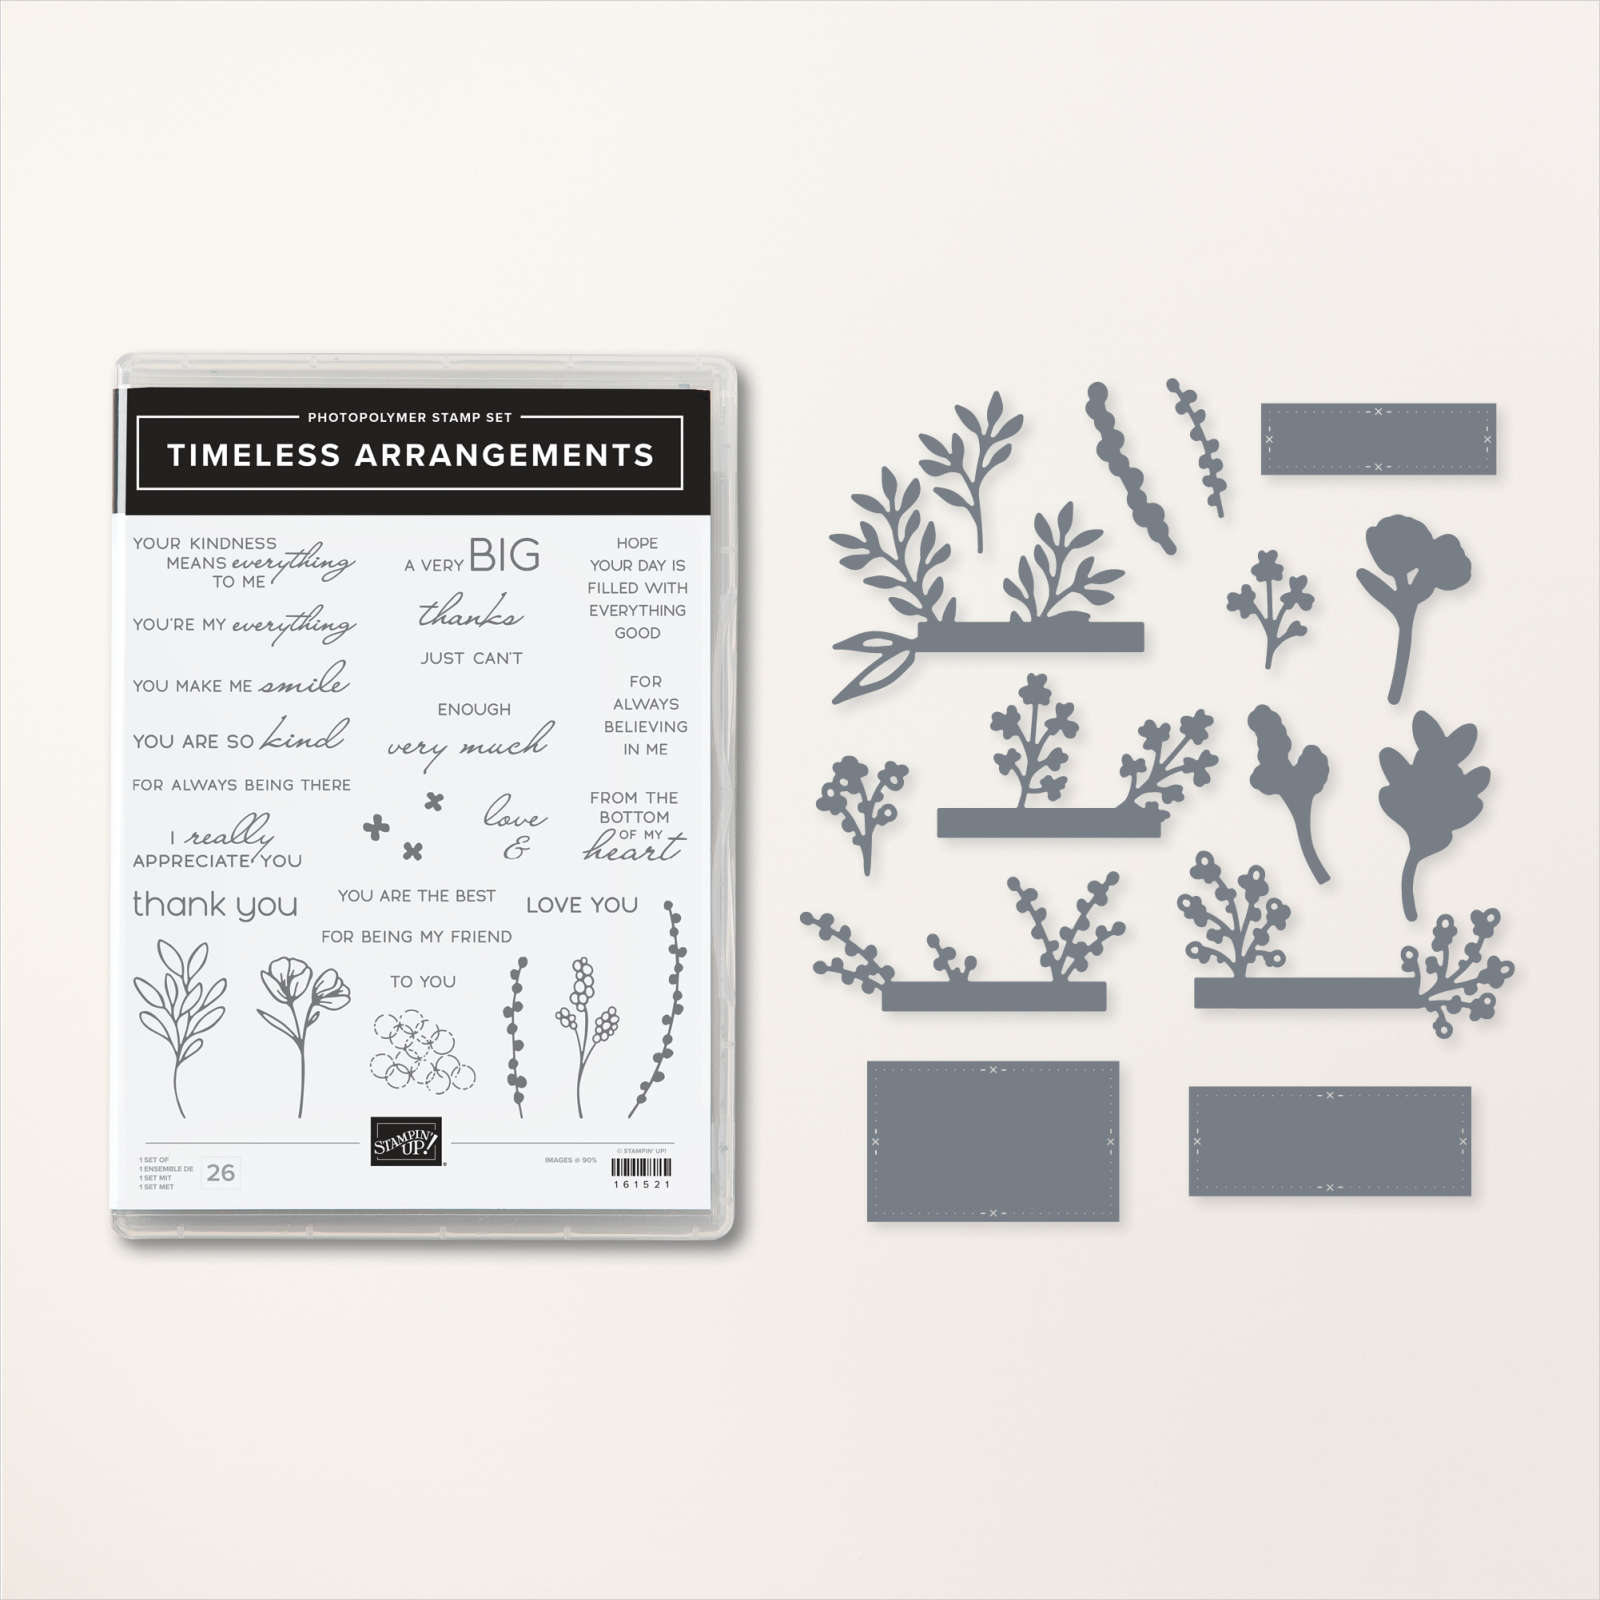
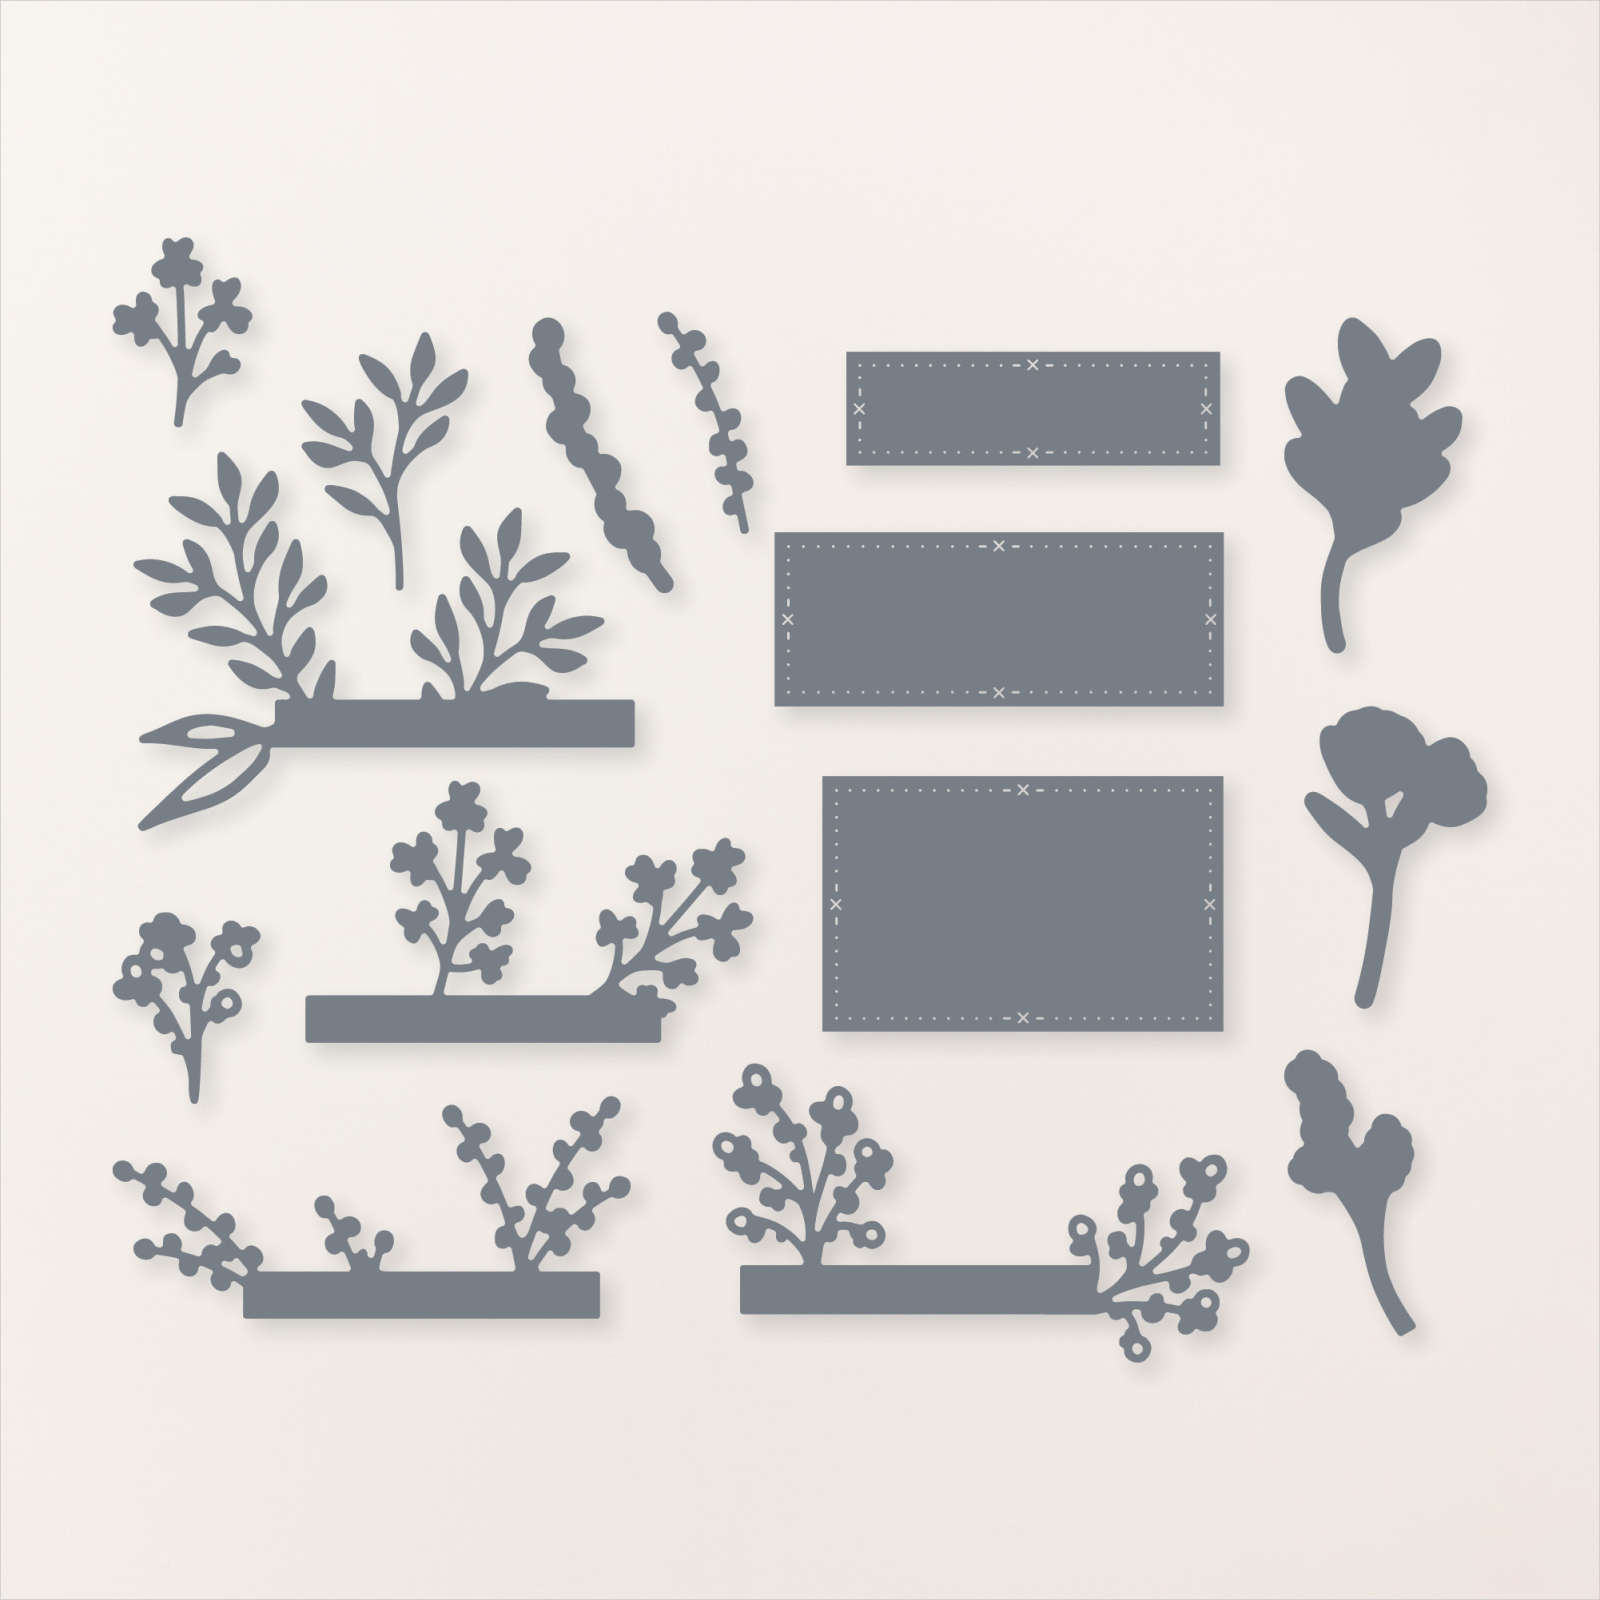
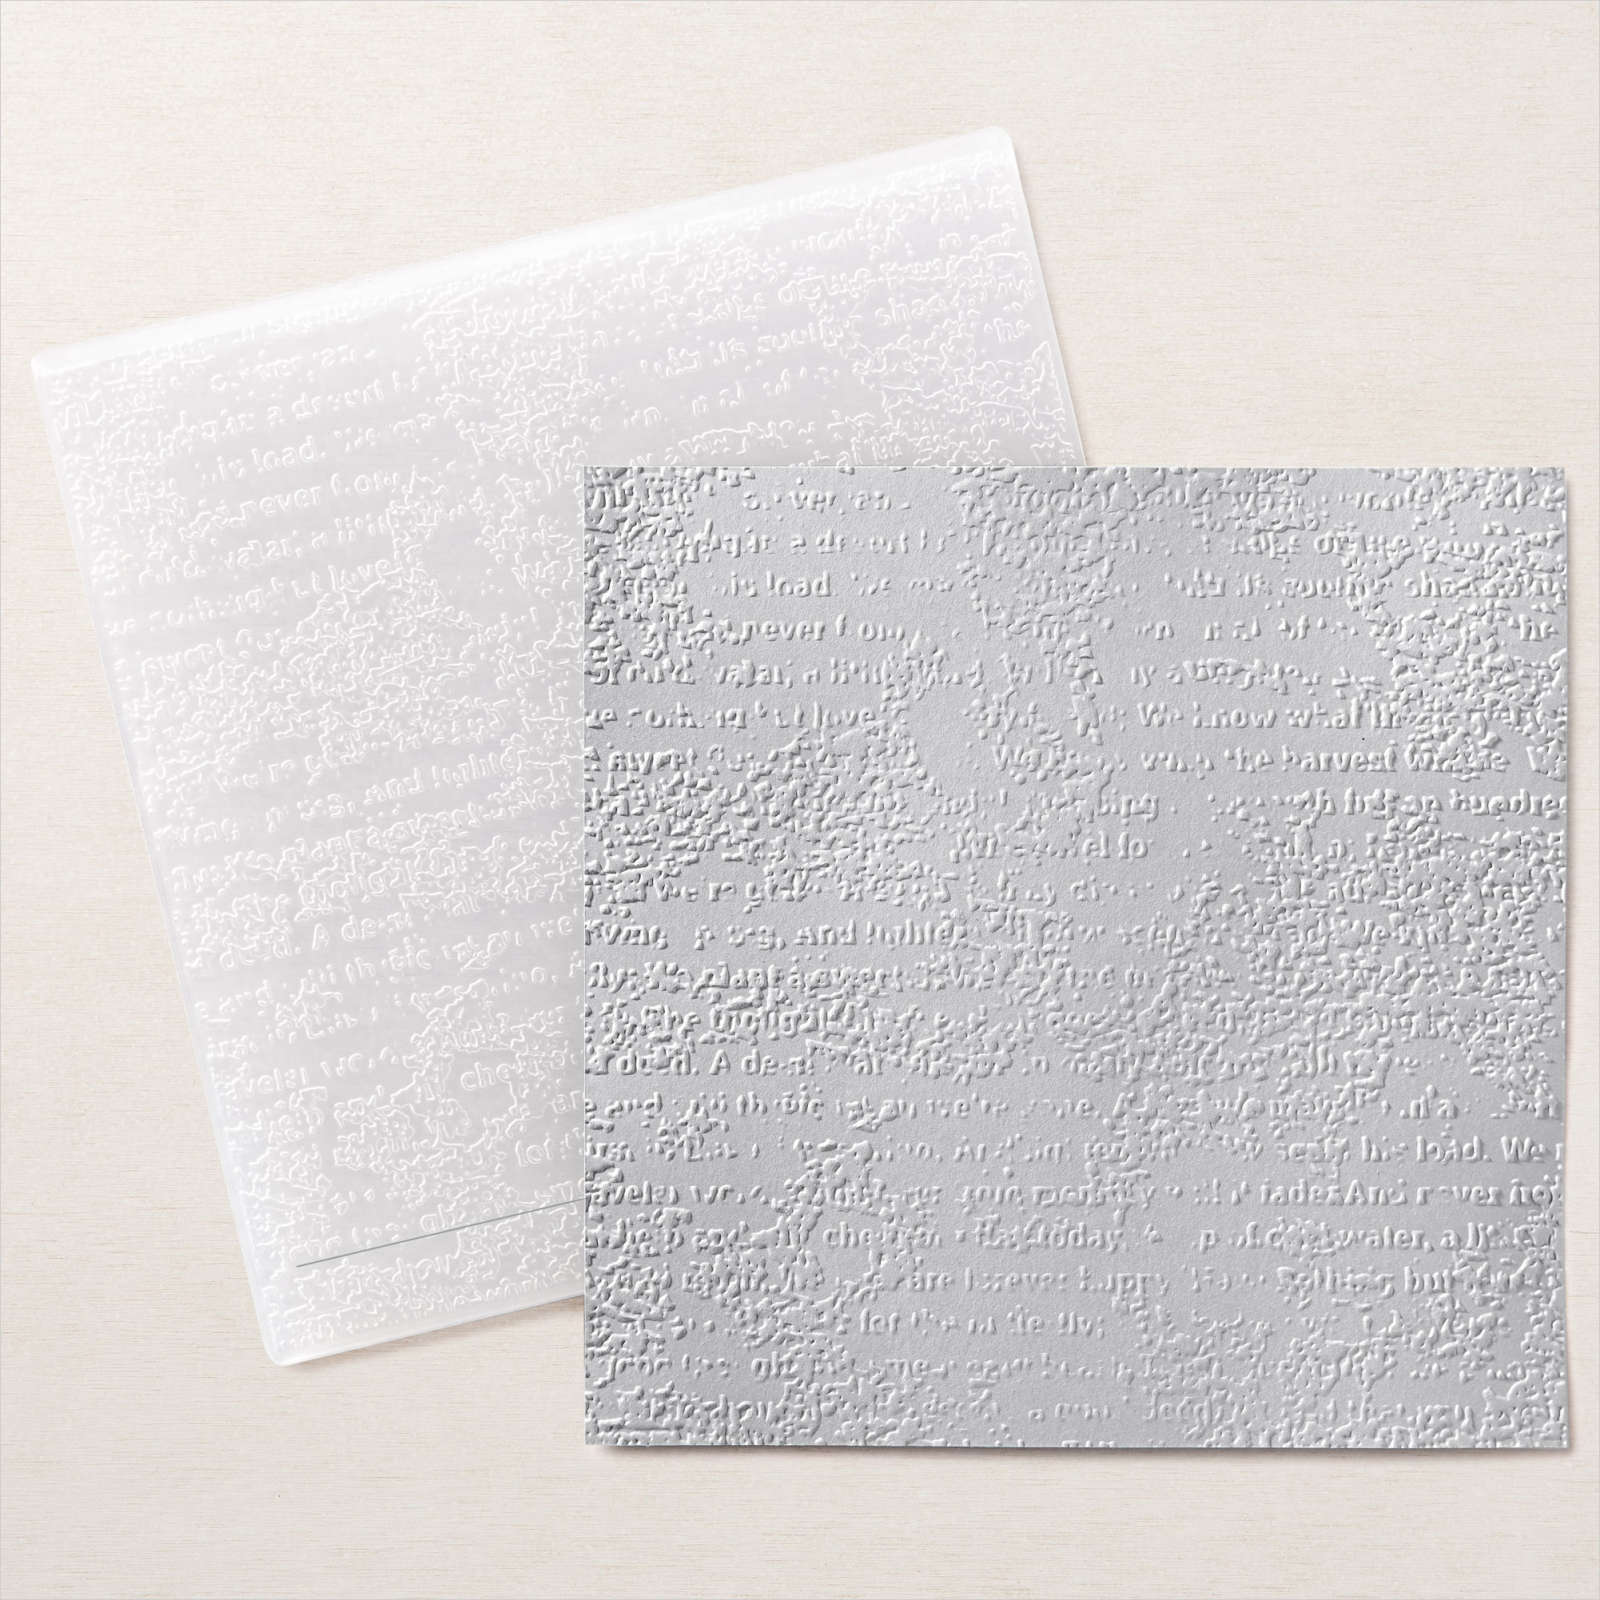
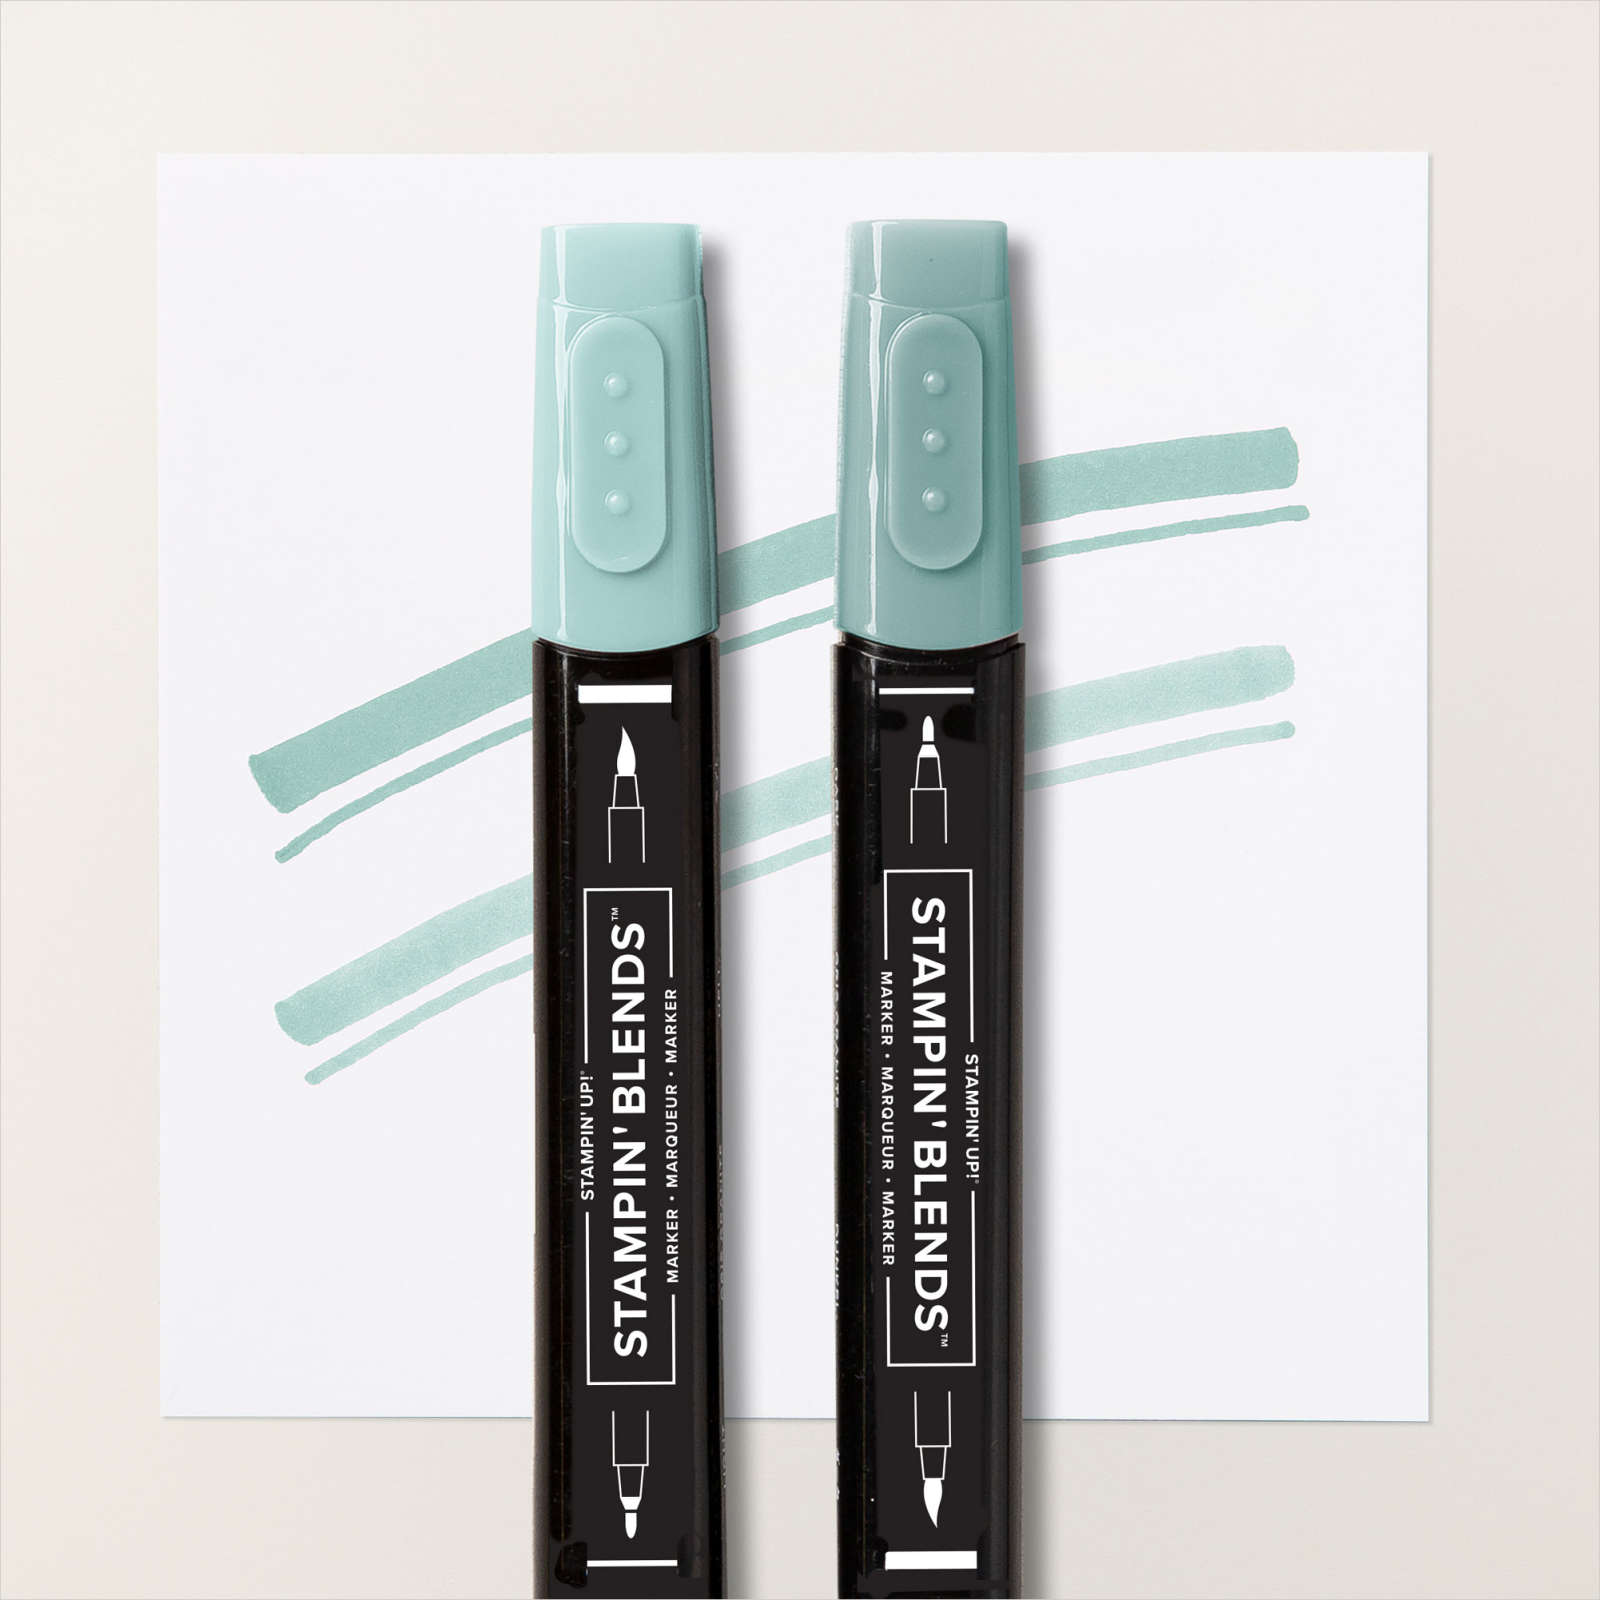
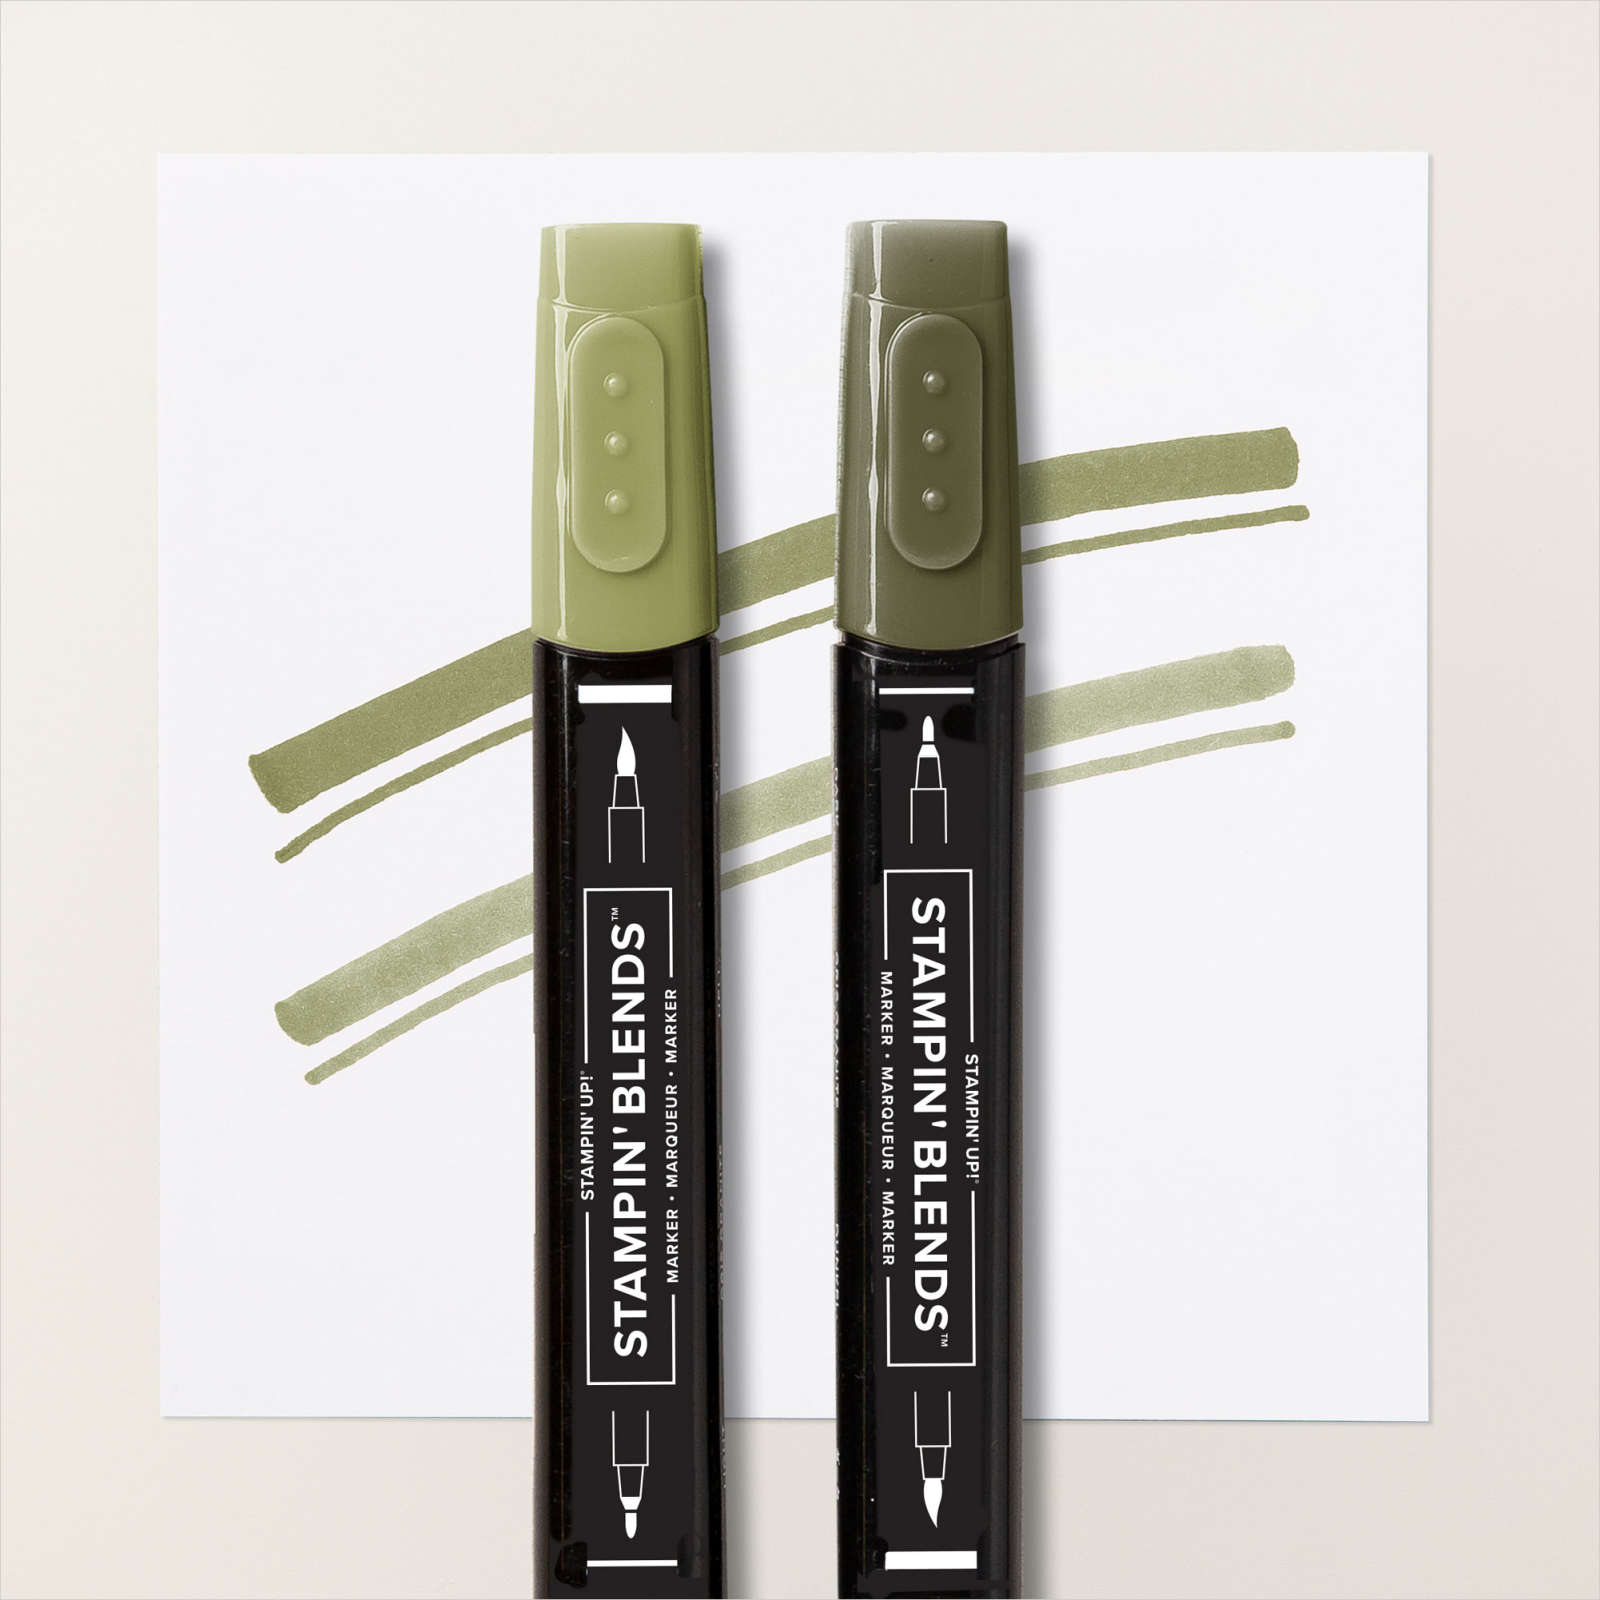
I shared this card with you recently and ever since I made it I had an idea floating around in my head. So today I have used the idea to create my card today. For this card, I embossed Basic White card using the Timeworn Type 3D Embossing Folder and attached it to scored and folded Bubble Bath card. I die cut three of the leafy banners from the Timeless Arrangements Dies twice from Basic White card. I used the Dark and Light Pretty Peacock and Dark and Light Bubble Bath Stampin’ Blends to colour the images.
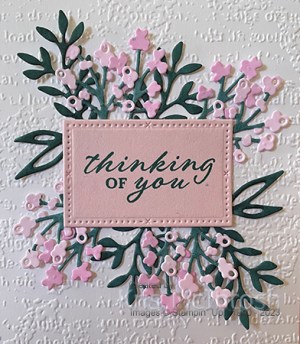
I was looking to create a softer colour by using the Stampin’ Blends instead of cutting from the coloured card. I stamped “thinking of you” from the Wonderful Thoughts stamp set onto Bubble Bath card using Pretty Peacock ink. I cut out the greeting using one of the dies from the Timeless Arrangement Dies.
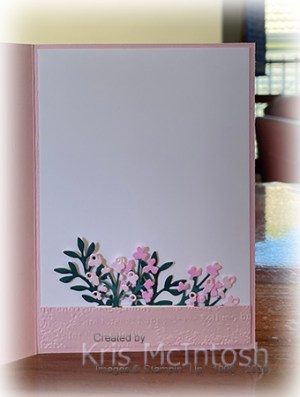
I layered one of each of the dies together and attached it to the back of the top of the greeting banner. I layered the remaining dies together and attached them to the back of the bottom of the greeting banner before attaching the whole panel to the card front. I love how gorgeous the flowers and leaves look against the white background. To decorate the inside of the card, I die cut the same three leafy banners from Basic White card using the Timeless Arrangements Dies. I coloured the dies again using the Pretty Peacock and Bubble Bath Stampin’ Blends. I embossed a narrow strip of Bubble Bath card using the Timeworn Type 3D Embossing Folder. I layered the coloured die cuts as before and attached them behind one long edge of the embossed card. The whole panel is attached across the bottom of Basic White card.
My idea was create a soft and pretty card and I think I pulled it off, don’t you.
Bye for now,
Kris
Product Used:


Mother’s Day

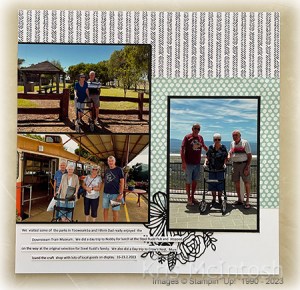
Today’s page showcases photos from our Mother’s Day lunch with my Mum and Dad. We didn’t attend a special lunch on the Sunday as it would be too much for Mum but went on the Monday. It was rather wet but we enjoyed watching the golfers head down the 18th hole to the clubhouse. I attached a piece of retired Perfectly Pencilled 12″ x 12″ Designer Series Paper across the centre of a Basic White 12″ x 12″ page. I attached the photos to Basic Black card. I coloured one of the floral images from the Perfectly Pencilled Designer Series Paper using Fresh Freesia, Bubble Bath, Dark Highland Heather and Dark Lost Lagoon Stampin’ Blends.

I cut out the image and attached it to the left hand corner of the page. I printed “2023” onto Basic White card and cut it out using one of the dies from the Nested Essentials Dies. I cut Basic Black card using a slightly large die and attached it to the back of the photo before attaching it to the upper left hand corner of the page. I printed a little journaling onto Basic White card and cut it out using one of the banners from the Stylish Shapes Dies. I attached this to the second photo before attaching to the right hand side of the page. I cut the title from Basic Black card using the Alphabet A La Mode Dies and attached it to the upper right hand corner of the page. I decided to add some retired Basic Pearls to the centre of the flowers, just because! Let me know what you think.
Bye for now,
Kris
Product Used:


Monthly Offers for June

Well this month is going to be an amazing month for customers to take advantage of a two really wonderful specials. The first special offer is a Designer Series Paper offer. For this month only (1-30 June) you can get a 15% discount on selected Designer Series Papers. What a great way to get some of the beautiful new papers from this year’s annual catalogue into your stash.

But wait there is more! For this month only you can join Stampin’ Up for the price of $169.00 and instead of selecting $235.00 worth of current products you can select $283.00 worth of current product. So if you combine the two and purchase some of these amazing Designer Series Papers along with some of those items on your wish list, then you can certainly get a big bang for your buck!
If you click on this link you can download the PDF for the Designer Series Papers.
If you need more information, please do not hesitate to contact me so that we can discuss how you can take advantage of these great offers.
Bye for now (and happy shopping),
Kris
Big Thank You
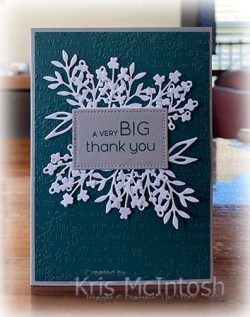
This week in my Facebook Live I shared some cards created using the Timeless Arrangements Bundle which is new to this current Annual Catalogue. Today I have another card to share with you. For this card, I embossed a panel of Pretty Peacock card using the Timeworn Type 3D Embossing Folder which I attached to scored and folded Smoky Slate card. I die cut three of the four different banner dies from the Timeless Arrangements Dies twice each from Basic White card.
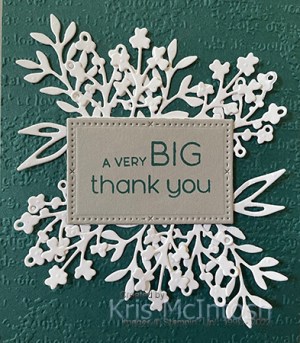
I layered one each of the three different dies together to create two banners. I stamped “a very Big” and “thank you” greetings from the Timeless Arrangements stamp set onto Smoky Slate card using Pretty Peacock ink. I cut out the greetings using one of the dies from the Timeless Arrangements Dies.

I attached one group of dies to the back of the top of the greeting panel and one group of dies to the back of the bottom of the greeting panel. I attached the dies and greeting banner to the card front using adhesive only underneath the greeting banner. I love the look of the leaves being unattached, don’t you? To decorate the inside of the card, I embossed a narrow panel of Pretty Peacock card using the Timeworn Type 3D Embossing Folder. I die cut one of the leafy banner dies from Pretty Peacock card and attached it behind one long edge of the embossed card. The embossed panel is attached across the bottom of Basic White card.
I had a lot of fun playing with these dies and just know that you are going to love them too.
Bye for now,
Kris
Product Used:

Artistically CASED

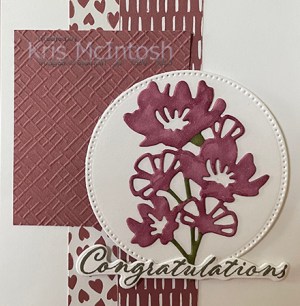
I found this card on Pinterest and couldn’t resist trying to recreate it using some of the new core colours. I attached a piece of Smoky Slate card down the left hand side of a Basic White panel and added a narrow strip of Berry Burst card. I embossed the whole panel using one of the Basics 3D Folders before attaching it to scored and folded Berry Burst card. I stamped several flowers from the Artistically Inked stamp set onto Basic White card using Berry Burst ink.

I also some stamped several leaves from the Artistically Inked stamp set onto Basic White card using Lemon Lime Twist ink. I cut out all of the images using the co-ordinating Artistic Dies. I also cut Basic White card using the large leaf die from the Artistic Dies.

I attached the leaf die and attached the flowers and leaves around and over the end of the die cut. I stamped “happy birthday” from the Artistically Inked stamp set onto Basic White card using Berry Burst ink and trimmed it in half before attaching it to the bottom right hand corner of the card front. To decorate the inside of the card I stamped one of the flowers from the Artistically Inked stamp set onto Basic White card using Berry Burst ink and cut it out using the co-ordinating Artistic Die. I had two leaves which I had trimmed from the large leaf die cut, which I attached to the flower and then the lower left hand corner of Basic White card.
It’s really nice to have such lovely colours to work with, don’t you think.
Bye for now,
Kris
Product Used:


Updated
I have just updated my For Sale page. I have been holding onto lots of product that I love but sadly no longer use. So I have updated my For Sale page with lots of product that you can purchase at bargain prices. Please contact me if you want to purchase and we can discuss the cost of postage (not included in the sale price). I hope that you find lots of things that you will love and use more than I am at the moment.
Bye for now,
Kris
Product Used:
Toowoomba

Today’s page shows off some photos from our holiday to Toowoomba with Mum and Dad. I attached two different patterns from the retired Pattern Party 12″ x 12″ Designer Series Paper to Basic White 12″ x 12″ pages. I made sure that the patterns matched across the centre with the black and white pattern on the bottom of the first page and on the top of the second page.
I die cut Basic Black card using the largest die from the Artistic Dies and attached one to each page. I attached my photos to Basic Black card before attaching them to the pages. I cut the title from Basic Black card using the Alphabet A La Mode Dies. The title is attached to the top of the left hand page. My journaling is printed onto Basic White card, cut into strips and attached across the lower left hand edge of the right hand page.

These are very simple pages and I have to say, it’s hard to get Mum and Dad to smile, but it is lovely to have these photos on a page to bring back so many happy memories.
Bye for now,
Kris
Product Used:
Congratulations

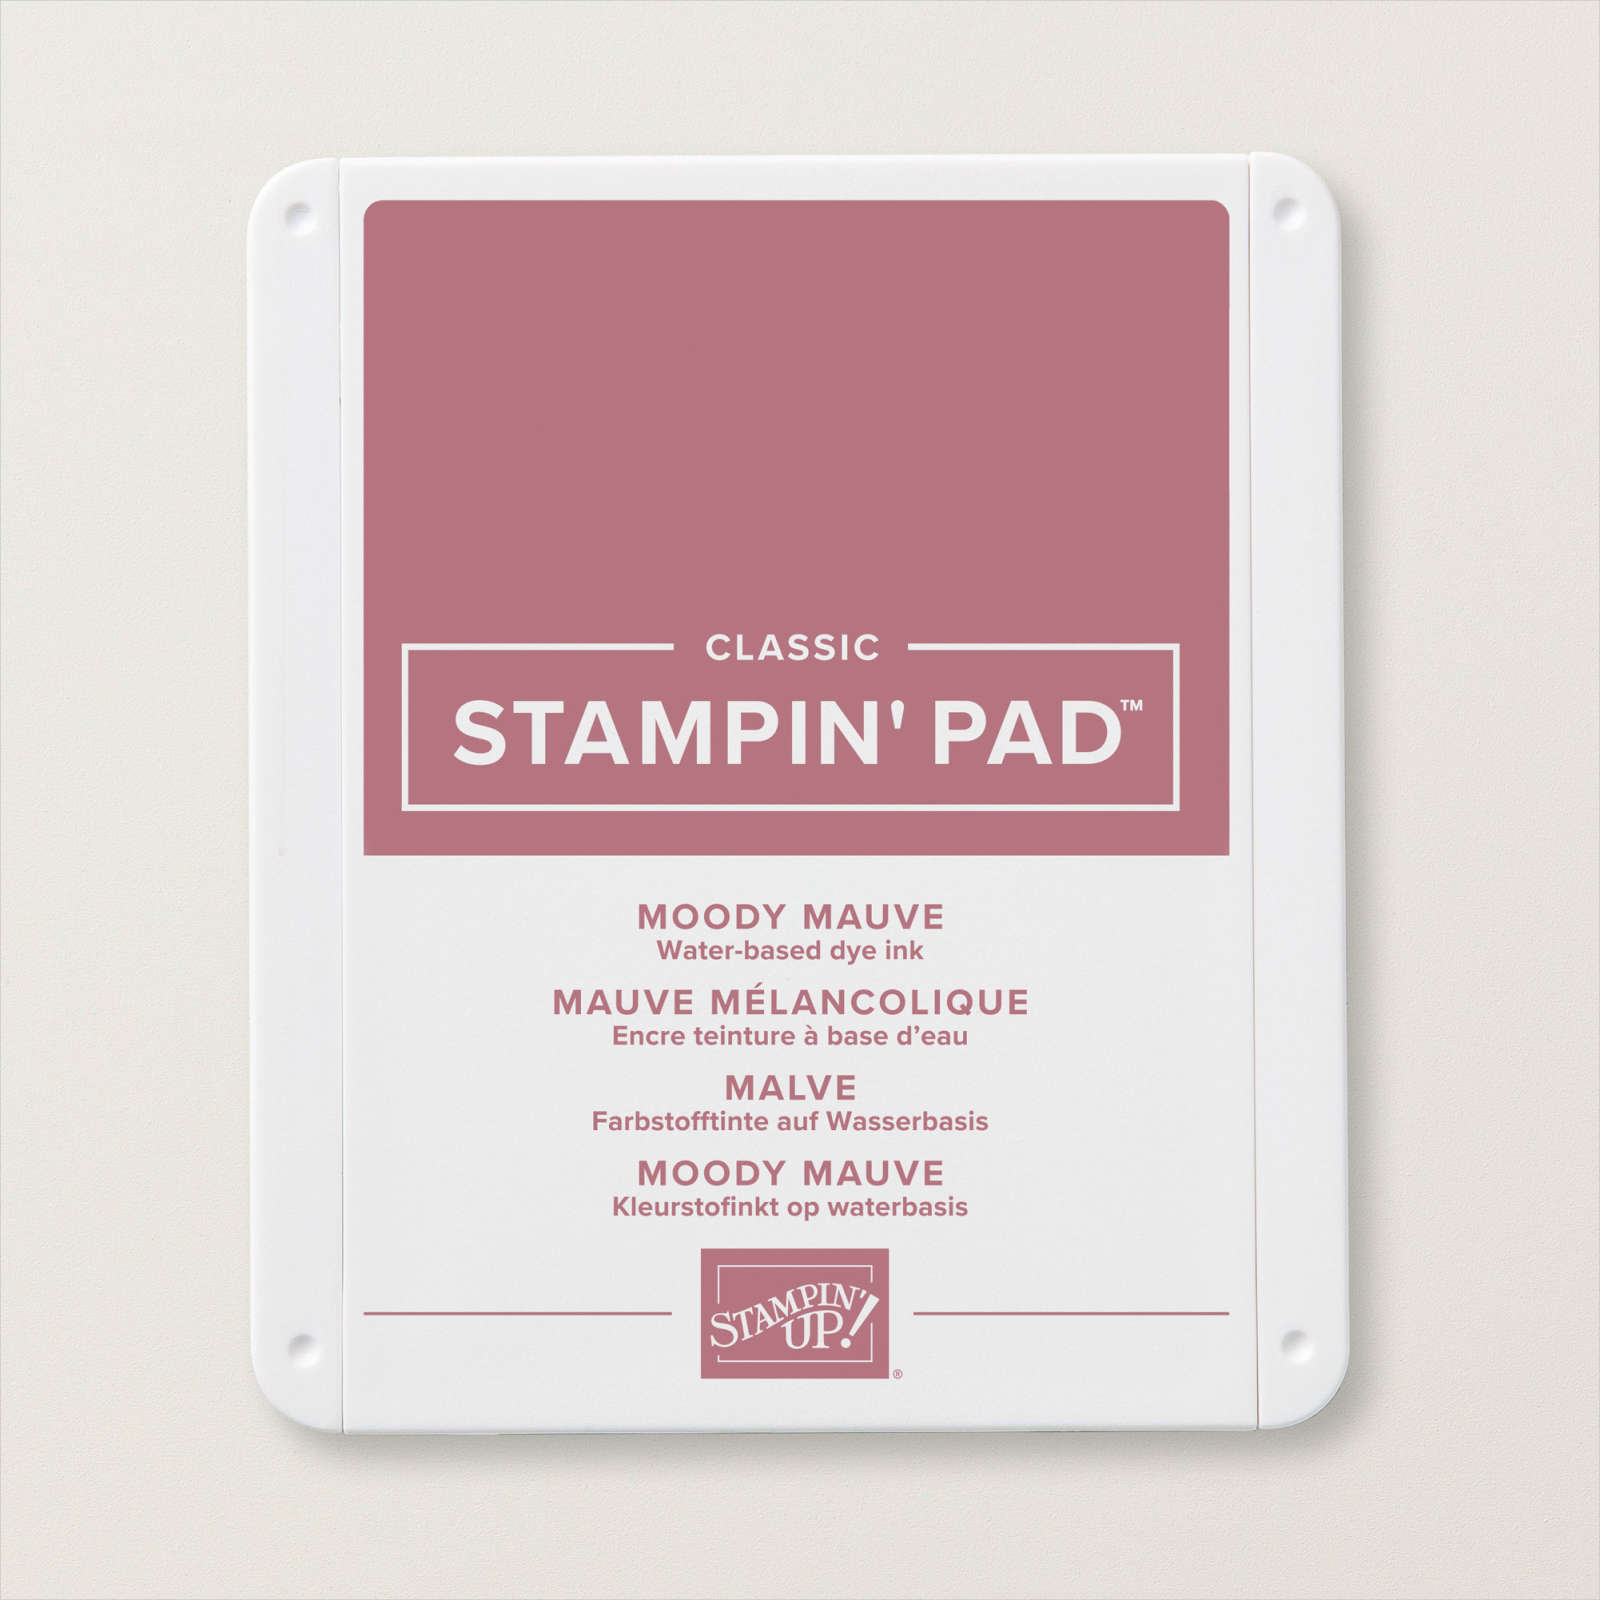
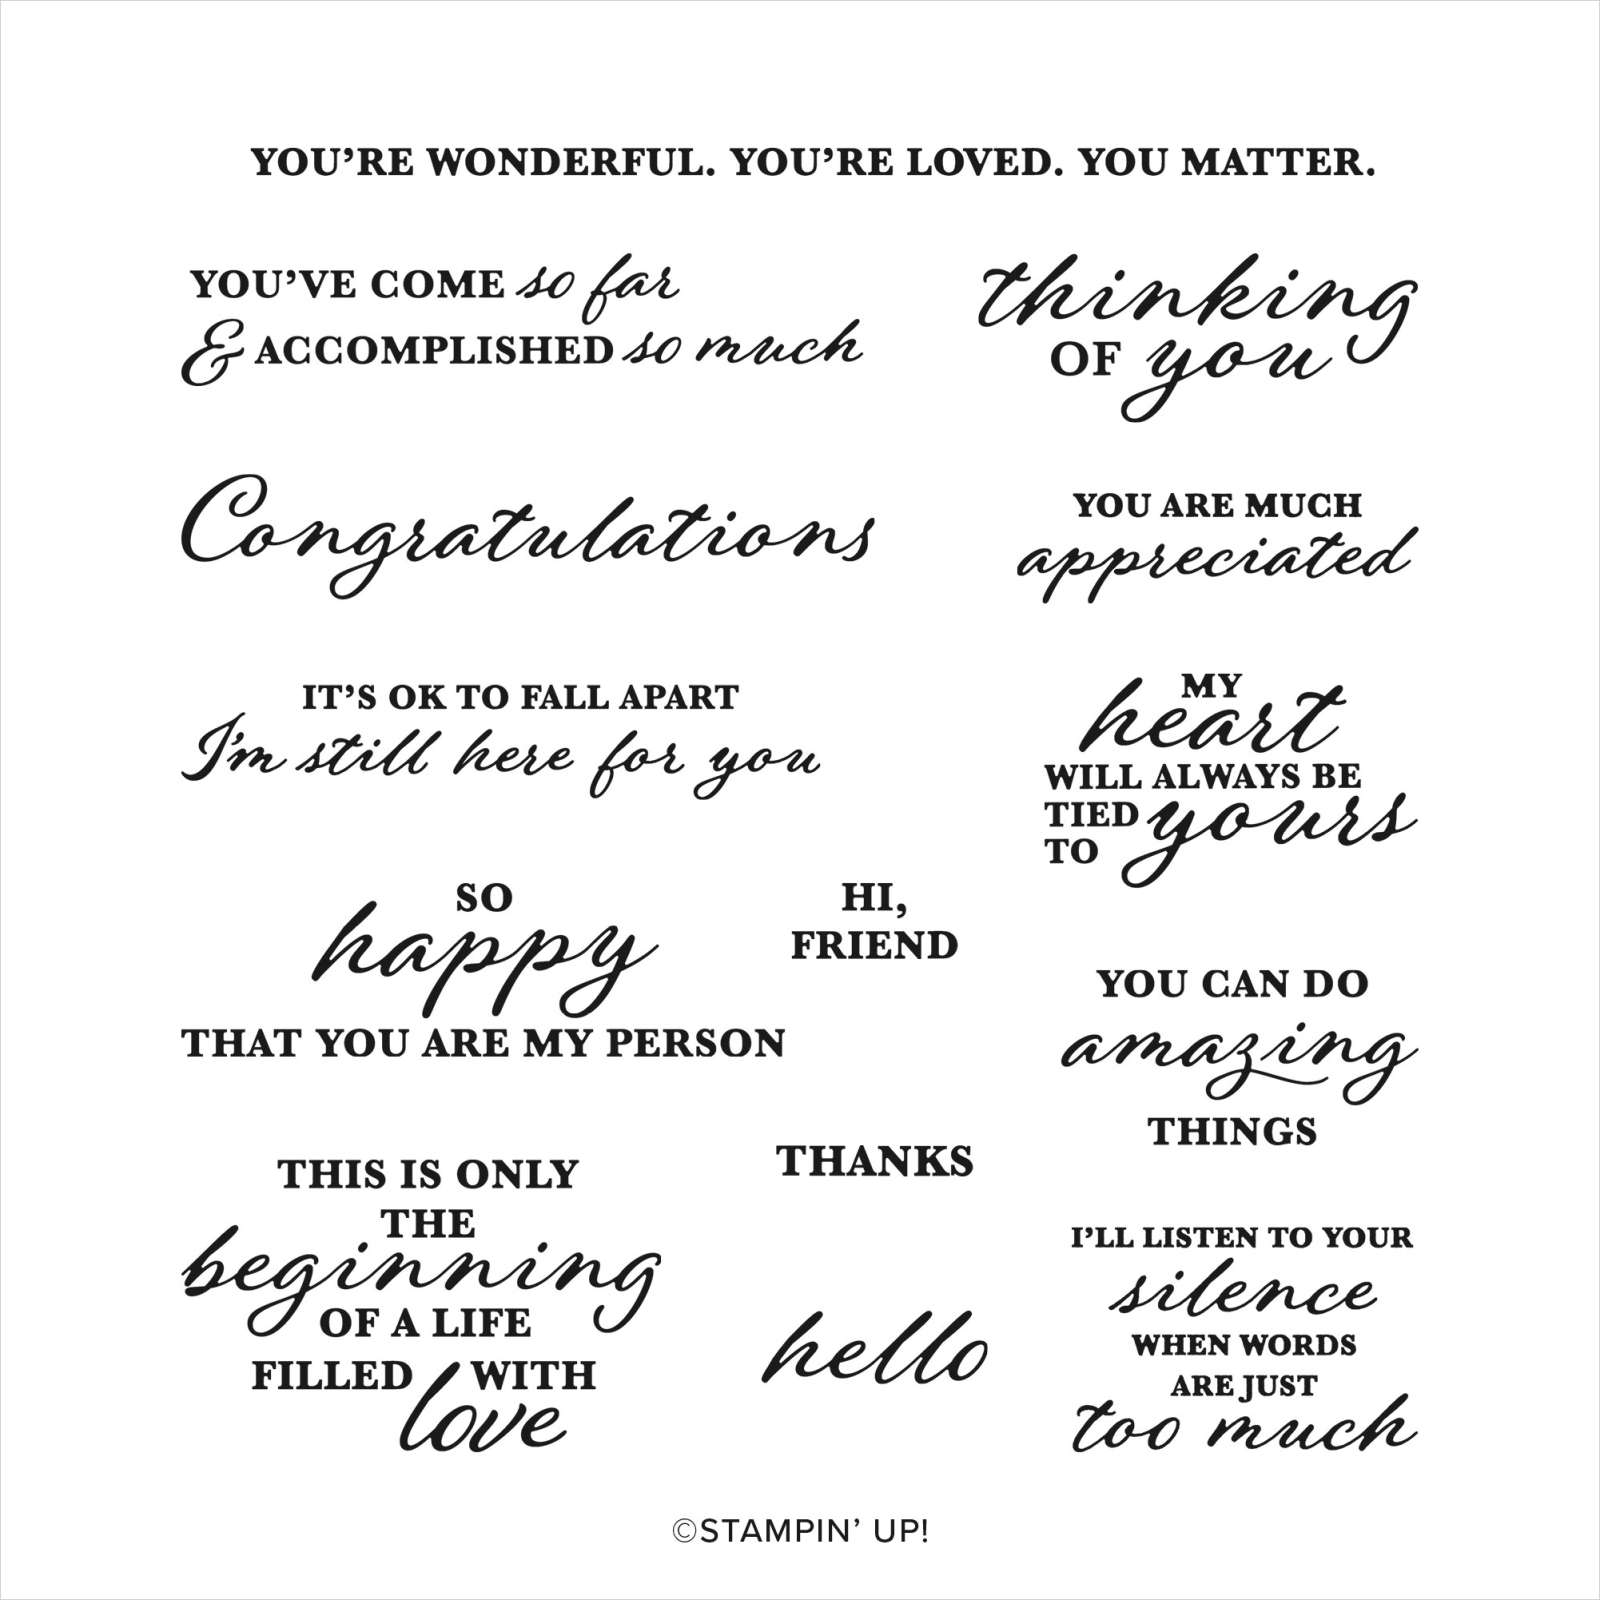
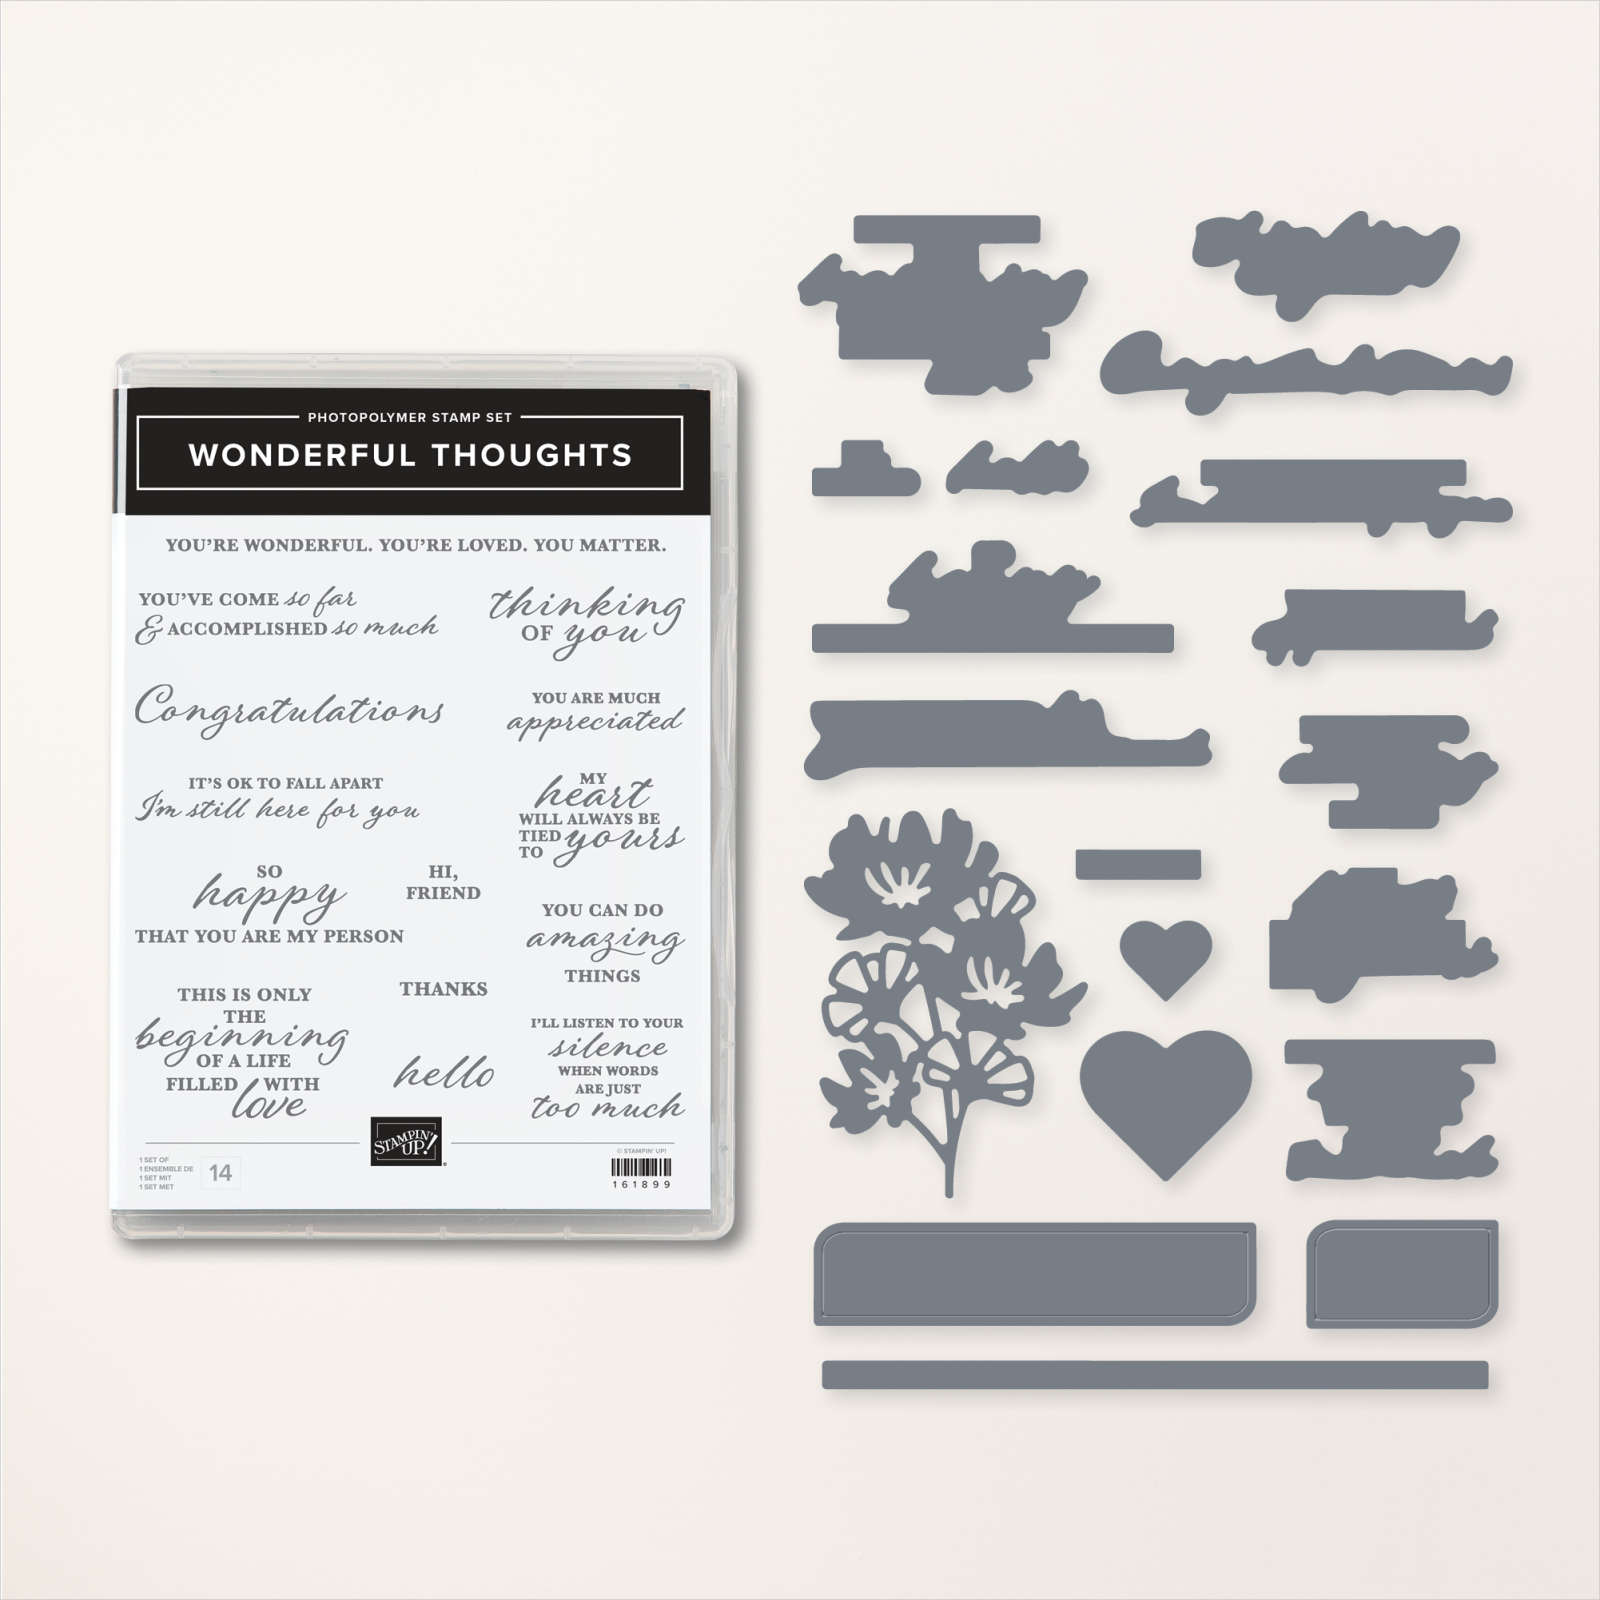
This week in my Facebook Live I shared some cards I made using the Wonderful Thoughts Bundle which is new to this Annual Catalogue. Today I have another card to share. For this card I attached two pieces of Moody Mauve 2023-2025 In-Colour 6″ x 6″ Designer Series Paper to Basic White card. I embossed a piece of Moody Mauve card using one of the folders from the Basics 3D Embossing Folders and attached it over the Designer Series Paper. The whole panel is attached to scored and folded Moody Mauve card.
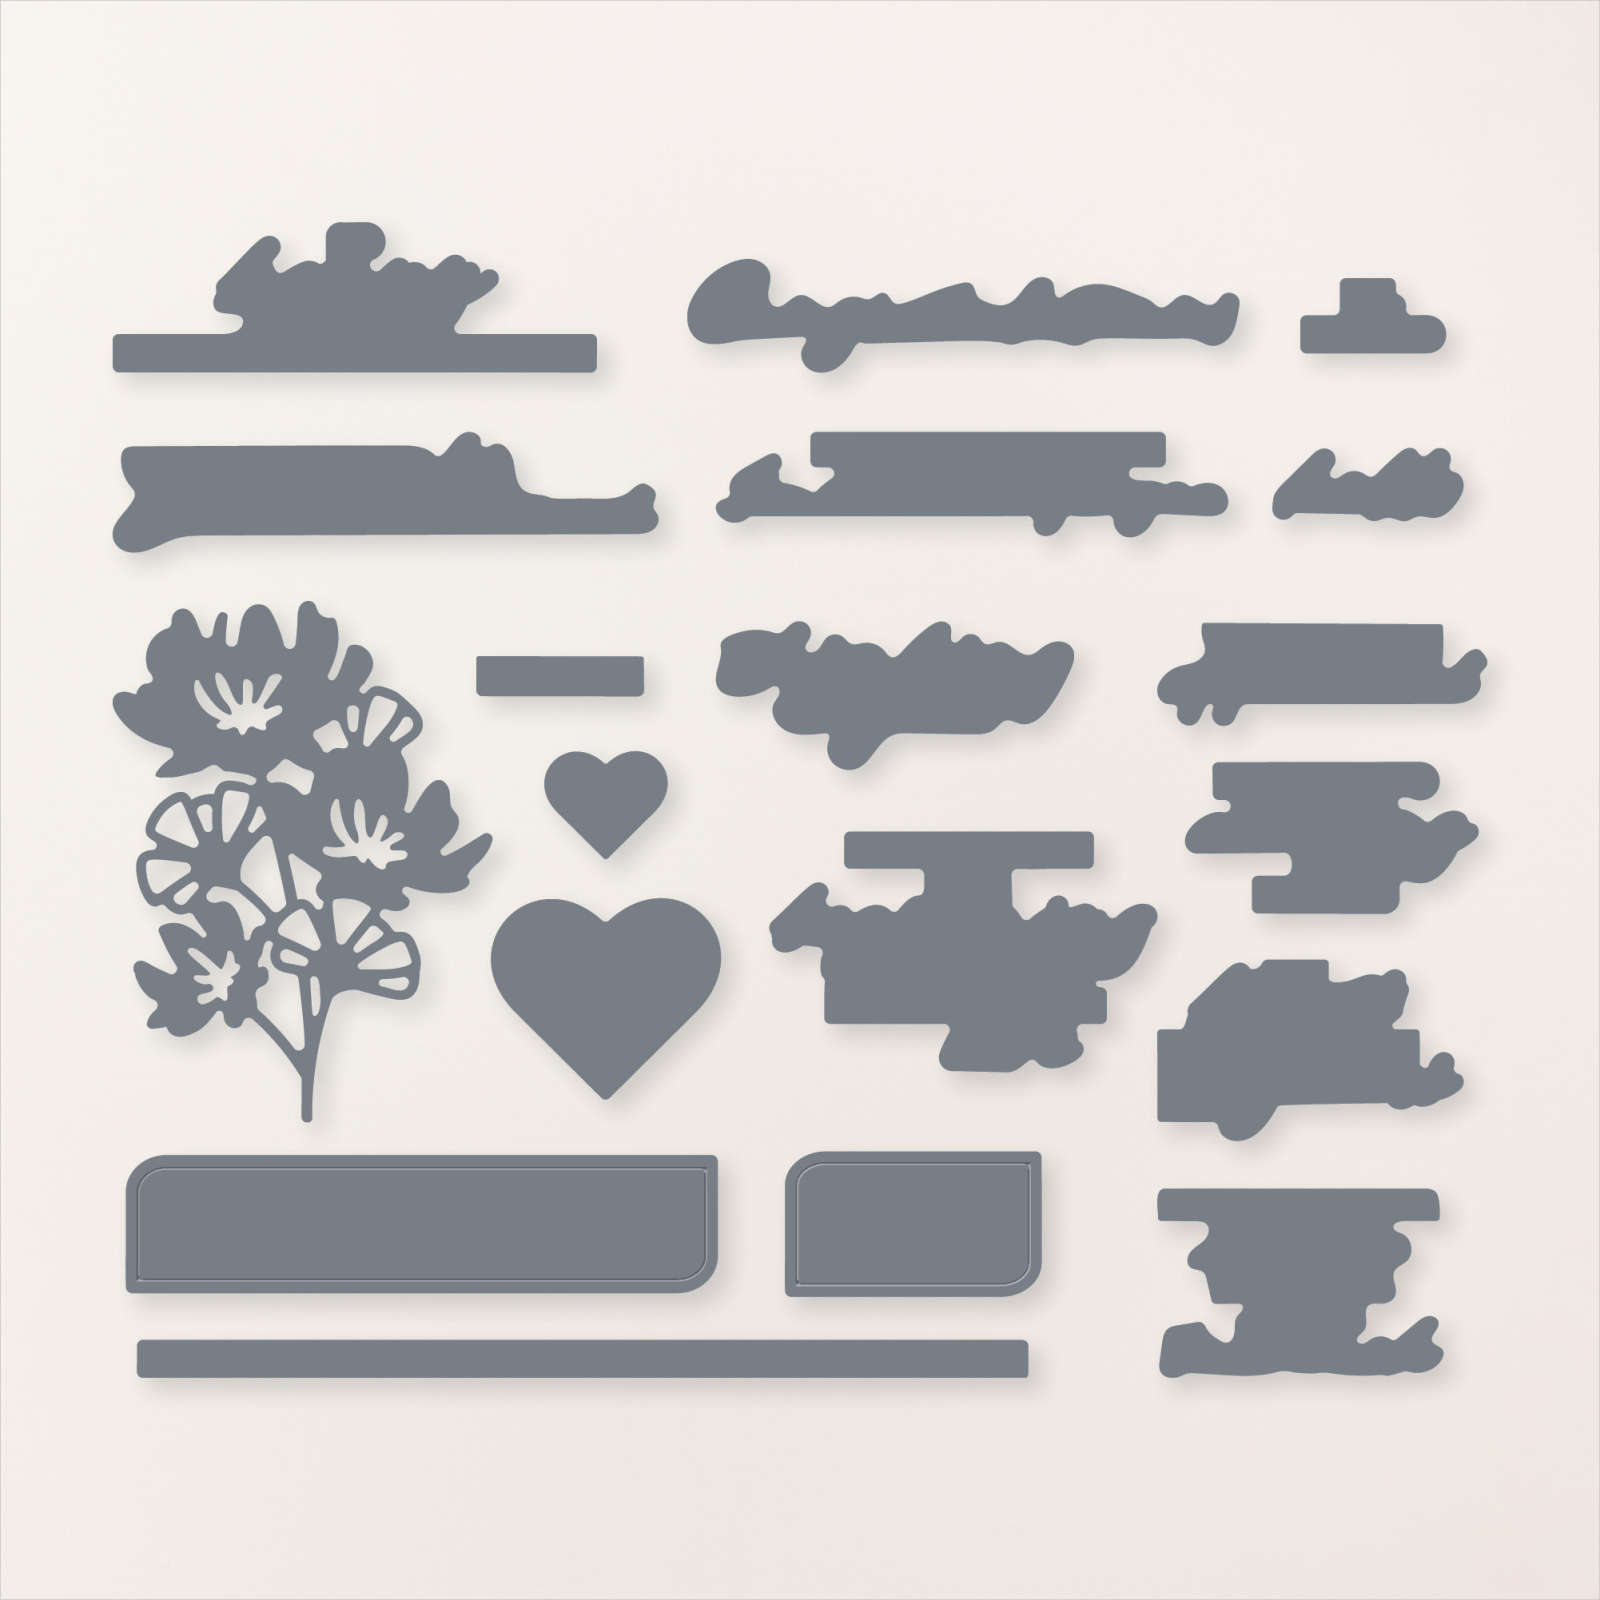
I cut a circle from Basic White card using the Stylish Shapes Dies and attached it to the card front using dimensionals. I cut the flower image from Basic White card using the Wonderful Thoughts Die.
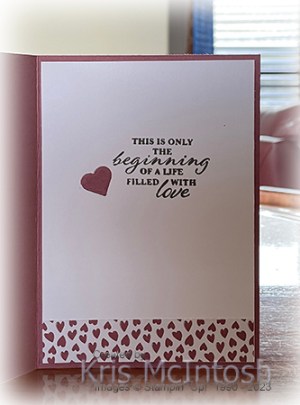
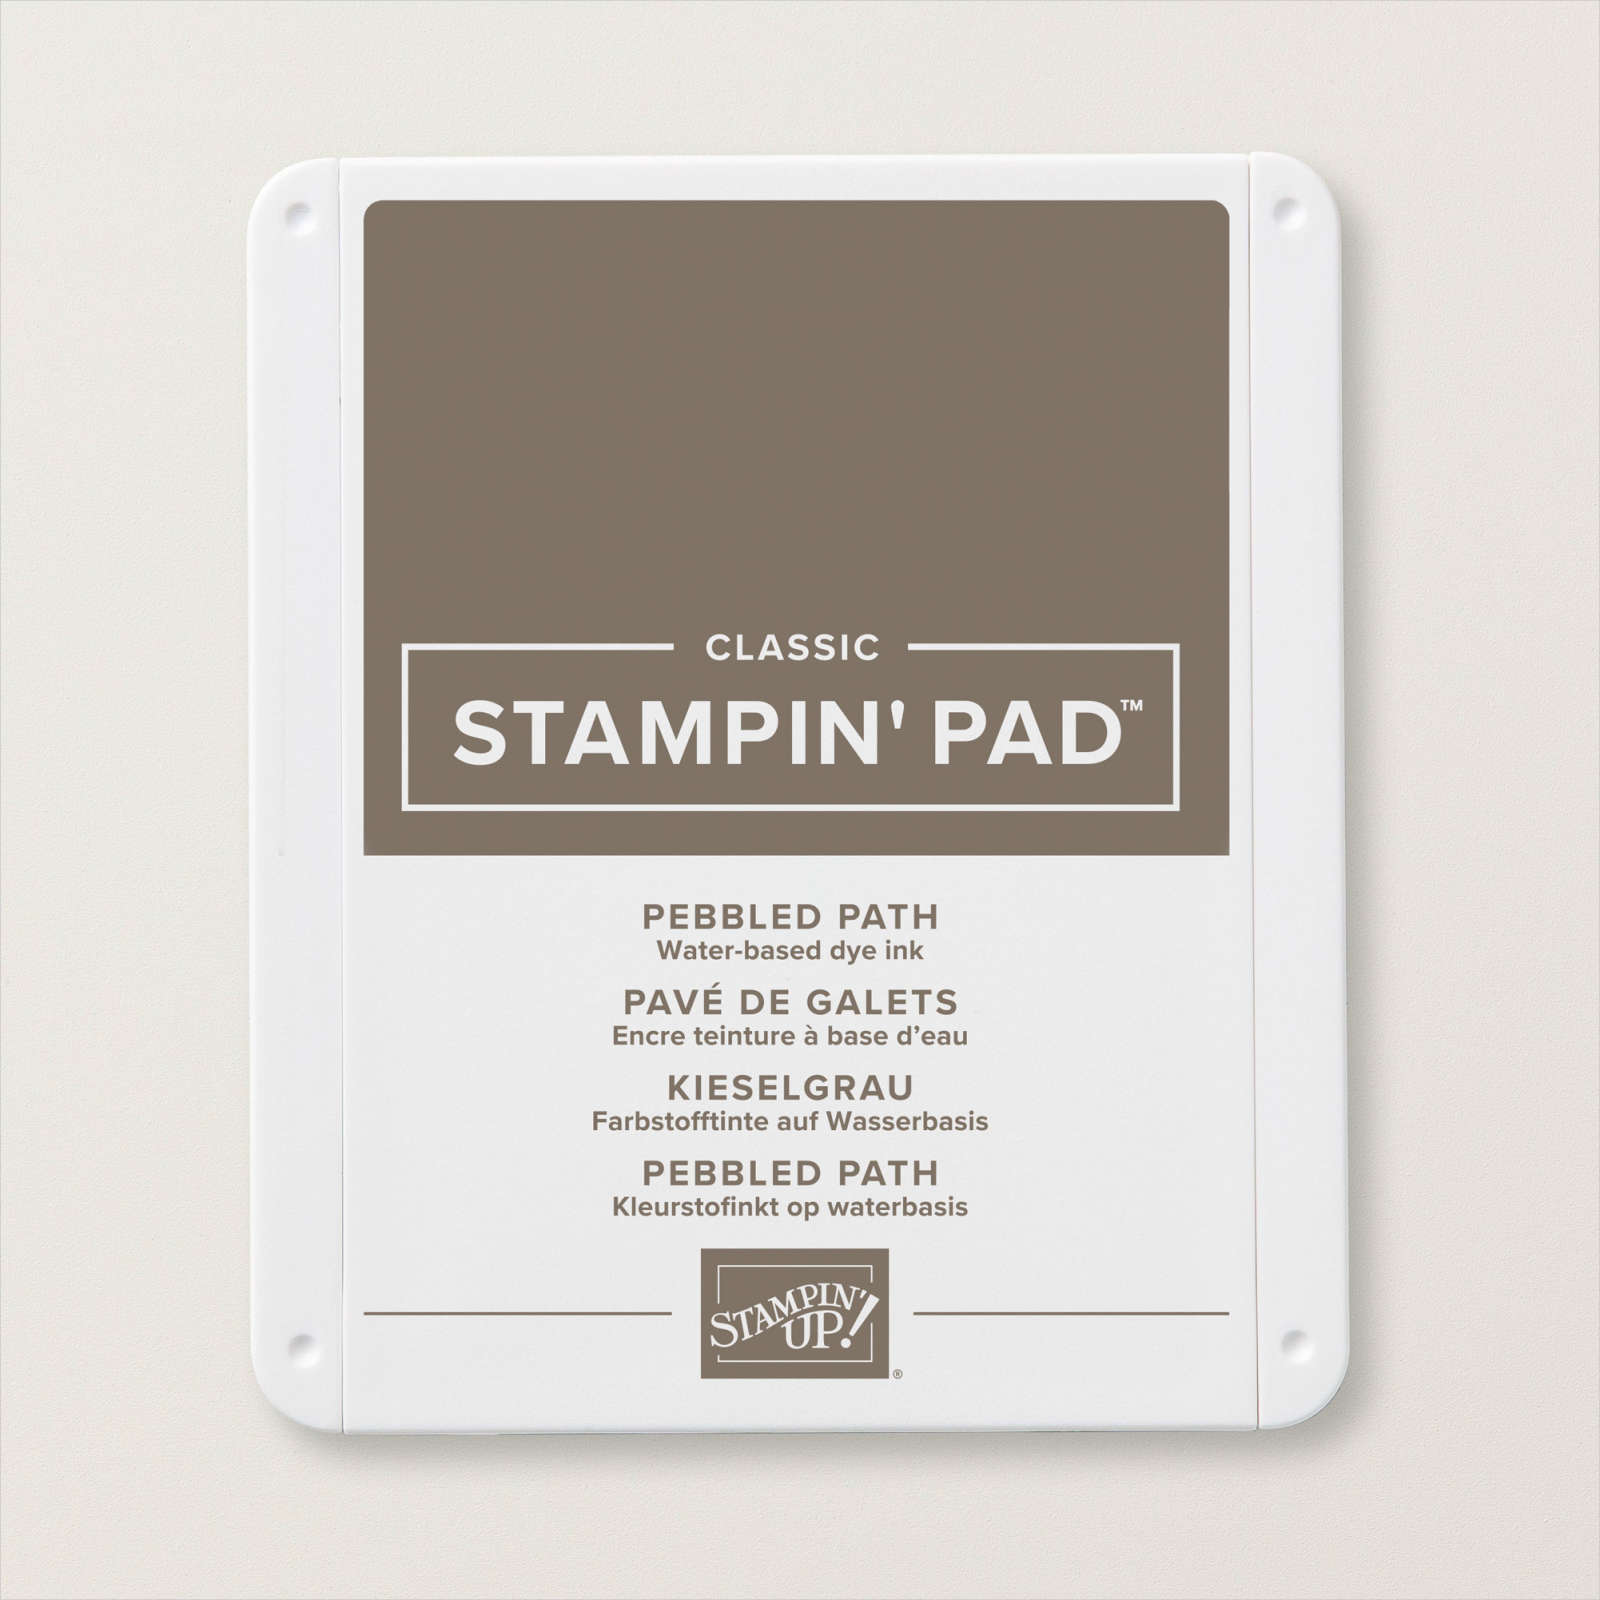
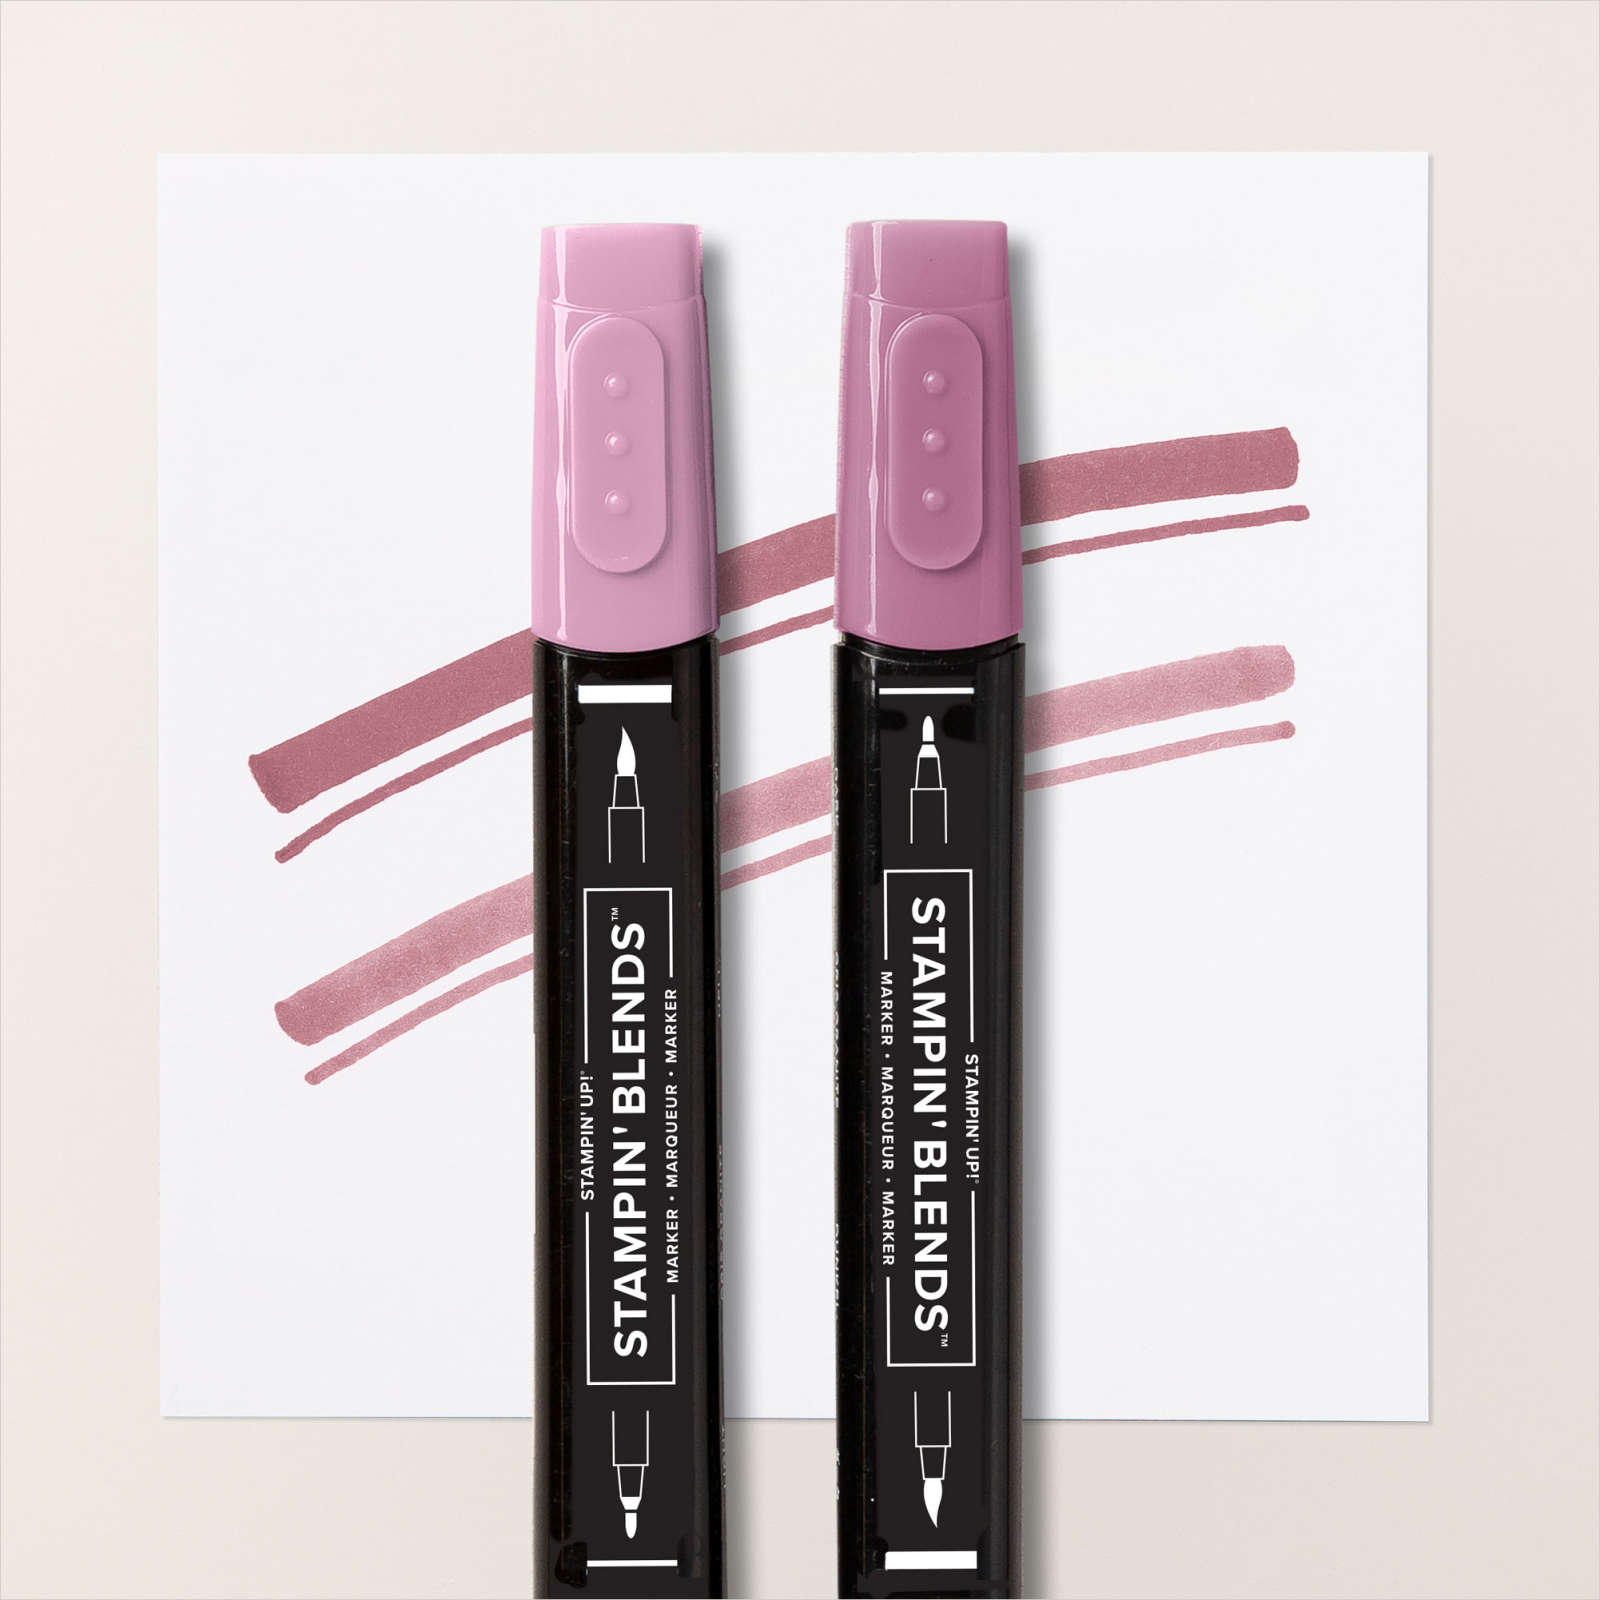
I coloured the flower using Dark Moody Mauve and Dark Mossy Meadow Stampin’ Blends before attaching the flower to the Basic White circle on the card front. I stamped “Congratulations” from the Wonderful Thoughts stamp set onto Basic White card using Pebbled Path ink and cut it out using the co-ordinating Wonderful Thoughts Die. I attached the greeting to the card front using dimensionals where necessary. To decorate the inside of the card, I stamped another greeting from the Wonderful Thoughts stamp set onto Basic White card using Pebbled Path ink. I cut a small heart from Moody Mauve card using the Wonderful Thoughts Die and attached it next to the greeting. I also added a strip of the heart pattern Moody Mauve Designer Series Paper across the bottom of the card.
So pretty and I love that there is floral image to co-ordinate with the sentiments from the stamp set. Don’t you?
Bye for now,
Kris
Product Used:
For Mum
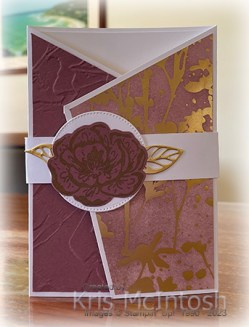
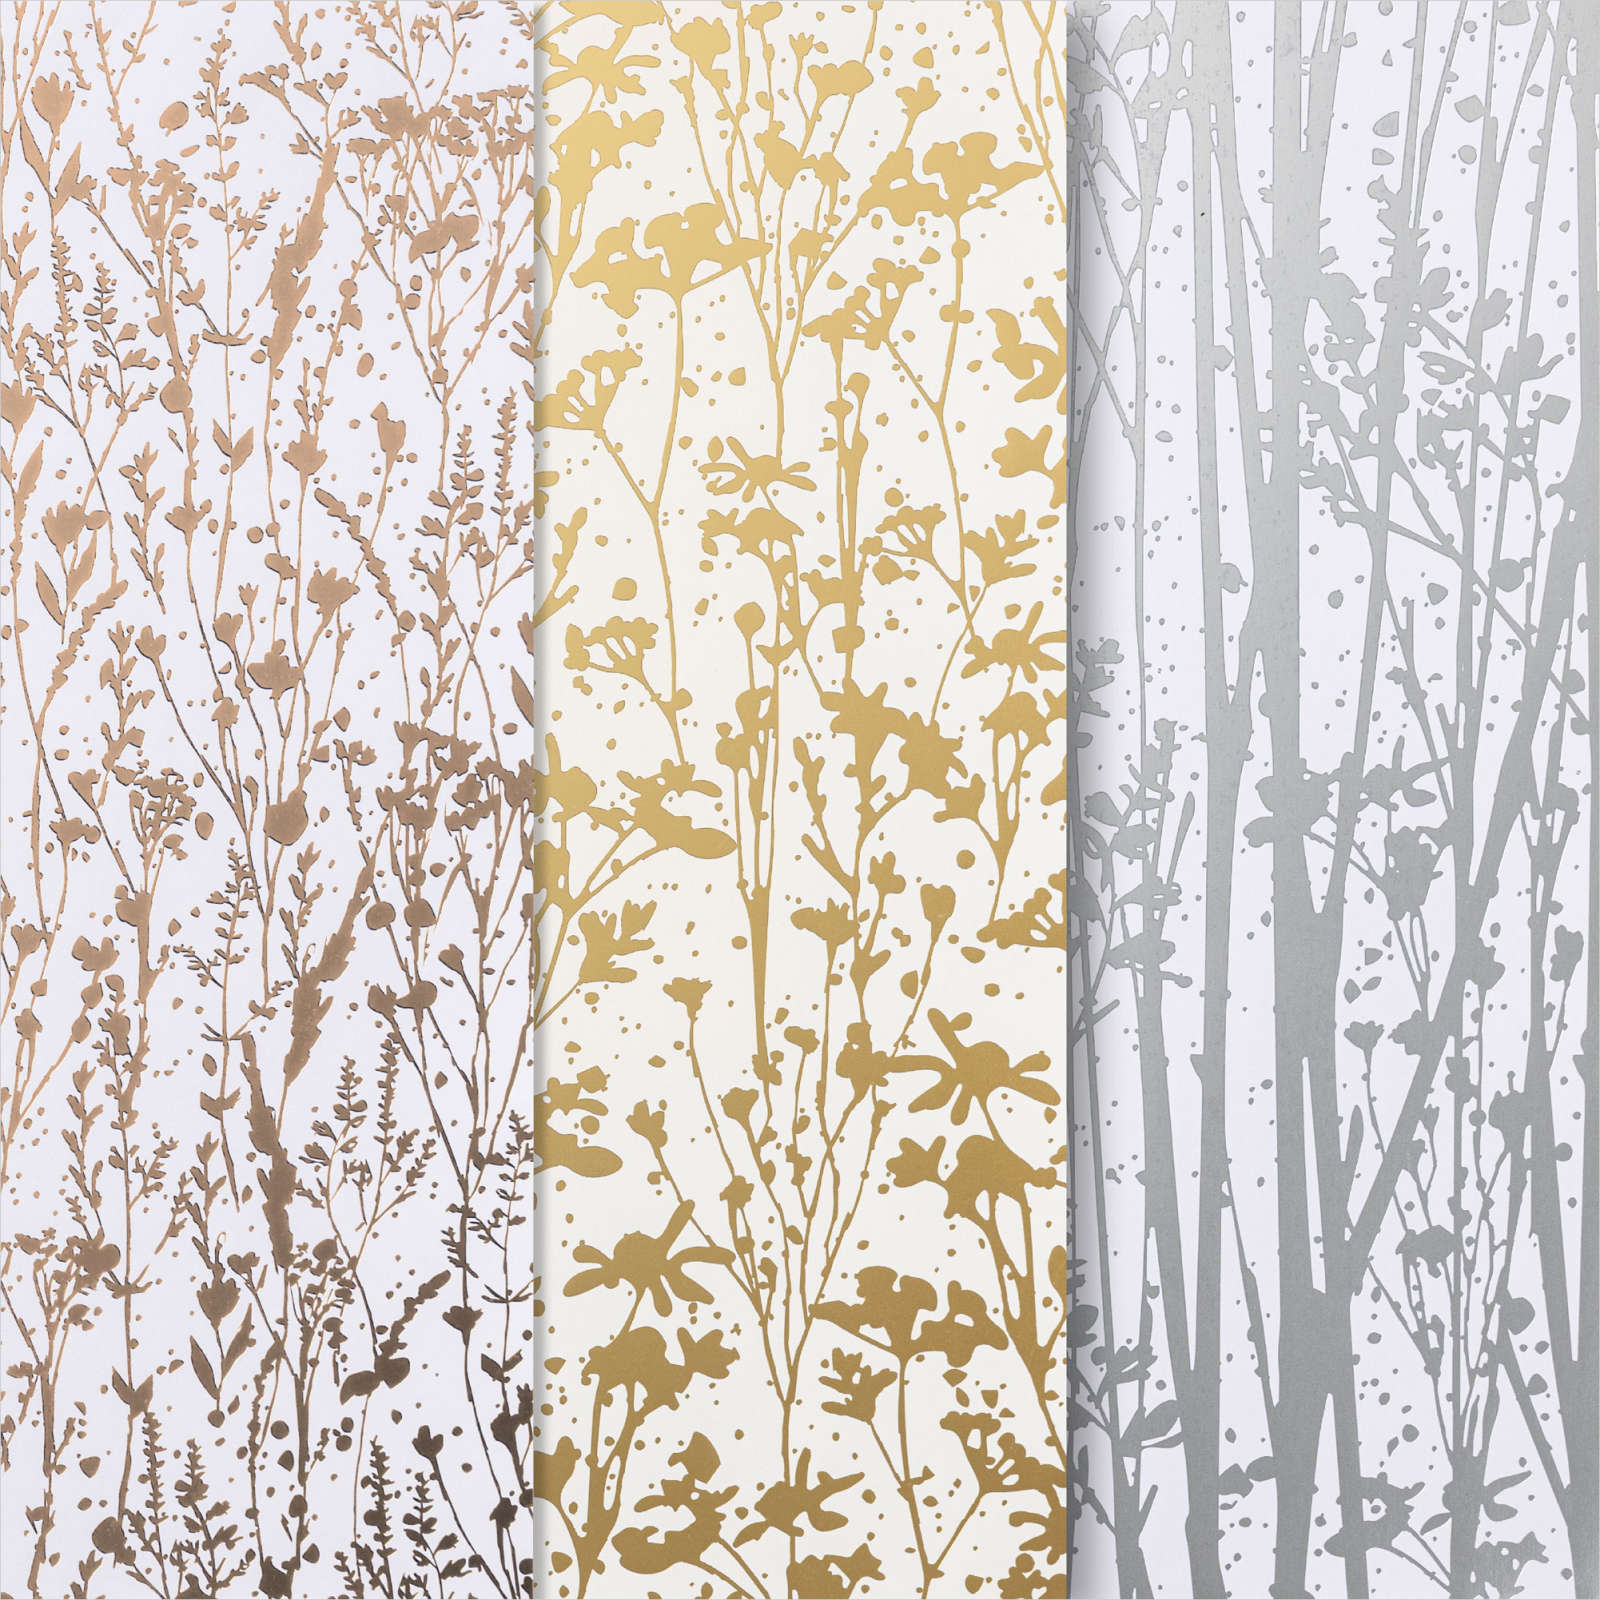
Today I am sharing the card I made for my Mum for Mother’s Day. I found some gorgeous cards on Pinterest by Tami White who graciously shared her instructions for creating the cards. I cut my card base and belly band from Thick Basic White card. I cut the left hand card front layer from Moody Mauve card which I embossed using the Painted Texture 3D Embossing Folder. I cut the right hand card front layer from a sheet of the gold paper from the Naturally Gilded 12″ x 12″ Specialty Paper.
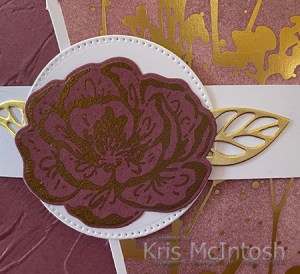
I used a Blending Brush to add Moody Mauve ink to the Designer Series Paper before attaching it to the card base. I stamped “happy Mother’s Day” from the now retired Celebrating You stamp set onto Basic White card using Moody Mauve ink. I attached the stamped panel to the inside of the card. I wrapped the belly band around the closed card and secured the ends. I cut a circle from Basic White card using one of the circles from the Stylish Shapes Dies.

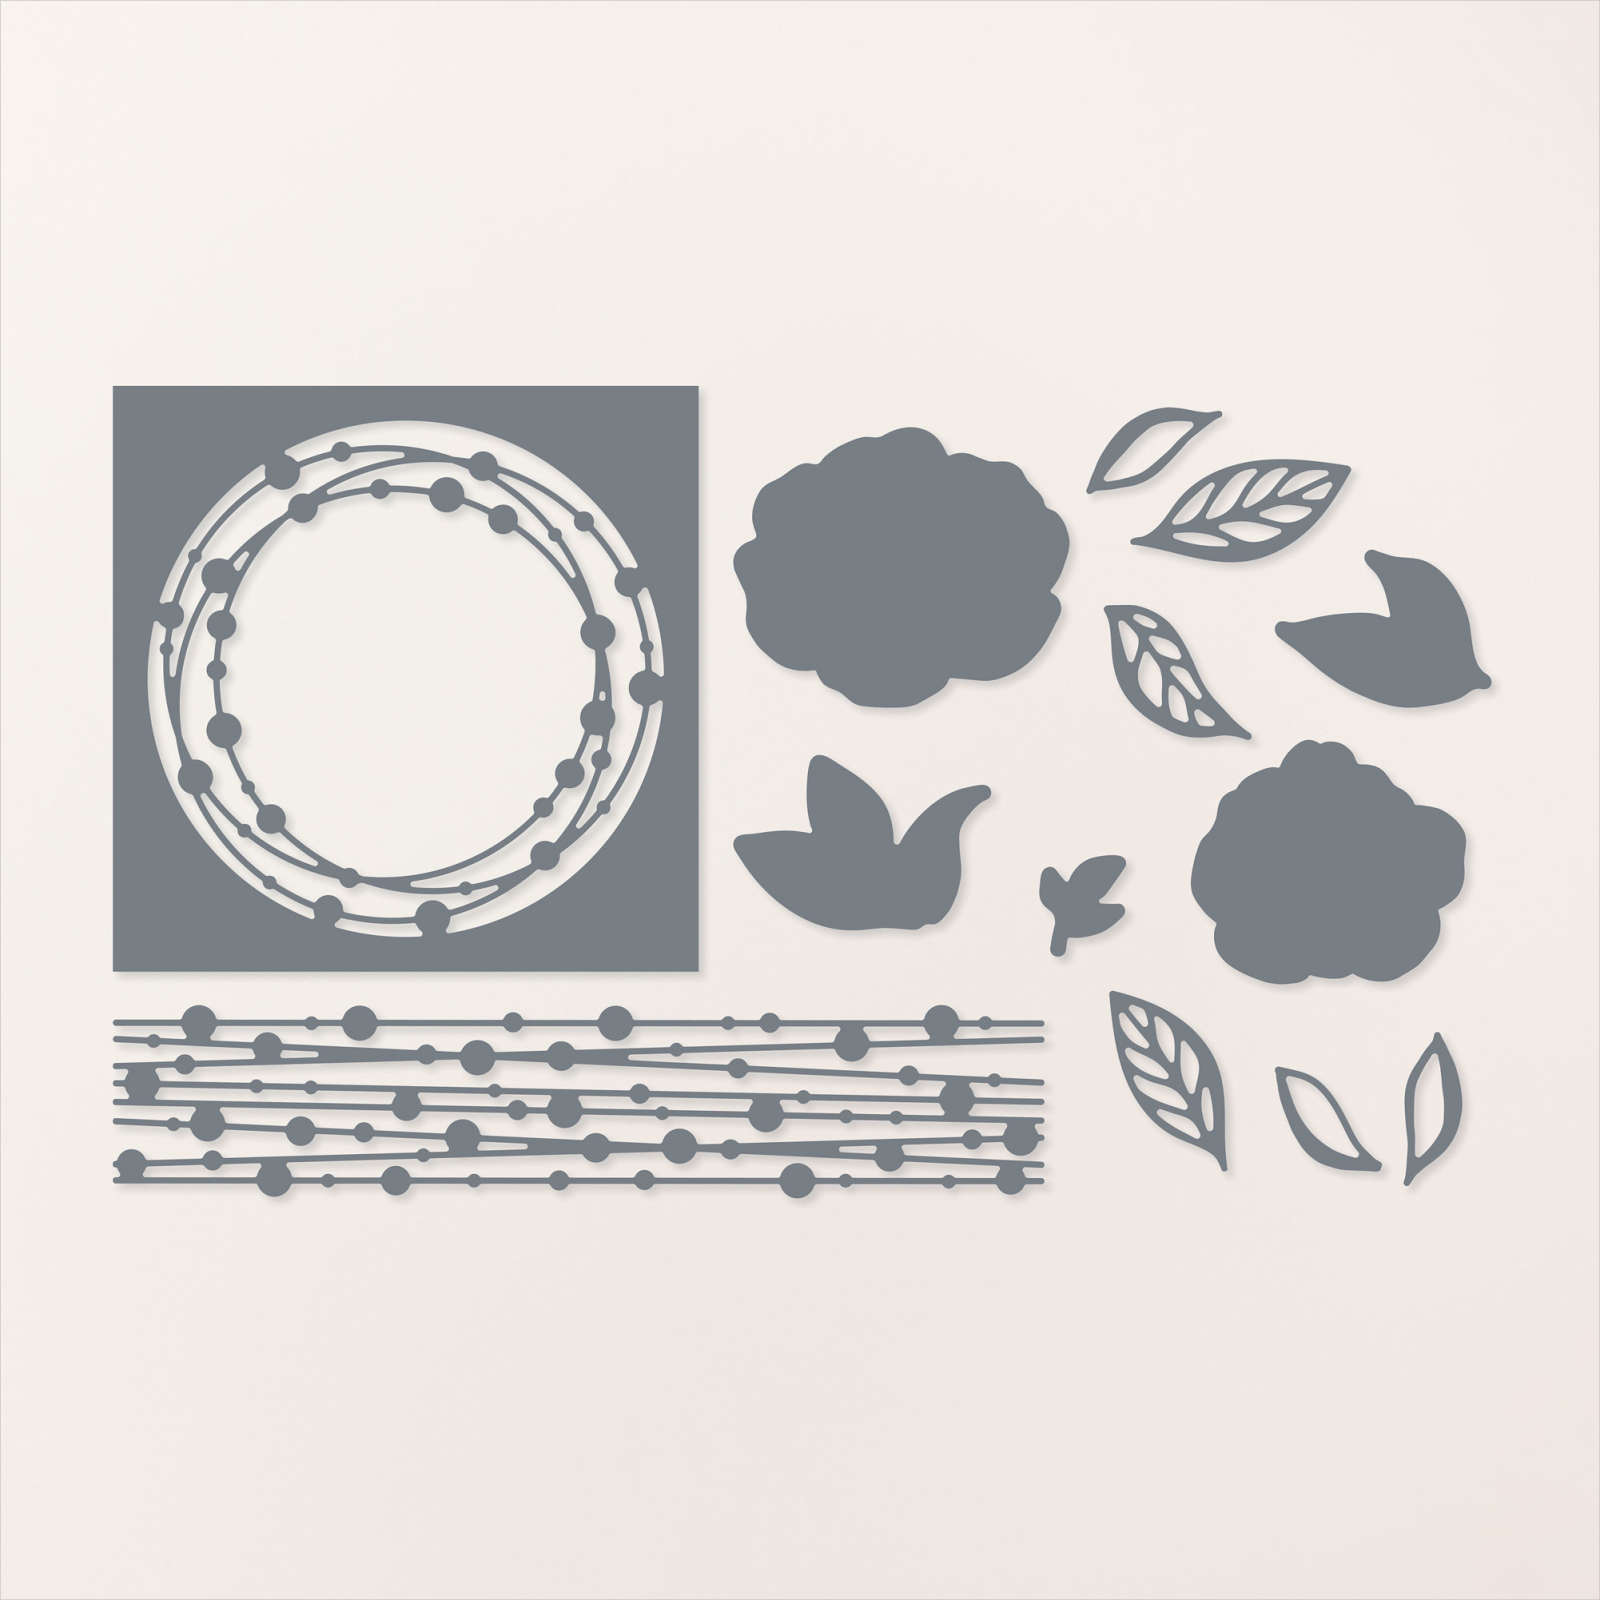
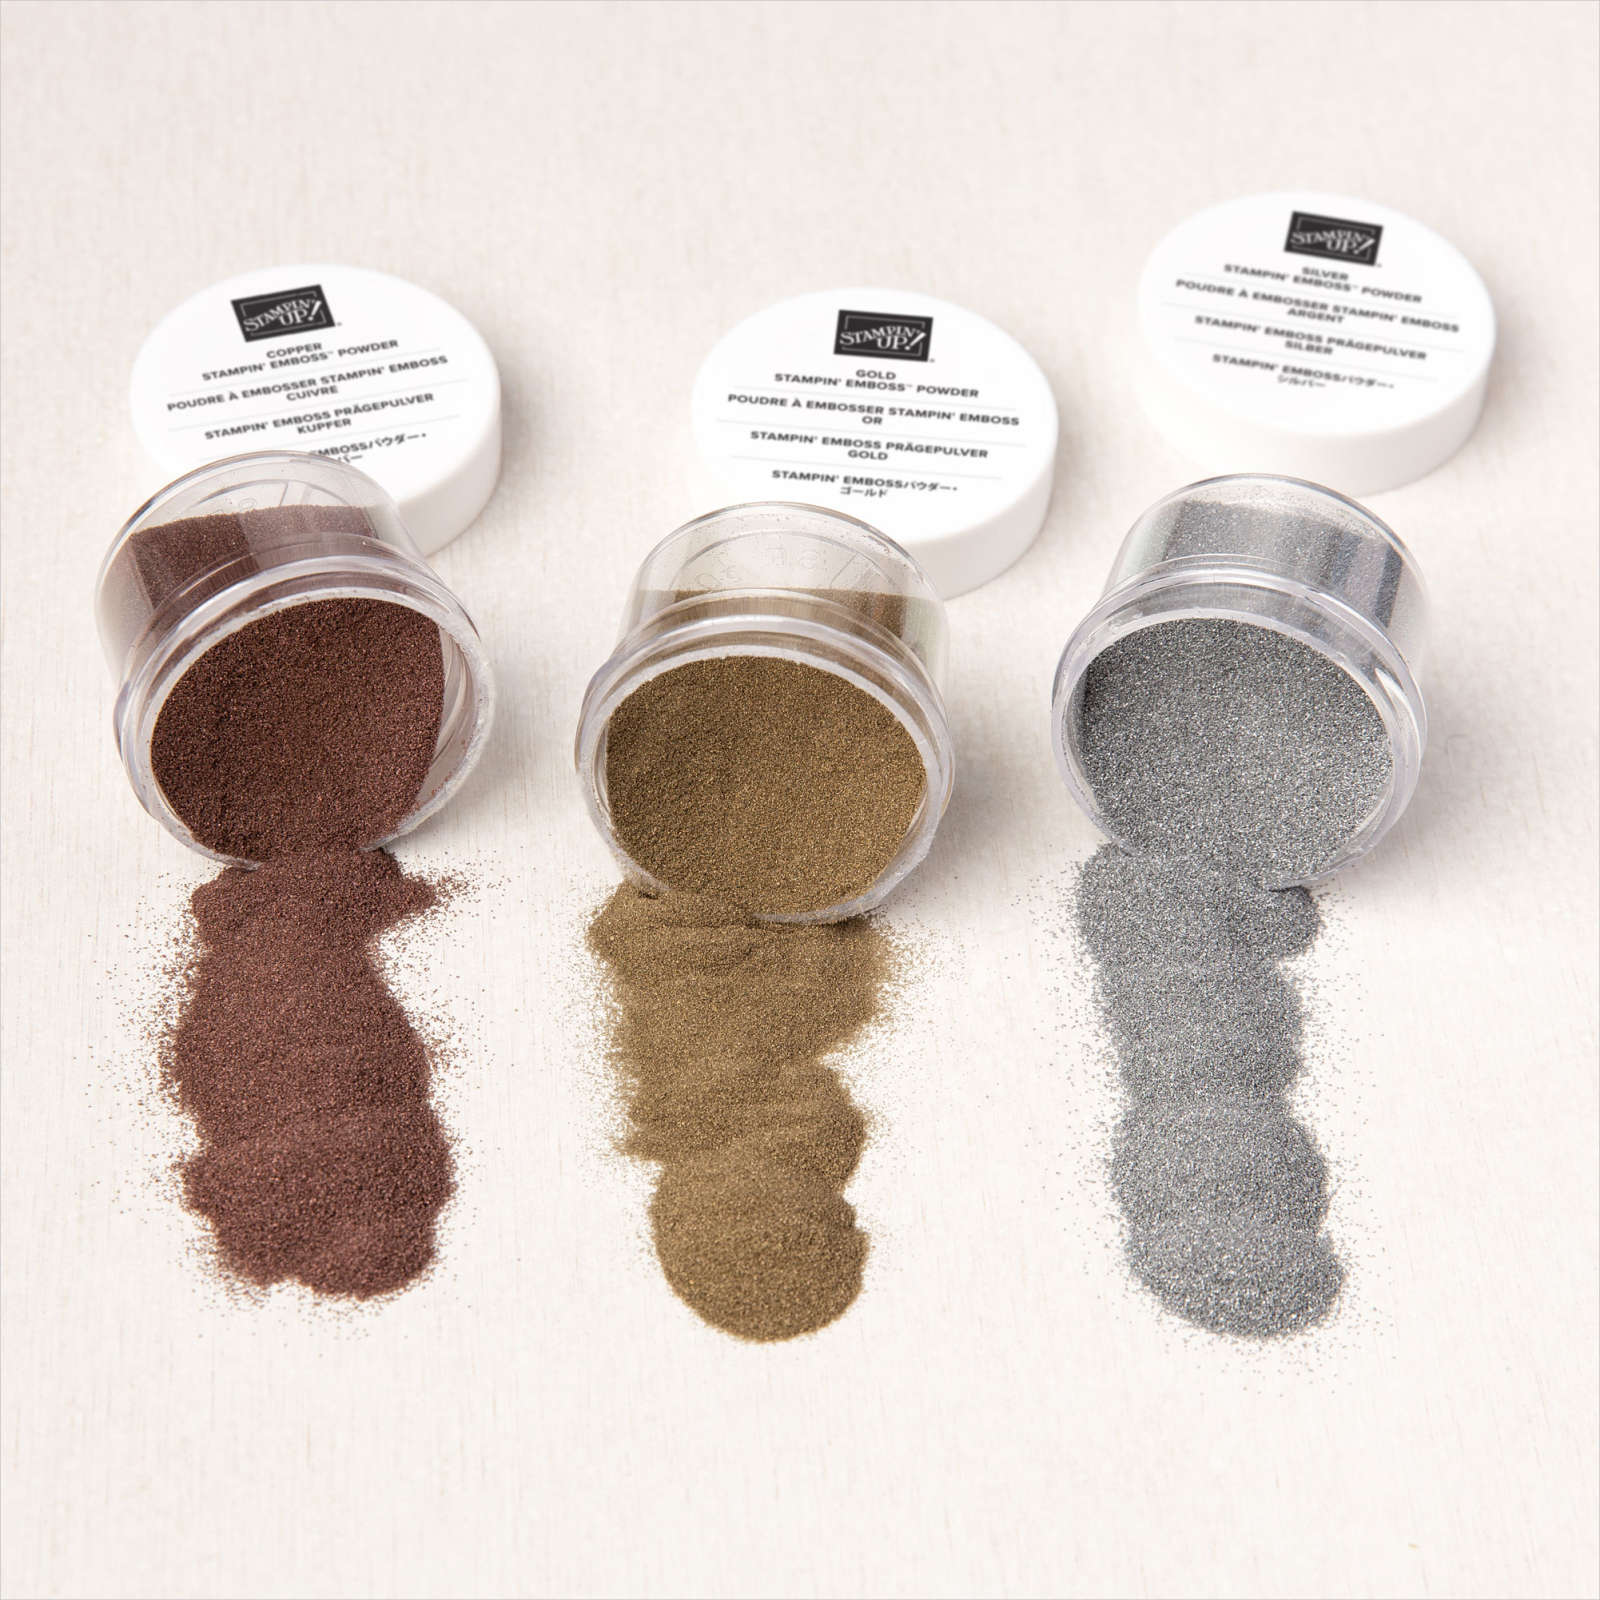
I attached the circle to the belly band so that it covered the join. I stamped the flower from the Irresistible Blooms stamp set onto Moody Mauve card using Versamark ink. I sprinkled the image with gold embossing powder and heat set it. I cut out the flower using the co-ordinating Irresistible Blooms Dies I die cut two different leaves from Gold Foil card using the Irresistible Blooms Dies. I attached the leaves and flower to the belly band. I love this card and I know that my Mum did too. So thank you Tami for being so generous and sharing your instructions.
Bye for now,
Kris
Product Used: