Husband Wife

Today’s pages show off photos of my Great, Great Grandparents. I wanted to create pages that looked a little bit old so I stamped the background image from the Artistically Inked stamp set around the edges of Very Vanilla 12″ x 12″ pages using Crumb Cake ink. I used a Blending Brush to add a little more Crumb Cake ink over the stamped edge. I attached a piece of retired In Good Taste Designer Series Paper to each page without glue behind the inside edge. I used an old Sizzix Die to cut a scalloped circle from another pattern of the retired In Good Taste Designer Series Paper which I tucked under the first Designer Series Paper panel.

I cut Early Espresso card using the scalloped edge die from the Scalloped Contour Dies. I attached the scalloped edge behind a strip of Smoky Slate card before attaching it over the outside edge of the Designer Series Paper. I attached another strip of Smoky Slate card across the page with a narrow strip of Crumb Cake card over the top. I cut Early Espresso card using the largest rectangle from the Radiating Stitches Die and used the second largest rectangle die to cut out the centre to create a frame. I attached my photos behind the frames before attaching them to the page. I created the journaling on my computer and printed it onto Very Vanilla card and cut it out using the second largest rectangle from the Radiating Stitches Die. I attached the journaling beside the photos. I cut Early Espresso card using the Alphabet A La Mode Dies to create the title for each page.

I am so happy to have these photos to share with my family.
Bye for now,
Kris
Product Used:


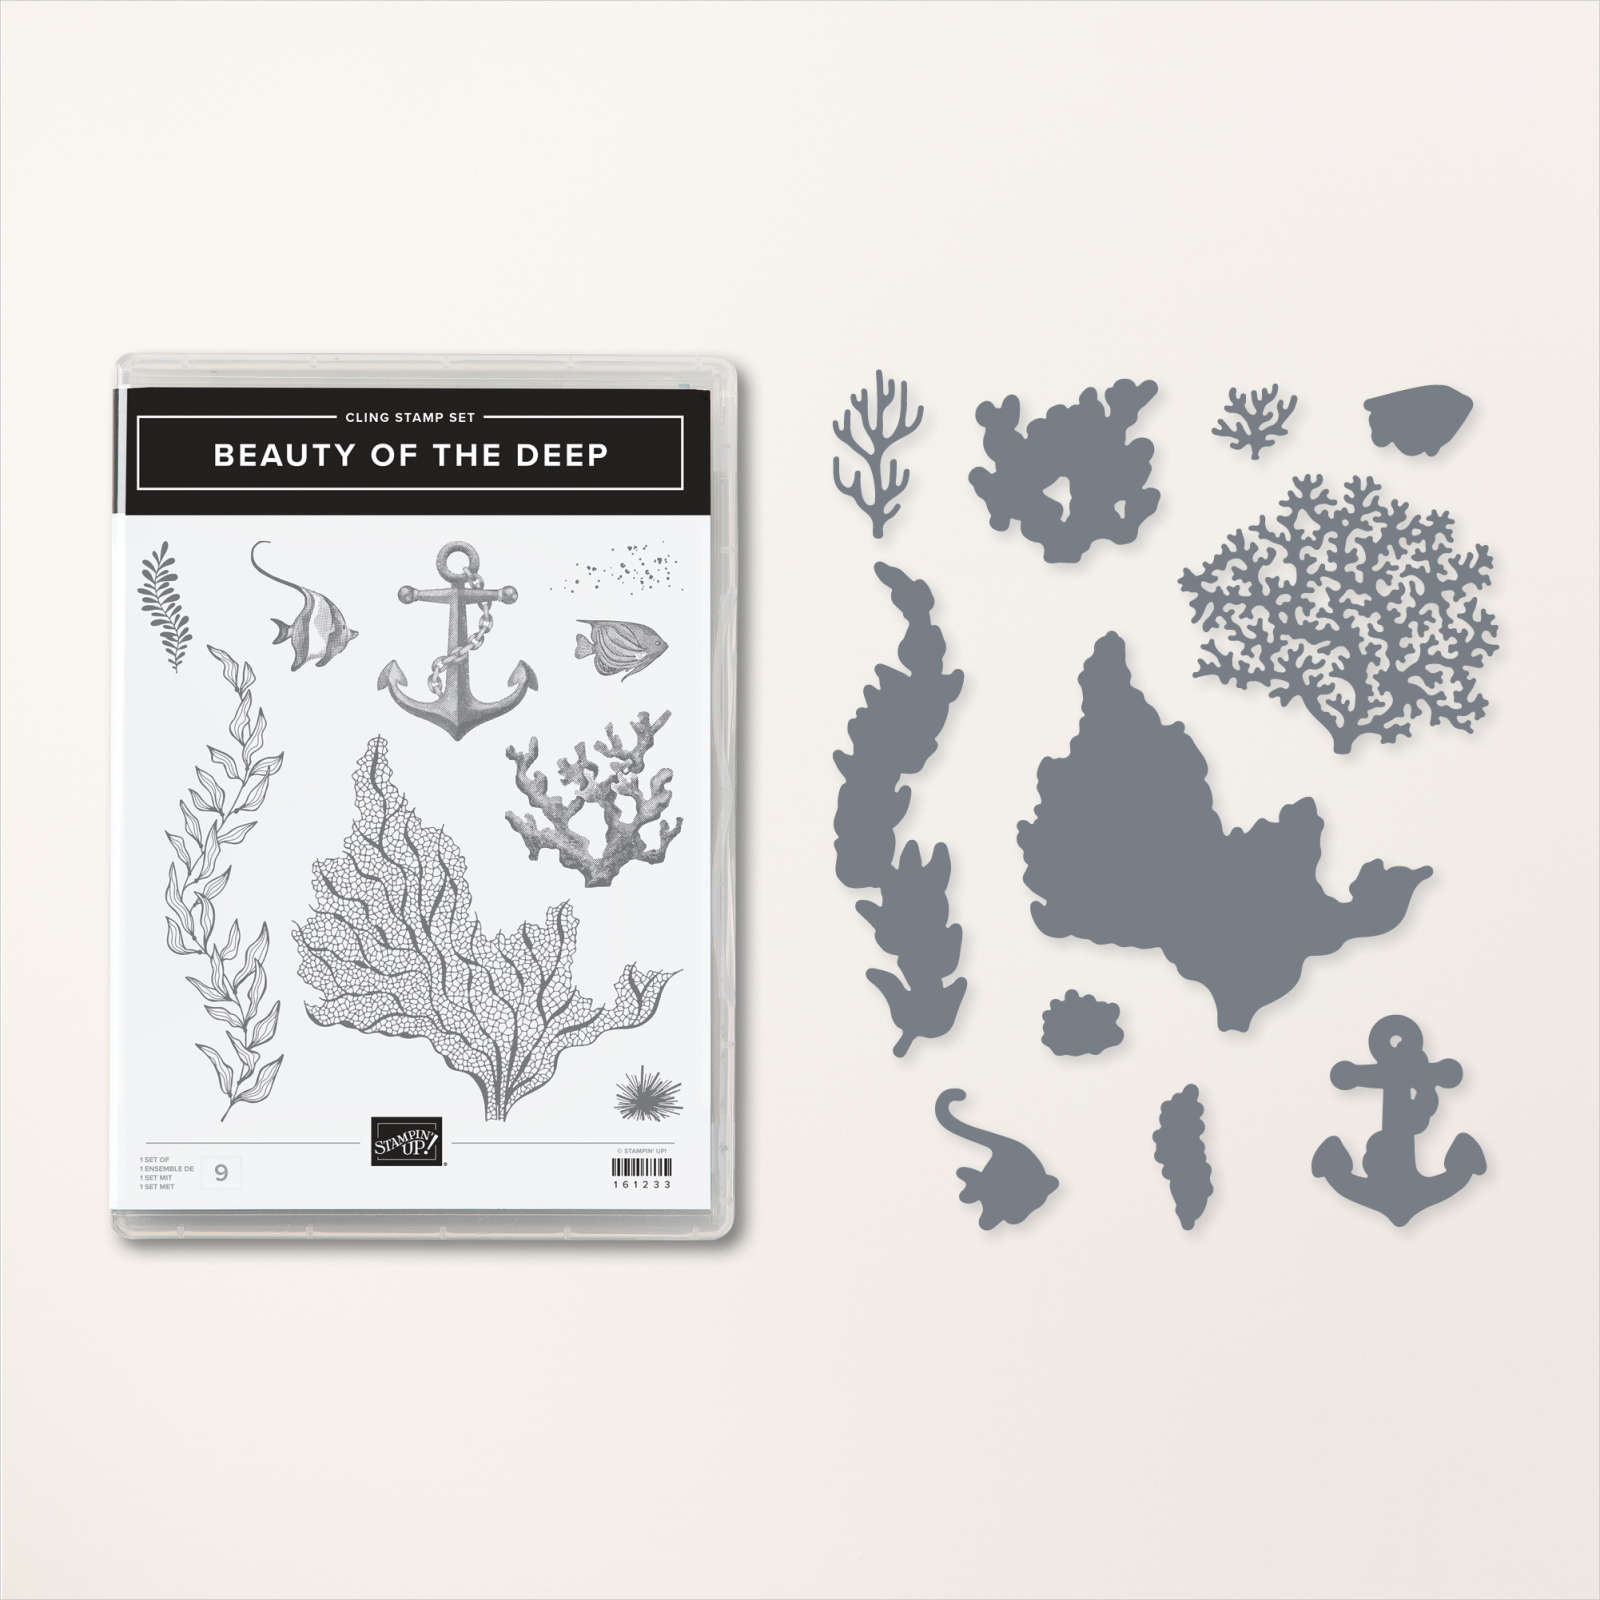
Beauty of The Deep
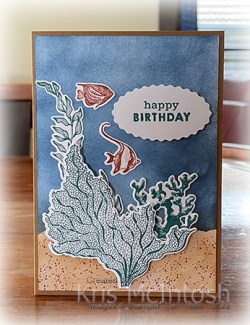
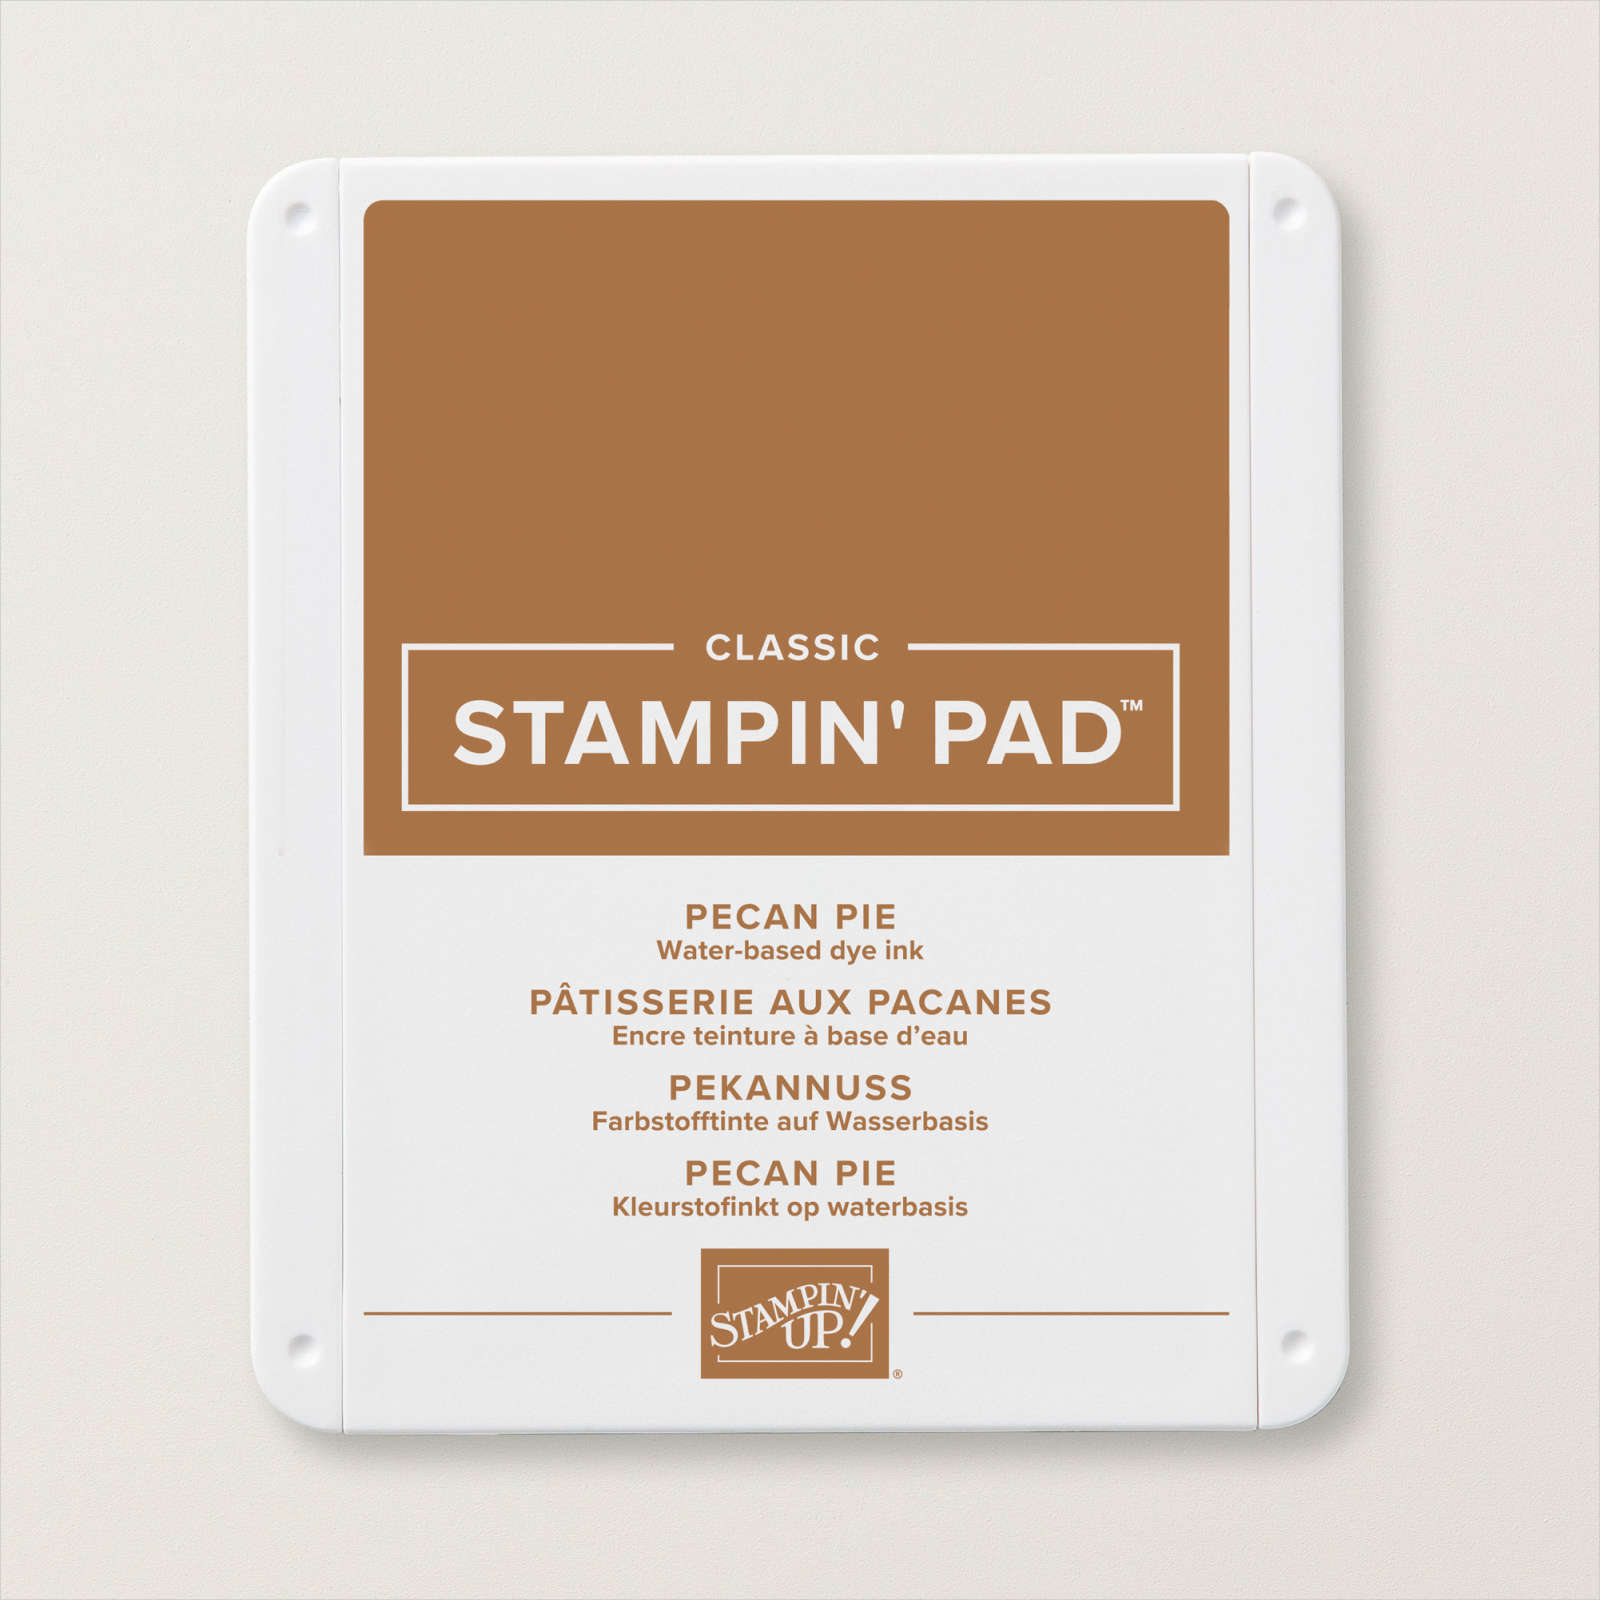
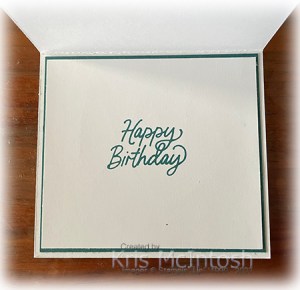
This week on my Facebook Live I shared a couple of cards using the Beauty of the Deep Bundle. Today I have another one to share. For this card, I created a mask and added Misty Moonlight ink to the top two-third of a Basic White panel using Blending Brush. I removed the mask and using a Blending Brush I added Pecan Pie ink to the bottom section of the Basic White card. I stamped the dotted image from the Beauty of the Deep stamp set across the Pecan Pie inked area. The Basic White panel is attached to scored and folded Pecan Pie card. I stamped the three large seaweed images from the Beauty of the Deep stamp set onto Basic White card using Pretty Peacock ink.

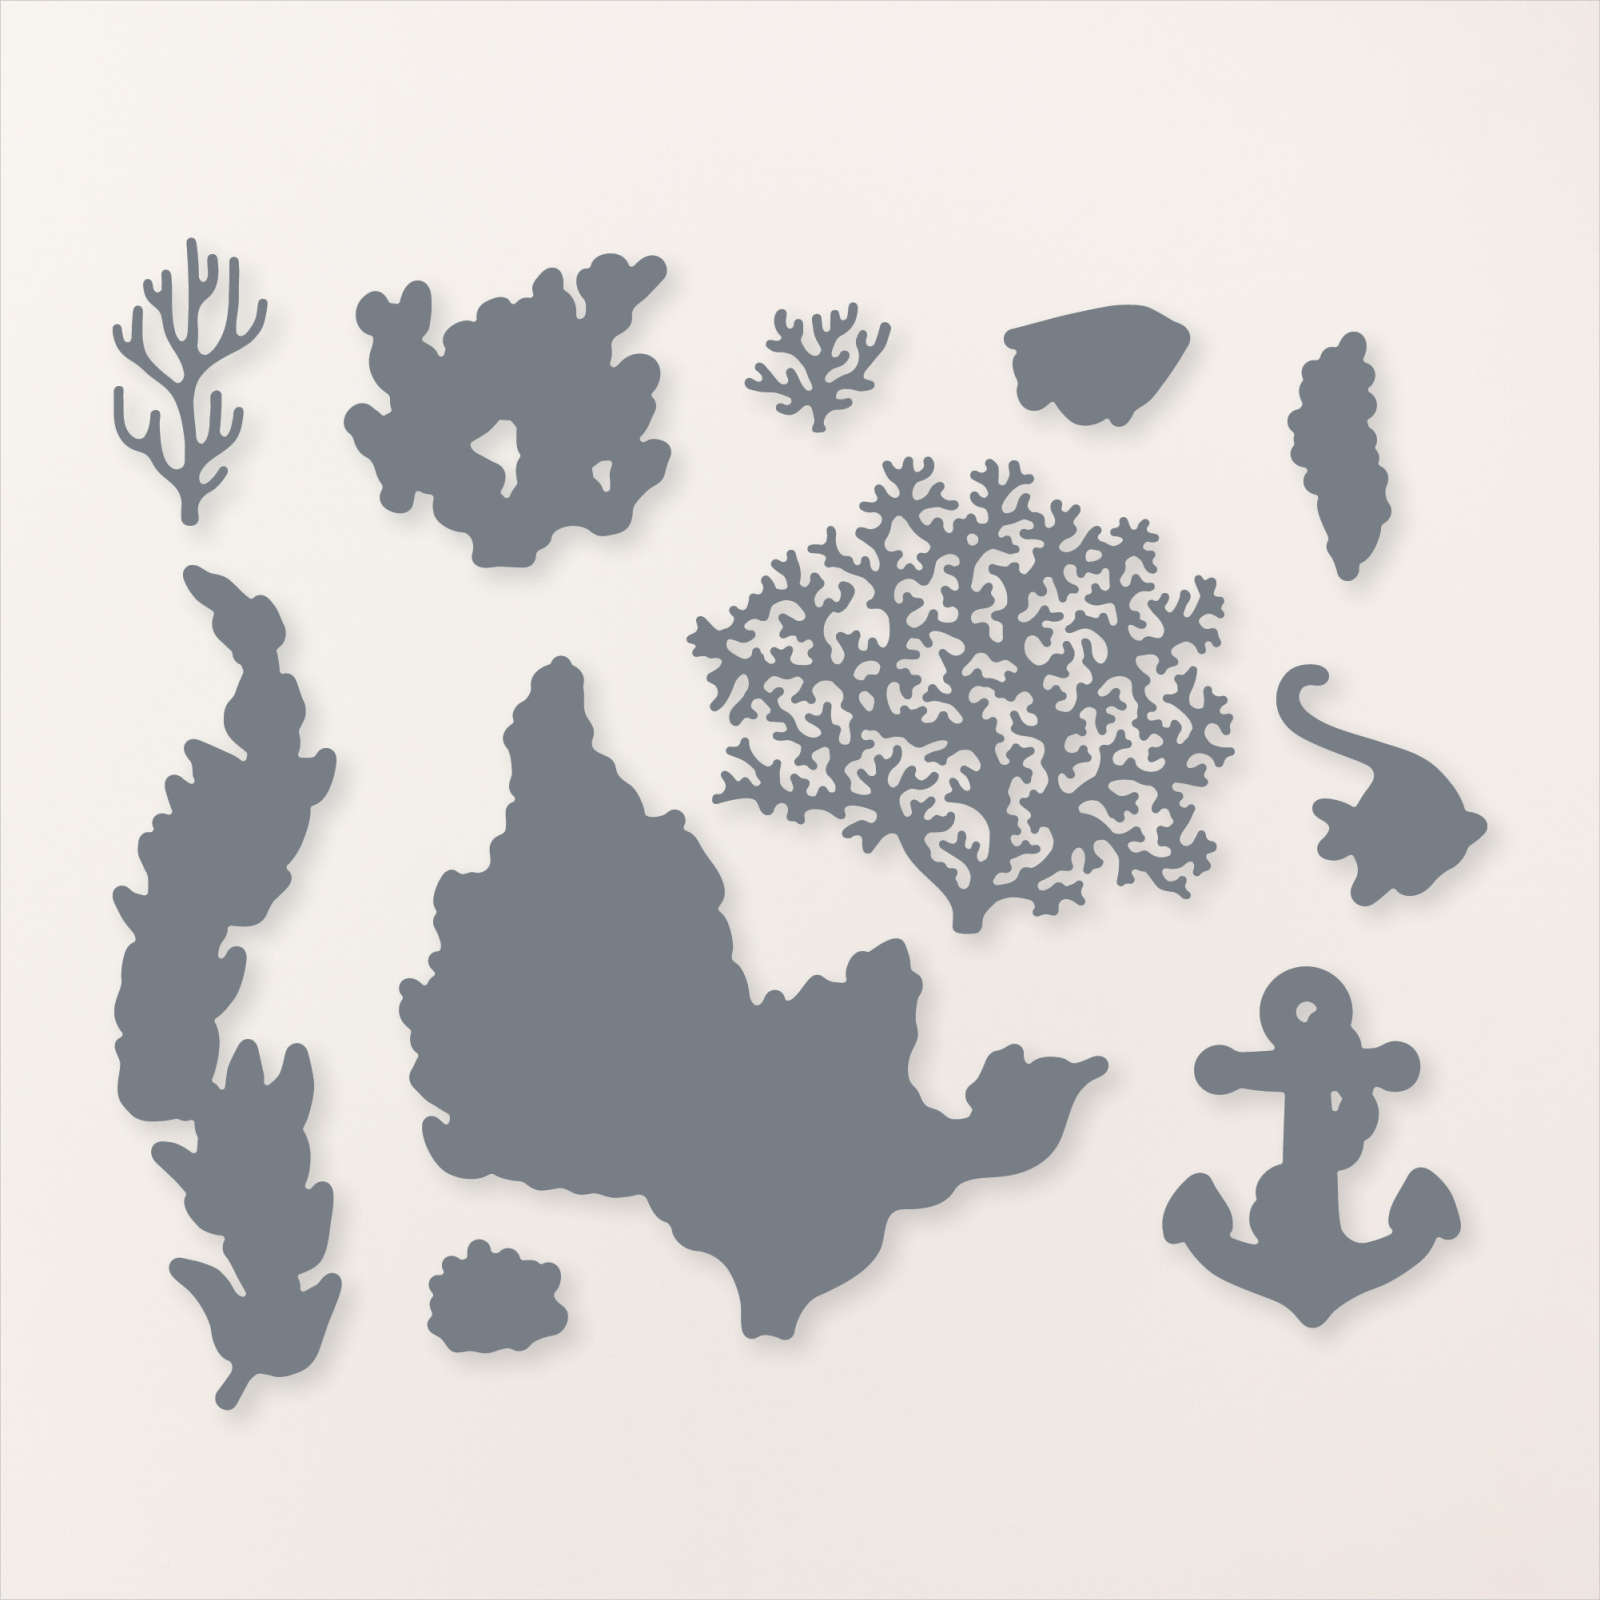
I cut out the images using the co-ordinating Beauty of the Deep Dies. I stamped the two fish images onto Basic White card using Cajun Craze ink and cut them out using the co-ordinating Beauty of the Deep Dies. I attached two of the seaweed images flat to the Basic White panel. I added the last seaweed image using dimensionals. I stamped “happy birthday” from the Enjoy The Rhythm stamp set onto Basic White card using Misty Moonlight ink.
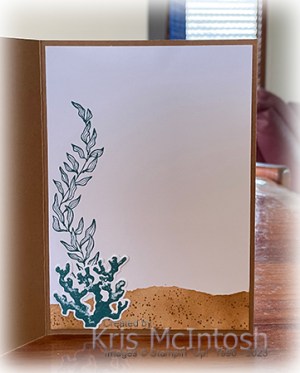
I punched out the greeting using the Double Oval Punch and attached it to the card front using dimensionals. I added the two fish images around the greeting and the seaweed. To decorate the inside of the card, I masked across the bottom of a Basic White panel. Using a Blending Brush I added Pecan Pie ink across the bottom of the Basic White card. I stamped the dotted image from the Beauty of the Deep stamp set across the inked area. I removed the mask and stamped the long narrow seaweed image from the Beauty of the Deep stamp set onto the lower left hand corner of the Basic White panel. I stamped the second seaweed image onto Basic White card using Pretty Peacock ink, cut it out using the co-ordinating Beauty of the Deep Die and attached it over the end of the stamped seaweed image.
I think this bundle is going to be a lot of fun to play with, don’t you?
Bye for now,
Kris
Product Used:


Pull Tab Birthday
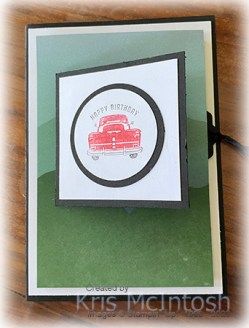
It was my grandson’s birthday recently and I thought I would share the card I made for him with you today. I used instructions I purchased from Elizabeth’s Craft Room. The instructions are easy to follow and you get to watch a quick video to show construction. I created my card base and pull tab from Basic Black card. I used the retired Fancy Tag Topper Punch to punch the pull end of the pull tab. I added a layer of Basic White card to the card front. I used a piece of now retired Enjoy the Journey 12″ x 12″ Designer Series Paper for the card front.

To create the slot for the pull tab, I punched the Designer Series Paper using the retired Classic Label Punch. I inked the stamp from the He’s The Man stamp set using Poppy Parade, Smoky Slate and Basic Black Stampin’ Write Markers and stamped onto Basic White card.

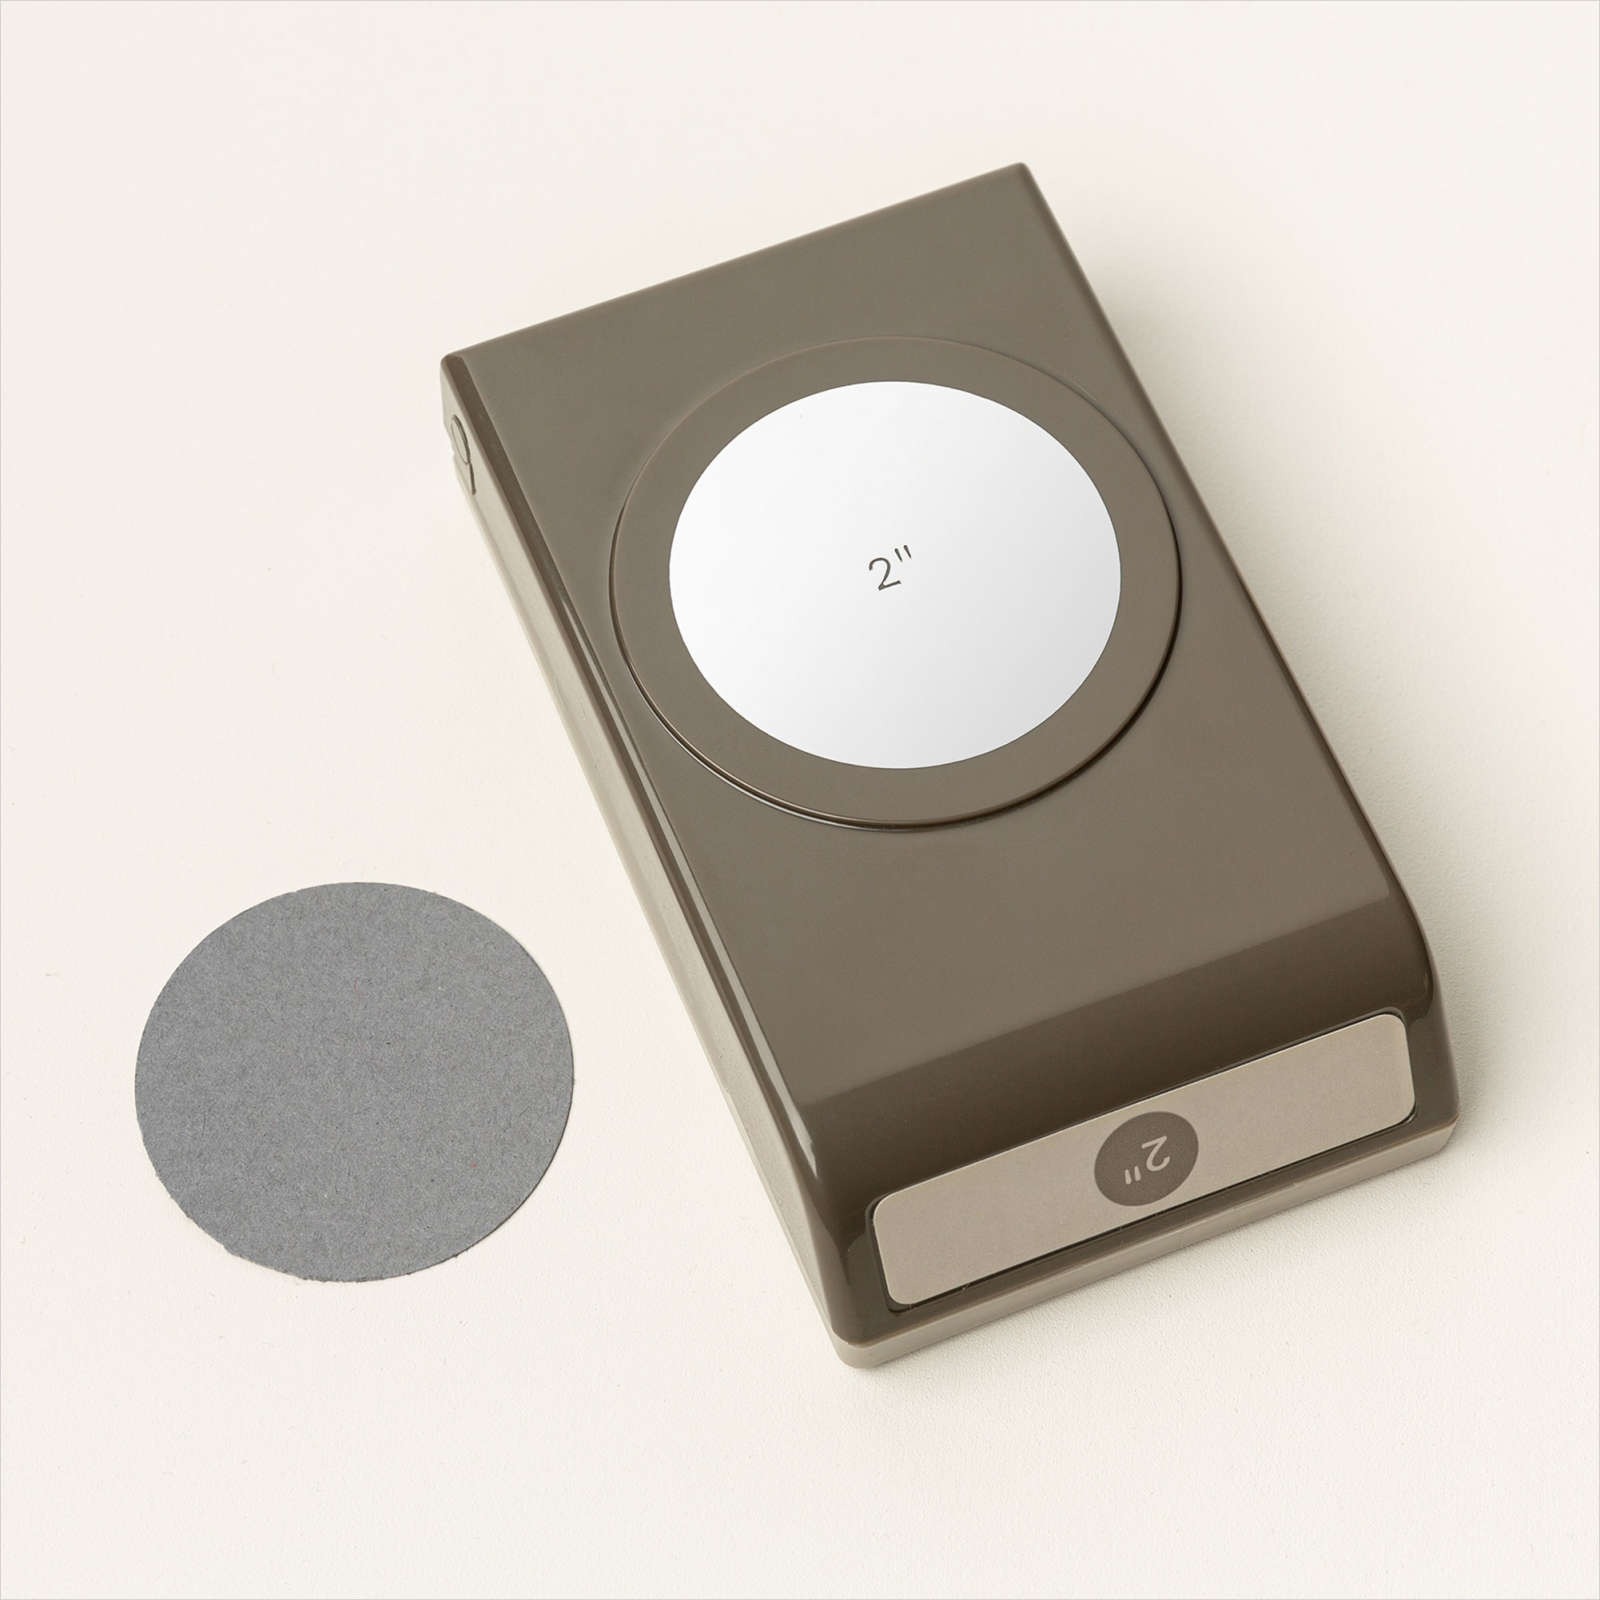
I punched out the image using the 1-3/4″ Circle Punch and attached the image to Basic Black card punched using the 2″ Circle Punch. The image is attached to Basic White card and then the front of the pull tab. On the small pop up on the inside of the pull tab,
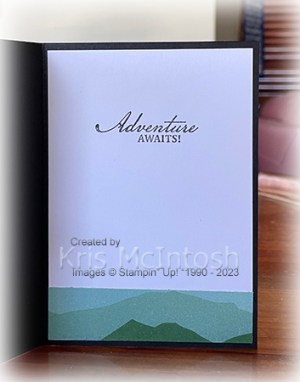
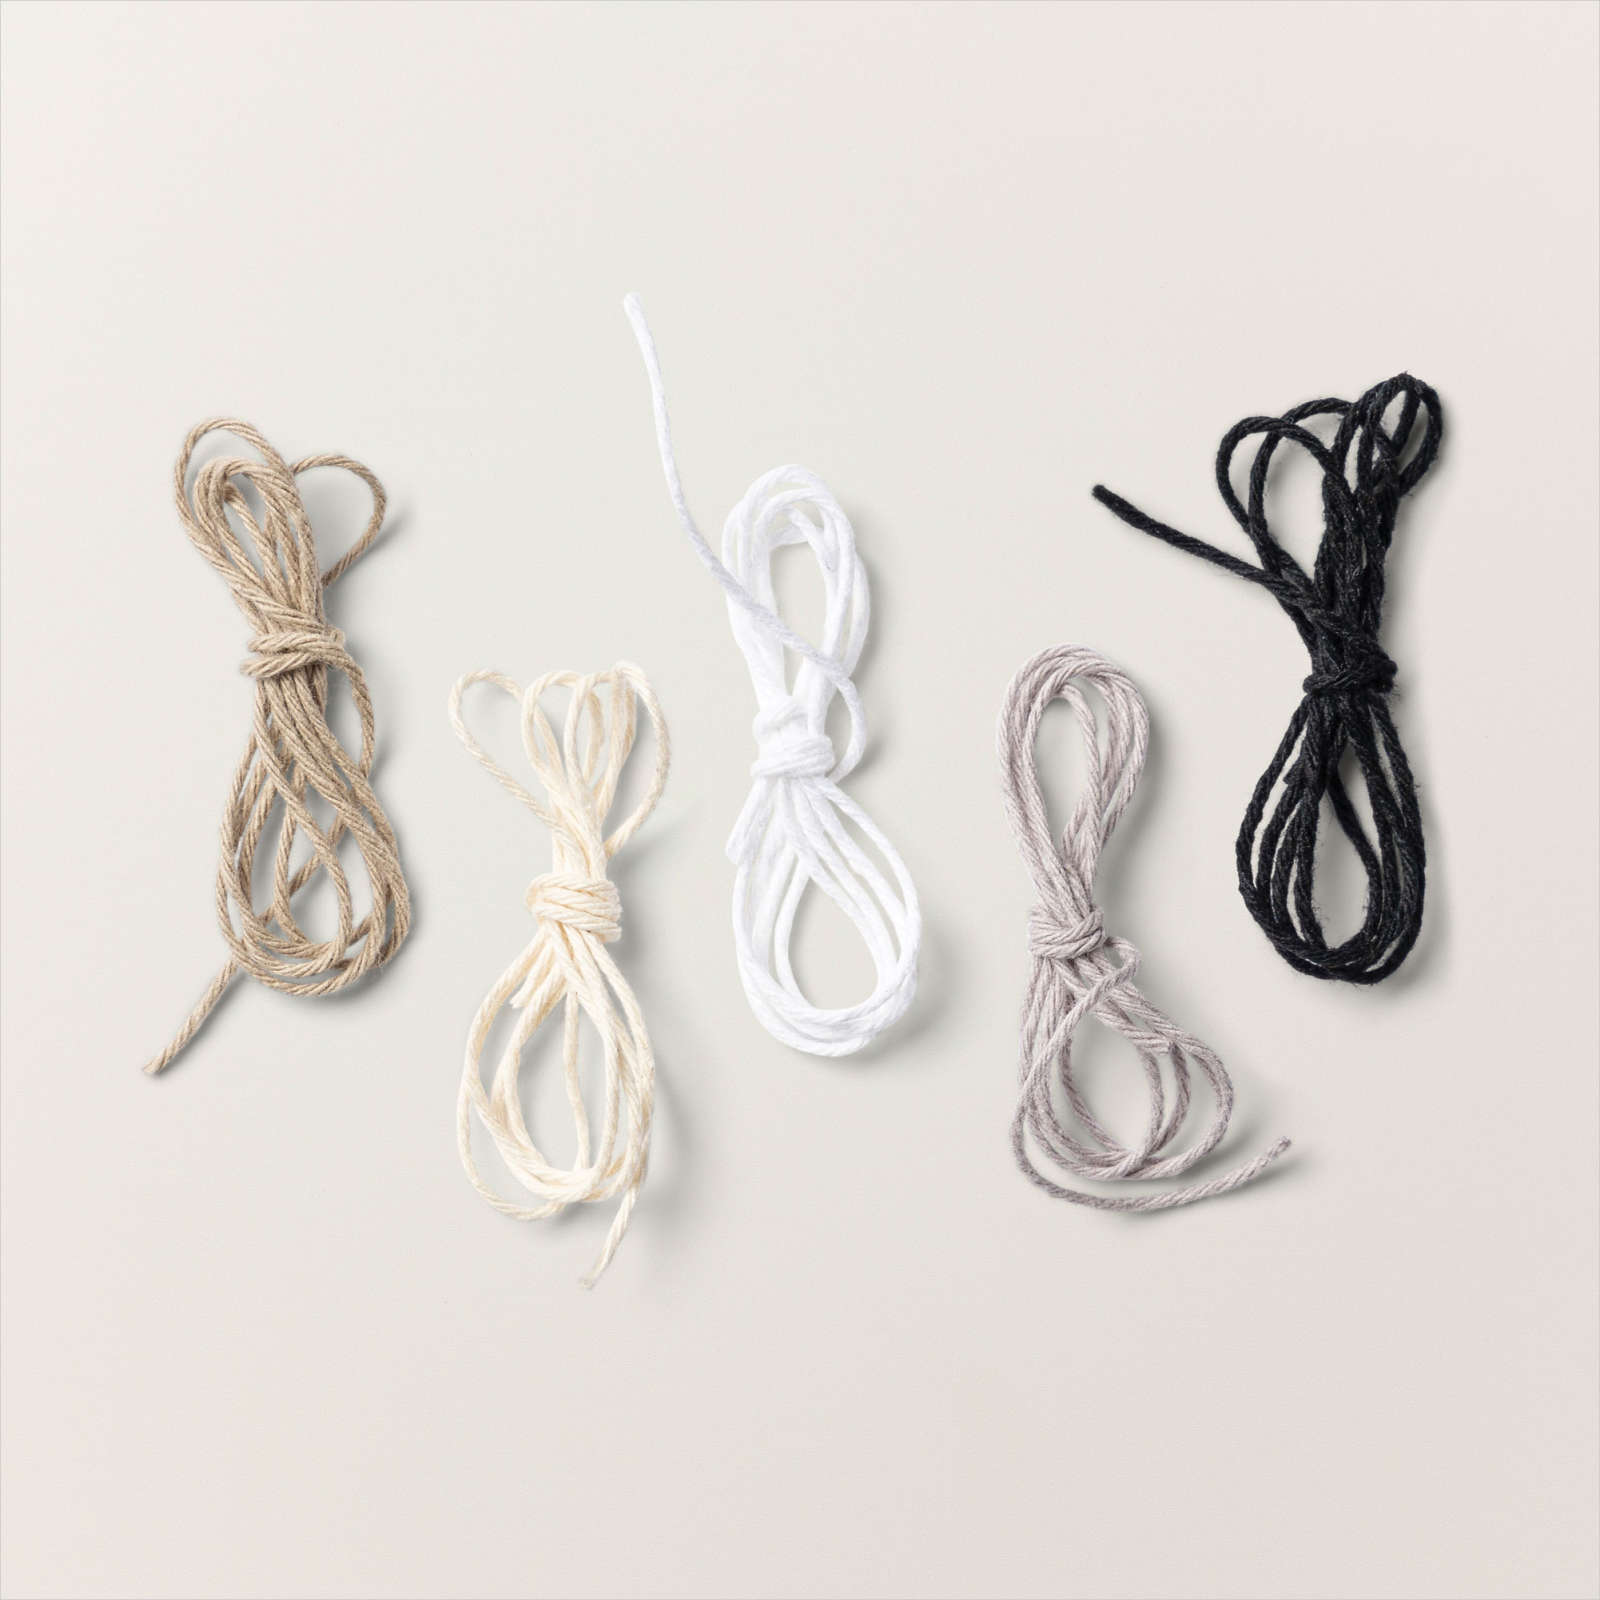
I stamped “Celebrate” from the Share A Milkshake stamp set onto Basic White card using Memento Tuxedo Black ink. I stamped “16” using the Alphabest stamp set onto Basic White card using Memento Tuxedo Black ink. I punched out the “16” using a retired 3/4″ Circle Punch and attached it to Basic Black card punched using the retired 1″ Circle Punch. I attached the panel to the stamped Basic White card and the inside of the pull tab. Lastly I tied a length of the Black Twine from the Baker’s Twine Essentials Pack through the punched end of the pull tab. Inside the card, I attached a narrow strip of the Enjoy The Journey Designer Series Paper across the bottom of Basic White card. I also stamped the greeting from the retired Beautiful World stamp set.
Such a fun card to make. Have you tried one of these fancy folds?
Bye for now,
Kris
Product Used:


Open House
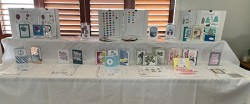
Yesterday I had an open house/catalogue launch/retired product sale. I would like to say thank you to all the lovely ladies that attended. I had prepared samples from the new products that I have already purchased from the new Annual Catalogue.

As well as samples using carry over product and some of the beautiful new colours that have joined our colour families. We also spent some time going through the catalogue and focusing on some of the features that are so easily missed when you are flicking through looking at all the beautiful samples. I had a lovely time catching up with you all. So once more thank you.
Bye for now,
Kris
Product Used:
Celebrate

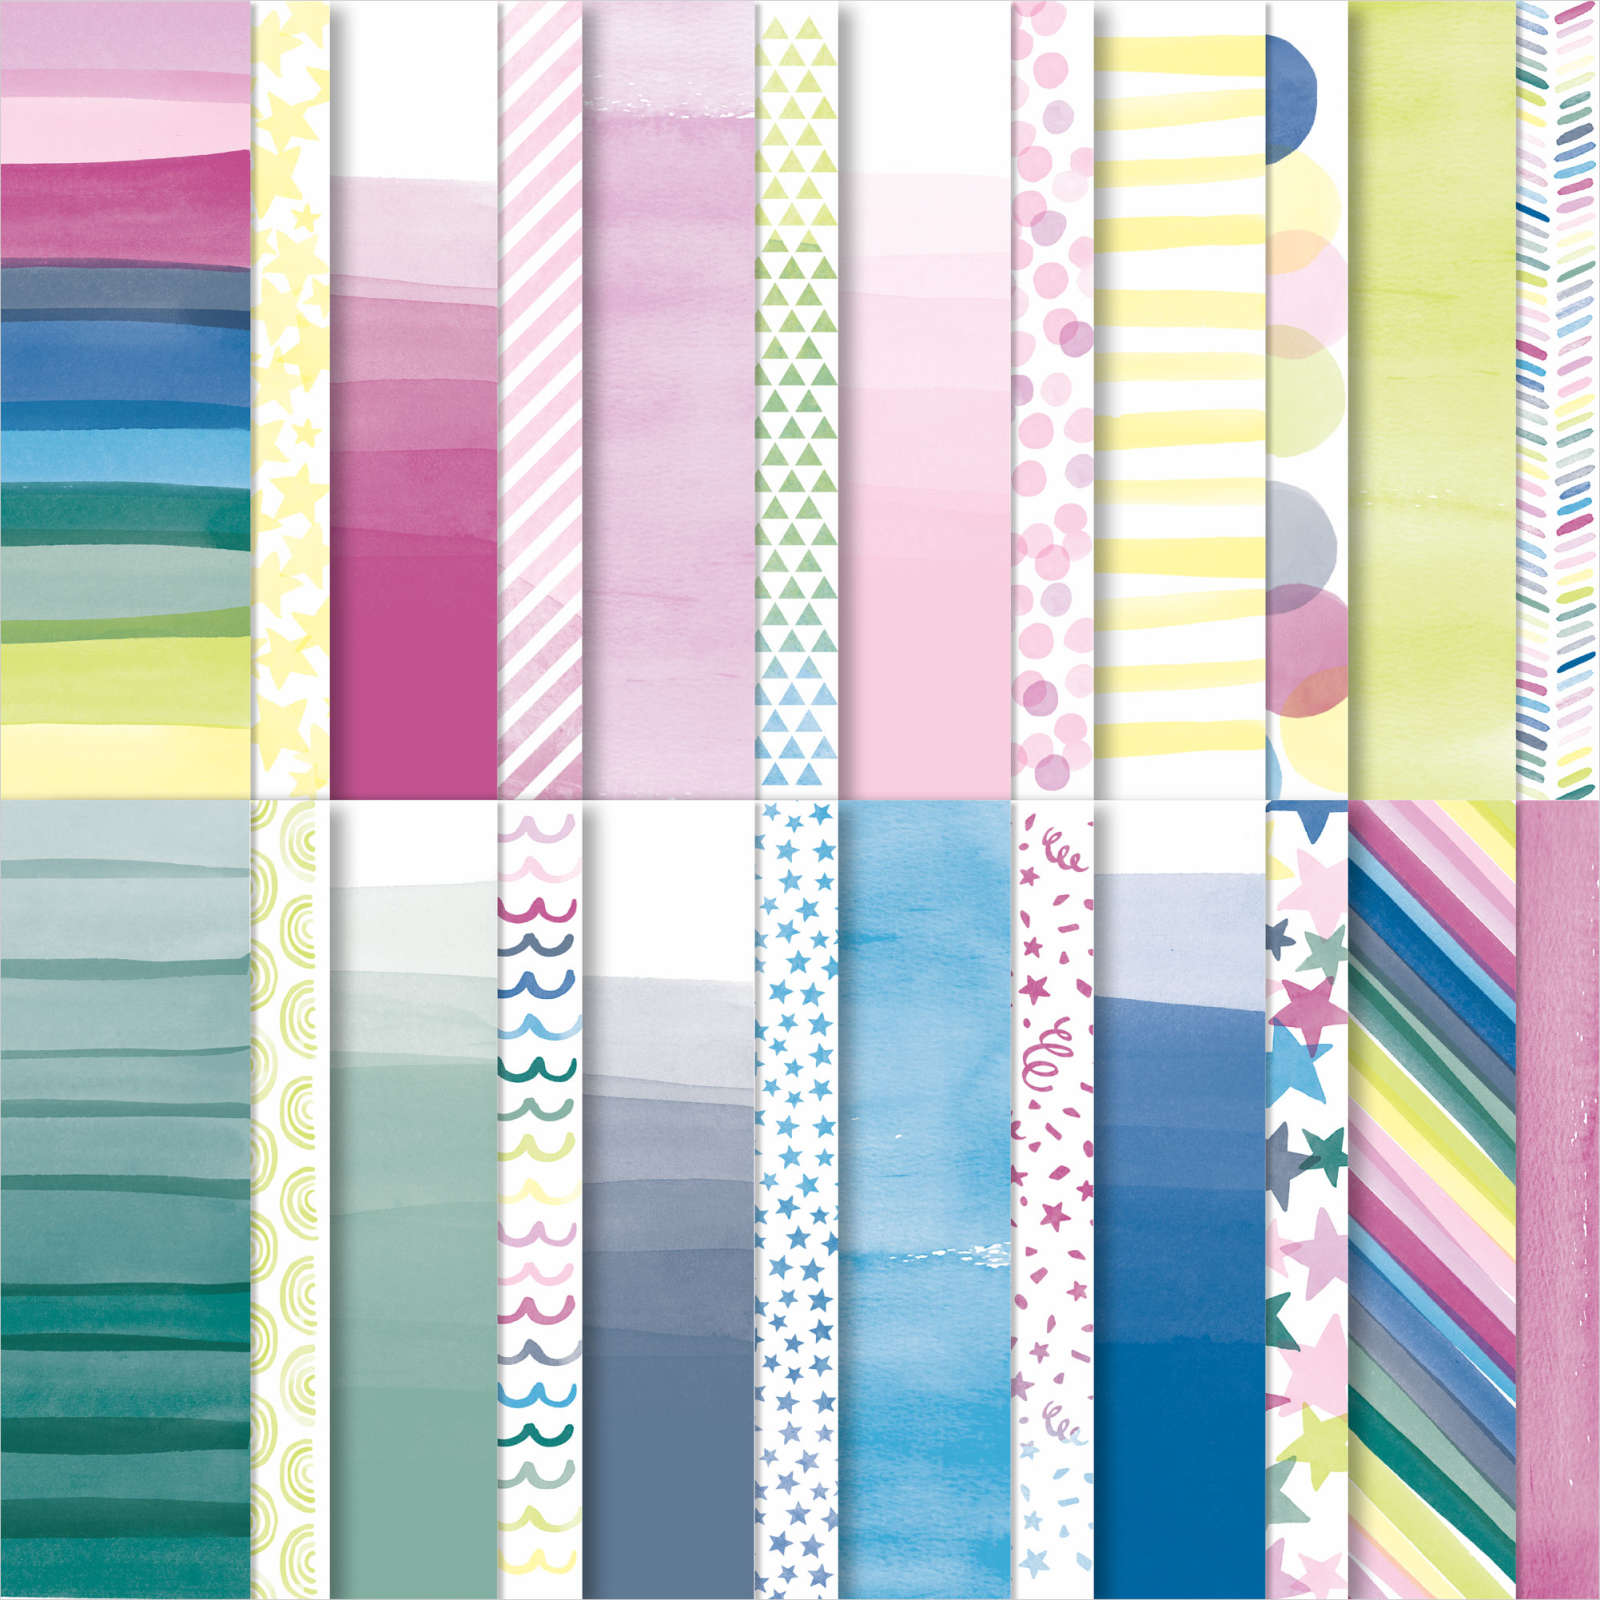
Today’s page shows off a few photos from Ron’s recent birthday. I decided to use some of the products I had been playing with on my Facebook Live this week. I cut down a piece of Basic White 12″ x 12″ card and attached it to a piece of Misty Moonlight 12″ x 12″ card. I cut two pieces of Bright & Beautiful 6″ x 6″ Designer Series Paper and attached them down the right hand of the Basic White card.

I cut another piece of Bright & Beautiful Designer Series Paper in half and attached it across the page. I stamped one large and two medium balloons from the Beautiful Balloons stamp set onto Basic White card using Misty Moonlight ink. I cut out the balloons using the co-ordinating Beautiful Balloons Dies.

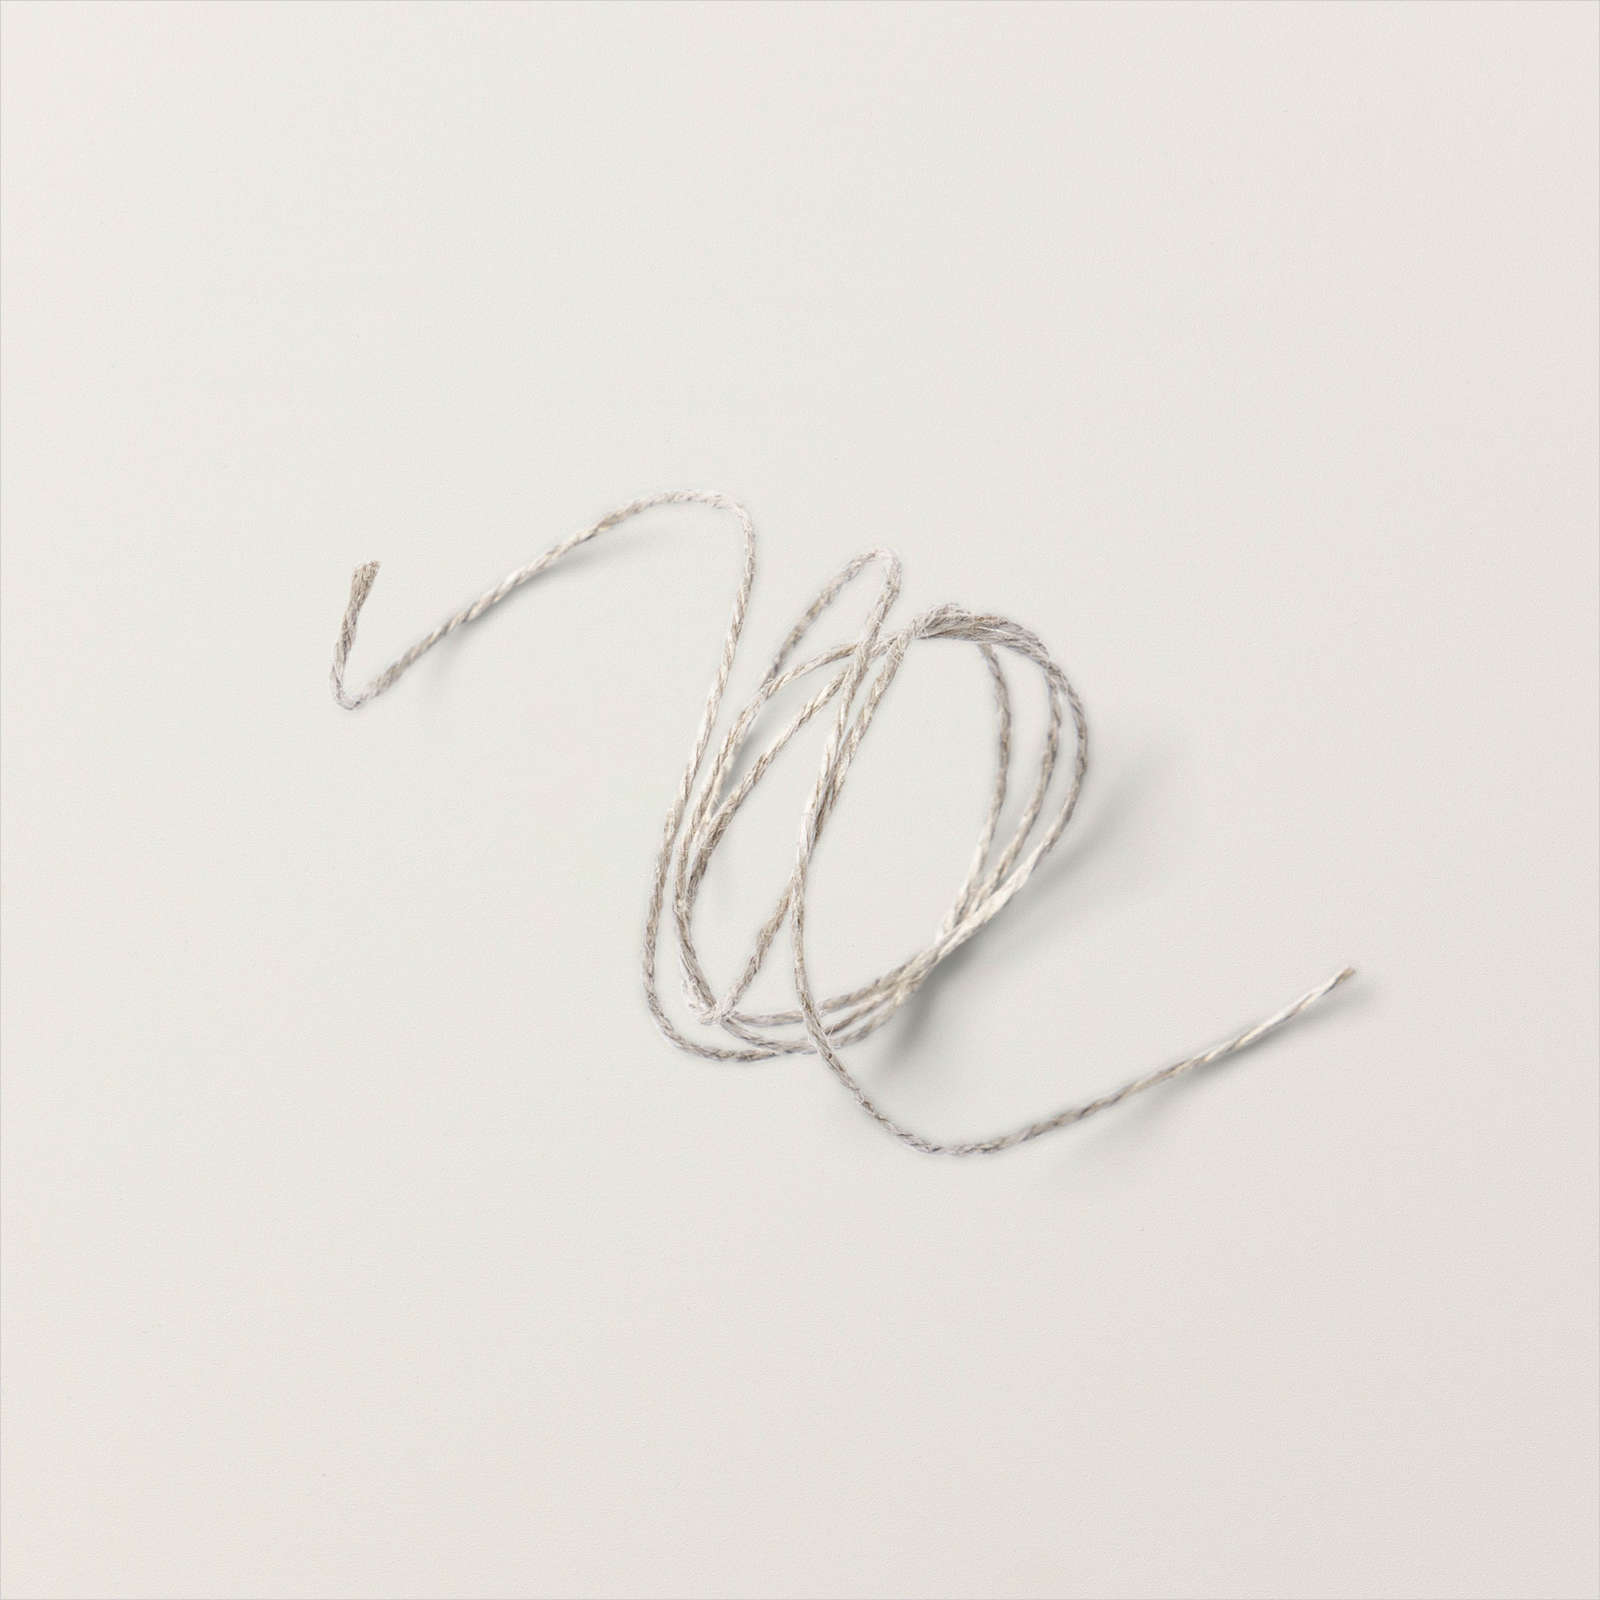
I attached the balloons to the top left hand corner with a length of Linen Thread to look like balloon strings. I attached my large photo using dimensionals, not something I usually do but I like the look. I added the other two photos flat to the page. I printed my journaling onto Basic White card and dipped the edges in Misty Moonlight ink before attaching it to the lower left hand corner of the page. I cut the title from Basic White card using the Alphabet A La Mode Dies. I love how this page turned out, don’t you. I love how every page you create brings a smile and happy memories.
Bye for you
Kris
Product Used:


Time For a Celebration

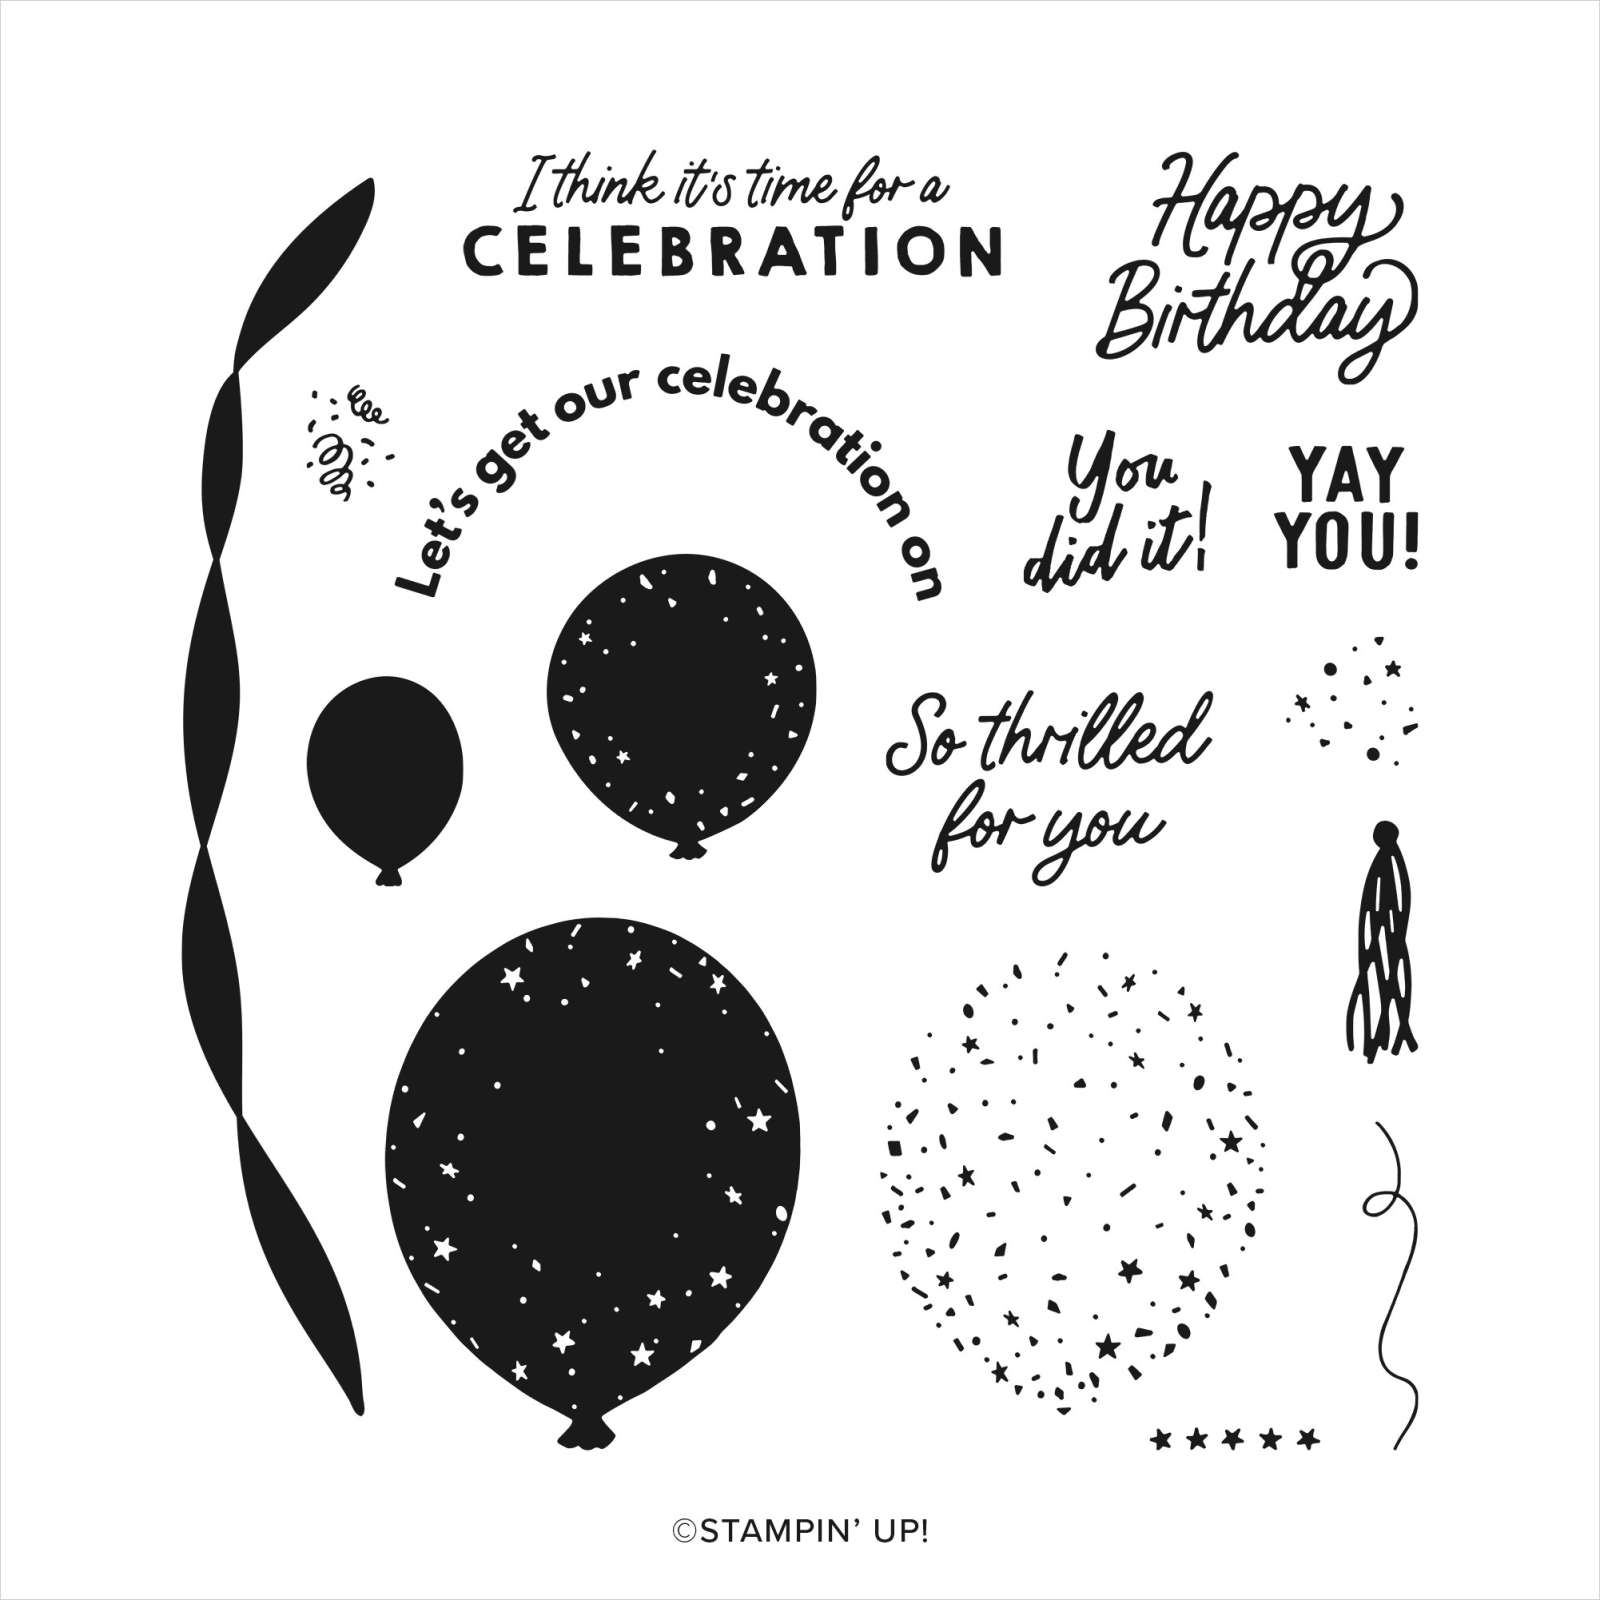
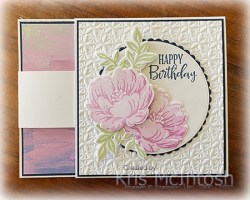
Today’s card uses the Beautiful Balloons Bundle which is new to the current Annual Catalogue. I shared a couple of cards on my Facebook Live yesterday and thought I would share one more today. I thought I would create a Portrait style Faux Centre Step Card. I cut the base and centre step panel from Thick Basic White card. attached a couple of pieces of Bright & Beautiful 6″ x 6″ Designer Series Paper. I stamped “happy birthday” from the Beautiful Balloons stamp set onto Basic White card using Pretty Peacock ink. I attached the stamped card to Pretty Peacock card before attaching it inside the card base. I stamped the large balloon image from the Beautiful Balloons stamp set onto Basic White card using Pretty Peacock ink.
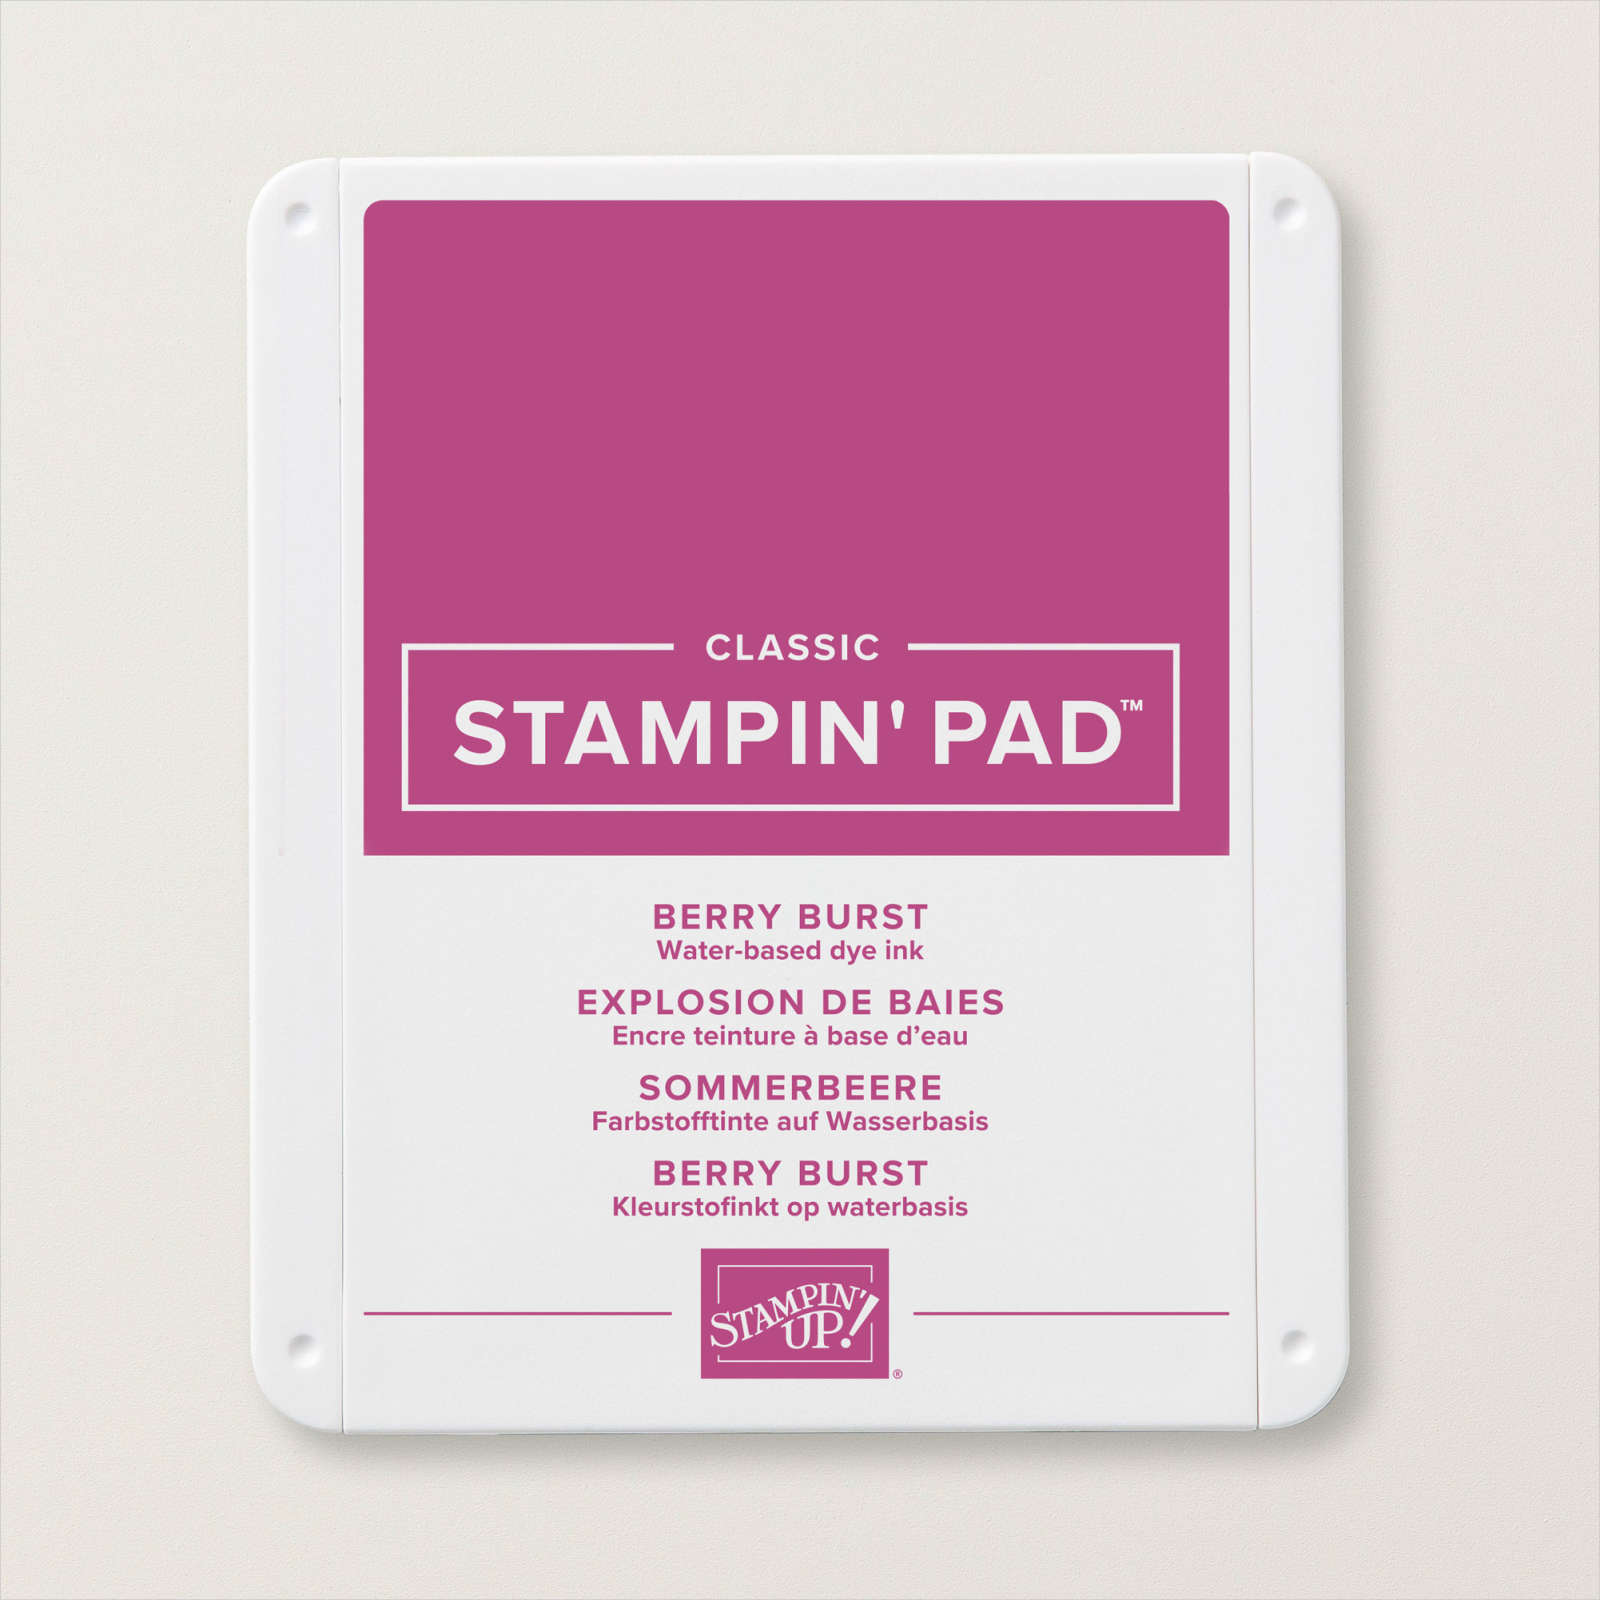
I stamped the medium and small balloons from the Beautiful Balloons stamp set onto Basic White card using Berry Burst ink. The three balloons are cut out using the co-ordinating Beautiful Balloons Dies. I attached lengths of linen thread to the back of the balloons before attaching them to the centre step panel using dimensionals under the two smaller balloons.
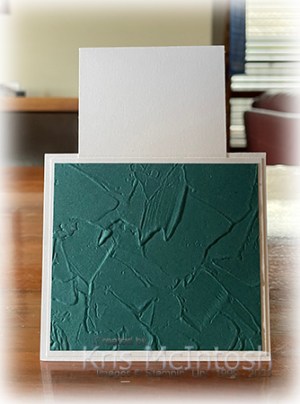
I stamped the greeting from the Beautiful Balloons stamp set onto Basic White card using Pretty Peacock ink. I cut two pieces of Pretty Peacock card using the largest scalloped rectangle from the Scalloped Contours Dies. I attached a strip of Pretty Peacock behind the top and the bottom of the greeting panel. I attached the greeting across the bottom of the centre step panel using dimensions, which also hold the ends of the Linen Thread in place. I embossed a piece of Pretty Peacock card using the Painted Texture 3D embossing folder and attached it to Basic White card. After I attached the centre step to the card base, I attached the embossed panel to the back of the card to cover when the centre step is attached. I think this is going to be a really fun stamp set to create with, don’t you?
Bye for now,
Kris
Product Used:


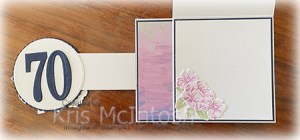
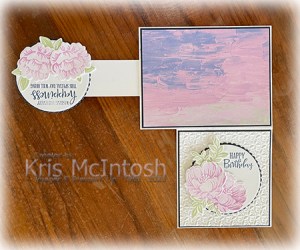
Special Birthday
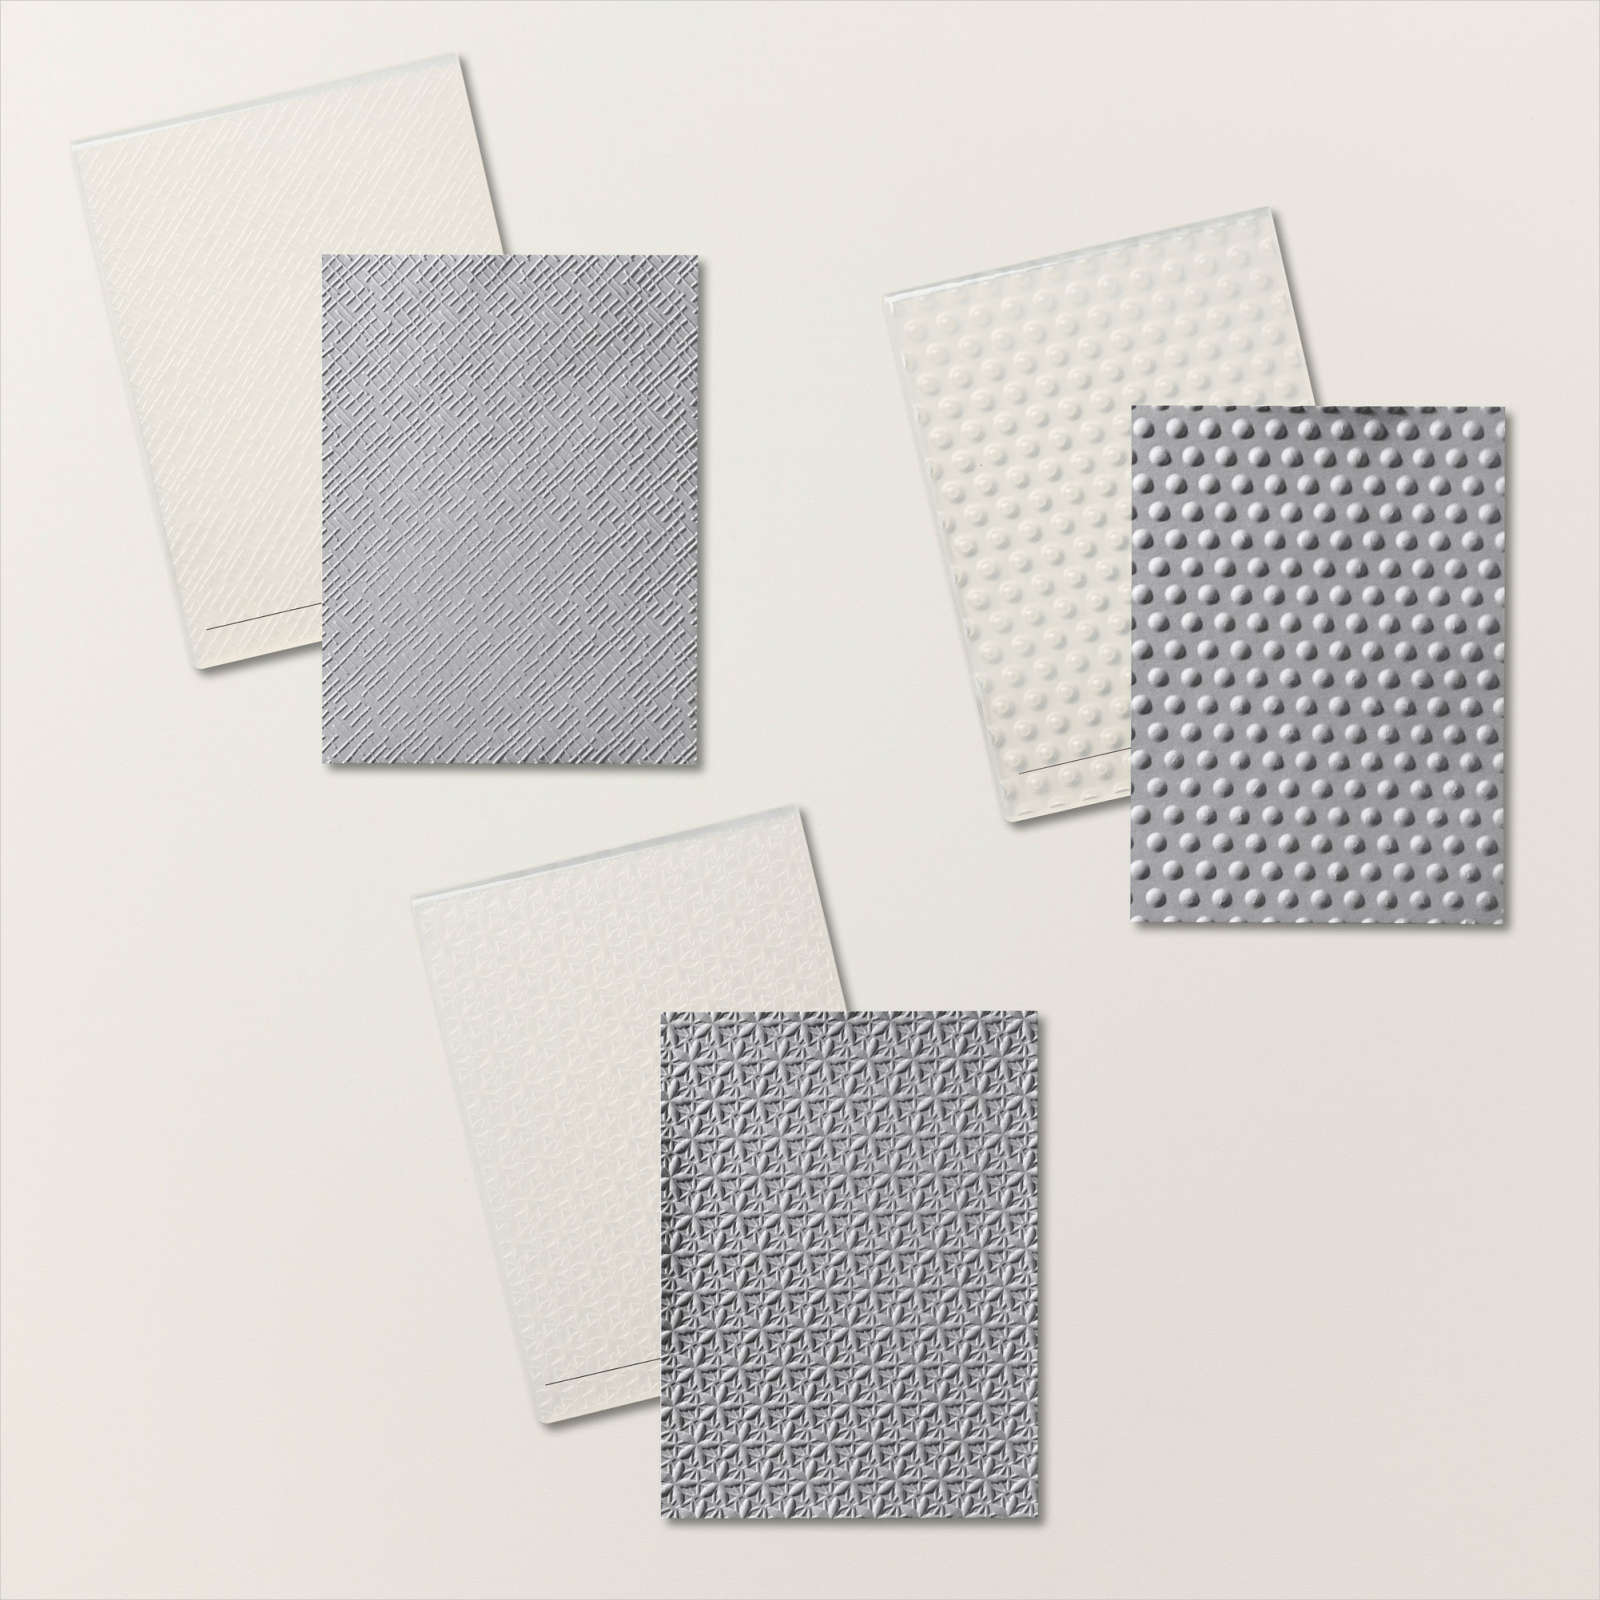
My husband’s sister recently celebrated her 70th birthday and today I am sharing the card I made for her. I followed Lyn Dunn’s intructions that she shared here. I began by cutting all my card bases from Thick Basic White card. I added layers of Night of Navy card to each panel and attached them to the card bases. I added a layer of retired Fancy Flora 6″ x 6″ Designer Series Paper to the left hand panel on the card base before I attached the folded card base to the right hand side. For the decoration on the front of the card, I added a layer of Basic White card which I embossed using one of the Basics 3D Embossing Folders.

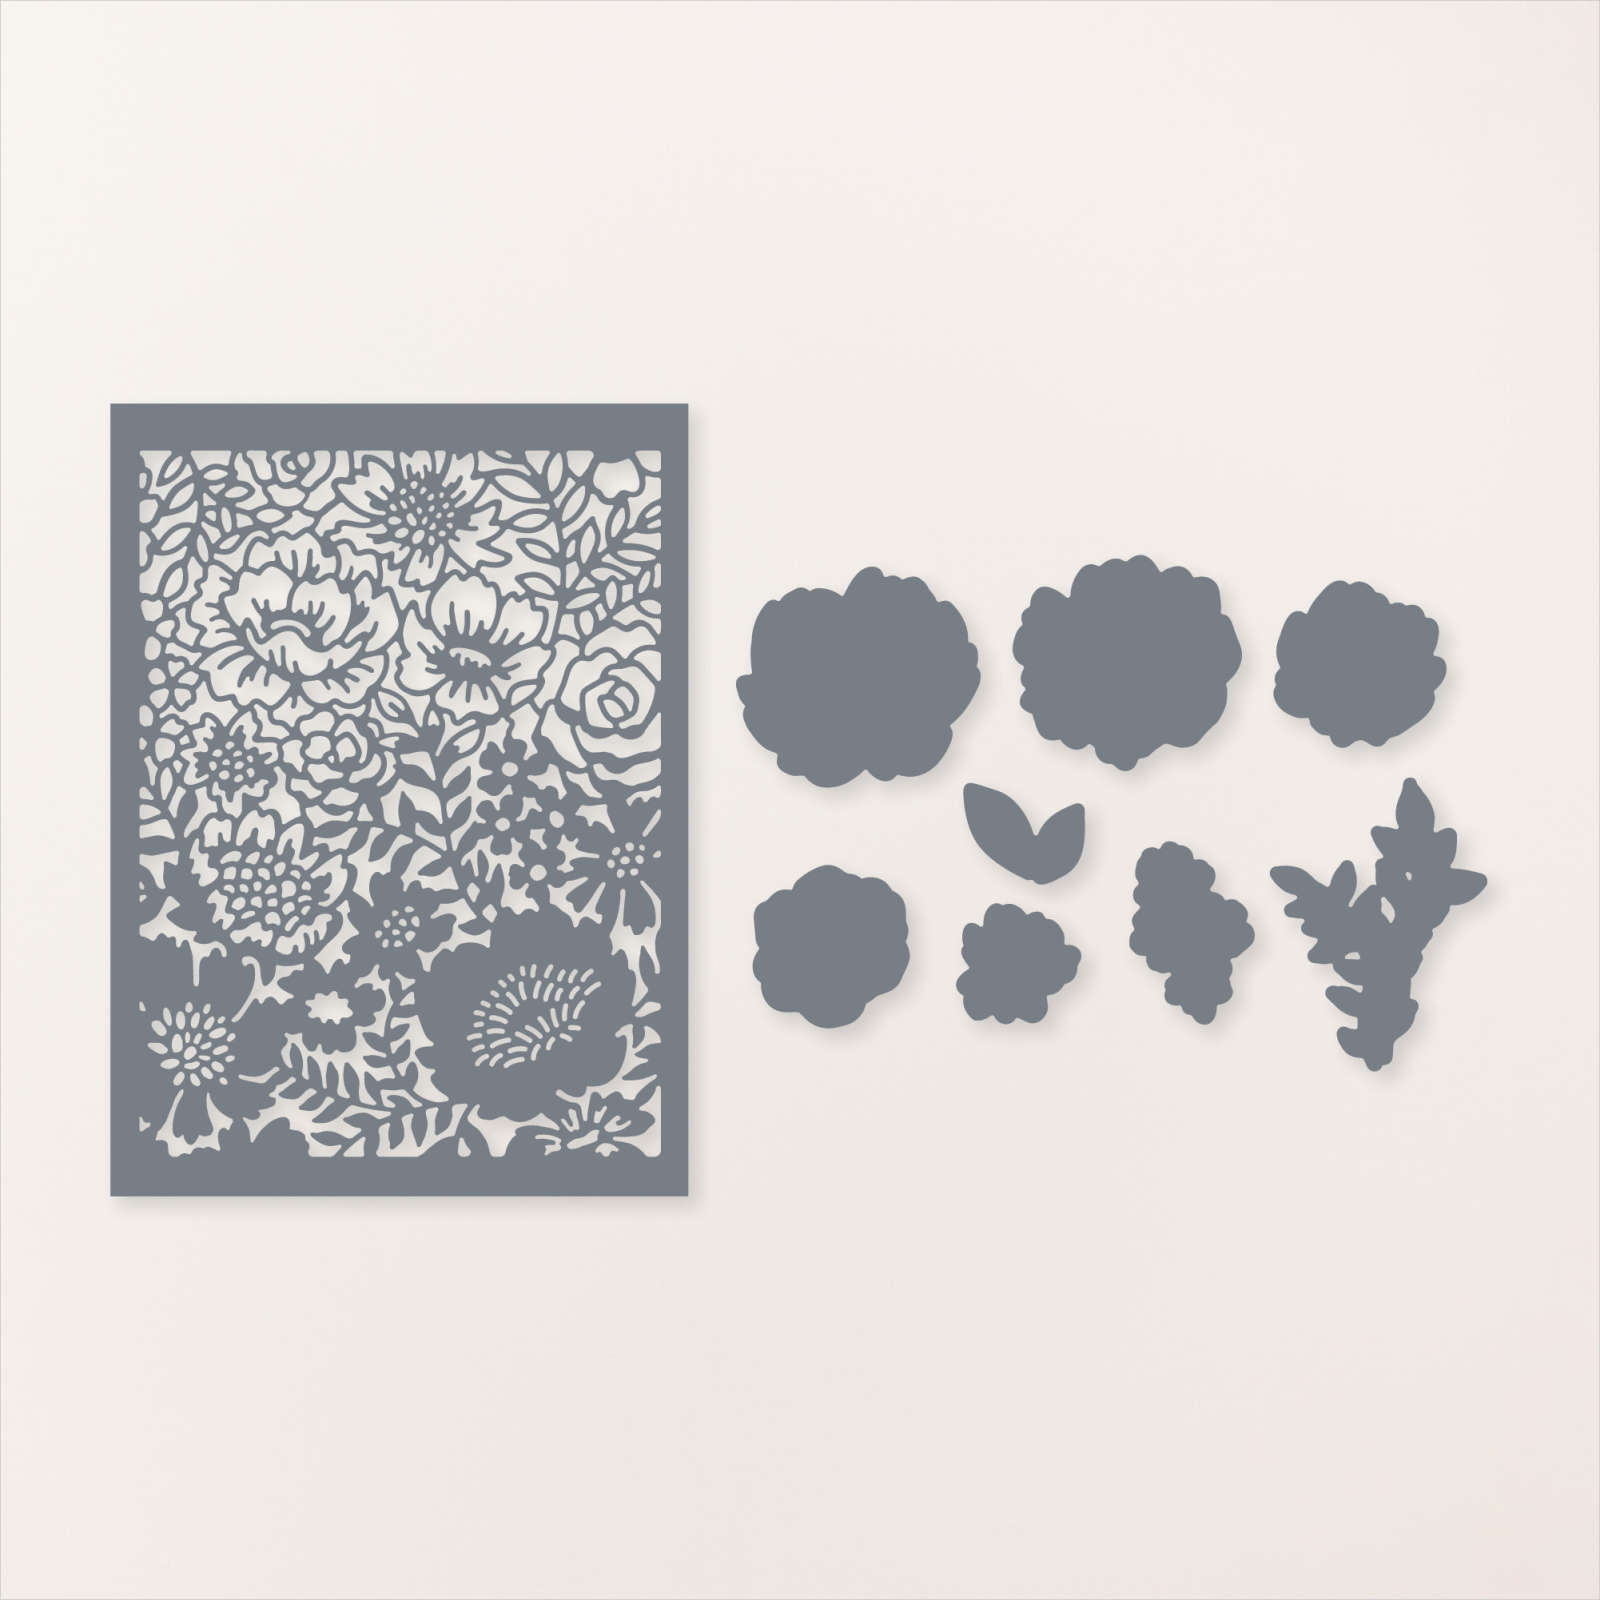
I cut Basic White card using the largest circle from the now retired Layering Circle Dies. I stamped the greeting from the retired Peaceful Moments stamp set onto the Basic White circle using Night of Navy ink. I attached the stamped circle to a scalloped Night of Navy circle cut using the retired Layering Circle Dies. I stamped the large solid flower from the Two-Tone Flora stamp set onto Basic White card using Fresh Freesia ink which I stamped onto scrap paper first. I stamped the detailed flower over the top using Fresh Freesia ink.

I stamped the large leafy image from the Two-Tone Flora stamp set twice onto Basic White card using Soft Sea Foam ink. The flowers and leaves were cut out using the co-ordinating Two-Tone Flora Dies. I attached one set of leaves and one flower flat onto the stamped Basic White circle and the other flower and leaves using dimensionals. To decorate the front of the flip out panel I cut Basic White card using the largest circle from the retired Layering Circle Dies and stamped another greeting from the retired Peaceful Moments stamp set using Night of Navy ink.
I attached the stamped circle to a scalloped Night of Navy circle cut using the retired Layering Circle Dies. The panel is attached over the end of the flip out panel. I stamped another of the solid flowers from the Two-Tone Flora stamp set twice onto Basic White card using Fresh Freesia ink which I had stamped onto scrap paper first. I stamped the detailed floral image over the top using Fresh Freesia ink. I stamped the double leaf image from the Two-Tone Flora stamp set onto Basic White card three times using Soft Sea Foam ink. The images were all cut out using the co-ordinating Two-Tone Flora Dies.
I layered the flowers and leaves onto the stamped Basic White circle below the greeting. To decorate the back of the flip out panel, I cut Basic White card using the largest circle from the retired Layering Circle Dies. I cut the numbers from Night of Navy card using the retired Large Numbers Dies. I attached the numbers to the circle and then to the back of the end of the flip out panel. The last panel for the inside of the card had a Basic White panel. I stamped two different solid flowers from the Two-Tone Flora stamp set onto Basic White card using Fresh Freesia ink which I stamped onto scrap paper first. I stamped the detailed images over the top using Fresh Freesia ink. I stamped two of the two leaf images from the Two-Tone Flora stamp set onto Basic White card using Soft Sea Foam ink. The flowers and leaves were all cut out using the co-ordinating Two-Tone Flora Dies before being layered onto the lower left hand corner of the Basic White card. To finish off the card, I attached a panel of the Fancy Flora card onto Night of Navy card. This panel is attached to the very back of the card.
I really love playing with this fun fold. Thanks Lyn for the instructions.
Bye for now,
Kris
Product Used:


Hobart D39
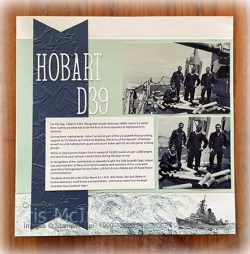
Today I have a page showing off a photo of my Dad on the Hobart on his way to Vietnam. My sister found this article on the Royal Australian Navy Facebook Page and it reminded me that I had this photo in my stash. My Dad is the fellow standing on the left. I printed the photo once full size and once a bit closer so you could see the faces of my Dad and the rest of the crew from his Gun Mount. I stamped the wave image from the Waves of Inspiration stamp set across the bottom of a Basic White 12″ x 12″ page firstly using Pool Party ink and then using Night of Navy ink which I stamped onto scrap paper first.

I attached a piece of Pool Party card across the top of the stamped images. I cut a “V” in both ends of a piece of Night of Navy card and embossed it using the Painted Texture 3D Embossing Folder. The embossed banner is attached down the left hand side of the page. I took inspiration for my journaling from the article on the Facebook page and printed it onto Basic White card. I attached the photos and the journaling directly onto the page. I cut the title from Basic White card using the Alphabet A La Mode Dies and attached it to the upper left hand side of the page. I found a photo of the Hobart online and printed it onto Basic White card. I trimmed around the ship and attached it to the right hand corner of the page. When I look at this photo I have mixed emotions. I am glad that he came home safe and sound but sad that he had to go to war in the first place.
Bye for now
Kris
Product Used:


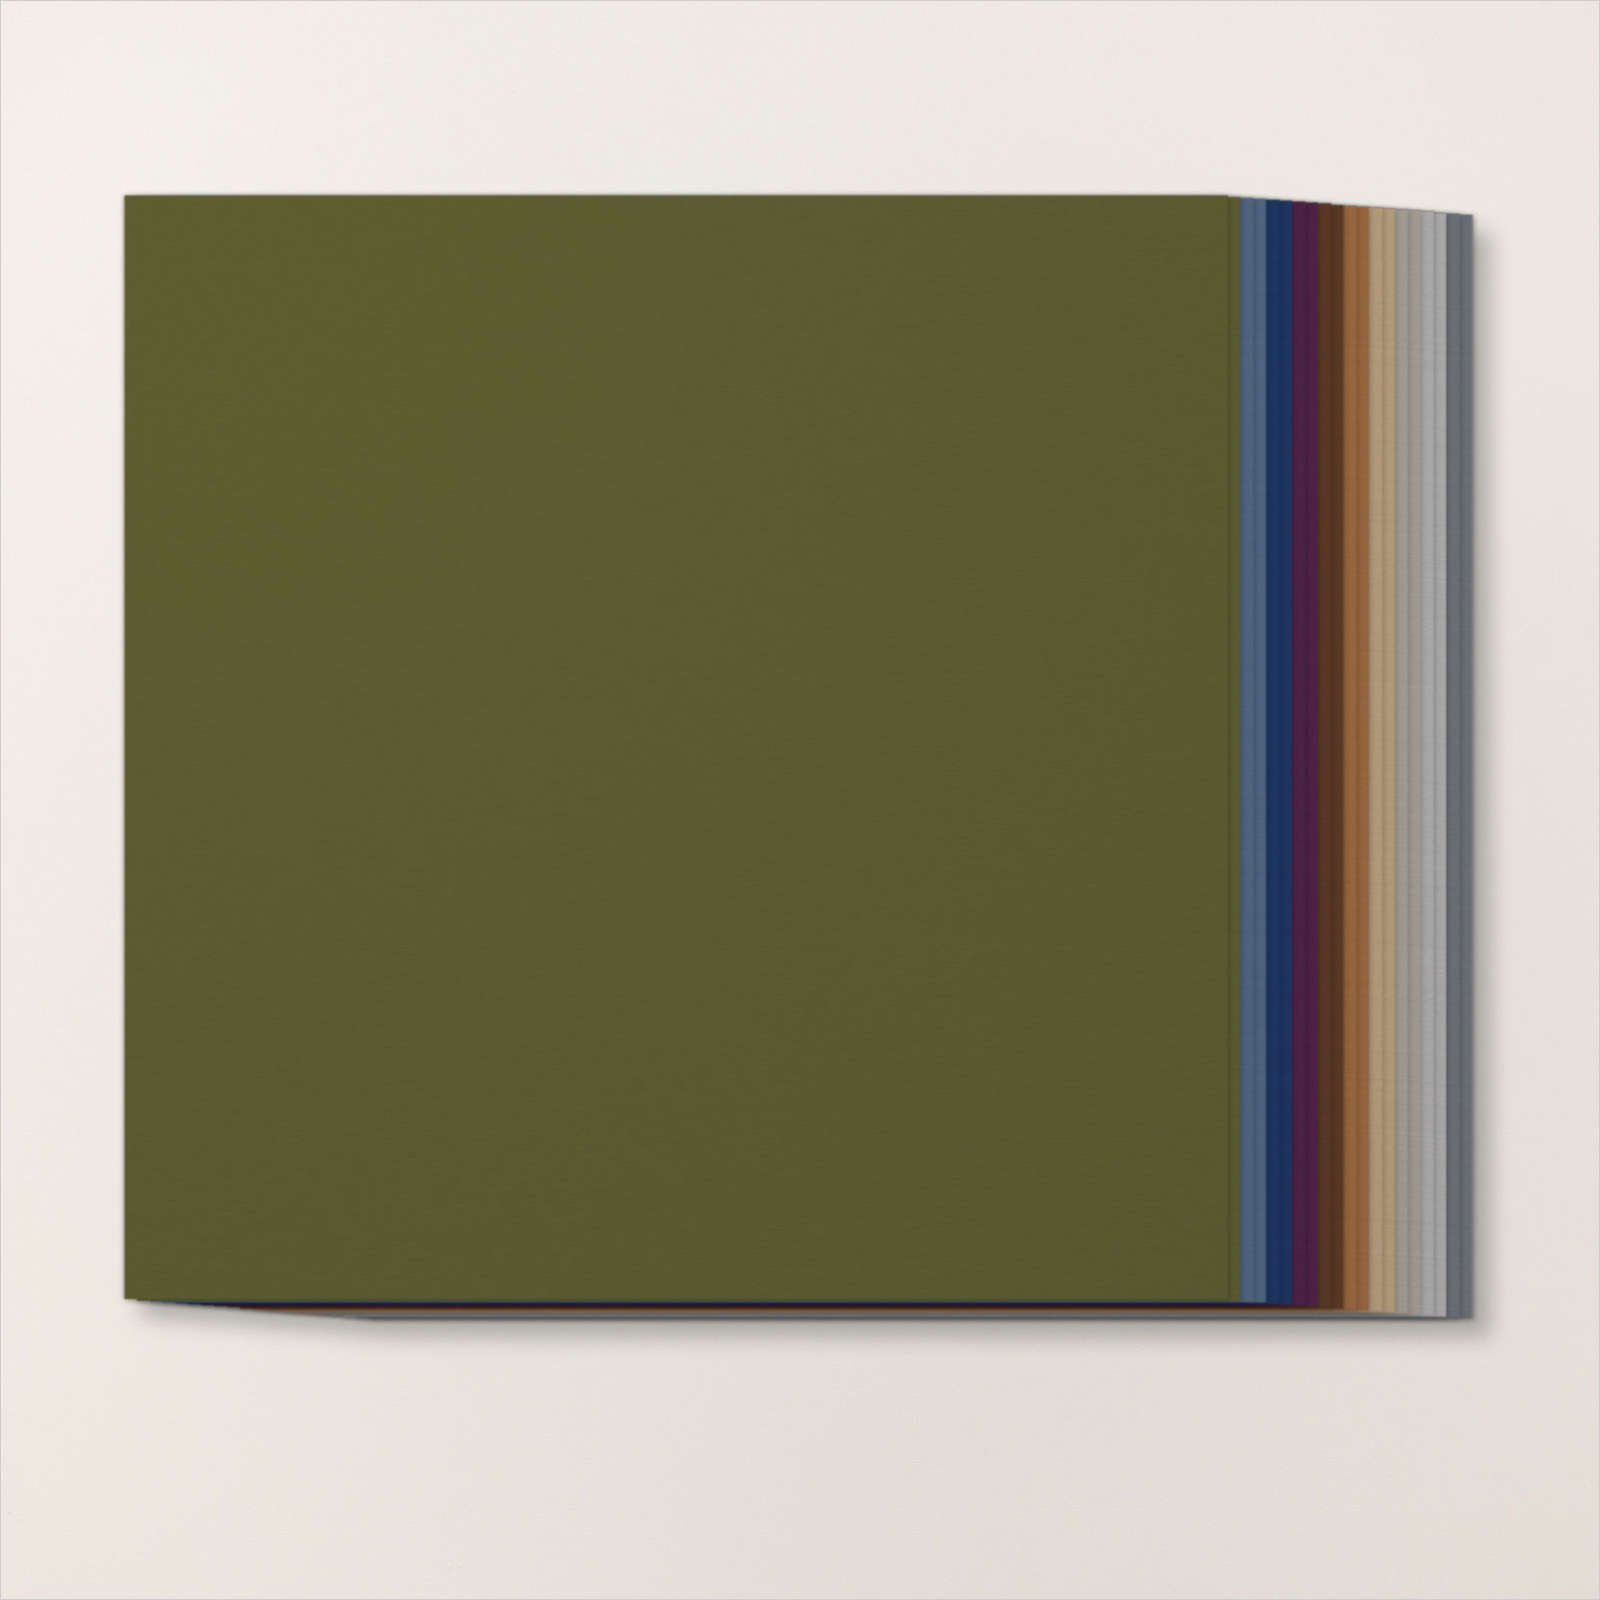
Celebrate the new In-Colours

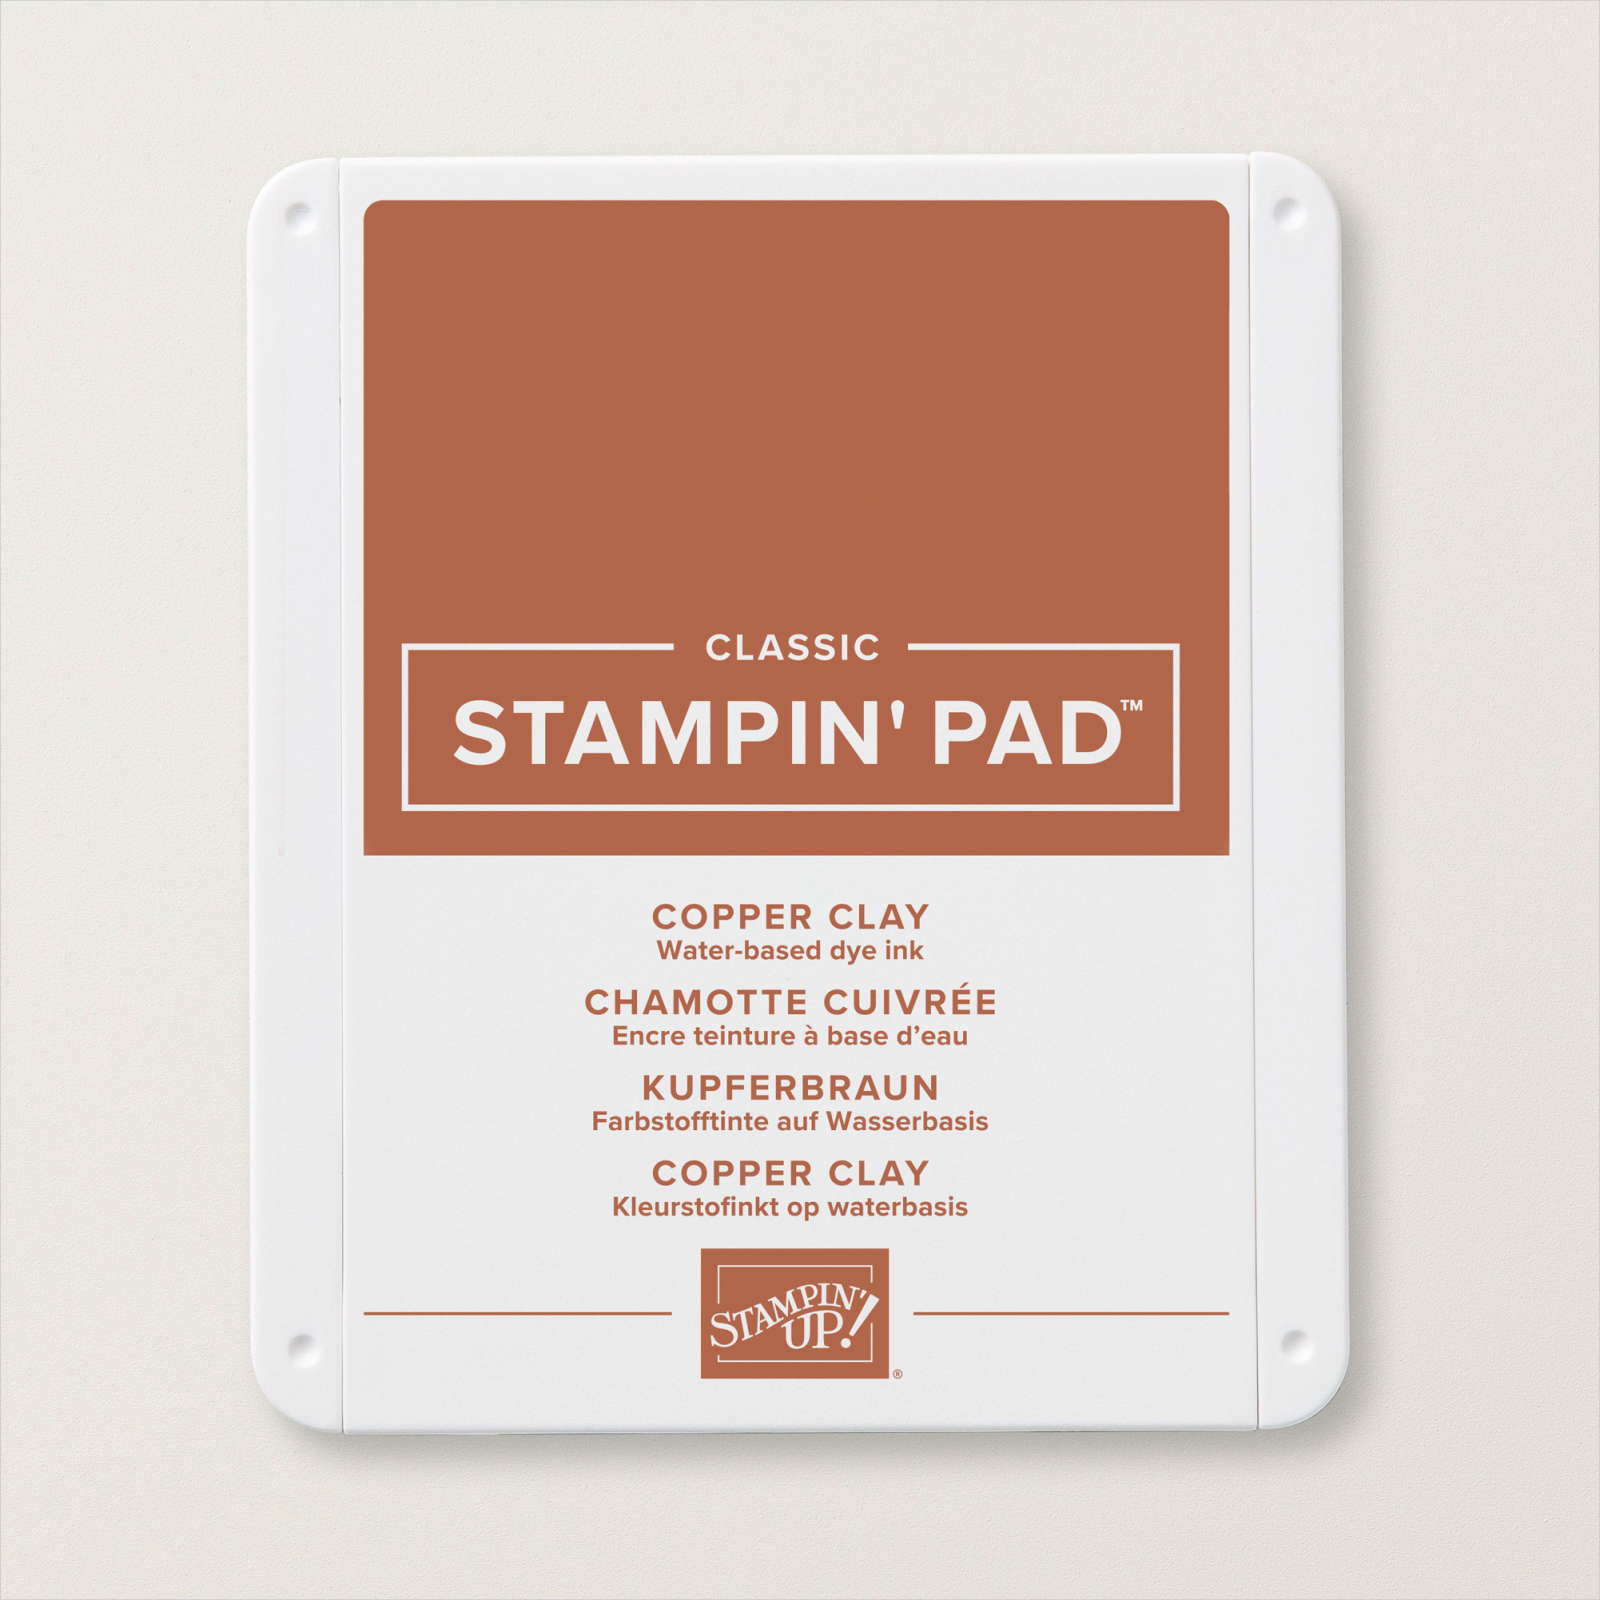
Today I have some cards to share that I created to show off all the 2023-2025 In-Colours. I used the Circle Sayings stamp set which I used to create some cards yesterday on my Facebook Live. For this first card I cut a piece of the Copper Clay card and embossed the panel using the Painted Texture 3D Embossing Folder. I attached a piece of the co-ordinating 2023-2025 6″ x 6″ Designer Series Paper across the bottom of the embossed card.

The panel is attached to Basic White card before attaching a narrow strip of Copper Clay card across the top of the Designer Series paper using dimensionals. The Basic White card is attached to a scored and folded Copper Clay card.

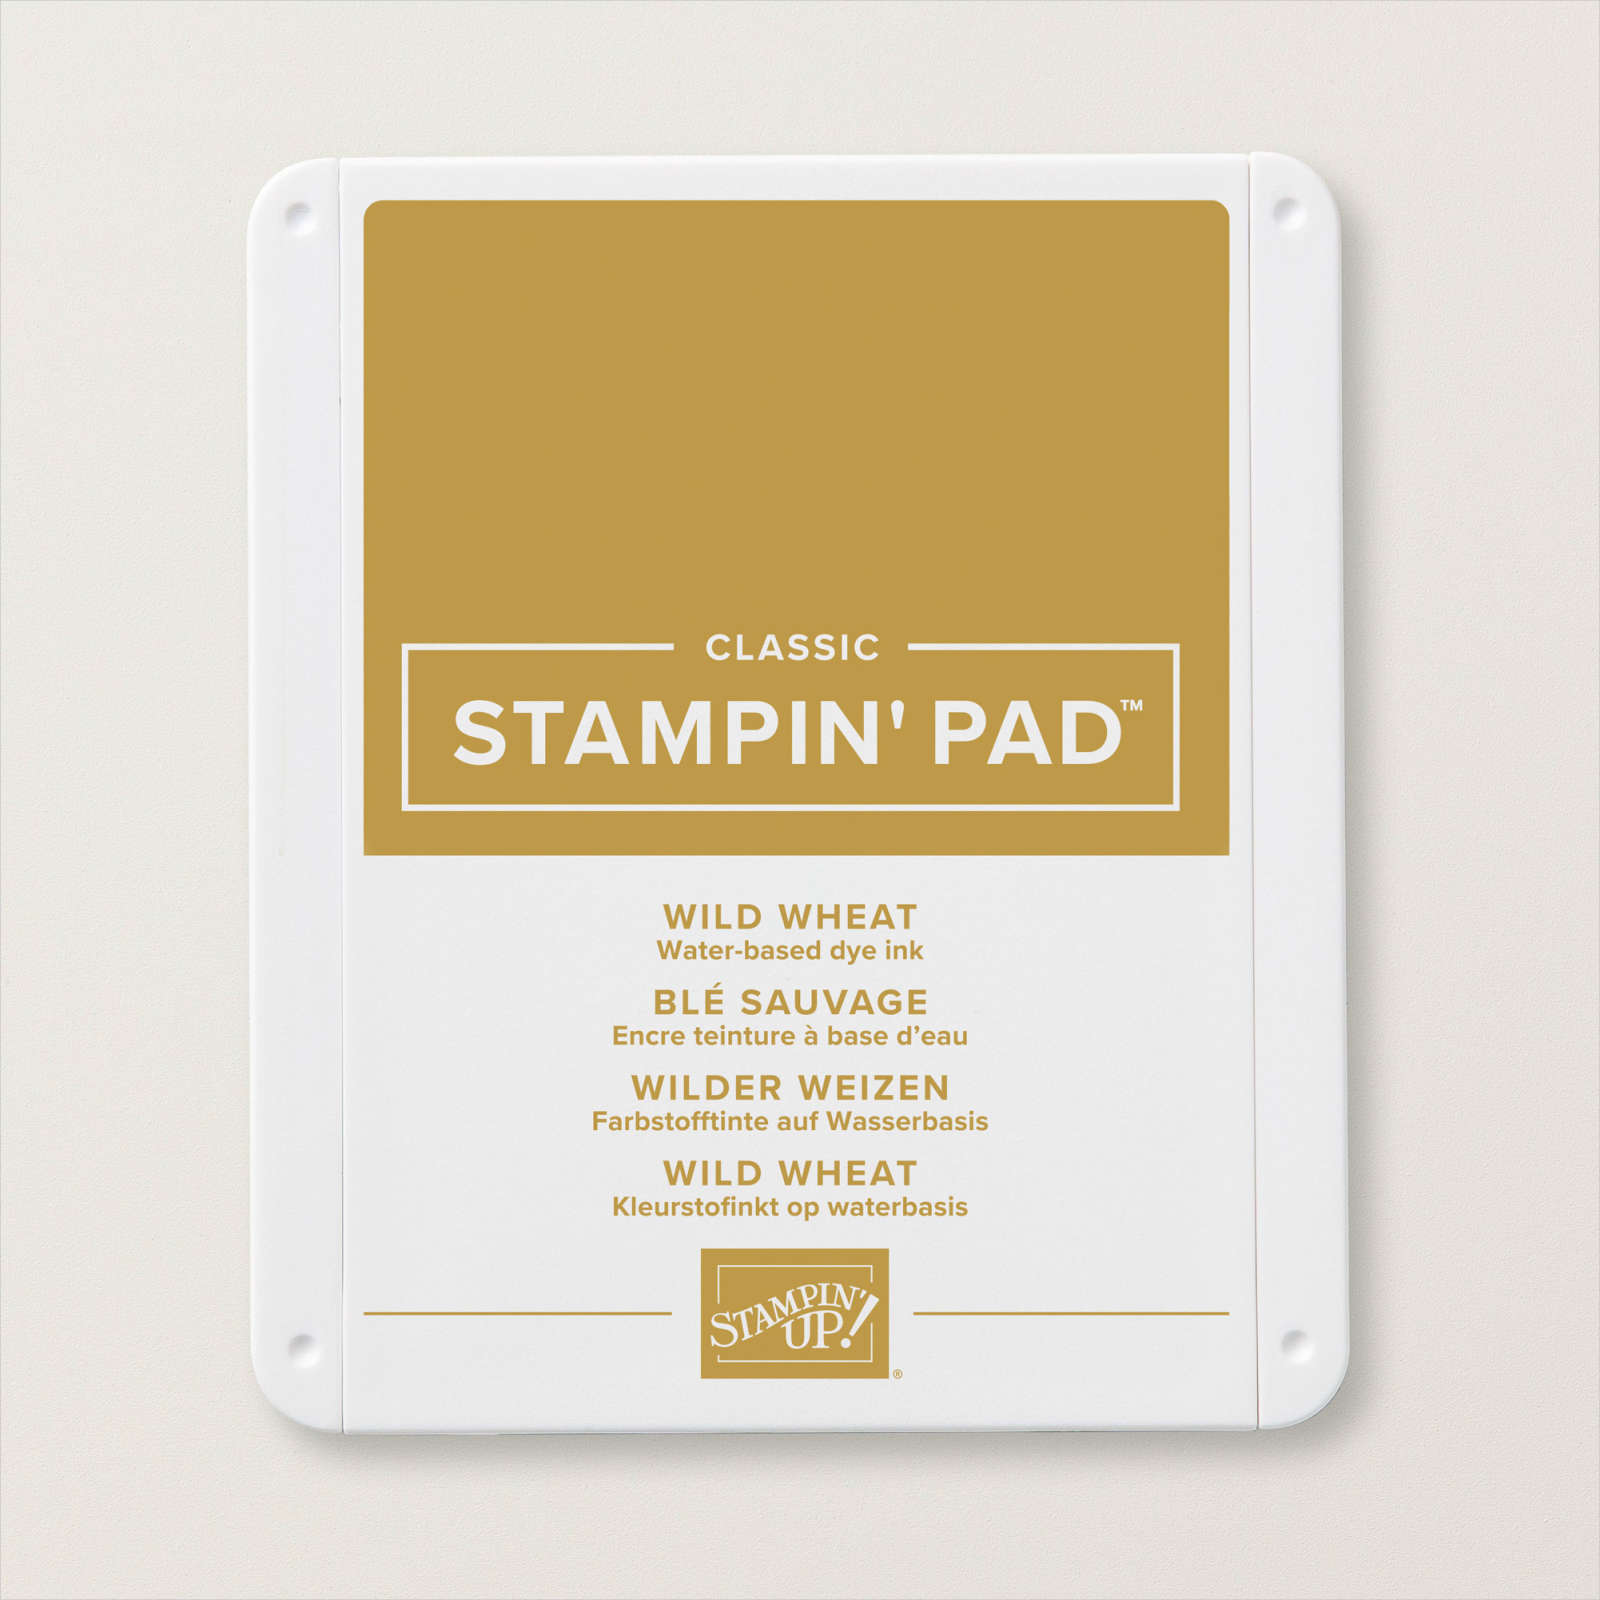
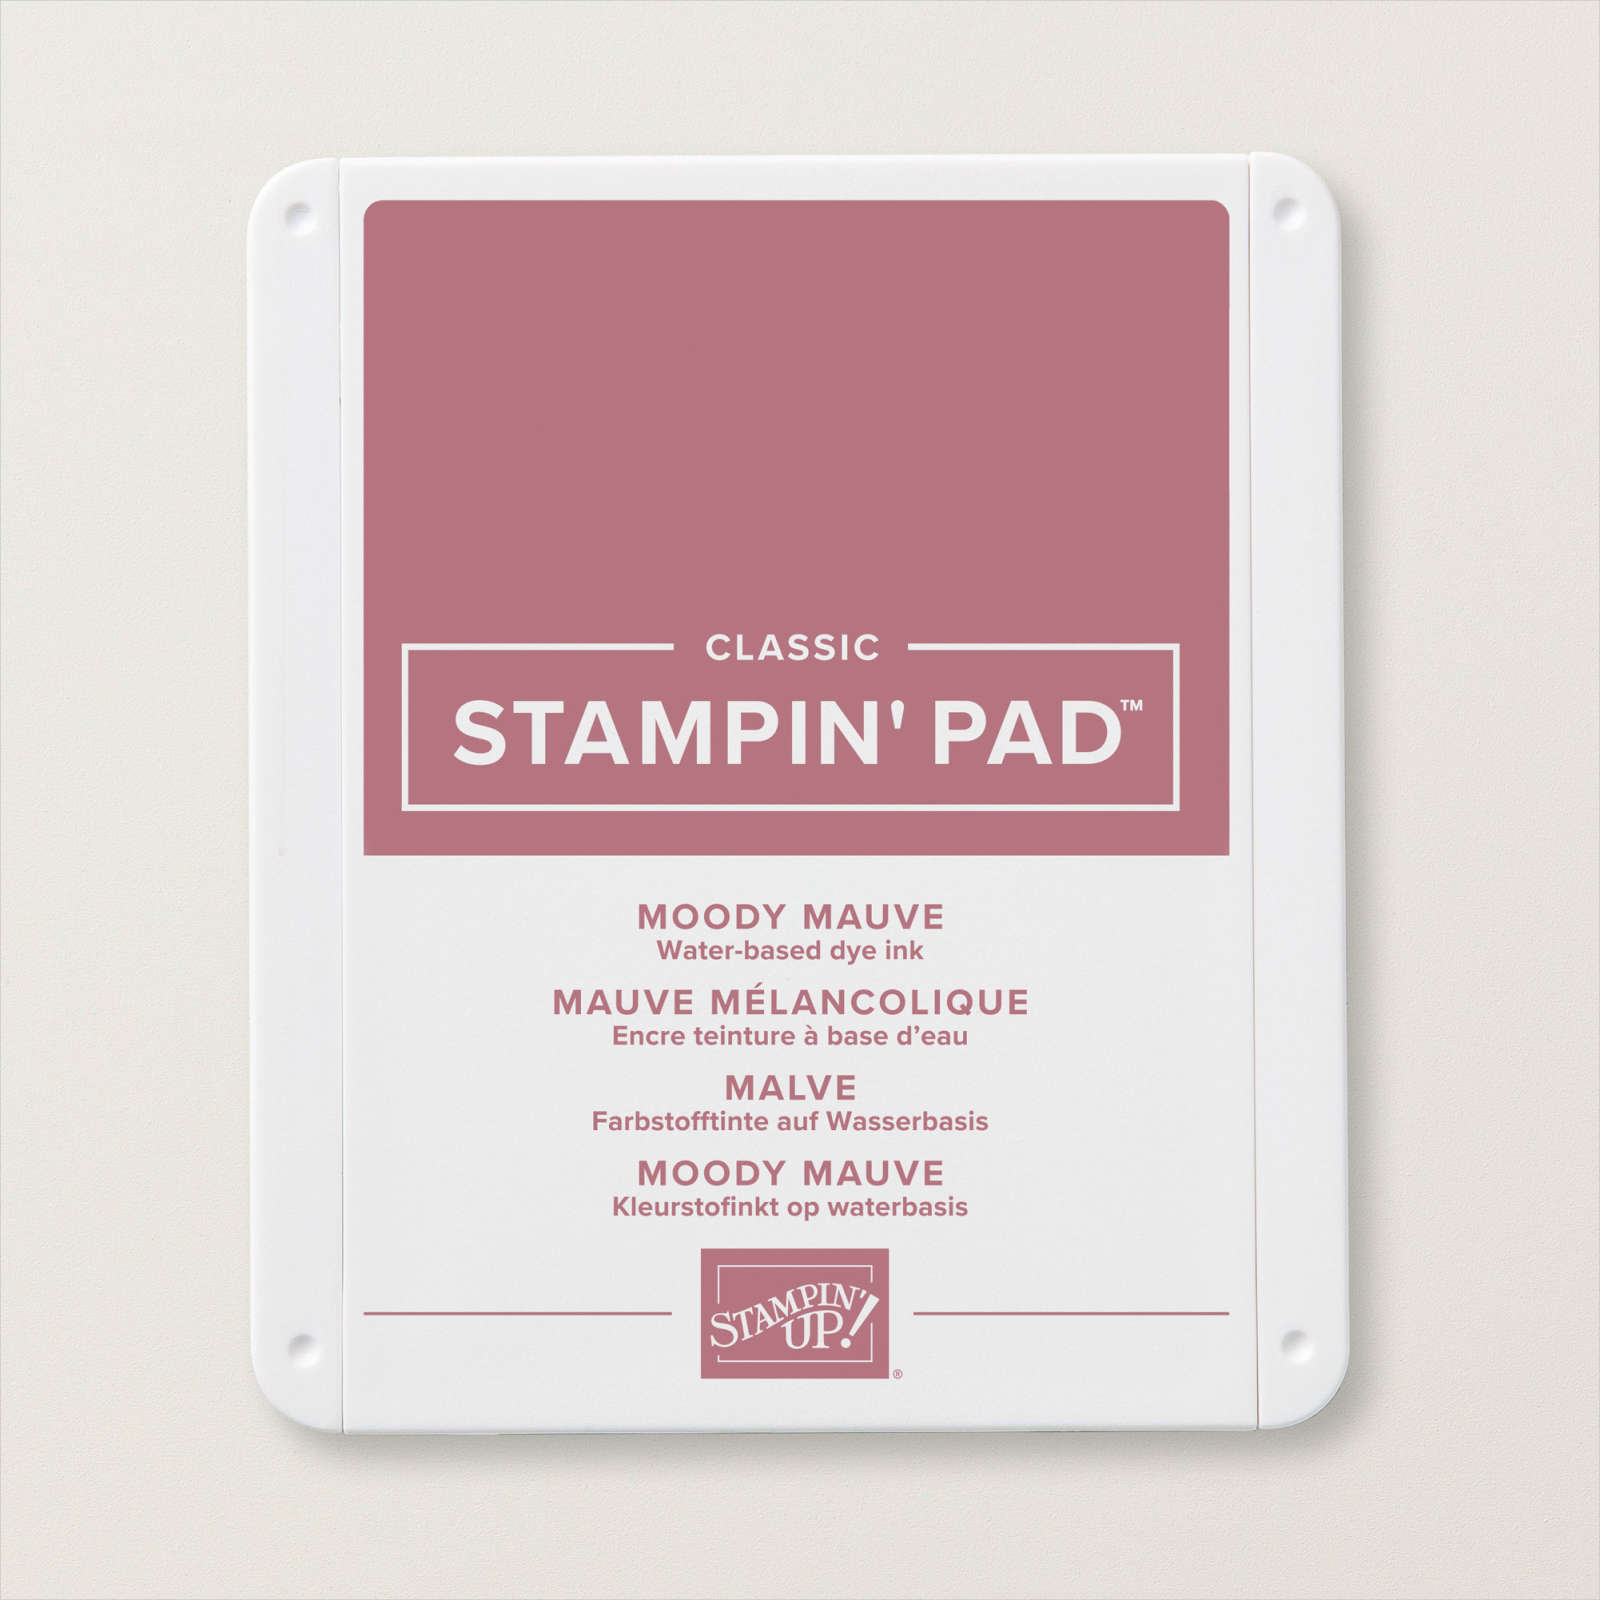
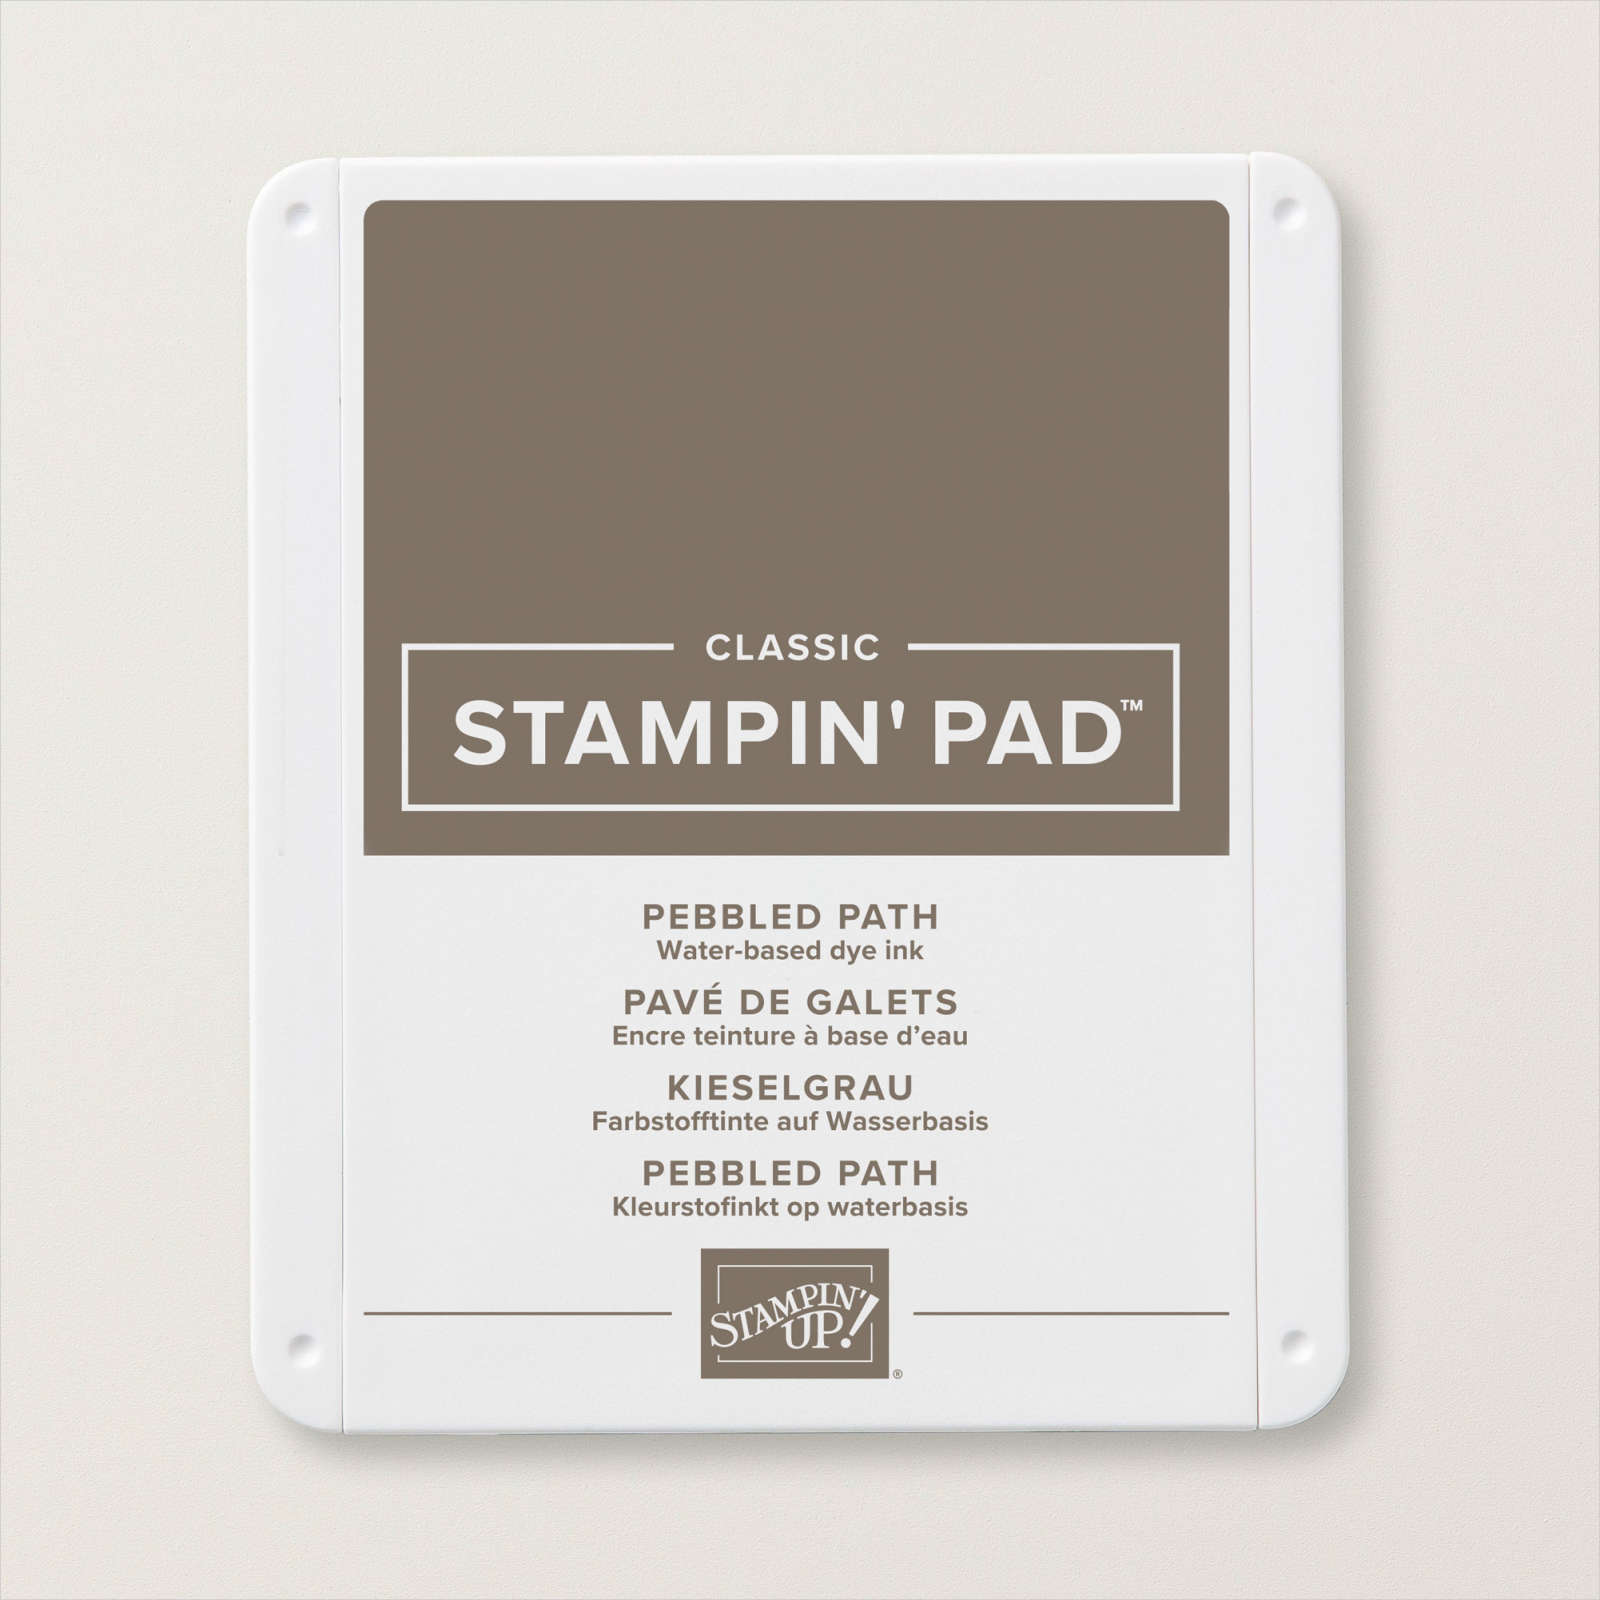
I stamped the greeting from the Circle Sayings stamp set onto Basic White card using Copper Clay ink. I stamped the cupcake image inside the greeting using Memento Tuxedo Black ink. The cupcake image is coloured using both the light and dark Copper Clay Stampin’ Blends before punching out using the 2-3/8″ Circle Punch. The image panel is attached to the card front using dimensionals where necessary.To decorate the inside of the card, I stamped “happy birthday” from the Circle Sayings stamp set onto Basic White card using Copper Clay ink. I attached a narrow strip of In-Colour Designer Series Paper across the bottom of the stamped Basic White card. I love how this card shows off each of the new In-Colours, don’t you. So each card uses a different embossing folder and of course uses one of the other new in-colours. In this photo you can see Copper Clay, Wild Wheat, Boho Blue, Moody Mauve and Pebbled Path. Each card uses co-ordinating colours in ink, card and designer series paper.

My favourite is a toss up between Boho Blue and Pebbled Path. What about you? Which is your favourite new In-Colour?
Bye for now,
Kris
Product Used:
Here is the link to the Circle Sayings stamp set in my online store.


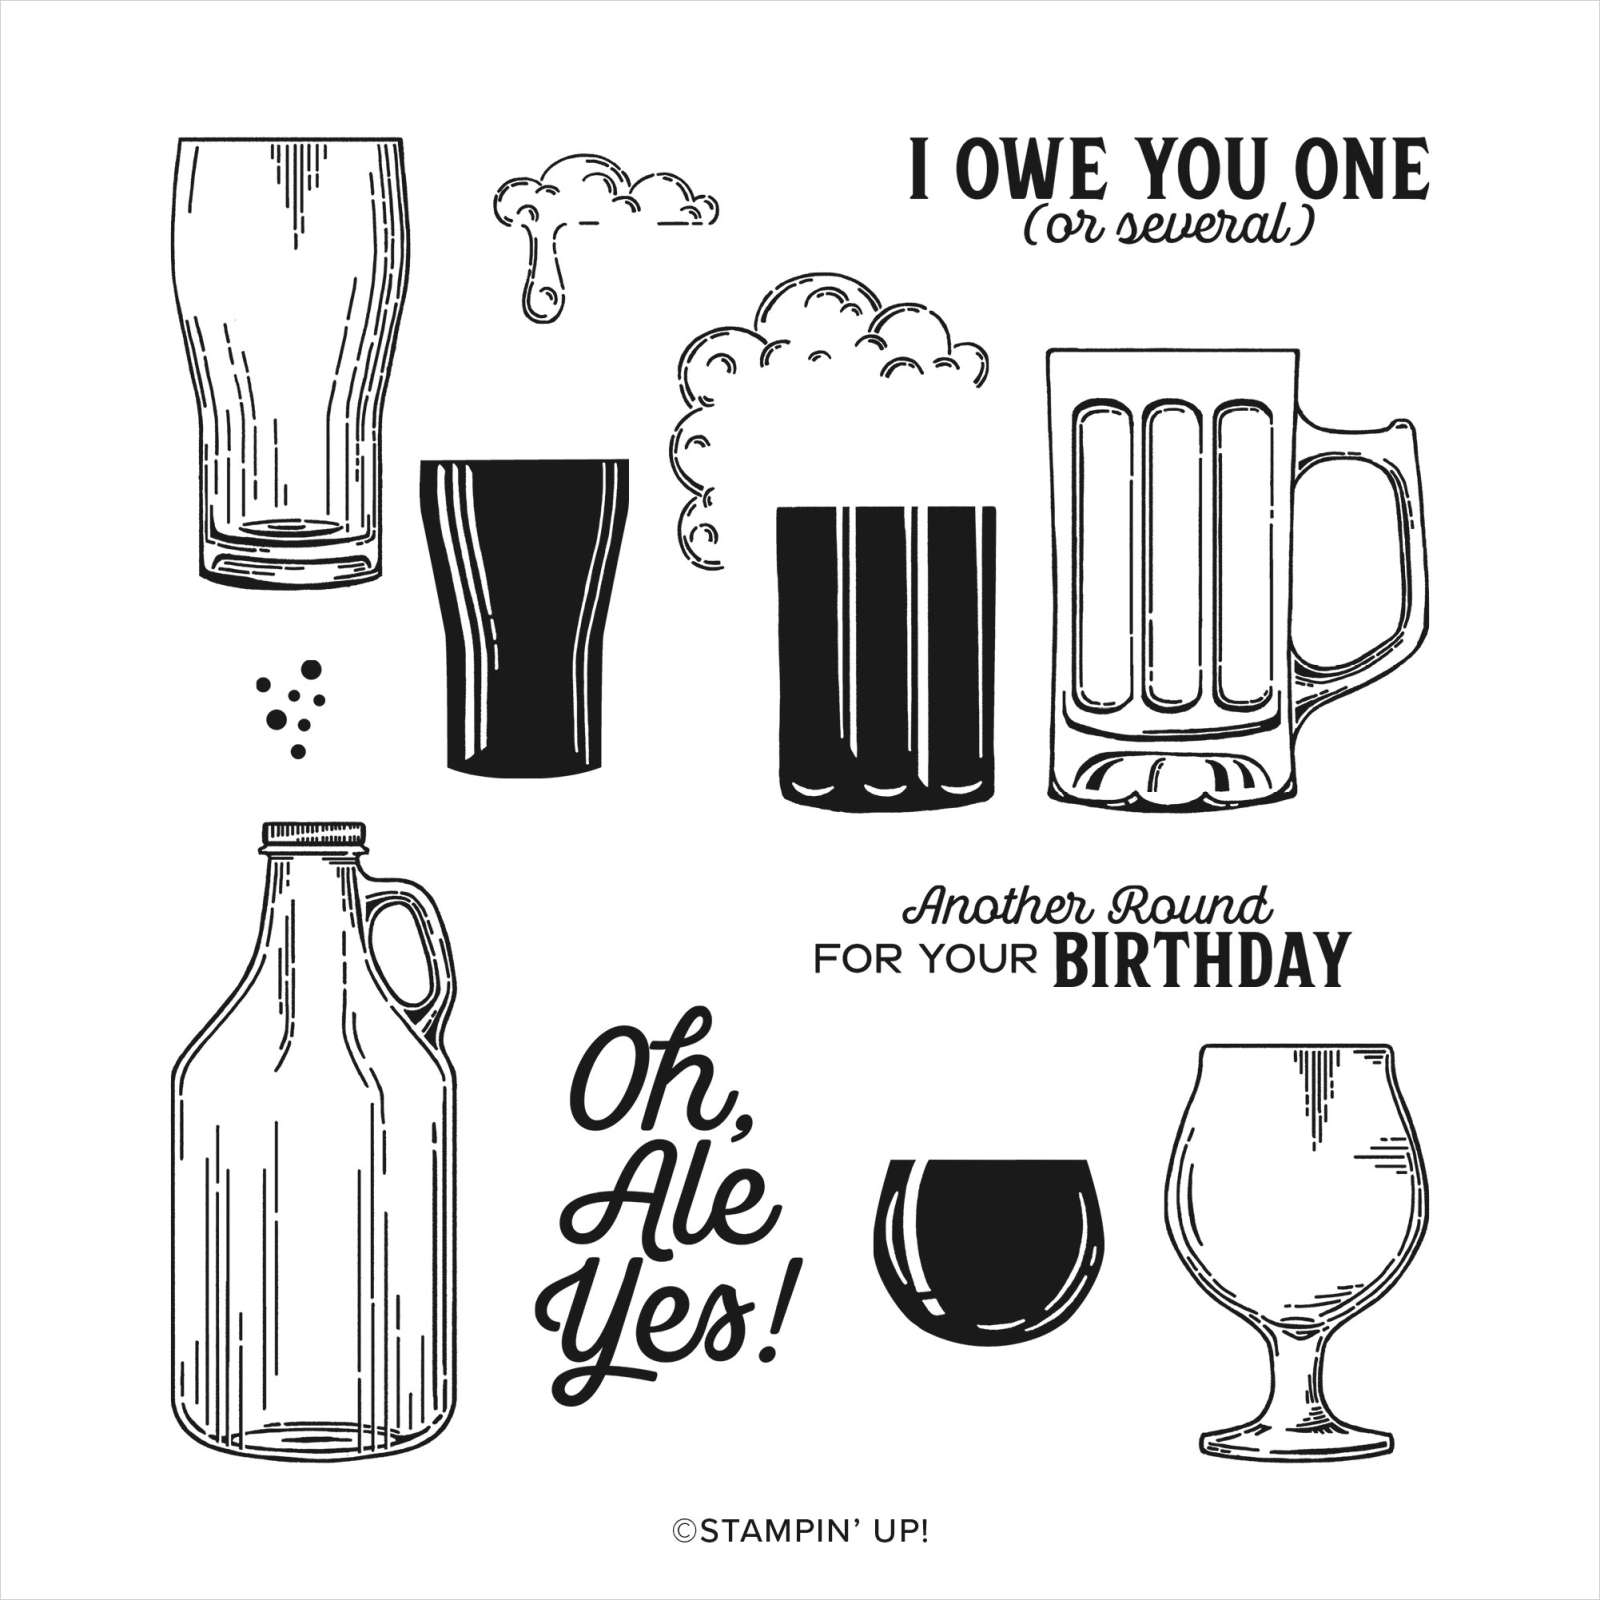
Another Round
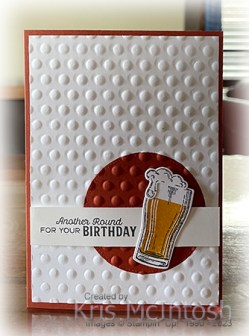
I found this card on Pinterest and thought that I would CASE it. I cut a circle from Cajun Craze card using the second largest circle from the Stylish Shapes Dies. I attached the circle to Basic White card which I embossed using the polka dot folder from the Basics 3D Embossing Folders. I stamped the greeting from the Brewed For You stamp set onto Basic White card using Memento Tuxedo Black ink and attached it across the embossed panel using dimensionals. I stamped the beer glass from the Brewed For You stamp set onto Basic White card using Memento Tuxedo Black ink. I stamped the fill image from the same stamp set using Crushed Curry ink.
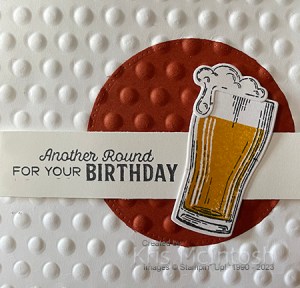
I also stamped the froth image from the Brewed For You stamp set onto Basic White card using Memento Tuxedo Black ink. I cut out the glass and the froth images using the co-ordinating Brewed Dies.
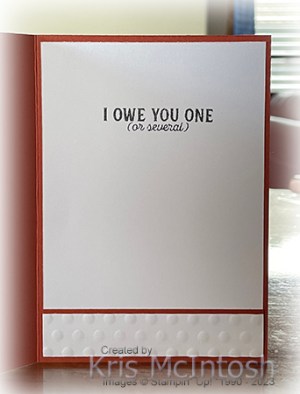
I attached the froth image to the glass image and then the card front using dimensionals where necessary. To decorate the inside of the card, I stamped another greeting from the Brewed For You stamp set onto Basic White card using Memento Tuxedo Black ink.
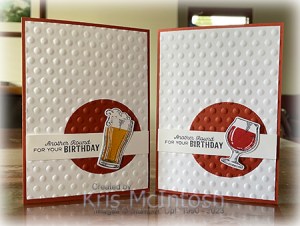
I embossed a narrow panel of Basic White card using the same Basics 3D Embossing Folder and attached a narrow strip of Cajun Craze card behind one long edge. The embossed panel is attached across the bottom of the stamped Basic White card. I loved this card but I decided to create another in exactly the same manner but this time using the wine glass image from the Brewed For You stamp set. The glass is stamped in Memento Tuxedo Black ink and fill in Real Red ink. Once I had created these cards, I decided to change it up a bit. This time instead of attaching the Cajun Craze circle to the Basic White card, I used a Blending Brush to add Cajun Craze ink to the Basic White card.
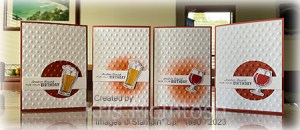
I think they all look great, don’t you? Thanks to Crafting Daily Dose for the inspiration. I love that the products in these cards have all carried over to the new Annual Catalogue which goes live for customers today. I am so excited by the new colour refresh and all the new product and I bet you will be too. If you live in Australia and don’t have a demonstrator already, please contact me so that we can organise for you to receive a catalogue.
Bye for now,
Kris
Product Used: