Perfectly Colourful

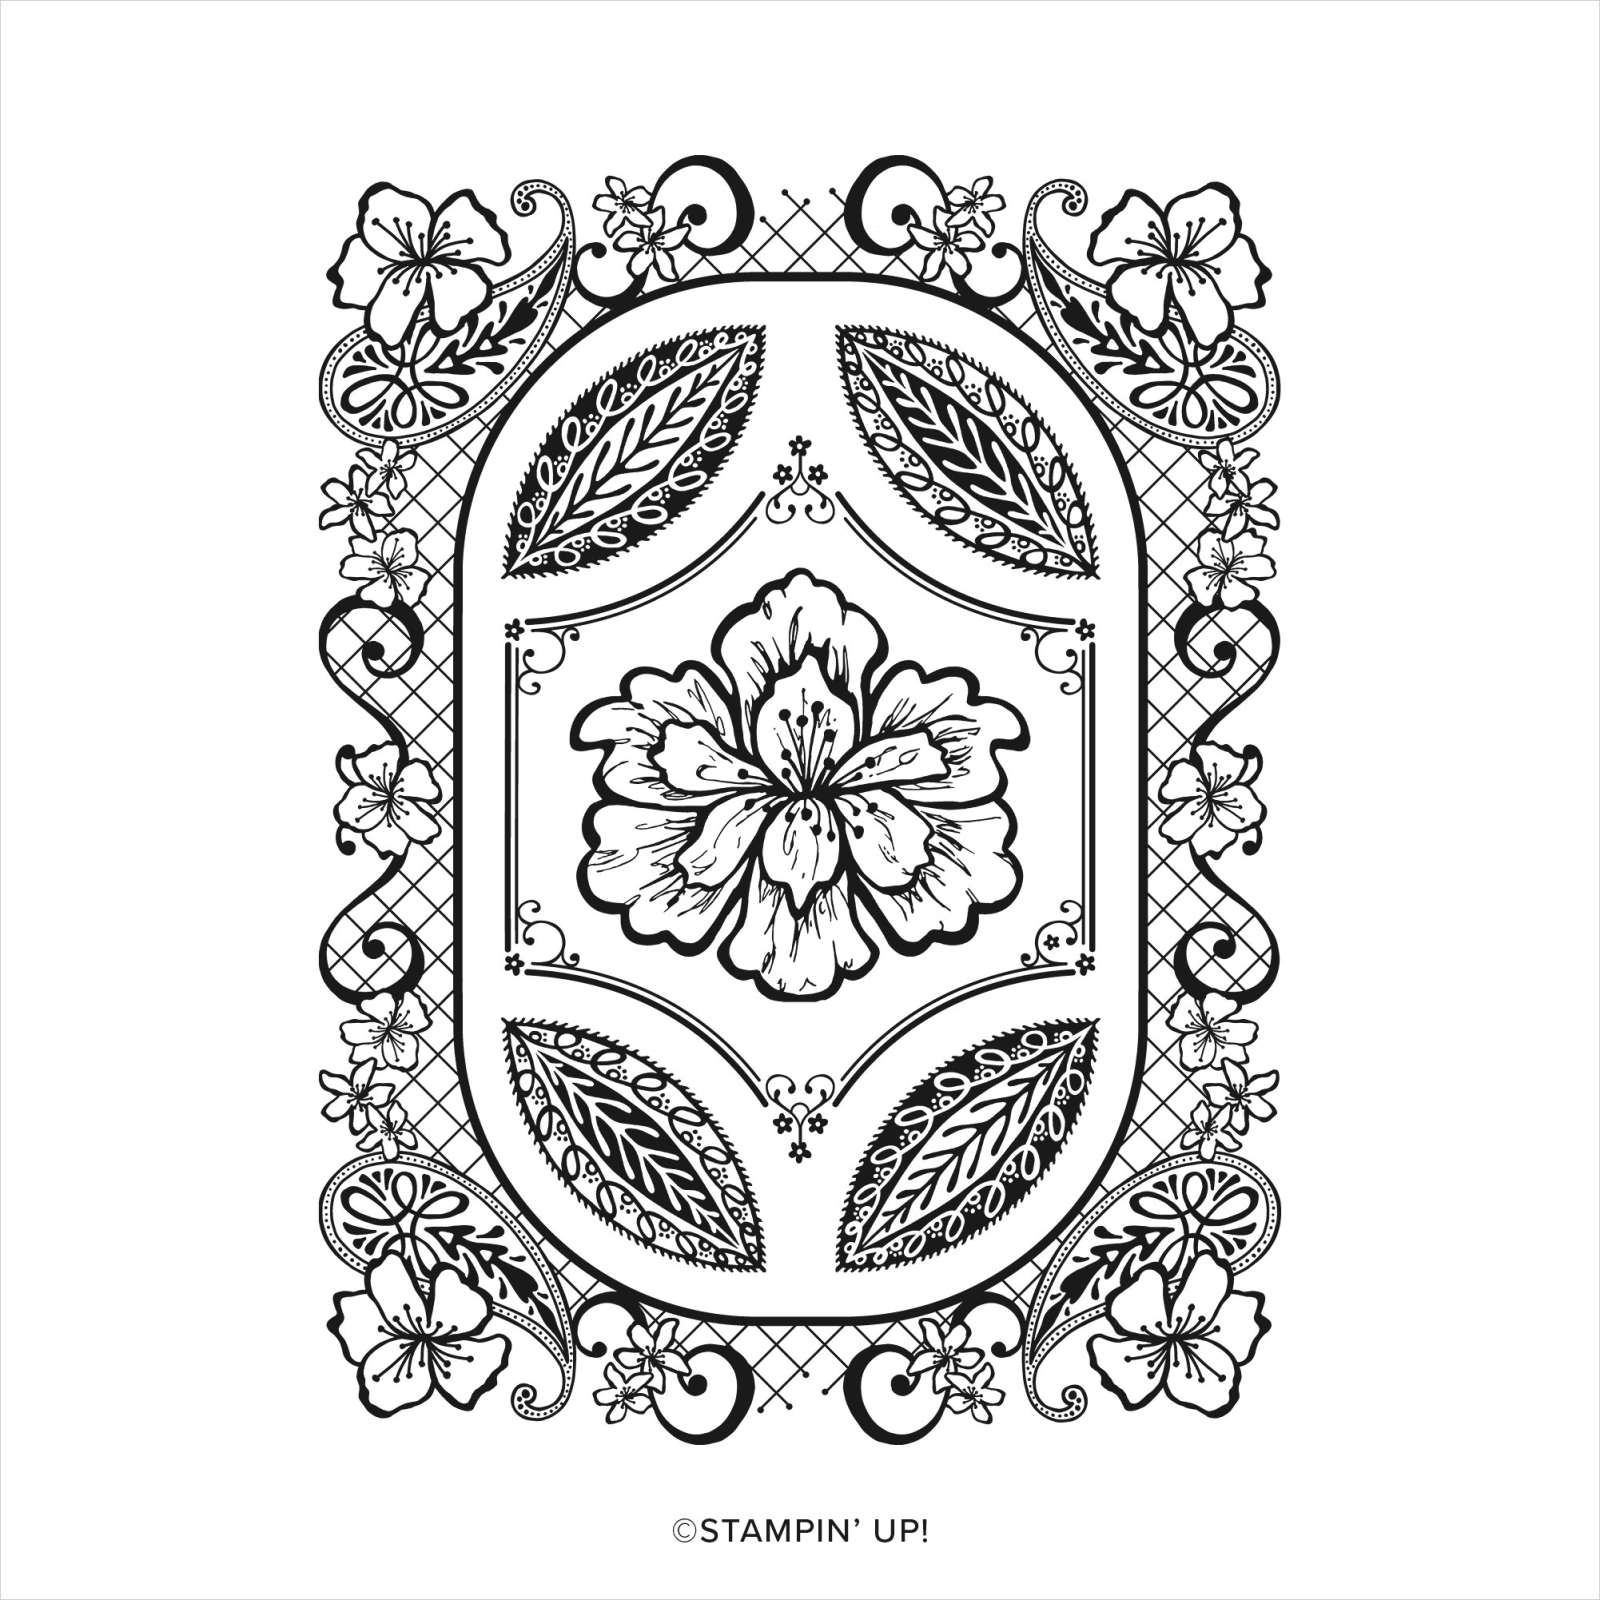
For today’s card, I wanted to use the Perfectly Detailed stamp but I wanted to see how it would look if I used Stampin’ Blends to colour the whole image. To begin I stamped the Perfectly Detailed stamp onto Basic White card using Memento Tuxedo Black ink.

I coloured the image using Melon Mambo, Smoky Slate, Dark So Saffron & Dark Granny Apple Green Stampin’ Blends. To make the it stand out a little more, I used the Light Smoky Slate Stampin’ Blend on the outside edges of the stamp and the Dark Smoky Slate Stampin’ Blend to highlight the oval area of the stamped image. I trimmed down the image and attached it to Basic White card and then scored and folded Smoky Slate card.

I also added a large Basic Rhinestone to the centre of the large flower. To decorate the inside of the card, I stamped the greeting from the Charming Sentiments stamp set onto Basic White card using Melon Mambo ink. I love that you can use this stamp in so many different ways and I am sure that I will be trying this again using different colours. I think that this card has a bit wow factor, don’t you think?
Bye for now,
Kris
Product Used:


Blackall

Today’s page shows off some photos of our road trip to Winton with our friends last June. Ron and I love Blackall with its Wool Scour and of course the very important Black Stump. I attached my photos to Pool Party card and then Basic Black card before attaching each panel to Basic White 12″ x 12″ pages.

I cut the title from Basic Black card using the Alphabet A La Mode Dies before attaching them to the left hand page. I printed my journaling onto Basic White card and attached it to the bottom of the right hand page. I haven’t added any embellishments to these pages because there is so much going on in the photos. Some amazing art work in one of the small arcades and of course the table of wisdom in the main street.
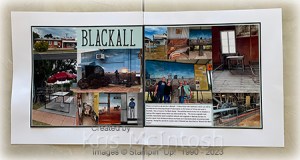
These pages make me smile and bring back happy memories.
Bye for now,
Kris
Product Used:


It’s Your Day

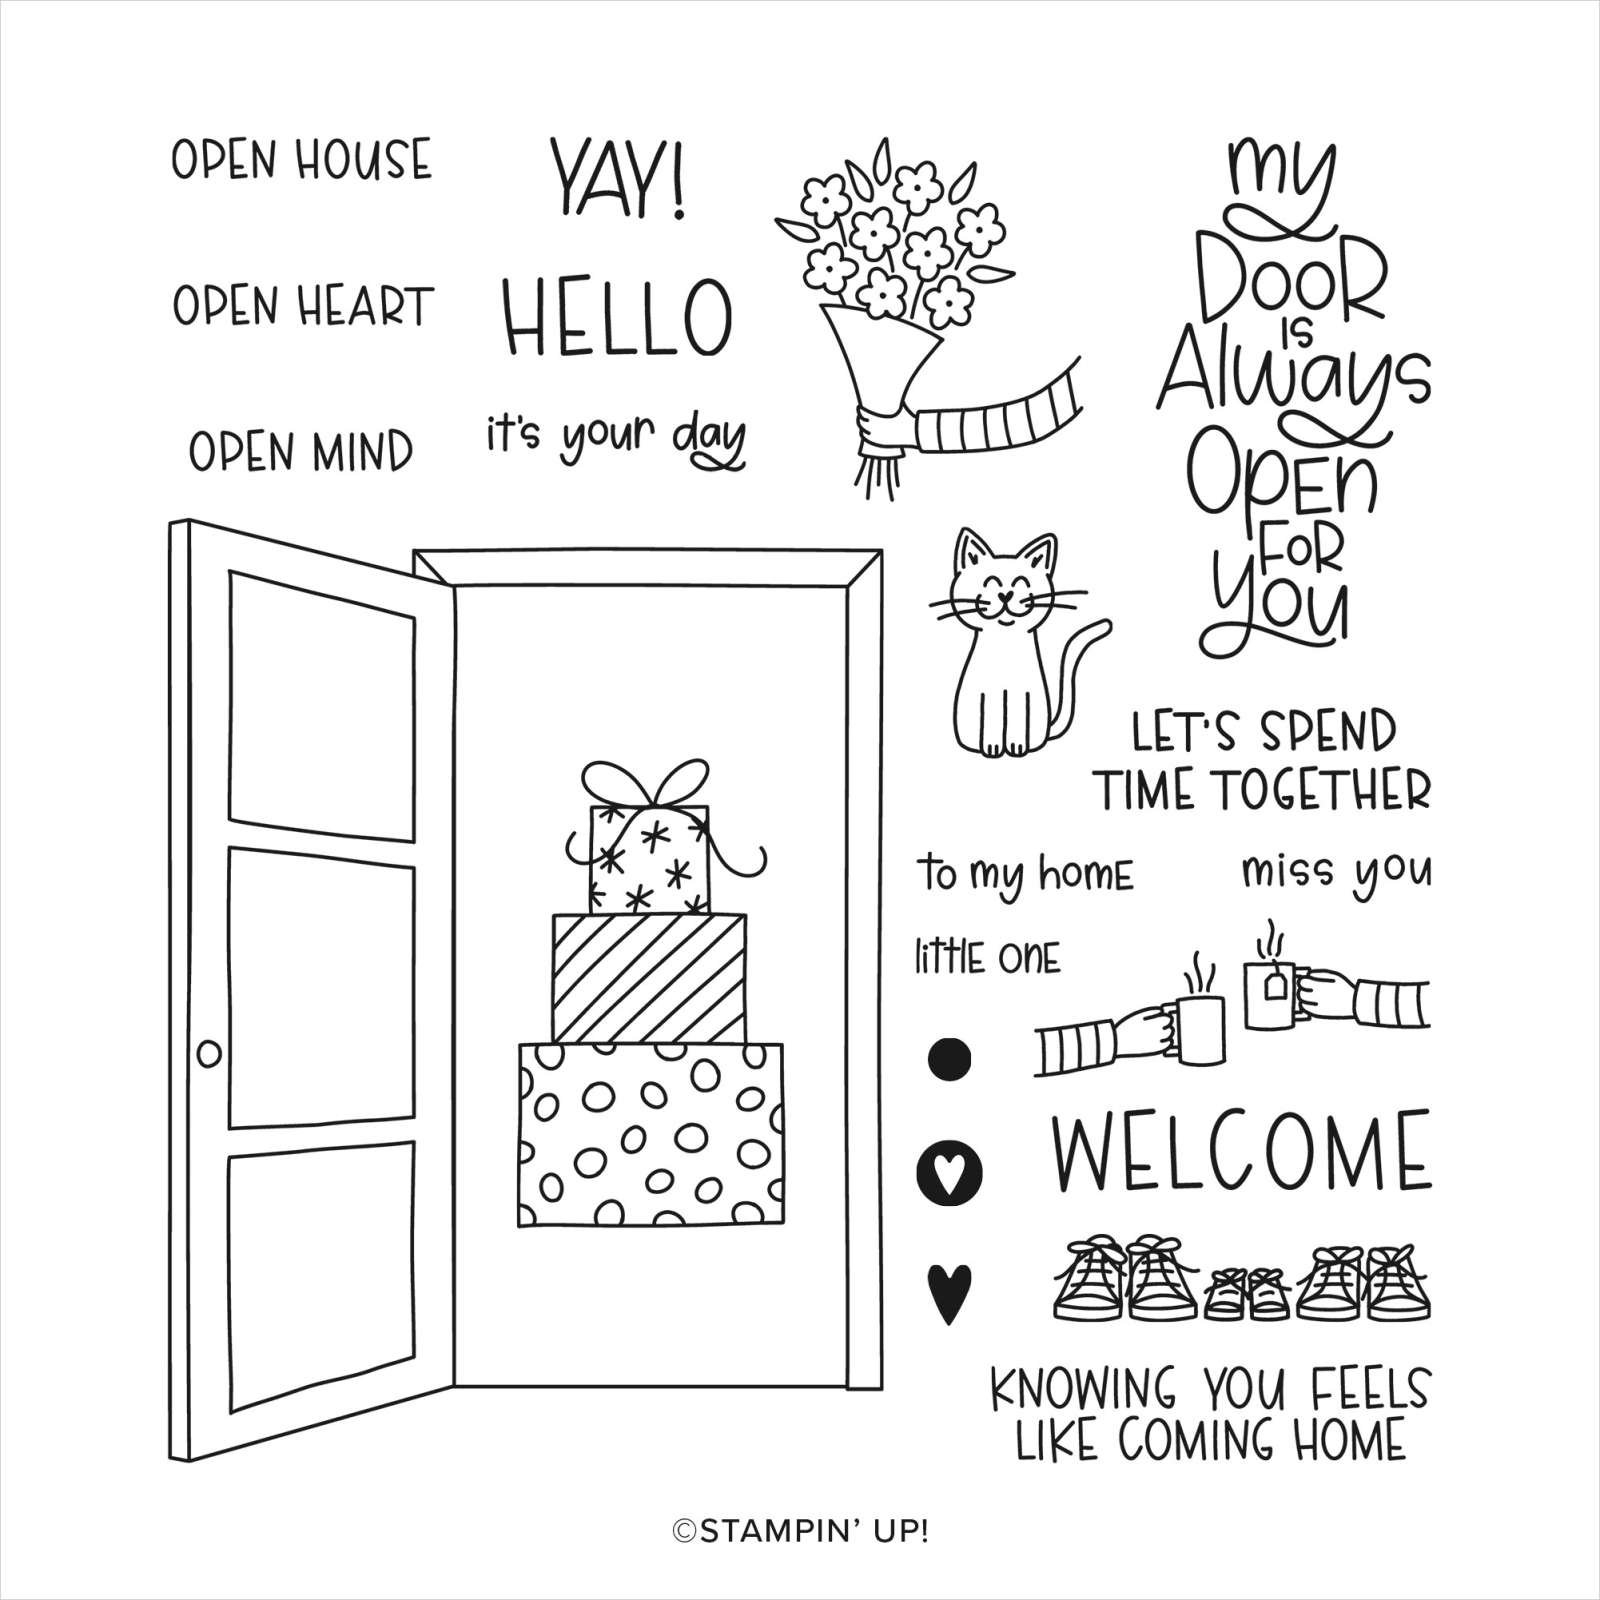
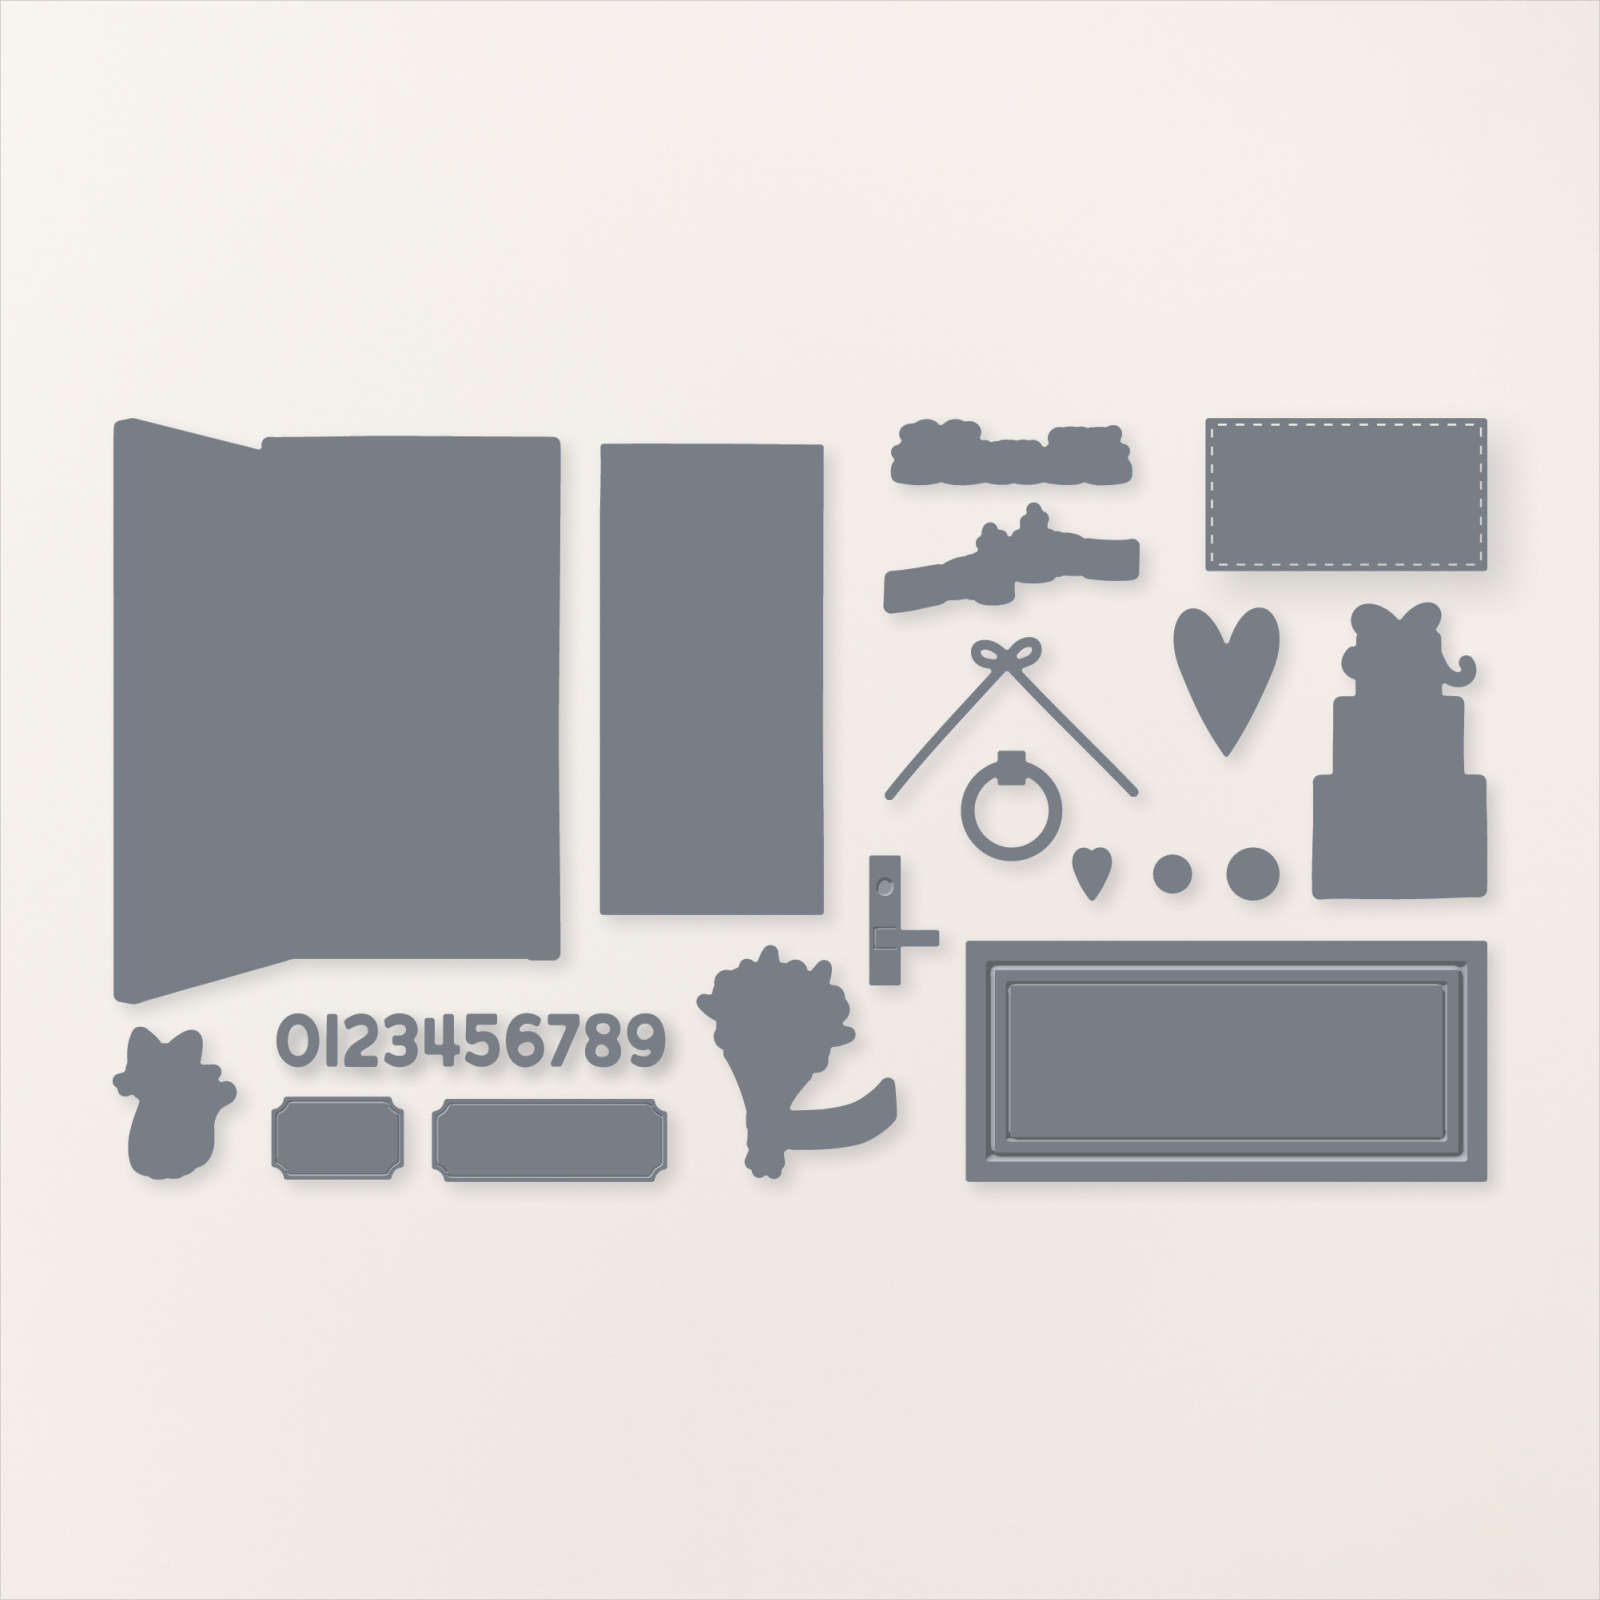
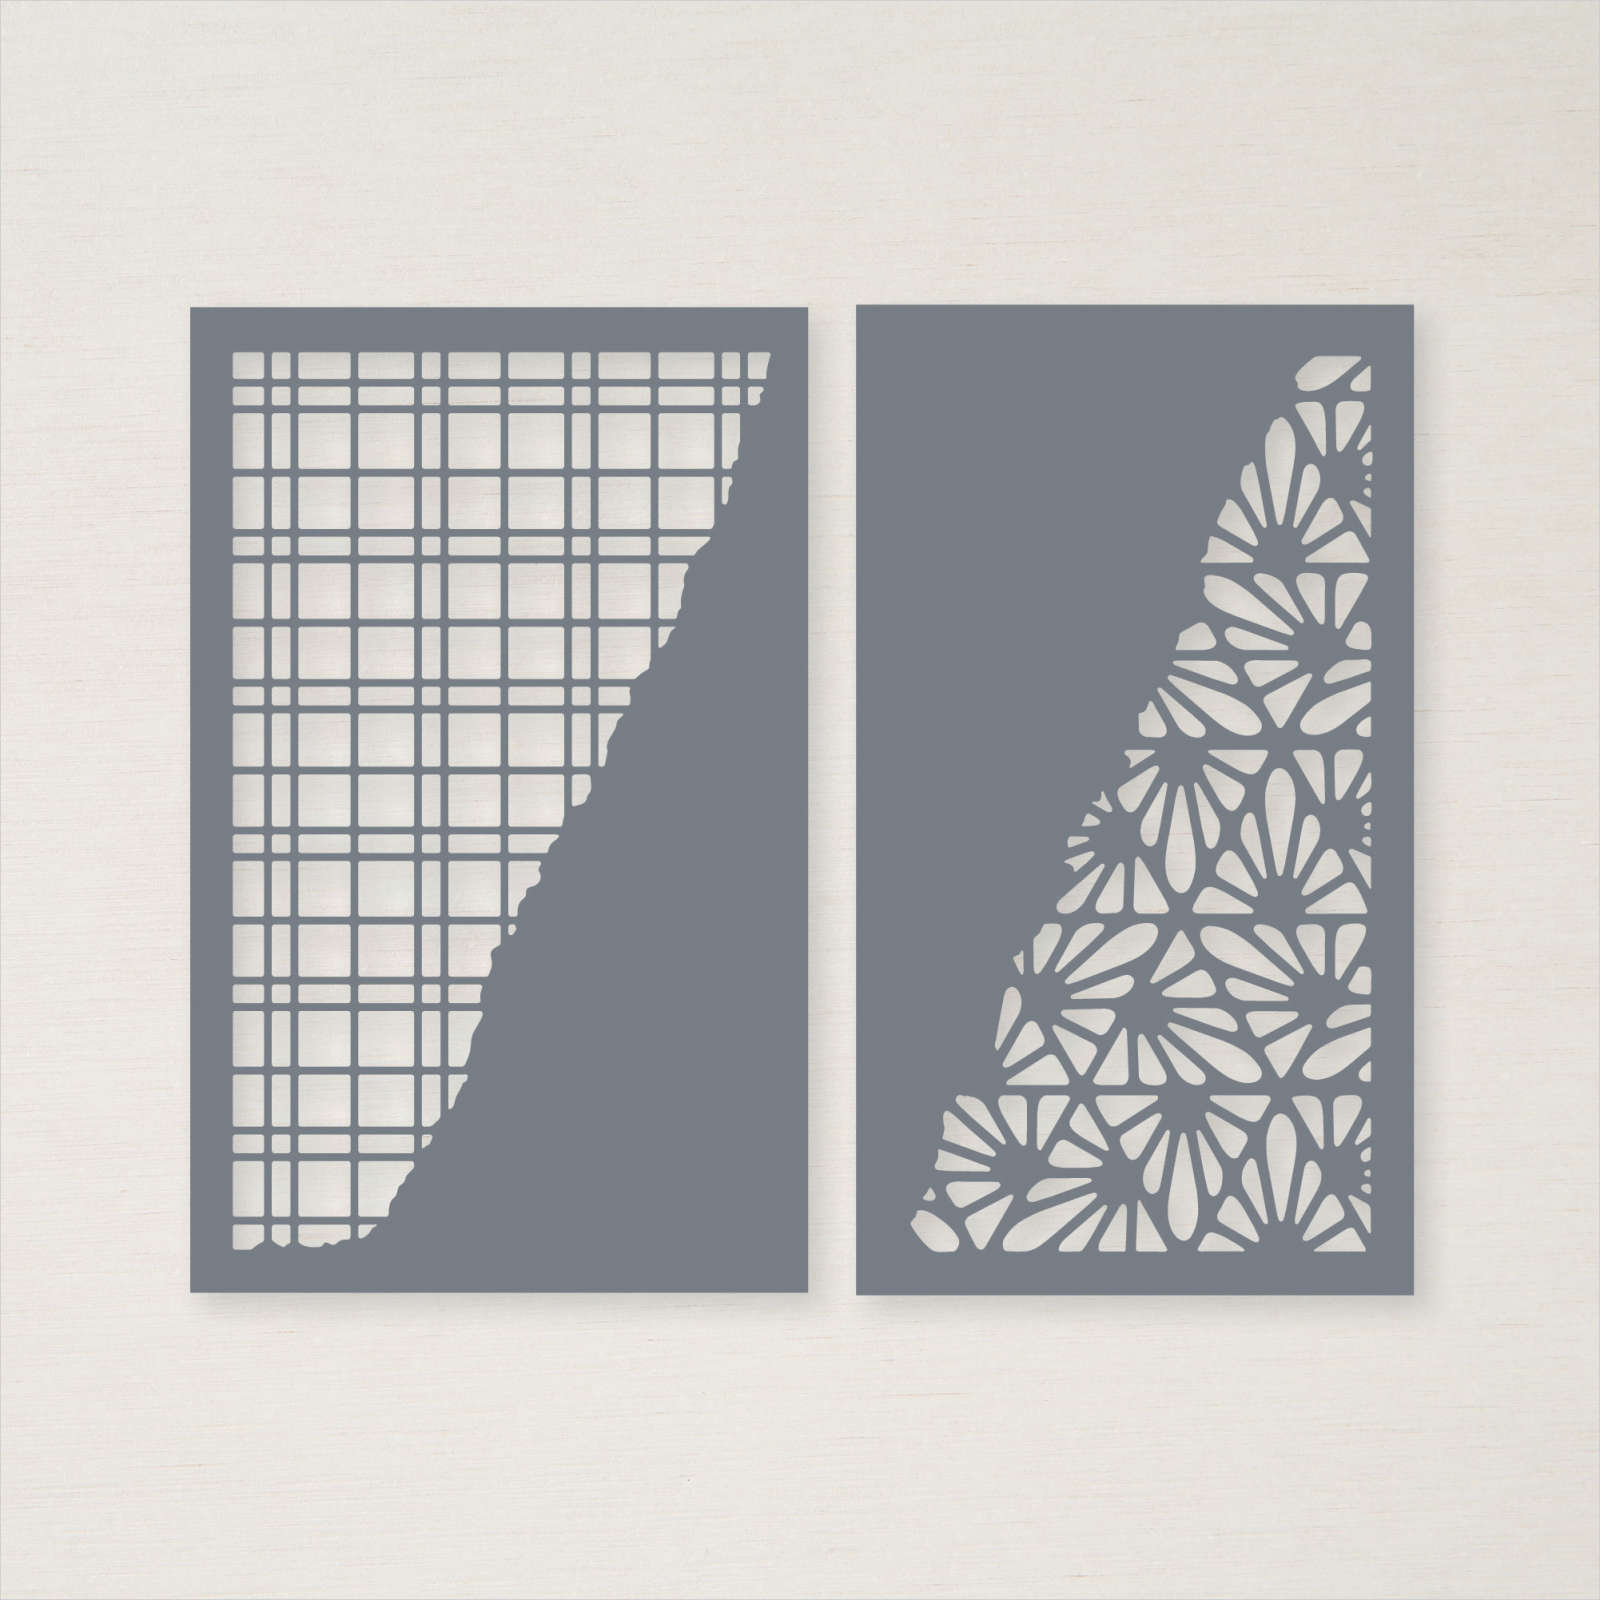
This week in my Facebook Live, I shared some cards I made using the Warm Welcome Bundle. I began by cutting Basic White card using one of the Picture This Dies. I embossed the panel using the Gingham Embossing Folder. I also cut a piece of copy paper using the same die. I attached the copy paper die cut to a Basic White panel and stamped three of the images from the Warm Welcome stamp set into the circles. I used Balmy Blue, Magenta Madness and Dark Daffodil Delight Stampin’ Blends to colour the images. Once coloured, I removed the mask and attached the embossed panel over the stamped panel.

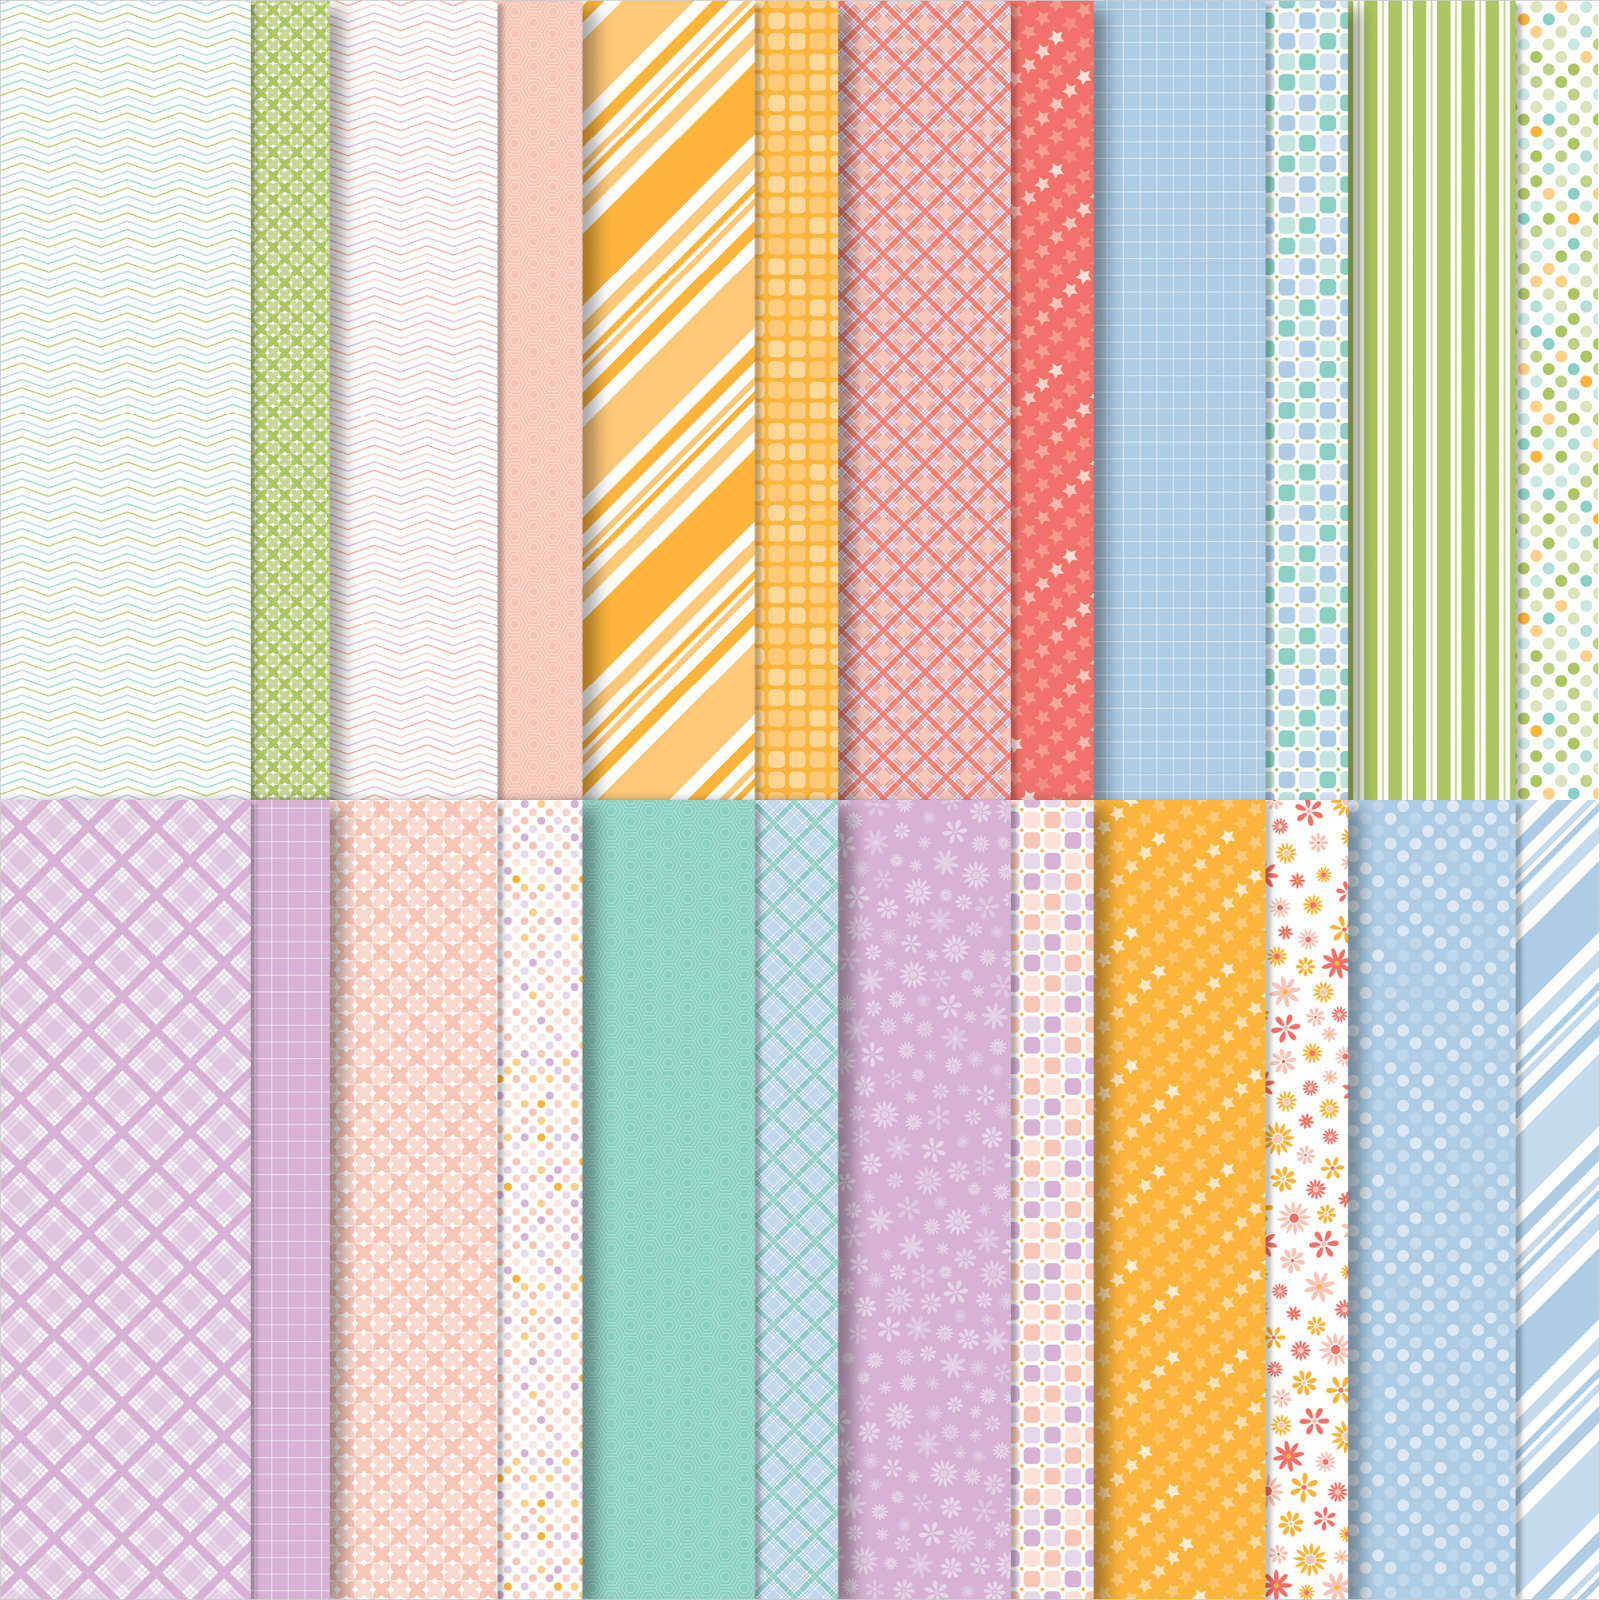
I die cut three different patterns of Balmy Blue paper from the Dandy Designs 12″ x 12″ Designer Series Paper and attached the circles into the three small circles in the embossed panel. The whole piece is attached to scored and folded Balmy Blue card.

I die cut Basic White using the banner from the Warm Welcome Dies. I stamped the greeting from the Warm Welcome stamp set onto the banner using Balmy Blue ink and attached it to the card front using dimensionals. To decorate the inside of the card, I stamped another greeting from the Warm Welcome stamp set onto Basic White card using Balmy Blue ink. I attached a narrow strip of Balmy Blue card behind one long edge of Basic White card embossed using the Gingham Embossing Folder and attached the panel onto the bottom of the stamped Basic White card. I had a lot of fun creating this card and just love the finished result. I would love to hear what you think.
Bye for now,
Kris
Product Used:


Congratulations

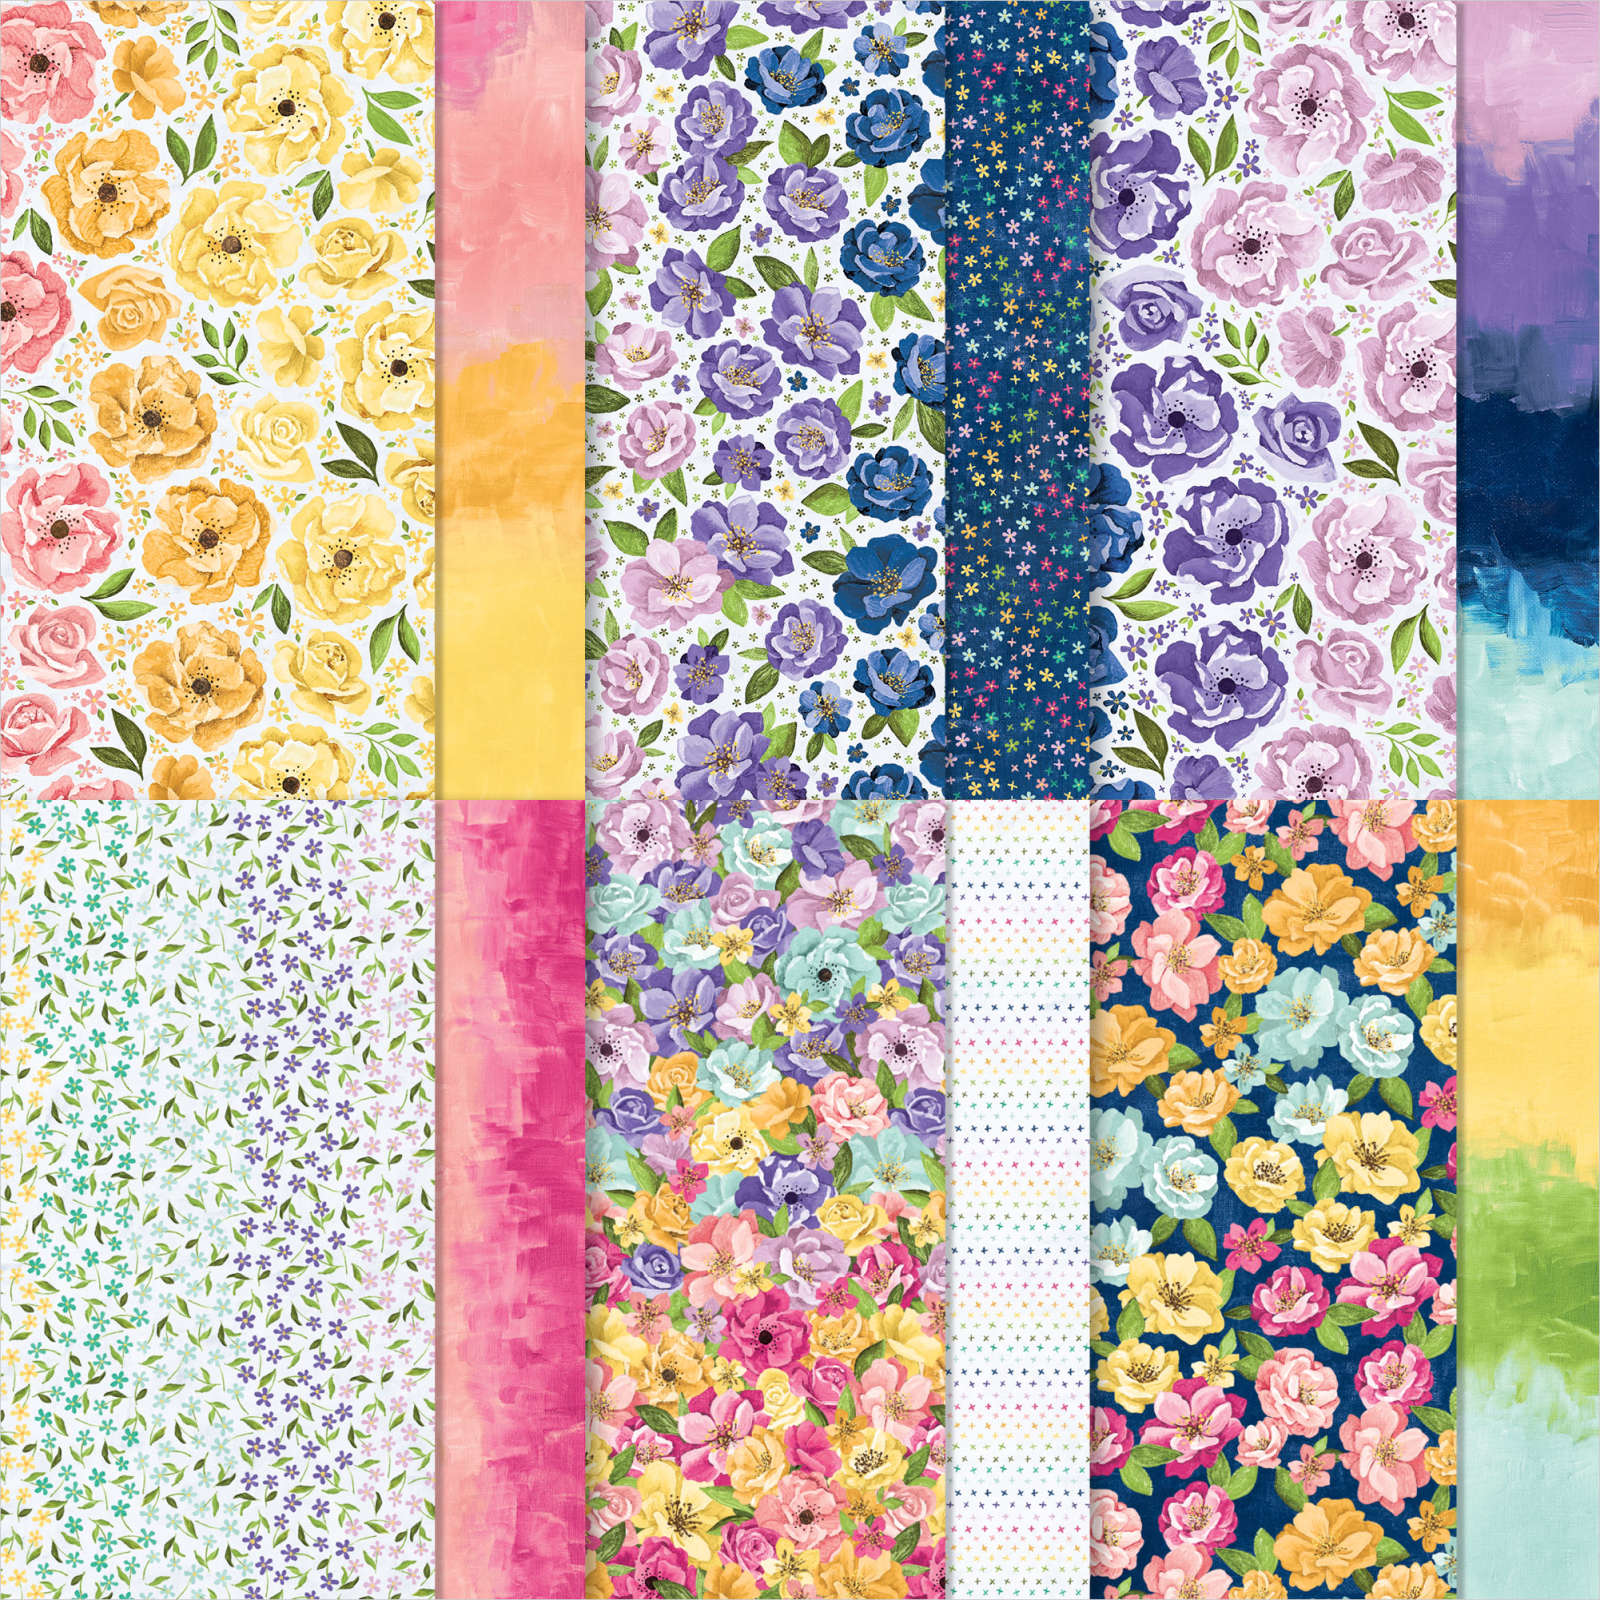
My youngest daughter and son-in-law recently celebrated their Wedding Anniversary and today I am sharing the card I made for them. I began by cutting Basic White card using one of the dies from the Split Card Textures Dies. I attached a piece of Hues of Happiness 12″ x 12″ Designer Series Paper to the back of the die cut Basic White card.The whole panel is attached to scored and folded Gorgeous Grape card.

I cut the flowers from the Hues of Happiness Designer Series Paper and attached them to the lower right hand corner of the card front. I stamped “congratulations” from the Happiness Abounds stamp set onto Basic White card using Gorgeous Grape ink which I fussy cut using my paper snips.

I attached the greeting across the flowers. To decorate the inside of the card, I cut the flowers from the edge of a piece of the Hues of Happiness Designer Series Paper and attached it to the bottom of Basic White card. I stamped the greeting from the Celebrating You stamp set onto the Basic White card using Gorgeous Grape ink. This was a simple card to put together, I let the Designer Series Paper be the star of this card, but I just love how pretty it is, don’t you?
Bye for now,
Kris
Product Used:


Australia Day
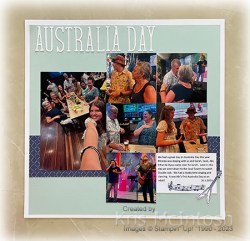
We celebrated with a lunch at home, followed by an afternoon visit to our local Tavern to watch a great band (Double Jack). For my page, I trimmed down a Pool Party 12″ x 12″ page and attached it to a Basic White 12″ x 12″ page. I added a strip of the now retired Dainty Flowers 12″ x 12″ Designer Series Paper across the lower part of the page before attaching my photos. I cut the title from Basic White card using the Alphabet A La Mode Dies and attached it across the top of the page.

I did add Adhesive Sheet to the back of the Basic White card before cutting the letters to make them easier to attach. I printed the journaling onto Basic White card and stamped the image from the Enjoy The Rhythm stamp set across the bottom using Night of Navy ink. I stamped the guitar from the Enjoy The Rhythm stamp set onto Basic White card, cut it out and attached it across the journaling panel. Although this is another simple page, it reminds me of what a fun day we had.
Bye for now,
Kris
Product Used:


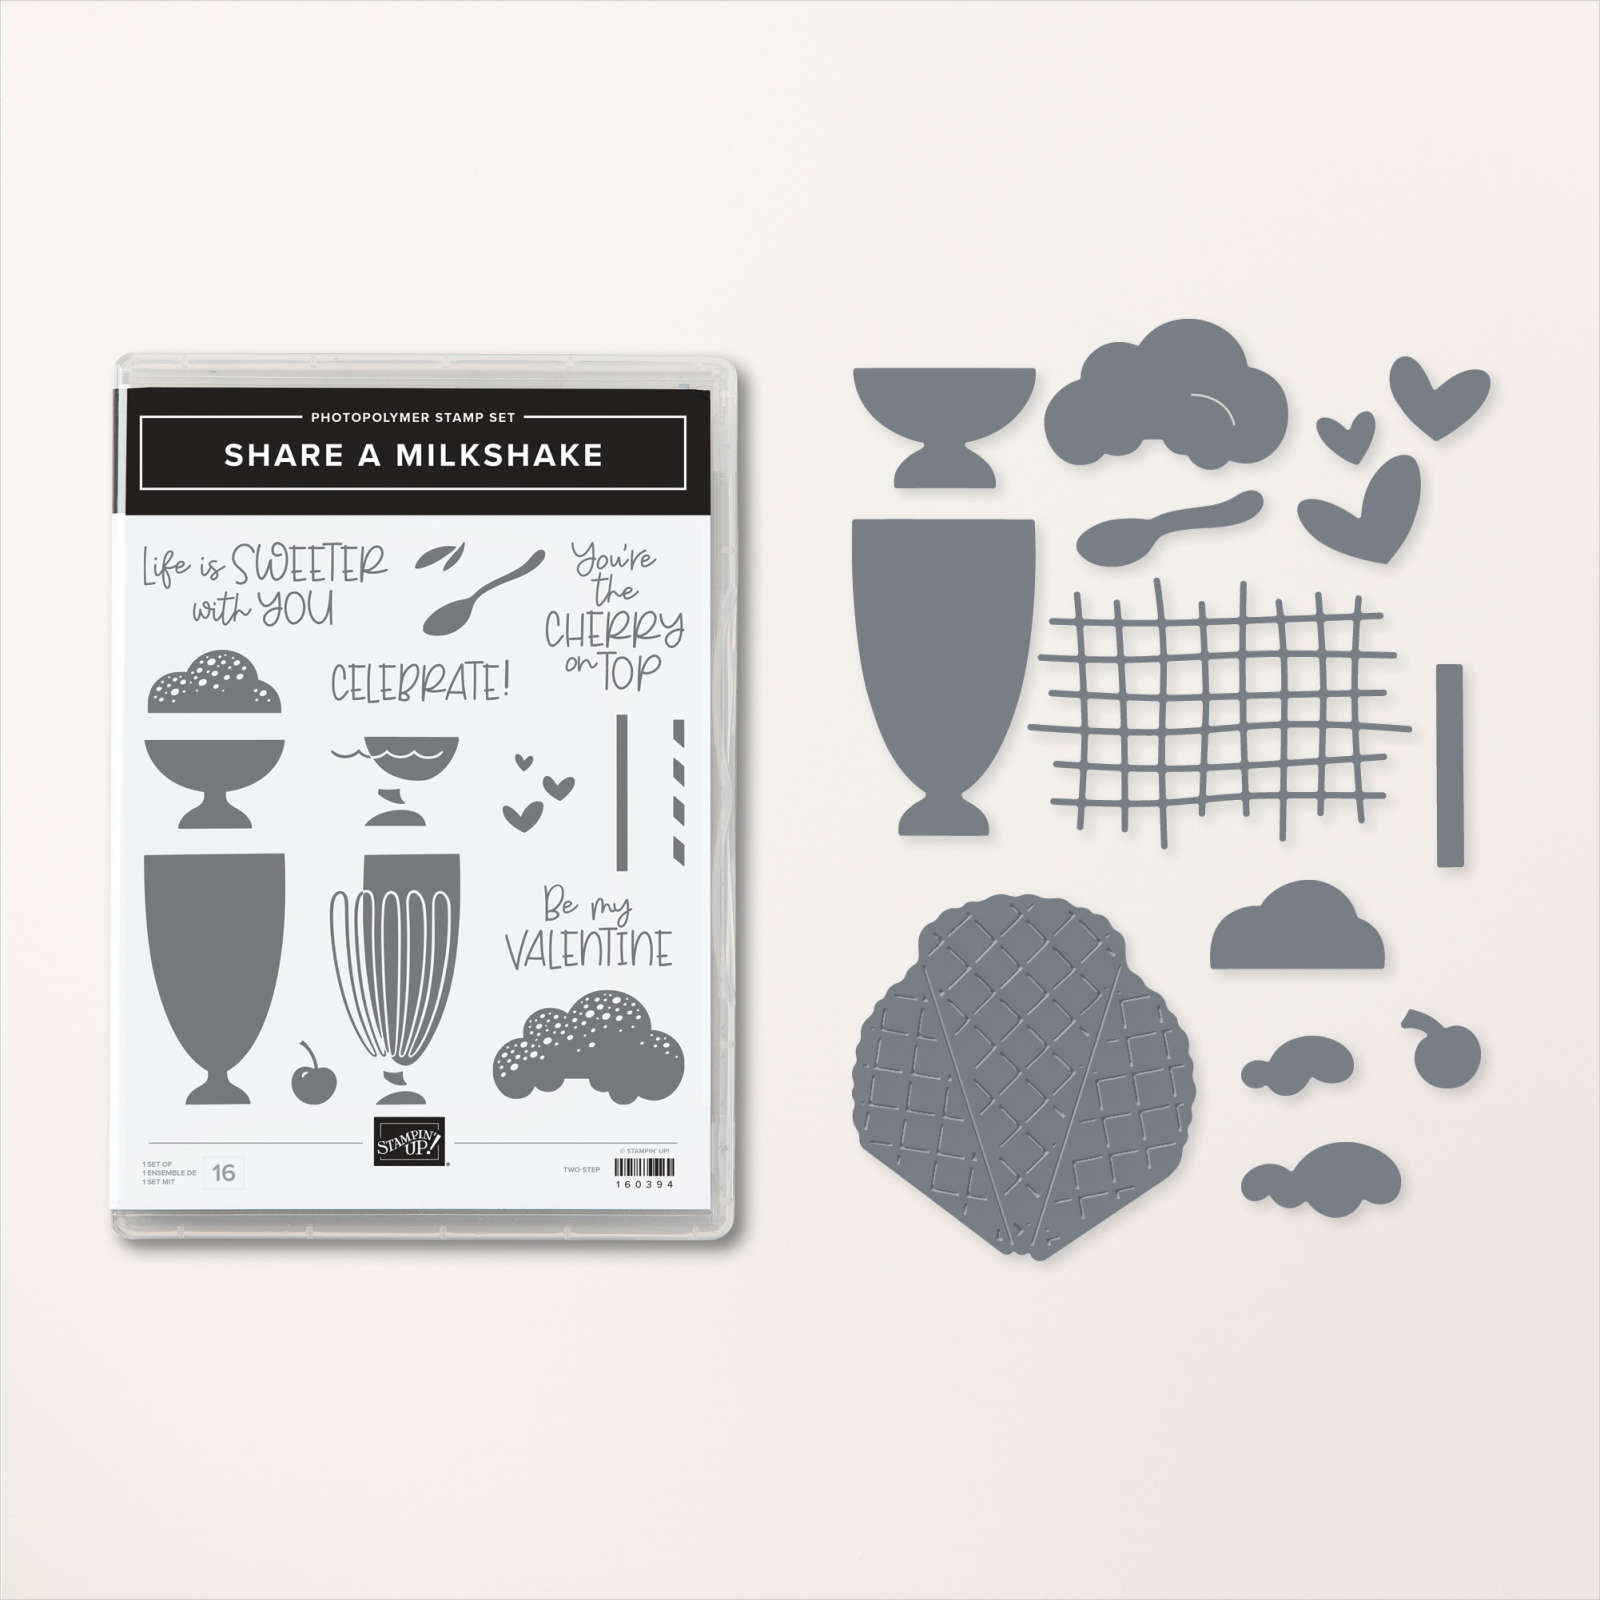
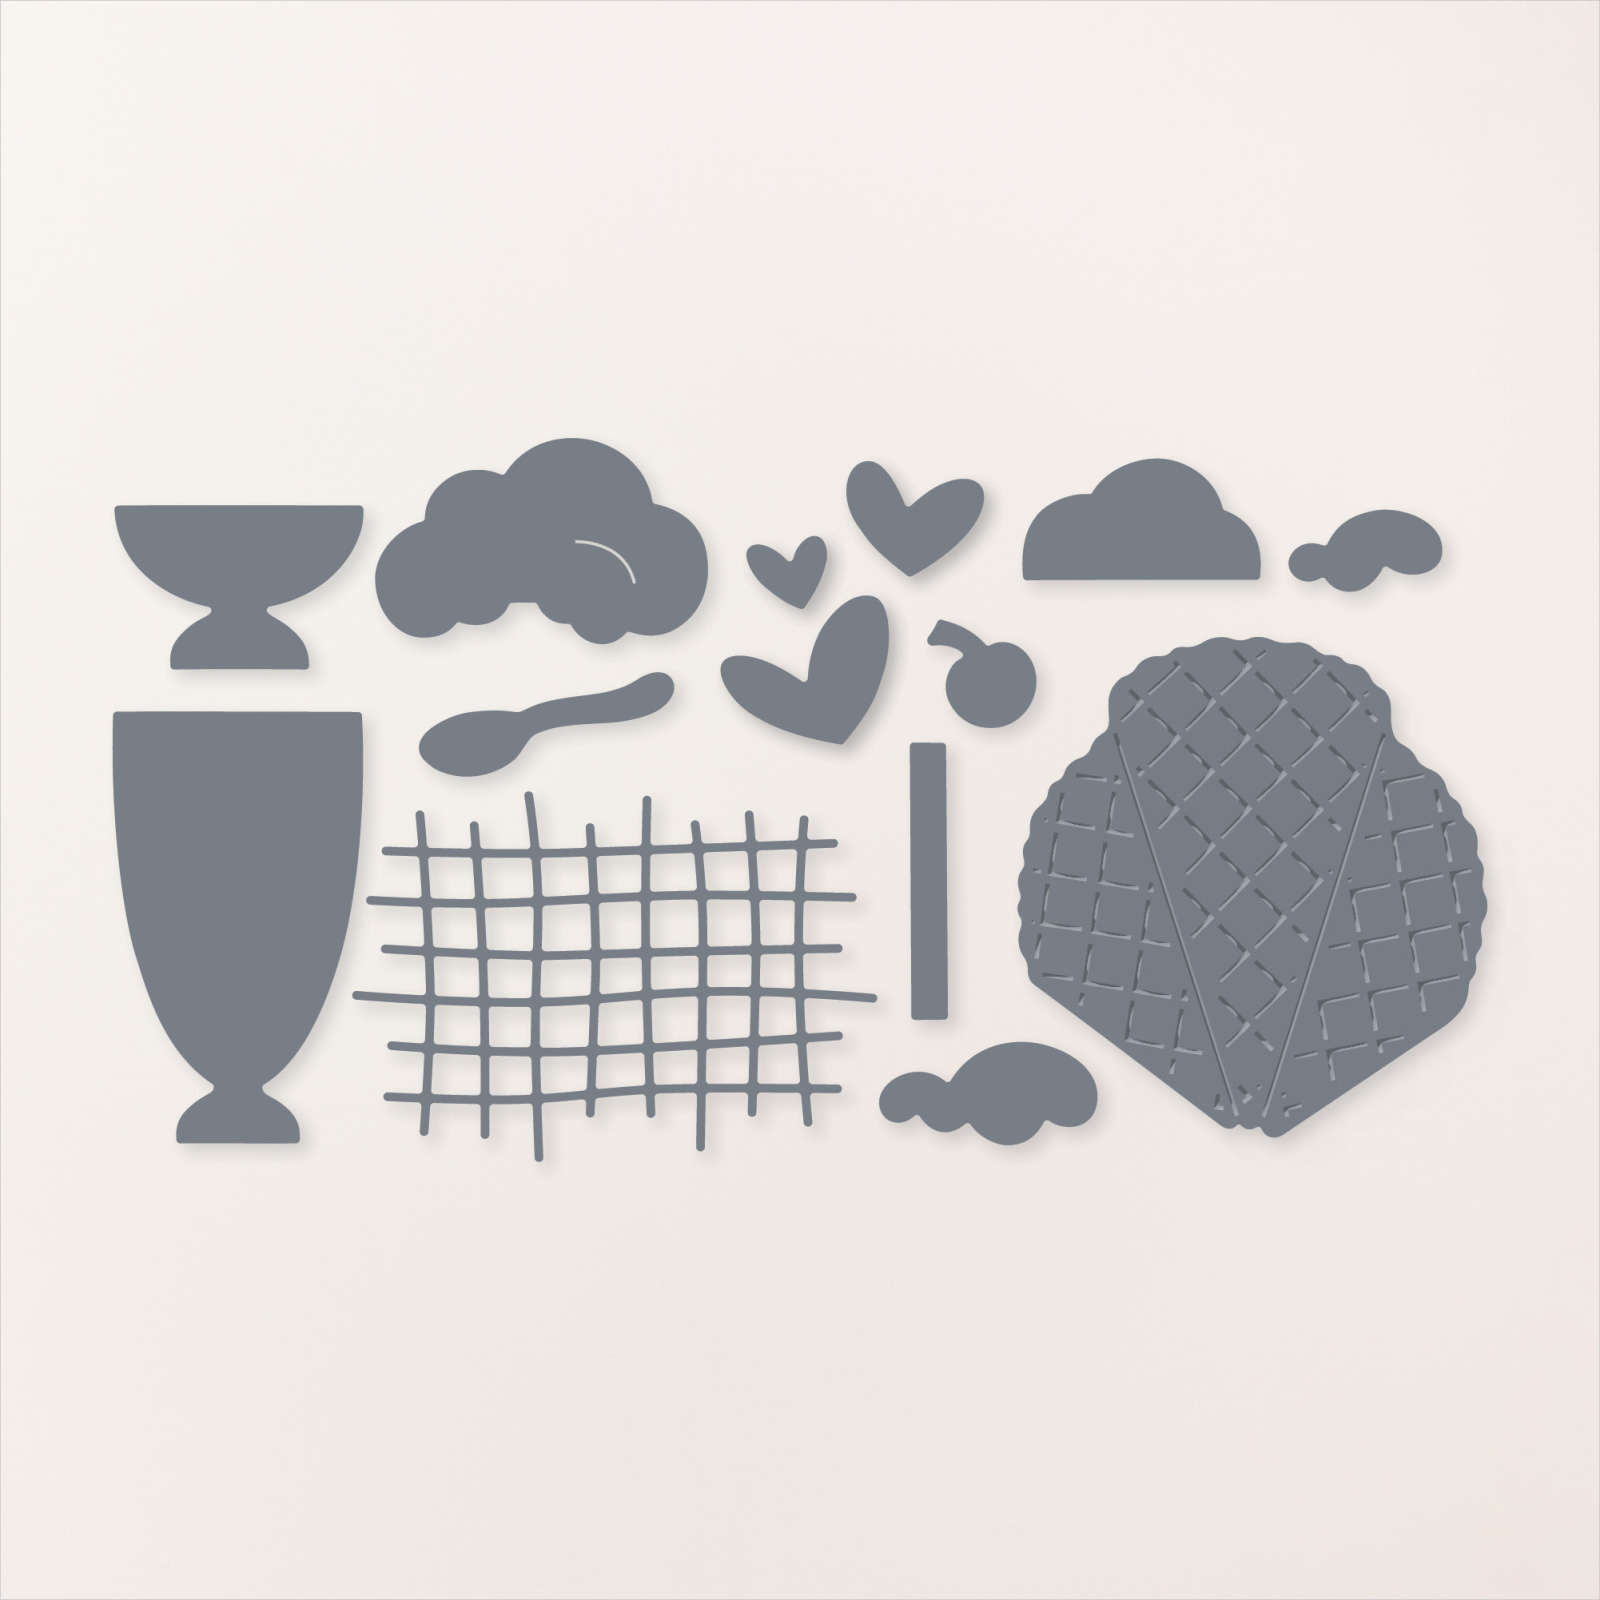
Share a Milkshake
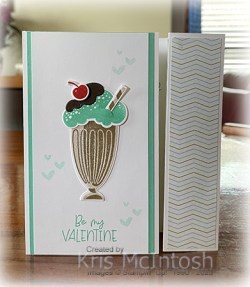
This week in my facebook live I shared some cards I made using the Share A Milkshake Bundle. This Bundle is available in our current Mini Catalogue. For today’s card, I decided to create a Vertical Panel Fancy Fold. I attached Coastal Cabana card down the outside of a Basic White panel. I cut and Basic White card to create the folding section of the card and attached three strip of Dandy Designs 12″ x 12″ Designer Series Paper. (Unfortunately this paper is now retired.) I stamped a greeting from the Share a Milkshake stamp set onto the centre of the folding panel using Coastal Cabana ink and attached it to the card base. I attached Coastal Cabana card to Basic White card and attached it to the left hand side of the folding section of the card.
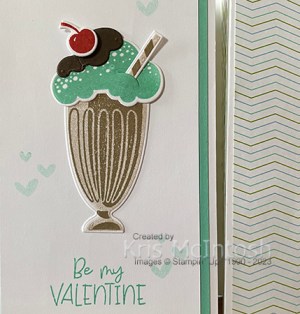
I stamped the solid glass image from the Share a Milkshake stamp set onto Basic White card using Crumb Cake ink which I stamped onto scrap paper first. I stamped the detailed image from the Share a Milkshake stamp set over the solid image using Crumb Cake ink. I stamped the ice cream image from the Share a Milkshake stamp set onto Basic White card using Coastal Cabana ink. I stamped the solid straw image from the Share a Milkshake stamp set onto Basic White card using Crumb Cake ink which I stamped onto scrap paper first. I stamped the detailed straw image over the top of the solid image using Crumb Cake ink. I also stamped the cherry image from the Share a Milkshake stamp set onto Basic White card using Real Red ink.

The glass, ice cream, straw and cherry images were cut out using the co-ordinating Share a Milkshake Die. I also cut Early Espresso card using the die from the Share A Milkshake dies to create the chocolate image. I stamped the heart image from the Share a Milkshake stamp set three times onto Basic White card using Coastal Cabana ink which I stamped onto scrap paper first. I stamped the greeting from the Share a Milkshake stamp set onto the bottom of the Basic White card using Coastal Cabana ink. The ice cream image after it is die cut has a small opening which allowed me to slide in the straw. I attached the ice cream image the top of the glass before attaching it to the stamped Basic White panel. I added the chocolate die cut and then the cherry using a mini dimensional. This is such a fun card to create and I think it turned out great using the Share a Milkshake Bundle don’t you?
Bye for now,
Kris
Product Used:


Drum Kit Birthday

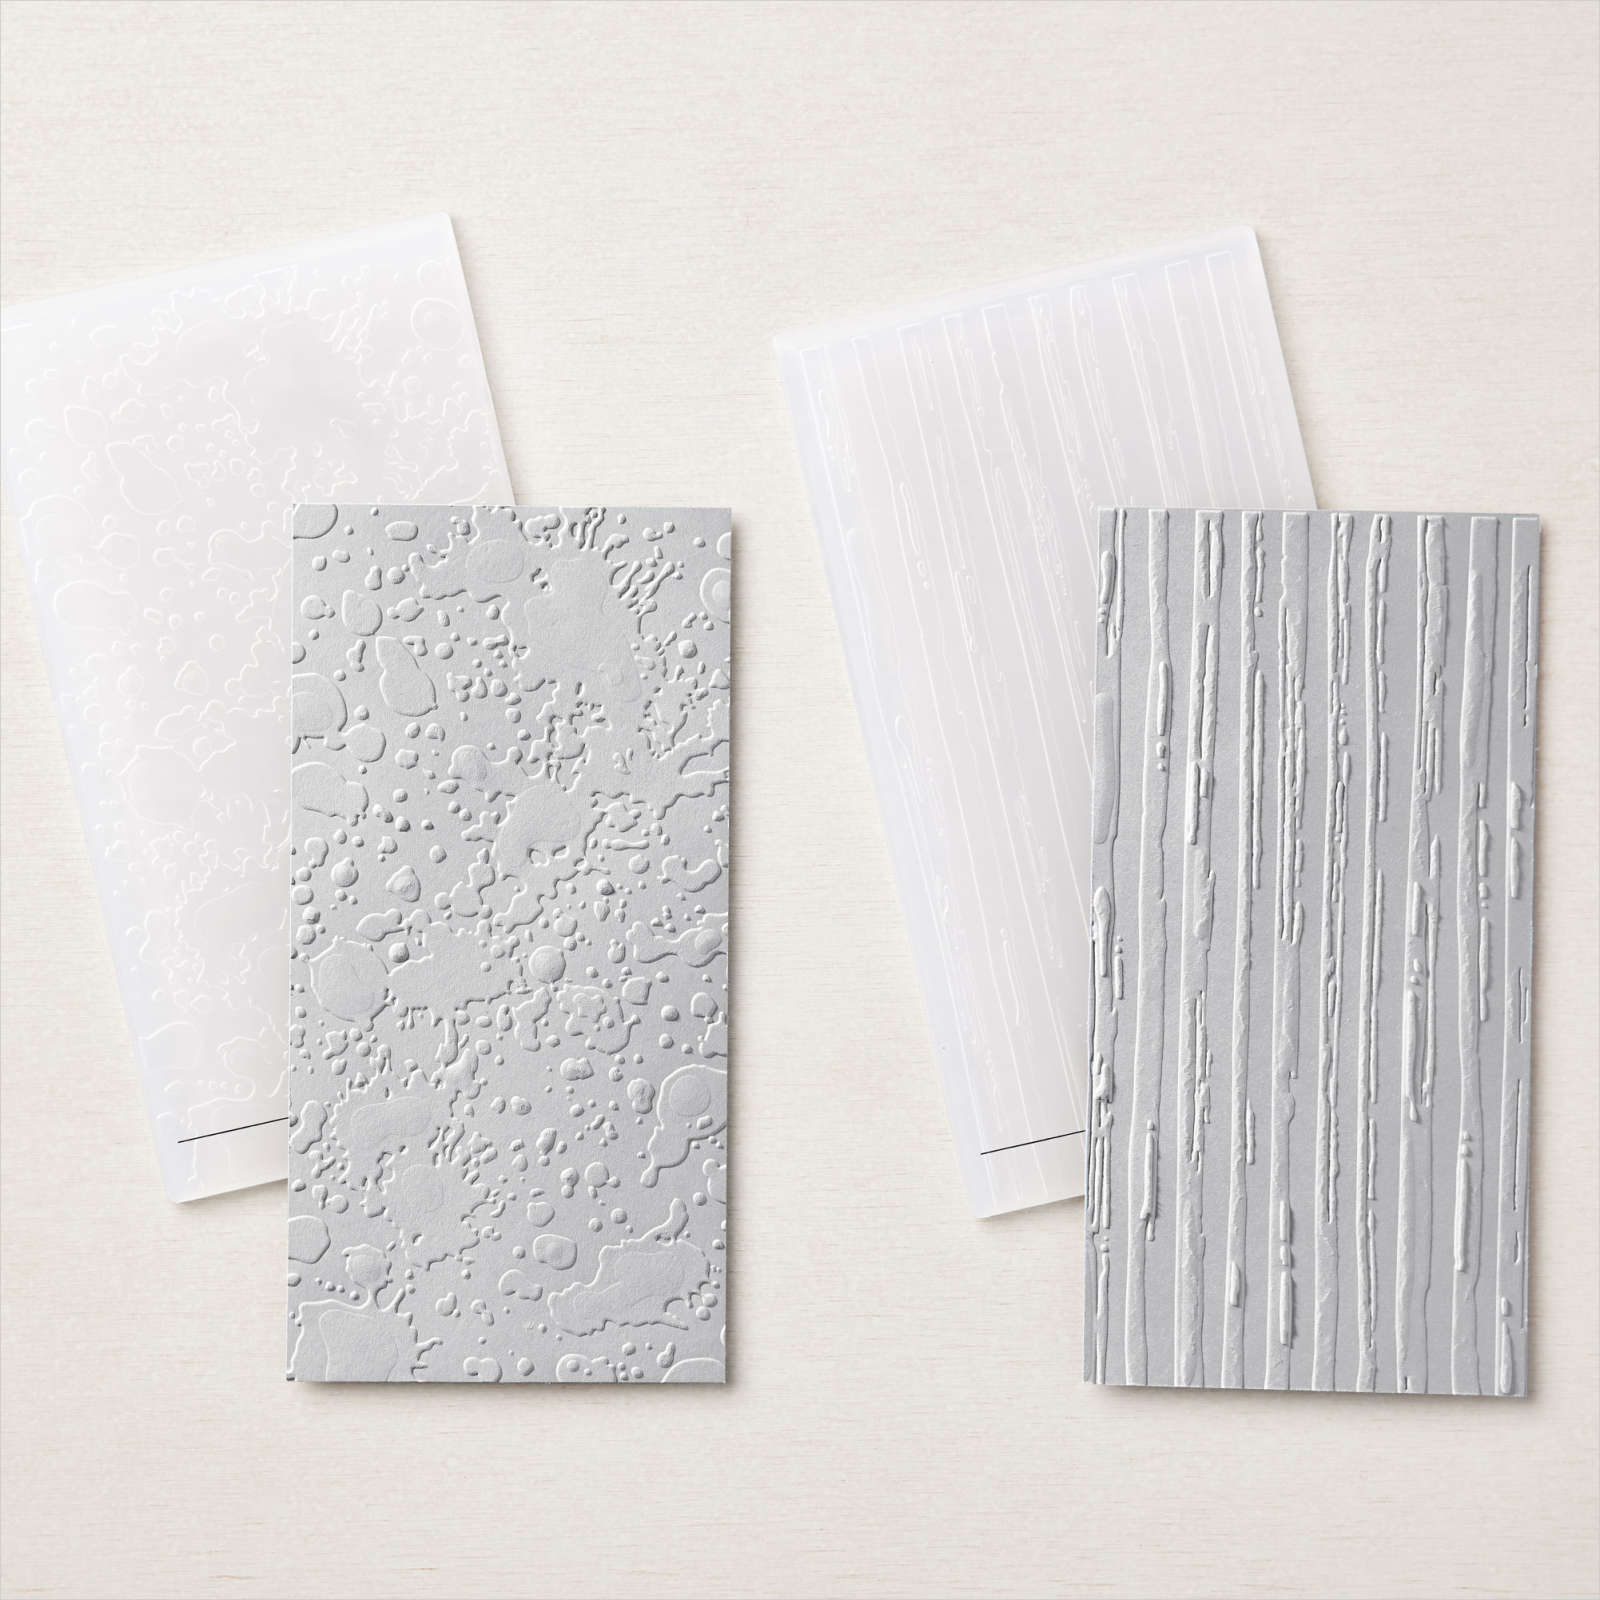
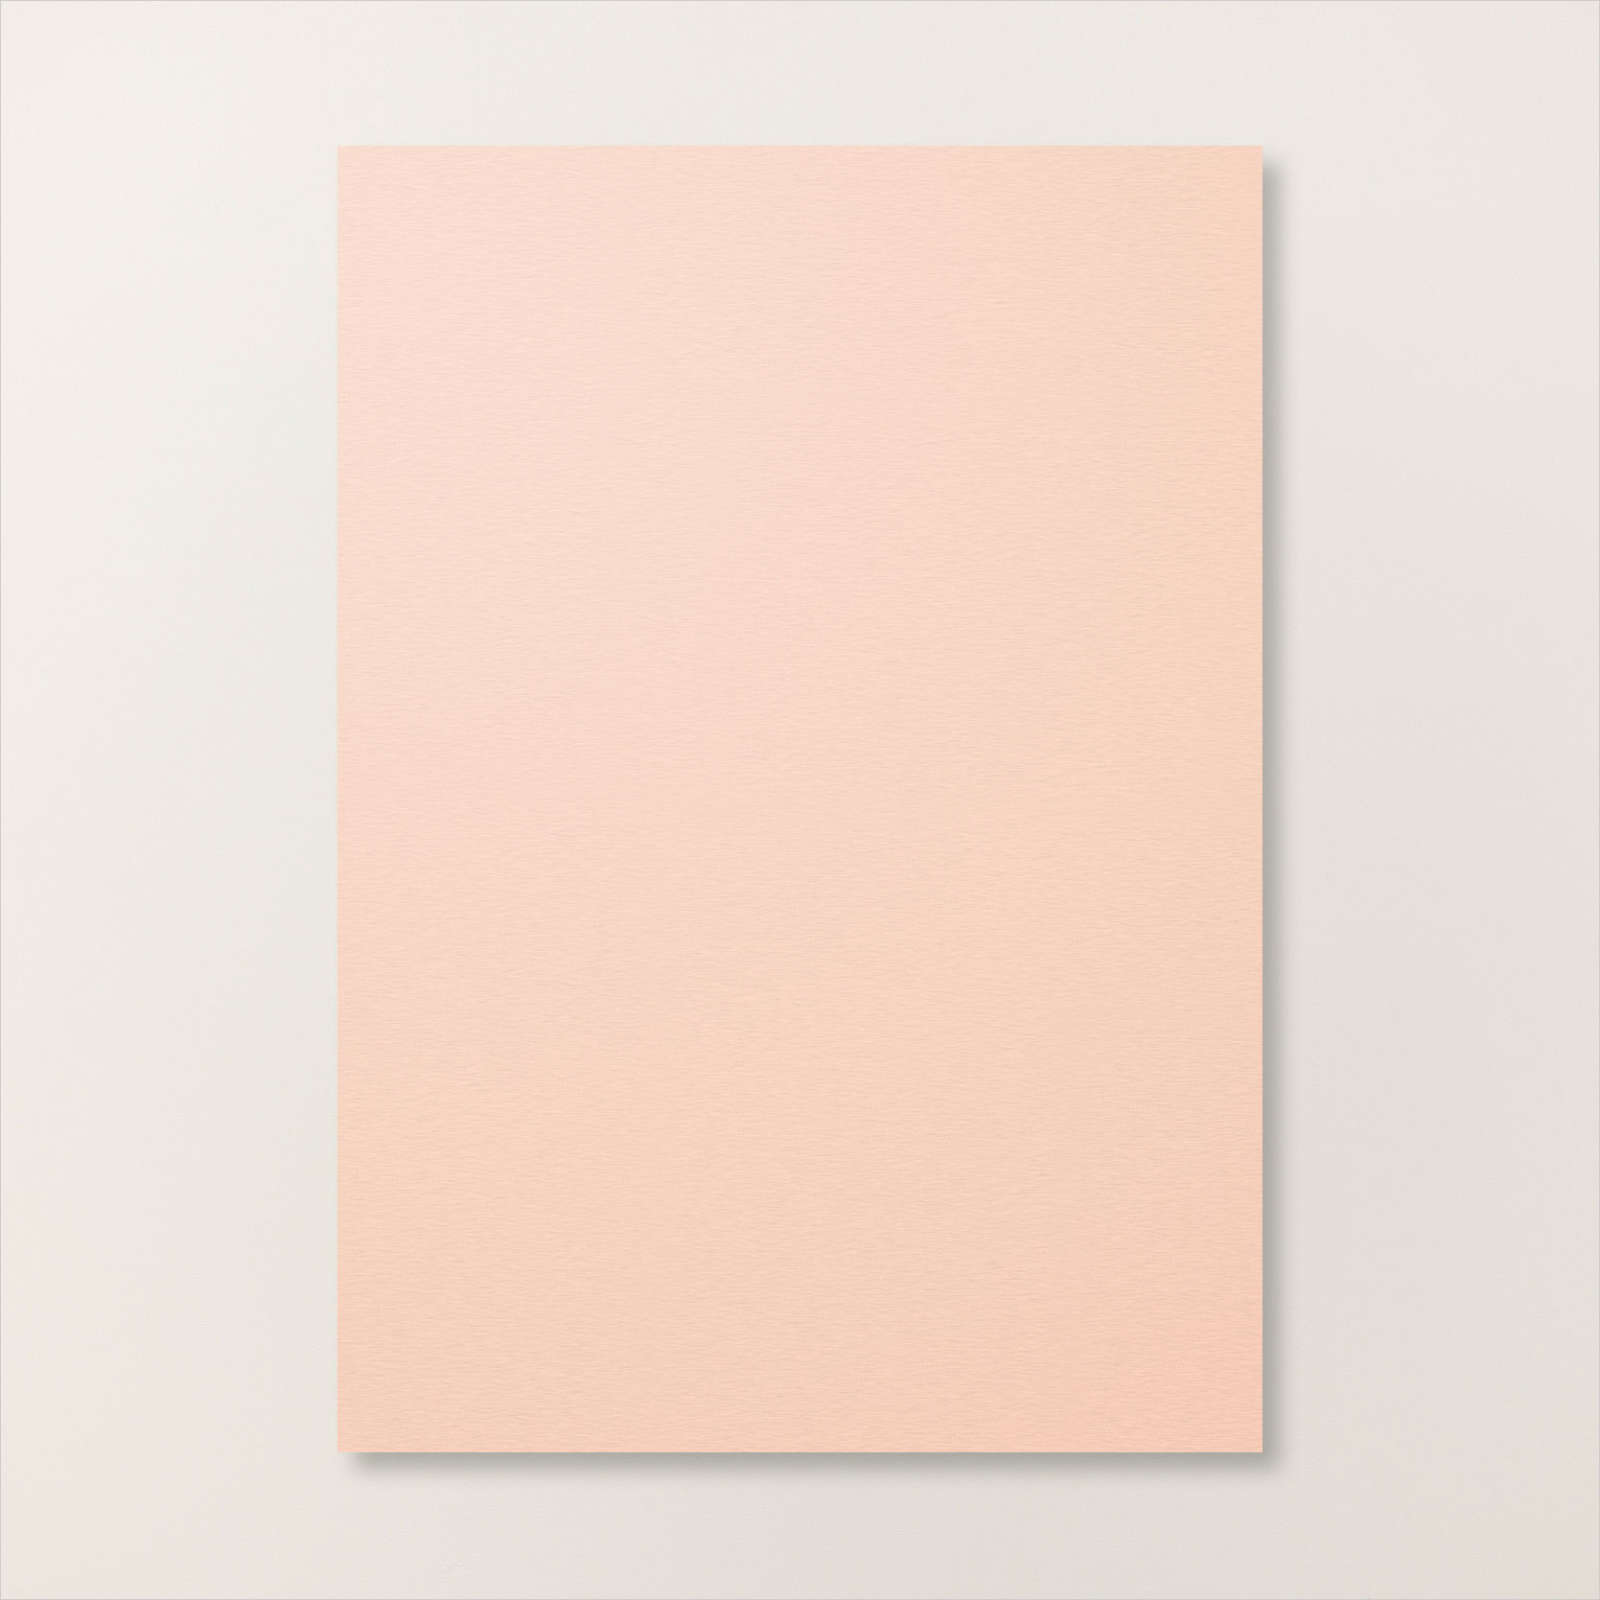
Today’s card uses the Enjoy The Rhythm stamp set which you will find in the current Annual Catalogue. I cut Petal Pink card to create my base panel pieces for this card. I embossed panels of Basic White card using the striped folder from the Stripes and Splatters 3D Embossing Folders and attached them to the card base and the folding panel of the card. I embossed Basic White card using the splatters folder from the Stripes and Splatters 3D Embossing Folder which I attached to Blackberry Bliss and them Petal Pink card to create the front panel.

I stamped the drum kit image from the Enjoy The Rhythm stamp set onto Basic White card using Memento Tuxedo Black ink. I coloured the image using Blackberry Bliss, Smoky Slate and Light Basic Black Stampin’ Blends. The image panel is attached to Blackberry Bliss card and then the card front.

I stamped “happy birthday” from the Enjoy The Moment stamp set onto Basic White card using Blackberry Bliss ink. I used the Double Oval Punch to cut out the greeting. I punched Blackberry Bliss card using the Double Oval Punch to create the scalloped oval. The ovals are attached together and then to the card front using dimensionals. To decorate the inside of the card, I stamped the greeting from the Enjoy The Rhythm stamp set onto Basic White card using Blackberry Bliss ink. I love this fancy fold and love that you can use it with just about any stamp set you own.
Bye for now,
Kris
Product Used:


Christmas 1966
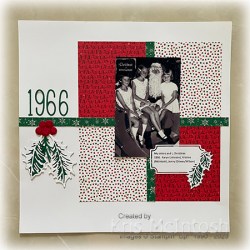
Today’s page shows off a photo of myself with my sisters way back in 1966. I have used some retired and some current product on this page. I cut four pieces of retired Santa Express 12″ x 12″ Designer Series Paper and attached them to the right hand side of a Basic White 12″ x 12″ page. I cut a couple of strips of the same Designer Series Paper and attached them across the joins in the paper squares. I cut the title from Shaded Spruce card using the Alphabet A La Mode Dies and attached it to the left hand side of the page. I cut Basic White card and Shaded Spruce card using the leaf dies from the retired Holly Berry Dies.

I attached the detailed leaves to the solid leaves and attached them to the left hand side of the page. I cut the stem image from Shaded Spruce card using the Holly Berry Die and attached it over the leaves. I die cut the berry image from Real Red card using the Holly Berry Dies and stamped the detailed image from the Leaves of Holly stamp set over the die cut. The die cut is attached over the leaf stems. I die cut the label image from Basic White card and the shadow leaf image from Shaded Spruce card using the Holly Berry Die. I printed the journaling onto the die cut and attached the Shaded Spruce leaf image. I attached the label below the photo on the right hand side of the page. Another simple page but I am all about getting the photos into my albums so that my children and grandchildren (and myself) can enjoy them.
Bye for now,
Kris
Product Used:


Online Exlusive
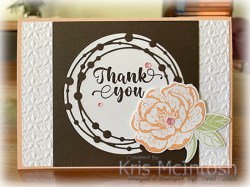
Yesterday saw the launch of a new way to purchase exclusive Stampin’ Up! products. These products will only be available online. They will never appear in any catalogue! These products will not have a specific retirement date, some will be re-ordered, some will be only while stock is available. You can search for this product here in my online store. Of course as a demonstrator I was able to purchase some of these new exclusive products early. So today I have another card to share using the Irresistible Blooms Bundle which I shared on my Facebook Live yesterday. I embossed a piece of Basic White card using one of the folders from the Basics 3D Embossing Folders.
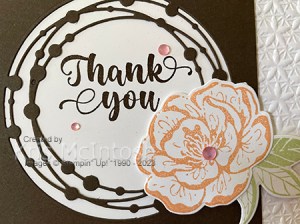
These folders are part of the Online Exclusive product and are sold as a set of three, all of which are absolutely lovely. The embossed Basic White panel is attached to scored and folded Petal Pink card. I cut a piece of Early Espresso card using the circle die from the Irresistible Blooms Dies. I attached the panel to Basic White card and stamped the greeting from the Irresistible Blooms stamp set inside the Early Espresso frame using Early Espresso ink. The panel is attached to the card front. I stamped the large flower from the Irresistible Blooms stamp set onto Basic White card using Petal Pink ink. I also stamped one of the leaf images from the same stamp set onto Basic White card using Soft Sea Foam ink.

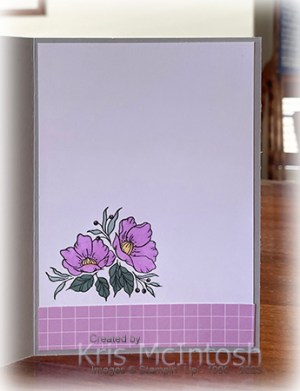
The images were cut out using the co-ordinating Irresistible Blooms Dies. I attached the flower and leaves to the card front using dimensionals. I added three pink Loose Frosted Dots to the card front as well. These Loose Frosted Dots are not self adhesive, so I added a small dot of Multipurpose Glue to the card front and added the Frosted Dots over the top. To decorate the inside of the card I stamped the large flower from the Irresistible Blooms stamp set onto the lower left hand corner of Basic White card using Petal Pink ink. I stamped the leaf image from the same stamp set next to the flower using Soft Sea Foam ink. I just know that you are going to love the Irresistible Blooms Bundle and the gorgeous Basic 3D Embossing Folders. I cannot wait to get my hands on some of the other product available. So why don’t you check them out here in my Online Store.
Bye for now,
Kris
Product Used:


Birthday Florets

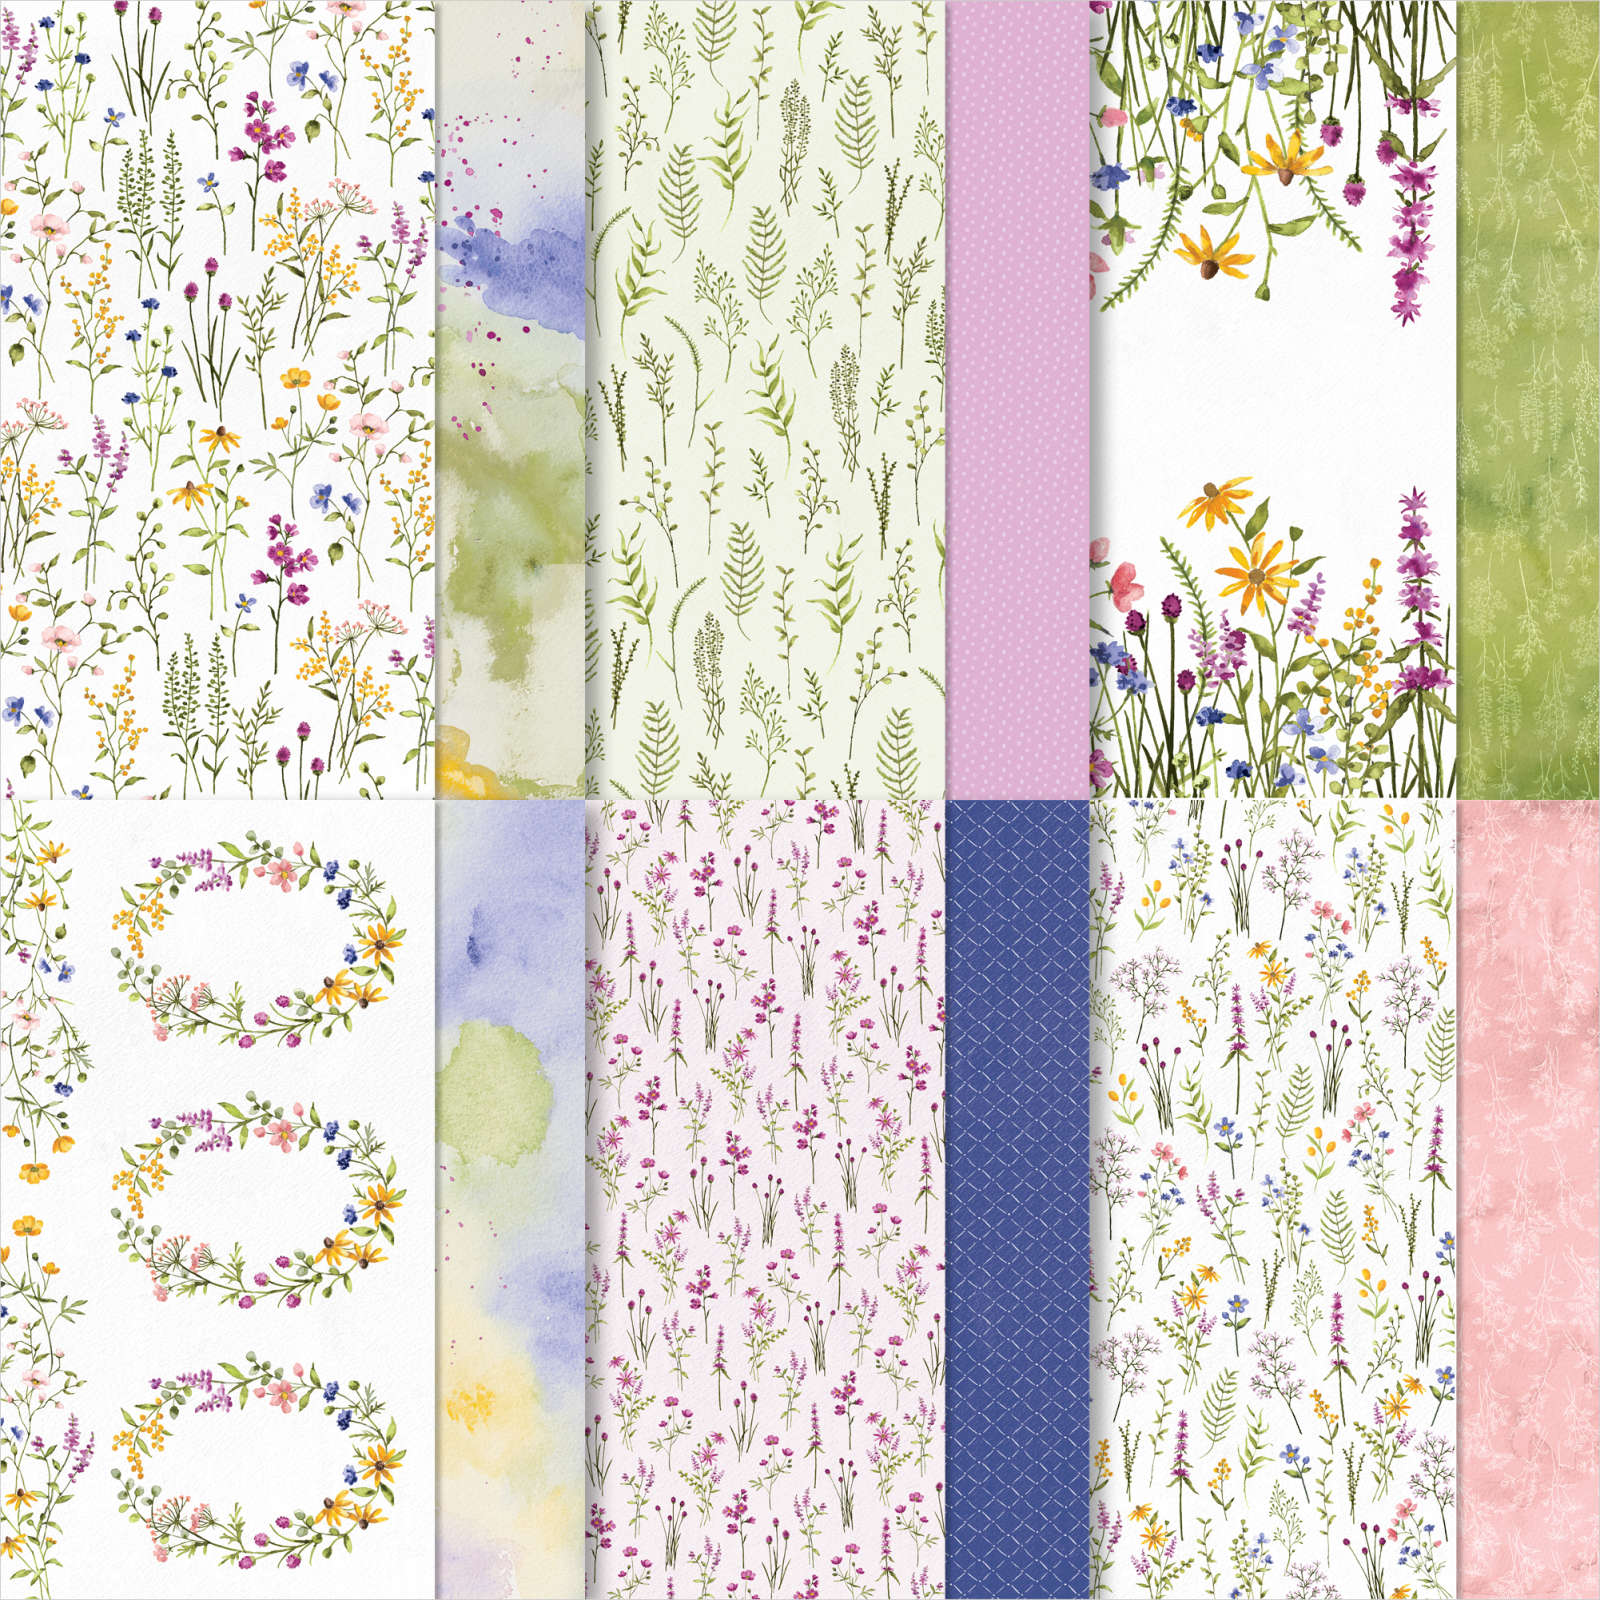
Today’s card is one I created for a special lady who recently celebrated a birthday. I stamped the greeting from the Peaceful Moment stamp set onto the lower right hand corner of Basic White card using Smoky Slate ink before embossing the panel using the Quatrefoil Tile Embossing Folder. I attached two different patterns of Dandy Designs 12″ x 12″ Designer Series Paper to the embossed card before attaching the whole panel to scored and folded Smoky Slate card. I cut Basic White card using the 2nd largest square from the Stylish Shapes Dies.

I stamped the image from the Framed Florets onto the die cut using Memento Tuxedo Black ink. I coloured the image using Fresh Freesia, Soft Succulent and Dark So Saffron Stampin’ Blends. The image panel is attached to the card front using dimensionals.
To decorate the inside of the card, I attached a narrow strip of Dandy Designs Designer Series Paper across the bottom of Basic White card. I stamped the image from the Framed Florets stamp set onto the lower left hand corner of the Basic White card using Memento Tuxedo Black ink. The image is coloured using the same Stampin’ Blends as the image on the front of the card. I really love how soft and pretty this card is, don’t you.
Bye for now,
Kris
Product Used:


