Beautiful Birthday
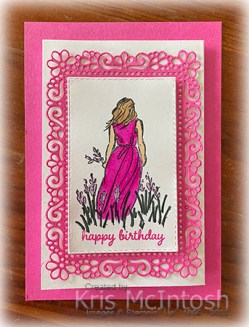
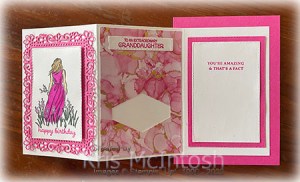
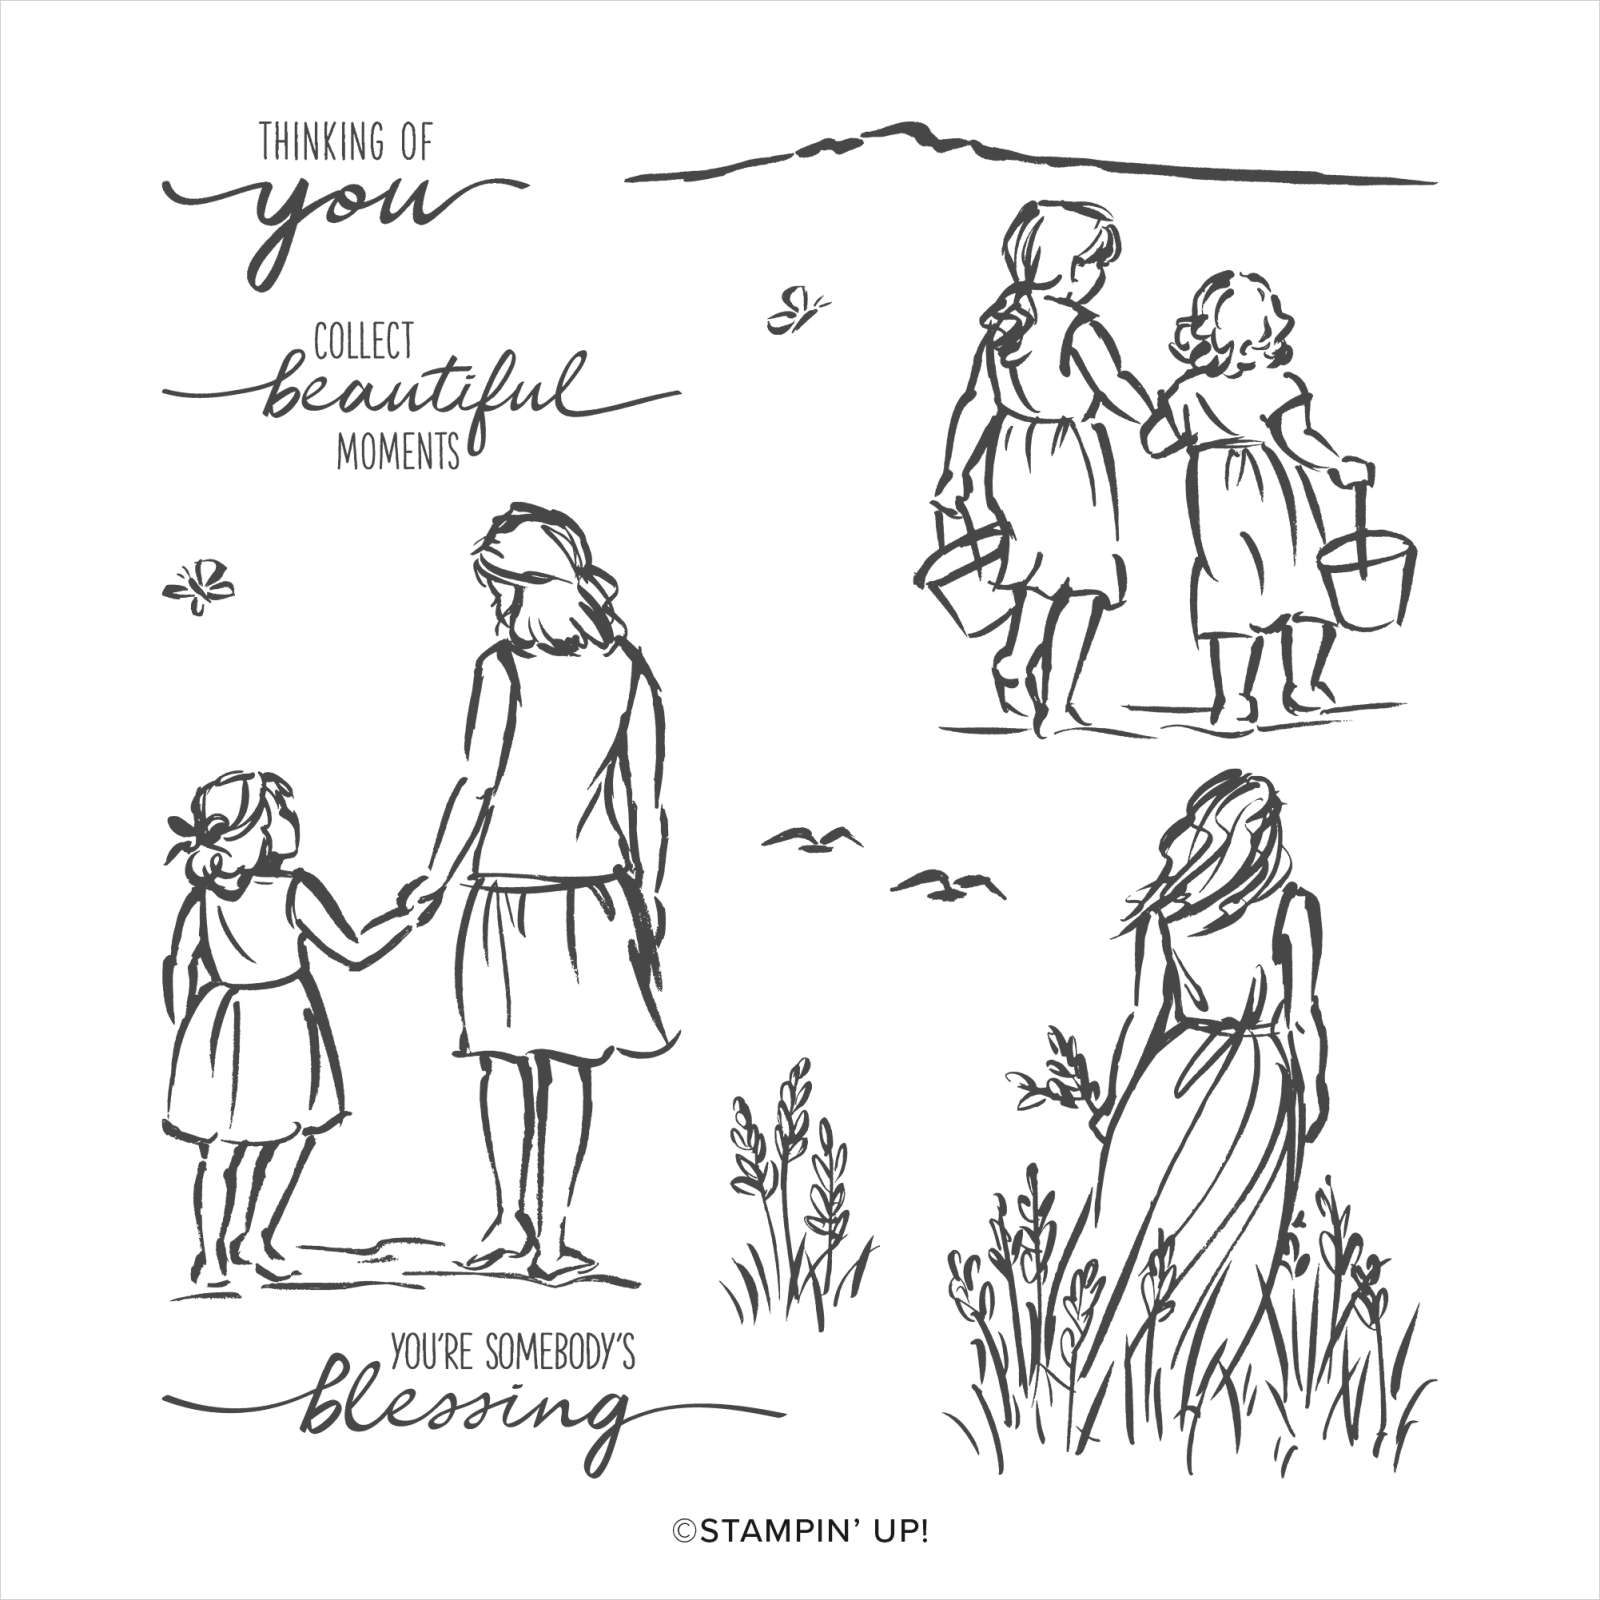
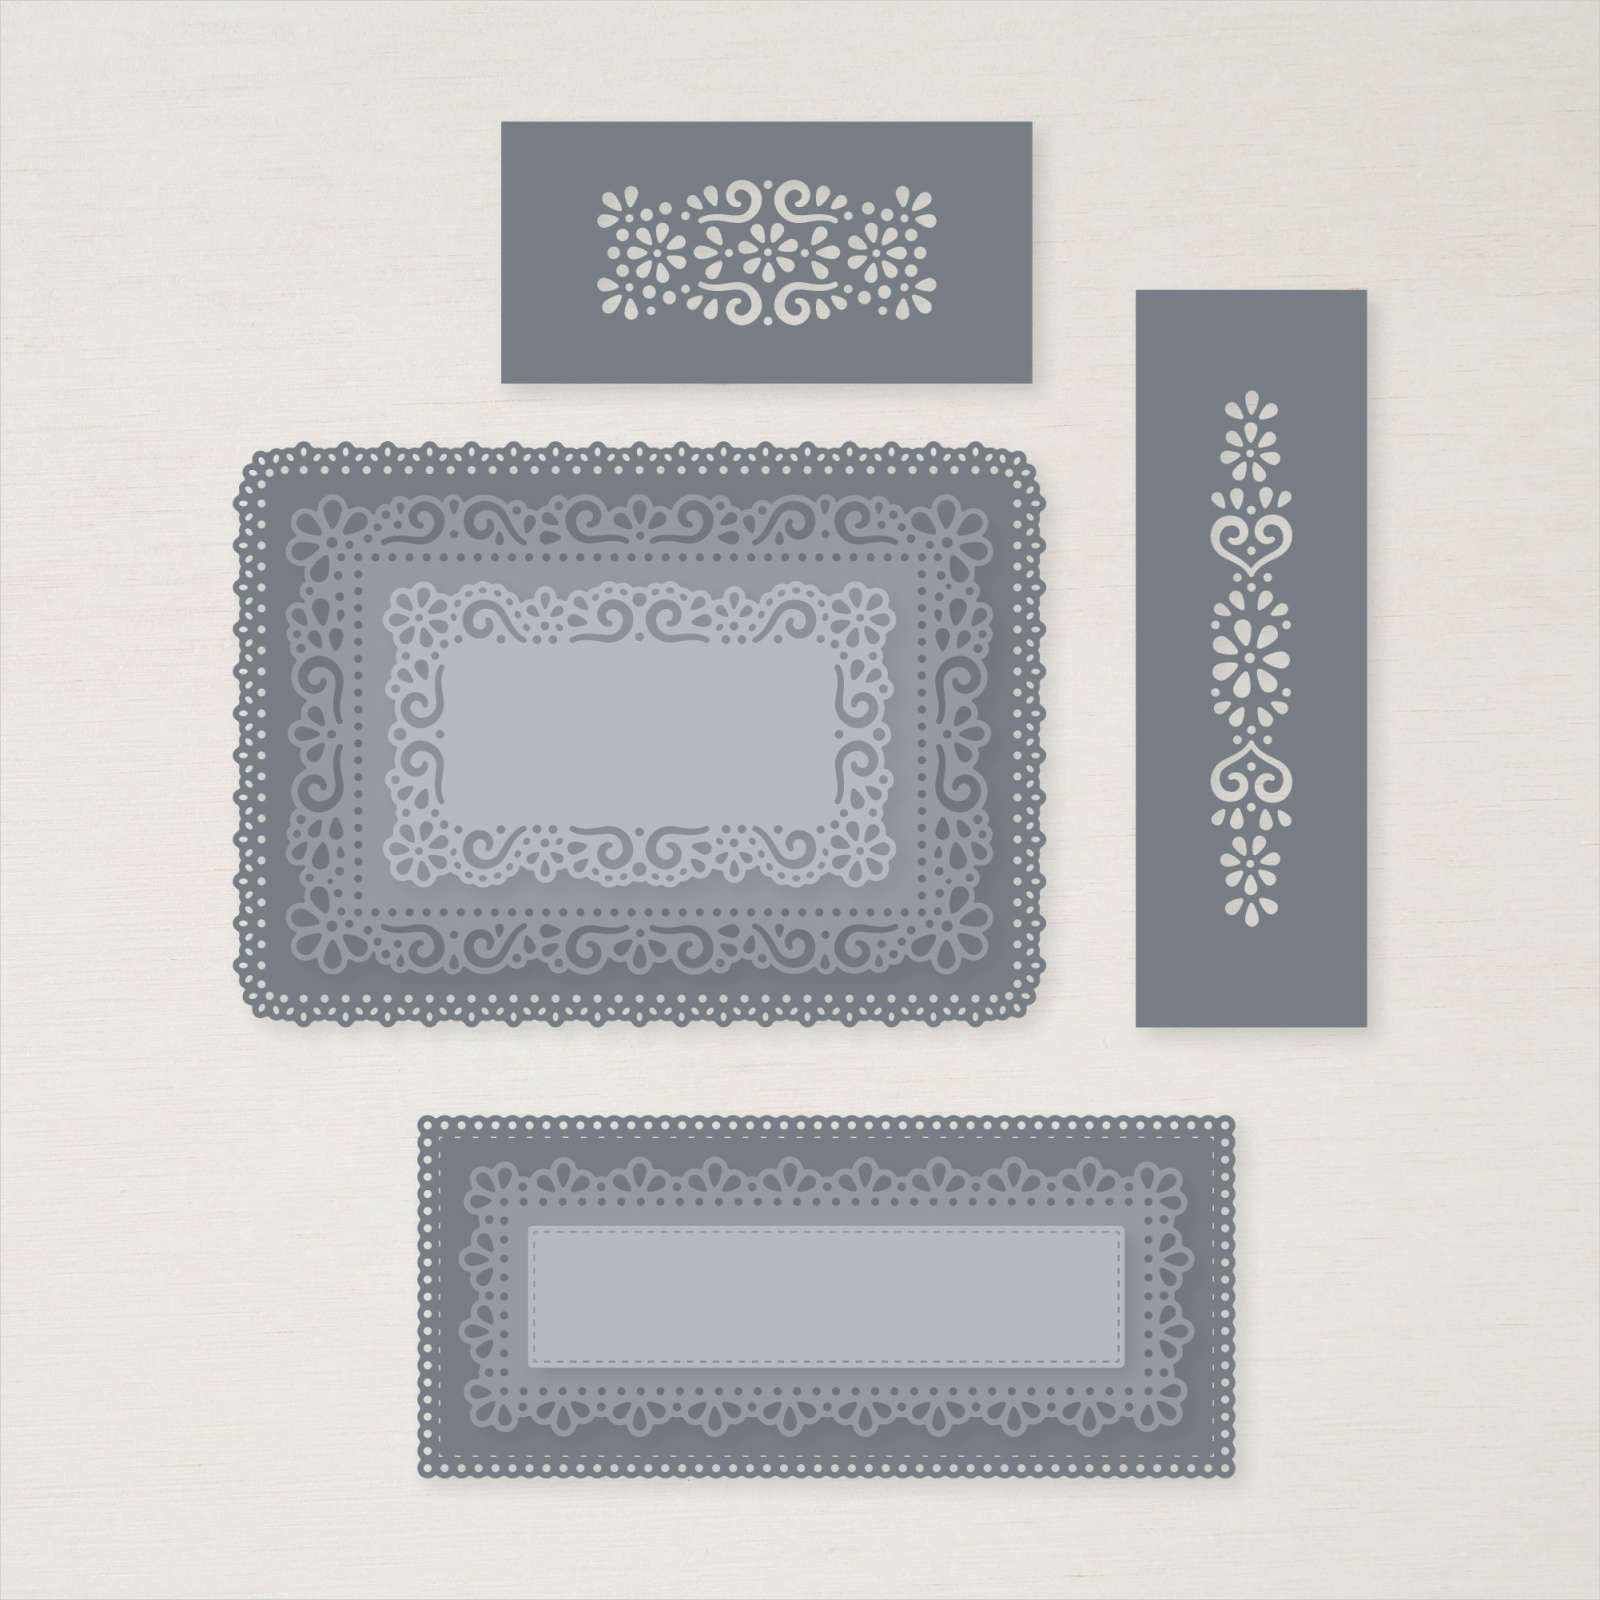
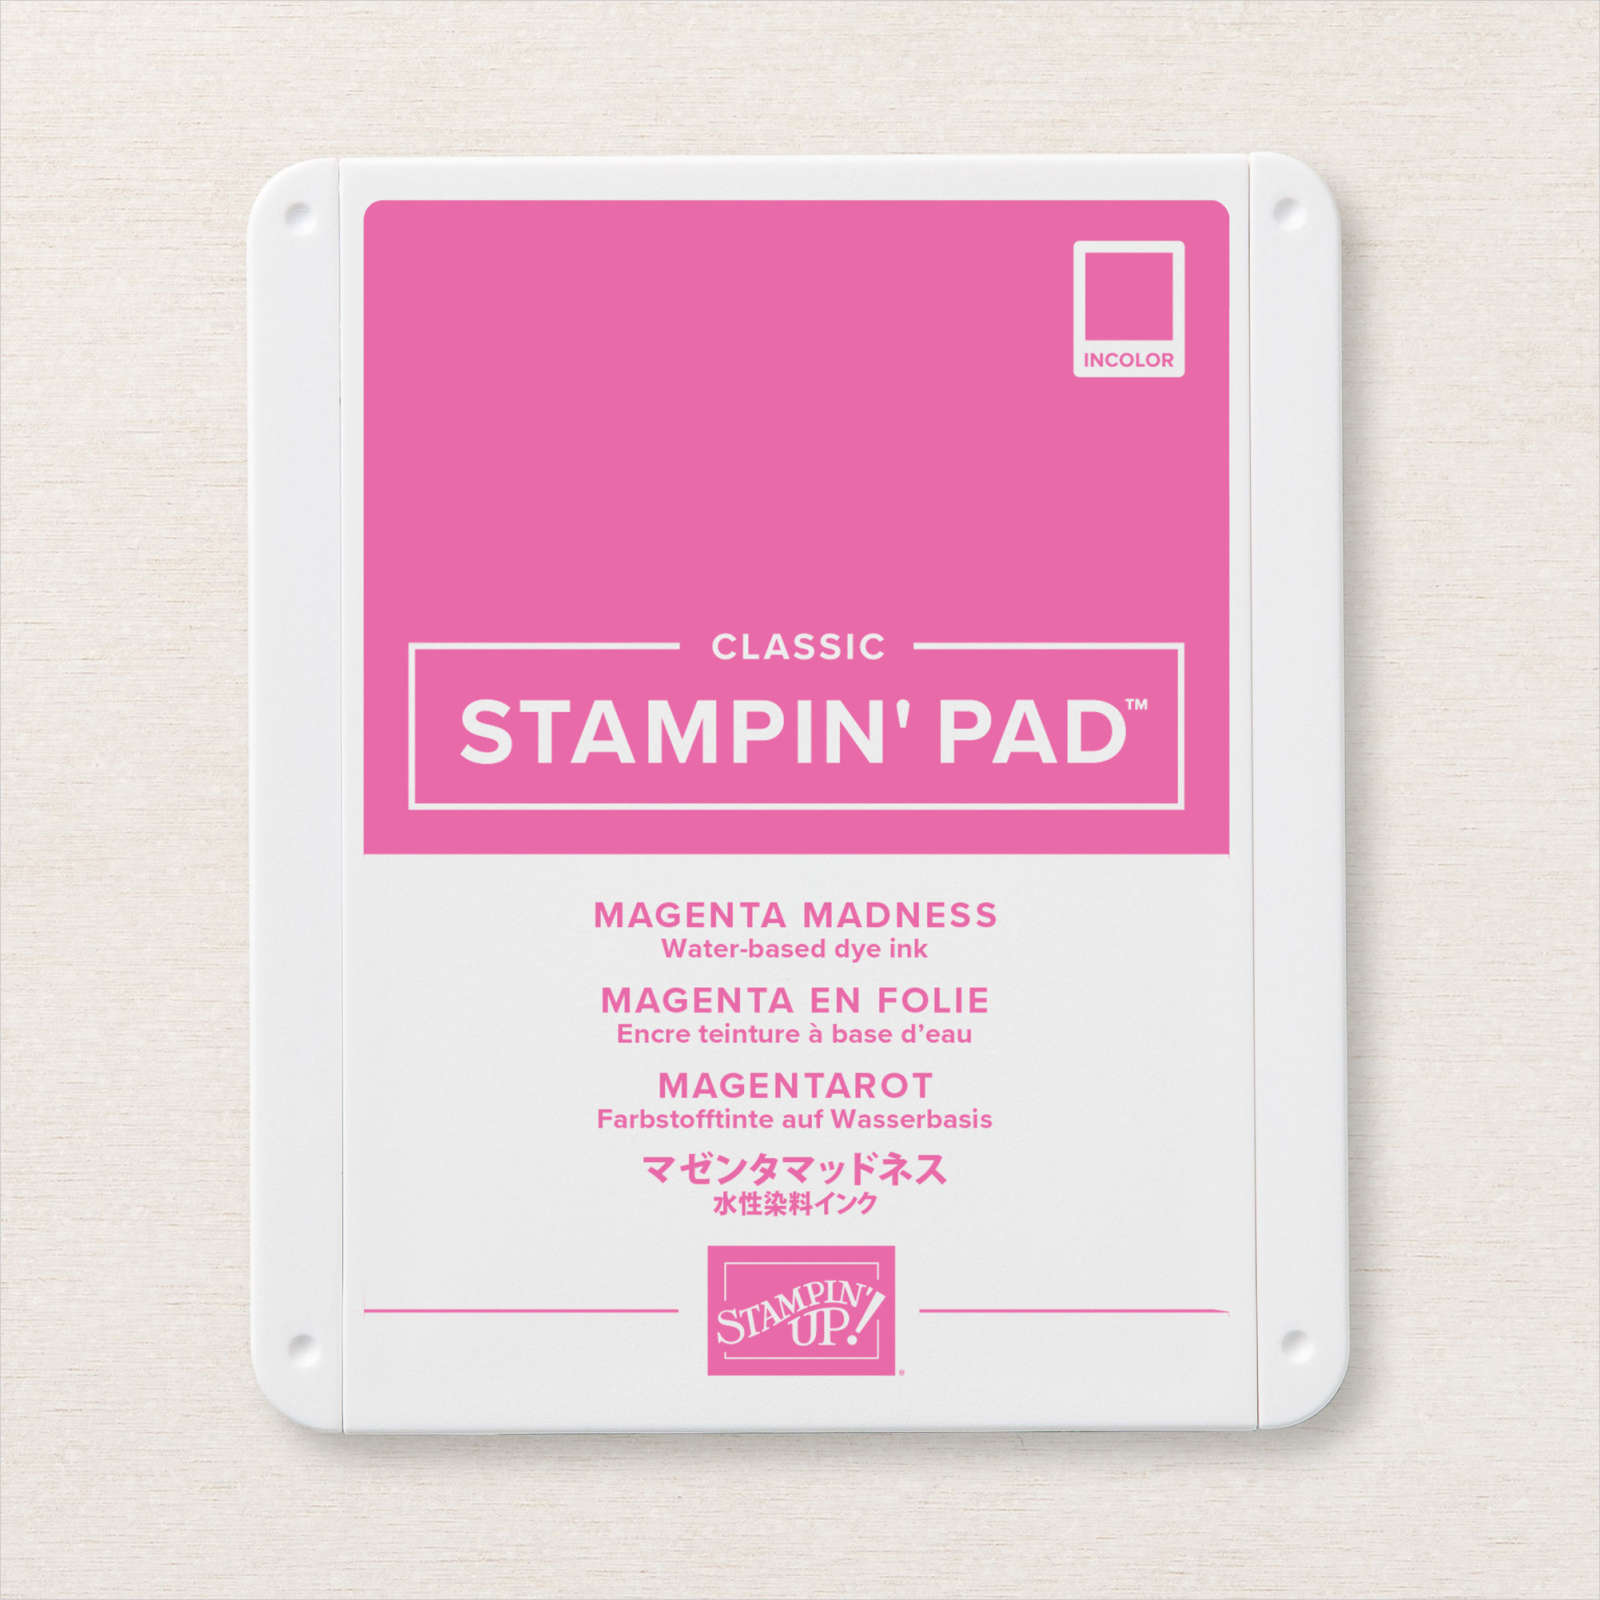
During March I have two granddaughters who celebrate their birthdays. Elyssa at the beginning of the month and Ava at the end of the month. I loved the first card I created so much, I thought I would make them both the same card in different colours. These are both gift card (or cash) holders. I cut the folding base from Basic White card and attached it to a Magenta Madness card base. To decorate the front of the card I attached a panel of Magenta Madness card which I cut using one of the Ornate Layers Dies. I stamped the image from the Beautiful Moments stamp set onto Basic White card using Memento Tuxedo Black ink.
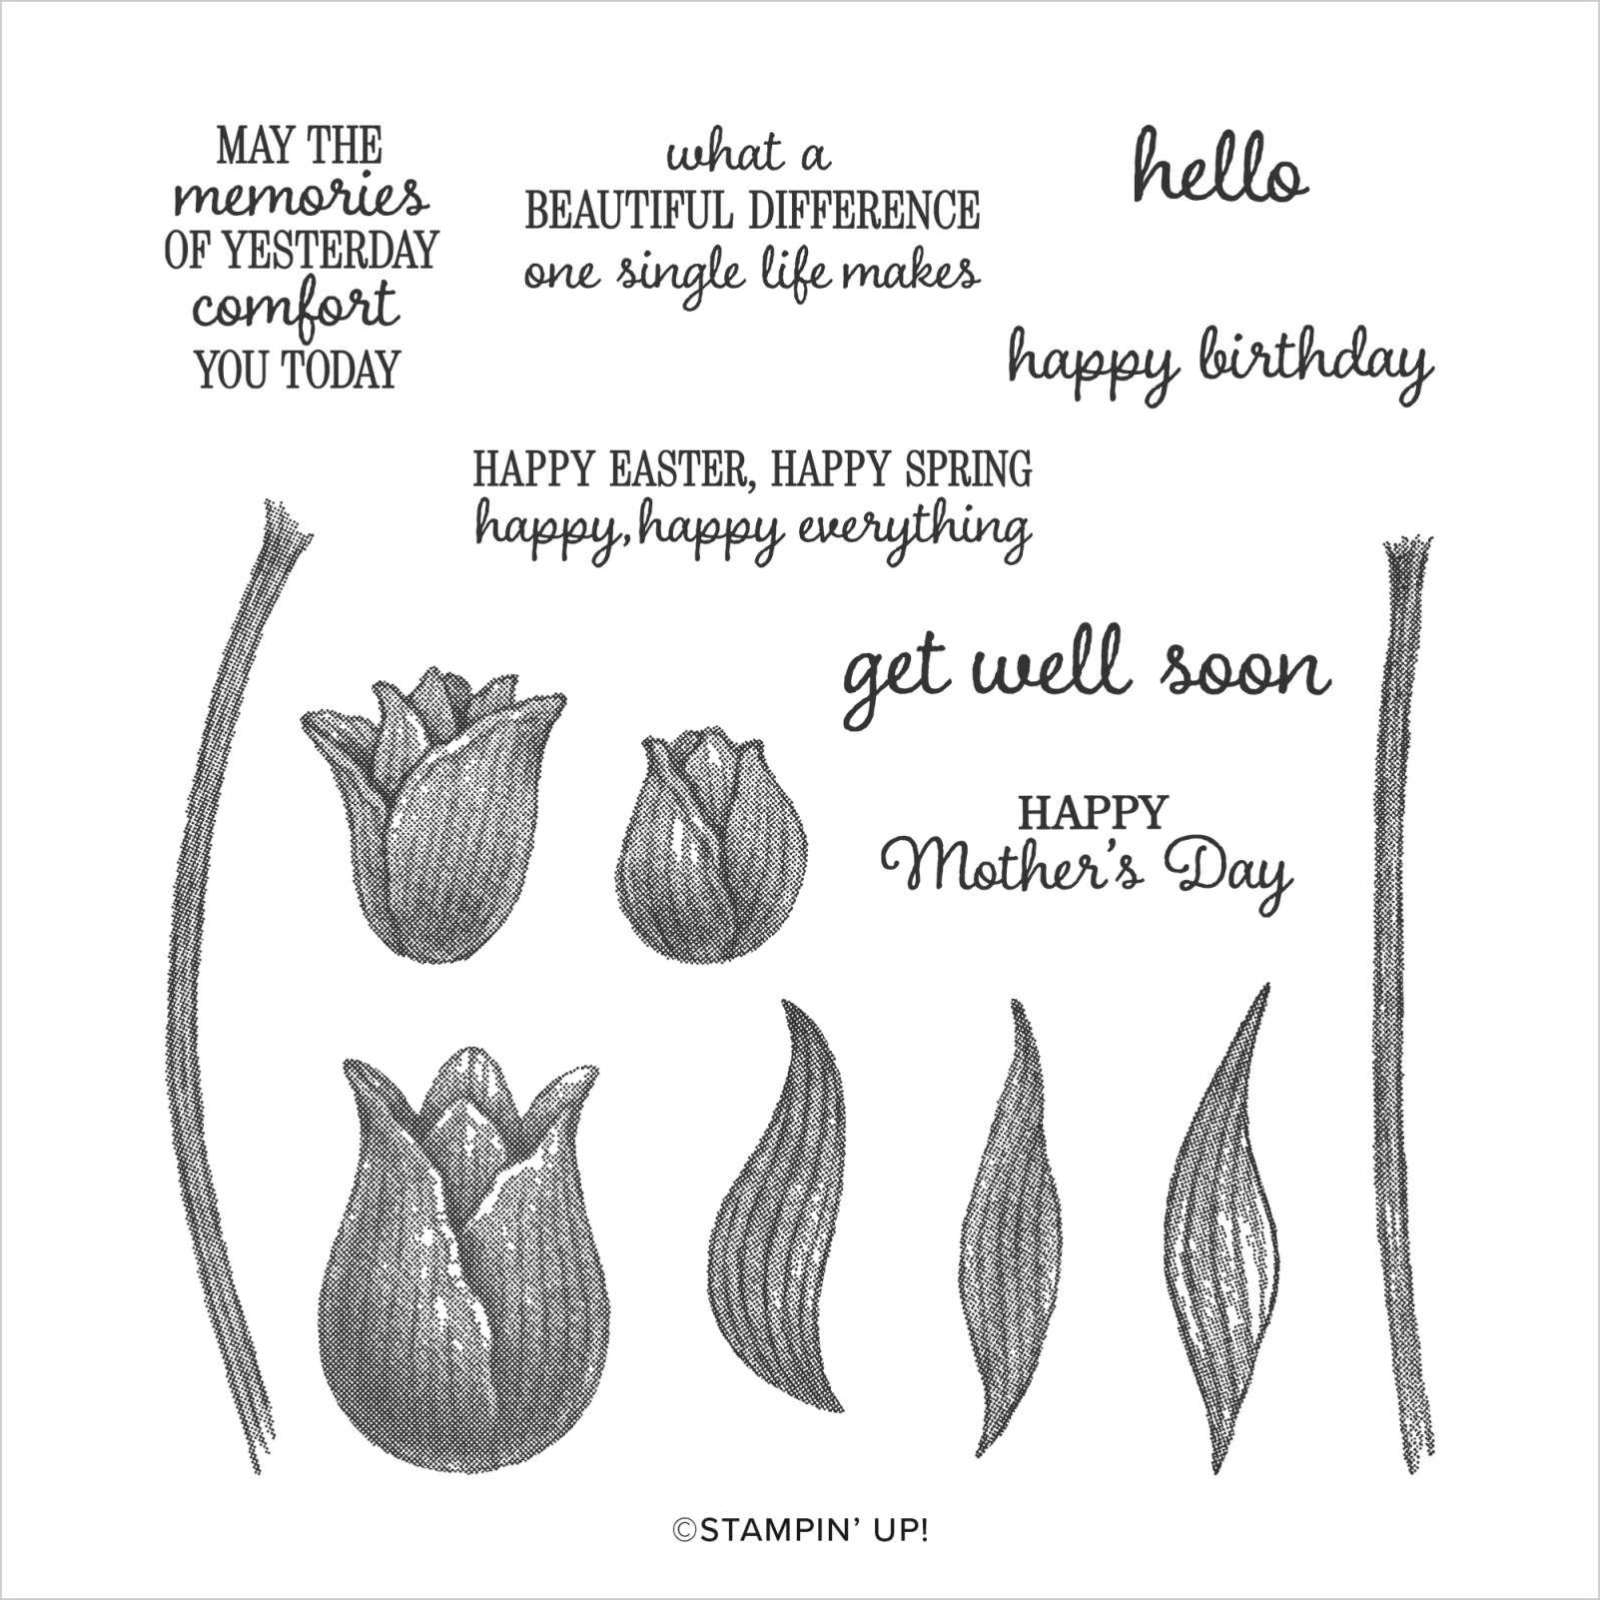
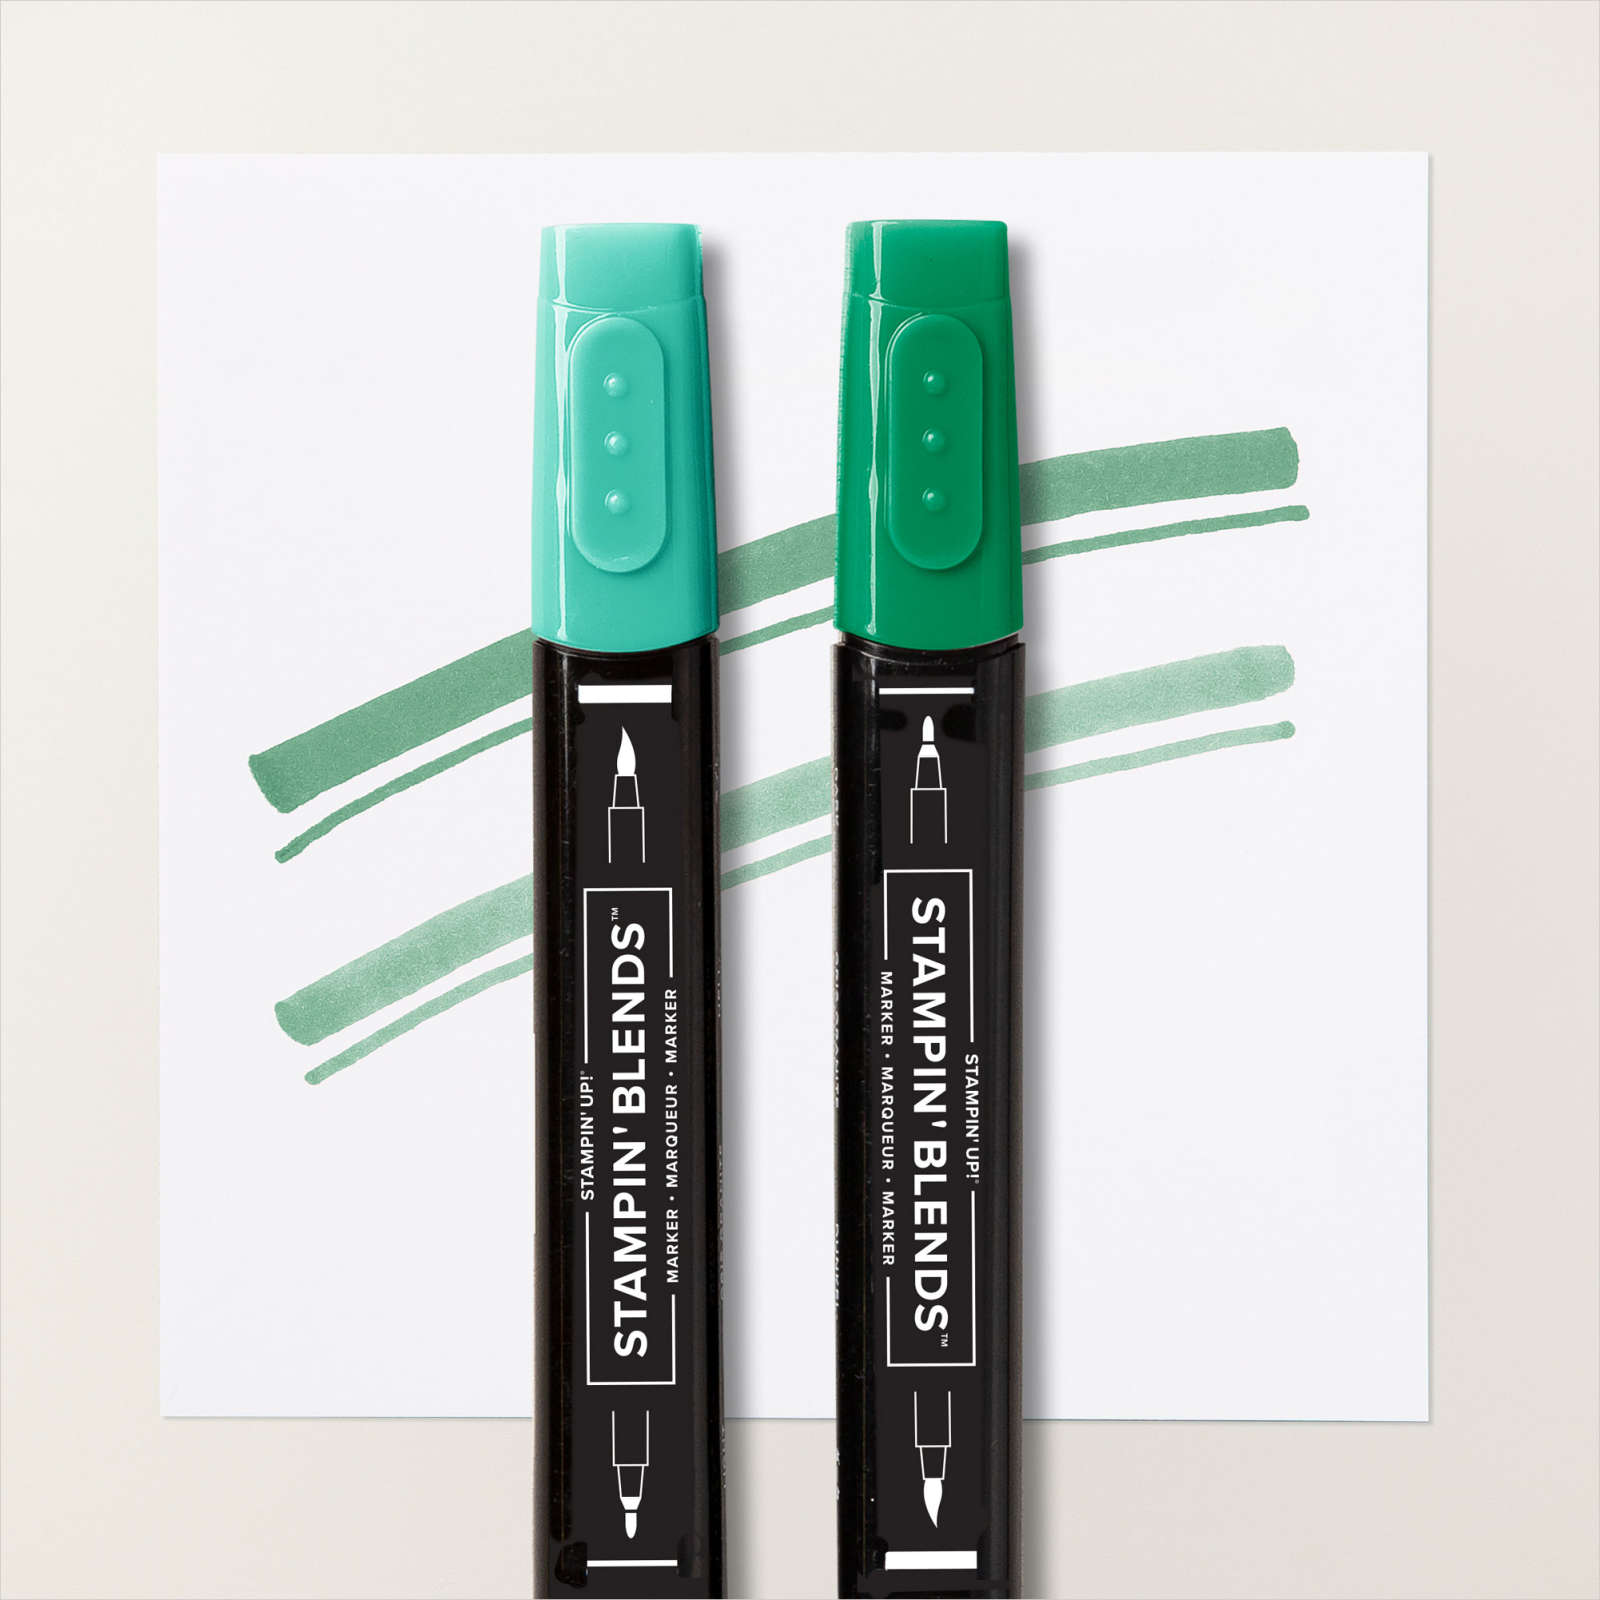
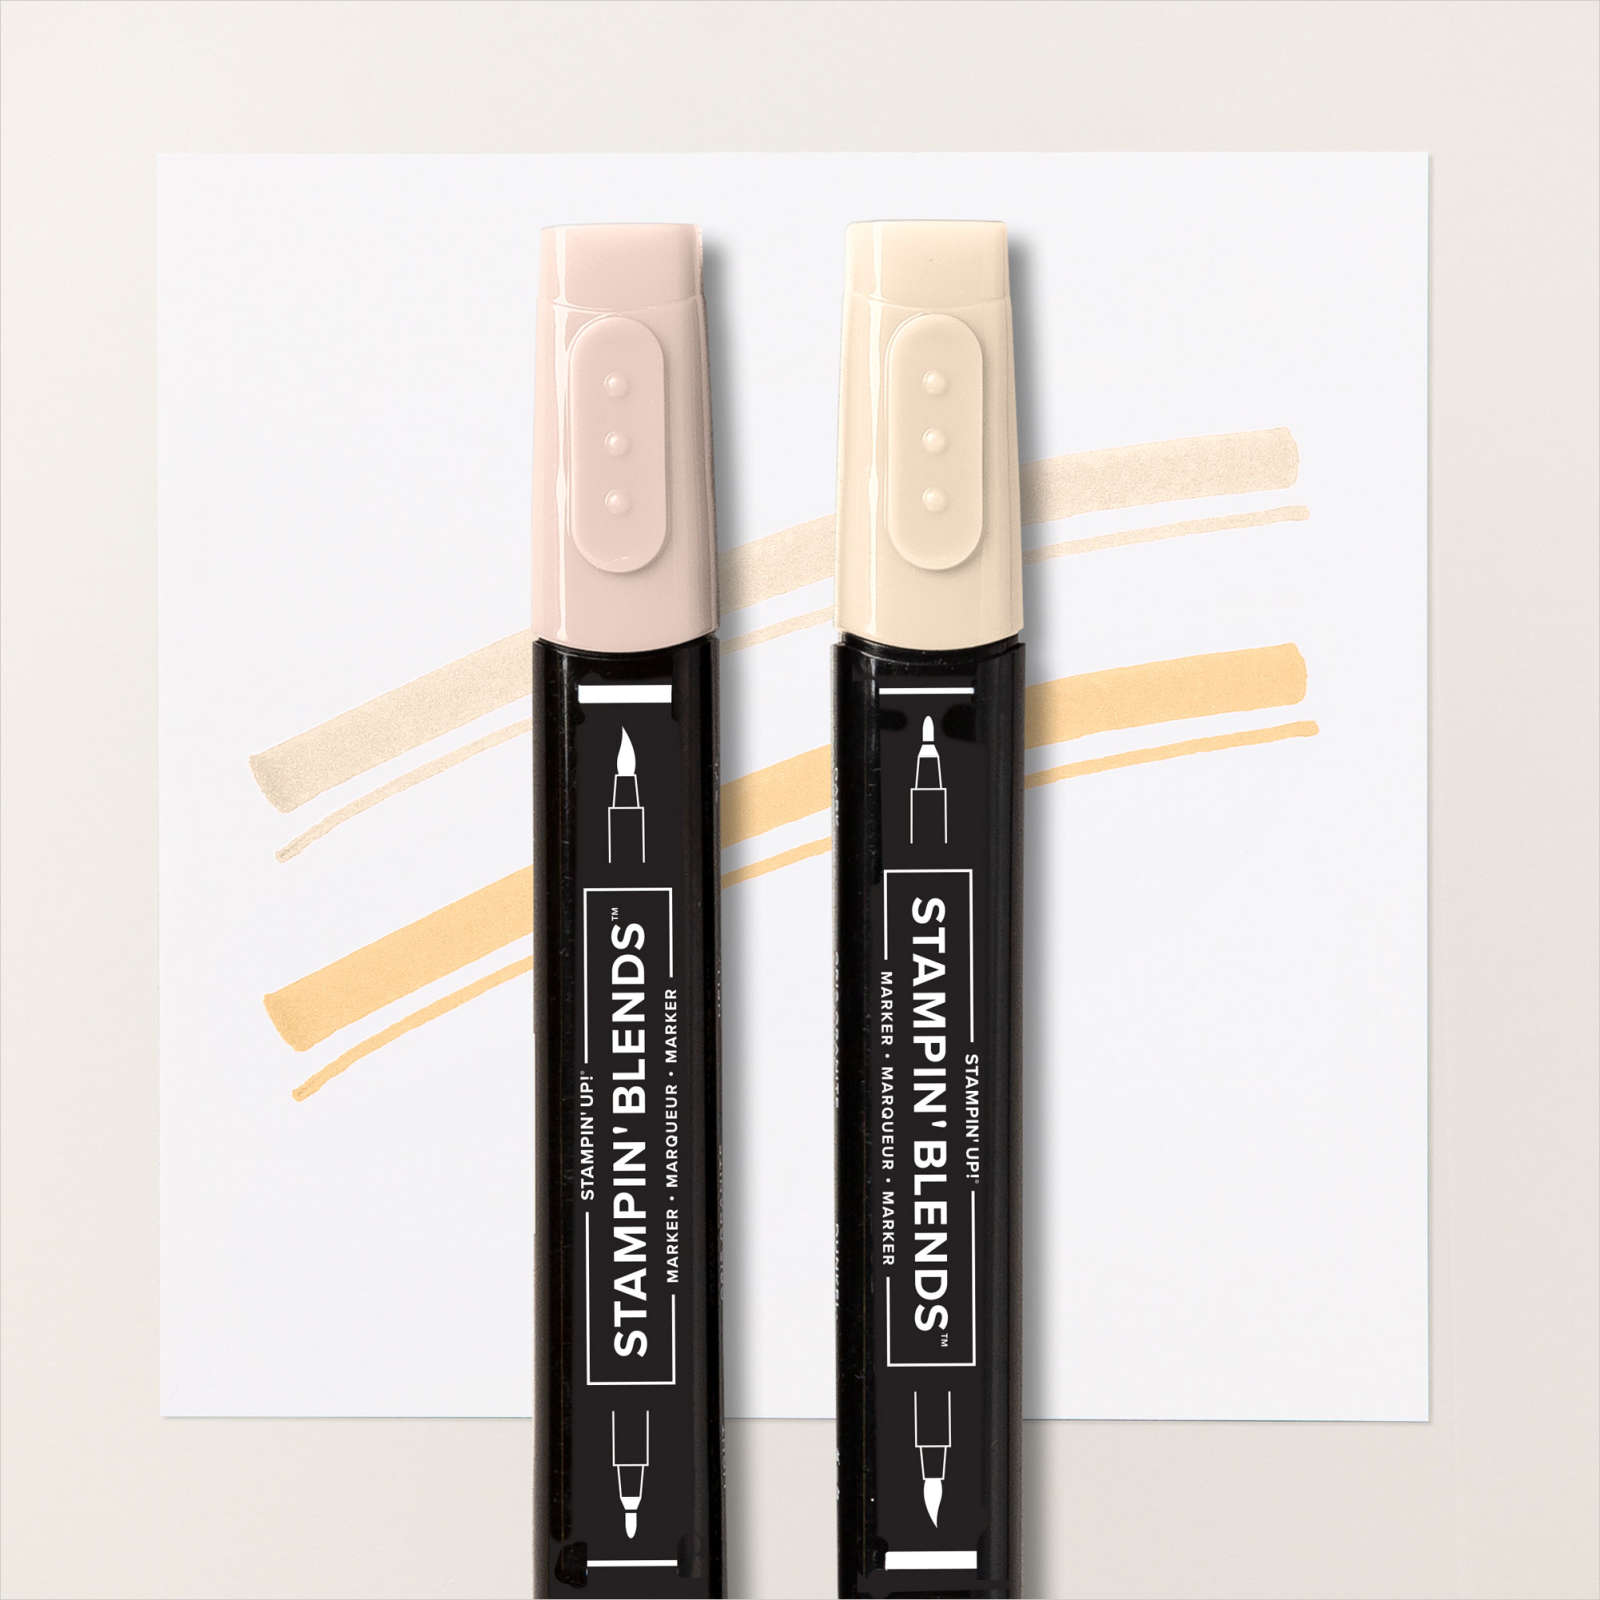
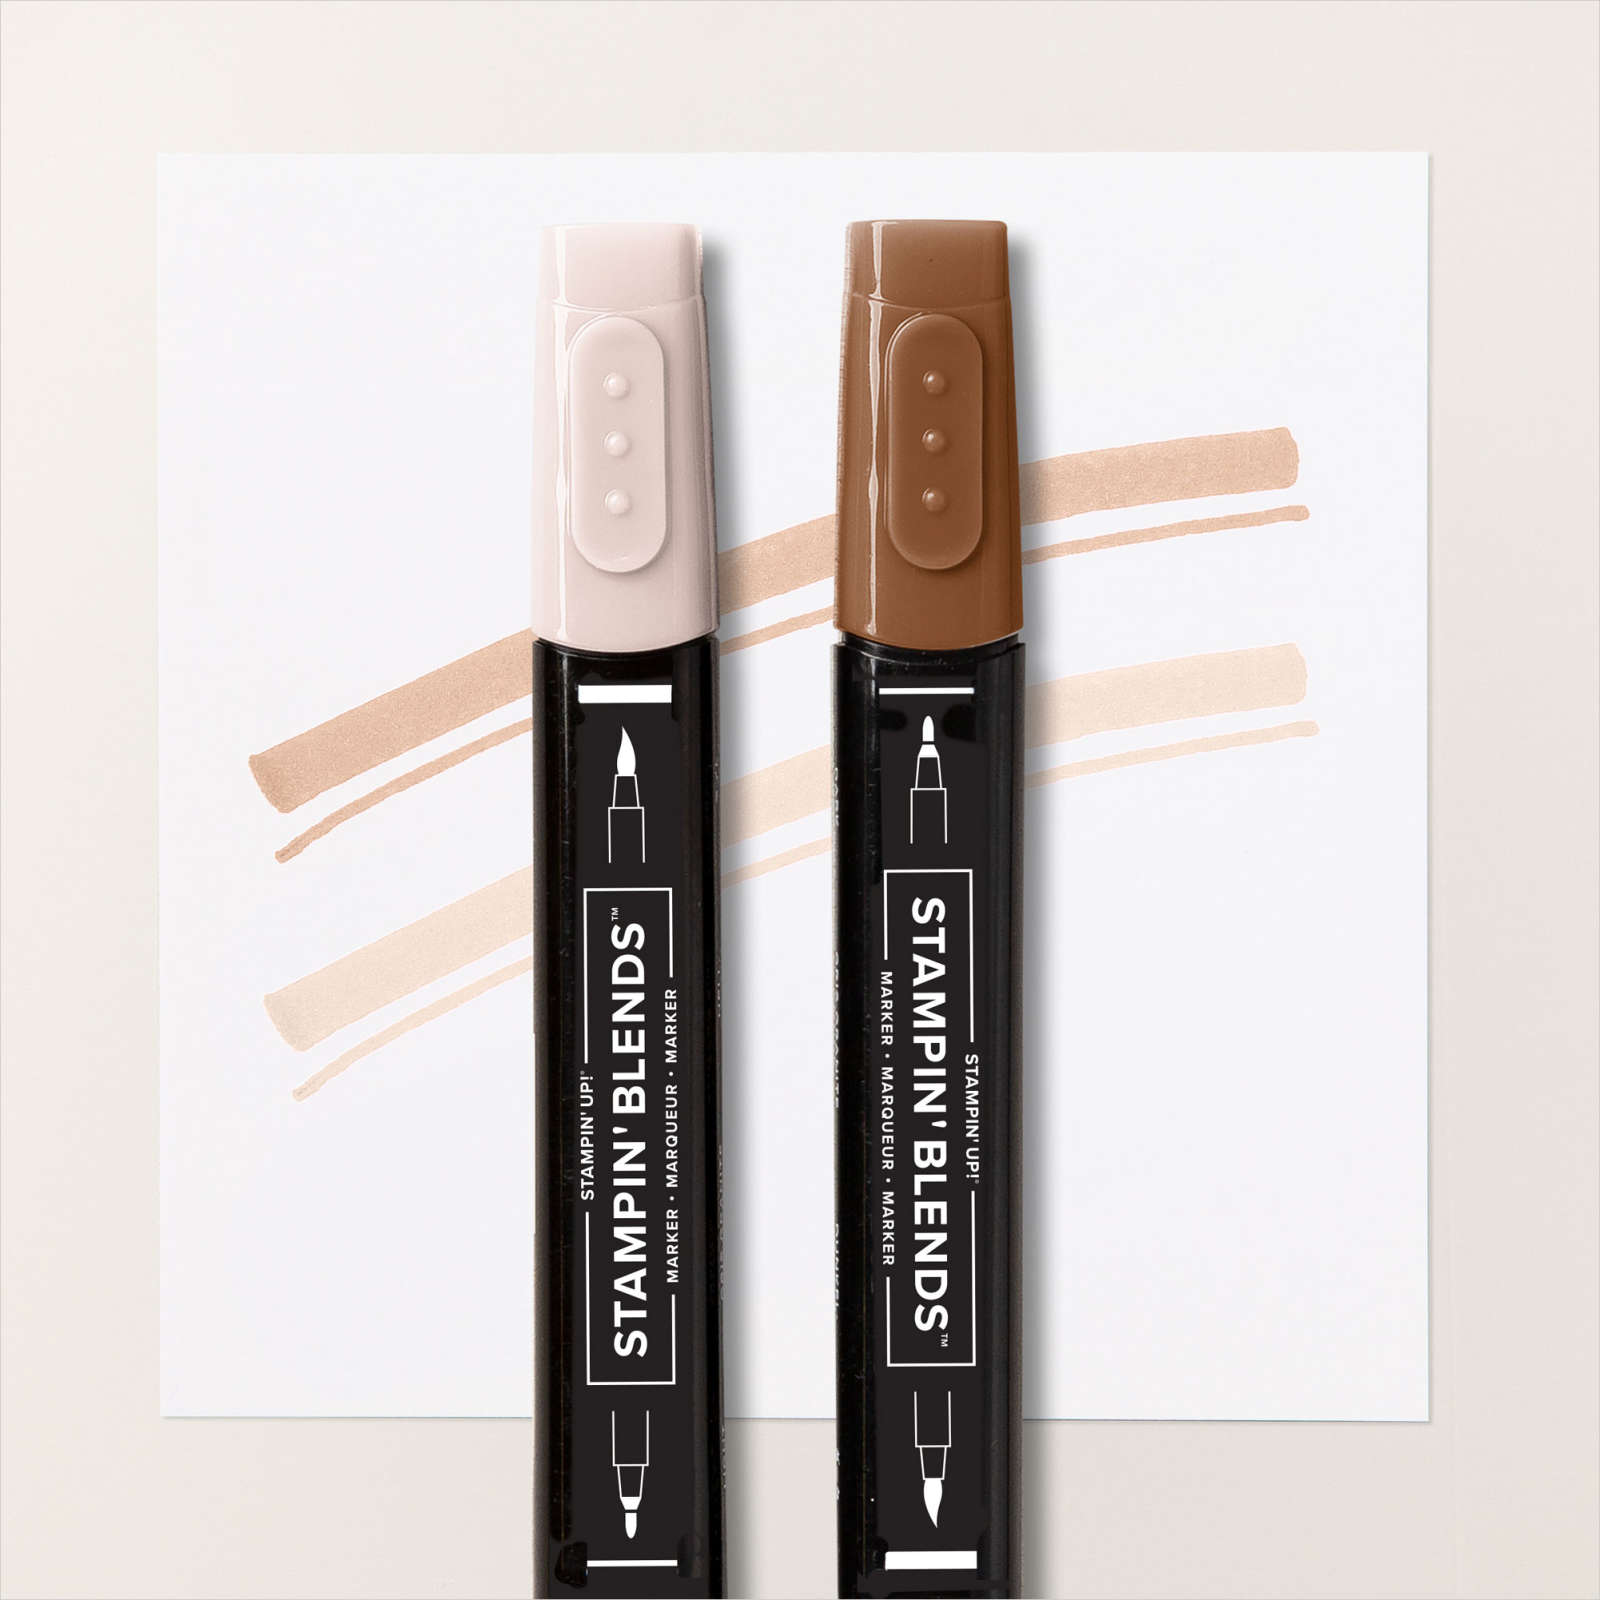
I cut it out using one of the Stitched Rectangle Dies. I coloured the image using Magenta Madness, Light Medium (light) Skin tones, Medium (dark) Skin Tones, Dark Fresh Freesia and Dark Evening Evergreen Stampin’ Blends. I stamped the “happy birthday” from the Timeless Tulips stamp set onto the bottom of the image panel using Magenta Madness ink.

The panel is attached to the centre of the die cut using dimensionals. I cut a piece of Expressions in Ink Designer Series Paper and punched the bottom edge using the Tailored Tag Punch. The panel is attached to the centre of the folding section, making sure that I can tuck my gift card (or money) into the punched out section. I stamped the greeting from the A Grand Kid stamp set onto Basic White card using Magenta Madness ink and cut it out using one of the Stitched Rectangle Dies.
The greeting is attached it to the Designer Series Paper. To decorate the last panel I cut Basic White card using one of the Stitched Rectangle Dies and stamped the greeting from the retired Strong & Beautiful Stamp set using Magenta Madness ink. The panel is attached to a slightly larger Magenta Madness stitched rectangle.
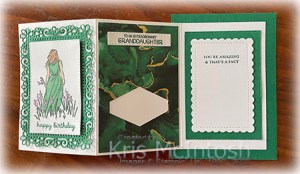
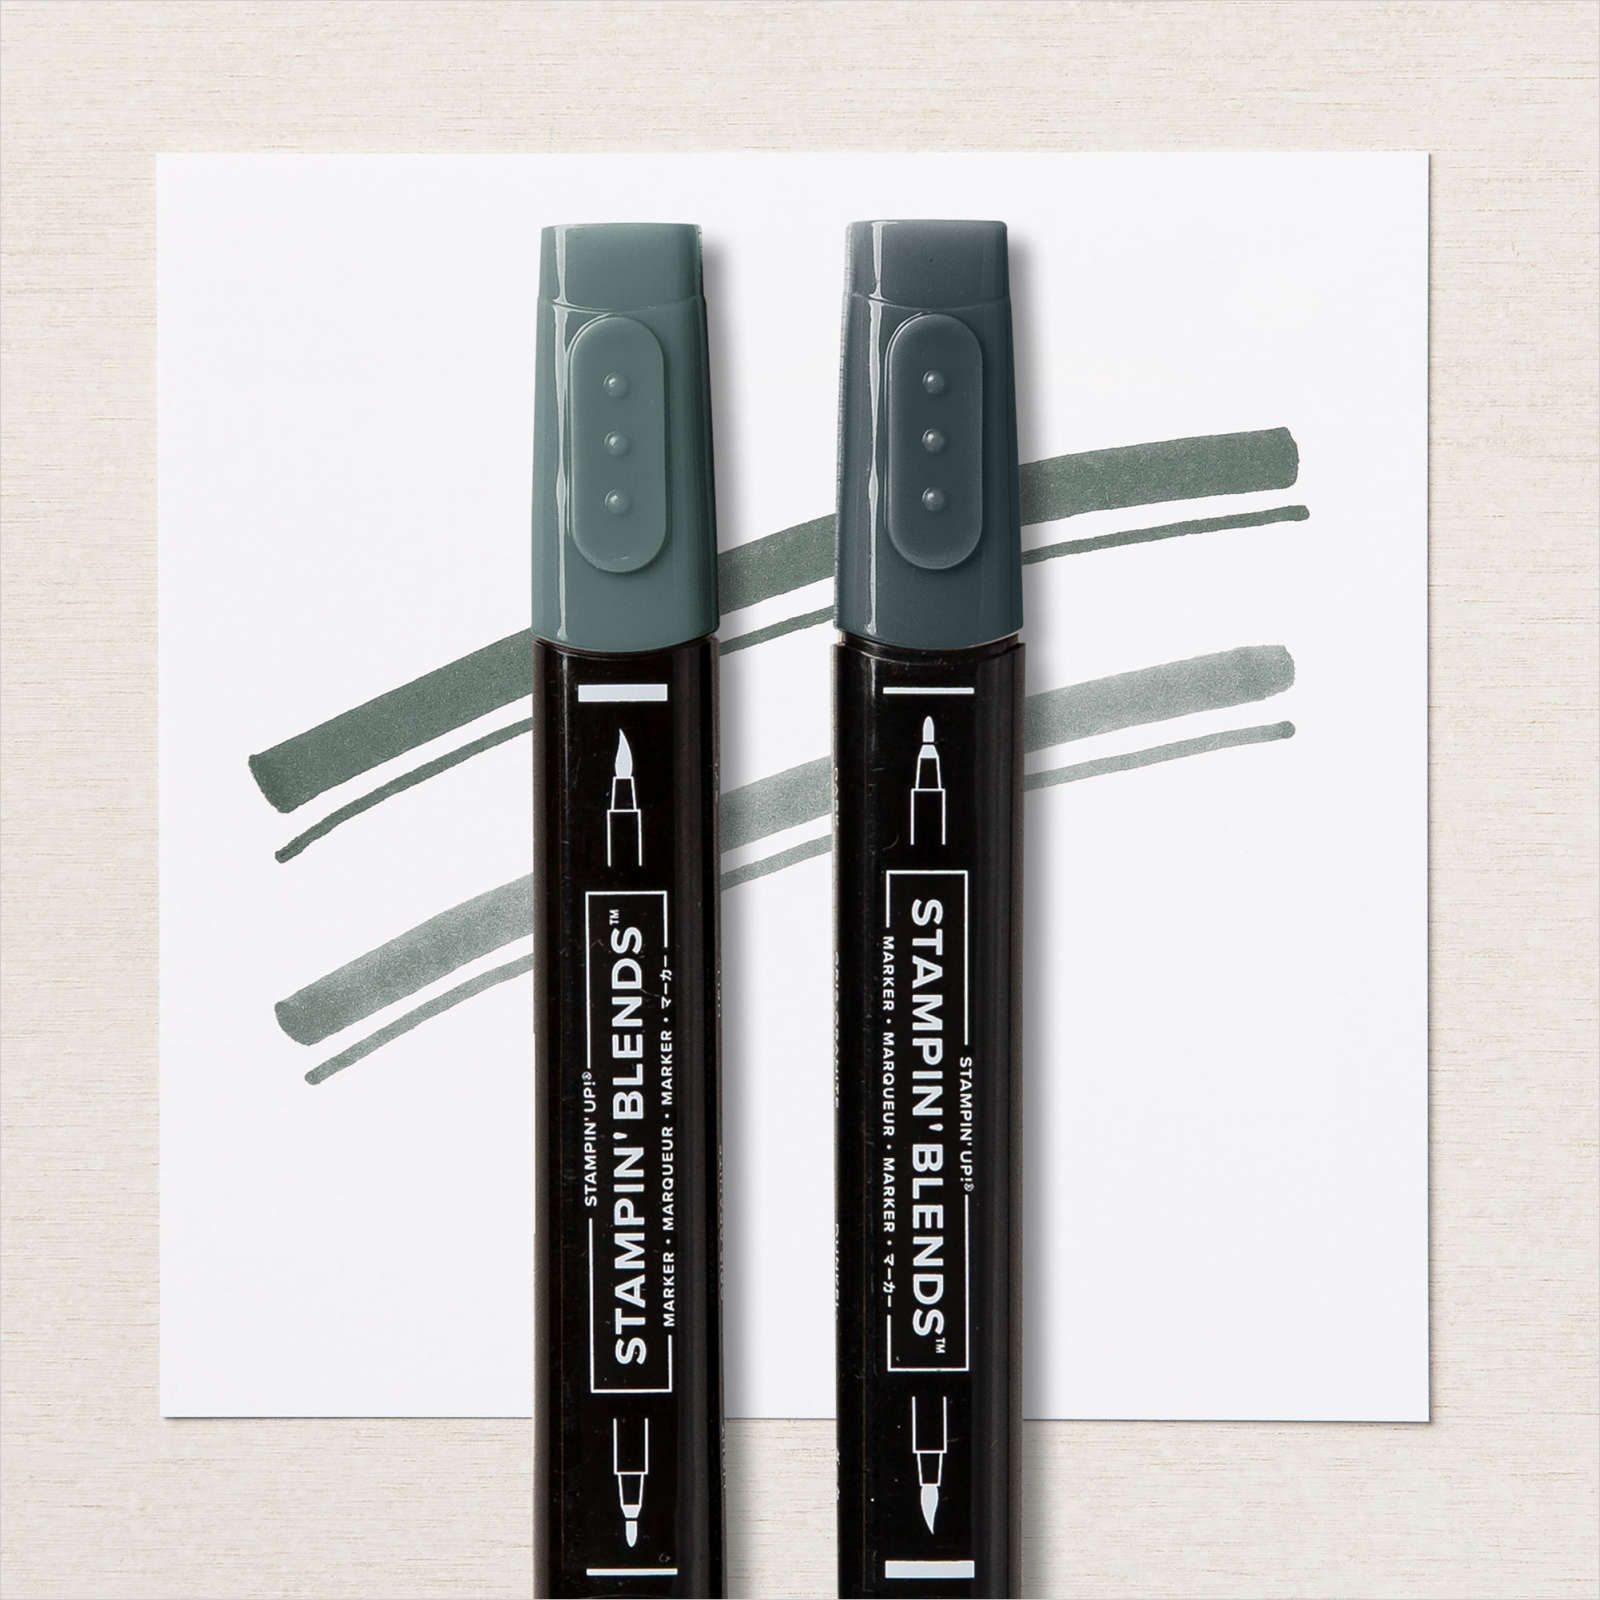
As I said I was so happy with this card, I created another in exactly the same manner but this time using Shaded Spruce card and ink. I used Shaded Spruce Stampin’ Blends to colour the dress on the card front this time and added a slightly different Basic White die cut to the last inside panel. This one is cut using the Scalloped Contour Dies.
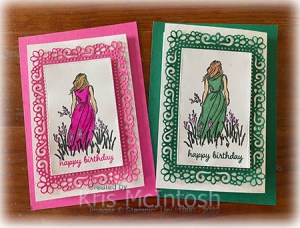
Aren’t they pretty? I know that each of my granddaughters loved their cards.
Bye for now,
Kris
Product Used:


“P” Plates

Today’s page shows off a few photos from the day my eldest granddaughter was granted her driving licence. She was very excited and called in to let Ron and I know the good news. Her first solo passenger was her younger sister, who said she was a good driver! I attached my photos to a strip of Basic Gray card which I attached to a Gray Granite 12″ x 12″ page.
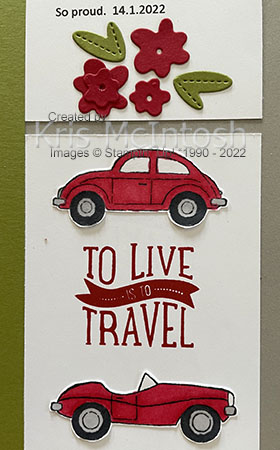
I added a strip of Old Olive and Real Red card before attaching the Basic White panels. The “P” was cut from Real Red card using the now retired Large Numbers Dies. The cars are from the now retired Driving By Sale-a-Bration stamp set. The greeting on the car panel is from a long retired stamp set – Let’s Get Away. I stamped the greeting from the A Grand Kid stamp set onto Basic White card using Real Red ink and cut it out using the heart die from the Bouquet of Love Dies. I cut Real Red card using the smaller heart from the same dies. The flowers and leaves were cut from Real Red and Old Olive card also using the Bouquet of Love Dies. A simple page but what a milestone in my granddaughter’s life.
Bye for now,
Kris
Product Used:


Horizon Birthday

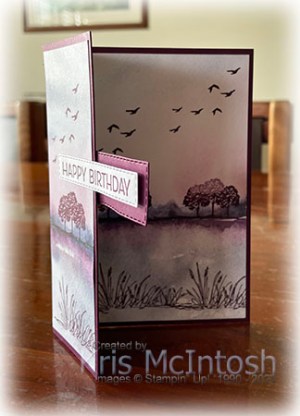
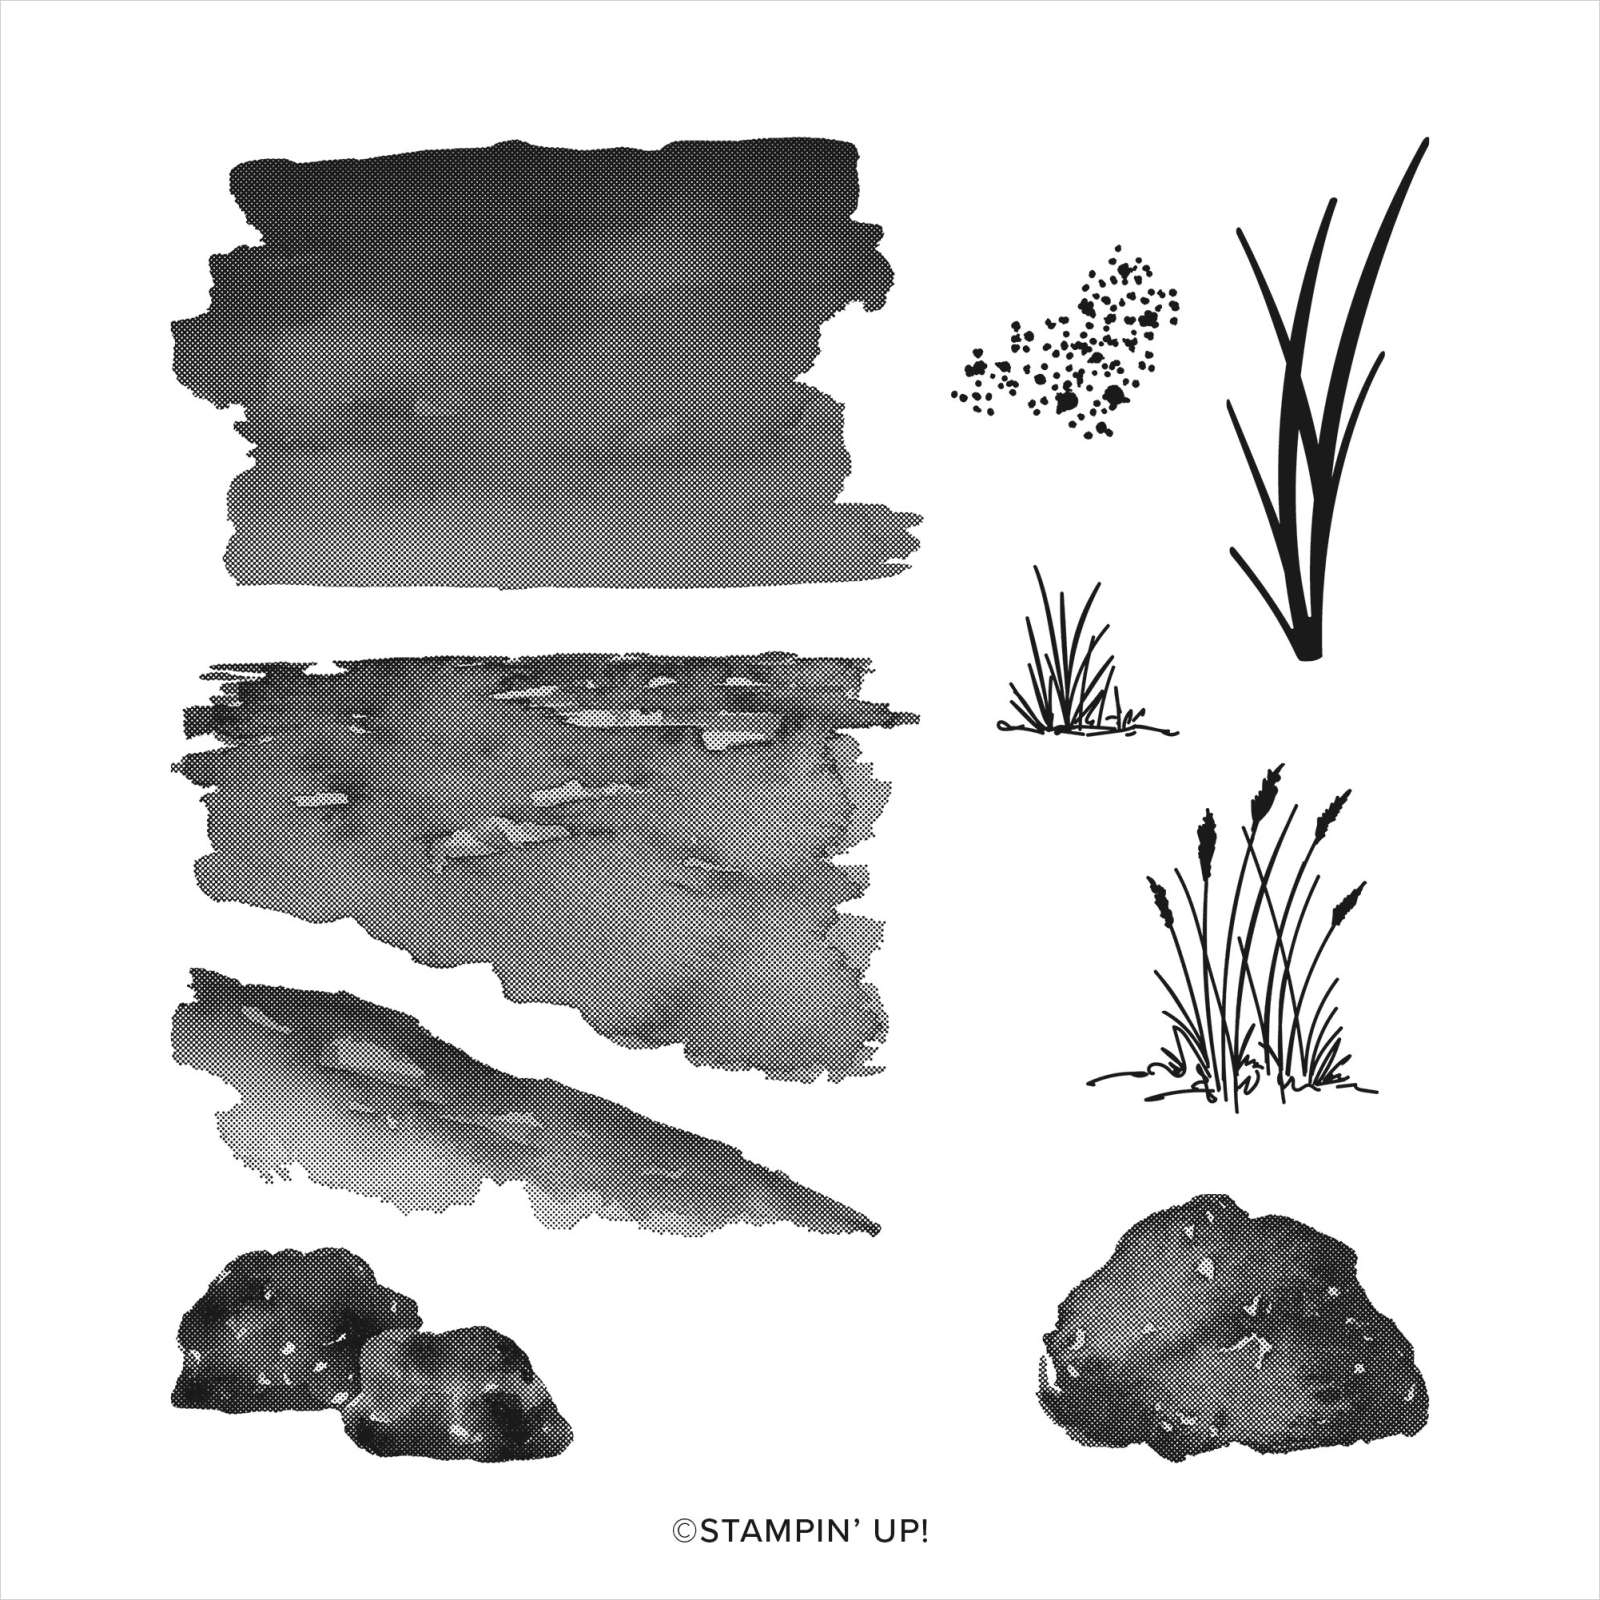
My son-in-law is celebrating his birthday today and I thought I would share with you the card I made for him. Since I had the New Horizon Designer Series Paper on my desk, I had to create his card using some of this gorgeous paper. I cut my card base from Blackberry Bliss card and added an extra score line to the centre front of the card. I folded this small section back onto itself and glued it down to give a half-width front panel. I cut a piece of New Horizon Designer Series Paper to fit the front panel and also the back panel. I stamped the tree image from the On The Horizon stamp set across the Designer Series Paper panels using Blackberry Bliss ink.
I stamped the grass image from the On The Horizon stamp set across the bottom of the panels again using Blackberry Bliss ink. I also stamped the bird image from the same stamp set across the panels using Blackberry Bliss ink. I attached the panels to the card base.

I stamped “happy birthday” from the Artistically Inked stamp set onto Basic White card and cut it out using one of the Stitched Rectangle Dies. I attached the greeting to the front panel only. I cut Blackberry Bliss card using a slightly large Stitched Rectangle and attached it to the back of the greeting and the back of the front panel. I cut basic white card and attached it to the back of the front panel to give me somewhere to write a message. Not sure if I got the fold right but I love the finished look. The New Horizon Designer Series Paper makes it so easy to create a wow scenery card, don’t you think?
Bye for now,
Kris
Product Used:


New Horizon

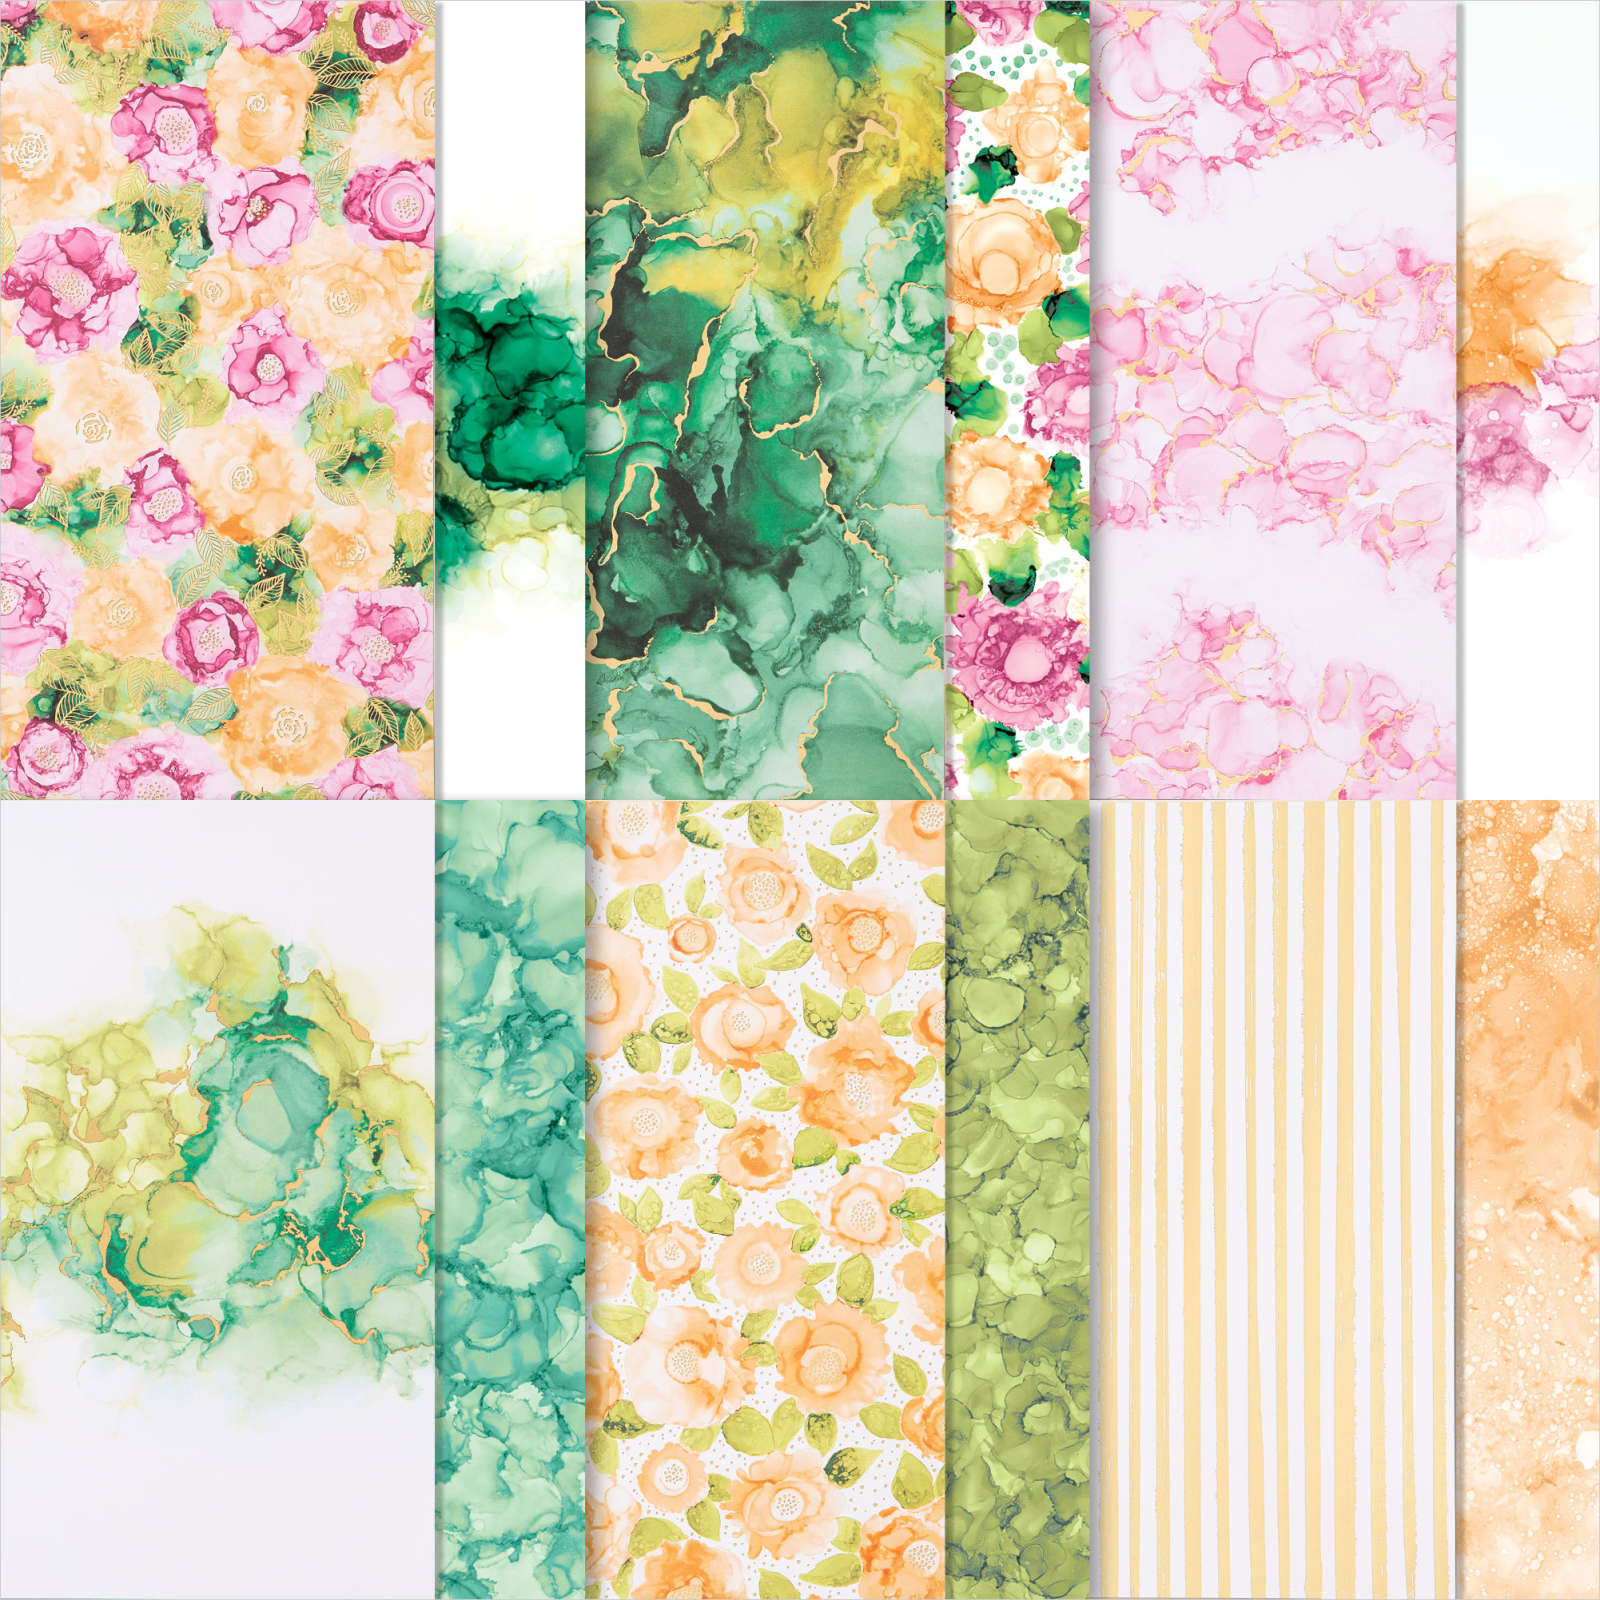
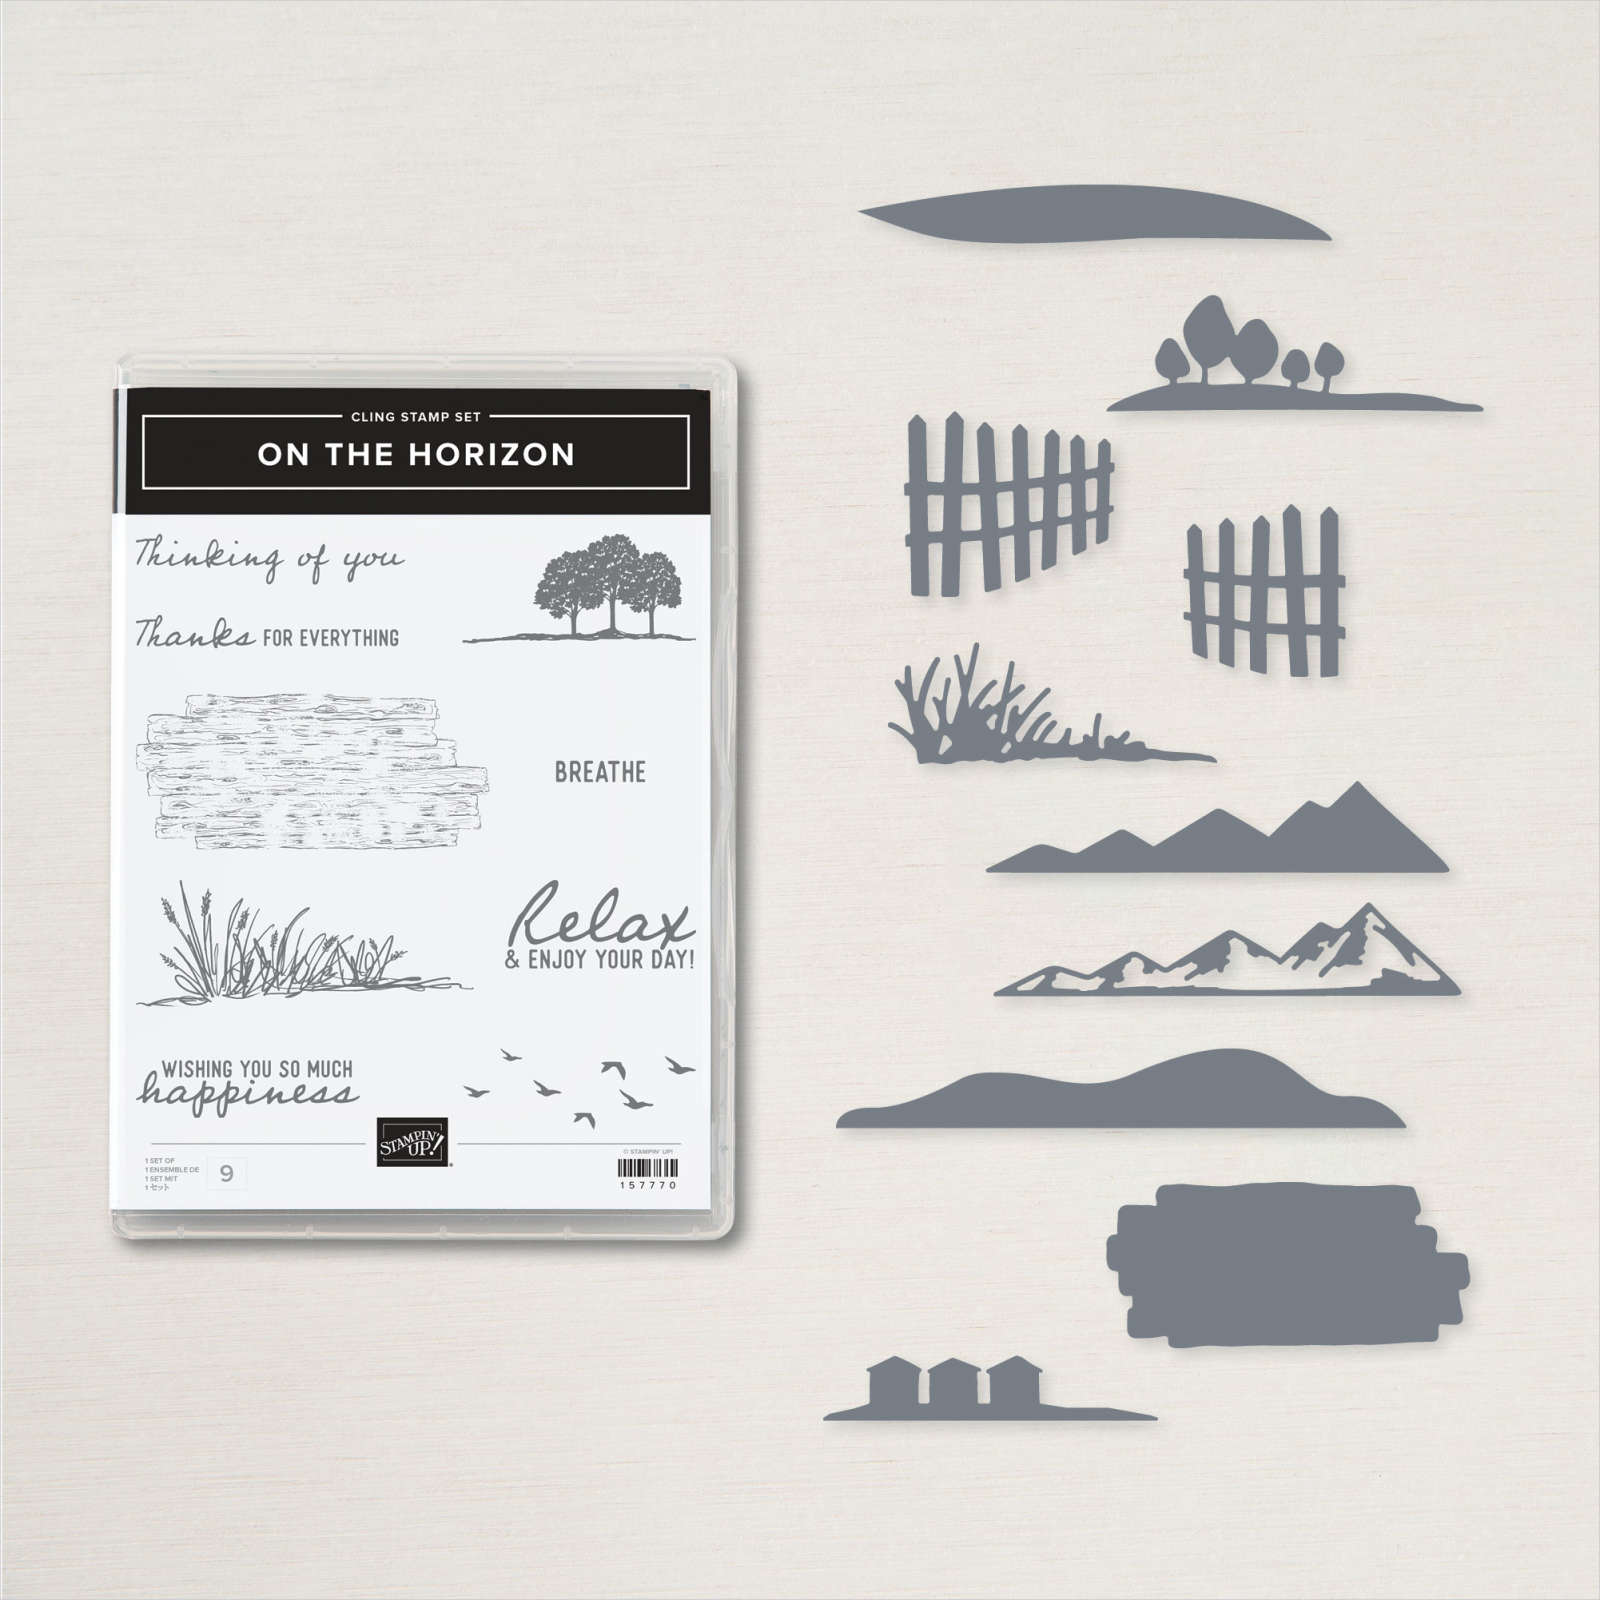
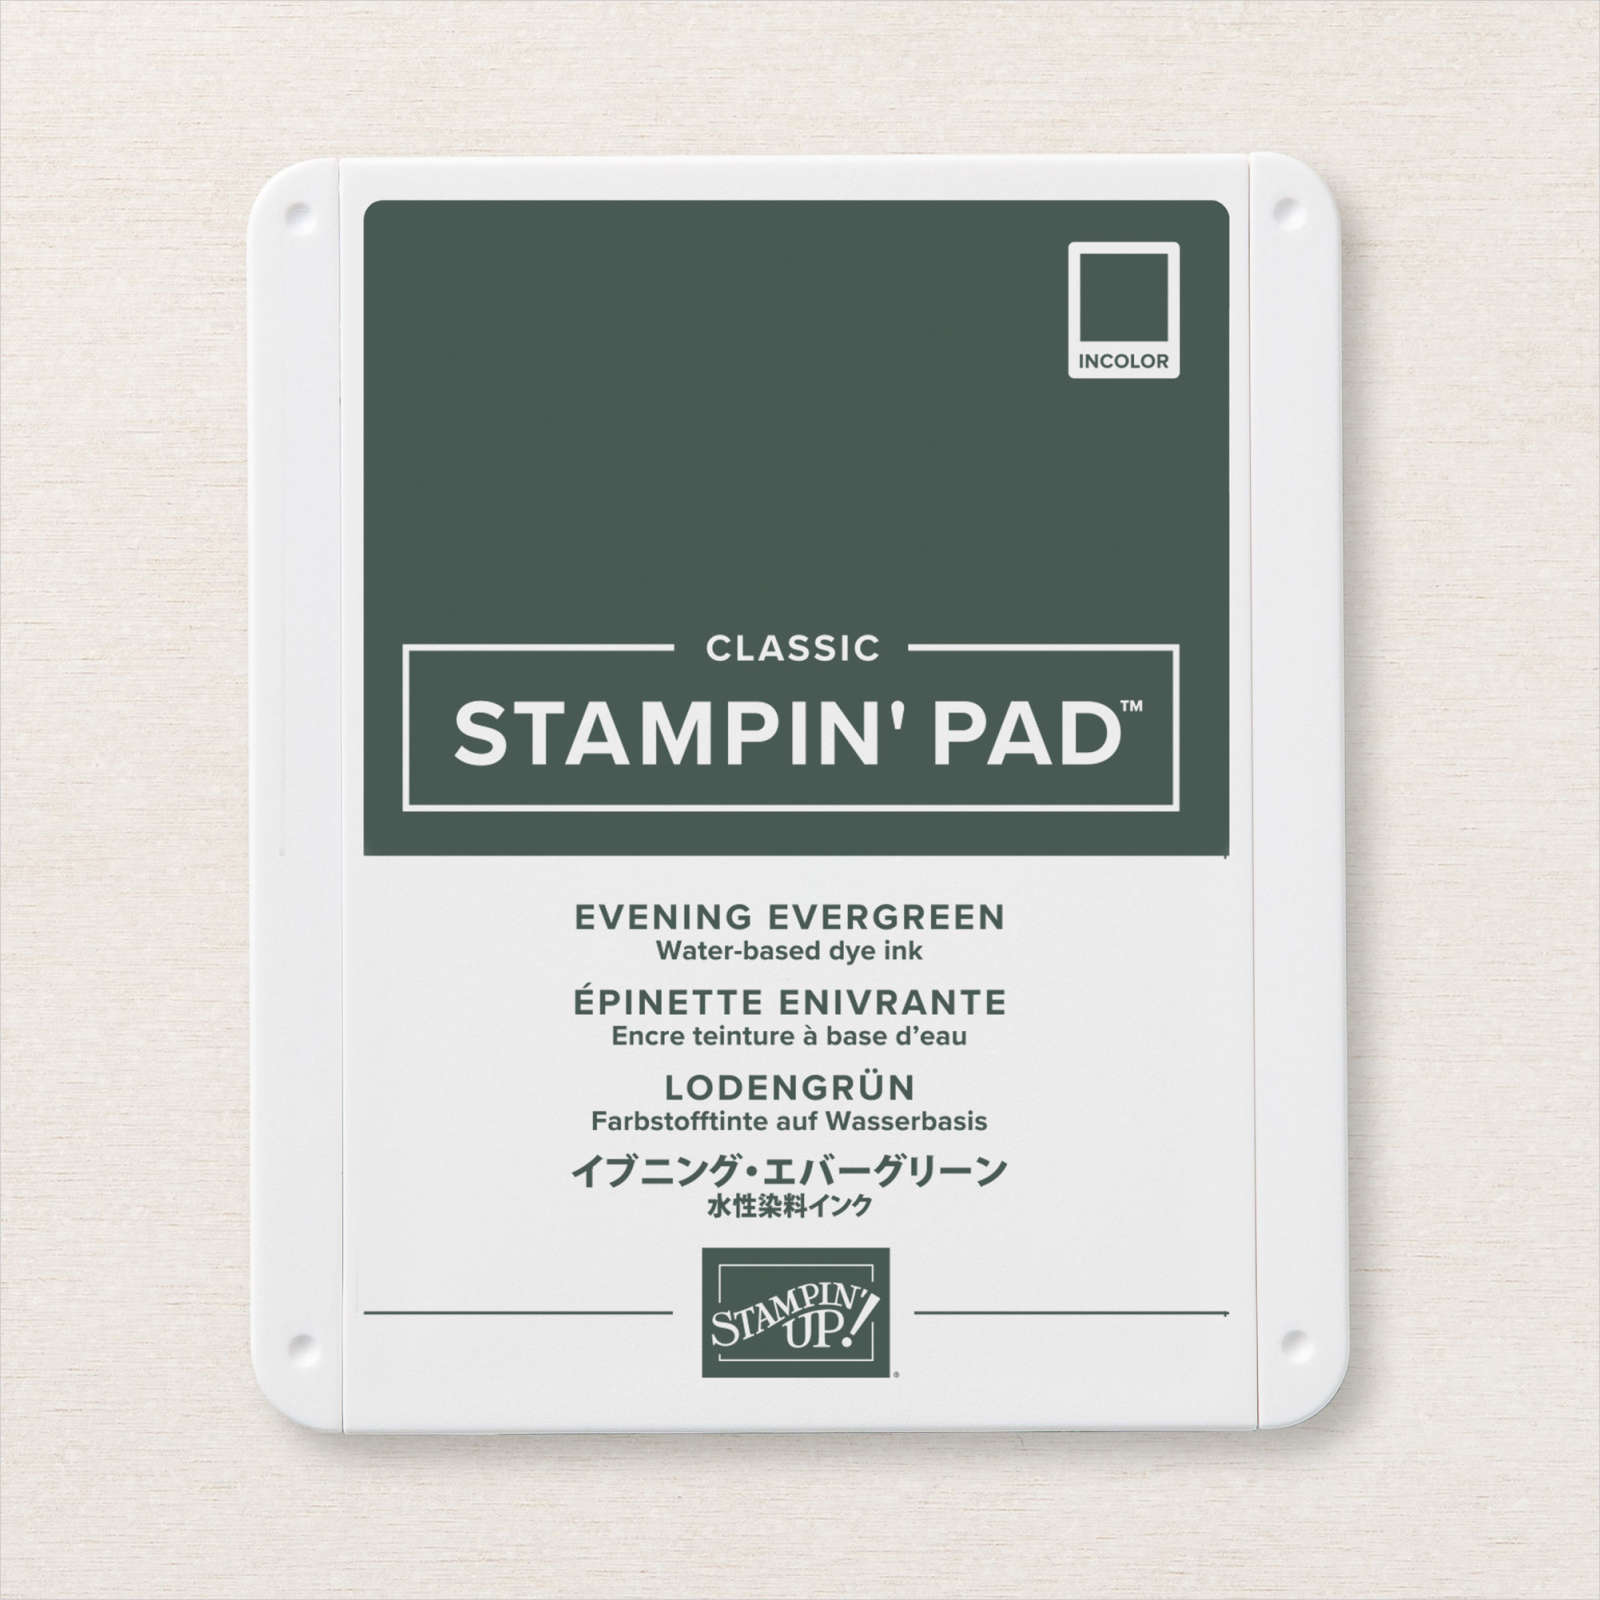
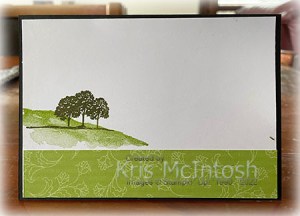
This week on my Facebook Live, I shared some cards I created using the New Horizon Designer Series Paper. This paper was not available when I first purchased the On The Horizon stamp set and the co-ordinating Horizon Dies. I was excited to share just how amazing this Designer Series Paper really is and how it is perfect to stamp on to create your own scenery. For today’s card I decided to create a Bay Window card. I cut and scored Evening Evergreen card to create the card base. I cut one piece of the New Horizon Designer Series Paper across the width at 10.2cm. I stamped the tree image from the On The Horizon stamp set onto the paper using Evening Evergreen ink.
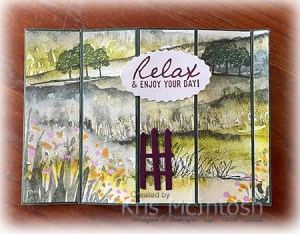
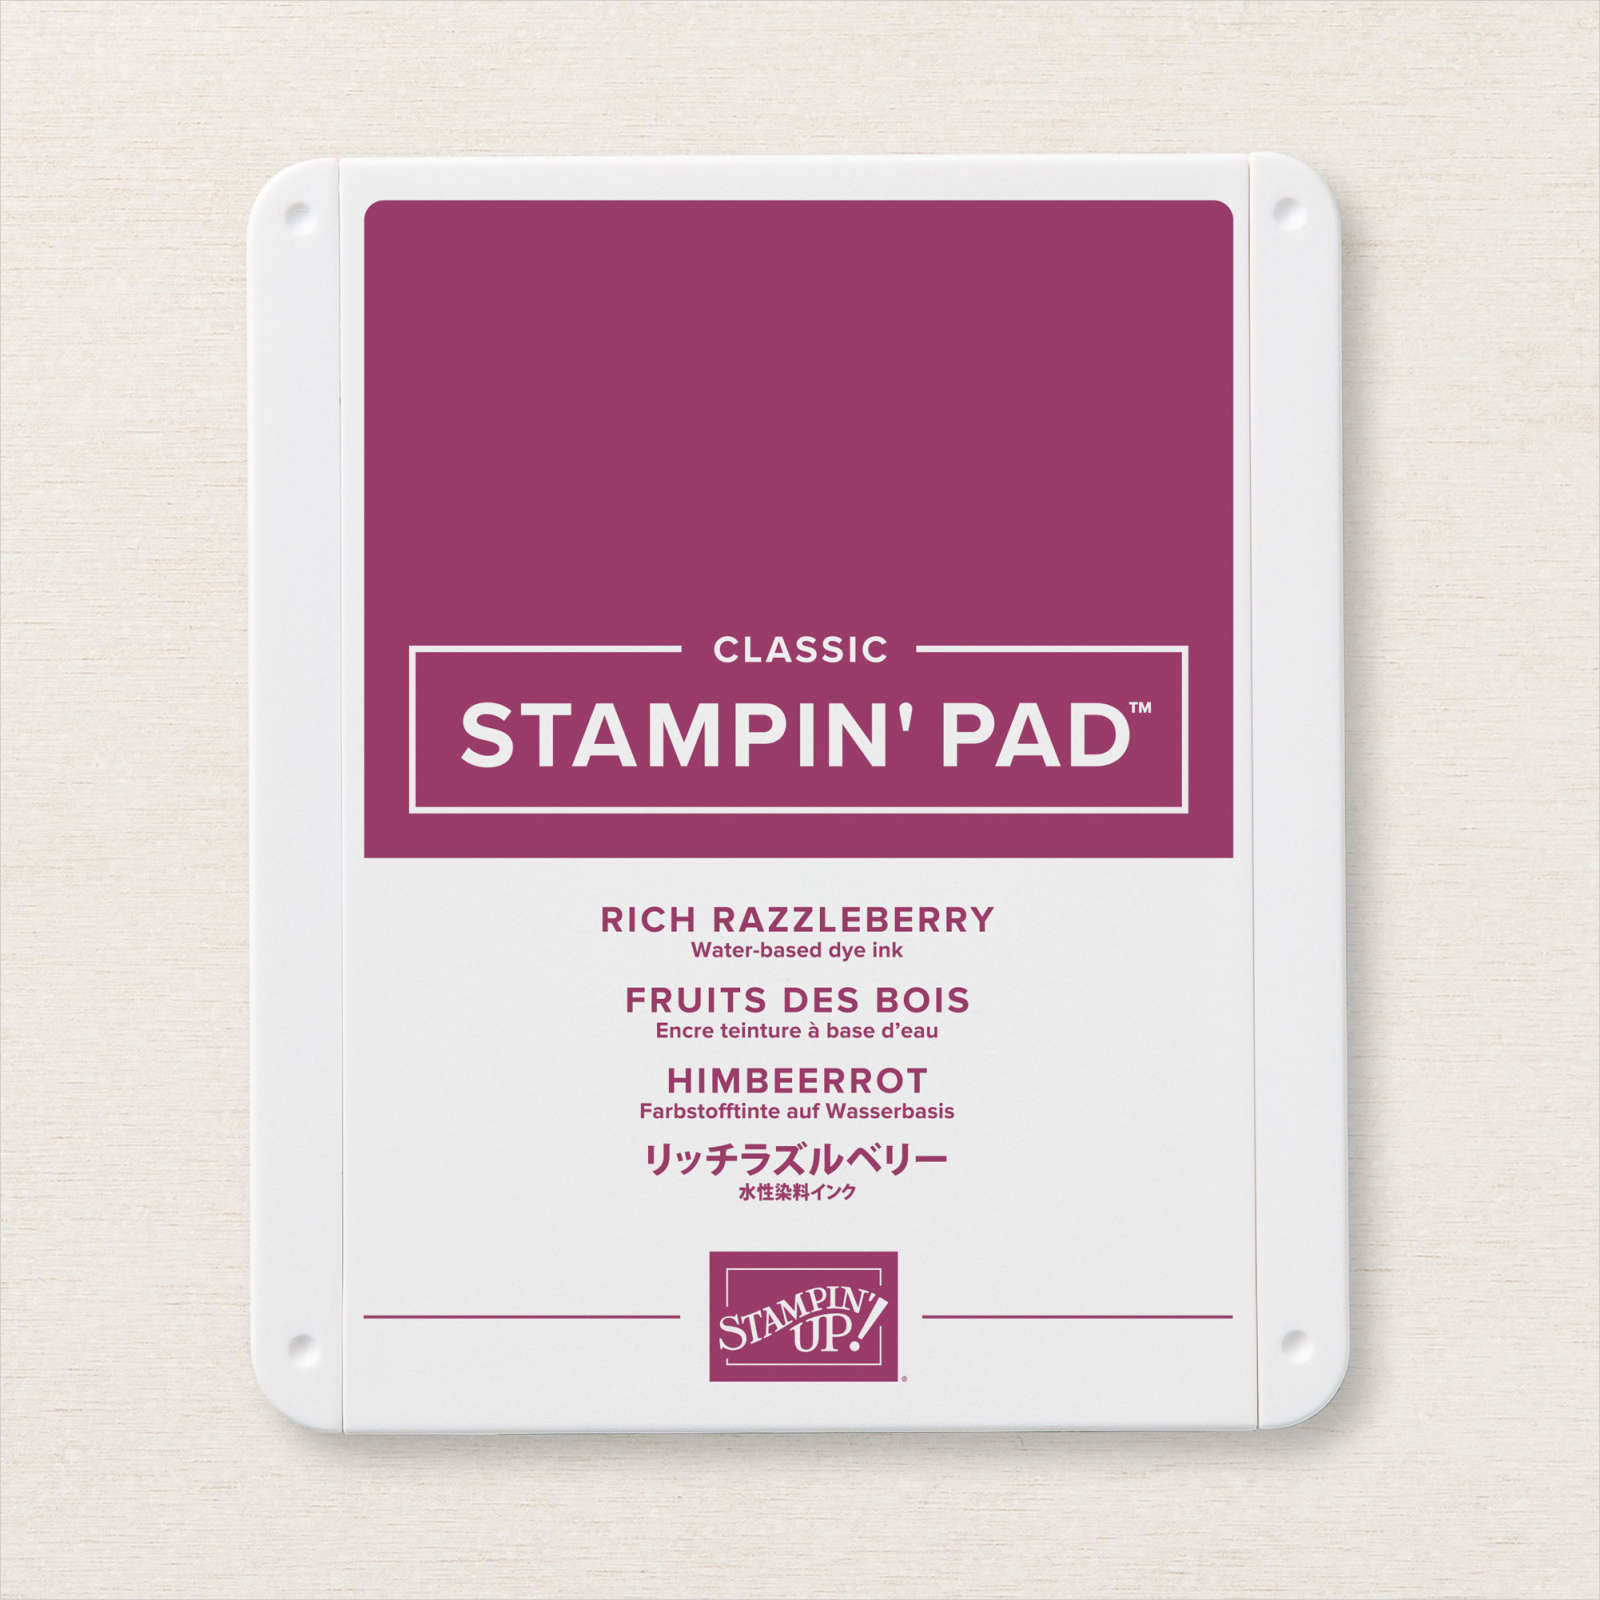
I also stamped the grass image from the On The Horizon stamp set also using Evening Evergreen ink. I cut the paper into the panels to go across the card front and attached them. I stamped the woodgrain image from the On The Horizon stamp set onto Rich Razzleberry card using Rich Razzleberry ink and cut out it using one of the fence dies from the Horizon Dies. I trimmed the left hand edge of the fence die and attached it to the central panel of the bay on the card front. I stamped the greeting from the On The Horizon stamp set onto Basic White card using Blackberry Bliss ink and cut it out using the Double Oval Punch.

The greeting is attached to the central panel of the bay on the card front. I attached a piece of Basic White card to the inside of the card before I glued the first panel on the card front. I cut a piece of the same pattern New Horizon Designer Series Paper to create the latch on the inside of the card. The Designer Series Paper is attached using mini dimensionals underneath the right hand edge only, so that the small narrow panel on the card front sits underneath. I also stamped the grass image from the On The Horizon stamp set onto the Basic White panel using Rich Razzleberry ink. This pattern from the New Horizon Designer Series Paper works perfectly to create a gorgeous scene across the front of the card.
I hope you have all been able to have a “play” with this lovely paper and if not perhaps you have been inspired to take a closer look.
Bye for now,
Kris
Product Used:


You do a great job
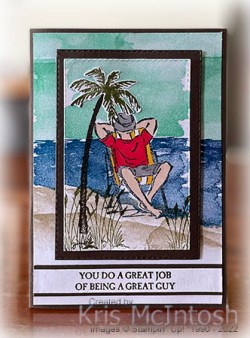
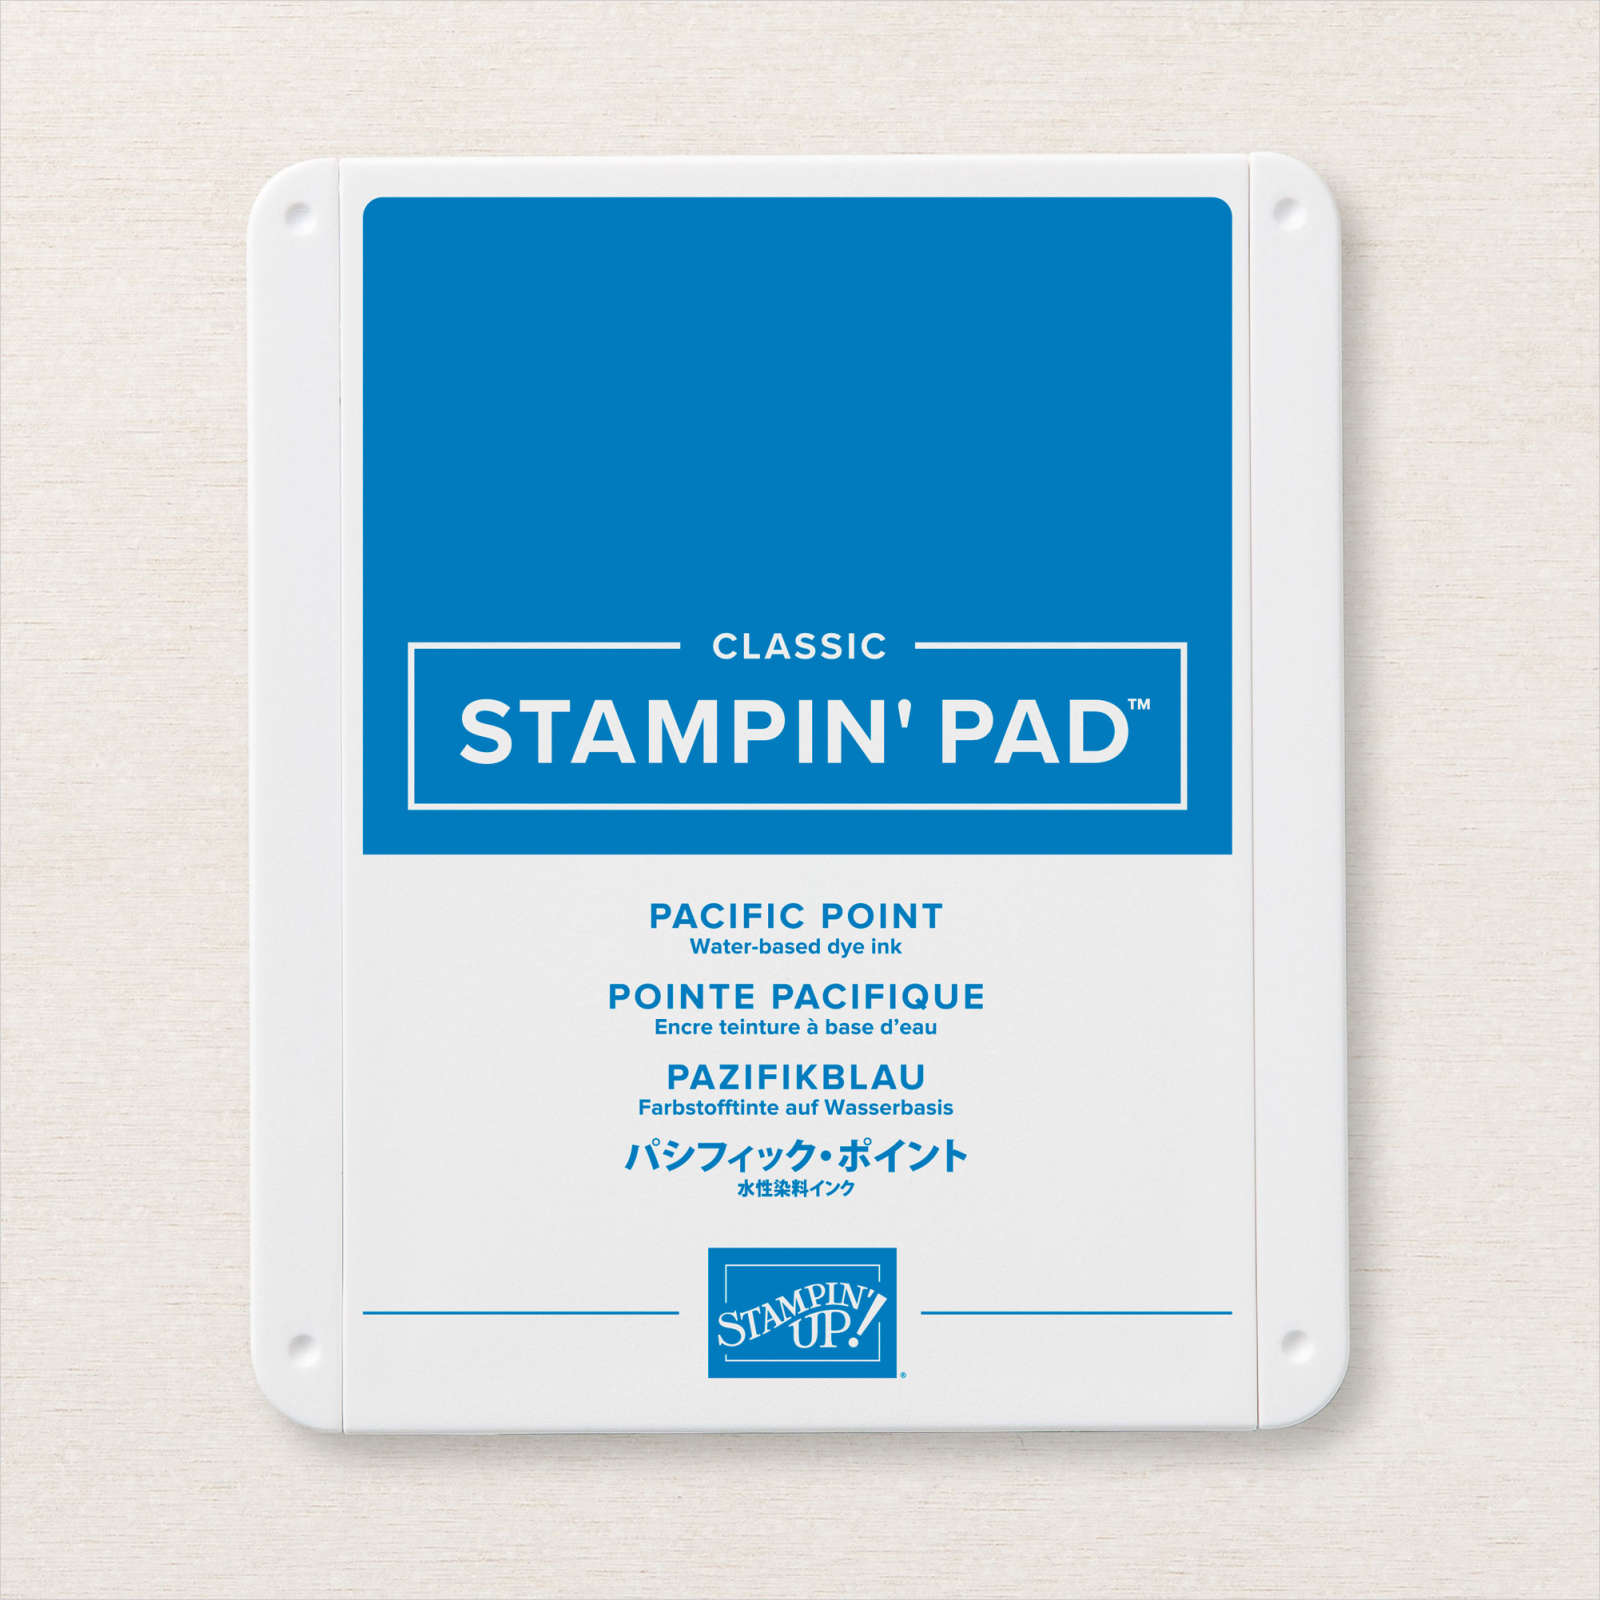
Today’s card incorporates some old and some new product to share how you can co-ordinate images from different stamps sets to create your cards. I stamped the image from the A Good Man stamp set onto Basic White card using Memento Tuxedo Black ink. I masked the image using a post-it-it note before I stamped the “sand” image from the Oceanfront stamp set several times across the bottom of the card using Sahara Sand ink. I stamped the “sea” image from the Oceanfront stamp set across the top of the “sand” using Pacific Point ink. I stamped the “sky” image from the Oceanfront stamp set across the top of the “sea”. I also stamped the palm tree trunk from the Paradise Palms stamp set using Early Espresso ink.
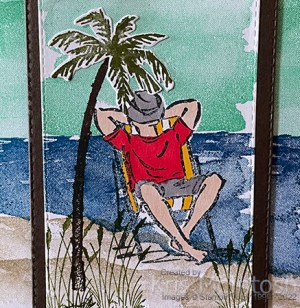
Before removing the Post-it-note mask I stamped the grass image from the Oceanfront stamp set using Mossy Meadow ink. I die cut the image panel using a Stitched Rectangle Die. Using the die cut panel as a guide, I stamped corresponding images across a card front sized Basic White panel, matching the levels as best I could before attaching it to scored and folded Early Espresso card. I coloured the image from the A Good Man stamp set using Dark Poppy Parade, Dark Smoky Slate, Dark Daffodil Delight and Ivory Stampin’ Blends.
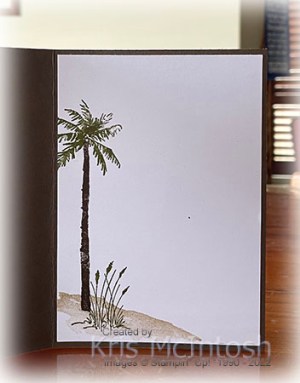
I cut a rectangle from Early Espresso using another Stitched Rectangle Die and attached the image panel. I attached the image panel to the card front using dimensionals. I stamped the greeting from the A Good Man stamp set onto a strip of Basic White card using Early Espresso ink. I attached the greeting to Early Espresso card and then the card front. Lastly I stamped the palm leaf image from the Paradise Palms stamp set onto Basic White card using Mossy Meadow ink. I die cut the image and then used my paper snips to remove as much white space as I could before attaching the image to the card front. To decorate the inside of the card, I stamped the “sand”image from the Oceanfront stamp set twice onto the lower left hand corner of Basic White card using Sahara Sand ink. I stamped the palm tree trunk from the Paradise Palms stamp set using Early Espresso ink and the palm leaf image using Mossy Meadow ink. I also stamped the grass image from the Oceanfront stamp set using Mossy Meadow ink.
I am just loving how many combinations that can be made using the Oceanfront stamp set. I hope you are having fun with this one too.
Bye for now,
Kris
Product Used:


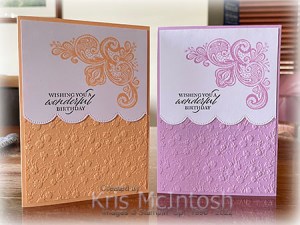
Elegant Birthday

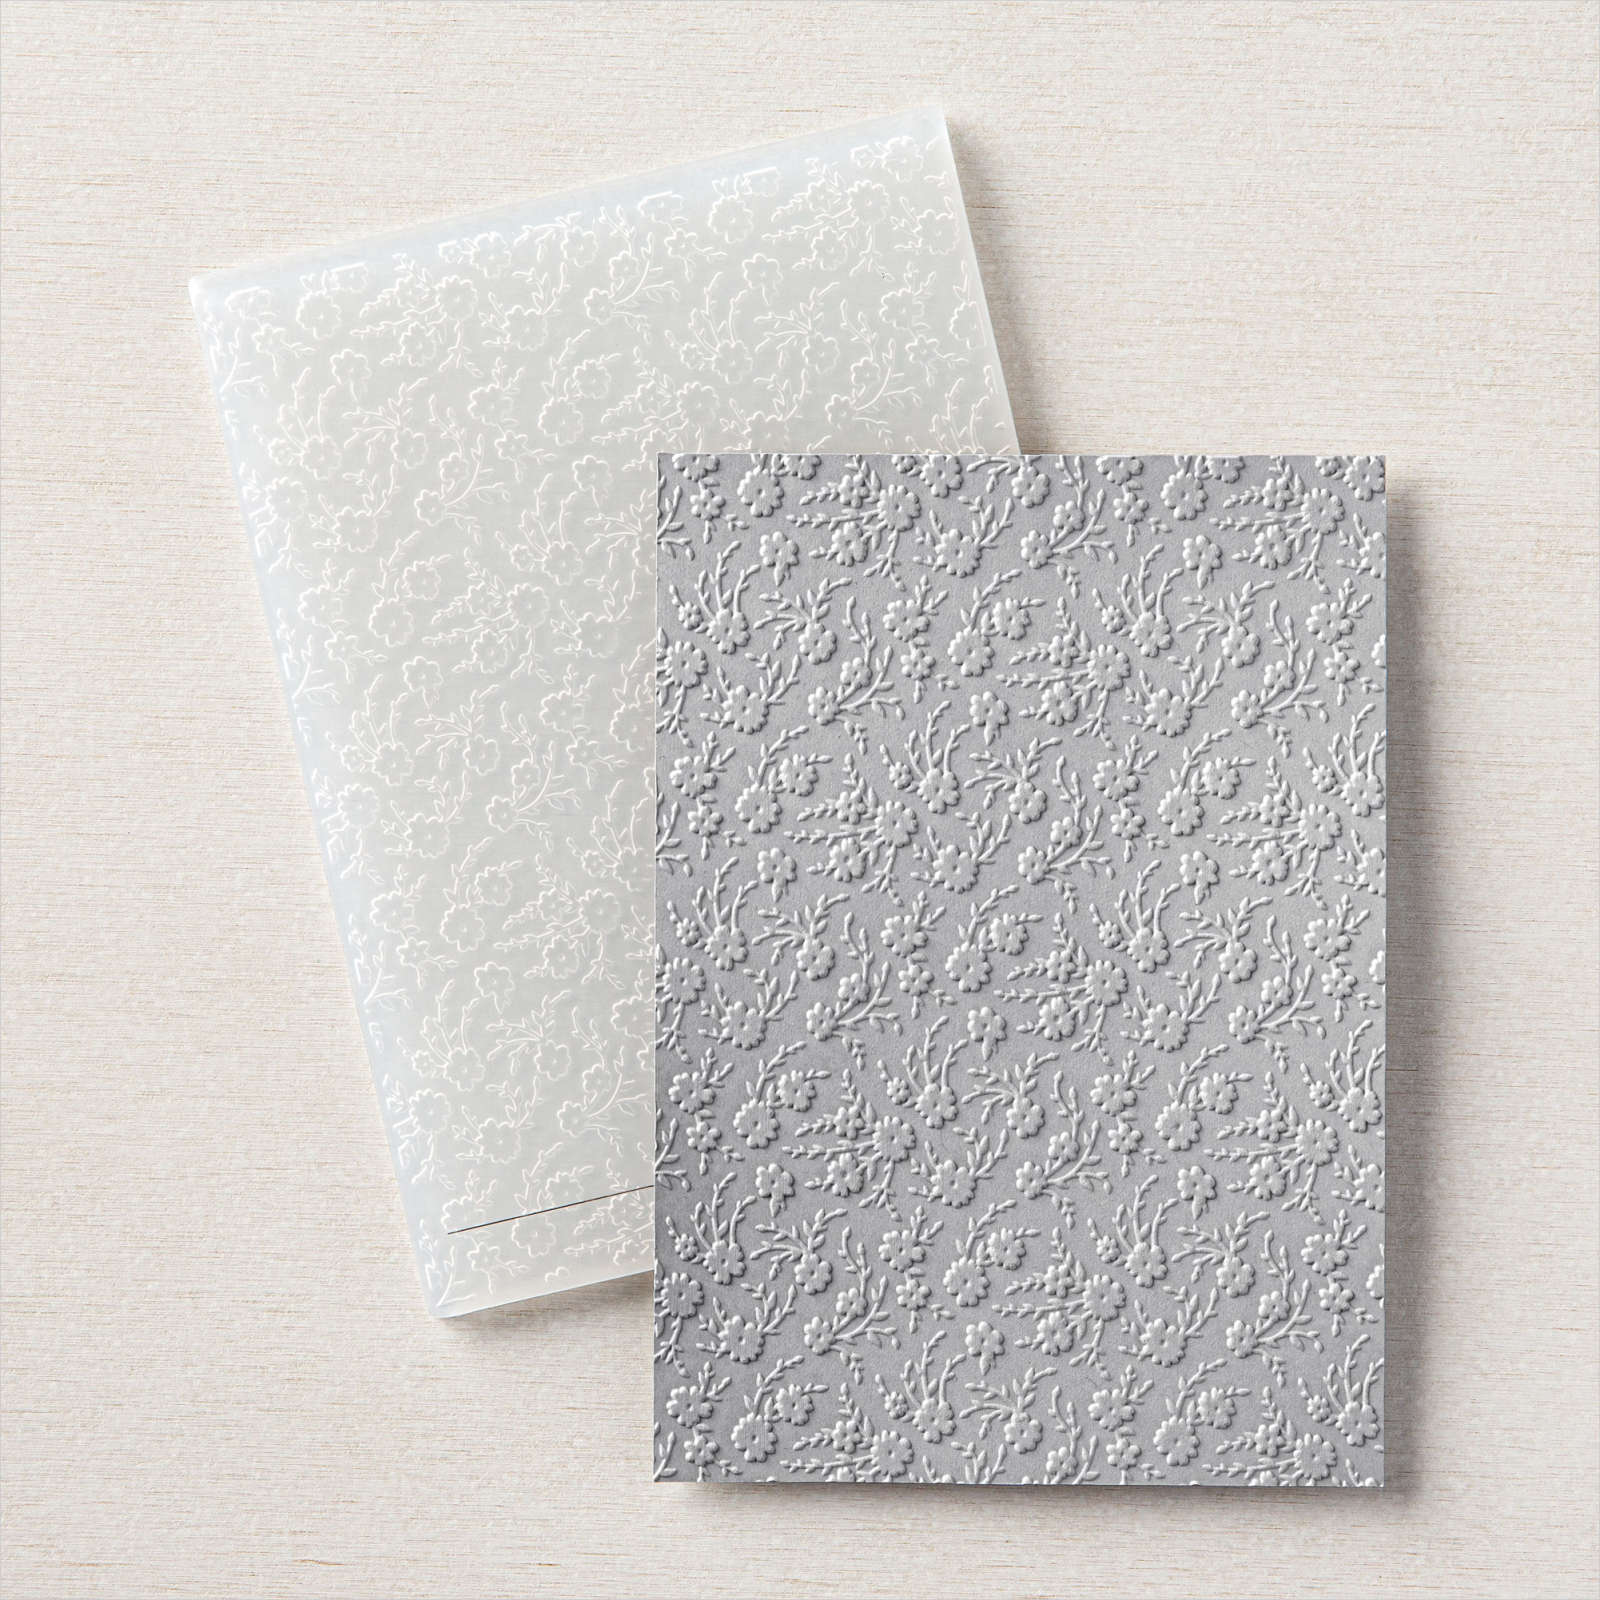
Today’s card uses the Elegantly Said stamp set, which as I said I have owned for a long time but have only just begun to use it. To begin I embossing a panel of Pale Papaya card using the Ornate Floral 3D Embossing Folder. This is such a pretty folder, don’t you think? I attached the embossed card to scored and folded Pale Papaya card. I stamped the corner image from the Elegantly Said stamp set onto the top right hand corner of a Basic White panel using Pale Papaya ink.

I stamped the greeting from the Elegantly Said stamp set using Evening Evergreen ink. I wanted to show as much of the embossed panel as I could so I used the border from the Scallop Contour Dies to cut the stamped Basic White card just below the greeting.

Then I attached the panel onto the card front over the embossed Pale Papaya card. To decorate the inside of the card, I kept it pretty simply by stamping the corner image from the Elegantly Said stamp set onto the lower right hand corner of Basic White card using Pale Papaya ink. This image is so pretty that it doesn’t need anything more. I liked this card so much that I created another one in exactly the same manner but this time I used Fresh Freesia ink and Fresh Freesia card. These are pretty simple cards but I love how pretty they are, don’t you?
Bye for now,
Kris
Product Used:


Noosa North Shore

Today’s pages show off some photos from quite a long time ago. We took a trip on the ferry to Noosa North Shore to check out the camping areas. This kids were all so little! I began by attaching three photos to the right hand side of one Very Vanilla 12″ x 12″ page and two photos to the left hand side of another Very Vanilla 12″ x 12″ page. I embossed panels of Old Olive card using the Painted Texture 3D Embossing Folder before attaching them to each page.
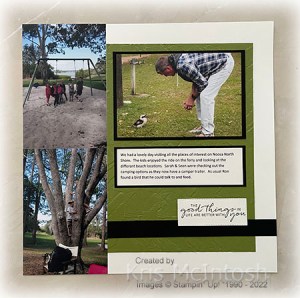
I attached narrow strips of Basic Black card across the bottom of each of the embossed panels. I attached two photos to Basic Black card and attached one to each of the Old Olive embossed panels. I created the title on the computer and printed it onto Very Vanilla card and fussy cut the words. I stamped the greeting from the Peaceful Moments stamp set onto Very Vanilla card using Old Olive card. I cut out the greeting using the heart from the Bouquet of Love Dies and attached it to the left hand page. I created my journaling on the computer and printed it onto Very Vanilla card before attaching it to Basic Black card. The jounaling is attached to the right hand page. I stamped the greeting from the Tasteful Touches stamp set onto Very Vanilla card using Old Olive ink. I cut out the greeting using one of the Stitched Rectangle Dies and attached it onto the right hand page.

Simple pages but the photos remind me of the fun we had that day.
Bye for now,
Kris
Product Used:


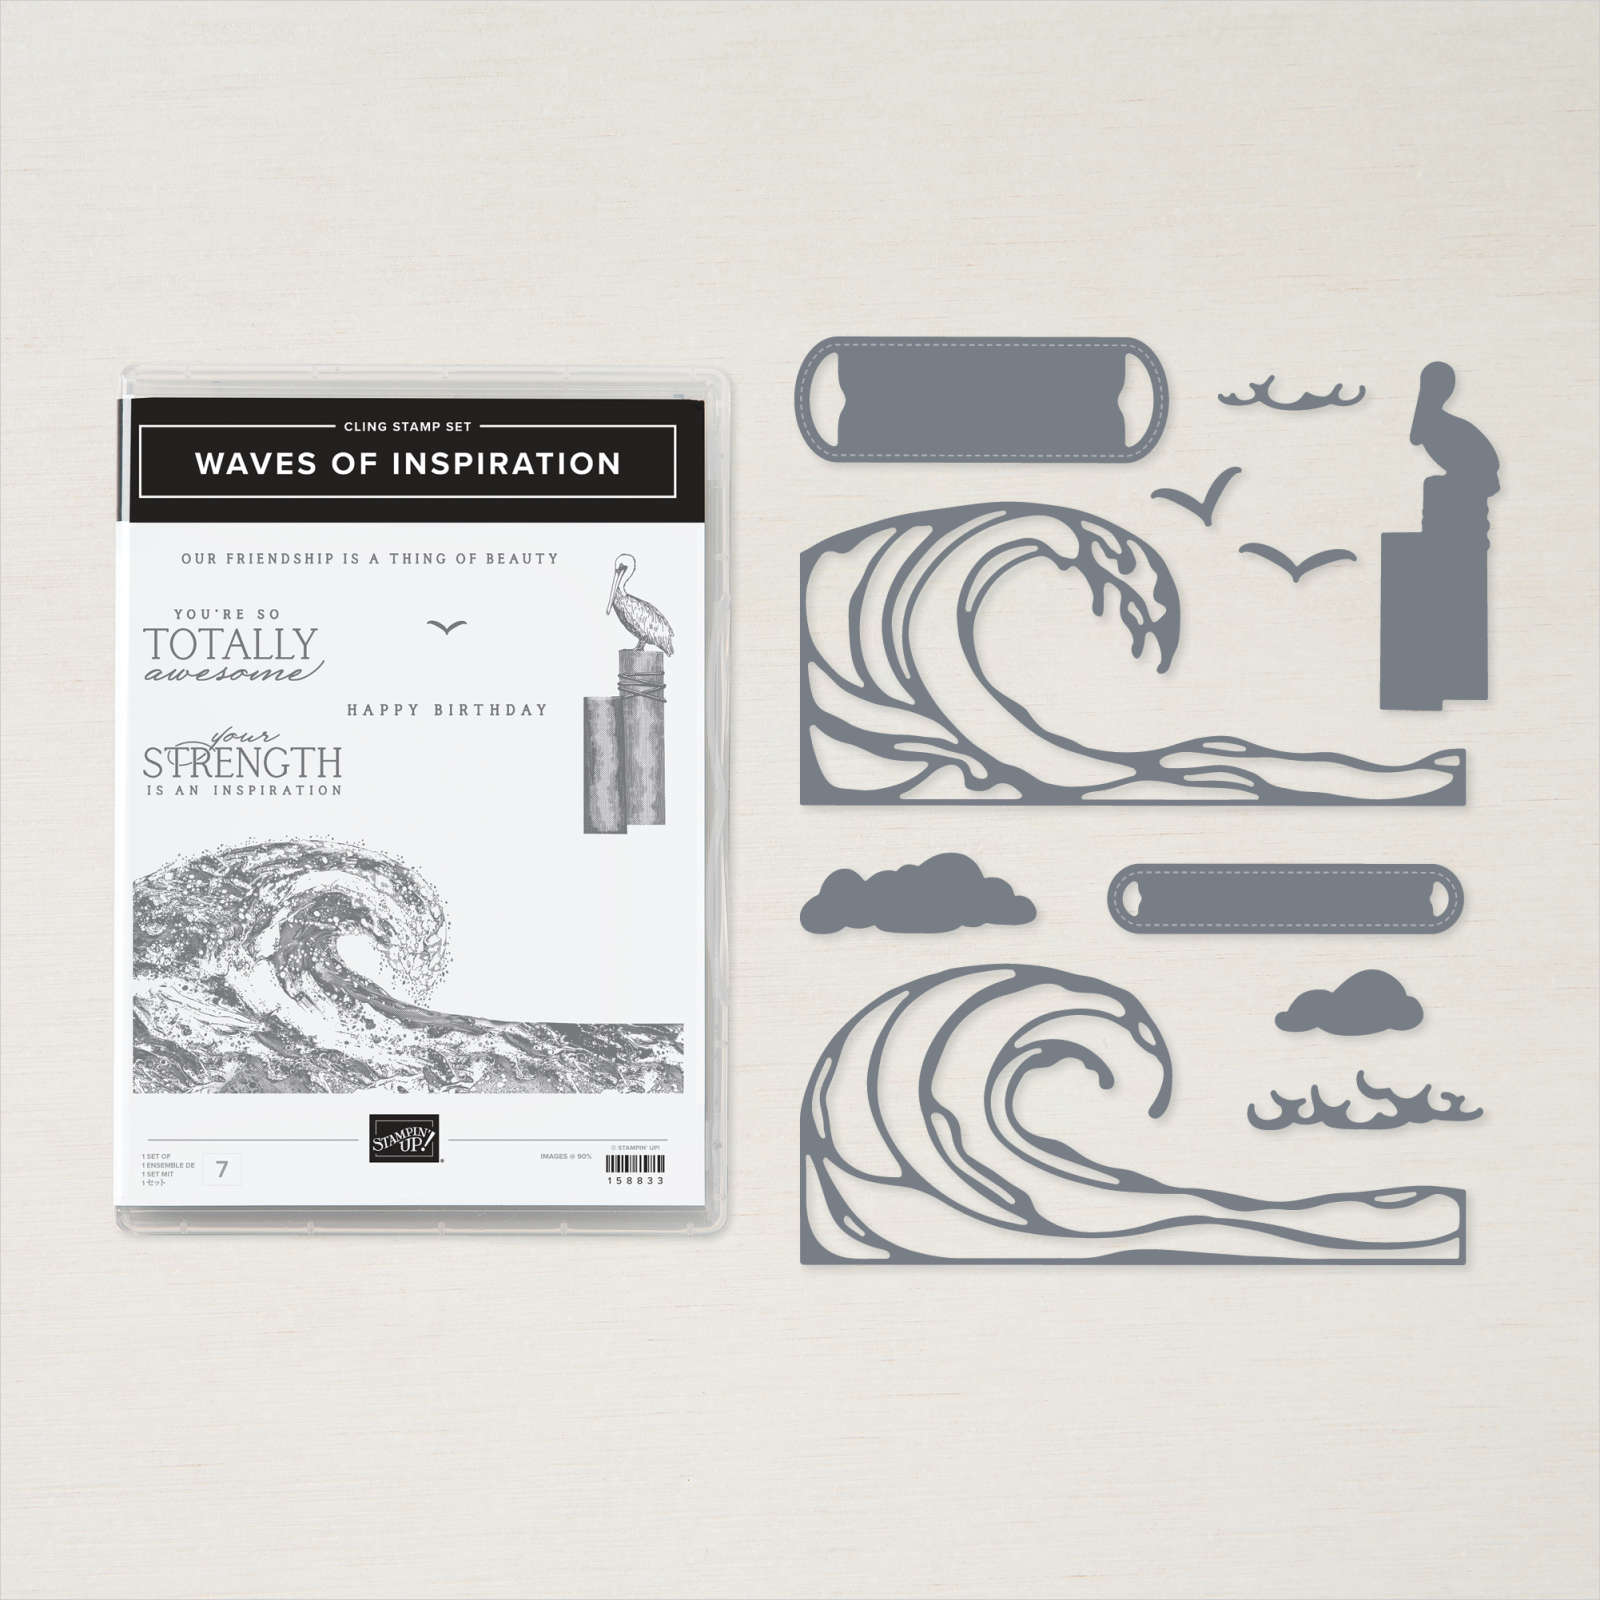
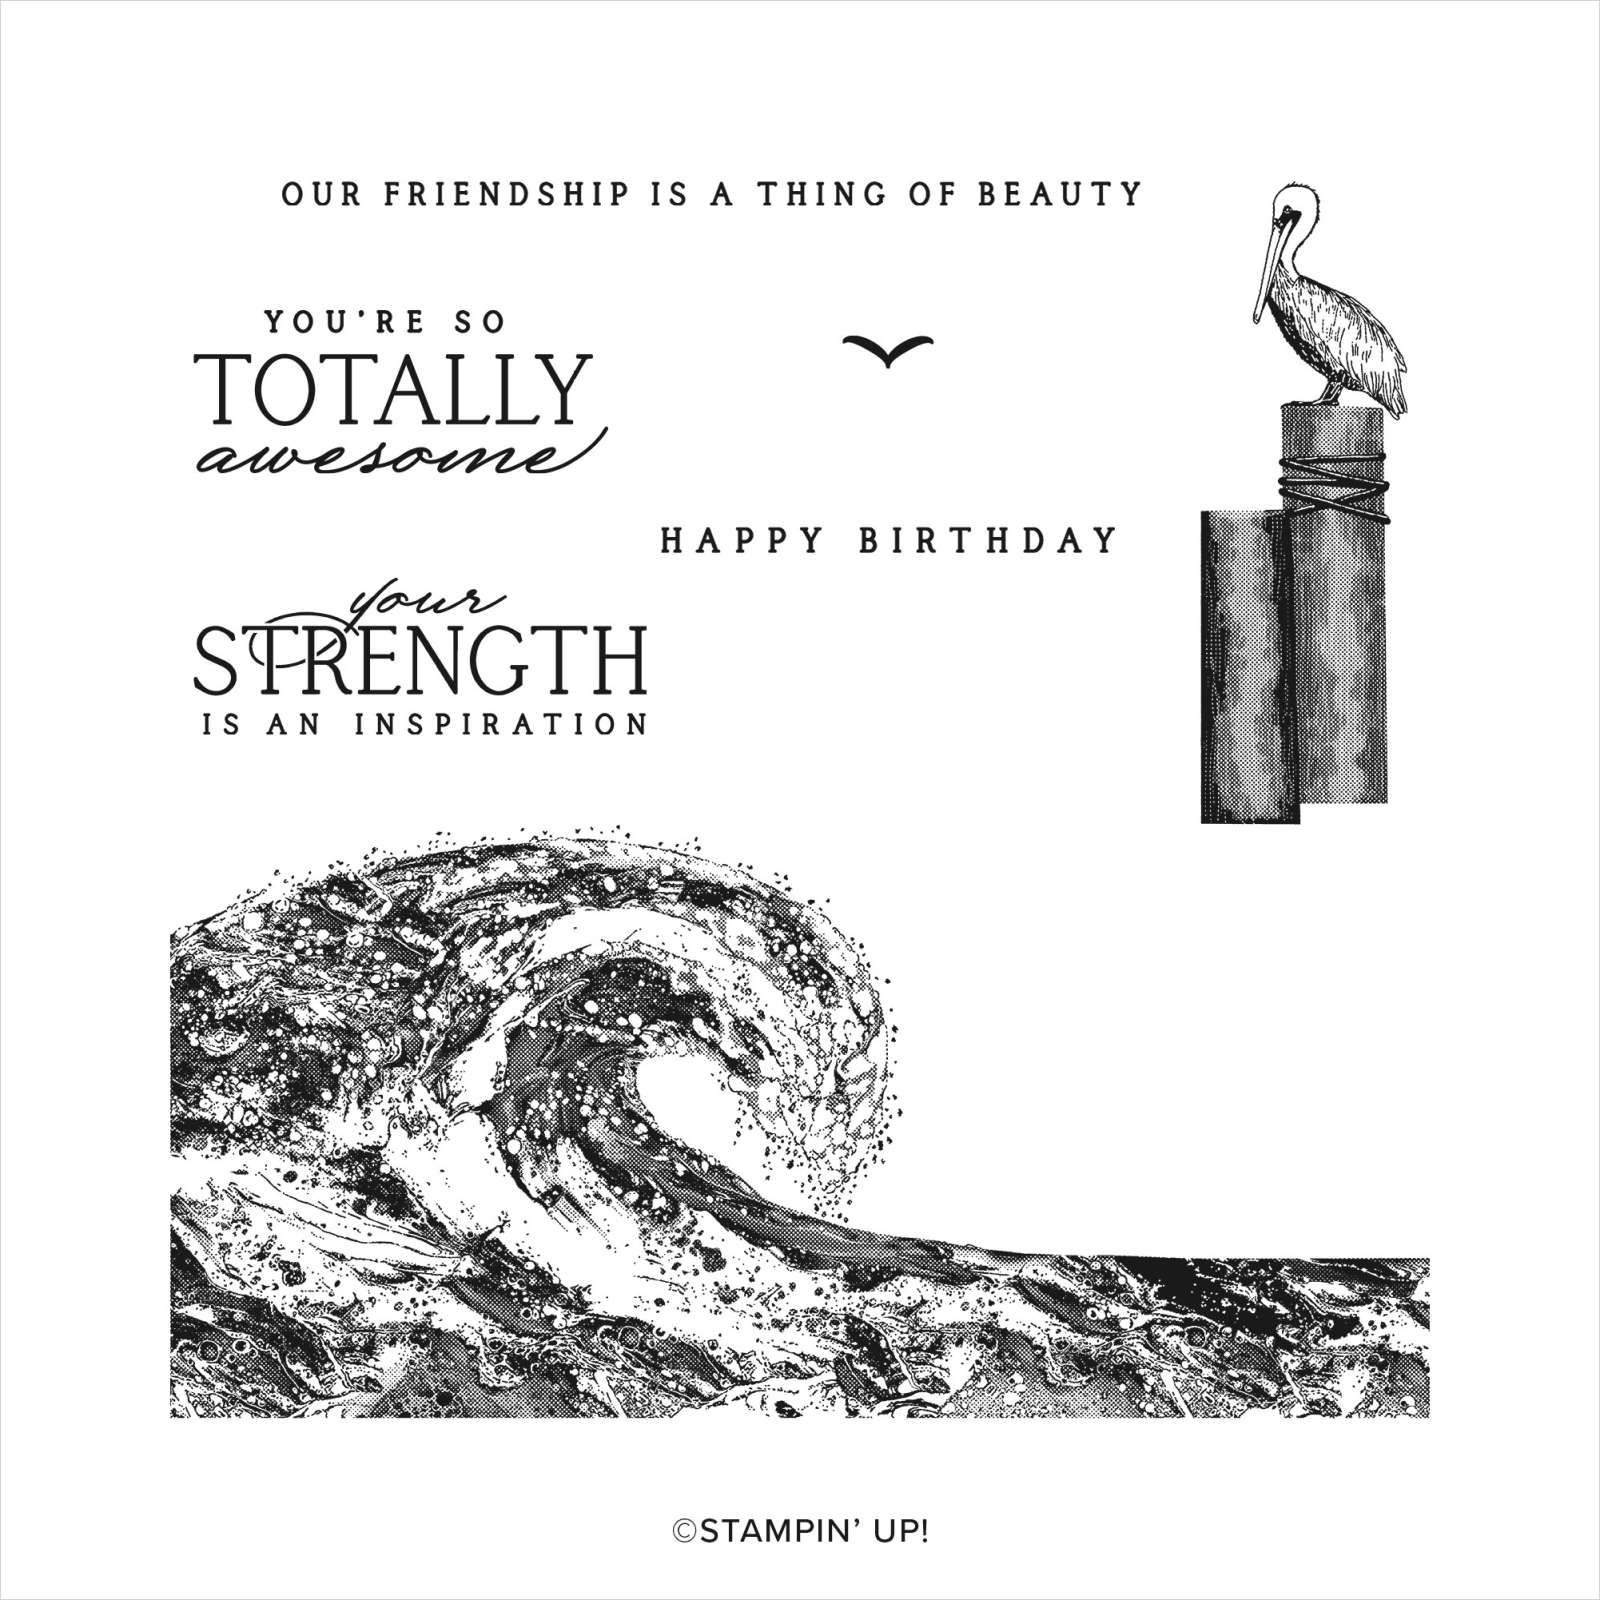
Totally Awesome
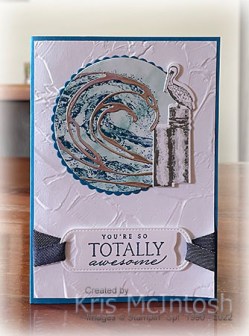
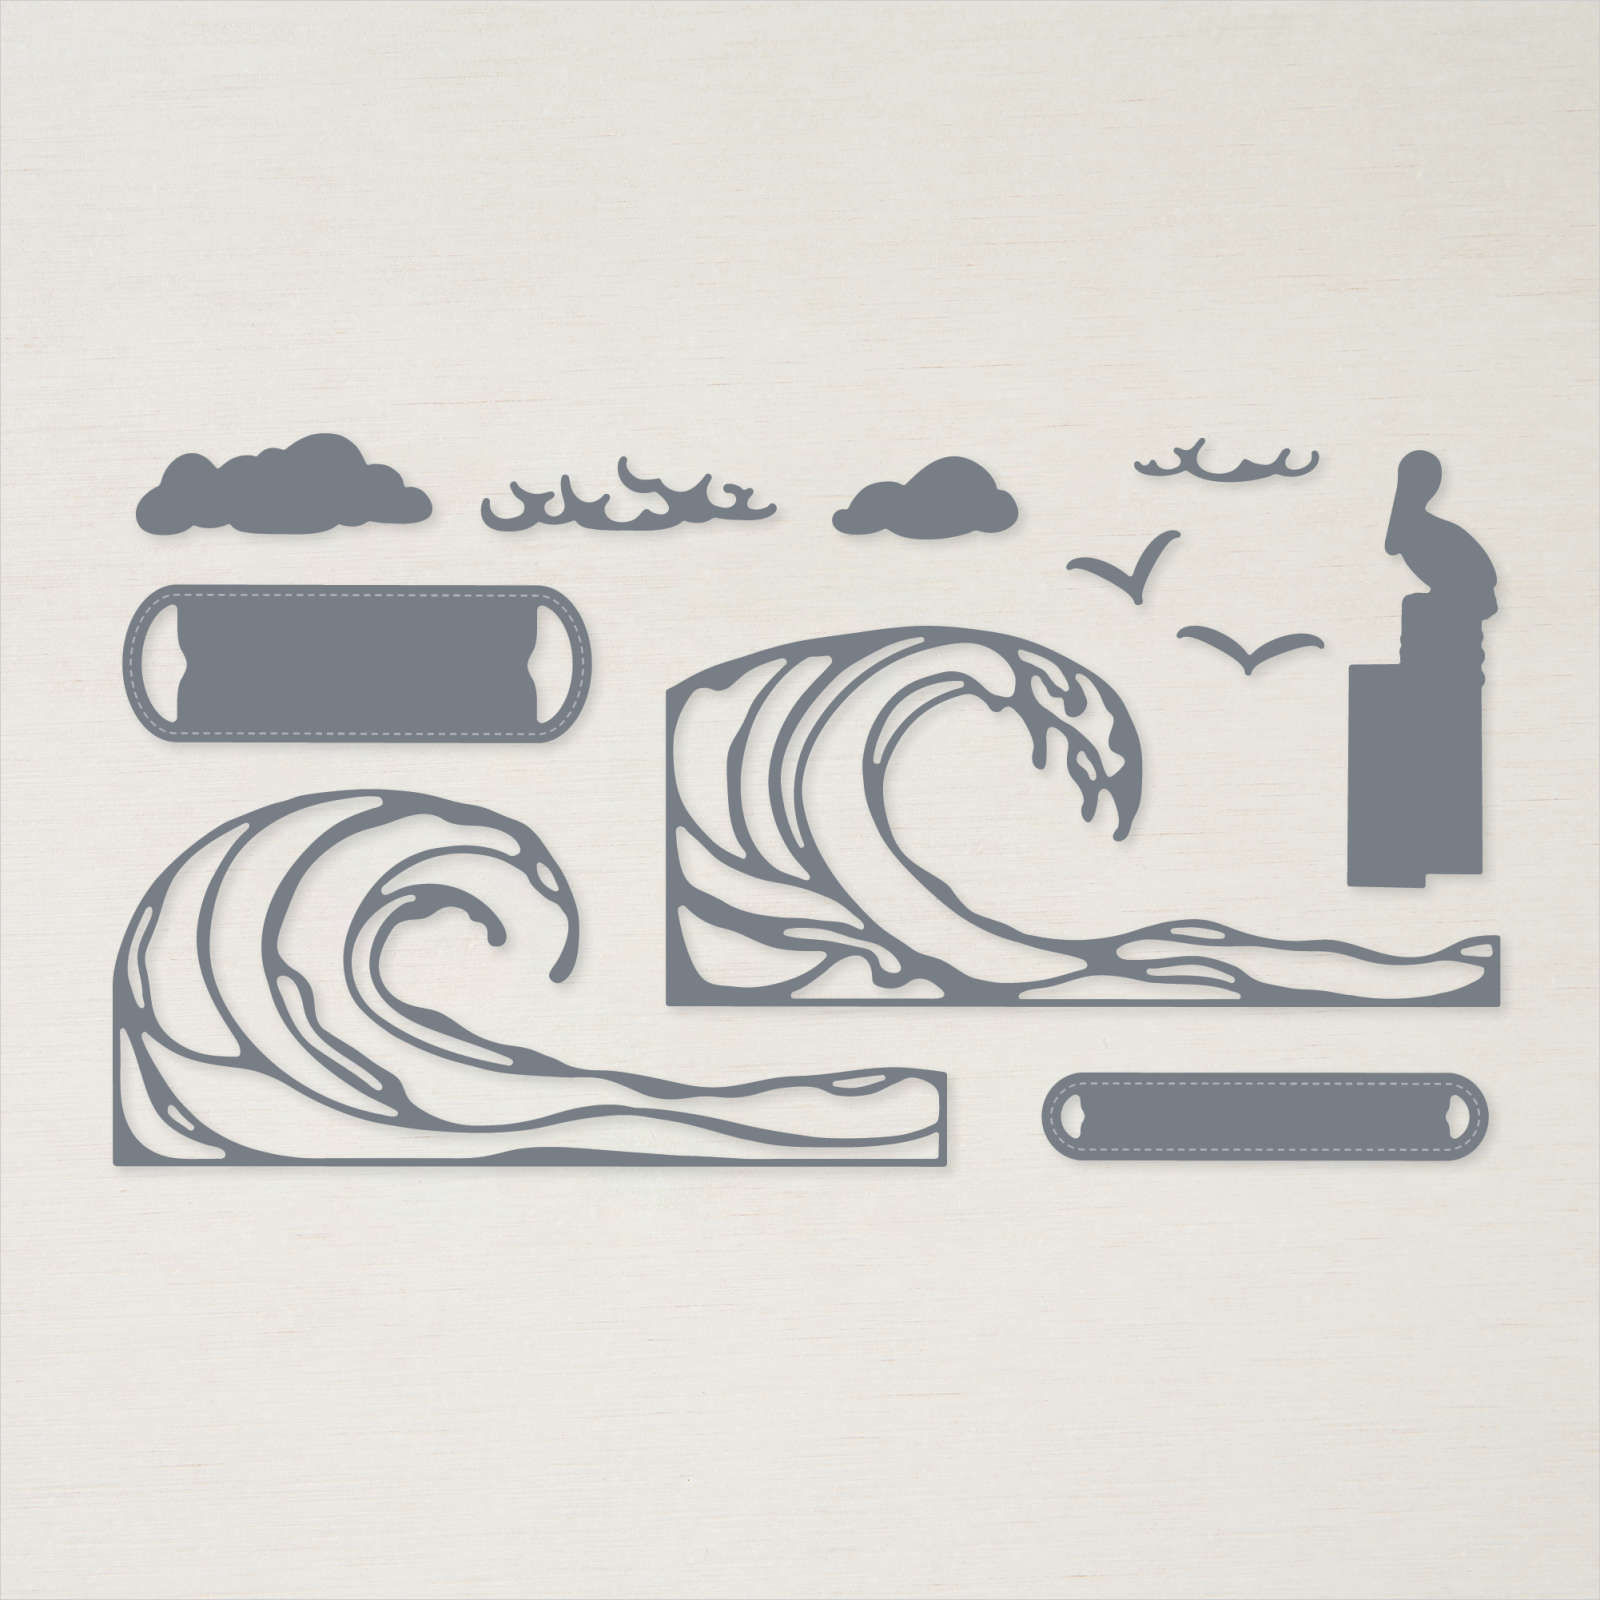
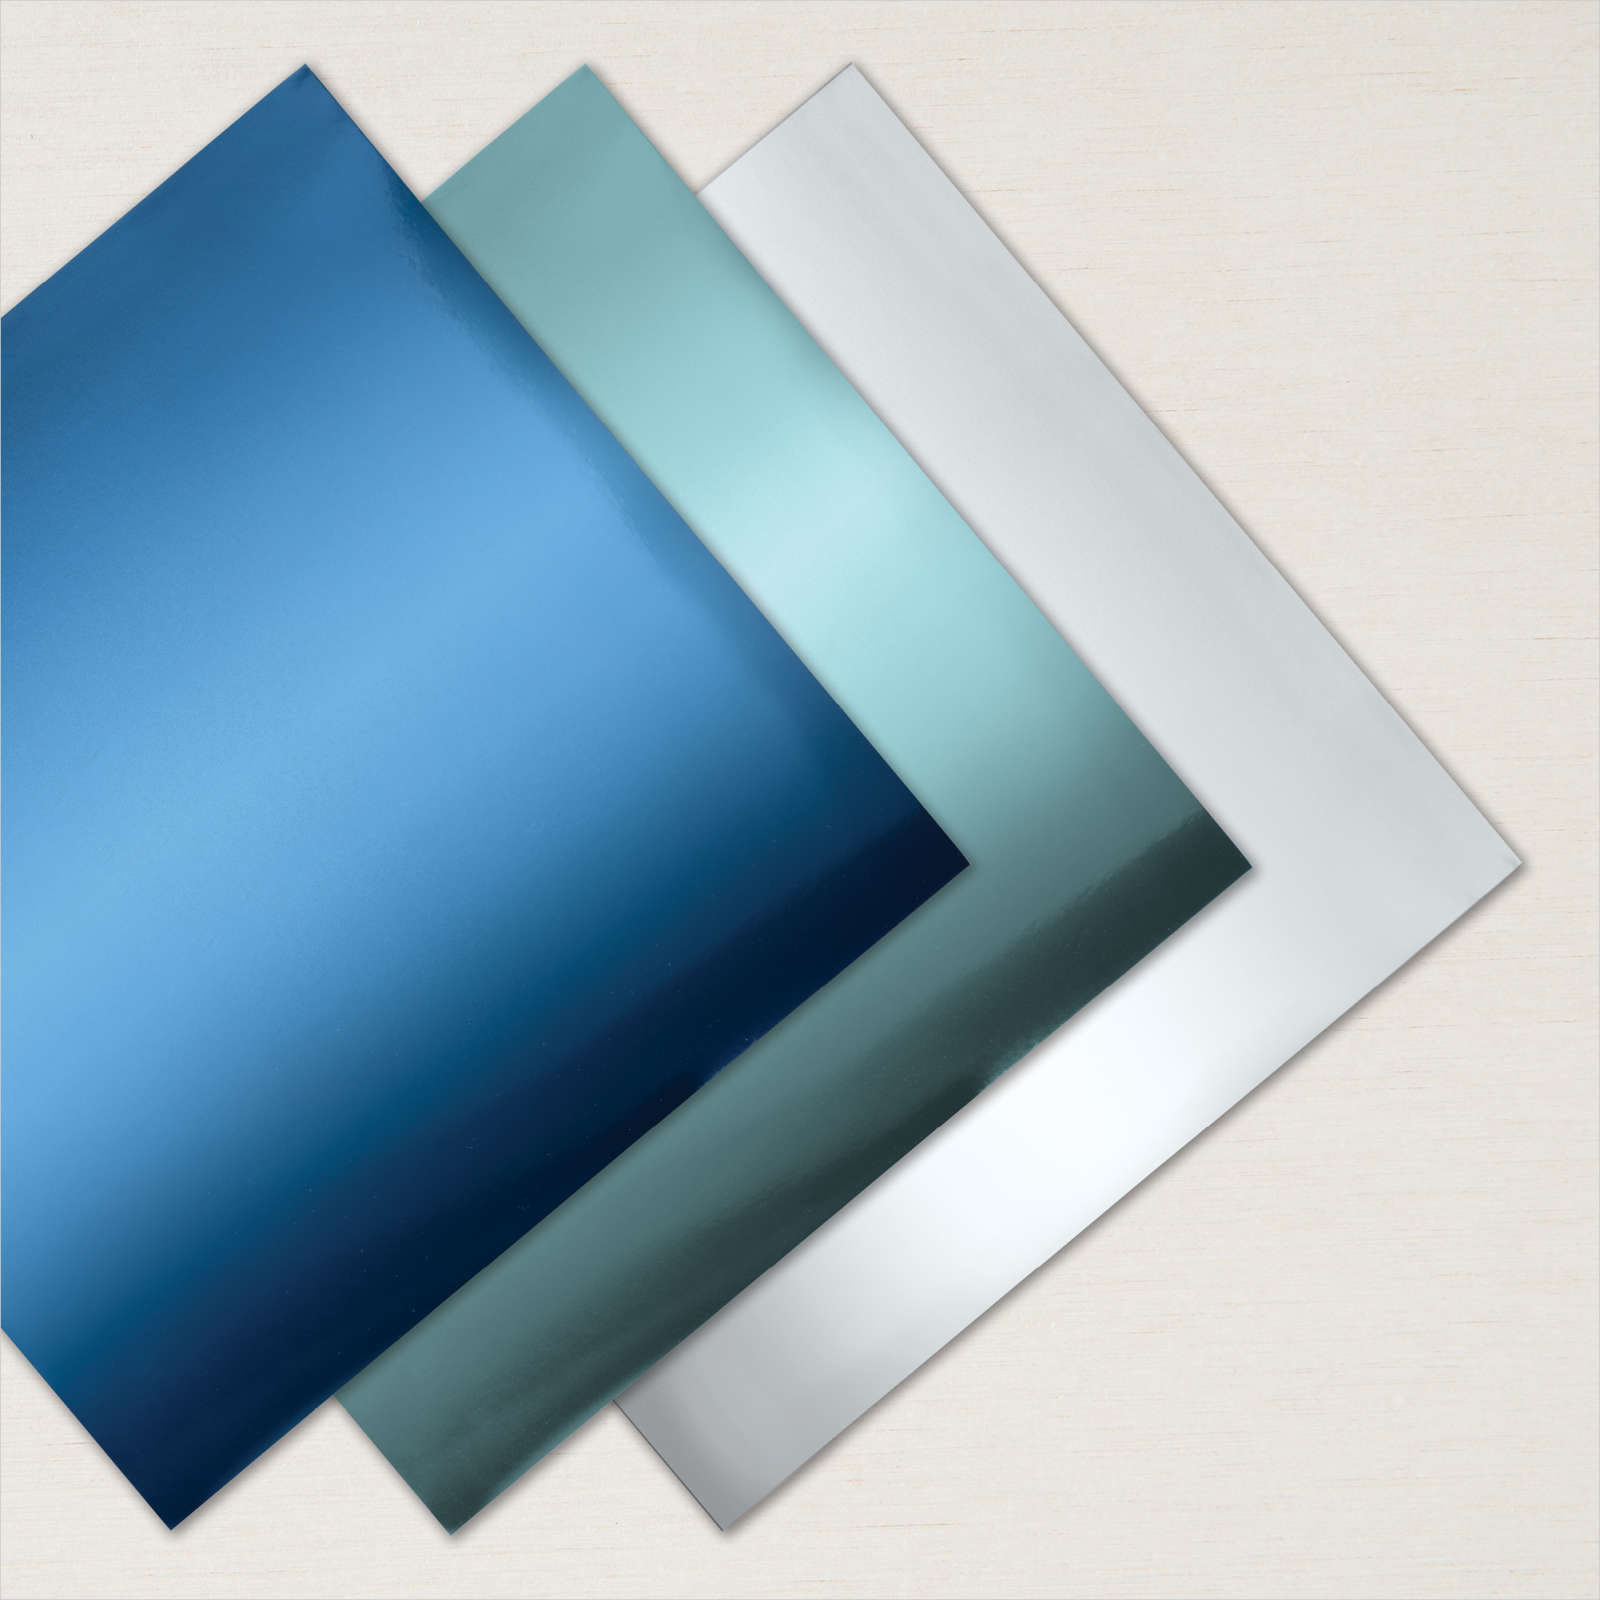
Today I have another card which uses the Waves of Inspiration Bundle. I cut a Coastal Cabana piece of the now retired Simply Marbleous 6″ x 6″ Designer Series Paper using the largest circle from the Layering Circle Dies. I stamped the wave image from the Waves of Inspiration stamp set onto the Designer series Paper using Pacific Point ink. I cut the silver foil from the Blues Foils 12″ x 2″ Specialty Paper using the wave from the Wave Dies. I attached the die cut to the stamped Designer Series Paper and then a Pacific Point scalloped circle cut using the Layering Circle Dies.
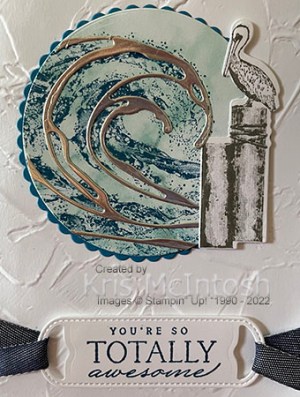
I embossed a piece of Basic White card using the Painted Texture 3D Embossing Folder and attached the image panel. I stamped the pelican image from the Waves of Inspiration stamp set onto Basic White card using Basic Gray ink and cut it out using the co-ordinating Wave Die.

I attached the pelican to the Basic White card using dimensionals where necessary so that it sits partially over the stamped Designer Series Paper panel. I stamped the greeting from the Waves of Inspiration stamp set onto Basic White card using Pacific Point in and cut it out using one of the label dies from the Wave Dies. I attached the greeting to the embossed Basic White card using dimensionals. I threaded Denim Ribbon through each end of the greeting banner and secured the ends to the back of the panel before attaching the Basic White card to scored and folded Pacific Point card. To decorate the inside of the card, I stamped the pelican image onto the lower right hand corner of Basic White card using Basic Gray ink. I attached a narrow strip of the same Simply Marbleous Designer Series Paper across the bottom of the stamped Basic White card.
Boy, is this set a lot of fun. I am sure that you will see me using this a lot more in the future.
Bye for now,
Kris
Product Used:


Waves of the Ocean
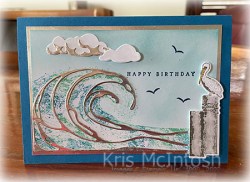
This week in my Facebook Live I shared some cards I created using the Waves of Inspiration bundle. The Waves of Inspiration Bundle will be available in the next annual catalogue, however, the Waves of the Ocean 12″ x 12″ Designer Series Paper, the Blue Foils 12″ x 12″ Specialty Paper and the Waves Rhinestones Basic Jewels are only available from the 1st March until the 2nd May. Unfortunately the Waves of the Ocean 12″ x 12″ Designer Series Paper was not available to purchase when I placed my order due to the uncertain deliveries during Covid. For today’s card, I set up the large wave stamp from the Waves of Inspiration Stamp Set on the Stamparatus.

I inked the image with Coastal Cabana and then used a Blending Brush to add a little Pacific Point ink before stamping the image onto Basic White card. I used a Blending Brush and Balmy Blue ink to colour the sky. I cut the silver foil from the Blue Foils 12″ x 12″ Specialty Paper using one of the dies from the co-ordinating Waves Dies which I attached over the stamped wave image. I stamped the greeting from the Waves of Inspiration stamp set using Pacific Point ink. I also stamped the bird image from the Waves of Inspiration stamp set three times onto the image panel using Pacific Point ink.
I attached the stamped panel to a piece of the silver foil from the Blue Foils Specialty Paper before attaching the whole piece to scored and folded Pacific Point card. I cut Basic White card using the two cloud dies from the Waves Dies. I also cut the Silver Foil using the detailed image for the larger cloud. I attached the detailed image to the Basic White cloud before attaching it to the top left hand corner of the card front. I attached the small cloud using mini dimensionals. I stamped the pelican image from the Waves of Inspiration stamp set onto Basic White card using Basic Gray ink and cut it out using the co-ordinating Waves Die. I attached the pelican image to the card front using dimensionals.
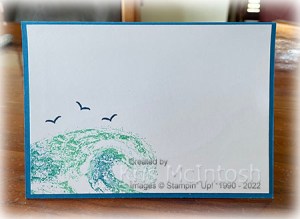
To decorate the inside of the card, I inked the large wave image using Coastal Cabana with a dab of Pacific Point in a couple of places, before stamping onto the lower left hand corner of Basic White card. I added three birds above the wave image using the bird stamp from the Waves of Inspiration stamp set and Pacific Point ink.
I am having a lot of fun playing with these products.
Bye For now,
Kris
Product Used:


Thinking of You

Today’s card uses a combination of the On The Horizon stamp set and the Oceanfront stamp set. What lovely stamp sets these are to work with! Thanks Stampin’ Up! For today’s card I attached a piece of Pattern Party Designer Series Paper to scored and folded Basic Black card. I cut Basic Black card using one of the Stitched Rectangle Dies and attached it to the card front. I stamped the “sand” image from the Oceanfront stamp set onto Basic White card using Sahara Sand ink.

I flipped the same image and stamped once more using Granny Apple Green ink. I stamped the “sky” image from the Oceanfront stamp set using Balmy Blue ink. I stamped the tree image from the On The Horizon stamp set using Mossy Meadow ink and the grass image from the same stamp set also using Mossy Meadow ink. I stamped the bird image from the On The Horizon stamp set onto the “sky” using Memento Tuxedo Black ink. I cut out the image using the Layering Circle Dies and attached it to a Basic Black scalloped circle cut using the same dies.
The image panel is attached to the card front using dimensionals so that it partially covers the Basic Black die cut. I stamped “thinking of you” from the now retired Special Moments stamp set onto Basic White card using Memento Tuxedo Black ink. I cut out the greeting using one of the Stitched Rectangle Dies and attached it to the card front using dimensionals.
To decorate the inside of the card, I attached a strip of the same Pattern Party Designer Series Paper across the bottom of Basic White card. I stamped the “sand” image from the Oceanfront stamp set using Granny Apple Green ink. I also stamped the tree image from the On The Horizon stamp set using Mossy Meadow ink.
Such a peaceful and serene card, don’t you think?
Bye for now,
Kris
Product Used: