Sunkissed Birthday
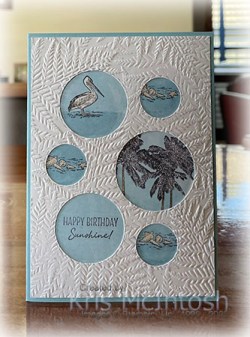
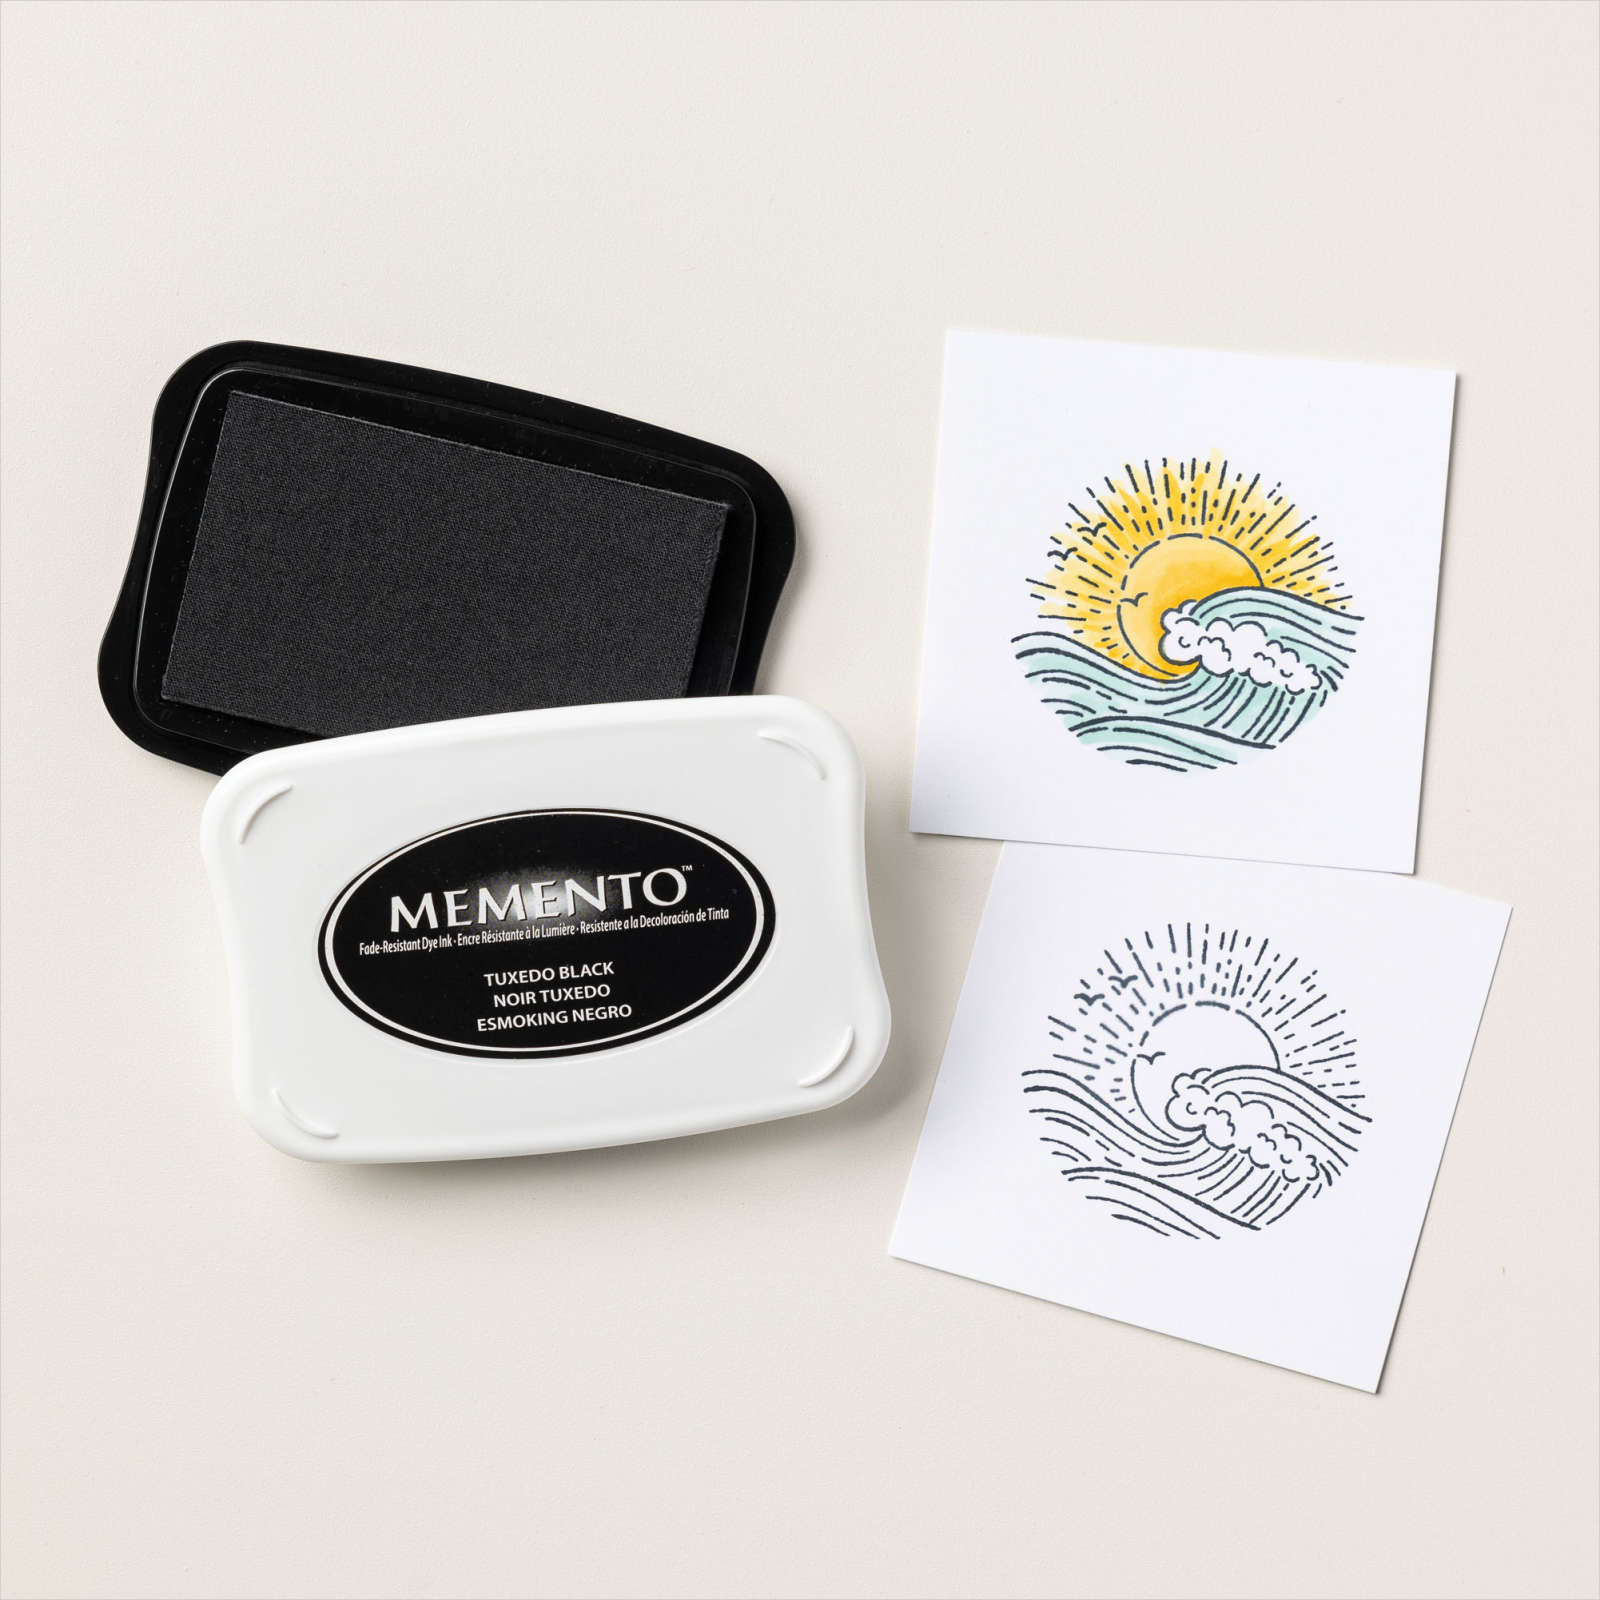
Today’s card uses the Sunkissed stamp set which I featured on my Facebook Live this week. It’s a cute and fun stamp set and perfect for any occasion. For my card today, I cut Basic White card using the Picture This Die and embossed it using the Fern 3D Embossing Folder. I stamped the bird and shell images as well as the greeting onto Basic White card using Memento Tuxedo Black ink, making sure that they would sit behind the openings in the embossed Basic White card.
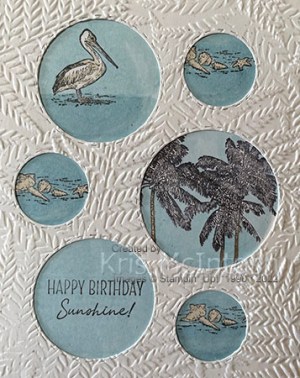
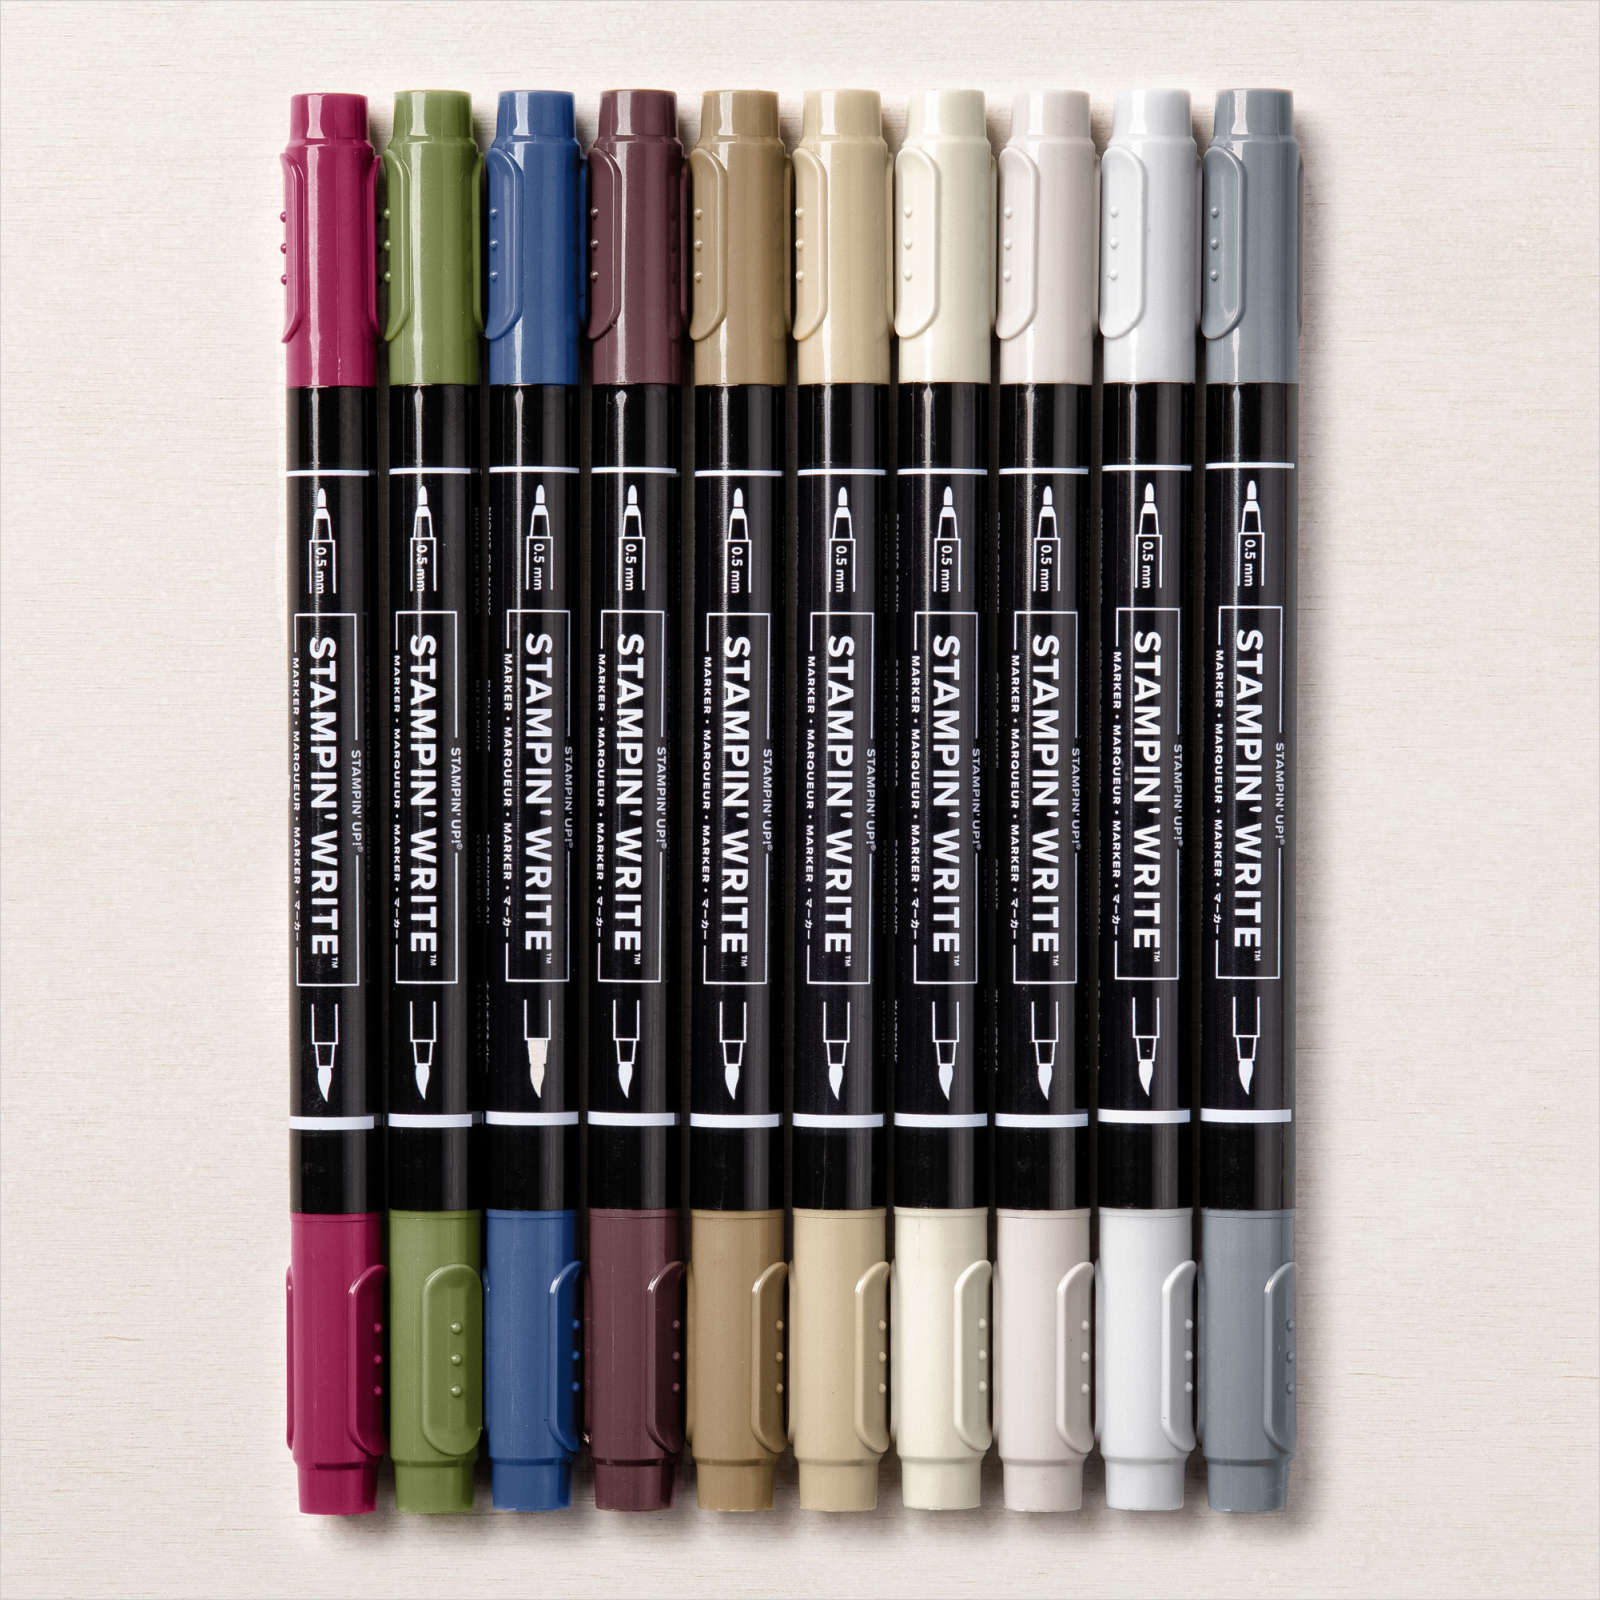
I used an Early Espresso and Mossy Meadow Stampin’ Write Marker to ink the palm tree image which I stamped to fill the largest circle opening in the embossed Basic White card. I used Light Crumb Cake Stampin’ Blends to colour the bird and shell images and Balmy Blue Stampin’ Blends to colour around the images and the greeting. I wanted to fill all of the space in the openings in the embossed Basic White card.
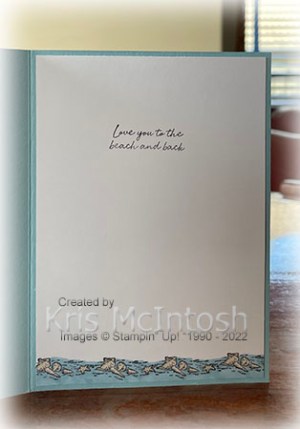
I attached the embossed and stamped panels together before attaching them to scored and folded Balmy Blue card. To decorate the inside of the card, I stamped the shell image several times to cover the whole of the bottom edge of Basic White card. I used the Dark Balmy Blue and Light Crumb Cake Stampin’ Blends to colour the images. I also stamped another greeting from the Sunkissed stamp set using Memento Tuxedo Black ink.
I really love this finished card. So much going on but so much fun, don’t you think?
Bye for now,
Kris
Product Used:



Hippos In Blue

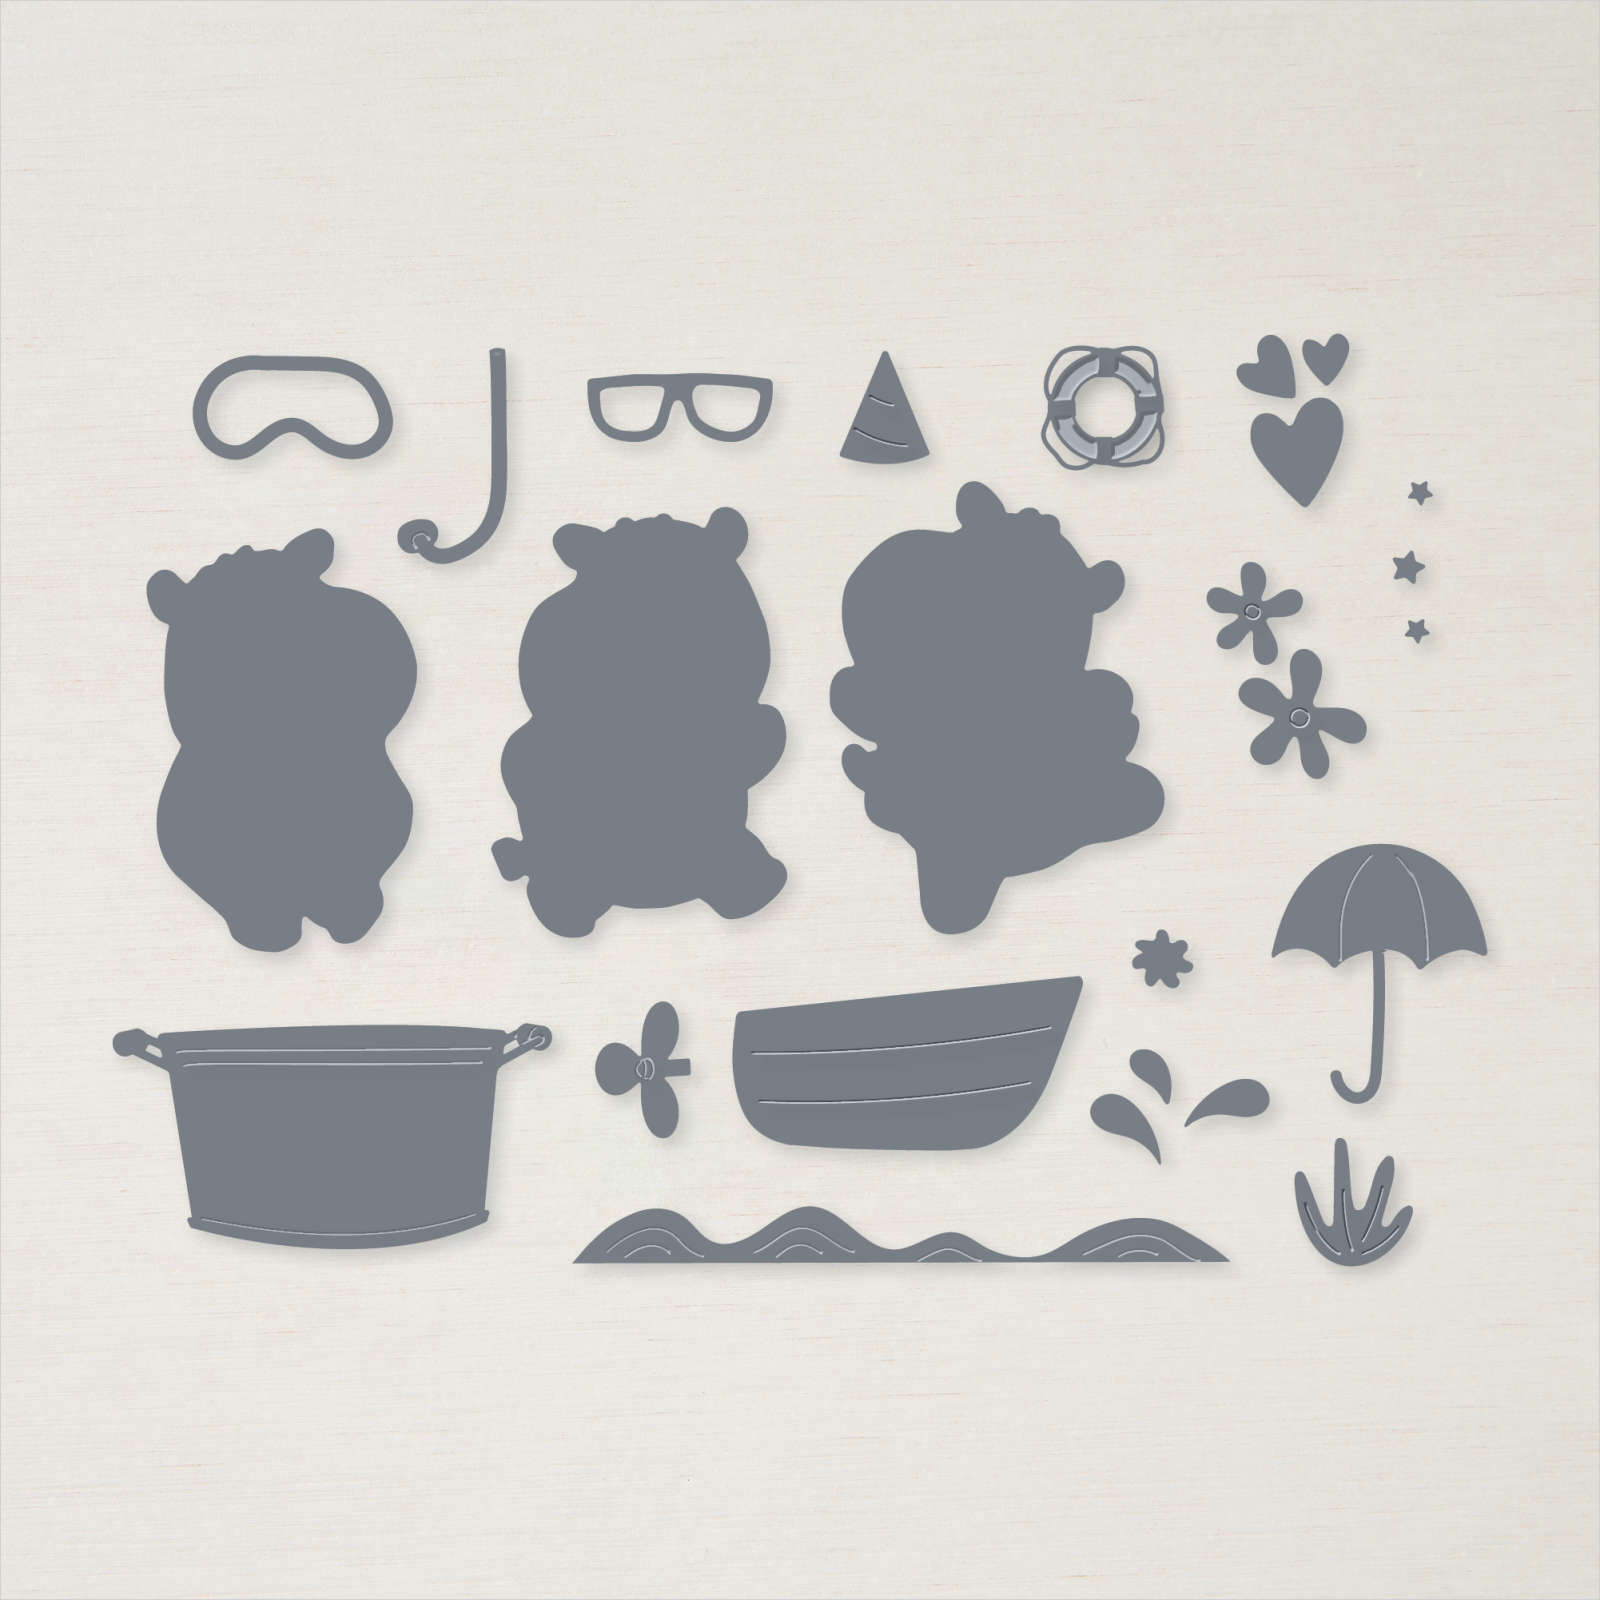
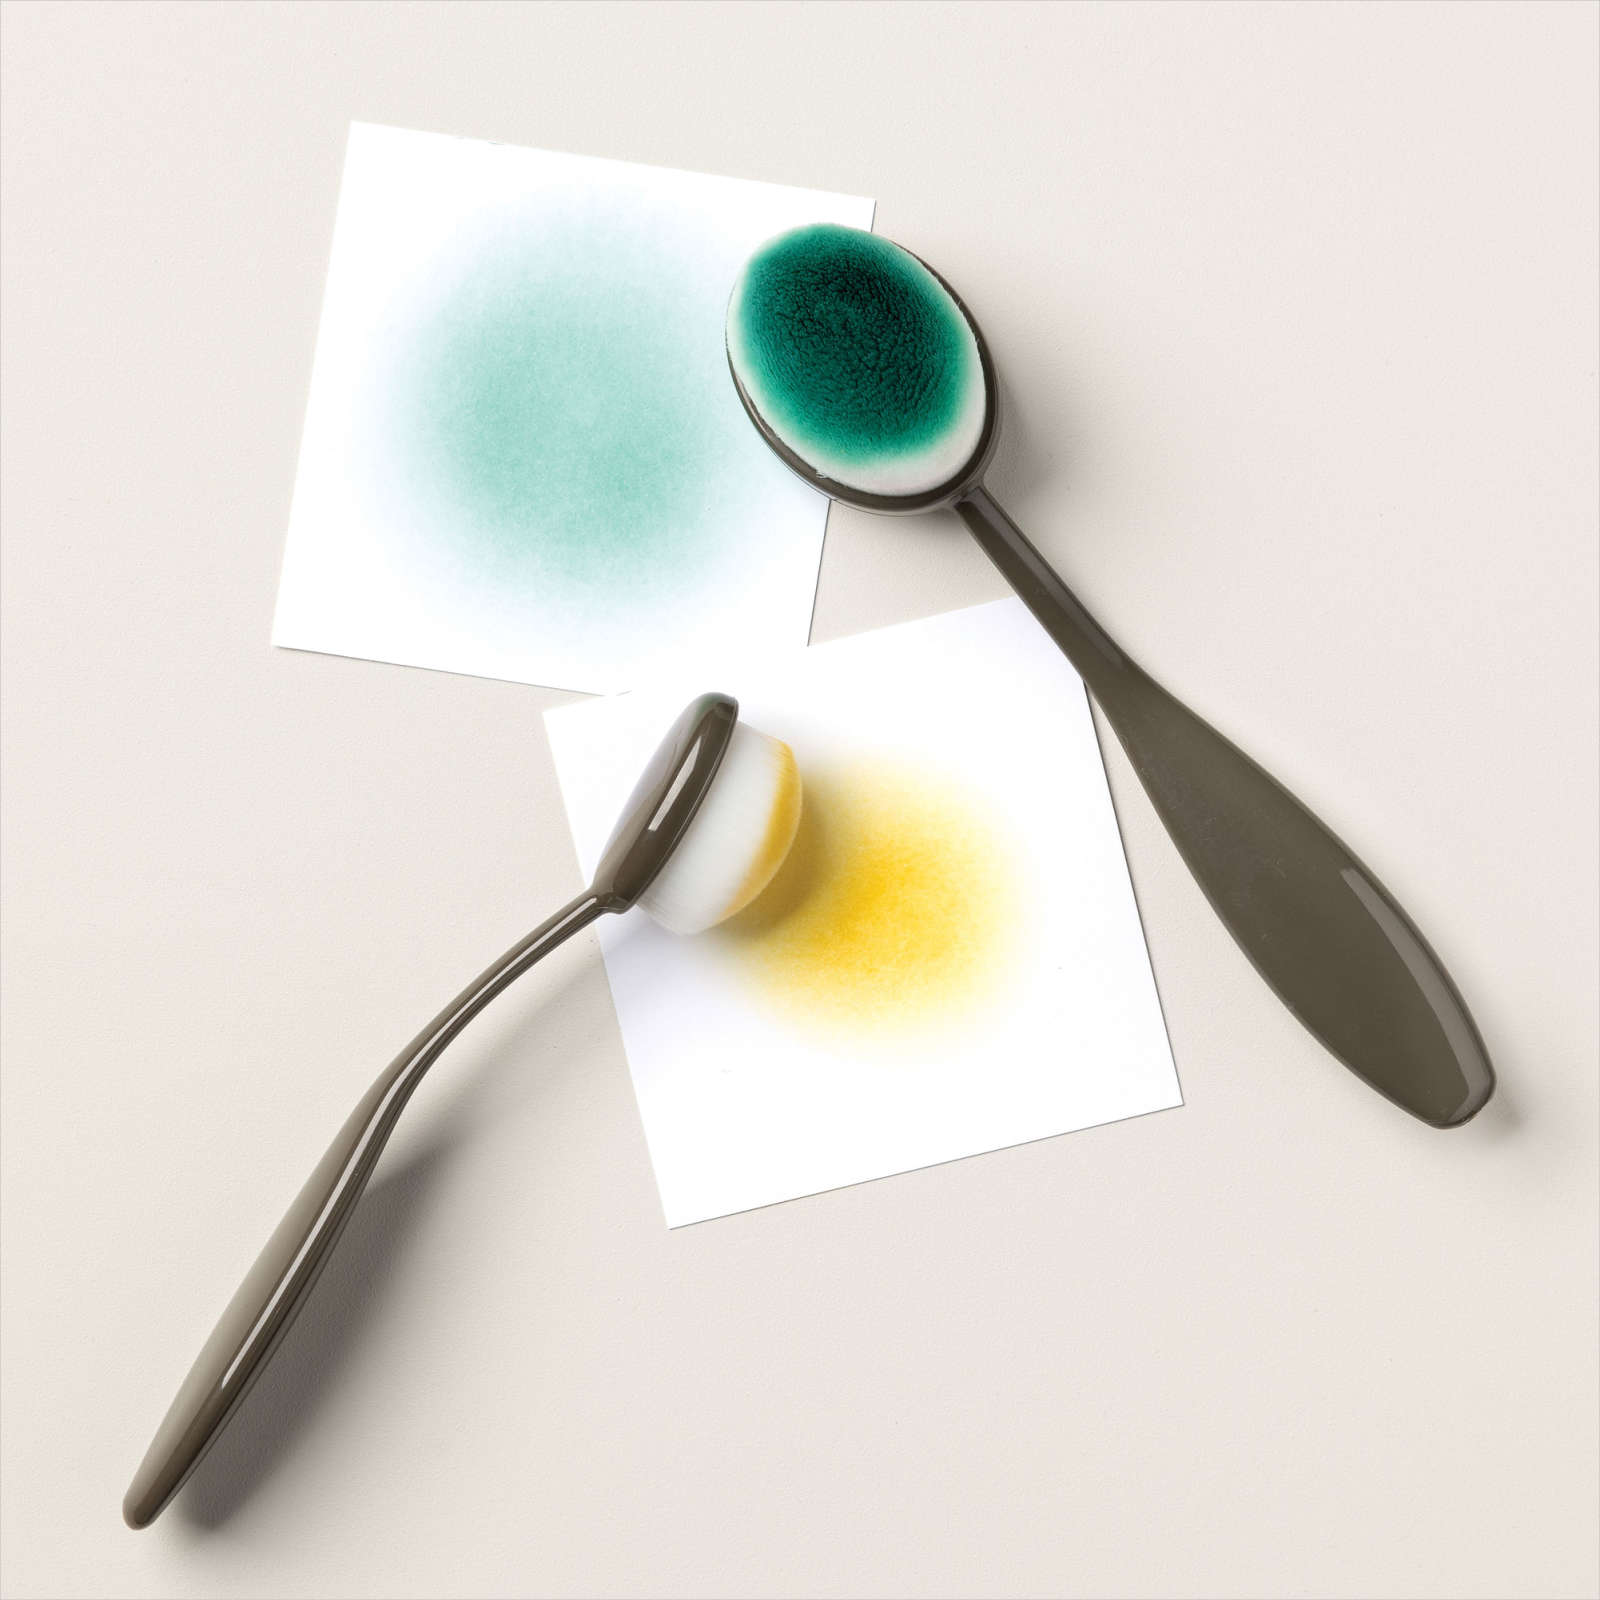
Today’s card uses the Hippest Hippos stamp set, Hippo Dies and the Silver & Gold 6″ x 6″ Specialty Paper. All of these products are FREE during Sale-A-Bration with a qualifying order. I cut two different patterns of the Gold Specialty Paper and used a Blending Brush to add Bermuda Bay ink. I attached the Specialty Paper panels to Basic White card and then scored and folded Bermuda Bay card. I stamped the image from the Hippest Hippos stamp set onto Basic White card using Memento Tuxedo Black ink.

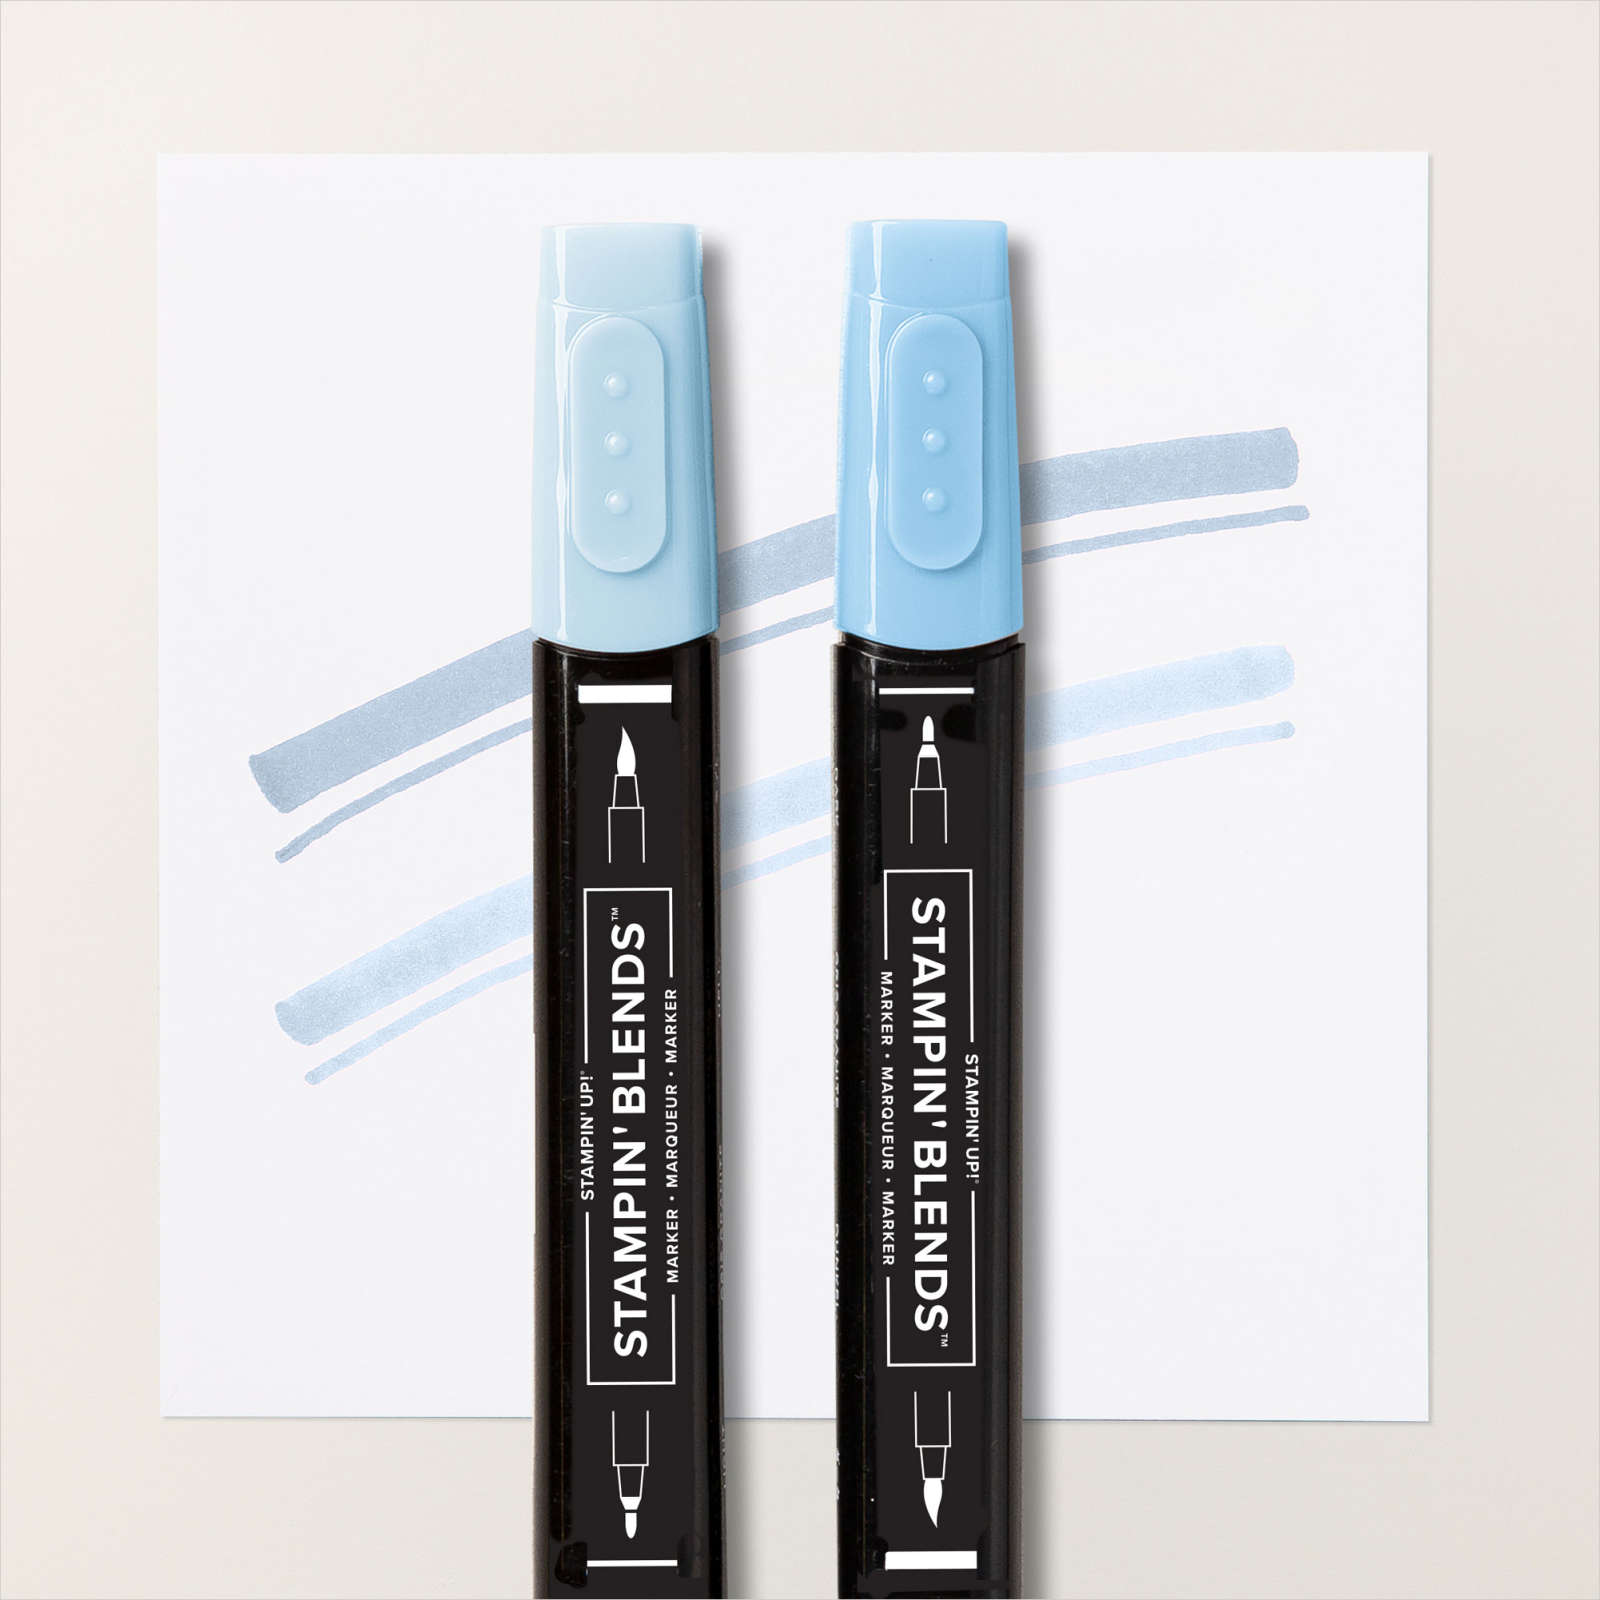
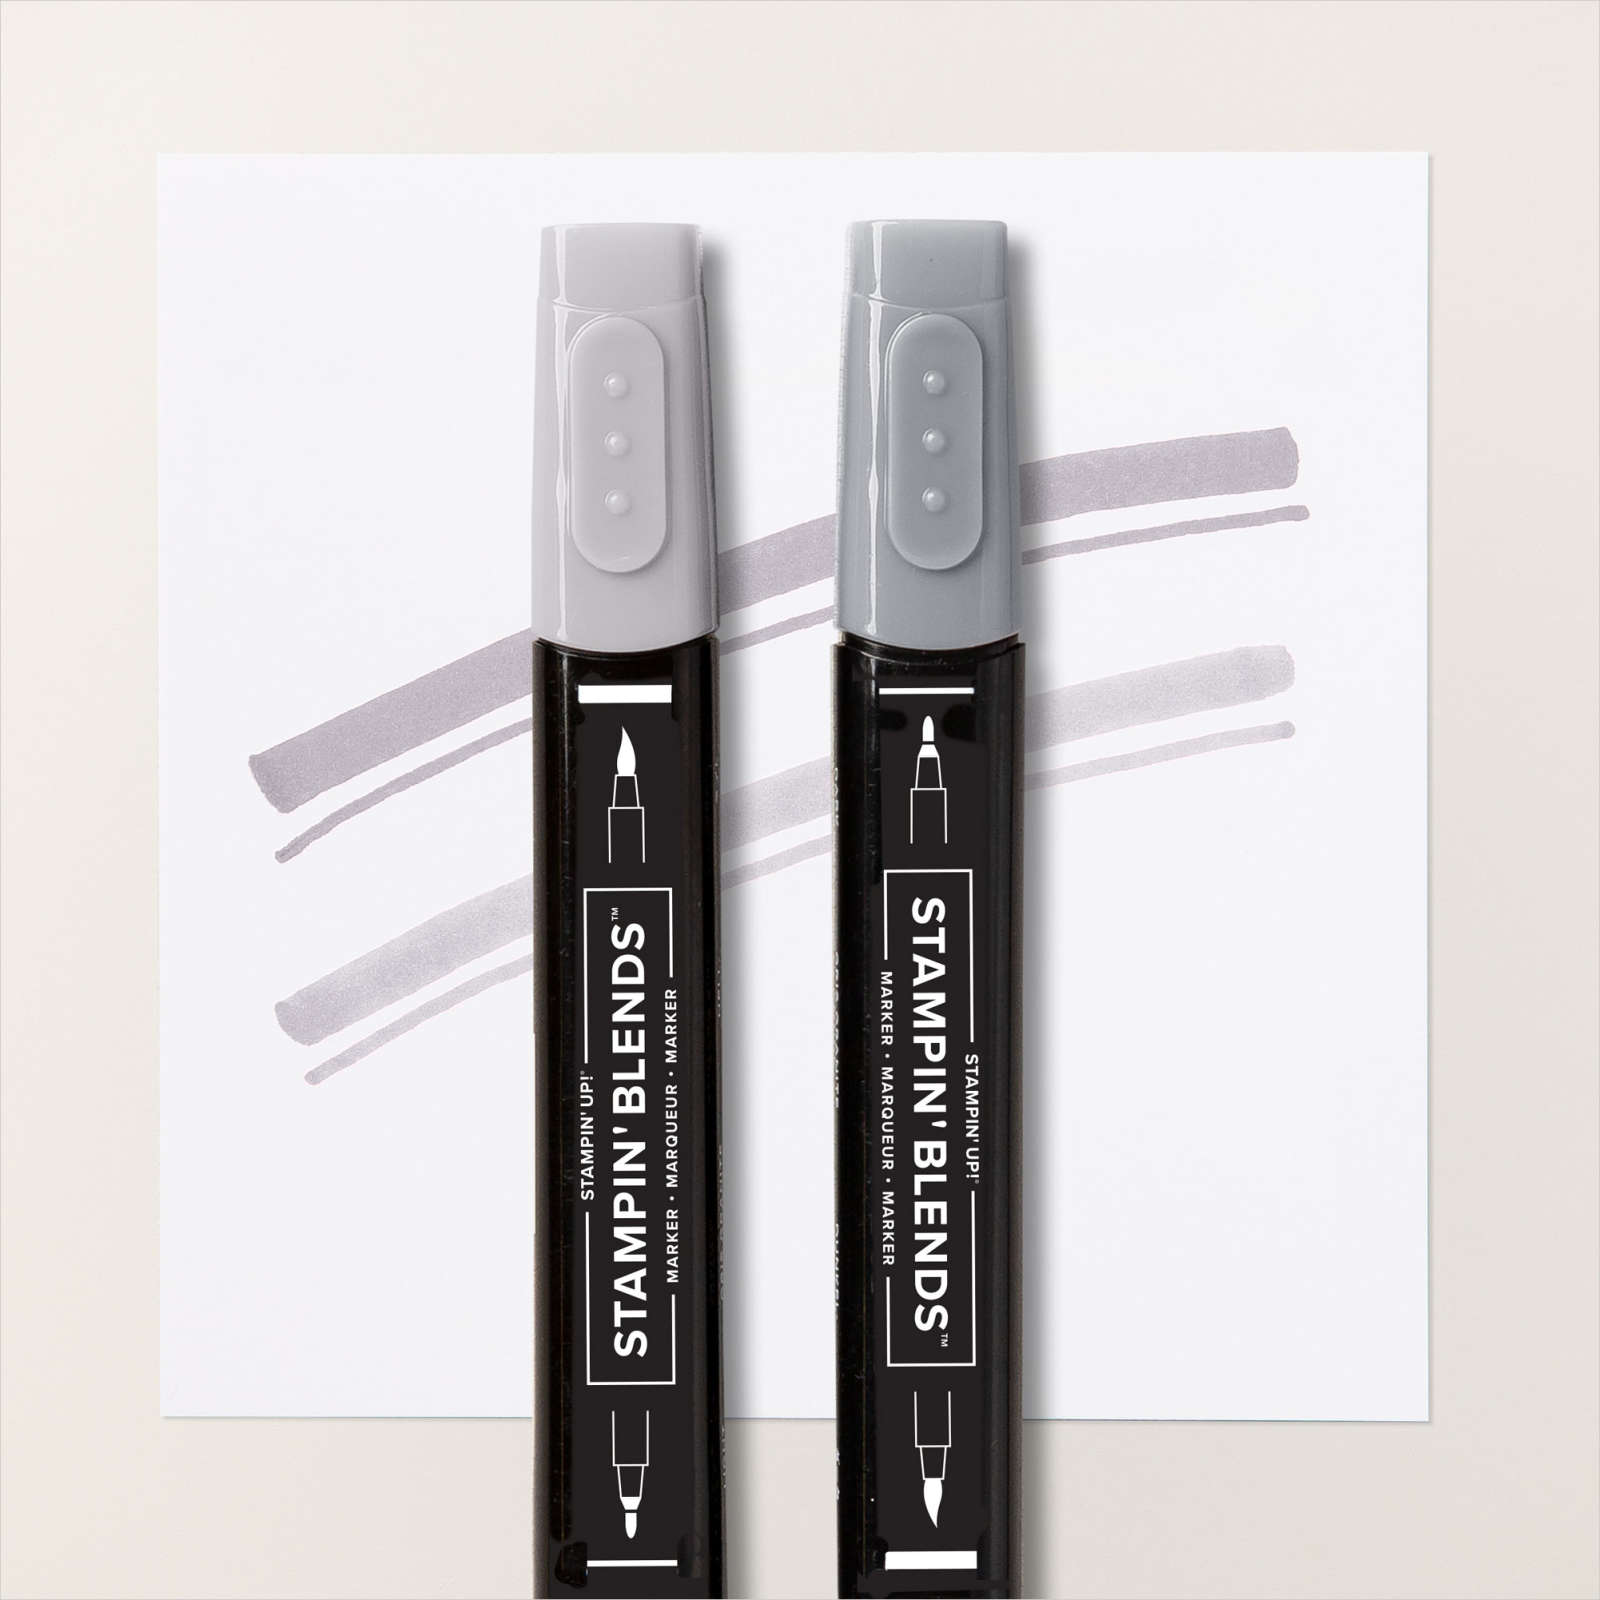
The image is coloured using Light Smoky Slate, Dark Petal Pink, Dark Poppy Parade and dark Old Olive Stampin’ Blends.
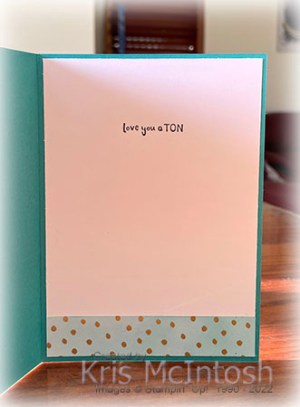
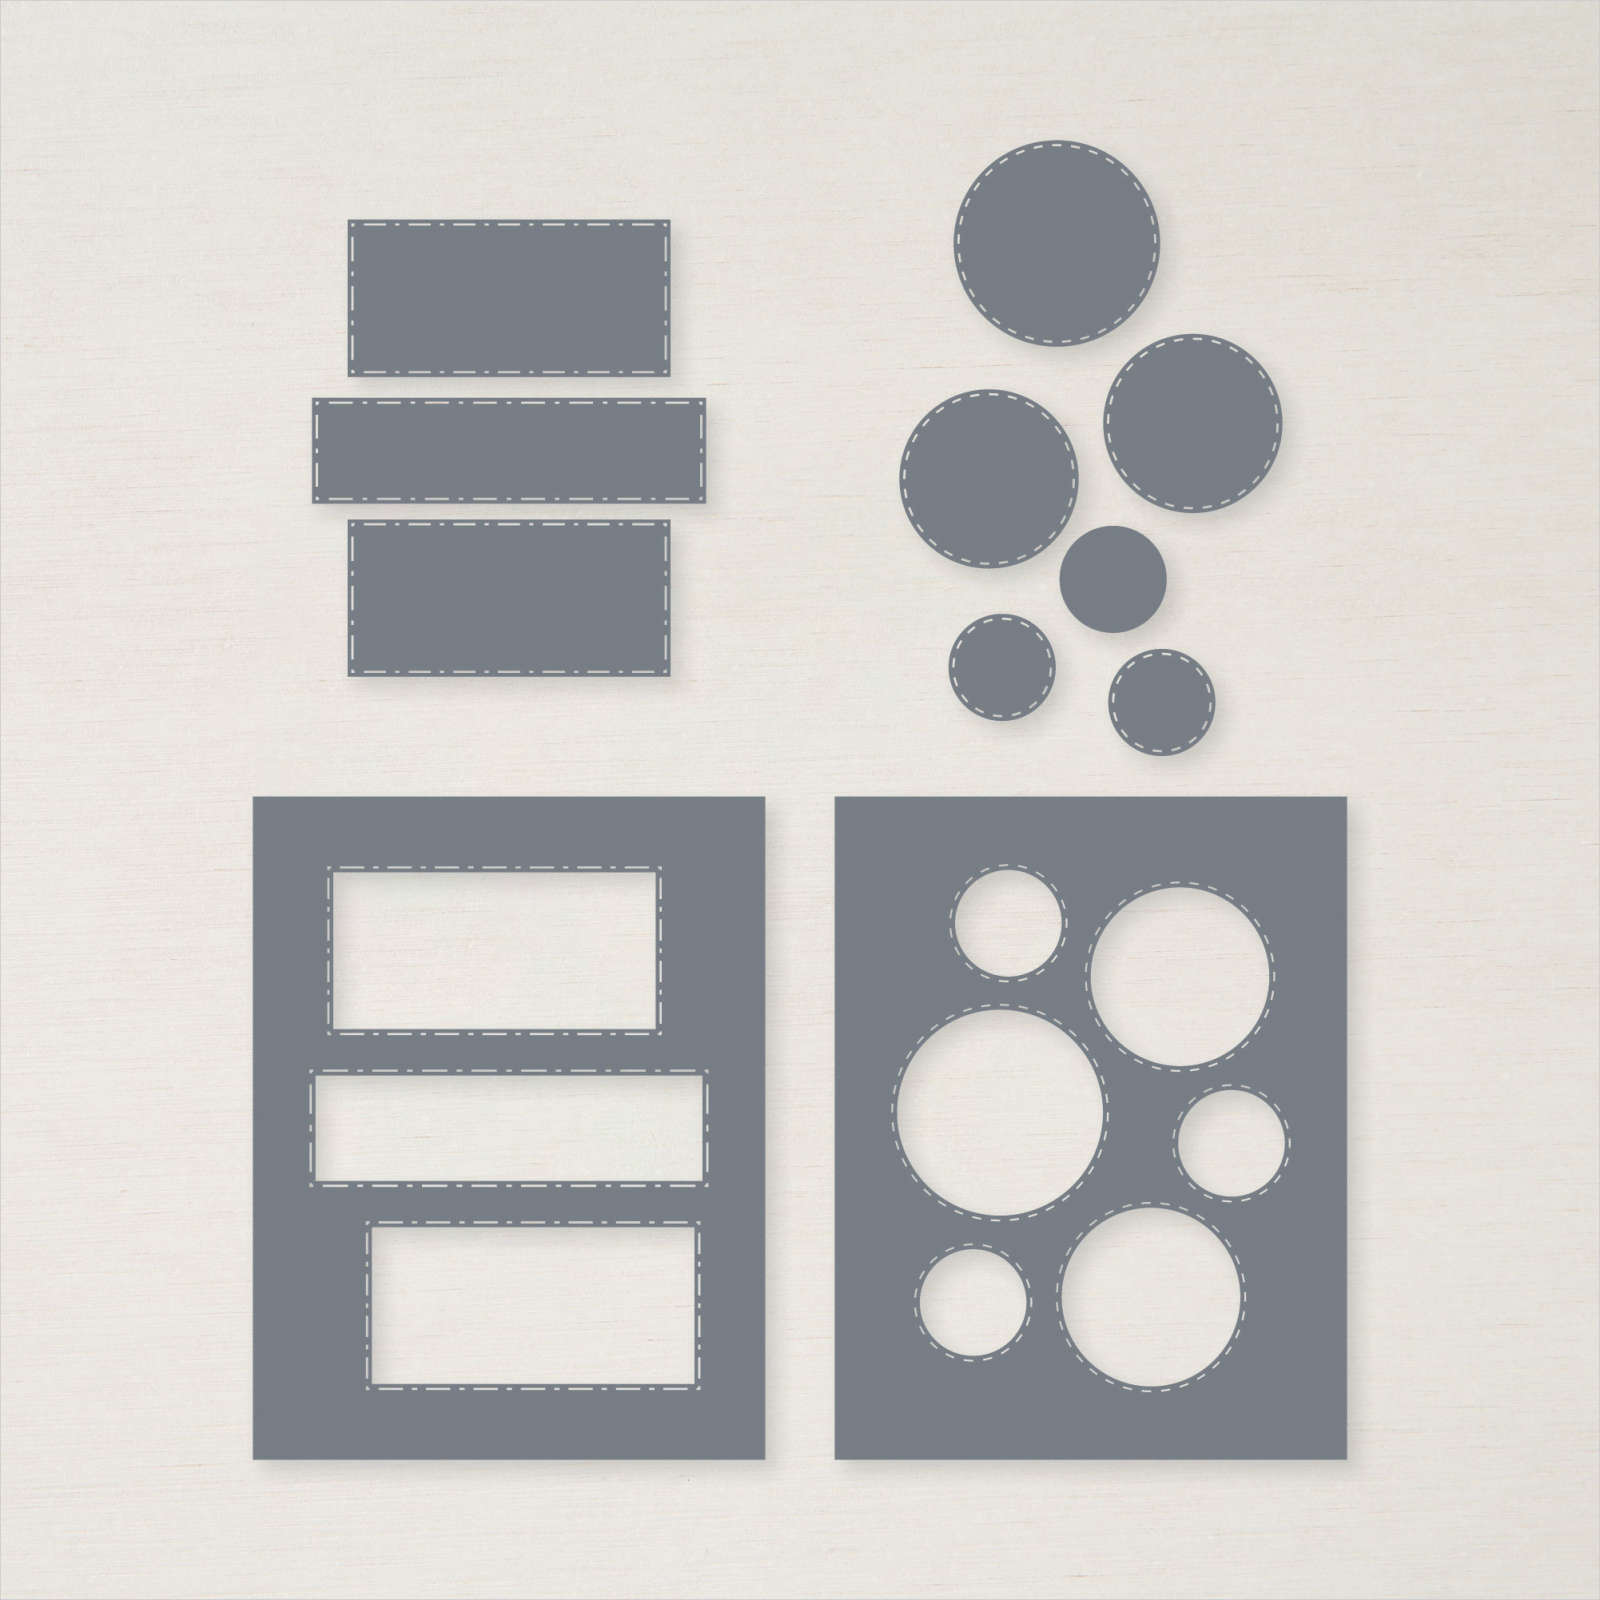
I cut out the image using one of the circles from the Stylish Shapes Dies and attached it to the card front using dimensionals. I cut Basic White card using the heart die from the Hippo Dies and attached them to the card front. To decorate the inside of the card, I coloured a piece of the Specialty Paper using Bermuda Bay ink and a Blending Brush. I attached the Specialty Paper across the bottom of Basic White card and stamped the greeting from the Hippest Hippos stamp set using Memento Tuxedo Black ink.
Another cute and simple card which I love, what about you?
Bye for now,
Kris
Product Used:




Merry Christmas
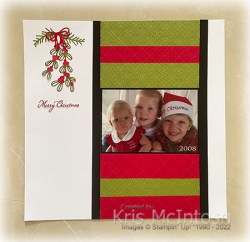
Today’s page shows off a photo I found in my box on the shelf of three of my grandchildren. As you can see the photo was taken quite while ago! I cut pieces of Old Olive and Real Red A4 card. I used the Gingham Embossing Folder to emboss the three panels at the top together and the three pieces at the bottom together, to try and keep the pattern even. Once embossed the panels are attached to the right hand side of a Basic White 12″ x 12″ page, with the photo in the middle. I attached strips of Basic Black card down either side of the embossed panels.
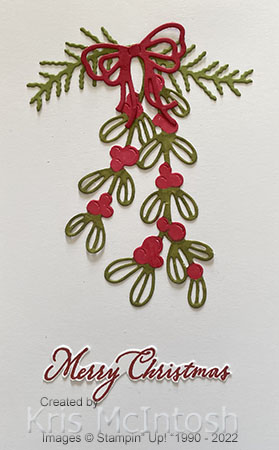
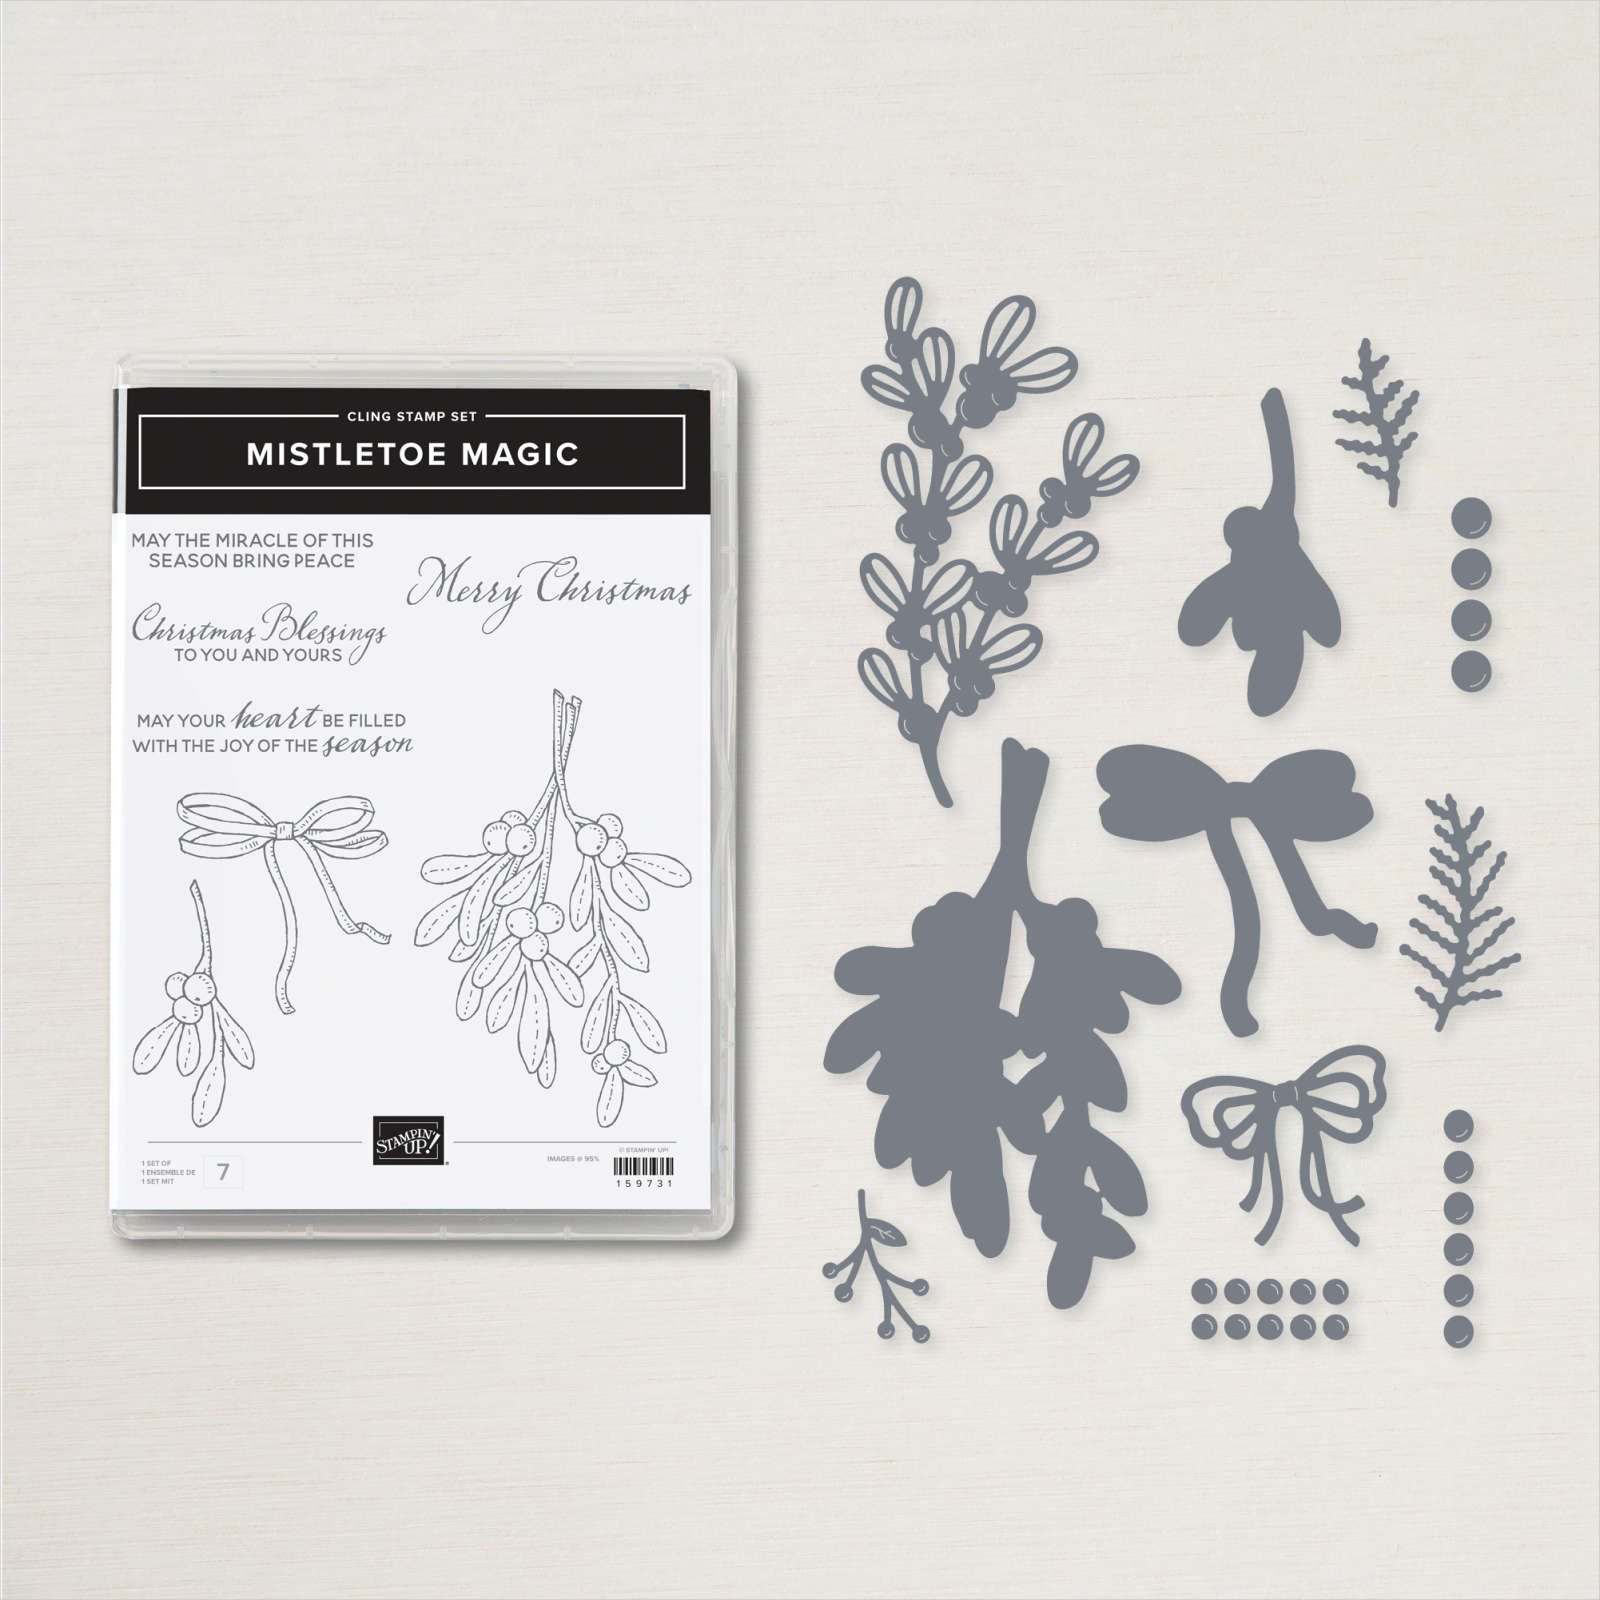
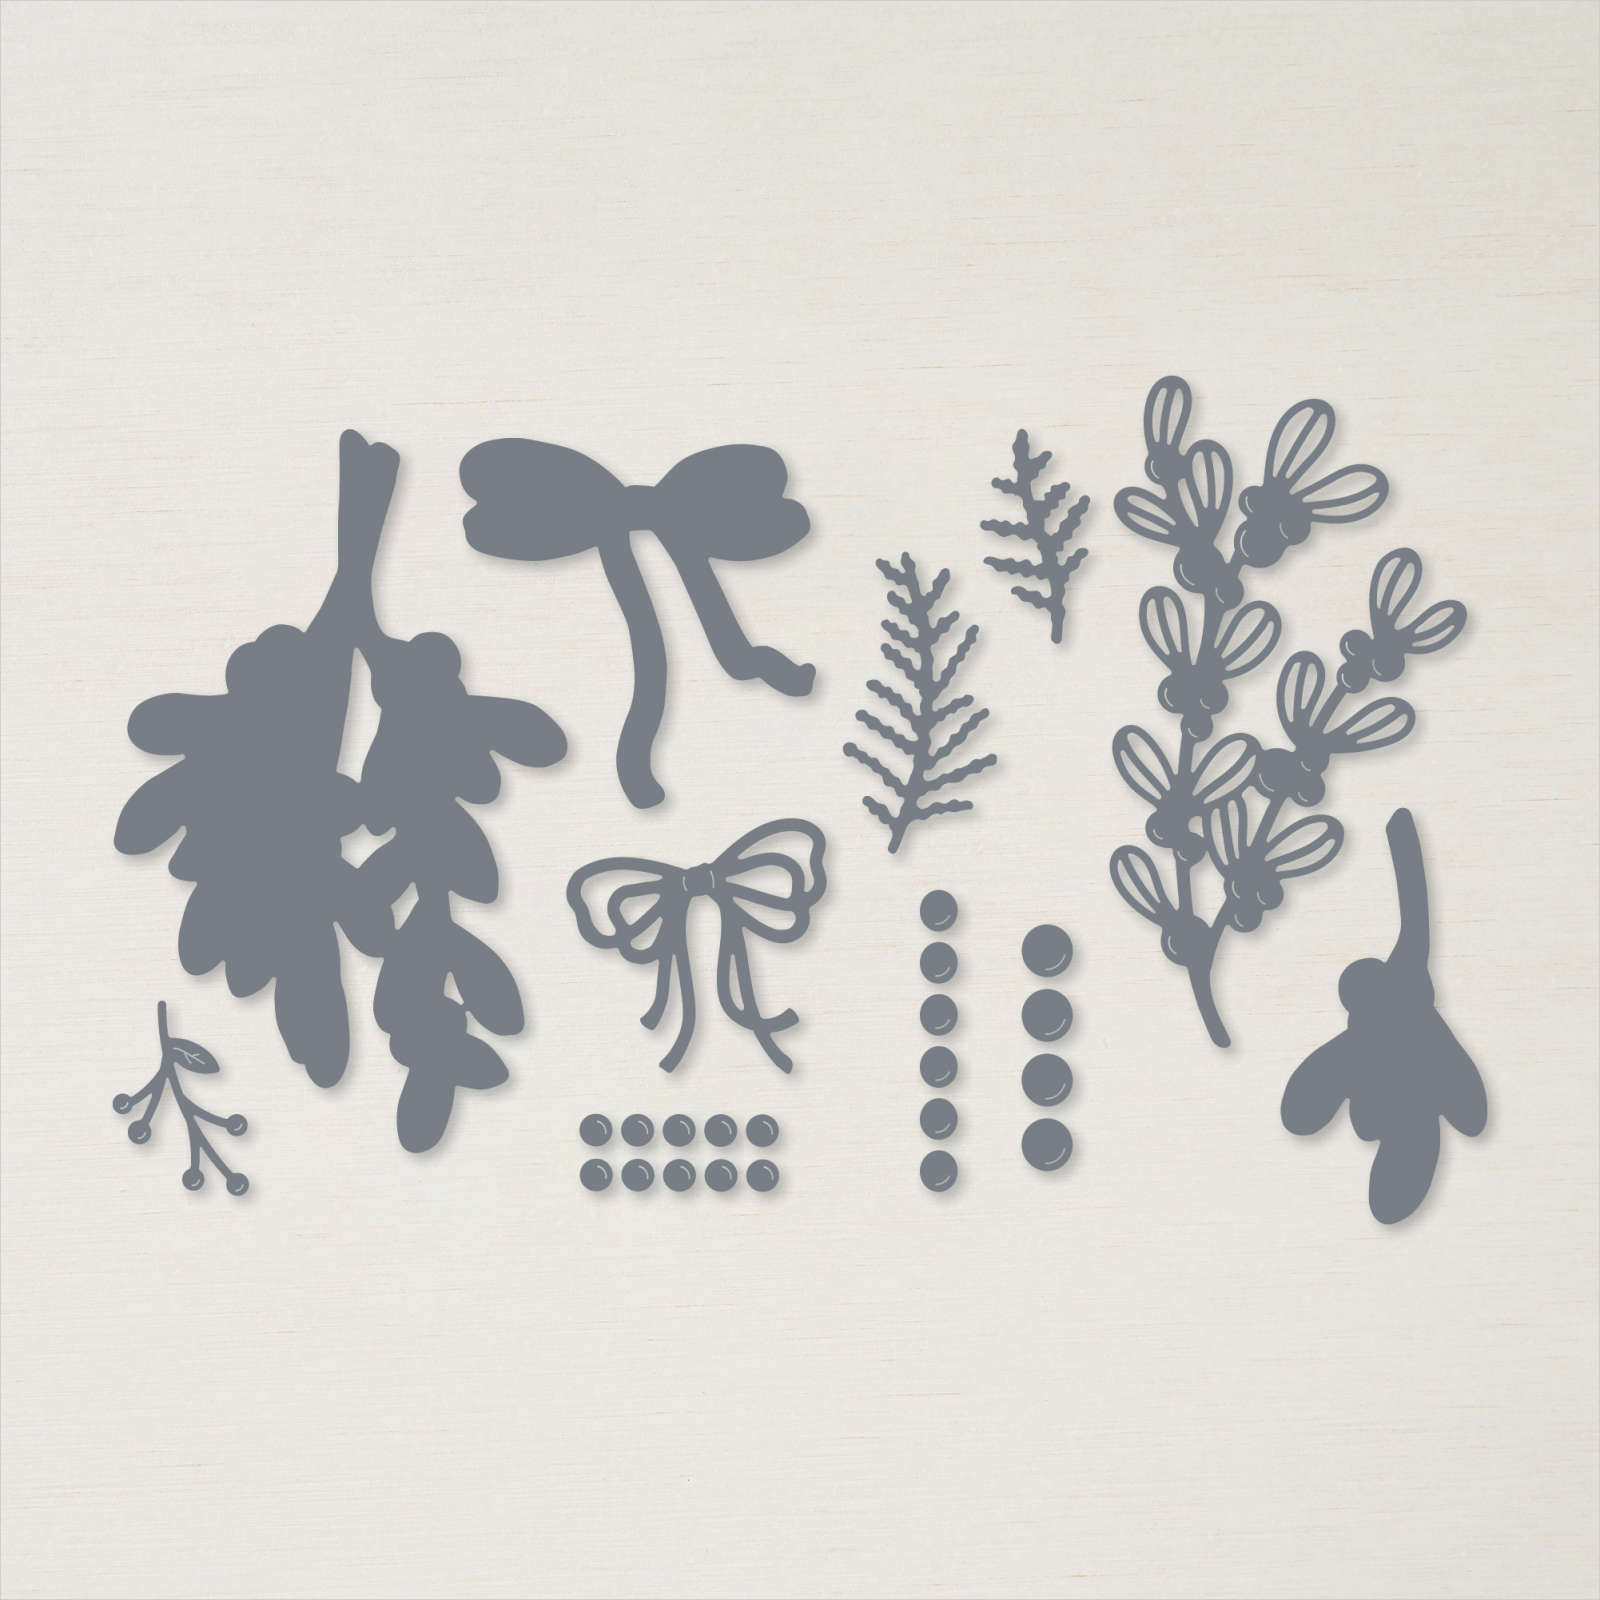
I cut two leaves from Old Olive card using the Mistletoe Dies and attached them to the top left hand side of the page. I cut the mistletoe image from Basic White card using the Mistletoe Die. I coloured the Basic White die cut using a dark Real Red and a dark Old Olive Stampin’ Blend before attaching it to the middle of the leaves. I die cut Real Red card using the bow die from the Mistletoe Dies and attached it to cover the ends of the leaves and mistletoe. I stamped “Merry Christmas” from the Mistletoe Magic stamp set onto Basic White card using Real Red ink. I used my paper snips to cut out the greeting before attaching it to the page below the mistletoe. I didn’t add any journaling to this page as the photo is pretty self-explanatory. Another simple page but one that looks really lovely, don’t you think?
Bye for now,
Kris
Product Used:




More to Sale-a-Brate
I love Sale-a-Bration time, don’t you? Stampin’ Up! have made this Sale-A-Bration even greater by adding some more product you can earn for free with a qualifying order until Sale-A-Bration ends on the 31st August. These products can be found in the current catalogues but you need to use the Sale-A-Bration item number when you order. Take a look are these great additions.
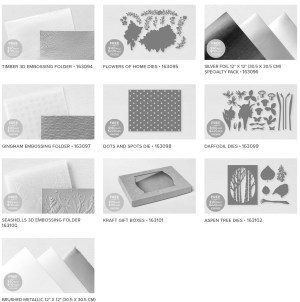
You can download the pdf here so you can take a better look. Happy Shopping.
Bye for now,
Kris
Merry Christmas
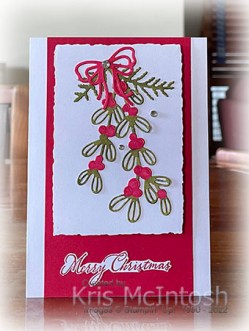
Todays card uses the Mistletoe Magic Bundle which I shared in my Facebook Live this week. For today’s card I attached a piece of Real Red card down the centre of scored and folded Thick Basic White card. I added a piece of Basic White card cut using the Deckled Rectangle Dies. I die cut two sets of leaves and the large holly image from Basic White card using the Mistletoe Dies. I used a Dark Real Red and Dark Old Olive Stampin’ Blend to add colour to the images before layering them onto the Basic White panel.
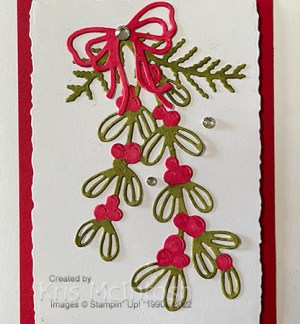
I die cut the ribbon image from Basic White card using the Mistletoe Dies, coloured it with a Dark Real Red Stampin’ Blend before attaching it to the card front.
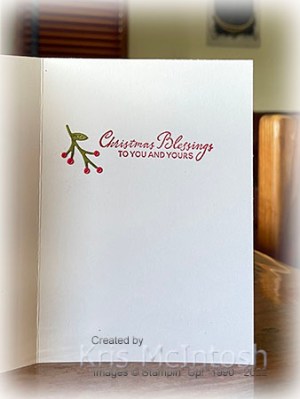
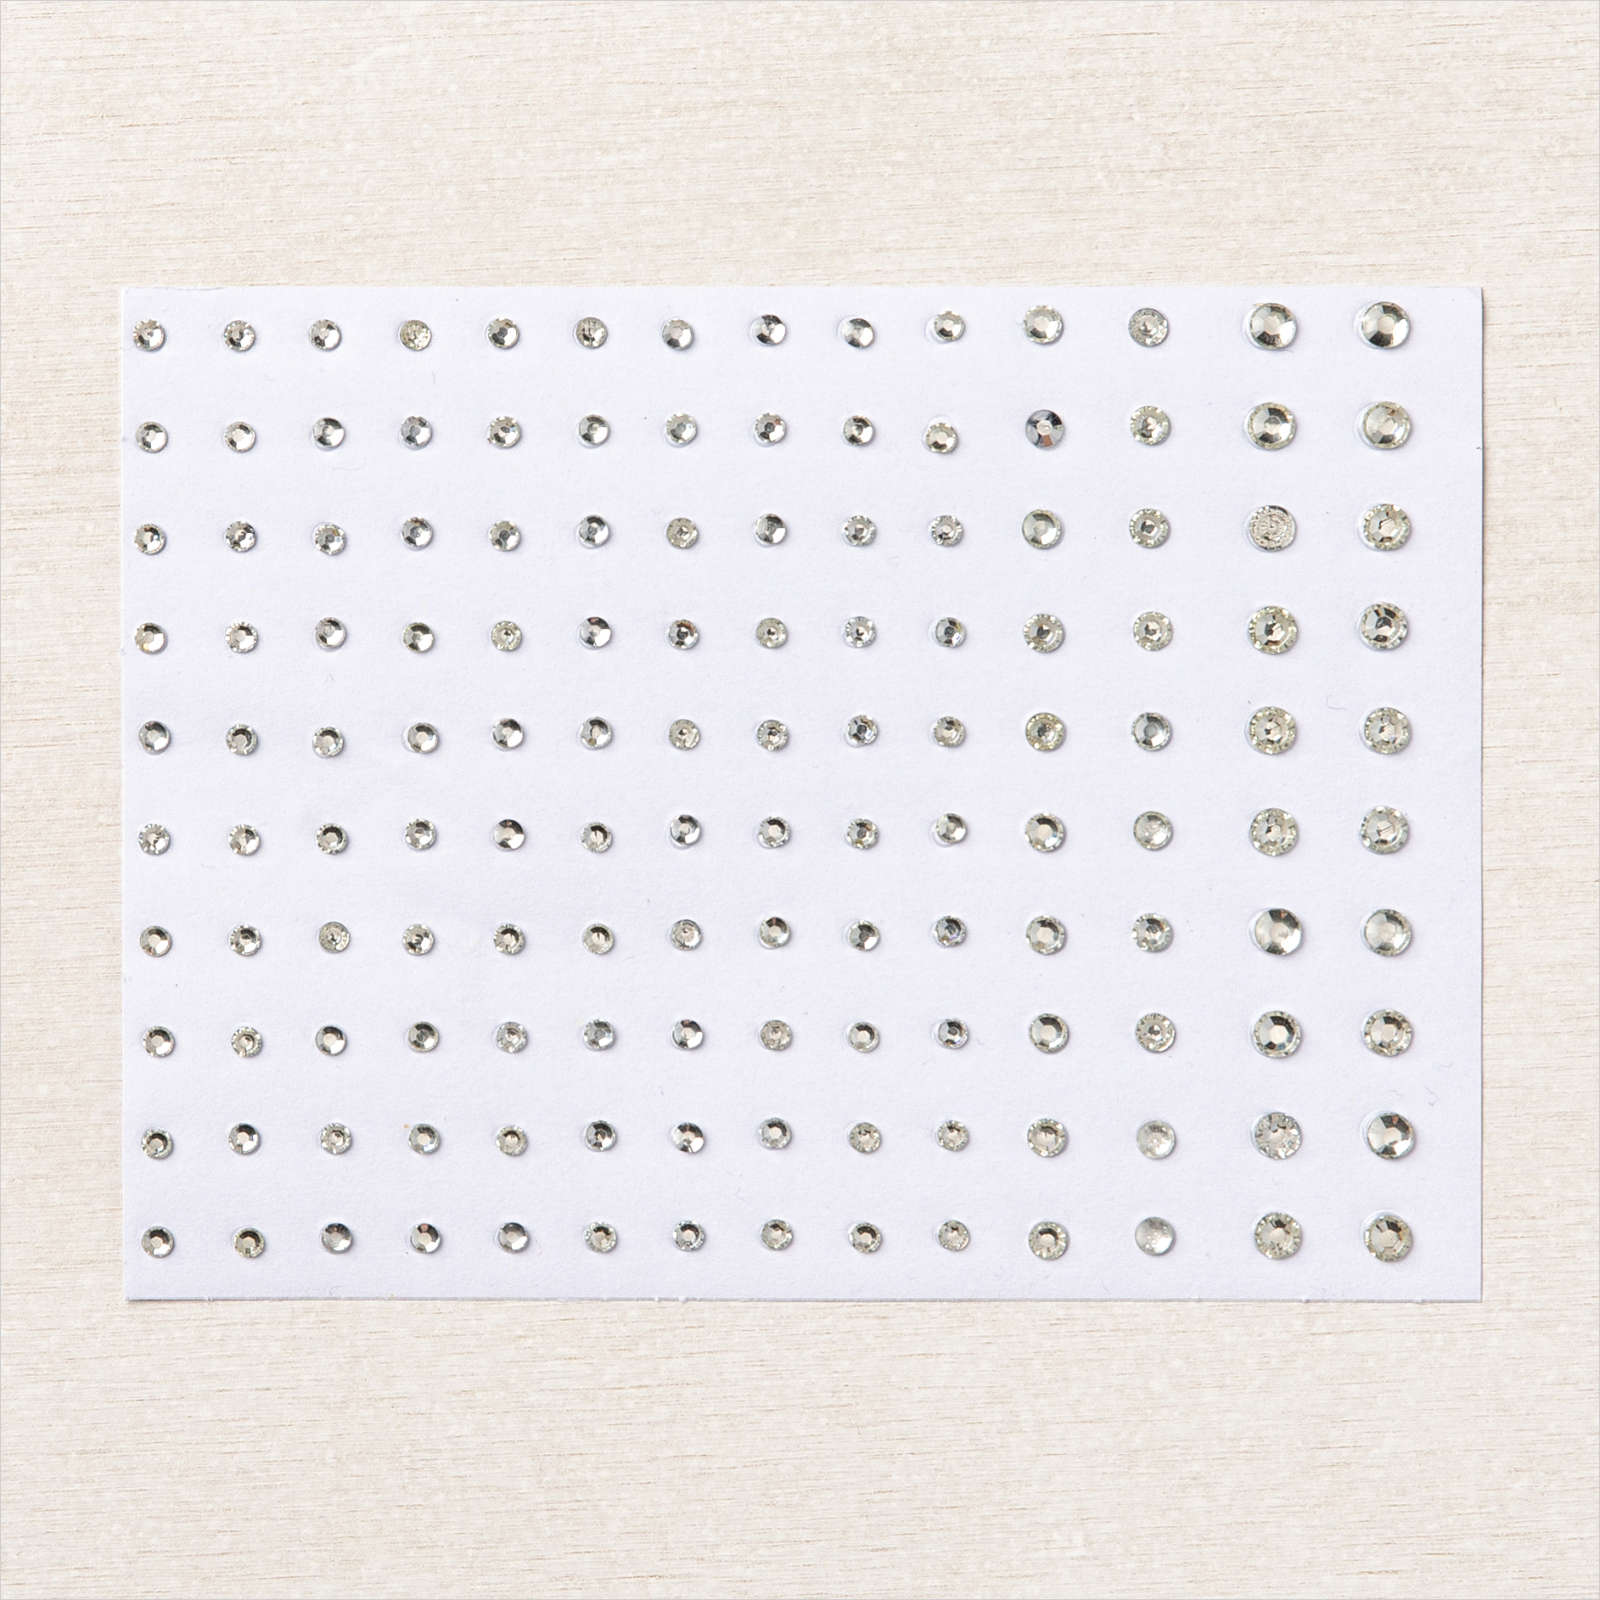
I stamped “Merry Christmas” from the Mistletoe Magic stamp set onto Basic White card using Real Red ink. I cut out the greeting using my Paper Snips before attaching it to the card front. Lastly I added three Basic Rhinestones. To decorate the inside of the card, I stamped another greeting from the Mistletoe Magic stamp set using Real Red ink. I die cut the small holly branch from Basic White card using the Mistletoe Die. I coloured the image using a Dark Real Red and Dark Old Olive Stampin’ Blend before attaching it beside the greeting.
I am having so much fun playing with this gorgeous Mistletoe Magic Bundle from the new Mini Catalogue.
Bye for now,
Kris
Product Used:


Just For You

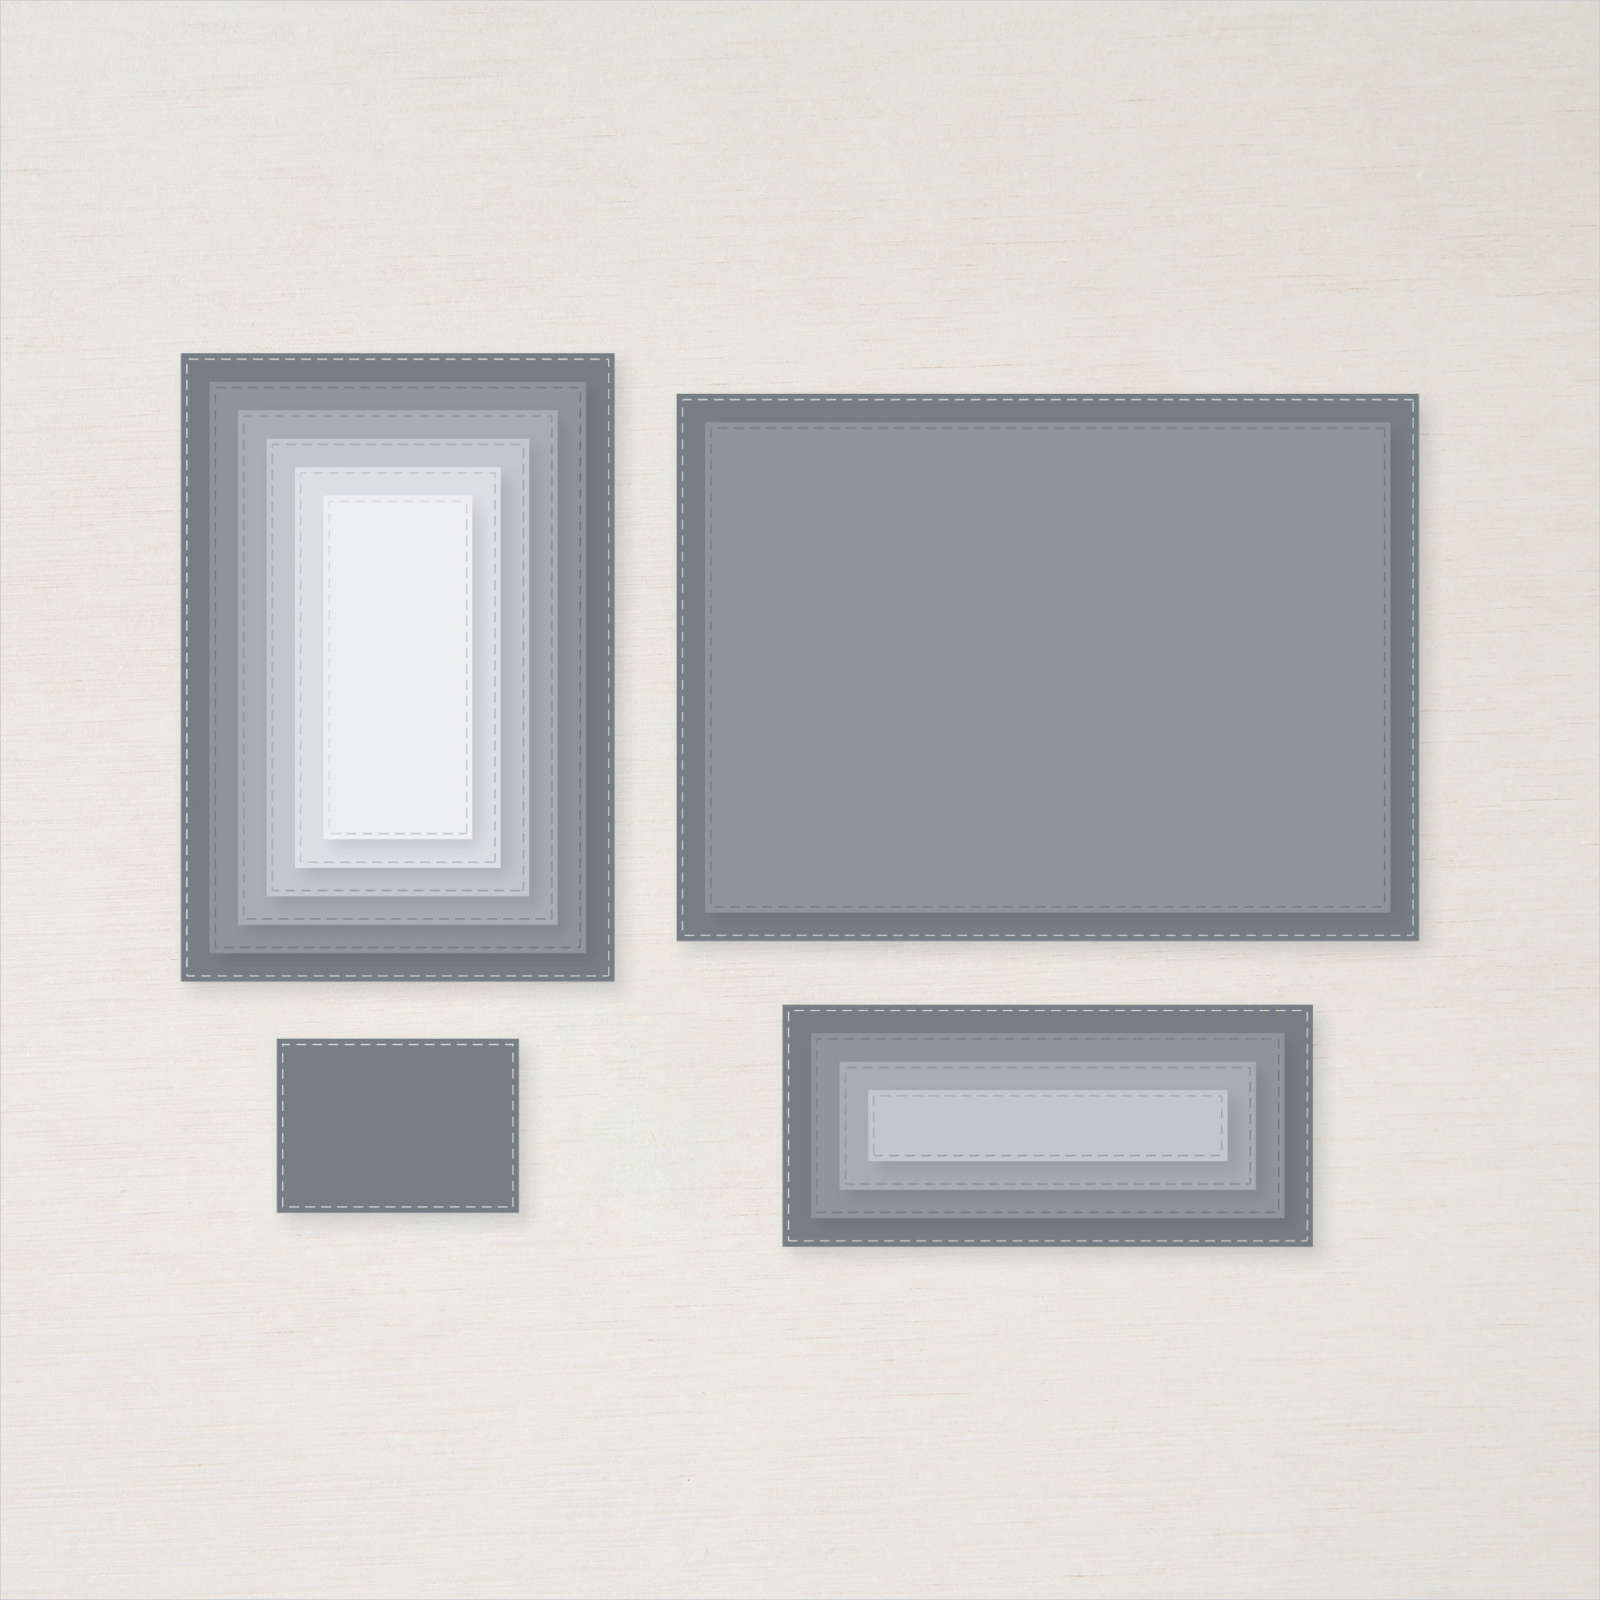
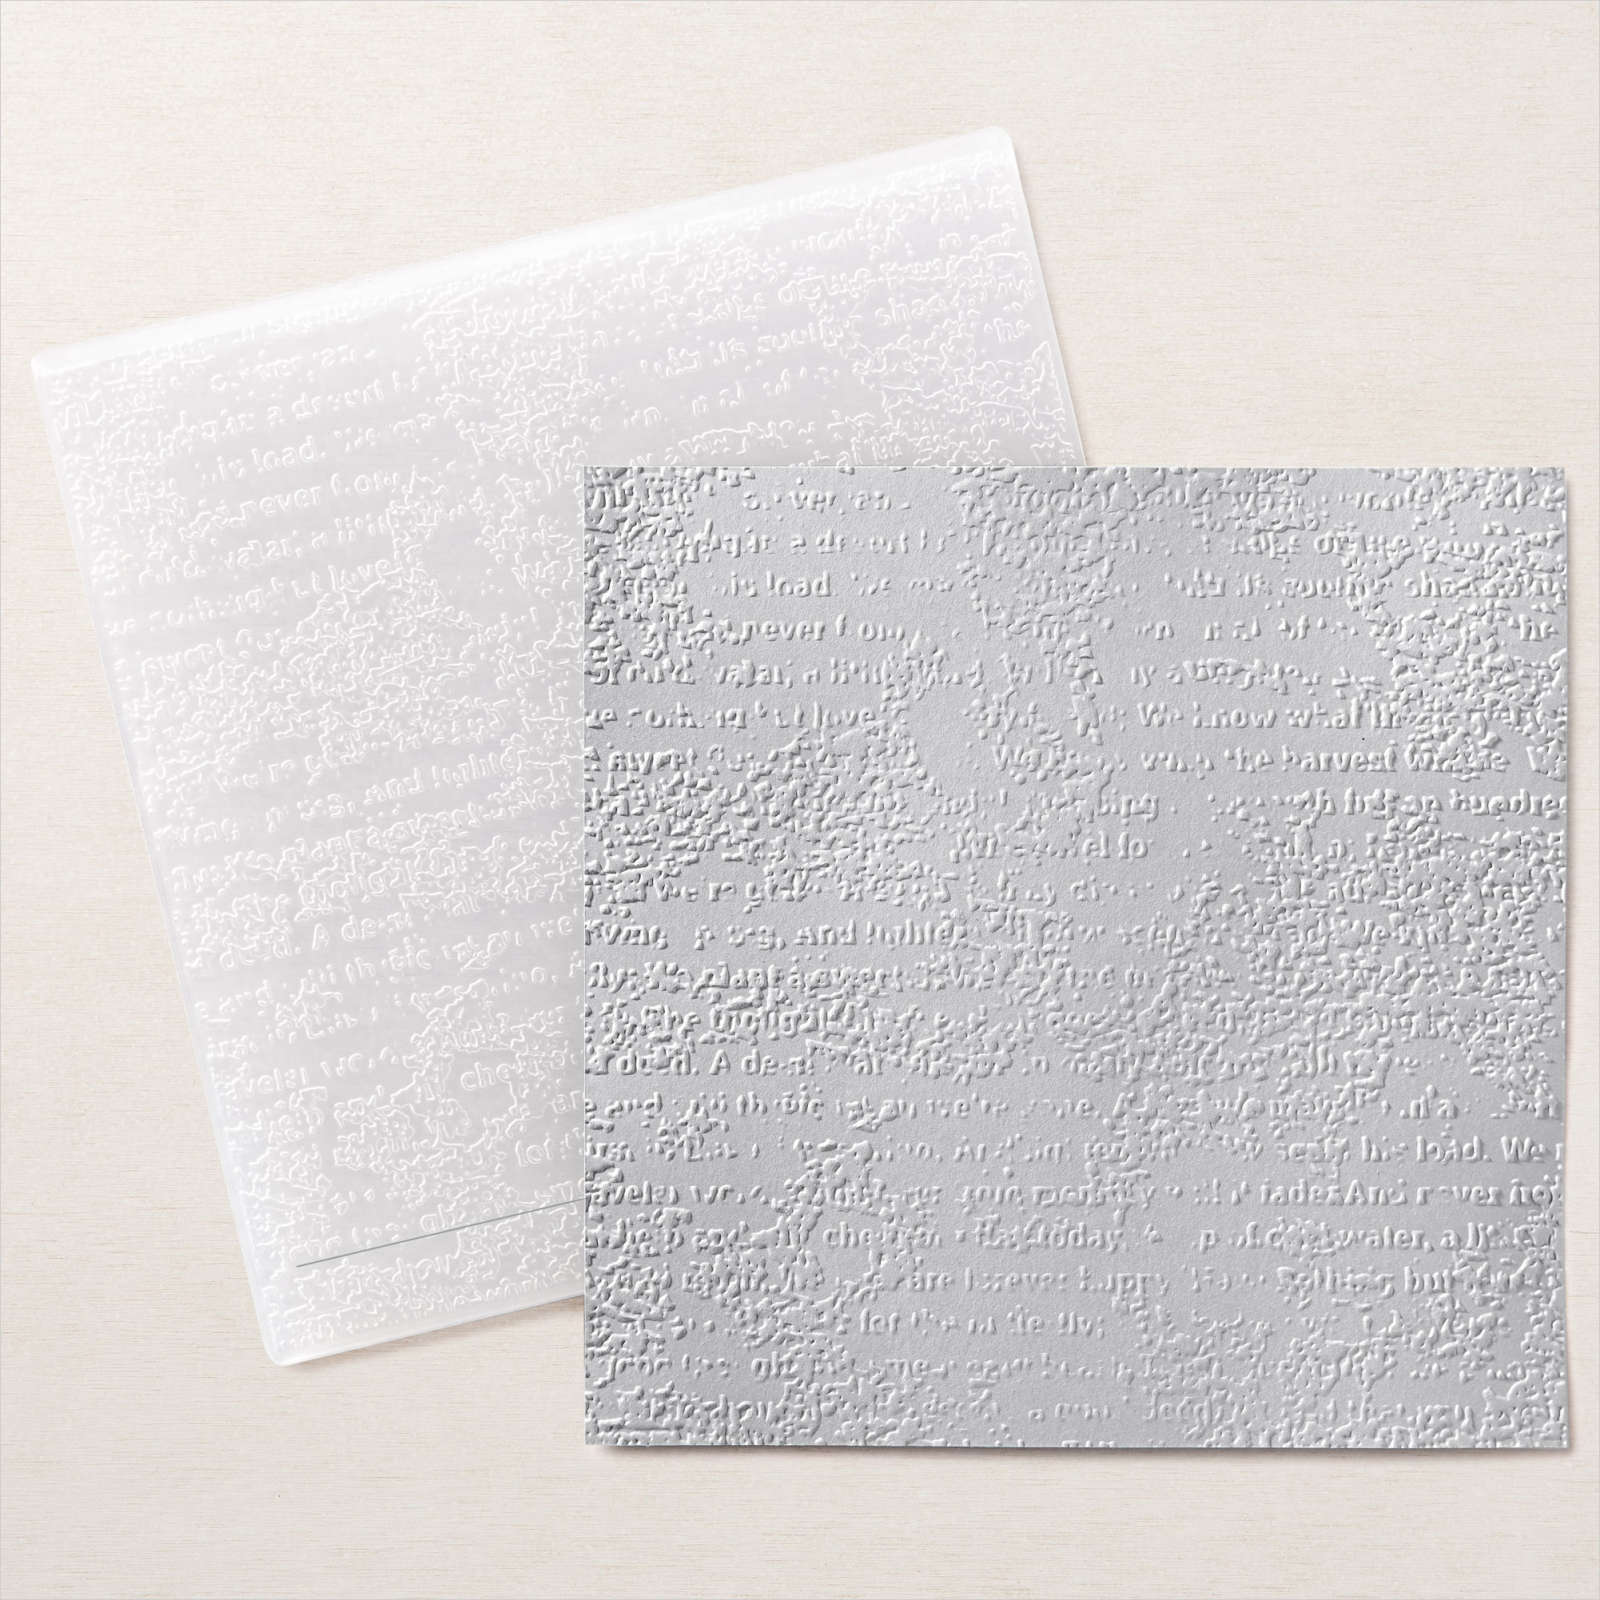
Today’s card uses the Stylish Sketches stamp set which is FREE during Sale-A-Bration with a qualifying order. I began by embossing Very Vanilla card using the Timeworn Type 3D Embossing Folder which I attached to scored and folded Old Olive card. I cut two pieces of the Design A Daydream 12″ x 12″ Designer Series Paper and attached them to the upper left and lower right hand corners of the embossed Very Vanilla card.

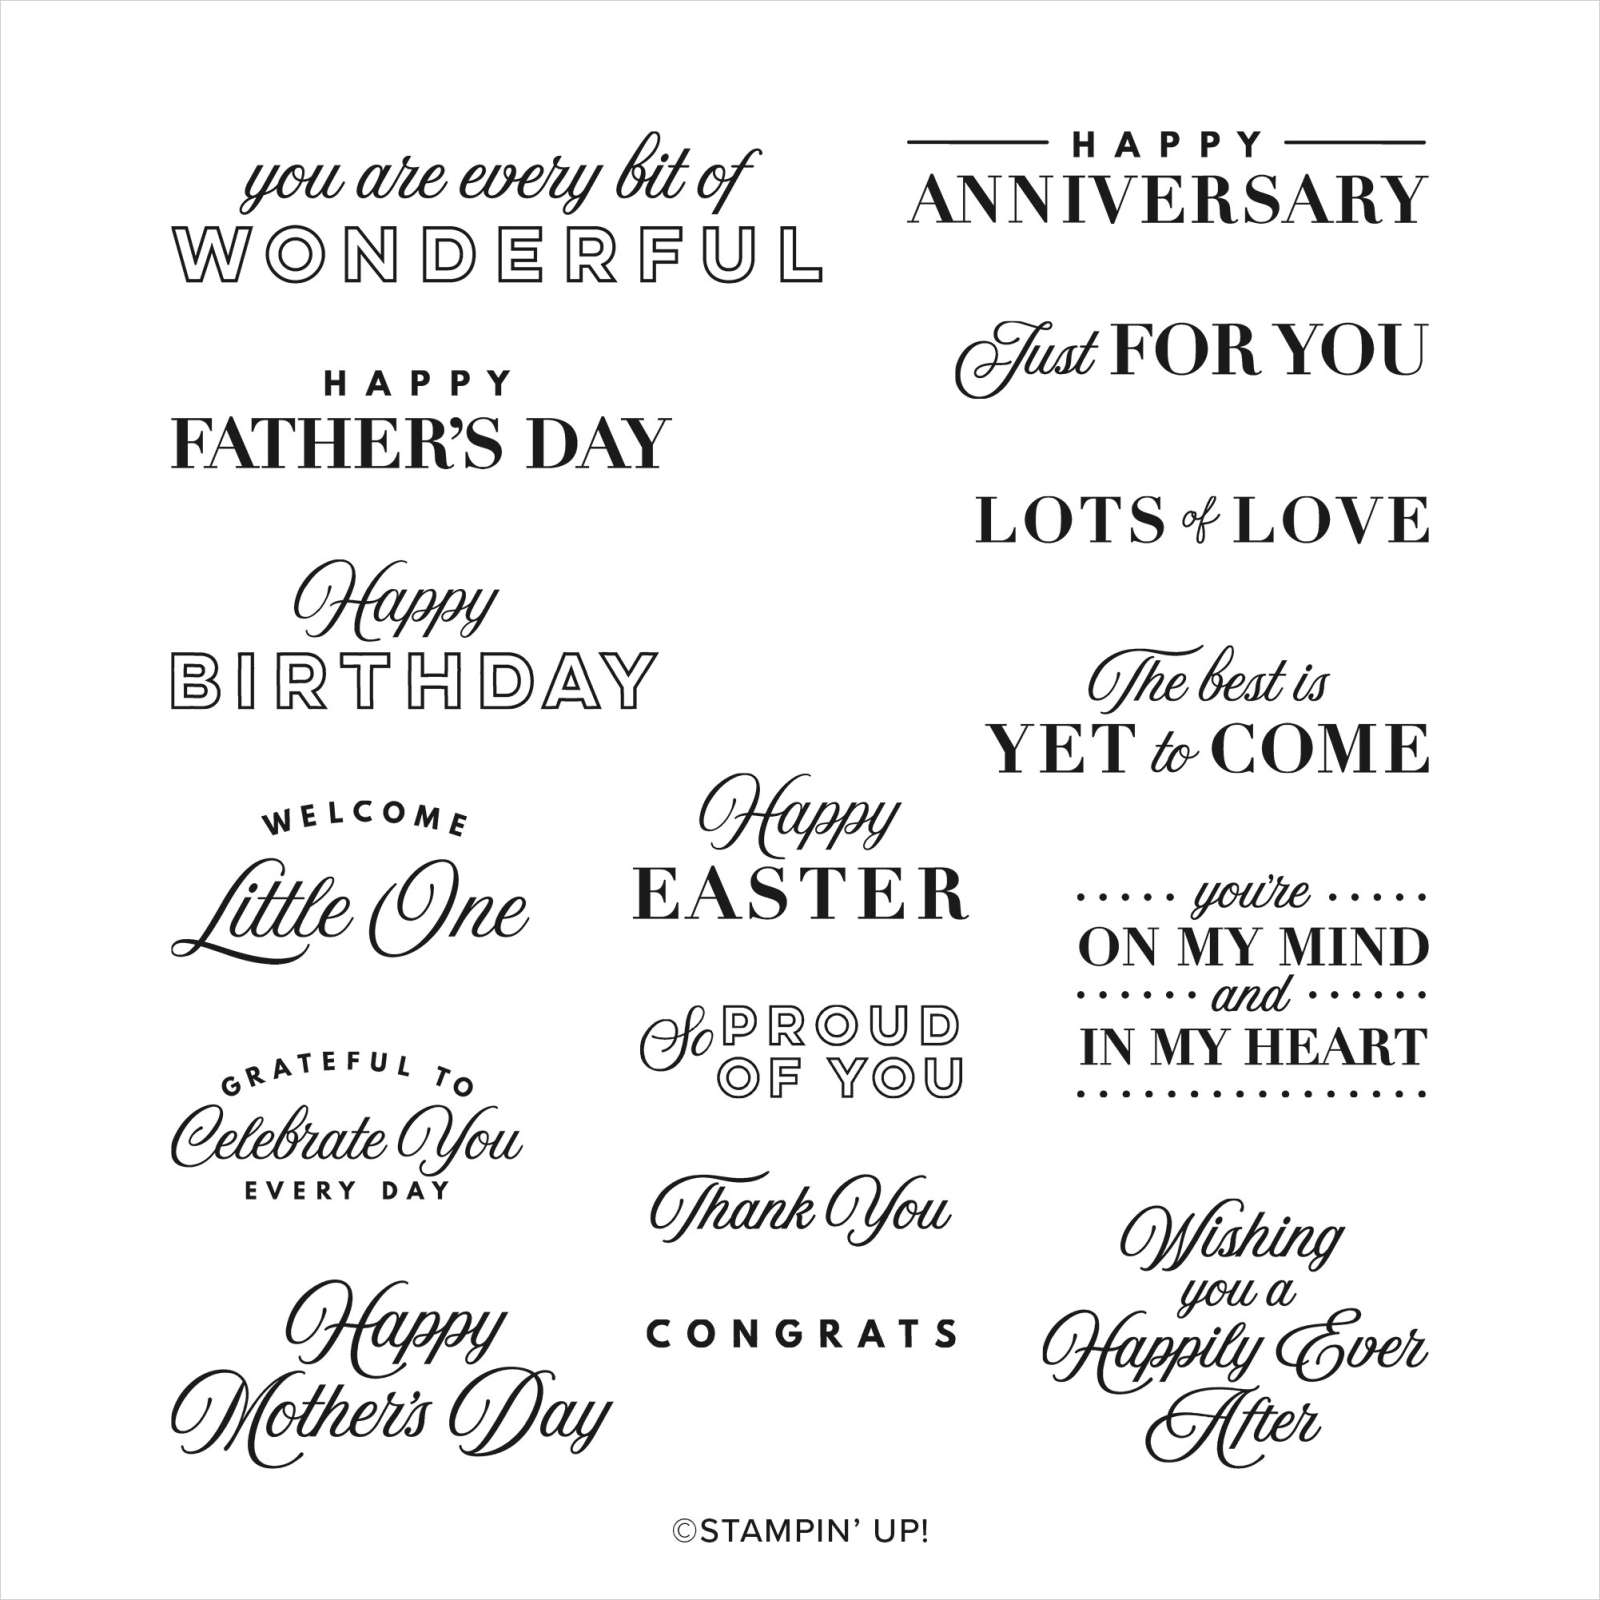
I stamped the dog/wolf/dingo image from the Stylish Sketches stamp set onto Very Vanilla card using Memento Tuxedo Black ink. I coloured the image using Soft Suede and Old Olive Stampin’ Blends. I attached the image panel to Old Olive card and then the card front using dimensionals. I stamped the greeting from the Celebrating You stamp set onto Very Vanilla card and cut it out using one of the Stitched Rectangle Dies. The greeting is attached to the card front using dimensionals where necessary.
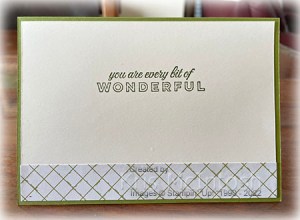
To decorate the inside of the card, I stamped another greeting from the Celebrating You stamp set onto Very Vanilla card using Old Olive ink. I also attached a piece of the same pattern Designer A Daydream Designer Series paper across the bottom of the stamped Very Vanilla panel.
I wasn’t sure I was going to like using the images from this stamp set but boy was I wrong. If you don’t have a demonstrator and live in Australia contact me so that we can organise for you to receive the new Mini Catalogue and the Sale-A-Bration catologue too.
Bye for now,
Kris
Product Used:



Mum & Dad

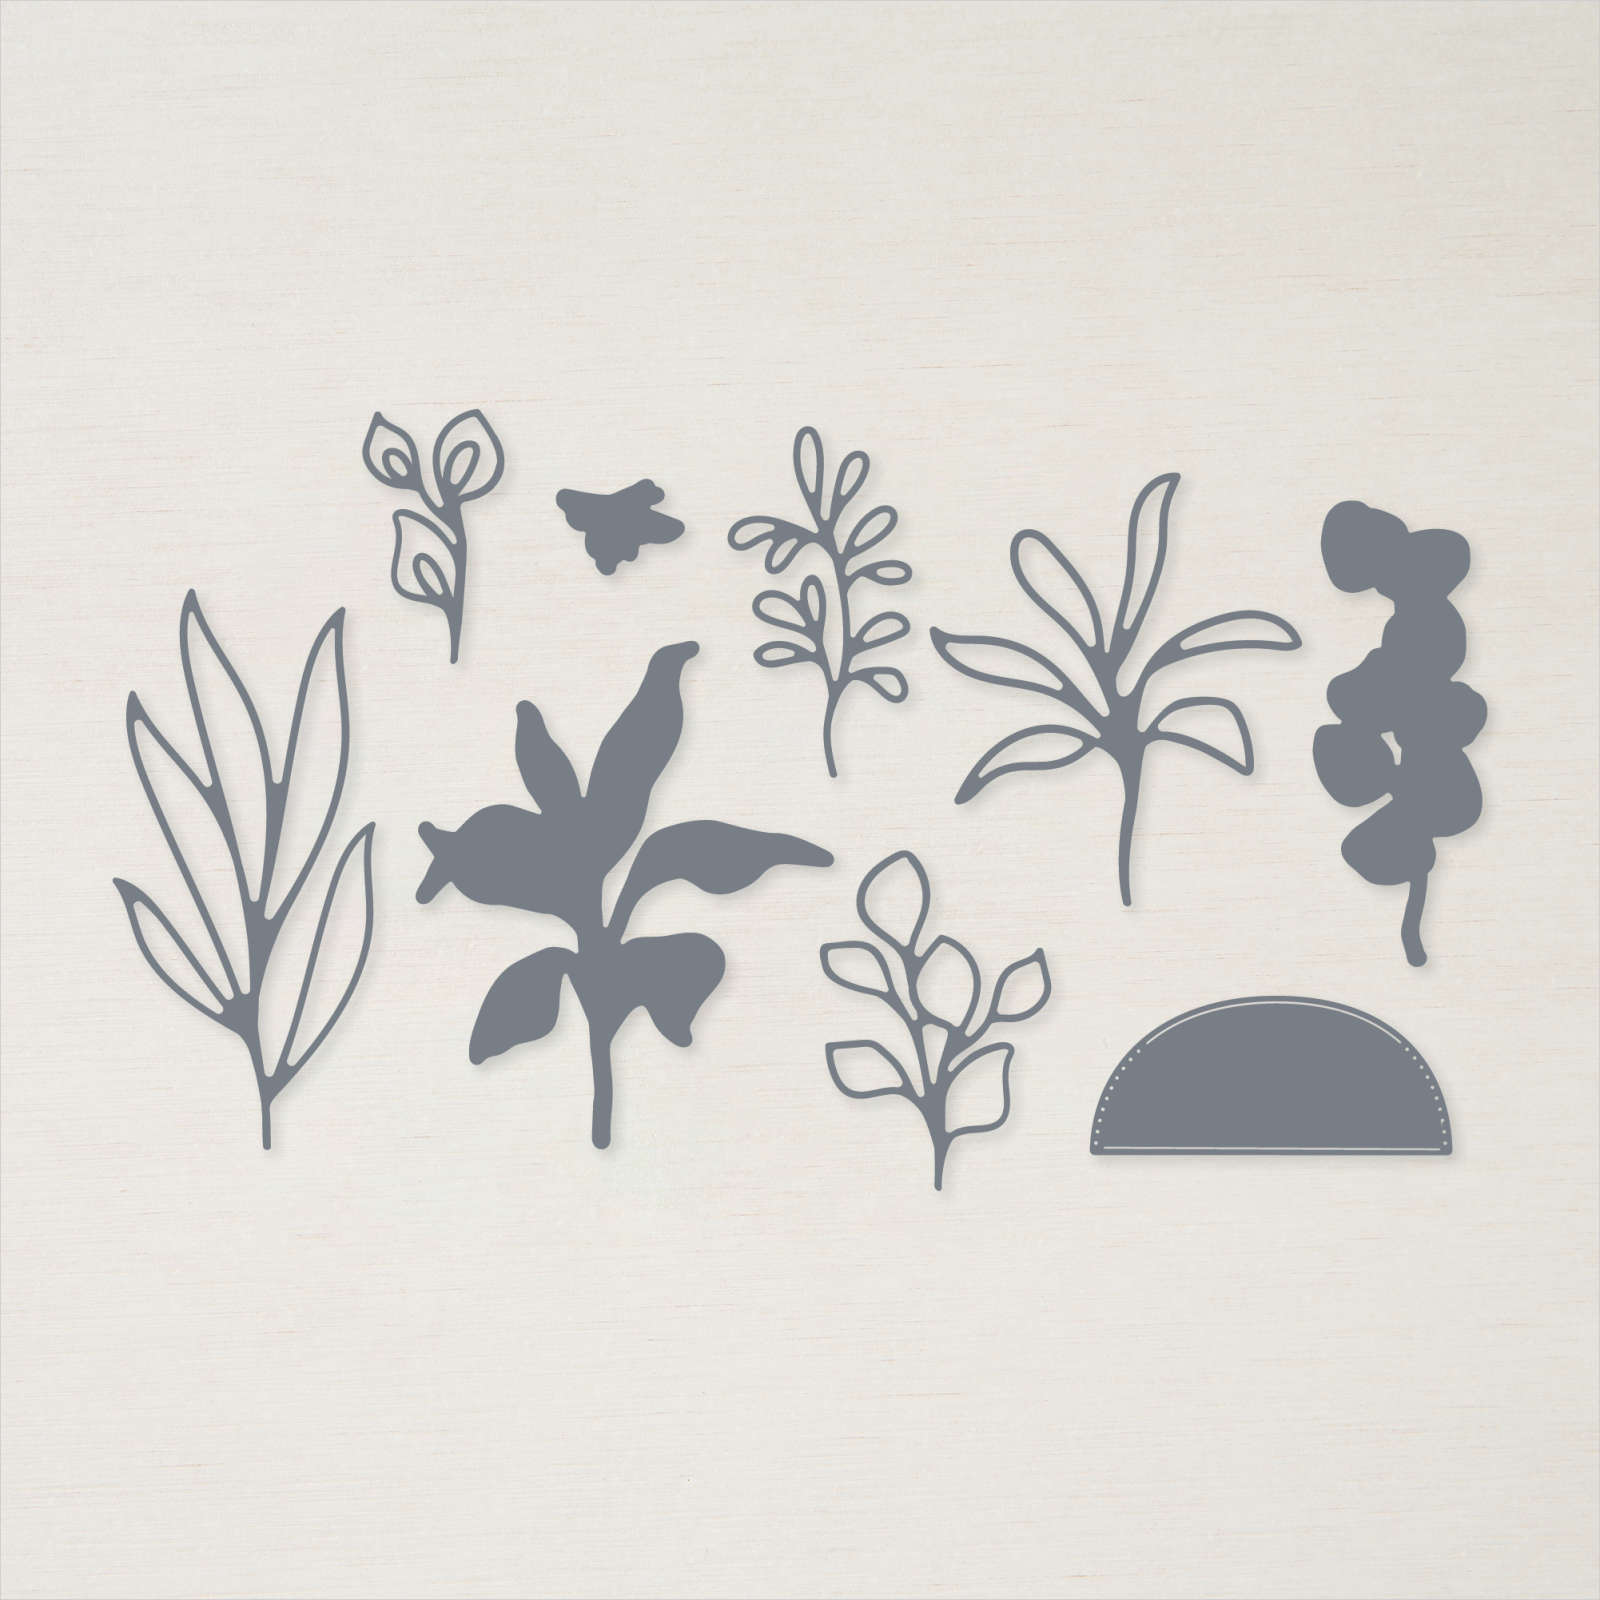
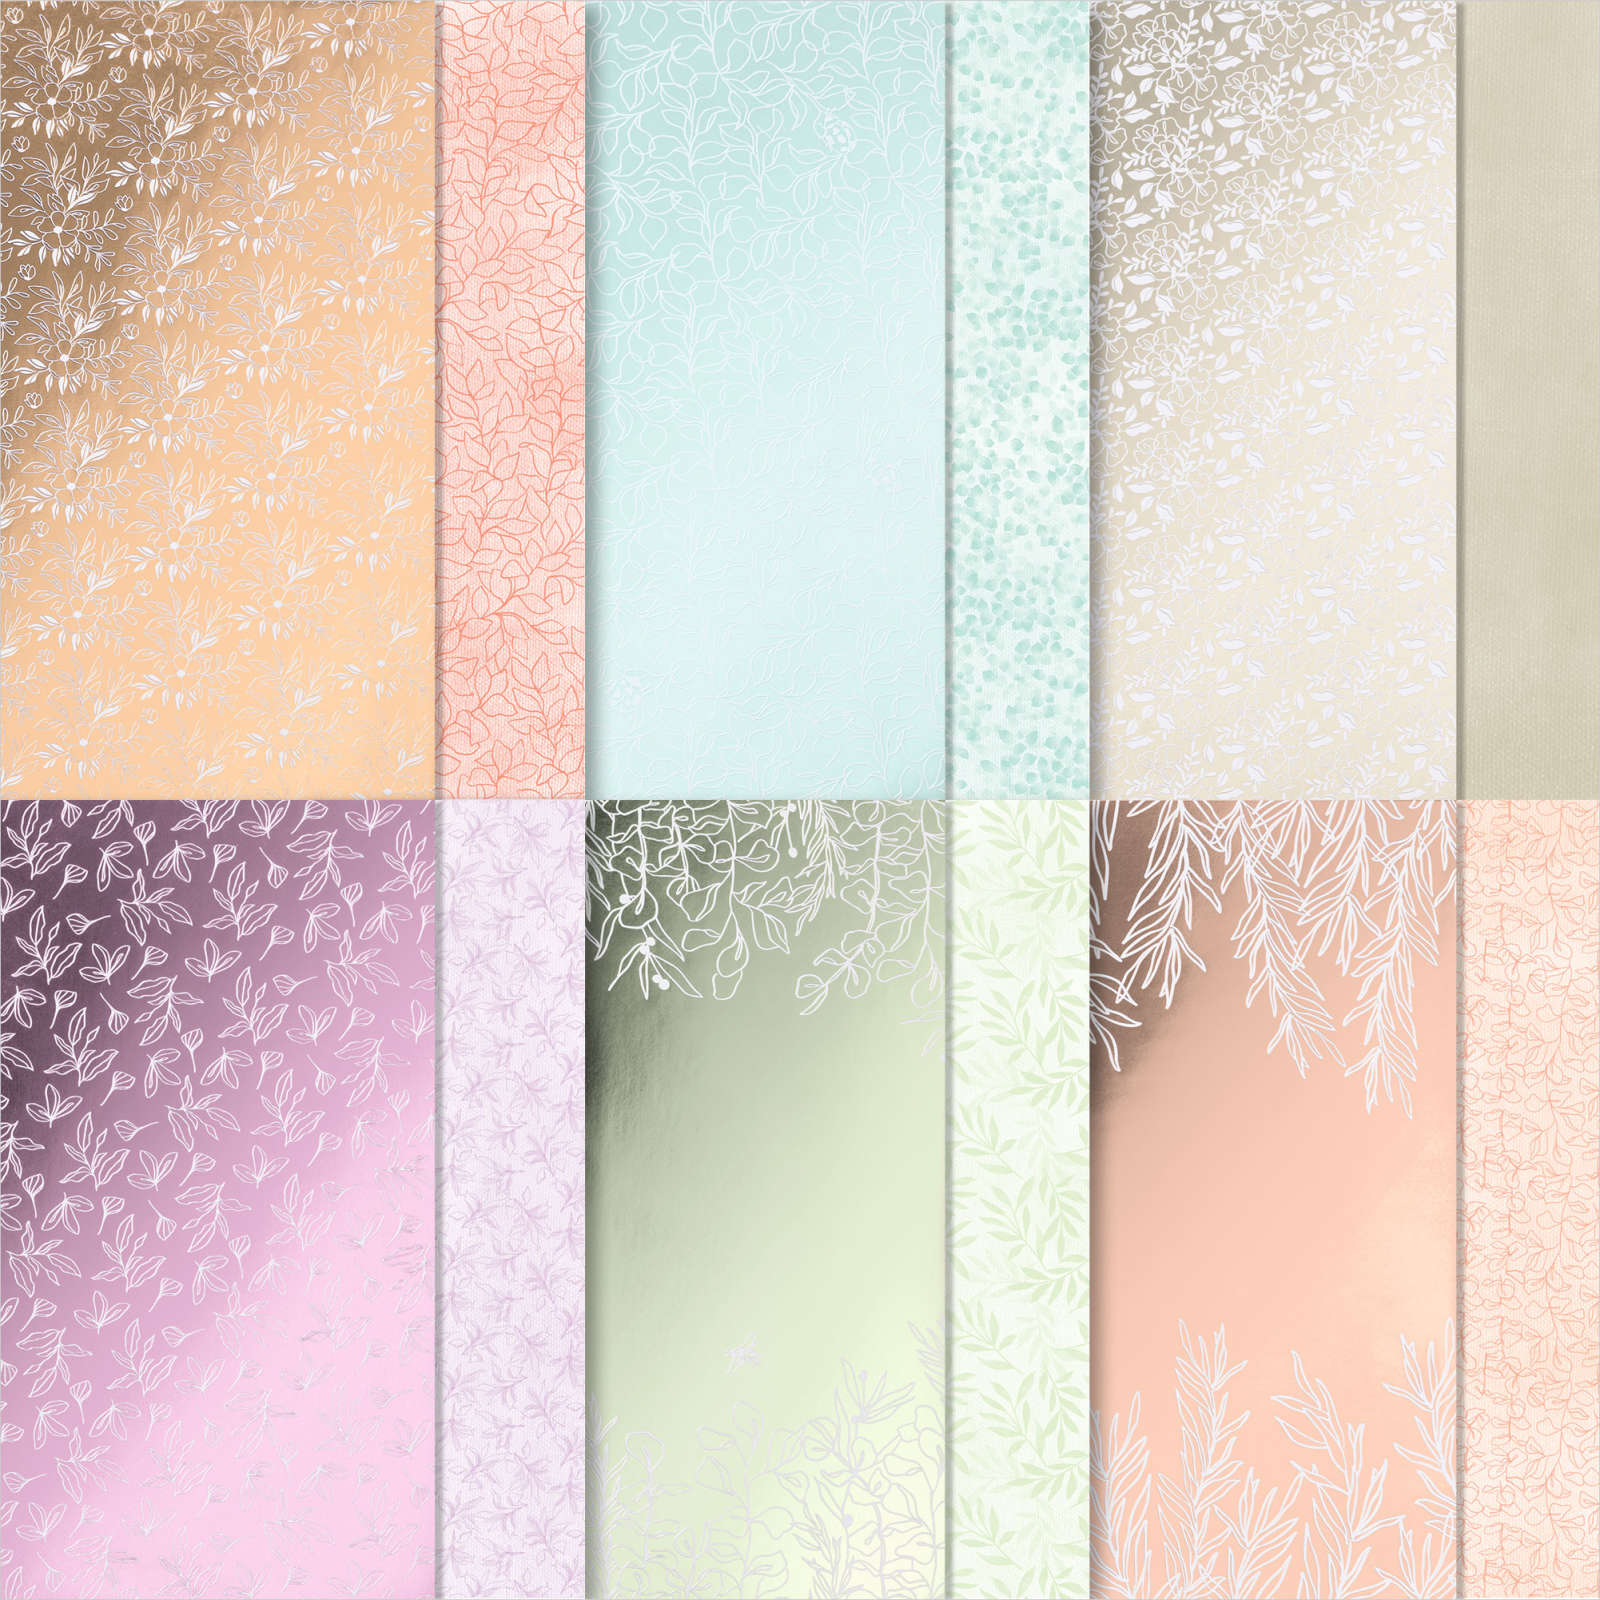
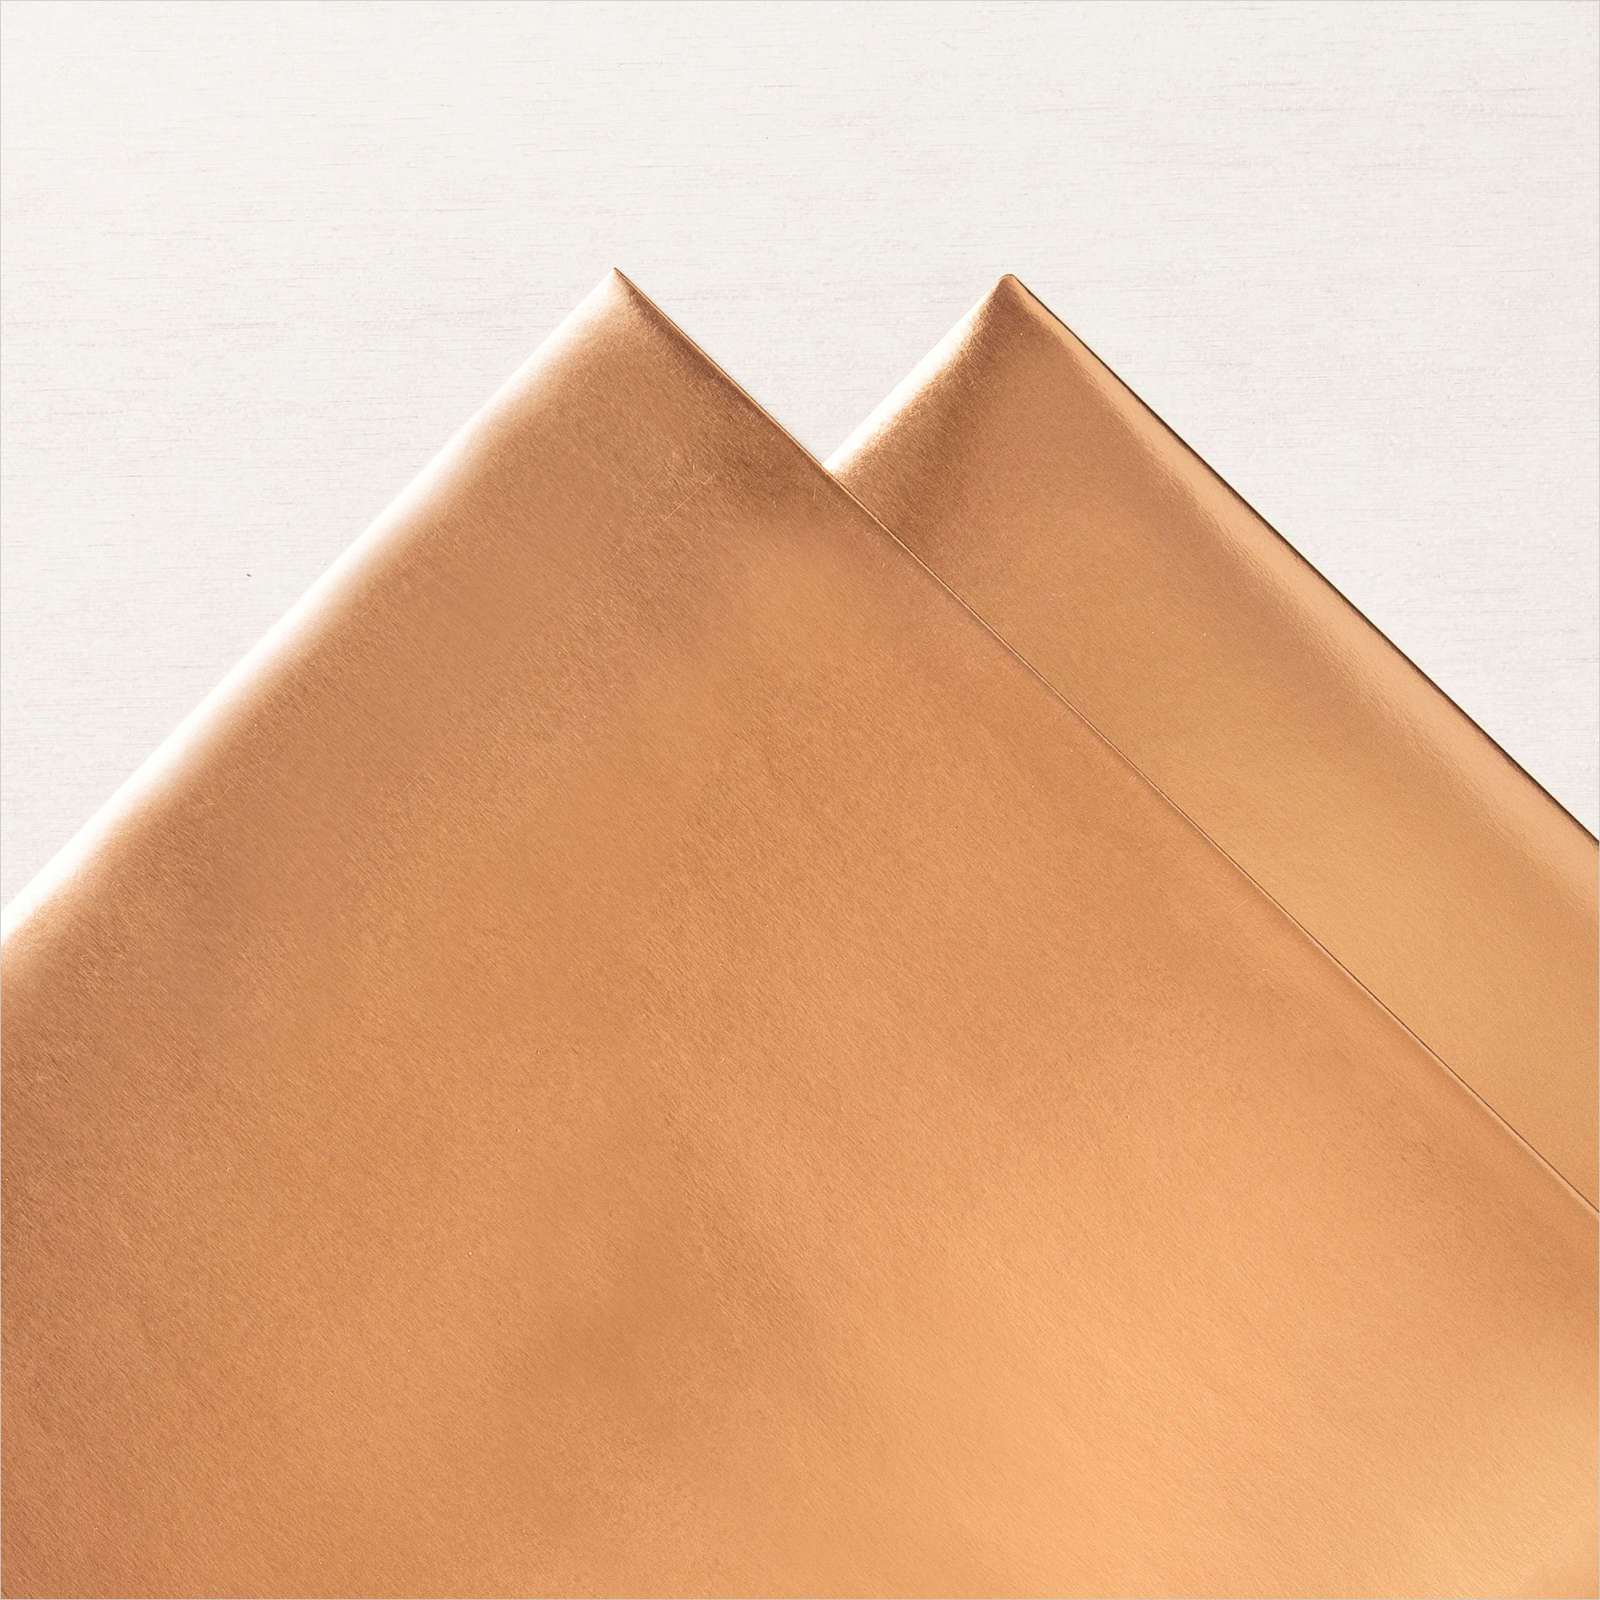
Today’s page shows off a photo of my Mum and Dad on my wedding day. I cut four different patterns from the Splendid Day 12″ x 12″ Specialty Paper and attached them to the right hand side of a Basic Gray 12″ x 12″ page. I die cut Copper Foil, Silver Foil and Mint Macaron card using the same die from the Splendid Stems Dies. I attached the dies to the top left hand corner of the Basic Gray page.

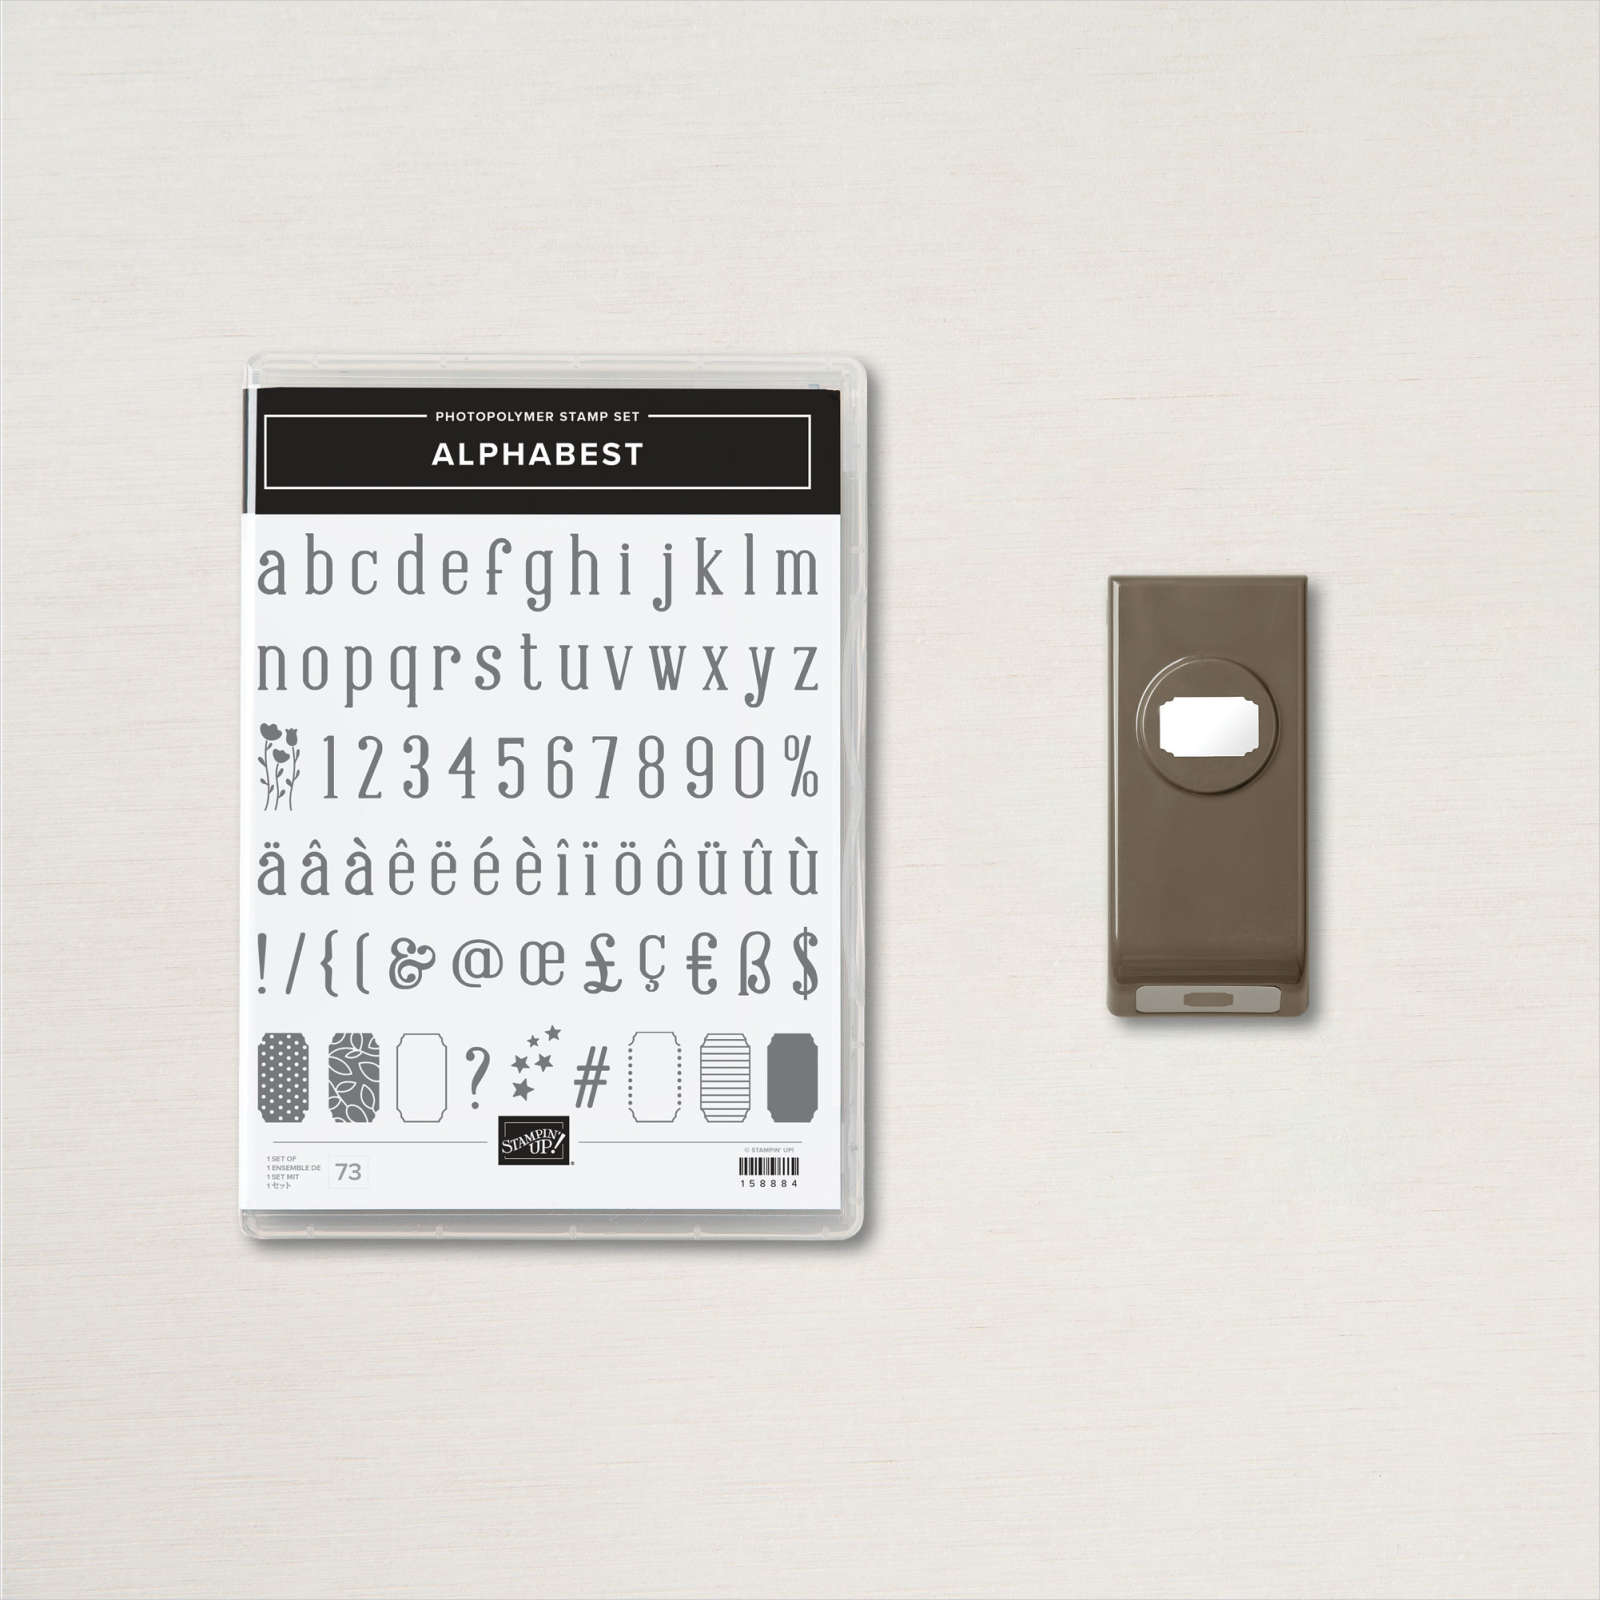
I attached my photo to Basic White card and then the page, covering the ends of the die cuts. I stamped the title using the Alphabest Stamp Set onto Mint Macaron card using Basic Gray ink.

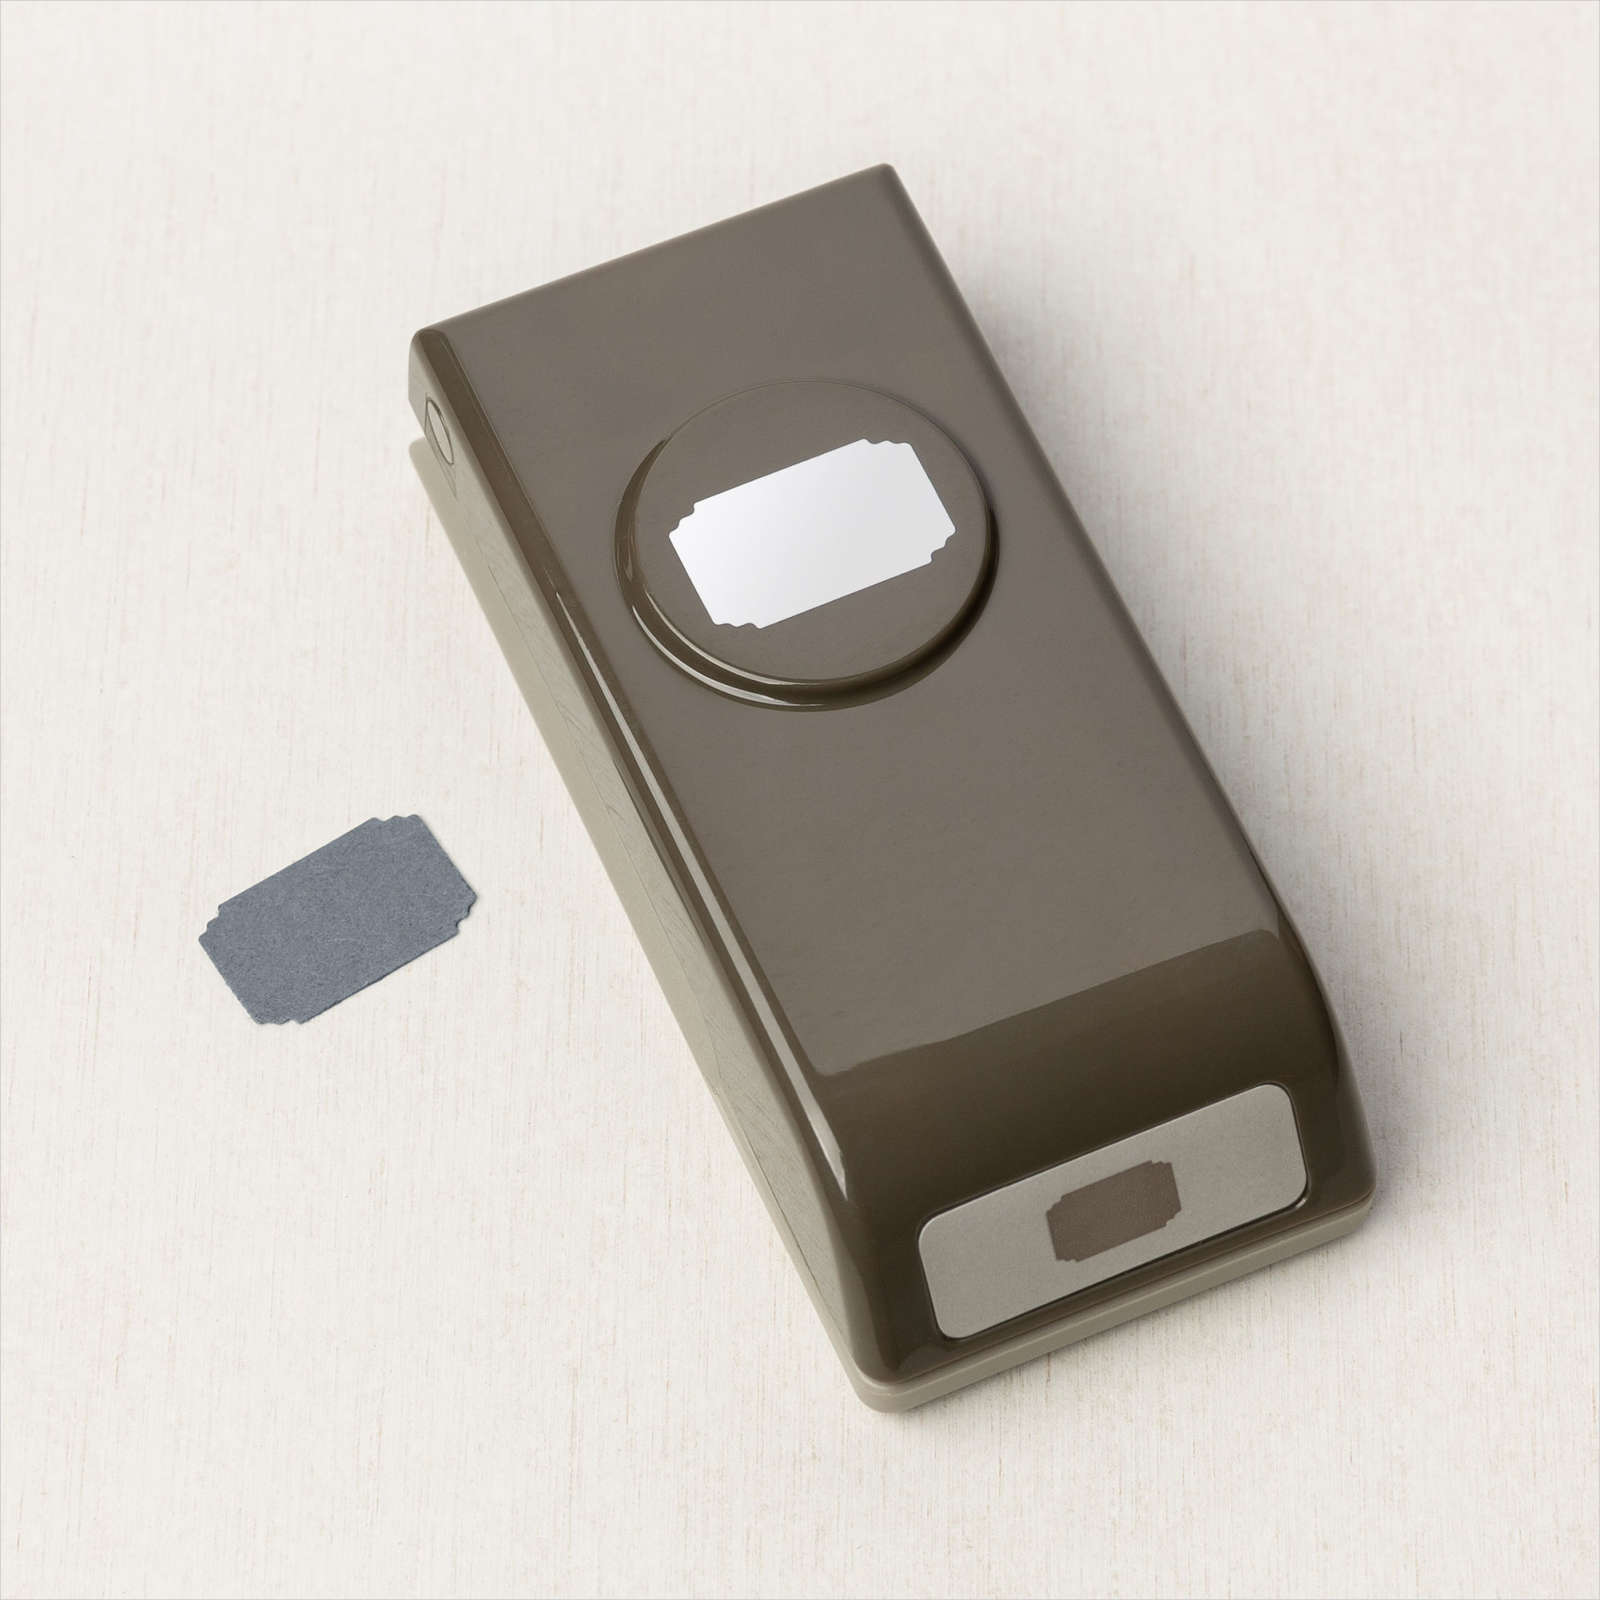
I used the Best Label Punch to cut out Mum and then Dad. I die cut Mint Macaron card using the “&” from the retired Playful Alphabet Dies. I attached the title to the left hand side of the page below the photo. I punched Mint Macaron card once more using the Best Label Punch and wrote the date before attaching it underneath the edge of the right hand piece of Designer Series Paper. I love how pretty this page is using this gorgeous this Splendid Day Specialty Paper.
Bye for now,
Kris
Product Used:



Happy Anniversary
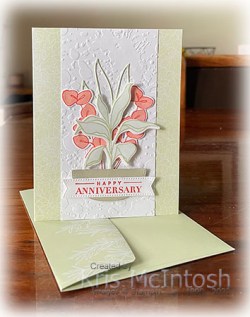
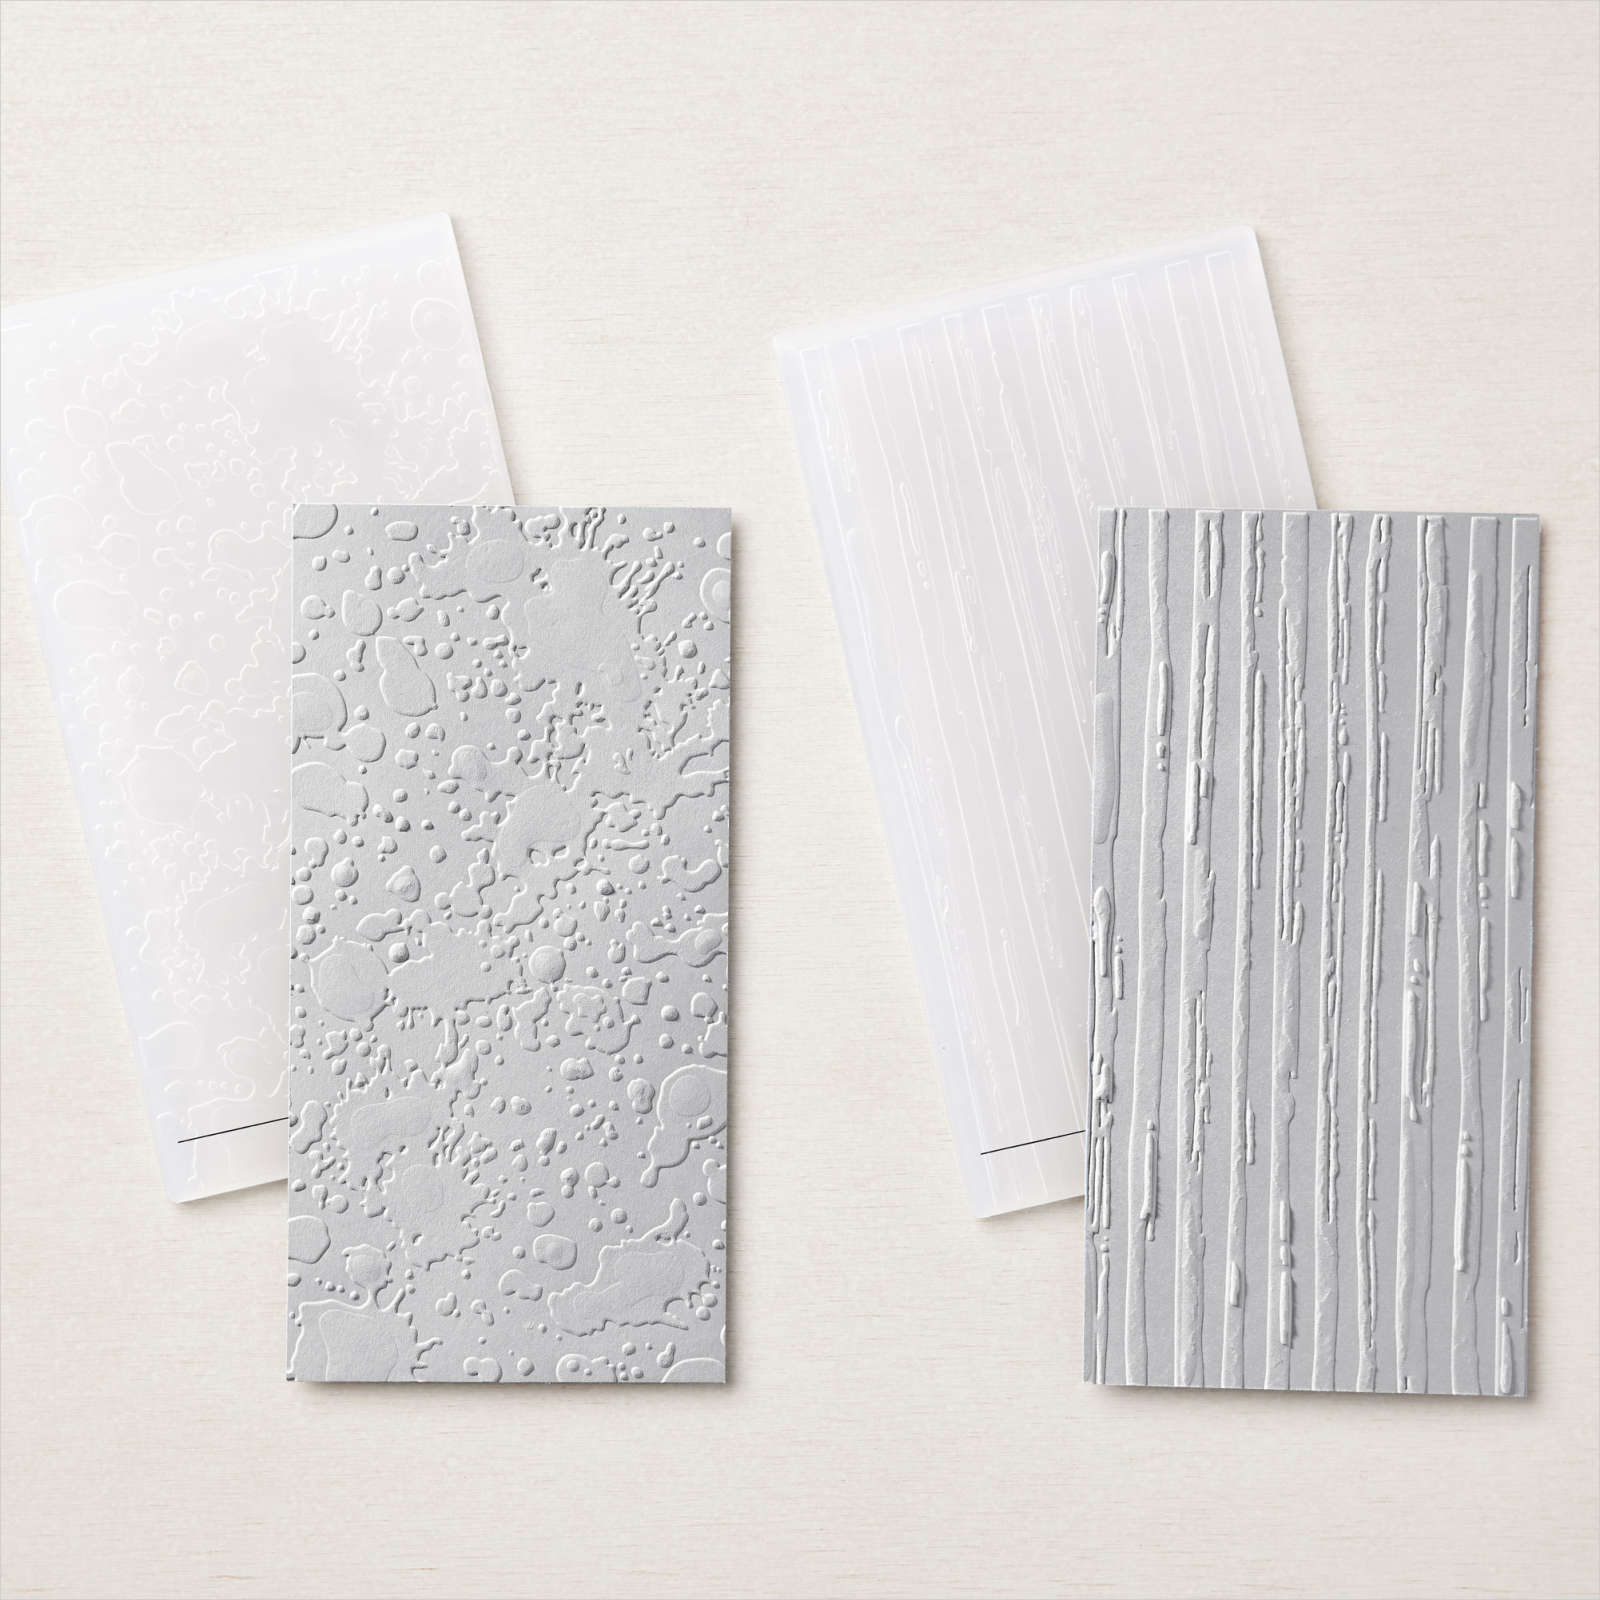
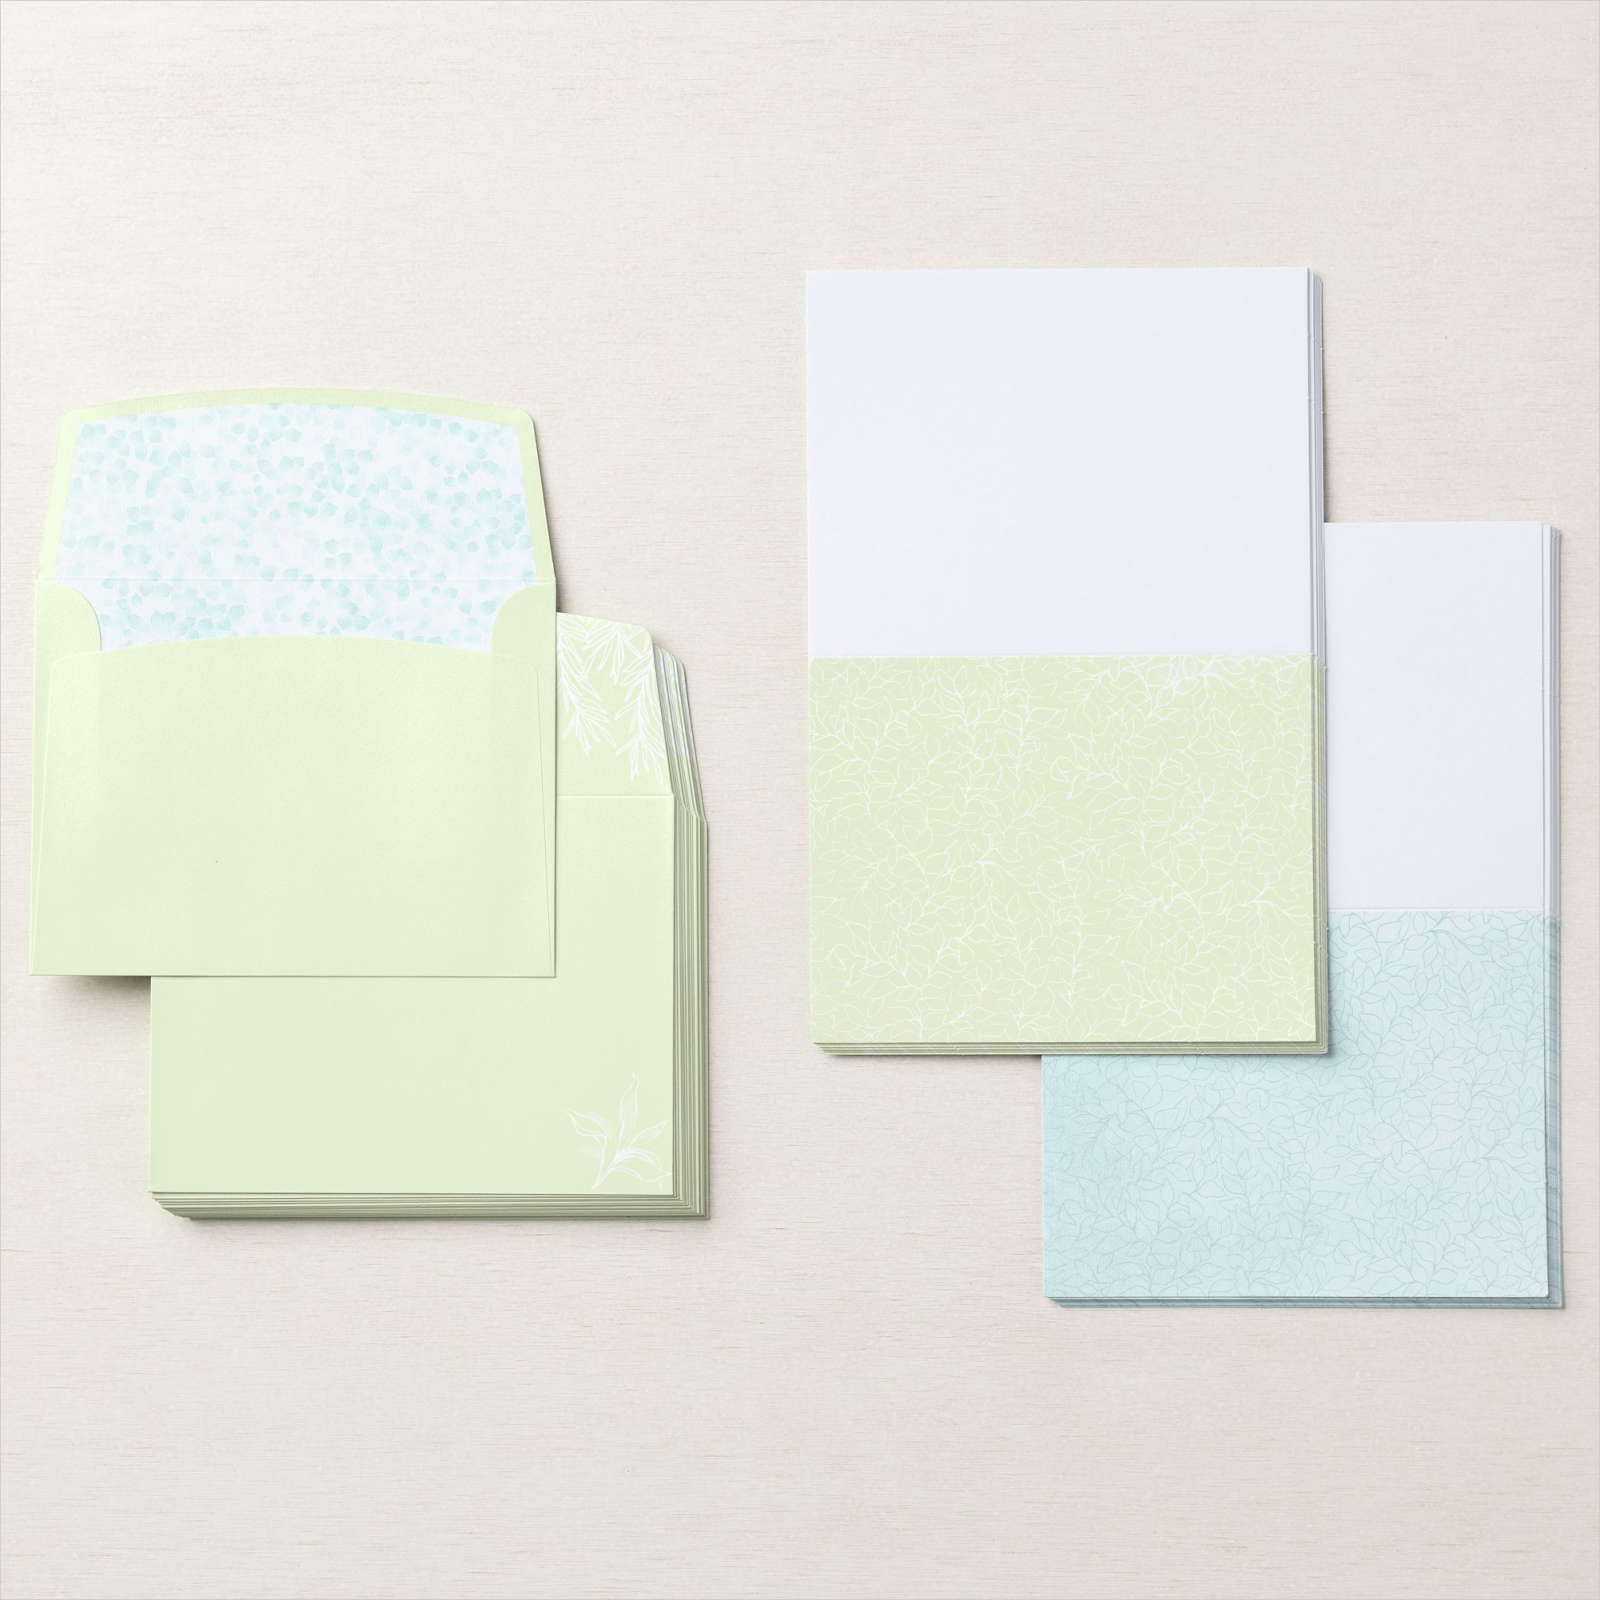
My parents celebrated their 66th Wedding Anniversary recently and I forgot to make them a card. So rather belatedly I used the Splendid Thoughts Bundle to put together this card. I embossed Basic White card using the splatter from the Stripes & Splatter 3D Embossing Folders. I attached the embossed panel to the front of one of the Pool Party & Soft Sea Foam Cards & Envelopes. These cards & envelopes can be earned for FREE during Sale-a-Bration with a qualifying order and are especially geared to work with the Splendid Thoughts Bundle. I cut Soft Sea Foam card using one of the leaf dies from the Splendid Stems Dies and attached it to the embossed card.

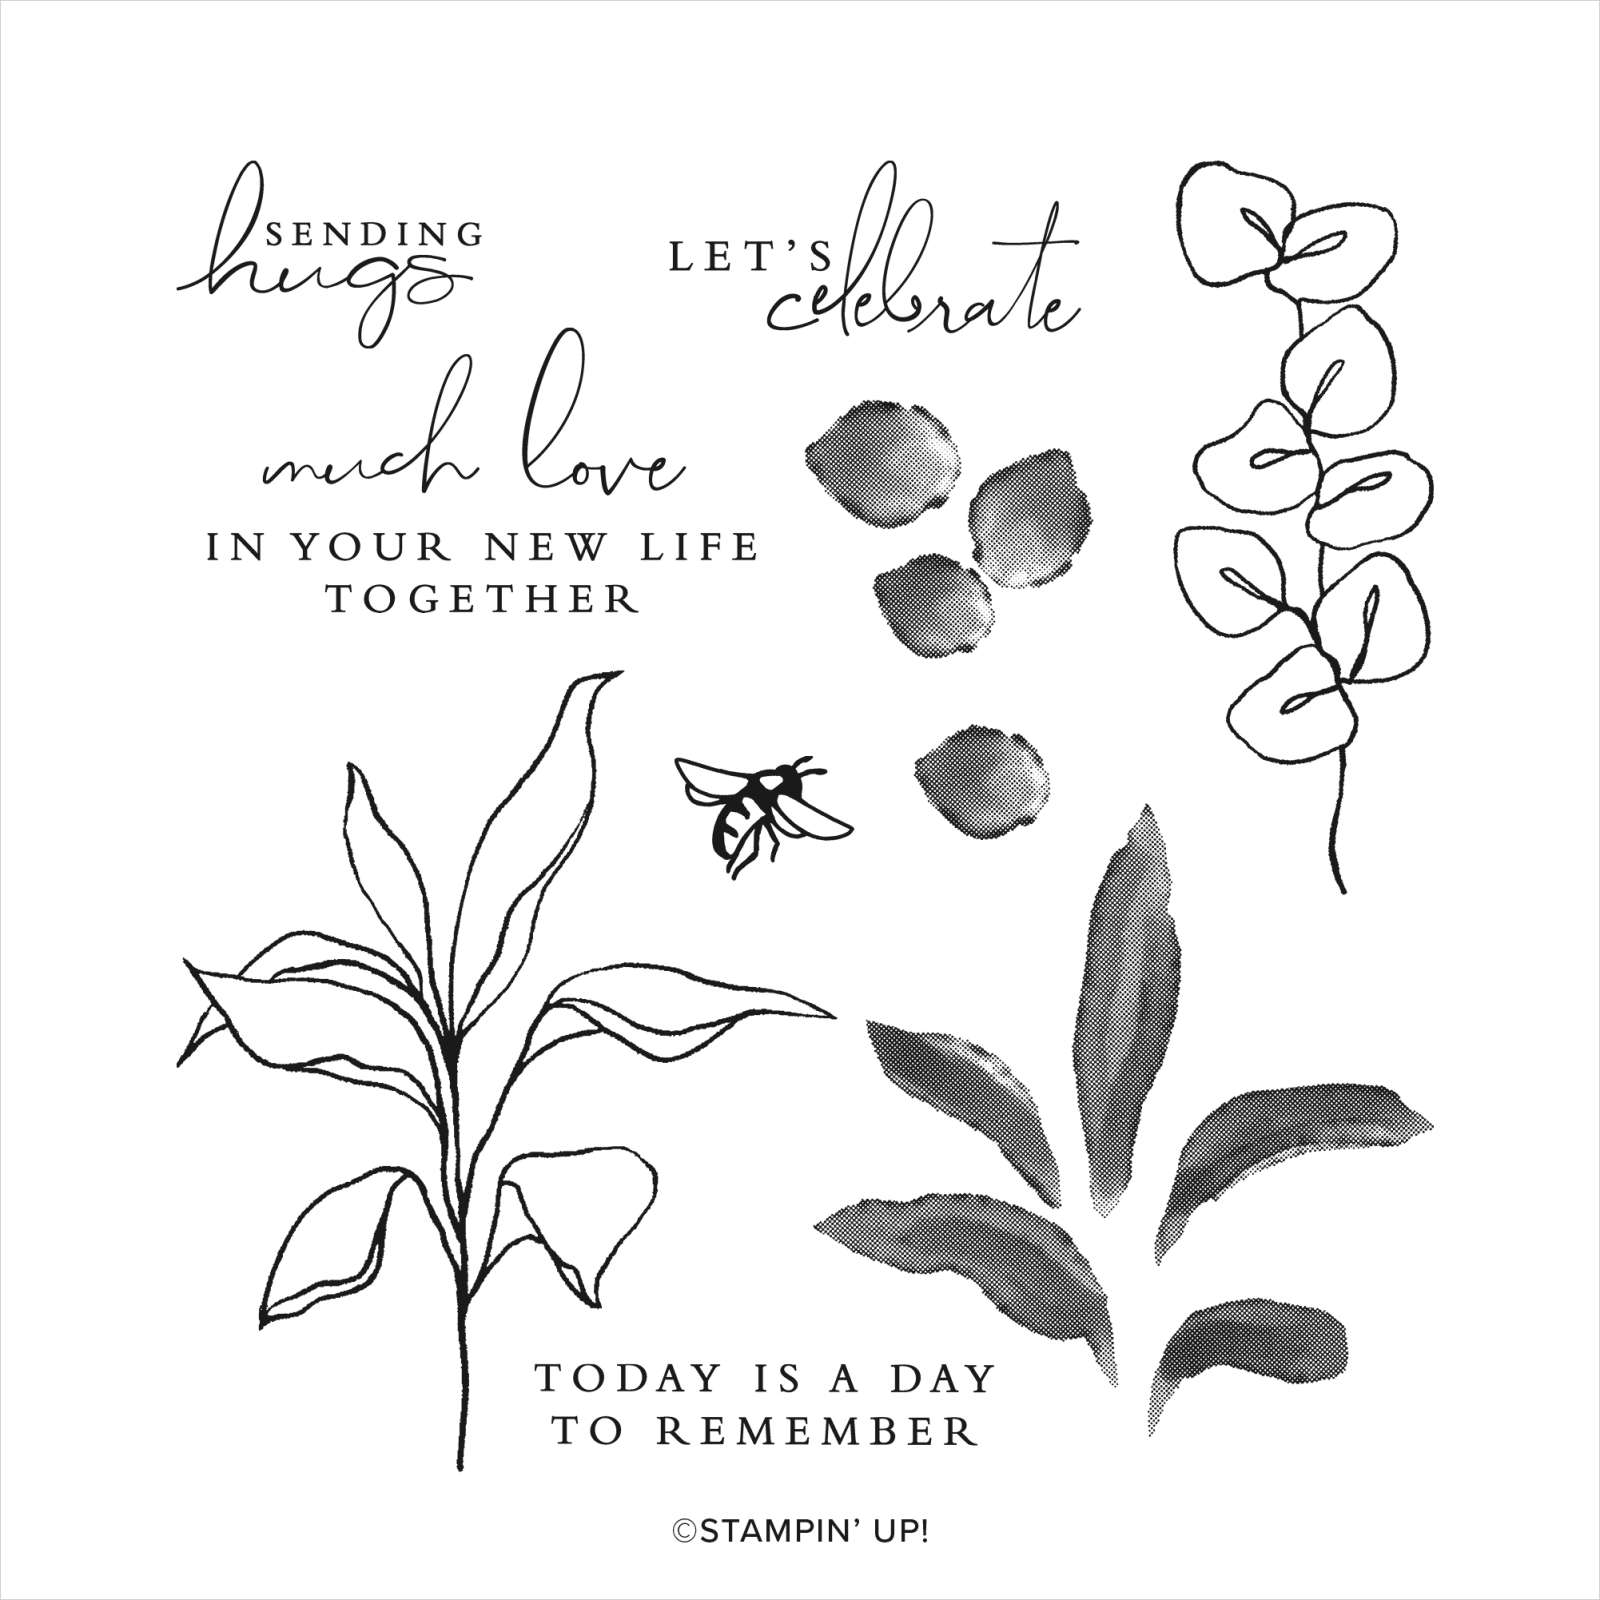
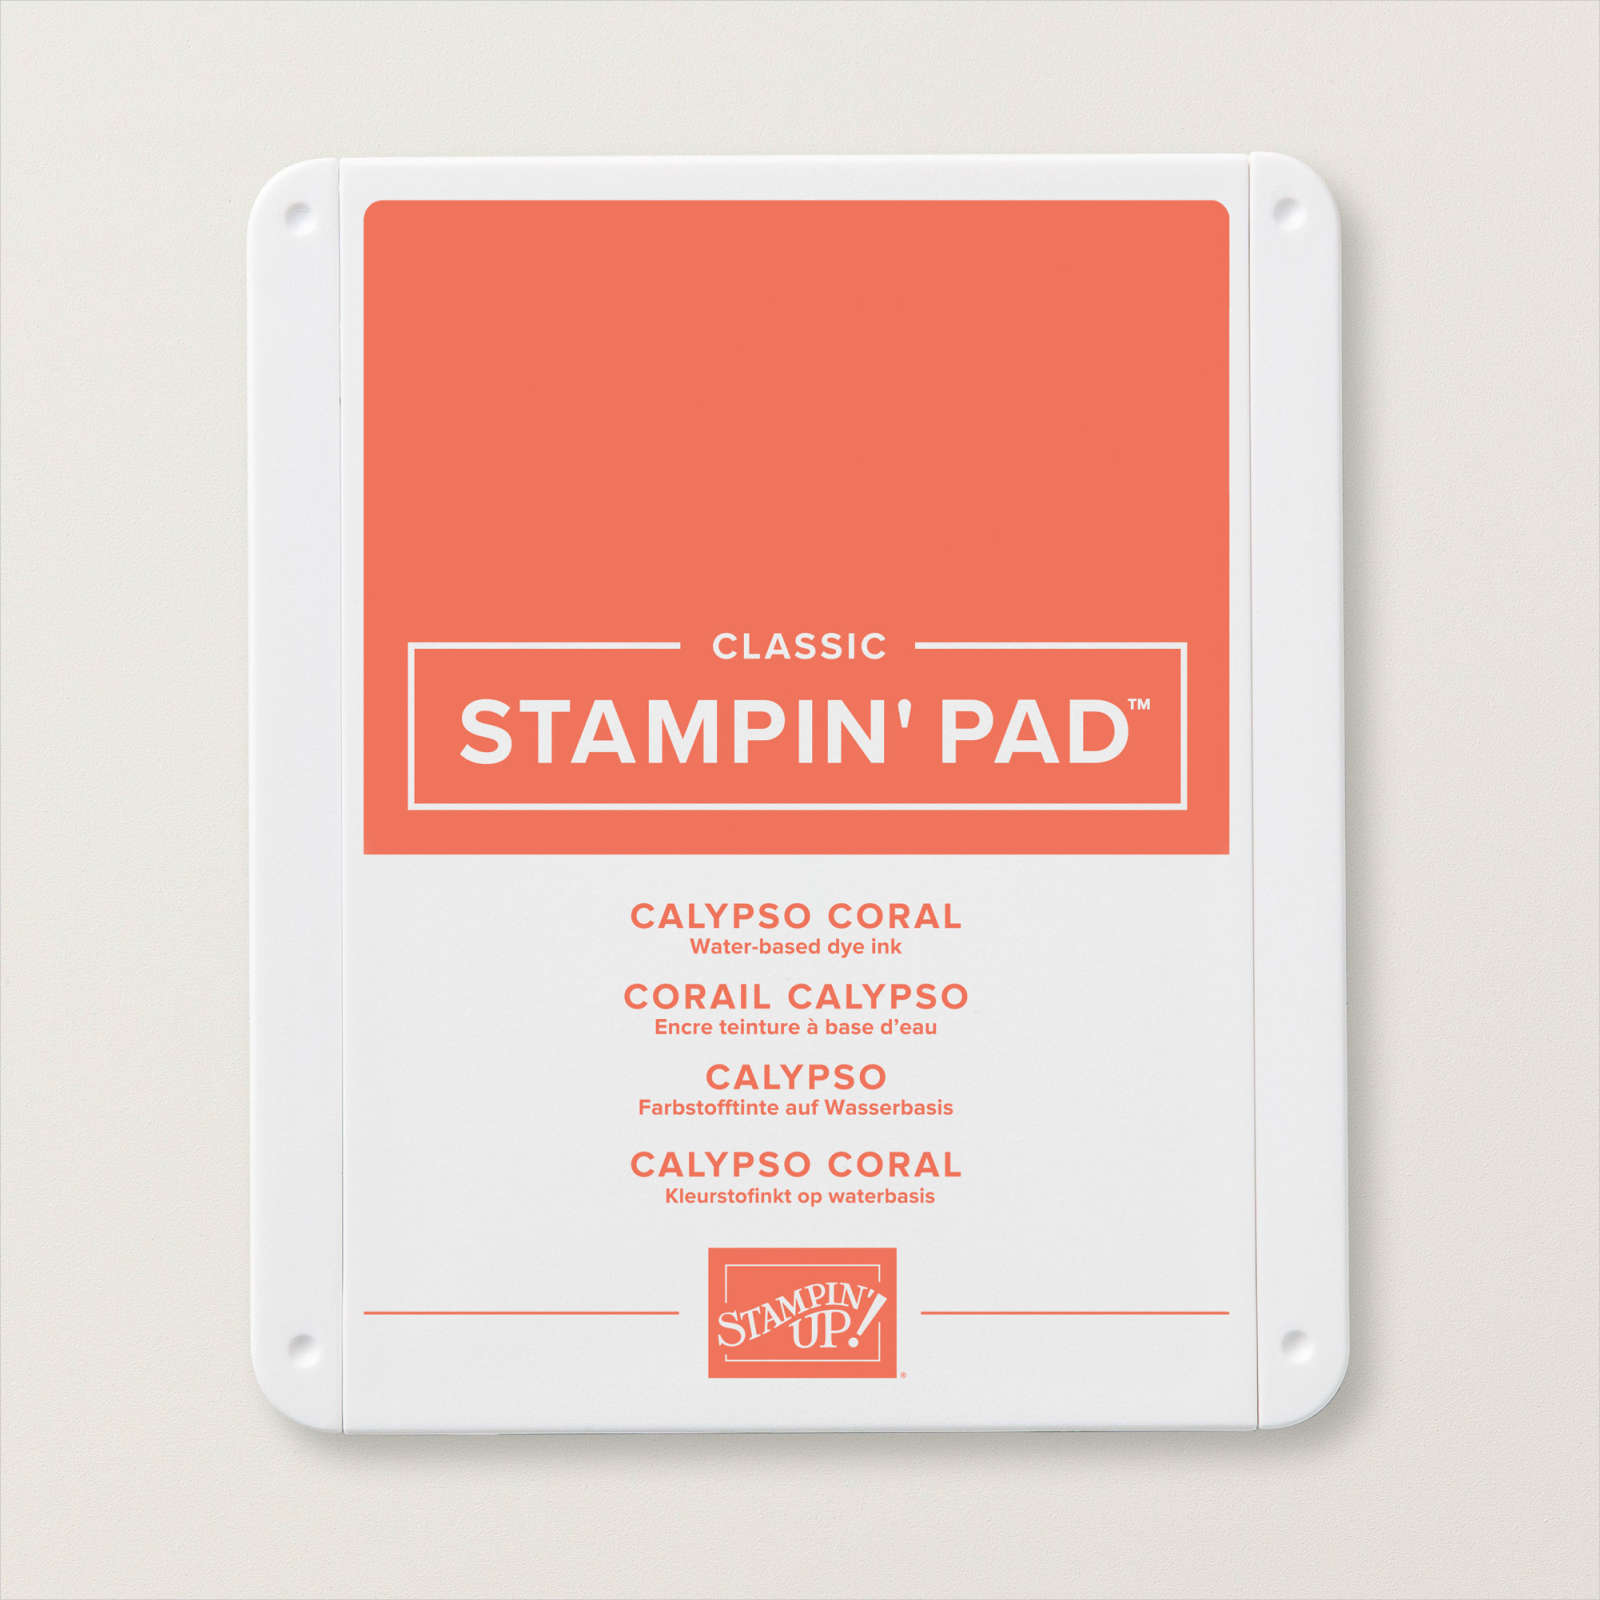
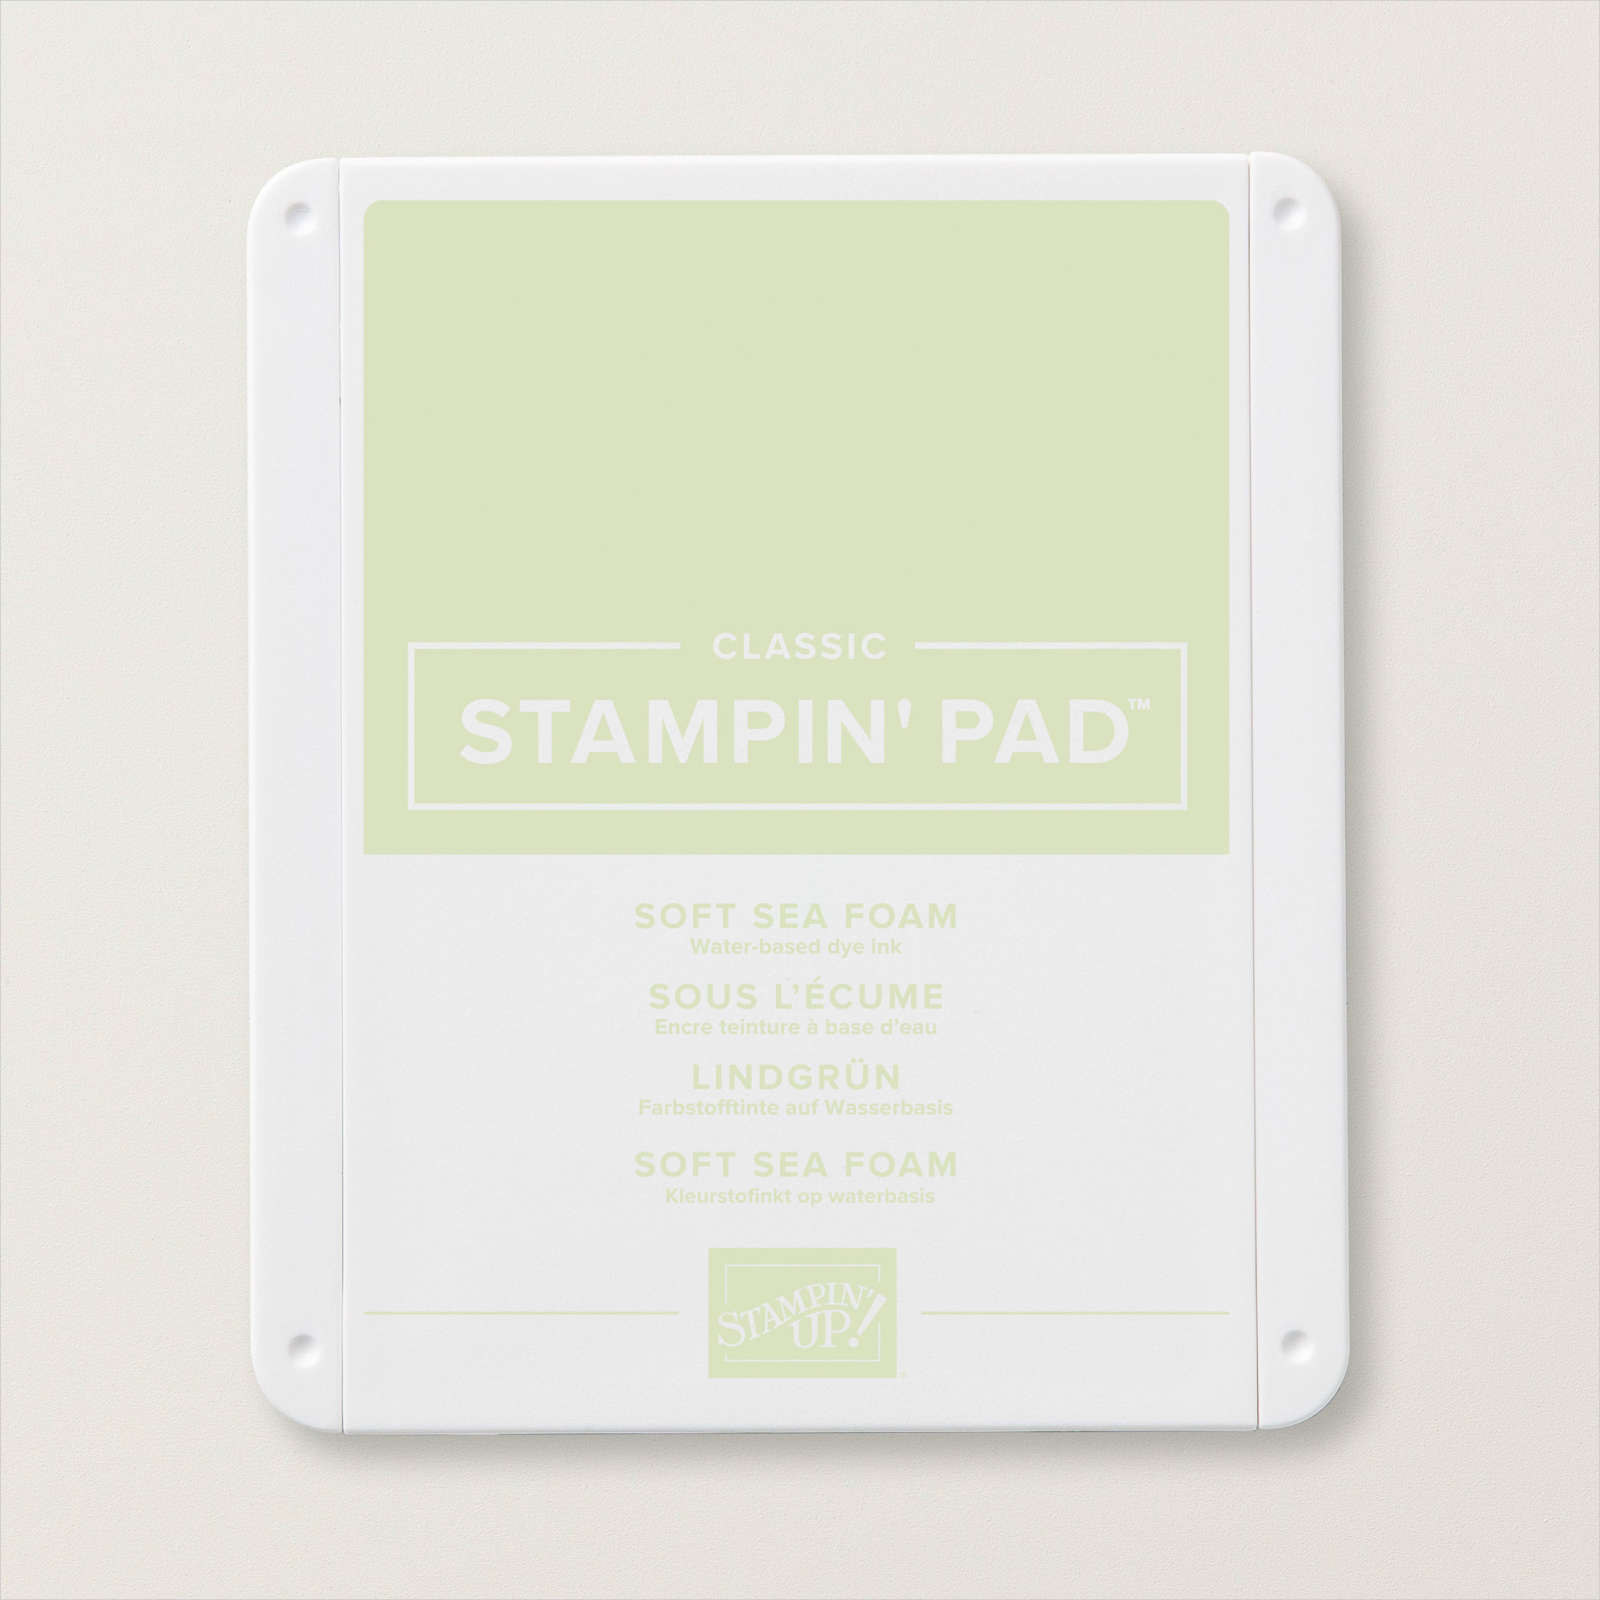
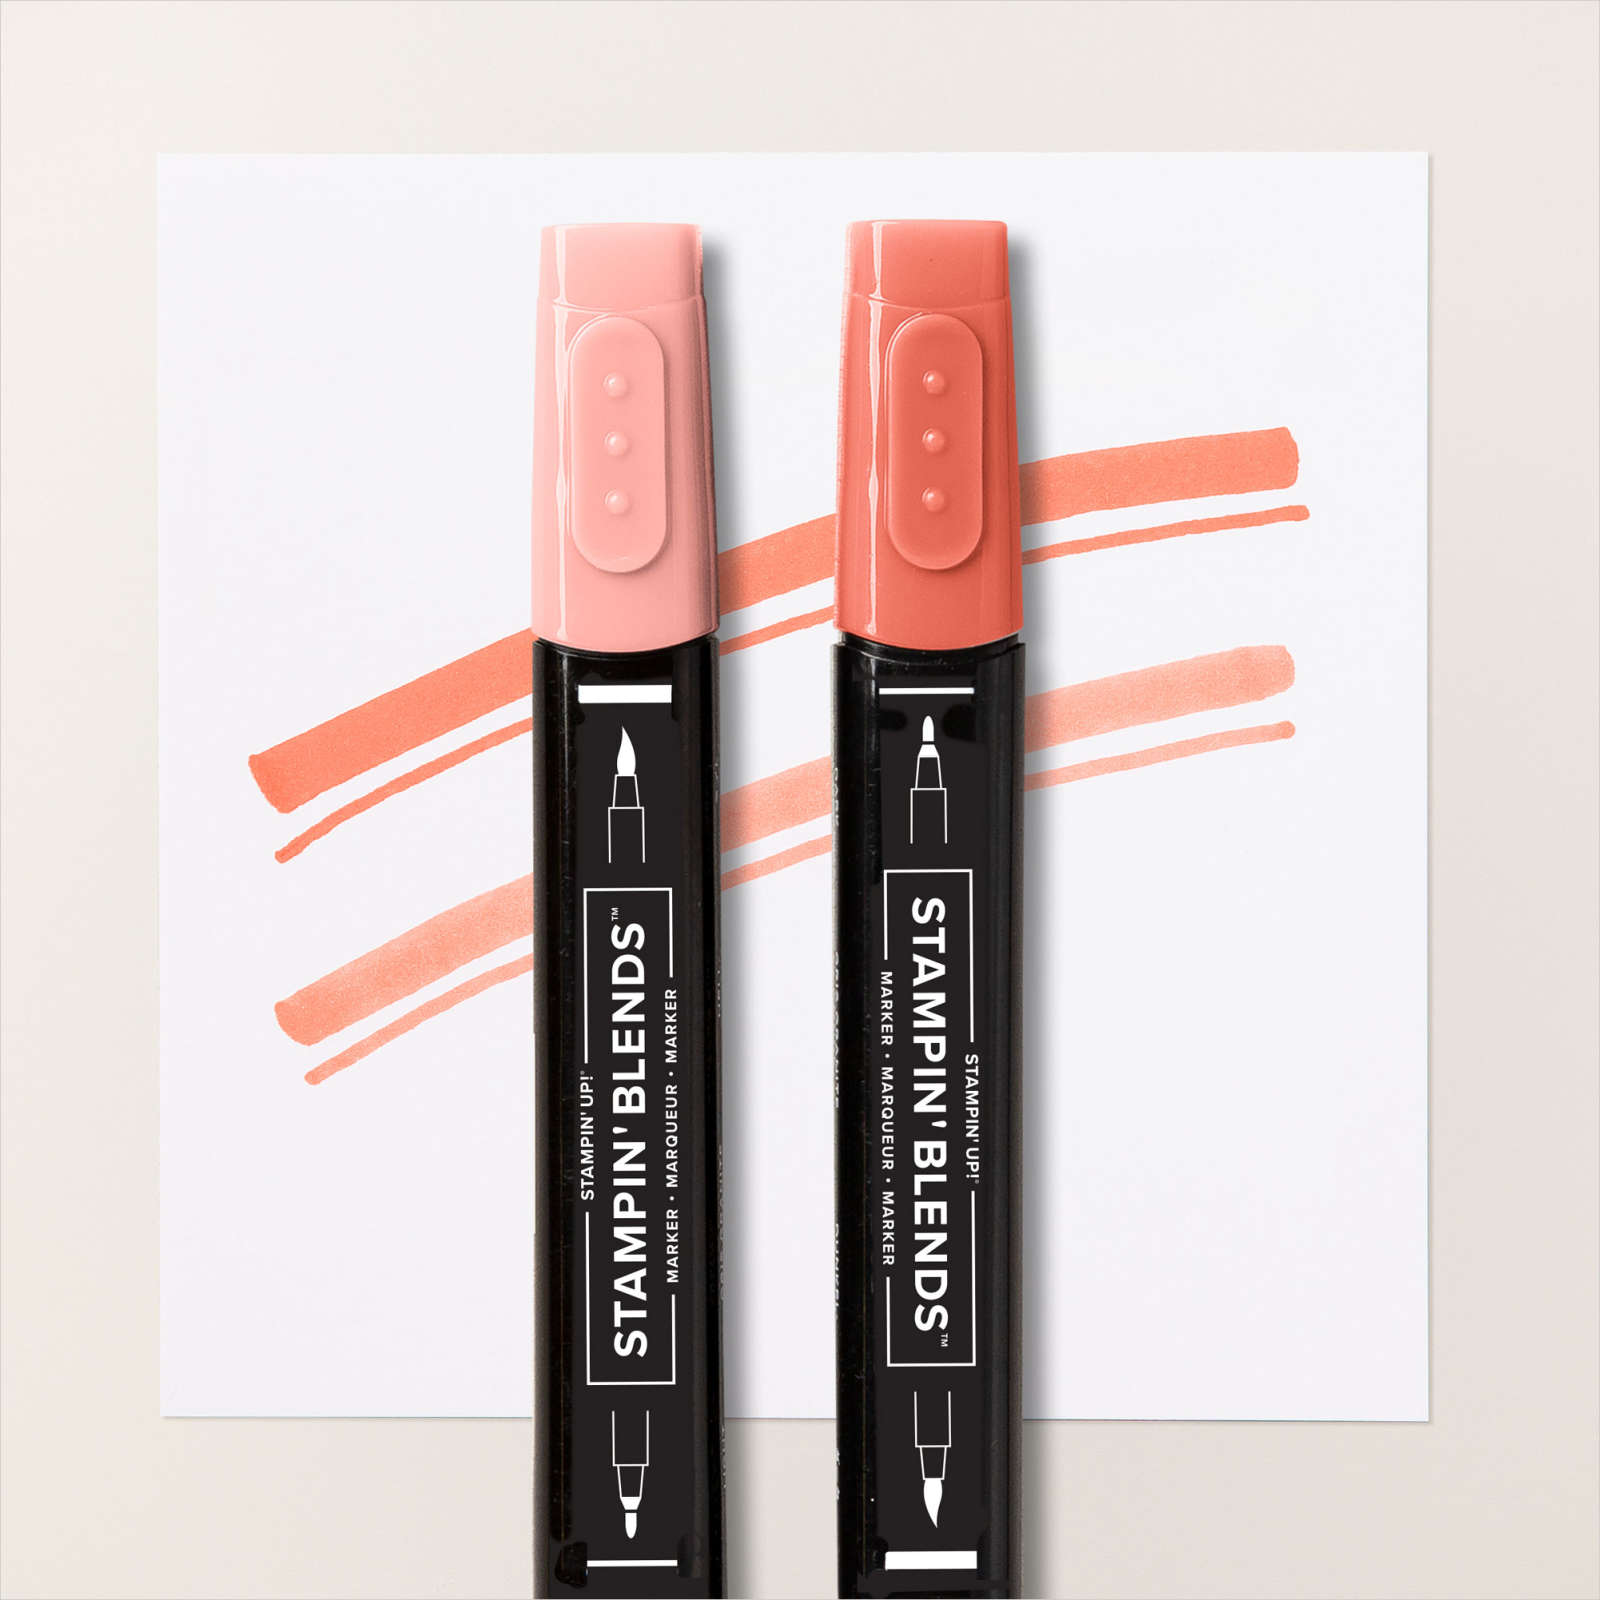
I stamped the floral/leaf image from the Splendid Thoughts stamp set twice onto Basic White card using Calypso Coral ink. I coloured the images using the Light Calypso Coral Stampin’ Blend before cutting out the images using the co-ordinating Splendid Stems Die. I attached the floral images to the card front over the die cut leaf. I stamped the leaf image from the Splendid Thoughts stamp set onto Basic White card using Soft Sea Foam ink.

I coloured the image using the Light Soft Sea Foam Stampin’ Blend before cutting out the image using the co-ordinating Splendid Stems Die. I attached this image to the card front using Mini Dimensionals. I cut the 1/2 circle from Sahara Sand card using the Splendid Stems Die and attached it over the stems of the leaves and flowers using Mini Dimensionals. I stamped the greeting from the Celebrating You stamp set onto Basic White card using Calypso Coral ink. I cut out the image using one of the Banners from the Stylish Shapes Dies before attaching it to the card front using Mini Dimensionals where necessary. To decorate the inside of the card, I stamped, coloured and die cut the floral image and attached it to Basic White card. I stamped the greeting, also from the Celebrating You stamp set beside the floral image using Calypso Coral ink. I am really getting to love the Splendid Thoughts Bundle and co-ordinating products. Check out my Facebook Live this week to get a few more ideas for using this bundle.
Thankfully Mum and Dad loved this card, even if it is a little late.
Bye for now,
Kris
Product Used:



Hippest Hippos
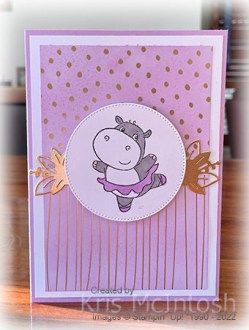
Today I am sharing a card I made with the Hippest Hippos stamp set which you can earn for free during Sale-A-Bration with a qualifying order. Not only is it free but is so cute. I have paired it with the Silver & Gold 6″ x 6″ Specialty Paper which you can also earn for Free during Sale-A-Bration with a qualifying order. I cut two pieces of the Gold paper from the Specialty Paper and used a Blending Brush to add Fresh Freesia ink. I attached the Specialty Paper to Basic White card and then scored and folded Fresh Freesia card.
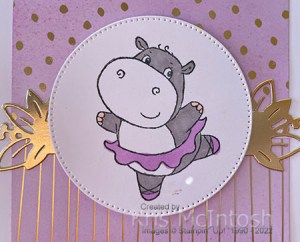
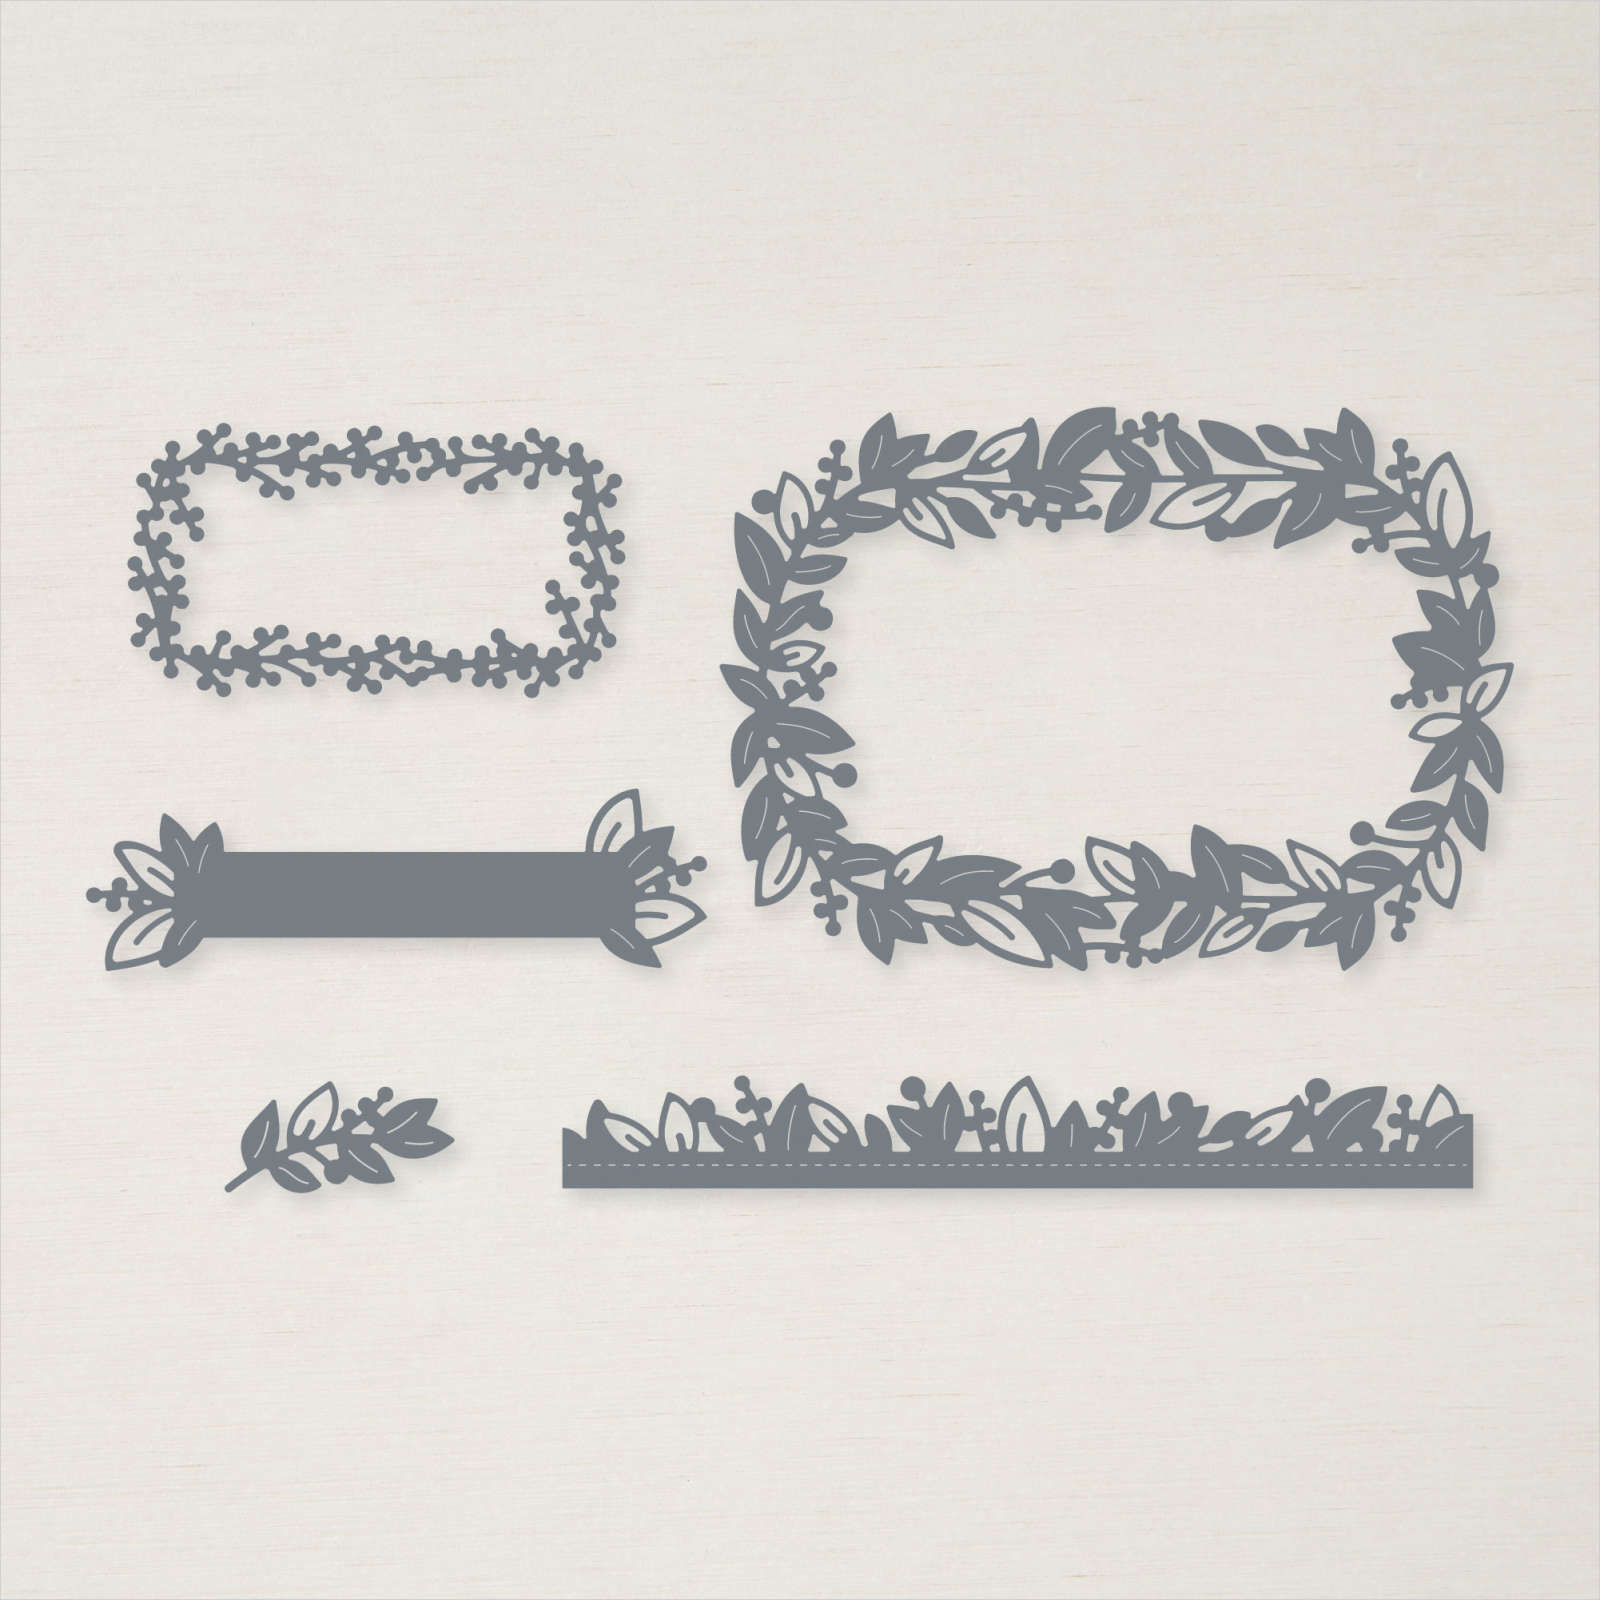
I cut Gold Foil card using the die from the Eden Dies and attached it to cover the join in the Specialty Papers. I stamped the image from the Hippest Hippos stamp set onto Basic White card using Memento Tuxedo Black ink.

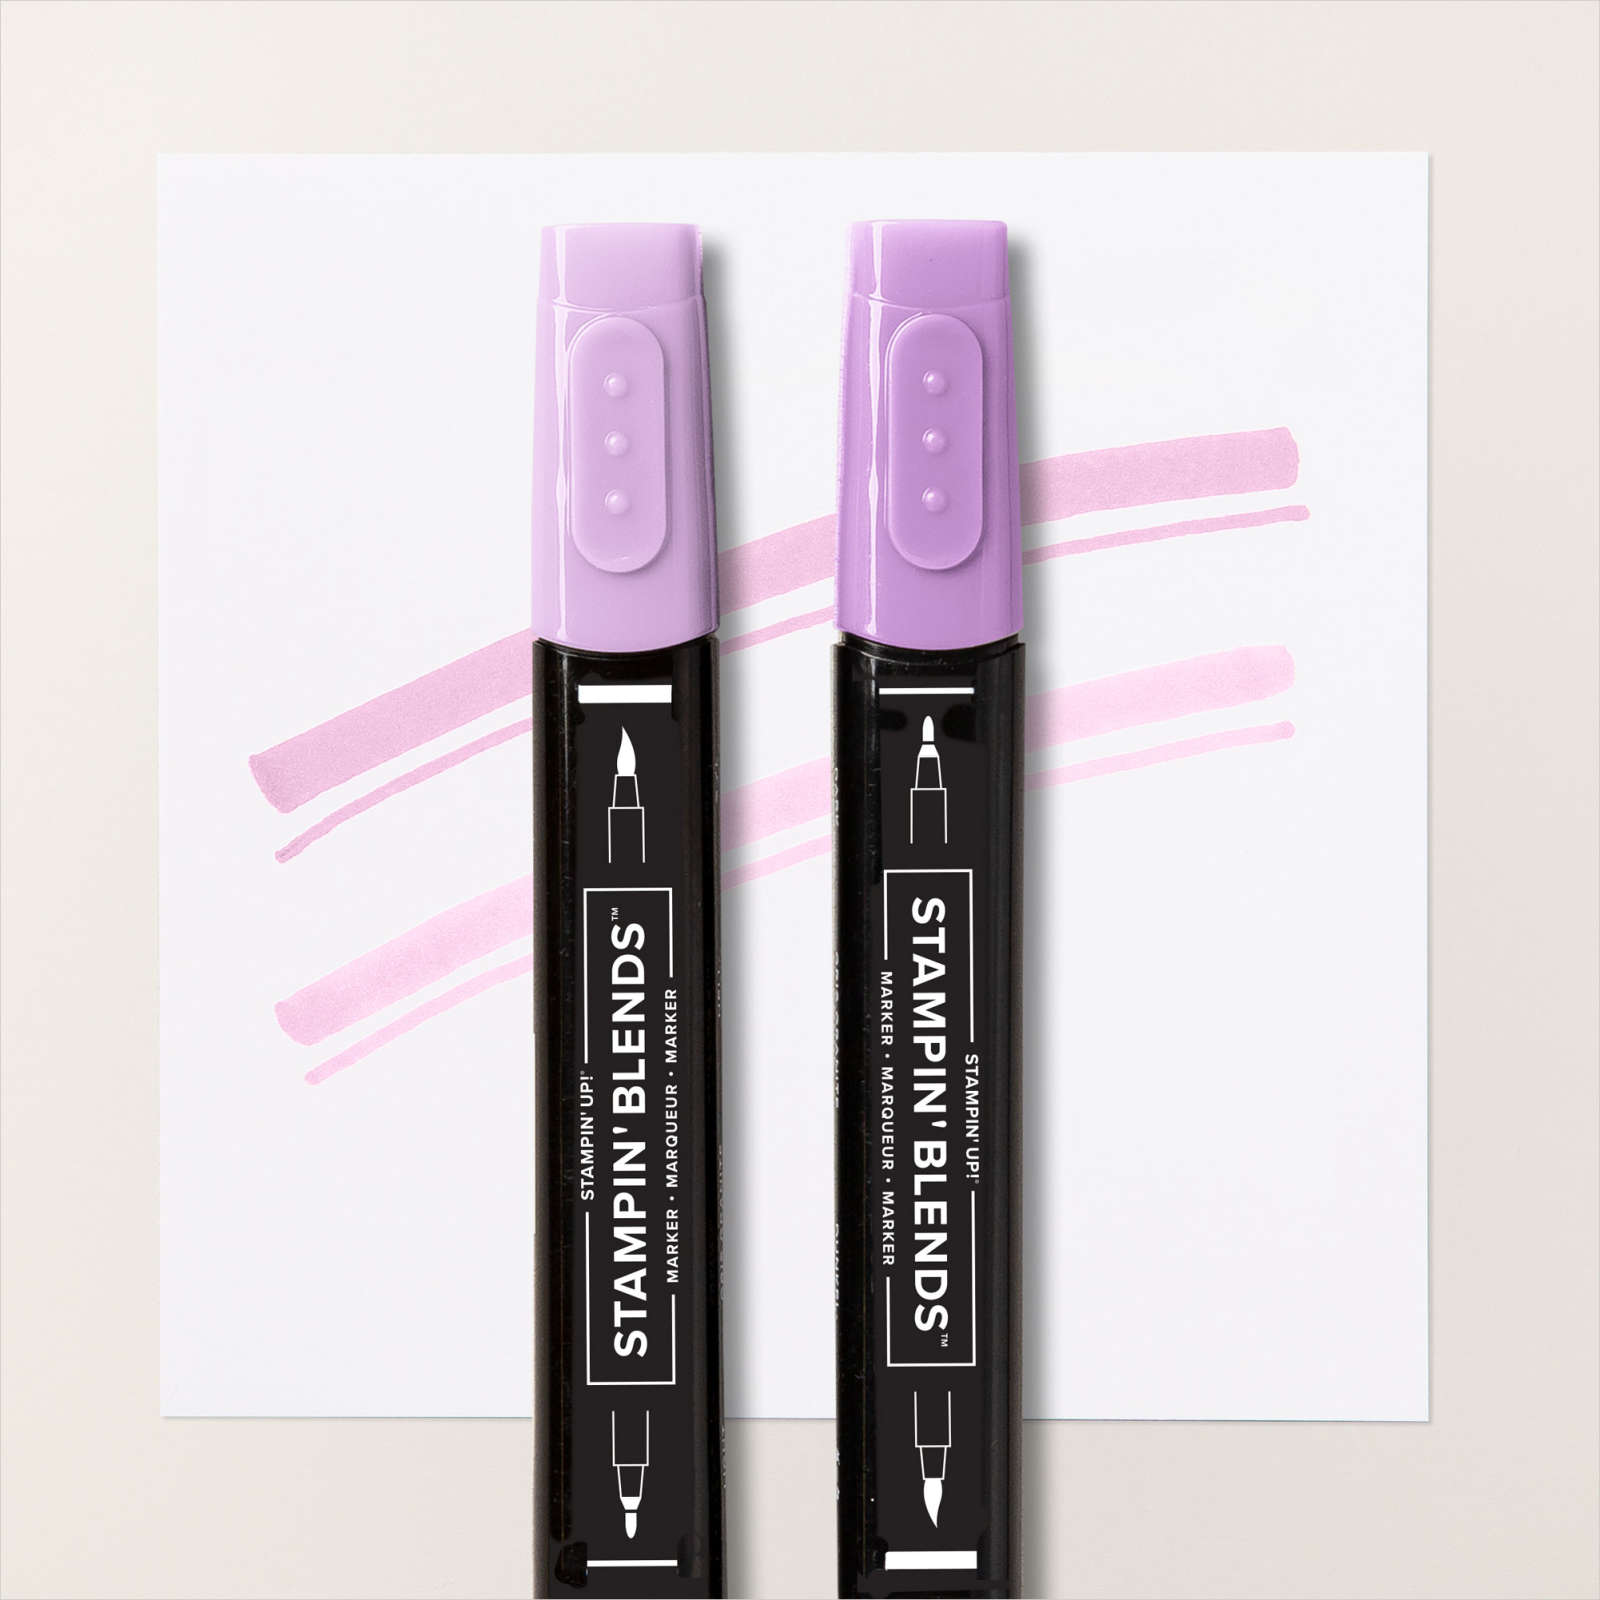
I coloured the image using the Light Smoky Slate, Dark Petal Pink and Dark Fresh Freesia Stampin’ Blends. I cut out the image using one of the circles from the Stylish Shapes Dies and attached it to the card front using dimensionals. To decorate the inside of the card, I coloured a narrow strip of the Specialty Paper using Fresh Freesia ink and a Blending Brush. I attached the Specialty Paper across the bottom of Basic White card before stamping the greeting from the Hippest Hippos stamp set using Memento Tuxedo Black ink.
Simple but so pretty! Don’t you think? If you don’t have a copy of the new Sale-A-Bration brochure and you live in Australia, then contact me so that I can get a catalogue to you.
Bye for now,
Kris
Product Used:



Day 1
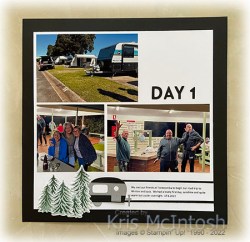
Today’s page shows off the day we met up with out friends at Toowoomba to road trip to Winton. Our friends live in New South Wales and had met up at Tweed Heads to travel to Toowoomba together. Can’t wait to begin our trip. I attached the photos to Basic White 12″ x 12″ card which I cut down before attaching to a Basic Black 12″ x 12″ page. I cut the title from Basic Black card using the retired Playful Alphabet Dies.
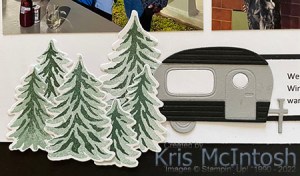
I printed the journaling onto Basic White card and attached it to Basic Black card. The journaling is attached to the page below the photos. I cut the caravan image from Smoky Slate and Basic Black card using the Tree Lot Dies. These dies are FREE during sale-a-bration with a qualifying order and co-ordinate perfectly with the Trees For Sale stamp set in the July to December Mini catalogue. I attached the pieces together before attaching to the left hand edge of the journaling panel. I stamped the three solid trees from the Trees For Sale stamp set twice onto Basic White card using Soft Succulent ink. I stamped the detail image over the top using Evening Evergreen ink. The trees are cut out using the Tree Lot Dies before being attached to the page beside the caravan. A simple page (you know that’s my style) but lots of memories in these photos.
Bye for now,
Kris
Product Used:
You can view the Basic Black 12″ x 12″ card here.