Hello Friend
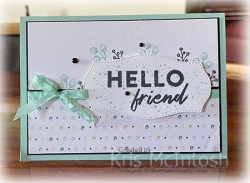
I have another card to share today using the Friendly Hello bundle. This card was created during the all day session held recently on the World Card Making Group Facebook page. Such a fun day, demonstrators from Australia and overseas shared 8 videos to show us how to create different looks using products from the Sale-a-bration and January to June Mini Catalogue. This card was one I stamped along with Vicky Wright a Queensland demonstrator and friend of mine. For this card, I attached a narrow strip of Basic Black card behind one long edge of a panel of Friendly Hello Designer Series Paper. The panel is attached across the bottom of a Basic White panel.

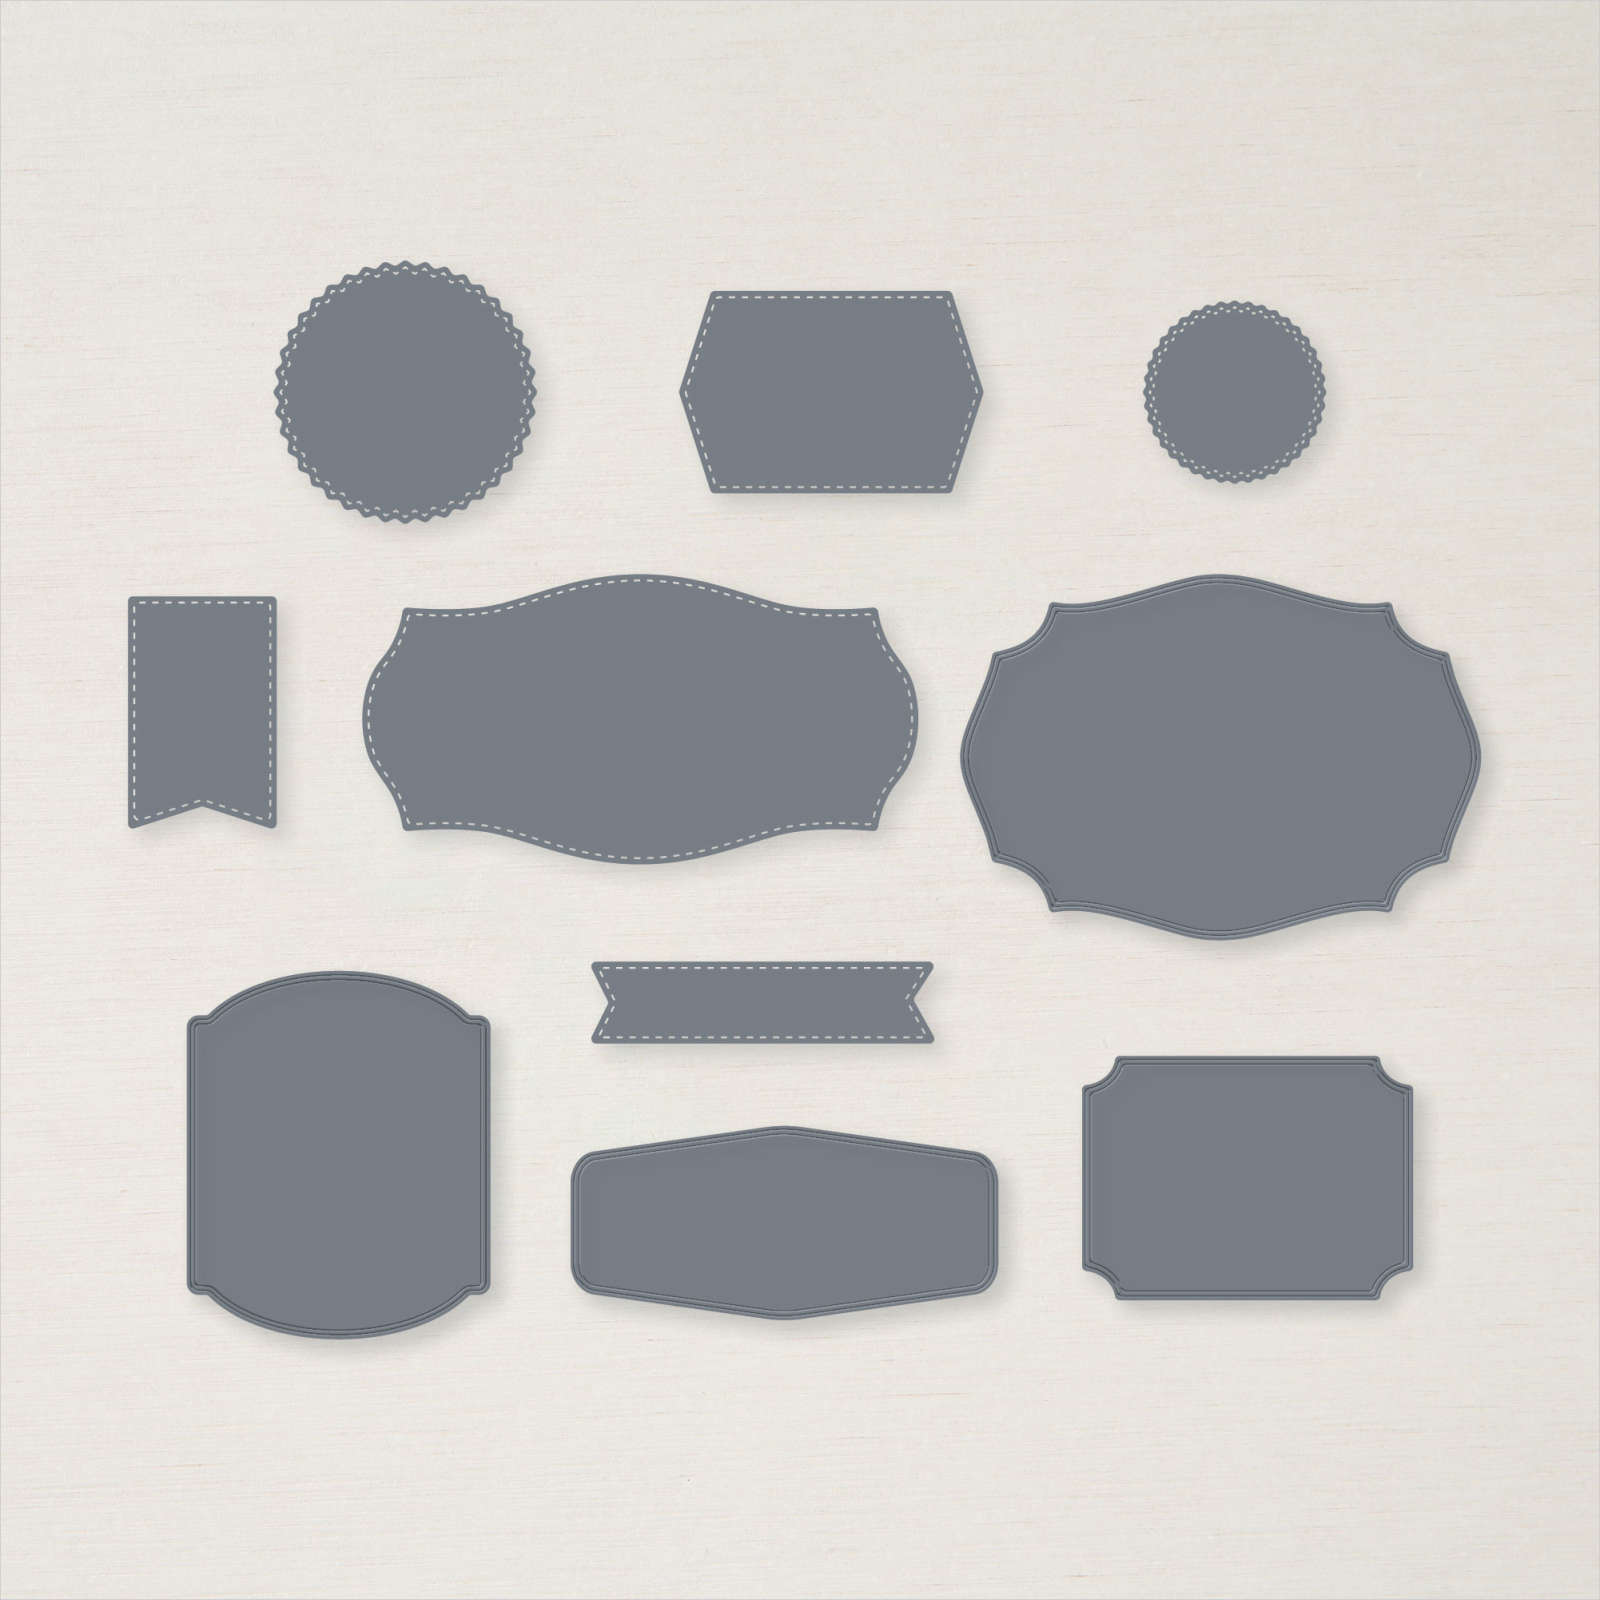
I cut Basic White card using one of the Tasteful Labels Dies before stamping the die cut with the dotted image from the Friendly Hello stamp set. I used the die cut to give me an idea of where to stamp several of the very small images from the Friendly Hello stamp set onto the Basic White card using Pool Party and Memento Tuxedo Black ink. I coloured a length of White Crinkled Seam Binding using the Dark Pool Party Stampin’ Blend and wrapped it across the top edge of the Designer Series Paper. The whole piece is attached to Basic Black card and then scored and folded Pool Party card. I stamped the greeting from the Friendly Hello stamp set onto the Basic White die using Memento Tuxedo Black ink before attaching it to the card front using dimensionals.
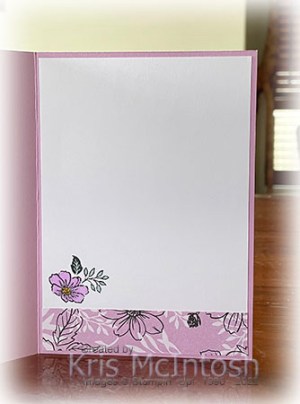
I tied a bow in another length of White Crinkled Seam Binding which I had coloured using the Dark Pool Party Stampin’ Blend and attached it to the card front using a Glue Dot. Lastly I added three to the card front. To decorate the inside of the card, I attached a narrow strip of Basic Black behind one long edge of a piece of the Friendly Hello Designer Series Paper. The Designer Series Paper panel is attached across the bottom of Basic White card. I stamped the greeting from the Friendly Hello stamp set onto the Basic White card using Memento Tuxedo Black ink. I stamped one of the small images used on the front of the card beside the greeting using Pool Party Ink.
I big thank you to Vicky for the inspiration for this card.
Bye for now,
Kris
Product Used:


Bird Feeding

Mum just loved feeding the birds at Cania Gorge. She was especially excited when this one came to visit while we were having a coffee. She shared her biscuit with the bird and was fascinated by the way it used its foot to hold it. I decided to use some of the Friendly Hello bundle to create this page. I attached a strip of Friendly Hello 12″ x 12″ Designer Series Paper to the left hand side of a Basic White 12″ x 12″ page. I attached another piece of Friendly Hello Designer Series Paper partially over the first.

I attached my photo to Basic Black card and then the page, making sure to tuck a small Basic White circle behind the top left hand corner. I printed my journalling onto Basic White card and cut it out using one of the Hippo & Friends Dies. I attached the journaling using dimensionals so that it would sit partially over the photo. I stamped the bird image from the Friendly Hello stamp set onto Basic White card using Memento Tuxedo Black ink.

I coloured the image using Dark Real Red, Dark Old Olive, Fresh Freesia, Dark Daffodil Delight, Dark Soft Suede and Dark Granny Apple Green Stampin’ Blends before cutting it out. I was hoping that this bird would look like the Parrot Mum is feeding, not sure if it does. I attached the image to the page below the photo. I stamped the large flower image onto Basic White card using Memento Tuxedo Black ink. I masked the image using a Post-it-note and stamped several leaves around the flowers. I removed the mask and coloured the image using Fresh Freesia, Granny Apple Green & Dark Daffodil Delight Stampin’ Blends. I attached the flowers onto the Basic White circle using dimensionals so that it would sit slightly over the photo. I love that this page brings a smile to my face.
Bye for now,
Kris
Product Used:


Friendly Birthday
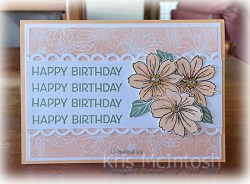
This week in my Facebook Live, I shared some cards I created using the Friendly Hello bundle which you can earn for FREE with a qualifying order during Sale-a-Bration. For today’s card, I attached a piece of the Friendly Hello 12″ x 12″ Designer Series Paper to Basic White card and then scored and folded Pale Papaya card. I stamped “happy birthday” from the Artistically Inked stamp set four times down the left hand side of Basic White card. I cut two strips of Basic White card using the largest of the Scalloped Contour Dies. I attached the die cut strips to each long side of the stamped Basic White card before attaching the panel to the card front.
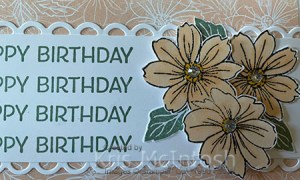
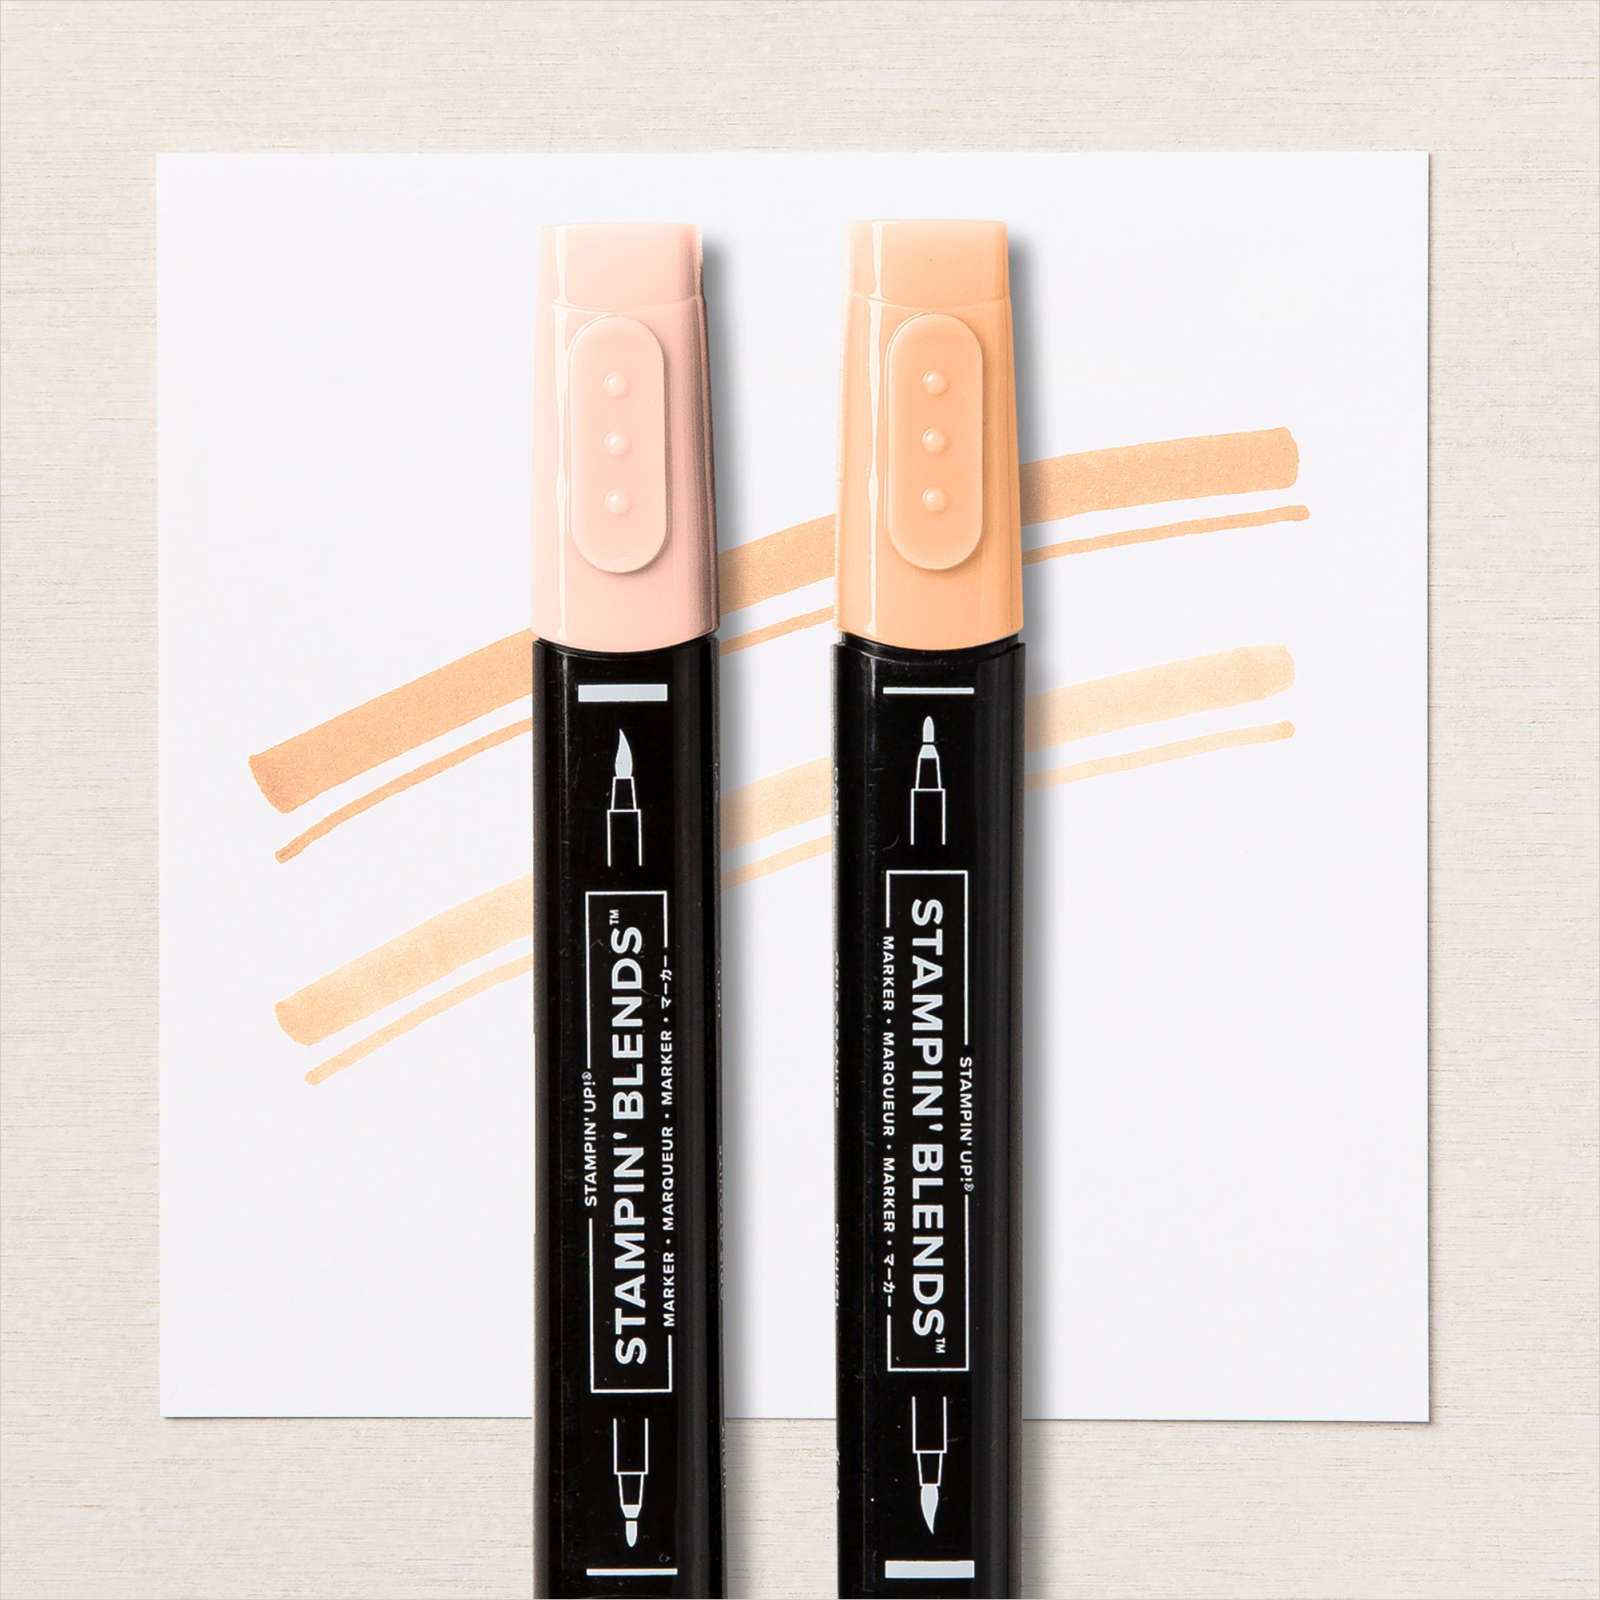
I stamped the large floral image from the Friendly Hello stamp set twice onto Basic White card using Memento Tuxedo Black ink. I coloured the flowers using Pale Papaya and Dark Daffodil Delight Stampin’ Blends. I also stamped one of the leaf images from the Friendly Hello stamp set three times onto Basic White card using Soft Succulent ink and cut them out. I trimmed one flower away from one of the stamped images and attached it flat to the stamped Basic White panel. I attached the double flower image over the top using dimensionals. I attached the leaves flat to the panel around the floral images.
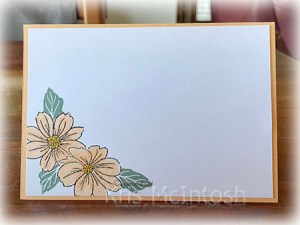
To decorate the inside of the card, I stamped the floral image from the Friendly Hello stamp set onto the lower left hand corner of Basic White card. I masked the image and stamped the leaf image around the flower using Soft Succulent ink. The flowers are once more coloured using the Dark Daffodil Delight and Pale Papaya Stampin’ Blends.
This bundle gives you lots of options for creating beautiful cards, I hope I have inspired you to take another look and perhaps add this bundle to your wish list. I will definitely have more cards using this bundle to share with you over the coming weeks.
Bye for now,
Kris
Product Used:


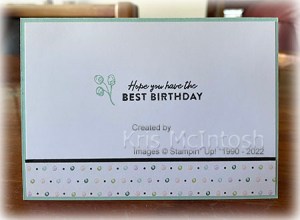
Best Birthday

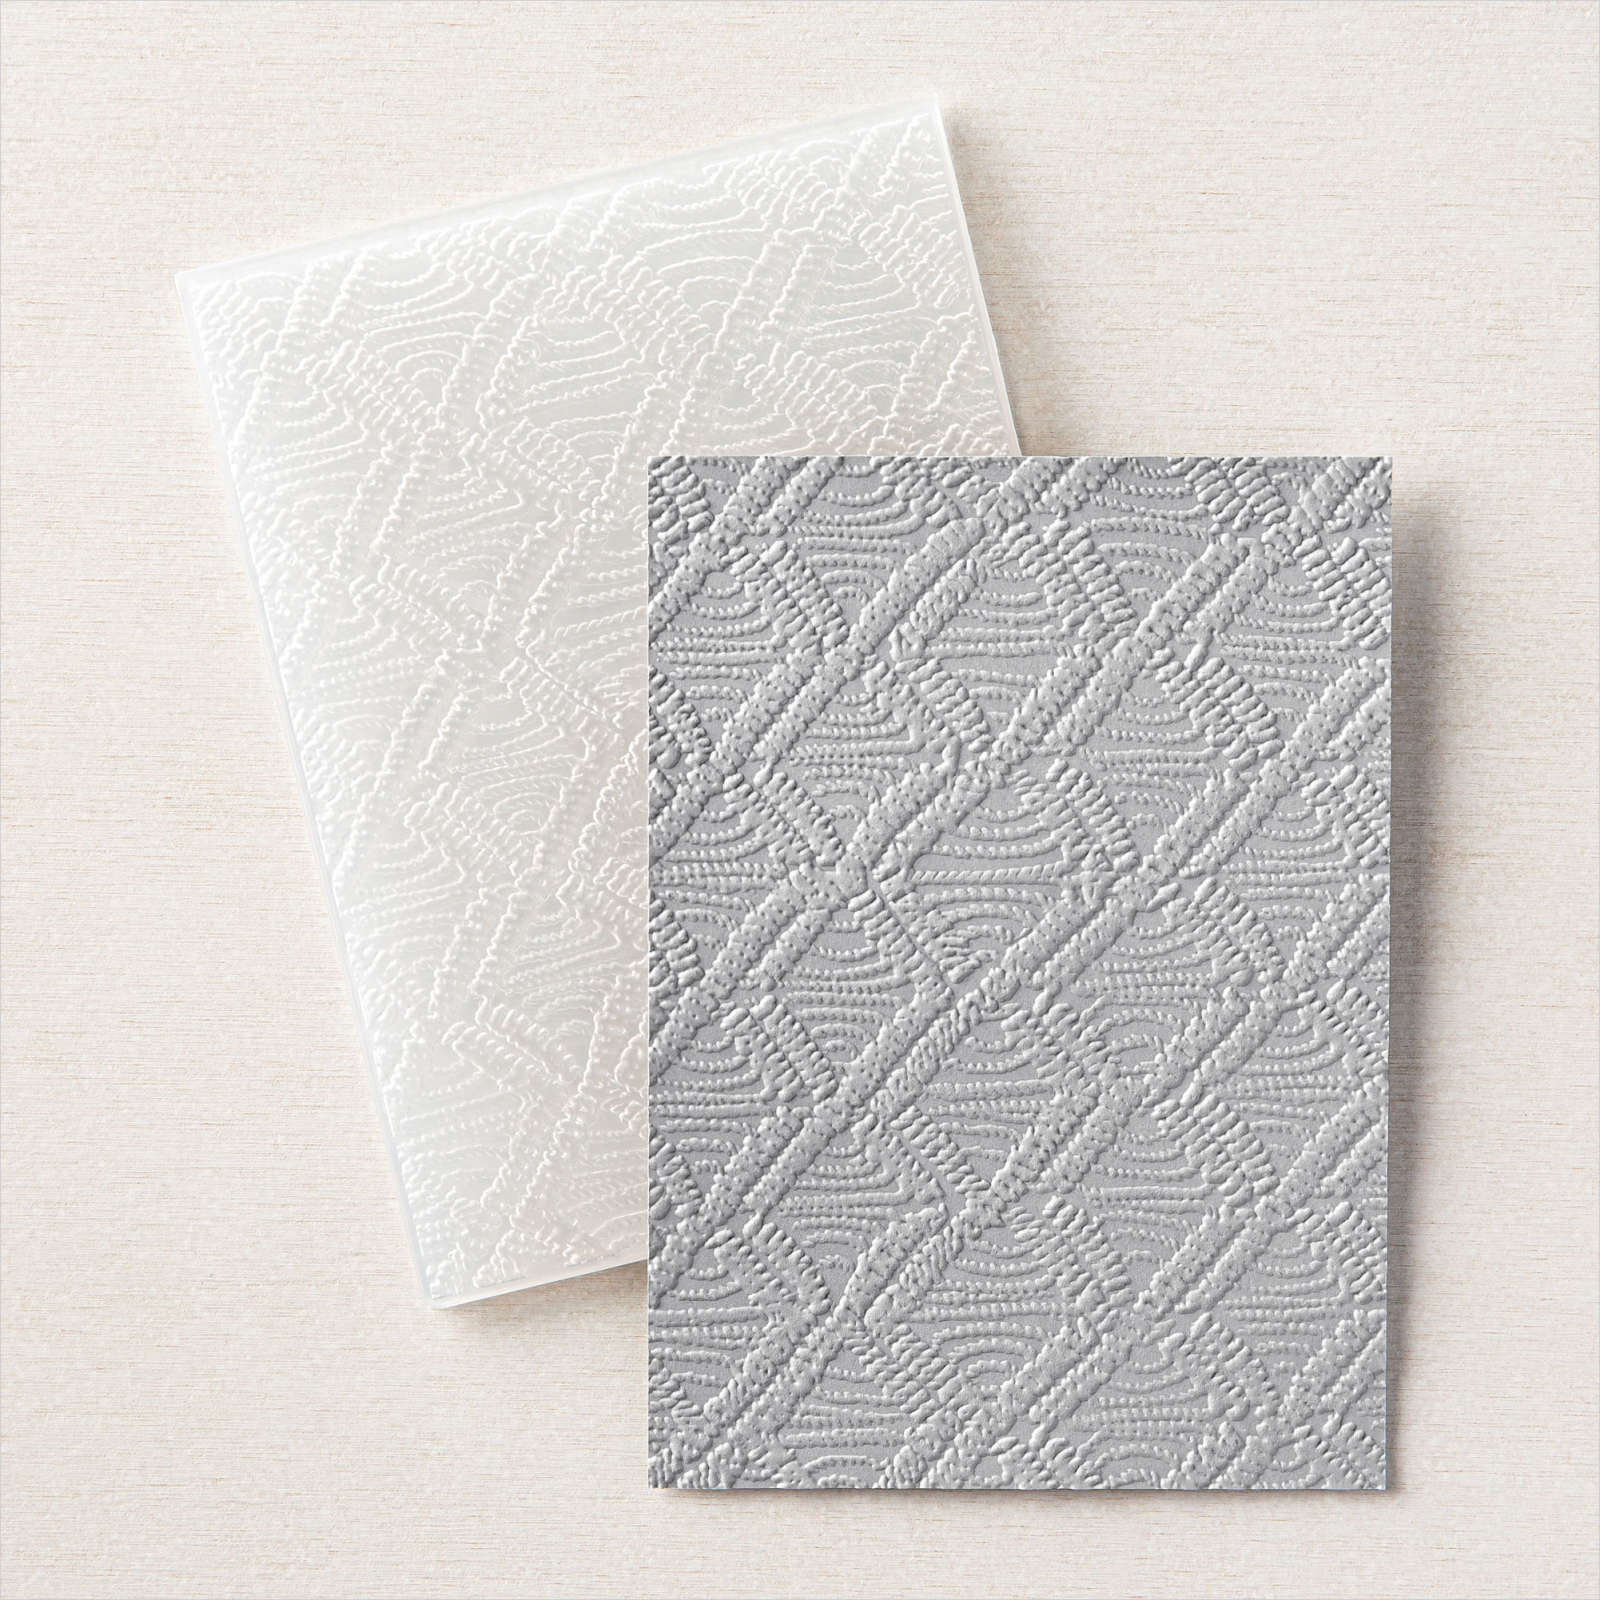
This week on my Facebook Live, I shared some cards created using the Friendly Hello bundle which is Free with a qualifying order during Sale-a-Bration ($180.00 in Aus). The bundle includes the lovely Friendly Hello stamp set and the co-ordinating Friendly Hello 12″ x 12″ Designer Series Paper. For today’s card, I attached a strip of Friendly Hello Designer Series Paper to the top left hand side of Basic White card. I embossed a piece of Fresh Freesia card using the Macrame 3D Embossing Folder and attached it over the top section of the Basic White card.

I stamped the greeting from the Friendly Hello stamp set onto the lower right hand corner of the Basic White card using Memento Tuxedo Black ink. The whole panel is attached to scored and folded Fresh Freesia card. I stamped the bird image from the Friendly Hello stamp set onto Basic White card. I cut out the image using the second largest circle from the Layering Circle Dies.
I coloured the image using Fresh Freesia, Pool Party, Dark Daffodil Delight, Light Soft Succulent and Light Soft Suede Stampin’ Blends. The image is attached to a Fresh Freesia scalloped circle cut using the Layering Circle Dies and then the card front using dimensionals. To decorate the inside of the card, I attached a narrow strip of Friendly Hello Designer Series Paper across the bottom of Basic White card. I stamped the small floral image from the Friendly Hello stamp set just above the Designer Series Paper using Memento Tuxedo Black ink. The image is coloured using LIght Soft Succulent, Dark Daffodil Delight and Fresh Freesia Stampin’ Blends.
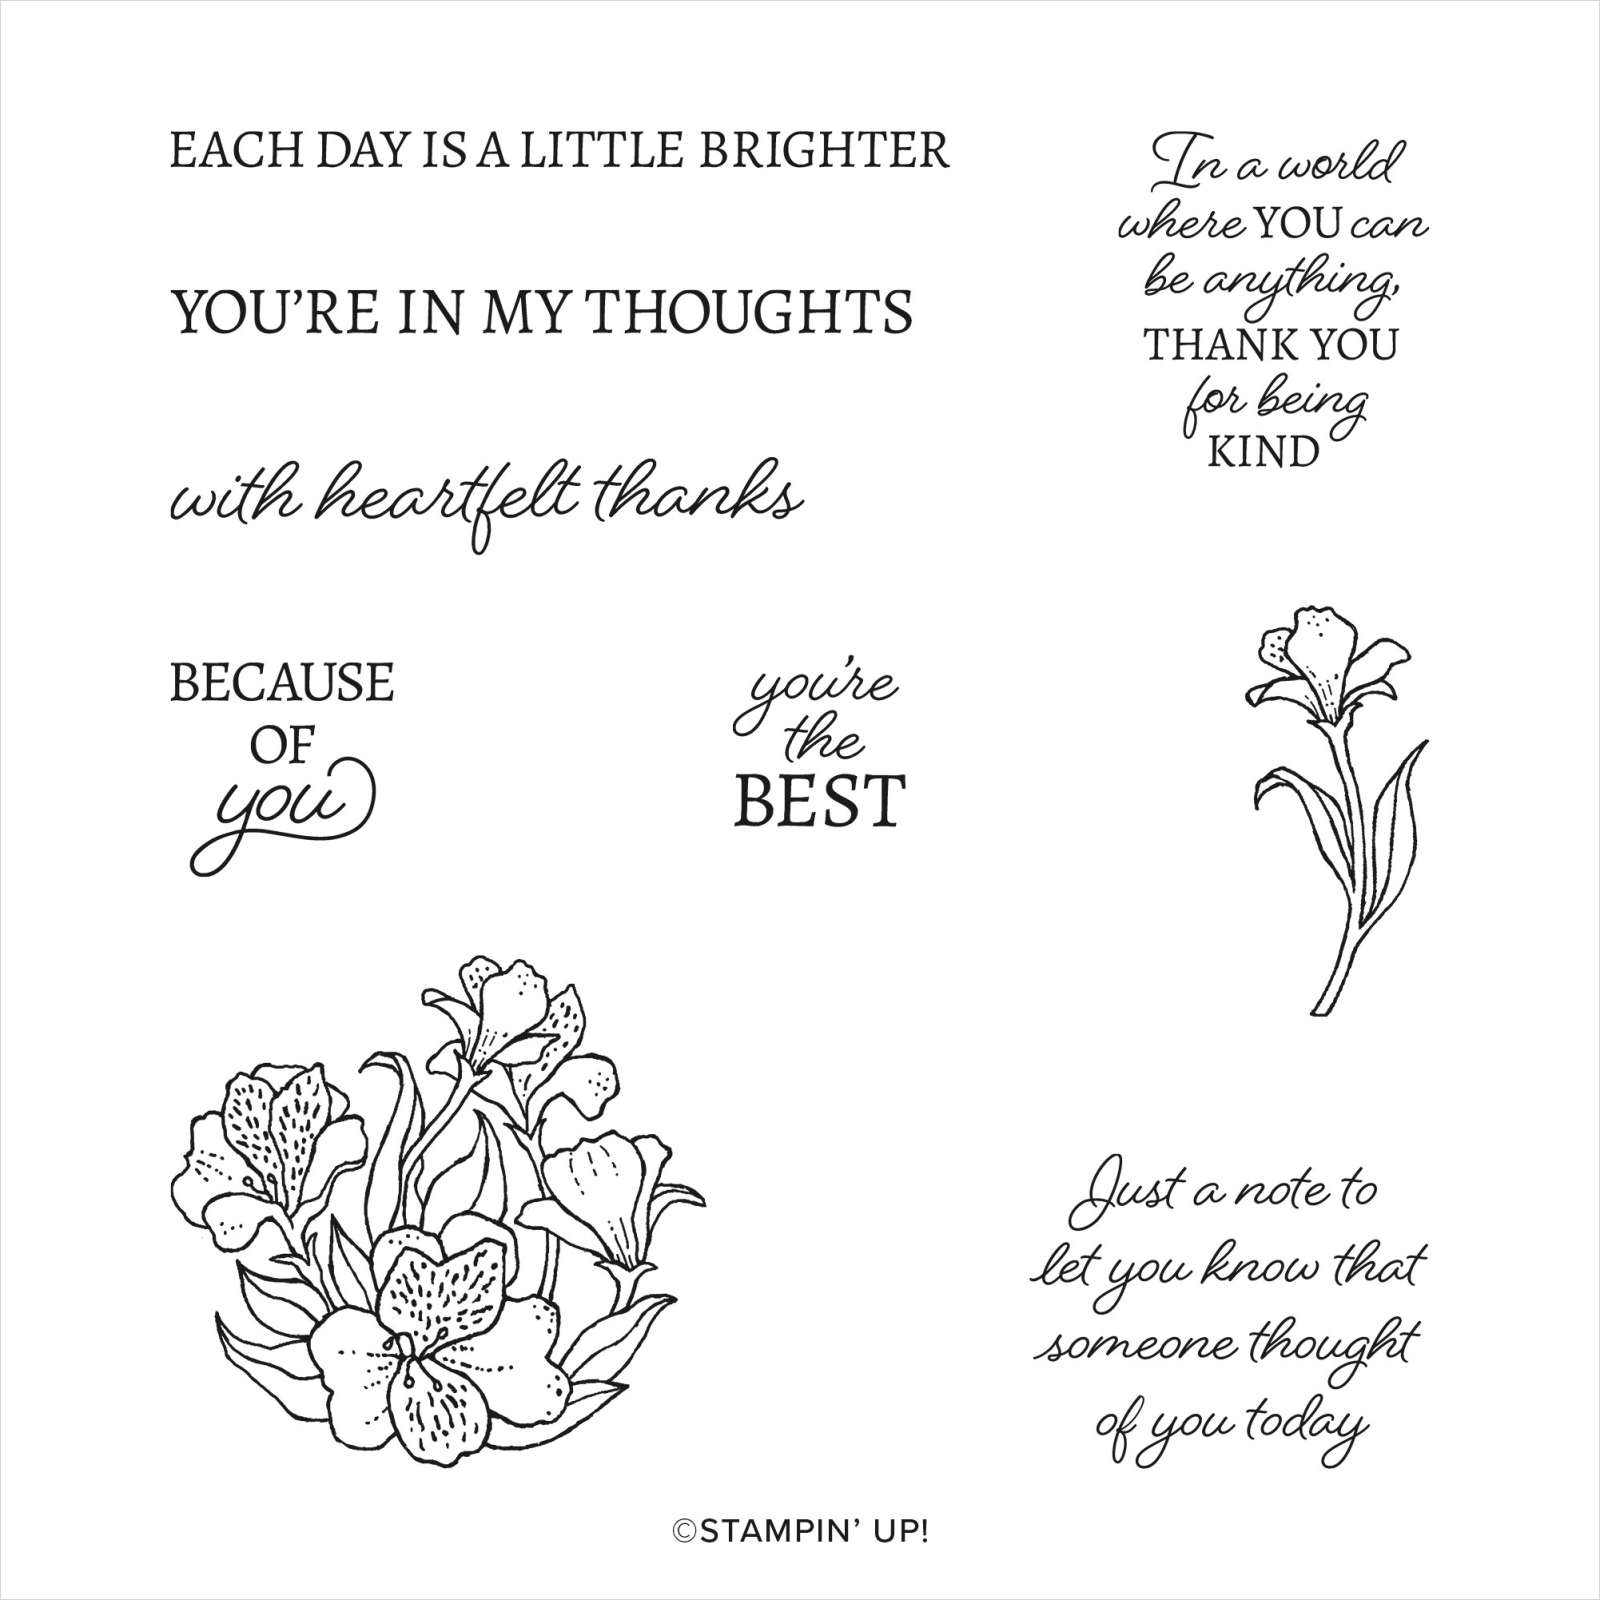
This is such a lovely bundle. The stamp set has beautiful images and greetings and the Designer Series Paper is just so pretty with beautiful colours – Basic Black, Fresh Freesia, Granny Apple Green, Petal Pink, Pool Party and Shaded Spruce. If you don’t already have your eye on this bundle, take another look!
Bye for now,
Kris
Product Used:


Just a Note

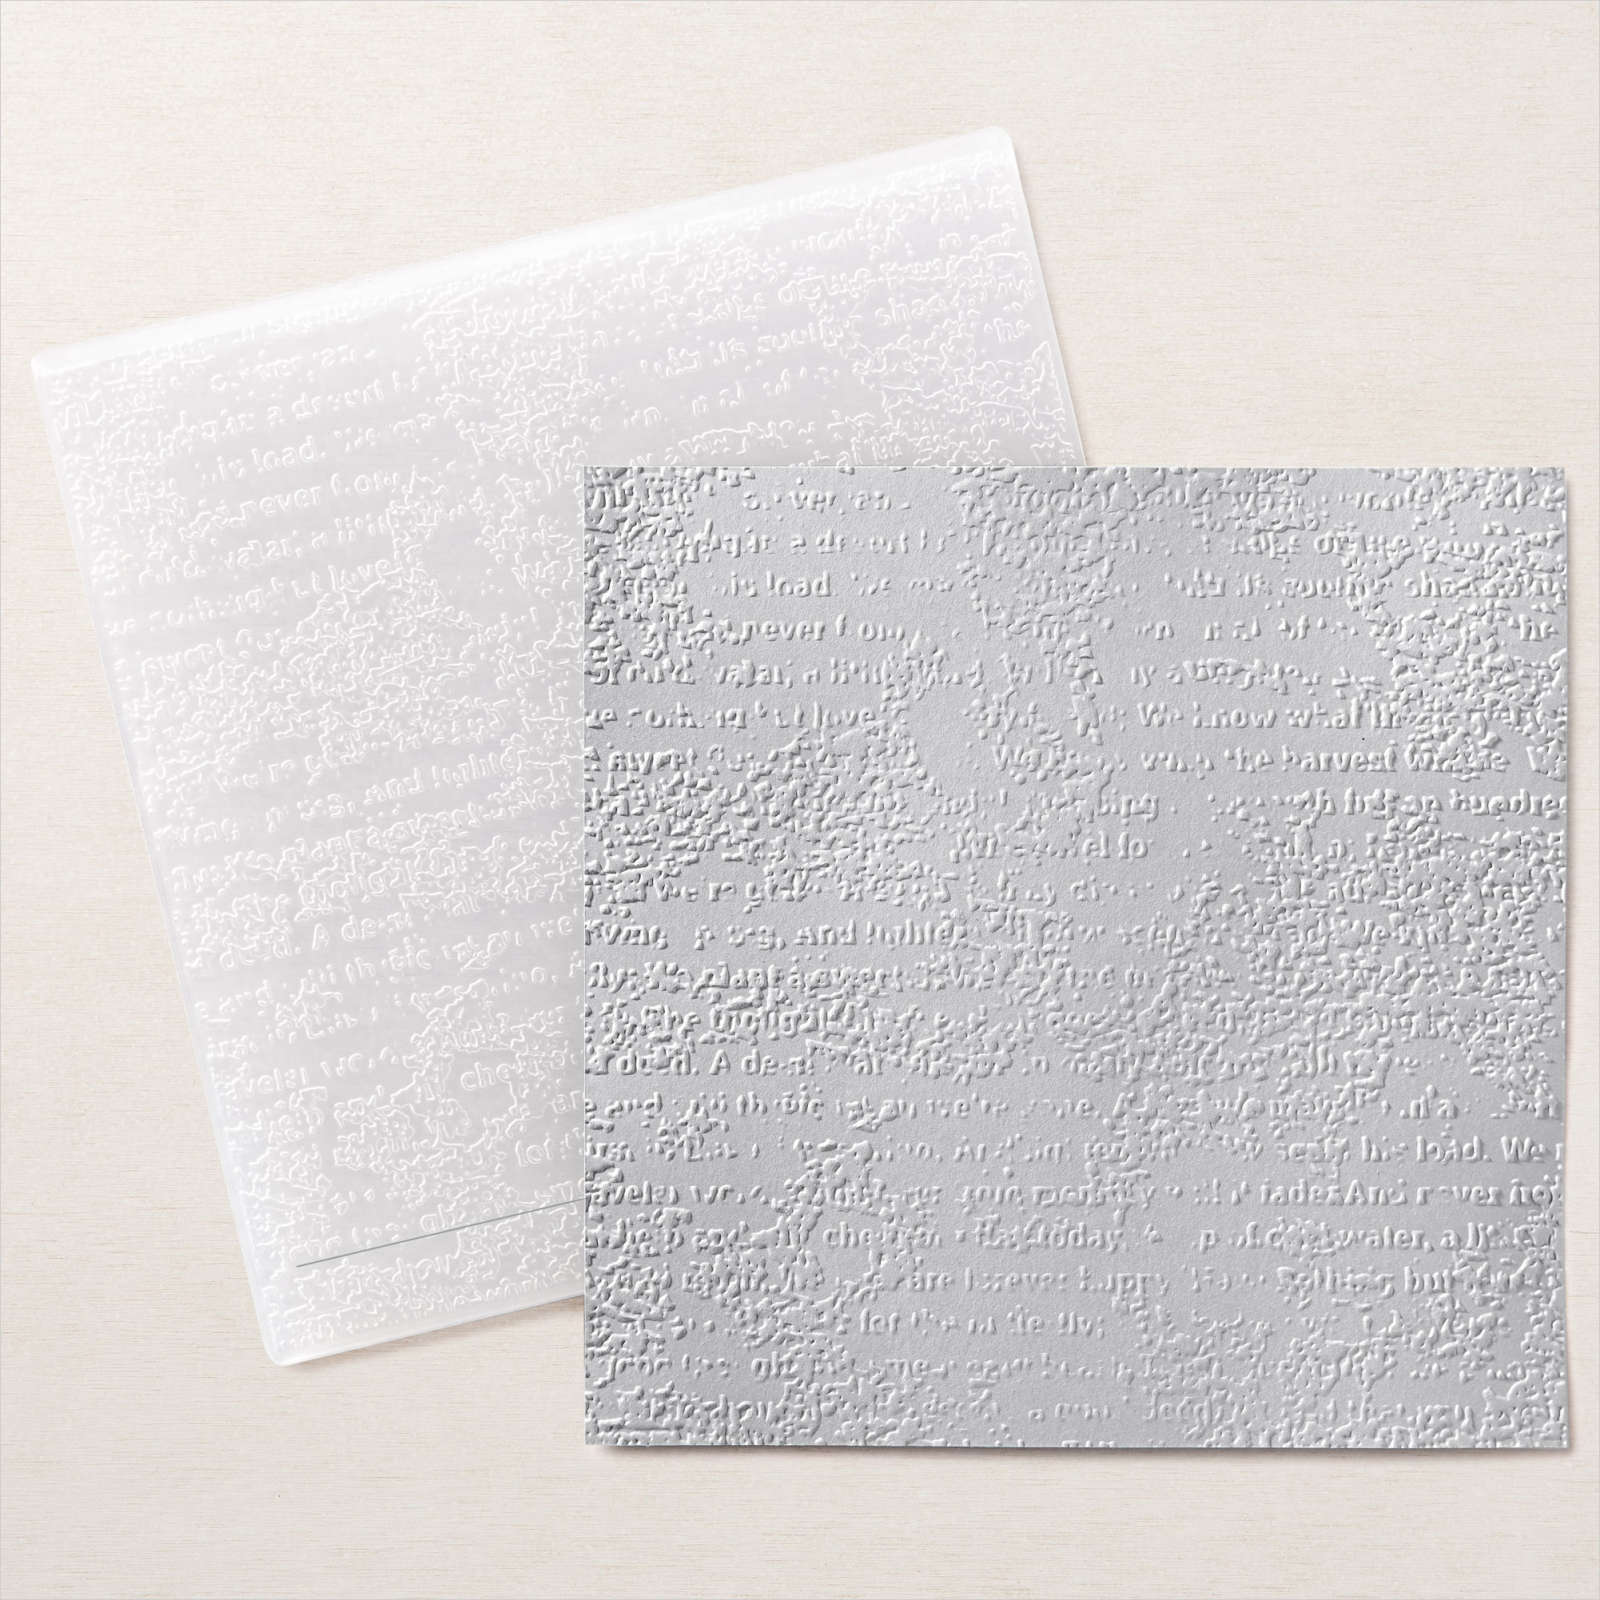
For today’s card, I embossed Basic White card using the Timeworn Type 3D Embossing Folder which I attached to scored and folded Misty Moonlight card. I attached two different patterns of paper from the Harvest Meadow 12″ x 12″ Designer Series Paper (retired but I have a lot left) to the embossed Basic White card. I punched the end of the blue patterned paper using the Tailored Tag Punch to create a banner. I cut Misty Moonlight card using one of the Encircled in Beauty Dies before attaching the panel to the card front.

I stamped the greeting from the Encircled in Friendship stamp set onto Basic White card using Misty Moonlight ink. I cut out the greeting using one of the Layering Circles Dies and attached it to the card front using dimensionals.

To decorate the inside of the card, I stamped the large floral image from the Encircled in Friendship stamp set onto Basic White card using Memento Tuxedo Black ink. I coloured the image using the Light Magenta Madness and Dark Just Jade Stampin’ Blends.
Sometimes when the Mini Catalogues come out, you just forget to use things from the Annual Catalogue, so I wanted to remind myself (and you) about these lovely products.
Bye for now,
Kris
Product Used:


Slim Birthday Card

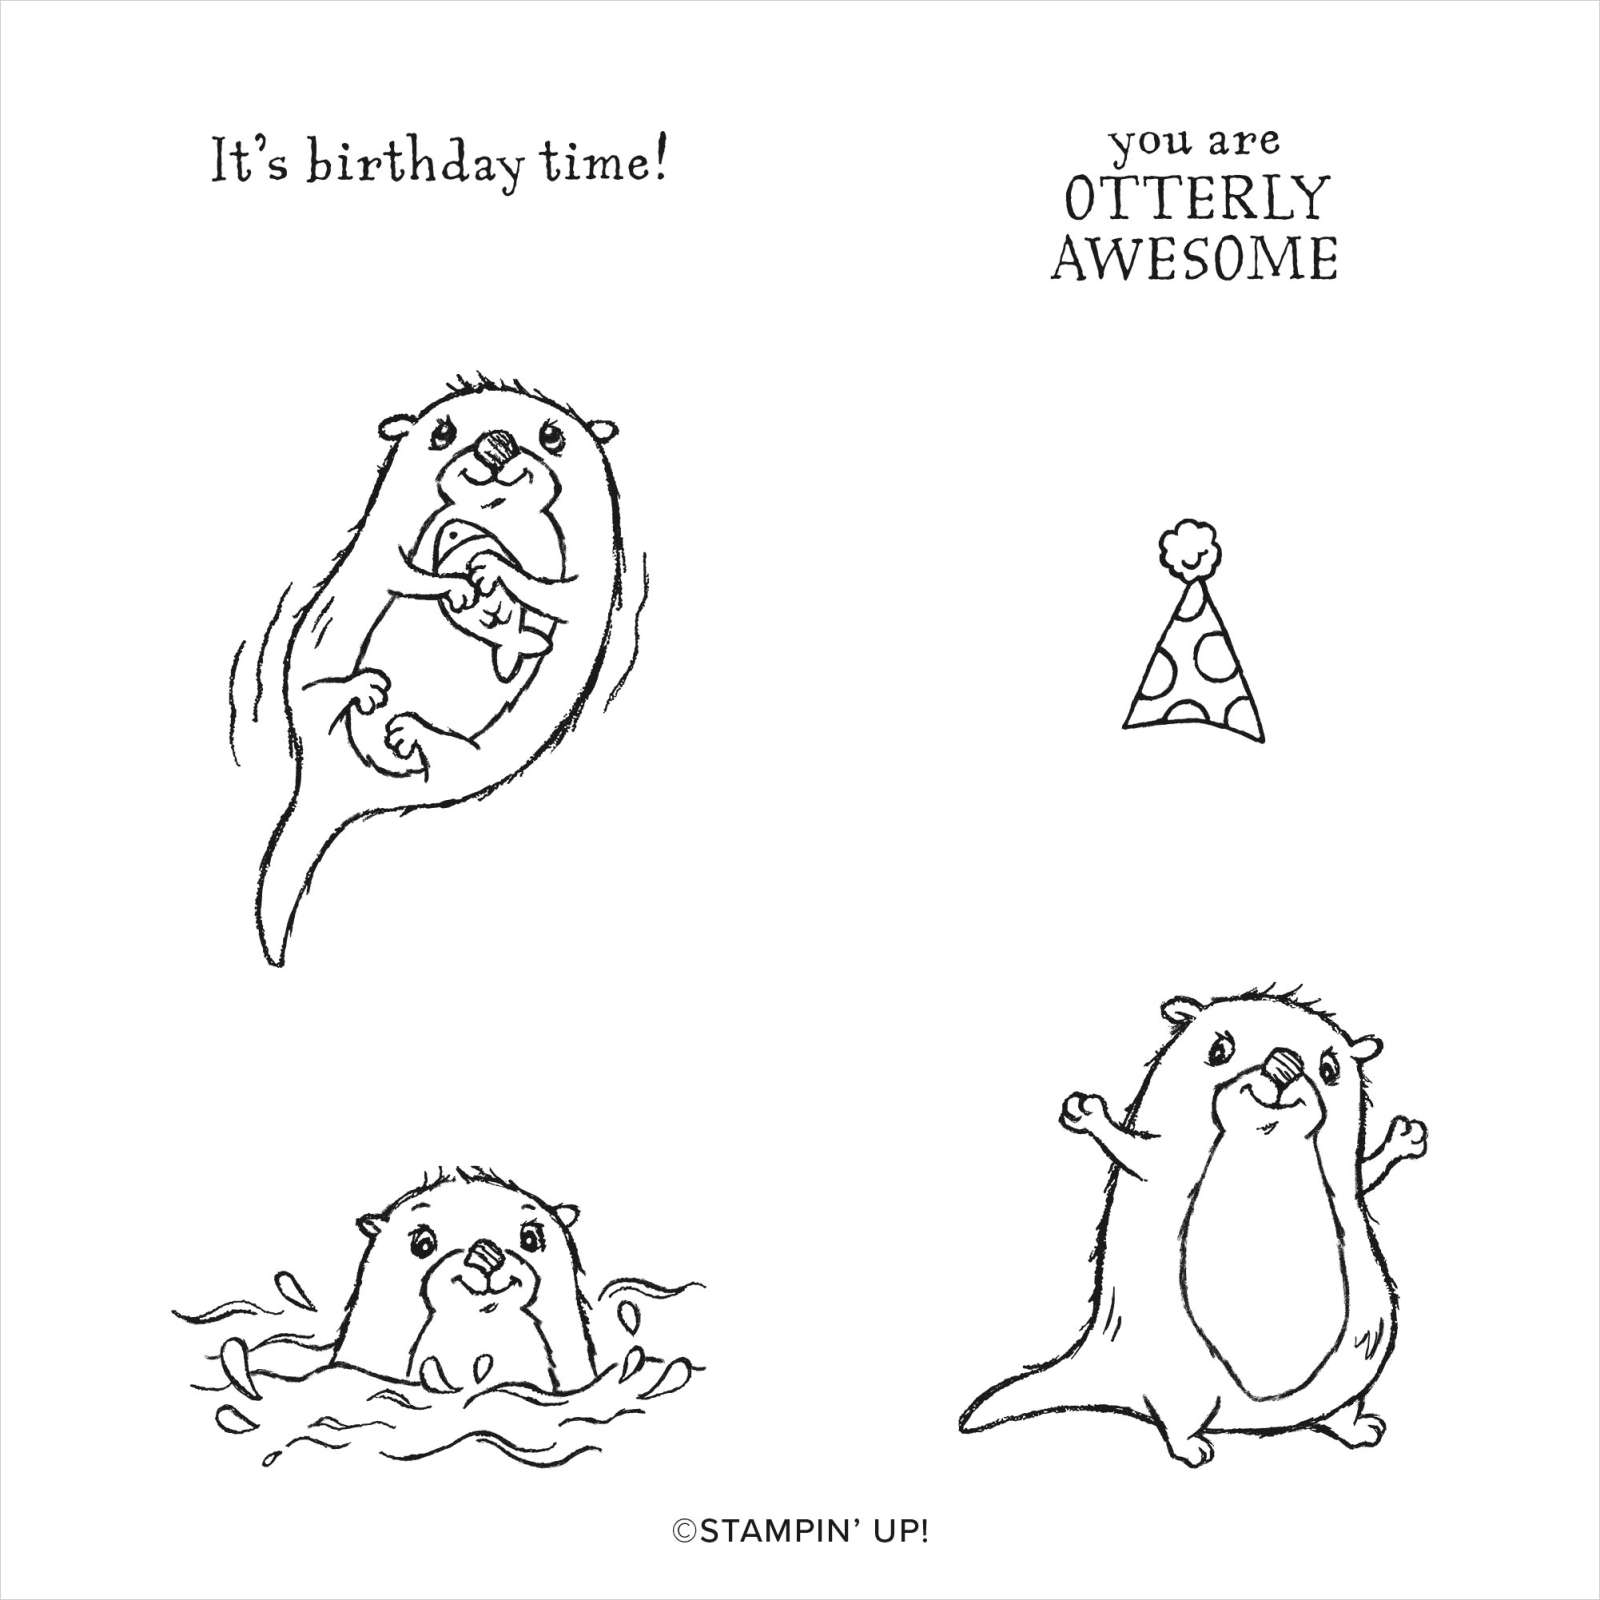
I have never made a Slim card but I was pushed to give it a try after watching one of the videos on the World Card Making Facebook Group. I used my Stamparatus to stamp the same image from the Awesome Otter stamp set onto either end of Basic White card using Memento Tuxedo Black ink. I stamped the Otter image holding the fish next to the right hand Otter using the same ink. I used Post-it-notes to mask the stamped images and using a Blending Brush added Pool Party ink to the Basic White card. I coloured the images using Crumb Cake and Balmy Blue Stampin’ Blends.

The image panel is attached to Night of Navy card and then scored and folded Thick Basic White card. I stamped the last Otter image from the Awesome Otters stamp set onto Basic White card using Memento Tuxedo Black ink. I used the same Stampin’ Blends to colour the image before cutting it out using one of the Layering Circle Dies. The image panel is attached to a scalloped circle from Night of Navy card using the Layering Circle Dies.
I added a length of Denim Ribbon to the back of the image panel before attaching it to the card front using dimensionals. To decorate the inside of the card, I stamped the Otter image onto scrap Basic White card using Memento Tuxedo Black ink. I coloured the image using Crumb Cake and Balmy Blue Stampin’ Blends. I cut out the image and attached it to the lower left hand corner of the inside of the card base.
This turned out so cute, don’t you think?
Bye for now,
Kris
Product Used:


Emu Park
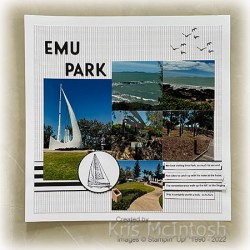
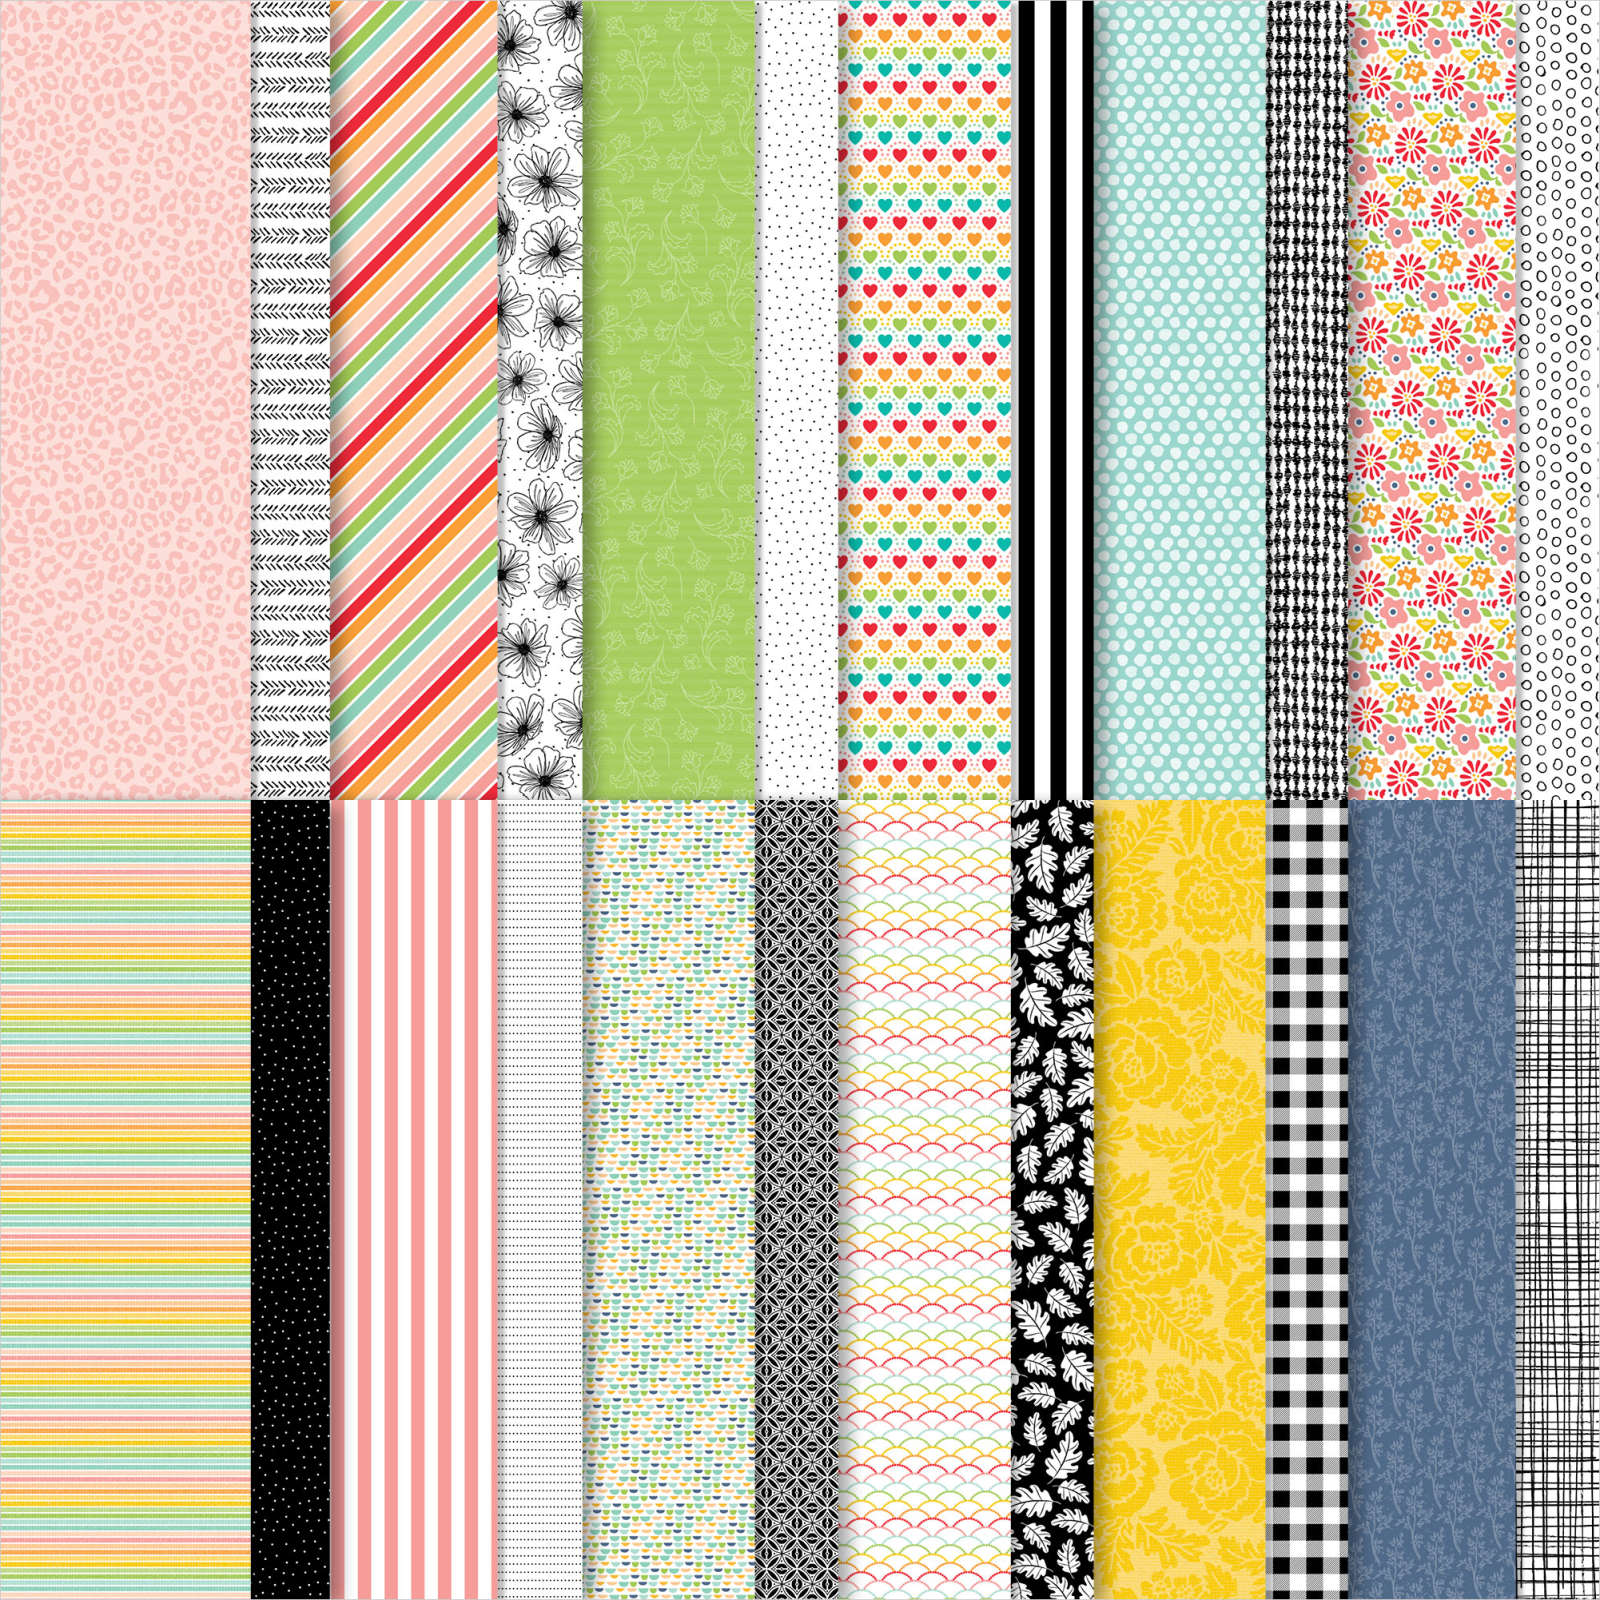
When we stay at Yeppoon we always visit Emu Park and catch up with Ron’s mate at the pub. It’s a pretty place with lots to see and the Rememberance walk up the hill to the Singing Ship is certainly worth seeing. For this page, I attached a piece of Pattern Party Designer Series Paper to the centre of a Basic White 12″ x 12″ page. I attached a strip of another design from the Pattern Party Designer Series Paper across the bottom of the page. I attached all of the photos flat to the page without adding an extra layer.
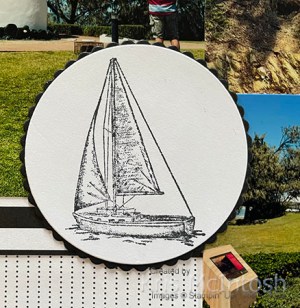
I cut the title from Basic Black card using the Playful Alphabet Dies and attached them to the top left hand corner of the Designer Series Paper. I also stamped the bird image from the Sailing Home stamp set onto the top right hand corner using Memento Tuxedo Black ink. I stamped the large sailing ship image from the Sailing Home stamp set onto Basic White card using Memento Tuxedo Black ink and cut it out using one of the Layering Circles Dies. I attached the image to a Basic Black scalloped circle and then the page, covering some of two of the photos. I printed my journaling onto Basic White card which I cut into strips before attaching to the page.
Bye for now,
Kris
Product Used:


Beautiful Friend

Today’s card was inspired by this one I found on Pinterest by Mary Deatherage. I loved the style and since my Gentle Waves Background needed more use, I decided to CASE her card. I stamped the Gentle Waves Background stamp onto Basic White card using Pool Party ink. I attached the stamped panel to Pool Party card and then scored and folded Thick Basic White card.
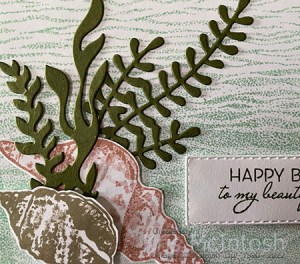
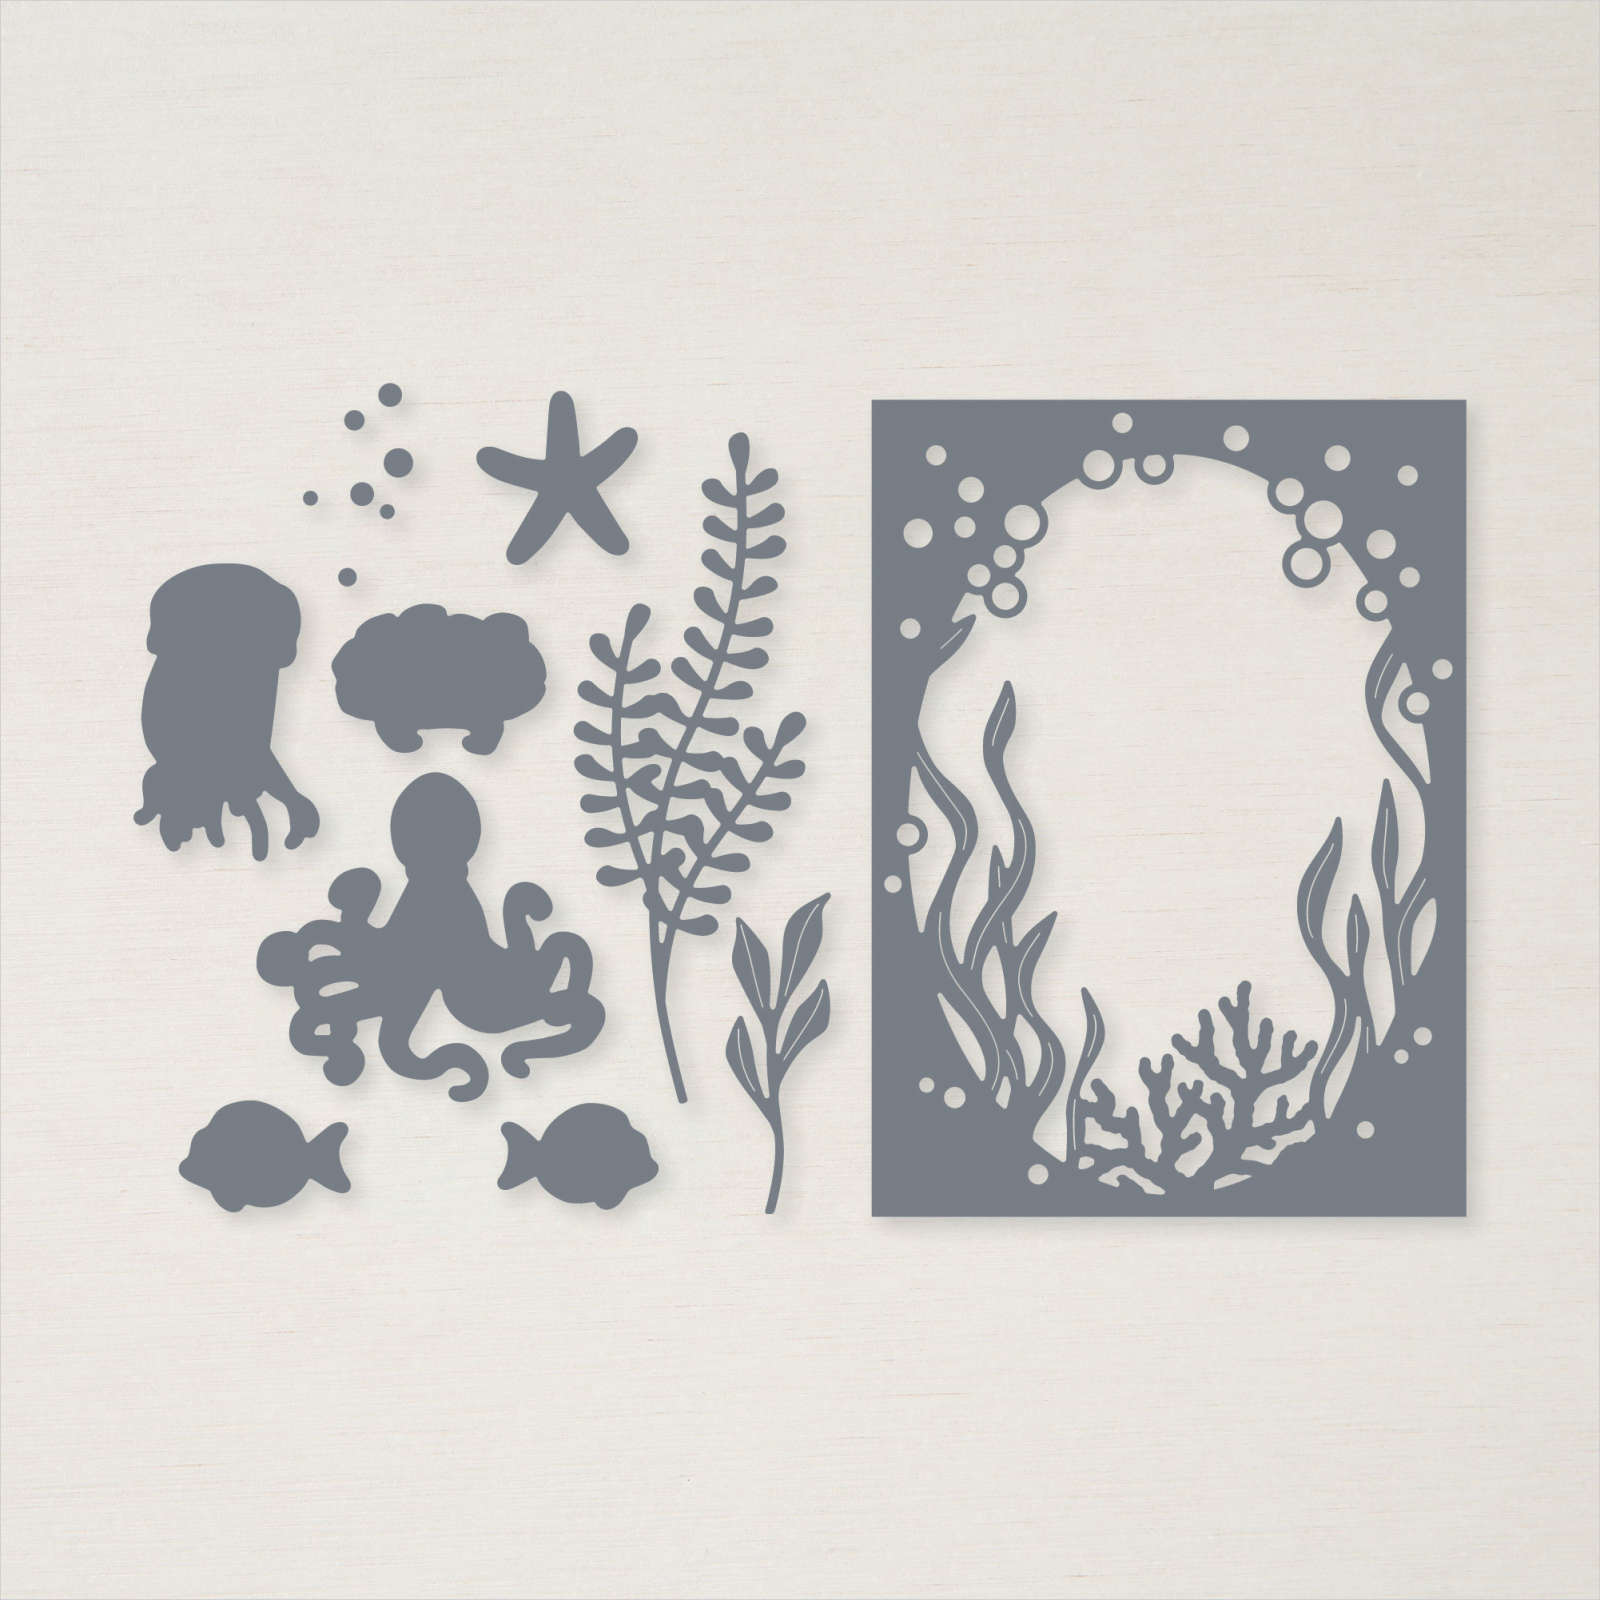
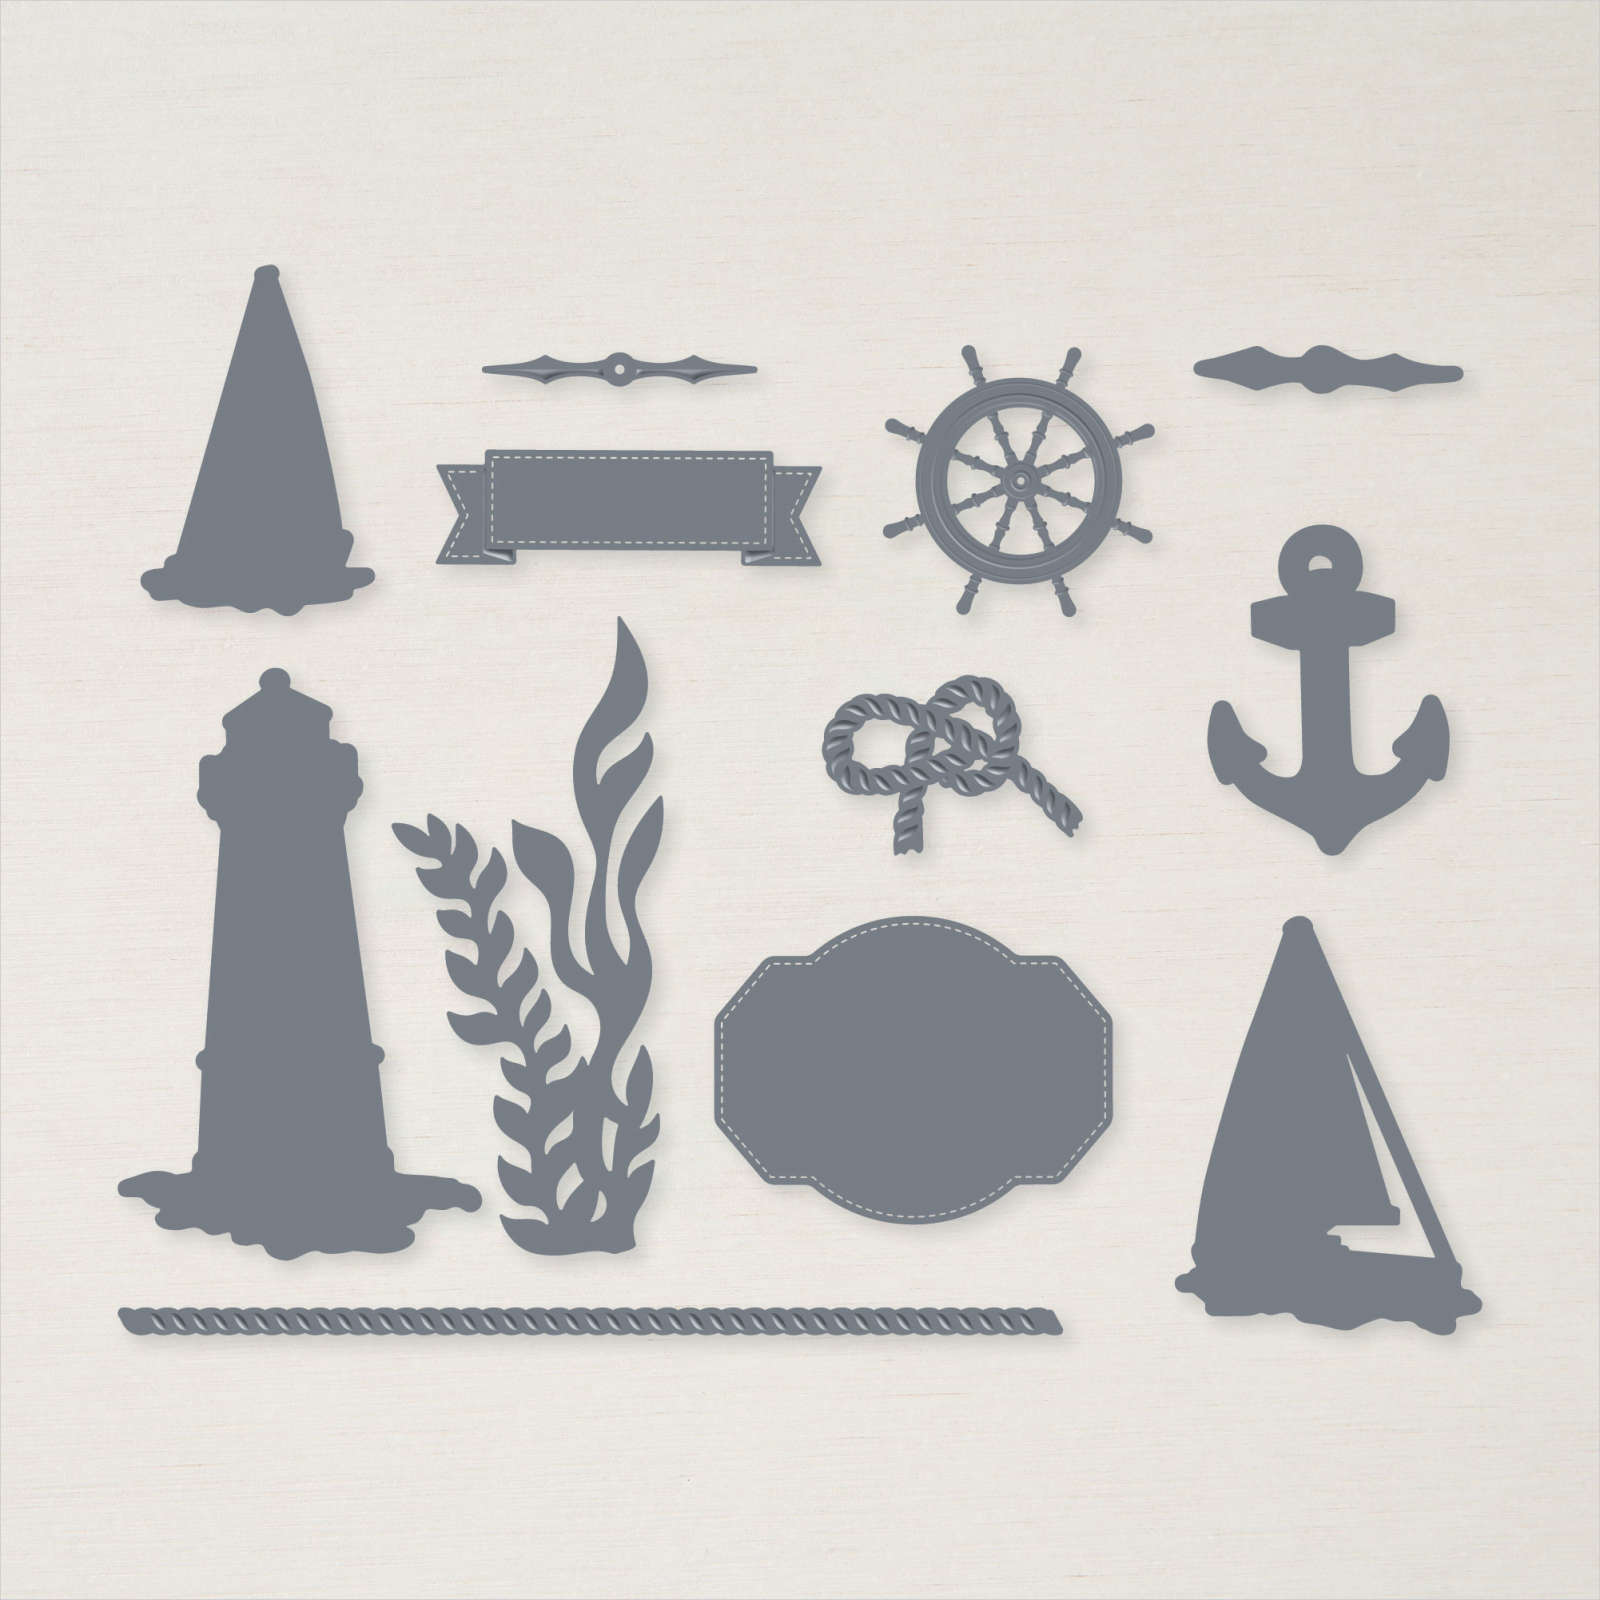
I stamped the large seashell from the Friends are Like Seashells stamp set onto Basic White card using Calypso Coral ink. I also stamped the smaller shell from the same stamp set onto Basic White card using Crumb Cake ink. I cut out the images using the co-ordinating Seaside Seashells Dies. I cut Mossy Meadow card using the large seaweed die from the Sea Dies and also the seaweed die from the Smooth Sailing Dies.

I layered the images onto the lower left hand corner of the stamped Basic White card with the Crumb Cake shell on dimensionals. I stamped the greeting from the Friends are Like Seashells stamp set onto Basic White card using Mossy Meadow ink. I cut out the greeting out using one of the Stitched Rectangle Dies and attached it to the card front using dimensionals. To decorate the inside of the card, I stamped another greeting from the Friends are Like Seashells stamp set using Mossy Meadow ink. I stamped the starfish image from the same stamp set beside the greeting using Crumb Cake ink.
Thank you so much Mary for the inspiration, although I think I may have changed it a bit, I love how this card turned out.
Bye for now,
Kris
Product Used:


Celebrating Your Anniversary
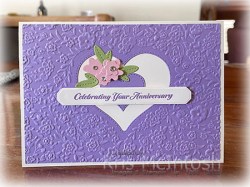
Today’s card uses the Love & Happiness bundle from the new Mini Catalogue. This bundle consists of a stamp set and a Hybrid Embossing Folder with co-ordinating dies. The stamp set has so many greetings for lots of occasions and the embossing folder and dies are amazing. For today’s card, I embossed Highland Heather card using the Bouquet of Love Hybrid Embossing Folder and the large heart from the Bouquet of Love Dies.

This gave me a beautiful background with a large heart cut from the centre. I attached the background to scored and folded Thick Very Vanilla card. I cut Highland Heather using the small die from the Bouquet of Love Dies and attached it to the centre of the embossed background. I stamped the greeting from the Love & Happiness stamp set onto Very Vanilla card using Highland Heather ink and cut it out using the banner die from the Harvest Dies.
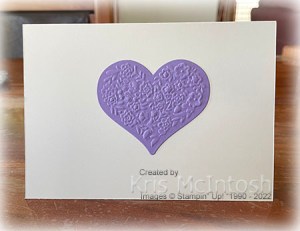
I attached the greeting to the card front using mini dimensionals. I cut Blushing Bride using the flower dies from the Bouquet of Love Dies and Pear Pizzazz card three times using the leaf from the same dies. I layered one small flower onto a large one before attaching the leaves and flowers to the card front. Lastly I added small Basic Rhinestones to the flower centres. To decorate the inside of the card, I attached the large heart which was cut from the centre of the background.
Such a pretty card, don’t your think? I think I might be biased but I do love the colour combination as well. Another winner from the new Mini Catalogue, thank you Stampin’ Up!
Bye for now,
Kris
Product Used:


Simple stamping
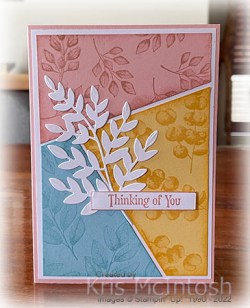
I belong to a great Facebook page called World Card Making Group. The group recently ran an all day session of videos showing different ideas for creating cards using supplies from the January to June Mini Catalogue as well as the Sale-a-Bration catalogue. The presentations were made by demonstrators from Australia and overseas and was such fun. One idea shared by Monica Formosa was to use three pieces of cardstock or designer series paper which you stamp on and then cut to create three cards. Today I thought I would share my creations with you.

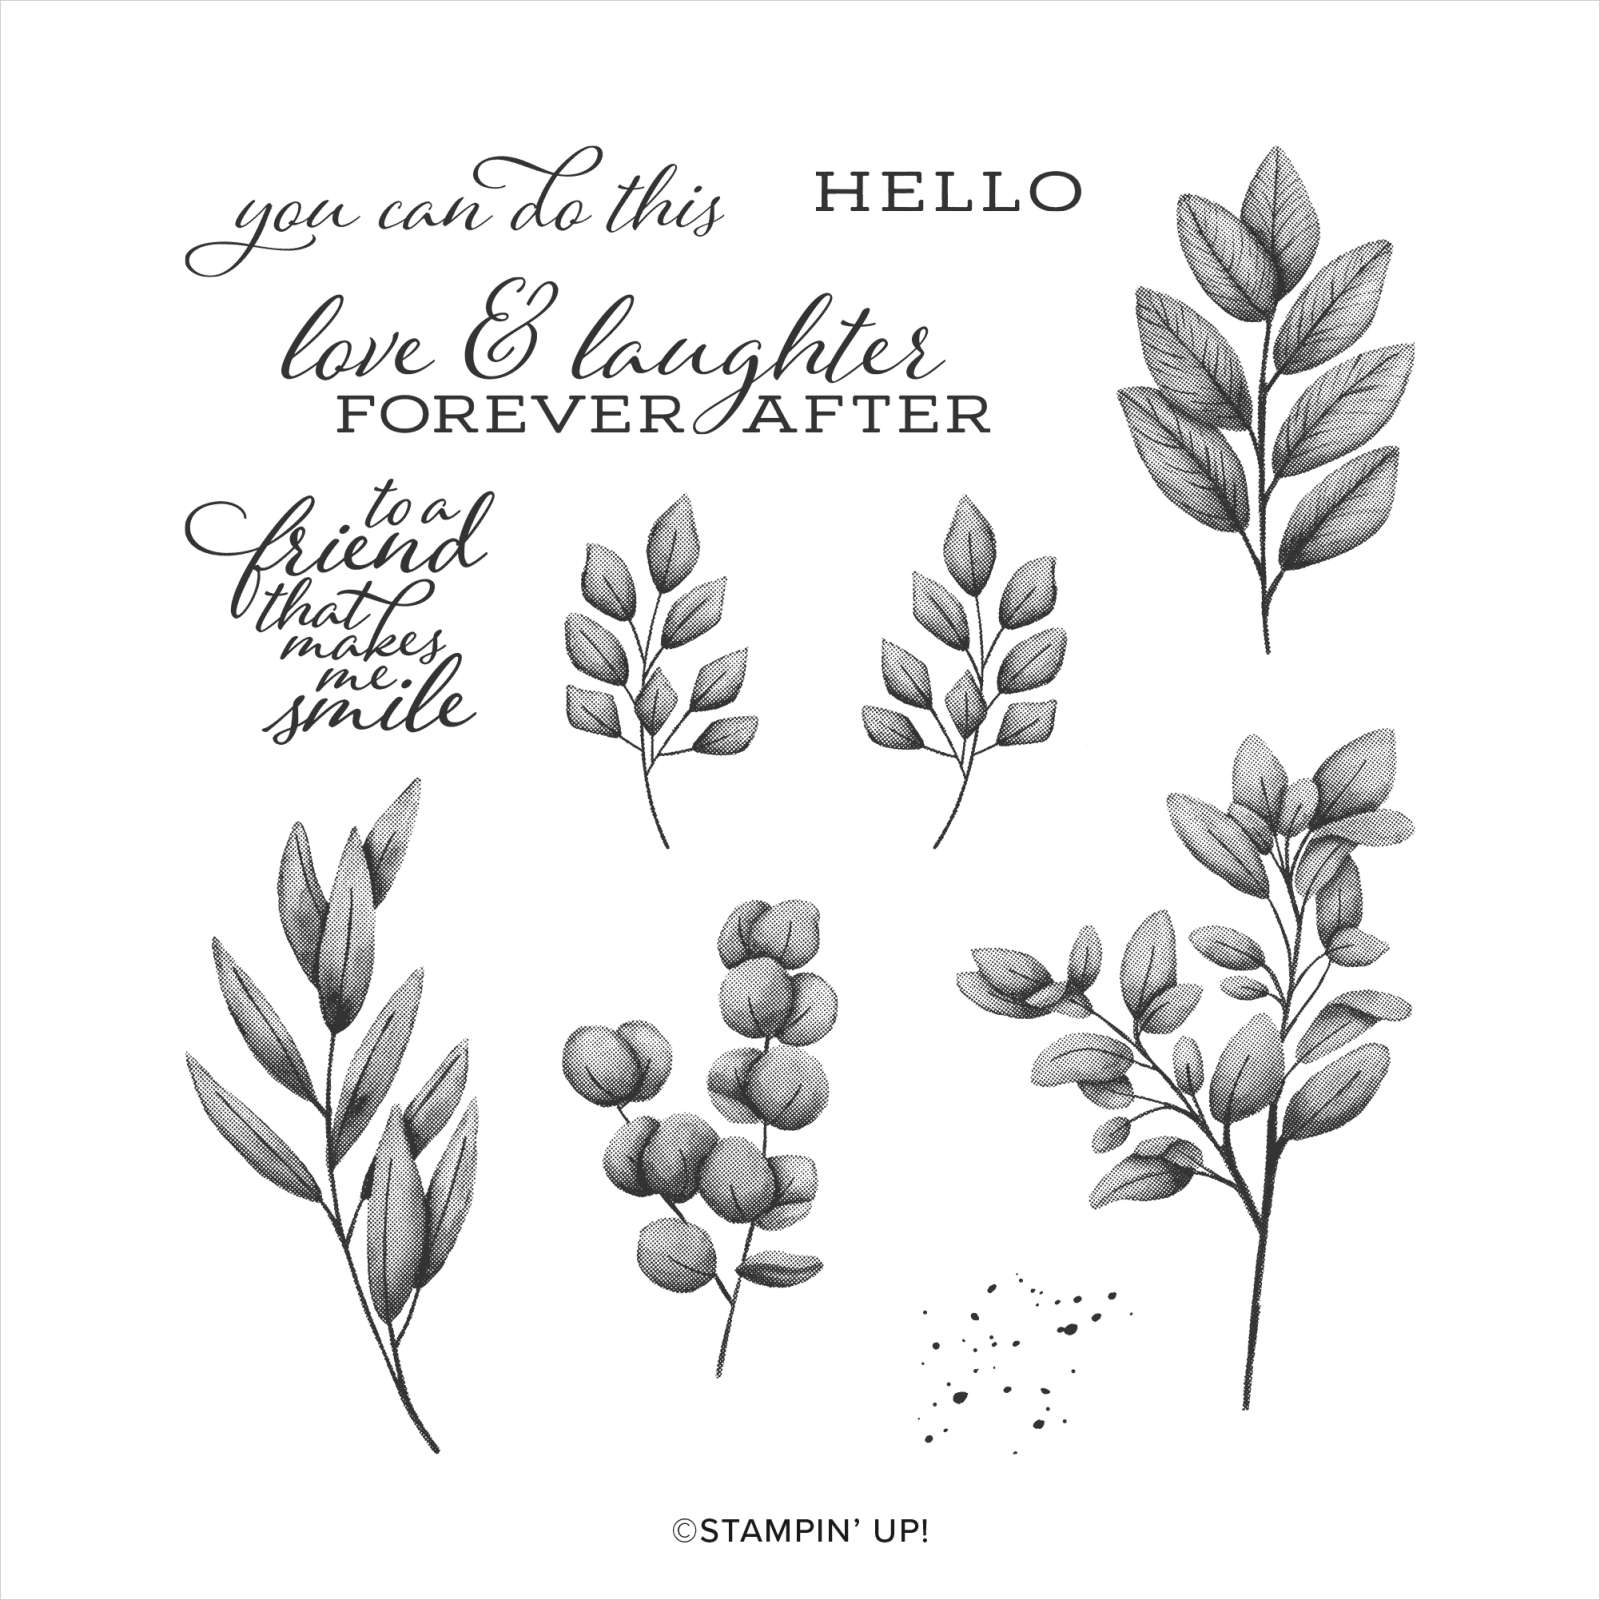
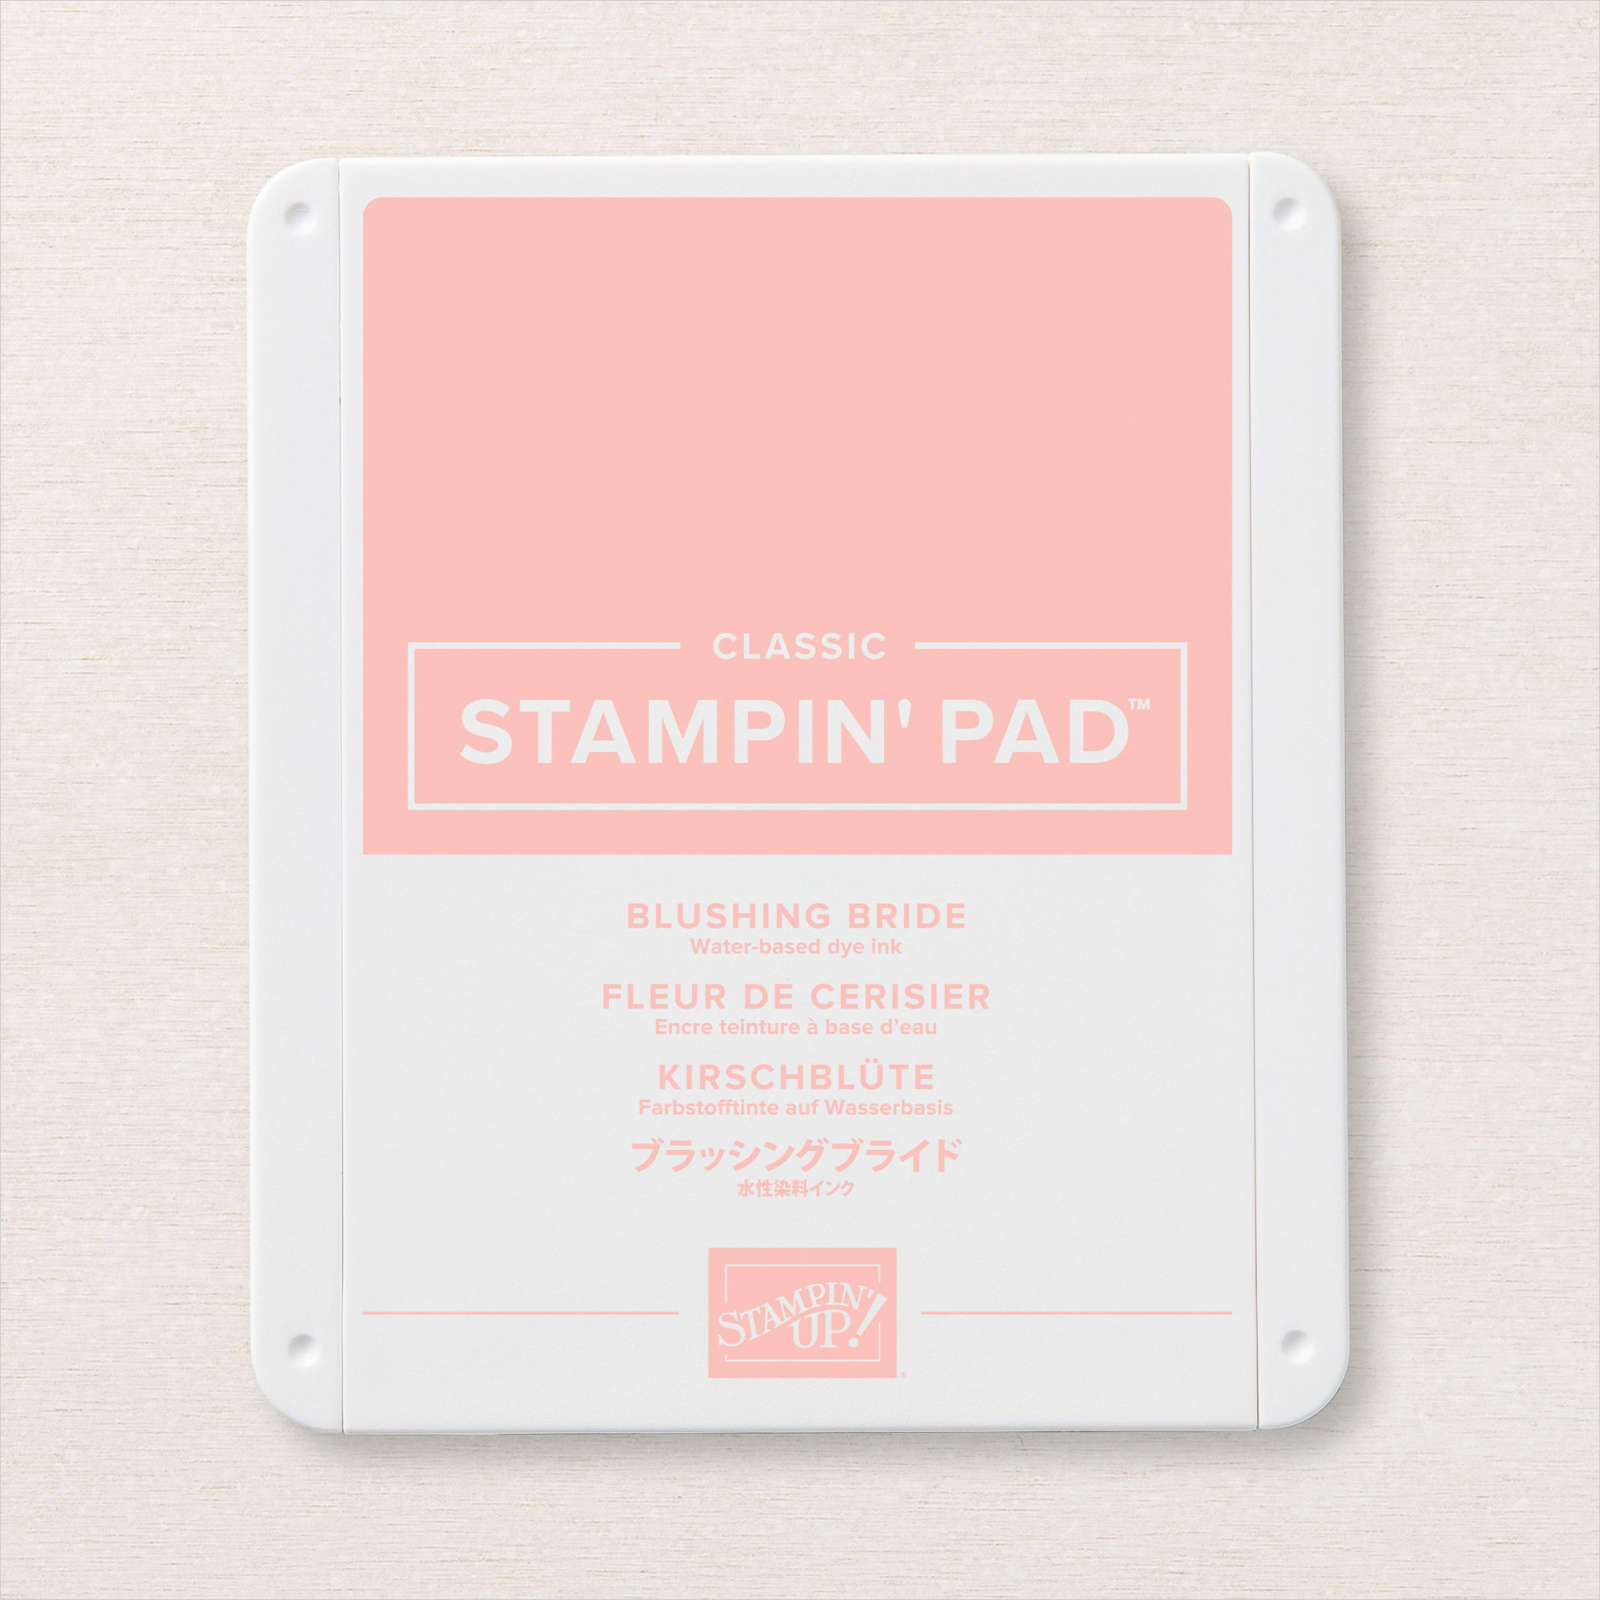
I used a piece each of So Saffron, Blushing Bride and Balmy Blue card. I stamped each panel with a different leaf image from the Forever Fern stamp set using the matching ink for each panel. I cut the panels into three using Monica’s instructions and then I sponged ink onto the outer edges of each panel using the matching ink. I attached three different panels to Basic White card for each card front.
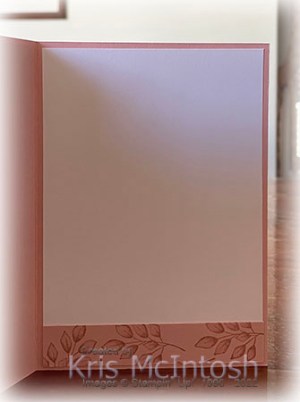
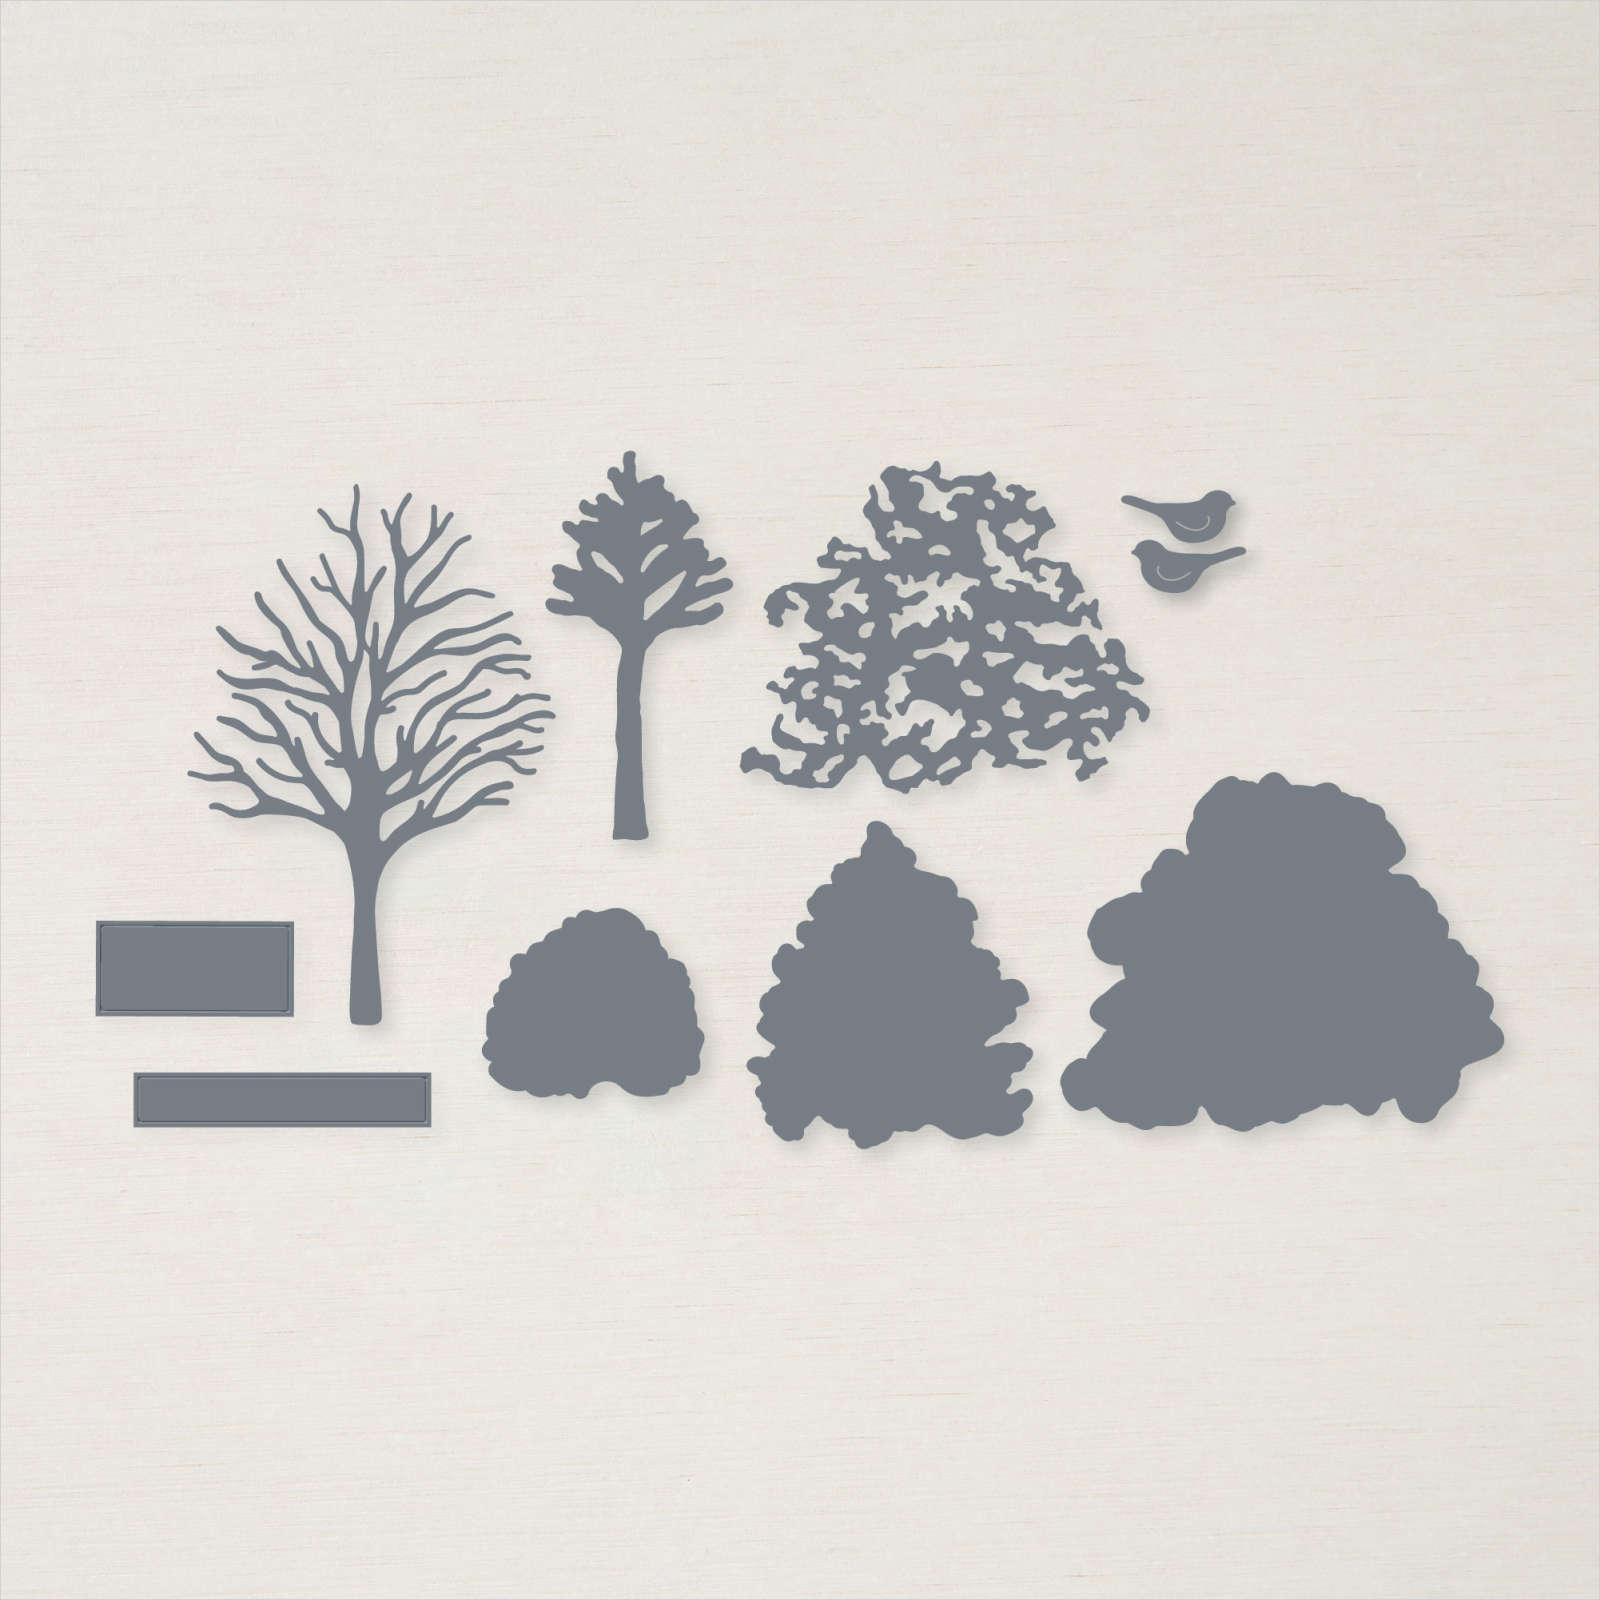
The Basic White panels are attached to either So Saffron, Blushing Bride or Balmy Blue card bases. I die cut the large leaf from Basic White card using the Forever Flourishing Die and attached one to each card front. I stamped the greeting from the Quiet Meadow stamp set onto Basic White card, once using So Saffron ink, once using Blushing Bride ink and once using Balmy Blue ink. I cut out the images using the Beautiful Trees Dies banner die. I dipped the edges of each banner into the co-ordinating ink before attaching them to the card fronts using dimensionals. When you are creating your panels, they are slightly larger than you need so I used each of the left over pieces on the inside of the cards, matching the colour to the card base. I love how they turned out. Monica made one set of cards using cardstock and one set of cards using designer series paper. I think I might have to try this using designer series paper as well.

One of the great things about the World Card Making Group is that instructional videos and the pdf cutting instructions never go away, so you can pop back any time and have a look. Pop over to Facebook and join up you will not be sorry.
Bye for now,
Kris
Product Used: