Slim Birthday Card

I have never made a Slim card but I was pushed to give it a try after watching one of the videos on the World Card Making Facebook Group. I used my Stamparatus to stamp the same image from the Awesome Otter stamp set onto either end of Basic White card using Memento Tuxedo Black ink. I stamped the Otter image holding the fish next to the right hand Otter using the same ink. I used Post-it-notes to mask the stamped images and using a Blending Brush added Pool Party ink to the Basic White card. I coloured the images using Crumb Cake and Balmy Blue Stampin’ Blends.

The image panel is attached to Night of Navy card and then scored and folded Thick Basic White card. I stamped the last Otter image from the Awesome Otters stamp set onto Basic White card using Memento Tuxedo Black ink. I used the same Stampin’ Blends to colour the image before cutting it out using one of the Layering Circle Dies. The image panel is attached to a scalloped circle from Night of Navy card using the Layering Circle Dies.
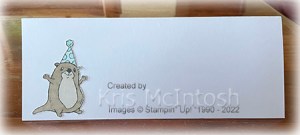
I added a length of Denim Ribbon to the back of the image panel before attaching it to the card front using dimensionals. To decorate the inside of the card, I stamped the Otter image onto scrap Basic White card using Memento Tuxedo Black ink. I coloured the image using Crumb Cake and Balmy Blue Stampin’ Blends. I cut out the image and attached it to the lower left hand corner of the inside of the card base.
This turned out so cute, don’t you think?
Bye for now,
Kris
Product Used:


Emu Park
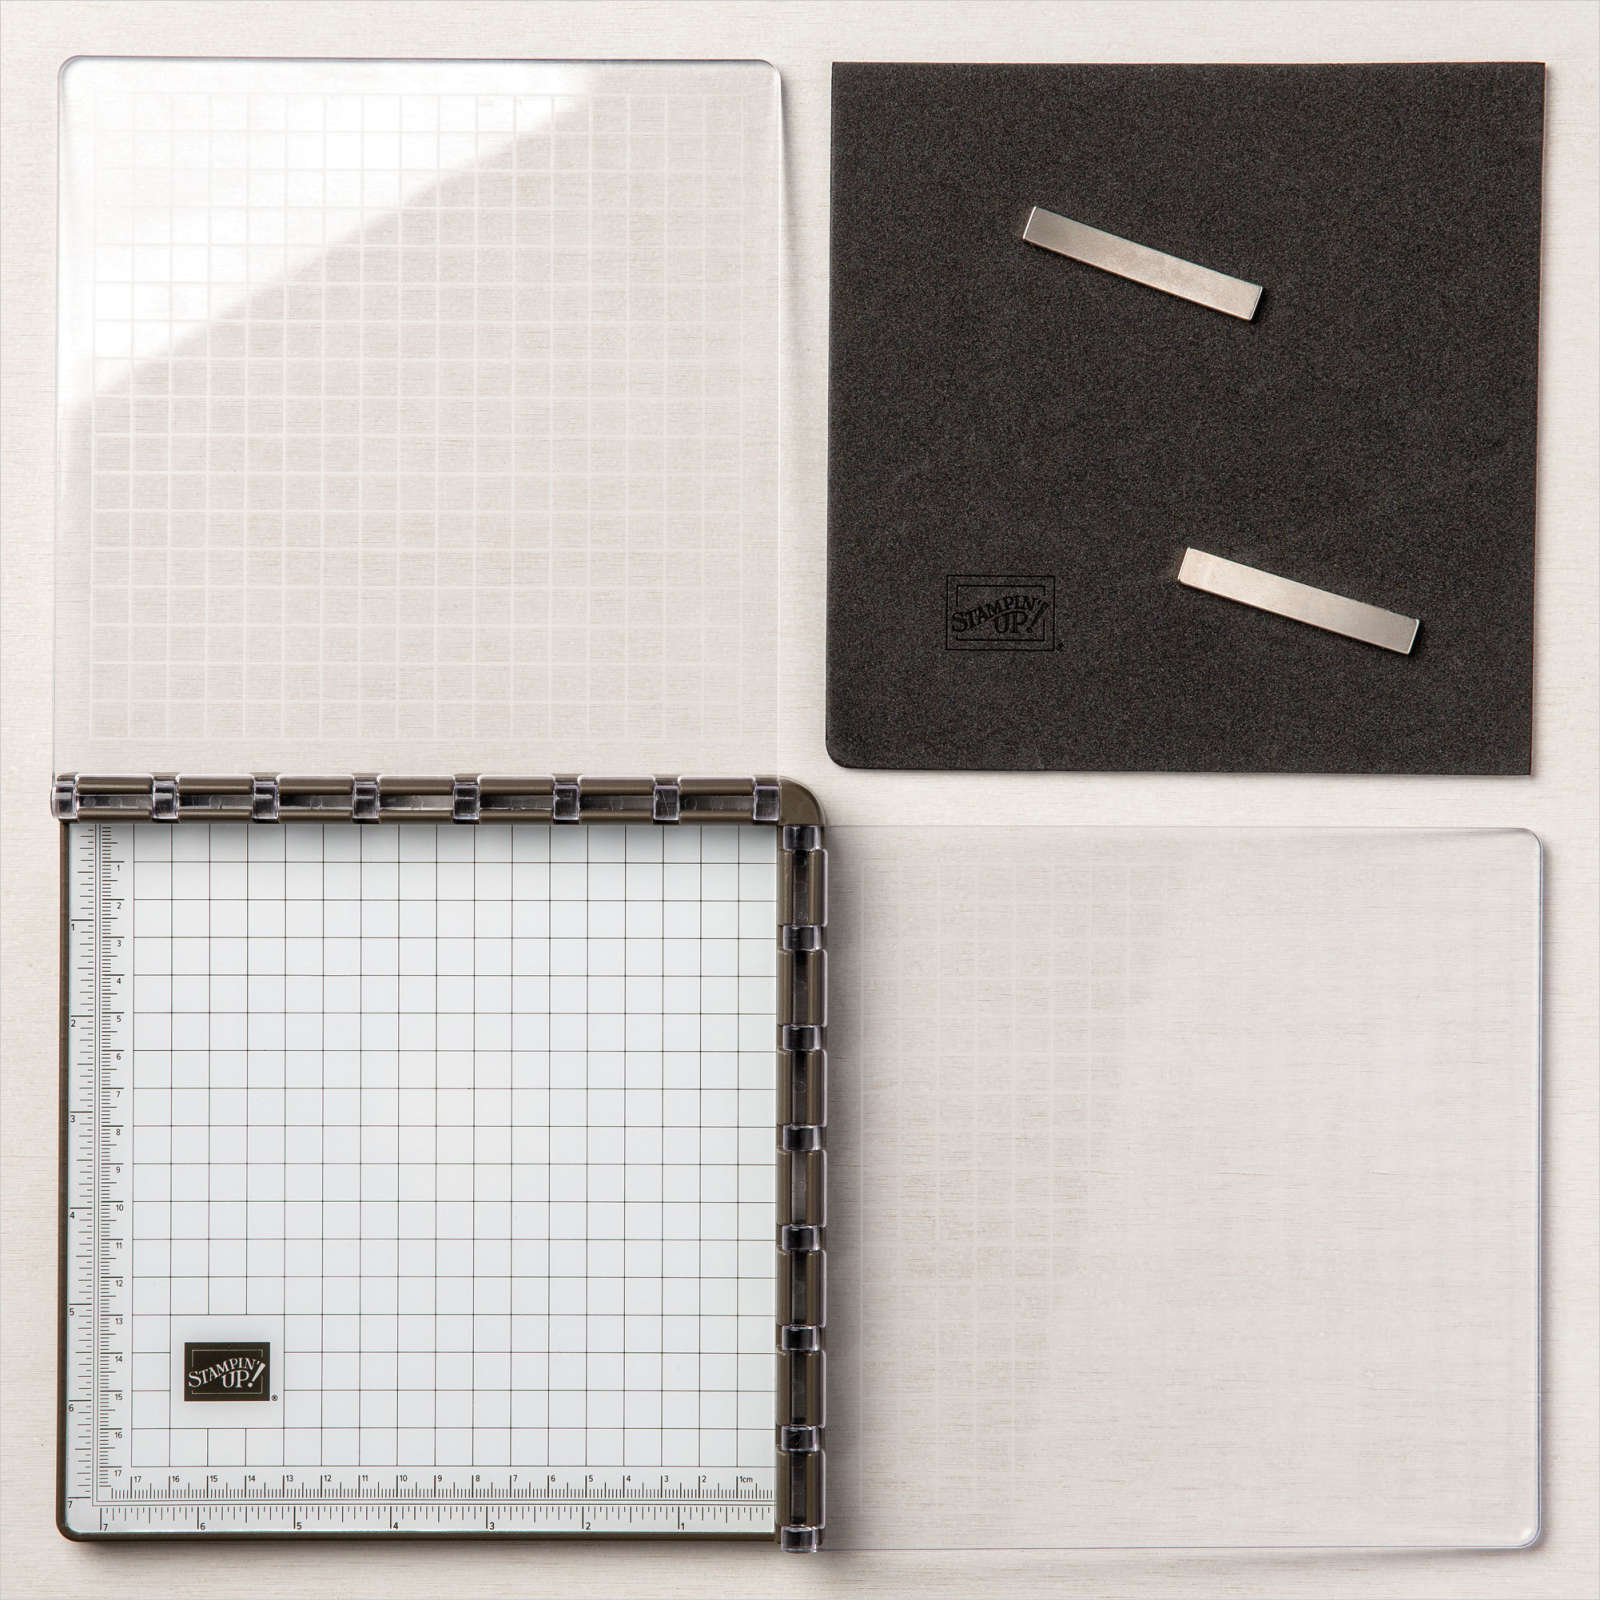
When we stay at Yeppoon we always visit Emu Park and catch up with Ron’s mate at the pub. It’s a pretty place with lots to see and the Rememberance walk up the hill to the Singing Ship is certainly worth seeing. For this page, I attached a piece of Pattern Party Designer Series Paper to the centre of a Basic White 12″ x 12″ page. I attached a strip of another design from the Pattern Party Designer Series Paper across the bottom of the page. I attached all of the photos flat to the page without adding an extra layer.
I cut the title from Basic Black card using the Playful Alphabet Dies and attached them to the top left hand corner of the Designer Series Paper. I also stamped the bird image from the Sailing Home stamp set onto the top right hand corner using Memento Tuxedo Black ink. I stamped the large sailing ship image from the Sailing Home stamp set onto Basic White card using Memento Tuxedo Black ink and cut it out using one of the Layering Circles Dies. I attached the image to a Basic Black scalloped circle and then the page, covering some of two of the photos. I printed my journaling onto Basic White card which I cut into strips before attaching to the page.
Bye for now,
Kris
Product Used:


Beautiful Friend

Today’s card was inspired by this one I found on Pinterest by Mary Deatherage. I loved the style and since my Gentle Waves Background needed more use, I decided to CASE her card. I stamped the Gentle Waves Background stamp onto Basic White card using Pool Party ink. I attached the stamped panel to Pool Party card and then scored and folded Thick Basic White card.
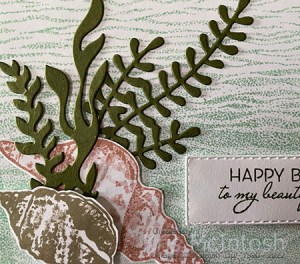
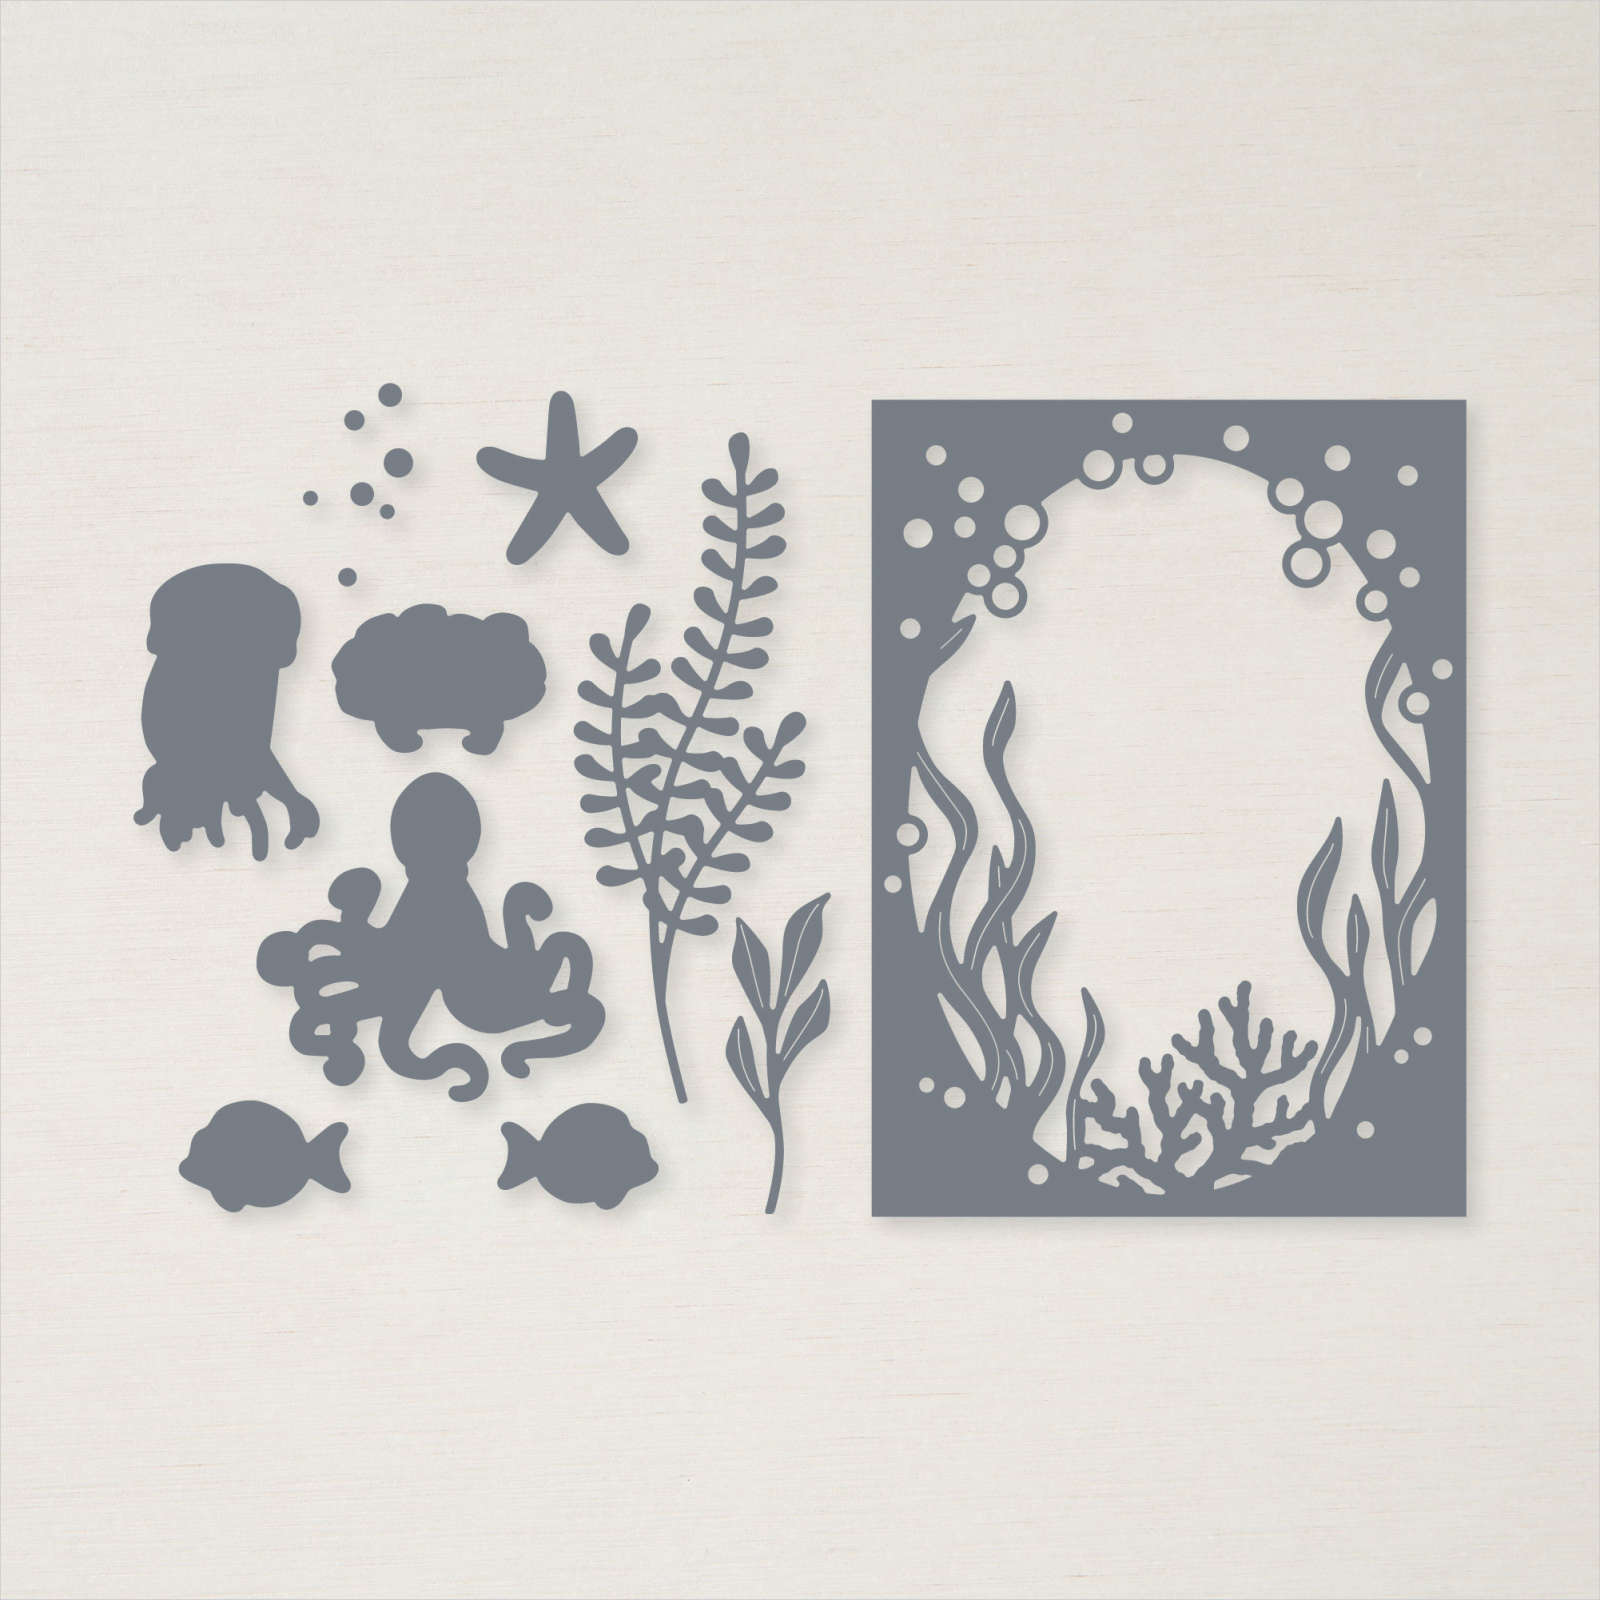
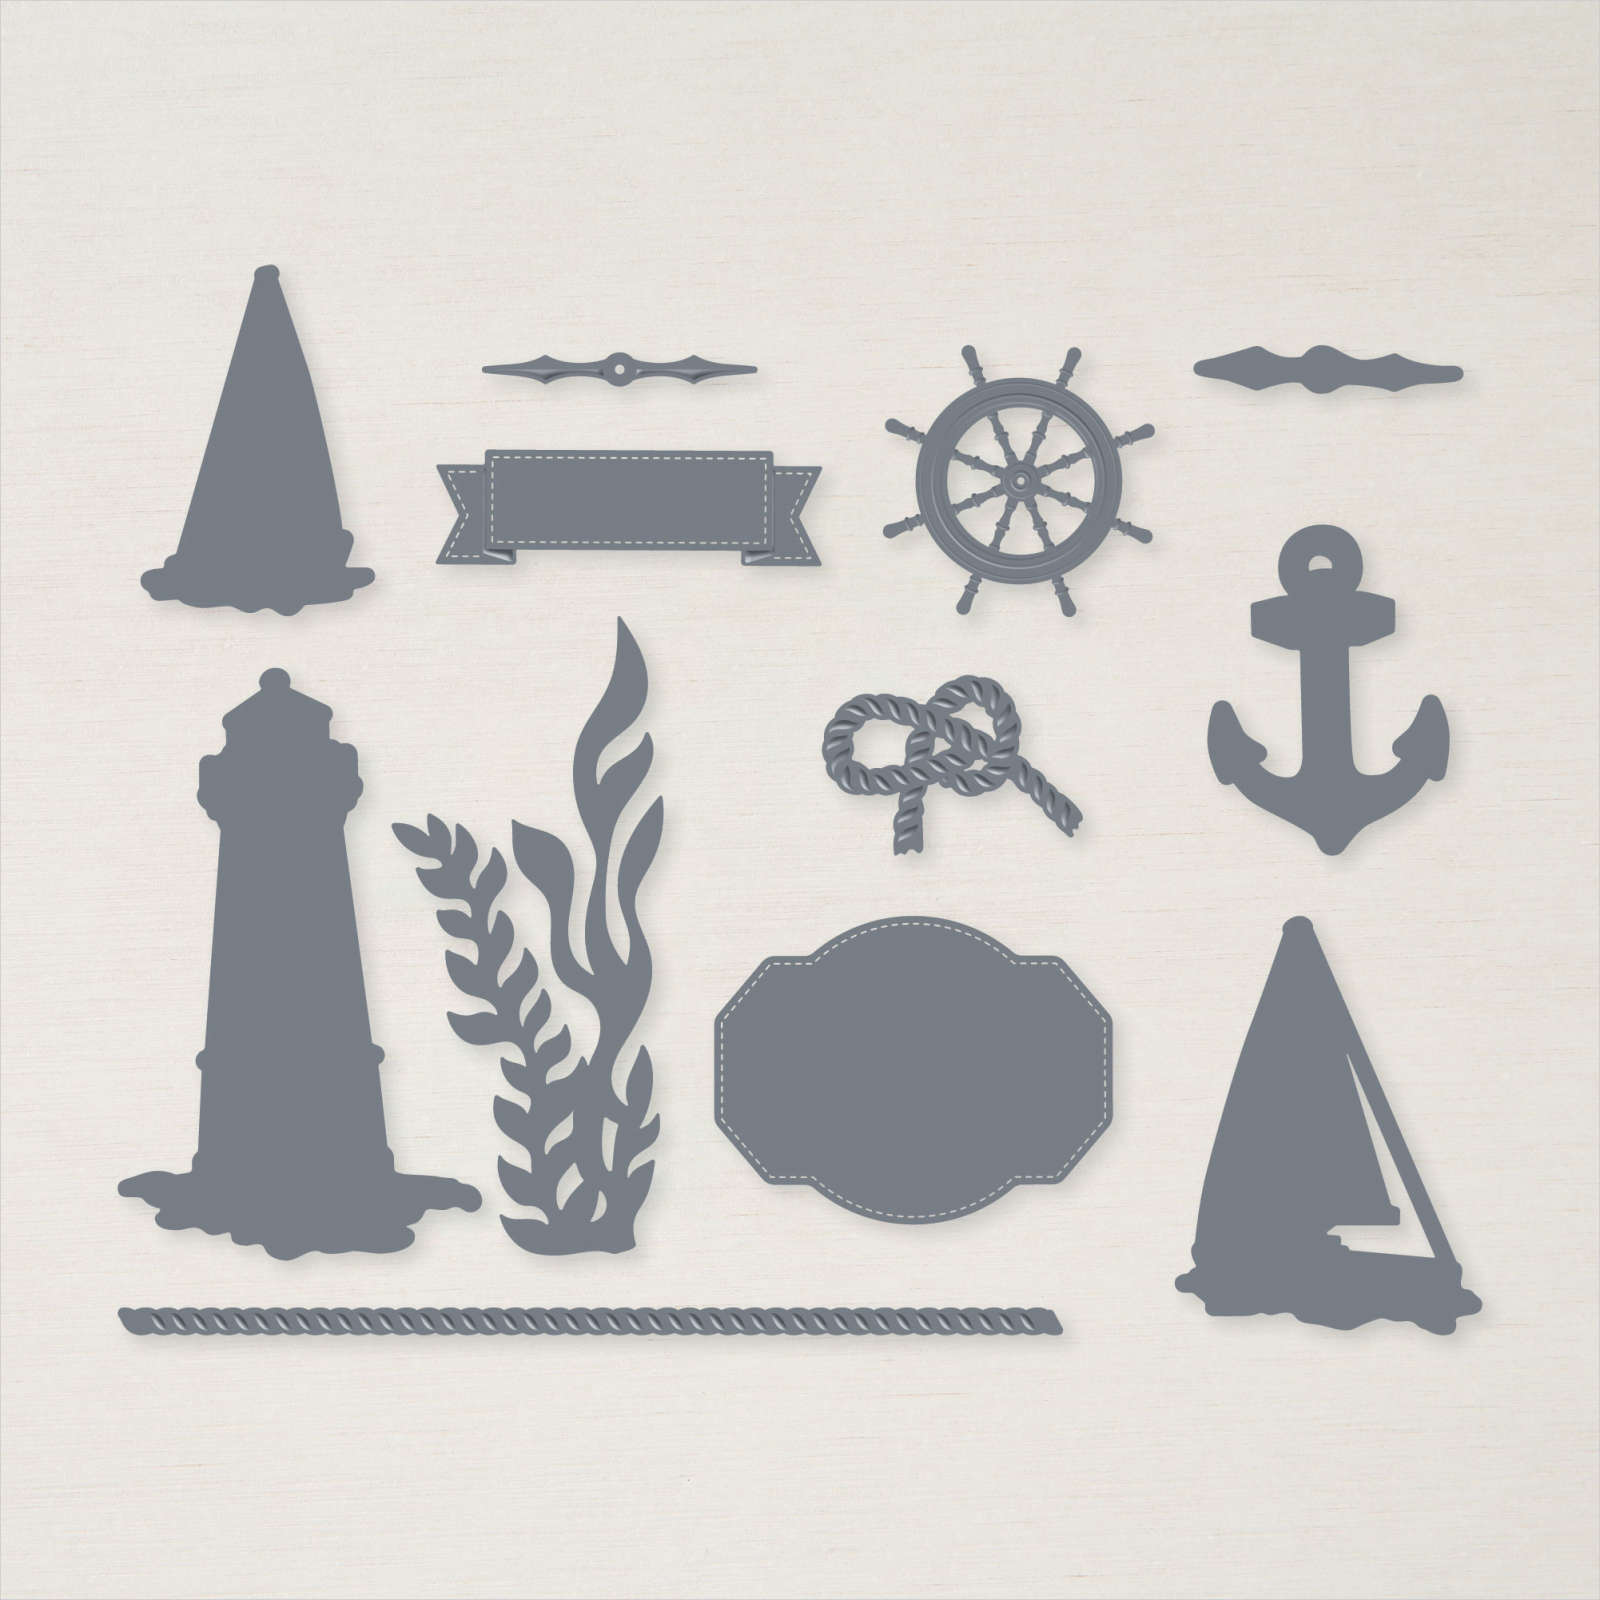
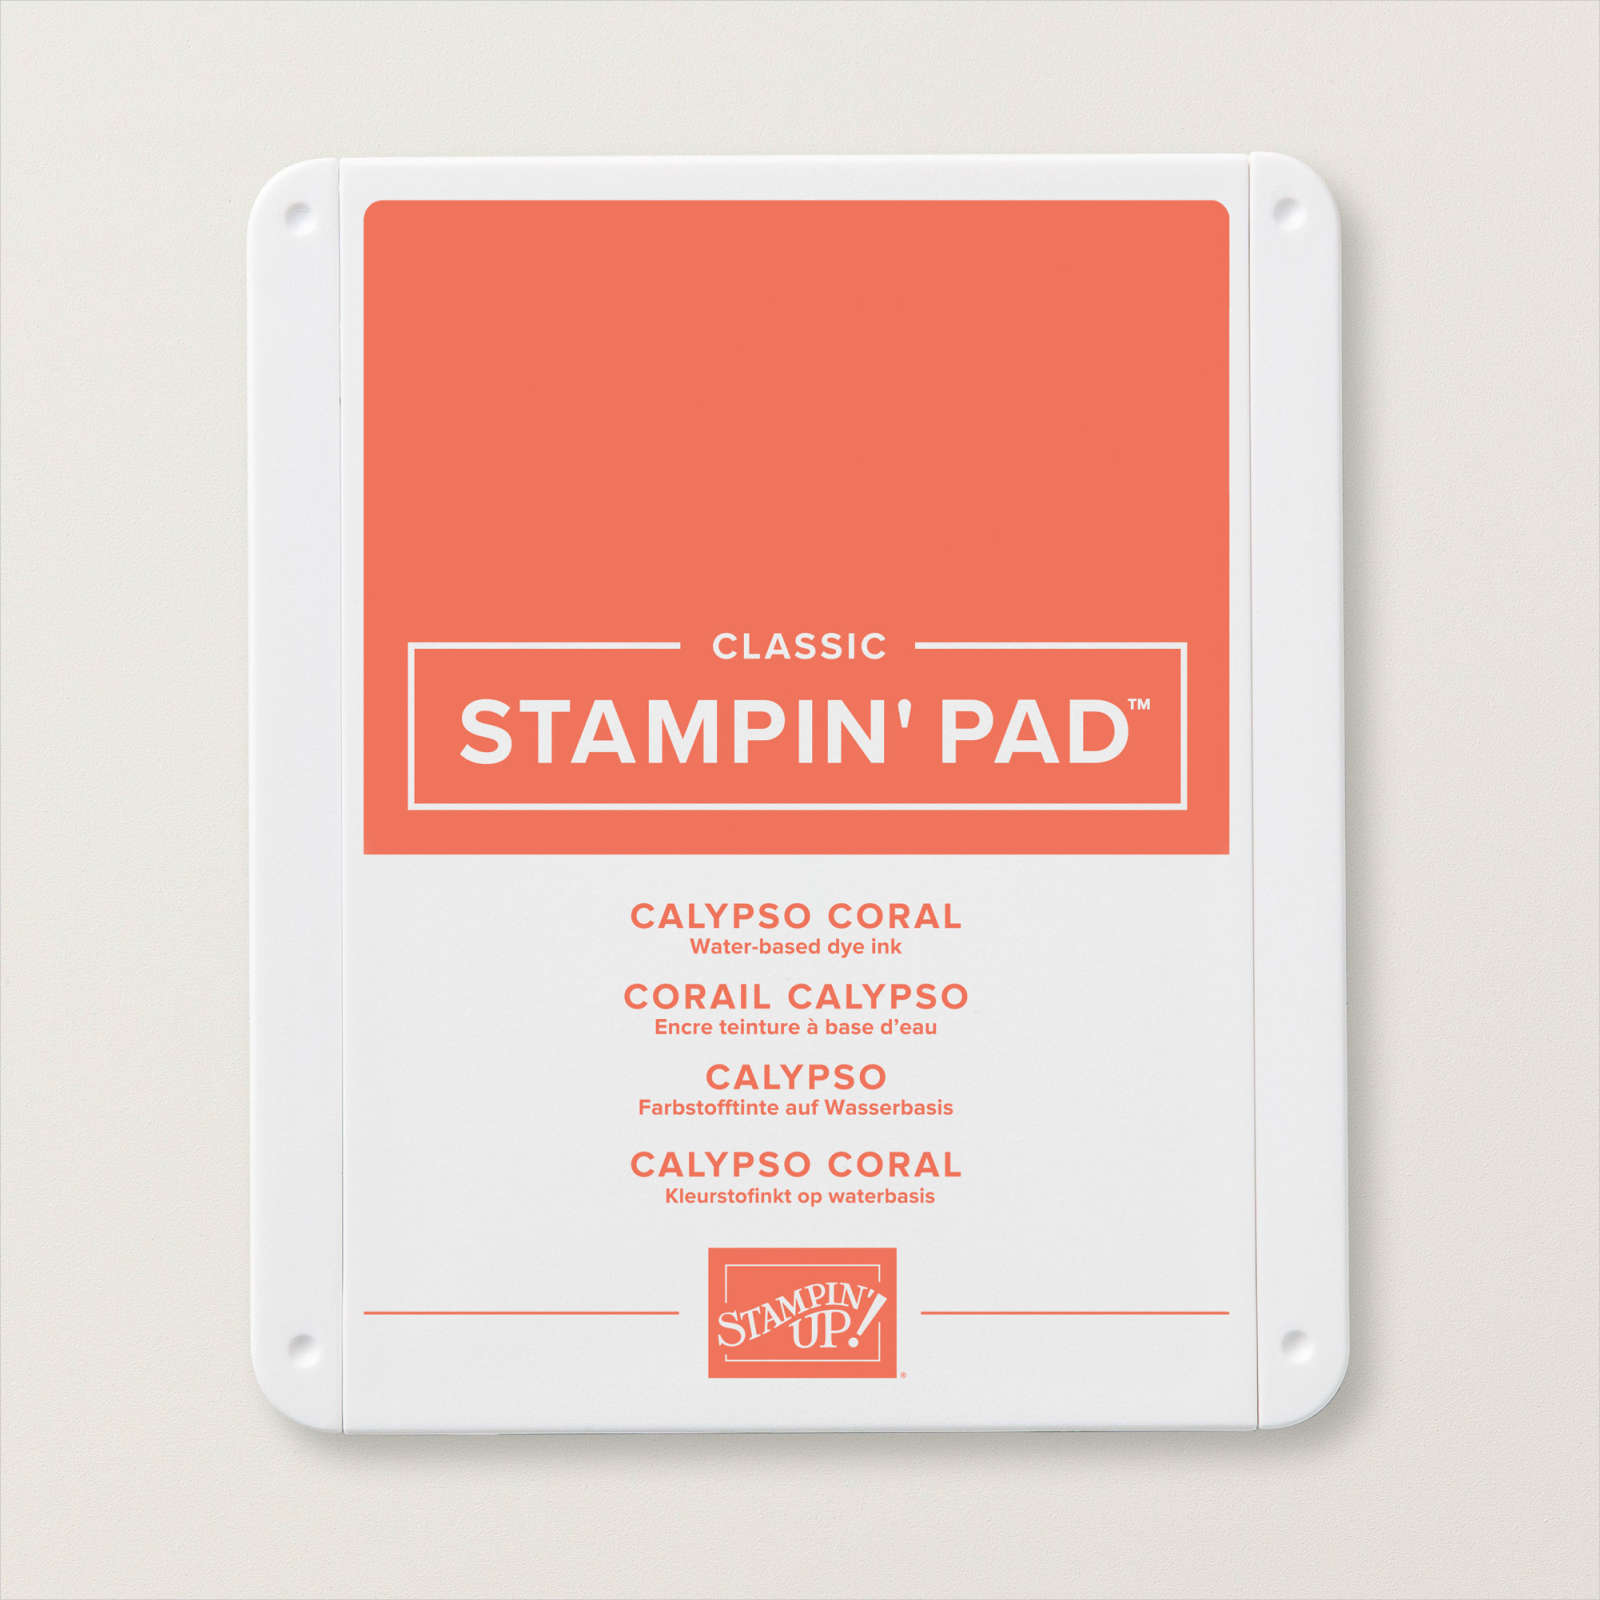
I stamped the large seashell from the Friends are Like Seashells stamp set onto Basic White card using Calypso Coral ink. I also stamped the smaller shell from the same stamp set onto Basic White card using Crumb Cake ink. I cut out the images using the co-ordinating Seaside Seashells Dies. I cut Mossy Meadow card using the large seaweed die from the Sea Dies and also the seaweed die from the Smooth Sailing Dies.

I layered the images onto the lower left hand corner of the stamped Basic White card with the Crumb Cake shell on dimensionals. I stamped the greeting from the Friends are Like Seashells stamp set onto Basic White card using Mossy Meadow ink. I cut out the greeting out using one of the Stitched Rectangle Dies and attached it to the card front using dimensionals. To decorate the inside of the card, I stamped another greeting from the Friends are Like Seashells stamp set using Mossy Meadow ink. I stamped the starfish image from the same stamp set beside the greeting using Crumb Cake ink.
Thank you so much Mary for the inspiration, although I think I may have changed it a bit, I love how this card turned out.
Bye for now,
Kris
Product Used:


Celebrating Your Anniversary
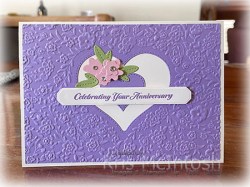
Today’s card uses the Love & Happiness bundle from the new Mini Catalogue. This bundle consists of a stamp set and a Hybrid Embossing Folder with co-ordinating dies. The stamp set has so many greetings for lots of occasions and the embossing folder and dies are amazing. For today’s card, I embossed Highland Heather card using the Bouquet of Love Hybrid Embossing Folder and the large heart from the Bouquet of Love Dies.

This gave me a beautiful background with a large heart cut from the centre. I attached the background to scored and folded Thick Very Vanilla card. I cut Highland Heather using the small die from the Bouquet of Love Dies and attached it to the centre of the embossed background. I stamped the greeting from the Love & Happiness stamp set onto Very Vanilla card using Highland Heather ink and cut it out using the banner die from the Harvest Dies.
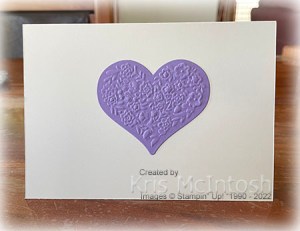
I attached the greeting to the card front using mini dimensionals. I cut Blushing Bride using the flower dies from the Bouquet of Love Dies and Pear Pizzazz card three times using the leaf from the same dies. I layered one small flower onto a large one before attaching the leaves and flowers to the card front. Lastly I added small Basic Rhinestones to the flower centres. To decorate the inside of the card, I attached the large heart which was cut from the centre of the background.
Such a pretty card, don’t your think? I think I might be biased but I do love the colour combination as well. Another winner from the new Mini Catalogue, thank you Stampin’ Up!
Bye for now,
Kris
Product Used:


Simple stamping
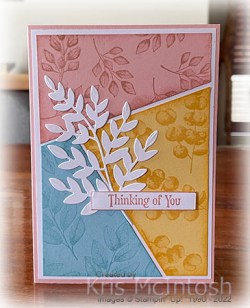
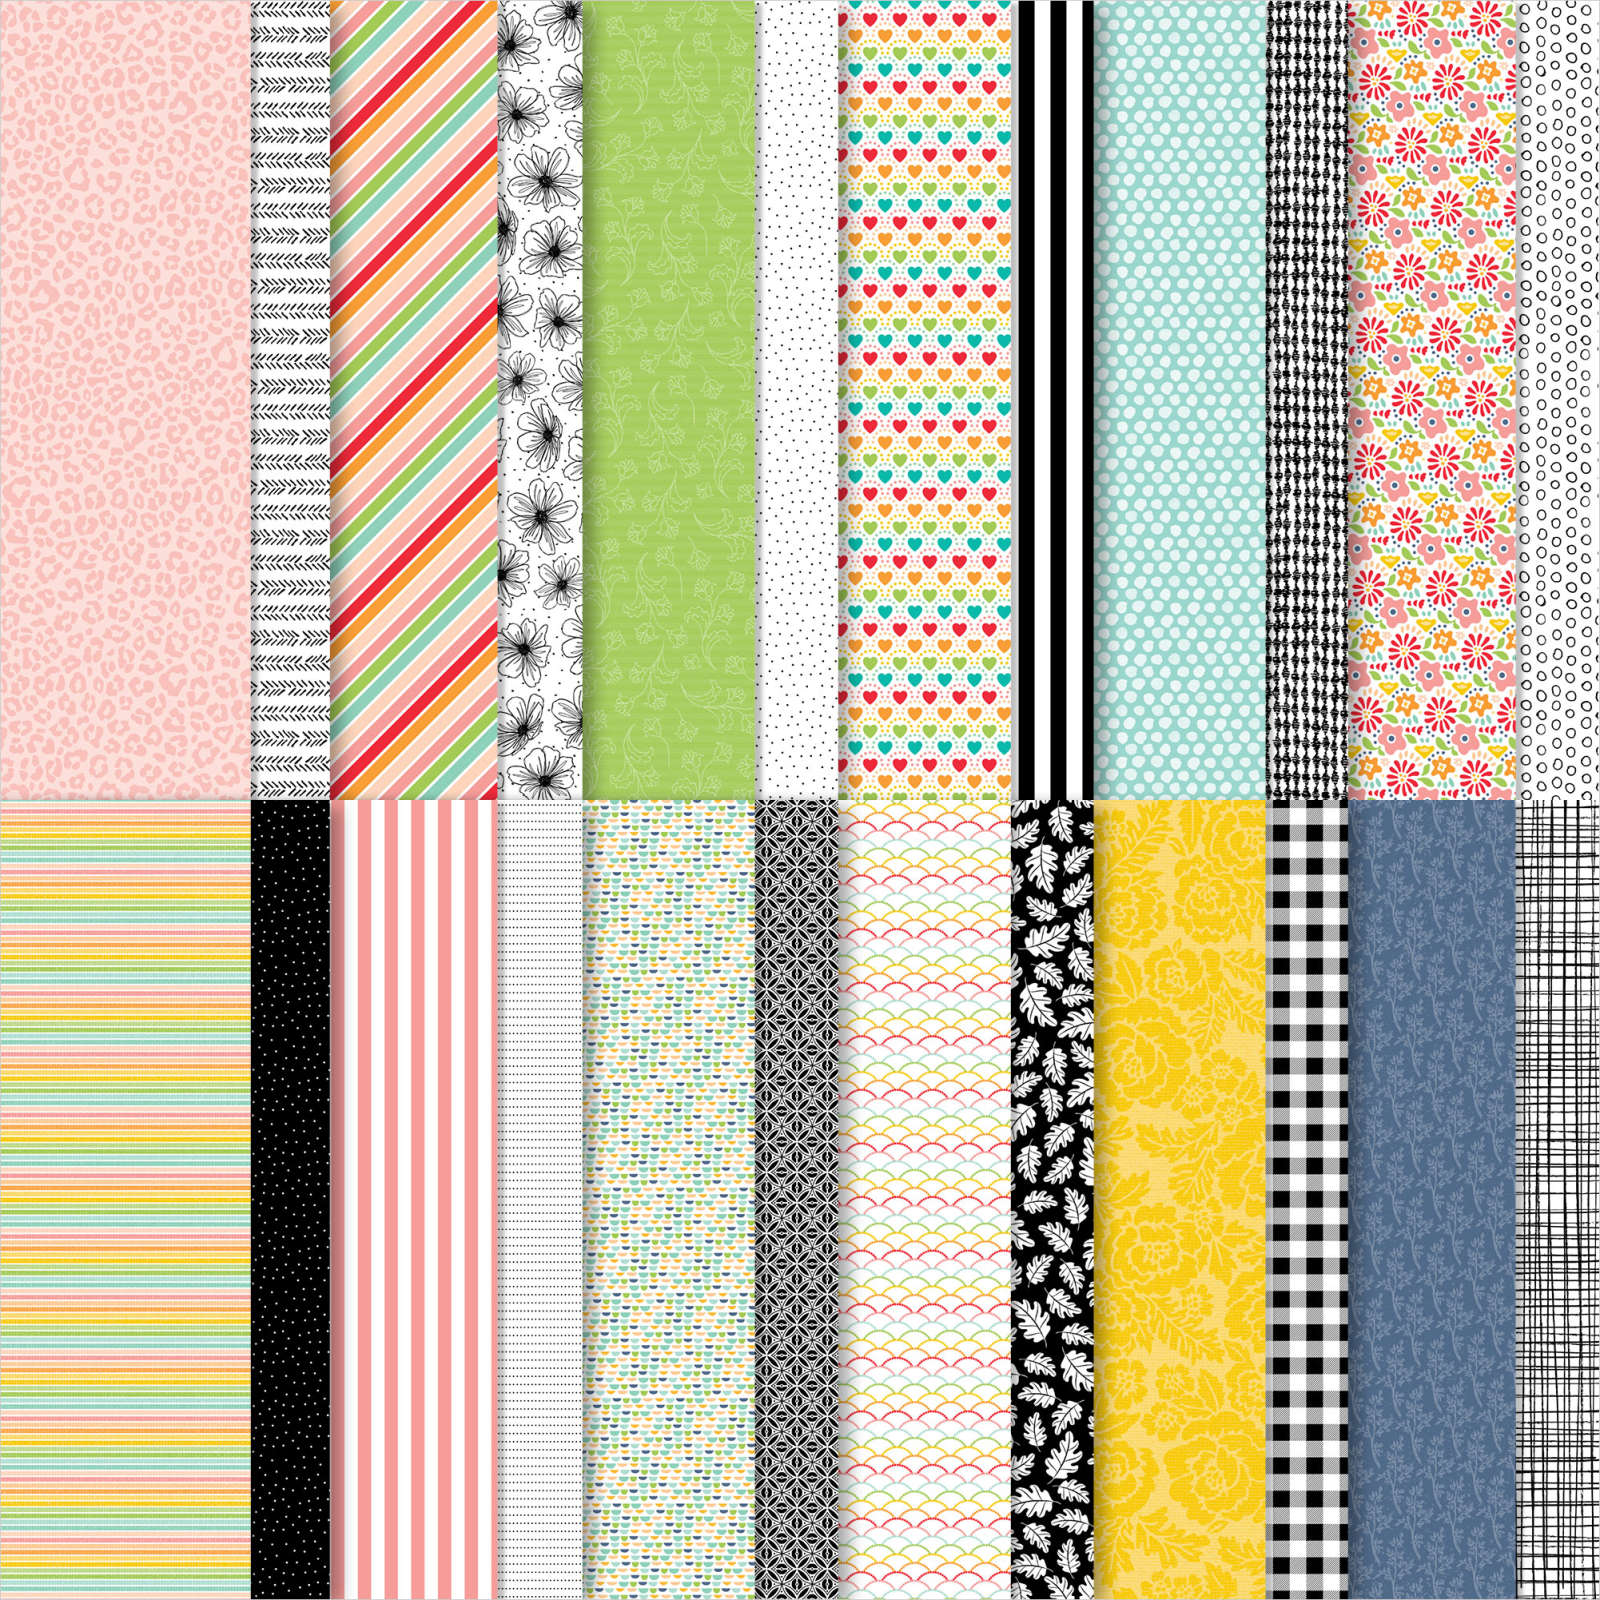
I belong to a great Facebook page called World Card Making Group. The group recently ran an all day session of videos showing different ideas for creating cards using supplies from the January to June Mini Catalogue as well as the Sale-a-Bration catalogue. The presentations were made by demonstrators from Australia and overseas and was such fun. One idea shared by Monica Formosa was to use three pieces of cardstock or designer series paper which you stamp on and then cut to create three cards. Today I thought I would share my creations with you.

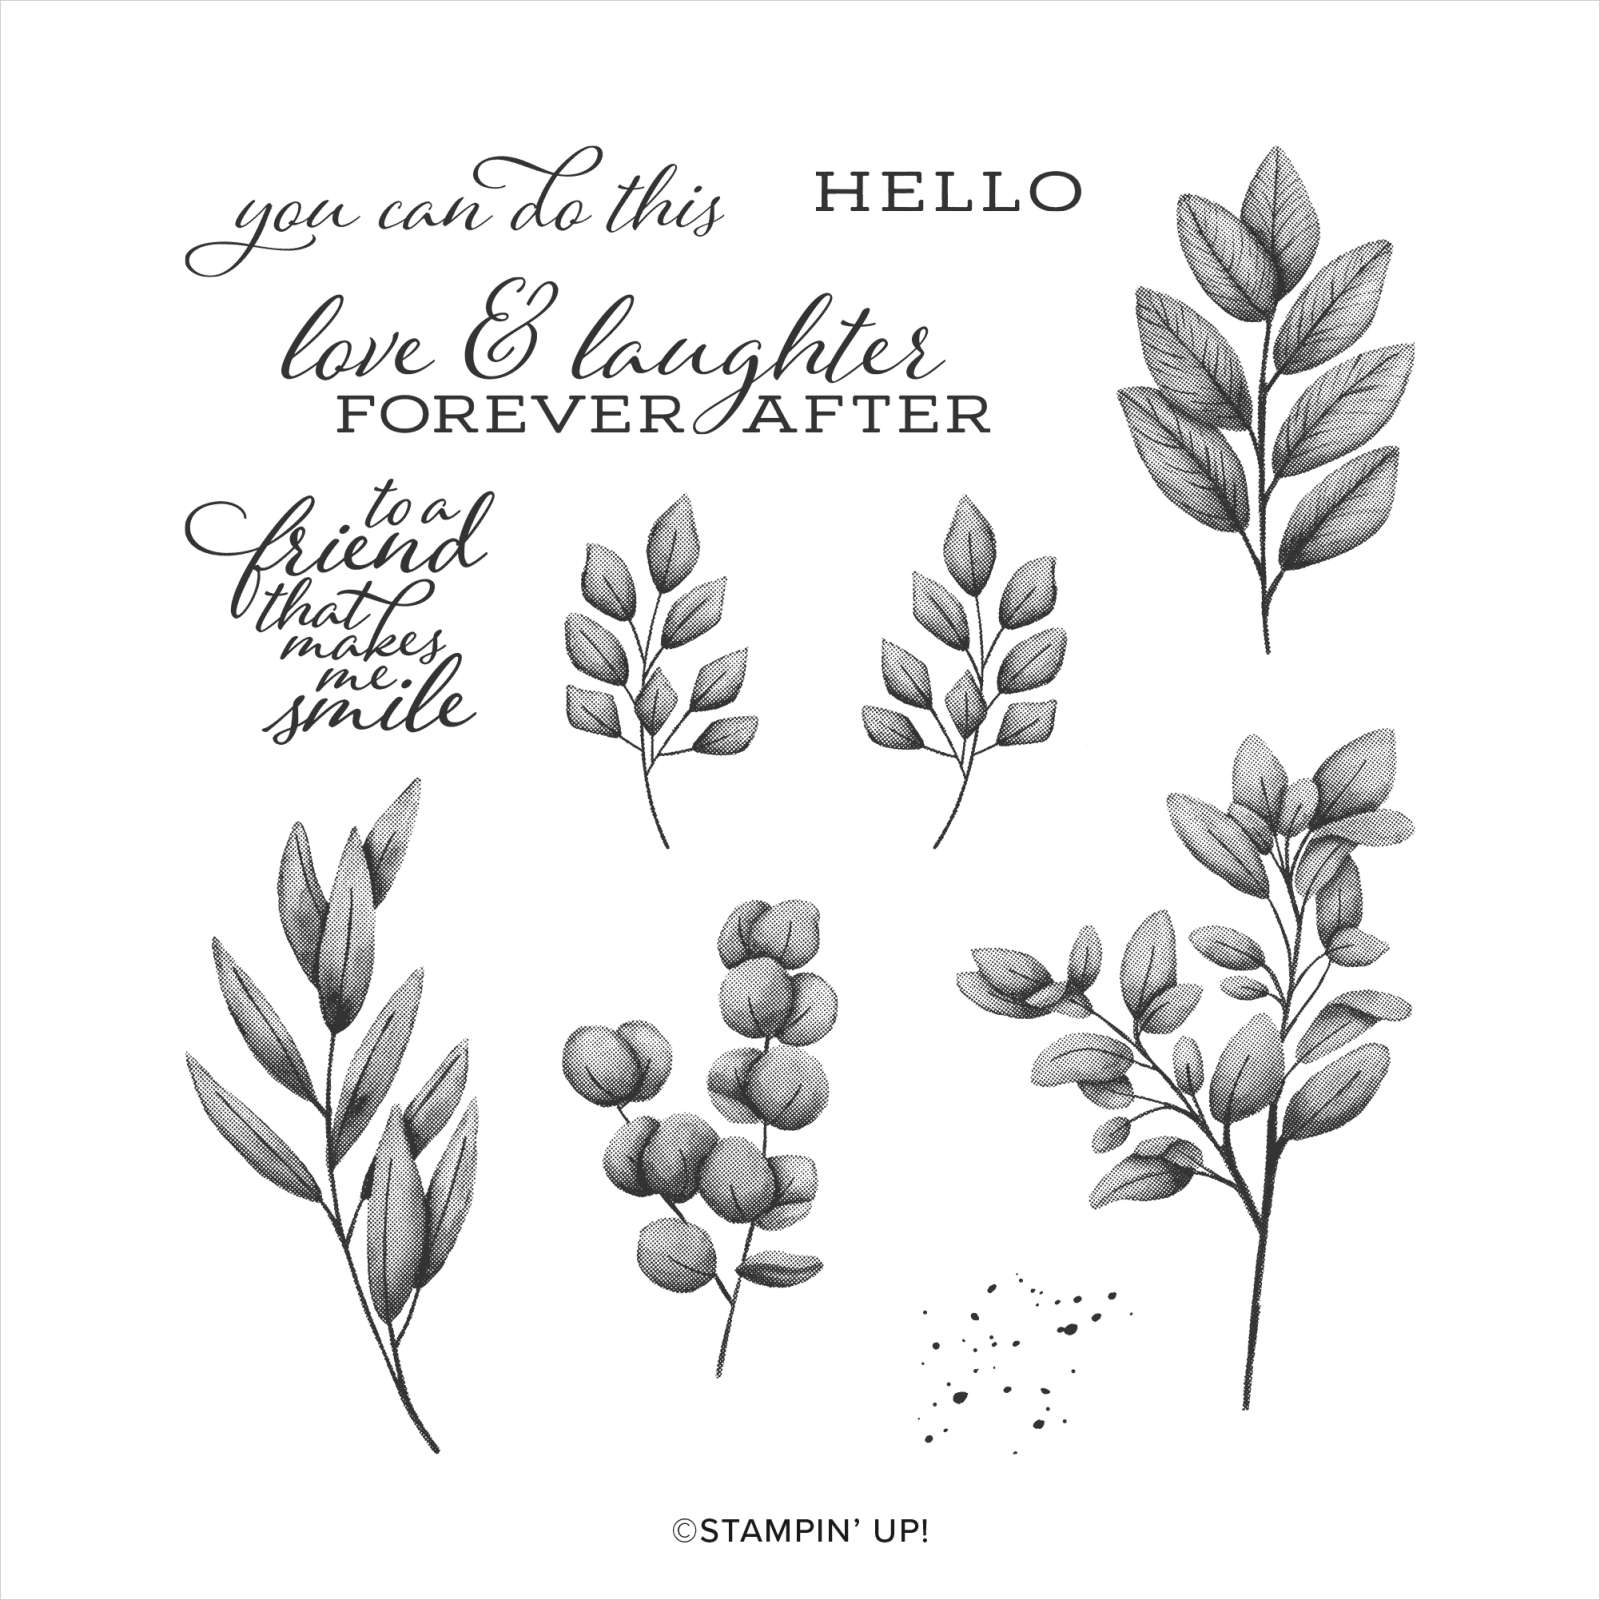
I used a piece each of So Saffron, Blushing Bride and Balmy Blue card. I stamped each panel with a different leaf image from the Forever Fern stamp set using the matching ink for each panel. I cut the panels into three using Monica’s instructions and then I sponged ink onto the outer edges of each panel using the matching ink. I attached three different panels to Basic White card for each card front.
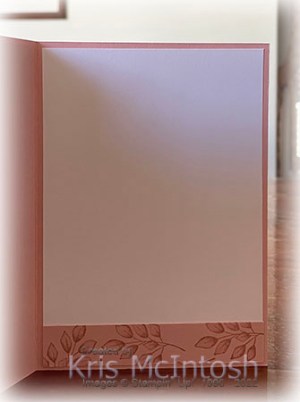
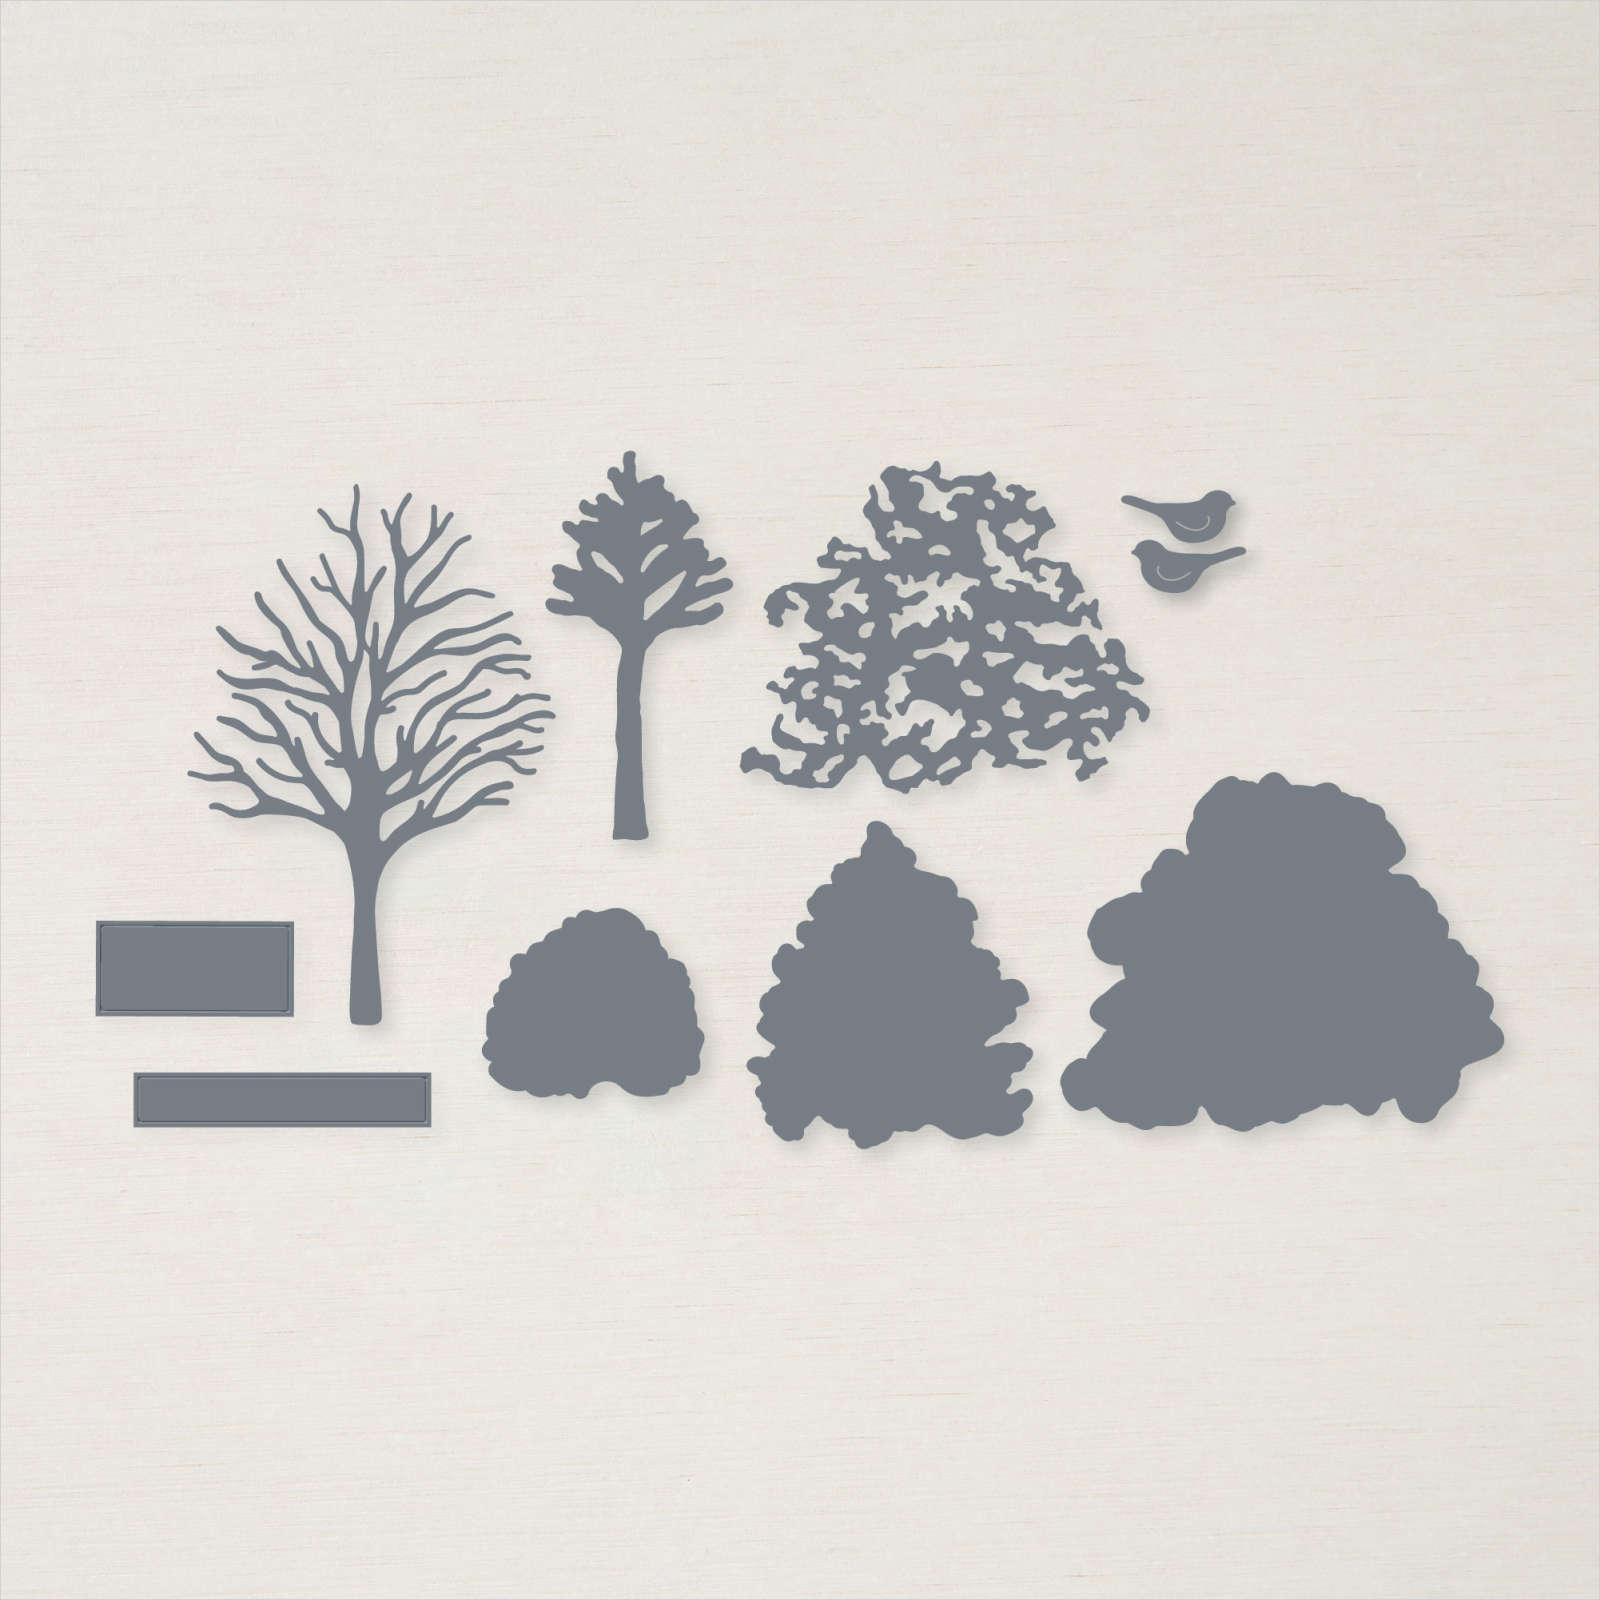
The Basic White panels are attached to either So Saffron, Blushing Bride or Balmy Blue card bases. I die cut the large leaf from Basic White card using the Forever Flourishing Die and attached one to each card front. I stamped the greeting from the Quiet Meadow stamp set onto Basic White card, once using So Saffron ink, once using Blushing Bride ink and once using Balmy Blue ink. I cut out the images using the Beautiful Trees Dies banner die. I dipped the edges of each banner into the co-ordinating ink before attaching them to the card fronts using dimensionals. When you are creating your panels, they are slightly larger than you need so I used each of the left over pieces on the inside of the cards, matching the colour to the card base. I love how they turned out. Monica made one set of cards using cardstock and one set of cards using designer series paper. I think I might have to try this using designer series paper as well.

One of the great things about the World Card Making Group is that instructional videos and the pdf cutting instructions never go away, so you can pop back any time and have a look. Pop over to Facebook and join up you will not be sorry.
Bye for now,
Kris
Product Used:


Big Congratulations

Today’s card again features the Butterflies & Flowers Layering Decorative Masks. For this card, I embossed Basic White card using the Tasteful Textile 3D Embossing Folder. I used one of the masks to add the leaf image to Basic White card using a Blending Brush and Granny Apple Green ink. I used a Scalloped Contour Die to cut a narrow strip of Granny Apple Green card which I attached behind one long edge of the Basic White card. The panel is attached to the left hand side of the embossed Basic White card. The whole panel is attached to scored and folded Granny Apple Green card.
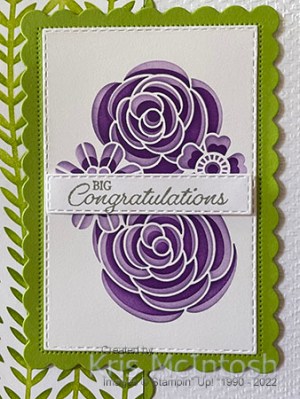
I used the floral mask from the Butterflies & Flowers Layering Decorative Masks and a Blending Brush to add Highland Heather ink to Basic White card. I used the more detailed floral mask and a Blending Brush to add Gorgeous Grape ink to the Highland Heather floral image. I die cut the image using one of the Stitched Rectangle Dies.
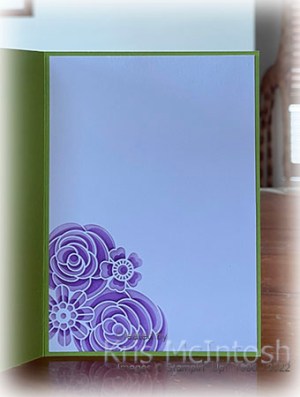
I attached the image panel to a Granny Apple Green scalloped rectangle cut using the Scalloped Contour Dies. The image panel is attached to the card front using dimensionals. I stamped the greeting from the Special Moments stamp set onto Basic White card using Smoky Slate ink and cut it out using a Stitched Rectangle Die. The greeting is attached to the card front using dimensionals. To decorate the inside of the card, I created the same floral image onto the lower left hand corner of Basic White card using Blending Brushes and Highland Heather and Gorgerous Grape ink.
You can probably tell by now that I am really enjoying using these beautiful masks.
Bye for now,
Kris
Product Used:


Yeppoon

Today’s page shows off a couple of photos taken while we were staying at Yeppoon. This is one of our favourite places to spend a few days, so relaxing. I used Gray Granite 12″ x 12″ card for the base of my page. I used one of the Plenty of Patterns Decorative Masks to add Night of Navy ink to Night of Navy card using a Blending Brush before attaching the panel to the centre of the page.

I printed my journaling onto Basic White card and attached it to the lower right hand corner of the Night of Navy card. I attached three photos to a piece of Basic Black card and attached it to the left hand side of the Night of Navy card so that it covered the edge of the journaling panel. I printed the title onto Crumb Cake card and punched the right end using the Tailored Tag Punch before attaching it across the Basic White card. I attached the last photo of the baby Curlew above the title. The only bad thing about creating Memory Keeping pages of our holidays is that I want to jump in the van and head off again!
Bye for now,
Kris
Product Used:


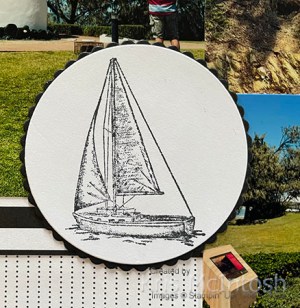
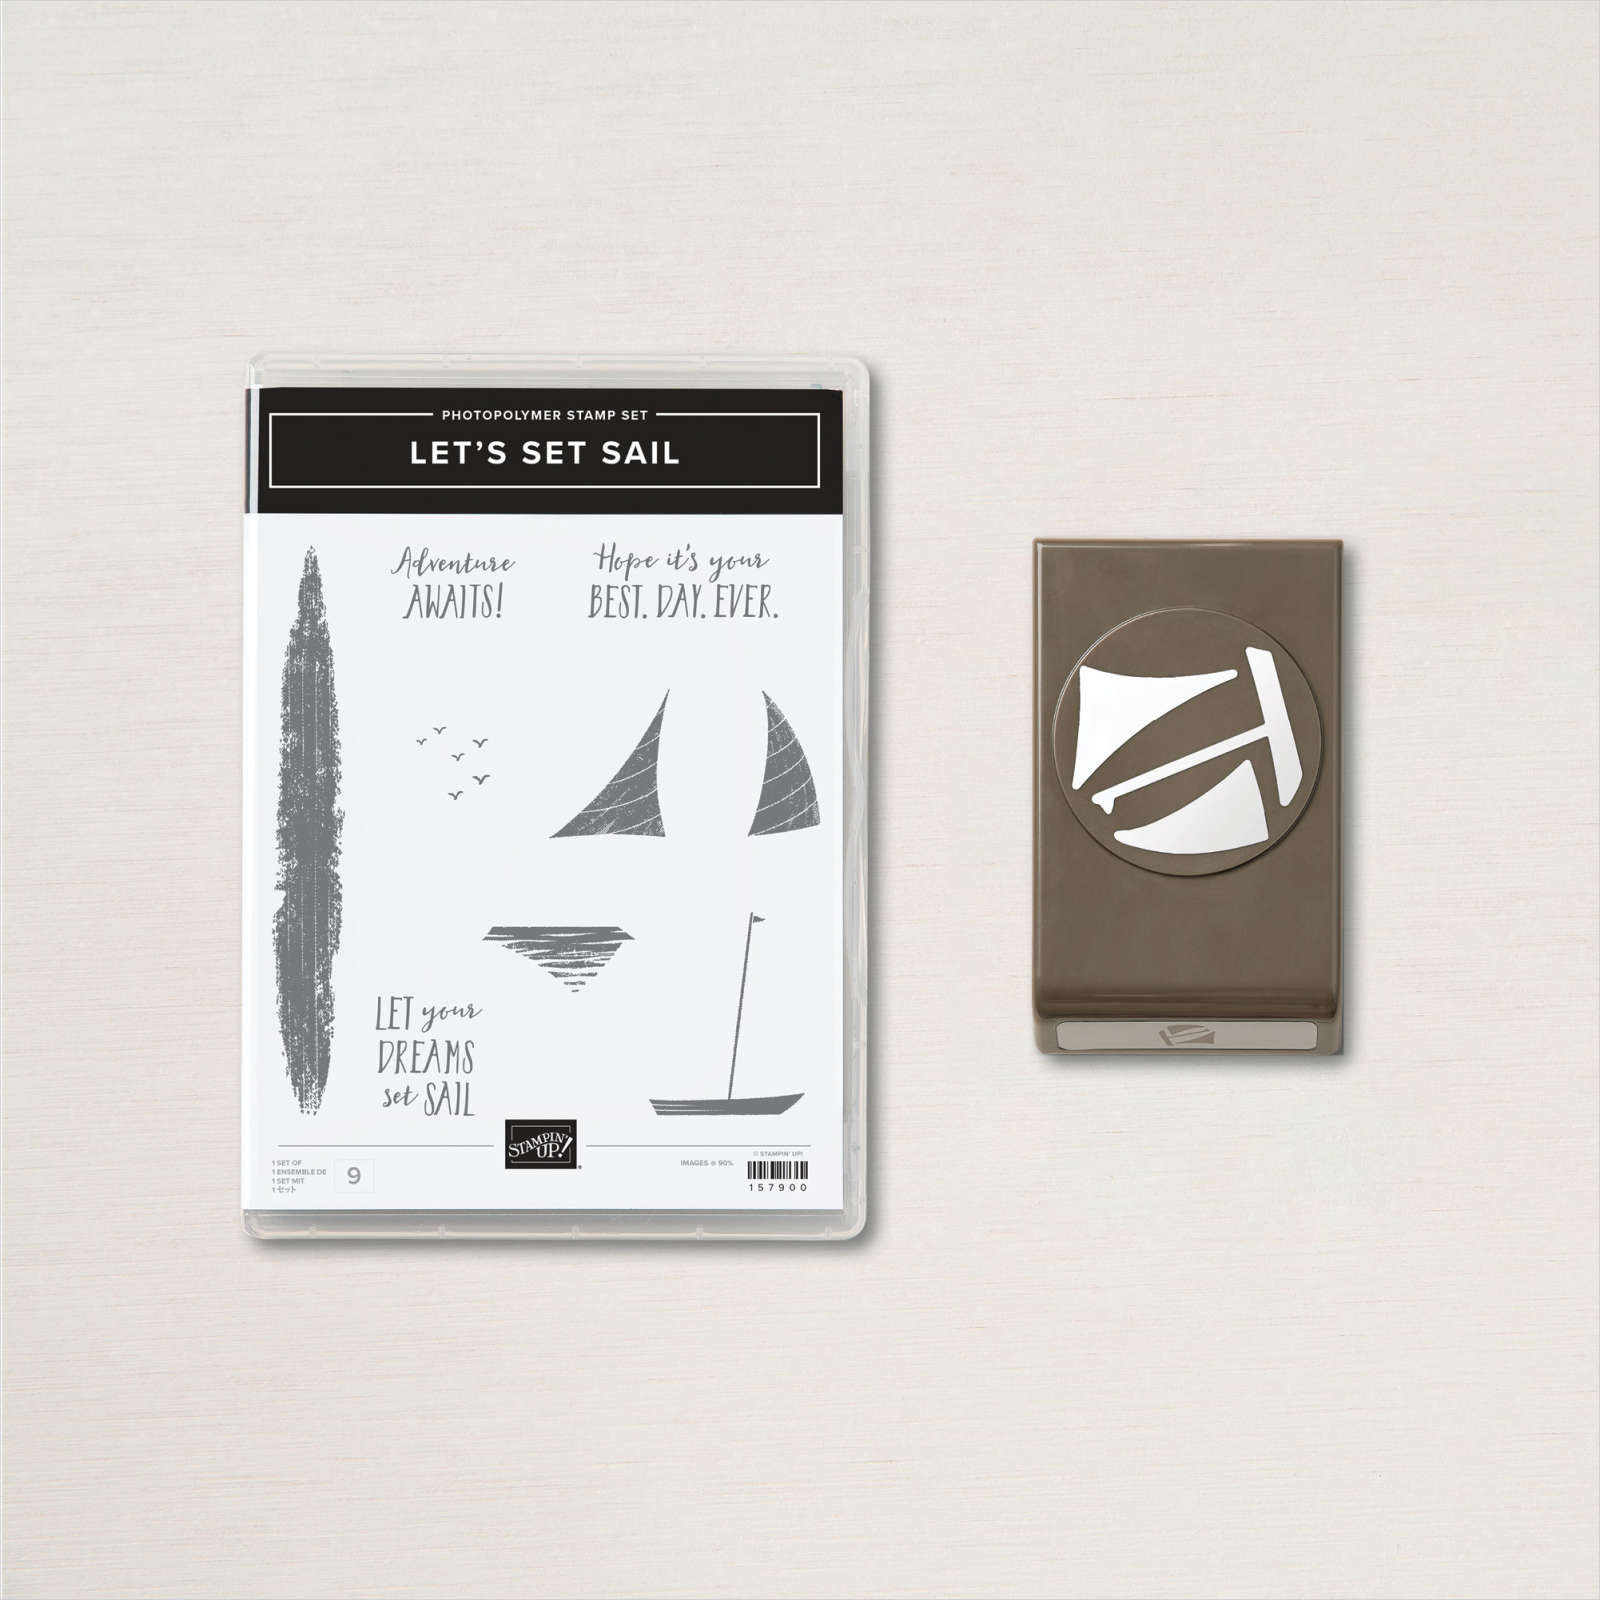
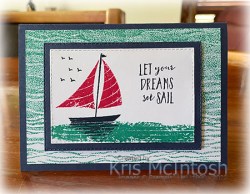
Sailing Birthday
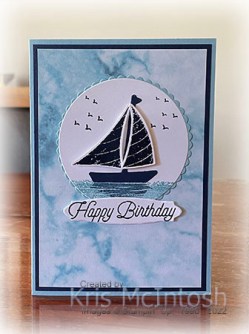
Today I have another card to share with you using the Let’s Set Sail Bundle, which I shared this week on my Facebook Live. I attached a piece of Simply Marbleous 6″ x 6″ Designer Series Paper to Night of Navy card and then scored and folded Balmy Blue card. I cut a circle from Basic White card using the Layering Circle Dies and stamped the sea image from the Let’s Set Sail stamp set across the bottom of the circle. I used the Sailboat Builder Punch to punch the ship and mast from Night of Navy card before attaching it to the stamped circle.
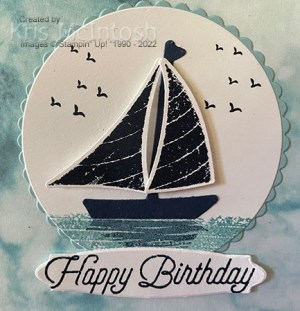
I stamped both the sail images from the Let’s Set Sail stamp set onto Basic White card using Night of Navy ink and used the Sailboat Builder Punch to punch them out. I attached the sails to the panel using dimensionals. I stamped the bird image twice onto the circle using Night of Navy ink.
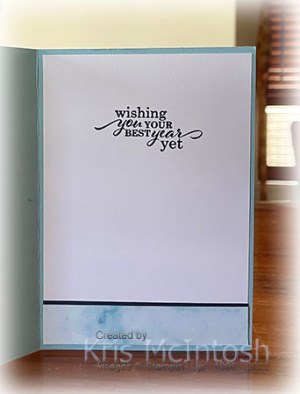
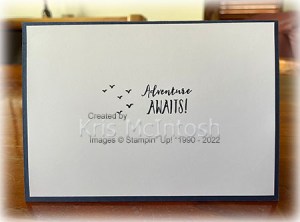
I attached the stamped circle to a Balmy Blue scalloped circle cut using the Layering Circle Dies before attaching the panel to the card front. I stamped “happy birthday” from the Special Moments stamp set (you can earn this stamp set for free with a qualifying order during Sale-A-Bration) onto Basic White card using Night of Navy ink. I used the banner die from the Bouquet of Love Dies to cut out the greeting before attaching it to the card front using dimensionals. To decorate the inside of the card, I stamped the greeting from the Best Year stamp set onto Basic White card using Night of Navy ink. I attached a narrow strip of Night of Navy card behind one long edge of a strip of Simply Marbleous Designer Series Paper before attaching it across the bottom of the stamped Basic White card.
I love this card, what about you?
Bye for now,
Kris
Product Used:


Set Sail
This week in my Facebook Live I shared some cards I made using the Let’s Set Sail Bundle. Today I have another card, which is a slightly more stepped up version of those cards. I stamped the Gentle Waves Background stamp onto Basic White card using Bermuda Bay ink. I attached the stamped card to scored and folded Night of Navy card. I stamped the sea image from the Let’s Set Sail stamp set onto Basic White card using Bermuda Bay ink.

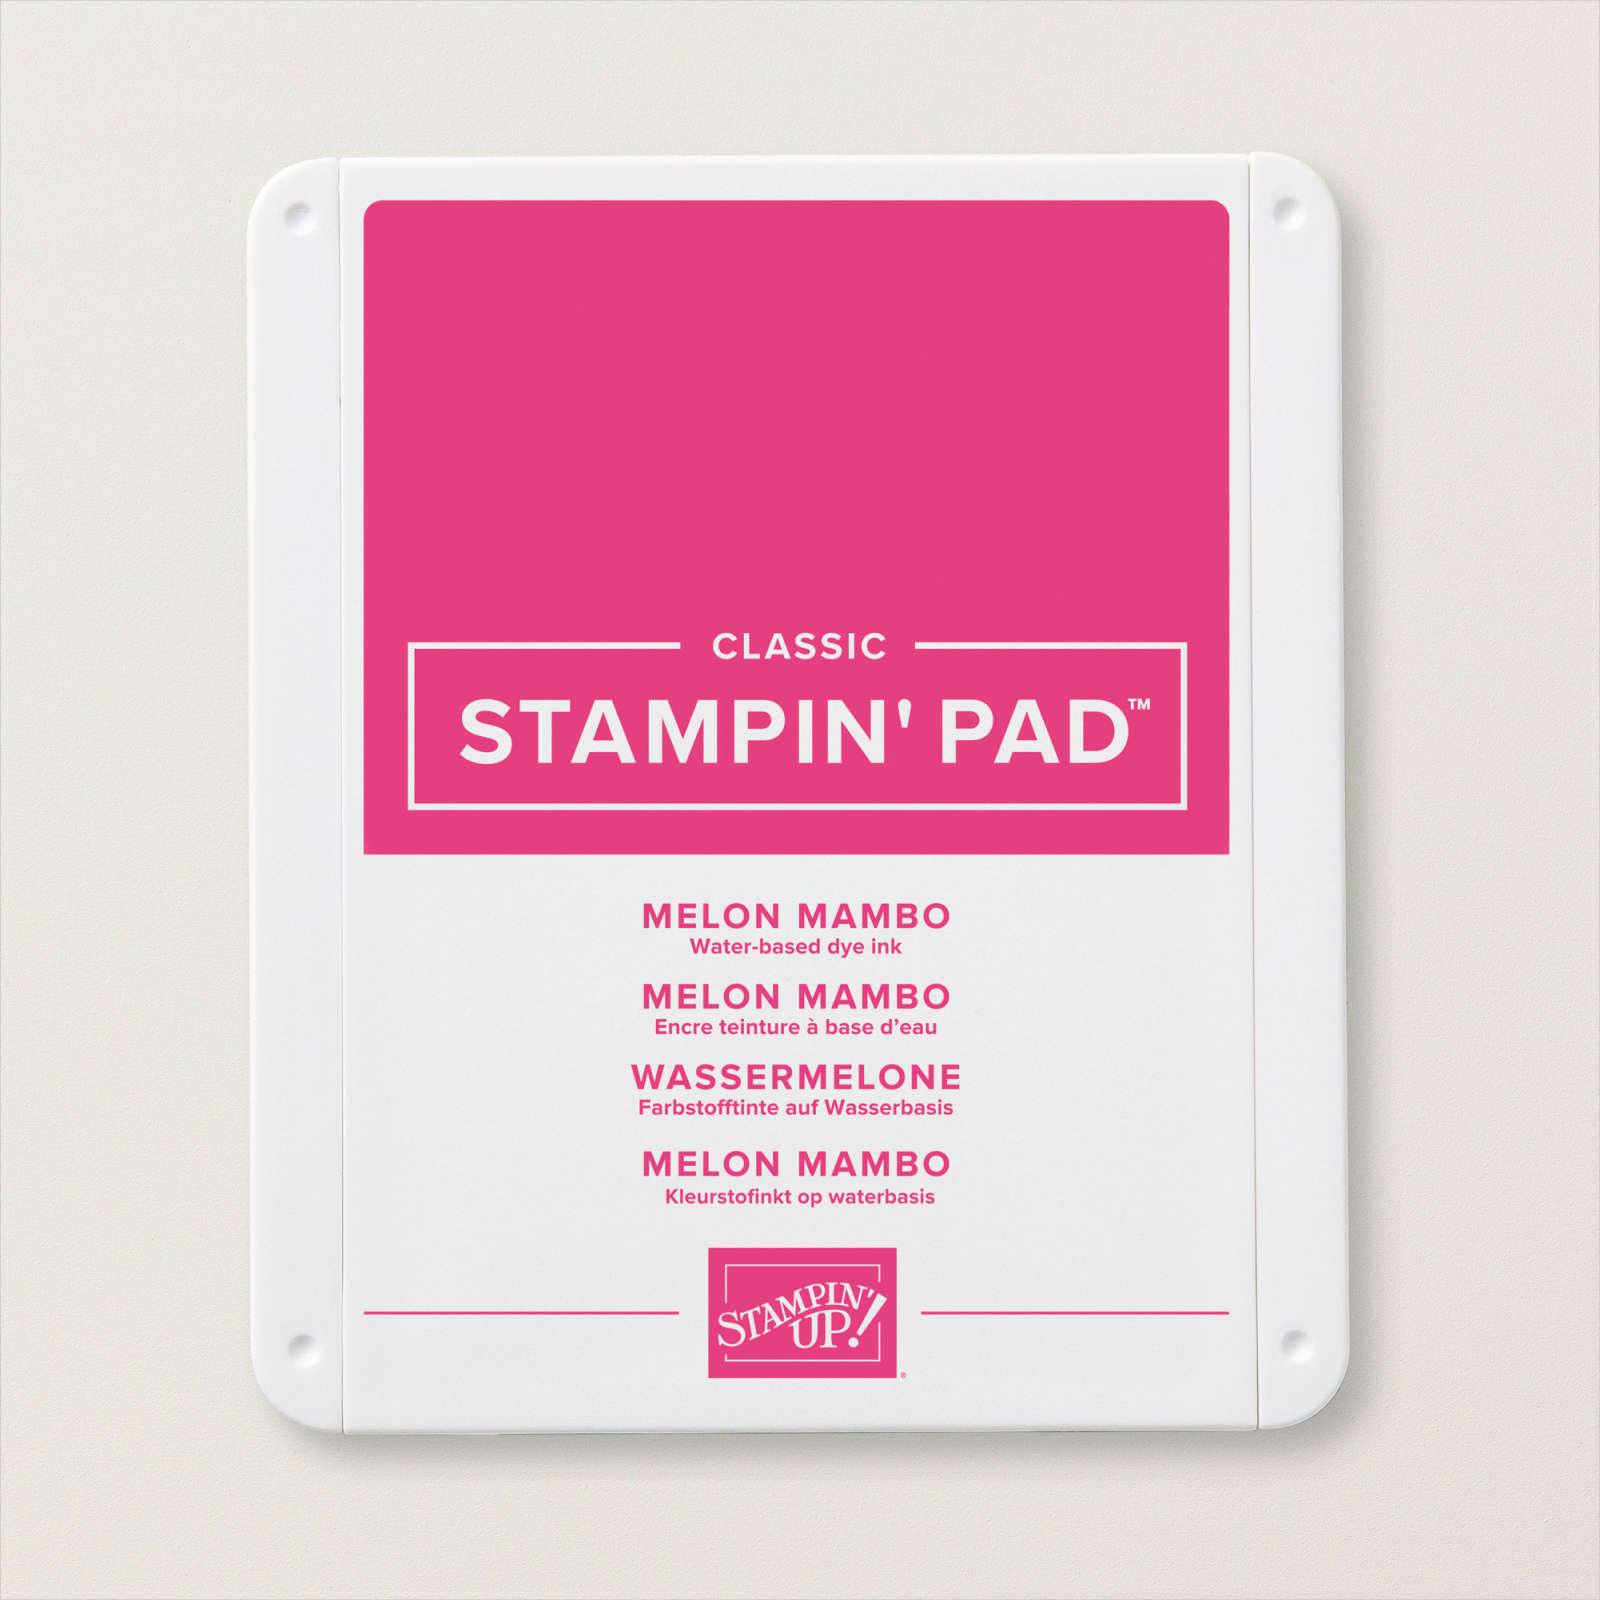
I stamped the hull & mast image from the Let’s Set Sail stamp set onto the card using Night of Navy ink. I stamped the “shadow” image below the hull using Night of Navy ink. I stamped the sails onto the mast using Melon Mambo ink. I cut out the image using the Stitched Rectangle Die and stamped the bird image from the Let’s Set Sail stamp set onto the panel using Night of Navy ink.
I also stamped the greeting from the Let’s Set Sail stamp set onto the panel using Night of Navy ink. I attached the stamped panel to a Night of Navy rectangle also cut using the Stitched Rectangle Dies. The panel is attached to the card front using dimensionals. To decorate the inside of the card, I stamped another greeting from the Let’s Set Sail stamp set onto Basic White card using Night of Navy ink. I stamped the bird image from the same stamp set beside the greeting also using Night of Navy ink.
This is a fun stamp set and for me a great addition to my “male” stamp sets. I’d love to know what you think.
Bye for now,
Kris
Product Used:
Birthday time
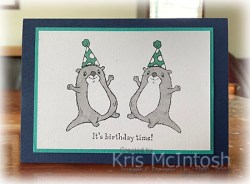
Today’s card is another one I created using the Awesome Otters stamp set. I just love these gorgeous images! I used my Stamparatus to stamp the same image onto Basic White card using Memento Tuxedo Black ink so that they are facing each other.

I also added the birthday had image from the Awesome Otters stamp set using Memento Tuxedo Black ink as well. I coloured the images using Smoky Slate and Dark Bermuda Bay Stampin’ Blends.
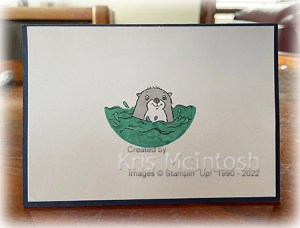
I stamped the greeting from the Awesome Otters stamp set underneath the images using Memento Tuxedo Black ink. The image panel is attached to Bermuda Bay card and then scored and folded Pacific Point card. To decorate the inside of the card, I stamped the image from the Awesome Otters stamp set onto Basic White card using Memento Tuxedo Black ink. I placed a mask around the image cut using one of the Layering Circle Dies and coloured the image using Dark Bermuda Bay and Smoky Slate Stampin’ Blends. Such a simple card but one I know that the recipient is going to love.
Bye for now,
Kris
Product Used:


