Stanthorpe Catch Up

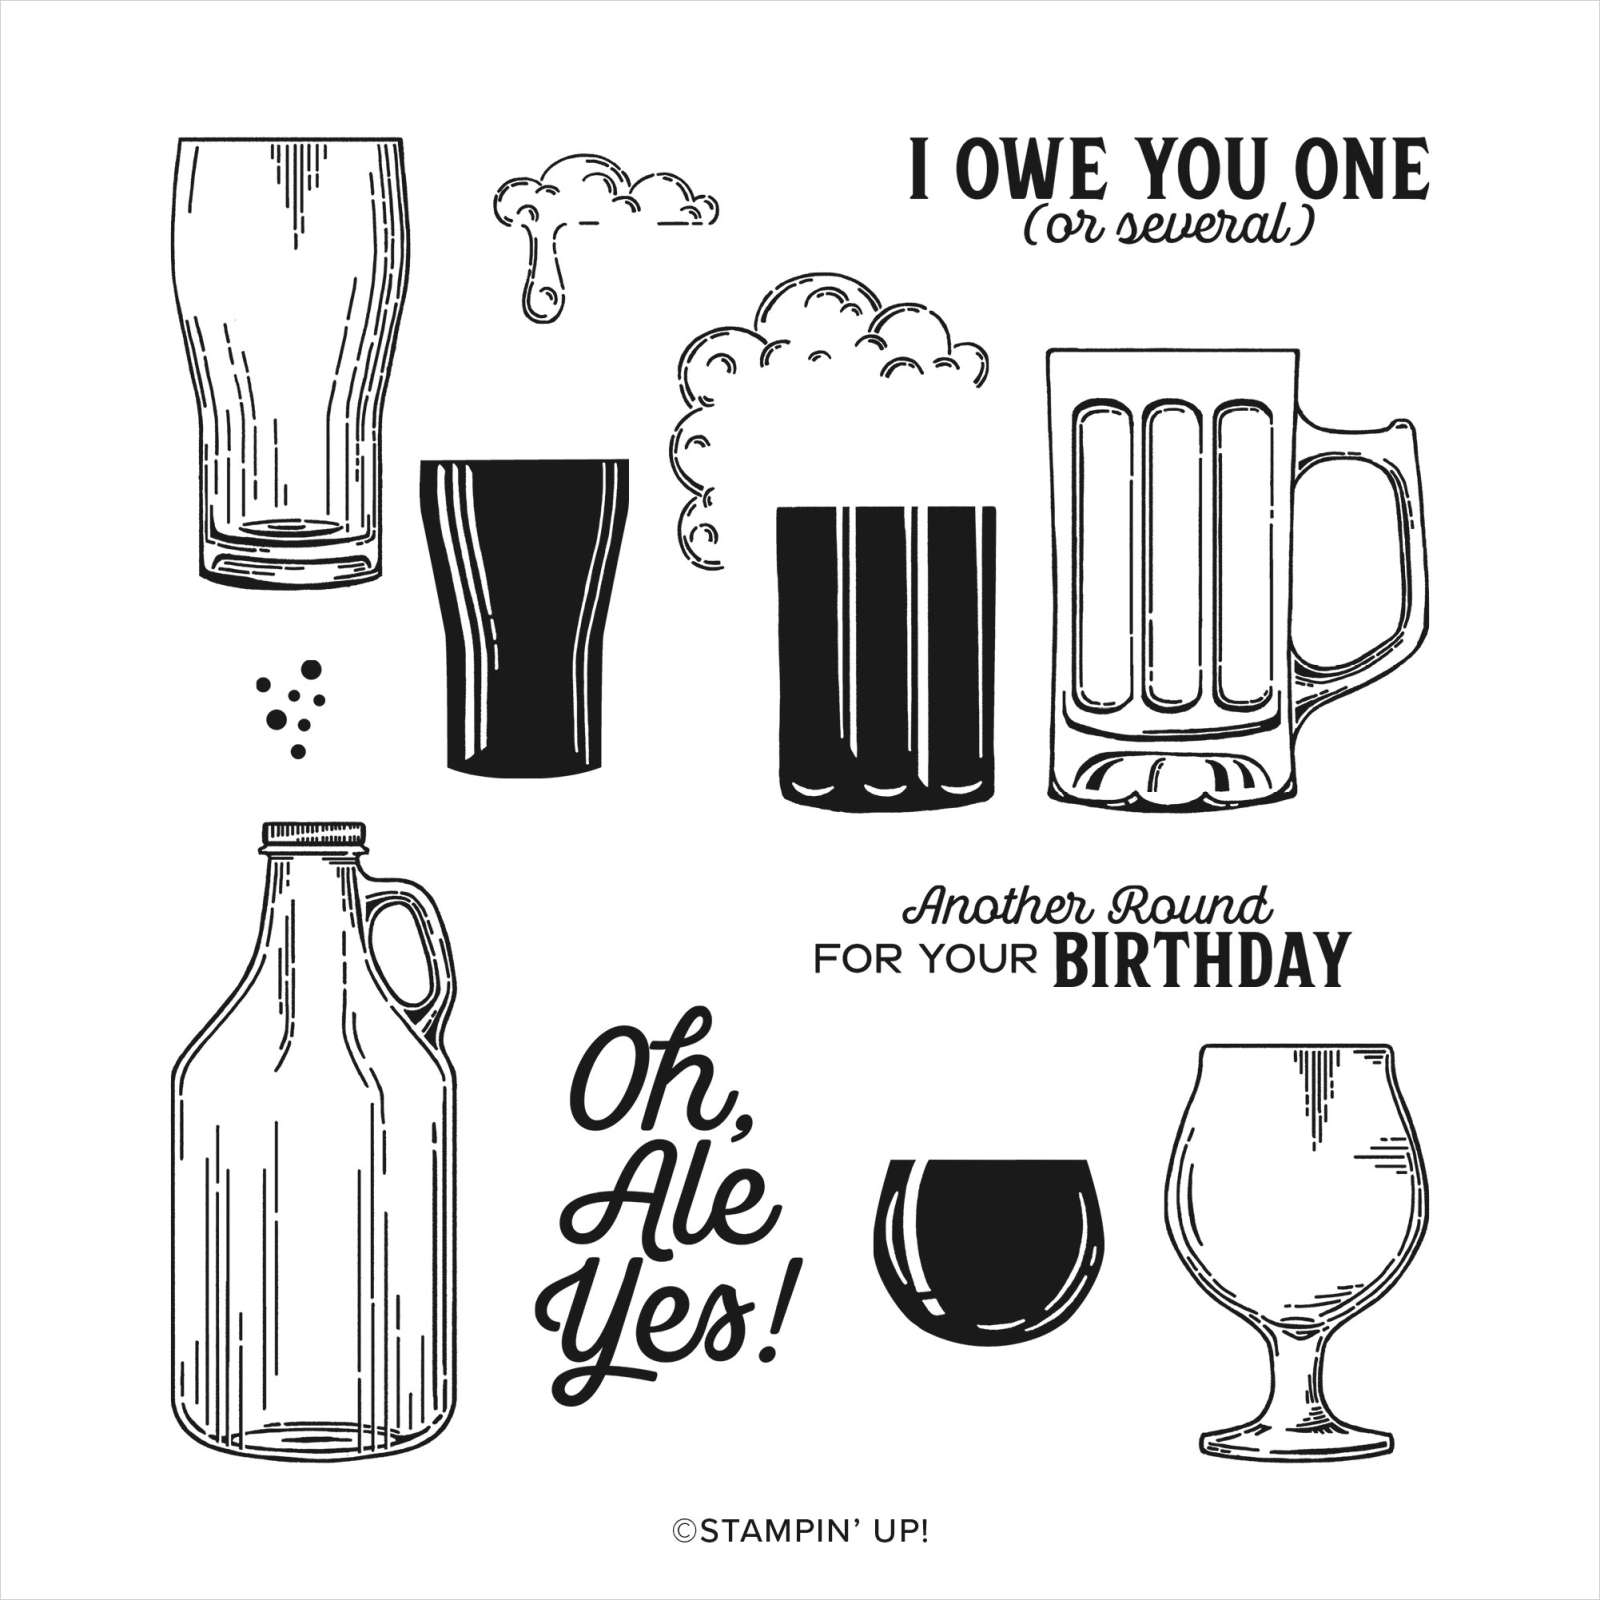
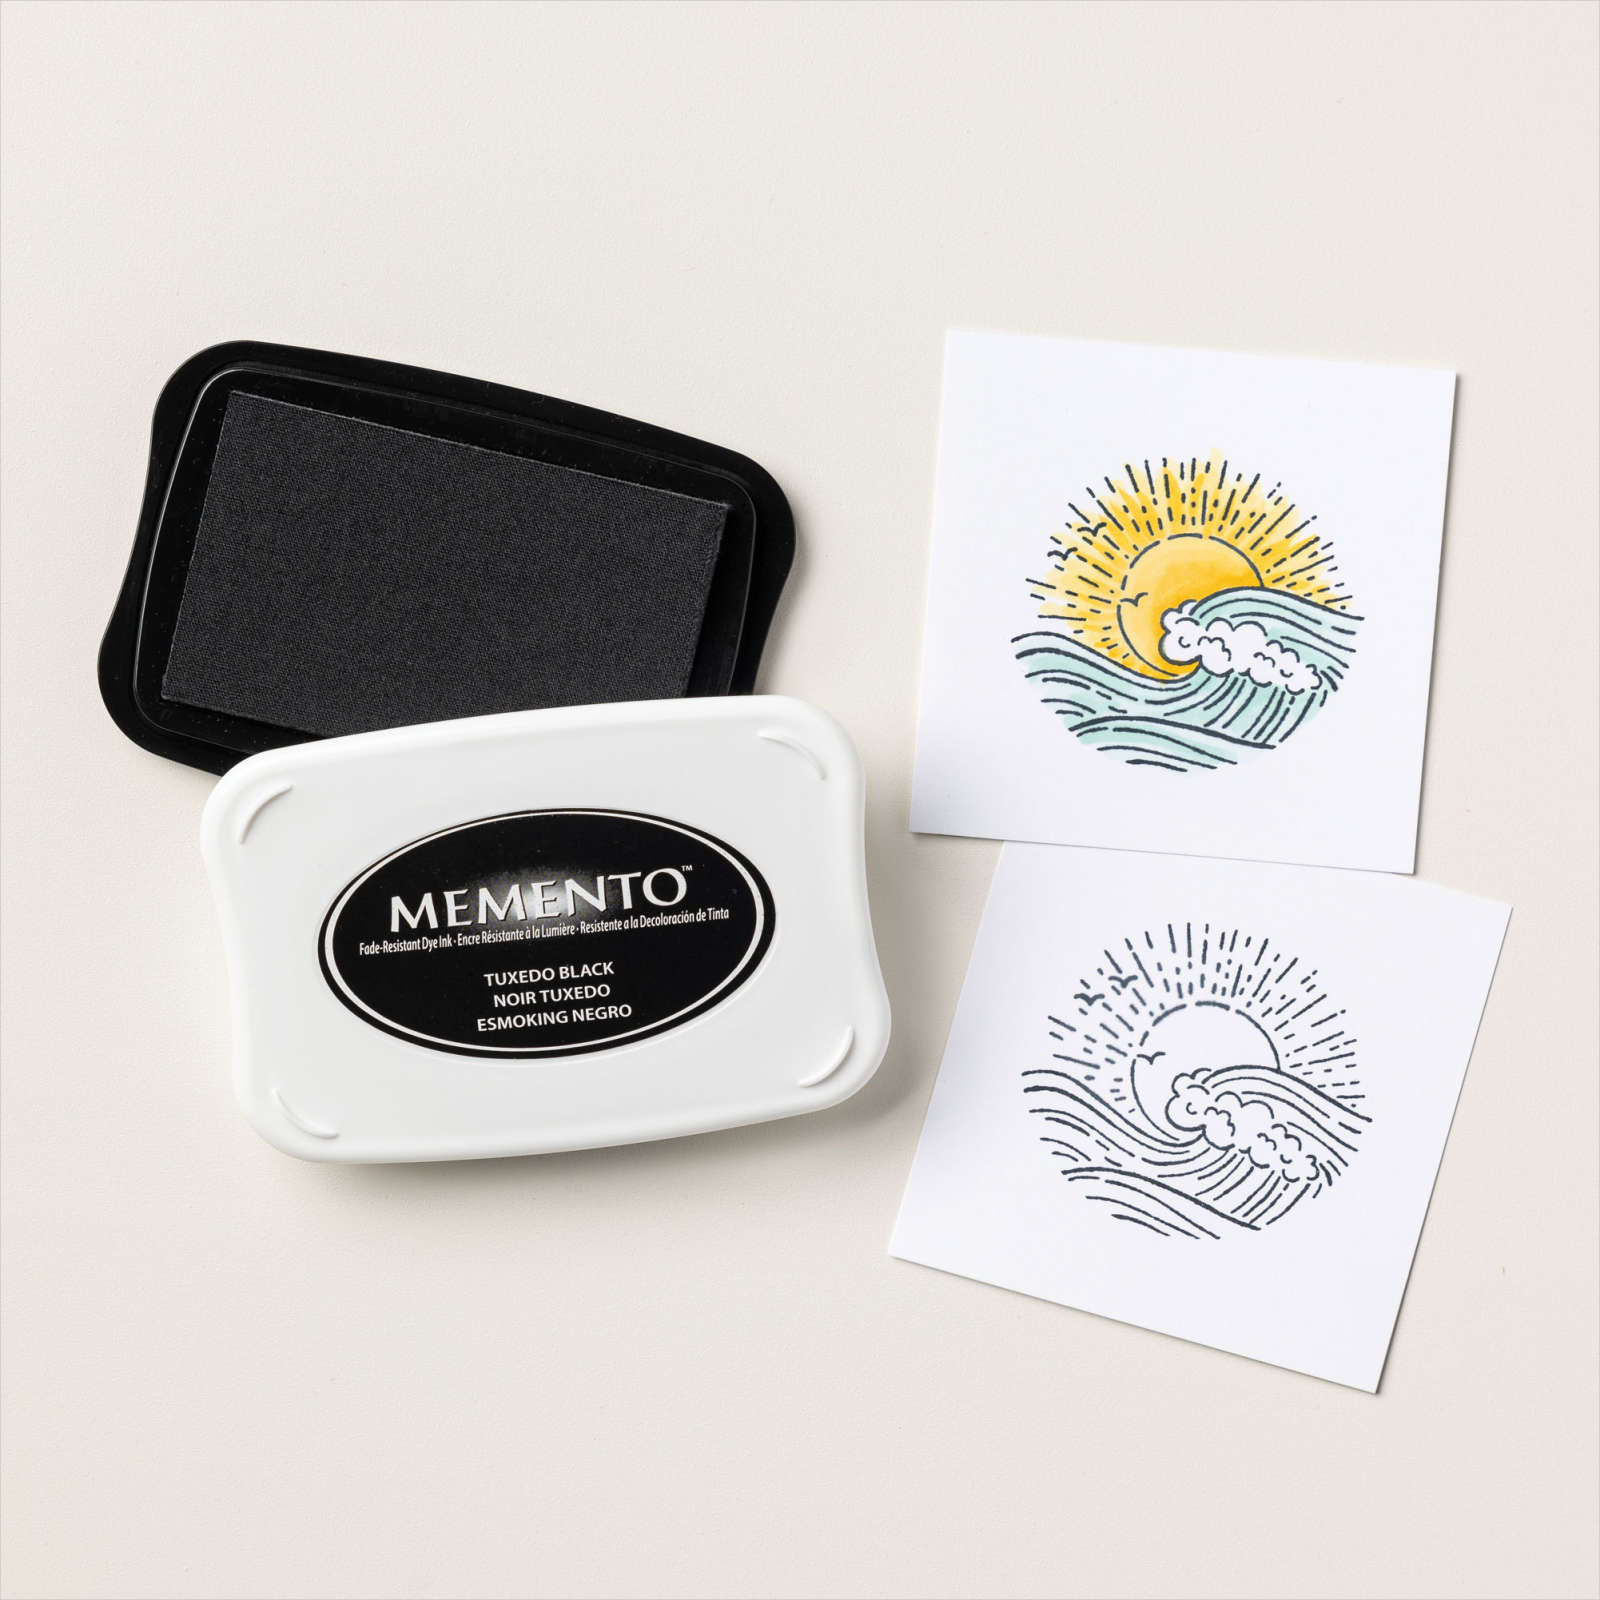
Today’s page shows off some photos from a trip to Stanthorpe to catch up with our great friends from New South Wales. I attached all of the photos directly to a Basic White 12″ x 12″ page – no photo mats. I printed the title onto Basic White card and used my Paper Snips to cut it out. I also printed the journaling onto Basic White card which I cut into strips. I stamped the wine glass from the Brewed For You stamp set onto Basic White card using Memento Tuxedo Black ink.

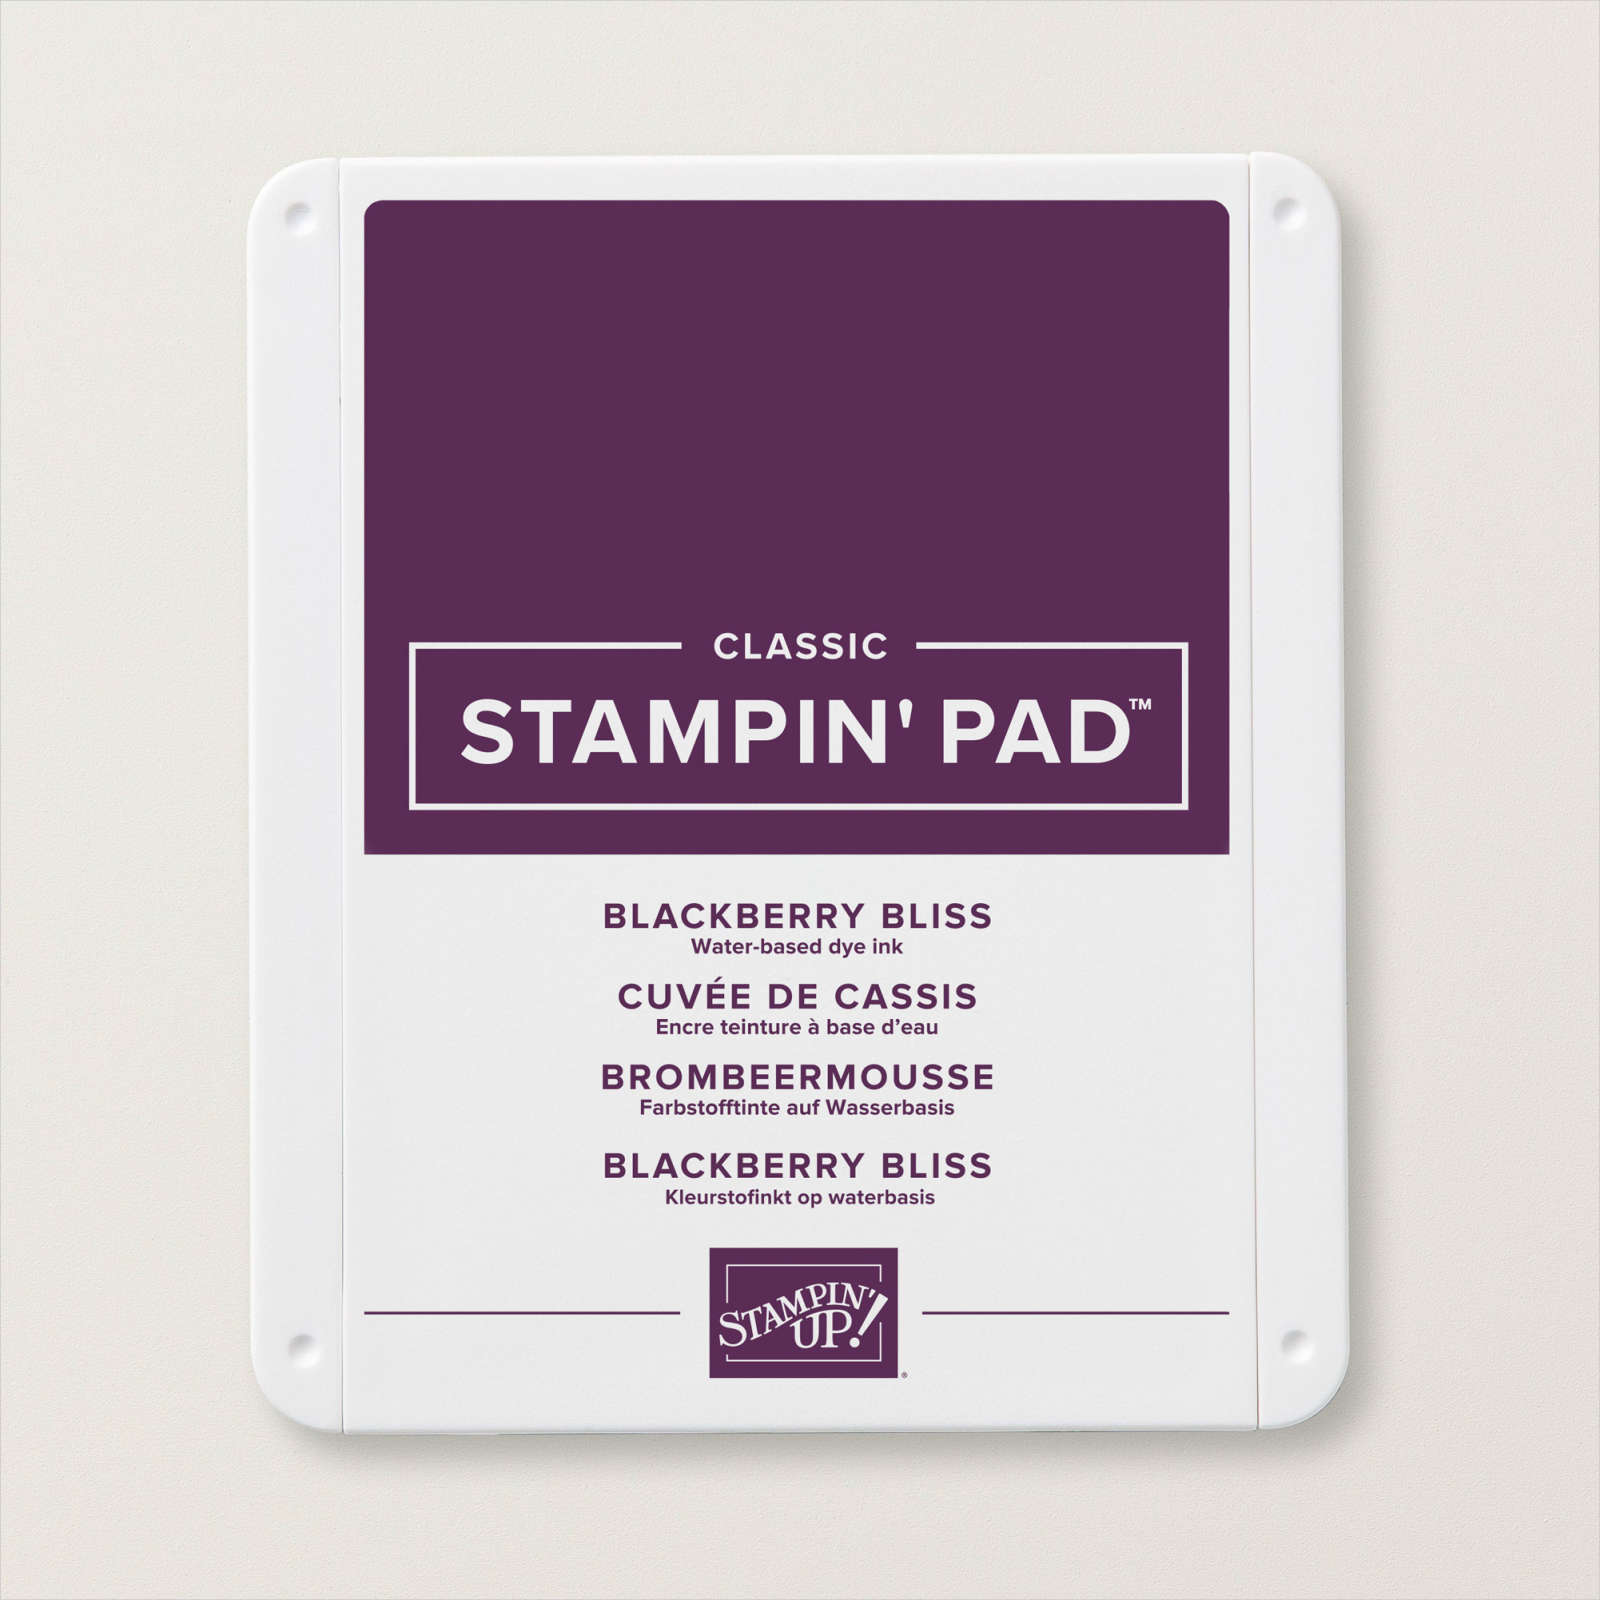
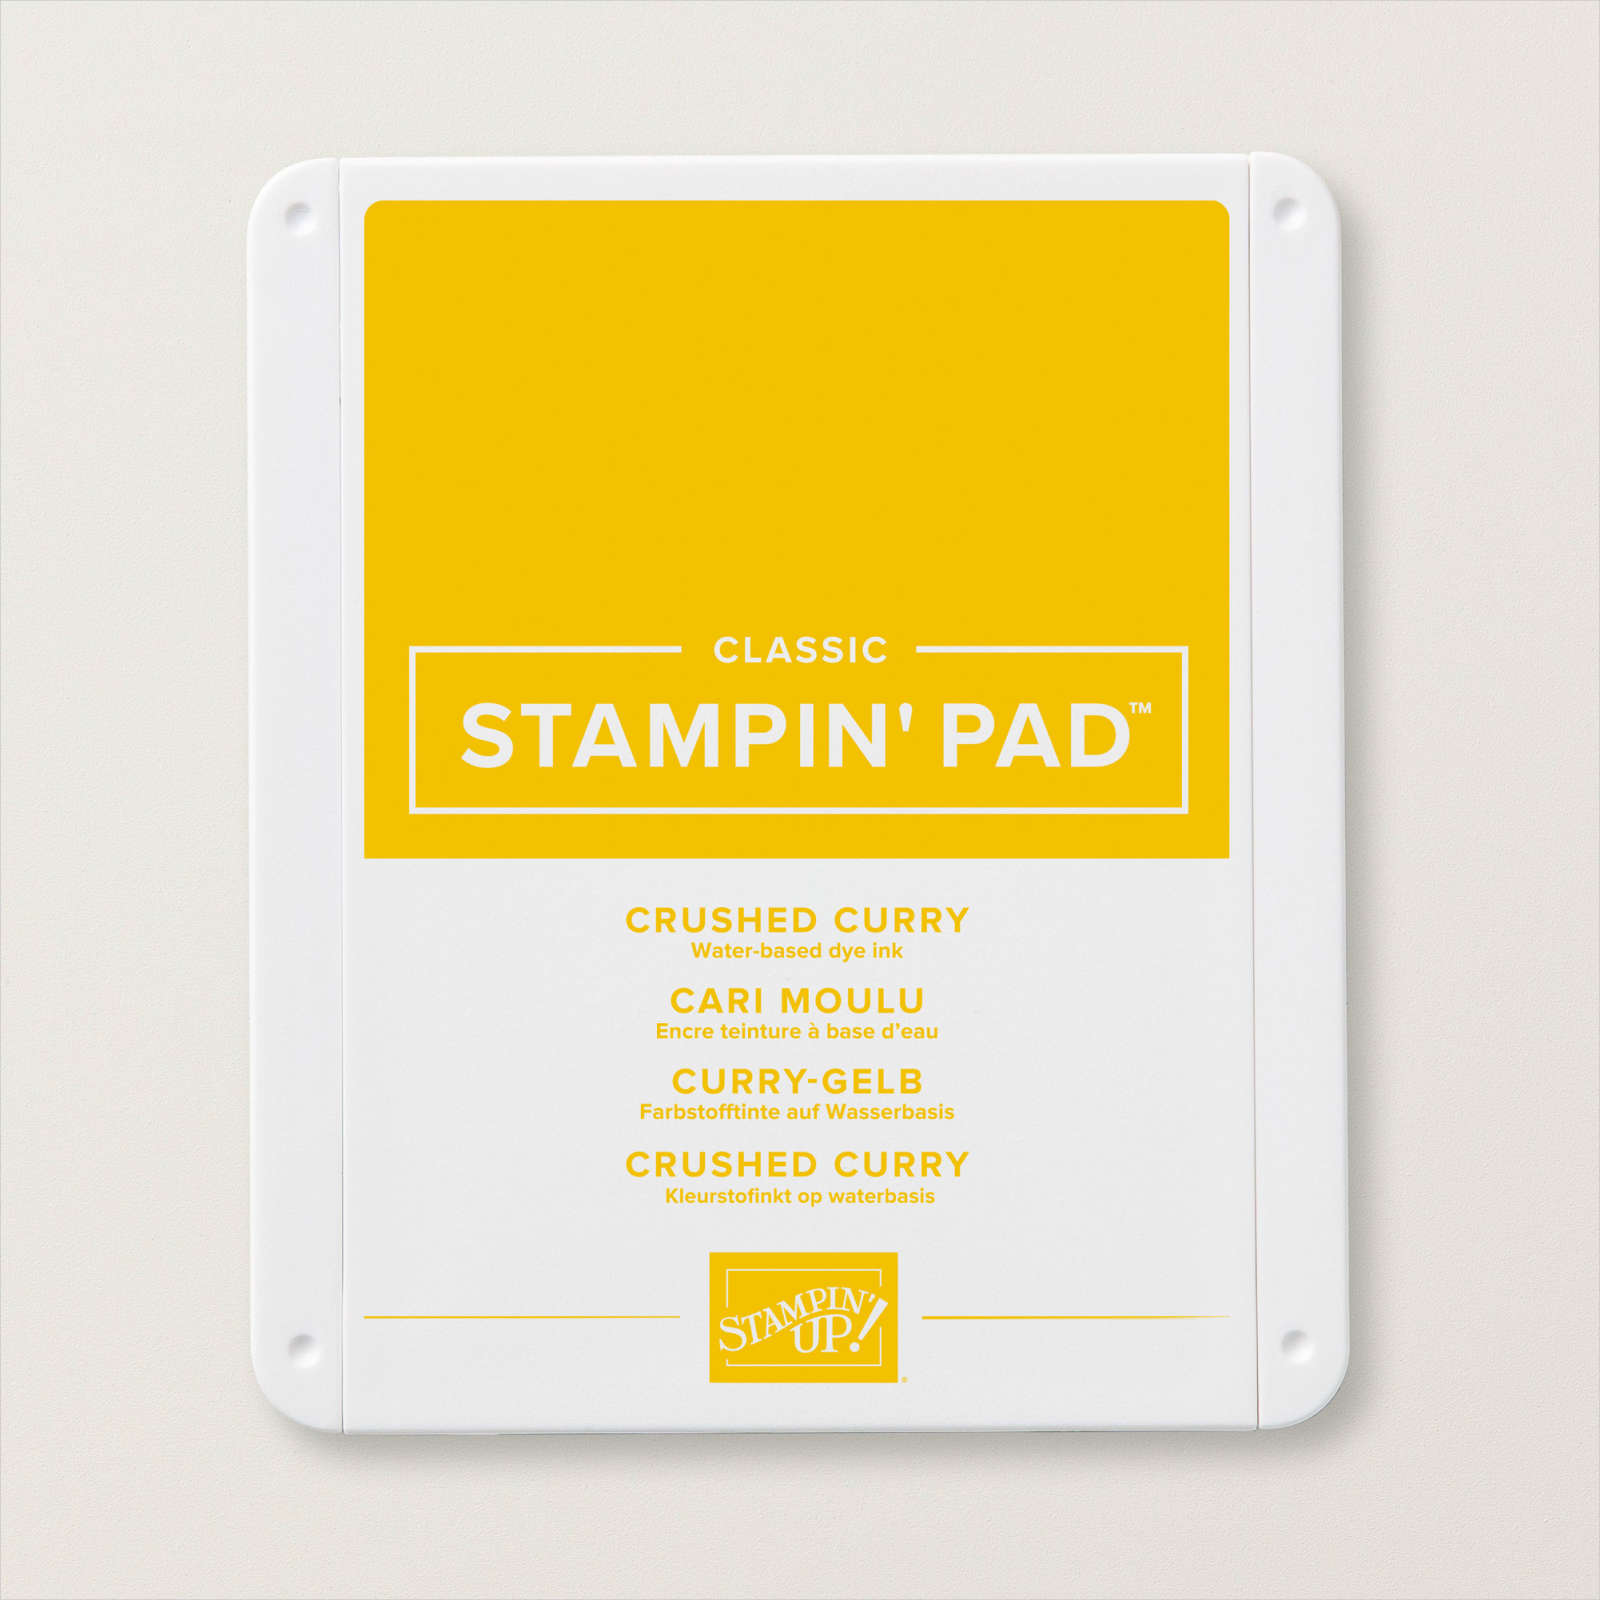
I added the fill image using Blackberry Bliss ink. I stamped the beer glass from the Brewed For You stamp set onto Basic White card using Memento Tuxedo Black ink. I added the fill image using Crushed Curry ink.
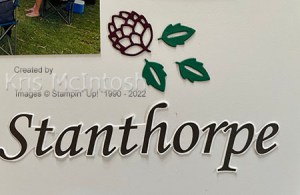
I also stamped the “froth” image from the Brewed For You stamp set onto Basic White card using Memento Tuxedo Black ink. All of these images were cut out using the co-ordinating Brewed Die before being attached to the lower left hand corner of the page. I cut Blackberry Bliss card using the Brewed Die and Shaded Spruce card three times using the leaf die from the Brewed Dies. I attached the die cut images below the journaling. Simple page but one that brings a big smile to my face.
Bye for now,
Kris
Product Used:





Brewed Birthday
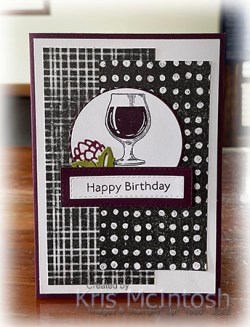
Today’s card uses the Brewed For You Bundle and the Perfectly Penciled Designer Series Paper from the new Annual Catalogue. I cut two pieces of Designer Series Paper and attached them to Basic White card. The Basic White panel is attached to scored and folded Blackberry Bliss card. I stamped the outline wine glass onto Basic White card. I added the wine glass fill image using Blackberry Bliss ink before cutting the image out using the Layering Circle Dies.

I attached the image to a Blackberry Bliss scalloped circle and then the card front. I cut Blackberry Bliss card using the grape die from the Brewed Dies. I also cut two leaves from Old Olive card using the Brewed Dies. I attached the grape and the leaves to the image panel.

I stamped “happy birthday” from the Art Gallery stamp set onto Basic White card using Blackberry Bliss ink. I cut out the greeting using the Stitched Rectangle Dies. I attached the greeting to a Blackberry Bliss stitched rectangle and them the card front using dimensionals where necessary. To decorate the inside of the card, I attached a narrow strip of the Perfectly Penciled Designer Series Paper across the bottom of Basic White card. I stamped the wine glass outline using Memento Tuxedo Black ink and the wine glass fill image using Blackberry Bliss ink. I stamped a greeting from the Brewed For You stamp set using Blackberry Bliss ink.
This is such a fun stamp set to play with and I am sure I will find lots of use for it in the future.
Bye for now,
Kris
Product Used:
Another Round
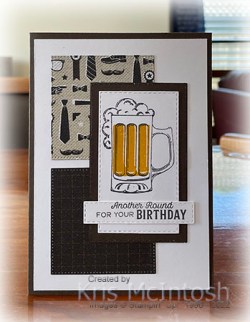
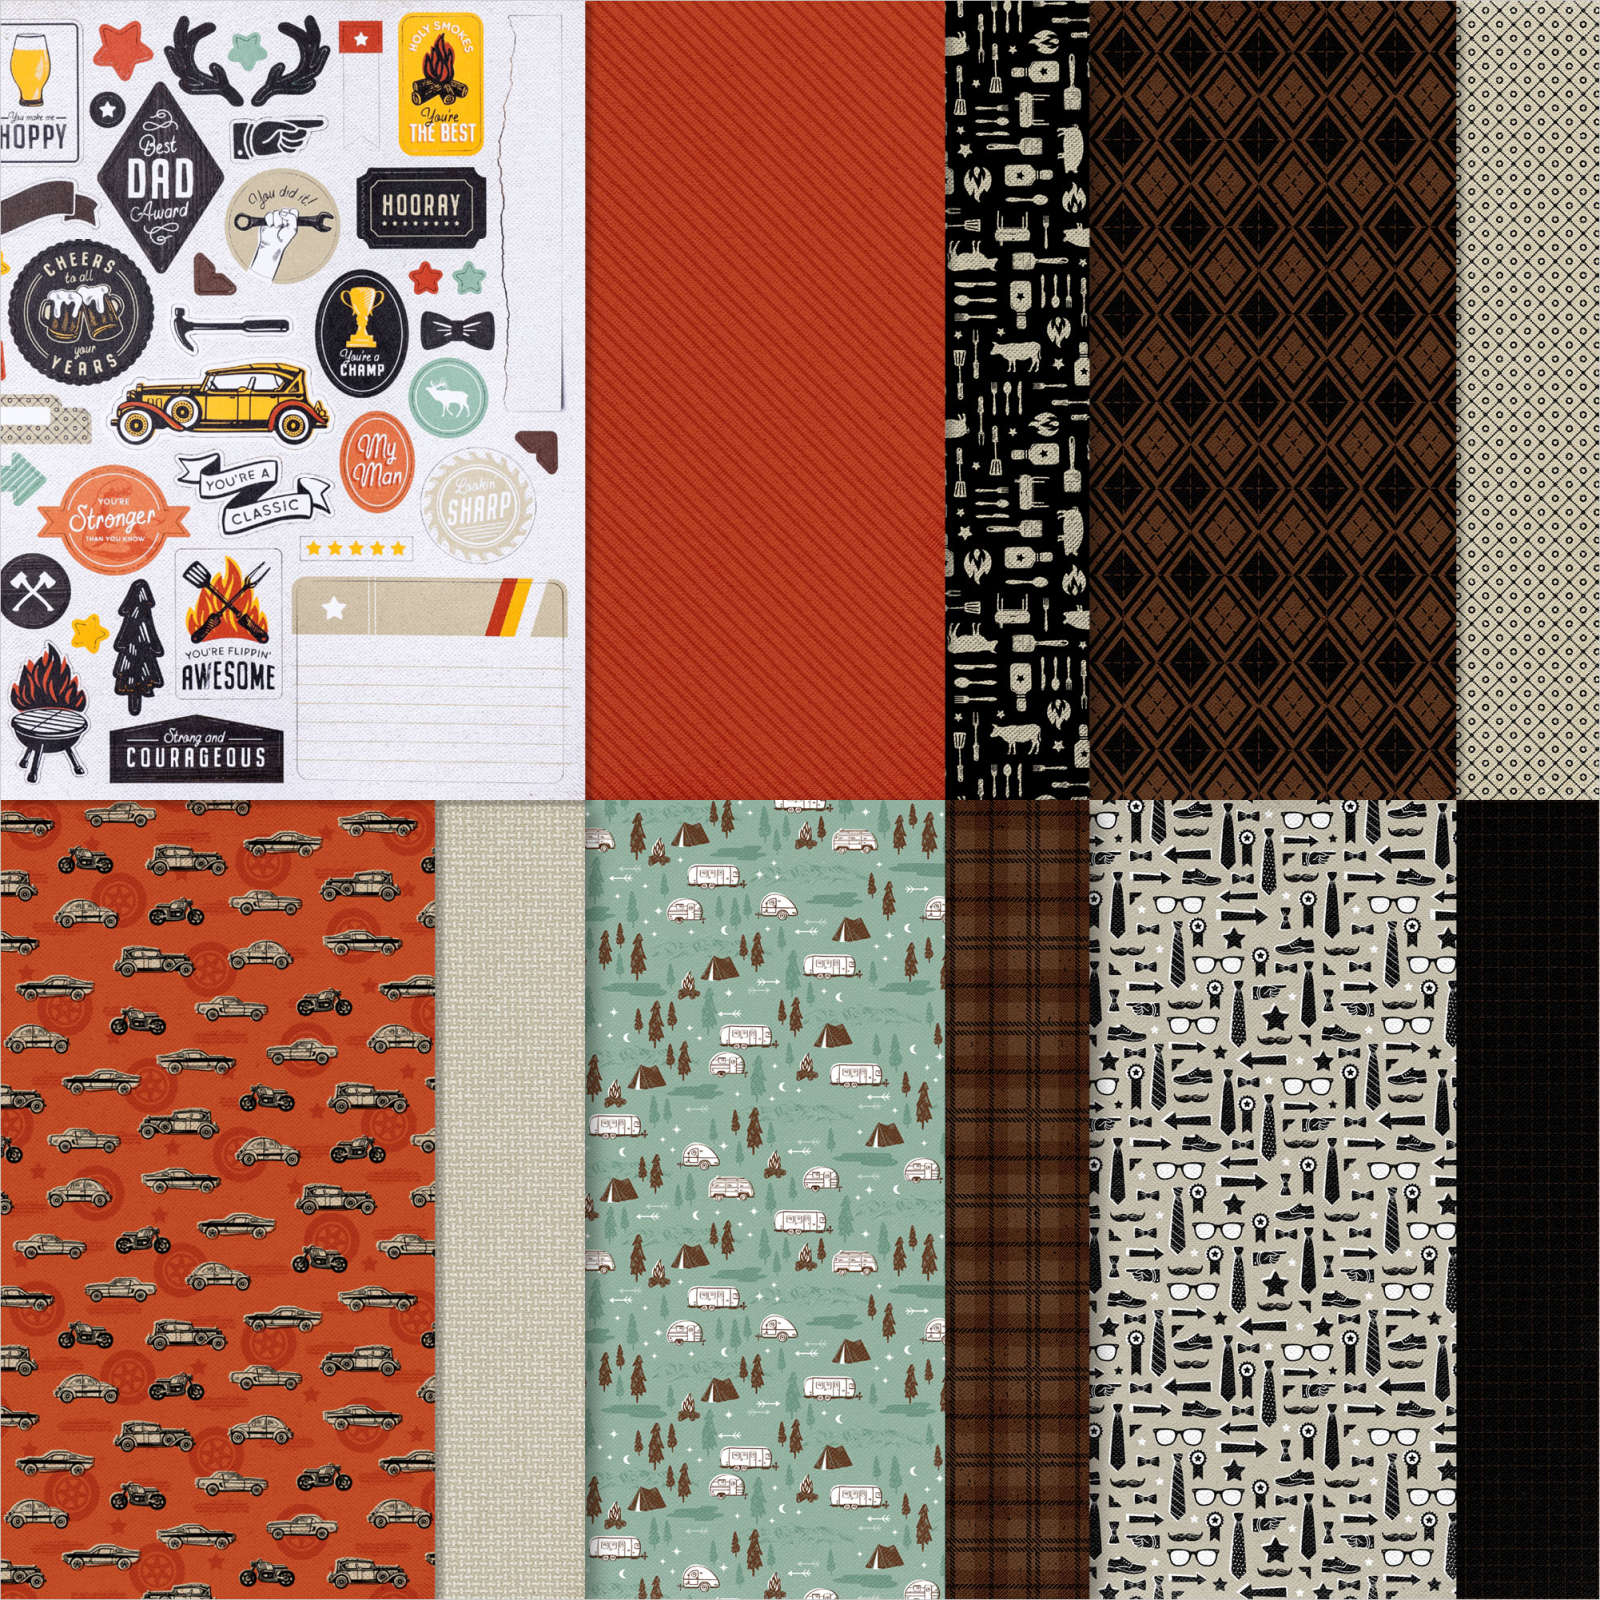
This week in my Facebook Live I shared some cards using the Brewed For You stamp set. Today’s card uses the Brewed For You stamp set and the He’s The Man 12″ x 12″ Specialty Designer Series Paper. I created this card for my husband for his birthday a couple of weeks ago but didn’t want to share until the new catalogue launched. I cut two pieces of the same pattern paper from the He’s The Man Specialty Designer Series Paper using the second largest square from the Stylish Shapes Dies. I attached the squares onto the left hand side of Basic White card. The Basic White panel is attached to scored and folded malEspresso card. I stamped the outline beer mug from the Brewed For You stamp set onto Basic White card using Memento Tuxedo Black ink.
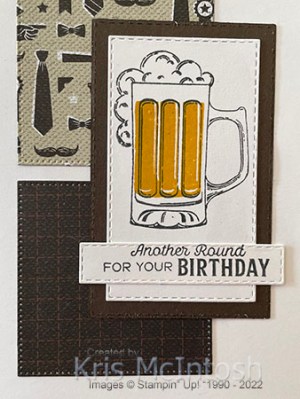
I stamped the fill image from the stamp set using Crushed Curry ink. Lastly I added the foam image from the Brewed For You stamp set using Memento Tuxedo Black ink before cutting out the image using one of the Stitched Rectangle Dies. I attached the image panel to an Early Espresso stitched rectangle and then the card front.
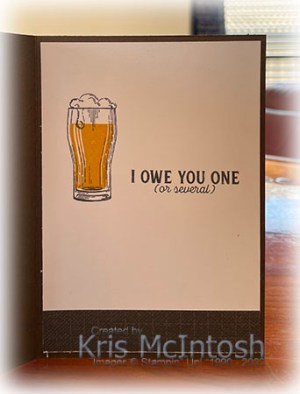
I stamped the greeting from the Brewed For You stamp set onto Basic White card using Memento Tuxedo Black ink and cut it out using one of the Stitched Rectangle Dies. I attached the greeting across the bottom of the stamped Basic White panel. To decorate the inside of the card, I attached a narrow strip of the He’s The Man Specialty Designer Series Paper across the bottom of Basic White card. I stamped the outline beer glass from the Brewed For You stamp set onto the panel using Memento Tuxedo Black ink. I added the fill image using Crushed Curry ink and the foam image using Memento Tuxedo Black ink. I stamped another greeting from the Brewed For You stamp set beside the beer glass using Memento Tuxedo Black ink.
Wow, what a fun set. I just love the images and the fun cards you can make for someone special. I’d love to hear what you think.
Bye for now,
Kris
Product Used:

Beachy Birthday

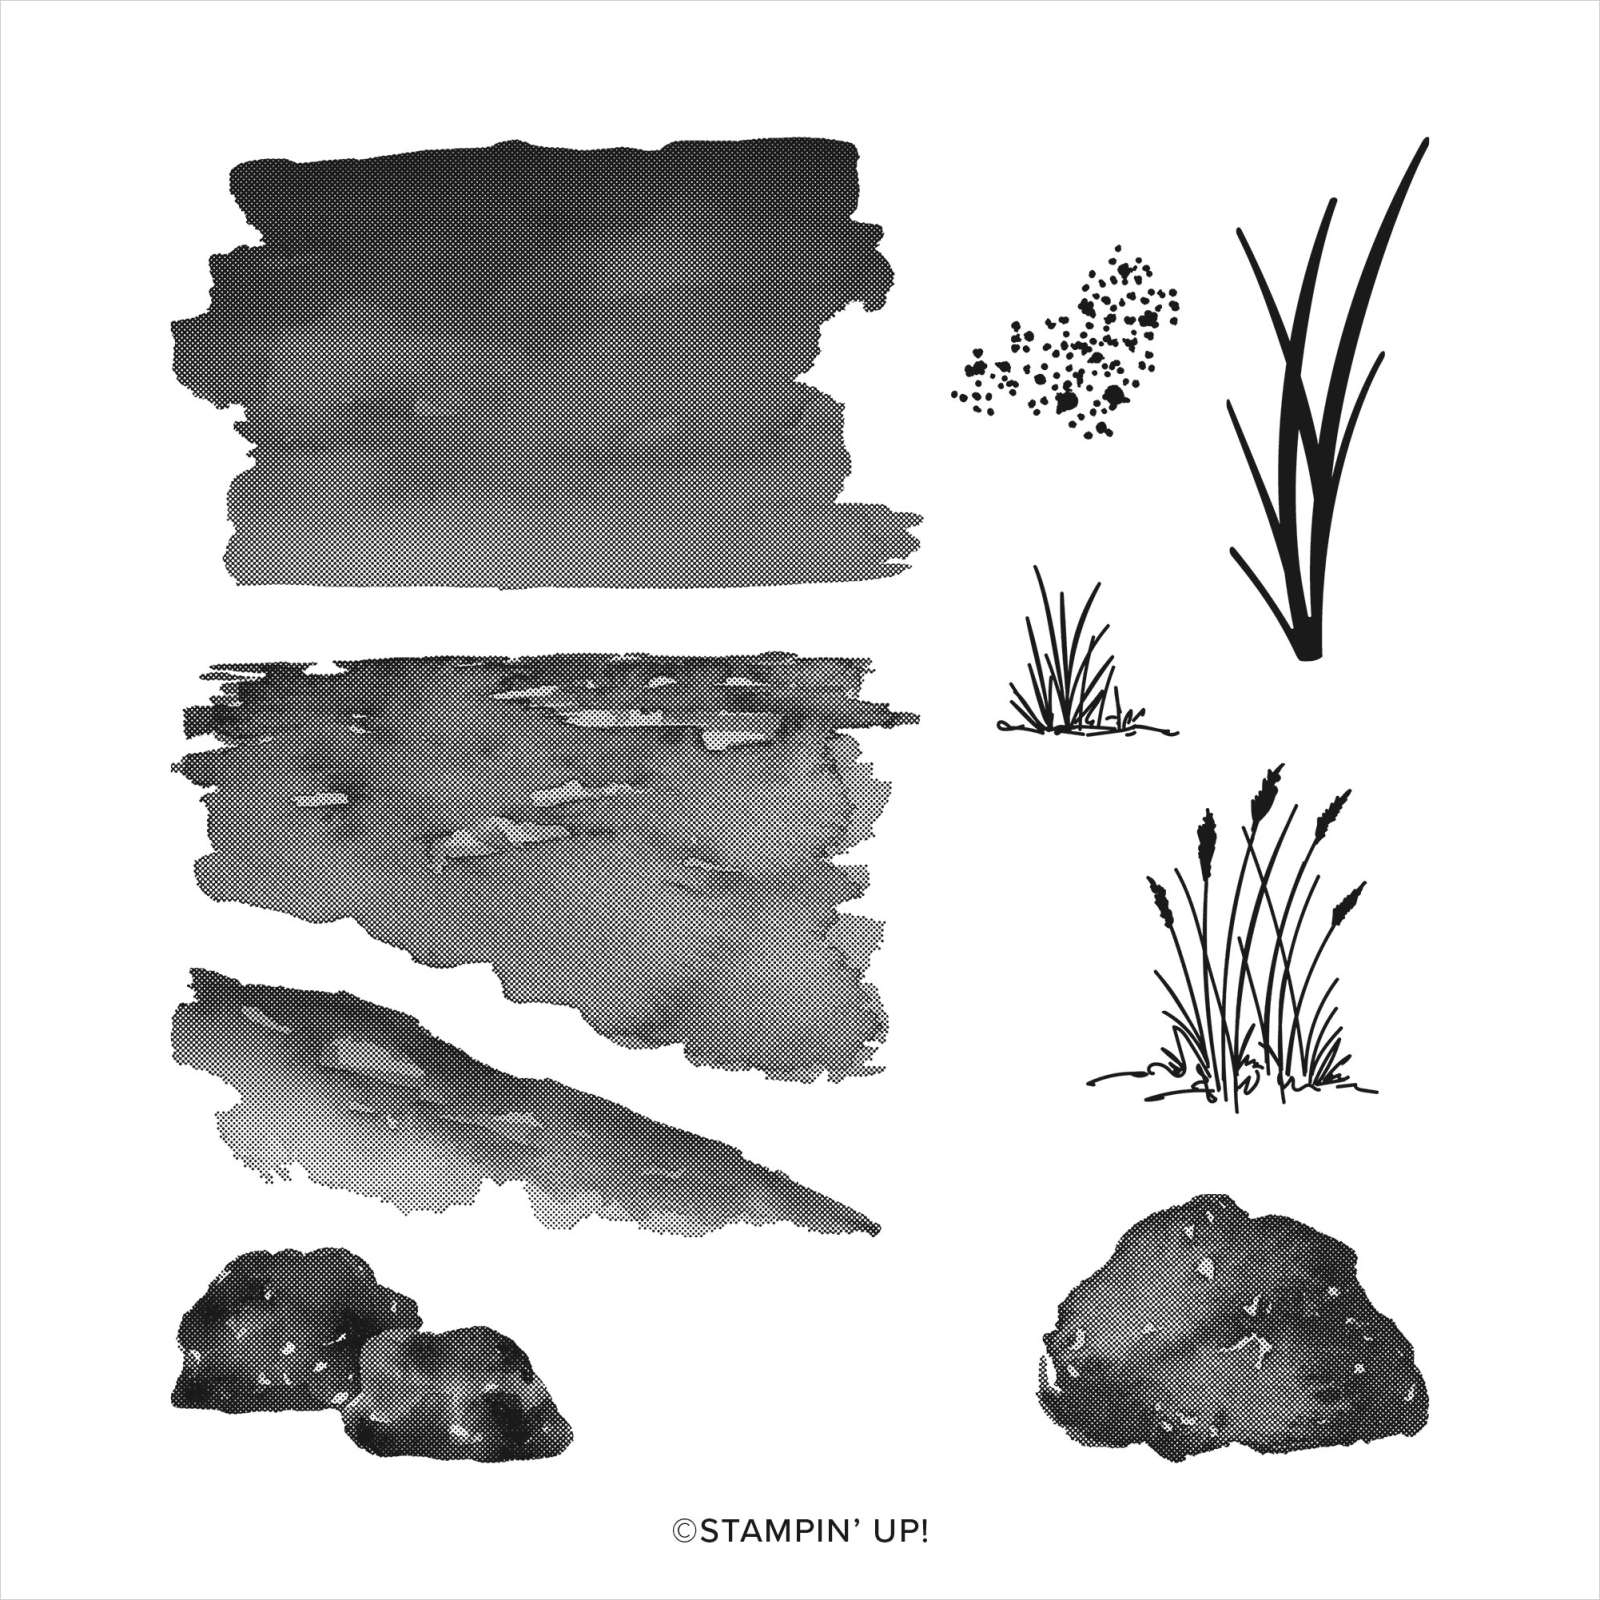
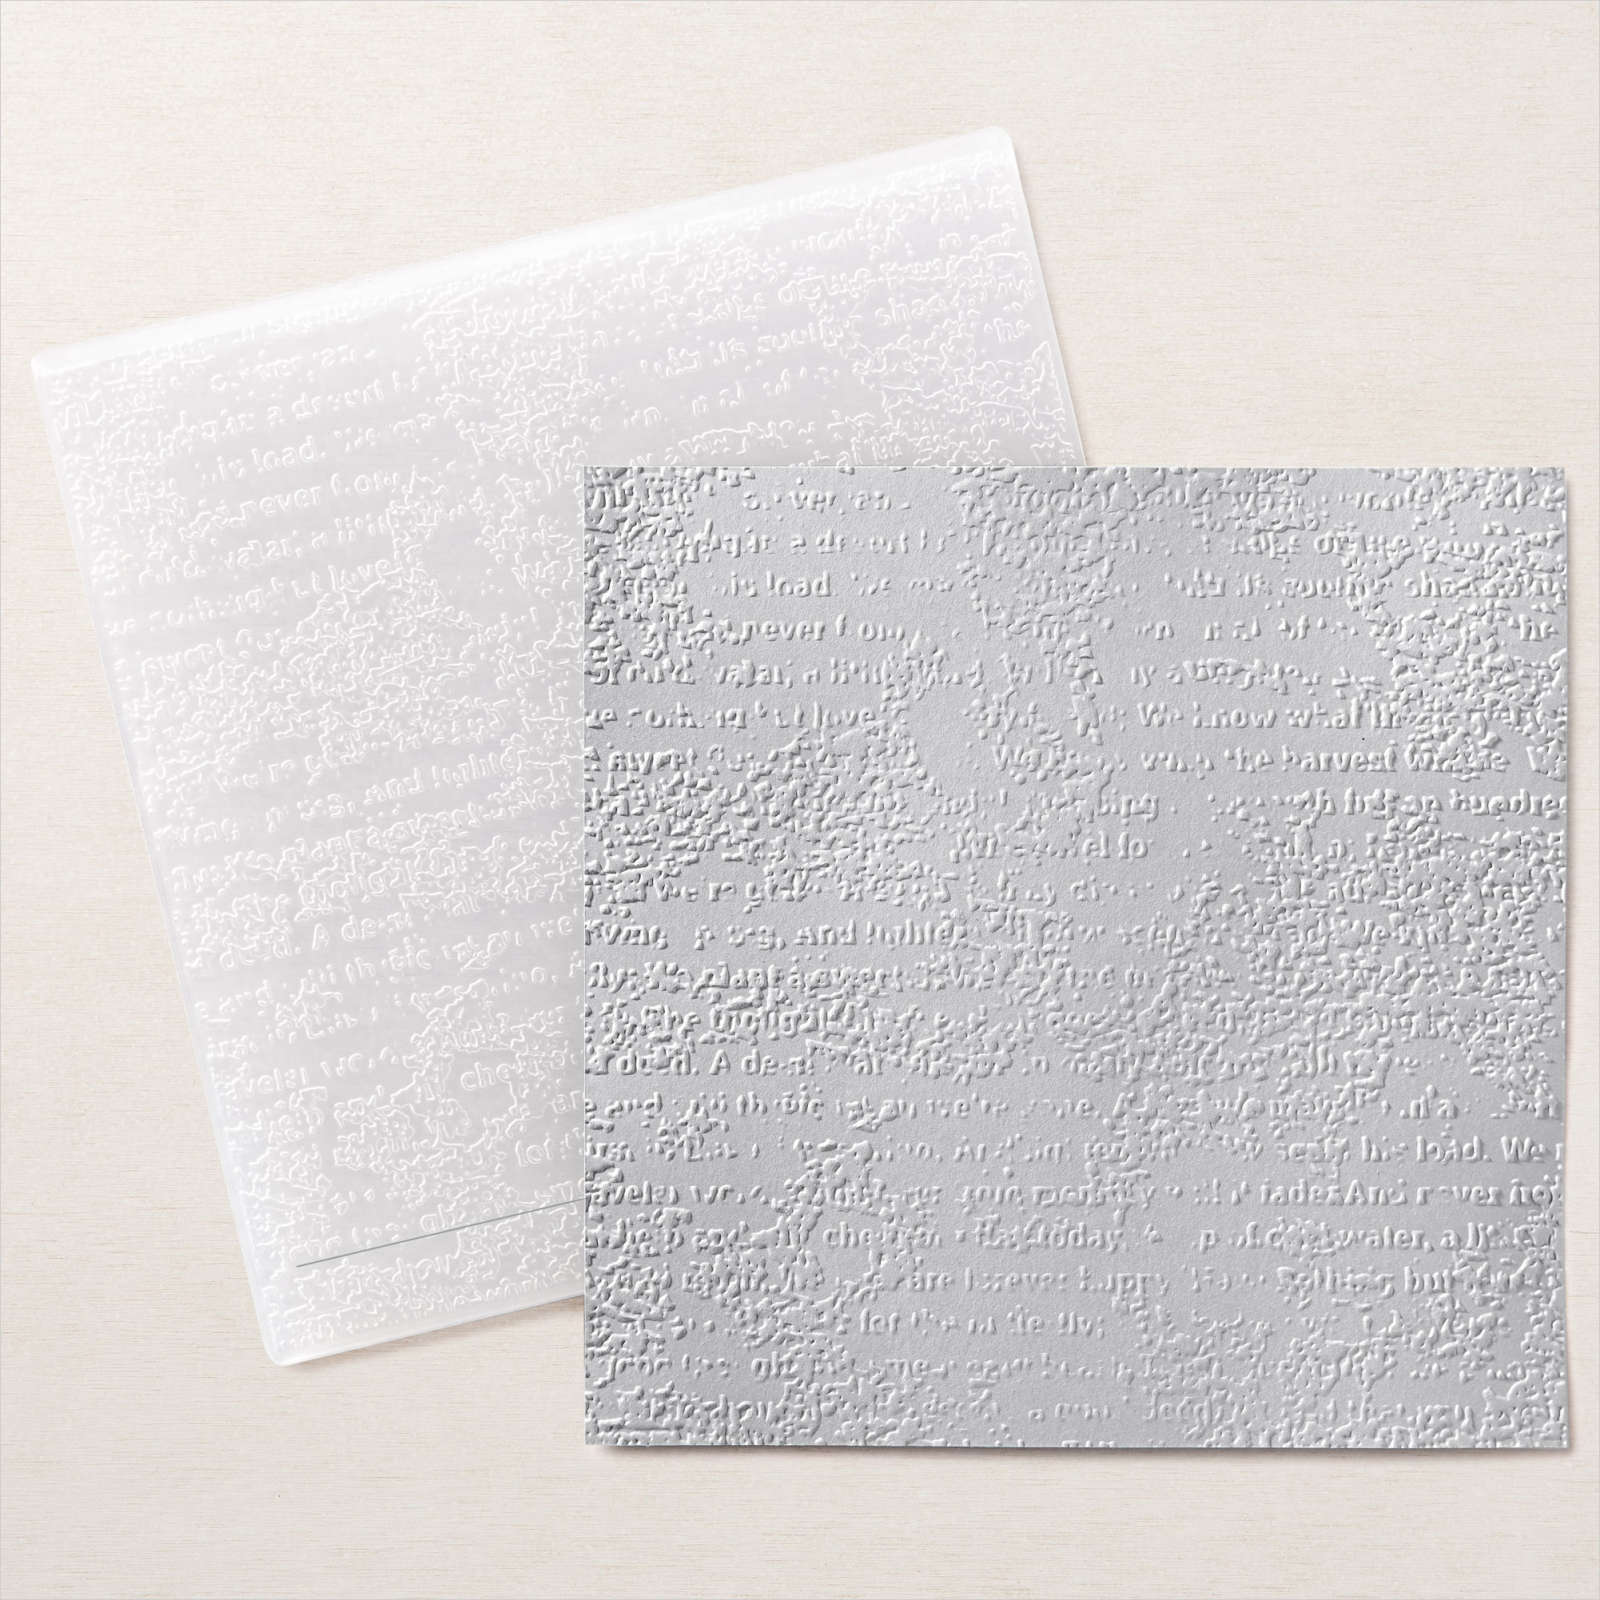
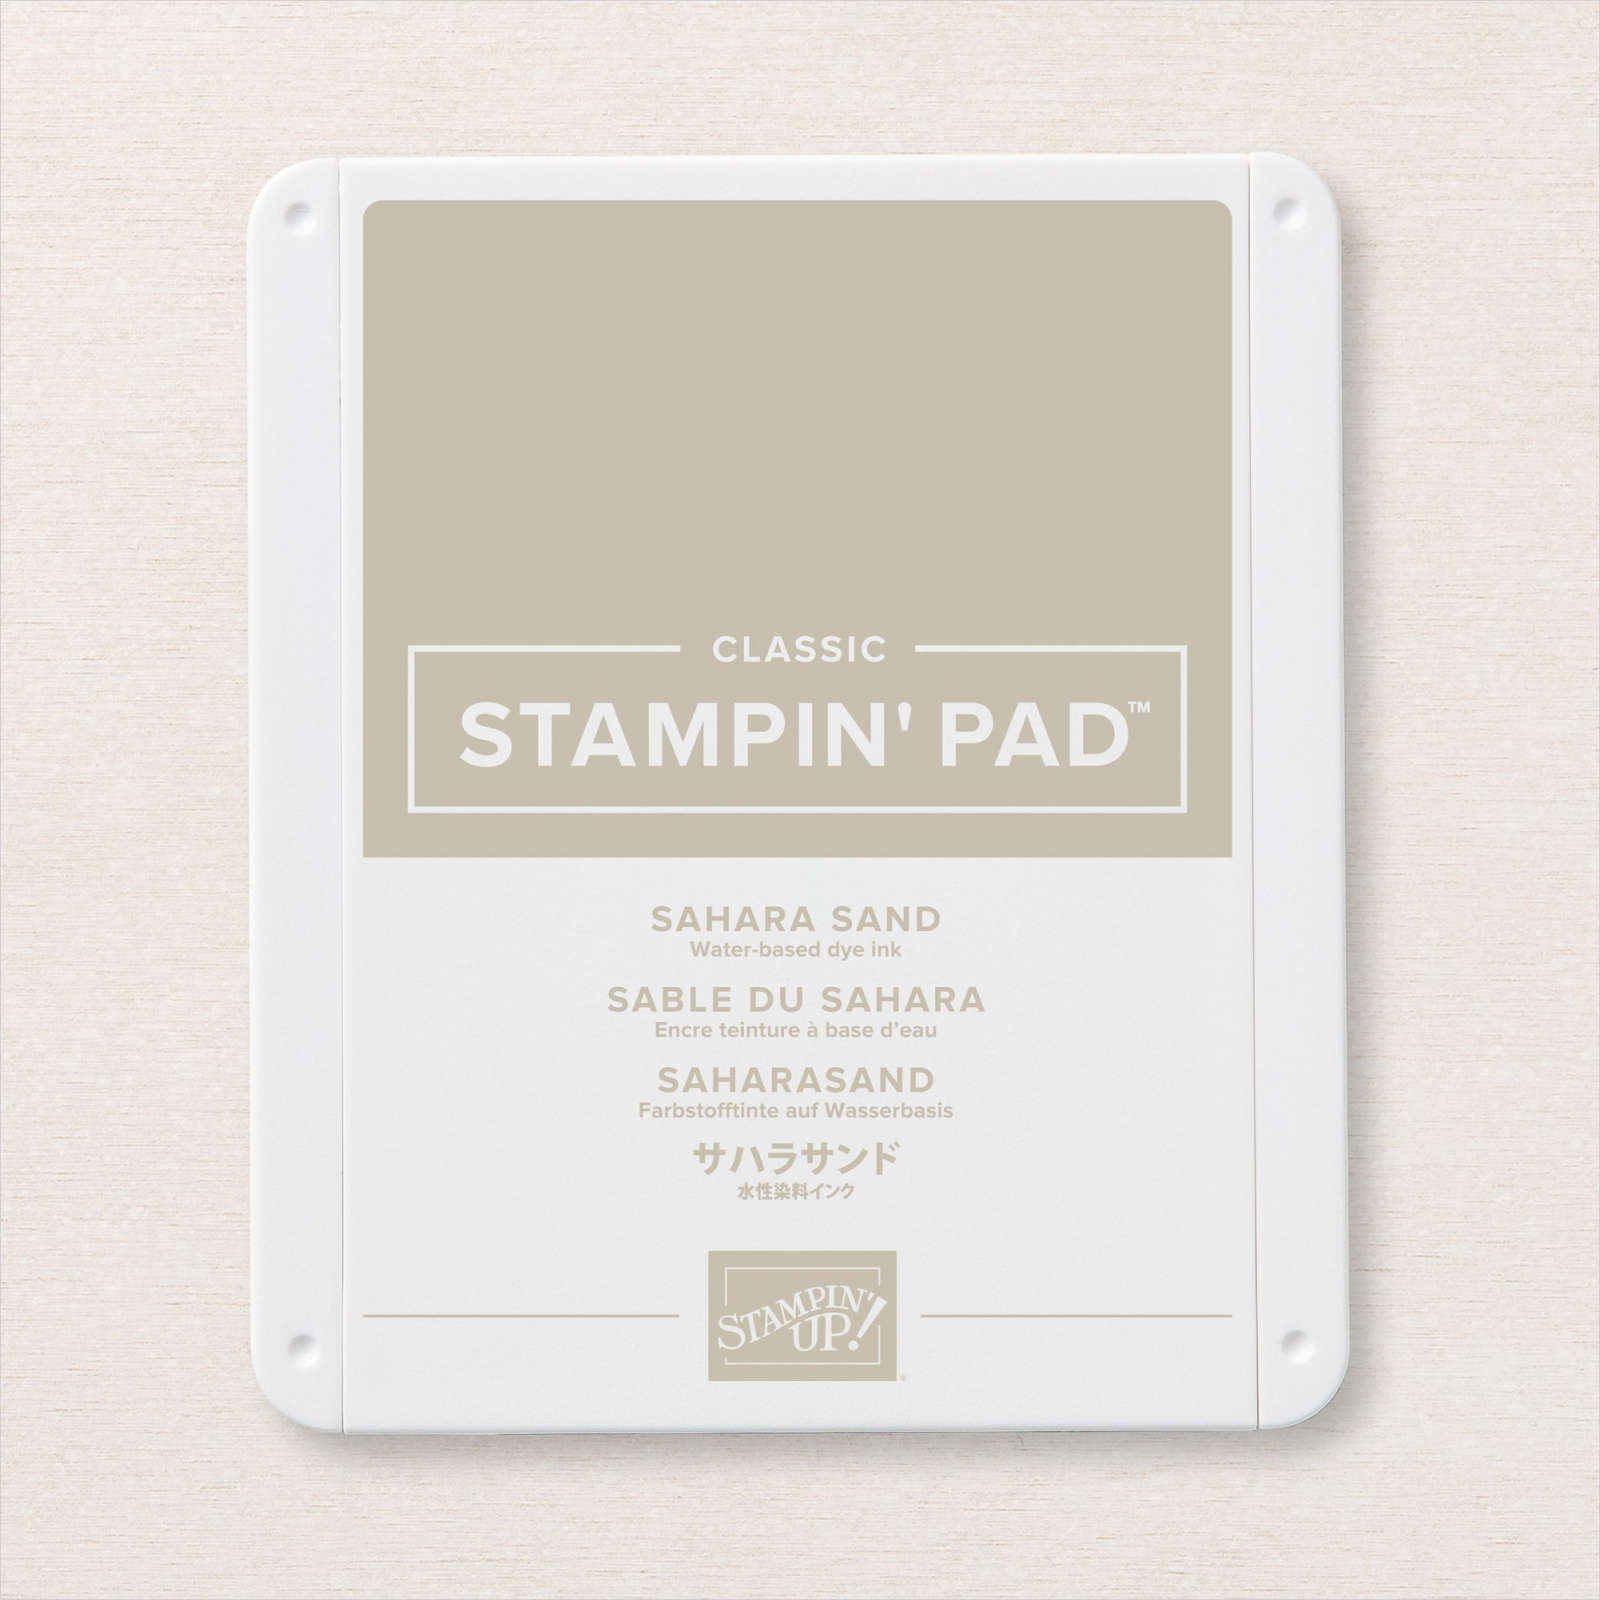
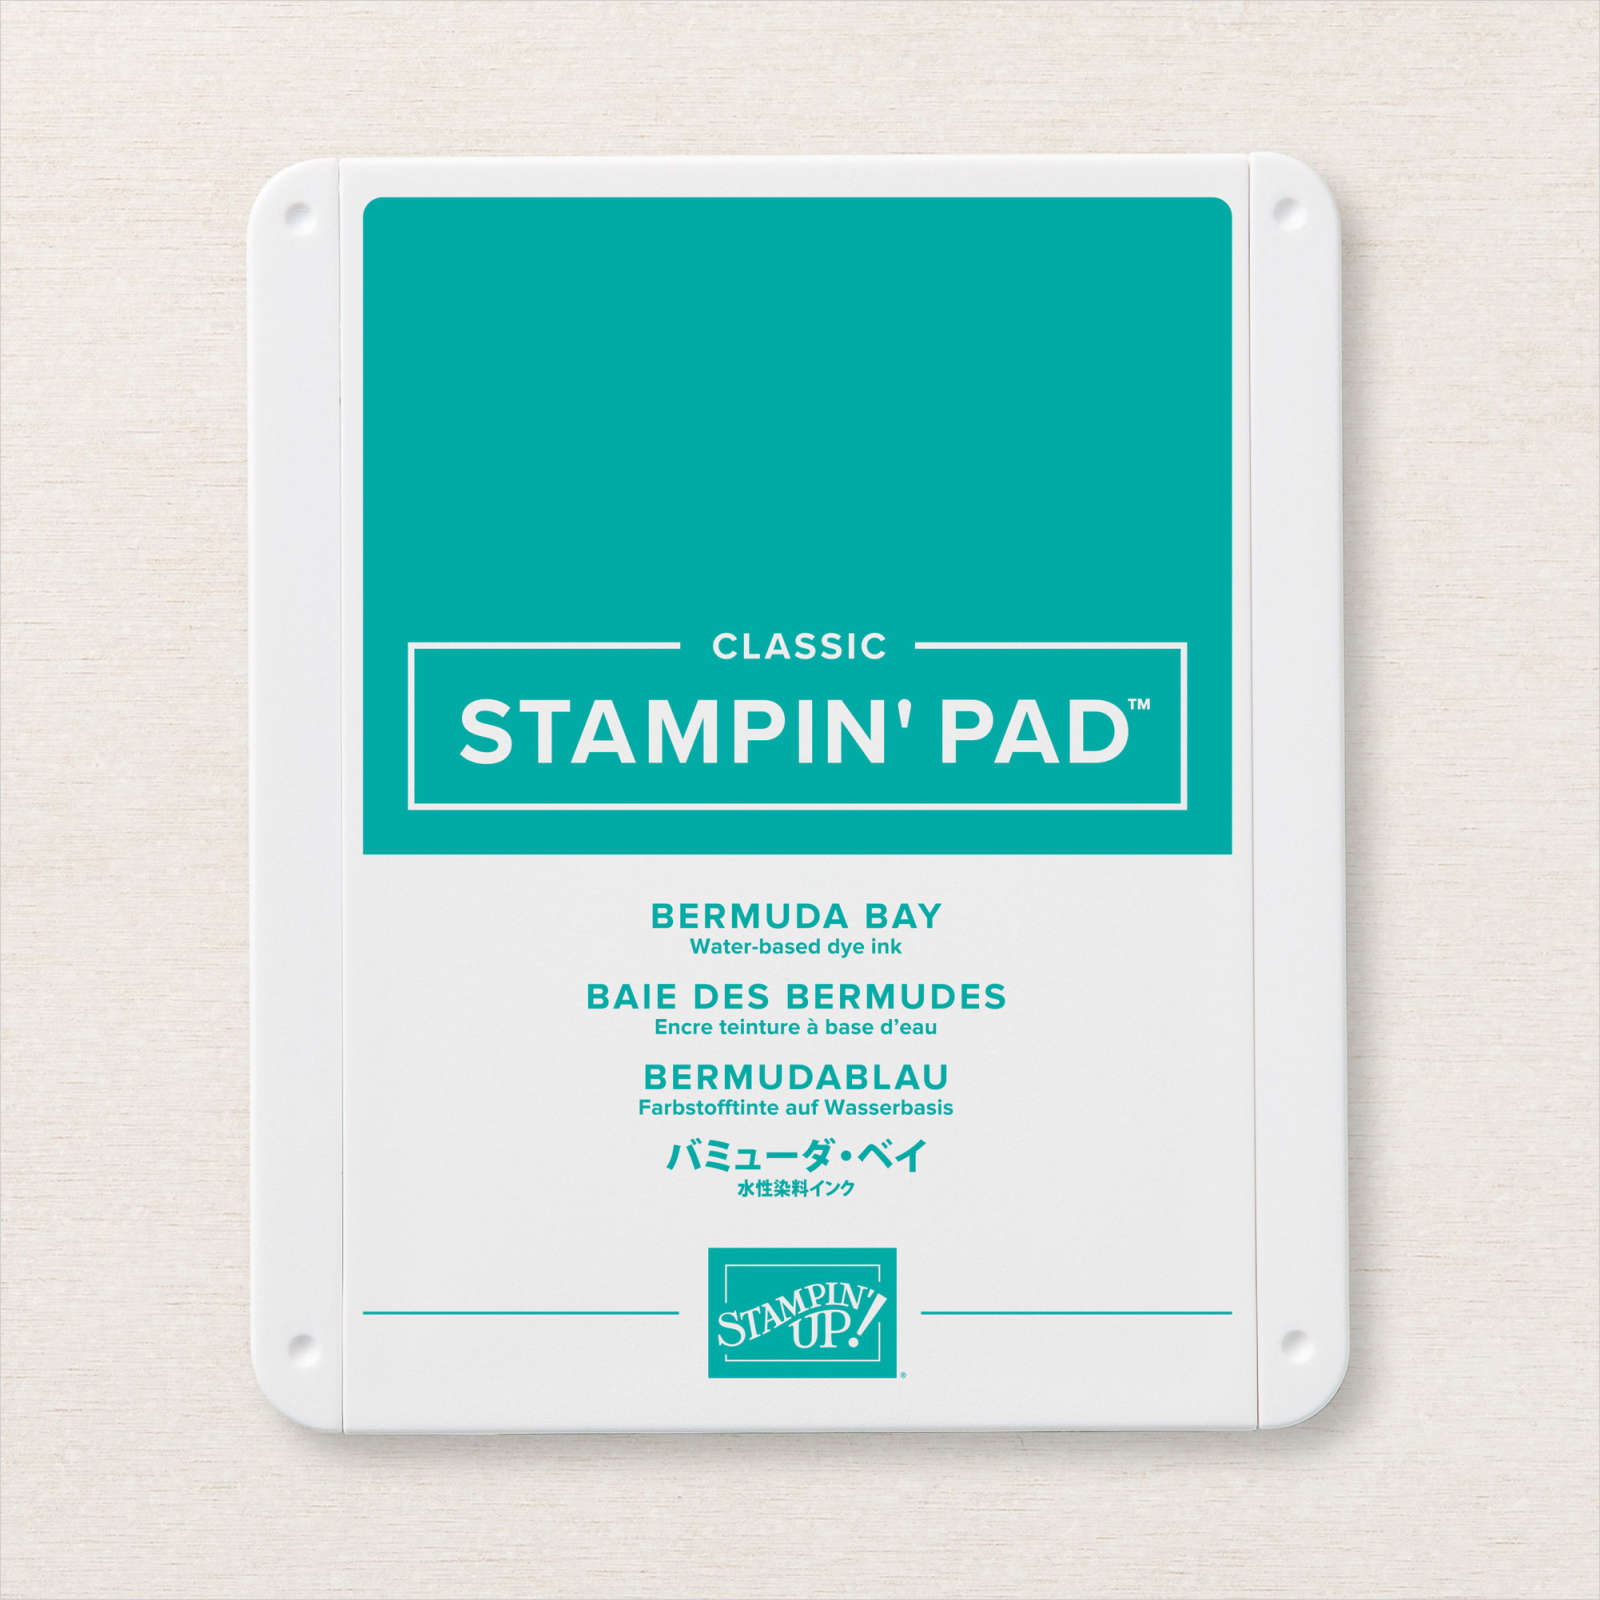
My youngest grandson is celebrating his birthday today and I thought I would share his card with you. I embossed Basic White card using the Timeworn Type 3D Embossing Folder and attached it to scored and folded Bermuda Bay card. I stamped the “sand” image from the Oceanfront stamp set across the bottom of Basic White card using Sahara Sand ink. I stamped the “rock” image from the Oceanfront stamp set onto the “sand” using Sahara Sand ink. I stamped the “ocean” image from the Oceanfront stamp set onto the Basic White card using Bermuda Bay ink.
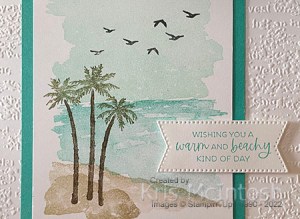
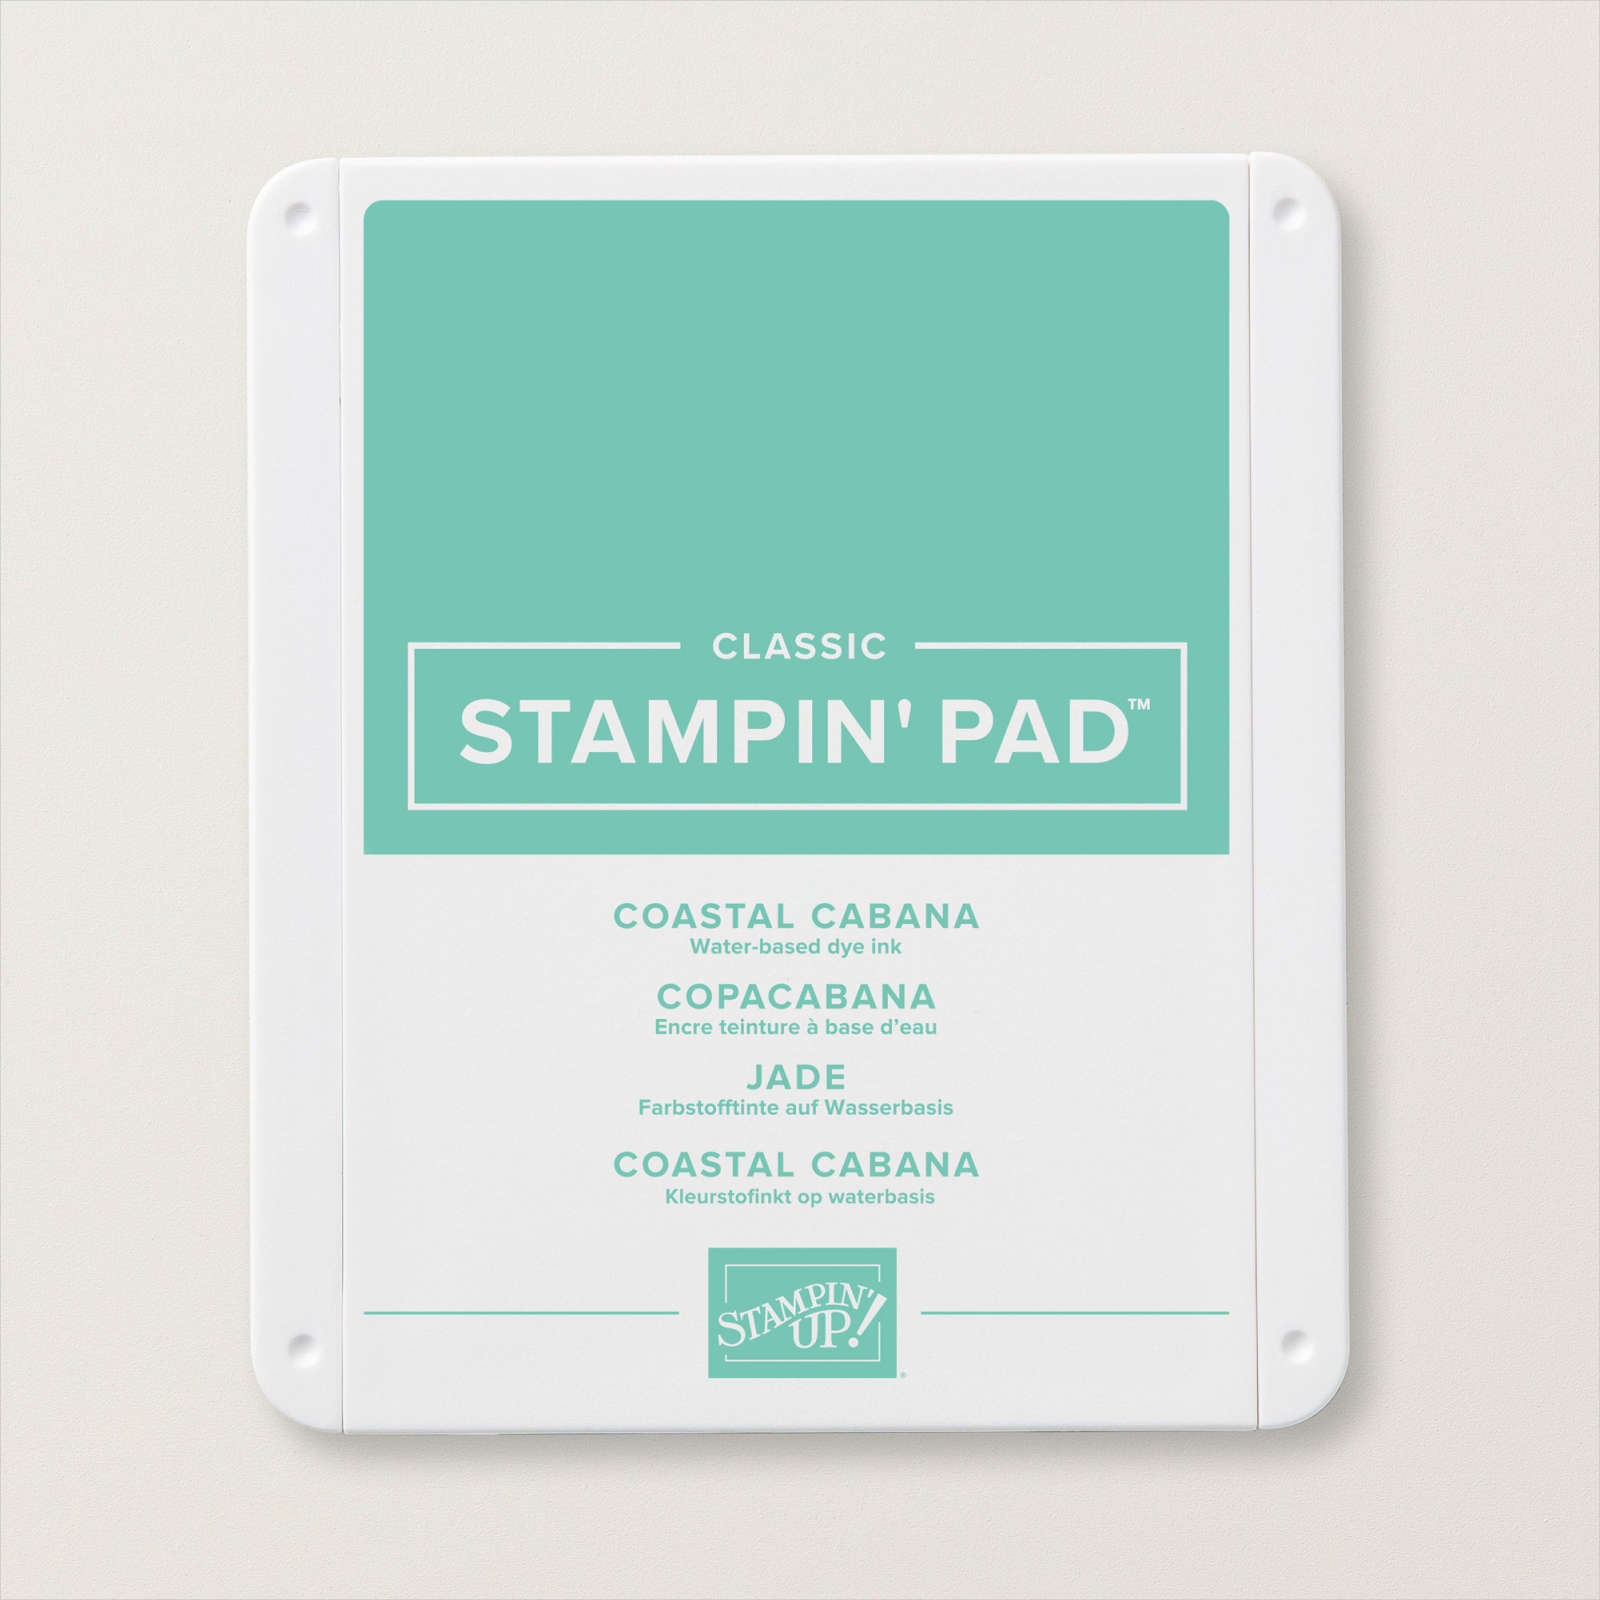
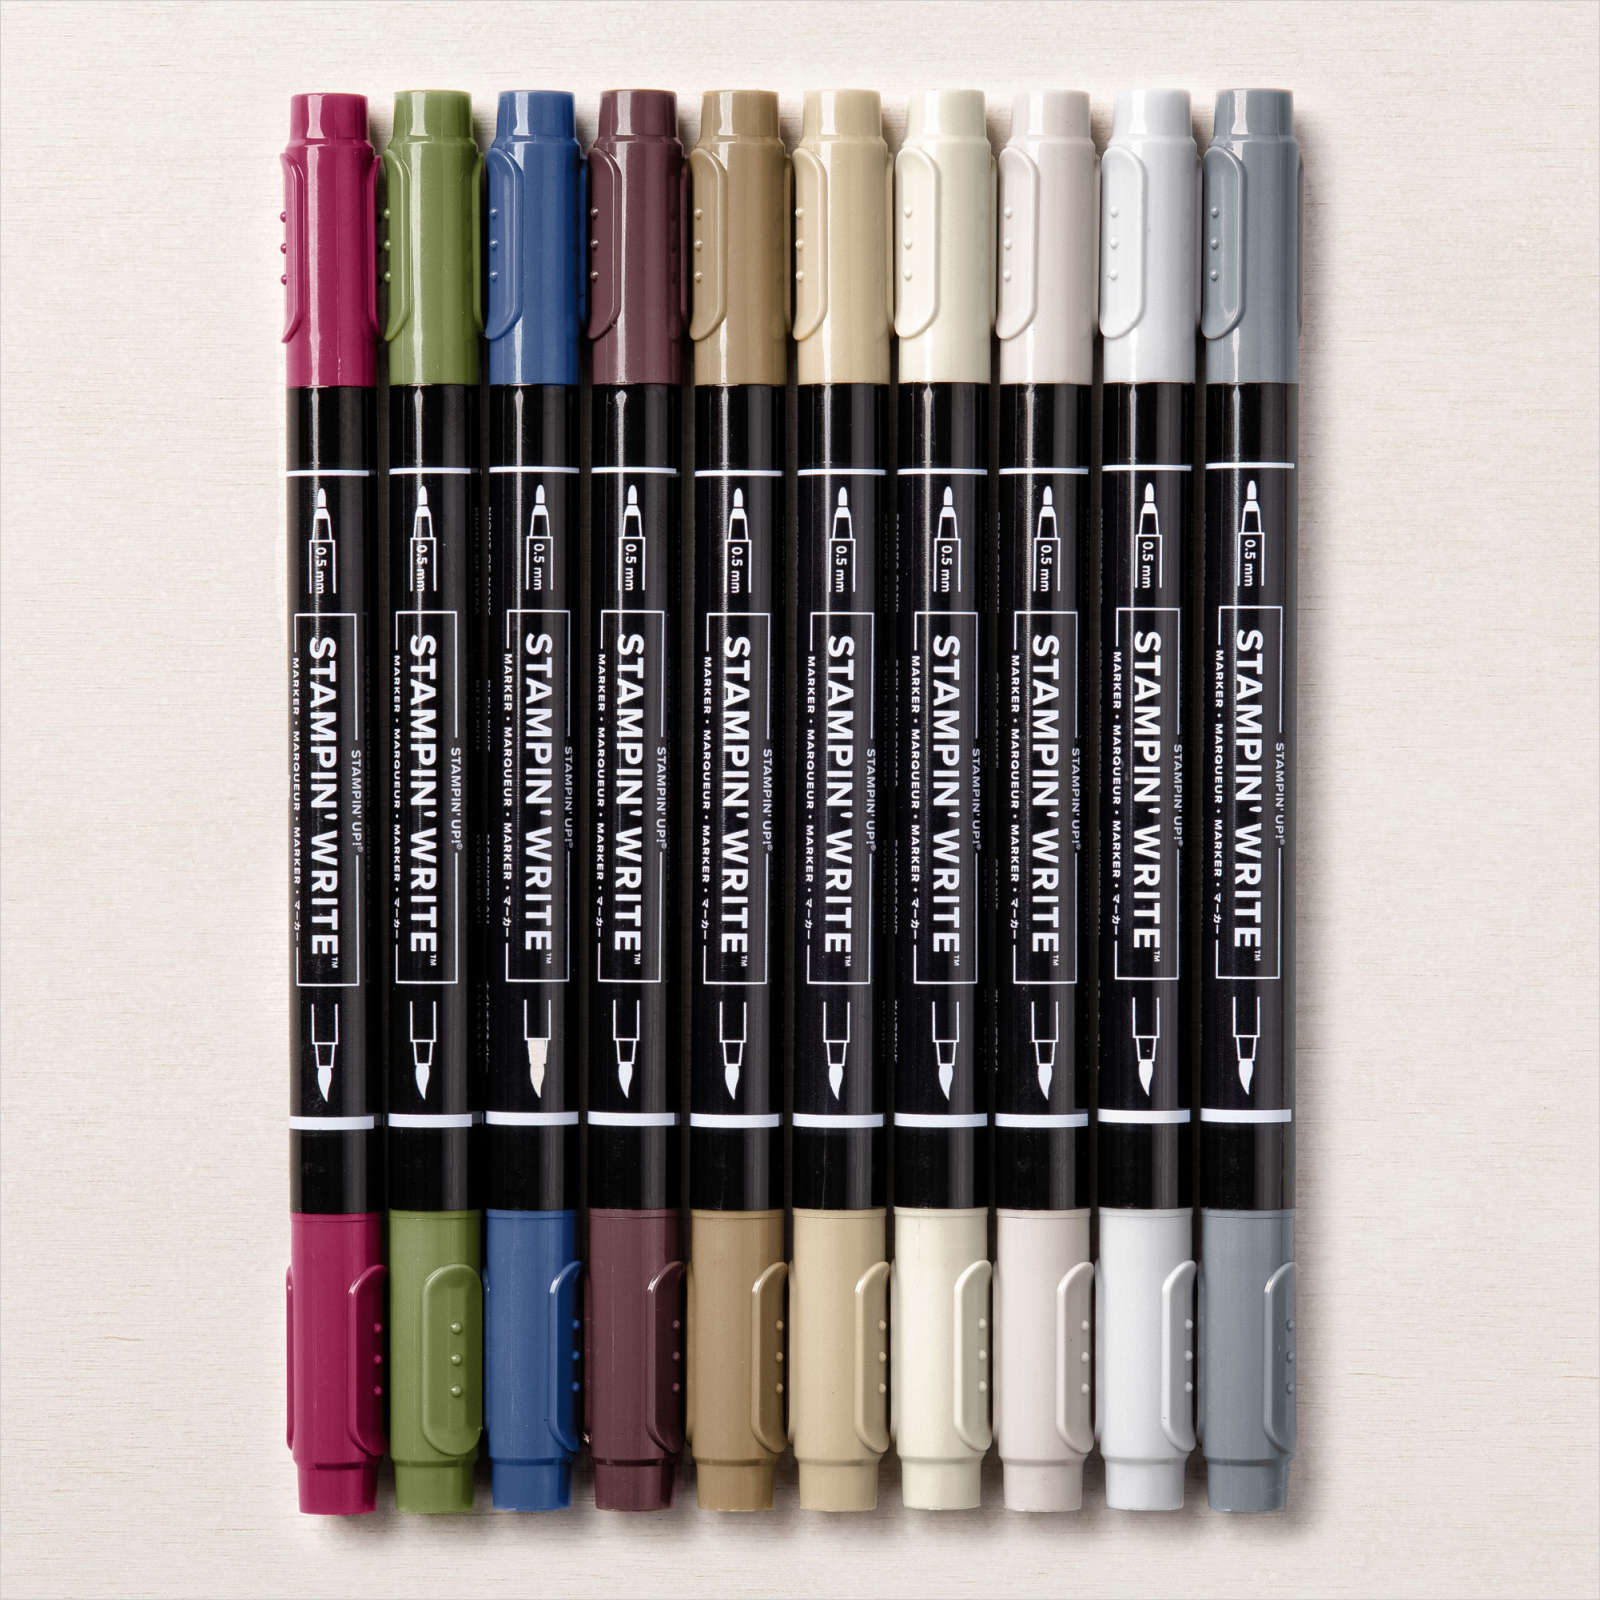
I stamped the “sky”image from the Oceanfront stamp set onto the Basic White card using Coastal Cabana ink. I inked the palm tree image from the Paradise Palms stamp set using an Early Espresso and a Mossy Meadow Stampin’ Write Marker and stamped it onto the “sand” image. I stamped the bird image from the New Horizon stamp set onto the “sky” using Memento Tuxedo Black ink. I attached the stamped Basic White panel to Bermuda Bay card and then the card front.
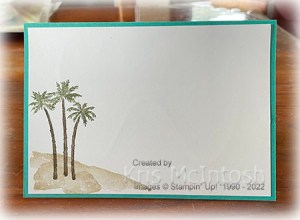
I stamped the greeting from the Paradise Palms stamp set onto Basic White card using Bermuda Bay ink. I cut out the image using one of the banners from the Stylish Shapes Dies. The greeting is attached to the card front using dimensionals. To decorate the inside of the card I stamped the “sand” and “rock” images from the Oceanfront stamp set onto the lower left hand corner of Basic White card. I stamped the palm trees from the Paradise Palms stamp set using the same Stampin’ Write Markers as before.
Such a fun card to create and one I know that my grandson will love. Let me know what you think.
Bye for now,
Kris
Product Used:
You can find the Stylish Shapes Dies here in my online store.



Happy Mother’s Day

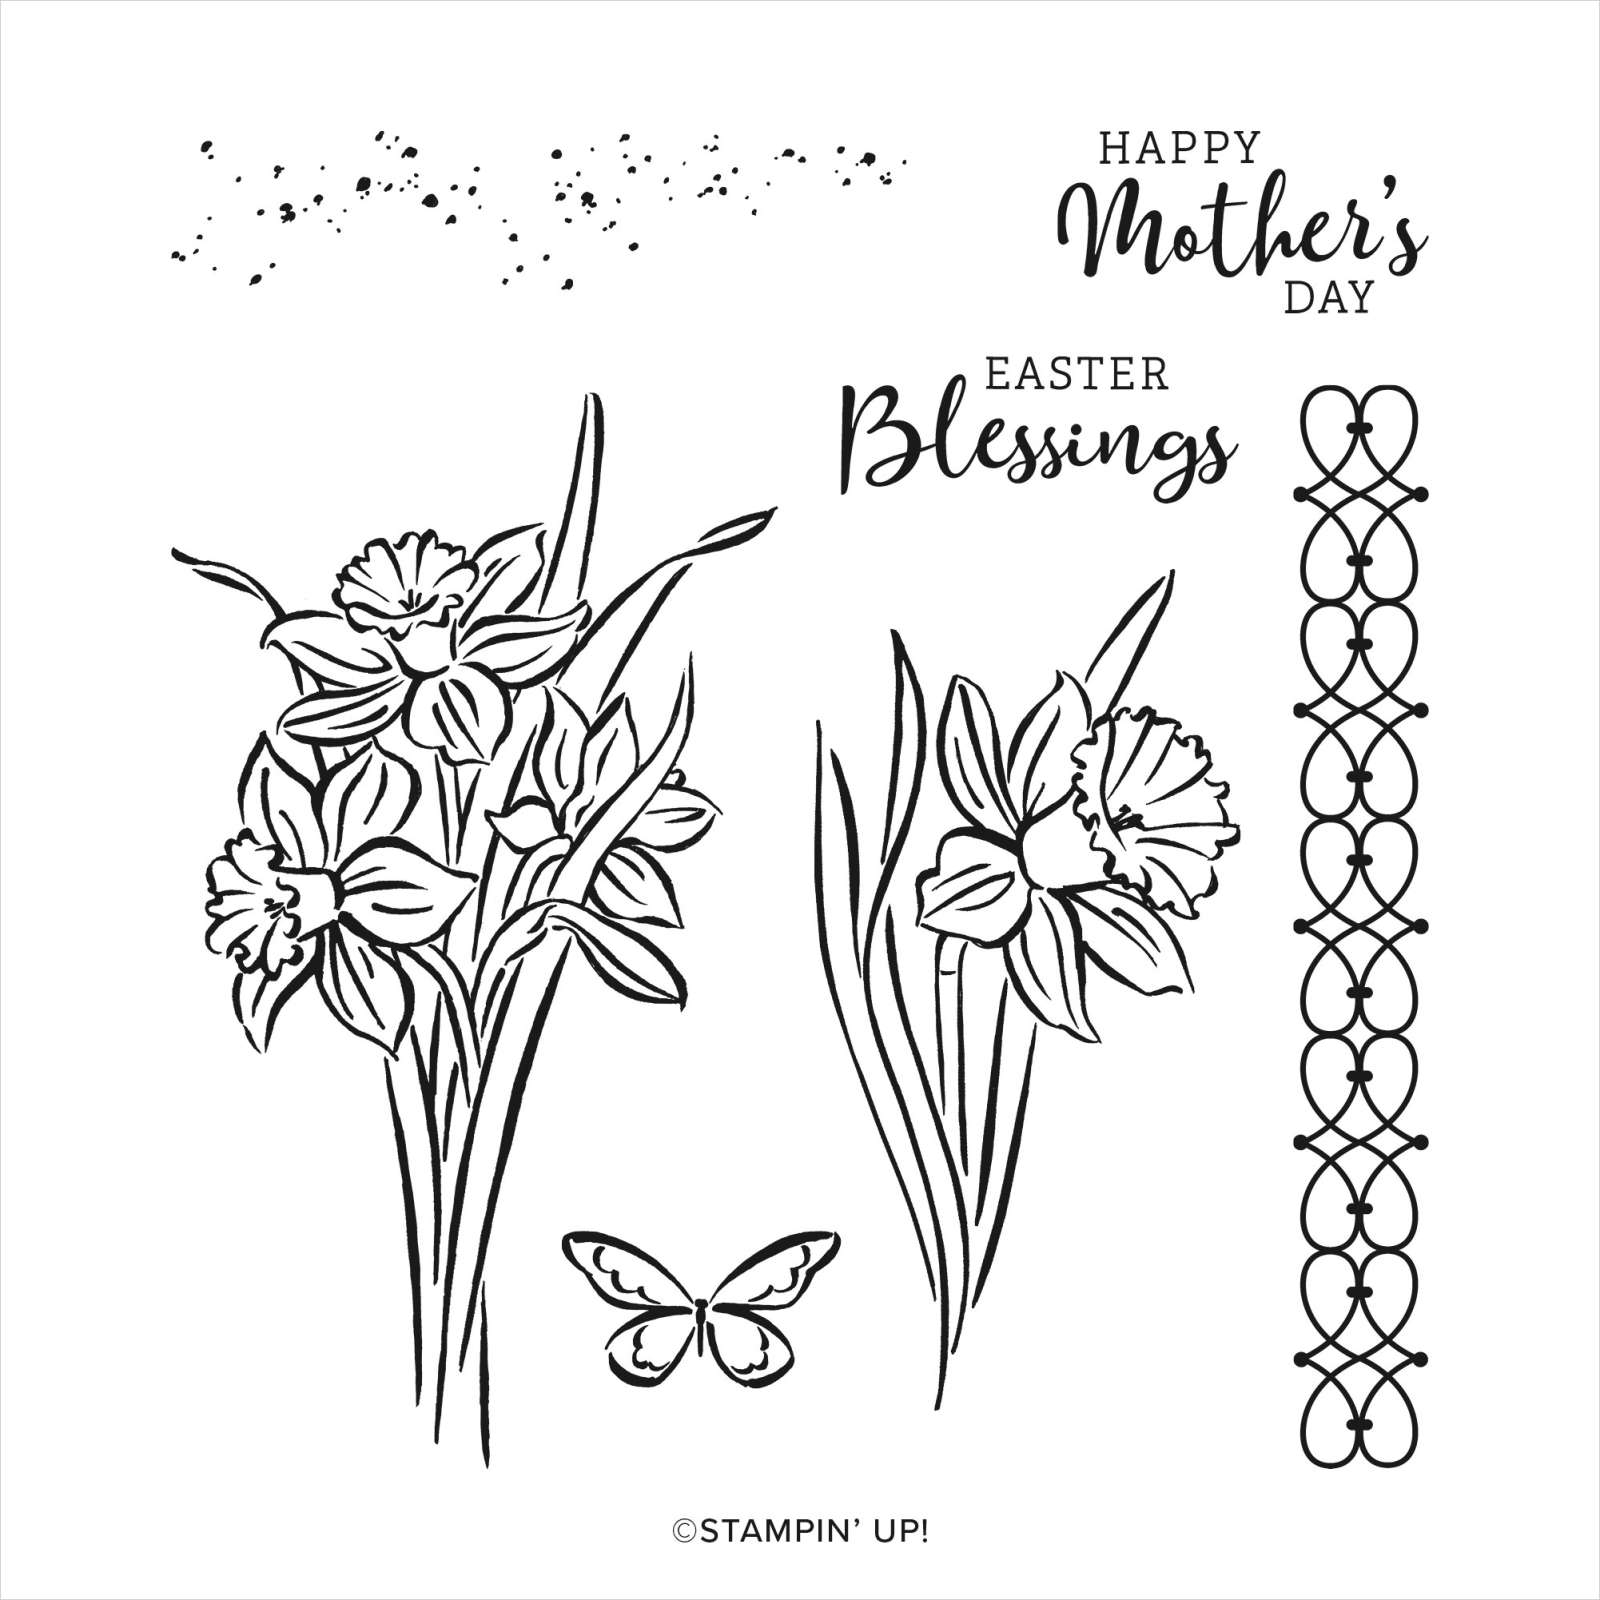
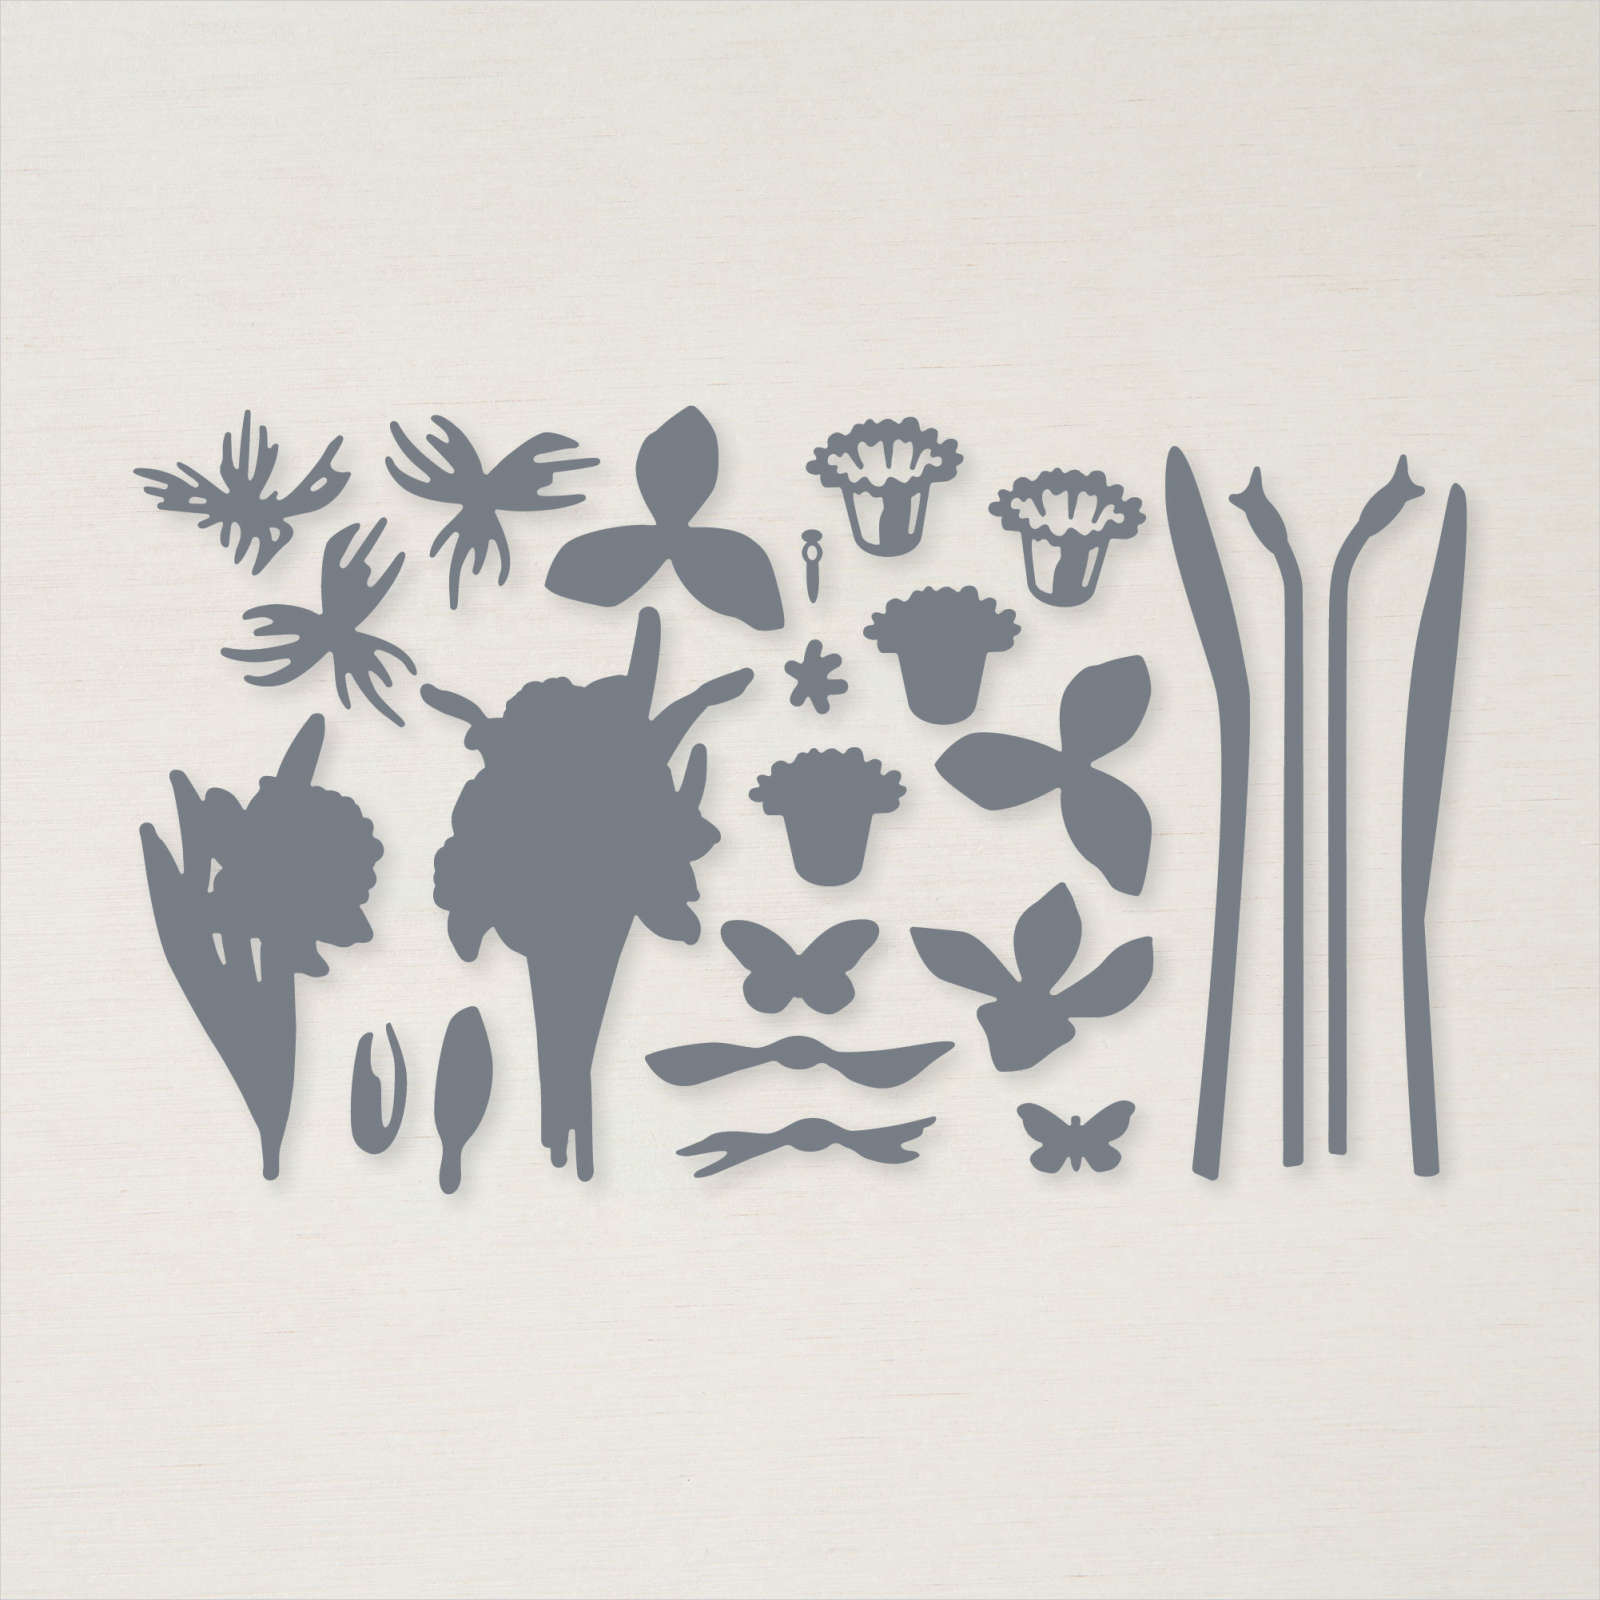
I made this card some time ago whilst waiting for my pre-order to arrive. I did CASE the new catalogue and you can find the example on page 20. I liked this card so much I haven’t shared until now because I wanted to give it to my Mum. I stamped the border image from the Daffodil Daydream stamp set across Fresh Freesia card using Rich Razzleberry ink before attaching it to scored and folded Thick Basic White card. I cut Rich Razzleberry card using two of the Stitched Rectangle Dies to create an open rectangle which I attached to the stamped Fresh Fressia card. I cut three sets of leaf/stems from Granny Apple Green card using the Daffodil Dies and attached them to the card front.
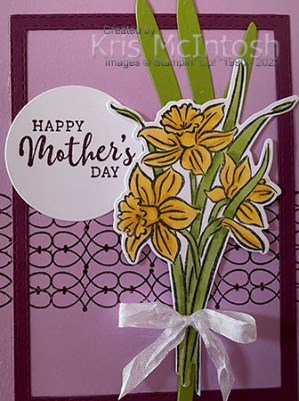
I layered the stems so that it looks like a bouquet. I stamped the large floral image from the Daffodil Daydream stamp set onto Basic White card using Memento Tuxedo Black ink. I coloured the image using Daffodil Delight and Granny Apple Green Stampin’ Blends and cut it out using the co-ordinating Daffodil Die. I wrapped the stem of the floral image using White Crinkled Ribbon and tied a bow.

The floral image is attached over the die cut leaf/stems. I stamped the greeting from the Daffodil Daydream stamp set onto Basic White card using Rich Razzleberry ink and cut it out using one of the Layering Circle Dies. I attached the greeting to the card front, slightly tucking it beneath the floral bouquet. To decorate the inside of the card, I stamped the border from the Daffodil Daydream stamp set across the bottom of Basic White card using Rich Razzleberry ink. I stamped the small floral image from the Daffodil Daydream stamp set onto Basic White card and coloured it using Daffodil Delight and Granny Apple Green Stampin’ Blends. I cut out the image using the co-ordinating Daffodil Die and attached it to the lower left hand corner of the stamped Basic White card.
As I said I loved this card and gave it to my Mother for Mother’s Day. If you check the catalogue on page 20 you will see that my version is slightly different but totally inspired by the version in the catalogue.
Bye for now,
Kris
Product Used:


Anzac Day
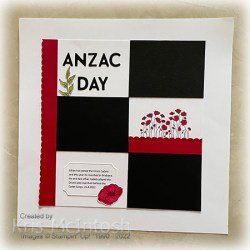
Today’s page was created to hold some photos taken at this year’s Anzac Day march. My grandson is an Air Force Cadet and has joined the Drum Corps. He marched with the Cadet Corps in Brisbane and played the drum. Unfortunately the Air Force Cadets do not want photos displayed on the internet, so I added them after I took the photos for this post. I began by attaching three pieces of Basic Black card to a square of Basic White card. I cut the edge of the two pieces of Real Red card using one of the Scalloped Contours Dies.

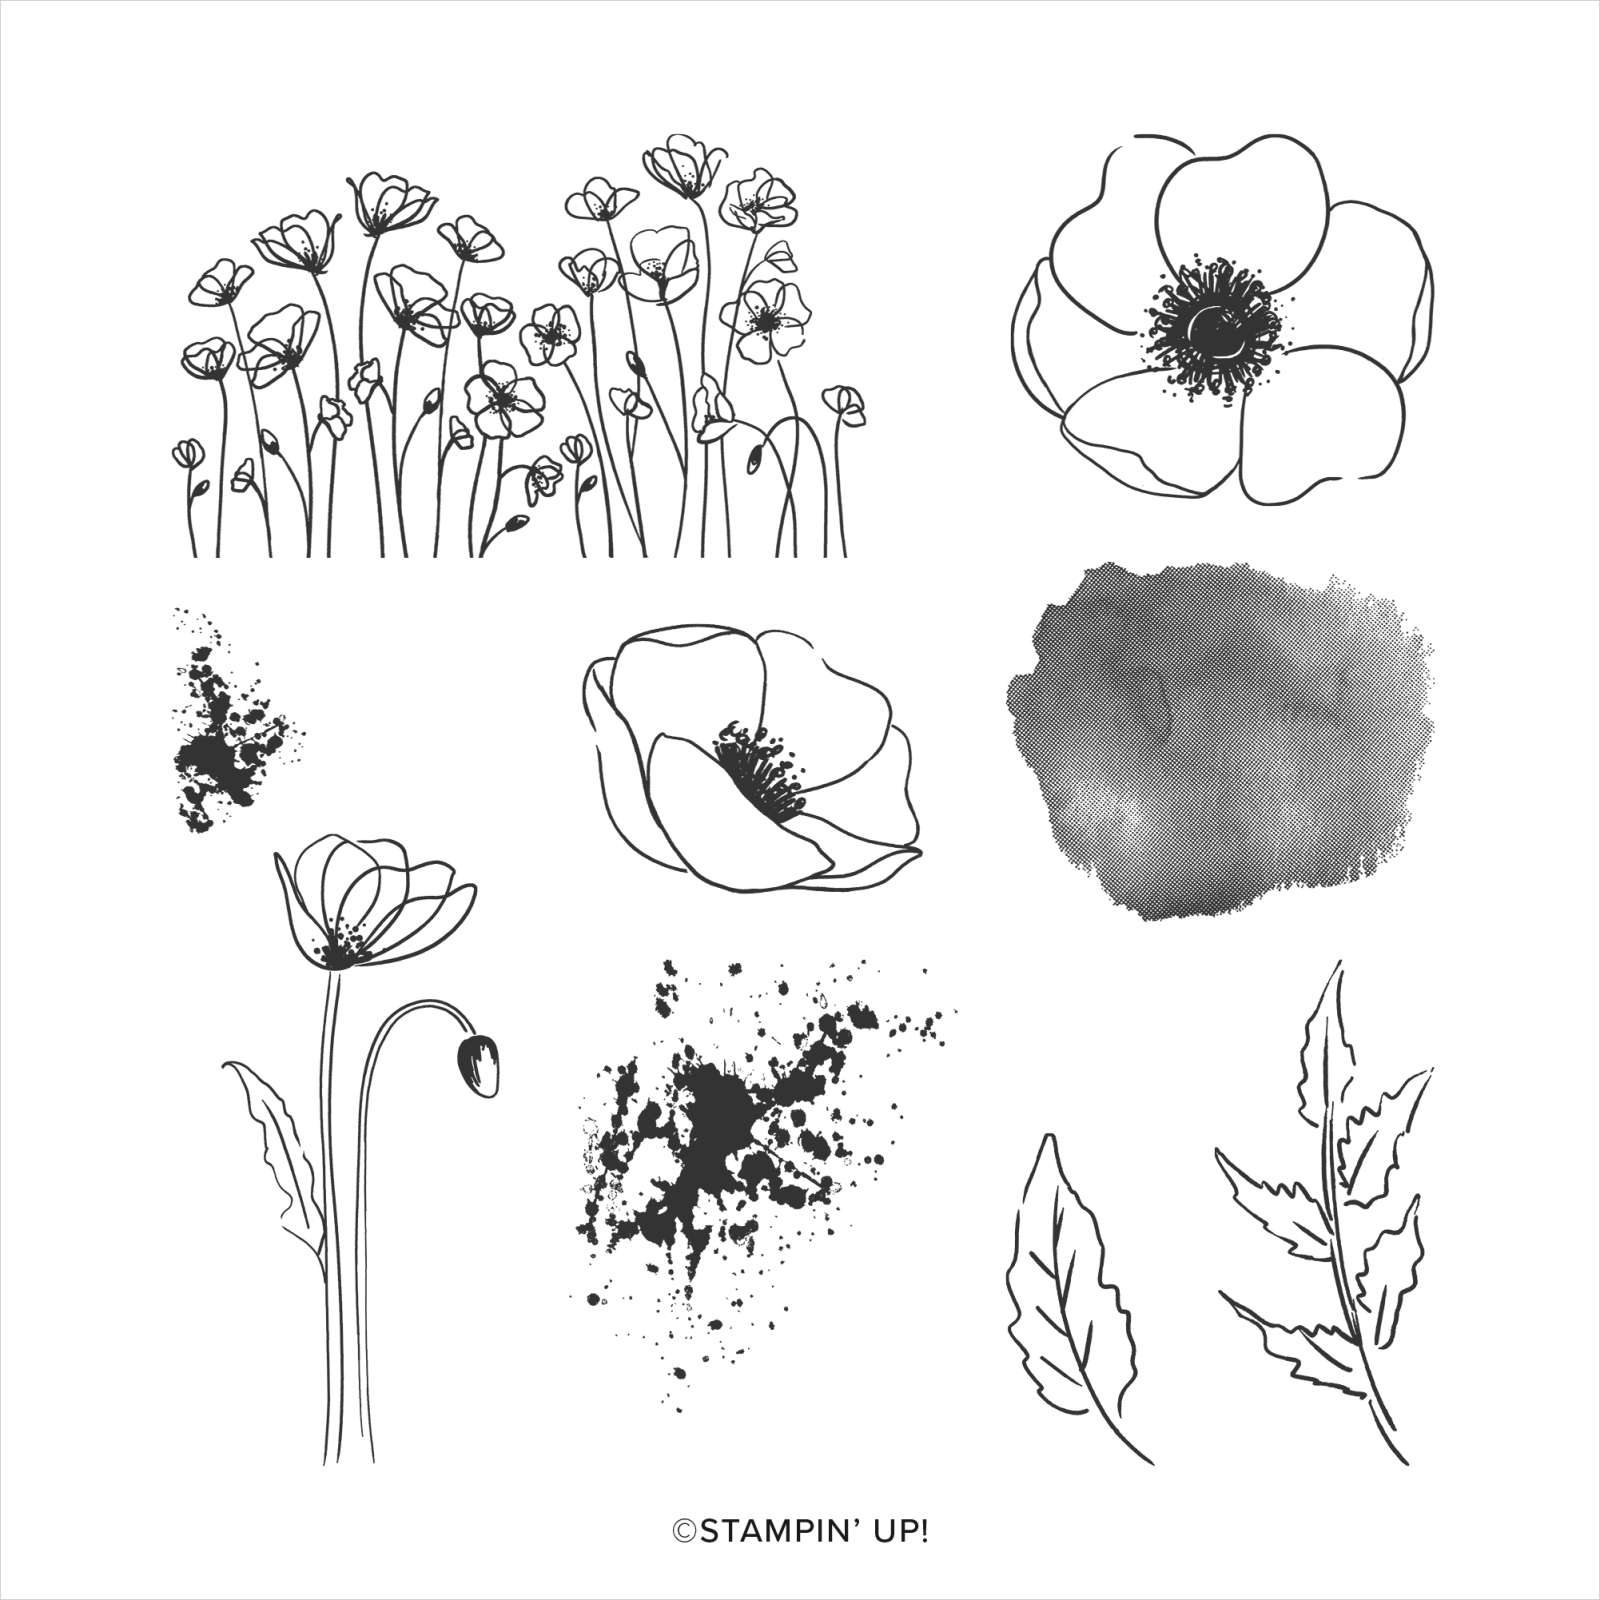
The title is cut from Basic Black card using the now retired Playful Alphabet Dies. I stamped the poppy image from the Painted Poppies stamp set onto the Basic White card using Memento Tuxedo Black ink and coloured the image using a Dark Real Red Stampin’ Blend. I printed the journaling onto Basic White card and cut it out using one of the Painted Labels Dies.

I stamped the single flower image and the leaf image from the Painted Poppies stamp set onto Basic White card using Memento Tuxedo Black ink. I coloured the flower using Real Red Stampin’ Blends and the leaf using Old Olive Stampin’ Blends. I cut out the flower with the co-ordinating Painted Labels Die and the leaf with Paper Snips. The Basic White panel is attached to the centre of a Basic White 12″ x 12″ page. The photos will be attached to the Basic Black rectangles. I love the colours of this page, don’t you.
Bye for now,
Kris
Product Used:


Record Birthday
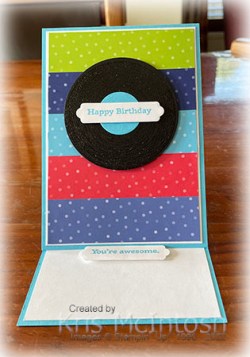
Today’s card once more uses the For The Record stamp set which I featured this week in my Facebook Live. I used an idea shared by Lyn Dunn to create the front panel of this card. I attached strips of the 2022-2024 In-Colour Designer Series Paper across a panel of Basic White card. I attached the panel to another slightly larger piece of Basic White card and then a panel of Tahitian Tide card. The panel is attached to a Tahitian Tide card base which I scored so that it would be an easel card. I stamped the record image from the For The Record stamp set onto Basic Black card using Versamark ink.

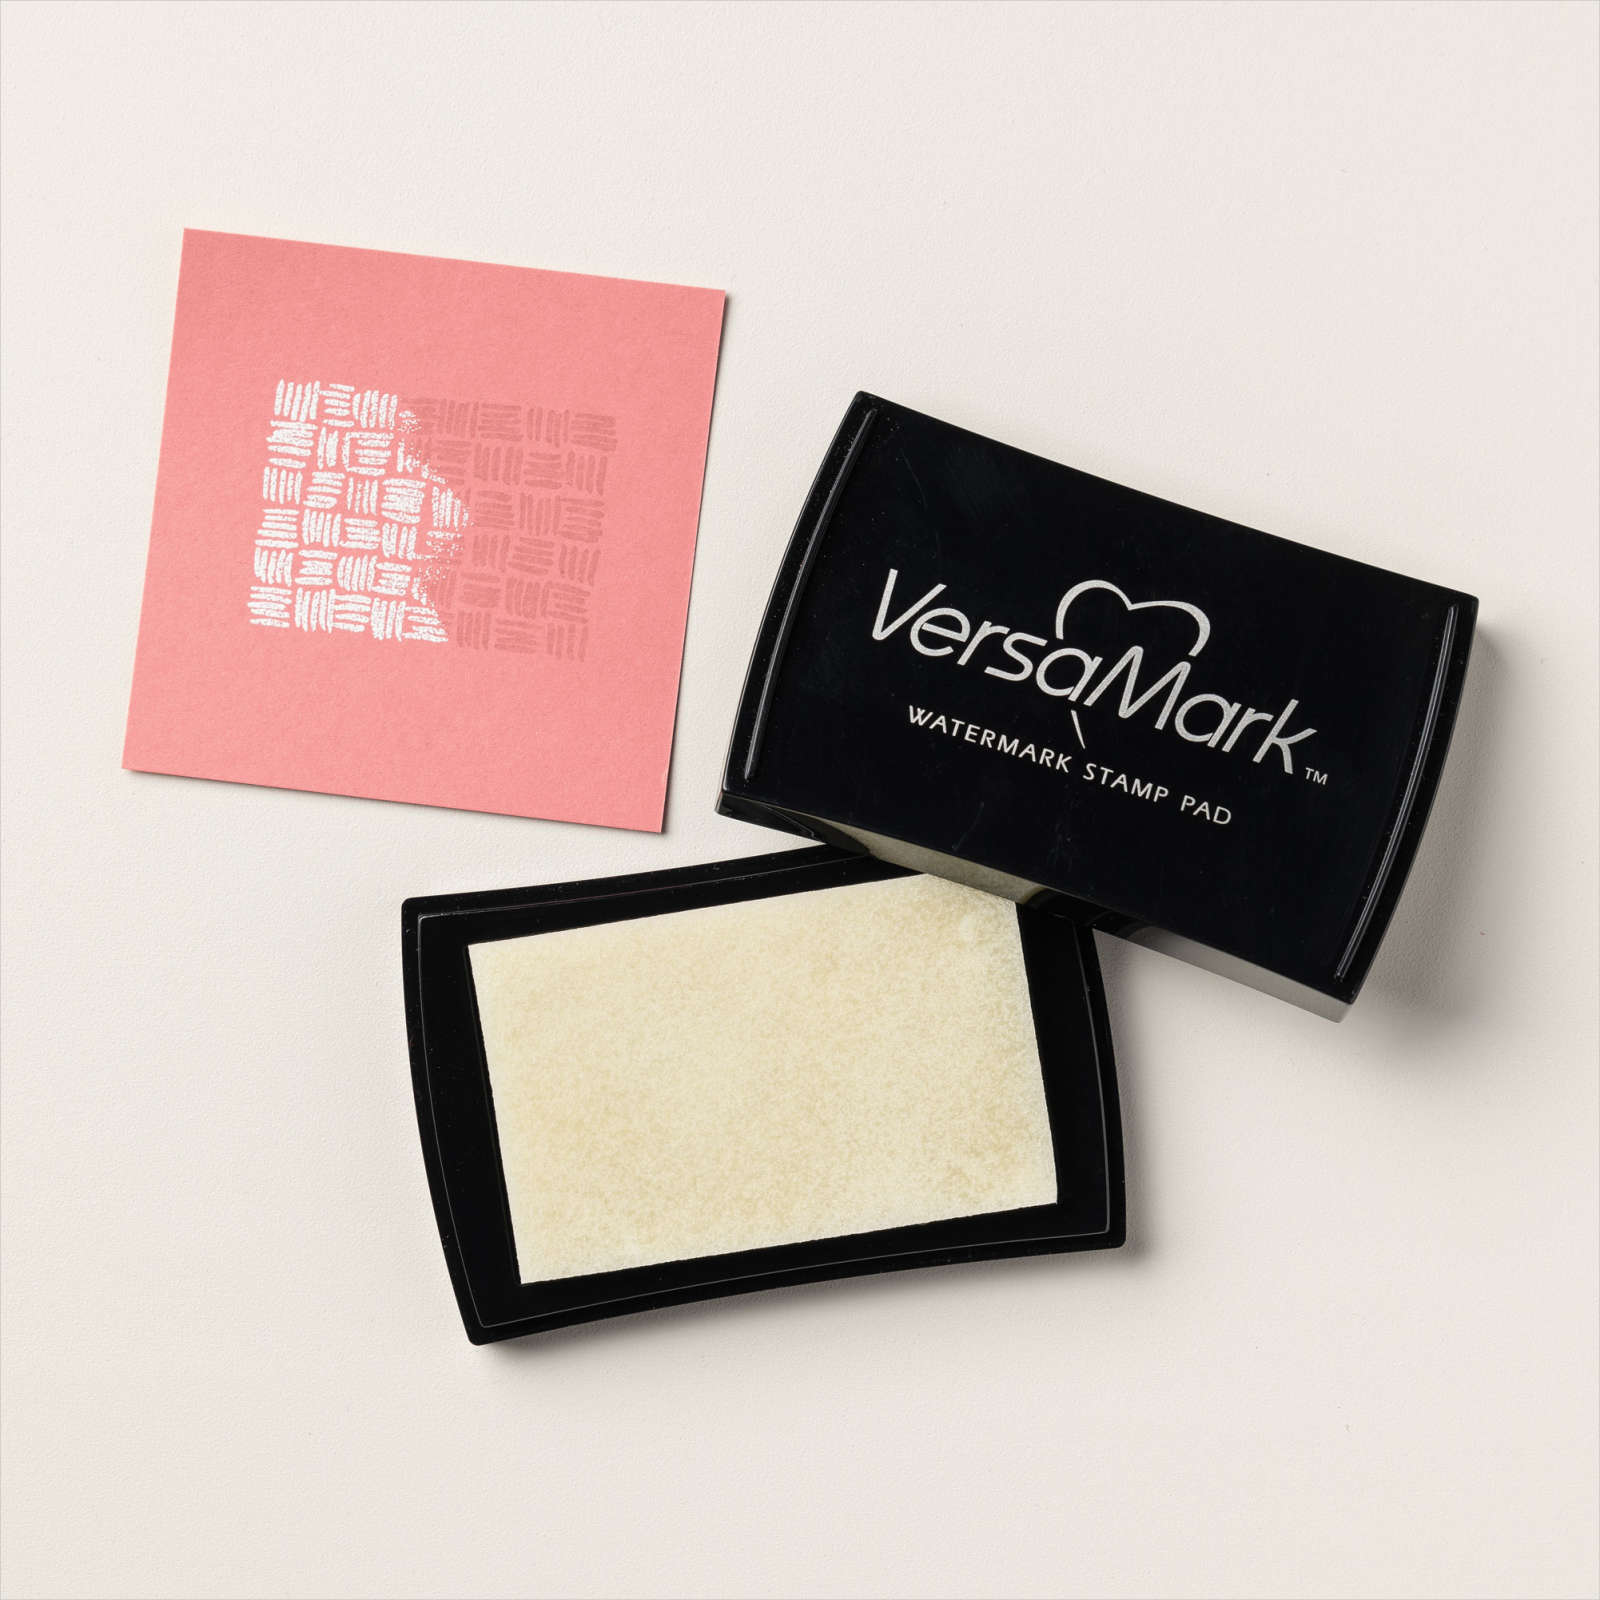
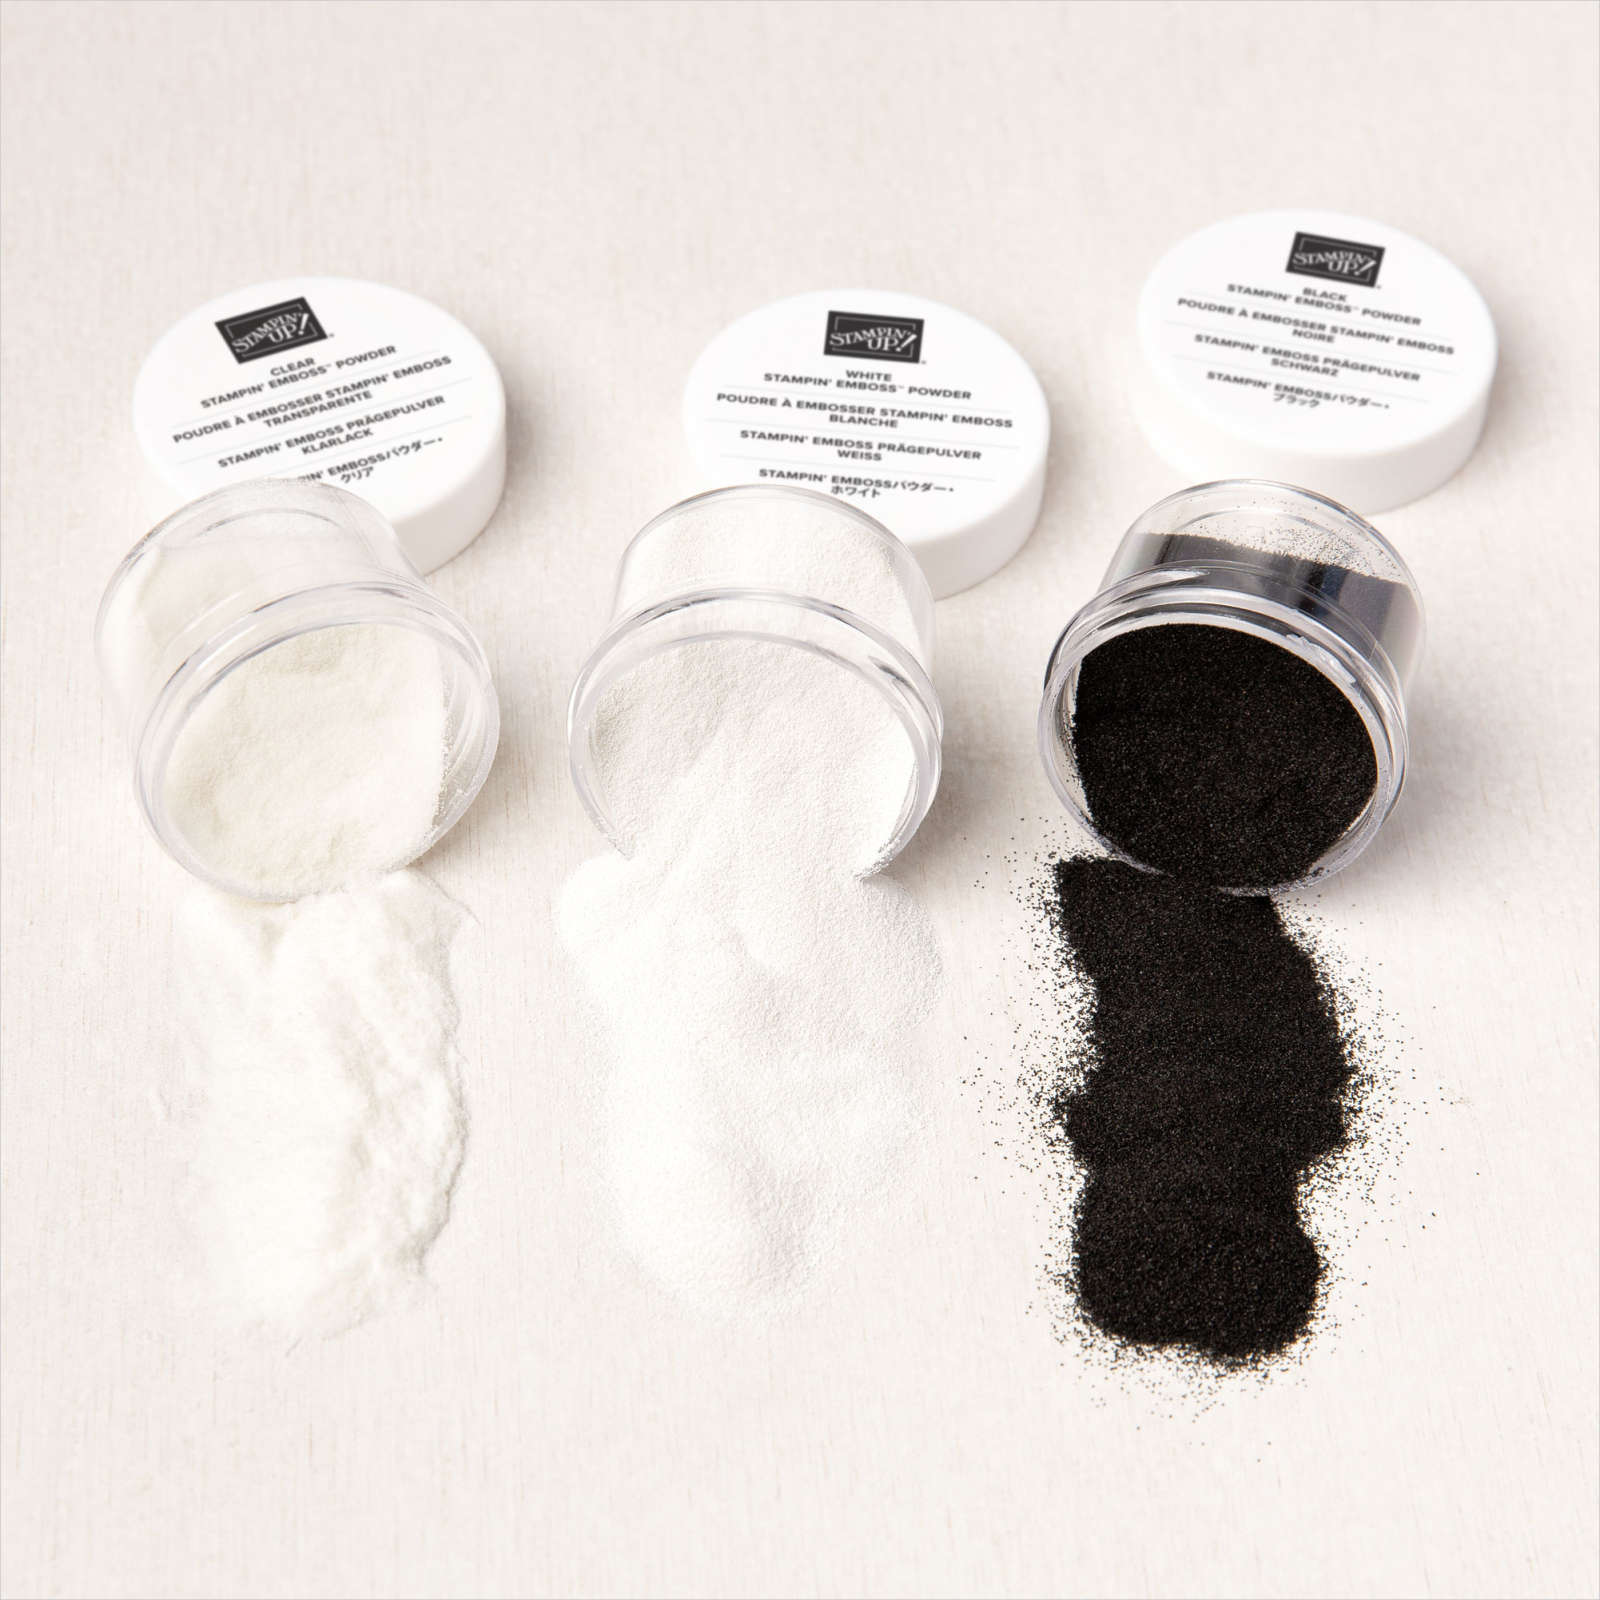
I sprinkled the image with Black embossing powder and heat set it. The image is cut out using the largest circle from the Layering Circle Dies. I cut Tahitian Tide card using the smallest circle from the Layering Circle Dies and attached it to the centre of the record image before attaching the image to the card front using dimensionals.
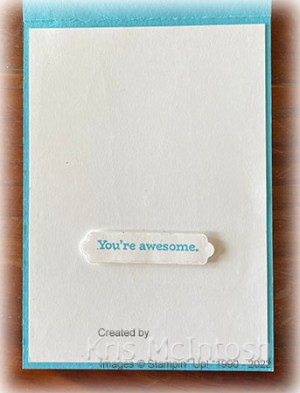
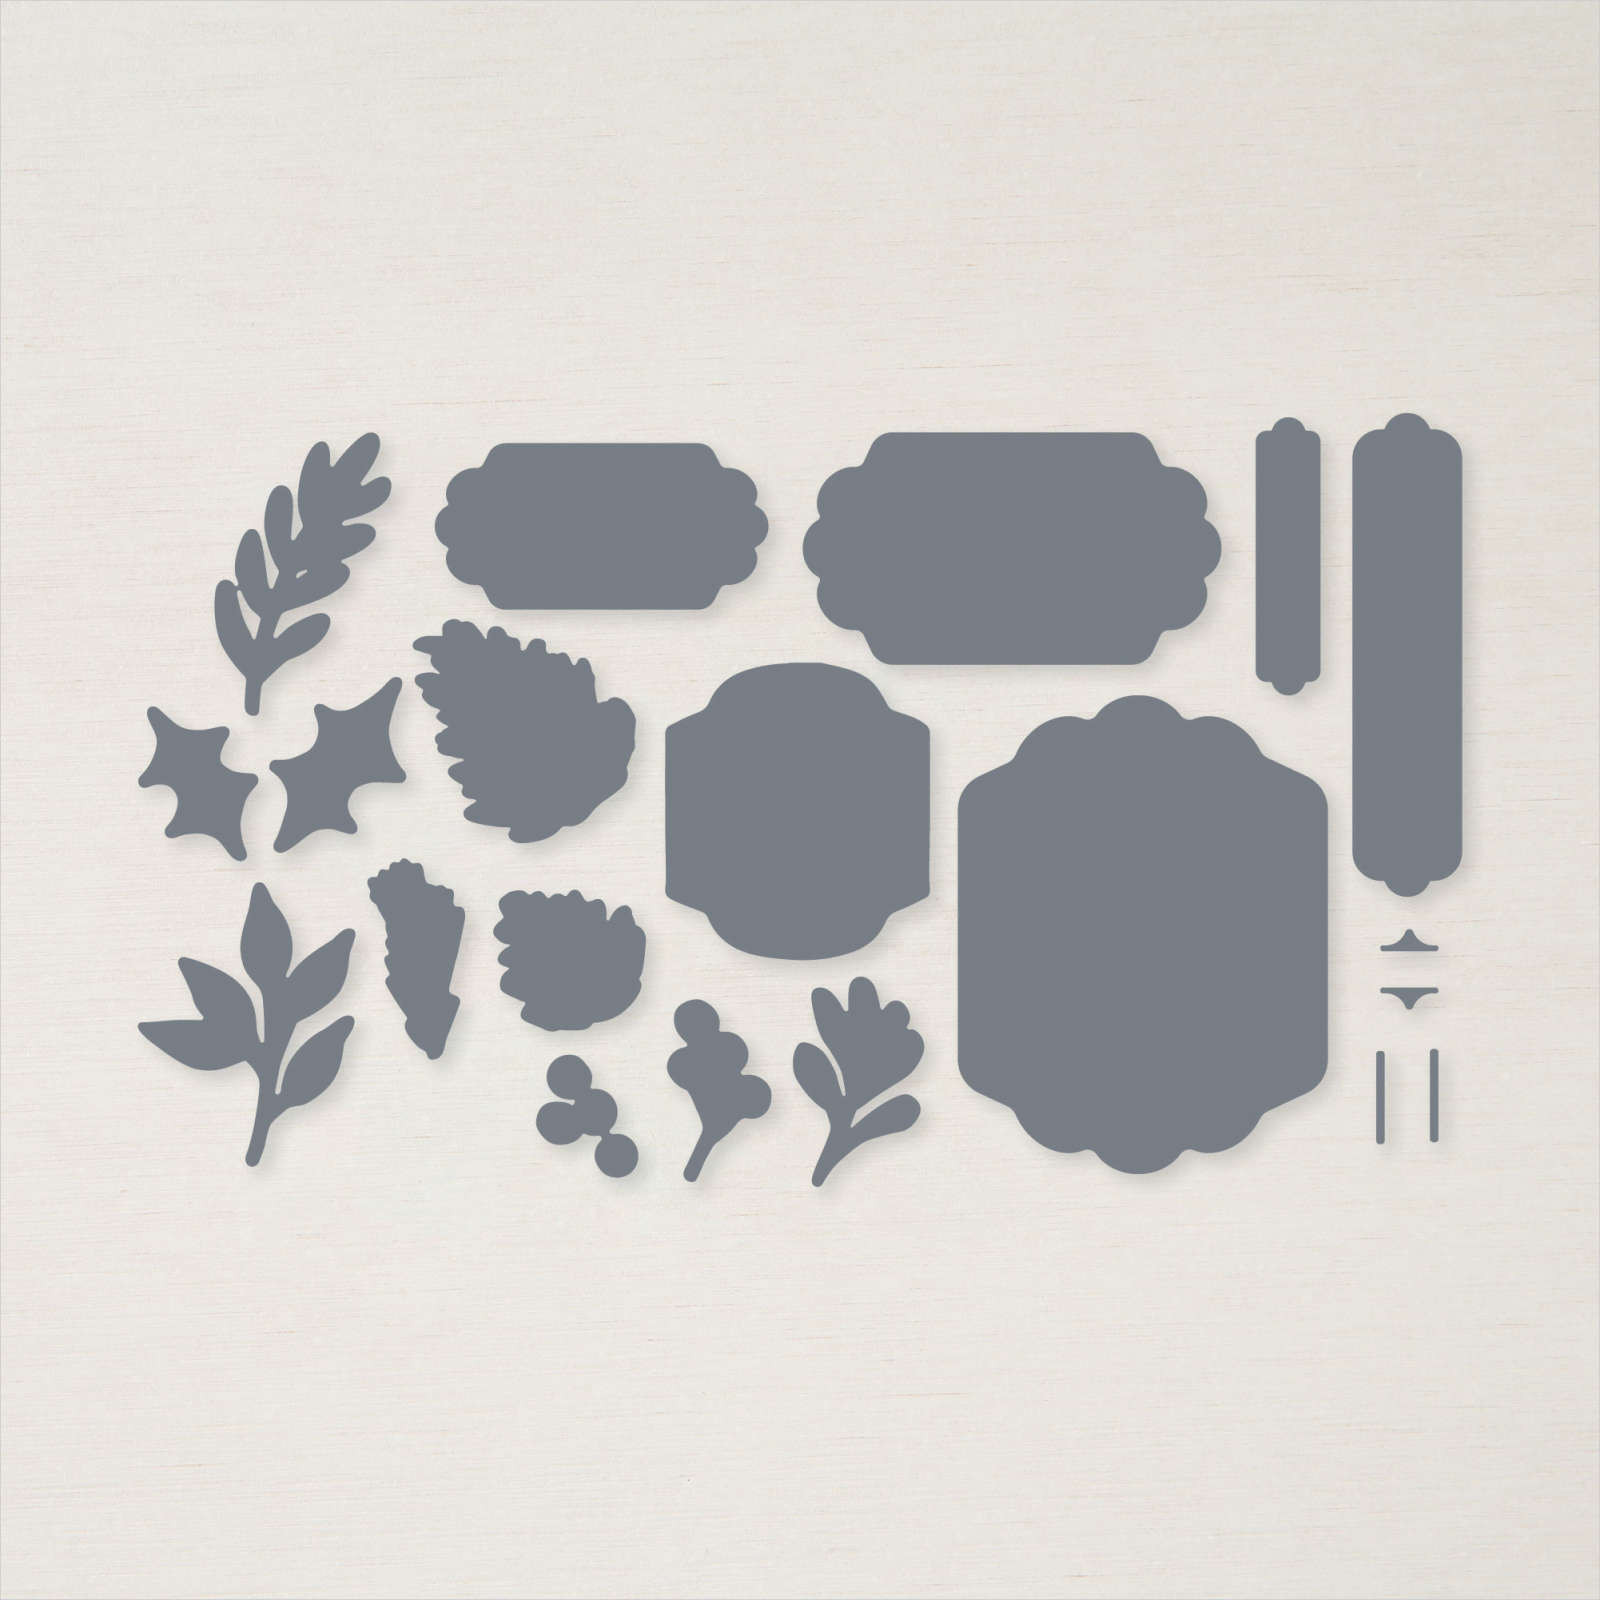
I stamped “happy birthday” from the For The Record stamp set onto Basic White card using Tahitian Tide ink and cut it out using the smaller banner from the Seasonal Labels Dies. The greeting is attached to the card front using dimensionals. I added a panel of Basic White card inside the Tahitian Tide card base. I stamped “you’re awesome” from the For The Record stamp set onto Basic White card using Tahitian Tide ink. The greeting is cut out using the banner from the Seasonal Labels Dies and attached to the Basic White card using dimensionals. This allows the card to stand correctly when it is open. I love how pretty all the designer series paper panels look together, don’t you? Thanks Lyn for the inspiration.
Bye for now,
Kris
Product Used:




For The Record
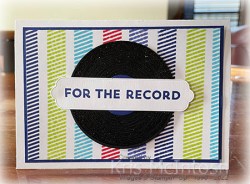
This week on my Facebook Live, I shared some cards I made using the For The Record stamp set. As usual when a new catalogue arrives, I forget all about the product in any other current catalogue. So this stamp set from the January to June Mini Catalogue has actually never been inked (but don’t tell my husband that)! I decided to use the striped image from the stamp set and stamp it across a panel of Basic White using the new In-colours – Starry Sky, Parakeet Party, Tahitian Tide, Sweet Sorbet and Orchid Oasis. I attached the stamped panel to Starry Sky card and then scored and folded Thick Basic White card.
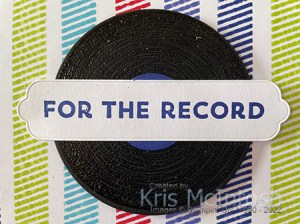
I stamped the record image from the For The Record stamp set onto Basic Black card using Versamark ink. I sprinkled the image with Black Embossing Powder and heat set it. I cut out the image using the largest circle from the Layering Circle Dies. I cut Starry Sky card using the smallest circle from the Layering Circle Dies. I attached the Starry Sky circle to the centre of the record image before attaching the panel to the card front using dimensionals. I stamped the greeting from the For The Record stamp set onto Basic White card using Starry Sky ink and cut it out using one of the banners from the Seasonal Labels Dies.
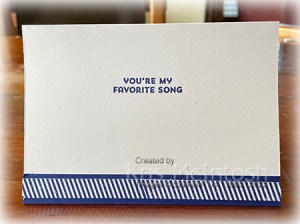
I attached the banner across the record image using dimensionals underneath both ends. To decorate the inside of the card, I stamped another greeting from the For The Record stamp set using Starry Sky ink onto the inside of the card base. I stamped the striped image across Basic White card using Starry Sky ink, cut it into a narrow strip which I attached to Starry Sky card. The striped panel is attached across the bottom of the inside of the card. I really do not understand why I waited so long to ink this stamp set because it is so much fun. I’d love to know what you think of the card.
Bye for now,
Kris
Product Used:



Starry Birthday Wishes
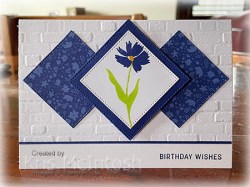
Last week in my Facebook Live, I shared some cards made using the Sending Smiles Bundle and today I have another one. I began by embossing Basic White card using the Bricks & Mortar 3D Embossing Folder. I attached a narrow strip of Starry Sky card behind one long edge before attaching it to scored and folded Thick Basic White card. I stamped the greeting from the Sending Smiles stamp set onto the lower right hand corner of the card front.
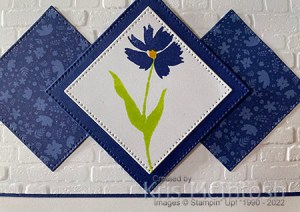
I cut Starry Sky patterned paper from the 2022-2024 In-Colour Designer Series Paper twice using one of the squares from the Stylish Shapes Dies. I attached the two squares to the embossed Basic White card. I stamped the flower stem from the Sending Smiles stamp set onto Basic White card using Parakeet Party ink. I stamped the flower from the Sending Smiles stamp set onto the flower stem using Starry Sky ink. I added the flower centre using Daffodil Delight ink before cutting out the image using one of the squares from the Stylish Shapes Dies.
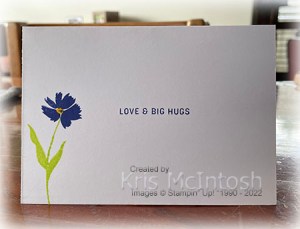
I attached the image panel to another square cut from Starry Sky card before attaching the whole piece to the card front using dimensionals. To decorate the inside of the card, I stamped another greeting from the Sending Smiles stamp set using Starry Night ink. I also stamped the flower stem, flower and flower centre as before onto the lower left hand corner of the inside of the card.
All of these products will be available for you to purchase from the Annual Catalogue beginning today. I hope I have inspired you to take a look at this bundle and the gorgeous new in-colours.
Bye for now,
Kris
Product Used:


Easter Blessings

Today I have a card for you showcasing some product which is carrying over to the next Annual Catalogue. What better way than to actually CASE the catalogue. So my first card uses the Daffodil Daydream stamp set and co-ordinating Daffodil Dies. I cut Basic White card three times using one of the Stitched Rectangle Dies. I used a Blending Brush to add Night of Navy ink to one rectangle, Daffodil Delight ink to the second rectangle and Granny Apple Green ink to the last rectangle.
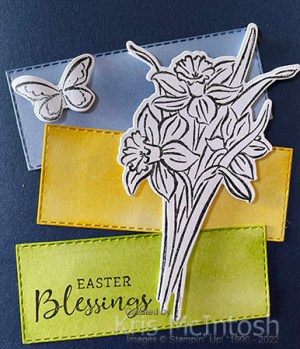
I stamped “Easter Blessings” from the Daffodil Daydream stamp set onto the lower left hand corner of the Granny Apple Green rectangle using Memento Tuxedo Black ink. I attached the three rectangles to the front of scored and folded Night of Navy card. I stamped the large daffodil image from the Daffodil Daydream stamp set onto Basic White card using Memento Tuxedo Black ink and cut it out using the co-ordinating Daffodil Die.

I stamped the butterfly image from the Daffodil Daydream stamp set onto Basic White card using Memento Tuxedo Black ink and cut it out using the co-ordinating Daffodil Die. I attached the daffodil image to the card front using dimensionals and the butterfly image with dimensionals under the wings and Tombow Multipurpose glue underneath the body. To decorate the inside of the card, I sponged Night of Navy ink onto the lower left hand corner of Basic White card using a Blending Brush. I stamped the smaller daffodil image from the Daffodil Daydream stamp set onto Basic White card using Memento Tuxedo Black ink. I cut out the floral image using the co-ordinating Daffodil Die before attaching it over the blended ink on the Basic White panel.
My card doesn’t use exactly the same technique as the card in the catalogue (which you can find on page 20) but I love the end result. So thanks Stampin’ Up! for some great inspiration.
Bye for now,
Kris
Product Used: