Happy Birthday Wishes
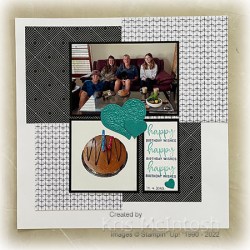
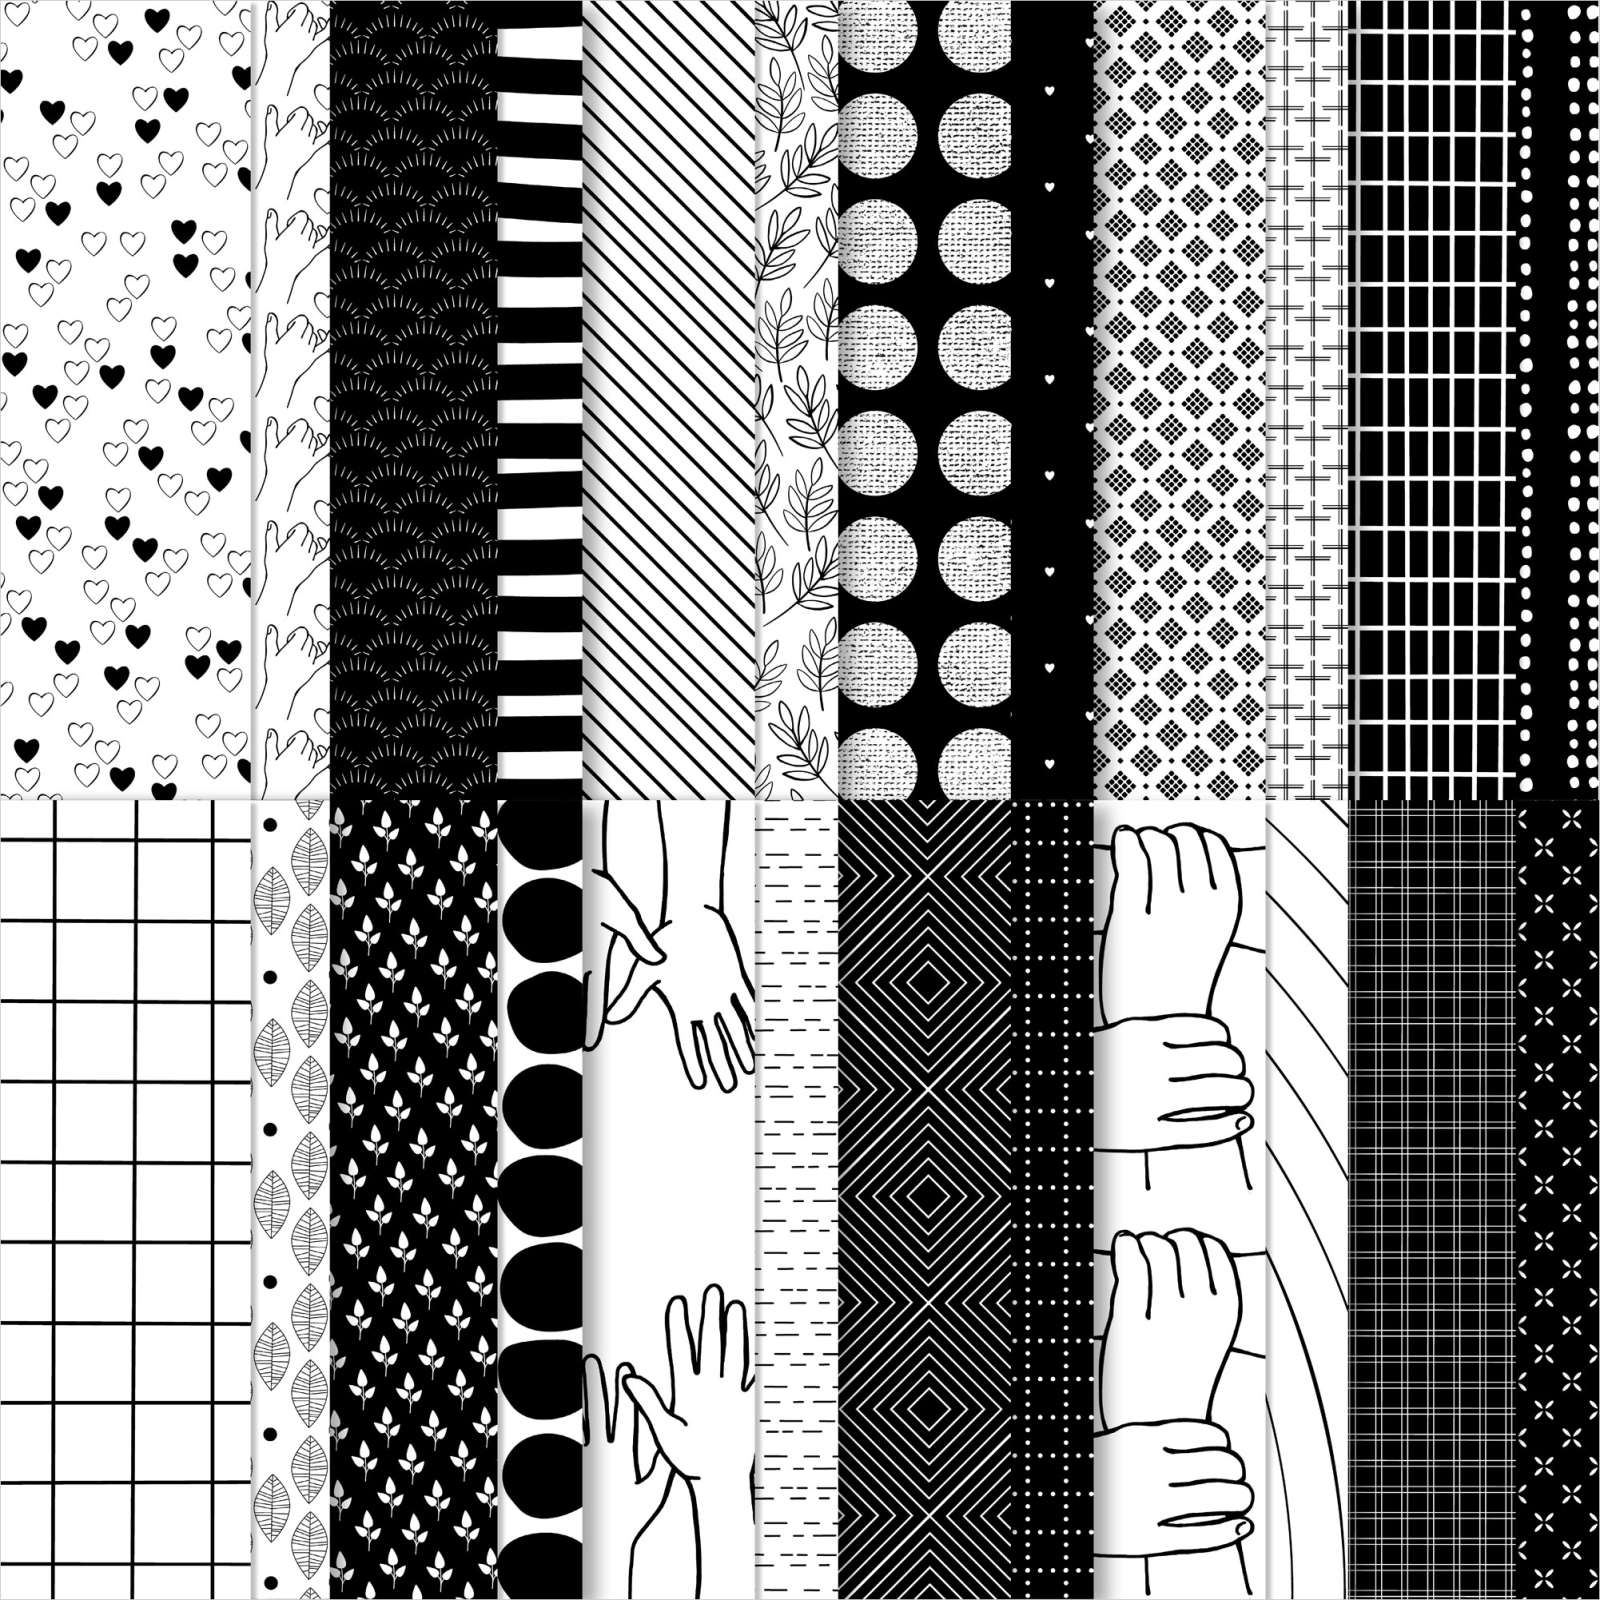
Today’s page shows off a couple of photos taken on the occasion of my husband’s recent birthday. I attached pieces of the All Together 6″ x 6″ Designer Series Paper to a Basic White 12″ x 12″ page. One piece of the paper is 6″ x 6″, one is 5-1/2″ x 5-1/2″, one is 5″ x 5″ and the last one is 4-1/2″ x 4-1/2″. I attached the photos to Basic Black card and then the centre of the page. I used the Stamparatus to hinge stamp “happy” from the Biggest Wish stamp set onto Basic White card using Bermuda Bay ink.

I used the Stamparatus to hinge stamp “birthday wishes” from the Sending Smiles stamp set using Pacific Point ink. I hand wrote the date and attached the stamped panel to Basic Black card and then to the page. I used the Bouquet of Love Hybrid Embossing Folder and the co-ordinating Bouquet of Love Dies to cut Bermuda Bay card to create one large floral heart. I also cut Bermuda Bay card using the smaller heart die from the Bouquet of Love Die. I attached the large and smaller heart to the centre of the page. I used the small heart from the Here’s For You Dies to cut a Bermuda Bay heart which I attached to the stamped panel.
Simple page but I love it.
Bye for now,
Kris
Product Used:




Sending Sunshine

This week in my Facebook Live, I shared some cards I made with the Sending Smiles Bundle which will become available to customers soon when the new Annual Catalogue goes live. This is a lovely stamp set and the dies cut out some of the images and greetings. For my card today, I embossed Basic White card using the Timber 3D Embossing Folder. I attached a strip of Tahitian Tide 2022-2024 In-Colour 6″ x 6″ Designer Series Paper across the bottom of the panel. The whole piece is attached to scored and folded Sahara Sand card. I stamped the flower stem from the Sending Smiles stamp set onto Basic White card using Parakeet Party ink and added the flowers using Tahitian Tide ink.
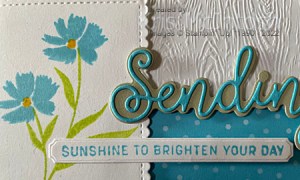
I added the flower centres using Daffodil Delight ink. I cut out the stamped images using one of the Scalloped Contour Dies before attaching the panel to the card front using dimensionals. I used the Sending Dies to cut Sahara Sand card and Tahitian Tide card to create “sending”. I attached the greeting to the card front using mini dimensionals. I stamped the greeting from the Sending Smiles stamp set onto Basic White card using Tahitian Tide ink and cut out the greeting using the longest banner die from the Sending Dies.
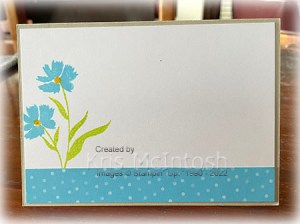
The greeting is attached to the card front using mini dimensionals where necessary. To decorate the inside of the card, I stamped the flower stem onto Basic White card using Parakeet Party ink. I added the flowers using Tahitian Tide ink and the flower centres using Daffodil Delight. I attached a narrow strip of the same In-Colour Designer Series Paper across the bottom of the stamped Basic White card before attaching the panel to the inside of the card.
I am really enjoying creating and getting to know this stamp set. I hope you are enjoying my creations as well.
Bye for now,
Kris
Product Used:
I can’t add the links to the new product until the catalogue goes live.


New In-Colours

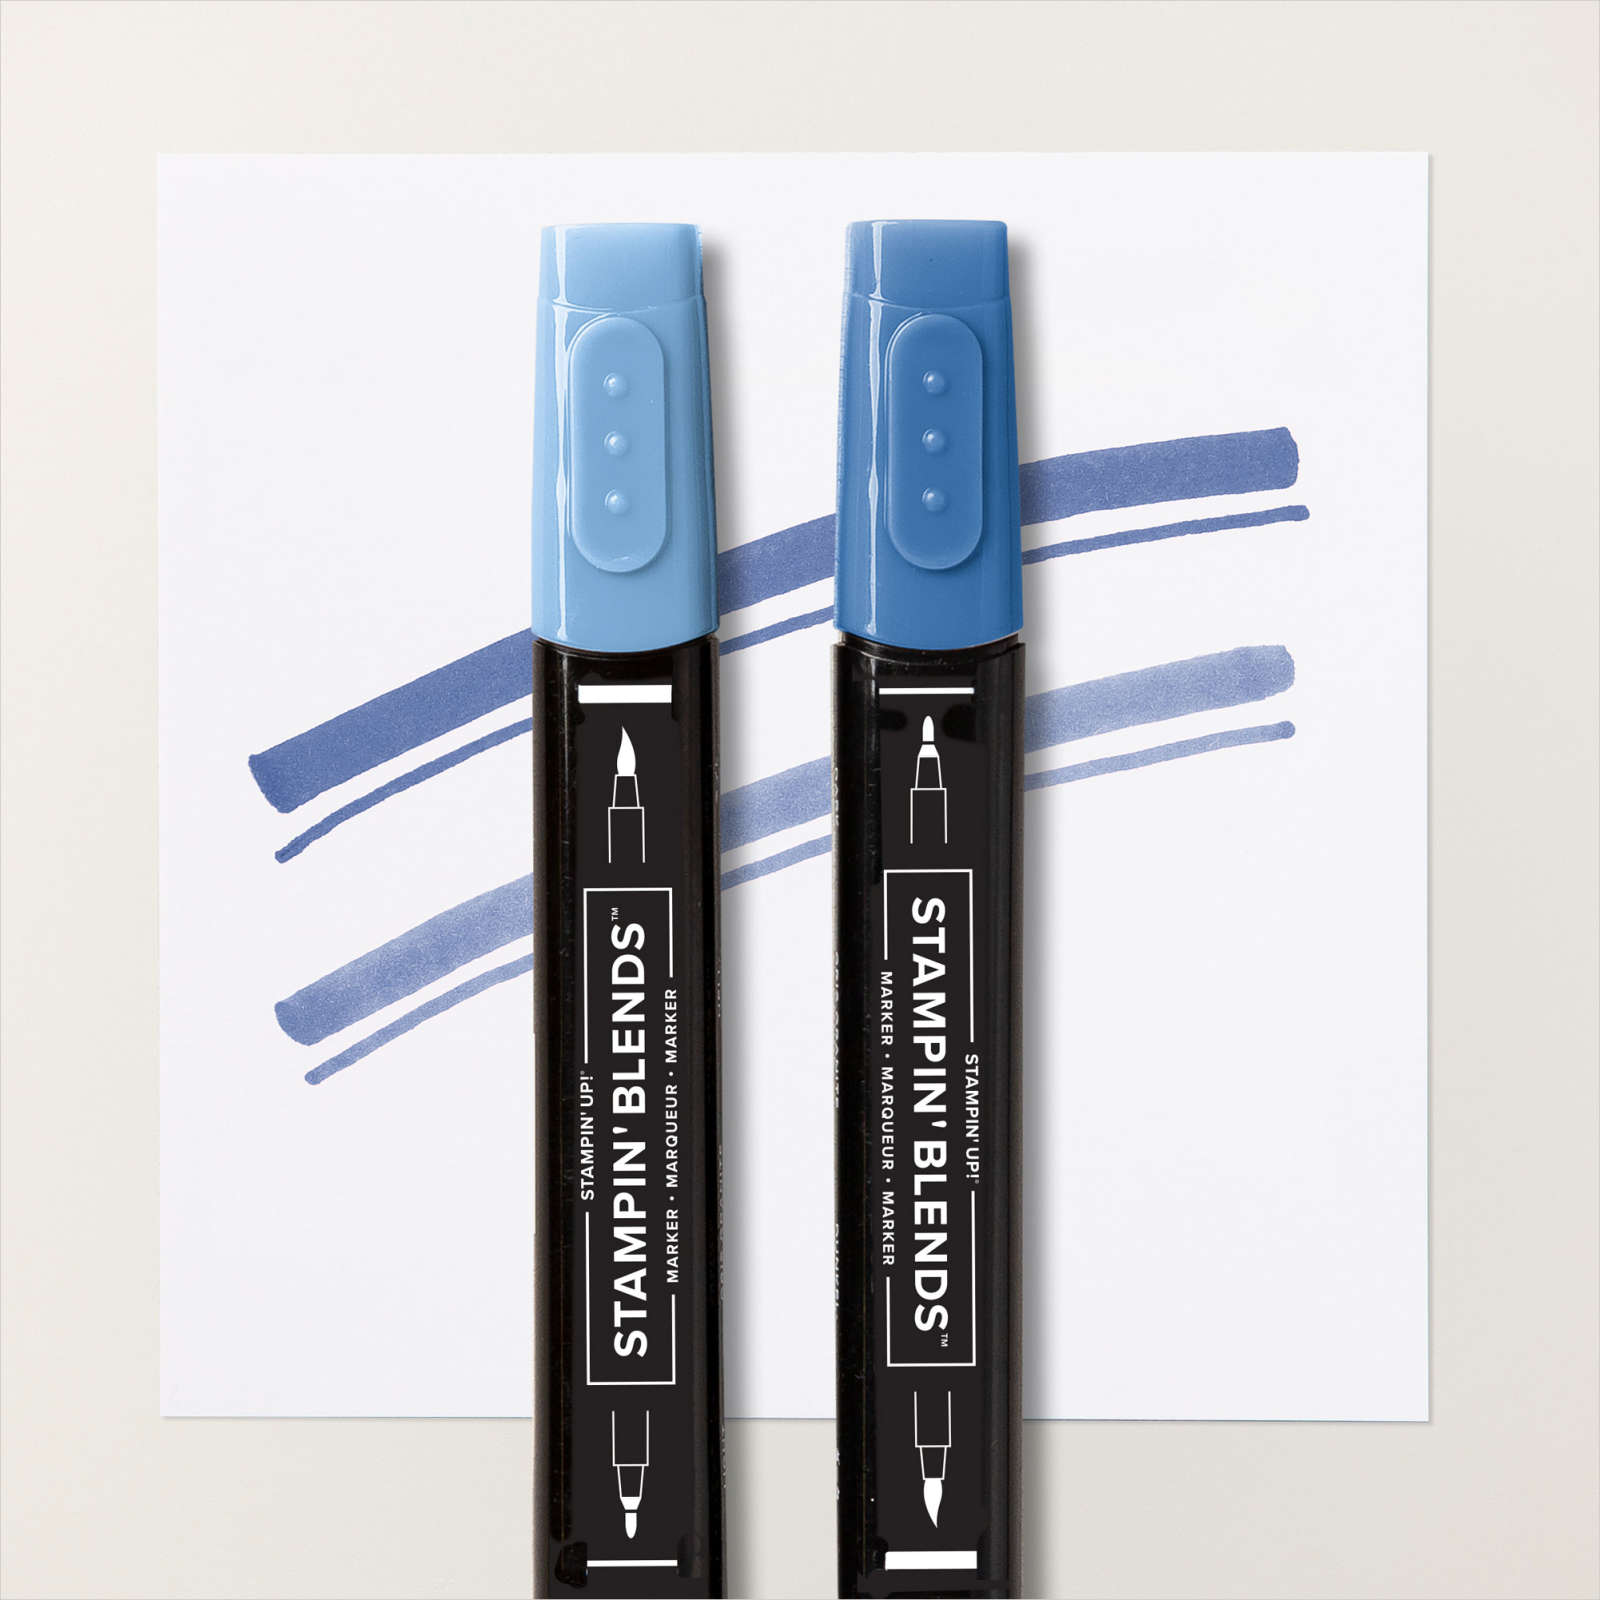
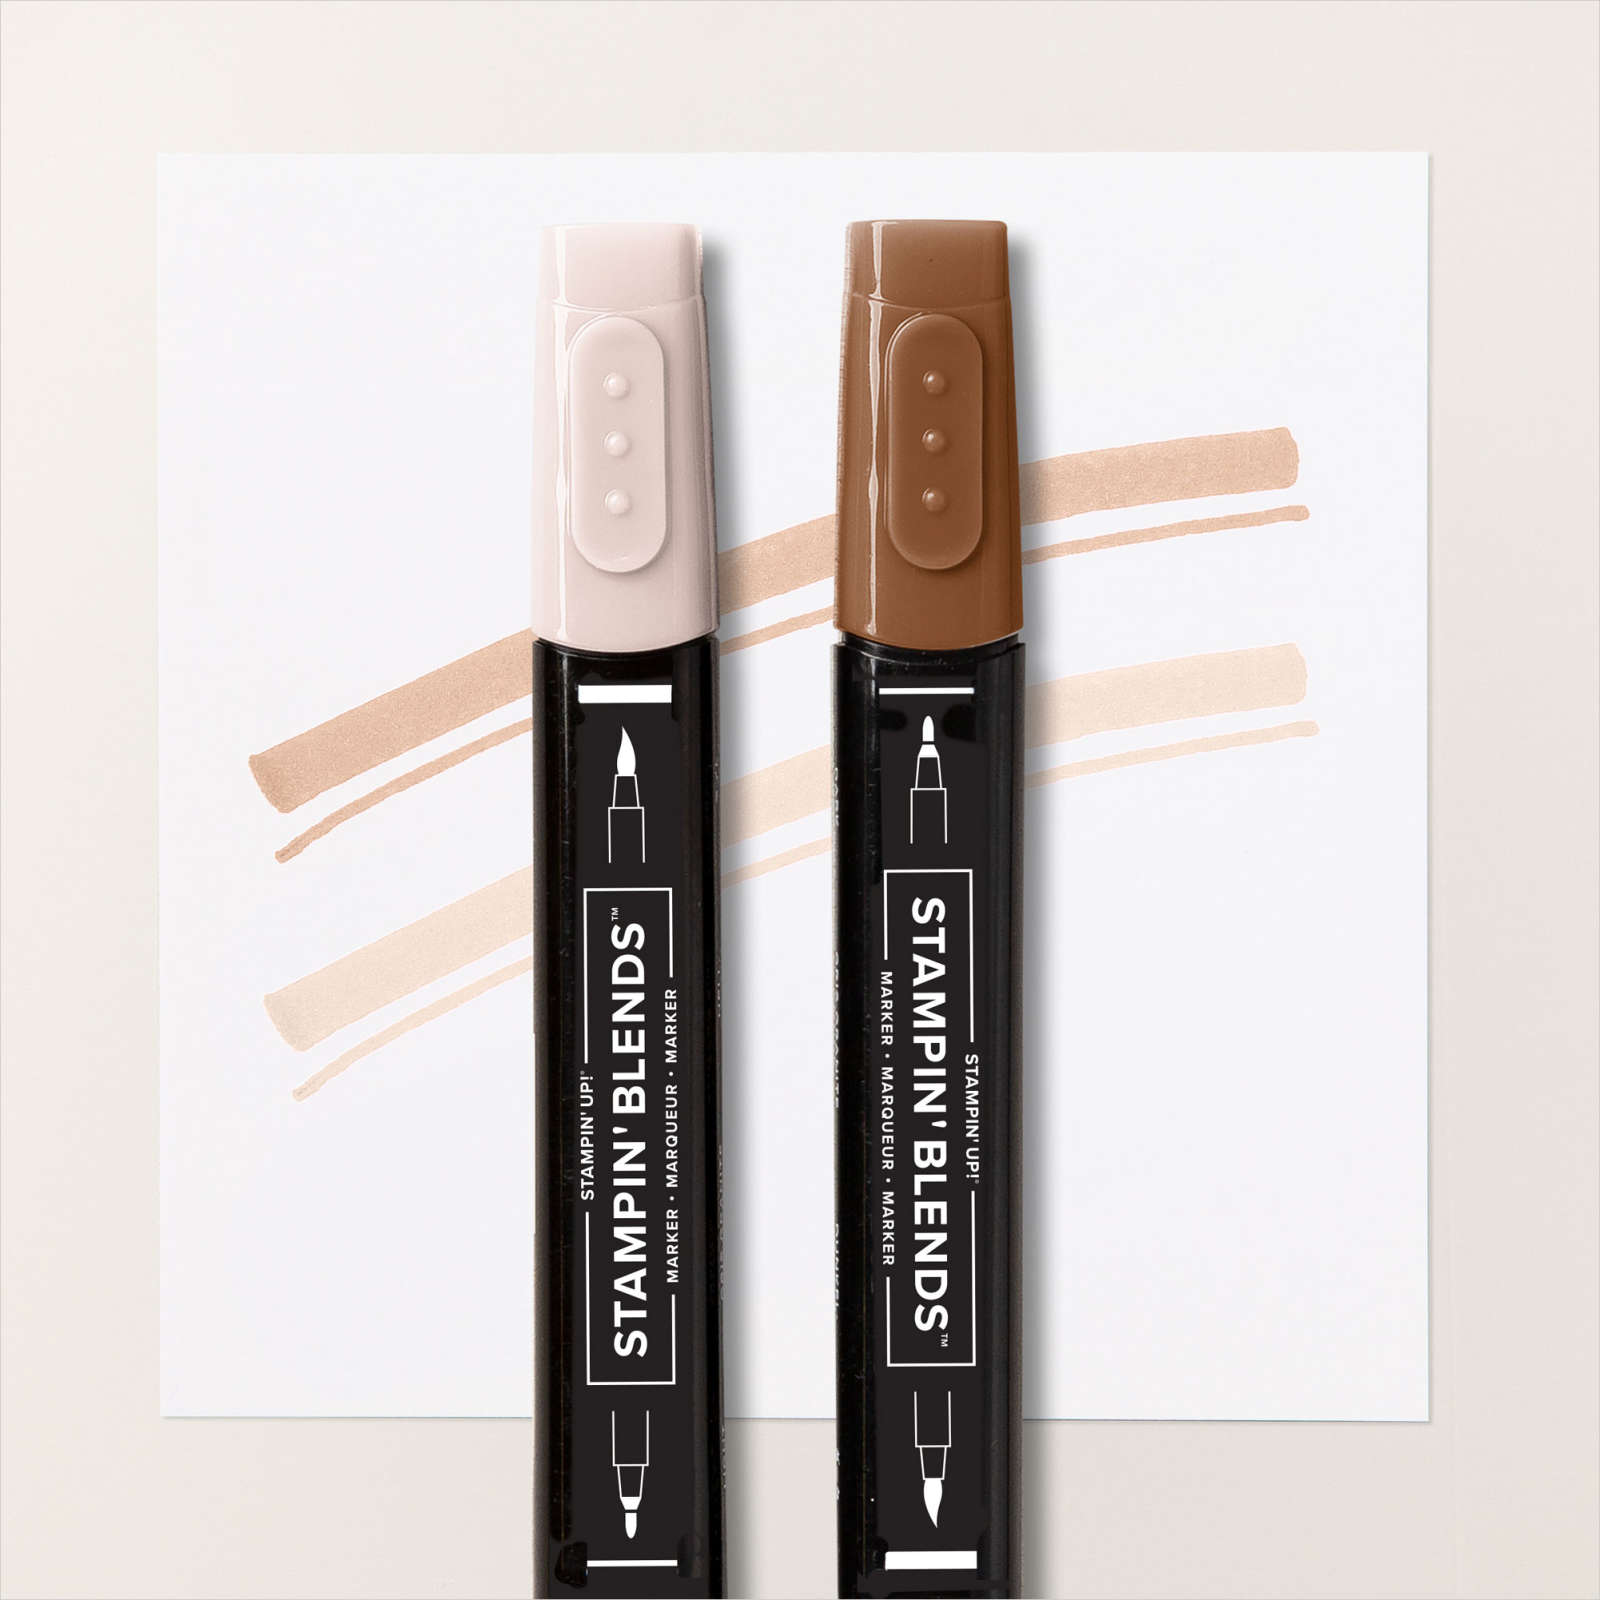
This week in my Facebook Live I shared a new stamp set and some of the in-colours from the new Annual Catalogue to be released next week. Today I am sharing some cards using an old stamp set and each of the new 2022-2024 In-Colours. I created the same card in each of the five colours to share with you. I began by stamping the Daisy Garden stamp onto Basic White card using Memento Tuxedo Black ink. I cut a circle from the stamped card using the Layering Circle Dies. I coloured the images using the new In-colour Stampin’ Blends – Parakeet Party, Tahitian Tide, Sweet Sorbet, Orchid Oasis and Starry Sky. Each flower has been coloured with the light blend and the petals in the dark blend.

I coloured all of the flower stems with the dark Parakeet Party Stampin’ Blend and the leaves with the light Parakeet Party Stampin’ Blend. I cut a scalloped circle from each of the co-ordinating in-colour card using the Layering Circle Dies. I attached one of the plain panels to a scored and folded card base in each of the colours.
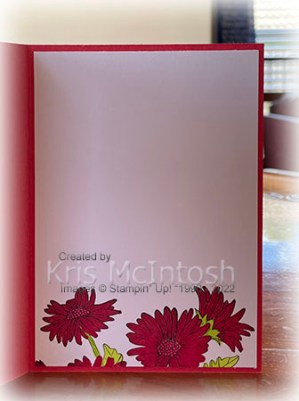
I attached the coloured circle to the co-ordinating scalloped circle and then the card base in the co-ordinating colour. I stamped “happy birthday” from the Artistically Inked stamp set onto a strip of Basic White card using each of the colours. I tied a length of the co-ordinating In-colour Baker’s Twine around the banner. Each stamped banner is attached to a co-ordinating piece of card and then to the co-ordinating card front. (Boy that’s a lot of co-ordinating!) To decorate the inside of the card, I stamped the Daisy Garden stamp so that just a little shows on the bottom of a Basic White card. All of the panels were coloured to match the co-ordinating card base. You can see all the colours below from left to right, Sweet Sorbet, Starry Sky, Parakeet Party, Tahitian Tide and Orchid Oasis.
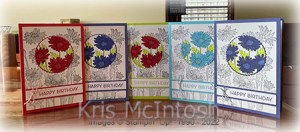
I am not sure that you can see the colour in these photos too well but hopefully you will have some idea of how beautiful they are.
Bye for now,
Kris
Product Used:
Sunflower Celebration

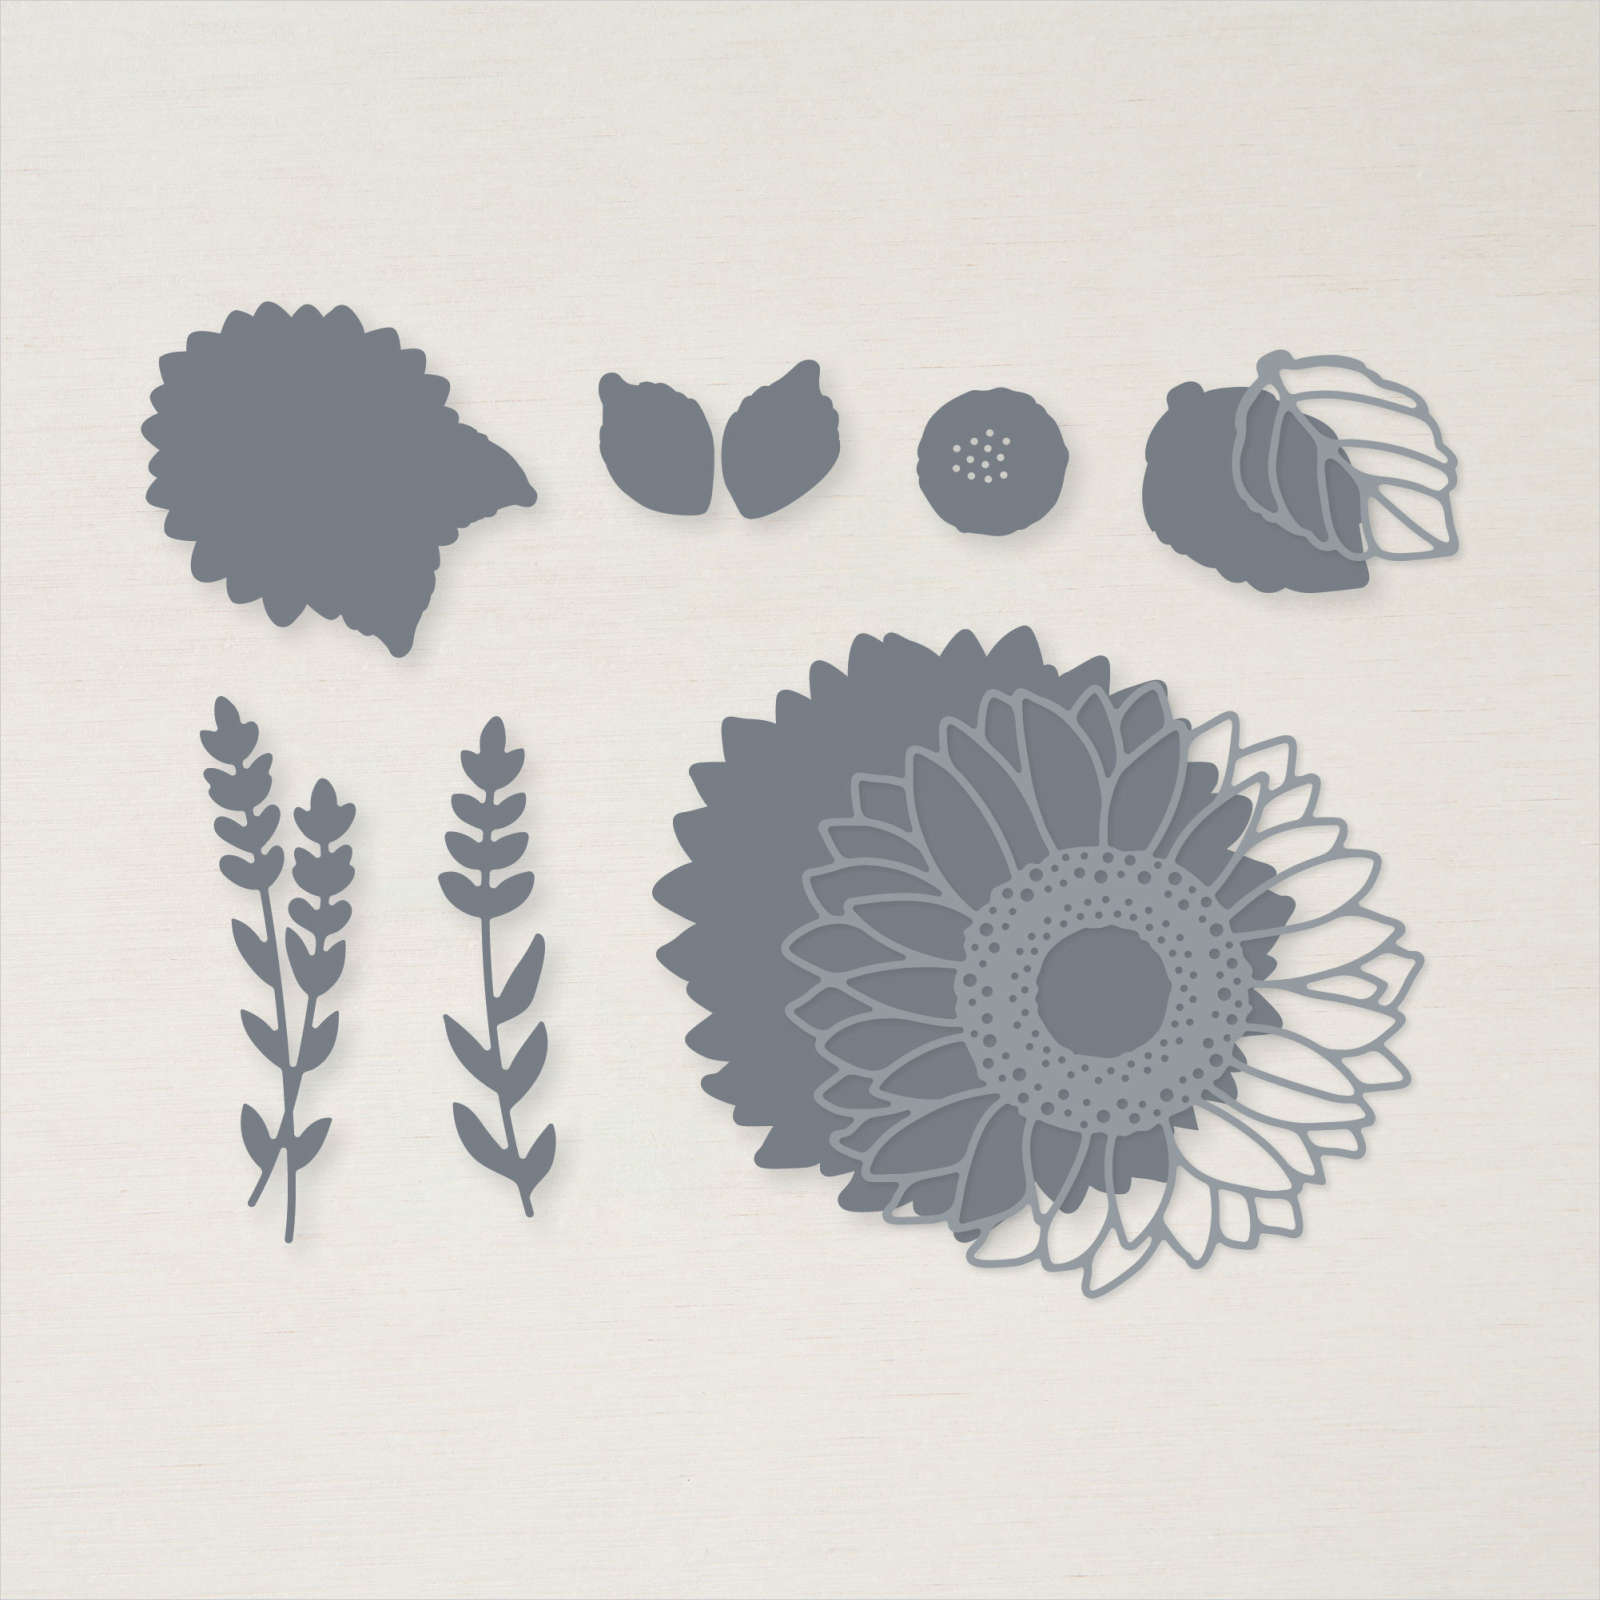
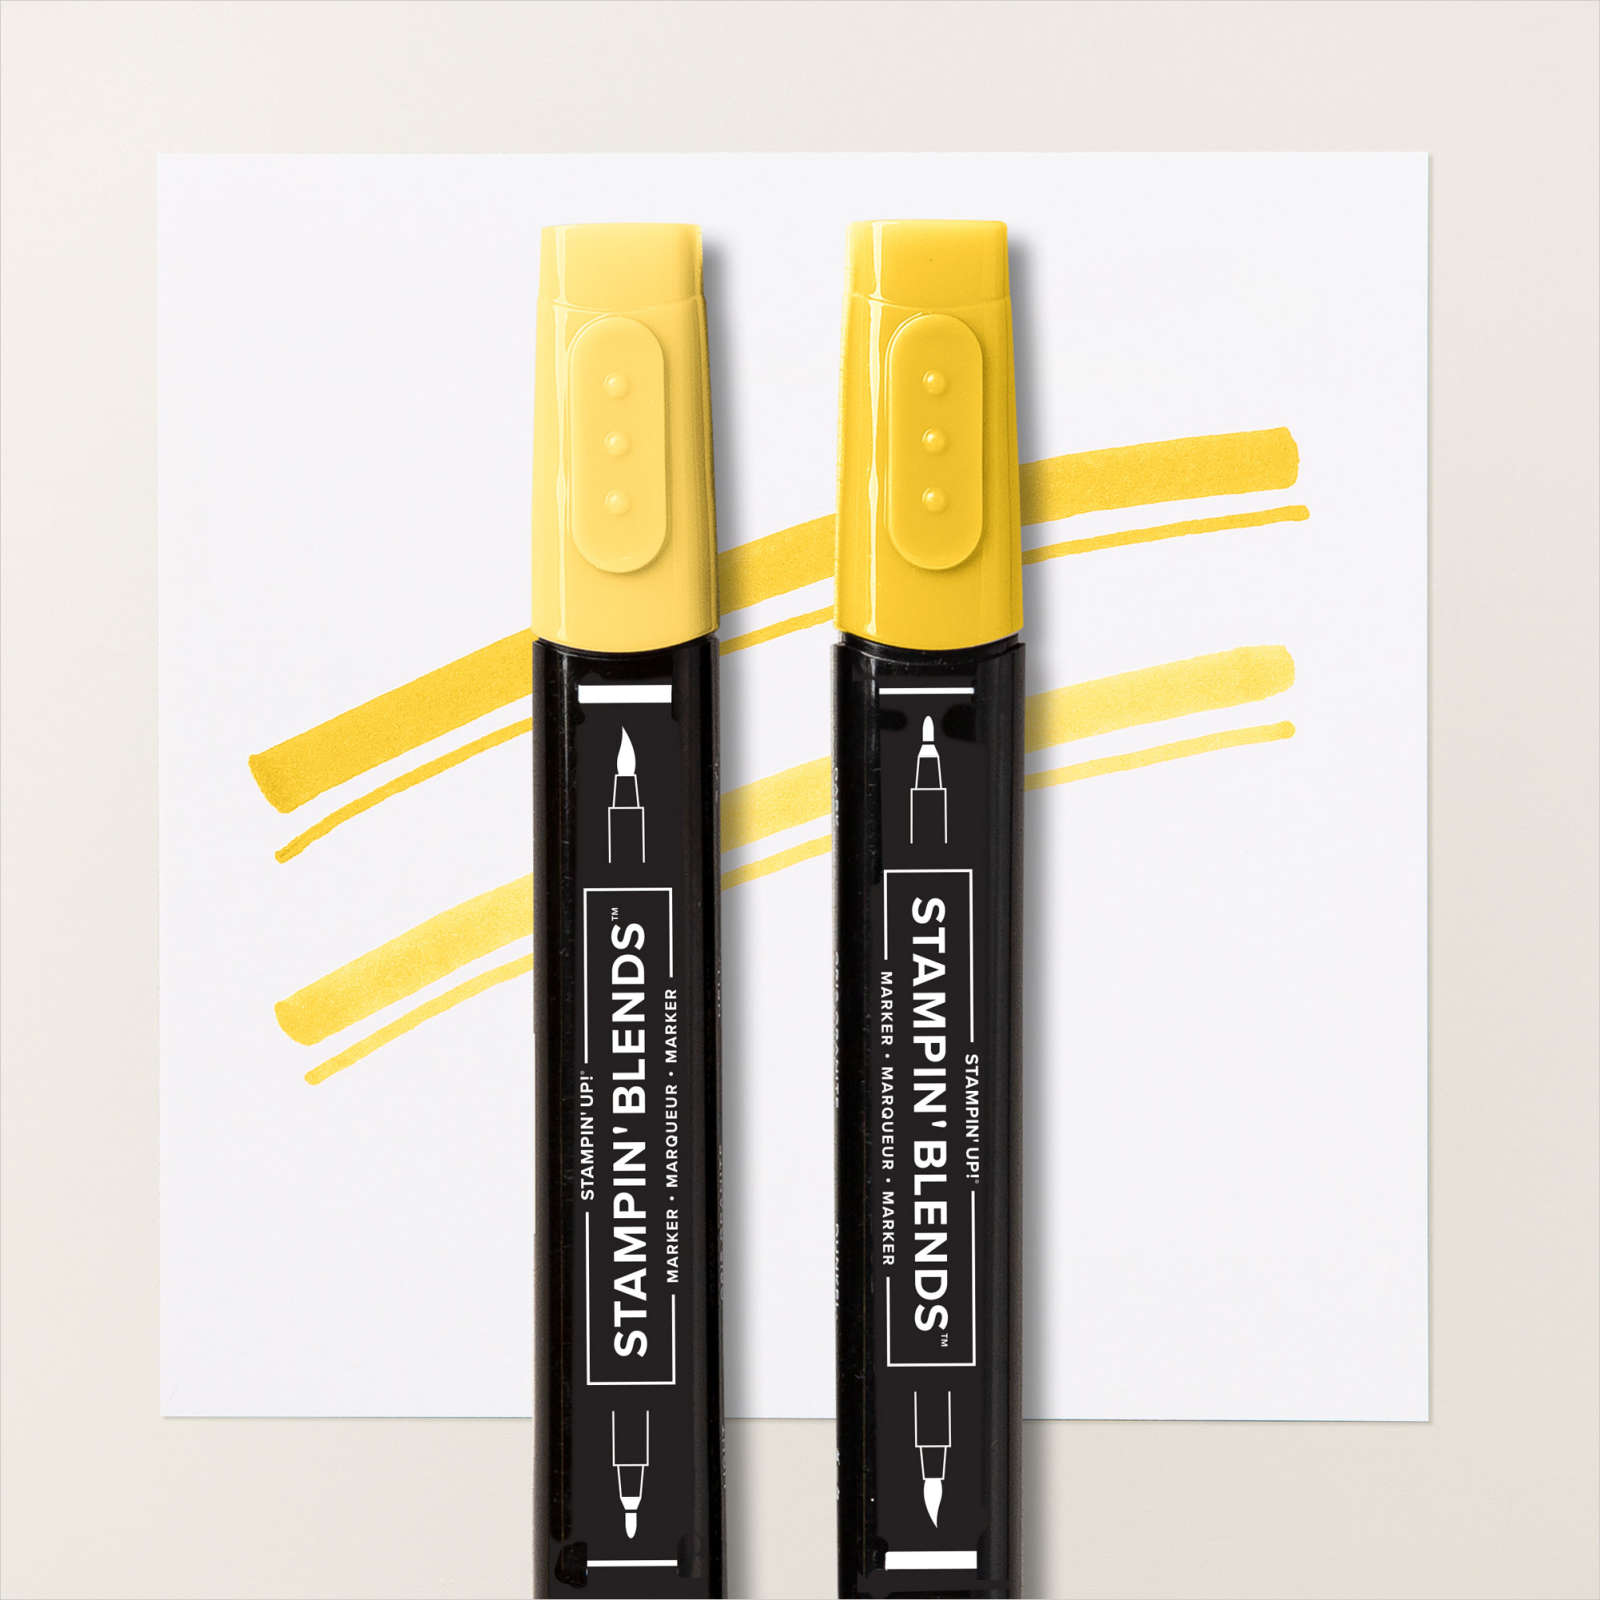
Since I am still waiting on my pre-order today I am sharing another card I CASEd from the new Annual Catalogue. This time I am using the Celebrate Sunflowers stamp set and Sunflower Dies. My card is loosely base on one you can find on page 34 of the catalogue. I embossed Petal Pink card using the Bricks & Mortar 3D Embossing Folder and attached it to scored and folded Thick Basic White card. I stamped the one large sunflower, one small sunflower and two large leaves onto Basic White card using Stazon Saddle Brown ink. I coloured the images using Dark Daffodil Delight, Dark Soft Sea Foam and Light Crumb Cake Stampin’ Blends.

I die cut all of the images using the co-ordinating Sunflower Dies. I also cut Basic White card using the large open sunflower die, the large open leaf die(twice) and both sets of flower stem dies. I attached the open sunflower to the stamped and coloured sunflower and the leaves to the stamped and coloured leaves.
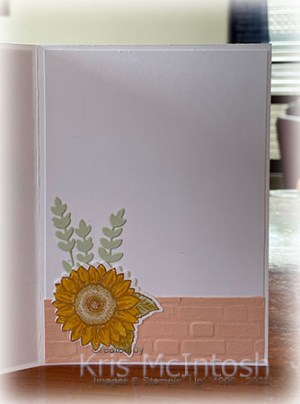
I attached the die cut flower stems, both leaves and the large sunflower to the card front. I stamped the greeting from the Celebrate Sunflowers stamp set onto Soft Sea Foam card using Stazon Saddle Brown in and cut a “v” in one end. I attached the greeting to the card front using dimensionals. I attached the small sunflower to the card front using dimensionals where necessary. To decorate the inside of the card, I stamped, coloured and die cut the small sunflower as before. I cut the two flower stem dies from Soft Sea Foam card and embossed a narrow strip of Petal Pink card using the Bricks & Mortar 3D Embossing Folder. I attached the two flower stem dies to the lower left hand corner of Basic White card. I attached the embossed Petal Pink card over the flower stems and attached the stamped flower on top. Again I love the finished result, so once more thanks Stampin’ Up! for the inspiration.
Bye for now,
Kris
Product Used:





Relax

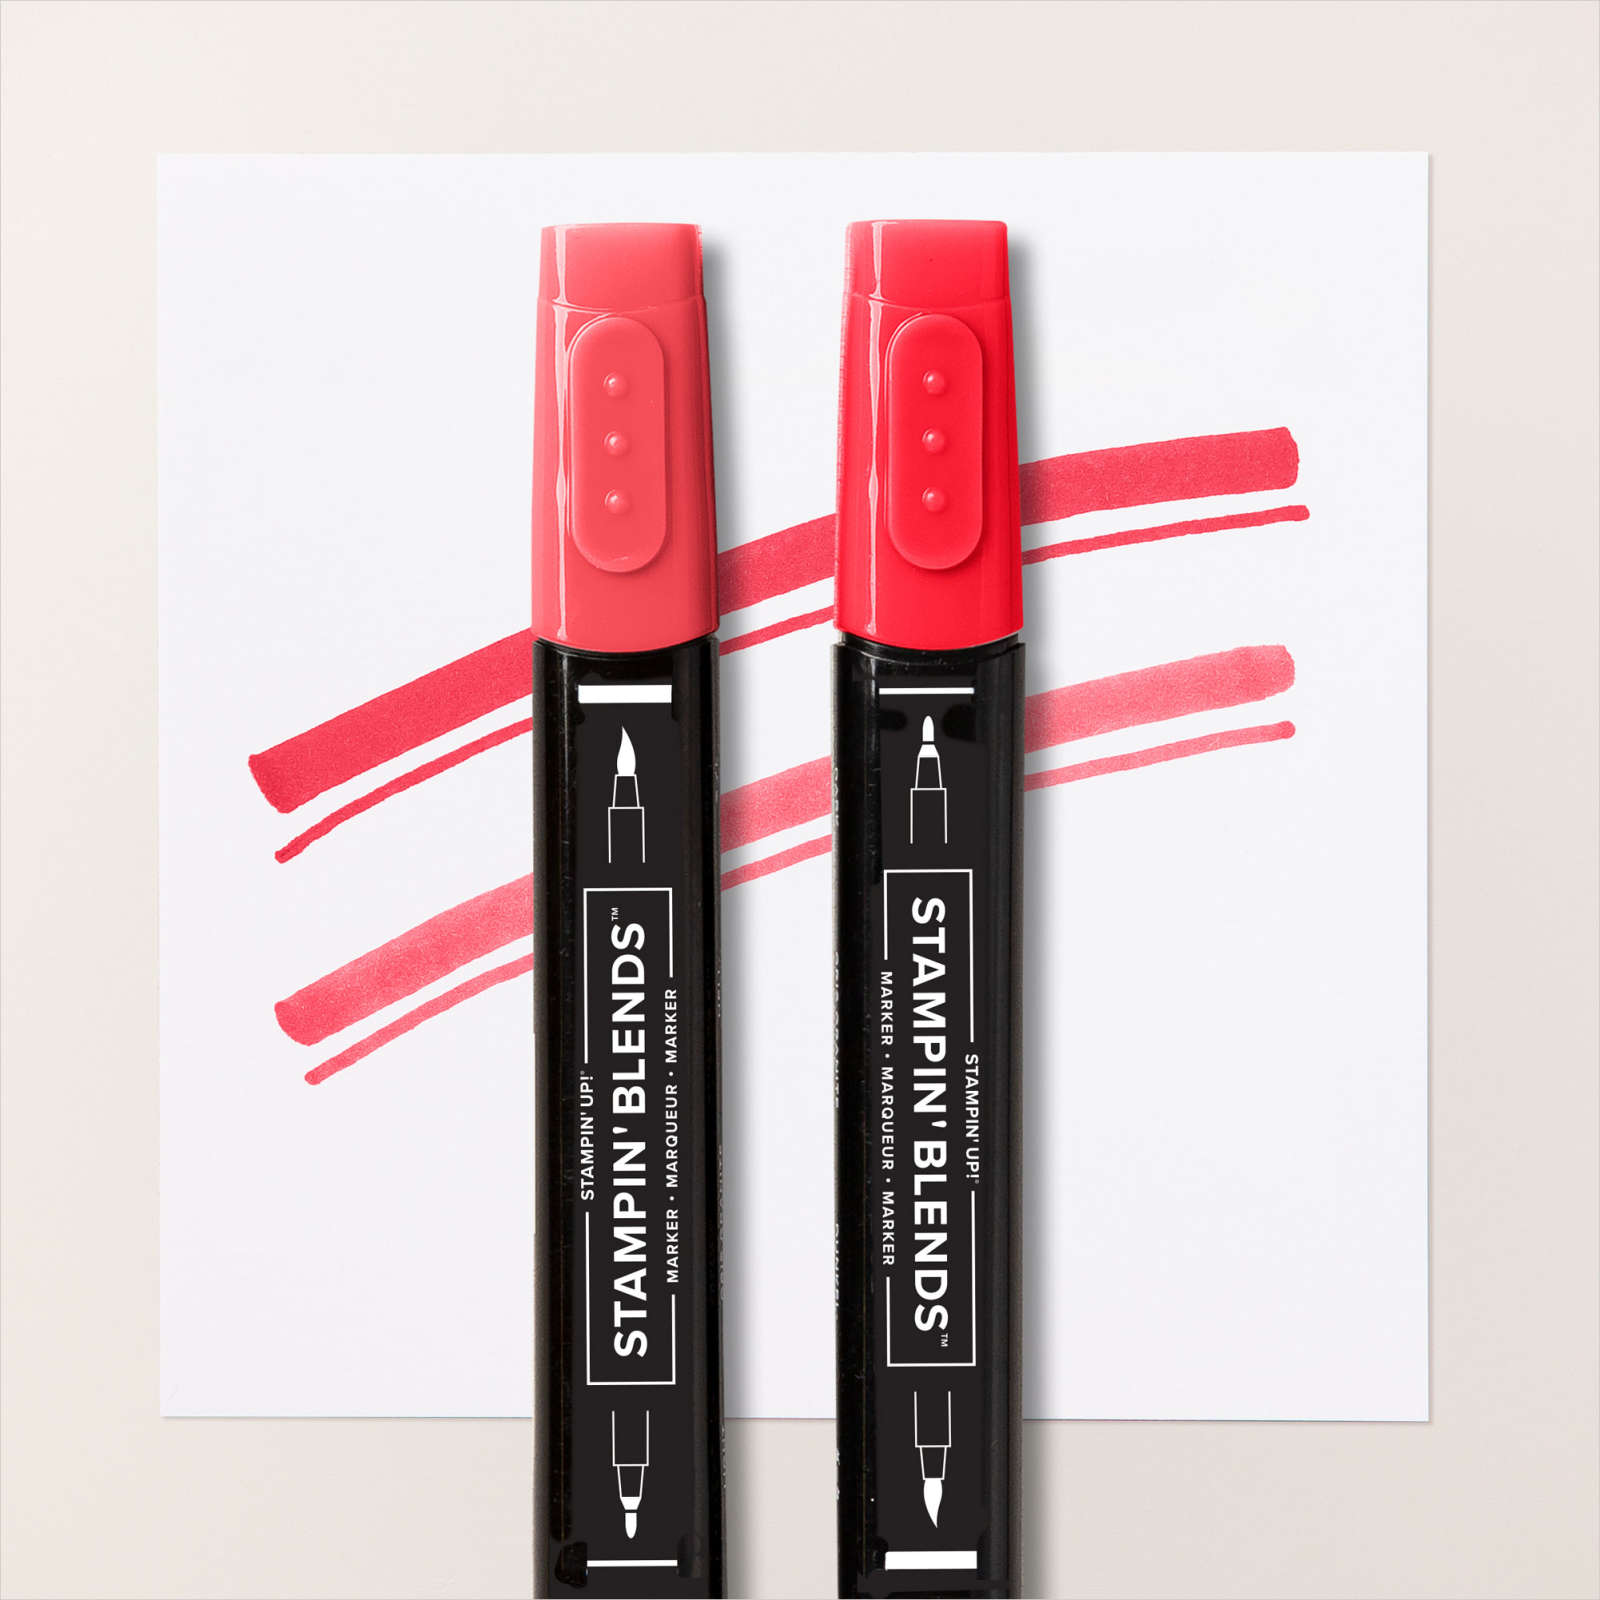
I created today’s card for my sister who recently celebrated her birthday. I used some of the limited release All Together 6″ x 6″ Designer Series Paper. I coloured the “crosses” on the long central panel using the Dark Poppy Parade Stampin’ Blend before attaching it to the Basic White card. I coloured some of the hearts on the second piece of Designer Series Paper also using the dark Poppy Parade Stampin’ Blend. I attached the Designer Series Paper across the Basic White panel before I attached the whole panel to scored and folded Basic Black card.
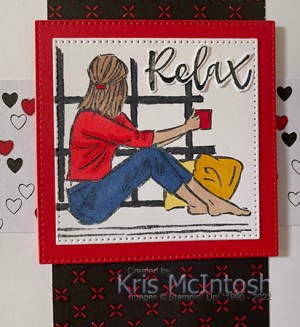
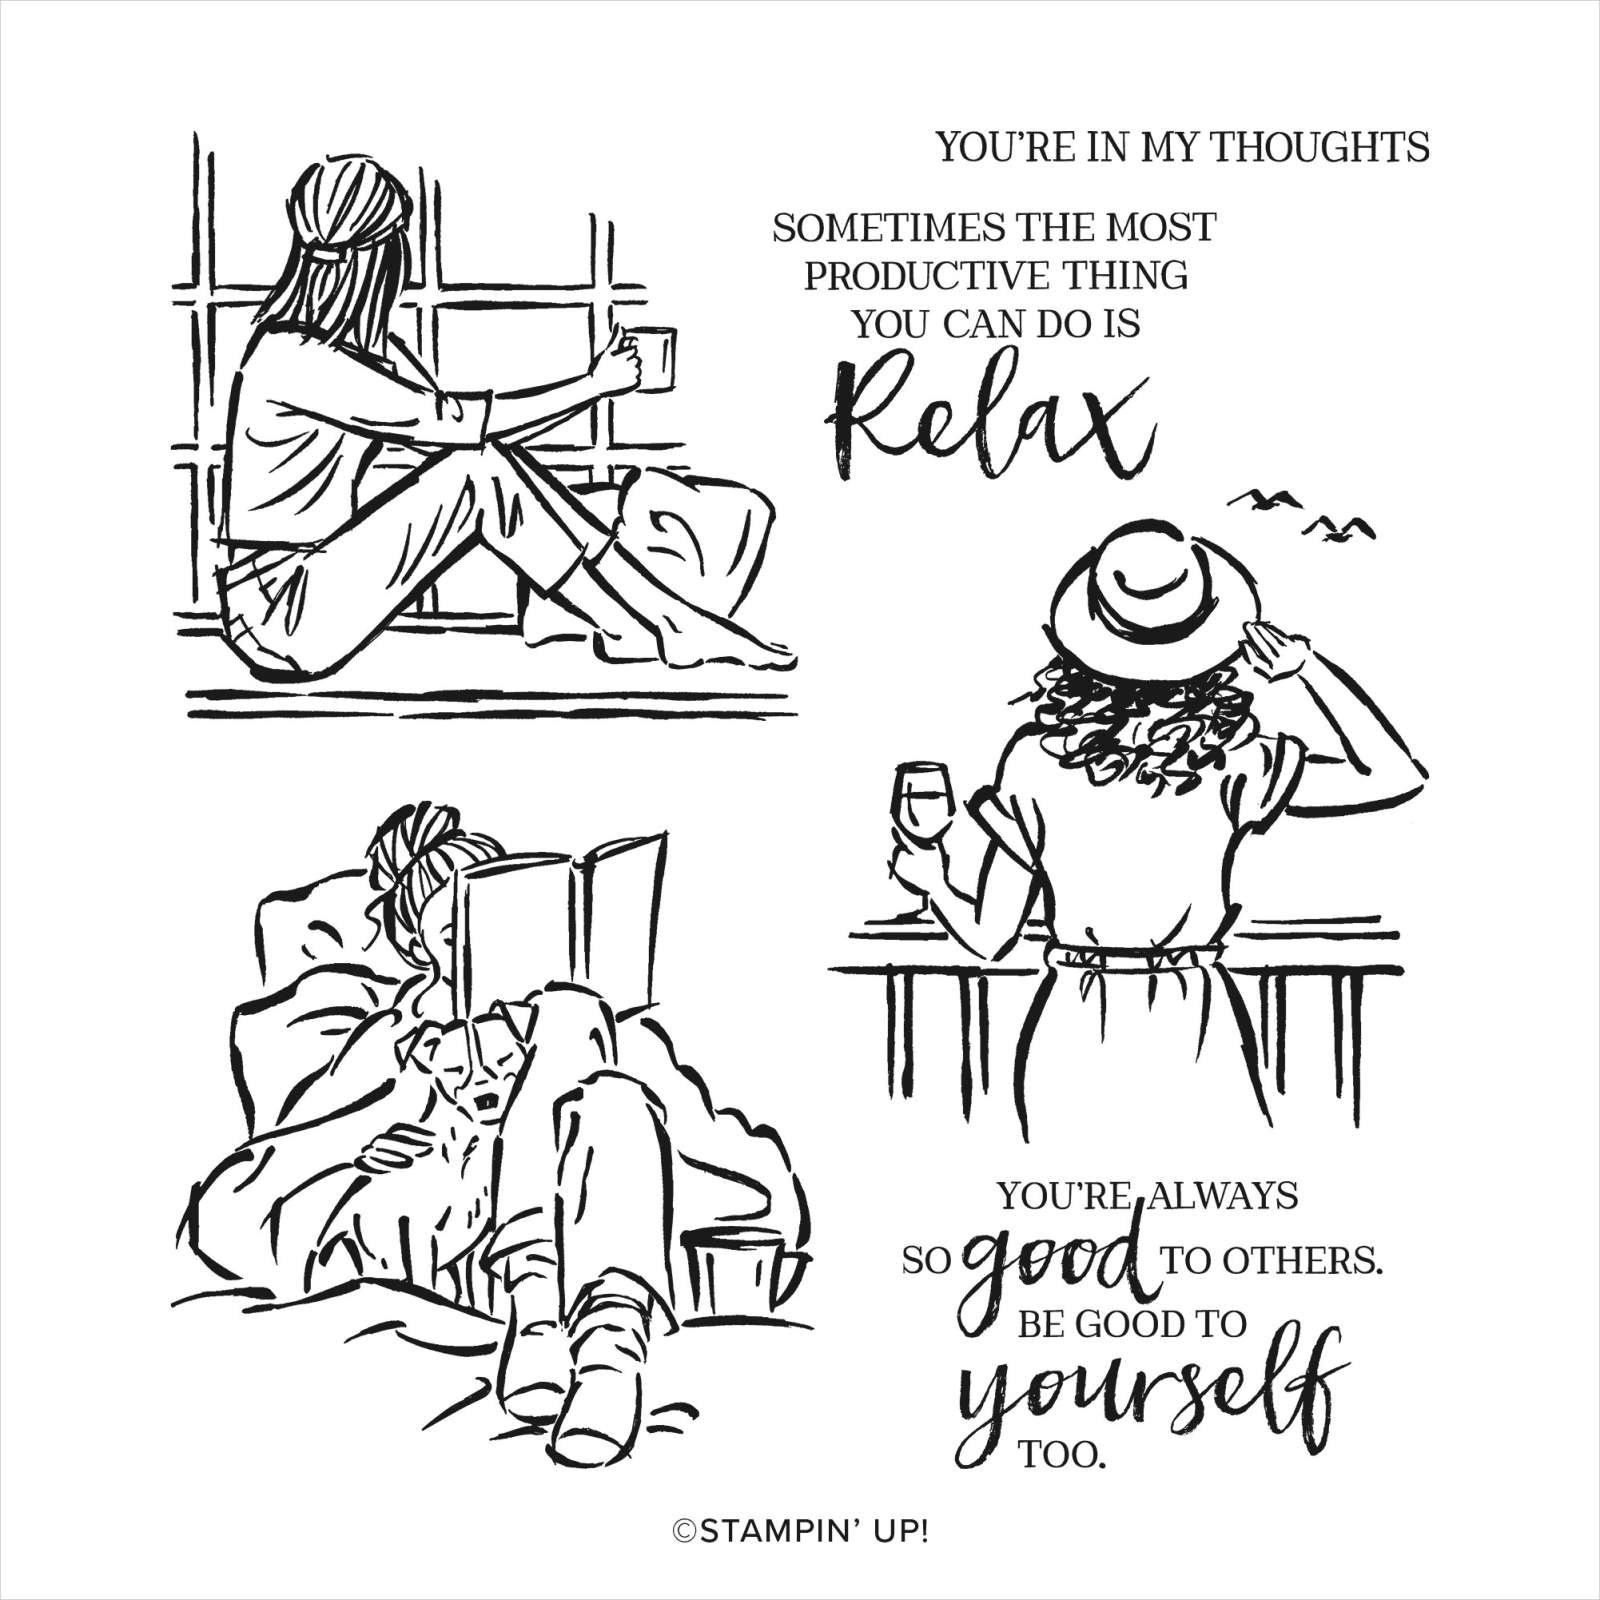
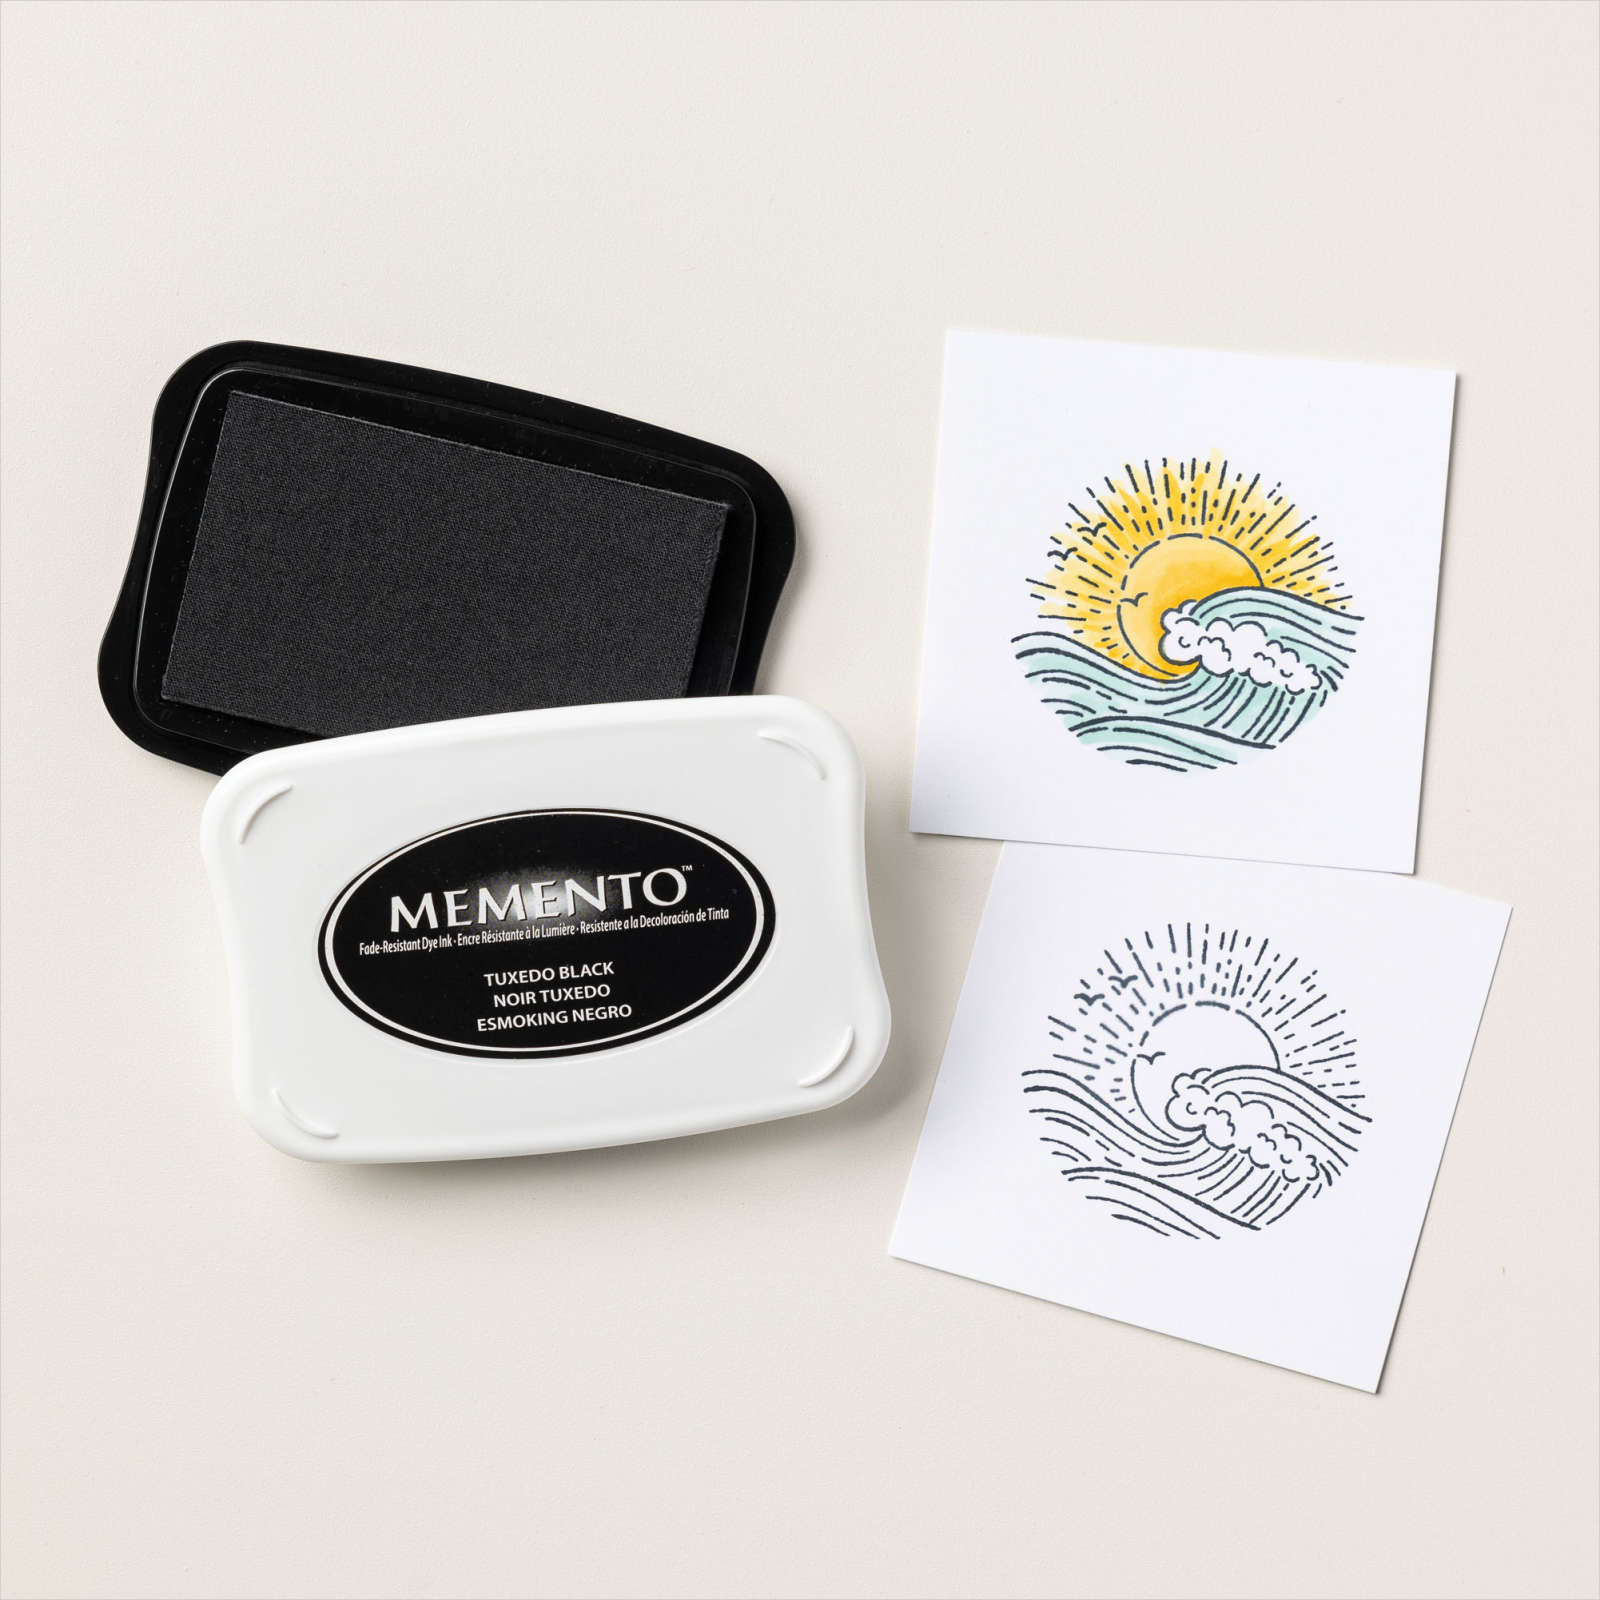
I stamped the image from the In The Moment stamp set onto Basic White card using Memento Tuxedo Black ink. I coloured the image using Poppy Parade, Night of Navy, Ivory, Bronze, Daffodil Delight and Dark Basic Black Stampin’ Blends.

I cut out the image using the second largest square from the Stylish Shapes Dies (coming soon). The image panel is attached to a square cut from Poppy Parade card using the largest square from the Stylish Shapes Dies (coming soon). I attached the image panel to the card front using dimensionals. I stamped the greeting from the In The Moment stamp set onto Basic White card using Memento Tuxedo Black ink. I cut out the word “relax” and attached it to the image panel. To decorate the inside of the card, I coloured a piece of Designer Series Paper and attached it across the bottom of Basic White card. I stamped the greeting from the Happiest of Birthdays stamp set (retiring) onto the Basic White card using Memento Tuxedo Black ink.
I liked the card so much that I made a second one for my sister-in-law who is celebrating her birthday soon.
Bye for now,
Kris
Product Used:


Cousins
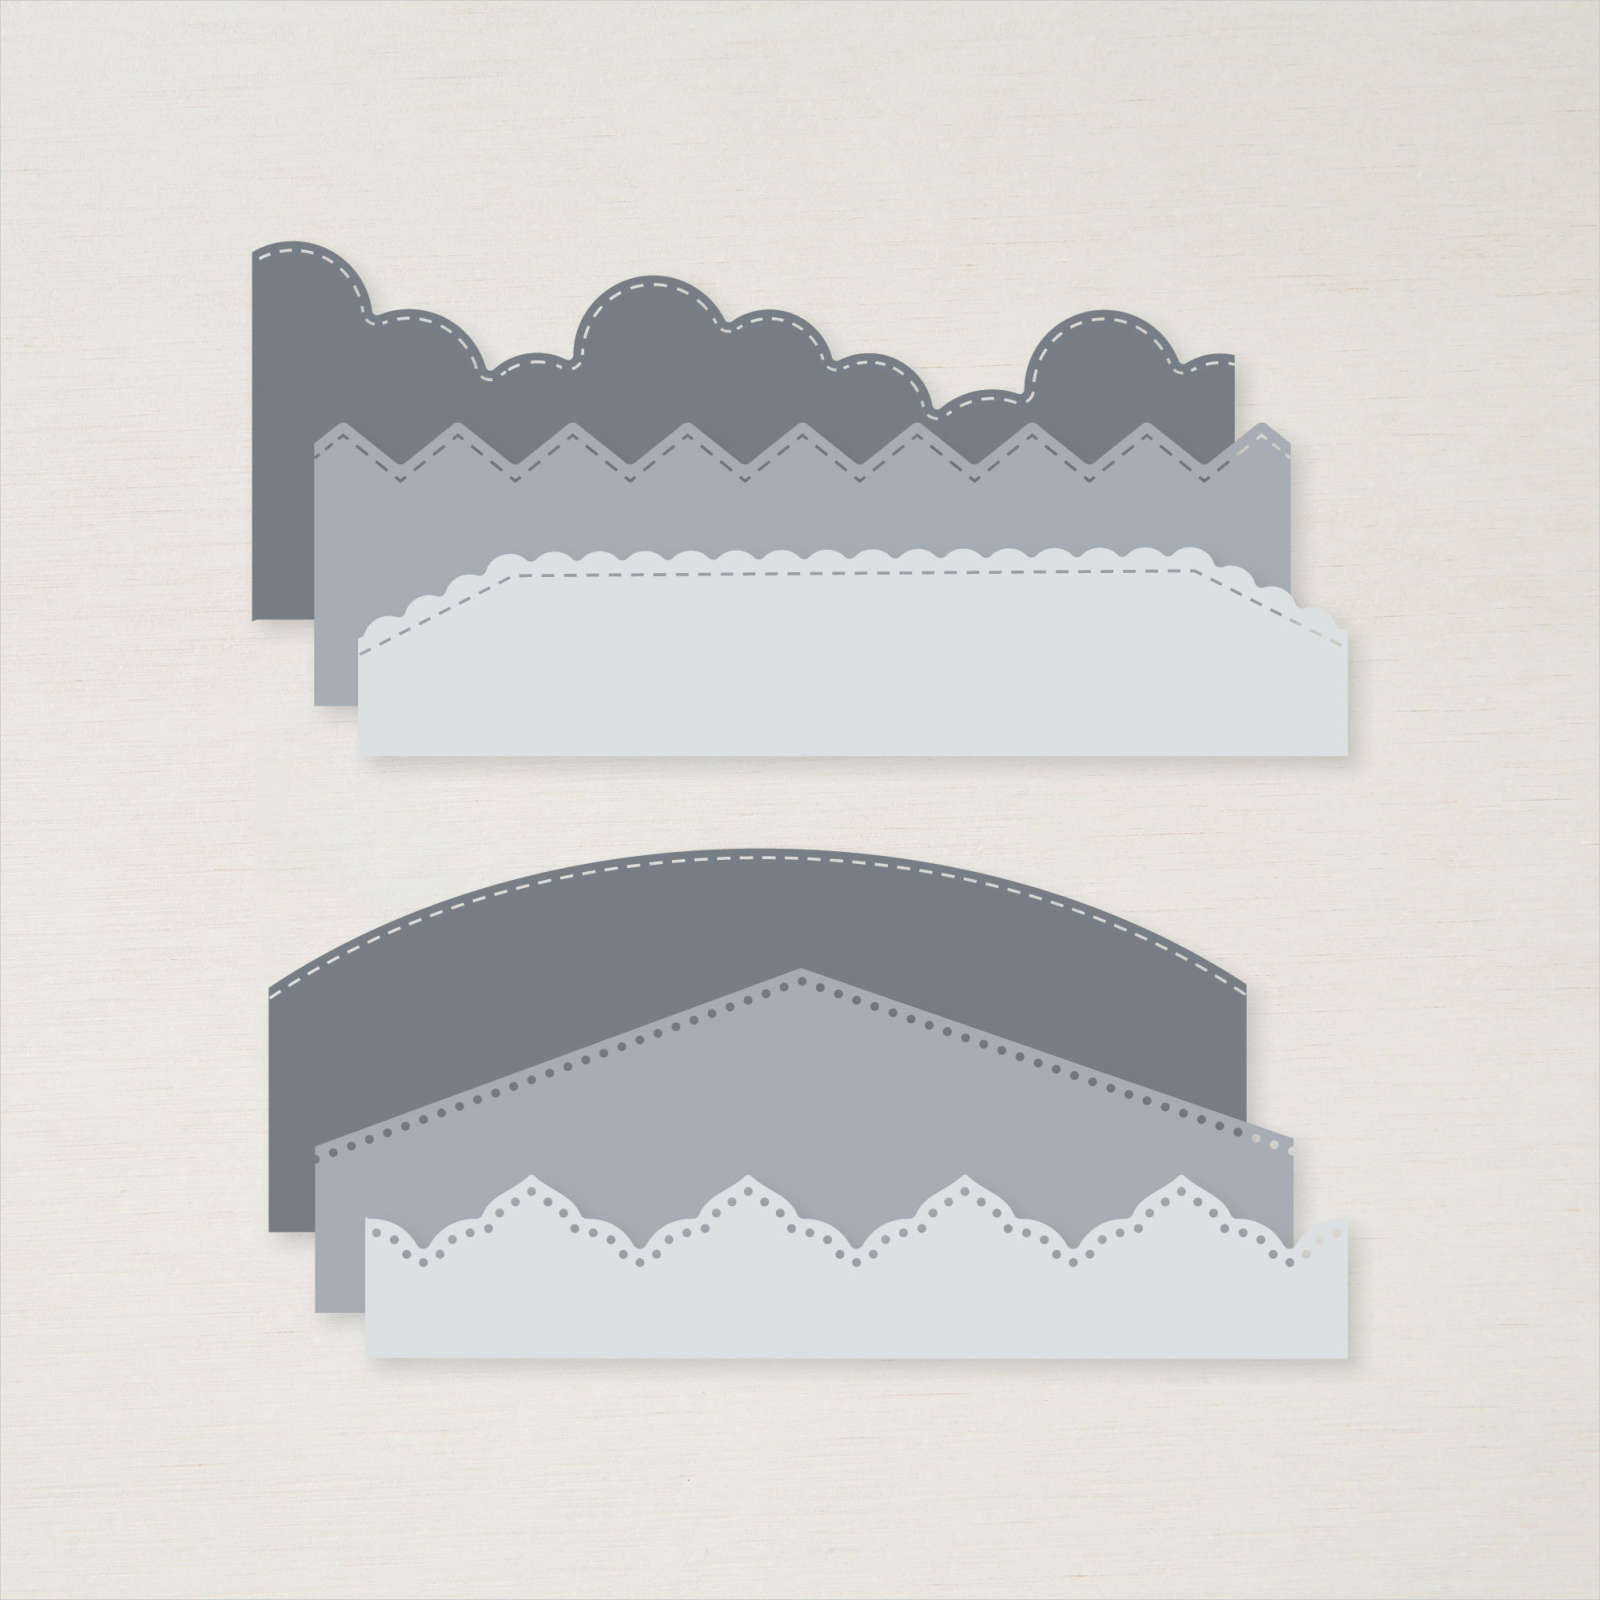
Today’s page shows off some photos from a visit with Ron’s cousin at Wauchope. I cut Blackberry Bliss, Crushed Curry and Old Olive card using one of the Slim Card Dies and using the frame as a guide, attached the pieces down the left hand side of a Basic White 12″ x 12″ page. I attached a narrow strip of Blackberry Bliss card down the right hand side of the die cut panel. I attached the photos to Blackberry Bliss card before attaching them to the page.
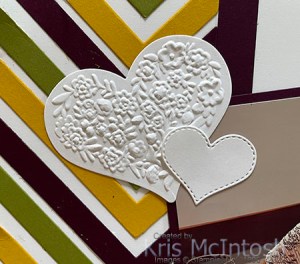
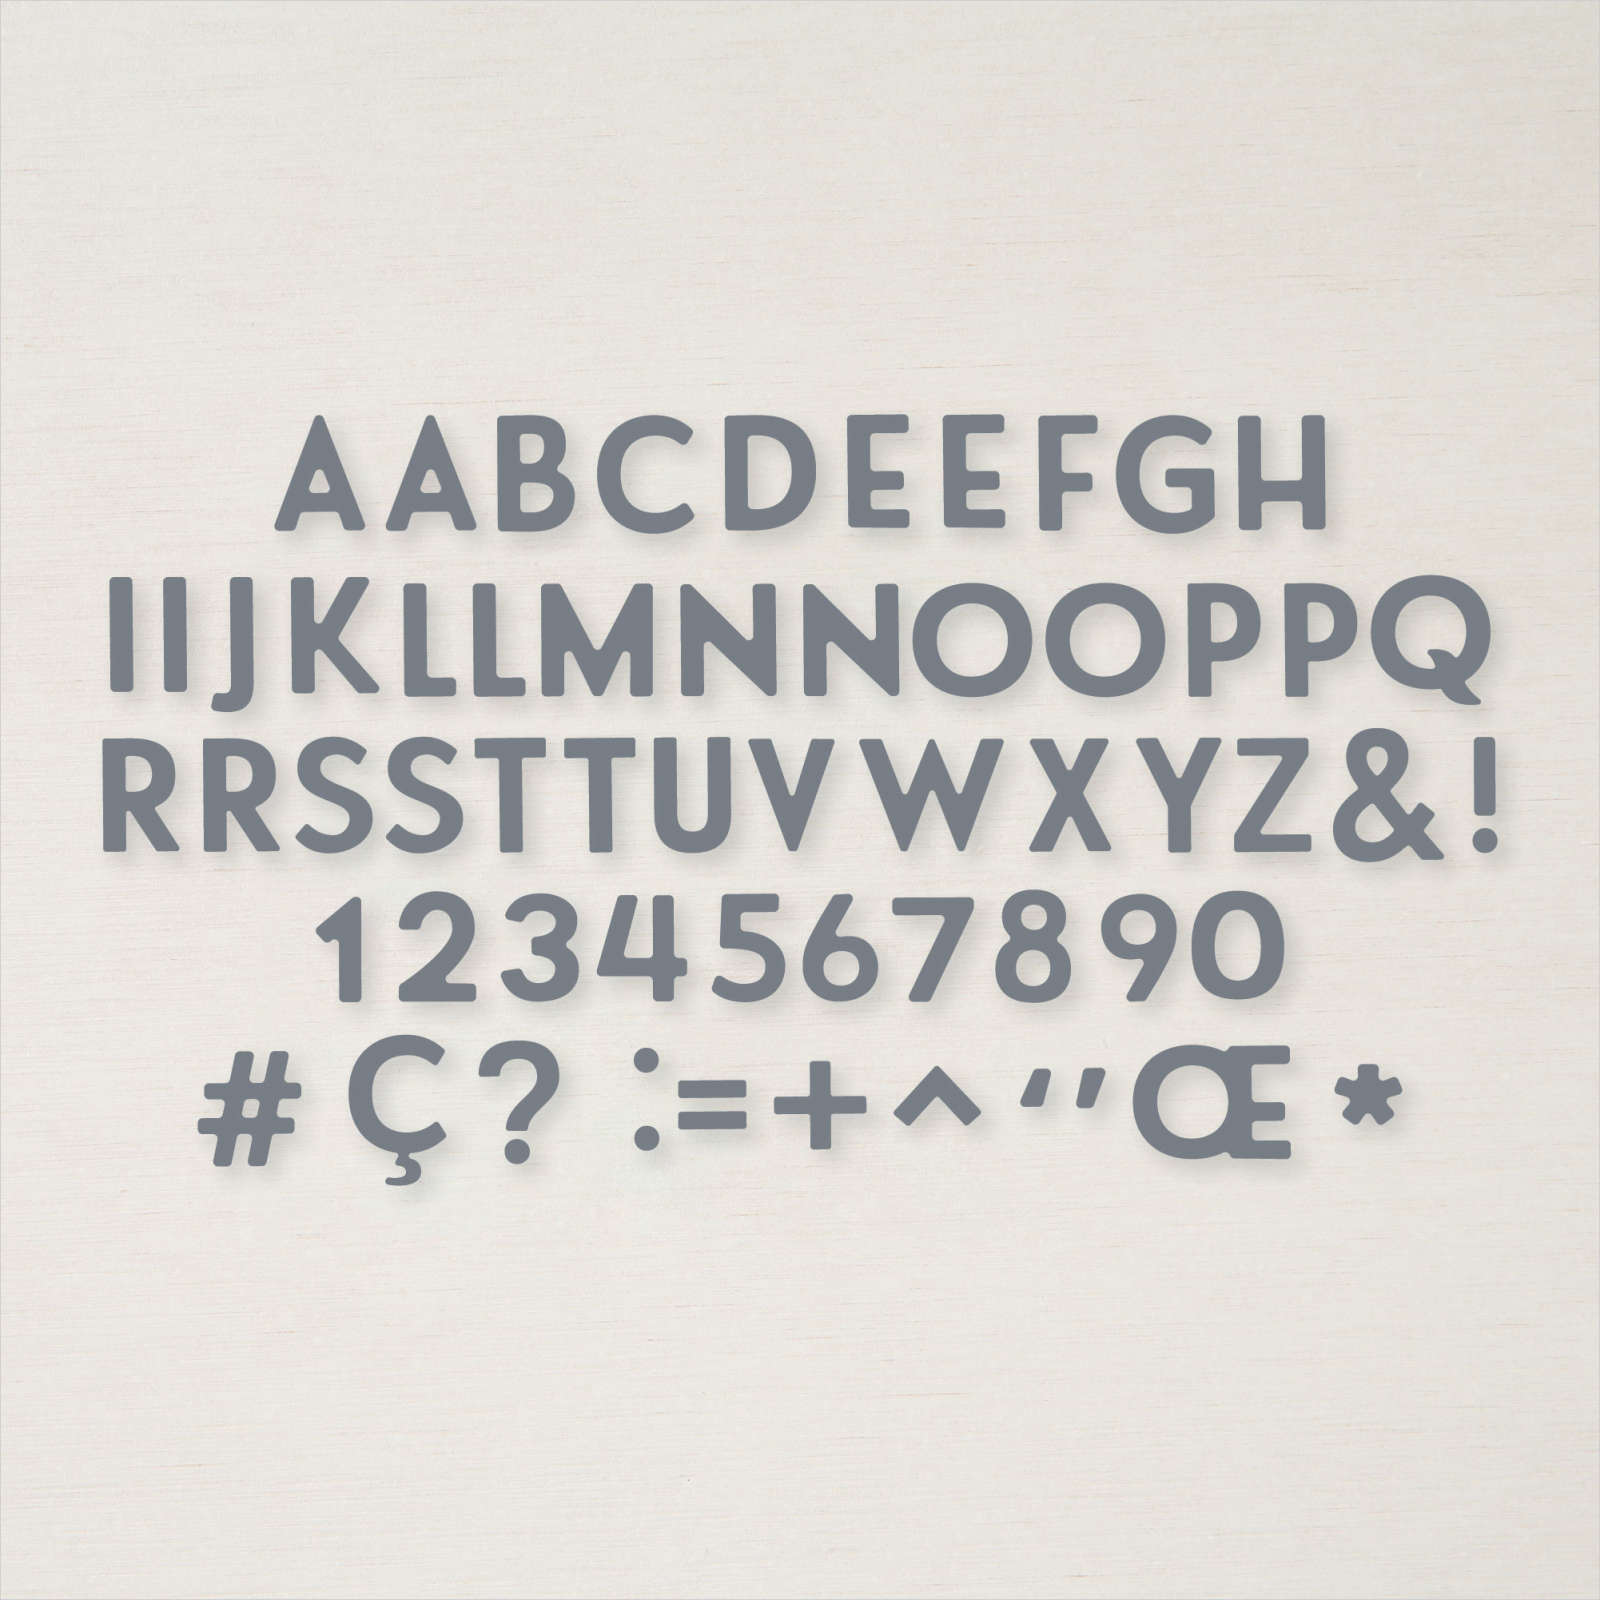
The small photo lifts up to reveal the journaling. I die cut a 12″ strip of Blackberry Bliss card using one of the Basic Border Dies and attached it across the bottom of the page. I cut the title from Basic White card using the retiring Playful Alphabet Dies. I used the Bouquet of Love Hybrid Embossing Folder to cut two large hearts from Basic White. I also cut a small heart from Basic White card using the Bouquet of Hope Dies.
Simple page but this one packs a lot of wonderful memories.
Bye for now,
Kris
Product Used:


Horizon Fancy Fold

I couldn’t resist making one more card using the instructions found on Lisa Curcio’s blog. As I said yesterday, her instructions are so easy to follow and will work with any size cardstock. For this card I cut the card base from Night of Navy card and attached pieces of the New Horizon 6″ x 6″ Designer Series Paper to the front panels. I cut a different pattern of New Horizon Designer Series Paper using the largest circle from the Layering Circle Dies.
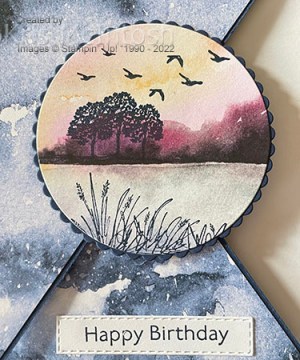
I stamped the tree image from the On The Horizon stamp set onto the Designer Series Paper circle using Night of Navy ink. I also stamped the birds and grass images from the same stamp set onto the Designer Series Paper circle also using Night of Navy ink.

I attached the Designer Series Paper circle to a Night of Navy scalloped circle and then the card front, ensuring that I only glued it to the top flap. It would look kind of funny if you couldn’t open the card. I stamped “happy birthday” from the Art Gallery stamp set onto Basic White card using Night of Navy ink. I cut out the greeting using one of the Stitched Rectangle Dies and attached it to the lower front panel. I attached Basic White card onto the inside of the card base but I didn’t add any stamping.
I really love this fancy fold, don’t you. Thank you Lisa for the inspiration and also the great instructions.
Bye for now,
Kris
Product Used:


Butterfly Birthday
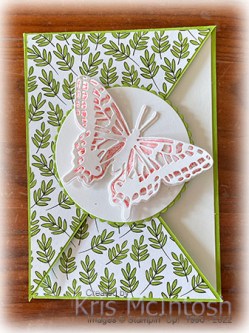
This week in my Facebook Live, I shared my version of a great fun fold that Lisa Curcio on her blog. She has a great video showing how to cut your card base and add layers. Since Lisa is a US demonstrator I wanted to see how it worked using our Australian A4 card. I followed her instructions and I think it turned out fantastic. For this card I cut the card base from Granny Apple Green card and attached pieces of the All Together 6″ x 6″ Designer Series Paper to the front panels. I did colour the paper using the Dark Granny Apple Green Stampin’ Blend to add a little more colour.

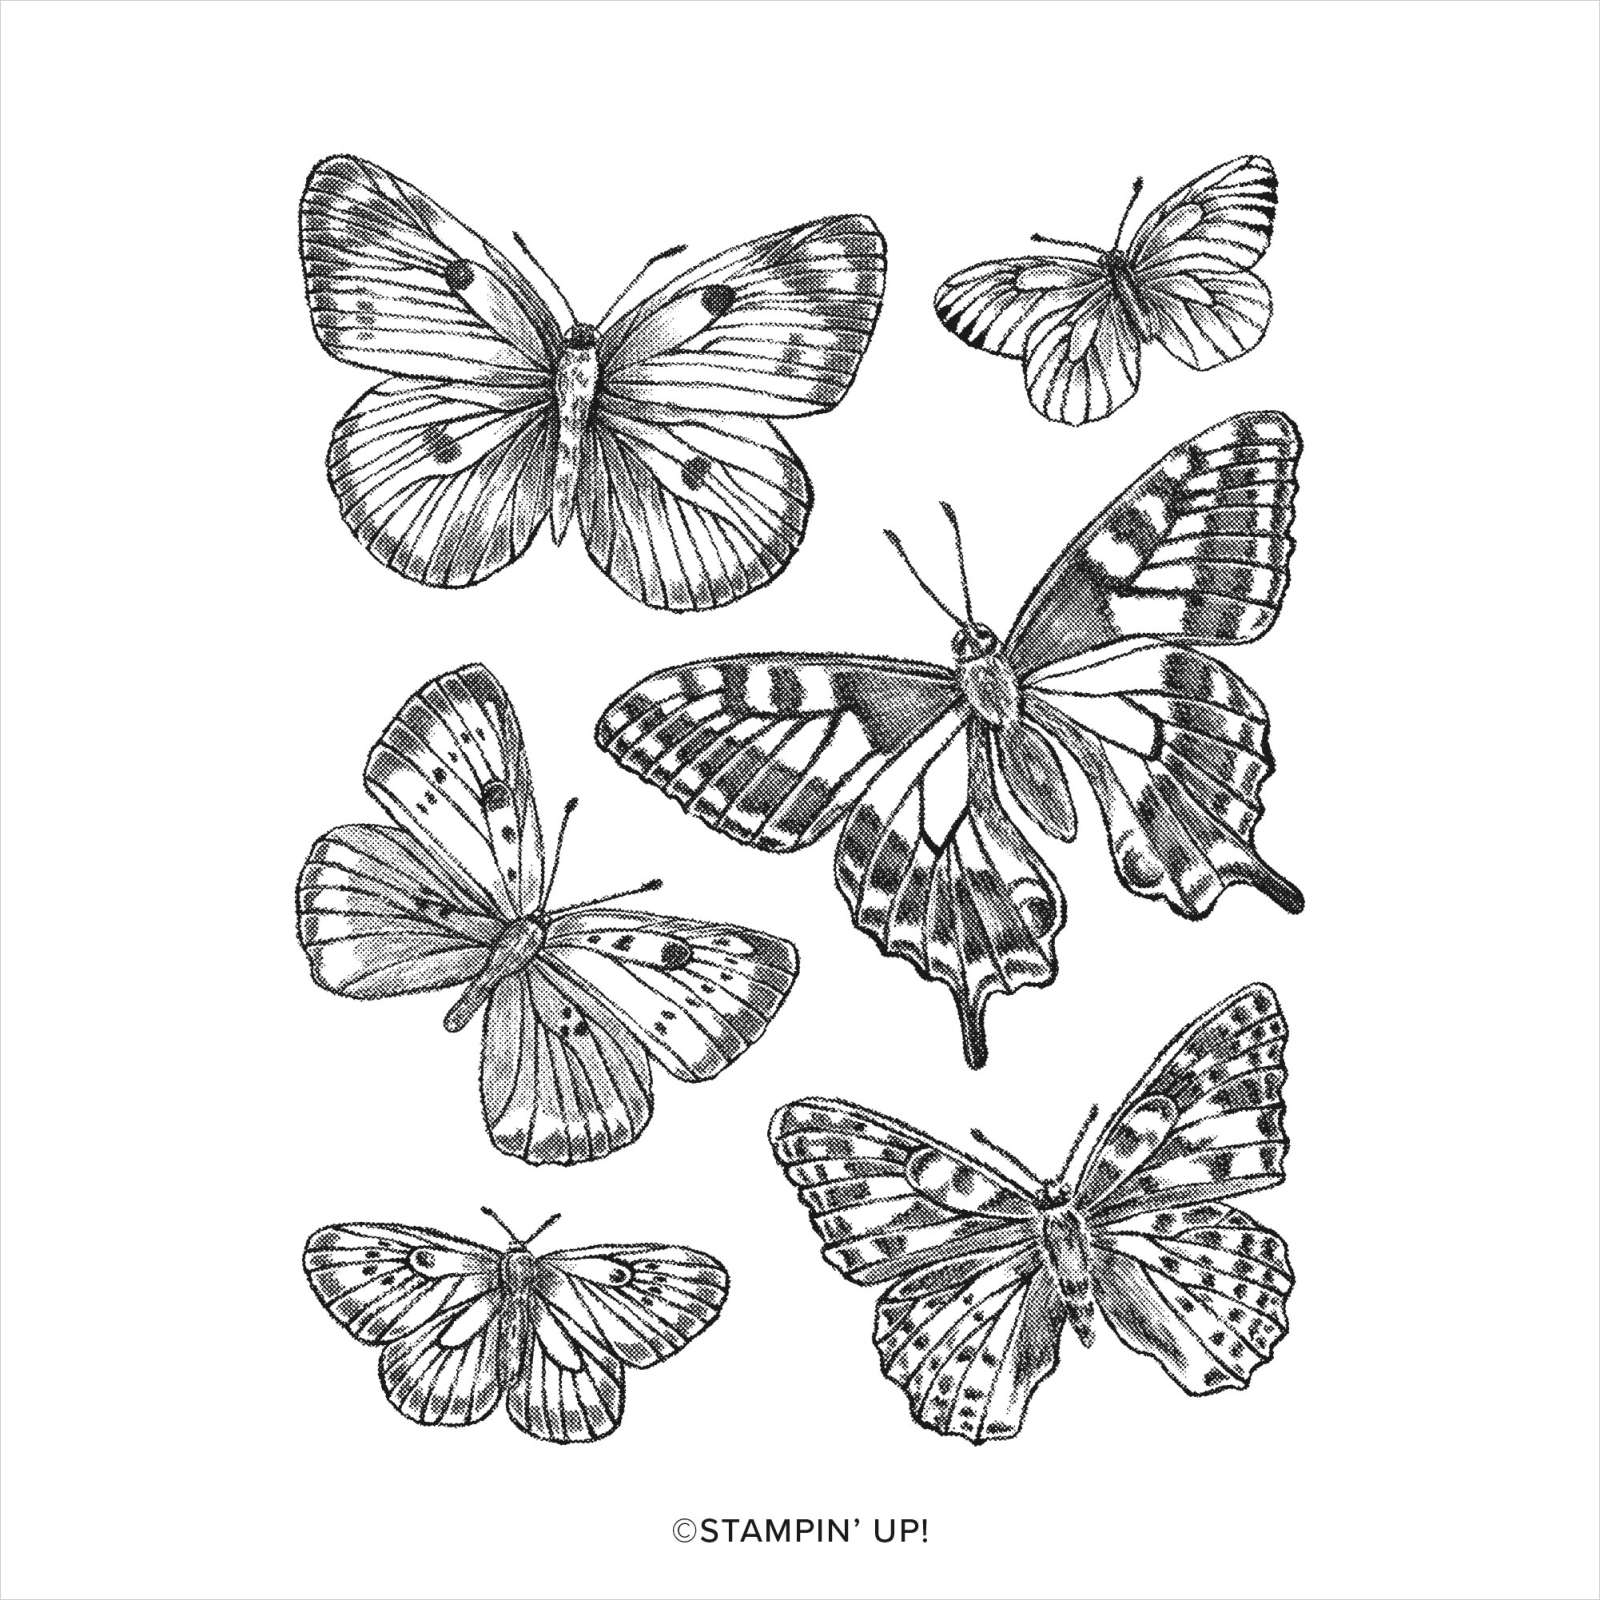
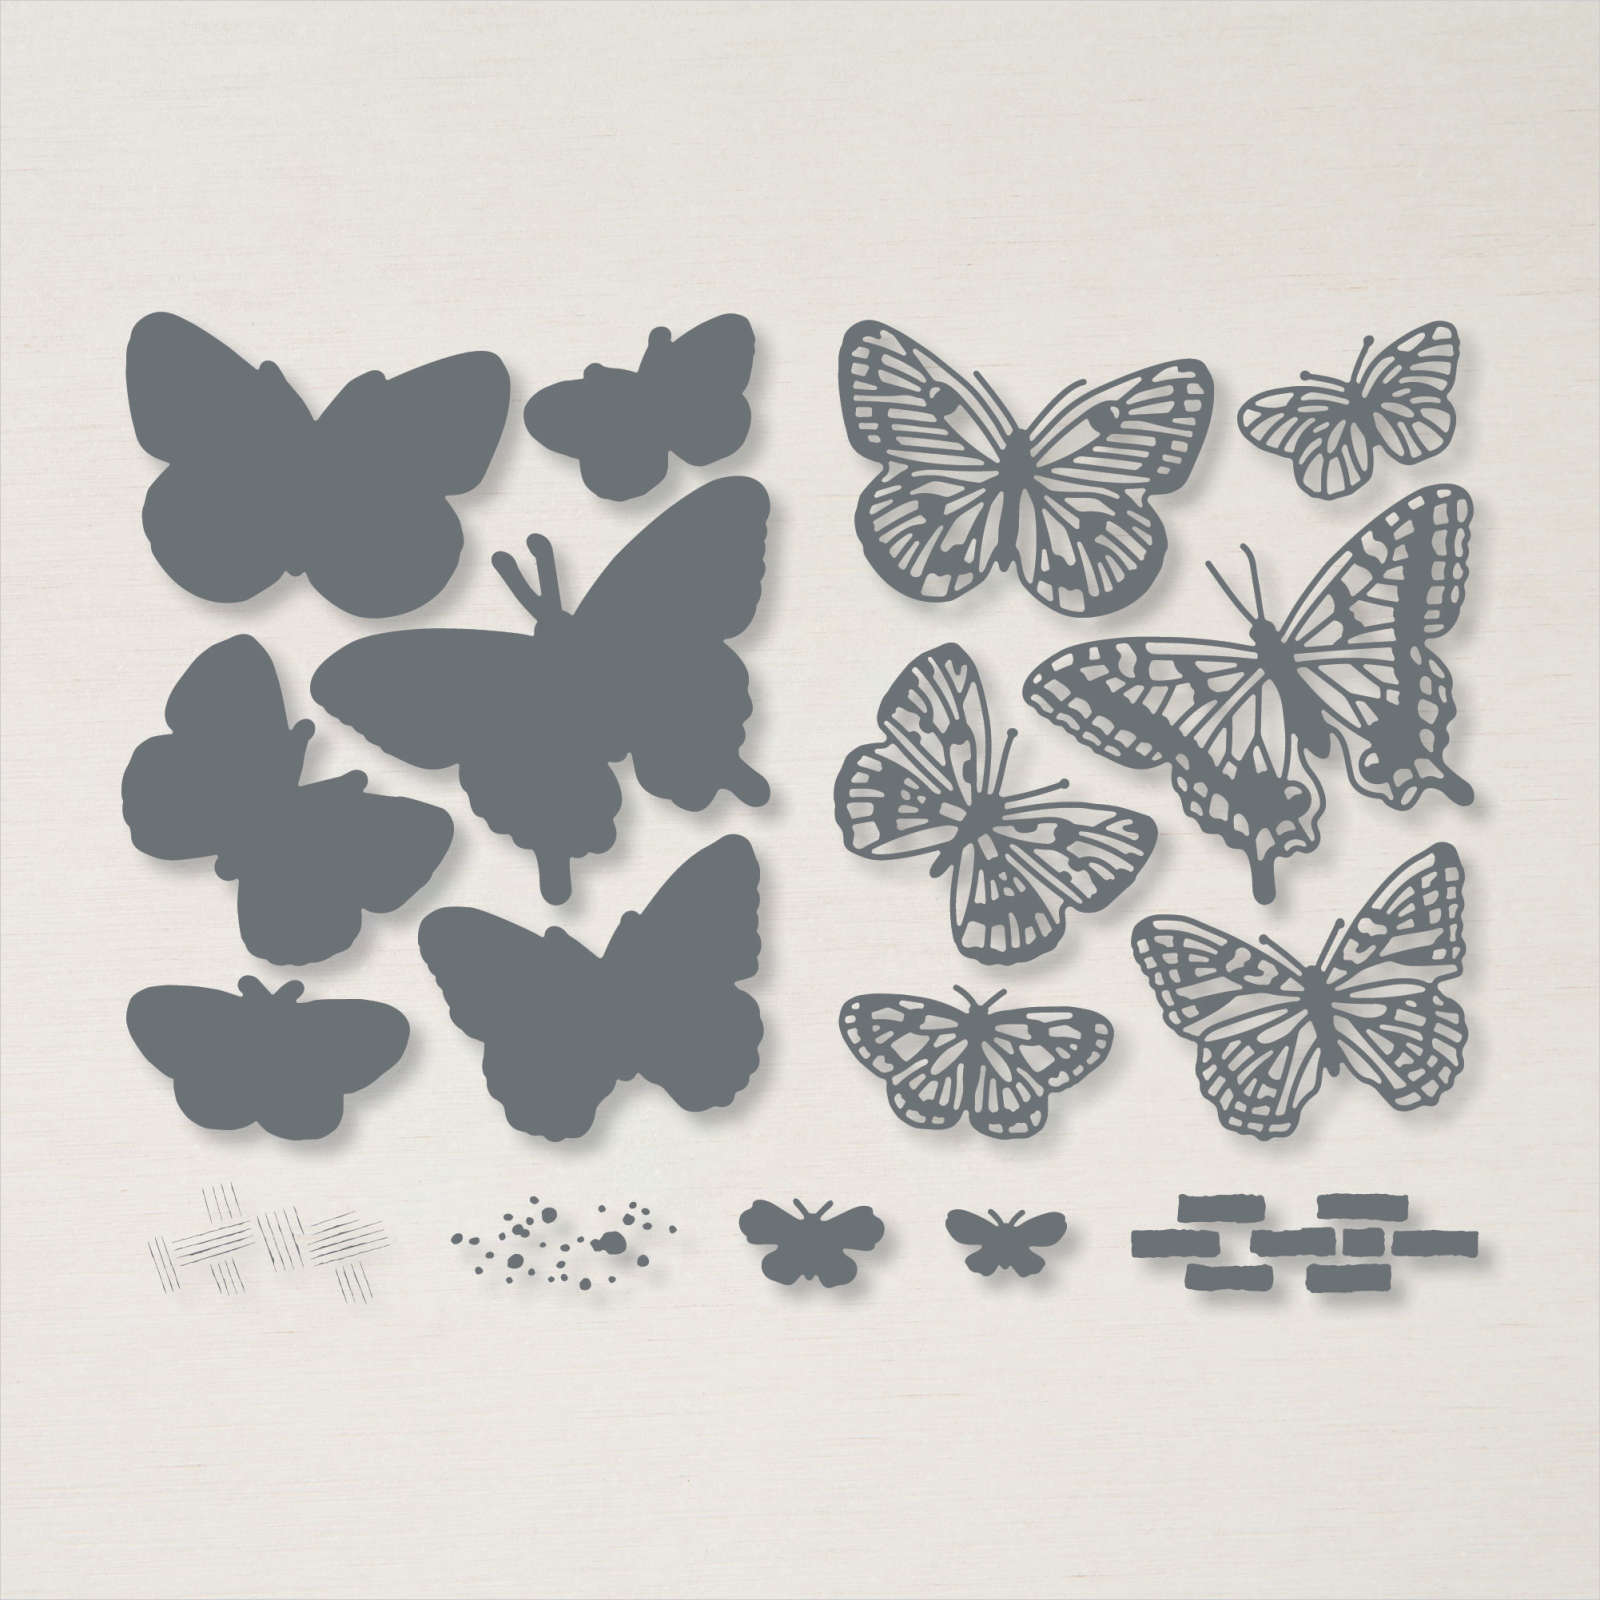
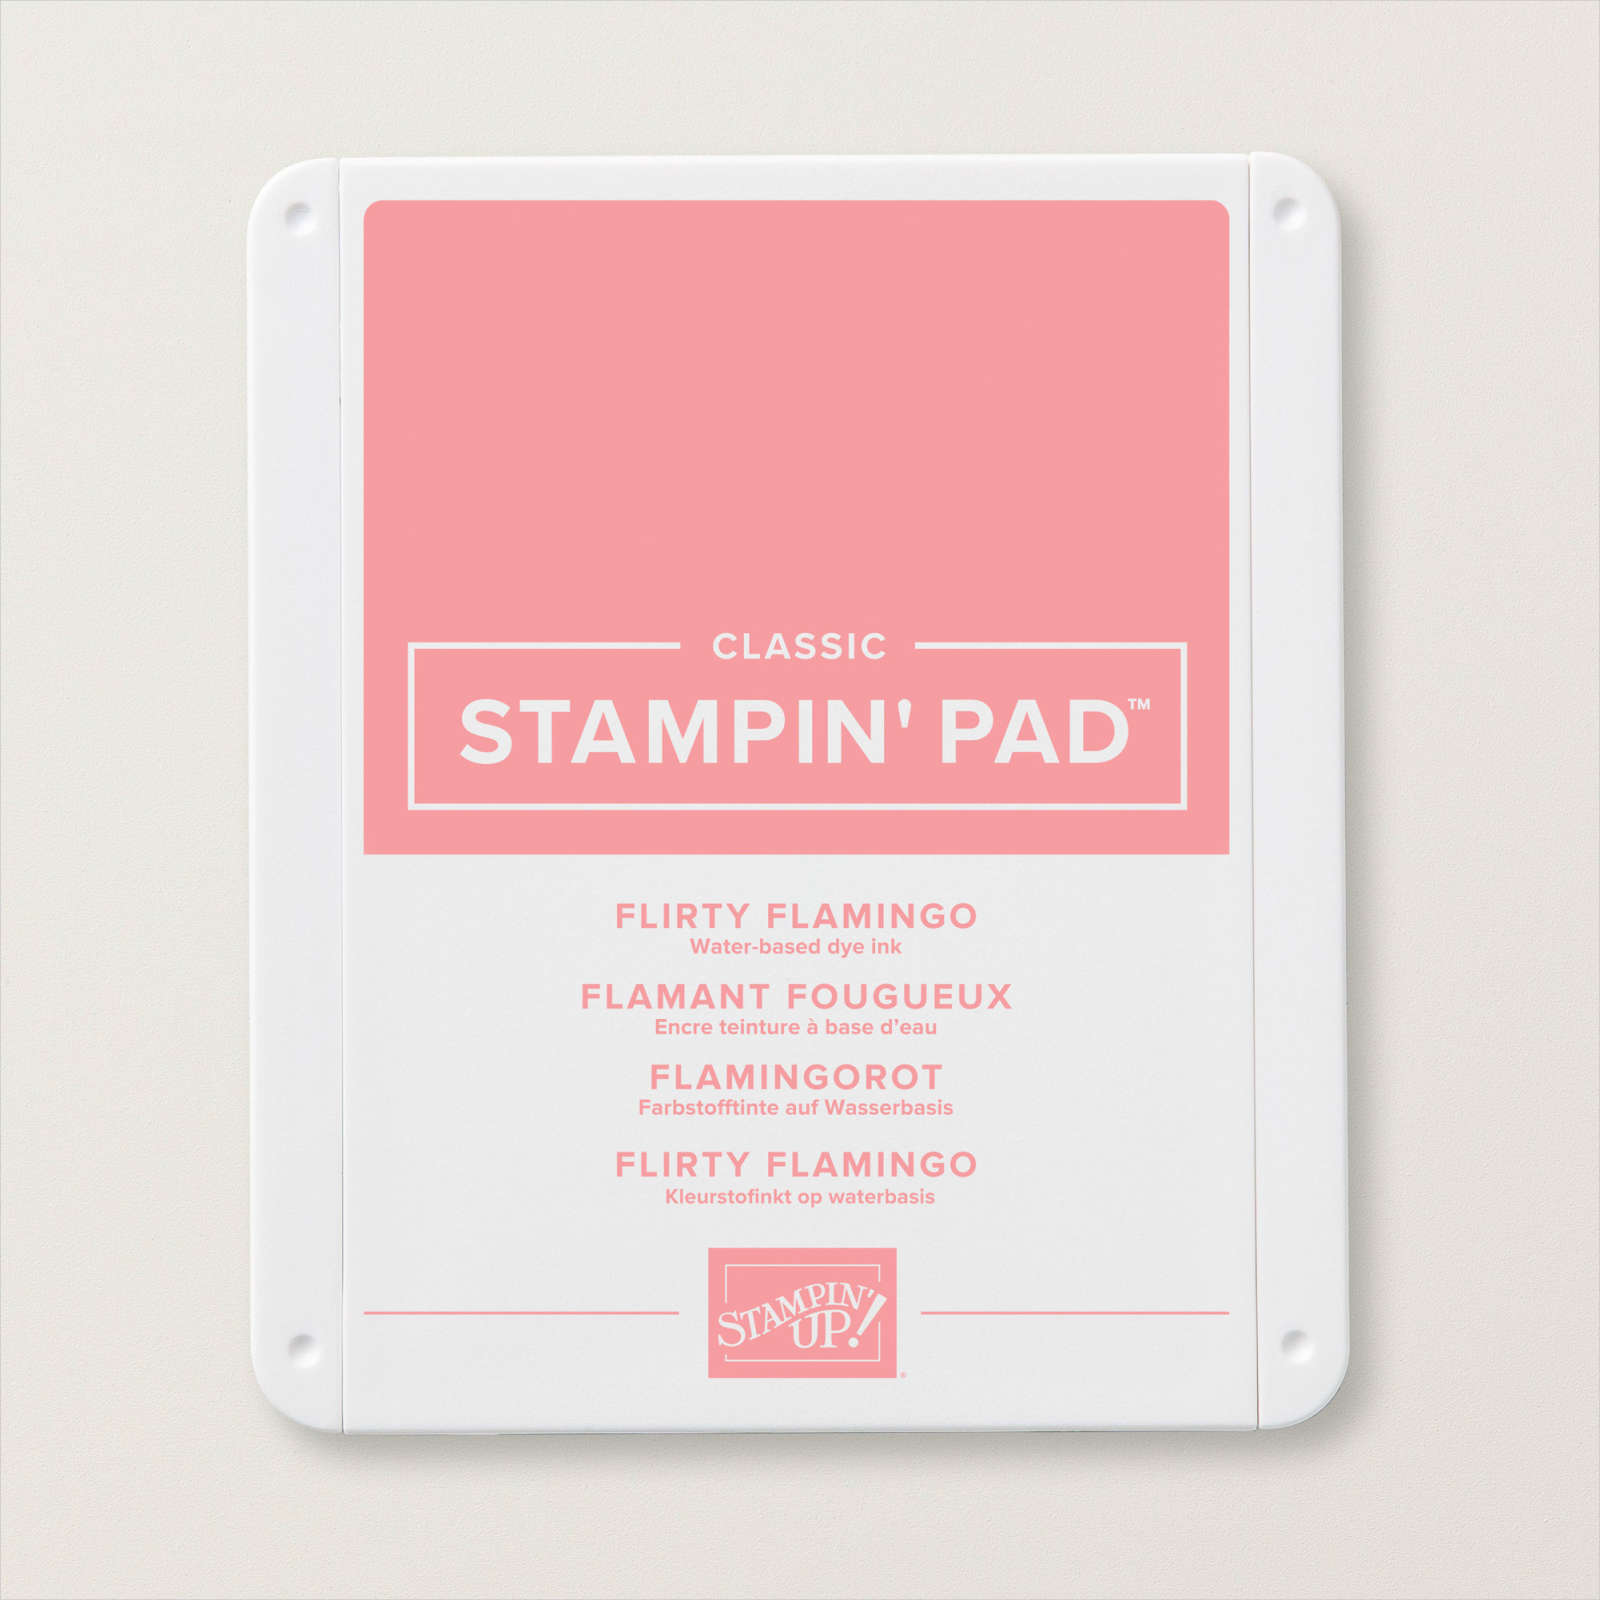
I stamped the butterfly from the Butterfly Brilliance stamp set onto Basic White card using Flirty Flamingo ink. I cut out the butterfly using the co-ordinating Brilliant Wings Die. I cut Basic White card using the largest circle from the Layering Circle Dies and attached it to the largest scalloped circle cut from Granny Apple Green card.

I attached the circles together and then attached them to the card front, making sure that it was only attached to the top flap so the card would open. I curled the wings of the butterfly using my bone folder and attached it to the Basic White circle. I die cut the detailed butterfly from Basic White card using the Brilliant Wings Die and attached it to the stamped butterfly. I attached Basic White card inside my card and stamped “happy birthday” from the Peaceful Moments stamp set using Flirty Flamingo ink. I made sure that I stamped the greeting so that you can’t see it until you open the card.
I love Lisa’s fun fold and her instructions were so easy to use.
Bye for now,
Kris
Product Used:



Free Shipping

I don’t usually post on Wednesday’s but thought you might all like to know that for tomorrow only we can place orders with Free Shipping for tomorrow only. One day only. So don’t miss out. This is a fantastic time to stock up on all those basic items we cannot live without – card, adhesive, tools etc. You can place your order in my store here.
Happy Shopping and bye for now,
Kris
Kits
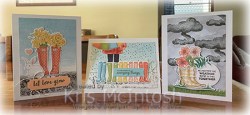
With all the excitement of retiring products and getting ready for a new Annual Catalogue, I thought I would remind you about Stampin’ Ups! wonderful Kit Collection. There is a wide variety of kits to choose from and they don’t retire with the catologues. For the most part, they remain available for a long time with a kit retiring occasionally. So, today’s cards are created using the No Matter The Weather all inclusive kit. You get everything in the kit to create nine cards, three each of three different designs. The best part being that you get a clear block and stamp set that you can use forever! I loved creating these cards and of course you could change them up a bit it you want. If you haven’t taken a look, I suggest that you do, they are all together under Kits Collection in my online store.
Bye for now,
Kris
Product Used:







