Butterfly Birthday
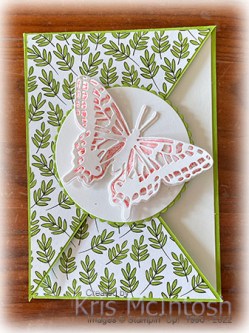
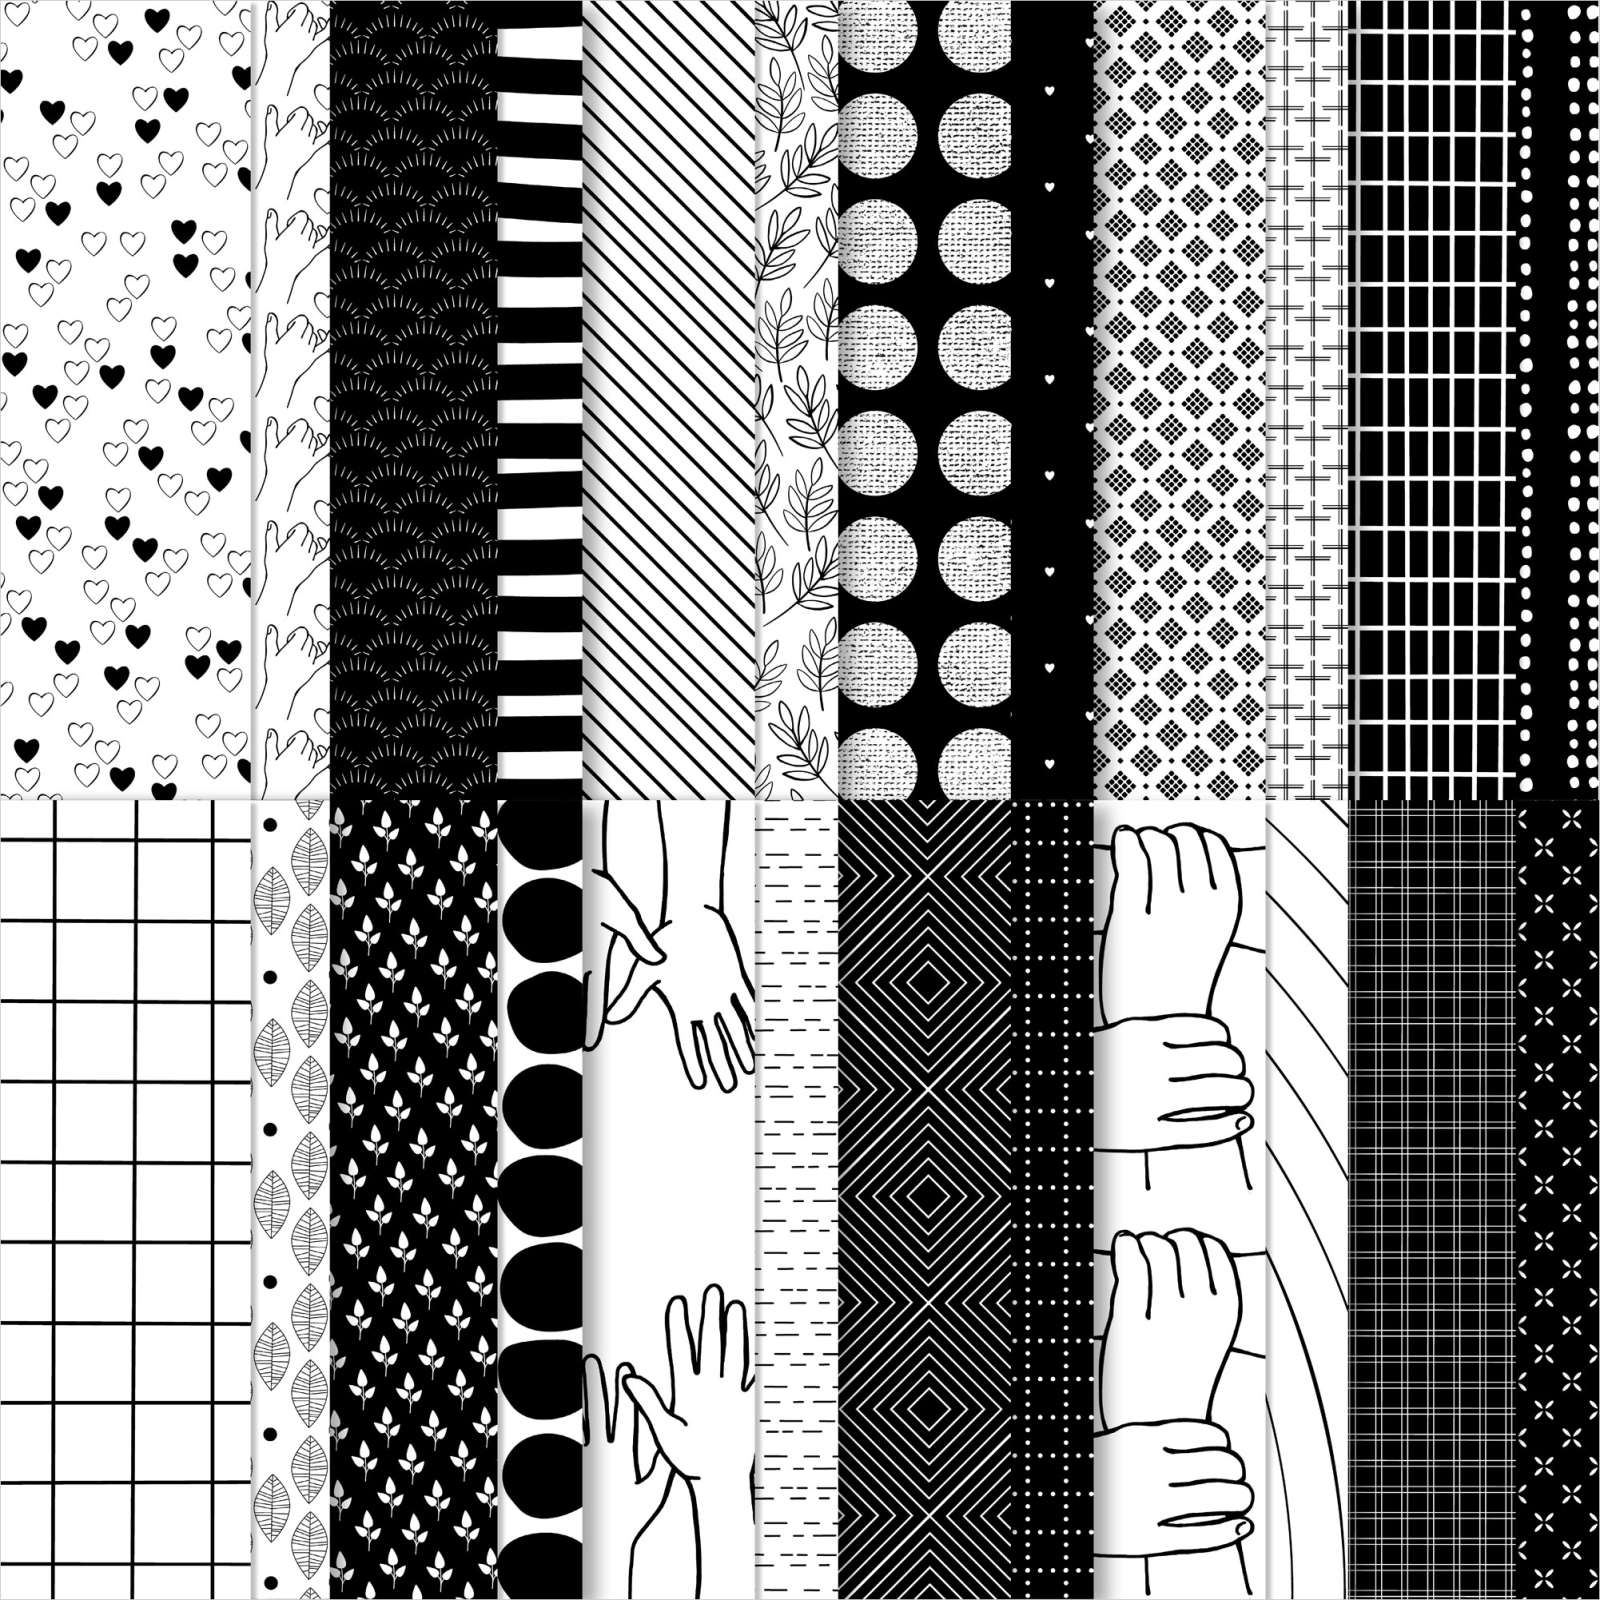
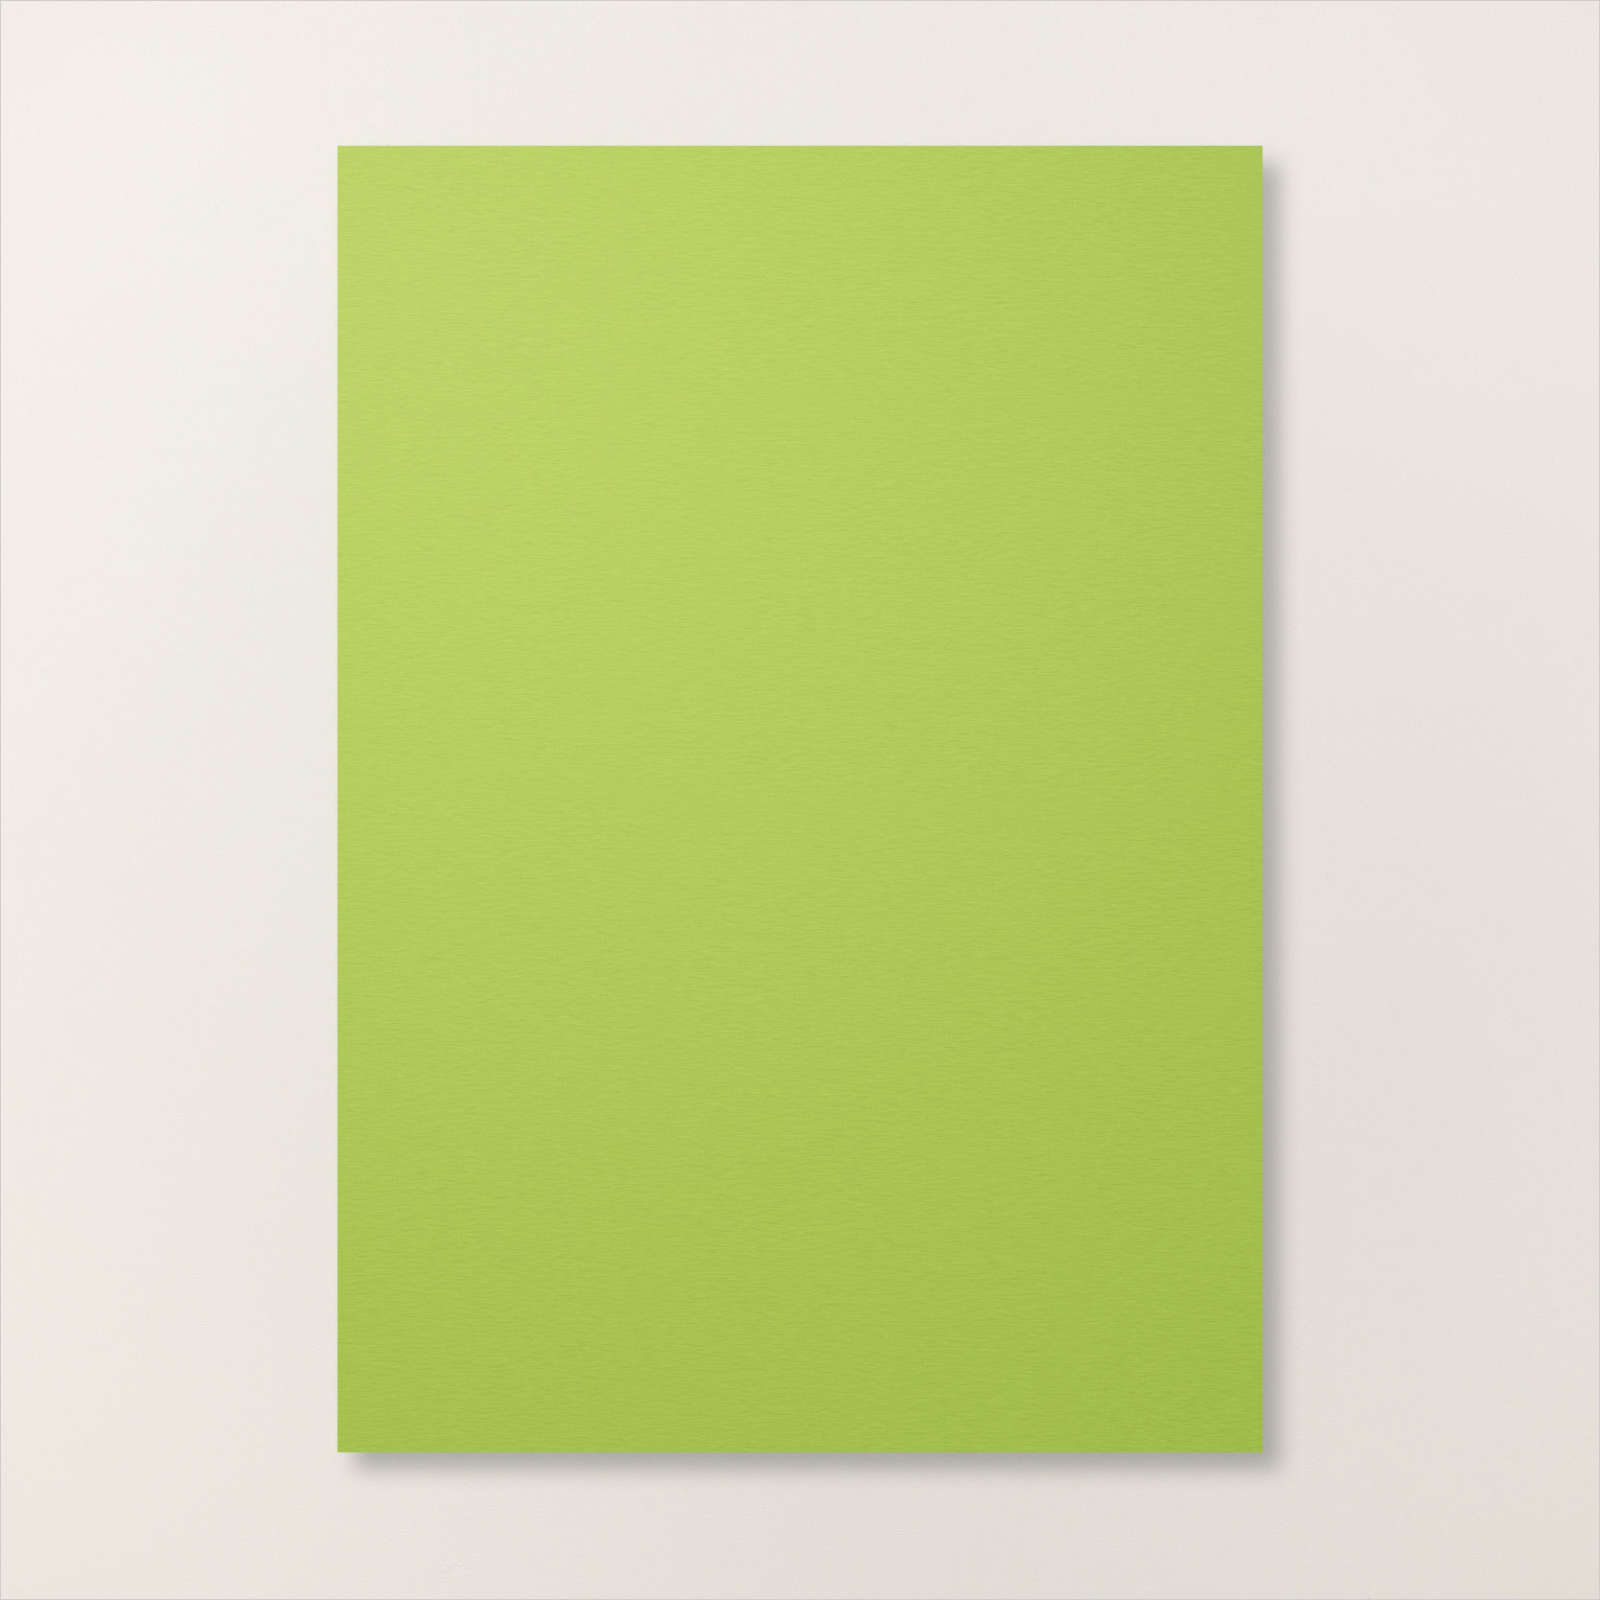
This week in my Facebook Live, I shared my version of a great fun fold that Lisa Curcio on her blog. She has a great video showing how to cut your card base and add layers. Since Lisa is a US demonstrator I wanted to see how it worked using our Australian A4 card. I followed her instructions and I think it turned out fantastic. For this card I cut the card base from Granny Apple Green card and attached pieces of the All Together 6″ x 6″ Designer Series Paper to the front panels. I did colour the paper using the Dark Granny Apple Green Stampin’ Blend to add a little more colour.

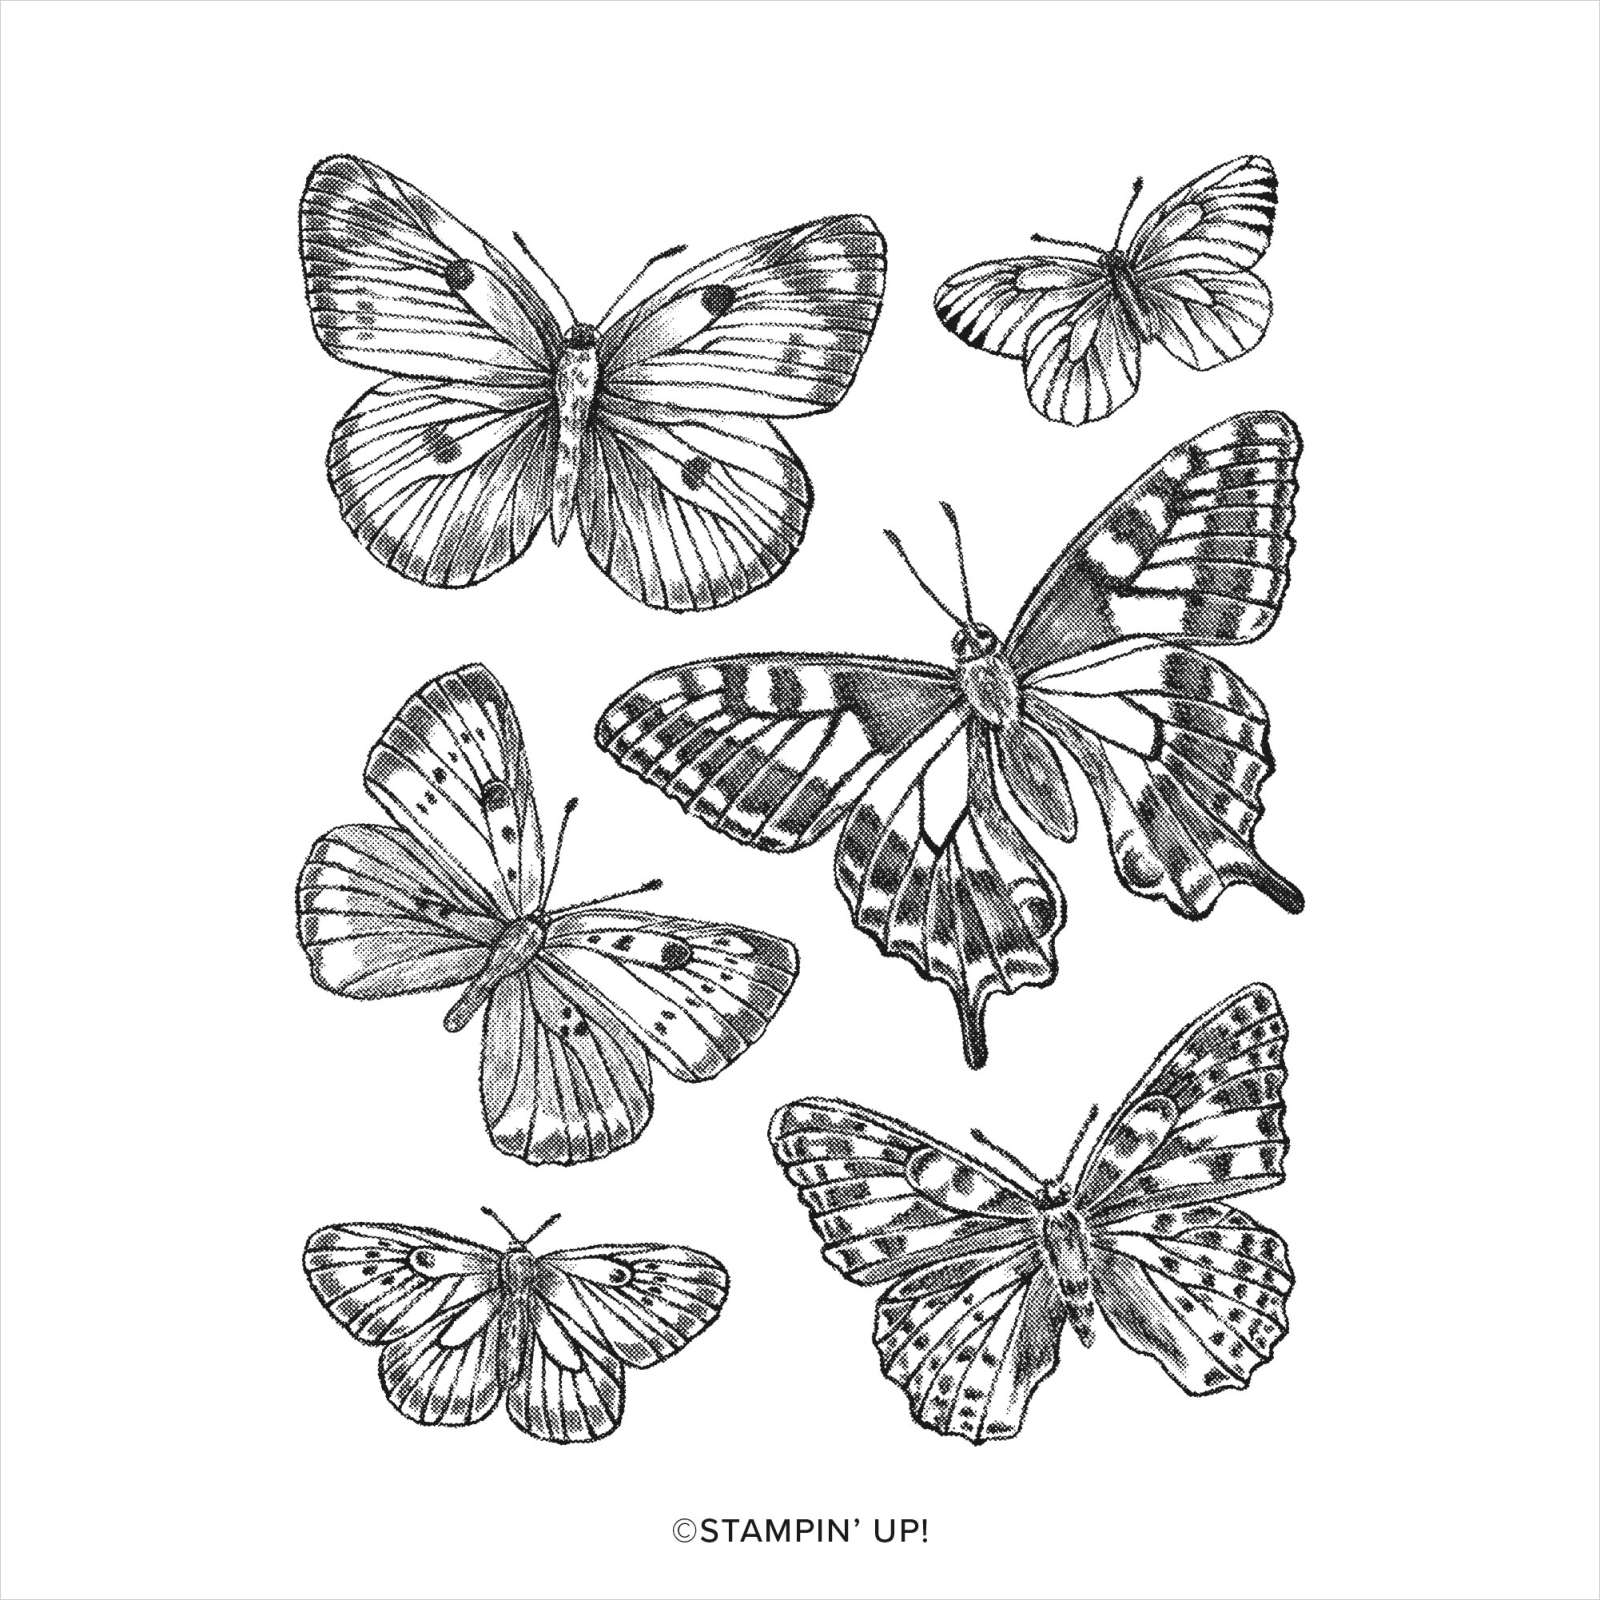
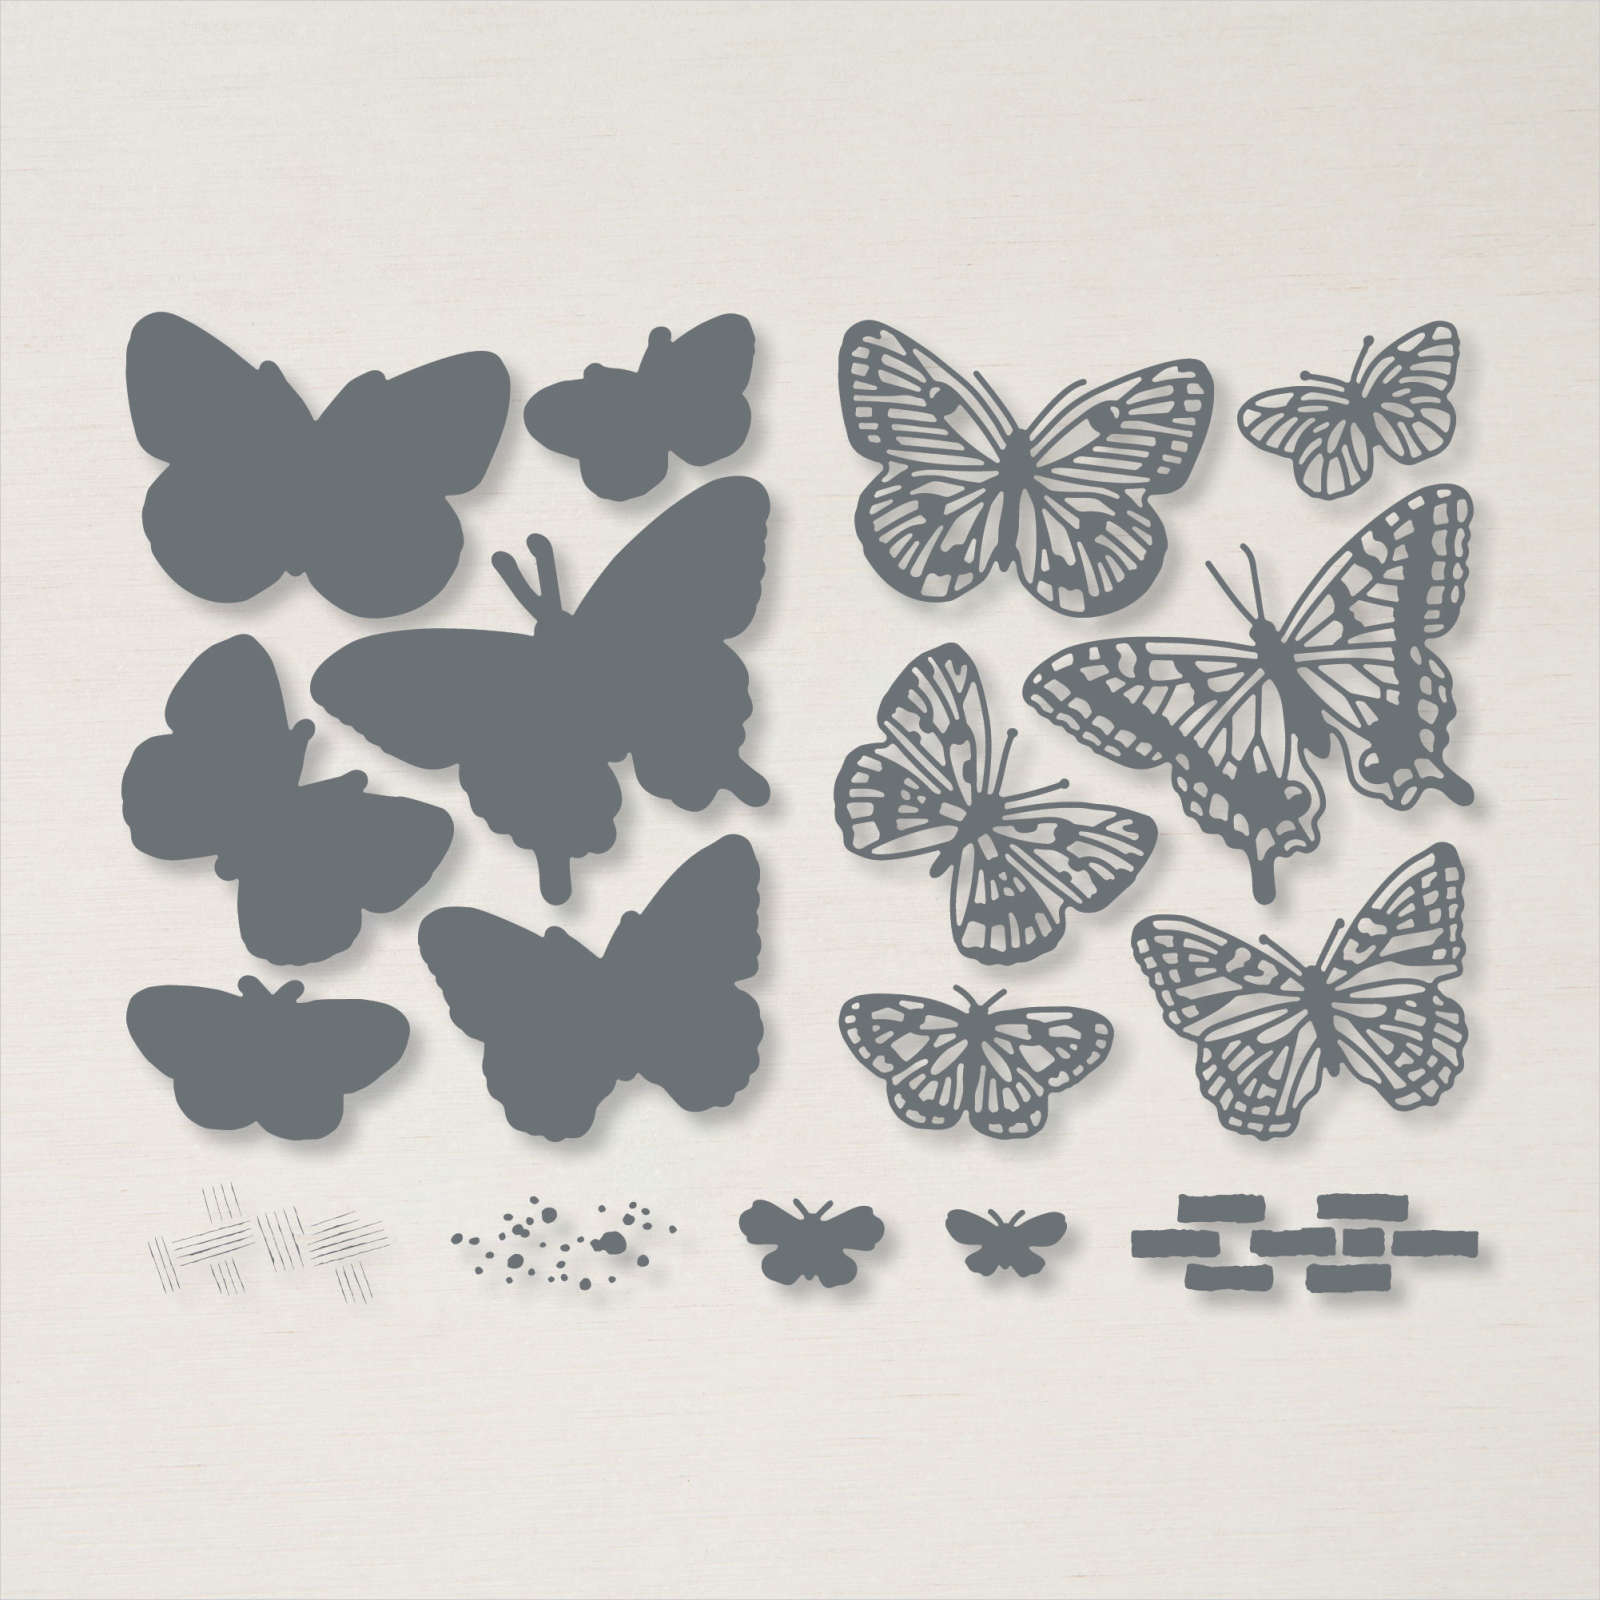
I stamped the butterfly from the Butterfly Brilliance stamp set onto Basic White card using Flirty Flamingo ink. I cut out the butterfly using the co-ordinating Brilliant Wings Die. I cut Basic White card using the largest circle from the Layering Circle Dies and attached it to the largest scalloped circle cut from Granny Apple Green card.

I attached the circles together and then attached them to the card front, making sure that it was only attached to the top flap so the card would open. I curled the wings of the butterfly using my bone folder and attached it to the Basic White circle. I die cut the detailed butterfly from Basic White card using the Brilliant Wings Die and attached it to the stamped butterfly. I attached Basic White card inside my card and stamped “happy birthday” from the Peaceful Moments stamp set using Flirty Flamingo ink. I made sure that I stamped the greeting so that you can’t see it until you open the card.
I love Lisa’s fun fold and her instructions were so easy to use.
Bye for now,
Kris
Product Used: