Birthday time
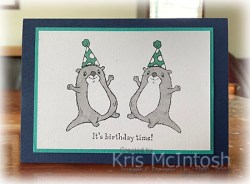
Today’s card is another one I created using the Awesome Otters stamp set. I just love these gorgeous images! I used my Stamparatus to stamp the same image onto Basic White card using Memento Tuxedo Black ink so that they are facing each other.
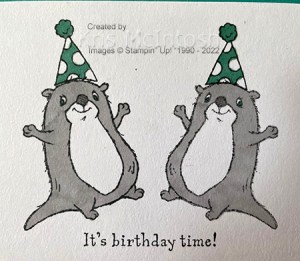
I also added the birthday had image from the Awesome Otters stamp set using Memento Tuxedo Black ink as well. I coloured the images using Smoky Slate and Dark Bermuda Bay Stampin’ Blends.
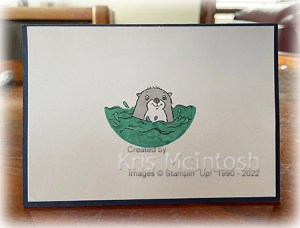
I stamped the greeting from the Awesome Otters stamp set underneath the images using Memento Tuxedo Black ink. The image panel is attached to Bermuda Bay card and then scored and folded Pacific Point card. To decorate the inside of the card, I stamped the image from the Awesome Otters stamp set onto Basic White card using Memento Tuxedo Black ink. I placed a mask around the image cut using one of the Layering Circle Dies and coloured the image using Dark Bermuda Bay and Smoky Slate Stampin’ Blends. Such a simple card but one I know that the recipient is going to love.
Bye for now,
Kris
Product Used:


Someone Wonderful
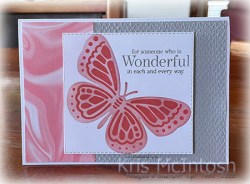
Today’s card was created using the Butterflies & Flowers Layering Decorative Masks. I really love these masks because they are not just background masks, you can use them to create the focal images on your cards. For today’s card, I embossed Smoky Slate card using the Tasteful Textile 3D Embossing Folder and attached a piece of Simply Marbleous 6″ x 6″ Designer Series Paper to the left hand side.

The whole panel is attached to scored and folded Thick Basic White card. I attached the solid butterfly mask from the Butterflies & Flowers Layering Decorative Masks to Basic White card. I used a Blending Brush to fill the outline with Blushing Bride ink. I attached the detailed mask over the top of the solid image and using a Blending Brush added Calypso Coral ink.

I stamped the greeting from the Special Moments stamp set onto the Basic White panel using Smoky Slate ink. I used one of the Stitched Rectangle Dies to cut out the image, however, I re-positioned the die and cut again so as to create more of a square image. The image panel is attached to the card front using dimensionals. To decorate the inside of the card, I created the butterfly image on the lower left hand corner using the same inks.
When I am using these masks, I use post-it-notes to cover anything on the mask that I do not want to add ink to. This also helps to hold the card and the mask in position.
I really would love to hear what you think.
Bye for now,
Kris
Product Used:


Wine & Pizza Night

Today’s page shows off photos from the last night we spent with everyone. The Caravan Park had a wine tasting session followed by wood fired pizza on Saturday night, just what we needed! After the pizza we were entertained by Ethan (and Ron) who played the guitar while the girls sang along. We had a lovely time, although we did buy too many pizza’s! I attached my photos to a Basic White 12″ x 12″ page. I cut the title from Basic Black card using the Playful Alphabet Dies and attached them to the top left and bottom right hand corners of the page. I stamped the wine glasses from the long retired Half Full stamp set onto the top left and bottom right hand corners of the page using Memento Tuxedo Black ink. I used So Saffron and Light Cherry Cobbler Stampin’ Blends to colour the images. I added the date using a Journalling Pen (also retired). Simple but what great memories.
Bye for now,
Kris
Product Used:


So Happy For You
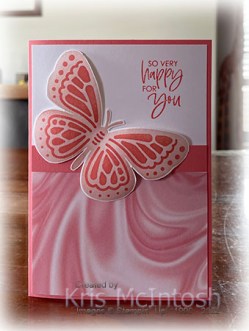
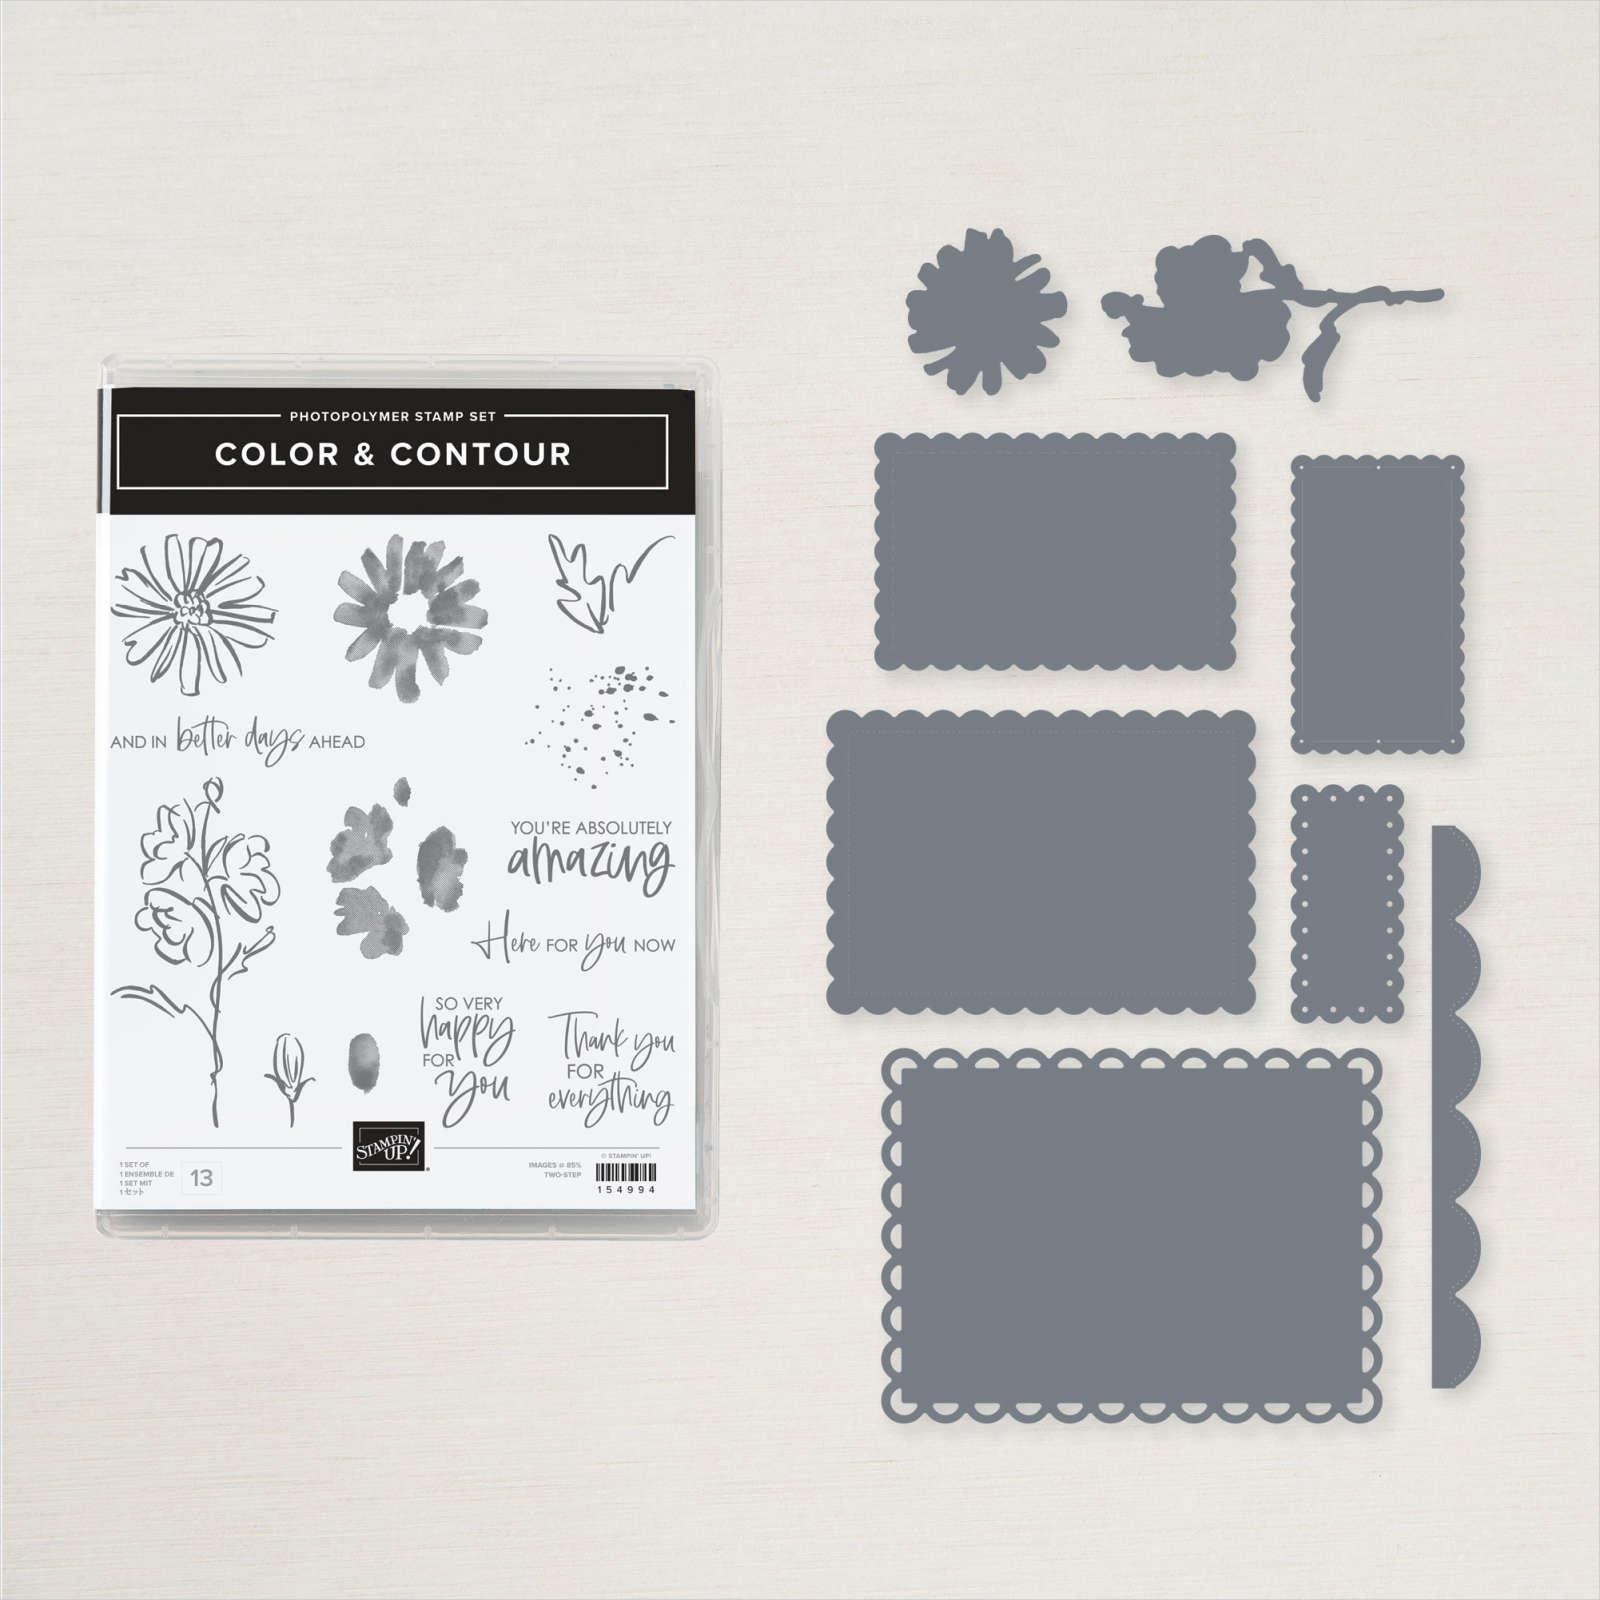
This week on my Facebook Live, I shared some cards I created using the Butterflies & Flowers Layering Decorative Masks and today I have another card to share with you. I attached a piece of Simply Marbleous 6″ x 6″ Designer Series Paper to the bottom of Basic White card. I attached a strip of Flirty Flamingo card above the top edge of the Designer Series Paper before stamping the greeting from the Colour & Contour stamp set using Flirty Flamingo ink. The whole panel is attached to scored and folded Flirty Flamingo card.

I used the layering masks and Blending Brushes to create a butterfly on Basic White card using Blushing Bride and Flirty Flamingo inks. I cut out the butterfly and attached it to the card front using dimensionals underneath the wings and Tombow Multipurpose Liquid glue underneath the body and antennae.

To decorate the inside of the card, I attached a piece of the Simply Marbleous Designer Series Paper across the bottom of Basic White card with a very narrow strip of Flirty Flamingo card across the top edge. So simple, but I wanted to use the masks to create something 3D instead of just flat on the card. I’d love to hear what you think.
Bye for now,
Kris
Product Used:

Masked Flowers
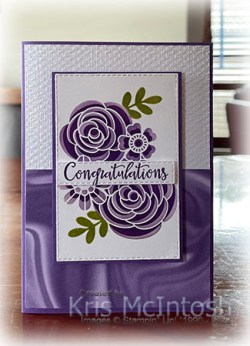
This week in my Facebook Live I shared some cards I made using the Butterflies & Flowers Layering Decorative Masks which were released in the January to June Mini Catalogue. Today I have another creation using these masks to share with you. I embossed Basic White card using the Tasteful Textures 3D Embossing Folder. I attached a piece of Simply Marbleous 6″ x 6″ Designer Series Paper across the bottom of the embossed card before attaching the panel to scored and folded Gorgeous Grape card.
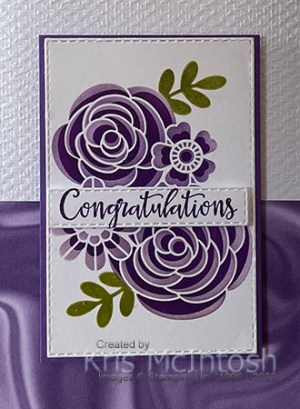
I created the floral image using a Blending Brush to add Highland Heather ink on the more solid floral image and Gorgeous Grape ink using the more detailed overlay image. I cut out the image using the Stitched Rectangle Dies and attached it to a piece of Gorgeous Grape card before attaching the whole image panel to the card front using dimensionals.
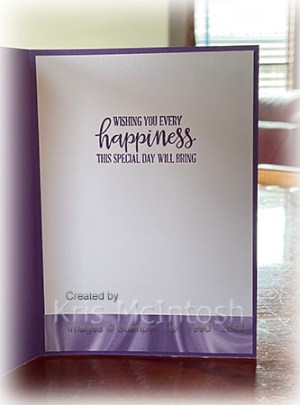
I stamped “Congratulations” from the Peaceful Moments stamp set onto Basic White card using Gorgeous Grape ink and cut it out using the Stitched Rectangle Dies. The greeting is attached across the centre of the floral image using dimensionals. To decorate the inside of the card, I stamped another greeting from the Peaceful Moments stamp set onto Basic White card using Gorgeous Grape ink. I attached a narrow strip of the same pattern Simply Marbleous Designer Series Paper across the bottom of the card. I kind of overlooked these masks when I first looked through the Mini Catalogue but I am so glad that I purchased them. There are so many different ways to use them and I can’t wait to try more ideas.
Bye for now,
Kris
Product Used:


Otter Birthday

Today I have another card to share with you using the Awesome Otters stamp set and the Simply Marbleous 6″ x 6″ Designer Series Paper, both of which are Free during Sale-a-bration with a qualifying order. I attached a strip of the Simply Marbleous Designer Series Paper to the left hand side of Basic White card. I cut Misty Moonlight using the Layering Circle Dies and attached it to the card front. I attached a narrow strip of Smoky Slate card across the bottom of the scalloped circle. I stamped “happy birthday” from the Peaceful Moments stamp set onto the lower right hand corner of the Basic White card using Misty Moonlight ink.

The whole panel is attached to scored and folded Misty Moonlight card. I used my stamparatus to stamp the otter image and party hat from the Awesome Otters stamp set using Memento Tuxedo Black ink.

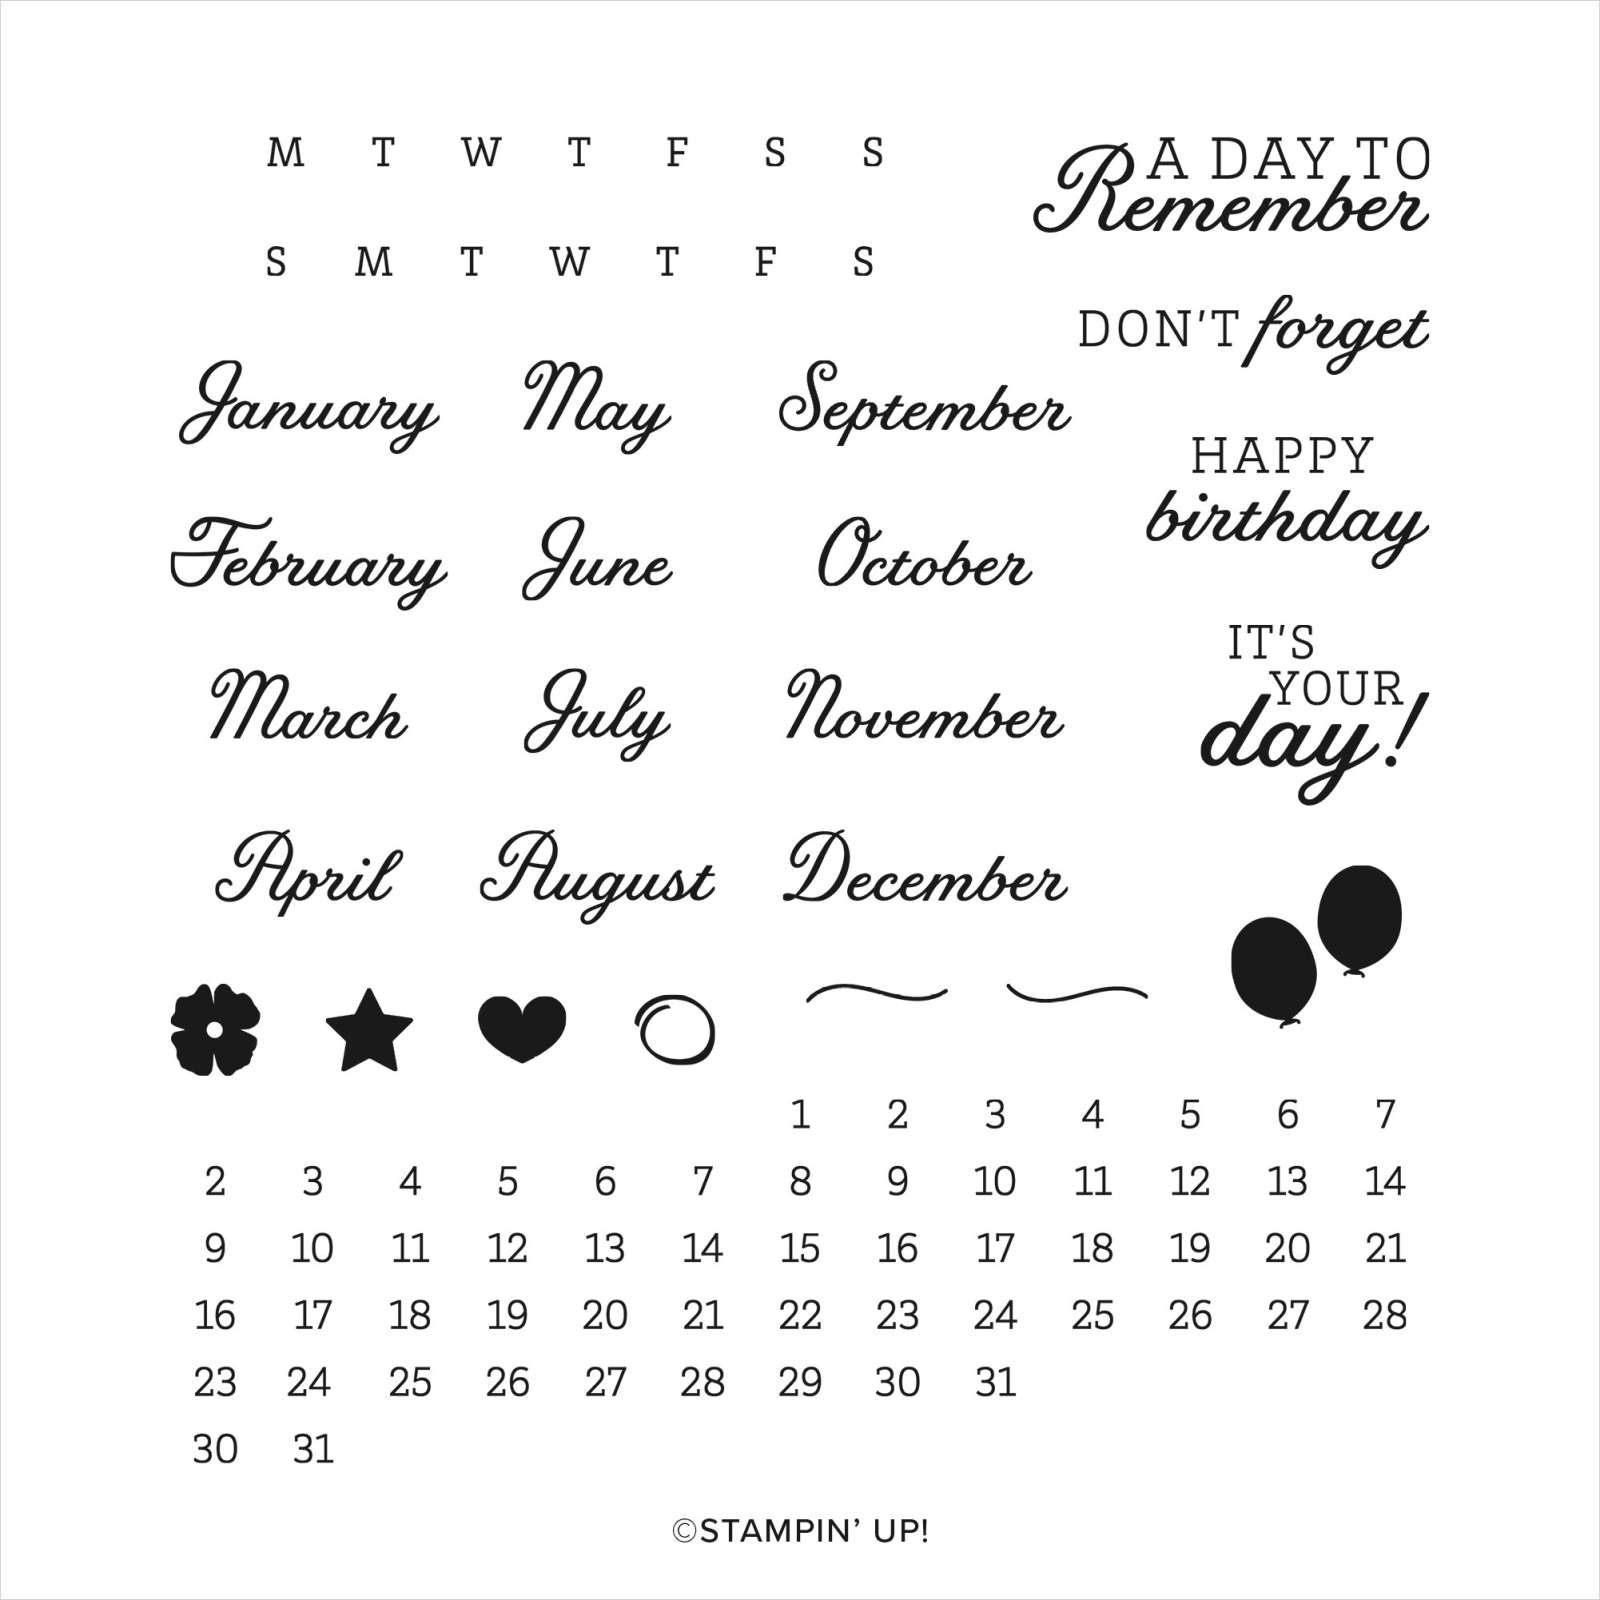
I used the Stamparatus to add the stamped the balloon image from the Days to Remember stamp set using Misty Moonlight ink. I added the balloon strings using Misty Moonlight ink but I didn’t use the Stamparatus for these. I coloured the otter and party hat using Smoky Slate and Dark Misty Moonlight Stampin’ Blends. I attached the stamped circle to a Balmy Blue scalloped circle cut using the Layering Circle Dies and then the card front using dimensionals. To decorate the inside of the card, I stamped the greeting from the Peaceful Moments stamp set onto Basic White card using Misty Moonlight ink. I stamped the birthday hat image from the Awesome Otters stamp set beside the birthday hat using Memento Tuxedo Black ink. I coloured the birthday hat using the Dark Misty Moonlight Stampin’ Blend.
This is such a fun stamp set which I am sure will get lots of use.
Bye for now,
Kris
Product Used:


Calming Birthday

Today I would like to share with you the card I made for my eldest daughter to celebrate her recent birthday. I love this beautiful image from the Calming Camellia stamp set which you can earn with a qualifying personal or workshop order during Sale-a-Bration. I attached a piece of Smoky Slate paper from the Simply Marbleous 6″ x 6″ Designer Series Paper (also earned for free with a qualifying order during Sale-a-bration) across the bottom of Basic White card. I attached a narrow strip of Blackberry Bliss card across the top of the Designer Series Paper before attaching the panel to scored and folded Blackberry Bliss card.
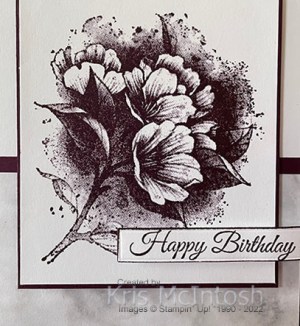
I stamped the floral image from the Calming Camellia stamp set onto Basic White card using Blackbery Bliss ink. I attached the image panel to Blackberry Bliss card and then the card front using dimensionals. I stamped “happy birthday” from the Calming Camellia stamp set onto Basic White card using Blackberry Bliss ink.
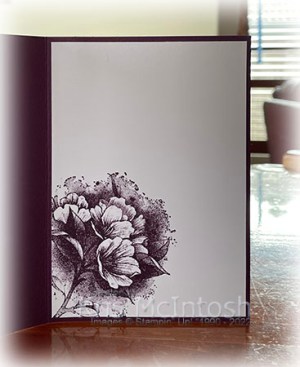
I cut out the greeting using the label die from the Beautiful Trees Dies. I touched the edges of the label to the Blackberry Bliss ink pad before attaching to the card front using dimensionals. I doubled up the dimensionals underneath the right hand edge so it would sit properly. To decorate the inside of the card, I stamped the same floral image onto the lower left hand corner of Basic White card using Blackberry Bliss ink. This is a distinctive stamp set so you get a lot of detail just using one colour on these stamps. I hope you are getting as excited as I am for all the gorgeous things you can earn for free during Sale-a-Bration.
Bye for now,
Kris
Product Used:


Christmas2021
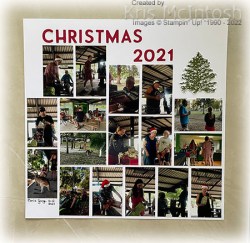
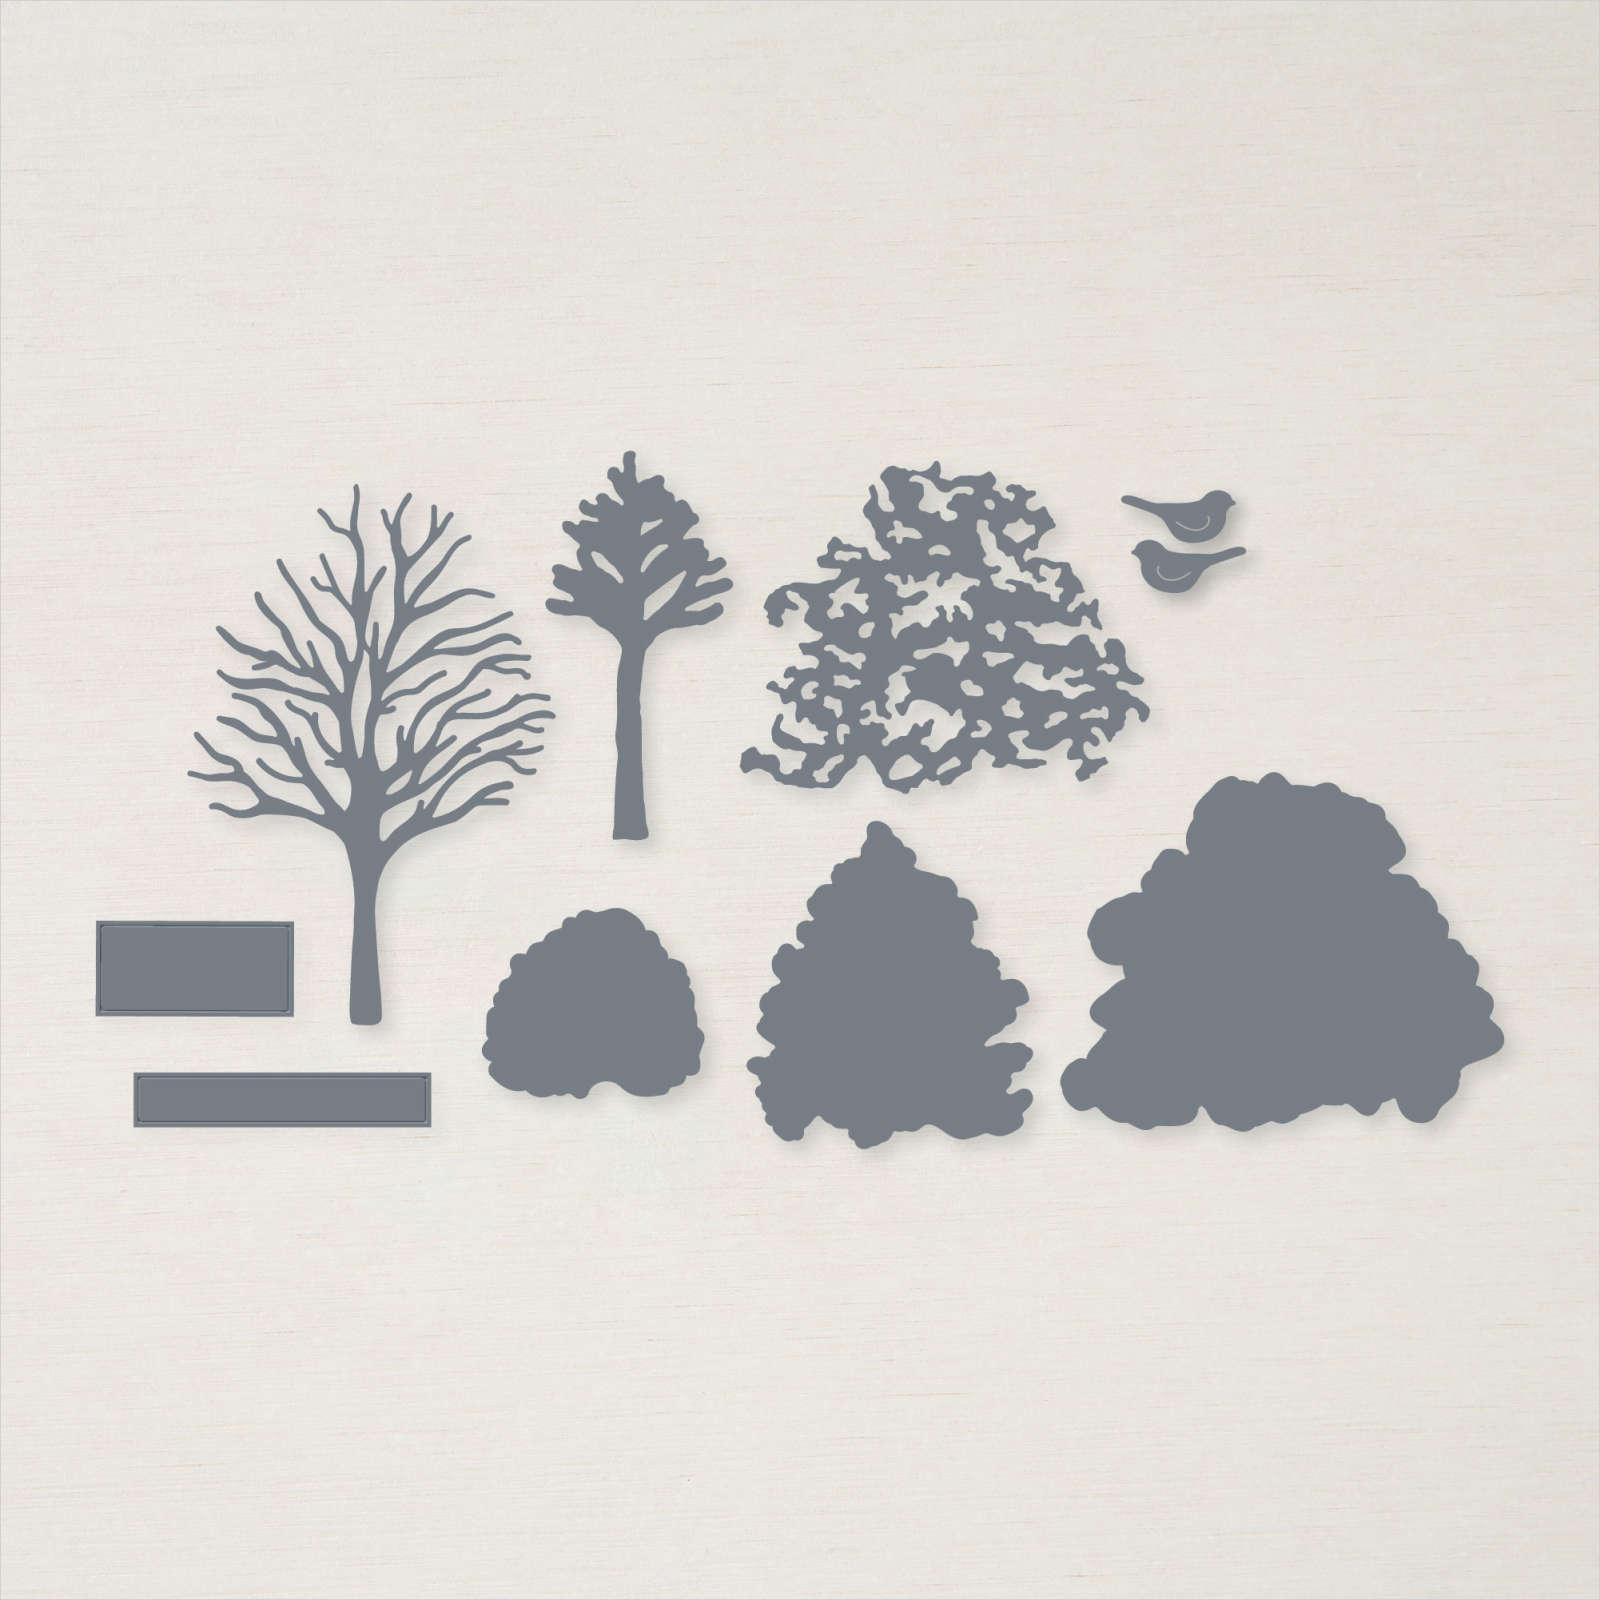
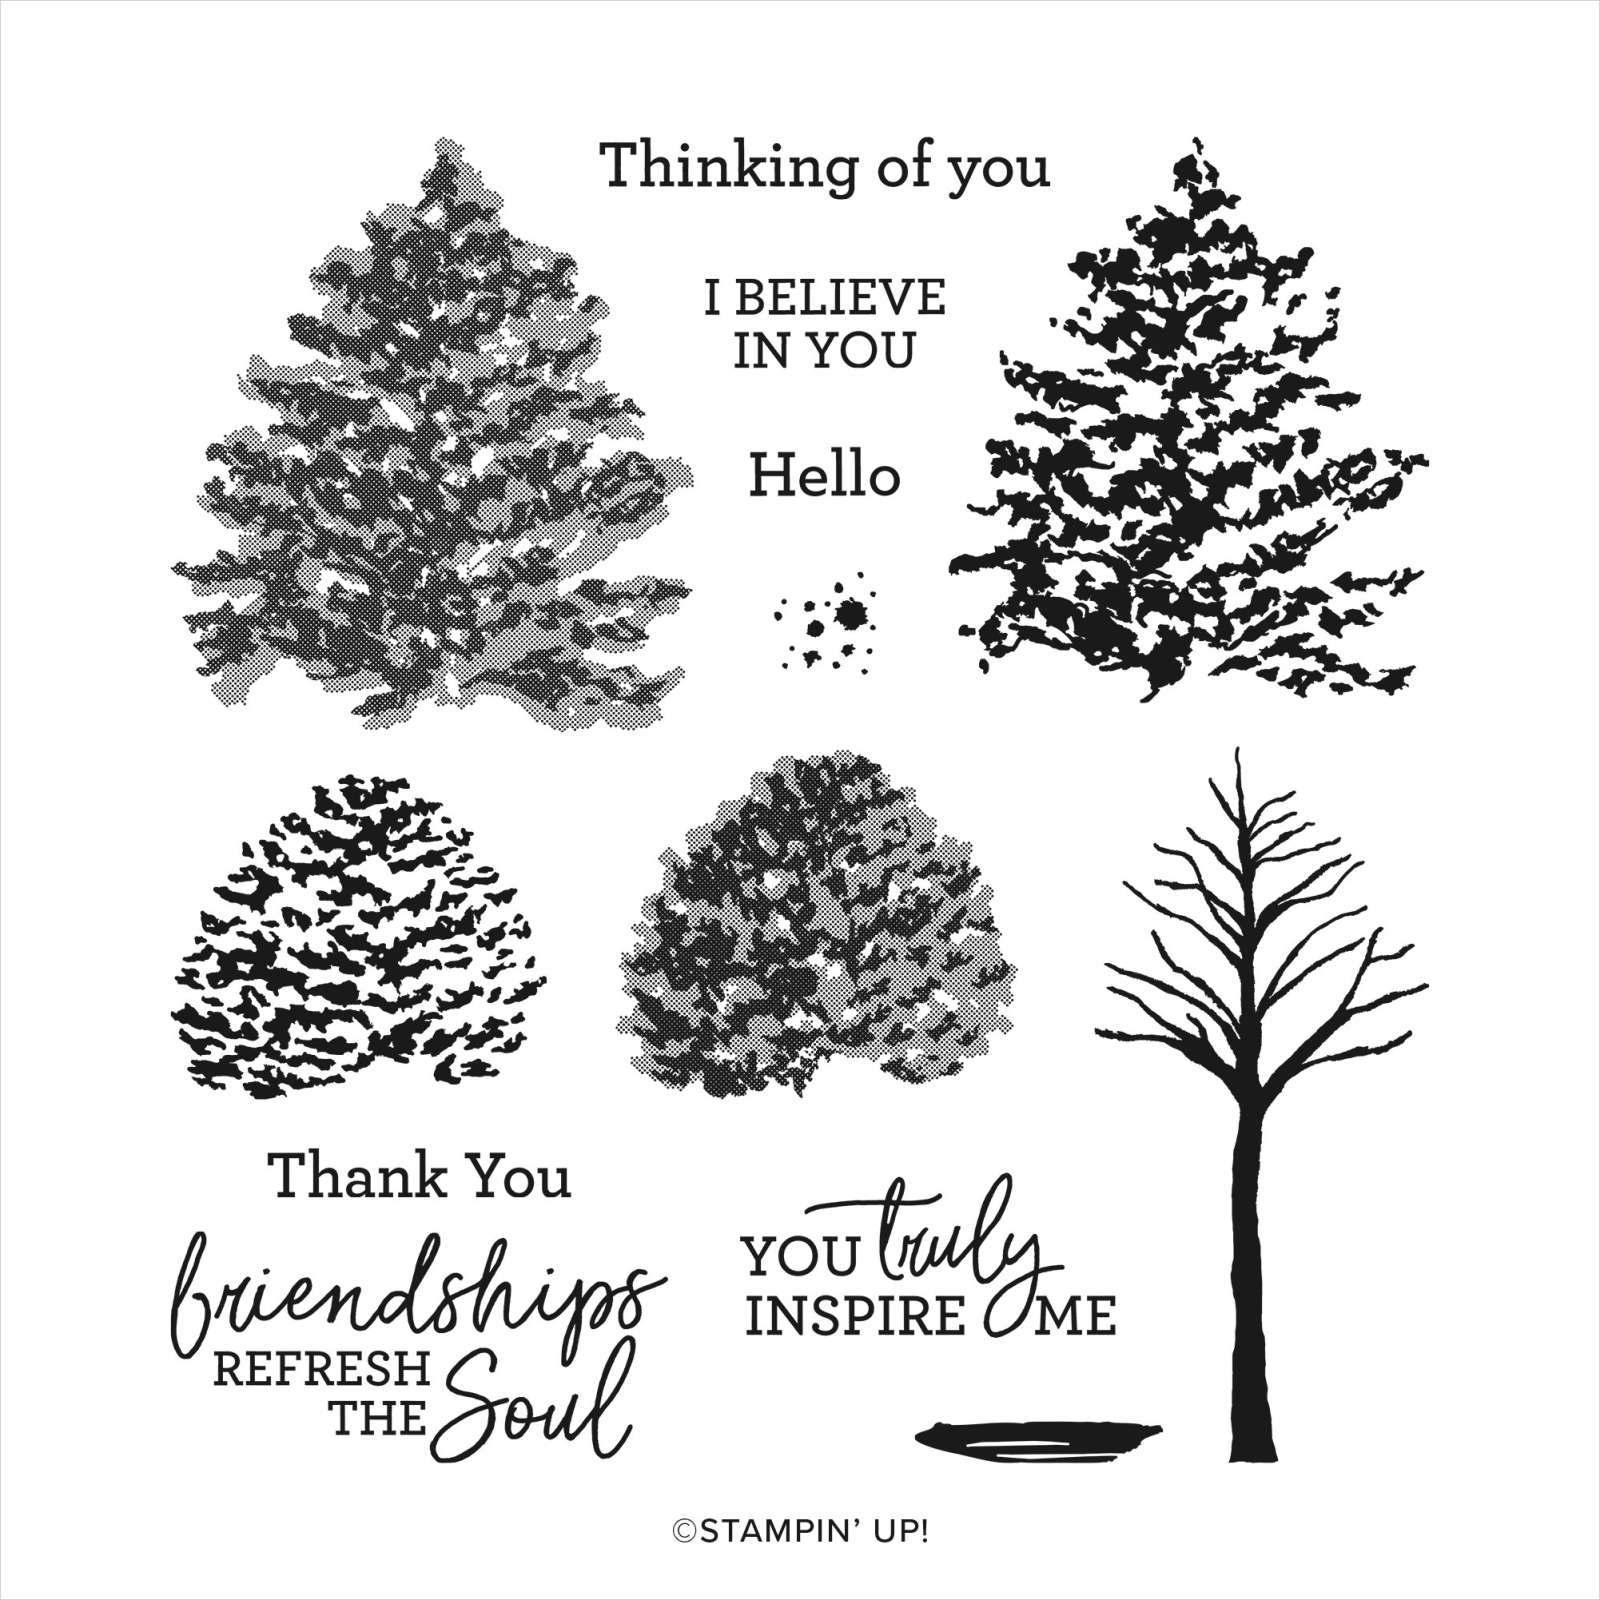
Our trip to Cania Gorge was to be our Christmas get together with our girls, their husbands and grandchildren so we had to do something Christmassy, so we had a Stealing Secret Santa. This is so much fun, everyone picks a number and then you begin with No. 1 who selects a present. The present must be opened so everyone can see. Then No. 2 can either steal the present from No. 1 or select a new present and so it continues until No. 1 at the end will get the chance to steal a present. We laughed and laughed. So this is my page to show off the huge number of photos we took opening the presents and sharing our dinner. I printed all of the photos to 3″ x 2″ size and attached them randomly to a 12″ x 12″ Basic White page. I cut the title from Real Red card using the Playful Alphabet Dies and attached the letters to the top of the page. I stamped the large solid tree image from the Beauty of Friendship stamp set onto Basic White card using Old Olive ink. I cut out the image using the co-ordinating Beautiful Trees Die and attached it to the page. I did use a journaling pen to add the date. Not a lot of decoration but I love looking at the photos and remembering this fun afternoon. I hope that my simple pages help you get starting creating your own pages to share with your family and friends.
Bye for now,
Kris
Product Used:


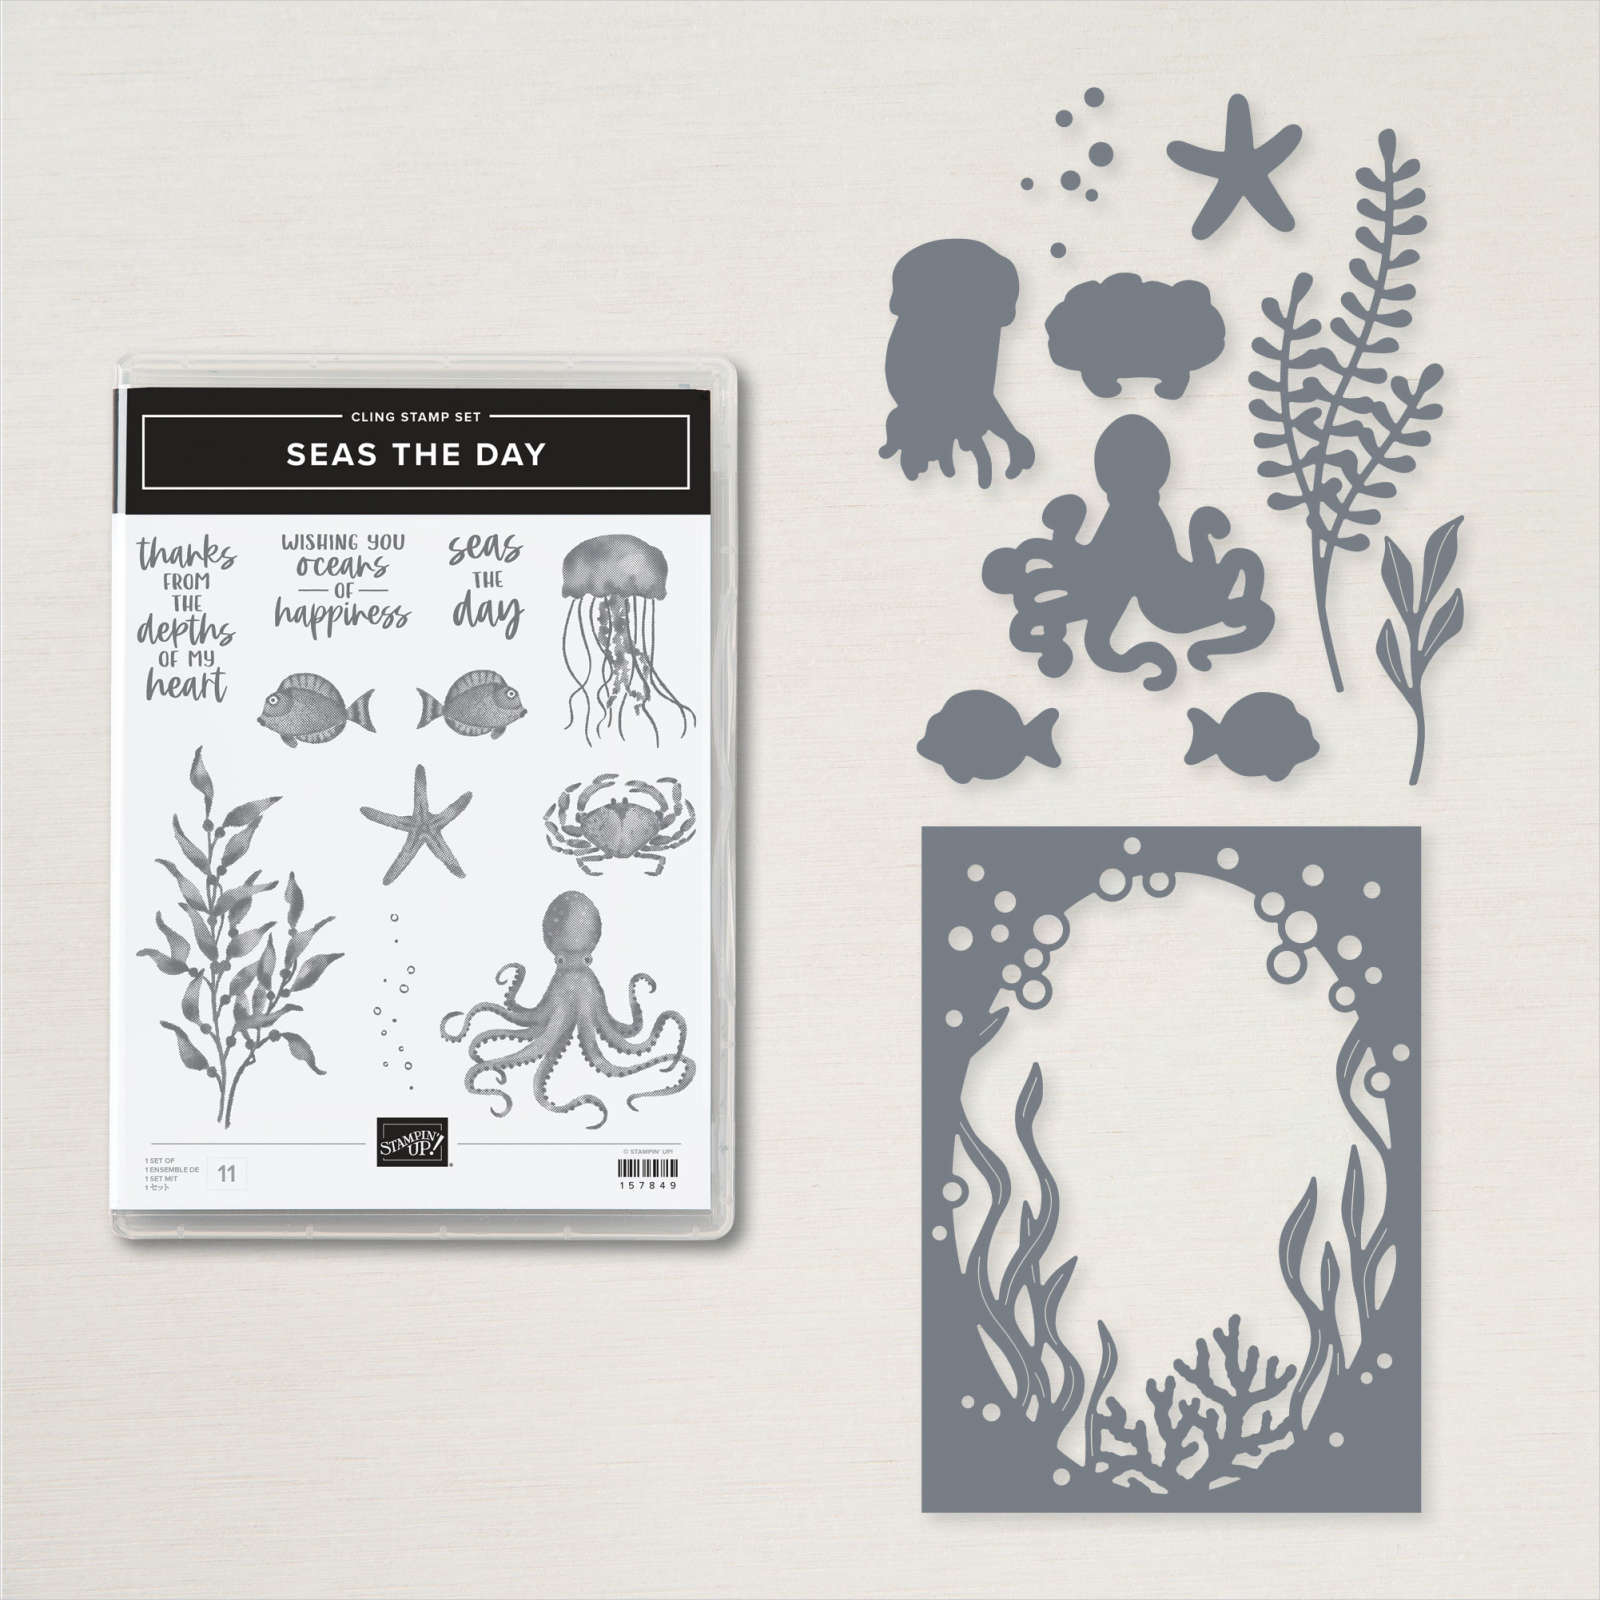
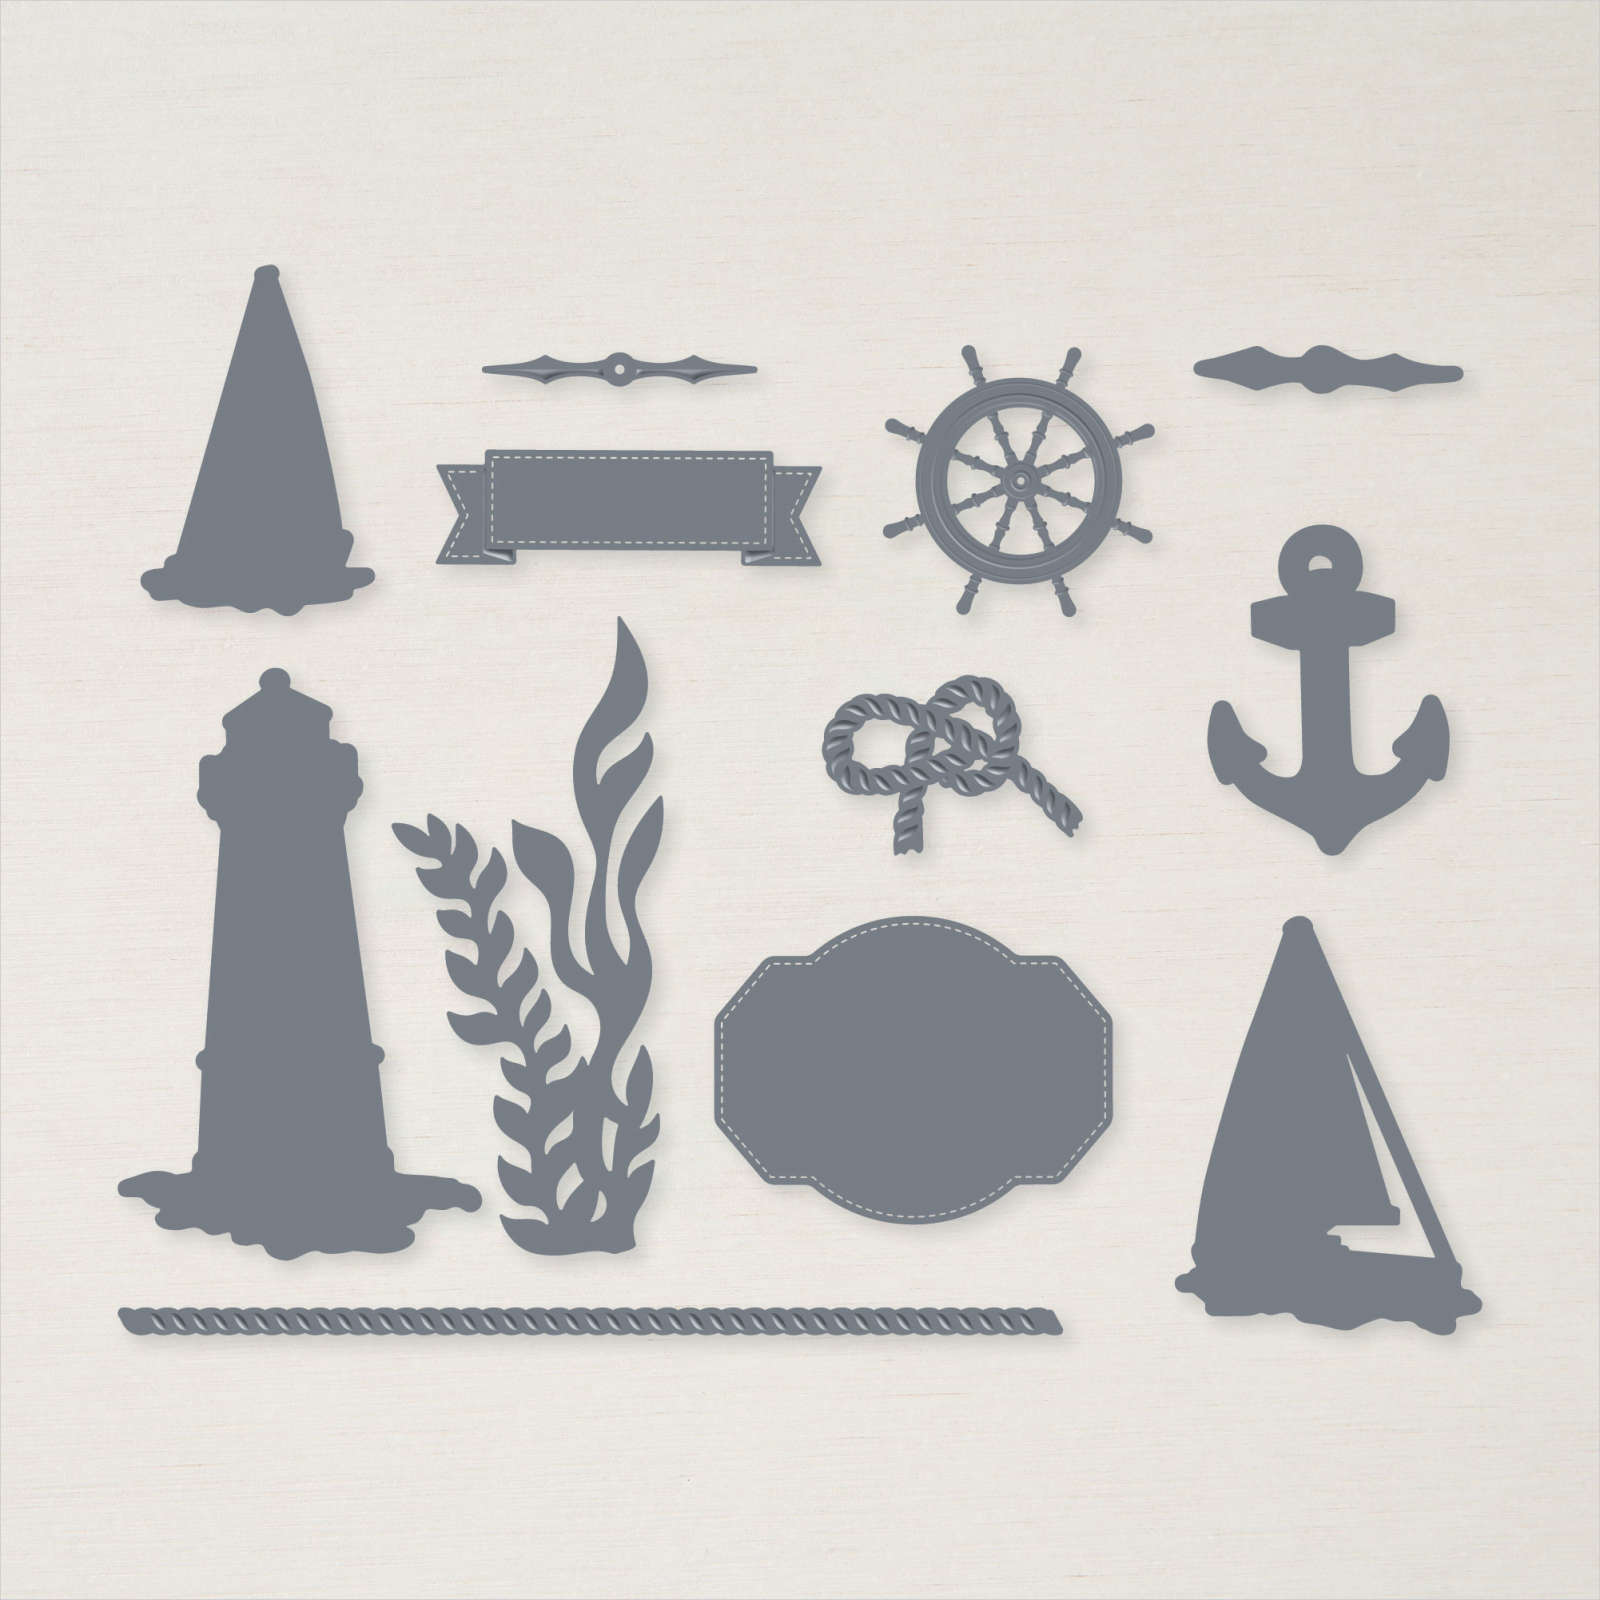
Sea Dies

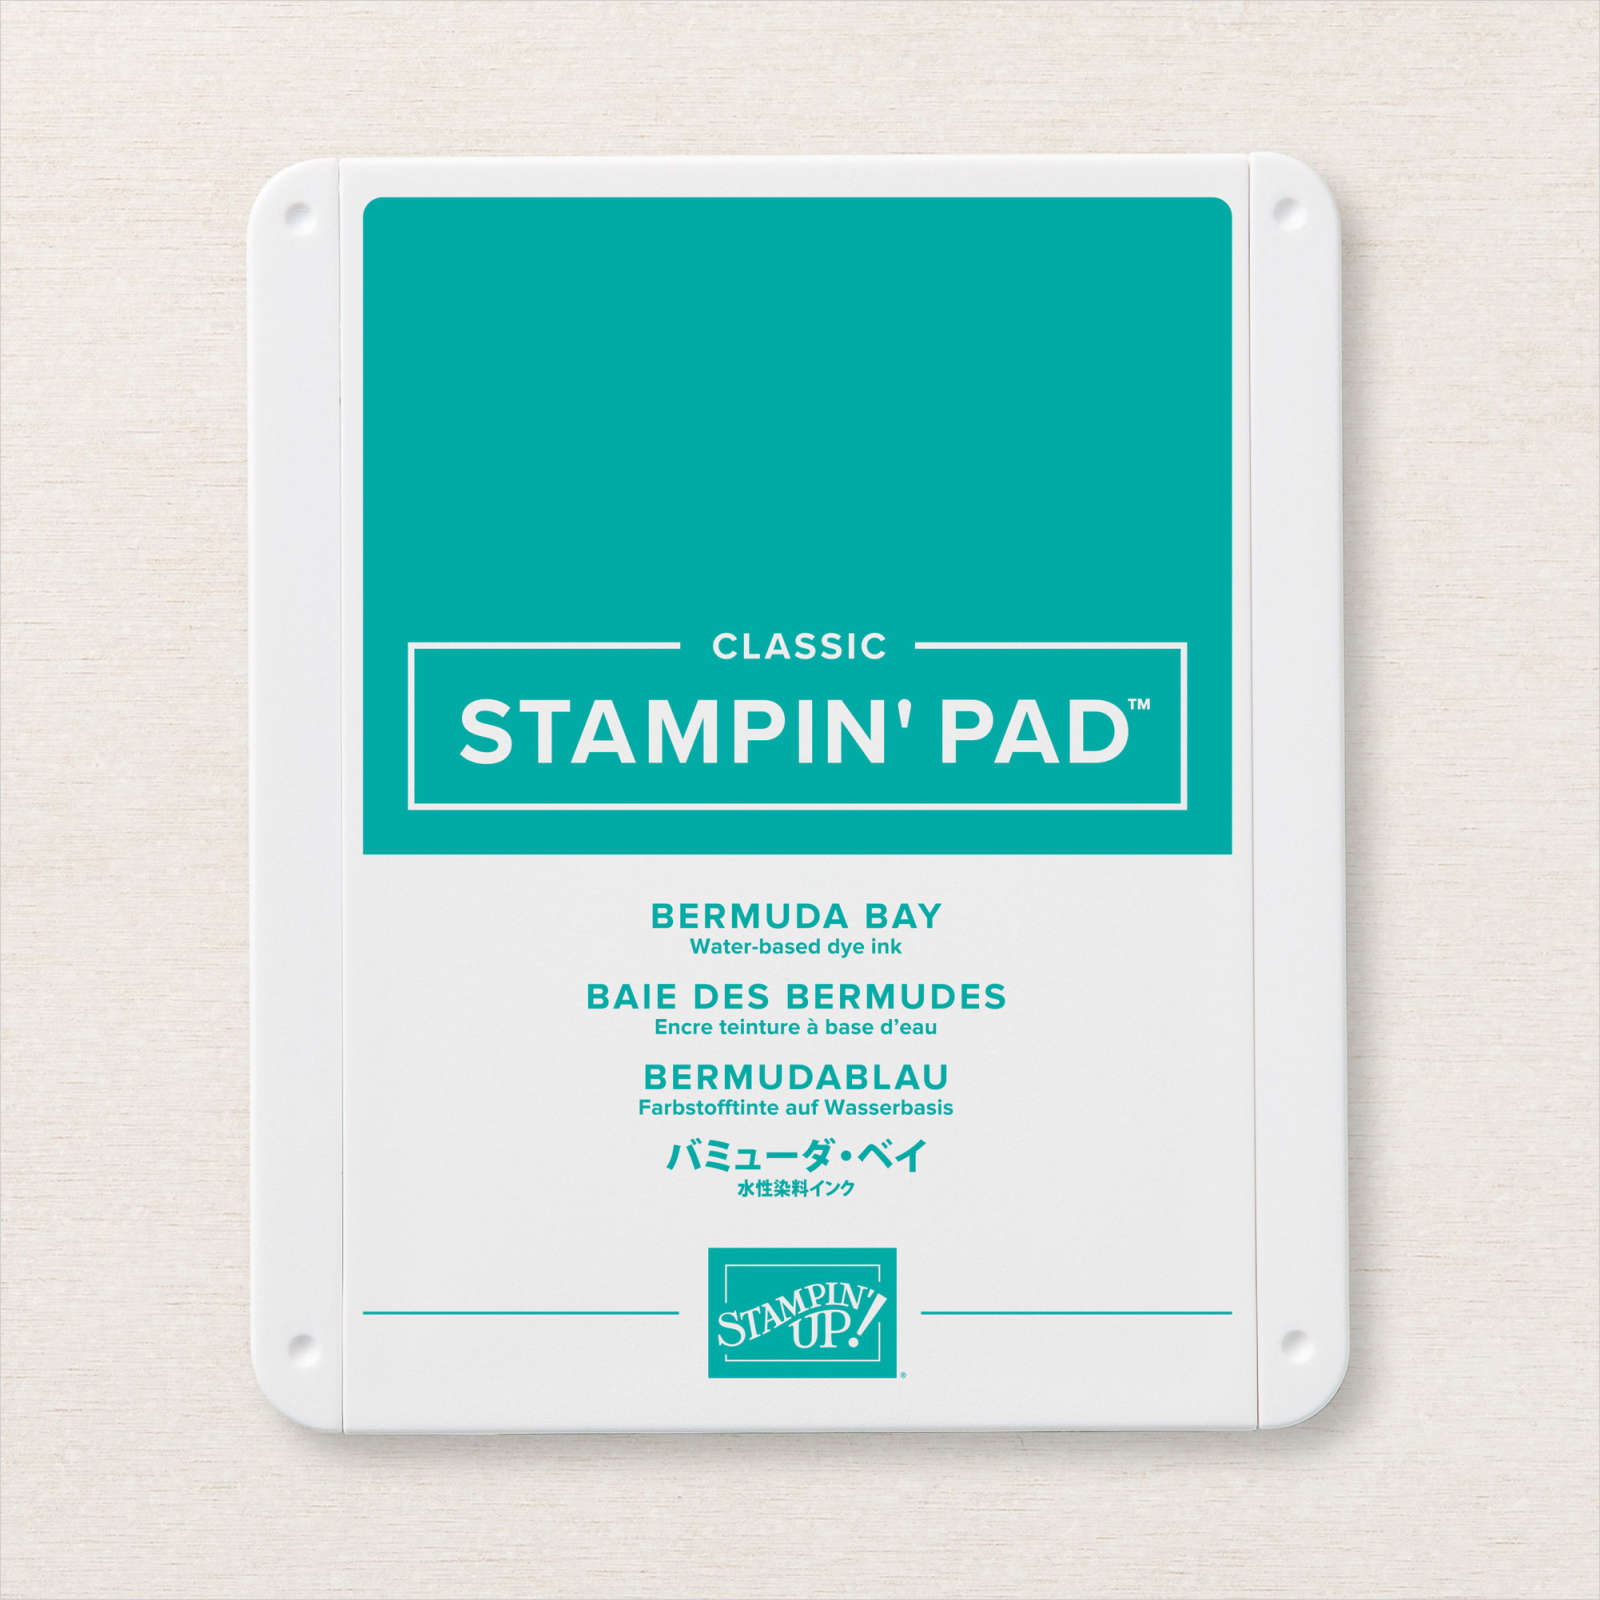
This week on my Facebook Live I share some cards made with the Seas The Day Bundle and today I have another card to share using the dies from this bundle. I began by masking a portion of Basic White card and adding some Bermuda Bay ink using a Blending Brush to create the “sea”. I removed the mask and replaced it so that it covered the Bermuda Bay ink and used a Blending Brush to add Coastal Cabana ink to the rest of the Basic White card to create a “sky”. I die cut Pacific Point using the frame die from the Sea Dies and attached it over the coloured Basic White card.

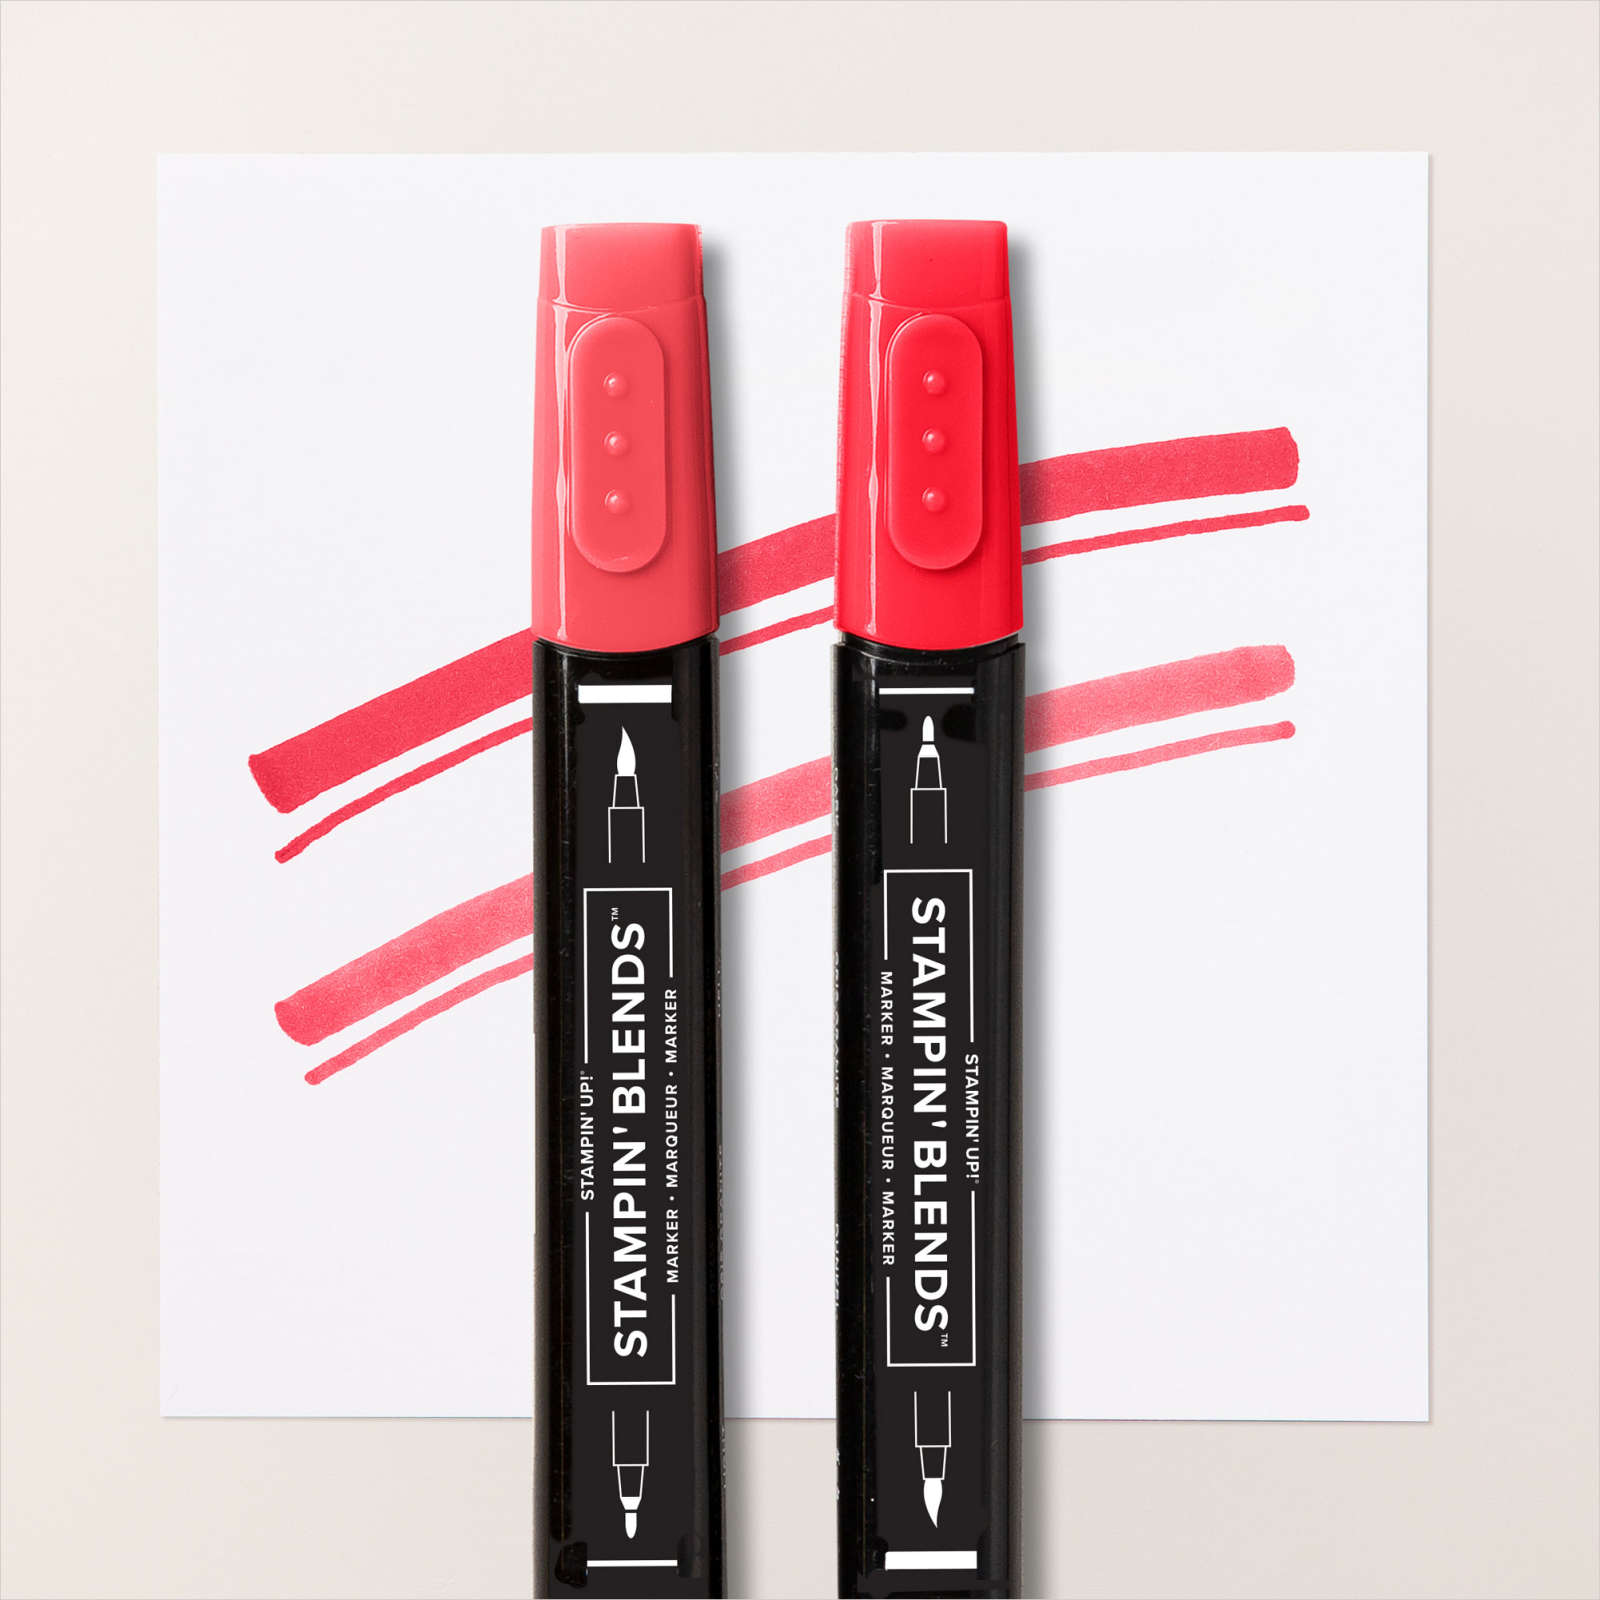
I stamped the sailing boat from the Sailing Home stamp set onto Basic White card using Memento Tuxedo Black ink. I coloured the image using the Light Poppy Parade, Light Flirty Flamingo and Dark Daffodil Delight Stampin’ Blends.

I cut out the image using the co-ordinating Smooth Sailing Dies and used a Light Pool Party Stampin’ Blend to colour the white space so that it would blend in with the background. I attached the image inside the frame so that it lined up with the “horizon”. I stamped the bird image from the Sailing Home stamp set using Memento Tuxedo Black ink. The whole panel is attached to scored and folded Thick Basic White card. To decorate the inside of the card, I stamped the greeting from the Happiest of Birthday stamp set onto Basic White card using Memento Tuxedo Black ink. I stamped the small sailing boat image from the Sailing Home stamp set beside the greeting using the same ink. I coloured the image using the same coloured Stampin’ Blends as the image on the card front. I love this frame and I think it could be used for lots of different styles of cards. Let me know what you think.
Bye for now,
Kris
Product Used:


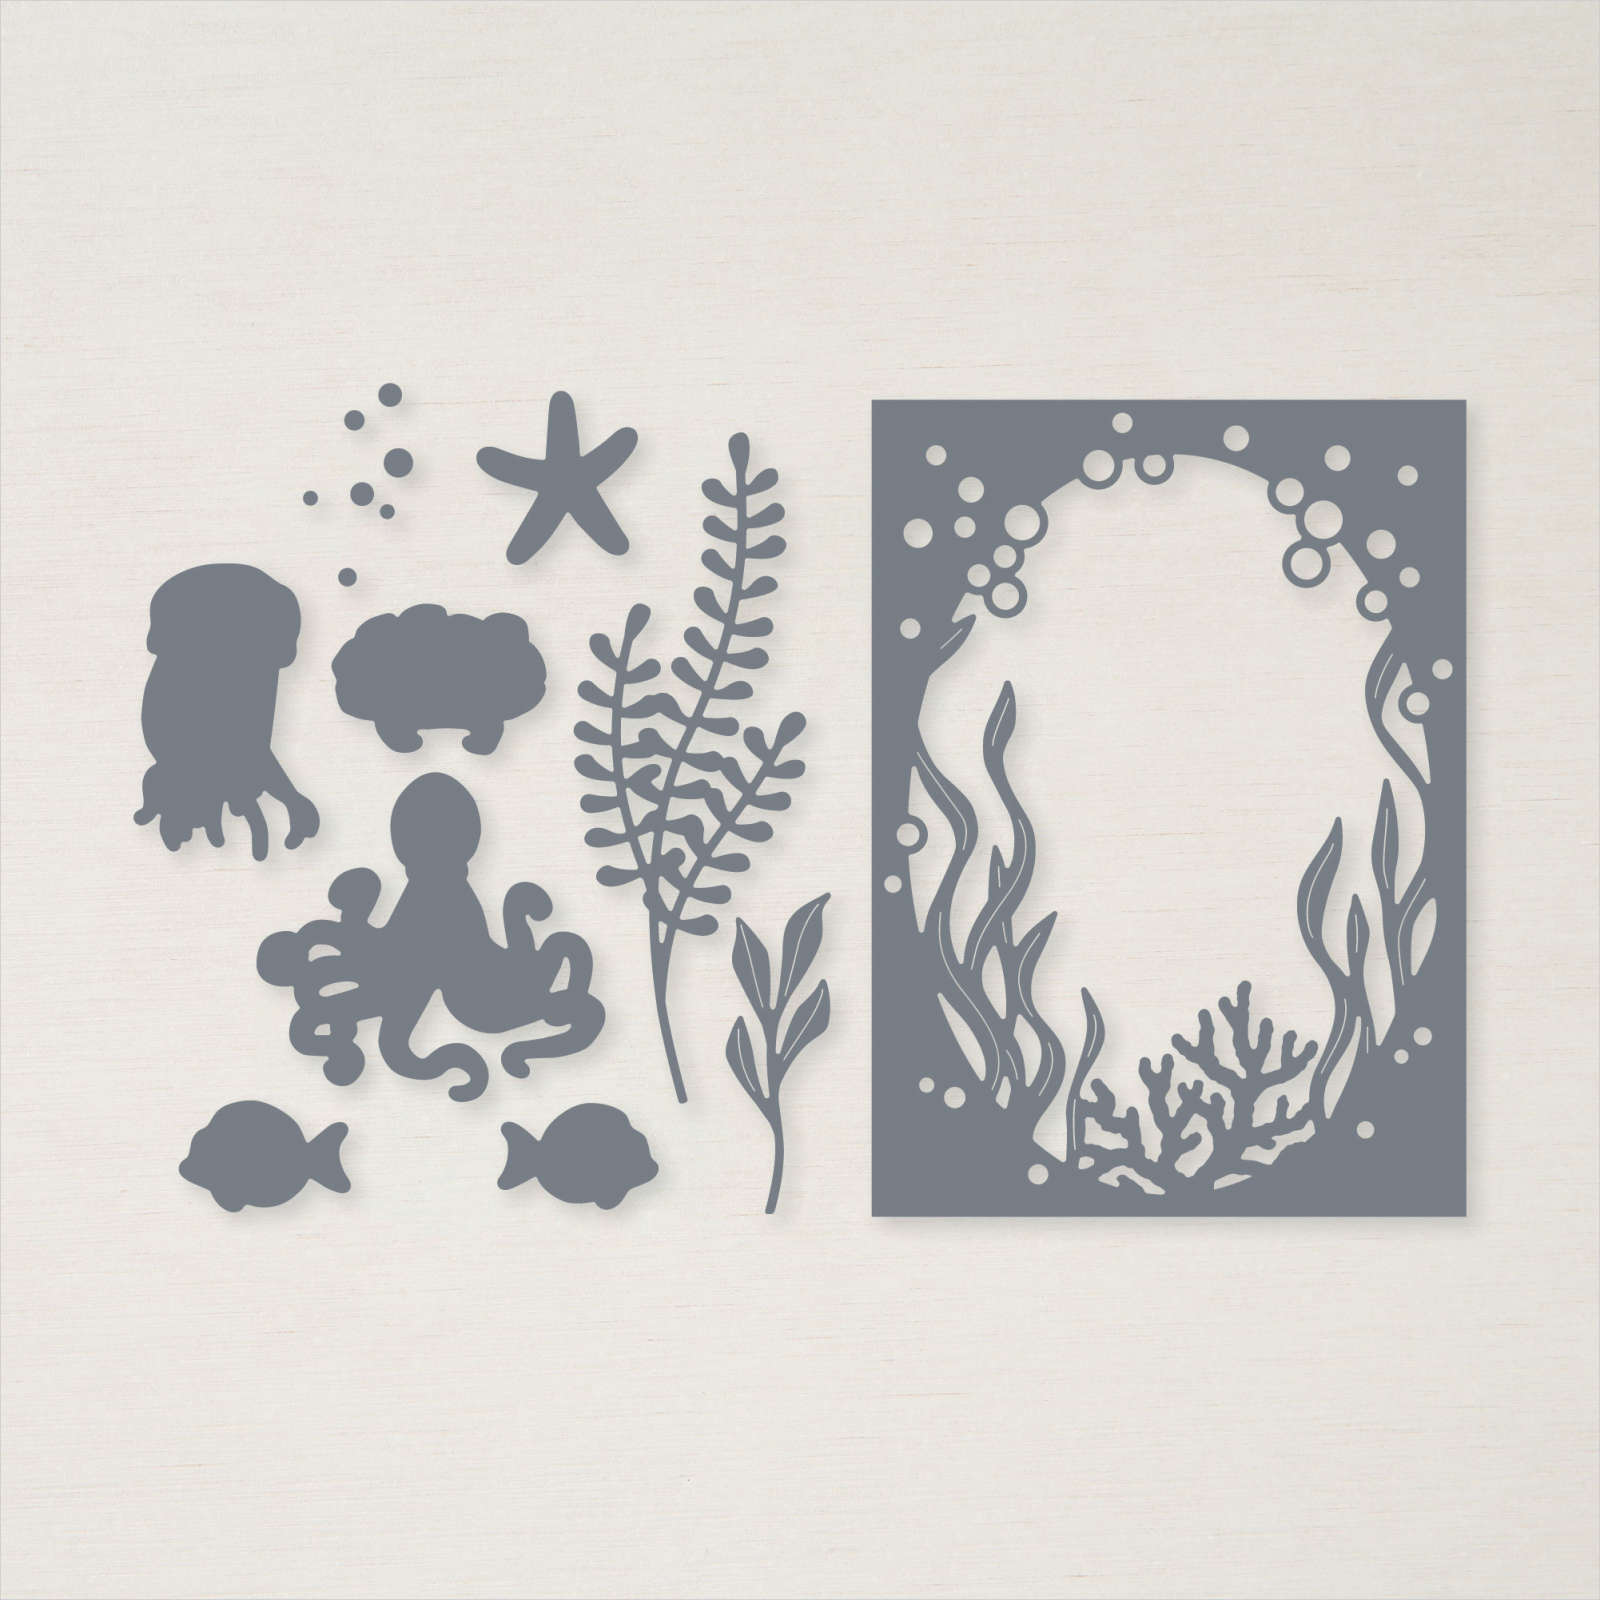


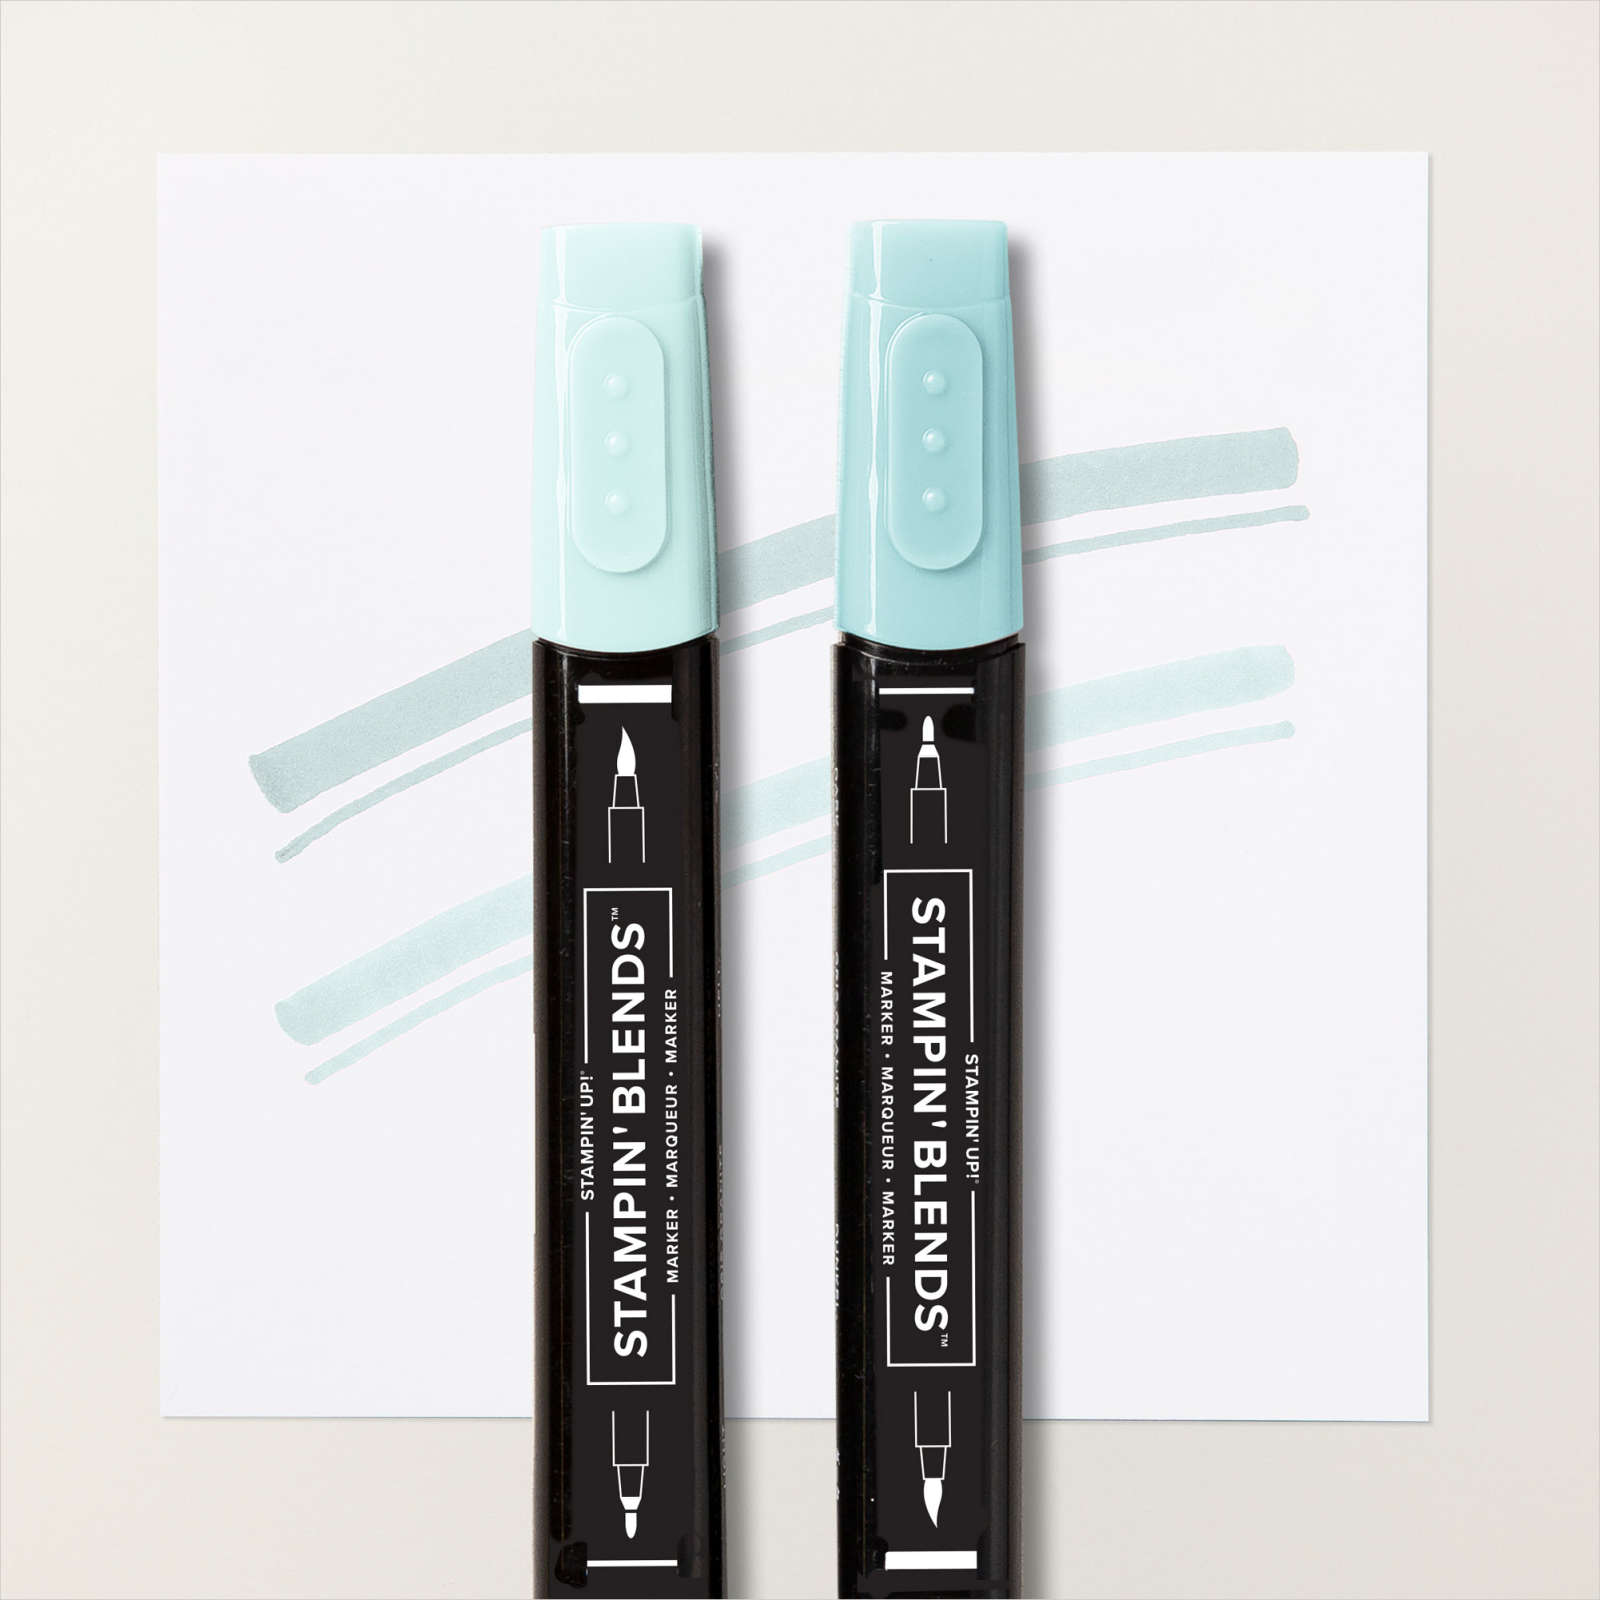
Oceans of Happiness
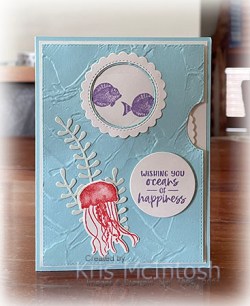
This week in my Facebook Live, I shared some cards made using the Seas the Day Bundle from the newly released Mini Catalogue. I also used the Give It a Whirl Dies to create today’s card. I cut Pool Party card using the card front die from the Give It a Whirl Dies before embossing the panel using the Painted Texture 3D Embossing Folder. I cut the turning mechanism from Very Vanilla card and stamped one of the fish images from the Seas The Day Bundle using Highland Heather ink, the starfish using Blushing Bride ink and the crab image using Calypso Coral ink, making sure that the images would show through the window.

I cut Very Vanilla card using the scalloped circle frame from the Give It a Whirl Dies and attached it around the die cut circle in the card front. I used the circle from the card front die cut and attached to the back of the turning circle before attaching to Very Vanilla card using dimensionals on the circle only. I attached the embossed front panel over the top using dimensionals in the corners only. The whole panel is attached to scored and folded Pool Party card. I cut Soft Sea Foam card using the leaf die from the Sea Dies and attached it to the card front.

I stamped the jelly fish image from the Seas The Day stamp set onto Very Vanilla card using Calypso Coral ink and cut it out using the co-ordinating Sea Die. I attached the jelly fish over the end of the leaf image. I stamped the greeting from the Seas The Day stamp set onto the circle from the scalloped circle frame using Highland Heather ink. The greeting is attached to the card front using dimensionals. To decorate the inside of the card I cut Pear Pizzazz card using the leaf image from the Sea Dies. I also stamped the starfish and crab images from the Seas The Day stamp set onto Very Vanilla card using Calypso Coral ink which I cut out using the co-ordinating Sea Dies. The die cuts are layered onto the lower left hand corner of Very Vanilla card.
I had a lot of fun playing with the Seas The Day Bundle and I am sure that I will continue to love using them. I’d love to know what you think.
Bye for now,
Kris
Product Used: