Christmas to Remember
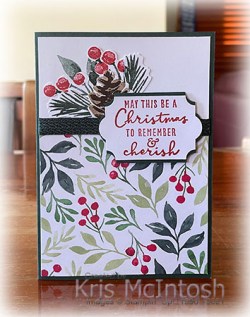
I created this card for a sketch challenge on the World Card Making Day group I joined. I began by attaching a piece of the Painted Christmas 12″ x 12″ Designer Series Paper across the bottom of Basic White card. I stamped one of the leaf images from the Christmas Season stamp set onto the Basic White card using Evening Evergreen ink. I stamped the berry image from the Christmas Season stamp set twice onto scrap Basic White card using Evening Evergreen and Real Red ink. I also stamped two other leaf images from the same stamp set onto scrap Basic White card using Evening Evergreen ink. Lastly I stamped the solid pine cone image from the Christmas Season stamp set onto scrap Basic White card using Soft Suede ink with the detailed image over the top using Early Espresso ink.
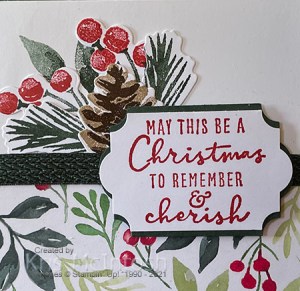
I cut all of the images out using the co-ordinating Seasonal Labels Dies. I attached the die cut images over the stamped image before wrapping the top of the Designer Series Paper with Evening Evergreen Chevron Weave Ribbon. I stamped the greeting from the Christmas to Remember stamp set onto Basic White card using Real Red ink. I punched out the greeting using the Everyday Label Punch. I punched Evening Evergreen card using the same punch, cut it in half and attached the halves behind the stamped greeting label.
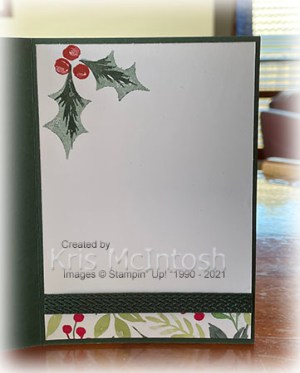
The greeting is attached to the card front using dimensionals. To decorate the inside of the card, I attached a narrow strip of the same pattern Painted Christmas Designer Series Paper to the bottom of Basic White card. I wrapped the top of the Designer Series Paper using the Evening Evergreen Chevron Weave Ribbon. I stamped the ivy leaf image from the Christmas Season stamp set onto the top left hand corner using Evening Evergreen ink which I stamped onto scrap paper first. I stamped the detailed image over the top using Evening Evergreen ink. I stamped the berry image from the Christmas Season stamp set using Real Red ink.
This was a fun card to make with lots of layering to get the focal image. What do you think? Do you love it?
Bye for now,
Kris
Product Used:


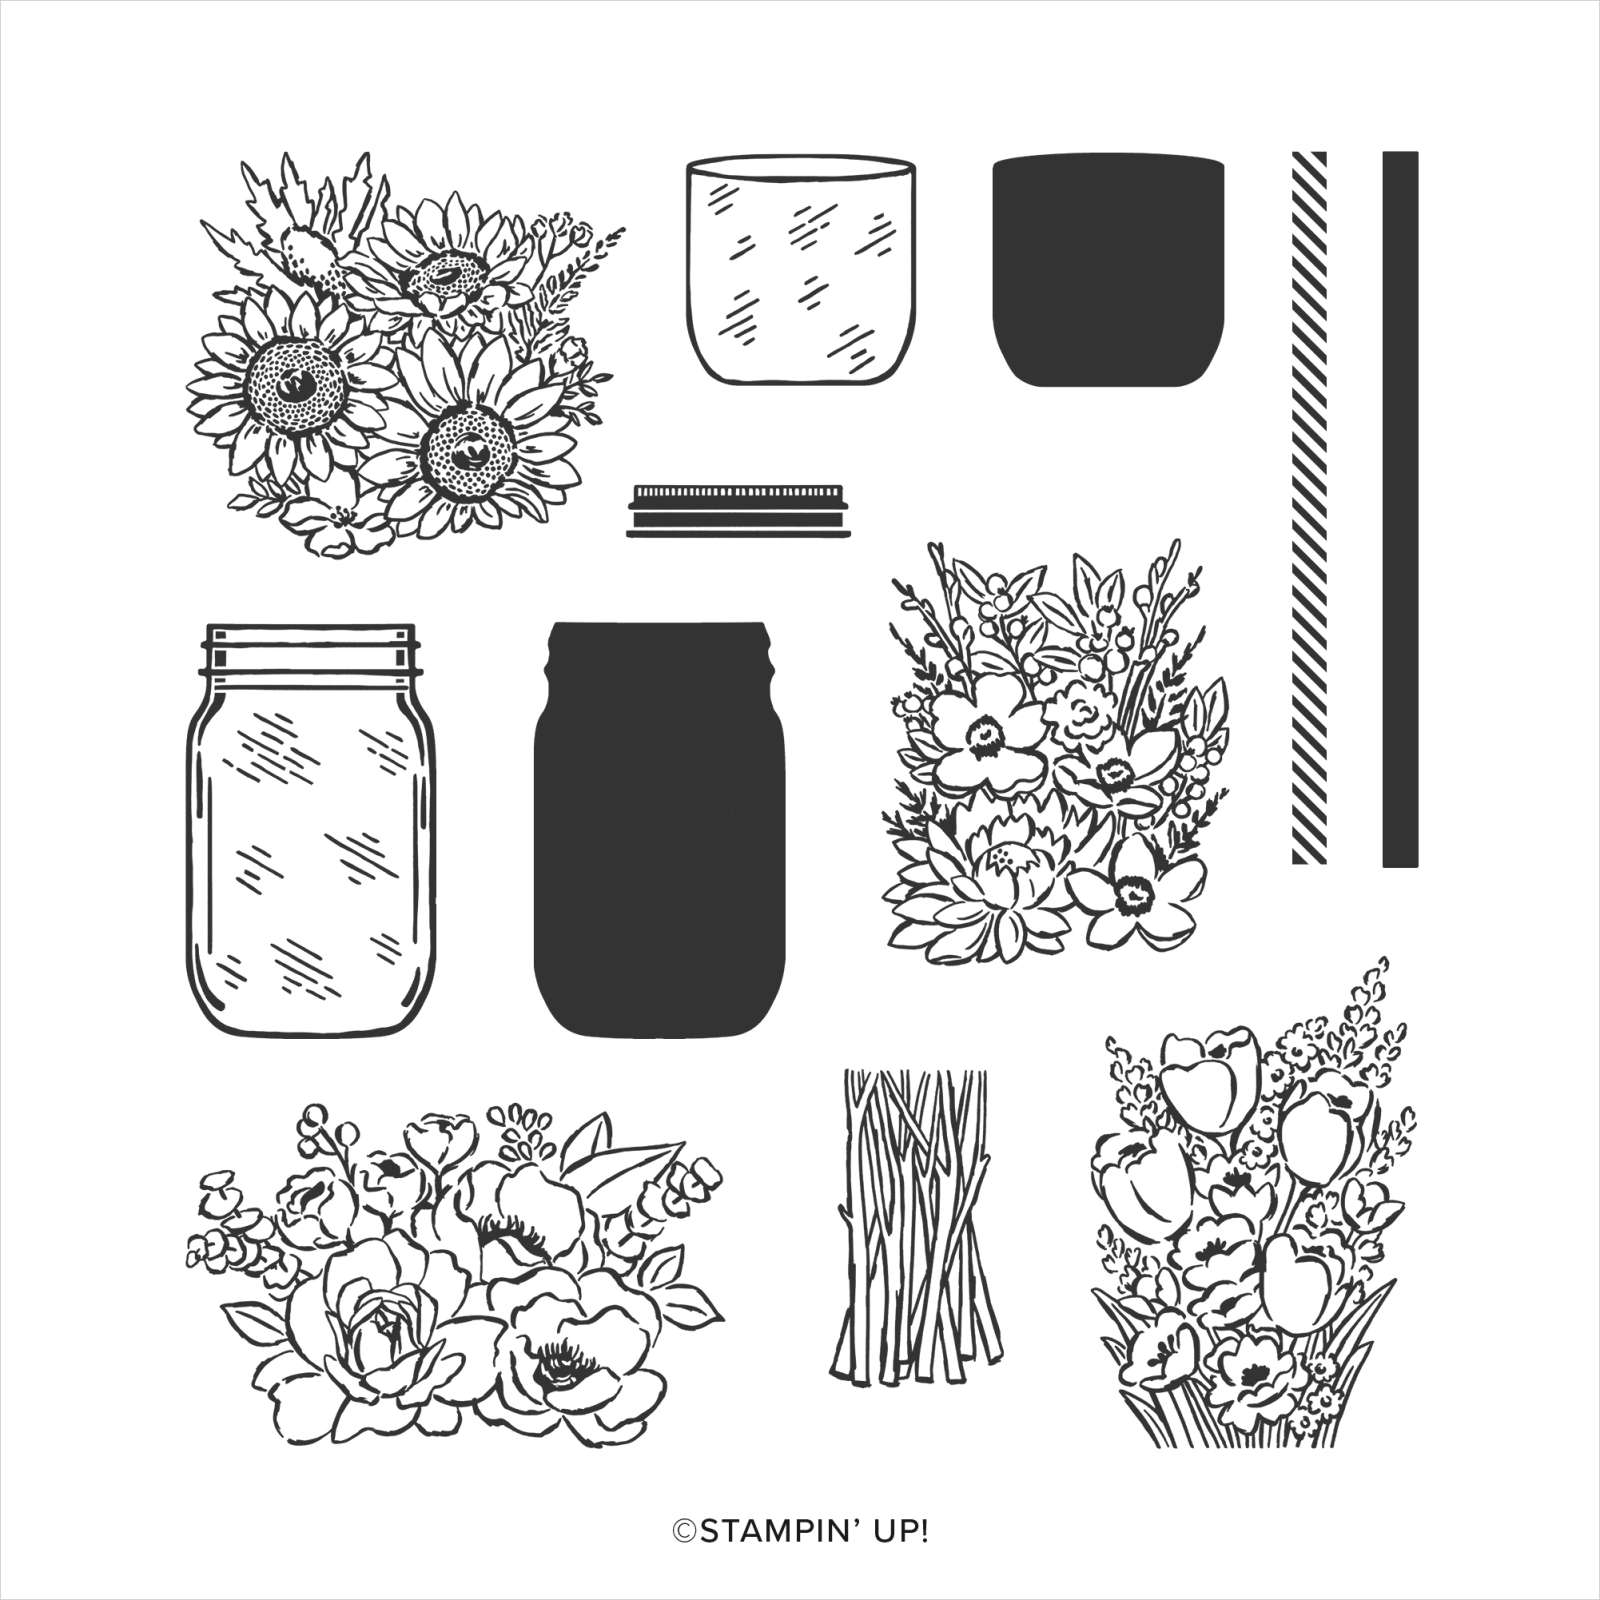
Jar of Flowers

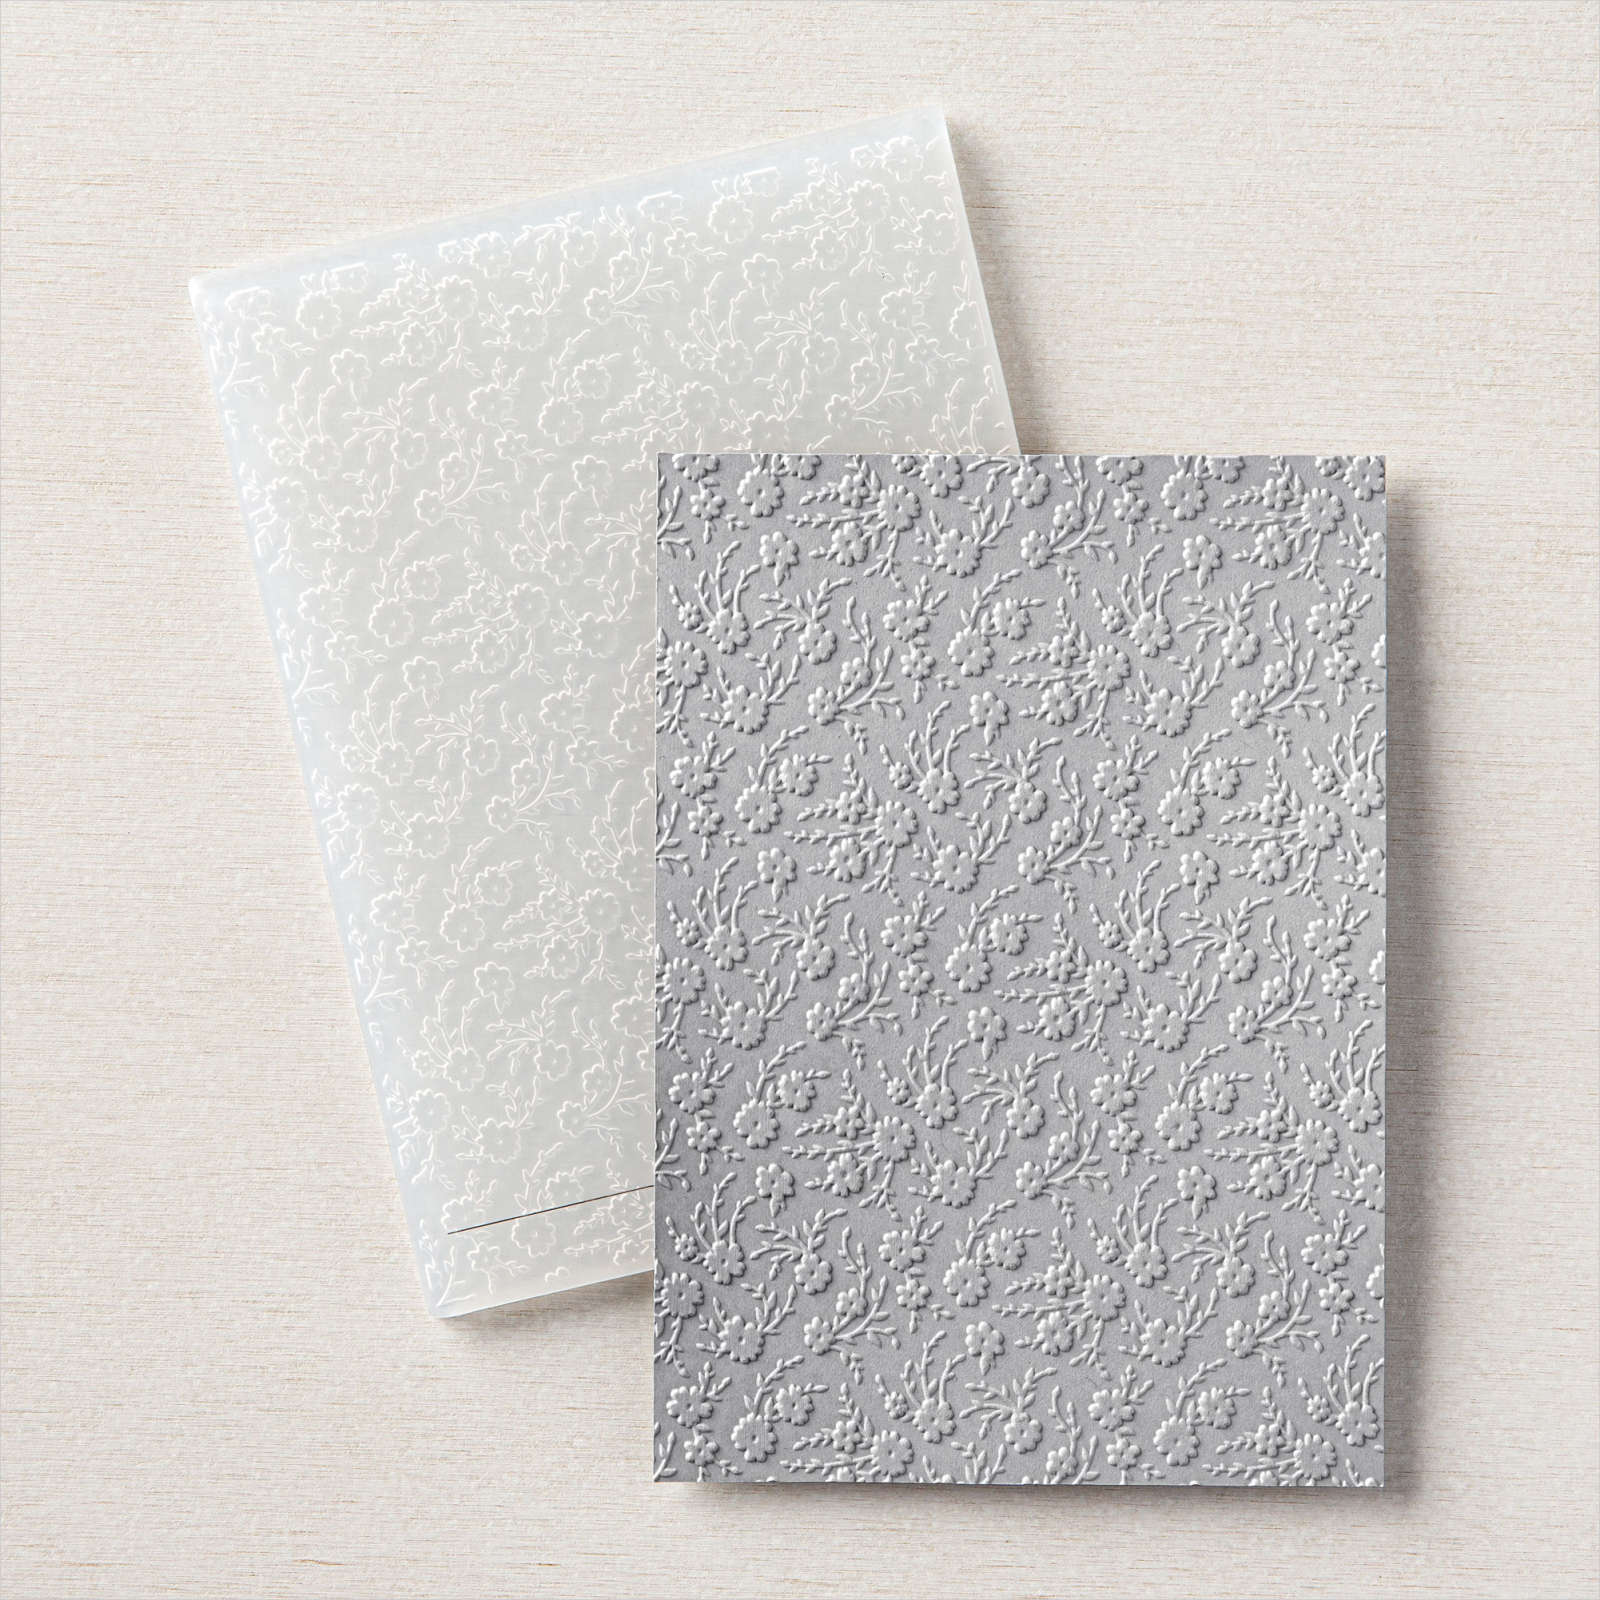
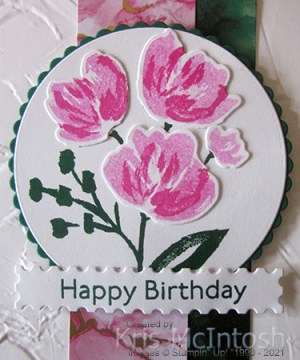
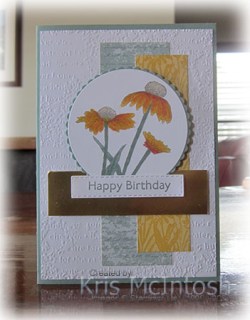
Today I have two cards to share with you using the Jar of Flowers stamp set which I created for two lovely ladies who recently celebrated their birthdays. I began by embossing two card front sized pieces of Basic White card using the Ornate Flowers 3D Embossing Folder. I cut a rectangle of Beautifully Penned Designer Series Paper in half diagonally and attached one piece to the bottom of each of the embossed panels. I stamped “happy birthday” from the Artistically Inked stamp set onto one strip of Pale Papaya card and one strip of Fresh Freesia card using Memento Tuxedo Black ink.

I attached the stamped strips of card onto the card fronts just above the Designer Series Paper. I tied a bow in Pale Papaya and Fresh Freesia 3/8″ Open Weave Ribbon and attached them to the co-ordinating coloured cards. The Basic White panels are to scored and folded card bases in the co-ordinating colour.

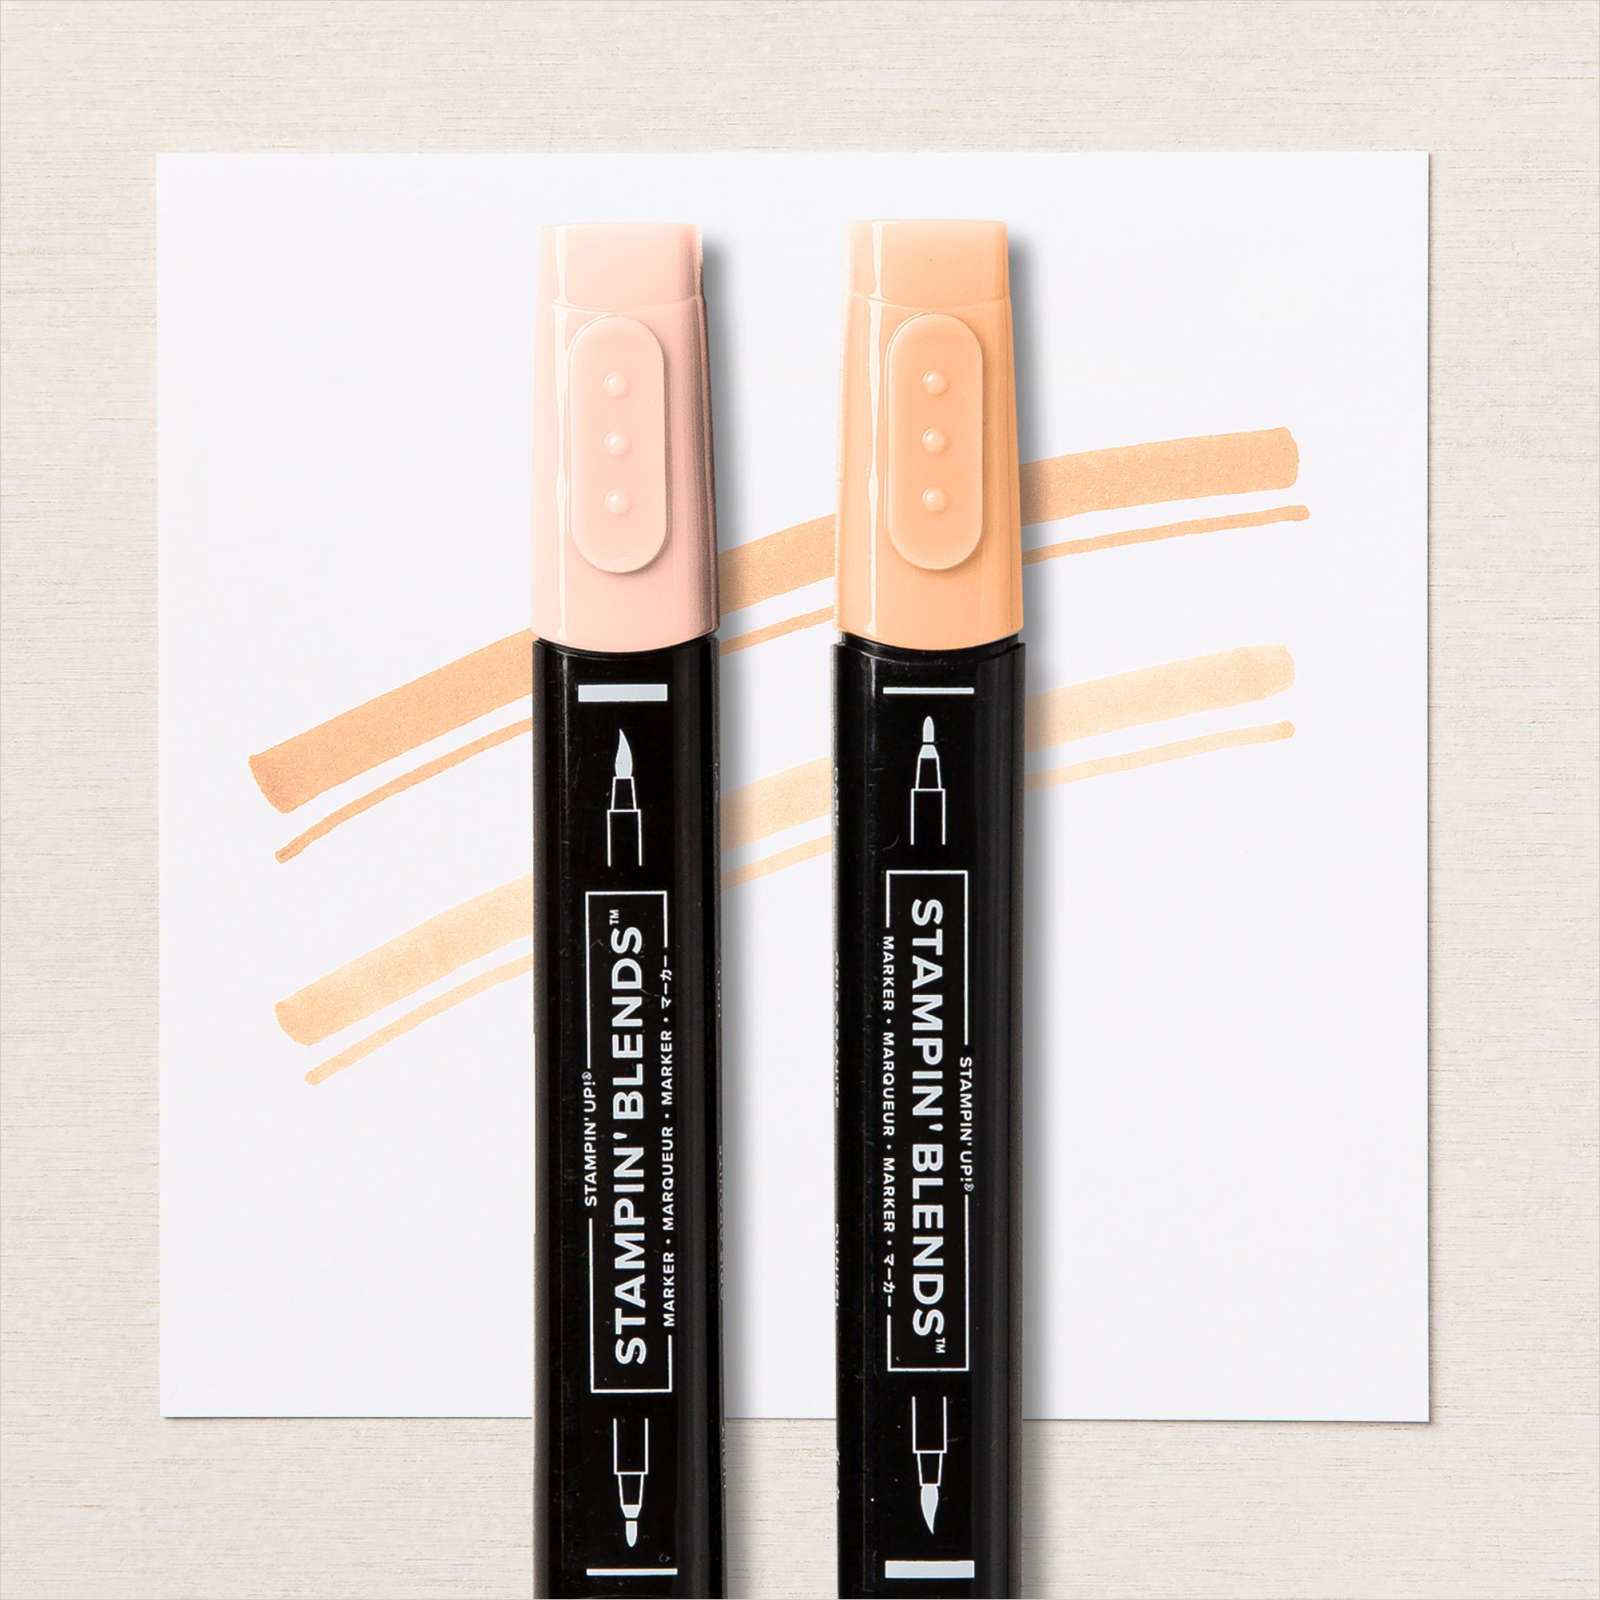
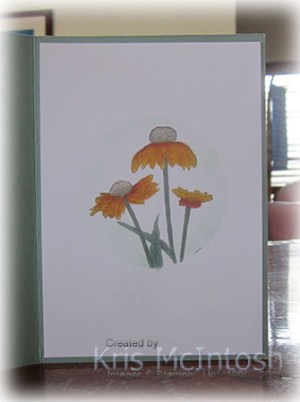
I stamped two of the floral images from the Jar of Flowers stamp set onto Basic White card using Memento Tuxedo Black ink. The images are coloured with Pale Papaya, Fresh Freesia, Daffodil Delight and Soft Succulent Stampin’ Blends. The images are cut out and attached to the card with the co-ordinating coloured card base. To decorate the inside of the card I attached diagonally cut strips of the same Beautifully Penned Designer Series Paper across the bottom of Basic White card. I wrapped the top of the Designer Series Paper using the co-ordinating 3/8″ Open Weave Ribbon. I stamped the same two floral images from the Jar of Flowers stamp set onto Basic White card. I coloured the images as before and cut them out. The images are attached just above the ribbon on the co-ordinating coloured card base.
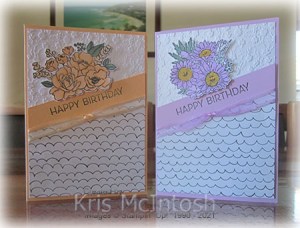
Don’t they look pretty? I hope the ladies who receive them love them just as much as I do.
Bye for now,
Kris
Product Used:


What’s Happening?

This is not my usual Memory Keeping post but since my computer has been playing up I haven’t been able to print any photos to share on my pages. So I thought I would take the opportunity to get you up to date on some product releases that you may not be aware of. Firstly did you know that there is a Paper Pumpkin kit called Expressions in Colour available in my store here. This kit co-ordinates with the gorgeous Expressions in Ink Specialty Paper which is available from the Annual Catalogue. The kit costs $37.00 and includes, two Ink Spots, a stamp set, a clear block and enough product to create nine cards, three each of three designs. These are great for any crafter from beginner to those who have to have it all. Make sure you place your order quickly because these kits are only available while stocks last.

As you know any kit is a great way to get a stamp set and lots of product to play with all in one box. I love that they contain everything you need to create your cards, boxes or tags. Stampin’ Up! have decided that kits will no longer retire but they will occassionally become unavailable while they are restocked. You will find all the kits available for purchase in my store here. However, I wanted to talk about the latest release which is a fabulous Love, Santa Tag Kit. This kit comes with enough product to create three tags in four different designs. As usual it contains a stamp set and ink spot along with some twine and gems to add to your tags for a cost of $33.00. There are also co-ordinating Love, Santa Treat Bags which are food safe for lots of fun Christmas creating. The co-ordinating treat bags are $12.25 and you will receive 12 bags, three each of four different designs. You can purchase the tags and bags together as the Love, Santa Project Collection with one item no. for $45.25.
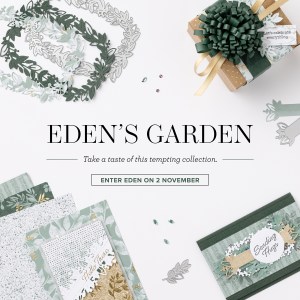
The last release I want to talk about is a pre-release product suite from the next January to June Mini Catalogue. Stampin’ Up! has been teasing us with a pre-release for the past few catalogues and it is certain that this pre-release will be a winner. The product suite is called Eden’s Garden and you will be able to pre-order these products from the 2nd November until the 2nd January 2022. You can order the whole suite or you can order just the parts you want, but I am sure that once you see this suite you will need to order all of it!
As well as all this there is another Paper Pumpkin Kit called the Hope Box which will be coming our way soon. Let me know if you have any questions regarding these promotions.
Bye for now,
Kris
Product Used:


Floral Gift Card Holder

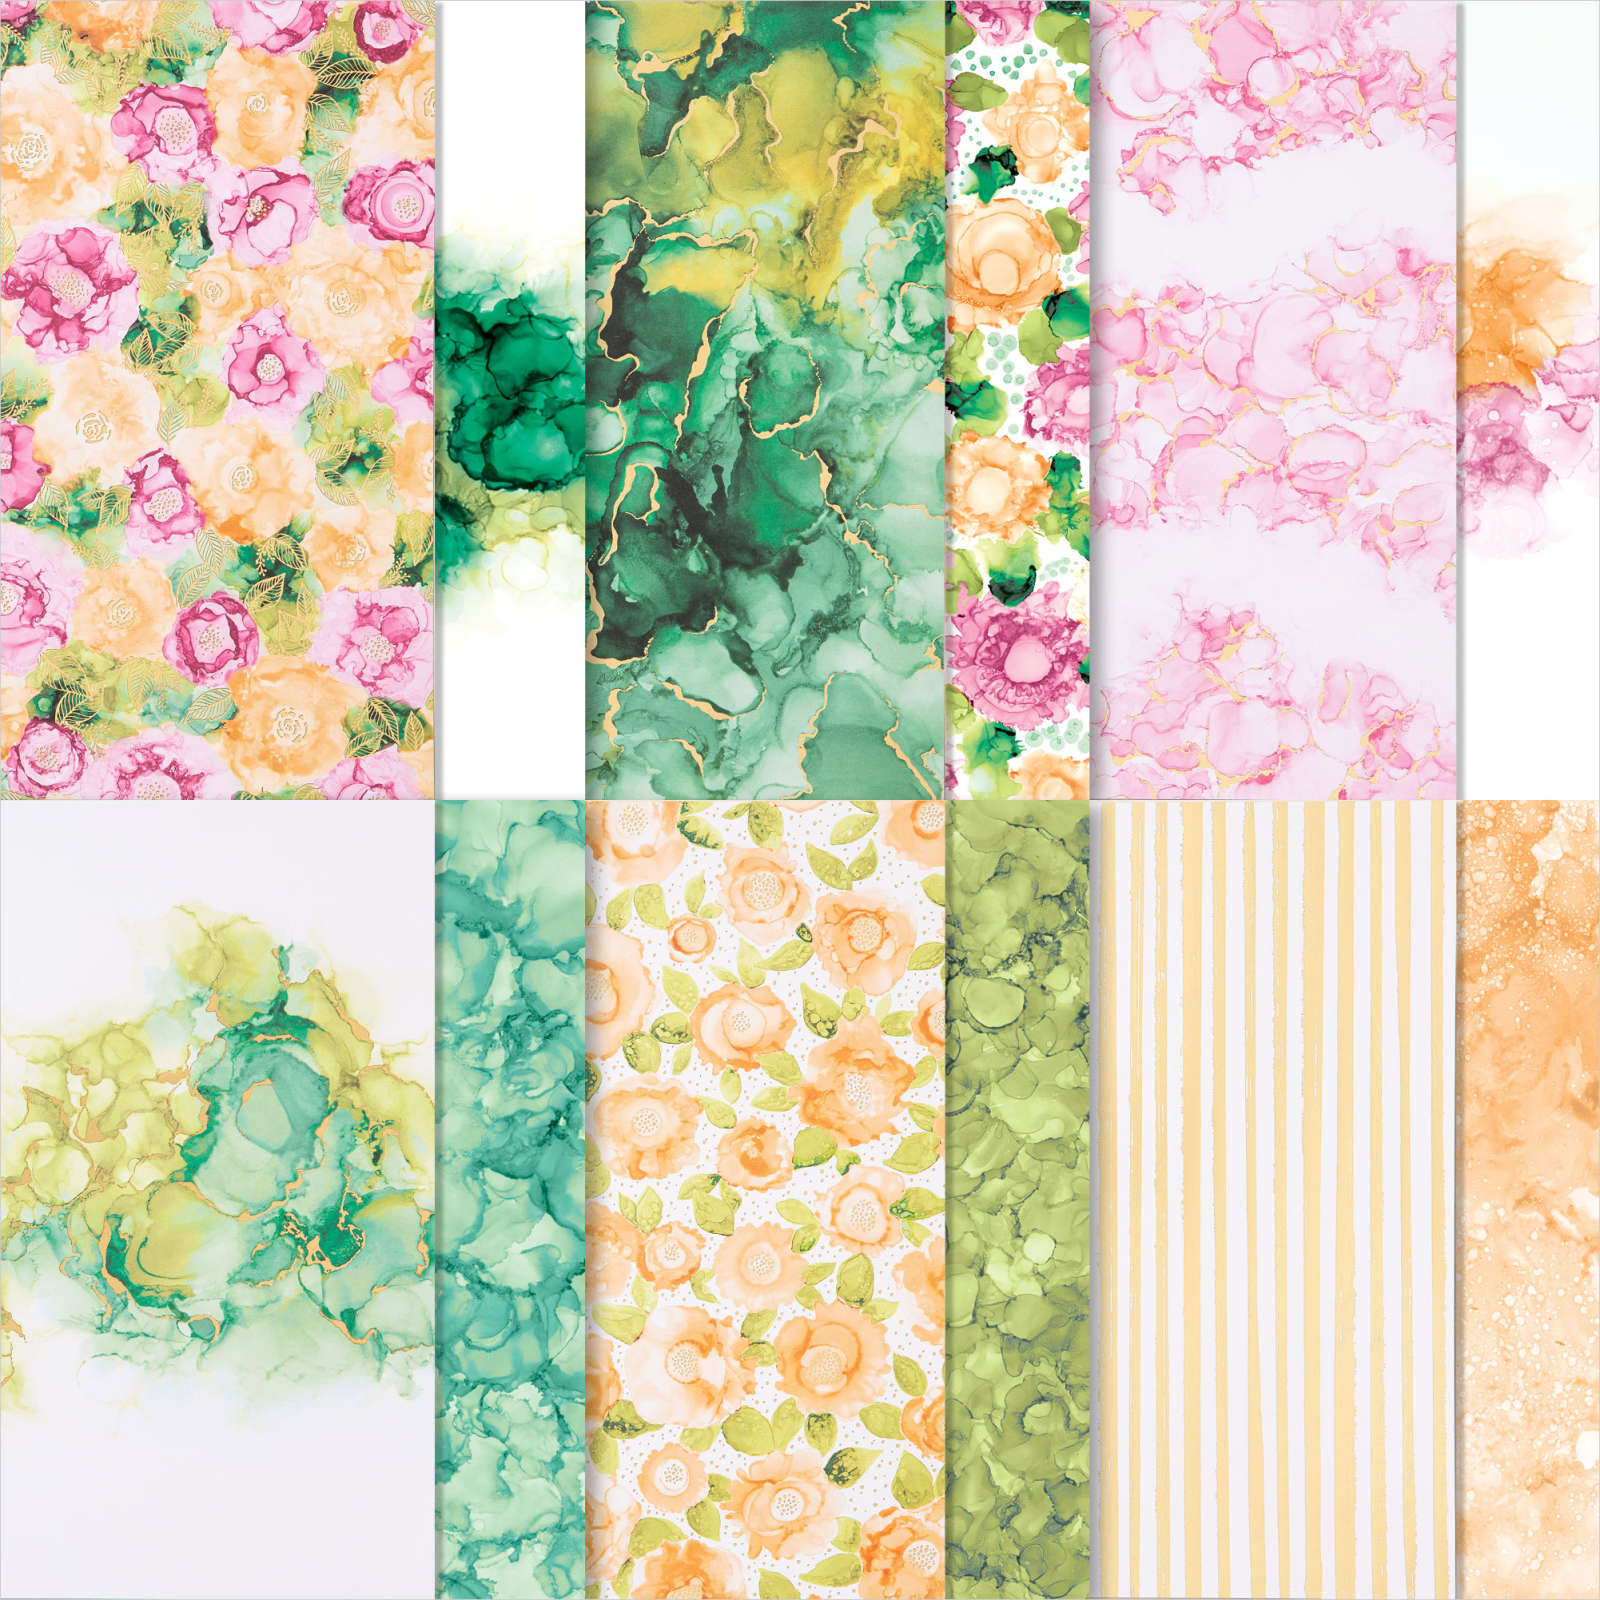
Today I have another variation of the gift card holder I shared in my Facebook Live this week. This card uses Shaded Spruce for the card base and Basic White for the folded panel. To decorate the front panel, I embossed Basic White card using the Painted Texture 3D Embossing Folder and attached two pieces of the Expressions in Ink Specialty Designer Series Paper. I stamped the small flower from the Art Gallery stamp set onto Basic White card using Shaded Spruce ink and cut it out using the largest circle from the Layering Circle Dies. I attached the stamped circle to a Shaded Spruce scalloped circle cut using the same dies before attaching to the card front using dimensionals.
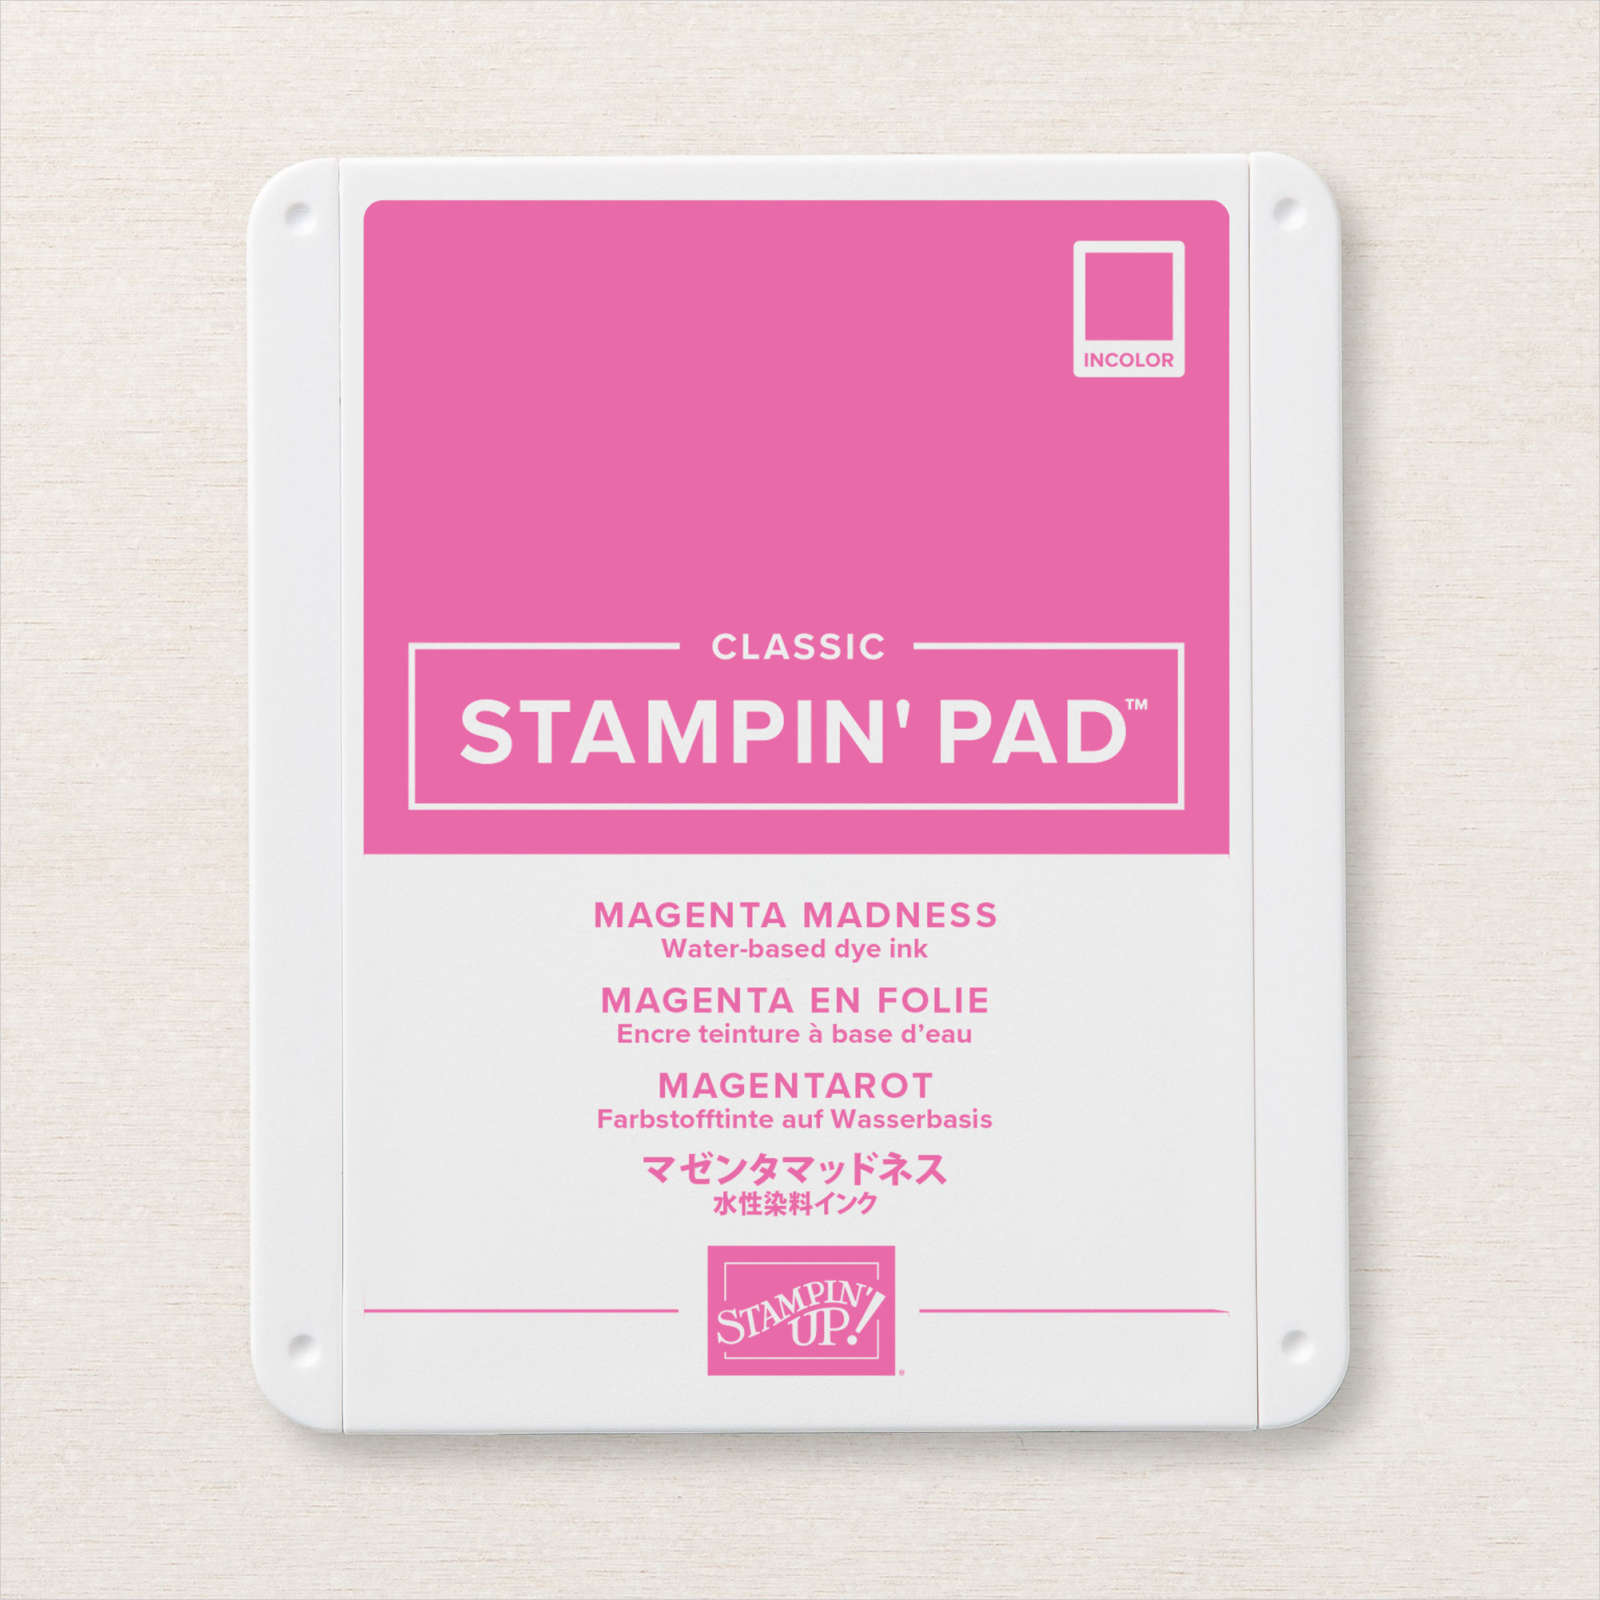
I stamped the small floral image from the Art Gallery stamp set onto Basic White card using Magenta Madness ink which I stamped off first. I stamped the small detailed flower over the top using Magenta Madness ink which I did not stamp off. I cut out the image using the Floral Gallery Dies. I cut out the flowers and attached them to the card front over the stamped images. I stamped “happy birthday” from the Art Gallery stamp set onto Basic White card using Shaded Spruce ink.
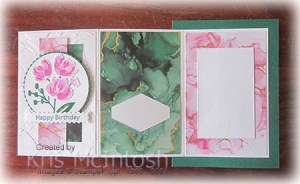
I cut out the greeting using the Floral Gallery Dies and attached it to the card front using dimensionals on the ends only. The gift card panel is another piece of Expressions in Ink Specialty Designer Series Paper which I punched using the Tailored Tag Die. The last panel has a piece of the Expressions in Ink Specialty Designer Series Paper with a Basic White panel cut using the Stitched Rectangle Dies.
This gift card holder makes me smile and will be just great for someone special soon.
Bye for now,
Kris
Product Used:


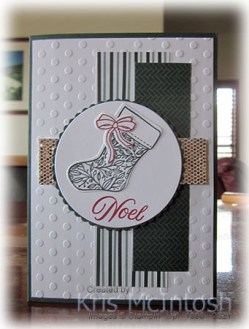
Christmas Giftcard Holder

Yesterday on my Facebook Live I shared an old design for creating gift card holders. I tweaked the original dimensions to suit A4 card. My folding panel is 25cm x 12.8cm, scored along the 25cm length at 8.5cm and 17cm cut from Basic White card. My card base is a standard card front 10.5cm x 14.8cm cut from Evening Evergreen card. To decorate the front panel I cut a 8cm x 10.3cm piece of Tidings of Christmas 6″ x 6″ Designer Series Paper. I marked down 6cm on the left hand side and up 6cm on the right hand side of the 10.3cm lengths and cut across the panel on the diagonal. I attached the pieces to the front of the folding panel. I stamped “noel” from the Tidings & Trimmings stamp set onto the right hand side between the designer series paper panels.
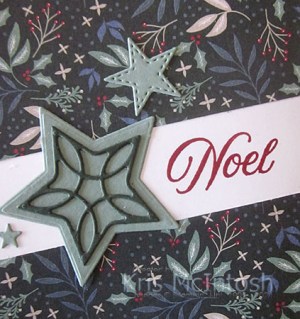
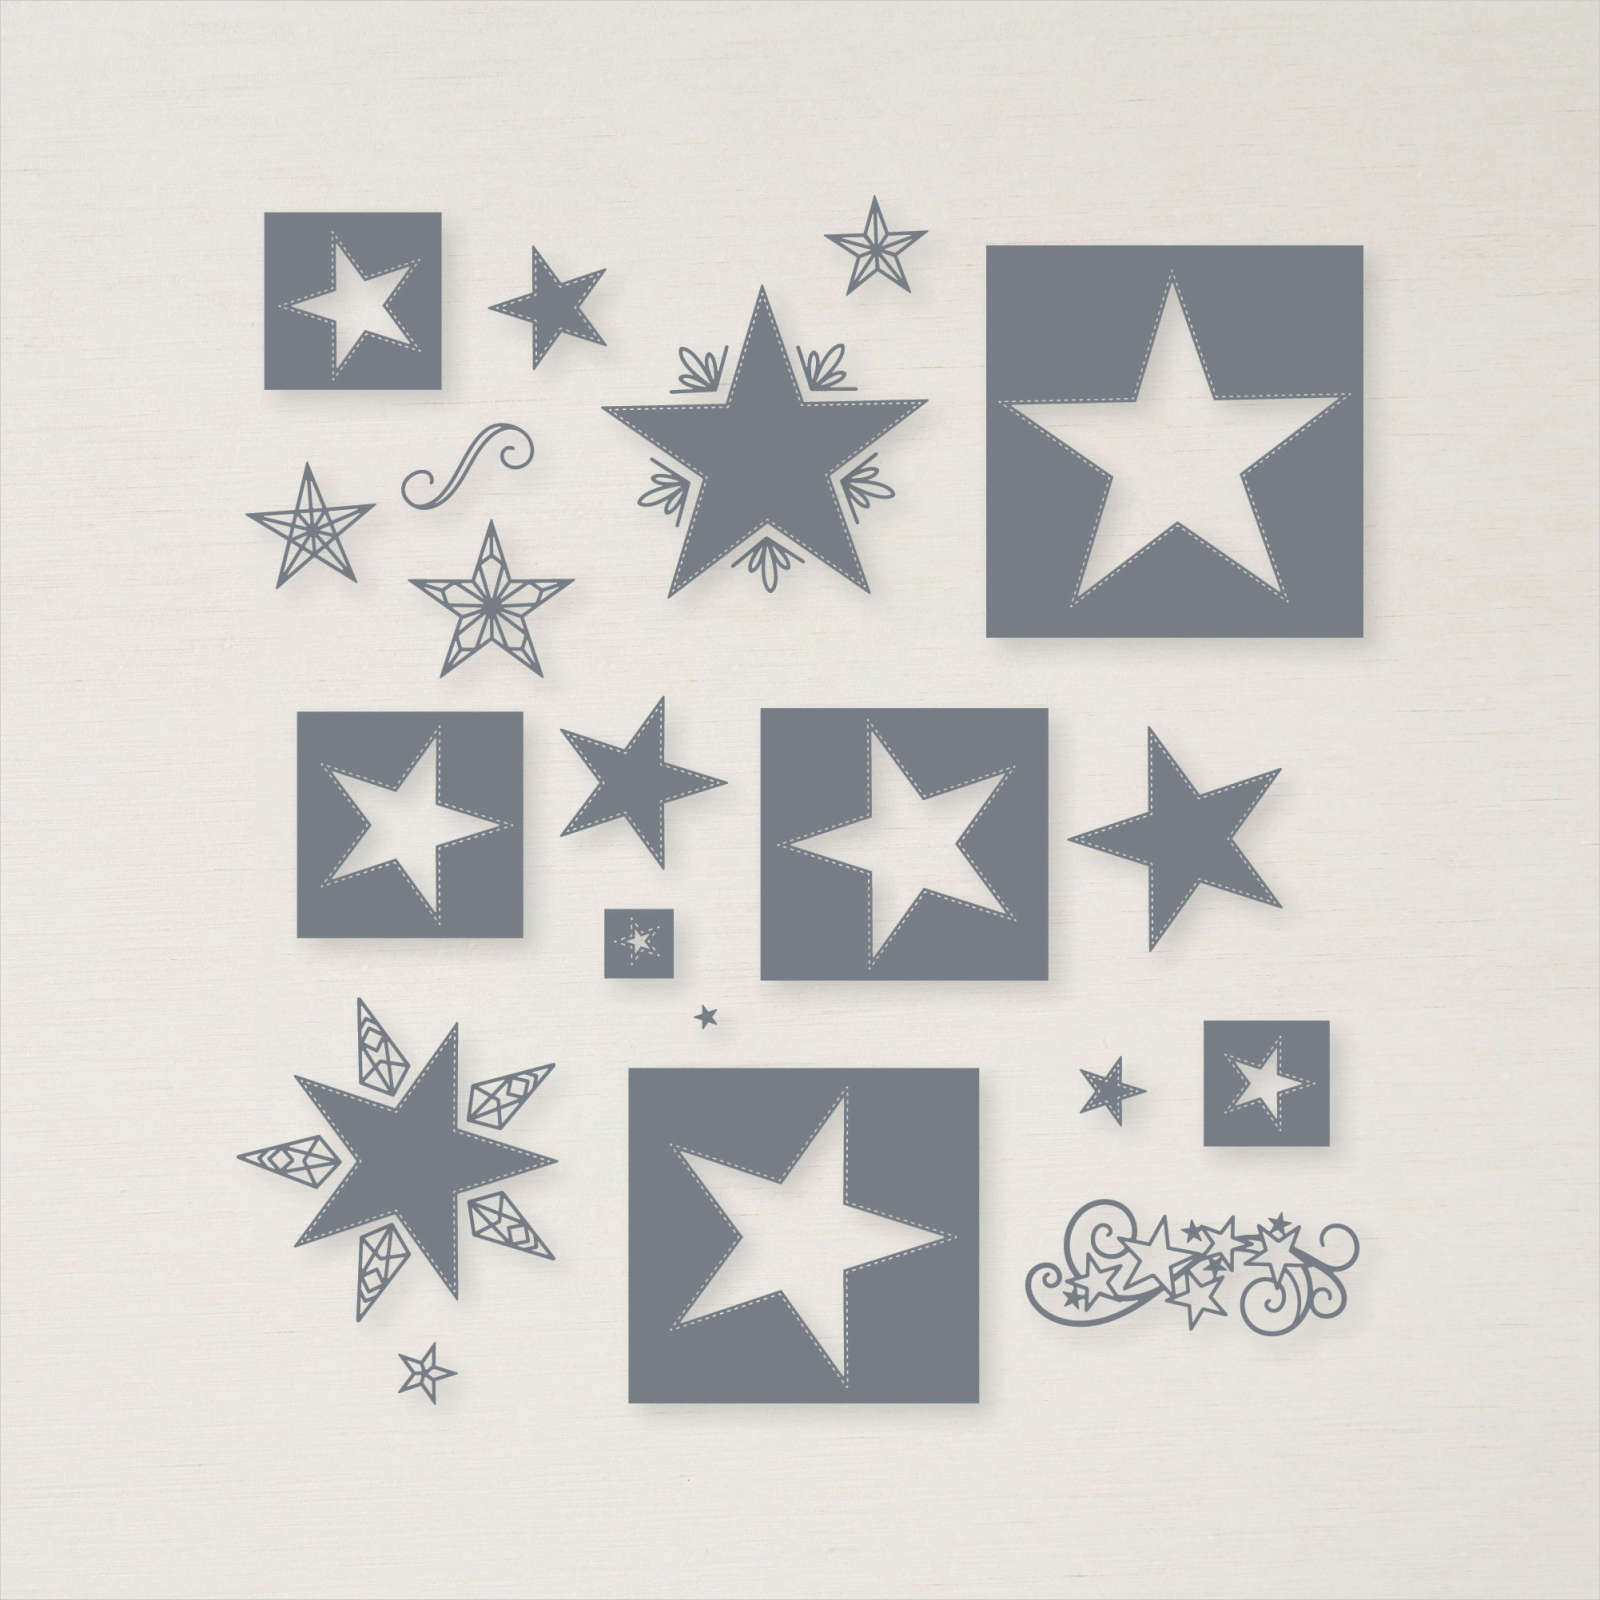
I cut the solid star from Soft Succulent card using the Christmas Trimmings Dies. I cut the detailed star from Evening Evergreen card using the same dies. I attached the detailed star to the solid star before attaching to the left hand side of the card front. I cut two more stars from Soft Succulent card using the Stitched Stars Dies and attached them to the card front. To create the gift card pocket, I cut a piece of Tidings of Christmas Designer Series Paper 8cm x 12.3cm. I pushed the Tailored Tag punch up from the bottom of the panel as far as it would go to punch out the shape.
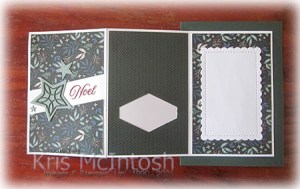
A gift card will fit in the punched space. The Designer Series Paper is attached to the middle panel, making sure to only glue the top bottom and sides. For the last panel I attached another piece of the Tidings of Christmas Designer Series Paper with a Basic White scalloped rectangle cut using the Scalloped Contour Dies. This gives me somewhere to write a message. These are such fun gift card holders to make and with Christmas just around the corner, I am sure you will find lots of reasons to create one of these. If you need more instruction just check out the video on my Facebook Page.Bye for now,
Kris
Product Used:


Magic & Wonder

I found a sketch on Pinterest which I thought would work for an idea I had and this is the result. I cut Basic White card using the rounded Basic Border Die. I stamped a greeting from the Poinsettia Petals stamp set onto the top right hand corner using Cherry Cobbler ink. I attached the die cut to a piece of Tidings of Christmas 6″ x 6″ Designer Series Paper before attaching to scored and folded Cherry Cobbler Card.

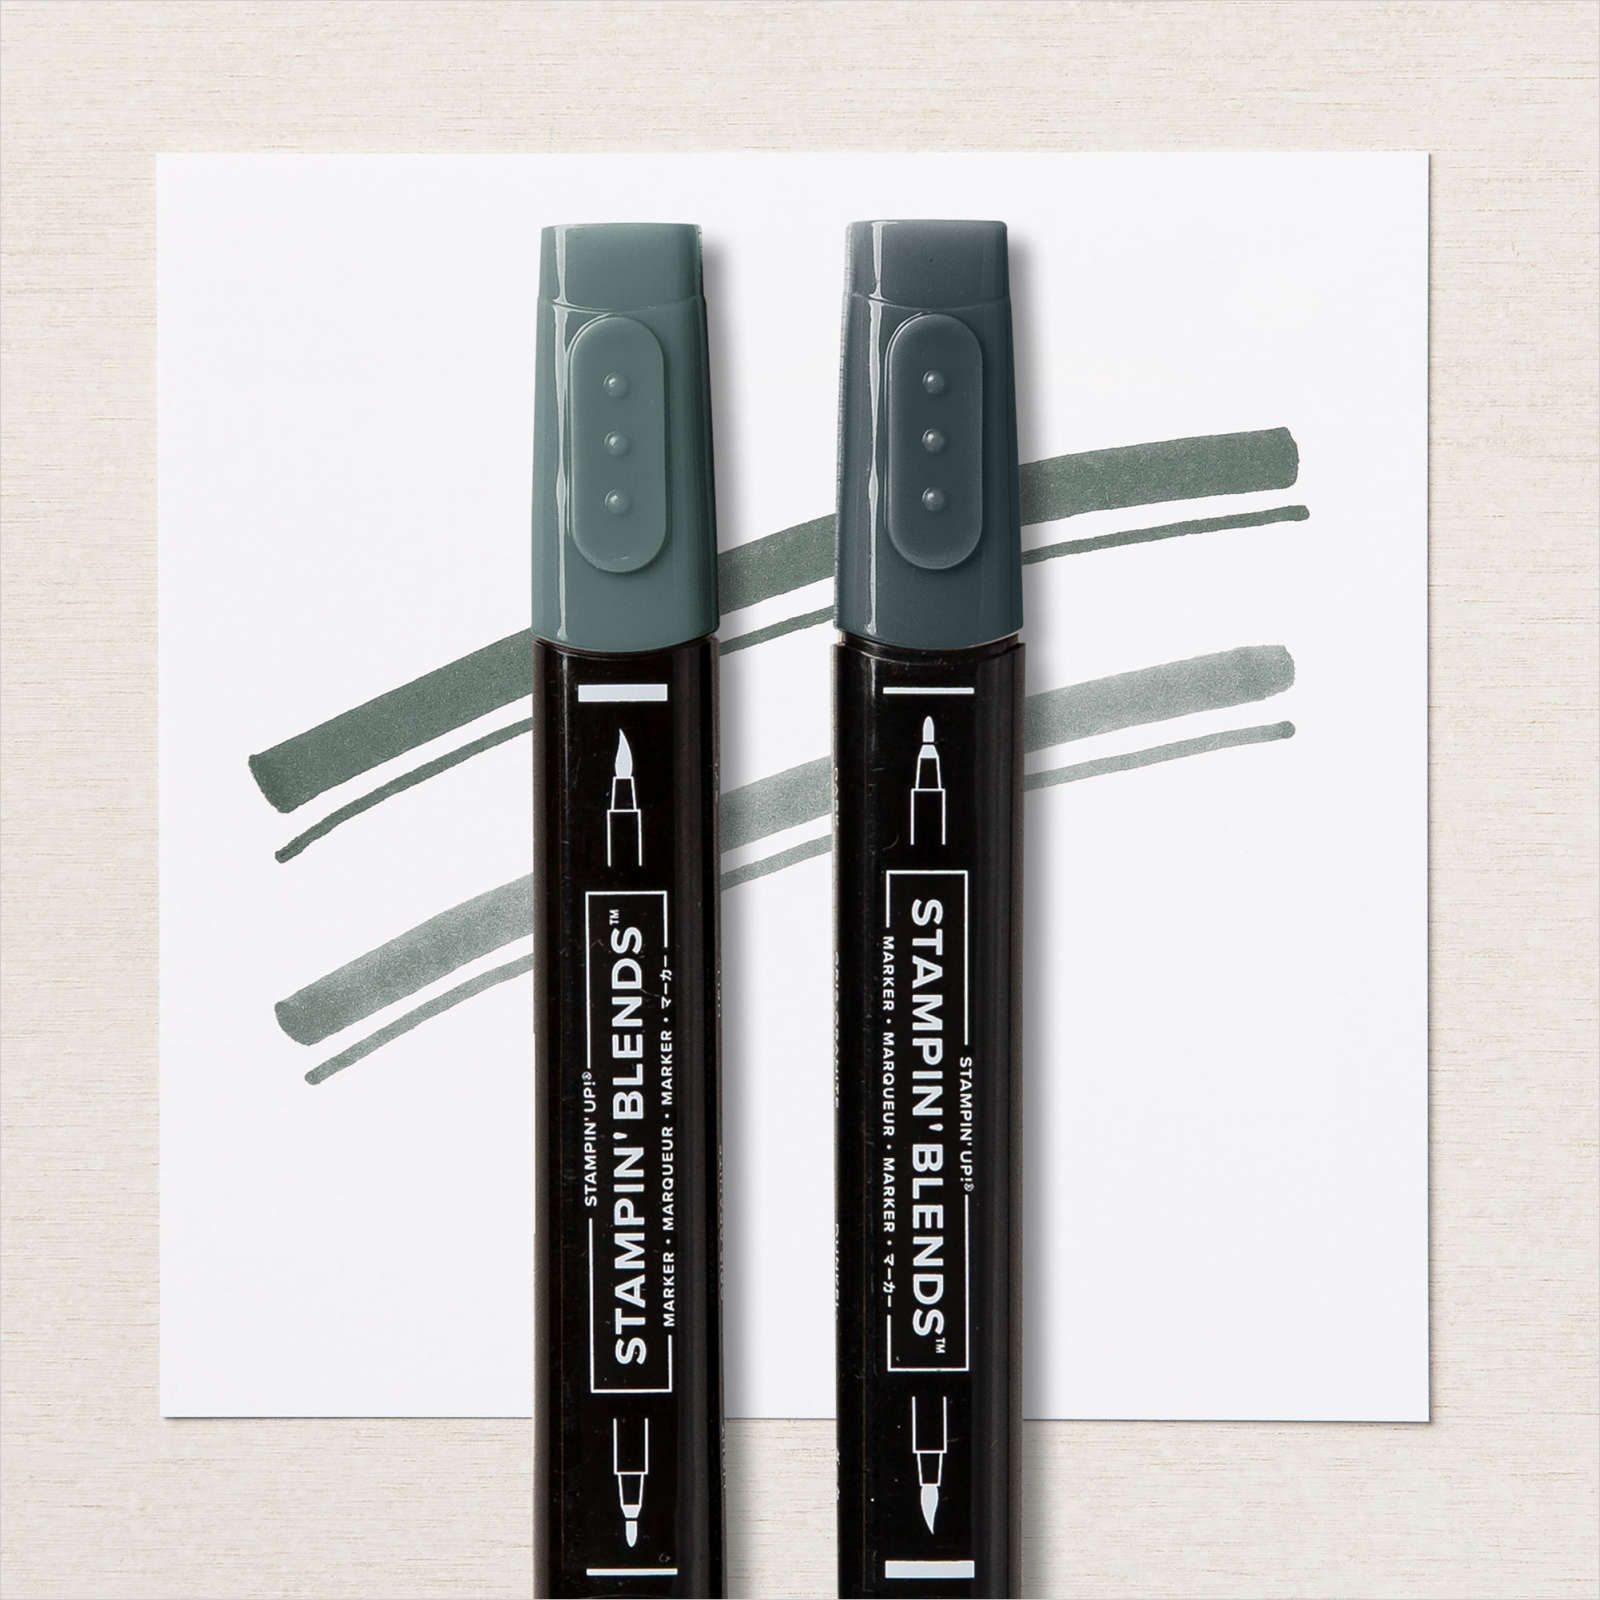
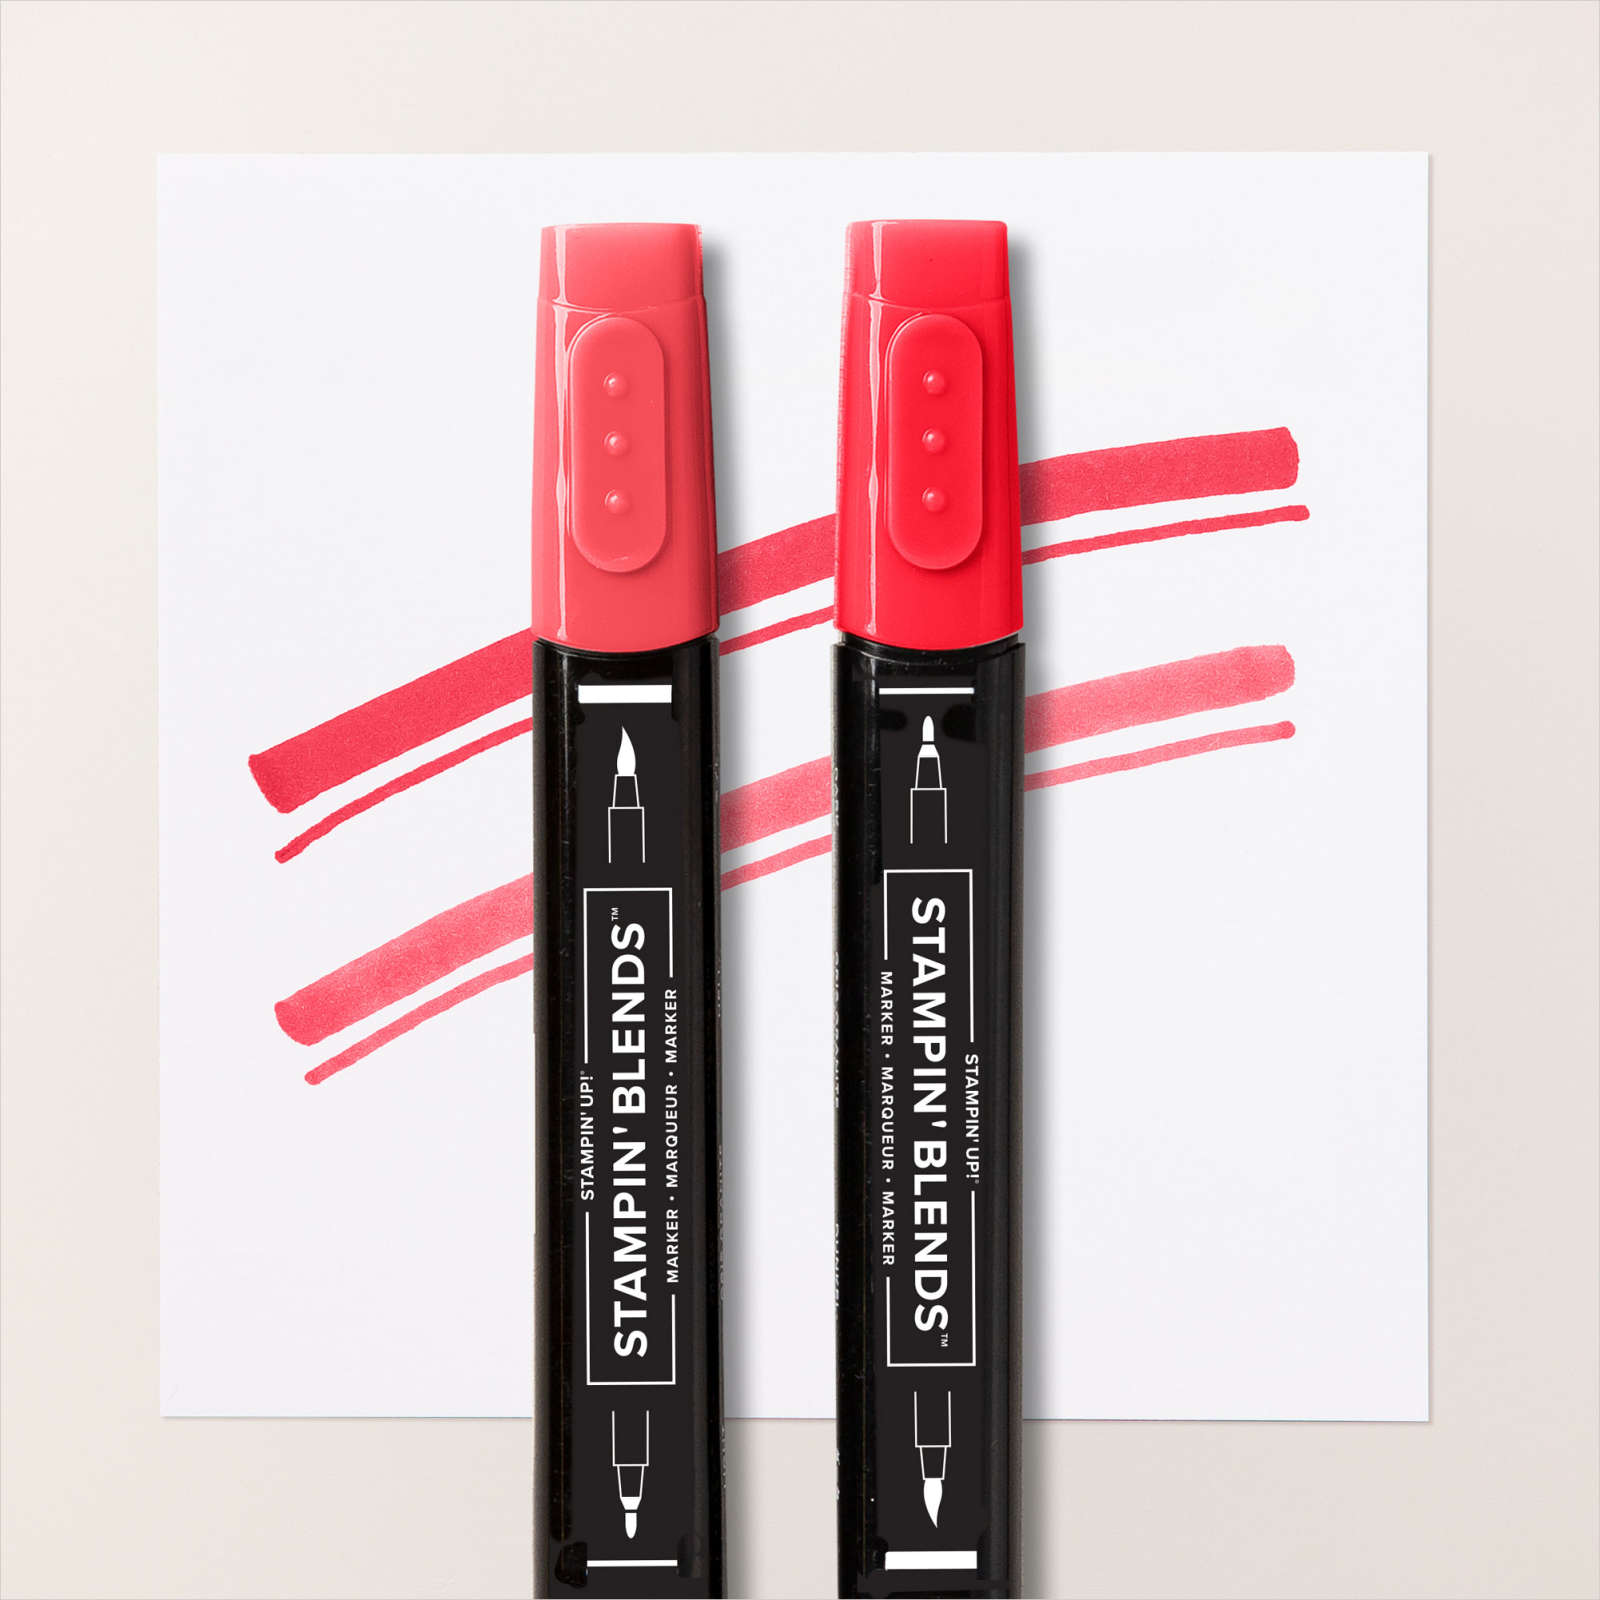
I stamped the flower from the Poinsettia Petals stamp set onto Basic White card using Cherry Cobbler ink and coloured it using the Dark Cherry Cobbler Stampin Blend. I stamped the medium leaf image from the Poinsettia Petals stamp set four times onto Basic White card using Evening Evergreen ink and coloured the leaves using the Light Evening Evergreen Stampin’ Blend.

I cut out the flower and leaves using the co-ordinating Poinsettia Dies. I attached the leaves to the back of the flower and then card front using dimensionals. I added three Basic Pearls to the centre of the flower. To decorate the inside of the card, I stamped another greeting from the Poinsettia Petals stamp set onto Basic White card using Cherry Cobbler ink. I stamped the same flower I used on the card front onto the lower left hand corner using Cherry Cobbler ink. I covered the flower with a post-it-note mask and stamped the leaf image on either side of the flower using Evening Evergreen ink. I coloured the flower and leaves using the same Stampin’ Blends as I used on the card front.
I am so happy with this card and also happy that I used this stamp set which I have long neglected.
Bye for now,
Kris
Product Used:


A Good Man Birthday

I was inspired by a card sketch I found on Pinterest to create today’s card. I began by embossing Basic White card using the Painted Texture 3D Embossing Folder. I attached the embossed card to scored and folded Night of Navy card. I cut a long narrow piece of In Good Taste Designer Series Paper and attached it to the left hand side of the embossed card. I cut another piece of In Good Taste Designer Series Paper and stamped the greeting from the Peaceful Moments stamp set onto the lower right hand corner using Night of Navy ink. The stamped Designer Series Paper is attached to the card front, partially covering the other piece of Designer Series Paper.

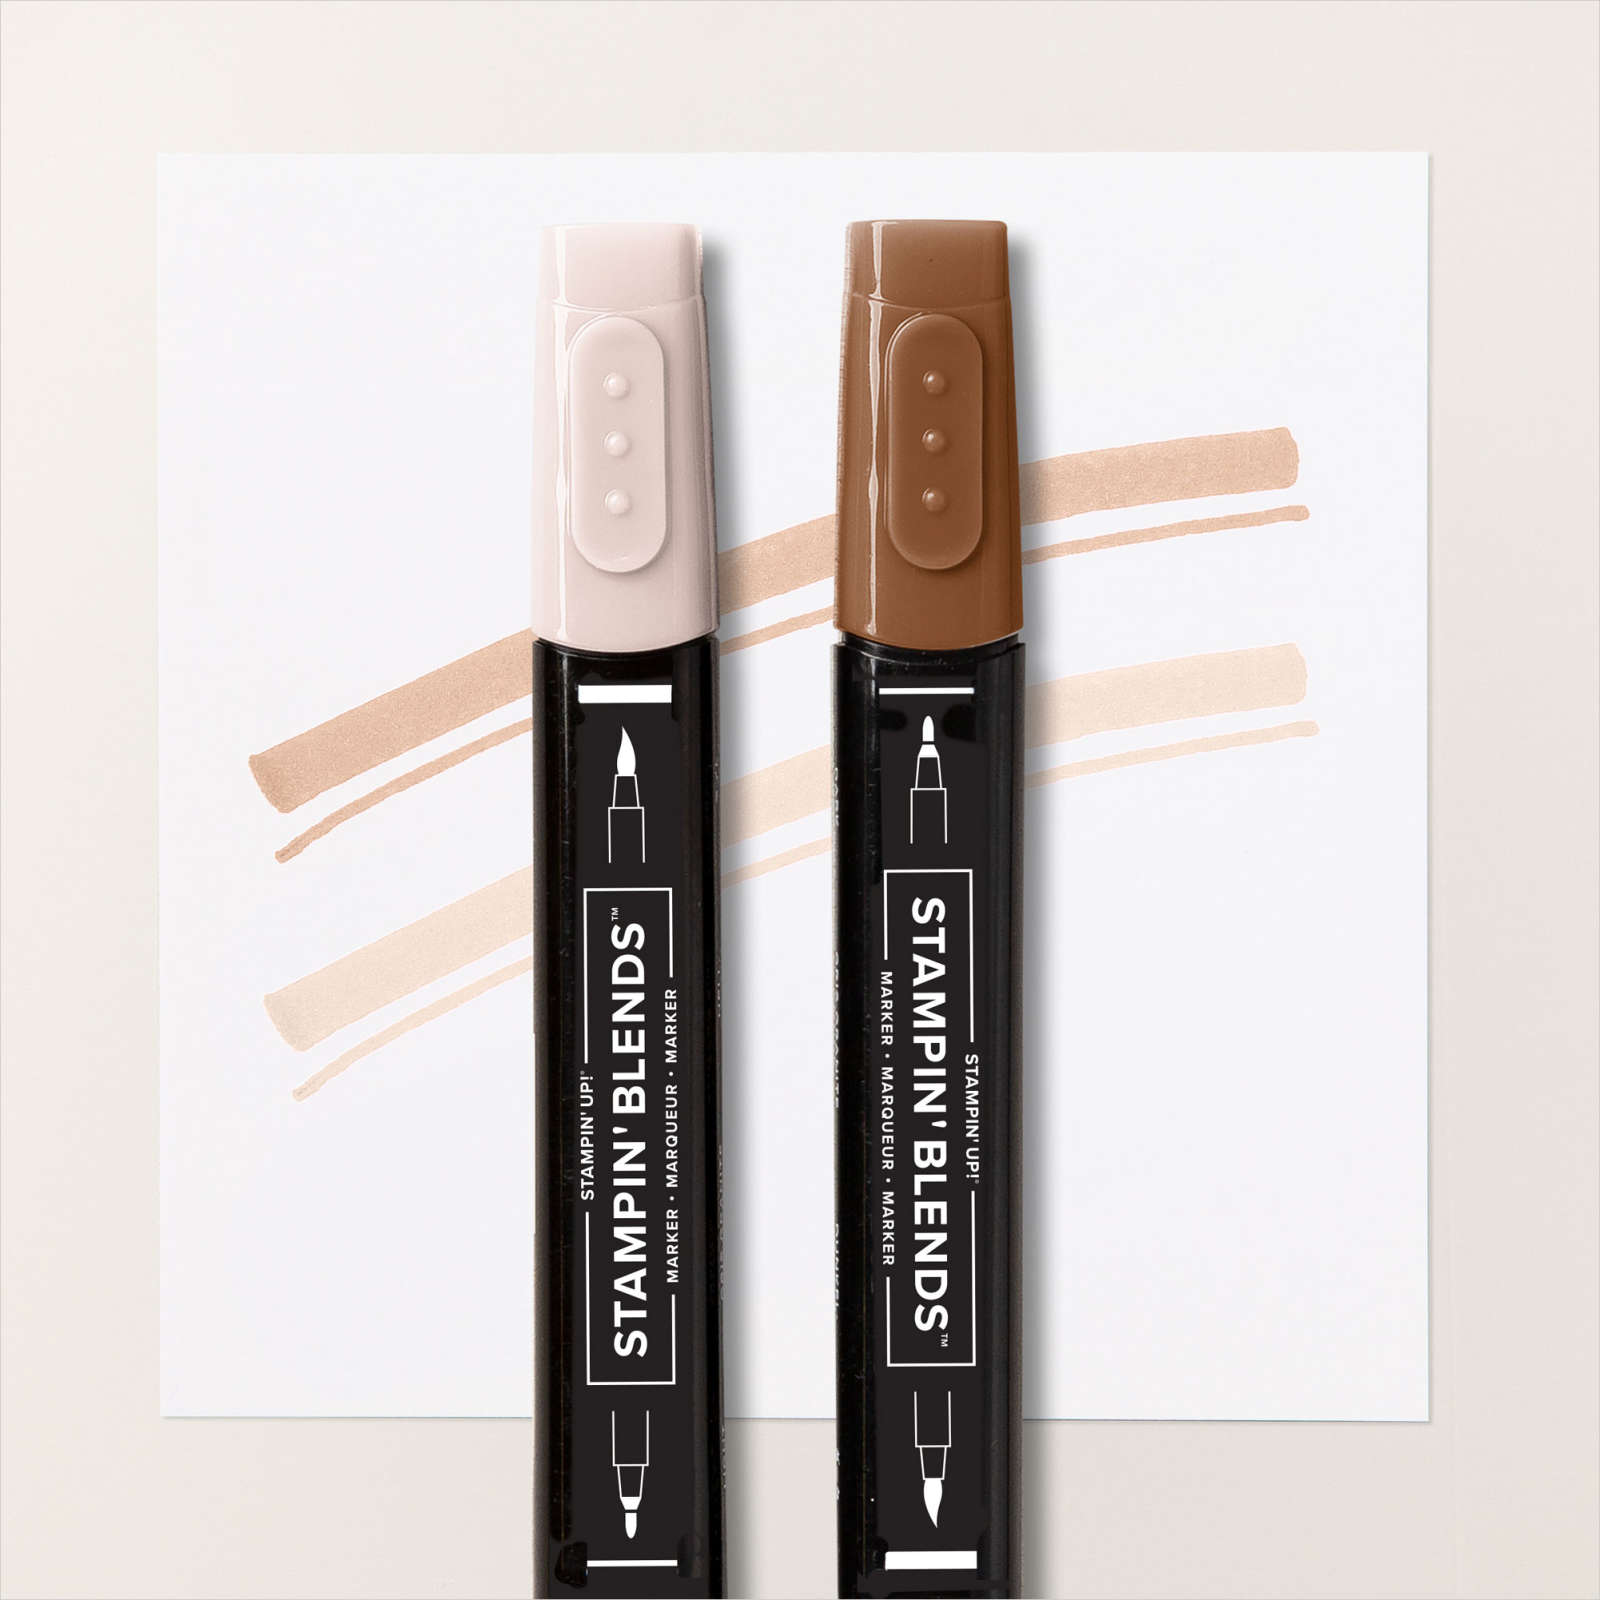
I stamped the image from the A Good Man stamp set onto Basic White card using Memento Tuxedo Black ink. I coloured the image using the Dark Night of Navy, Dark Smoky Slate, Dark Poppy Parade, Light Crumb Cake and Ivory Stampin’ Blends. I cut out the image using the largest circle from the Layering Circle Dies.

I attached the image to a scalloped circle cut from Night of Navy card using the same Dies. The image panel is attached to the card front using dimensionals. To decorate the inside of the card I stamped the greeting from the A Good Man stamp set onto Basic White card using Night of Navy ink. I attached a strip of In Good Taste Designer Series Paper across the bottom of the stamped Basic White card.
I don’t think I have ever made a card using the A Good Man stamp set which I didn’t love. What about you? Is this one a favourite for male cards for you?
Bye for now,
Kris
Product Used:


Mitchell

Ron and I have just come home from a caravan holiday visiting outback Queensland. This page shows off some photos from our first stop. We always leave home early in the morning so that we can get to Mitchell just after lunch. It’s one of our favourite towns! To begin I cut down a piece of In Good Taste 12″ x 12″ Designer Series Paper and attached it to a Very Vanilla 12″ x 12″ page. I attached a strip of another piece of In Good Taste Designer Series Paper across the page before attaching my photos. I cut the title from Basic White card using the Playful Alphabet Dies and attached them to the narrow band. To add some decoration, I stamped the solid mountain image from the Mountain Air stamp set onto Very Vanilla card using Crumb Cake ink, which I stamped onto scrap paper first.
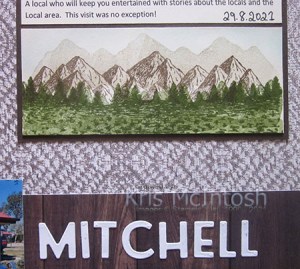
I stamped the detailed mountain image from the same stamp set using Early Espresso ink which I stamped onto scrap paper first. I stamped the solid tree image from the Mountain Air stamp set using Old Olive ink which I stamped onto scrap paper first. I stamped the detailed tree image over the top using Old Olive ink. I used a Blending Brush to add a little Balmy Blue ink above the mountains before trimming the panel. I attached a narrow strip of Early Espresso card behind the top long edge of the stamped panel. I printed the journalling onto Very Vanilla card before attaching the stamped image. The whole panel is attached to Early Espresso card before being attached to the page. I added the date by hand using a now retired Journalling Pen. I love that by changing out the colours when you use the images from the Mountain Air stamp set, you can get so many different looks.
Let me know what you think.
Bye for now,
Kris
Product Used:


Harvest Sketch
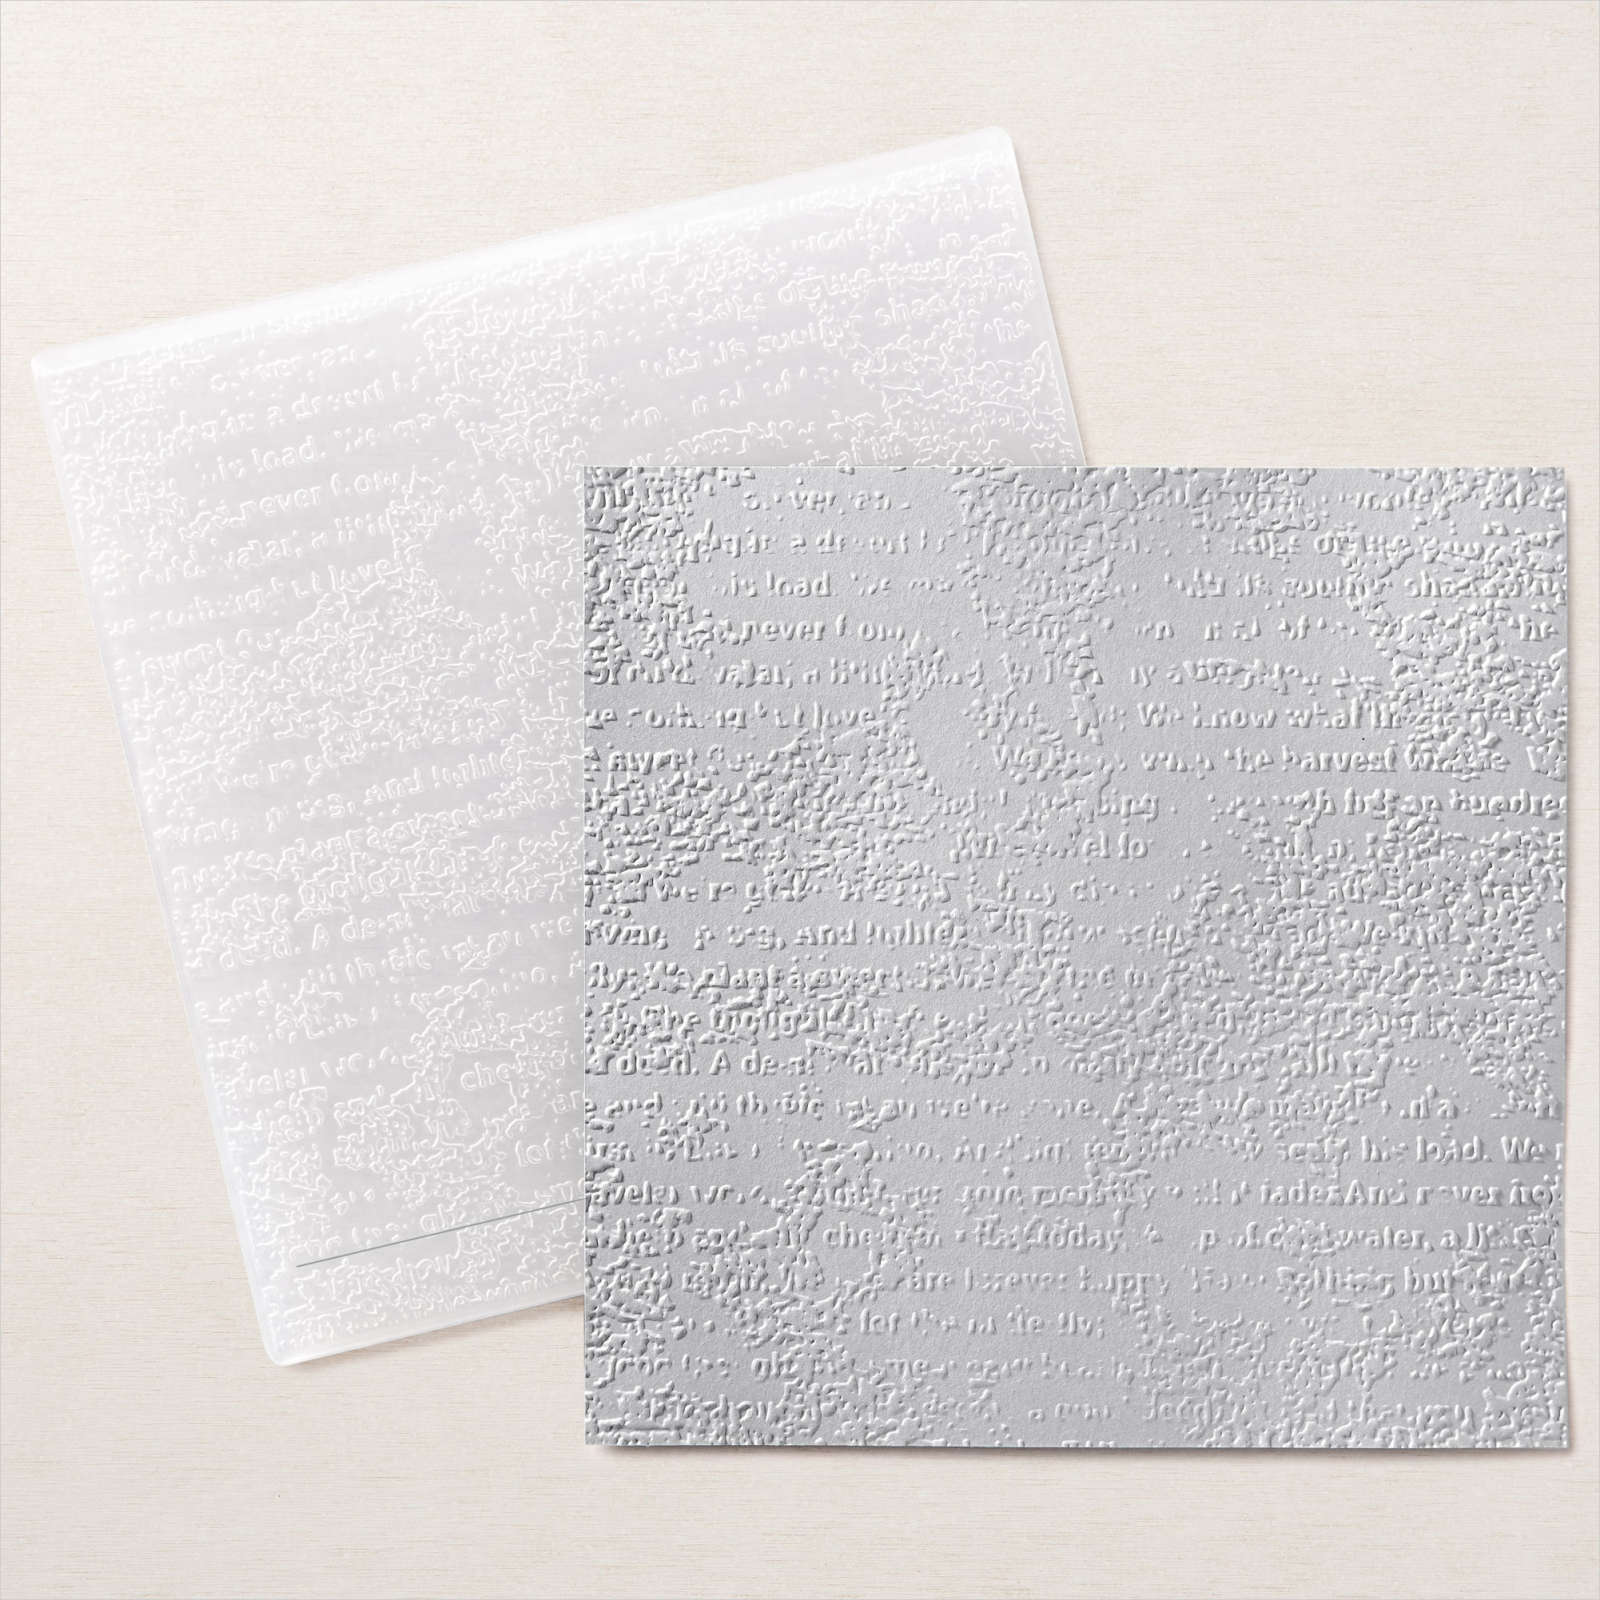
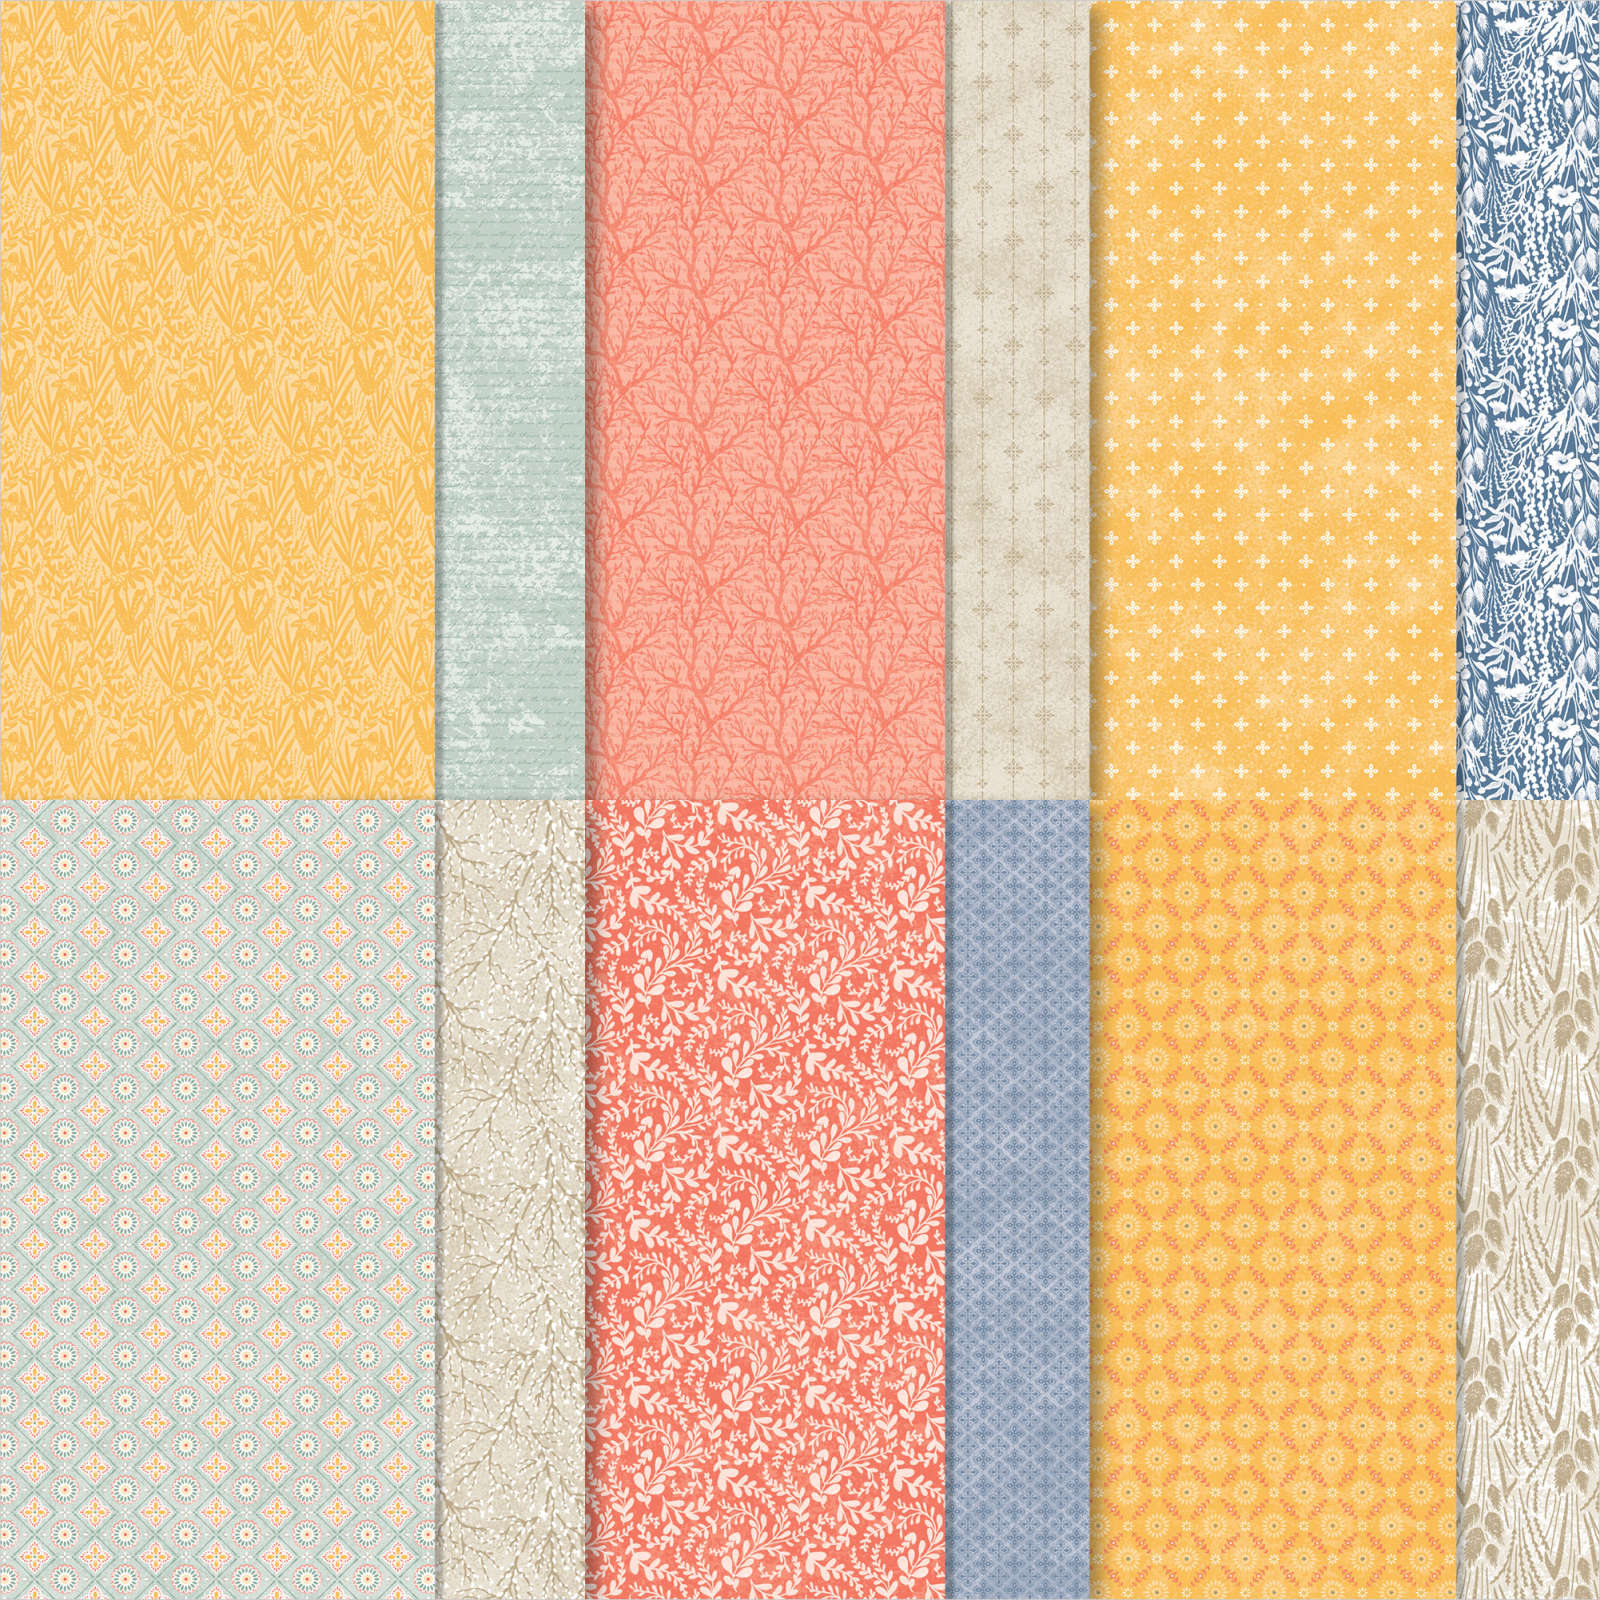
Today I am sharing another card I made using the card sketch which I used to make the card I shared yesterday. This time I embossed Basic White card using the Timeworn Type 3D Embossing Folder before attaching it to scored and folded Soft Succulent card. I attached two pieces of the Harvest Meadow 12″ x 12″ Designer Series Paper to the embossed Basic White card. I also attached a strip of Gold Foil card across the card front using dimensionals.

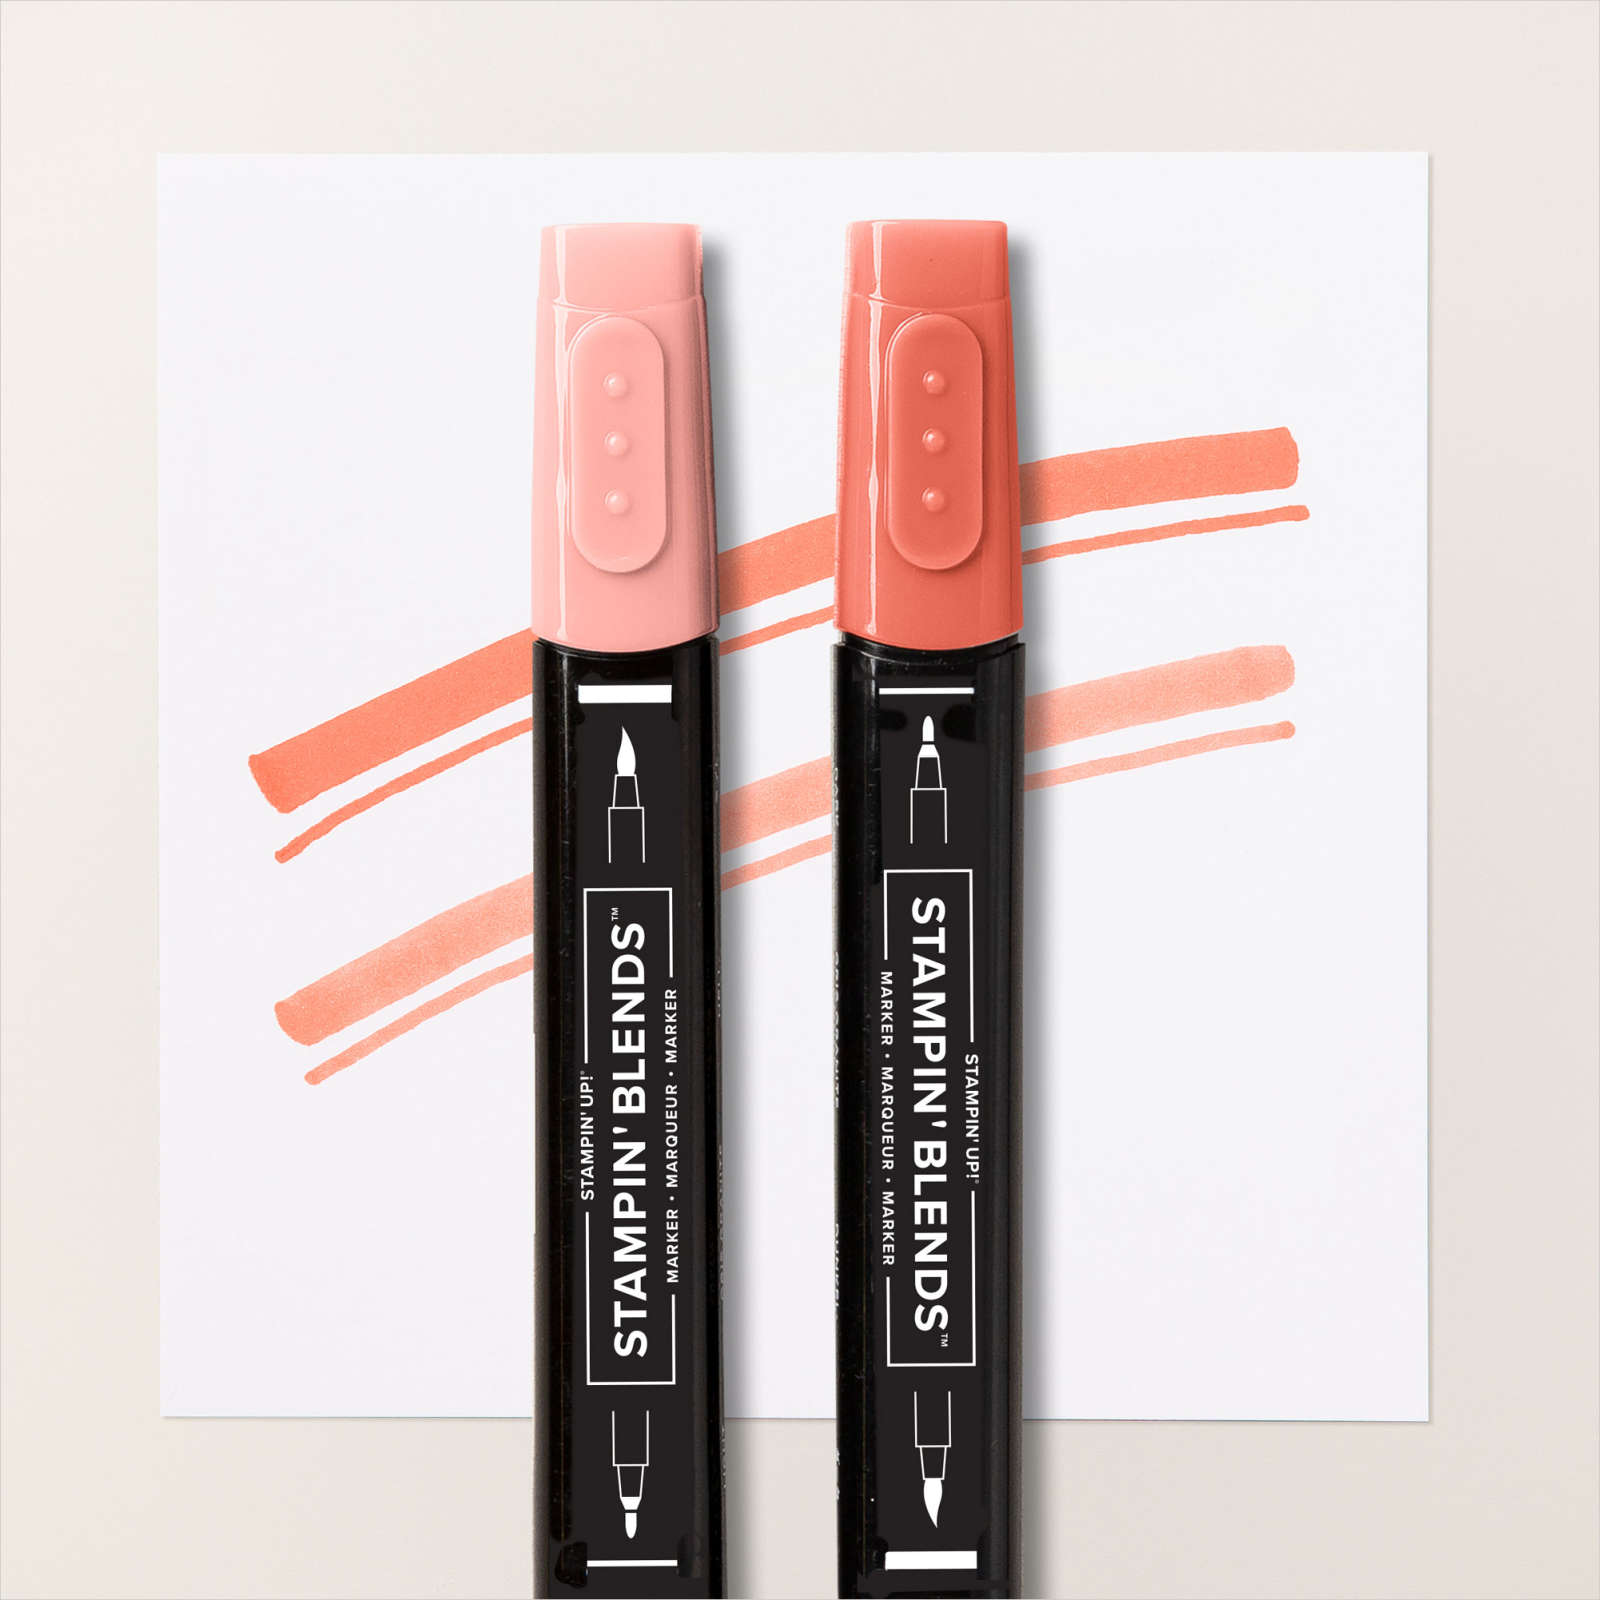
I stamped the image from the Harvest Meadow stamp set onto Basic White card using Smoky Slate ink. I coloured the image using the Dark Daffodil Delight, Dark Calypso Coral, Light Crumb Cake and Soft Succulent Stampin’ Blends.
I cut out the image using the Layering Circle Dies. The image is attached to a Soft Succulent scalloped circle cut using the same dies and then the card front using dimensionals where necessary. I stamped “happy birthday” from the Art Gallery stamp set onto Basic White card using Soft Succulent ink and cut it out using one of the Stitched Rectangle Dies. The greeting is attached to the card front using dimensionals on the outside edges only. To decorate the inside of the card, I cut the same size circle as I used for the Basic White panel on the card front from a post-it note using the Layering Circle Dies. I attached the post-it-note to Basic White card and stamped the image from the Natures Harvest stamp set using Smoky Slate ink. Keeping the post-it-note in place, I coloured the image using the same Stampin’ Blends as I used on the card front. With the post it note still in place, I used a Blending Brush to add a little Pool Party ink around the inside of the circle.
I love how this card turned out and have decided that it will be sent to a special lady who is celebrating her birthday soon.
Bye for now,
Kris
Product Used:


Sketch Layout
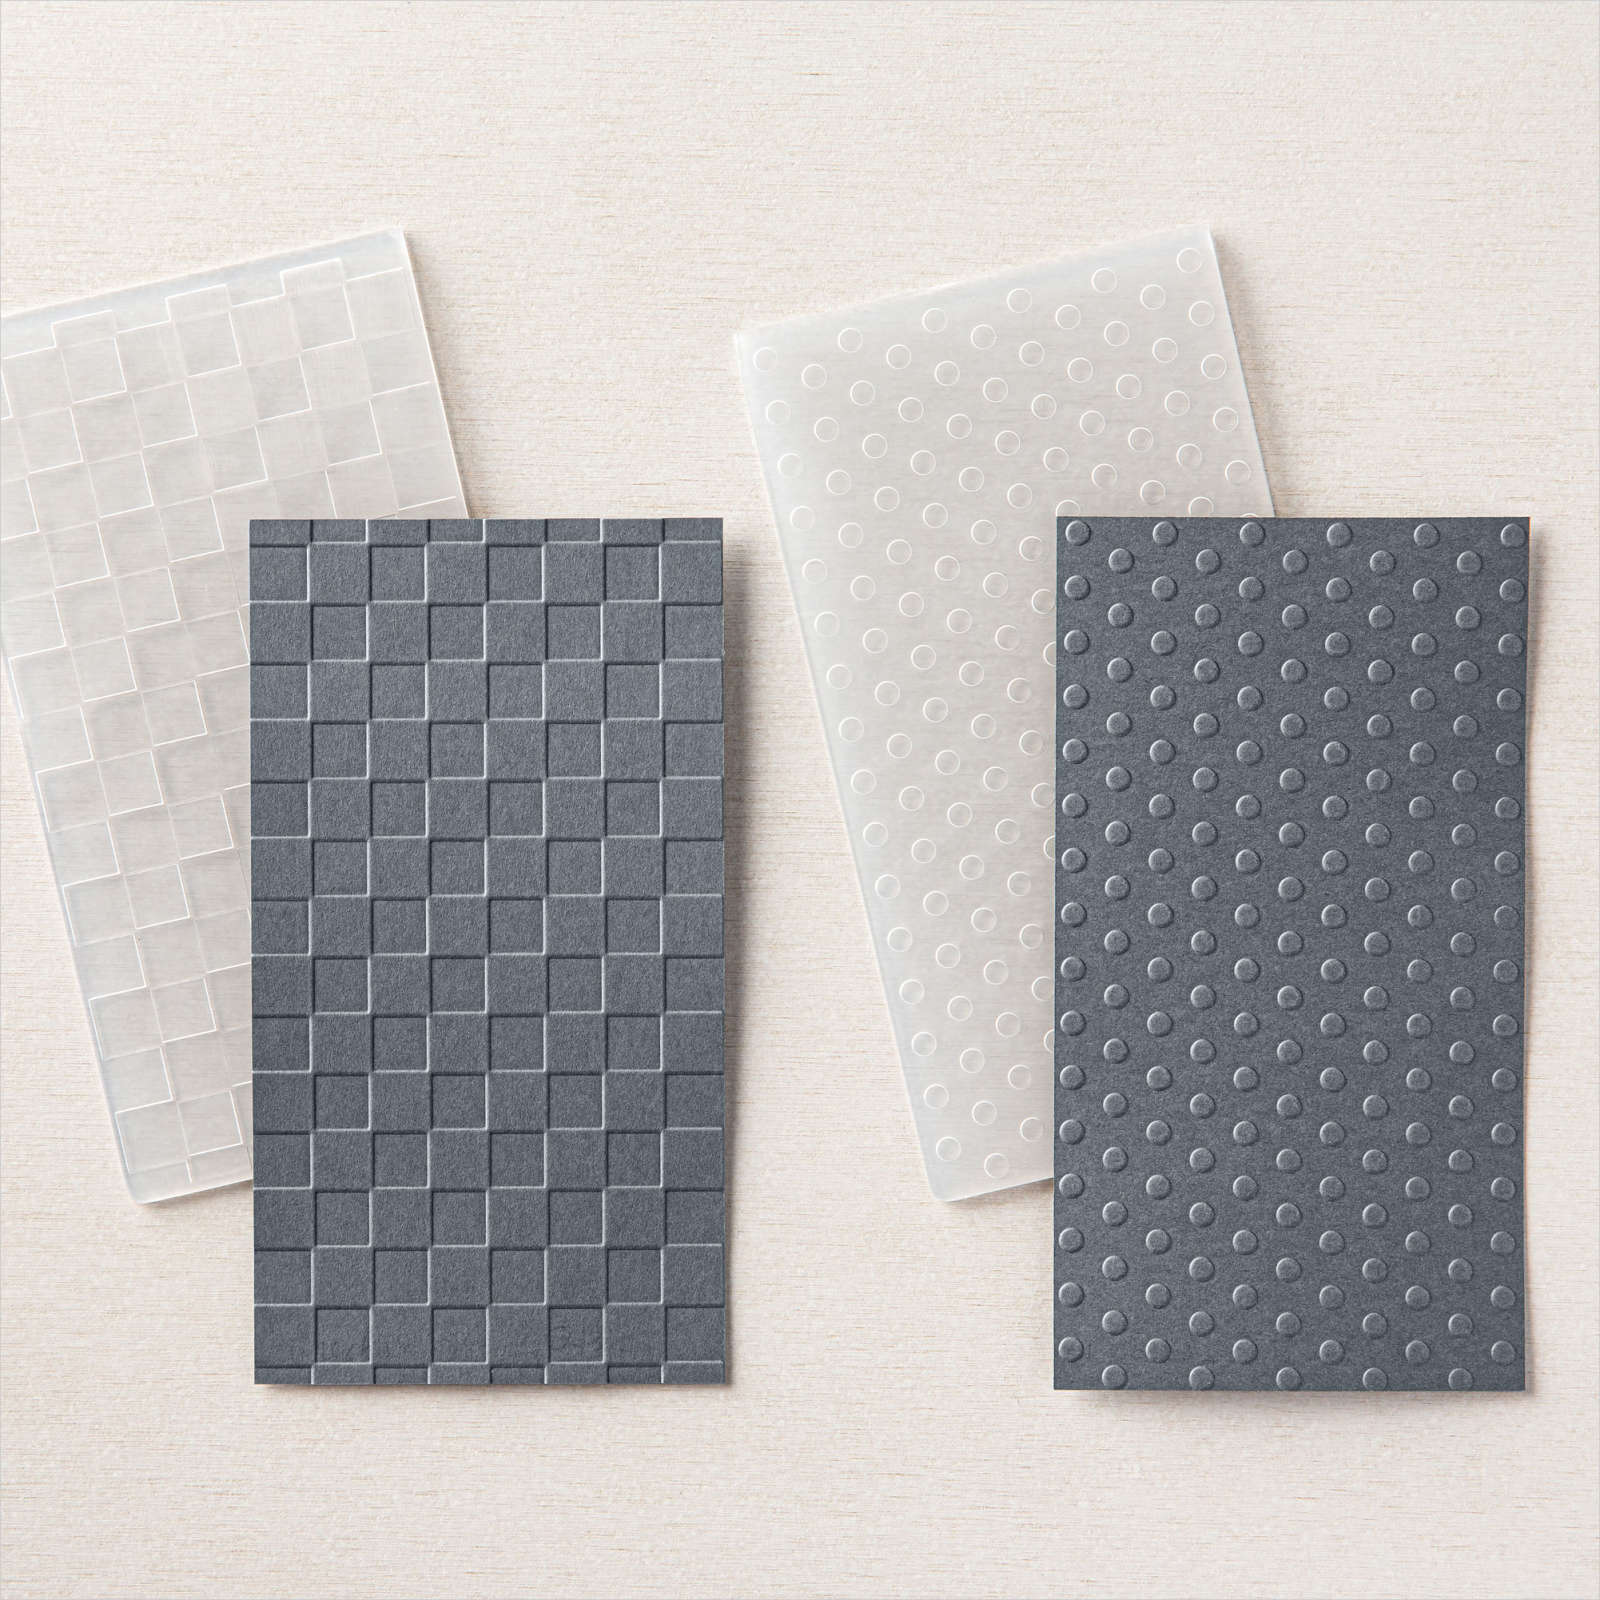
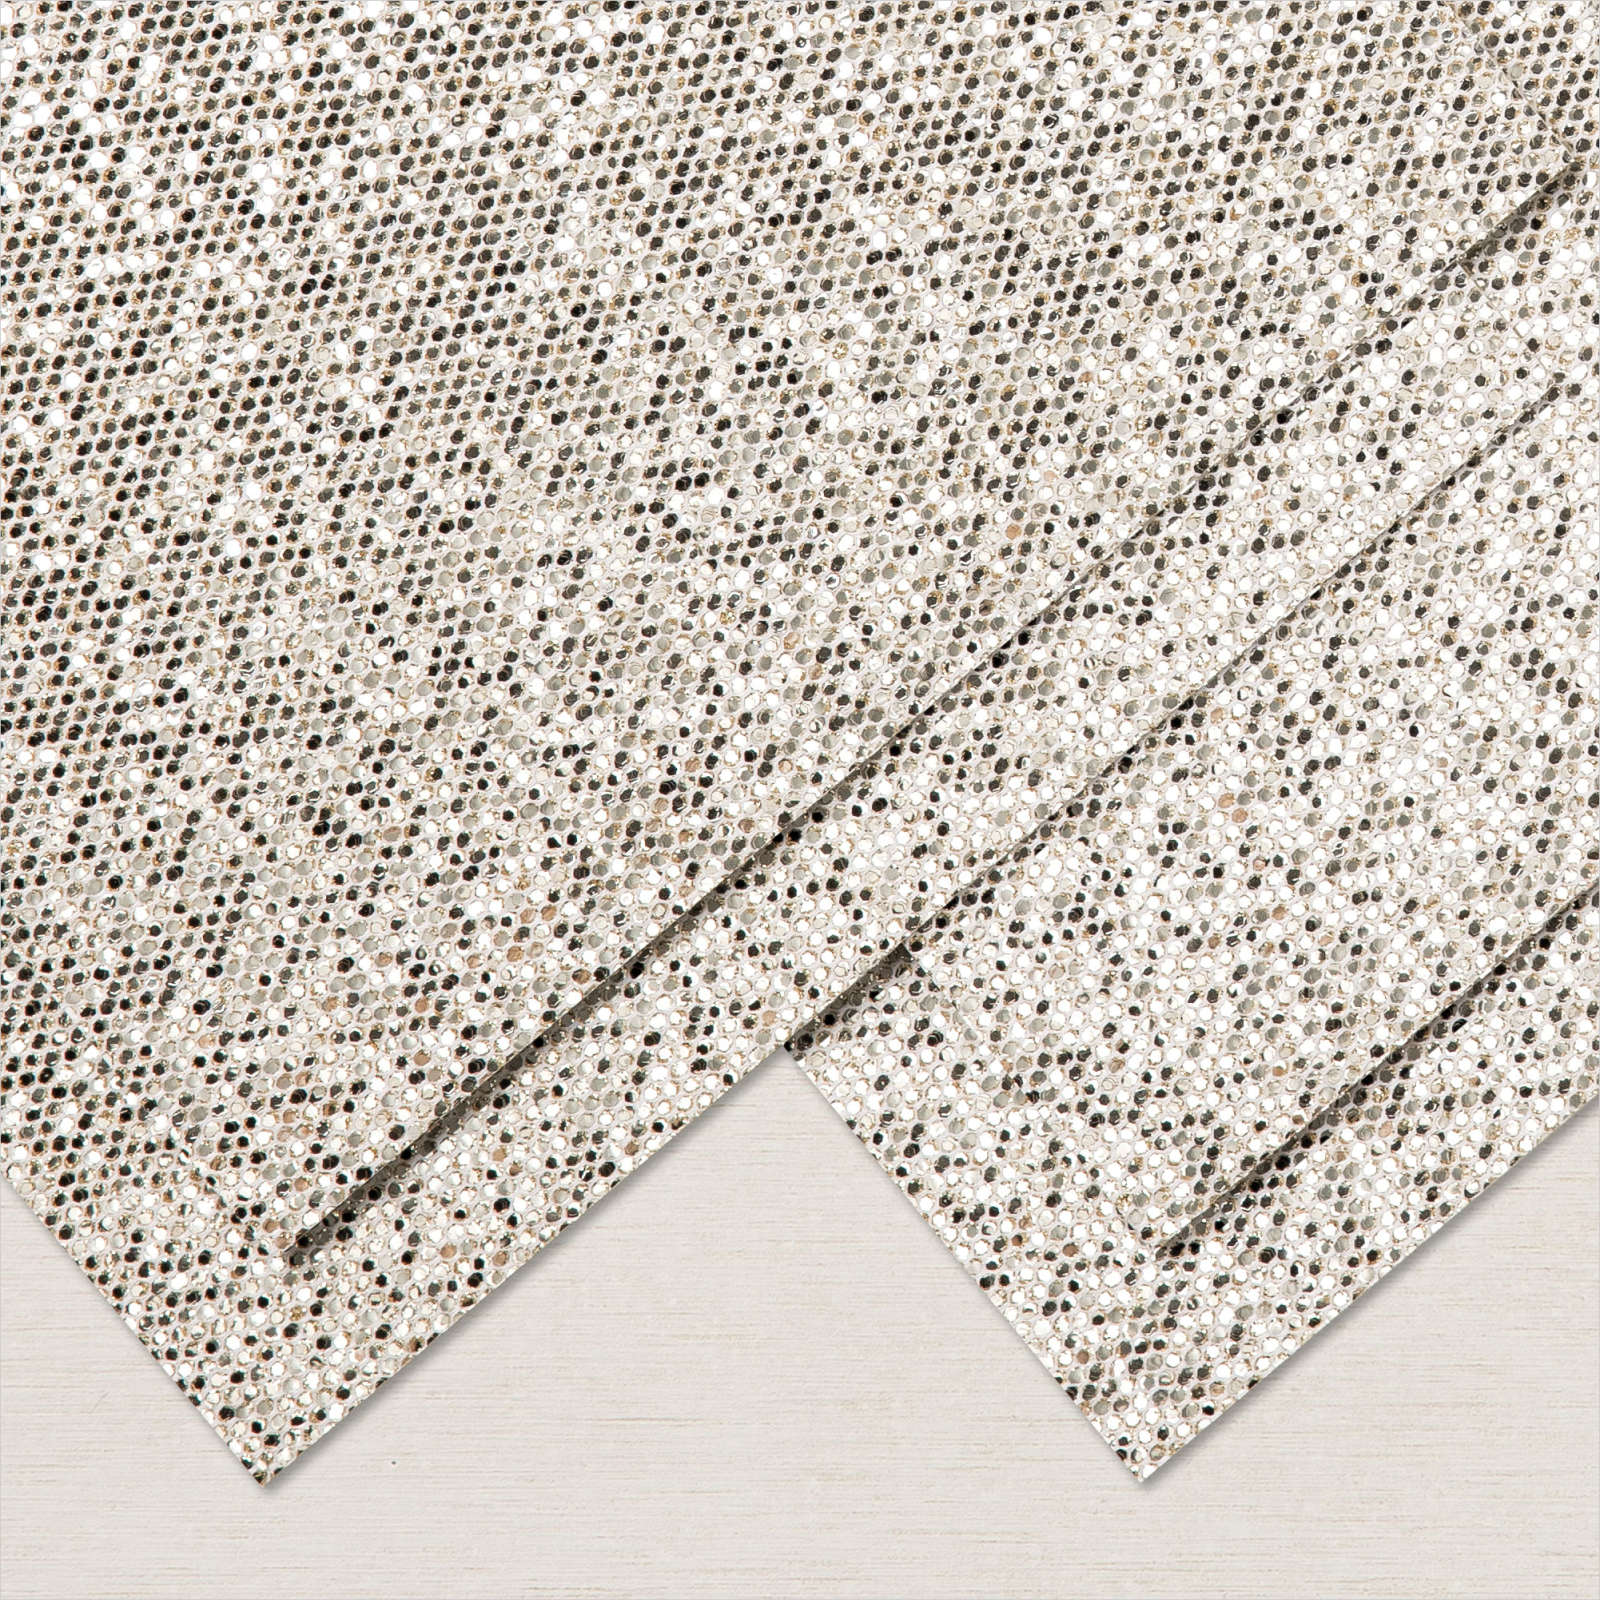
Yesterday in my Facebook Live, I showed how to interpret a card sketch and created three cards. Today’s card uses the same layout. I began by embossing Basic White card using the polka dot folder from the Checks and Dots Embossing Folders. I attached the embossed card to scored and folded Evening Evergreen card. I attached two pieces of the Tidings of Christmas 6″ x 6″ Designer Series Paper to the embossed card. I attached a narrow strip of the Be Dazzling 6″ x 6″ Designer Series Paper across the centre of the card front. Just a reminder today is your last chance to place an order ($90.00) to earn this beautiful Designer Series Paper for FREE!

I cut a circle from Basic White card using the Layering Circle Dies and stamped the greeting from the Tidings & Trimmings stamp set using Cherry Cobbler ink. I attached it to a scalloped circle cut from Evening Evergreen card using the same dies. The circle panel is attached to the card front using dimensionals.
I stamped the stocking image from the Tidings & Trimmings stamp set onto Basic White card using Evening Evergreen ink and cut it out using the co-ordinating Christmas Trimmings Die. I stamped the bow image from the Tidings & Trimmings stamp set onto Basic White card using Cherry Cobbler ink and cut it out using the co-ordinating Christmas Trimmings Die. The stocking and bow are attached to the stamped Basic White circle.
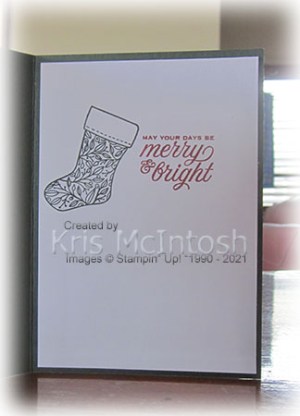
To decorate the inside of the card, I stamped another greeting from the Tidings & Trimmings stamp set onto Basic White card using Cherry Cobbler ink. I stamped the same stocking image from the Tidings & Trimmings stamp set beside the greeting using Evening Evergreen ink.
I have one more card to share using this layout tomorrow.
Bye for now,
Kris
Product Used: