Purple Birthday

Toay’s card once more uses the FREE United in Creativity PDF download. I am also casing a layout used by the very talented Jacqui Williams, a New Zealand Demonstrator. For this card, I embossed Basic White card using the Macrame 3D Embossing Folder and attached it to scored and folded Highland Heather card. I used one of the Stitched Rectangle Dies to cut out one of the black and white papers from the Pattern Party 12″ x 12″ Designer Series Paper. I attached the die cuts to the card front using dimensionals.

I stamped “happy birthday” from the Artisitically Inked stamp set onto Basic White card. I used the Stitched Rectangle Dies to cut out the greeting. I cut a larger rectangle from Highland Heather card and attached the greeting. The greeting panel is attached to the card front using dimensionals.

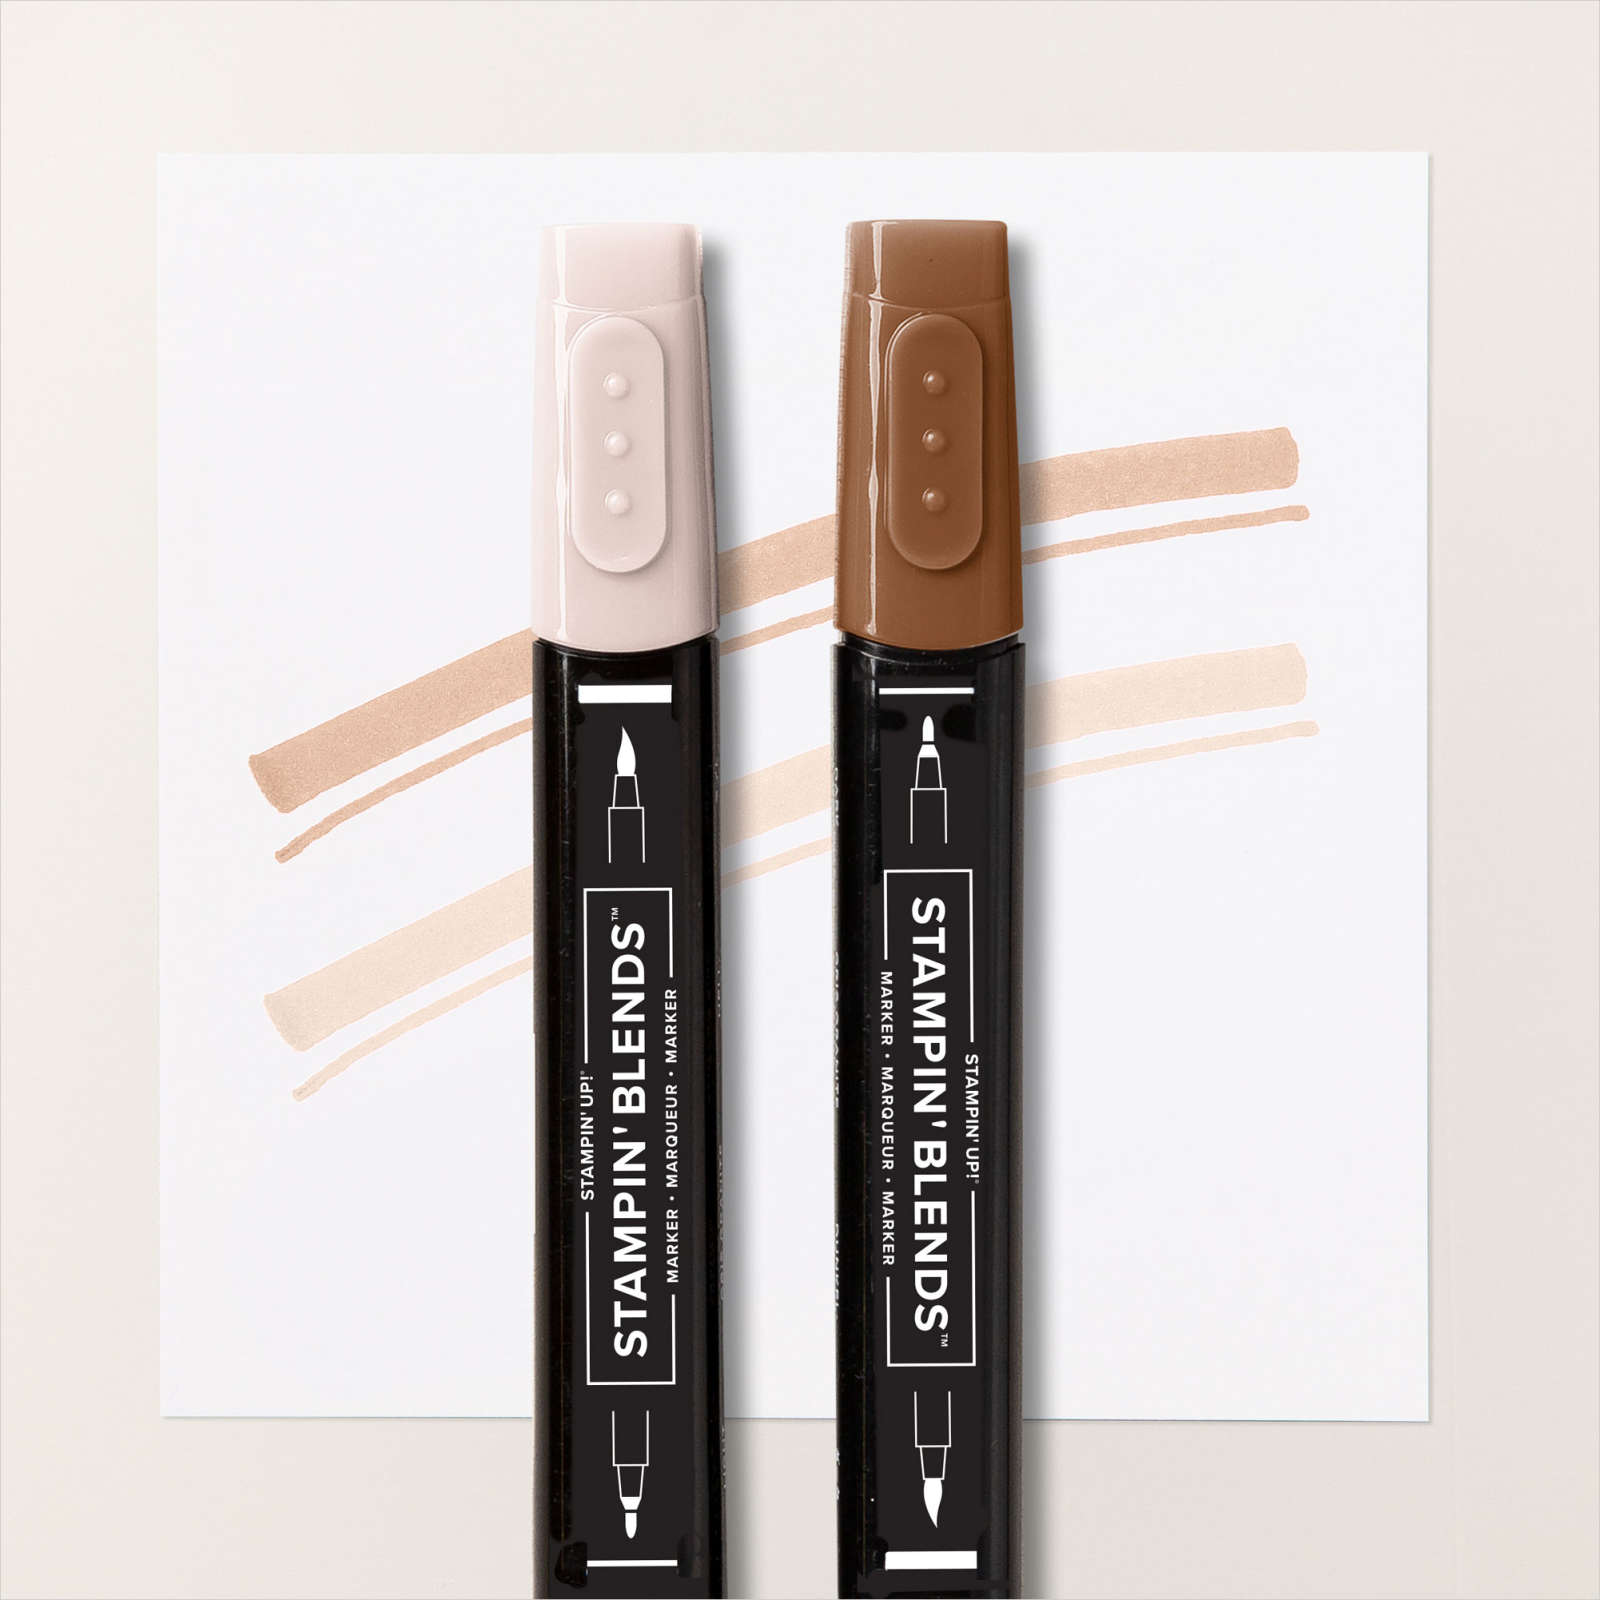
I printed the floral image from the United in Creativity PDF download onto Basic White card. I coloured the image using Highland Heather, Granny Apple Green and Dark Daffodil Delight Stampin’ Blends and cut it out. I attached the flower to the card front using dimensionals where necessary. To decorate the inside of the card, I stamped the greeting from the Peaceful Moments stamp set onto Basic White card using Highland Heather ink. I attached a piece of the same Pattern Party Designer Series Paper across the bottom of the stamped panel.
Another card, I just love using this gorgeous Designer Series Paper and the United in Creativity PDF download.
Bye for now,
Kris
Product Used:
You can download the United in Creativity PDF here.


The Happiest of Birthdays
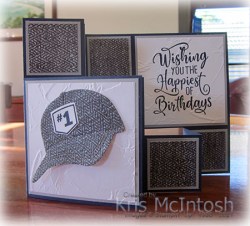
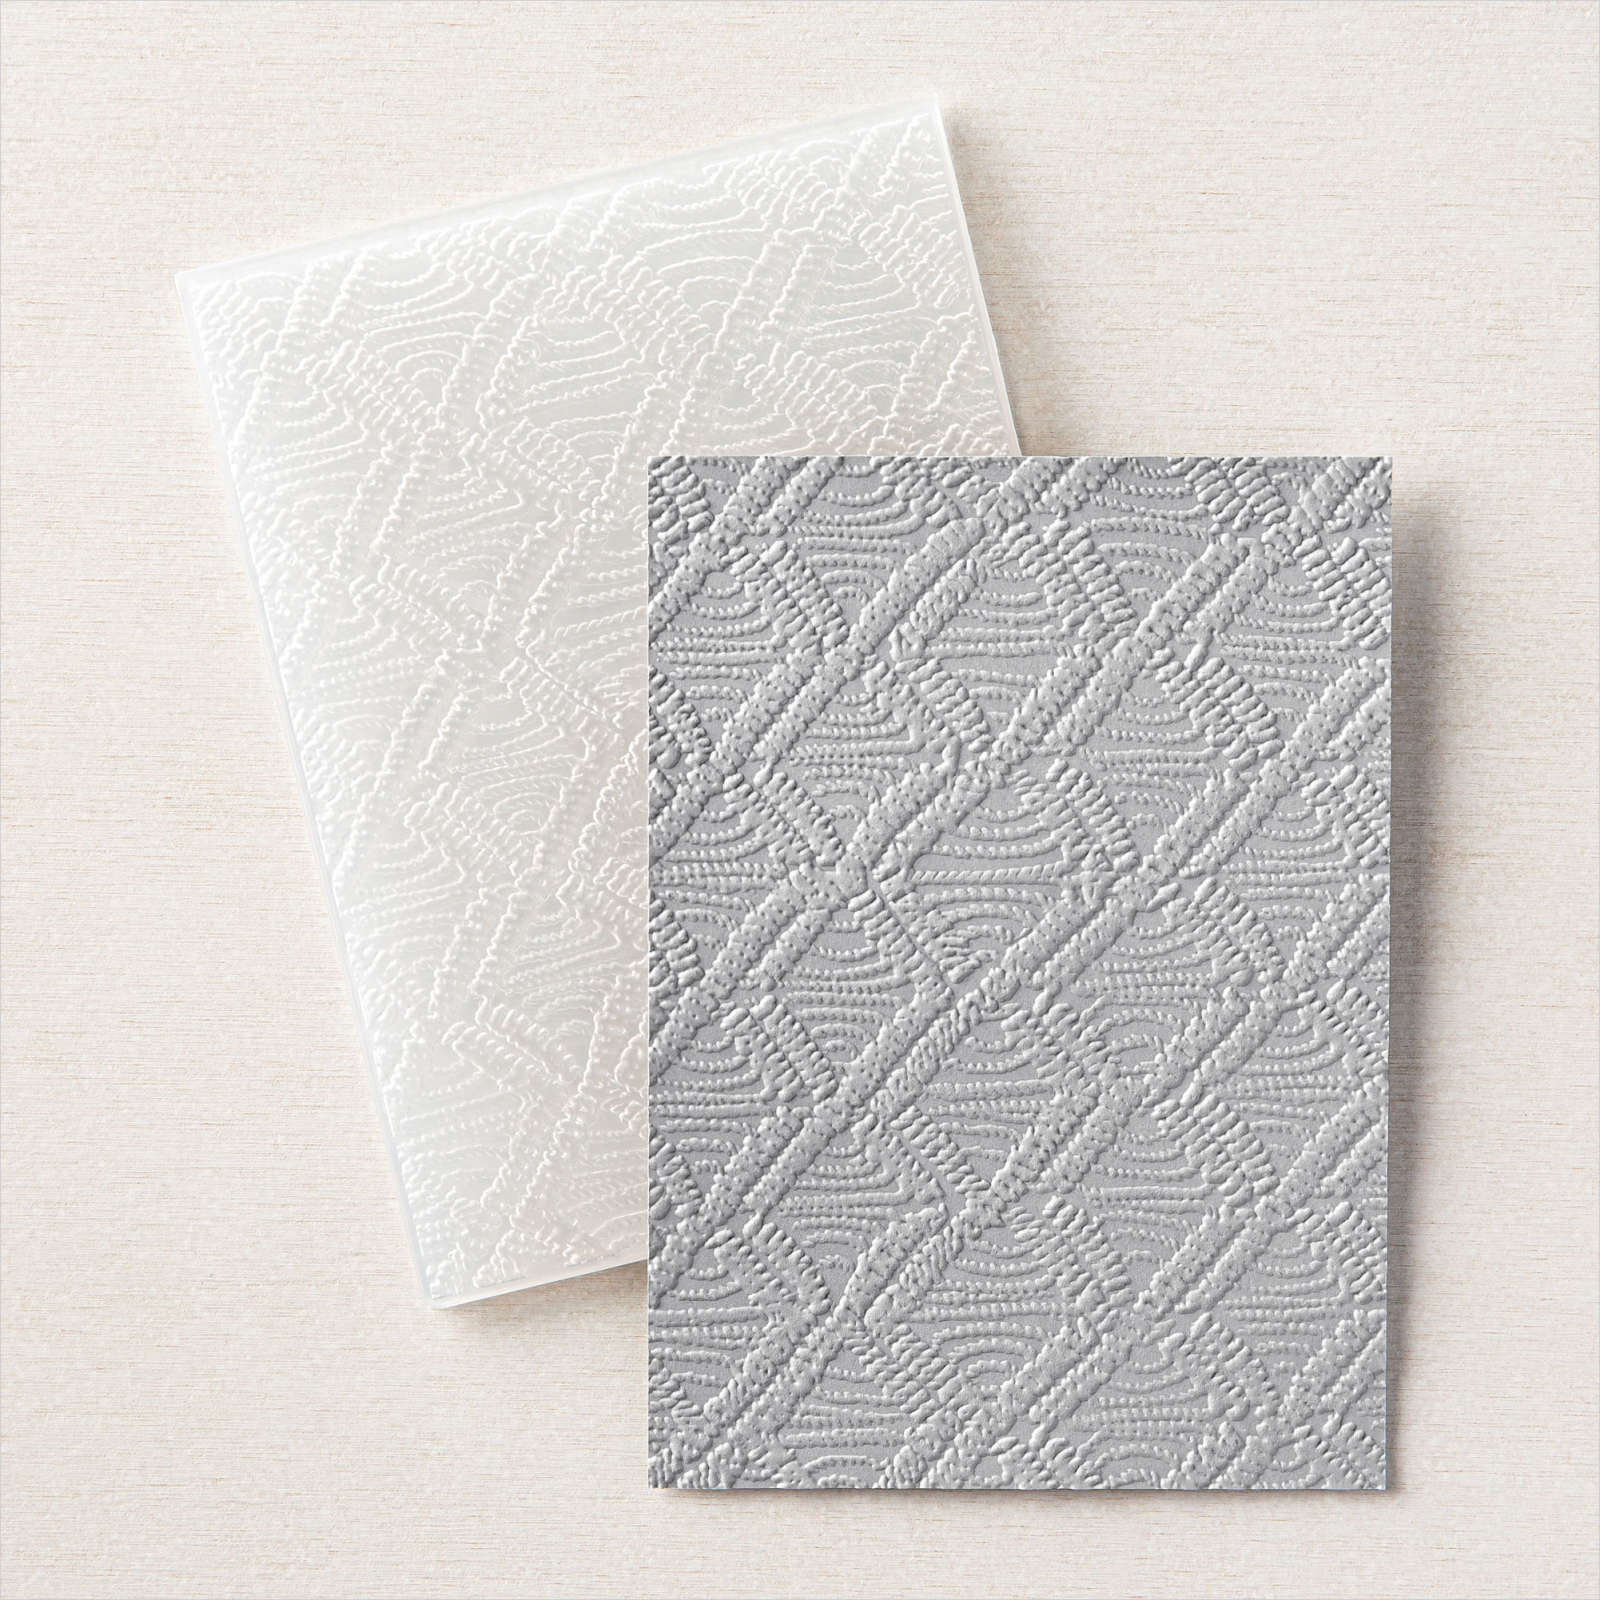
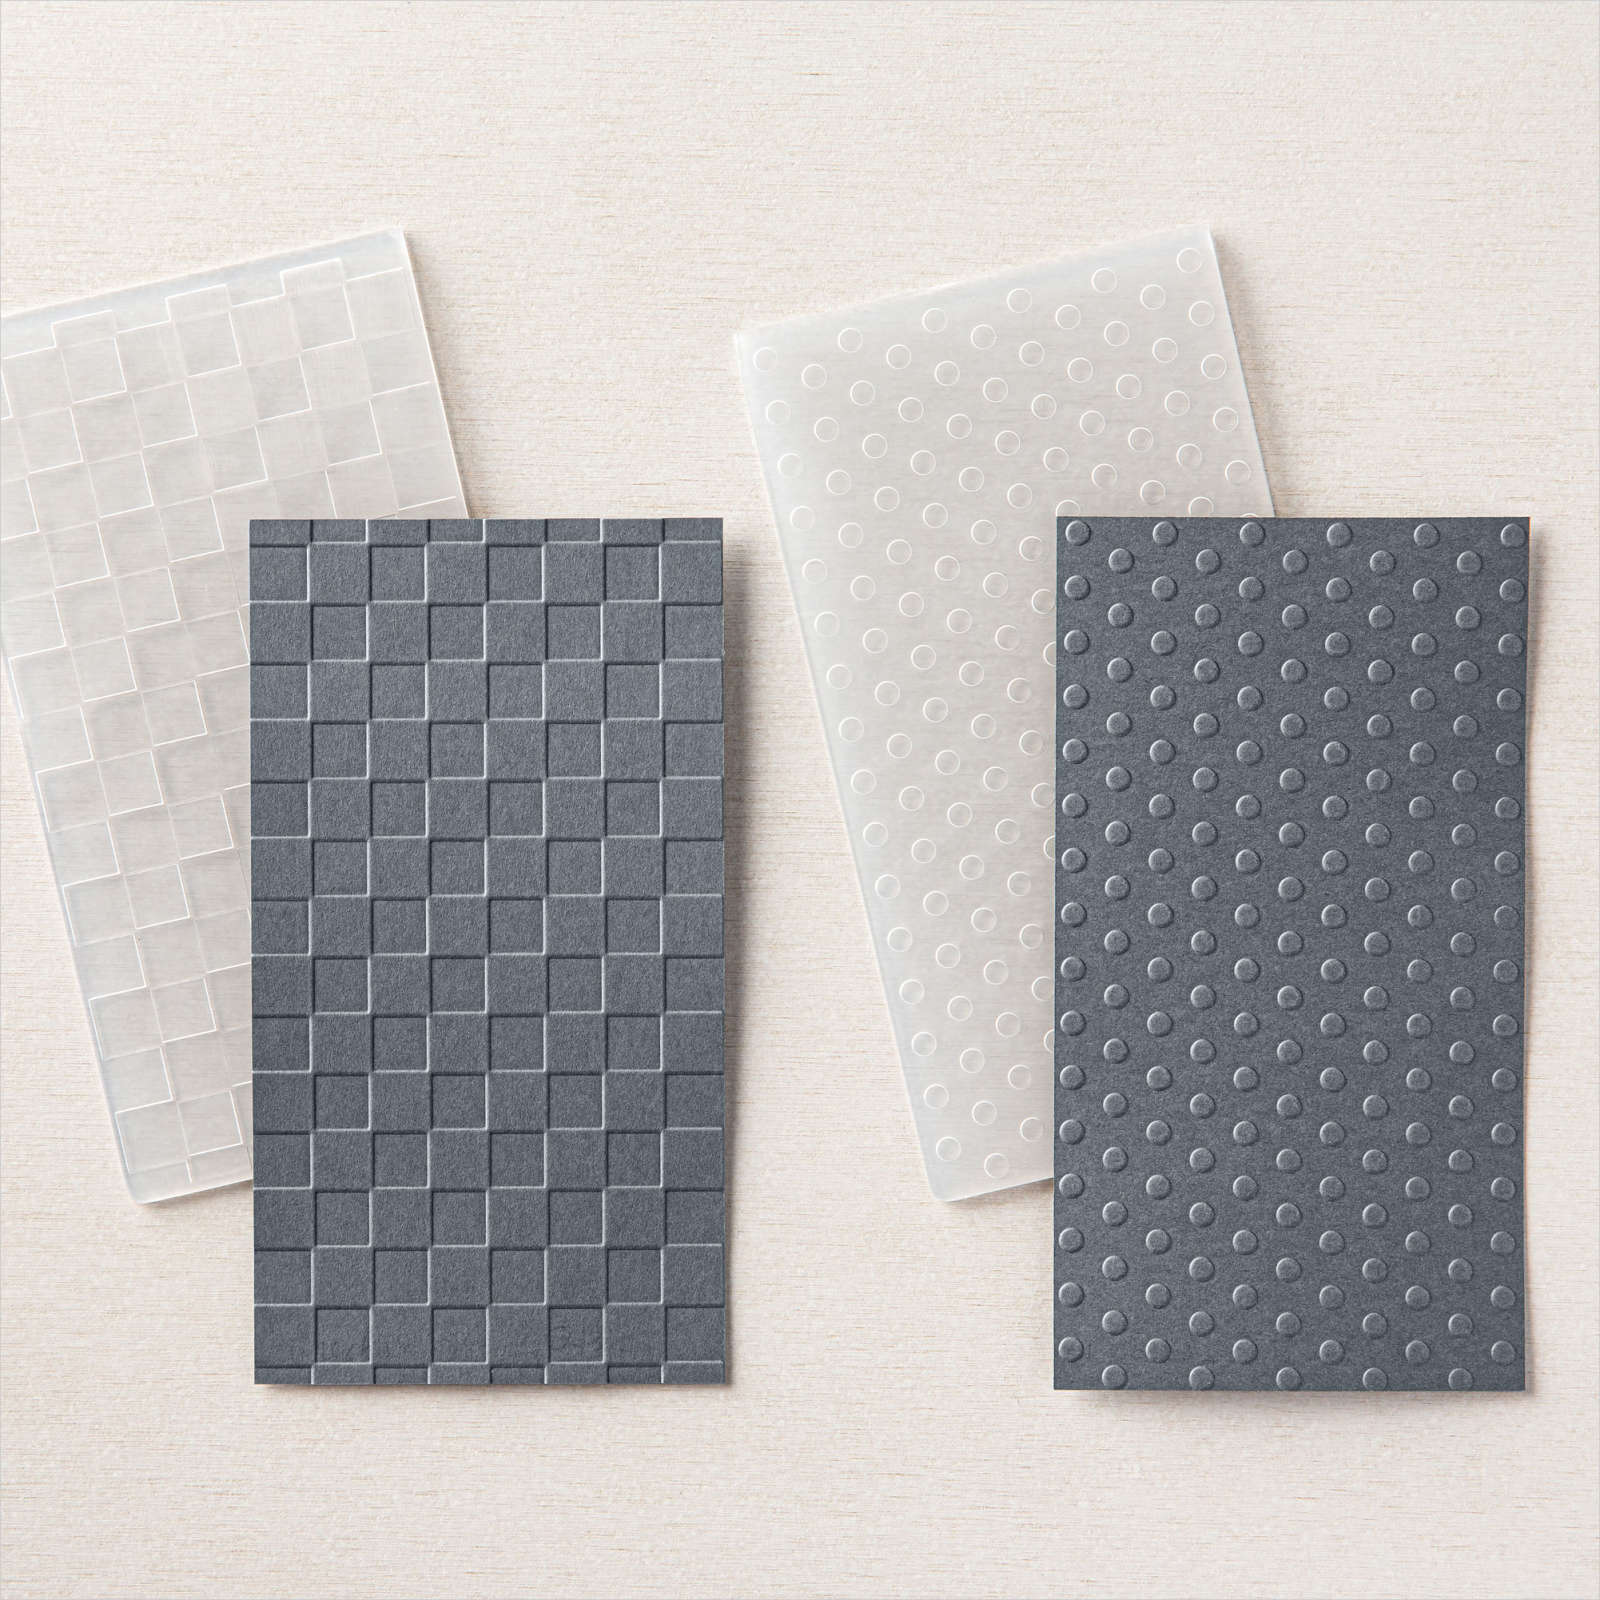
Today I thought I would share with you the card I made for my eldest grandson’s 15th birthday. I used the template that Julie Burt shared on a demonstrator only facebook page quite a while ago. If you go to this post you can download a PDF to get the basic instructions for creating the card. I began by cutting Night of Navy card to create the base card and the small folded card on the front. I cut pieces of Smoky Slate card and attached them to the card base. I used one of the patterns from the In Good Taste Designer Series Paper to attached to all of the small squares except the one in the middle of the card. For this panel I embossed Basic White card using the Painted Texture 3D Embossing Folder.
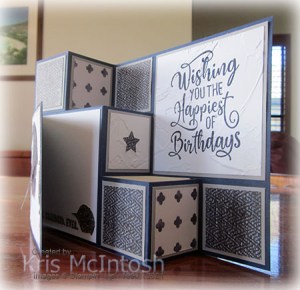
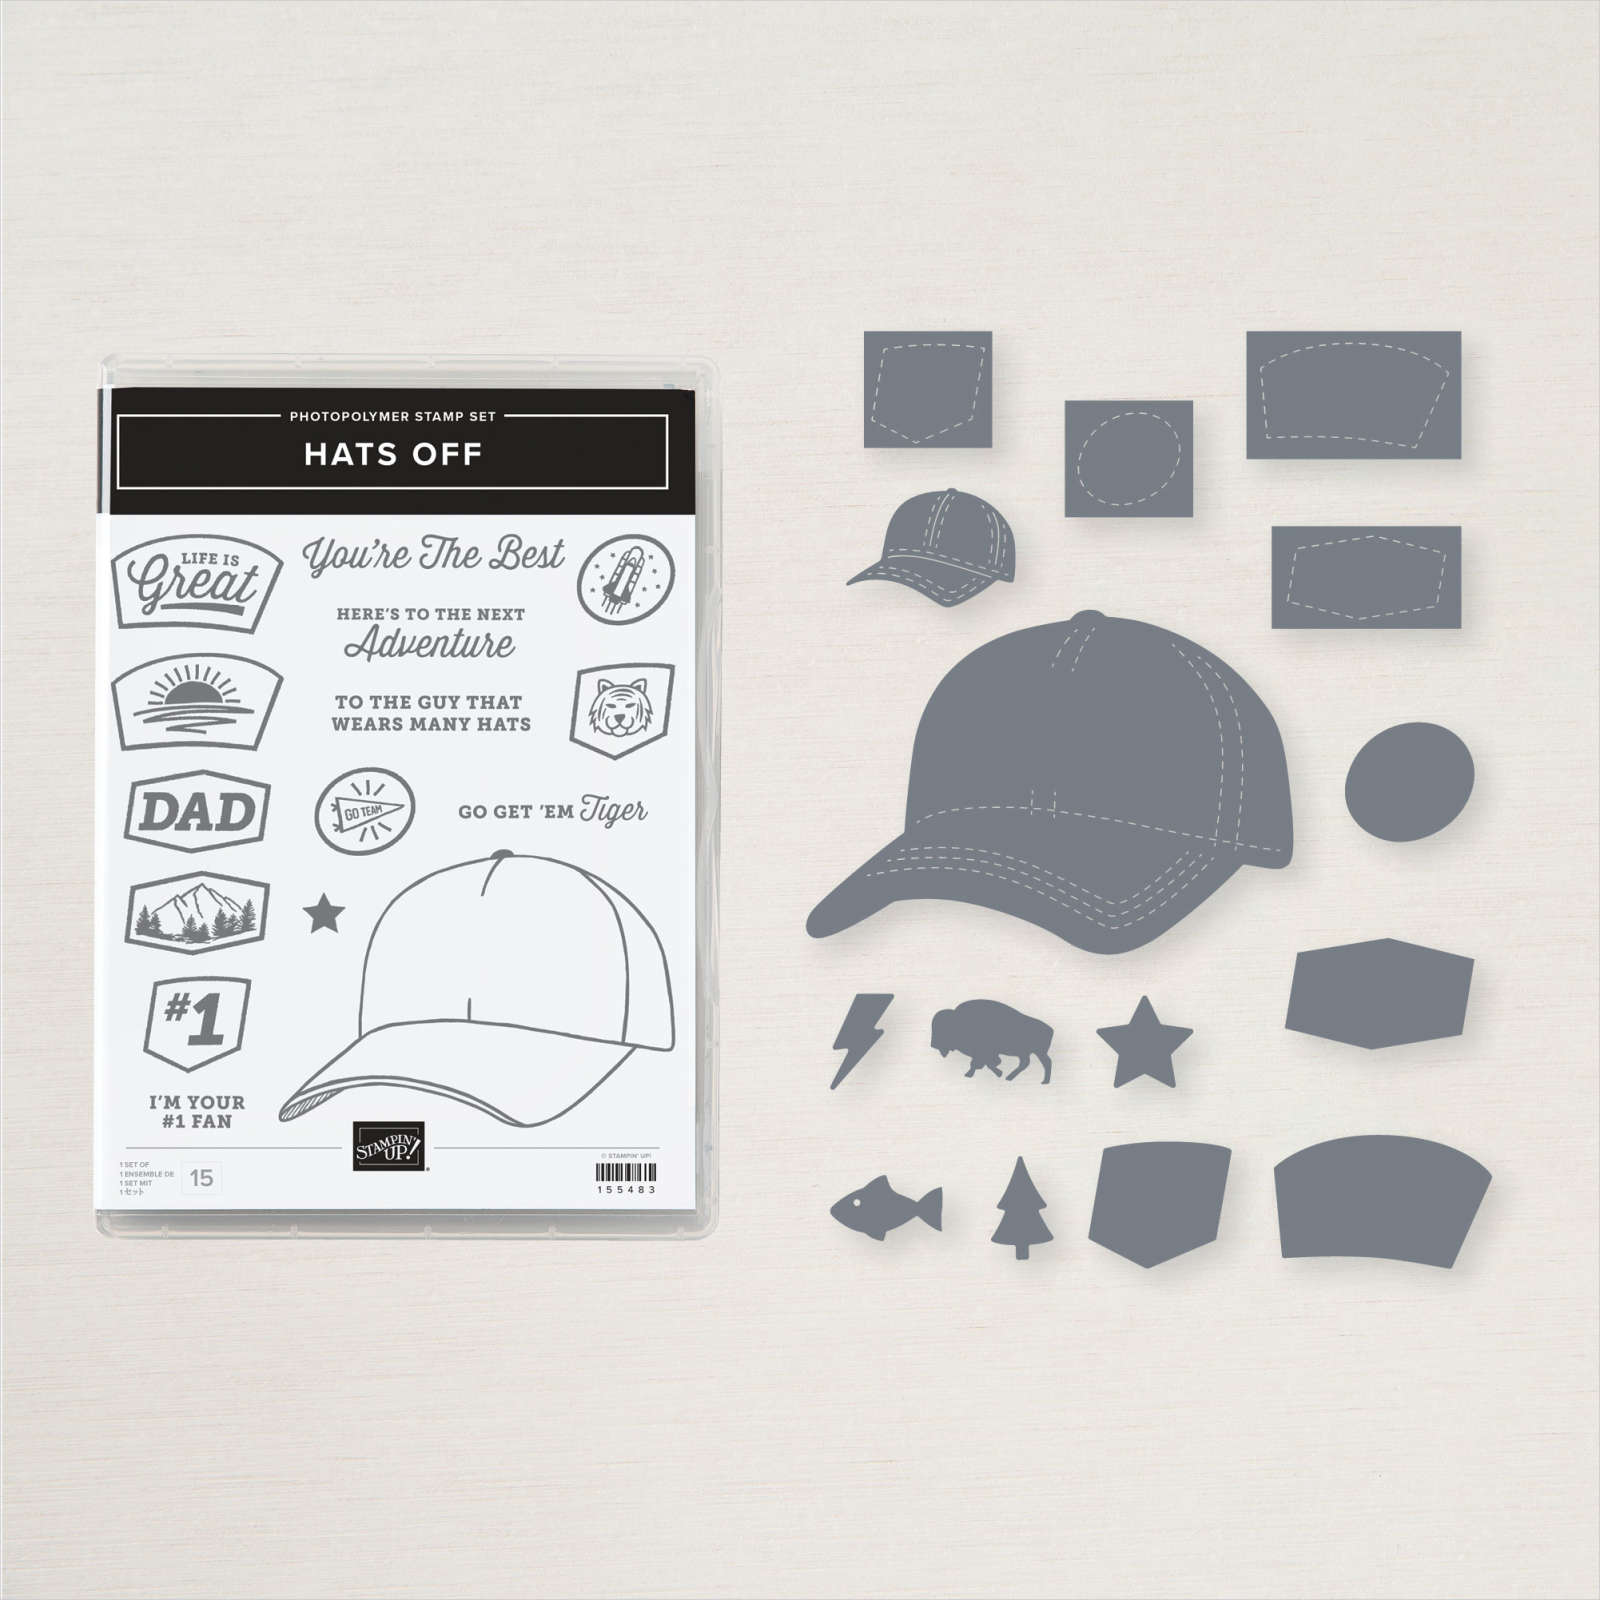
I stamped the greeting from the Happiest of Birthday’s stamp set onto Basic White card using Night of Navy ink before embossing the panel with the Painted Texture 3D Embossing Folder. This panel is attached to the large space on the right hand corner of the card. I embossed another piece of Basic White card using the Painted Texture 3D Embossing Folder to attach to the front of the small folded card. I cut the large hat from the same pattern In Good Taste Designer Series Paper using the Hat Builder Dies and attached it to the card front. I did not add adhesive under the brim of the cap to give it a little more dimension. I stamped “#1” from the Hats off stamp set onto Basic White card using Night of Navy ink.
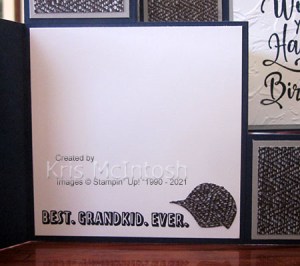
I cut out the “#1” using the co-ordinating Hat Builder Die and attached it to the large cap. I cut the same pattern In Good Taste Designer Series Paper using the star die from the Hat Builder Dies and attached it to the small centre panel. To decorate the inside of the small card, I stamped the greeting from the A Grand Kid stamp set across the bottom of Basic White card using Night of Navy ink. I cut the small cap from the same pattern In Good Taste Designer Series Paper using the Hat Builder Dies.
I love how fun this card is but still gives lots of room to write your message. I cannot thank Julie enough for sharing her template with us all. Once again Happy Birthday Ethan!
Bye for now,
Kris
Product Used:


Nana
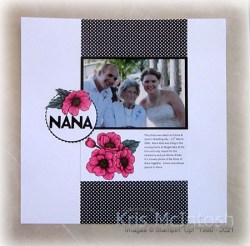
Today’s page shows off a photo of my grandmother with my daughter Emma and her husband Jason on their wedding day. My Nana was 92 in this photo and still going strong. I attached the photo to Basic Black card. I found a strip of True Love Designer Series Paper and trimmed it to be the same width as my photo which I attached down the length of the Basic White 12″ x 12″ page. I printed my journaling onto Basic White card and attached it below the photo.

I coloured a trio of flowers from the True Love Designer Series Paper using Polished Pink and Soft Succulent Stampin’ Blends. I cut out the floral bouquet and attached it beside the journaling. I cut Basic white card using the largest circle from the Layering Circle Dies and Basic Black card using the largest scalloped circle from the same dies. I attached the Basic White circle to the Basic Black scalloped circle before adding the title which is cut from Basic Black card using the Playful Alphabet Dies. The panel is attached to the left side of the page. I coloured a single flower from the True Love Designer Series Paper using the Polished Pink and Soft Succulent Stampin’ Blends, cut it out and attached it to the title panel.
I love this page, a special photo taken on a special day!
Bye for now,


More Pop & Twist
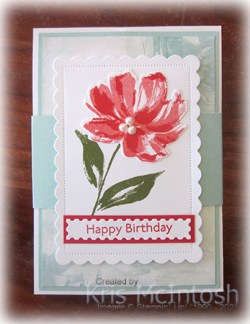
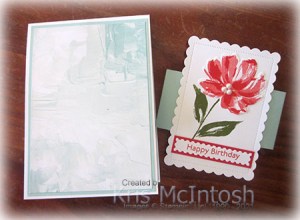
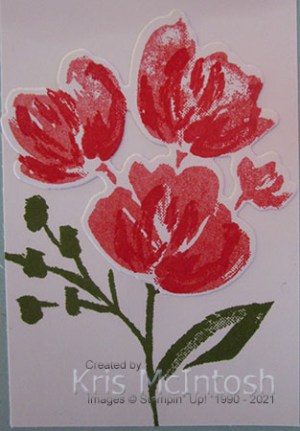
Today I am sharing another Pop and Twist card I made, this time using the Art Gallery stamp set. I attached a piece of the Fine Art Floral Designer Series Paper to Pool Party card and then the Thick Basic White card front. On the inside of the card I attached another piece of the same Fine Art Floral Designer Series Paper to the card base above the pop and twist mechanism. I attached Basic White card to Pool Party card and attached it to the card base below the pop and twist mechanism. I decorated two Basic White panels using the small floral bouquet from the Art Gallery stamp set.
I stamped the image using Old Olive ink straight onto the Basic White card. I stamped the same image onto scrap Basic White card using Poppy Parade ink which I stamped onto scrap paper first.
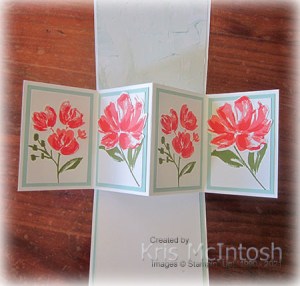
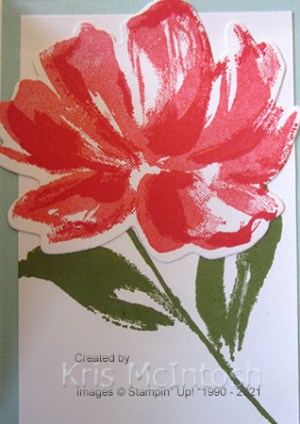
I stamped the small single flower from the Art Gallery stamp set onto the flowers in the image using Poppy Parade ink. I cut out the Poppy Parade image using the co-ordinating Floral Gallery Die, trimmed away the leaves and attached it to the stamped Old Olive image. The Basic White panels are attached to Pool Party card and then the first and third panels of the pop and twist panel. I stamped two Basic White panels using the stem and leaf image from the Art Gallery stamp set and Old Olive ink. I stamped the large solid flower from the Art Gallery stamp set onto Basic White card using Poppy Parade ink which I stamped onto scrap paper first. I stamped the large detailed floral image over the top using Poppy Parade ink. I used the co-ordinating Floral Gallery Die to cut out the flowers before attaching them to the stamped stem and leaf image.
The panels are attached Pool Party card and then the second and fourth panels of the pop and twist panel. I decided to create the front panel of the card as a slide off closure for the card. I cut Basic White card using one of the Scalloped Contour Dies. I stamped the flower stem image from the Art Gallery stamp set onto the die cut using Old Olive ink. I stamped the large solid floral image from the Art Gallery stamp set onto scrap Basic White paper using Poppy Parade ink which I stamped onto scrap paper first.
I stamped the detailed floral image over the top using Poppy Parade ink. I cut out the image using the co-ordinating Floral Gallery Die and attached it over the stamped stem. I added three large Basic Pearls to the centre of the flower. I stamped “happy birthday” from the Art Gallery stamp set onto Basic White card using Poppy Parade ink. I cut out the greeting using the largest label die from the Floral Gallery Dies. I attached the greeting label to Poppy Parade card and then the die cut. I wrapped the card using a strip of Pool Party card and attached the decorated die cut onto the front of the Pool Party wrap. Using this kind of closure stops the card from popping open.
If you want more information on how to make this kind of card, please pop over to my Facebook Page and watch the video.
Bye for now,
Kris
Product Used:


Pop & Twist Puffins
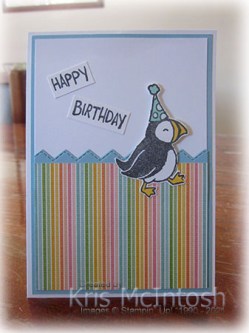
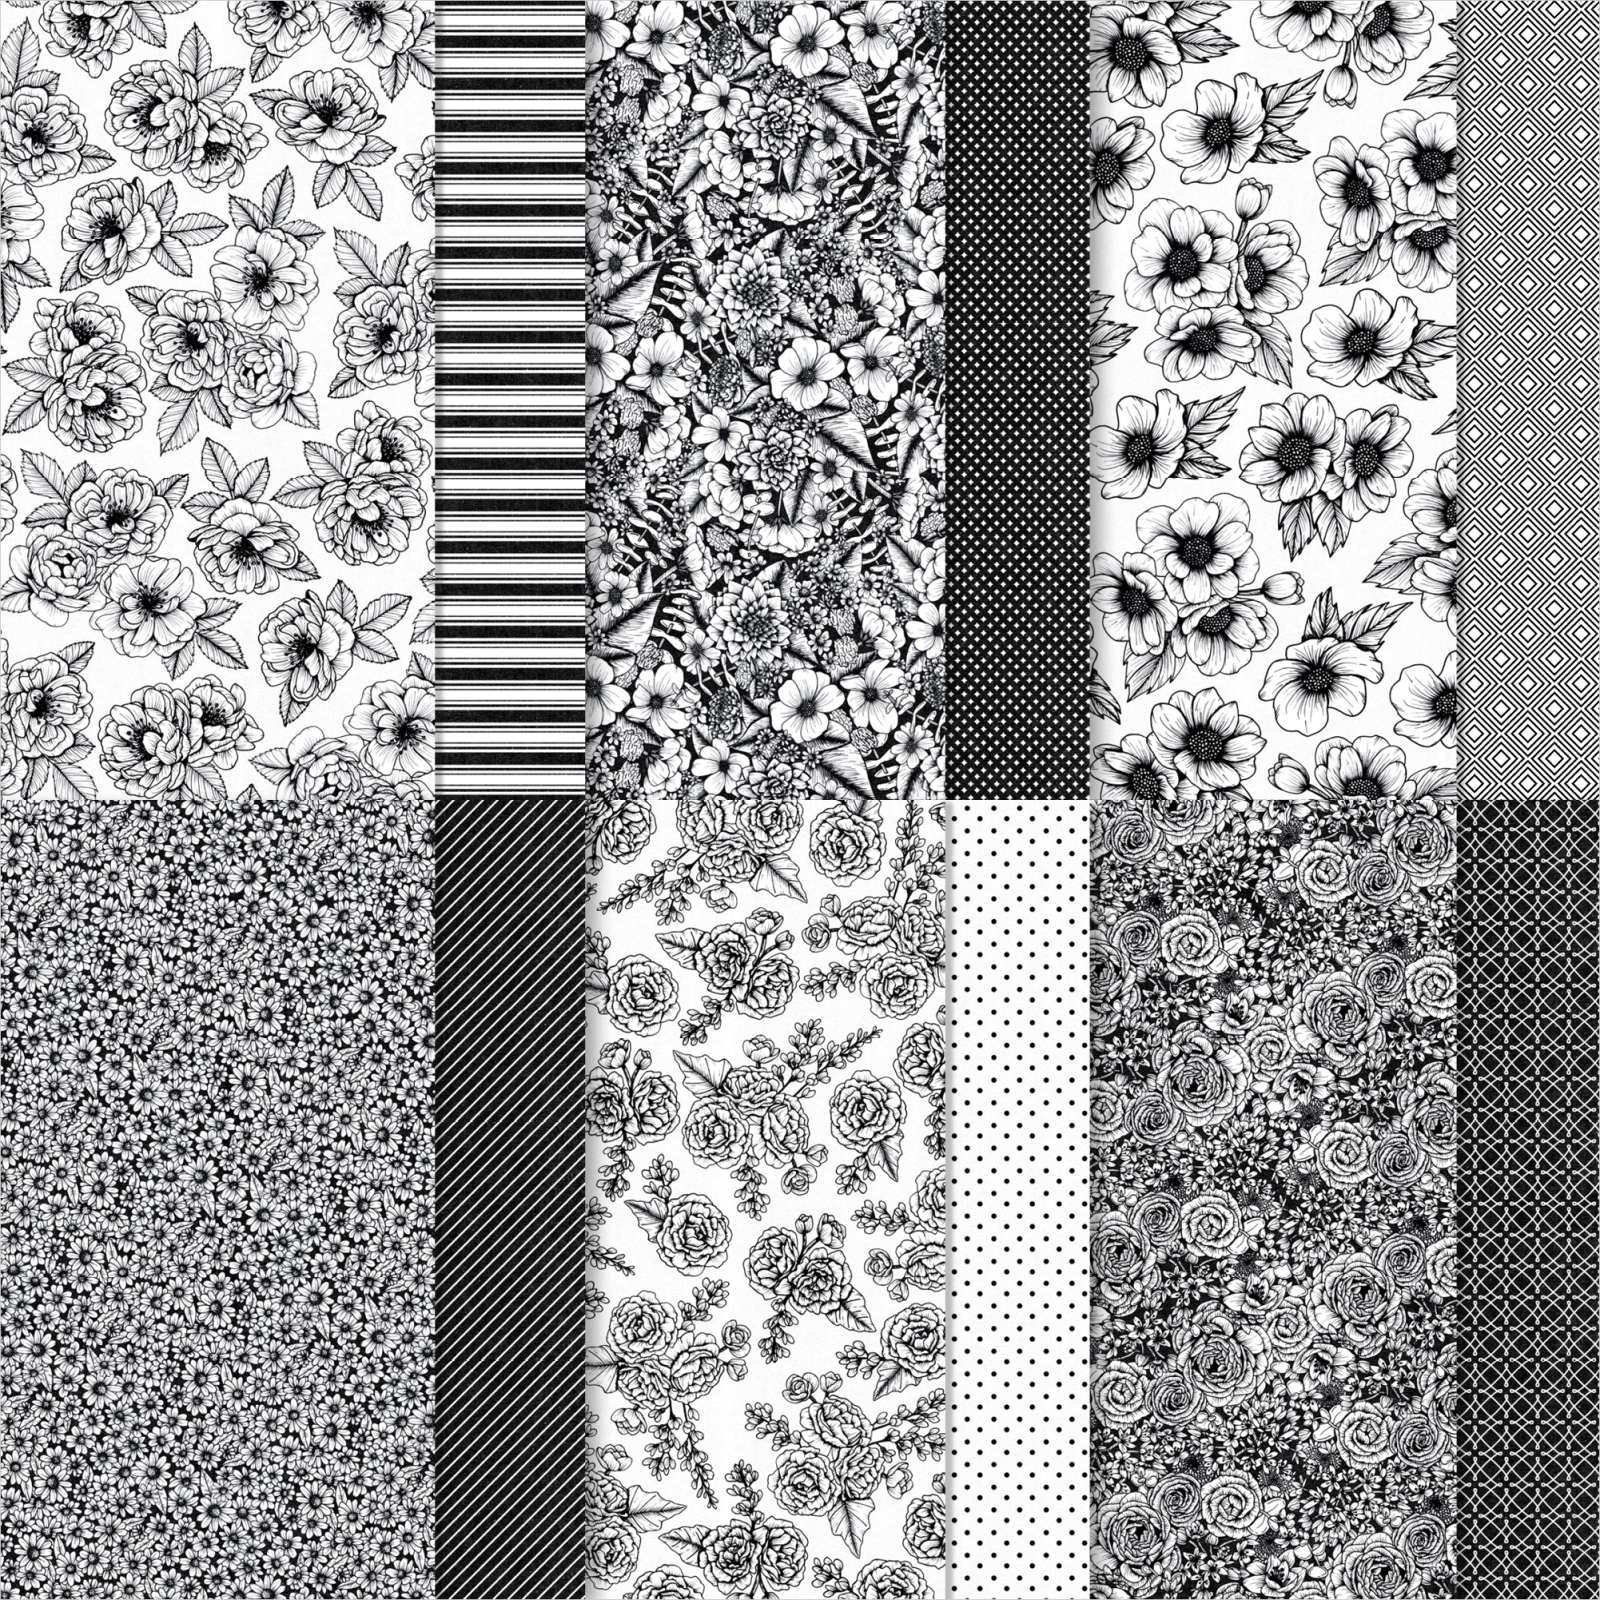
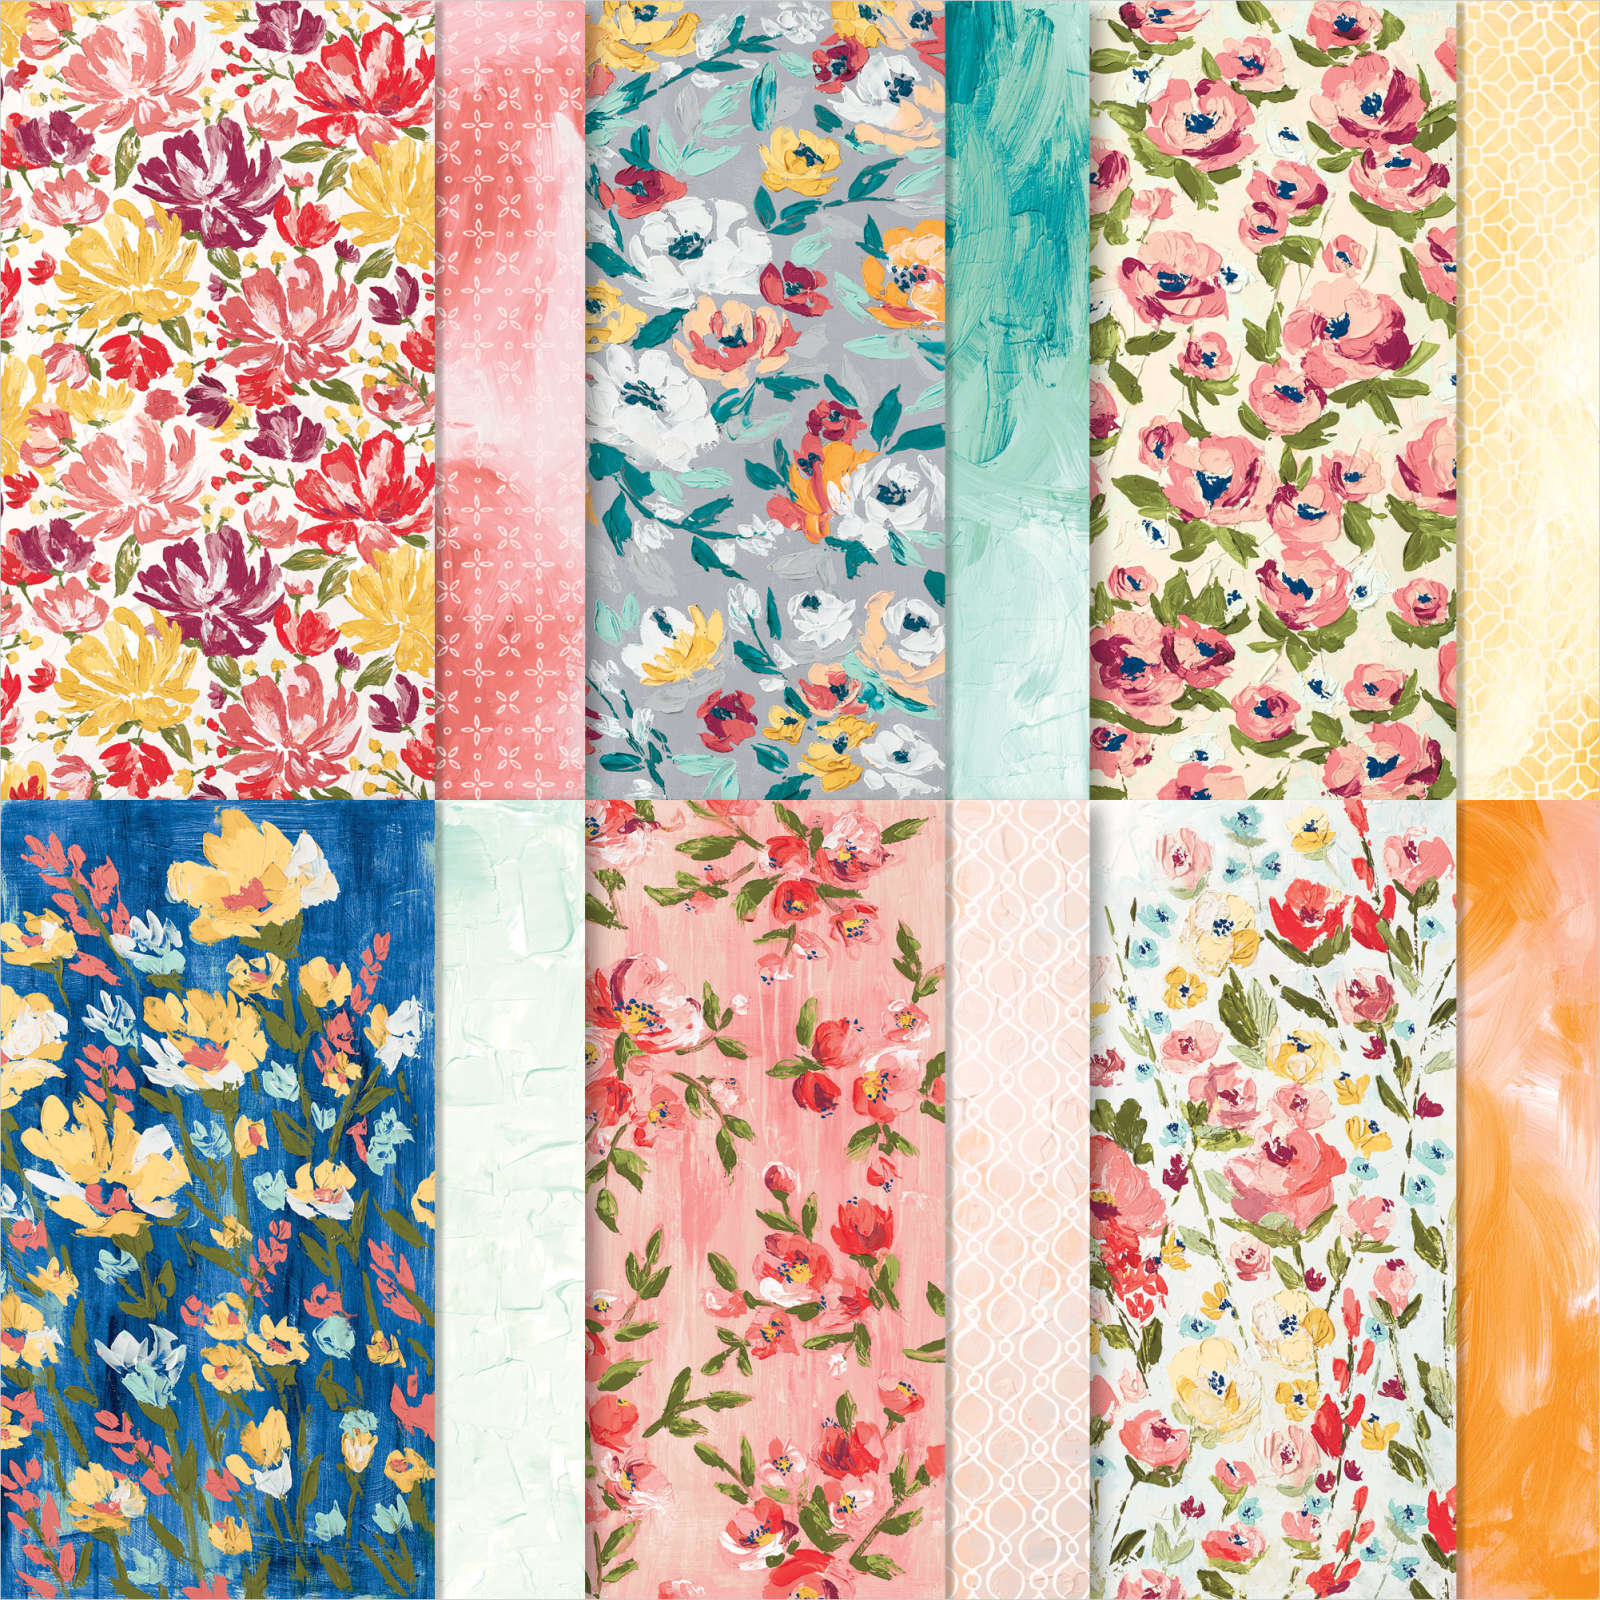
Yesterday in my Facebook Live, I shared how to make a Pop and Twist card. These look so much harder to make than they actually are. Today’s card base is Thick Whisper White card. I cut Pool Party card using the Basic Border Dies. I attached the die cut behind a piece of the Pattern Party Designer Series Paper before attaching to Basic White card. The panel is attached to Pool Party card and then the card front. I stamped the puffin image from the Party Puffins stamp set onto Basic White card using Memento Tuxedo Black ink and used Pool Party and dark Daffodil Delight Stampin’ Blends to colour the image.

I cut out the puffin and attached him to the card front using dimensionals where necessary. I stamped “happy birthday” from the Party Puffins stamp set onto Basic White card using Memento Tuxedo Black ink.
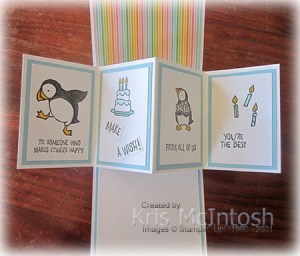
I cut out each word separately using my Paper Trimmer and attached each word to the card front. To decorate the inside of the card, I attached a piece of the same Pattern Party Designer Series Paper above the pop and twist mechanism.

I attached Basic White card to Pool Party card and attached it below the pop and twist mechanism to give me somewhere to write a message.

I attached Pool Party to each of the sections of the Pop and Twist. All of the images I used to decorate the four panels come from the Party Puffins stamp set. I stamped all of the images onto Basic White panels using Memento Tuxedo Black ink.

I used Pool Party, Light Smoky Slate and Dark Daffodil Delight Stampin’ Blends to colour the images. I stamped “make a wish” onto Basic White card using Memento Tuxedo Black ink and used my Paper Trimmer to cut up the greeting before attaching it to the second panel.

The fish on the third panel I stamped onto scrap Basic White card using Memento Tuxedo Black ink. I coloured the image and attached it to the puffin on the third panel.
This is such a fun card which I am sure would be loved by most young children.
If you would like more details on how to create one of these cards visit my Facebook Page and watch the video.
Bye for now,
Kris
Product Used:


More downloads
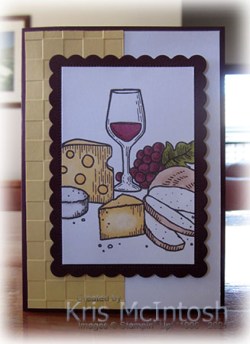
Today’s card uses another of the images from the FREE United Through Creativity PDF Download which you can currently access through my online store here. This image is one of my favourites. I embossed So Saffron card using the Checks & Dots Embossing Folder and attached it to the left hand side of Basic White card. The whole panel is attached to scored and folded Blackberry Bliss card. I printed the image from the United Through Creativity Download onto Basic White card and then used So Saffron, Old Olive, Blackberry Bliss, Smoky Slate and Ivory Stampin’ Blends as well as the Colour Lifter to colour the image.
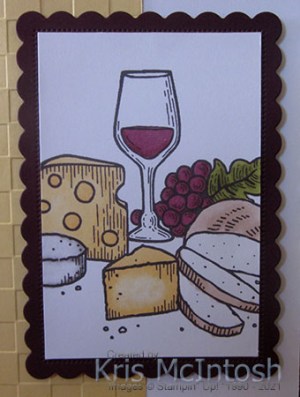
I cut Blackberry Bliss using one of the Scalloped Contour Dies and trimmed the coloured image to fit onto the die cut. The image panel is attached to the card front using dimensionals.

To decorate the inside of the card, I stamped the greeting from the Celebrate Sunflowers stamp set onto Basic White card using Blackberry Bliss ink. I cut a narrow strip of Blackberry Bliss using the same Scalloped Contour Die that I used on the front of the card to create a narrow border strip. I embossed a piece of So Saffron card using the Checks & Dots Embossing Folder and attached the Blackberry Bliss border behind one long edge. The embossed panel is attached to the bottom of the stamped Basic White card.
Another card I truly love using this amazing FREE United Through Creativity PDF Download. If you haven’t downloaded your copy yet, you need to.
Bye for now,
Kris
Product Used:
You can download the FREE United Through Creativity PDF Download here.


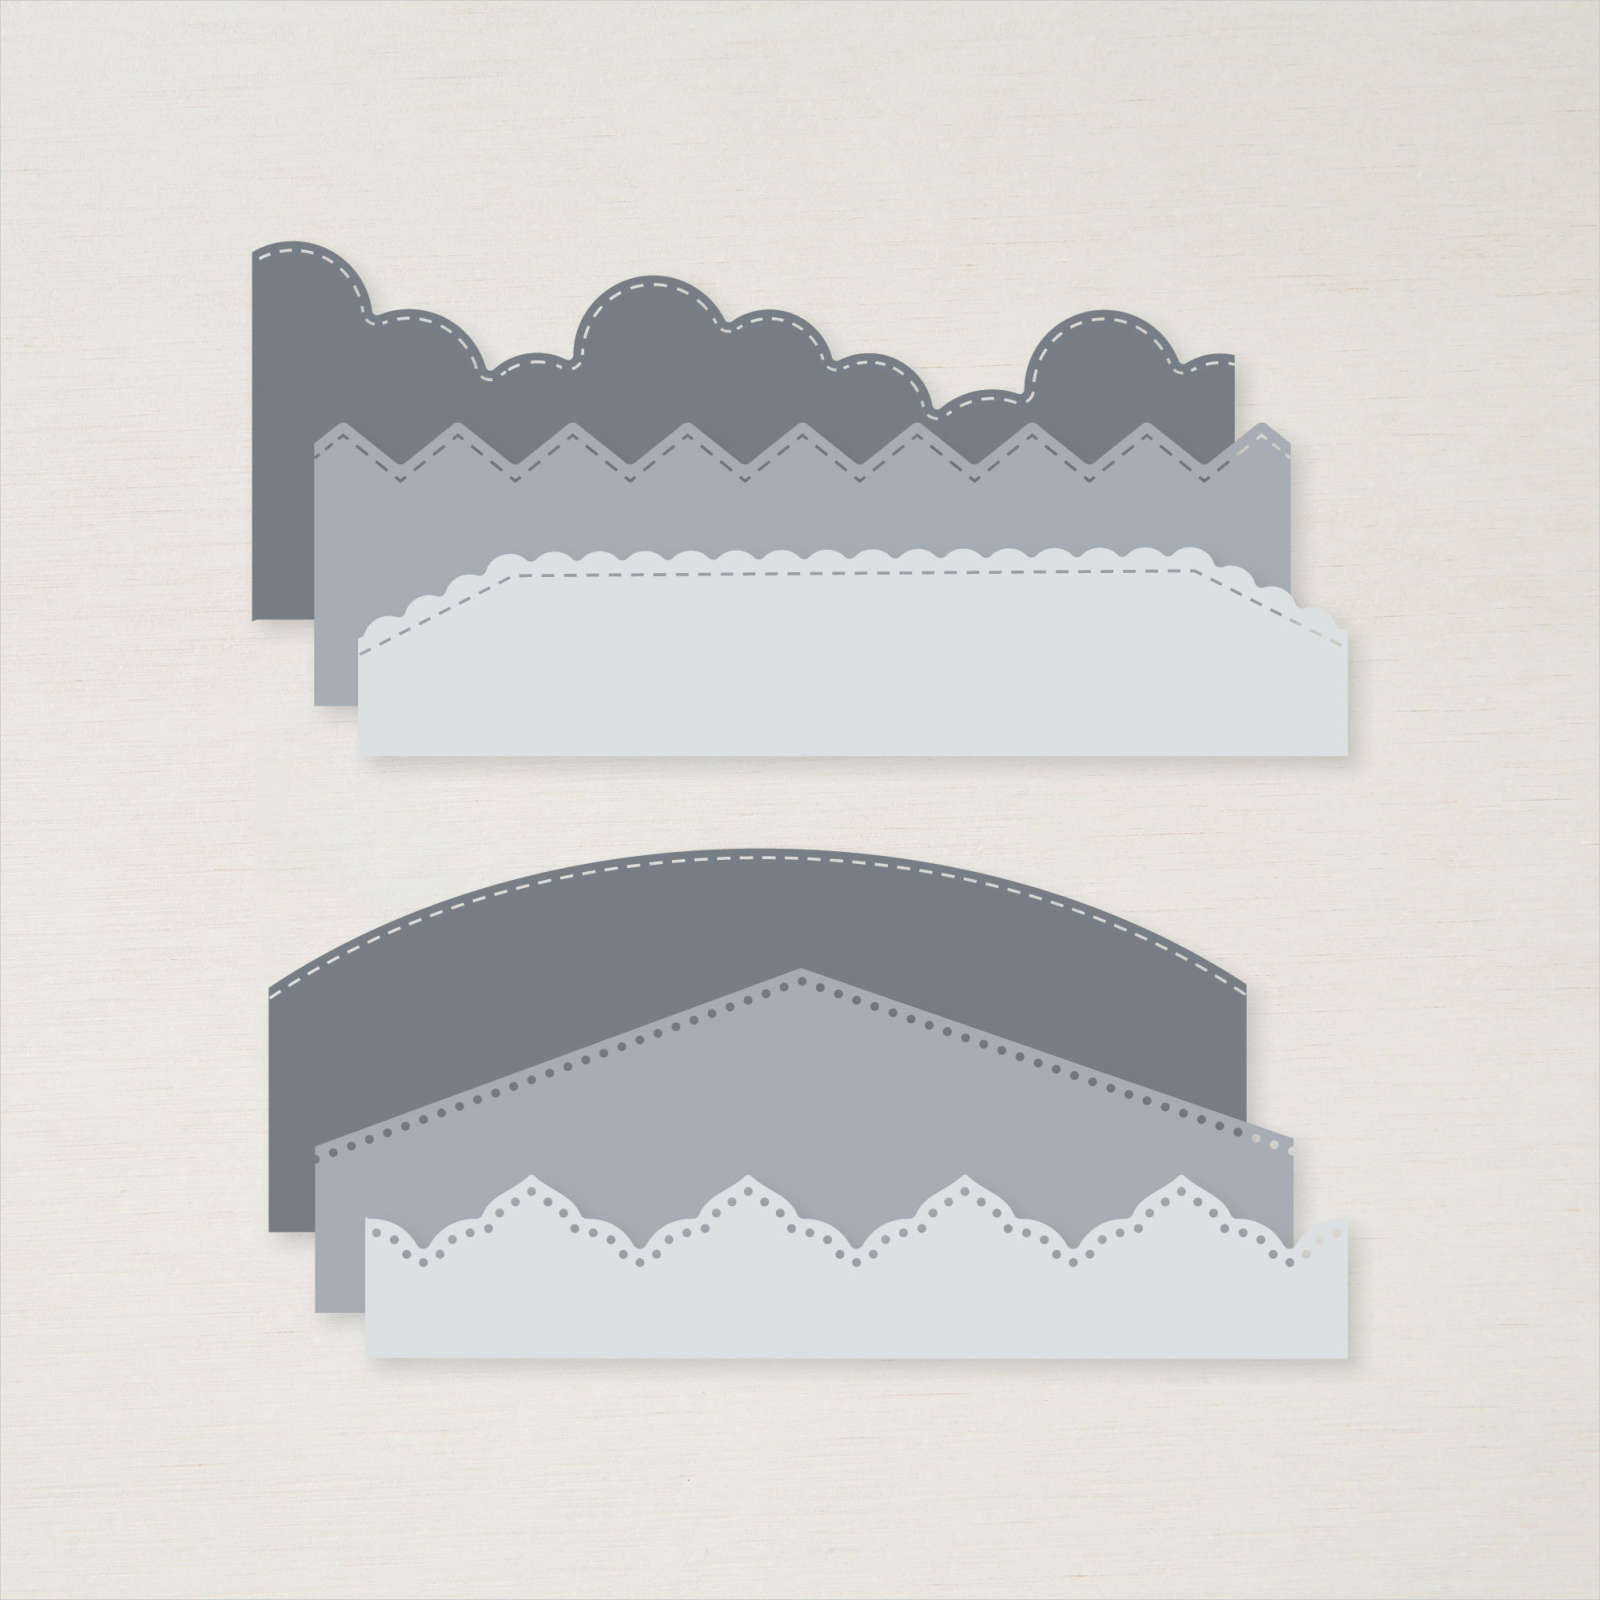
More Basic Borders
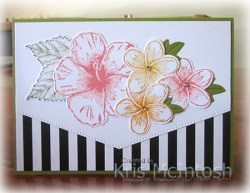
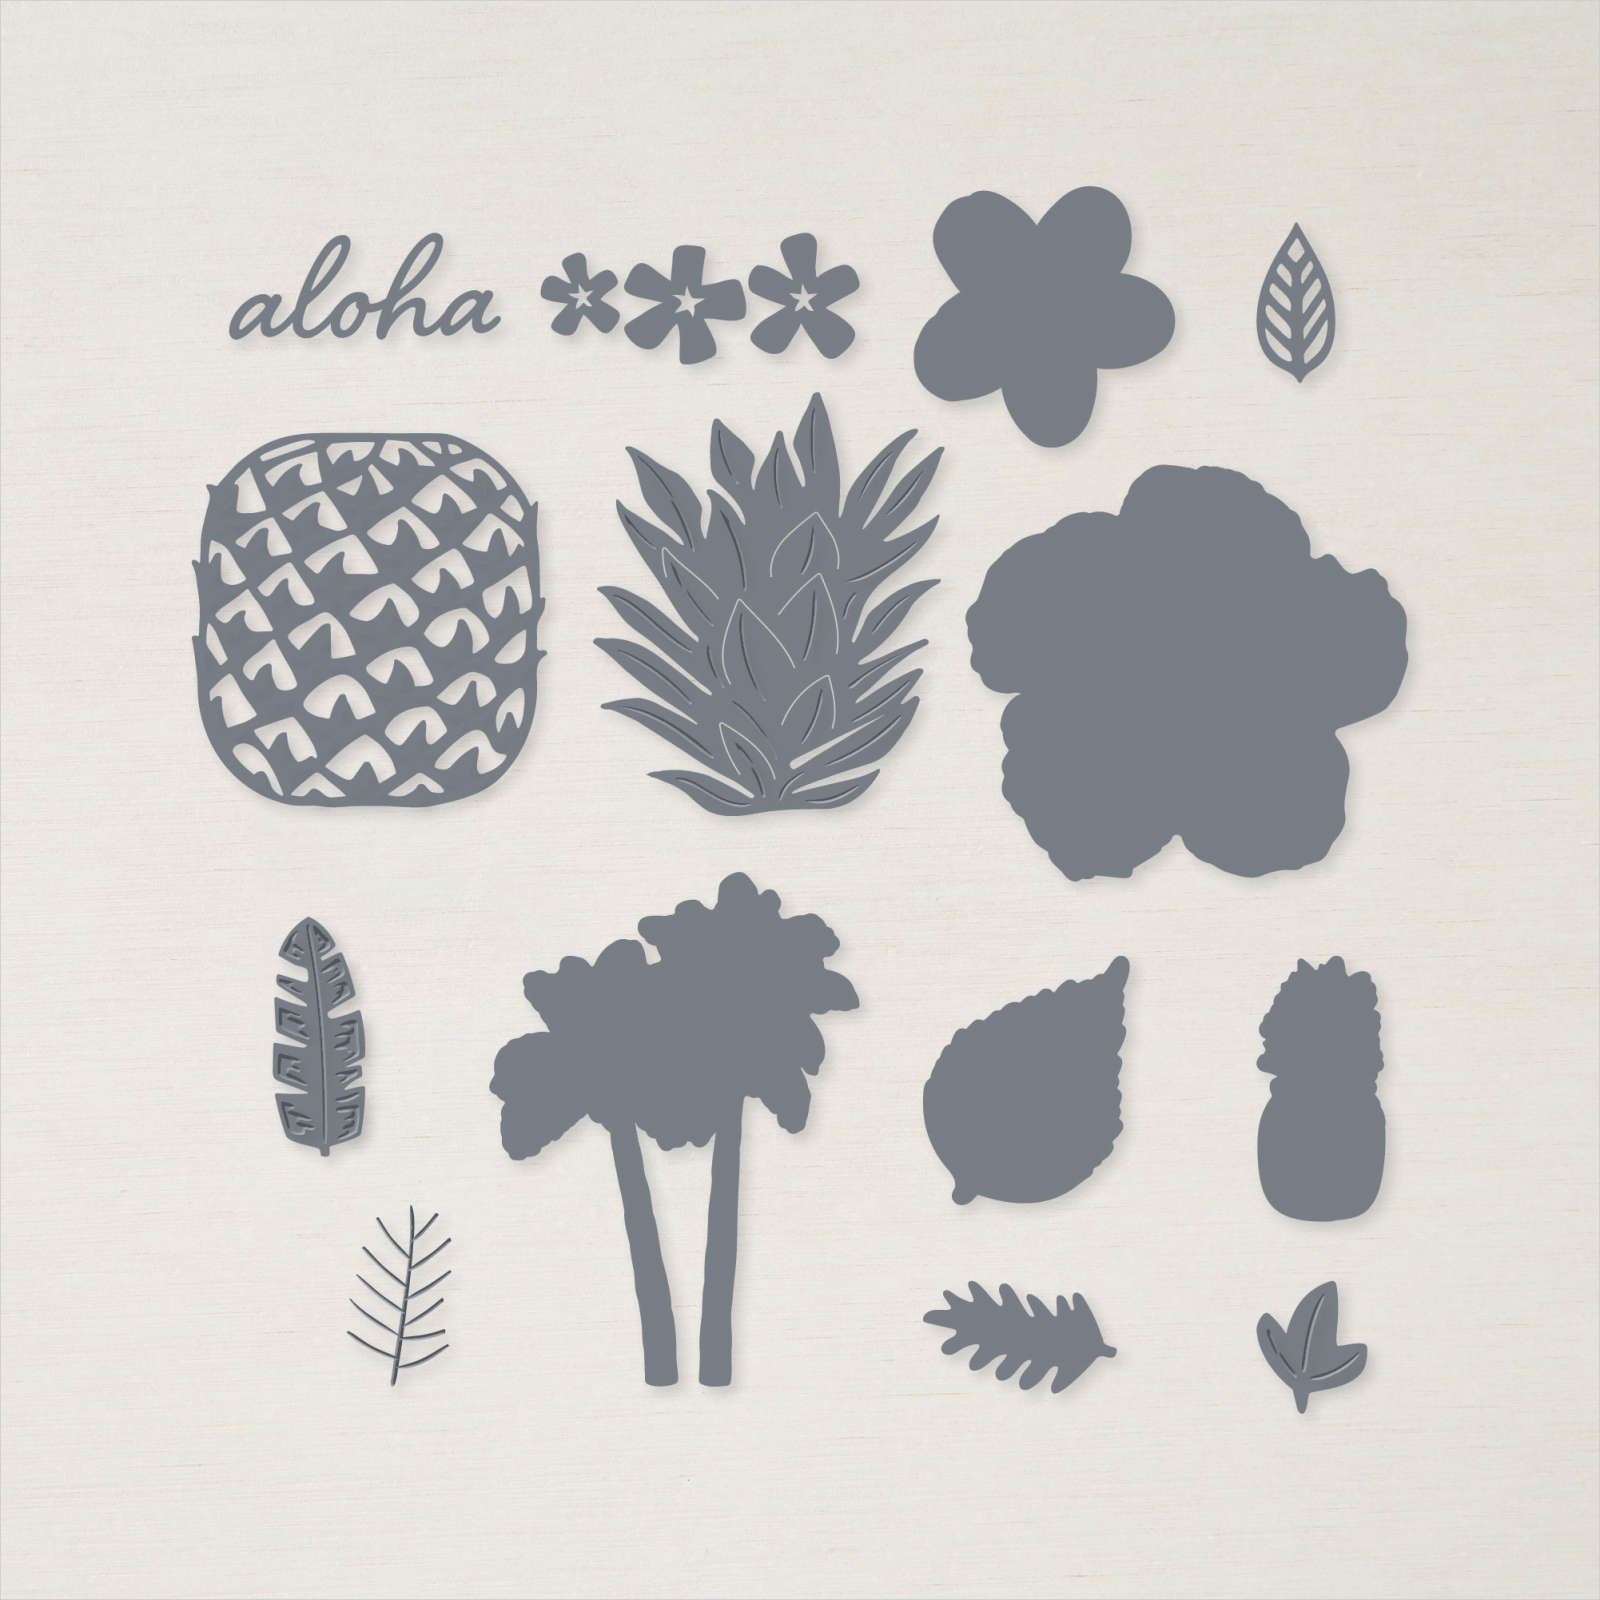
I really love the Basic Borders, they take cutting card into pieces to a whole new level. I especially love that both sides of the cut are finished with the stitching. For today’s card, I attached a strip of the Pattern Party Designer Series Paper across the bottom of Basic White card. I cut another piece of Basic White card using the Basic Borders Dies and attached it so that it covered the top edge of the Designer Series Paper. I stamped the hibiscus flower from the Timeless Tropical stamp set onto Basic White card using Flirty Flamingo ink. I cut out the flower using the co-ordinating In The Tropics Die.

I stamped the frangipani flower from the Timeless Tropical stamp set onto Basic White card three times, using Mango Melody, Daffodil Delight and Flirty Flamingo ink. I cut out the frangipani flowers using the co-ordinating In The Tropics Die. I stamped the large leaf from the Timeless Tropical stamp set twice onto Basic White card using Old Olive ink and cut them out using the co-ordinating In The Tropics Die. I also cut Old Olive card three times using the small leaf die from the In The Tropics Die. I attached the leaves to the flowers before layering them onto the card front. I added small Basic Rhinestones to the centres of the Frangipani flowers.

To decorate the inside of the card, I stamped the birthday greeting from the Timeless Tropical stamp set onto Basic White card using Memento Tuxedo Black ink. I stamped the frangipani flower from the Timeless Tropical stamp set onto Basic White card using Flirty Flamingo ink and cut it out using the co-ordinating In The Tropics Die. I attached the flower onto the Basic White card beside the greeting.
I think I could get addicted to this beautiful Designer Series Paper and these gorgeous dies! I have used three patterns from the Designer Series Paper pack and the patterns have co-ordinated with three different stamp sets.
Bye for now,
Kris
Product Used:
Maryborough

Unfortunately on our trip to Tin Can Bay we only had nice weather for the first two days, after that the rain set and it was really heavy, however, we did manage a day trip to Maryborough. What a lovely town and the birthplace of P.L. Travers the author of Mary Poppins. My page begins with the addition of a piece of Fine Floral Designer Series Paper across the top section of Basic White 12″ x 12″ card. I attached a strip of Night of Navy card below that before attaching my photos to the page.

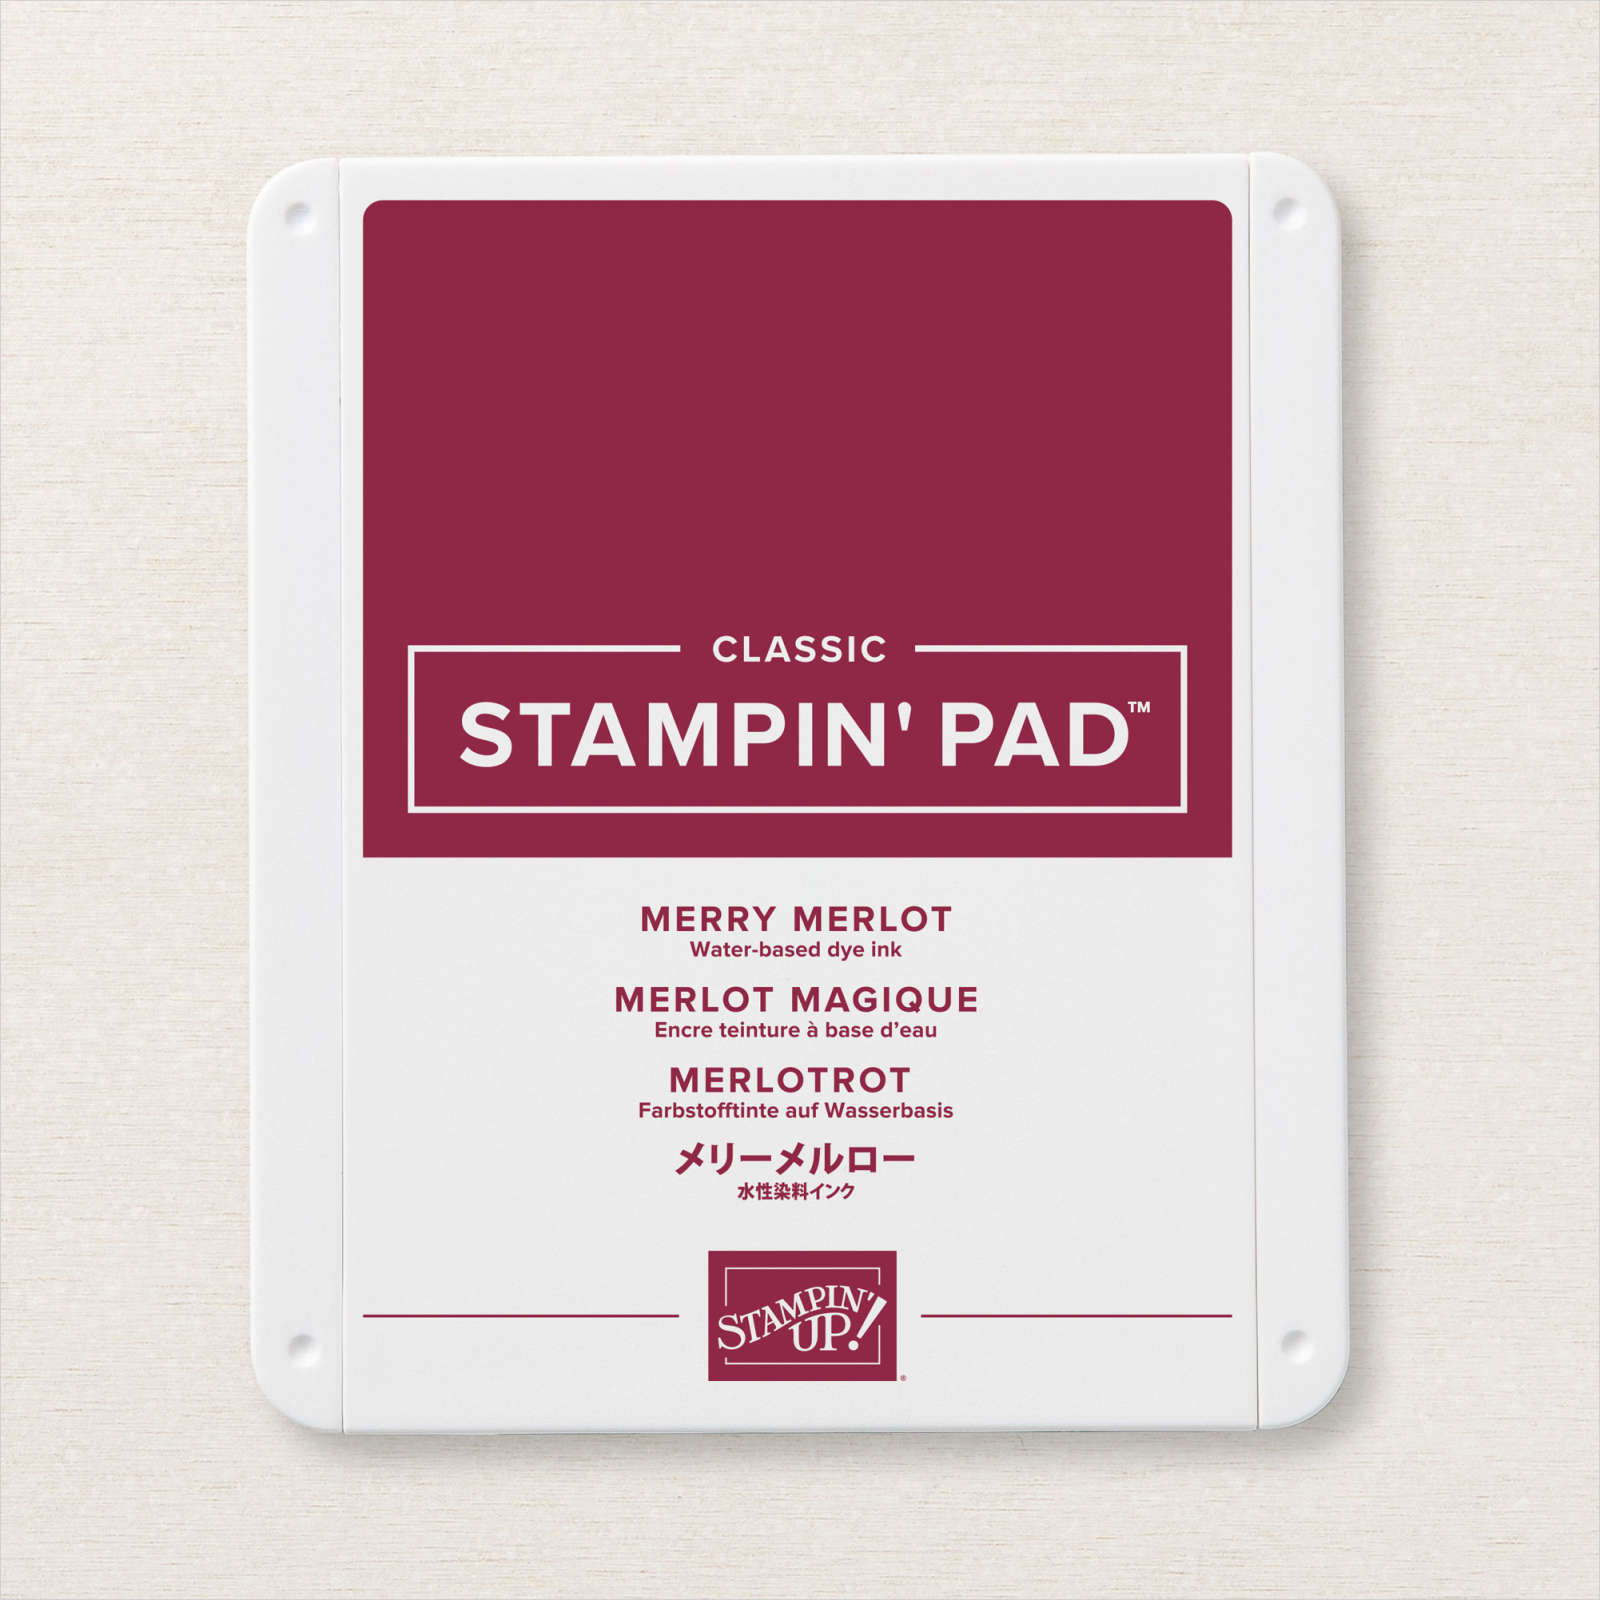
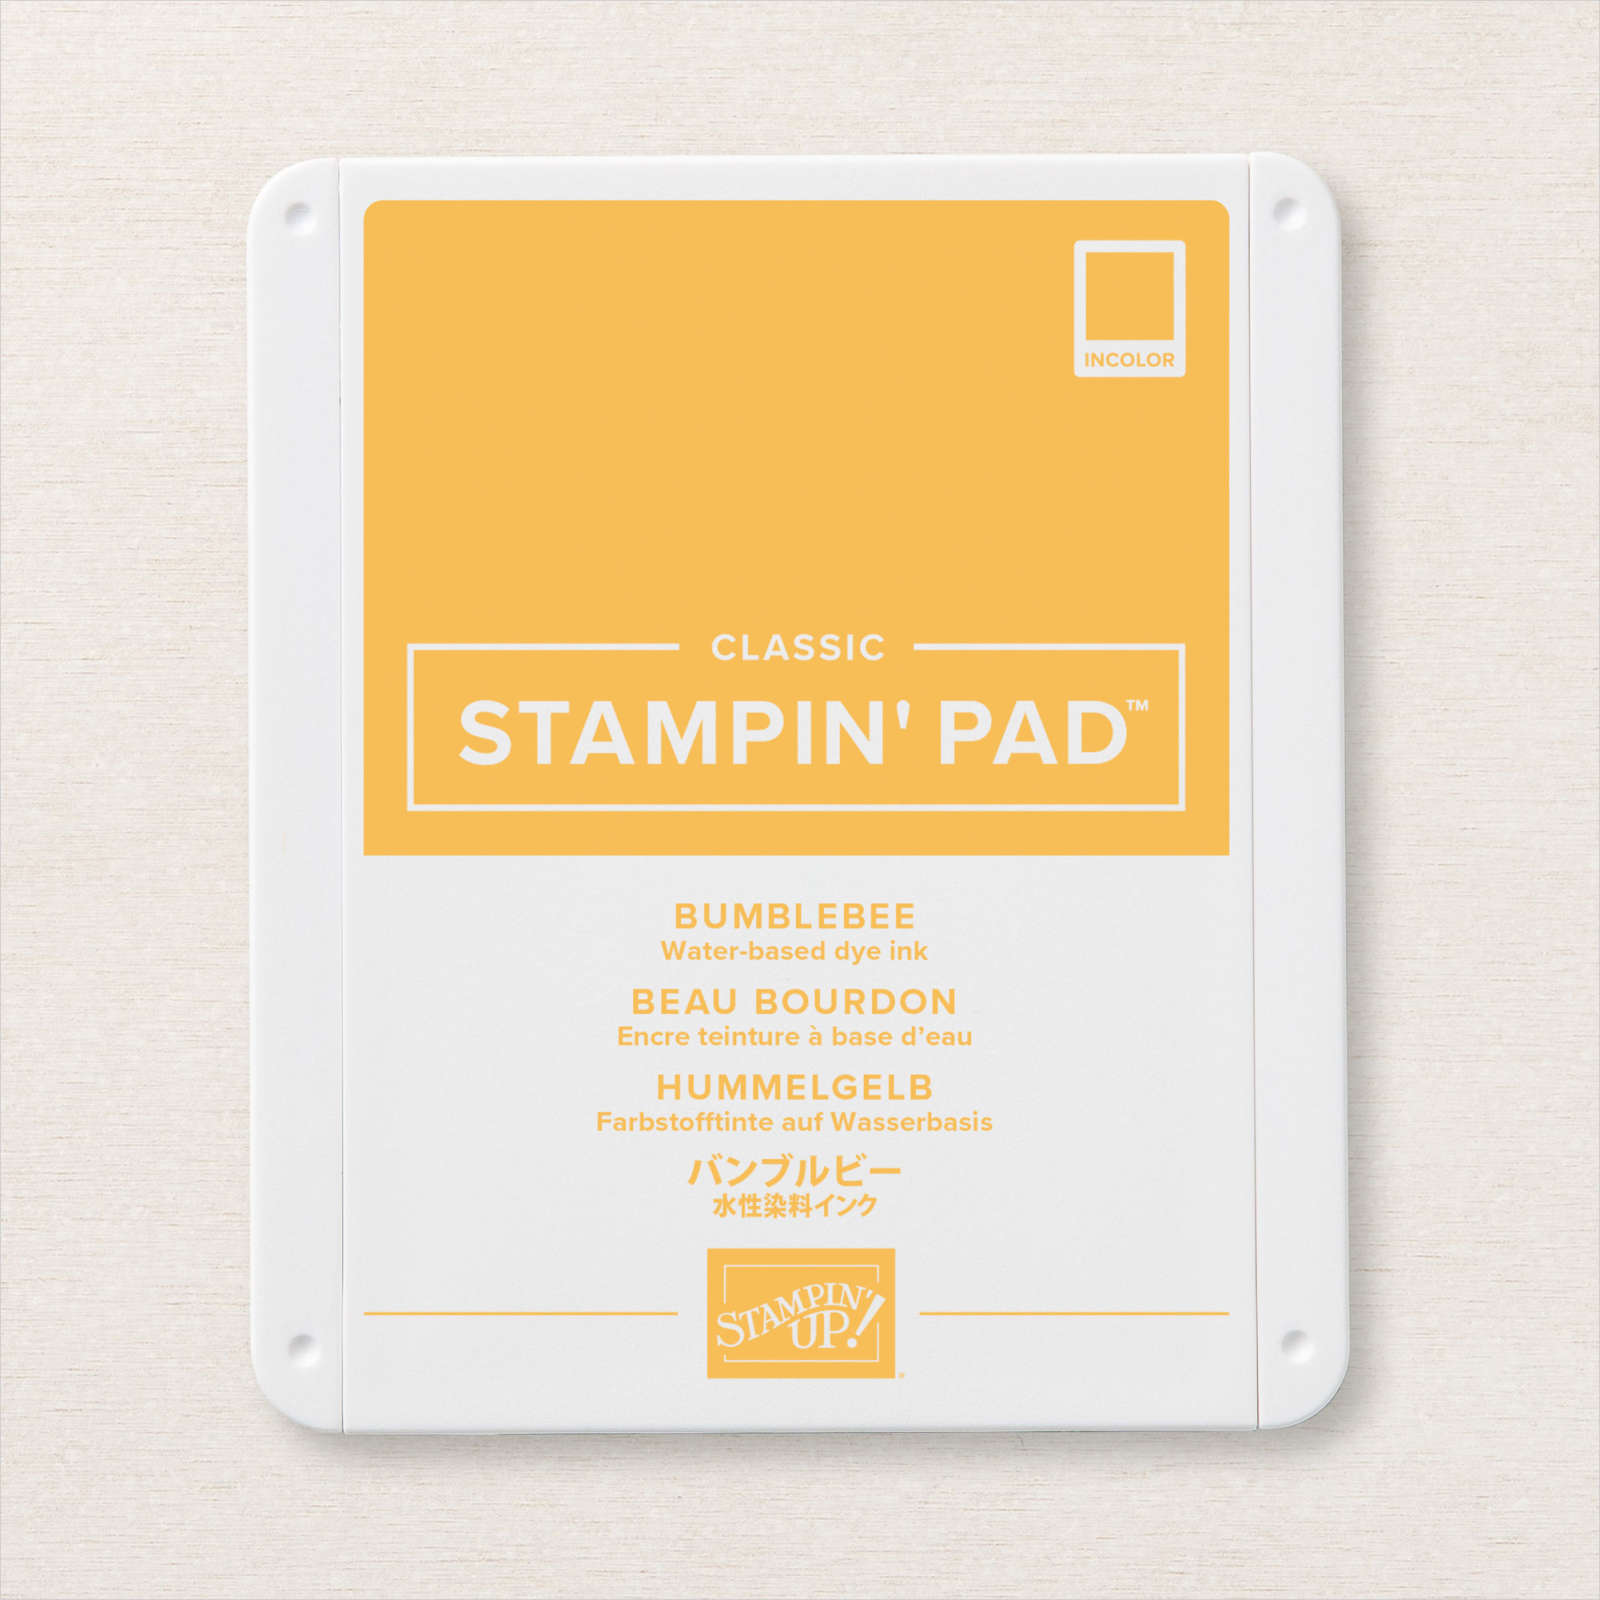
I cut the title from Basic White card using the Playful Alphabet Dies and attached it across the middle section of both pages. I cut Merry Merlot card using the Basic Border Dies and attached a strip across the bottom of each page. I continued with the floral theme by stamping a hibiscus flower from the Timeless Tropical stamp set onto Basic White card using Merry Merlot ink. I also stamped several frangipani flowers from the same stamp set onto Basic White card using Bumblebee ink. The leaves also from the same stamp set are stamped onto Basic White card using Mossy Meadow ink. The flowers and leaves are cut out using the In The Tropics Dies before being attached to the pages. I printed my journaling onto Basic White card before attaching it to the right hand page. Maryborough is such a beautiful town with lots of amazing things to see including the Mary Poppins museum which we didn’t have time to visit.

Because of the rain we packed up and went home early which was a shame but we will visit this area again soon.
Bye for now,
Kris
Product Used:


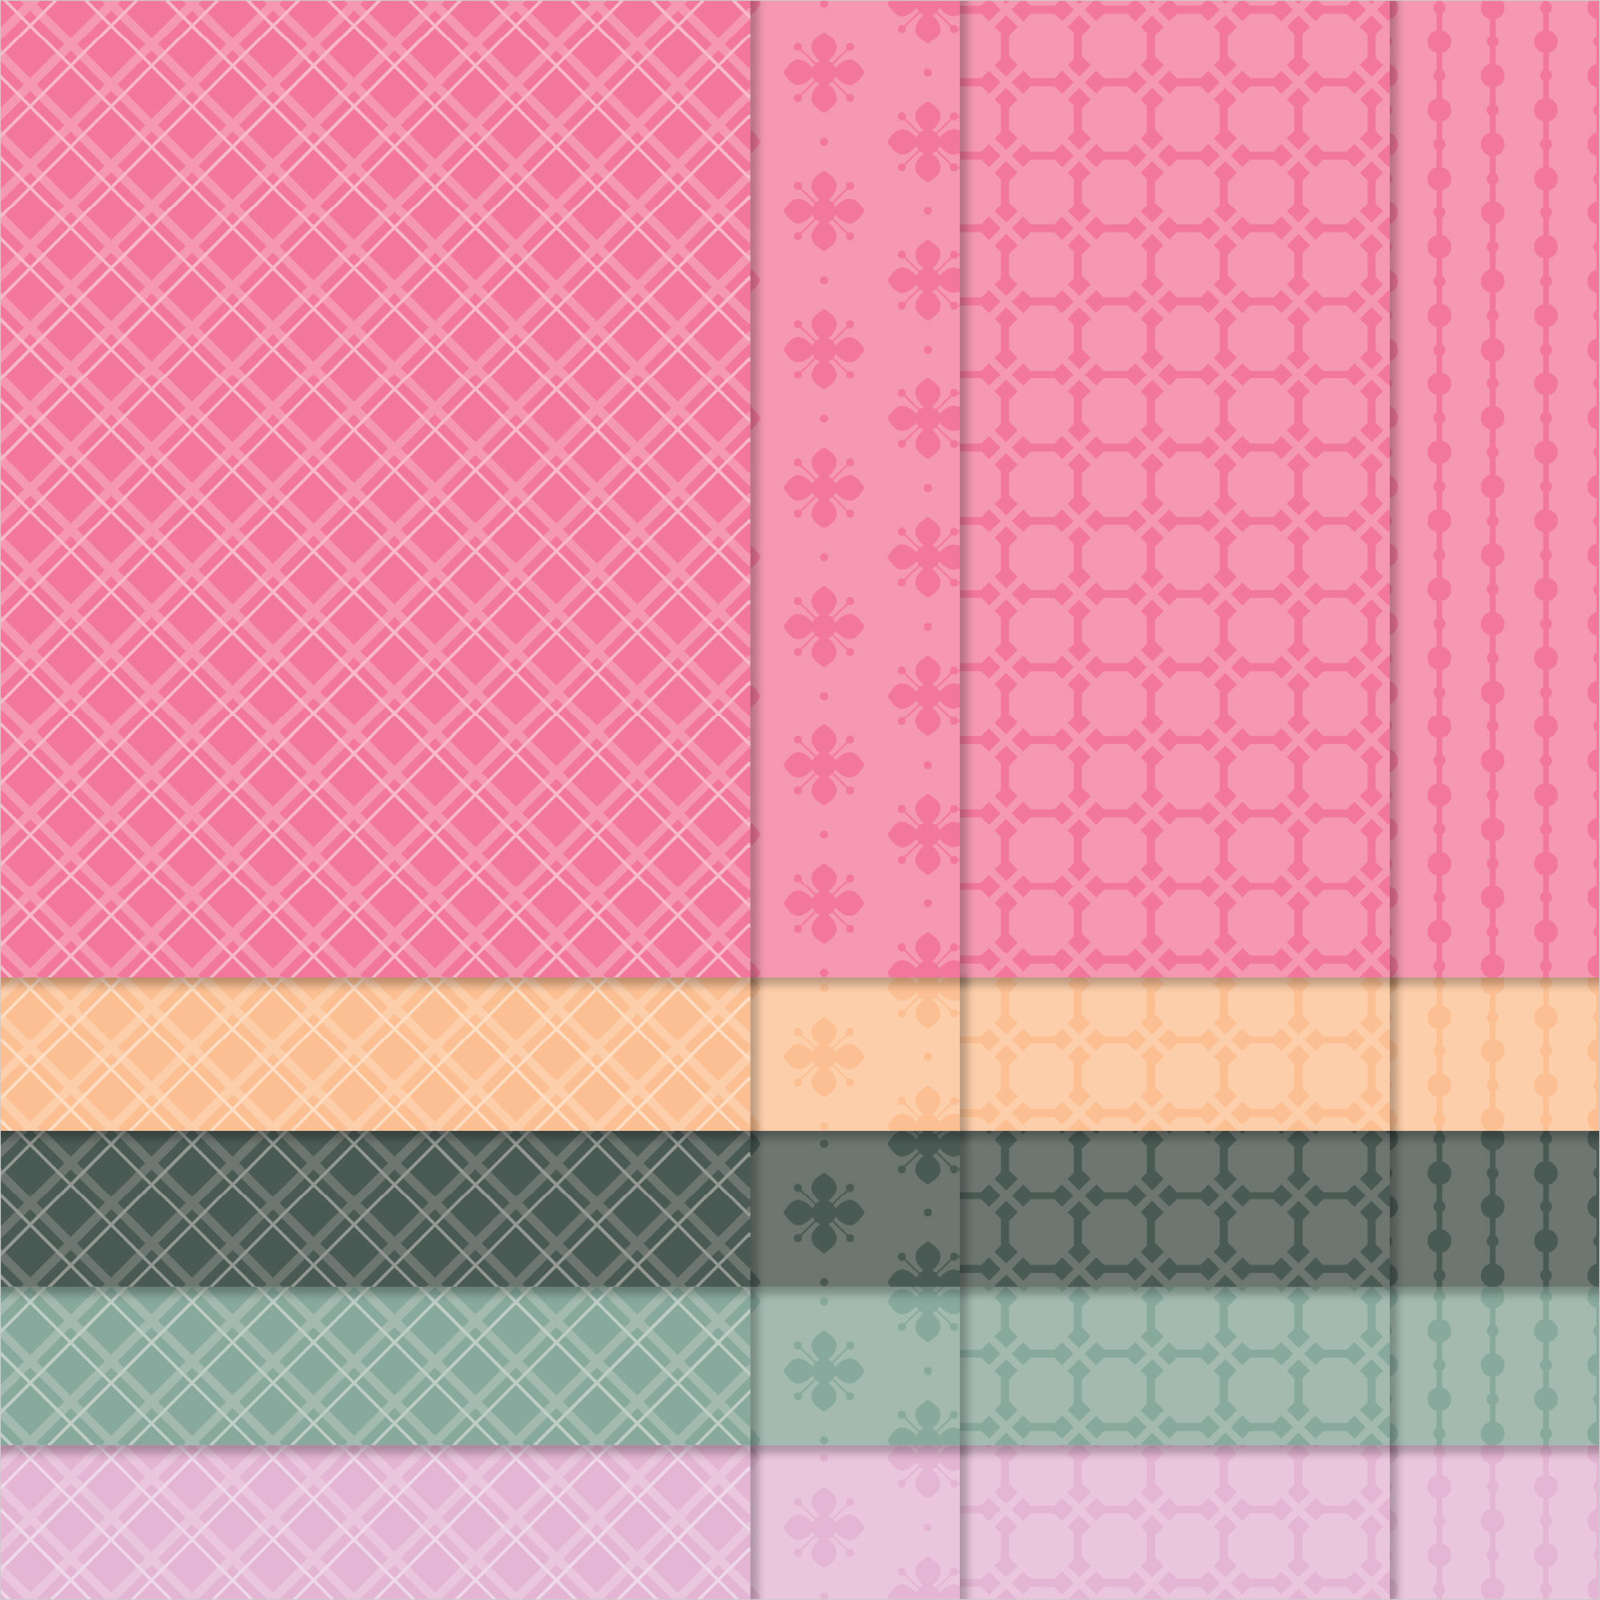
More Sentimental Rose

I couldn’t help creating another card using the stamp set from the Sentimental Rose Card Kit. I combined it with my current favourite Pattern Party Designer Series Paper. I attached a piece of the Pattern Party Designer Series Paper to the top section of Basic White card. I used the Basic Border Dies to cut Basic White card and Basic Black card. I attached the Basic Black card behind the Basic White card. The whole panel is attached to the Basic White card partially covering the Designer Series Paper. I stamped the greeting from the Sentimental Rose stamp set onto the Basic White card using Memento Tuxedo Black ink.
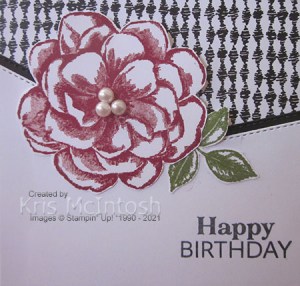
I stamped the rose from the Sentimental Rose stamp set onto Basic White card using Cherry Cobbler ink and cut it out. I stamped the leaf image from the Sentimental Rose stamp set onto Basic White card using Old Olive ink and cut them out.
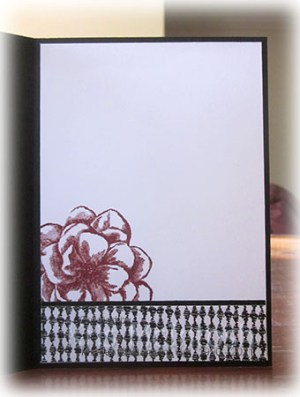
I attached the leaves to the back of the Rose before attaching the whole piece to the card front using dimensionals where necessary. To decorate the inside of the card I stamped the rose from the Sentimental Rose stamp set onto the lower left hand corner of Basic White card using Cherry Cobbler ink. I attached a narrow piece of Basic Black card behind one long edge of a strip of the same Pattern Party Designer Series Paper I used on the front of the card. The designer series paper panel is attached to the bottom of the stamped Basic White card, partially covering the flower.
Wow! I am really excited by this gorgeous flower. What about you? Have I inspired you to take a look at this card kit and maybe have a play with this lovely stamp set beyond creating the gorgeous cards and gift box in the kit.
Bye for now,
Kris
Product Used:
You can see the Sentimental Rose Card Kit here in my online store.

Sentimental Rose
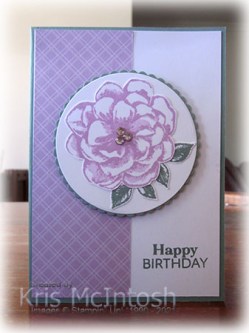
I showcased the Sentimental Rose Card Kit in my Facebook Live yesterday. What a gorgeous card kit and the stamp set it equally amazing. Lots of great greetings and a beautiful flower as well! This kit gives you enough product to create nine note cards and a gorgeous gift box to present them in. These kits became available for customers to purchase on Tuesday and you will find all the new kits at my online store here. Today I thought I would share a card I made using the stamp set from this card kit. I attached a piece of Fresh Freesia 2021-2023 In-Colour Designer Series Paper to the left hand side of Basic White card.
I stamped the greeting from the Sentimental Rose stamp set onto the lower right hand corner of the Basic White card using Soft Succulent ink. The whole panel is attached to scored and folded Soft Succulent car.

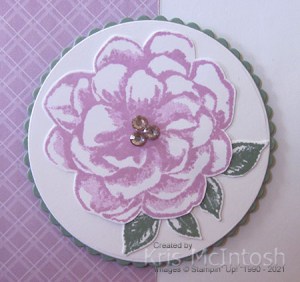
I cut Basic White card using the largest circle from the Layering Circle Dies and attached it to a Soft Succulent scalloped circle cut using the same dies. The circle panel is attached to the card front using dimensionals. I stamped the flower from the Sentimental Rose stamp set onto Basic White card using Fresh Freesia ink and cut it out. I stamped two sets of leaves from the same stamp set onto Basic White card using Soft Succulent ink and cut them out. I attached the leaves to the back of the flower before attaching the whole piece to the Basic White circle. I coloured three Basic Rhinestones using the Dark Fresh Freesia Stampin’ Blend and attached them to the flower centre. To decorate the inside of the card, I stamped the flower from the Sentimental Rose stamp set onto the lower left hand corner of Basic White card using Fresh Freesia ink. I stamped the two sets of leaves using Soft Succulent ink.
I just know that if you purchase this amazing kit, you will find lots of use for the included stamp set way beyond making your cards and gift box.
Bye for now,
Kris
Product Used:
You can find the Sentimental Rose Card Kit here in my online store.