Come Sailing Pyramid Card
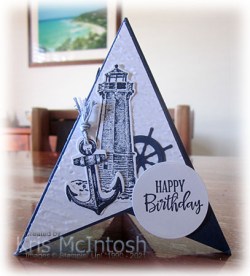
Yesterday in my Facebook Live, I shared how to create a pyramid card and today I have another to share with you. I used three Night of Navy 10.5cm squares to create the card base and added layers of 10cm square Basic White card which are cut in half diagonally and embossed using the Bark 3D Embossing Folder. For the first panel, I stamped the lighthouse and anchor images from the Sailing Home stamp set onto Basic White card using Night of Navy ink.

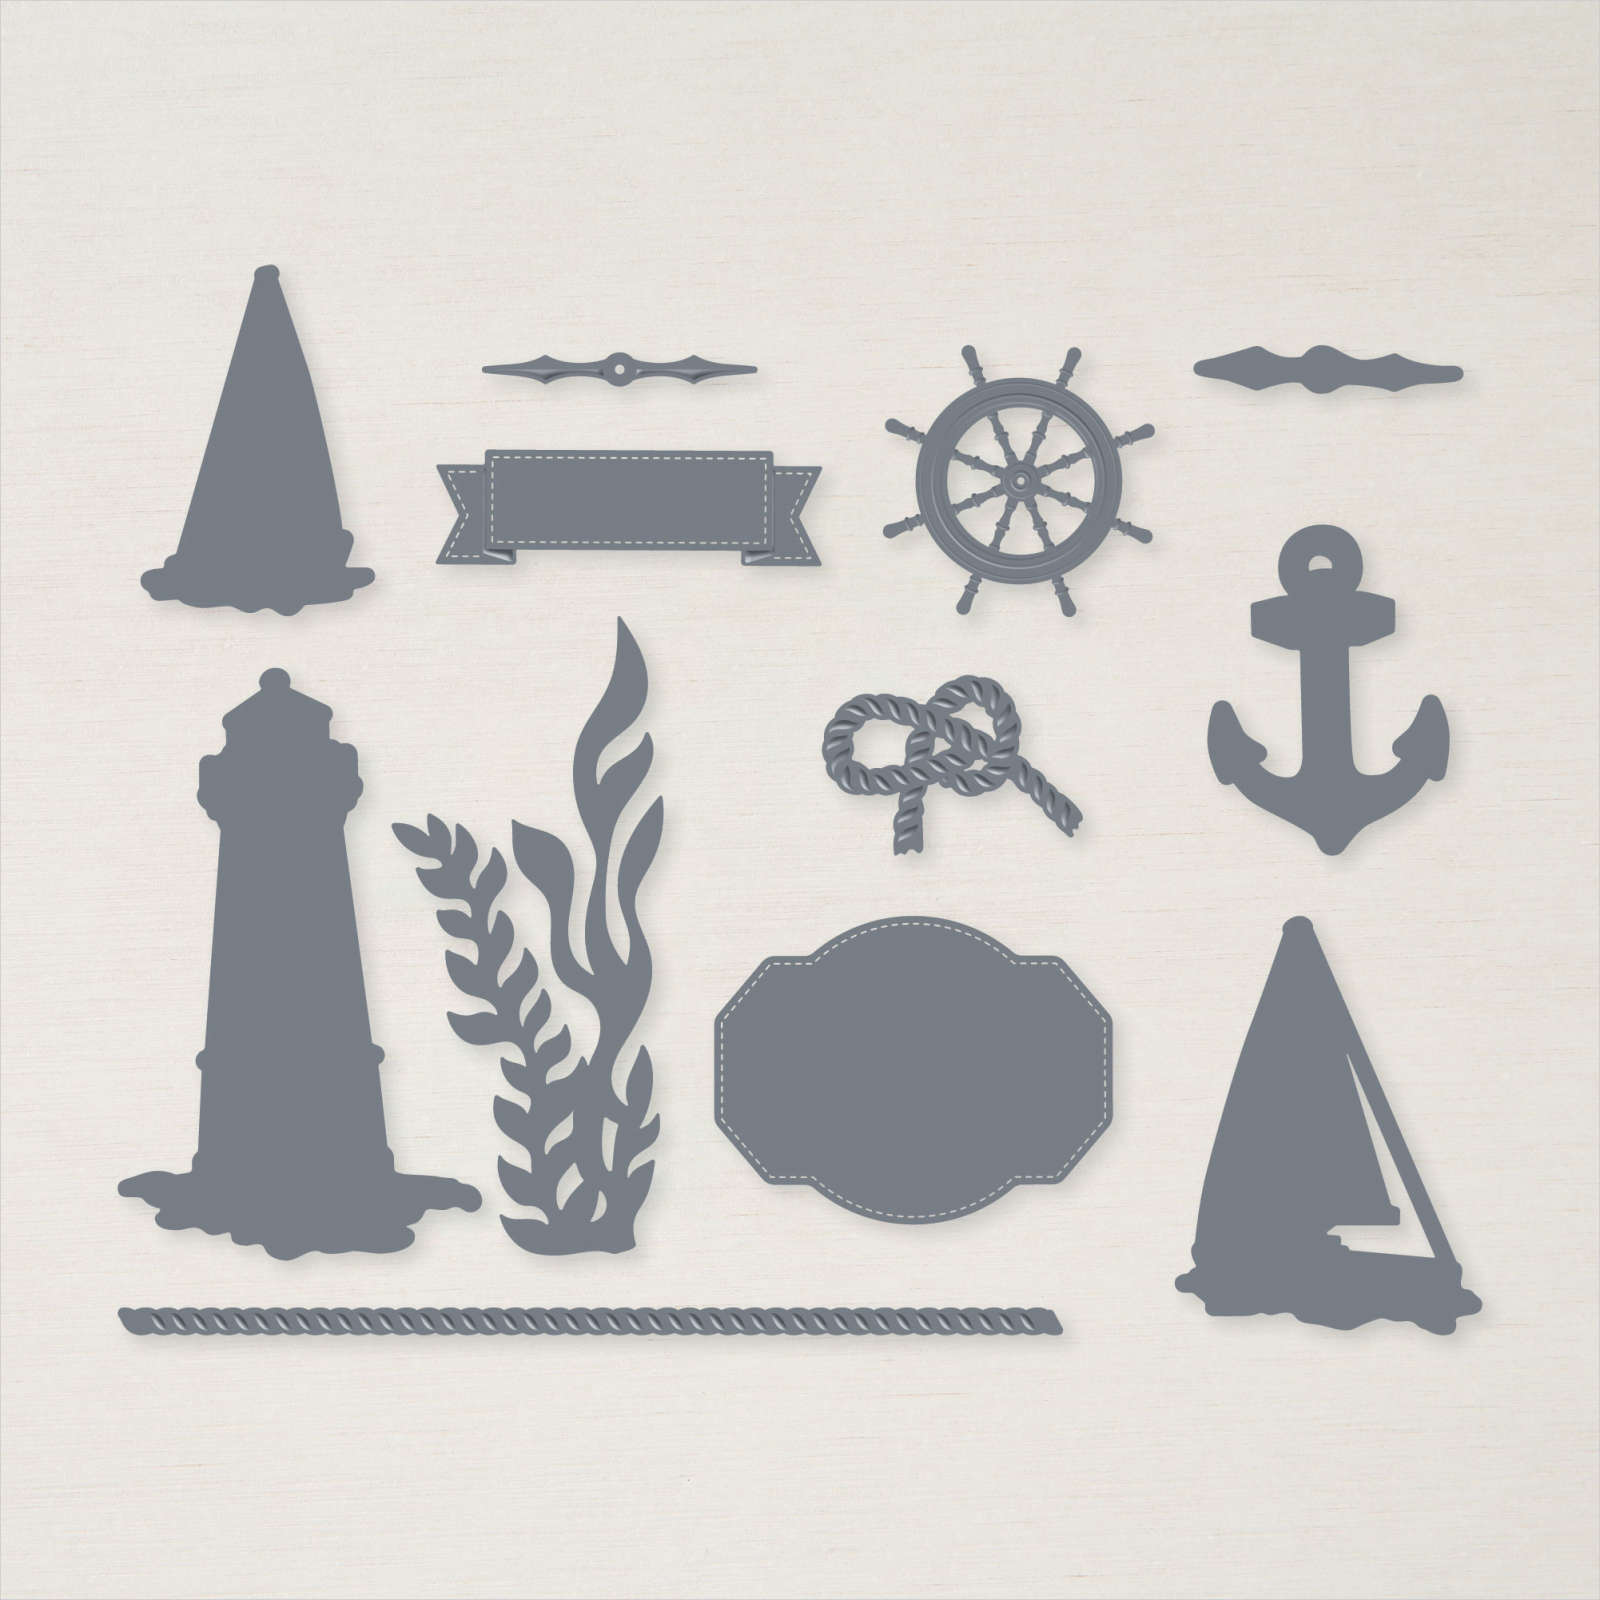
The images are cut out using the co-ordinating Smooth Sailing Dies. I also used the Smooth Sailing Dies to cut the wheel from Night of Navy card. I attached the wheel and lighthouse to the panel first. I tied a length of the Misty Moonlight/Silver twine from the Flowers For Every Season Ribbon Combo Pack through the anchor and attached it over the lighthouse.
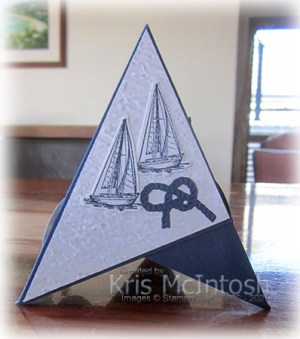
I stamped “happy birthday” from the Peaceful Moments stamp set onto Basic White card using Night of Navy ink and cut it out using the Layering Circle Dies. I attached it using dimensionals so that it would hold the pyramid card in position. To decorate the second panel, I stamped the compass and large sailing ship images from the Sailing Home stamp set onto Basic White card using Night of Navy ink. I cut out the sailing ship using the co-ordinating Smooth Sailing Die.
I also used the same dies to cut the seaweed from Night of Navy card. I cut out the compass image and attached it to a Night of Navy circle cut using the Layering Circles Dies. I attached the seaweed first with the sailing ship on top and lastly the compass image.

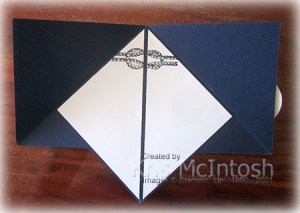
To decorate the last panel, I stamped the small sailing ship from the Sailing Home stamp set twice onto Basic White card using Night of Navy ink. I cut out the sailing ships using the co-ordinating Smooth Sailing Die. I also cut the “knot” from Night of Navy card using the same dies. To decorate the inside of the card, I attached Basic White card which I stamped using the rope image from the Sailing Home stamp set before I cut it in half diagonally.
Even though this card stands tall, it will fold flat to go into a standard envelope. How cool is that! I had forgotten how much fun these cards are to create. What about you, do you love them too.
Bye for now,
Kris
Product Used:


Noel
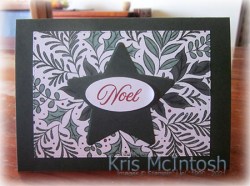
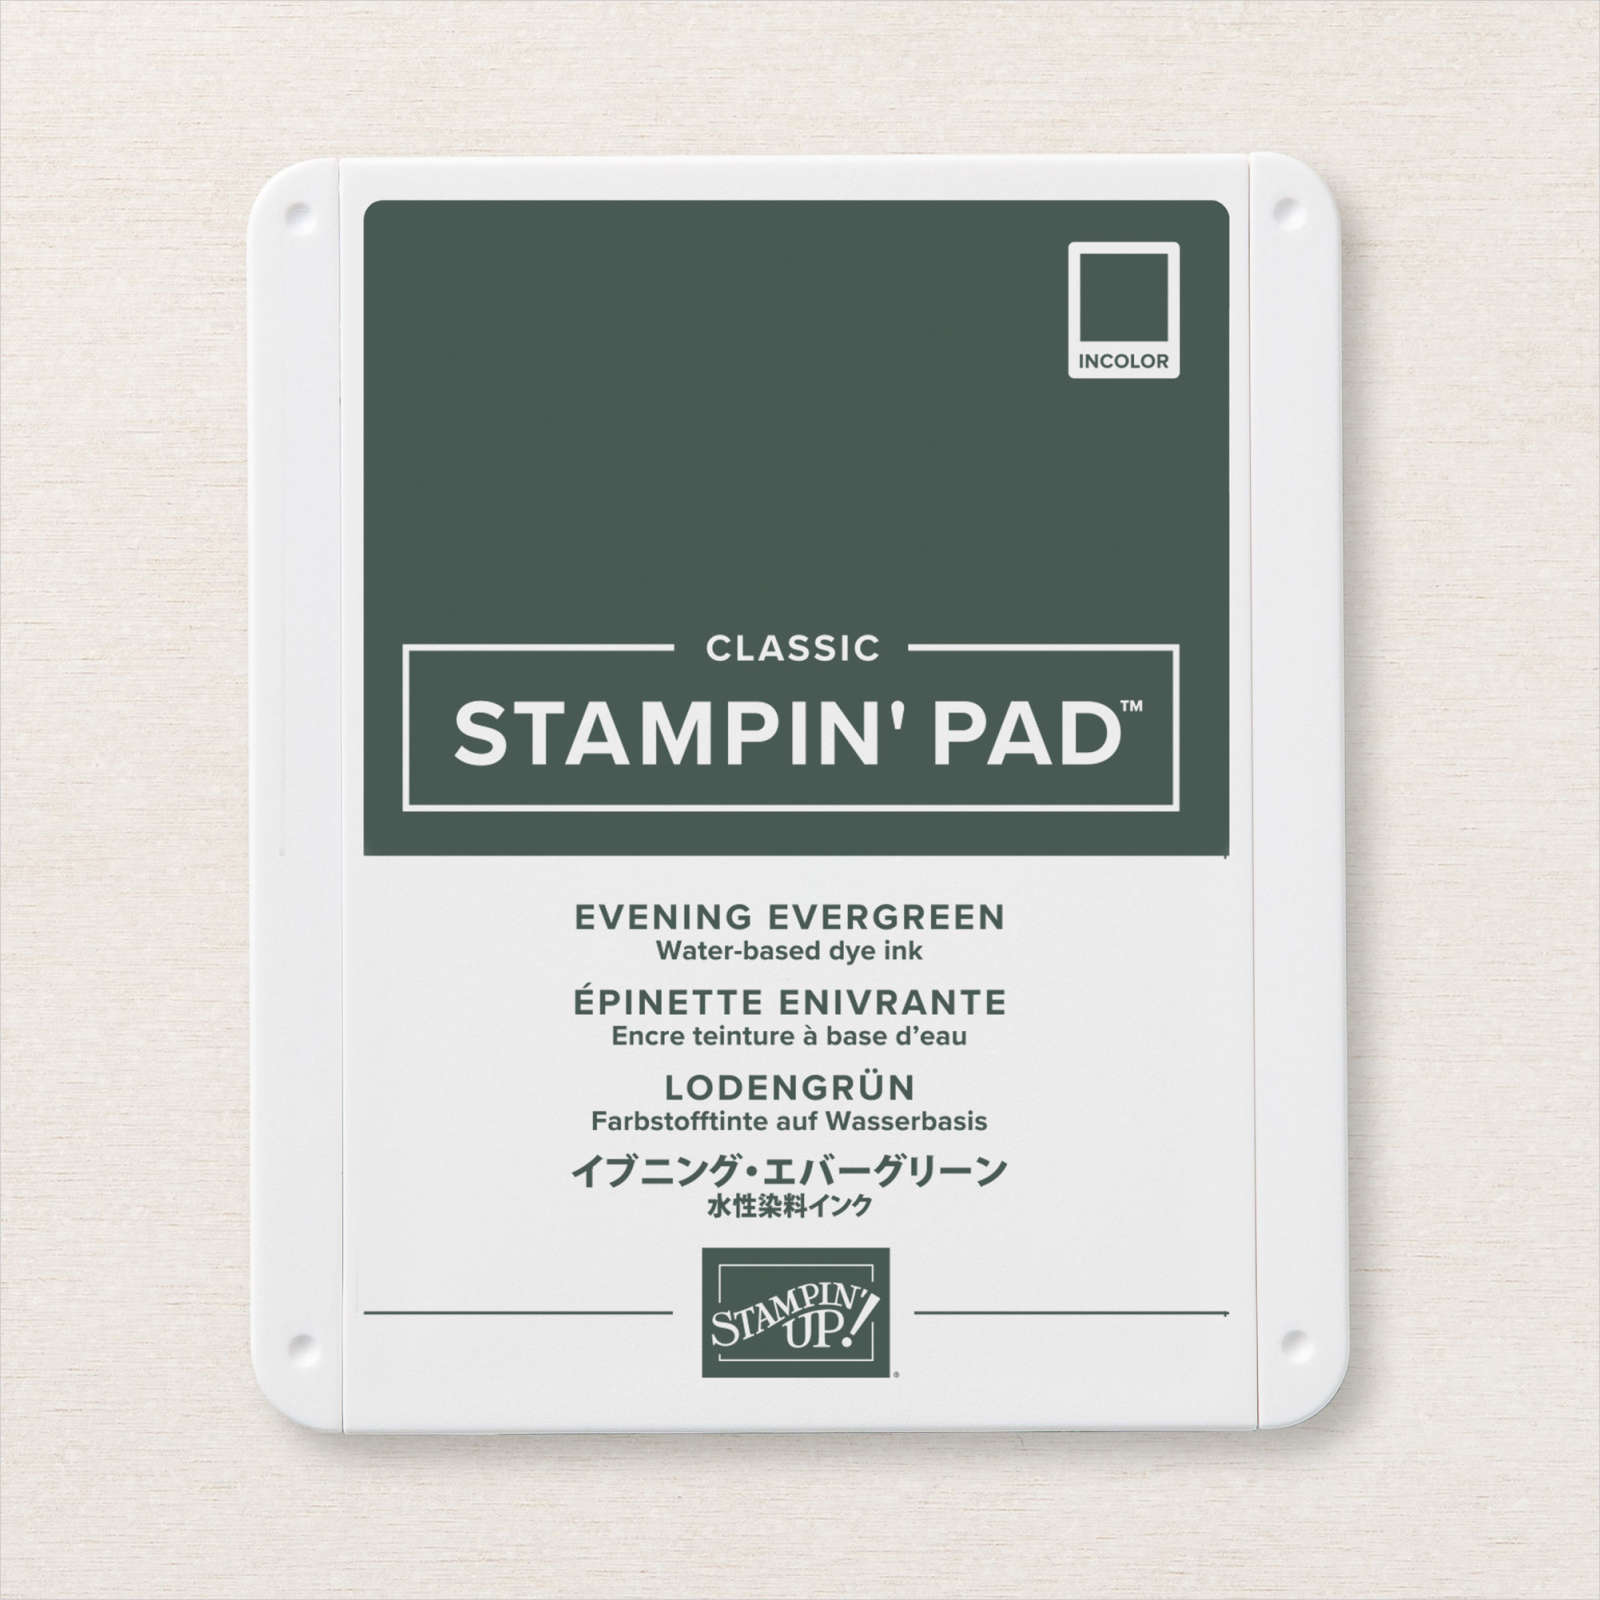
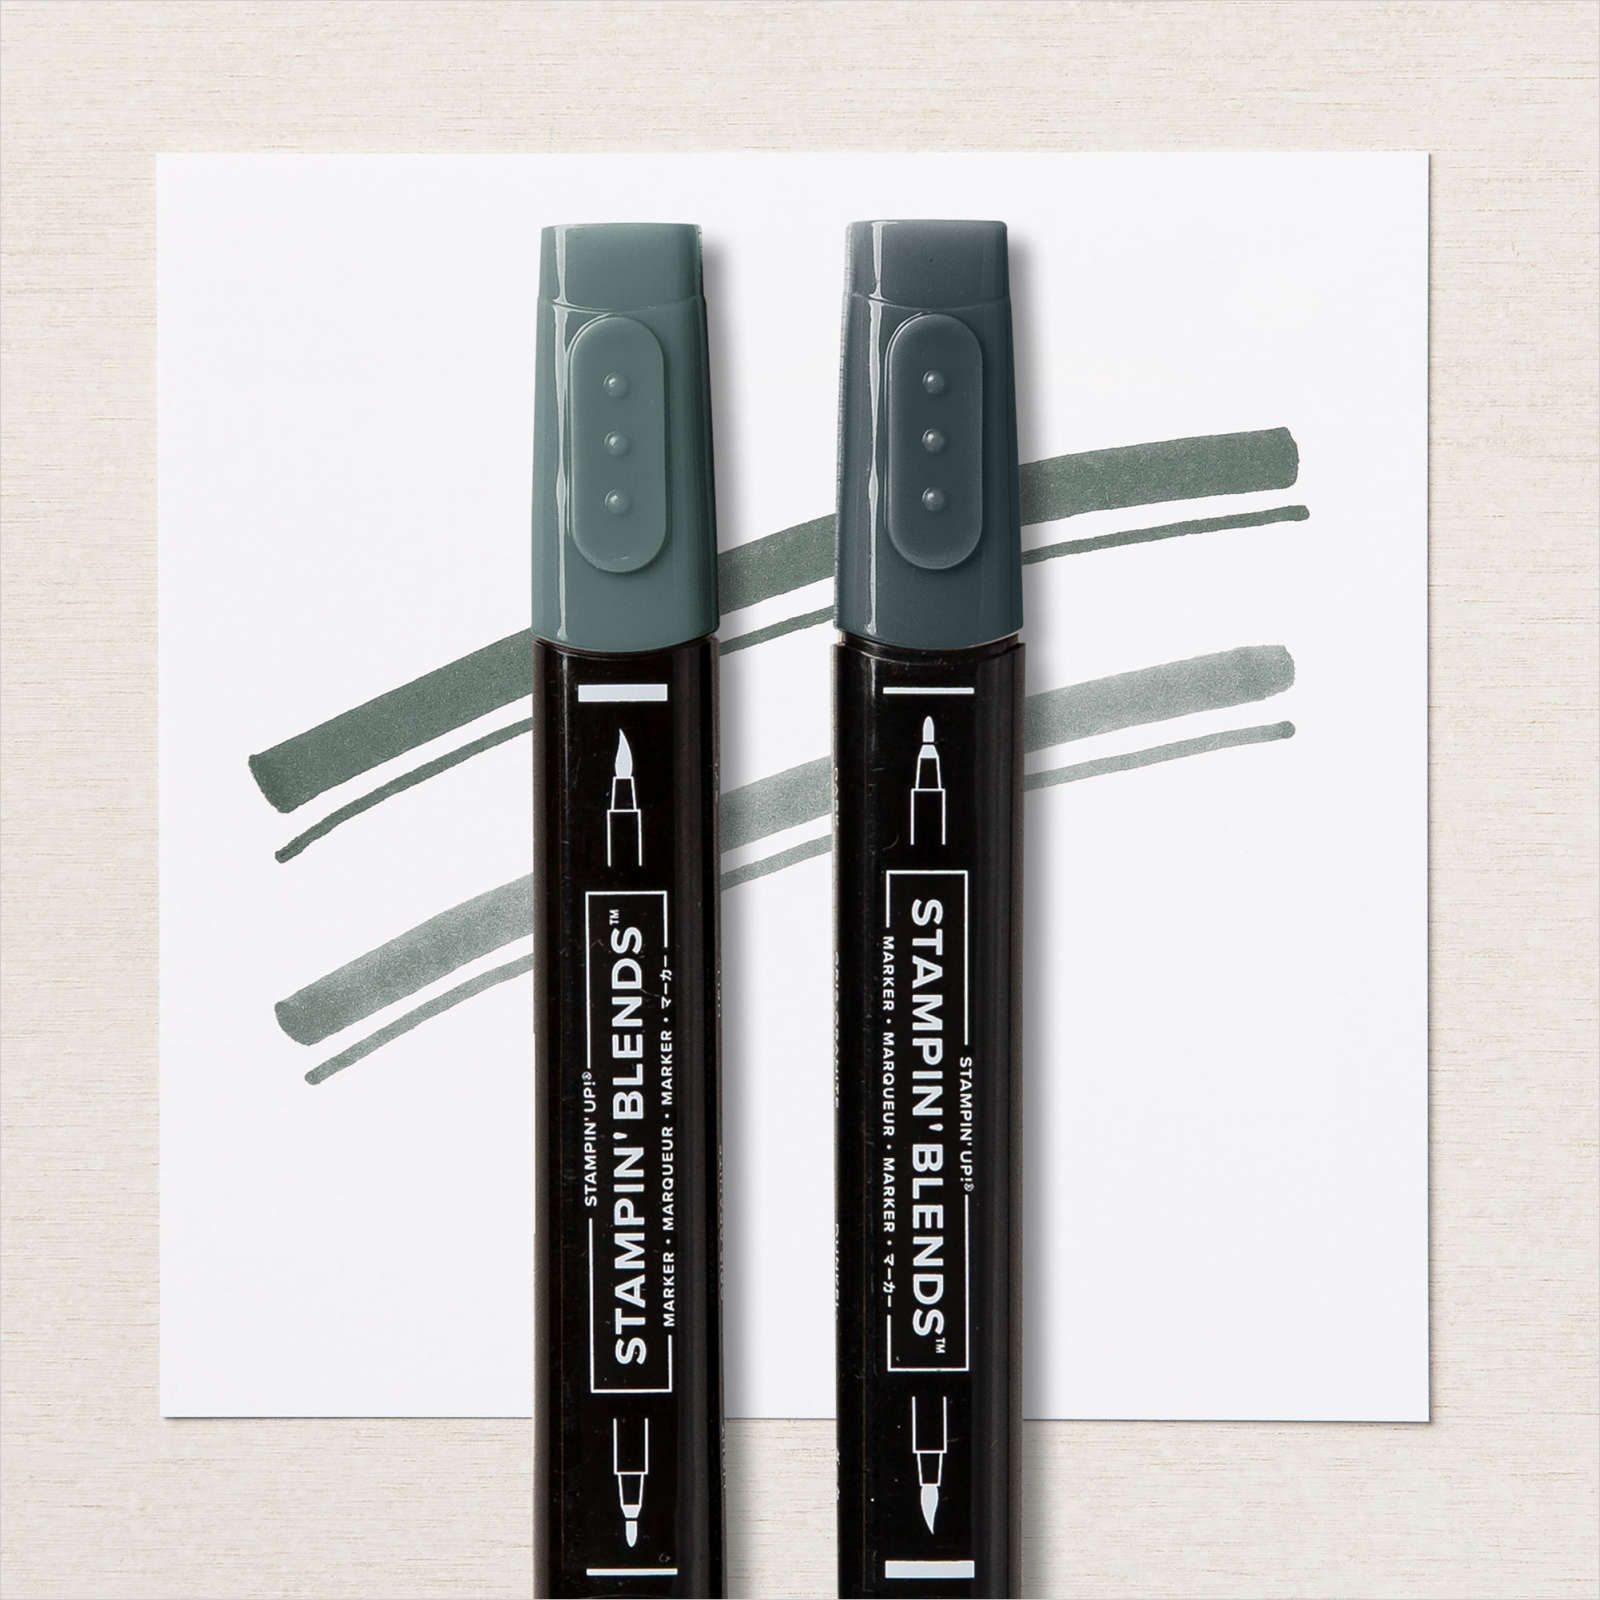
Today’s Christmas Card uses the Festive Foliage stamp which is the size of a full card front. I stamped the Festive Foliage stamp onto Basic White card using Evening Evergreen ink. I used Soft Succulent and Evening Evergreen Stampin’ Blends individually and in different combinations to colour the leaf images. I added just a little colour to the open circles on the image using the Dark Cherry Cobbler Stampin’ Blend.

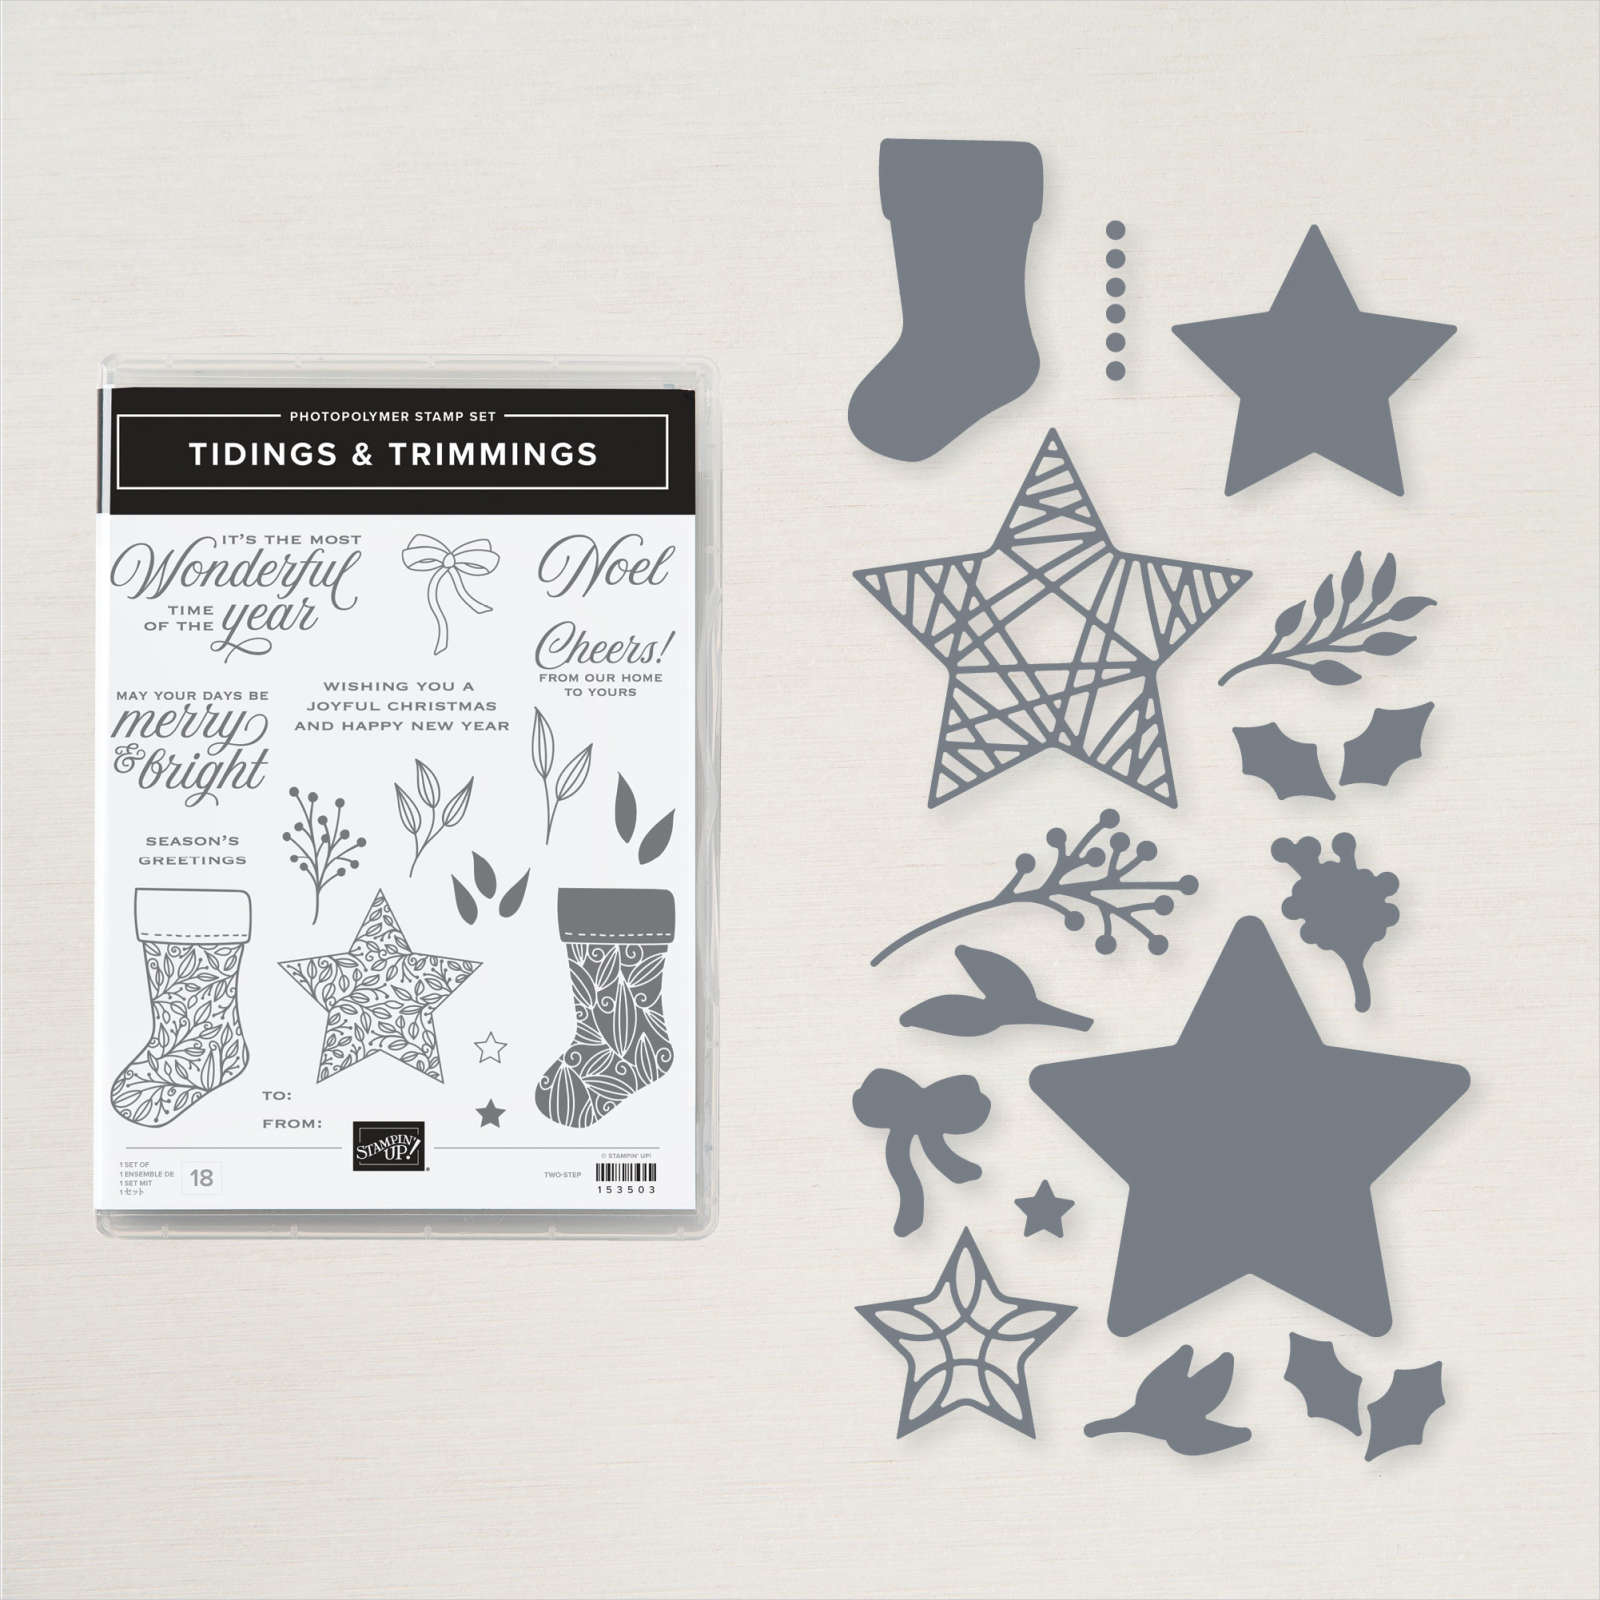
I cut the image using one of the Stitched Rectangle Dies and attached it to a scored and folded Evening Evergreen card base. I cut Evening Evergreen card using the large star image from the Christmas Trimmings Dies and attached it to the centre of the stamped panel. I stamped “Noel” from the Tidings & Trimmings stamp set onto Basic White card using Cherry Cobbler ink. I punched the greeting using the Double Oval Punch and attached it to the centre of the die cut star using dimensionals.

To decorate the inside of the card, I stamped another greeting from the Tidings & Trimmings stamp set onto Basic White card using Cherry Cobbler ink. I stamped the open three leaf image from the Tidings & Trimmings stamp set beside the greeting using Evening Evergreen ink. I stamped the fill image from the Tidings & Trimmings stamp set using Soft Succulent ink.
I really love this background stamp and overlooked it completely when I first looked through the catalogue. Perhaps you have too.
Bye for now,
Kris
Product Used:


Vellum Embossing
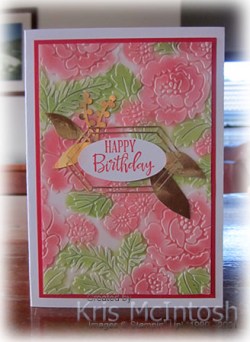
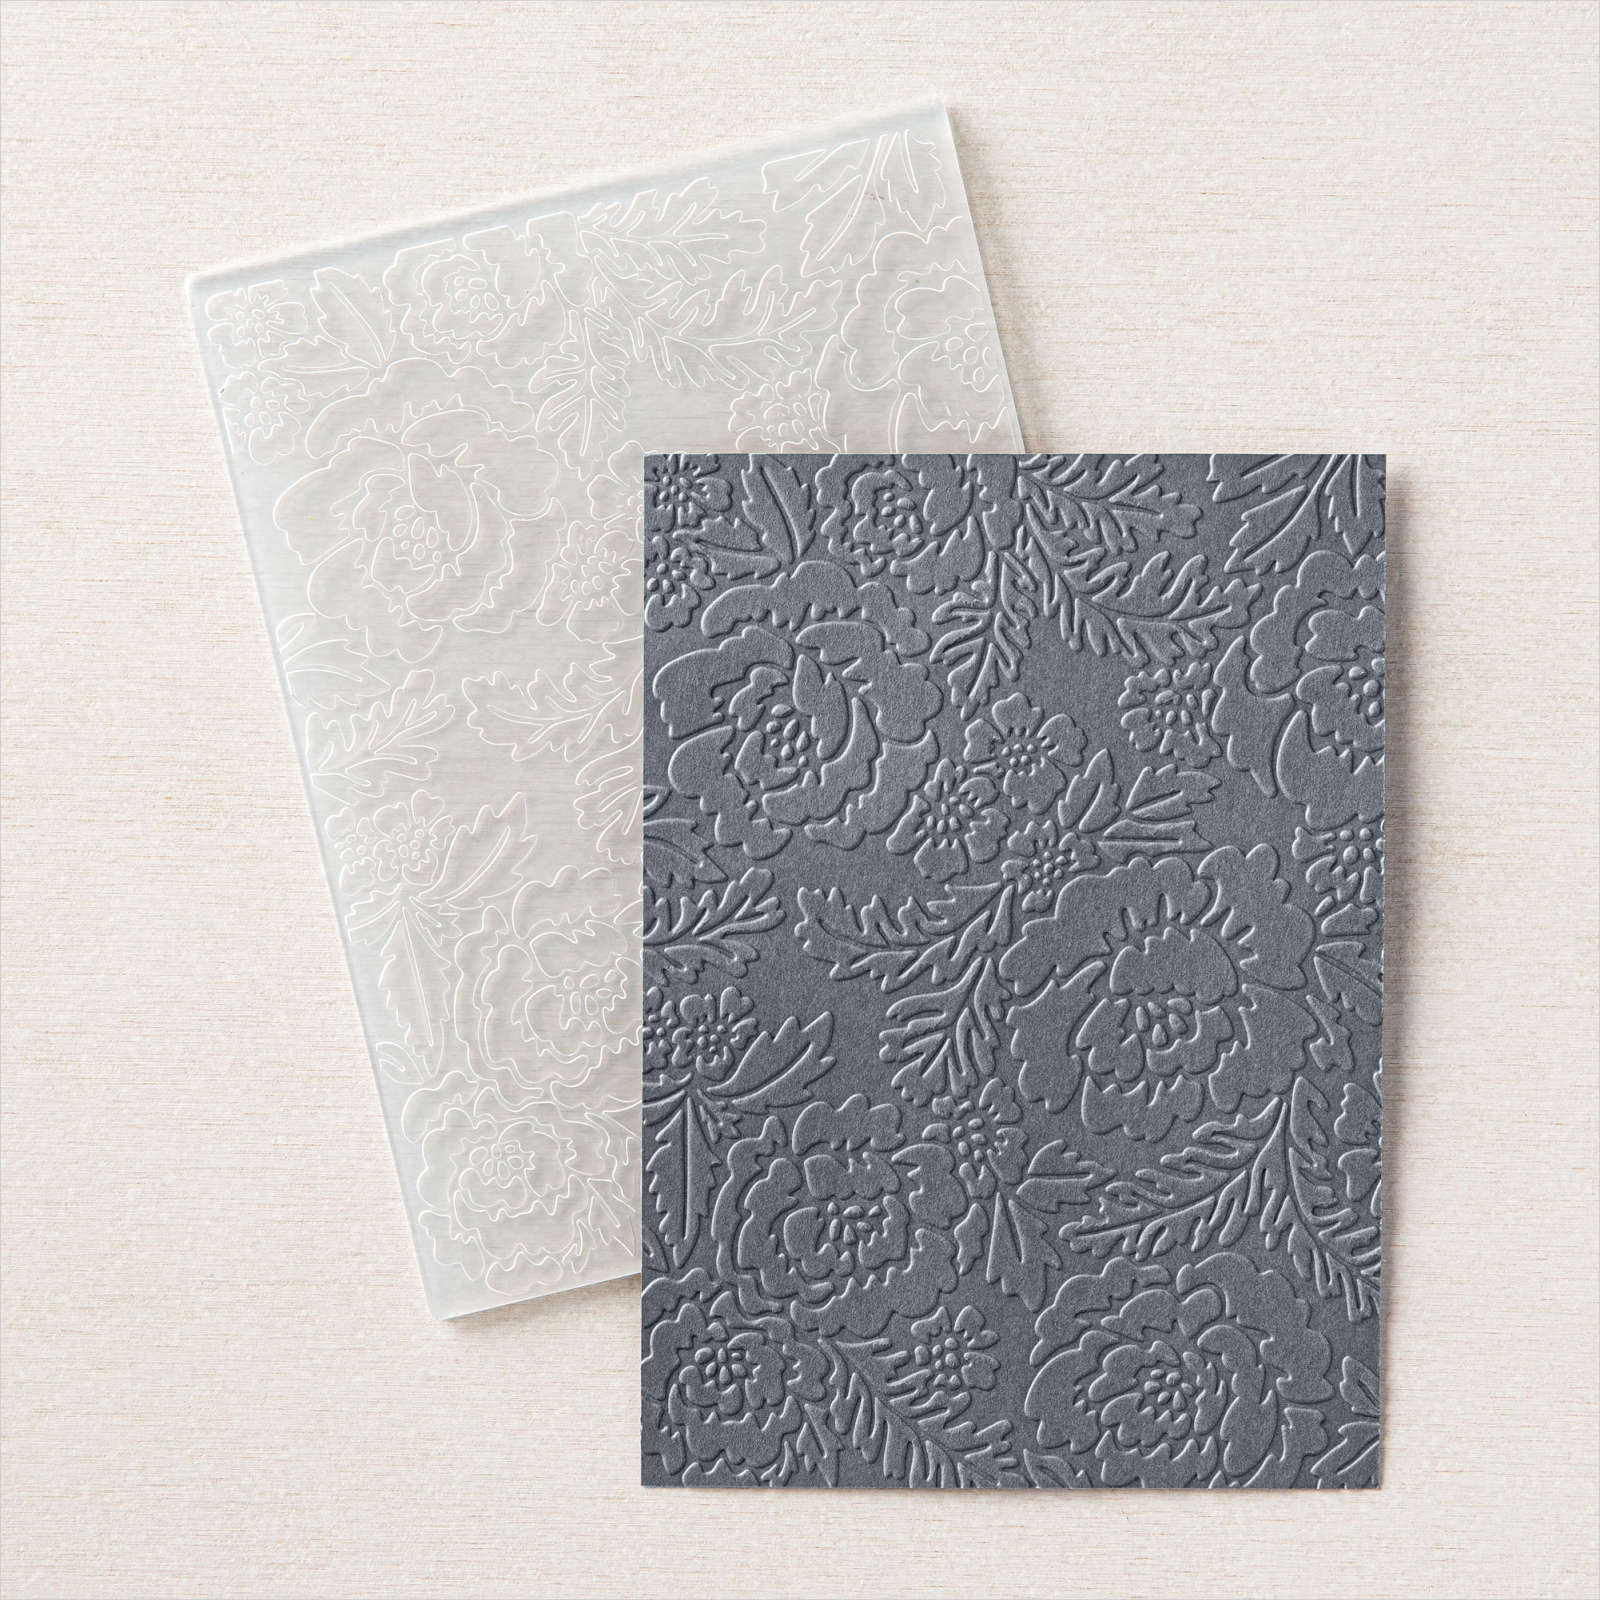
Today’s card was inspired by one I saw somewhere on Pinterest (I think) that used the Pretty Flowers Embossing Folder to create the focal image for a card. I liked the idea and needed to make a card for a special friend and decided to give it a try. I embossed Vellum card using the Pretty Flowers Embossing Folder. I added Poppy Parade, Flirty Flamingo and Granny Apple Green ink to the back of the embossing folder using a Sponge Dauber. I attached the embossed and coloured Vellum to Basic White card and then Poppy Parade card.

The whole panel is attached to scored and folded Thick Basic White card. I stamped the greeting from the Peaceful Moments stamp set onto Basic White card using Poppy Parade ink.
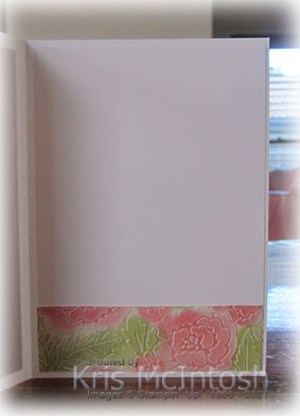
I punched out the greeting using the Double Oval Punch. I added some leaves and a frame from the Expressions in Ink Ephemera Pack to the card front before attaching the greeting to the centre of the fame using dimensionals. To decorate the inside of the card, I created another embossed and coloured Vellum panel. I attached the Vellum to Basic White card and then across the bottom of another Basic White panel.
I really love how soft and pretty this card turned out. I think I am going to have to give this a try in some different colours.
Bye for now,
Kris
Product Used:


18th Birthday

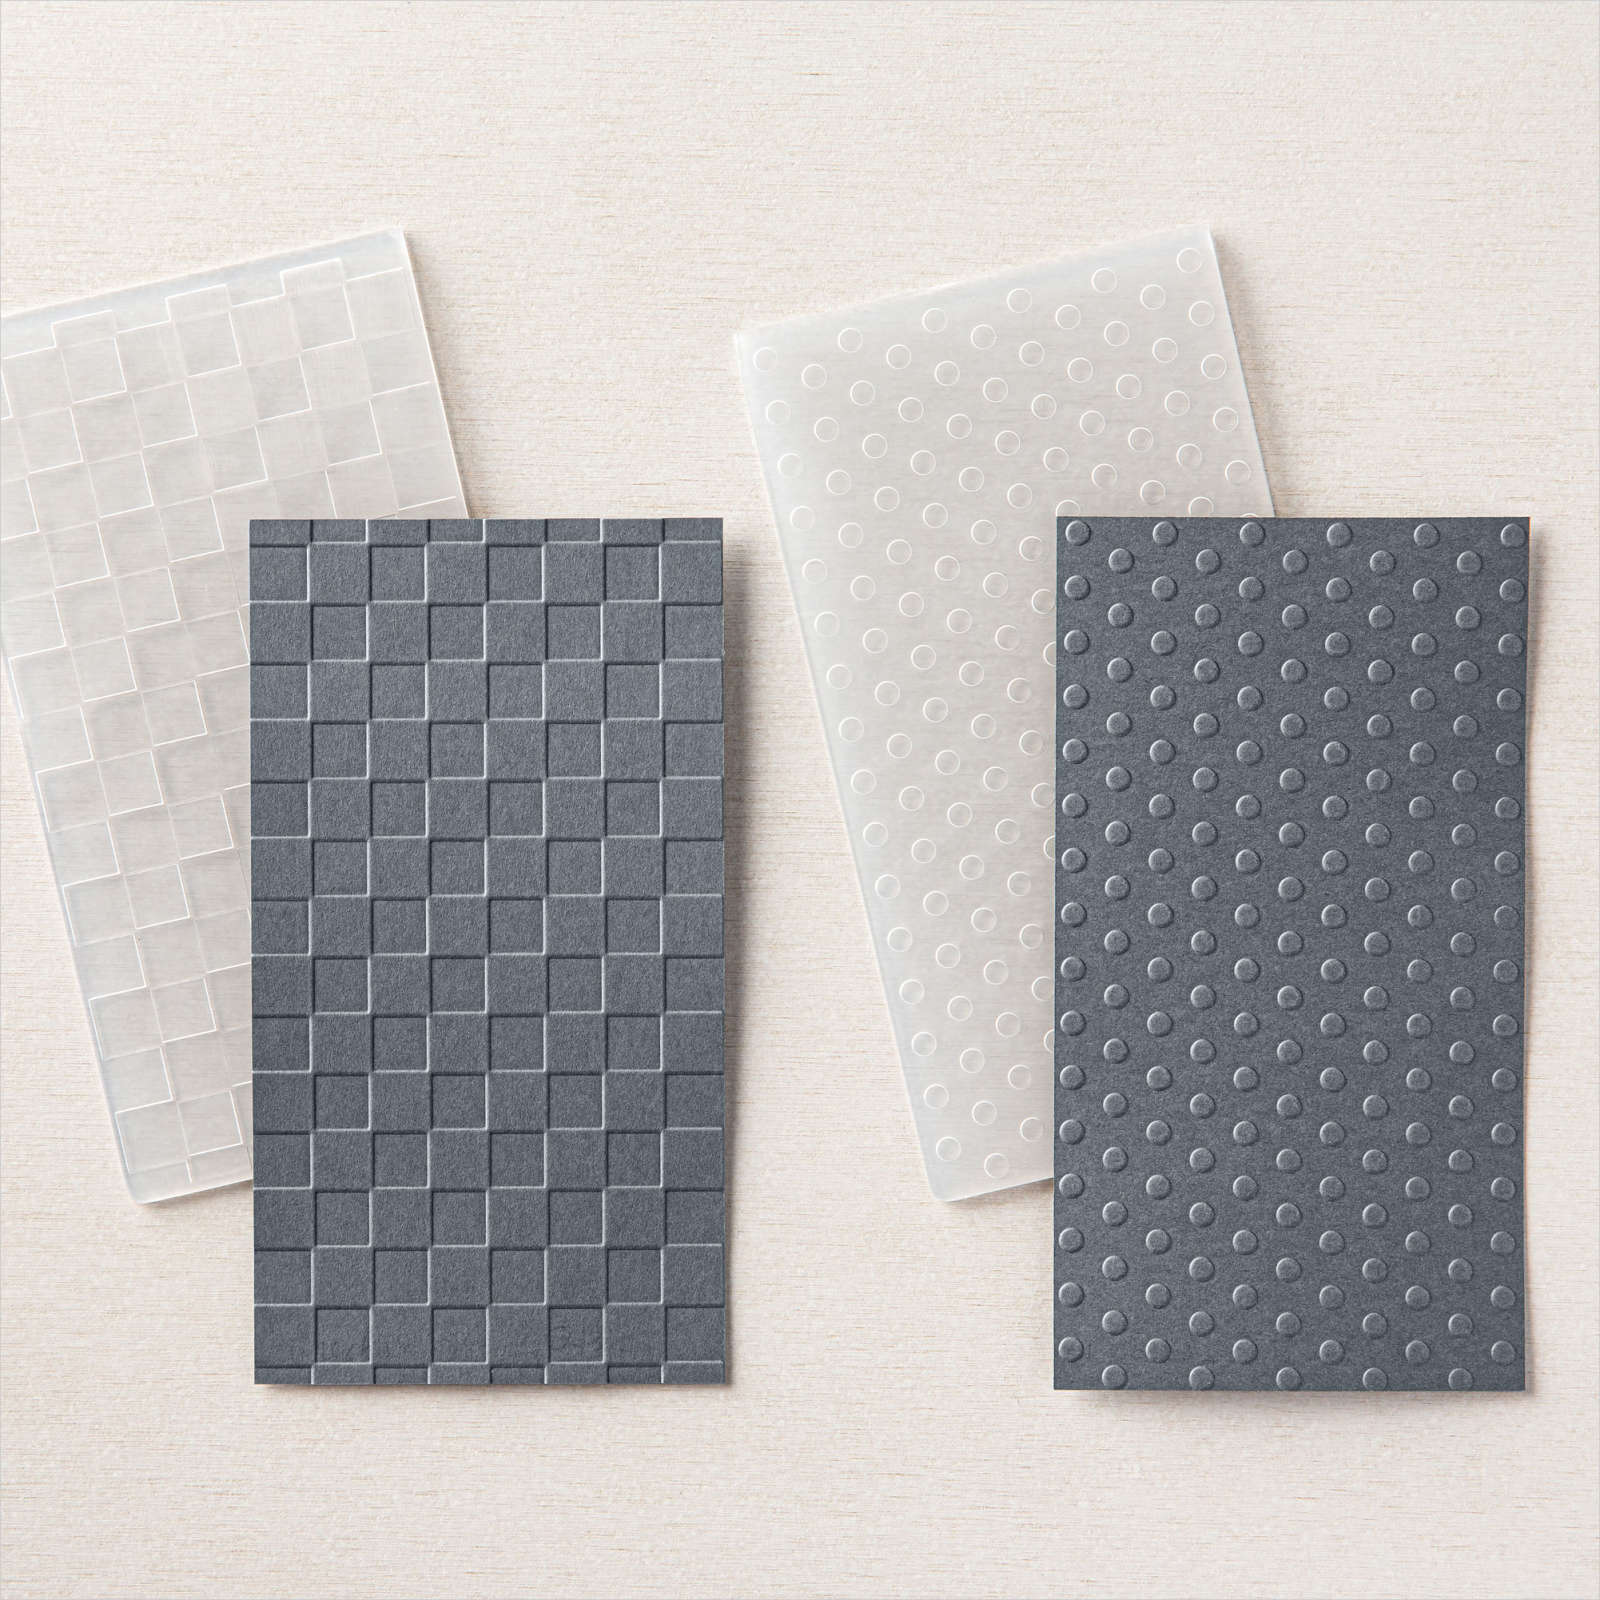
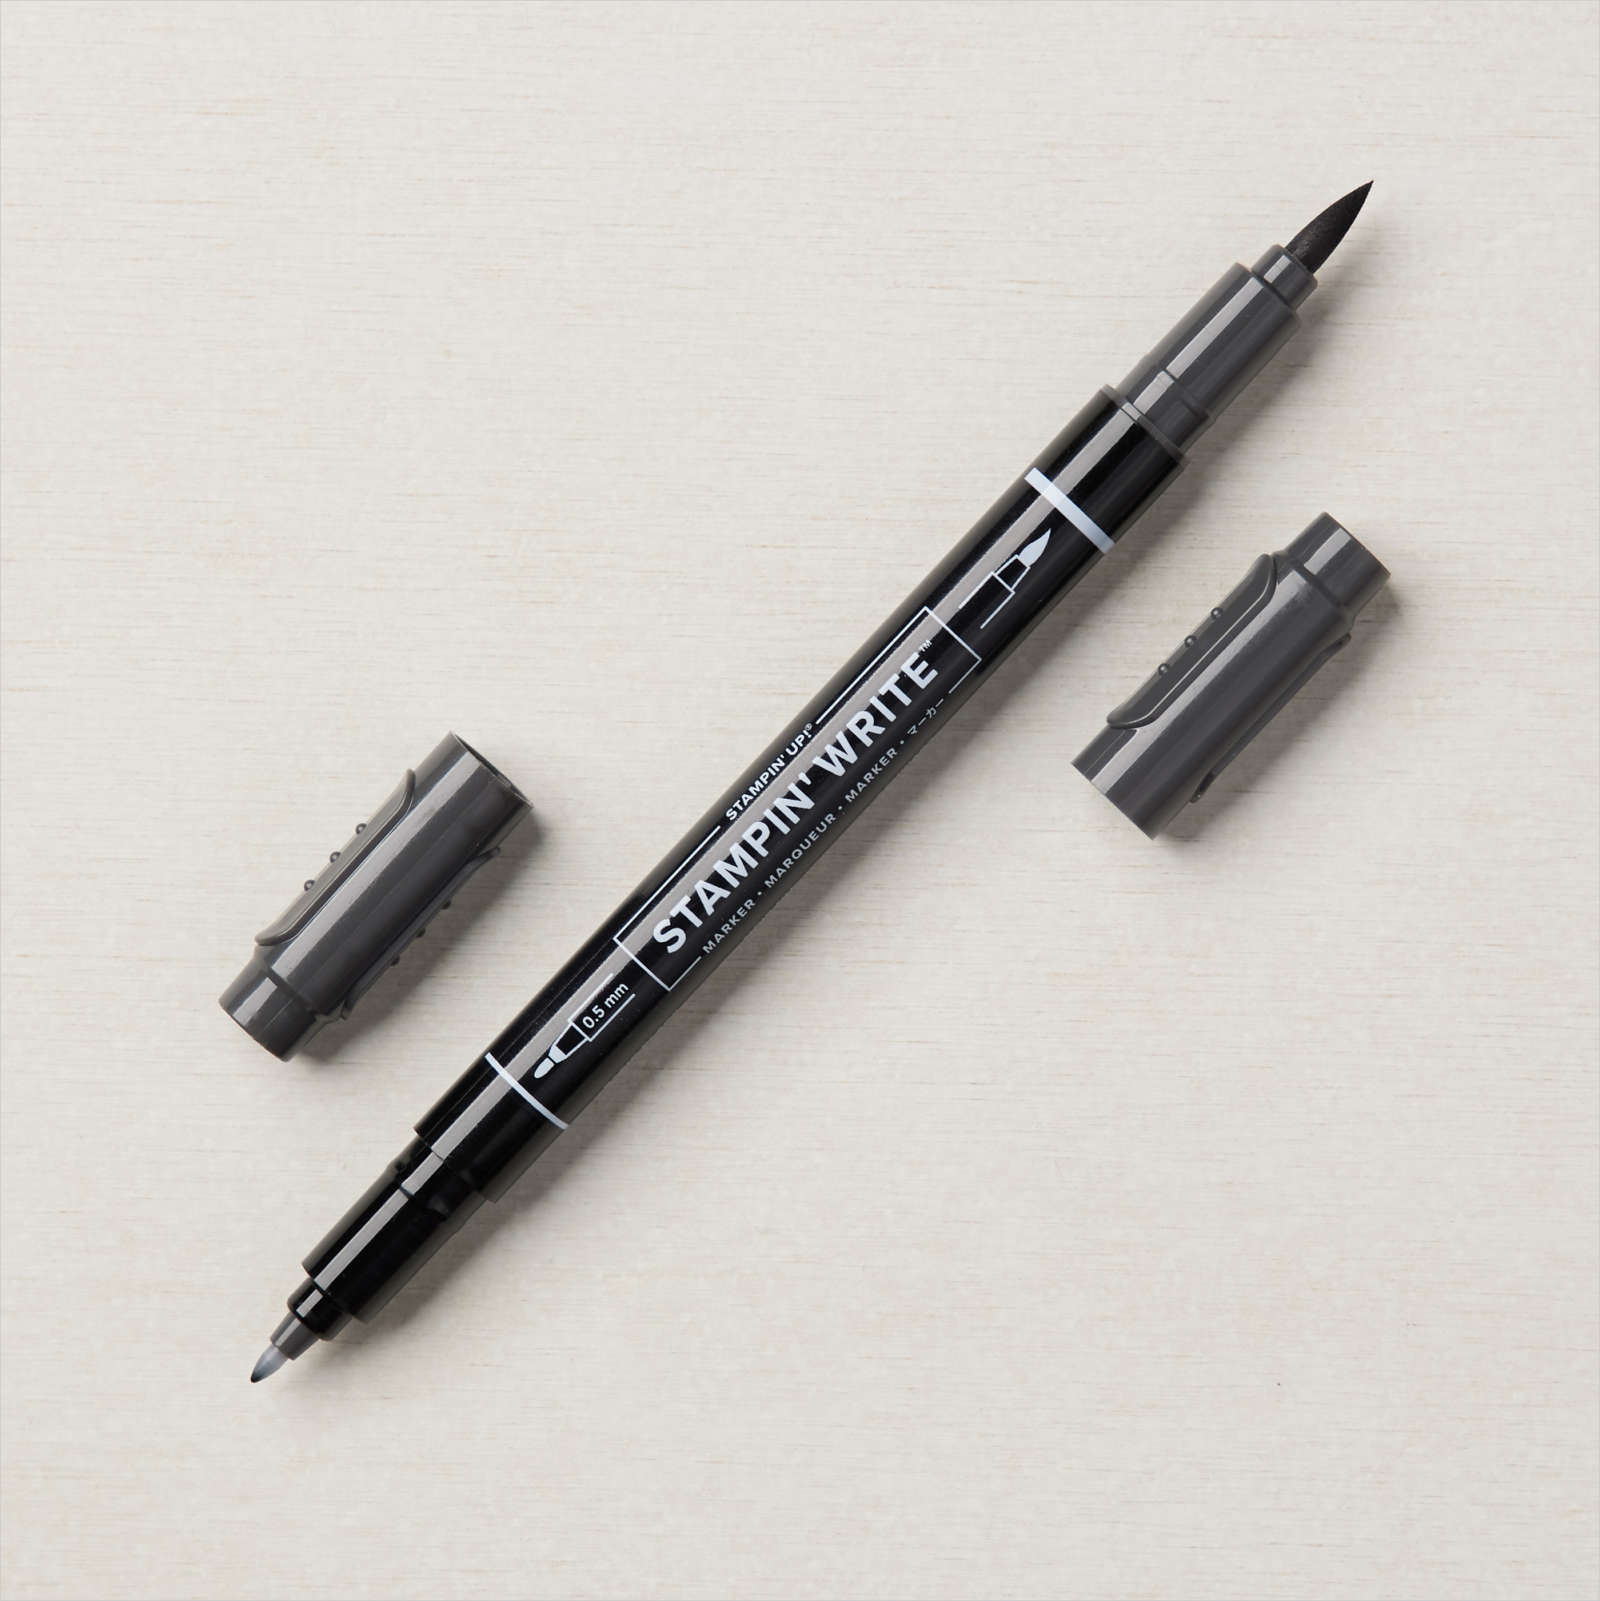
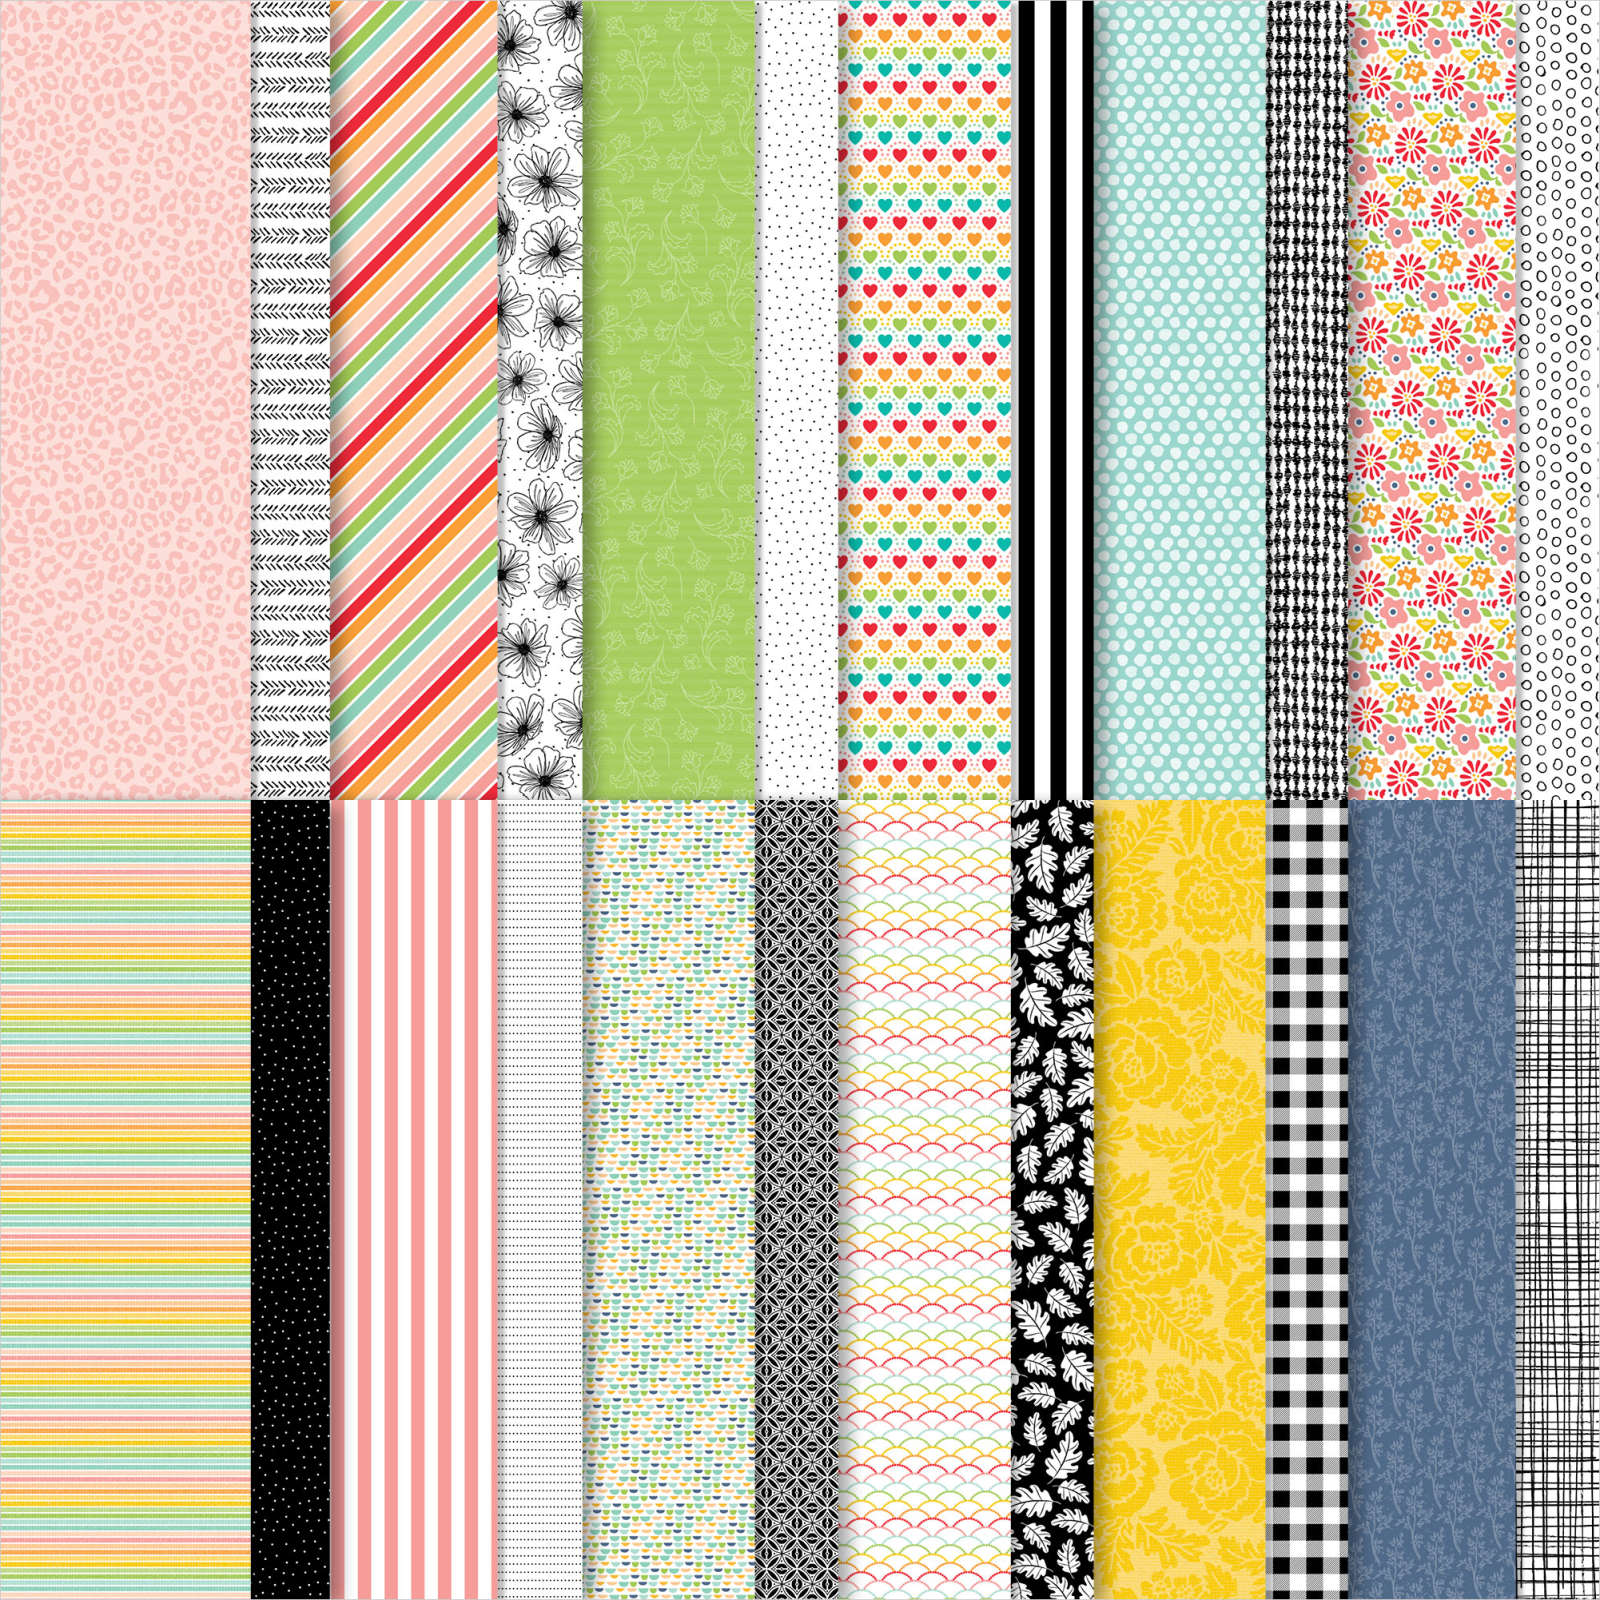
I was going through some photos which I had removed from old albums and have sitting waiting for me to included them on a Memory Keeping page and I found this one from my 18th Birthday. It’s a lovely photo of me with my two sisters. To create the page, I attached a piece of Pattern Party Designer Series Paper to Basic Black card and then a Basic White 12″ x 12″ page. I embossed a strip of Basic White card using the dotted folded from the Checks & Dots Embossing Folders and attached it to Basic Black card. I attached the panel across the page closer to the bottom edge. I attached my photo to Basic Black card and then to the page on a slight angle (when I look at the photo maybe its a little too angled!). I cut Basic White card using the Layering Circle Dies and stamped the “th” in the birthday greeting from the Timeless Tropical stamp set by inking using my Basic Black Stampin’ Write Marker.

I re-inked the “birthday” once more using the Basic Black Stampin’ Write Marker and stamped it below the “th”. I cut the 18 from Basic Black card using the Playful Alphabet Dies and attached it next to the “th”. I attached the greeting panel to a Basic Black scalloped circle cut using the Layering Circle Dies. The panel is attached to the right hand side of the page. I stamped the rose image from the Sentimental Rose stamp set four times onto Basic White card using Cherry Cobbler ink. I cut out two full roses and two I cut away the outside petals. I stamped the leaf image from the Sentimental Rose stamp set three times onto Basic White card using Shaded Spruce ink and cut them out. I attached the smaller floral pieces to the centre of the full flowers using dimensionals before layering the flowers and leaves onto the bottom of the photo. As a final touch I added some large Basic Pearls to the centre of the flowers.
Such a simple page but it brings back lots of memories and I love that I keep finding ways to use the stamp set from the Sentimental Rose all inclusive card kit.
Bye for now,
Kris
Product Used:


Thinking of You
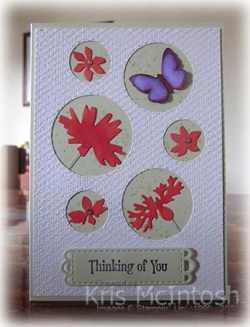
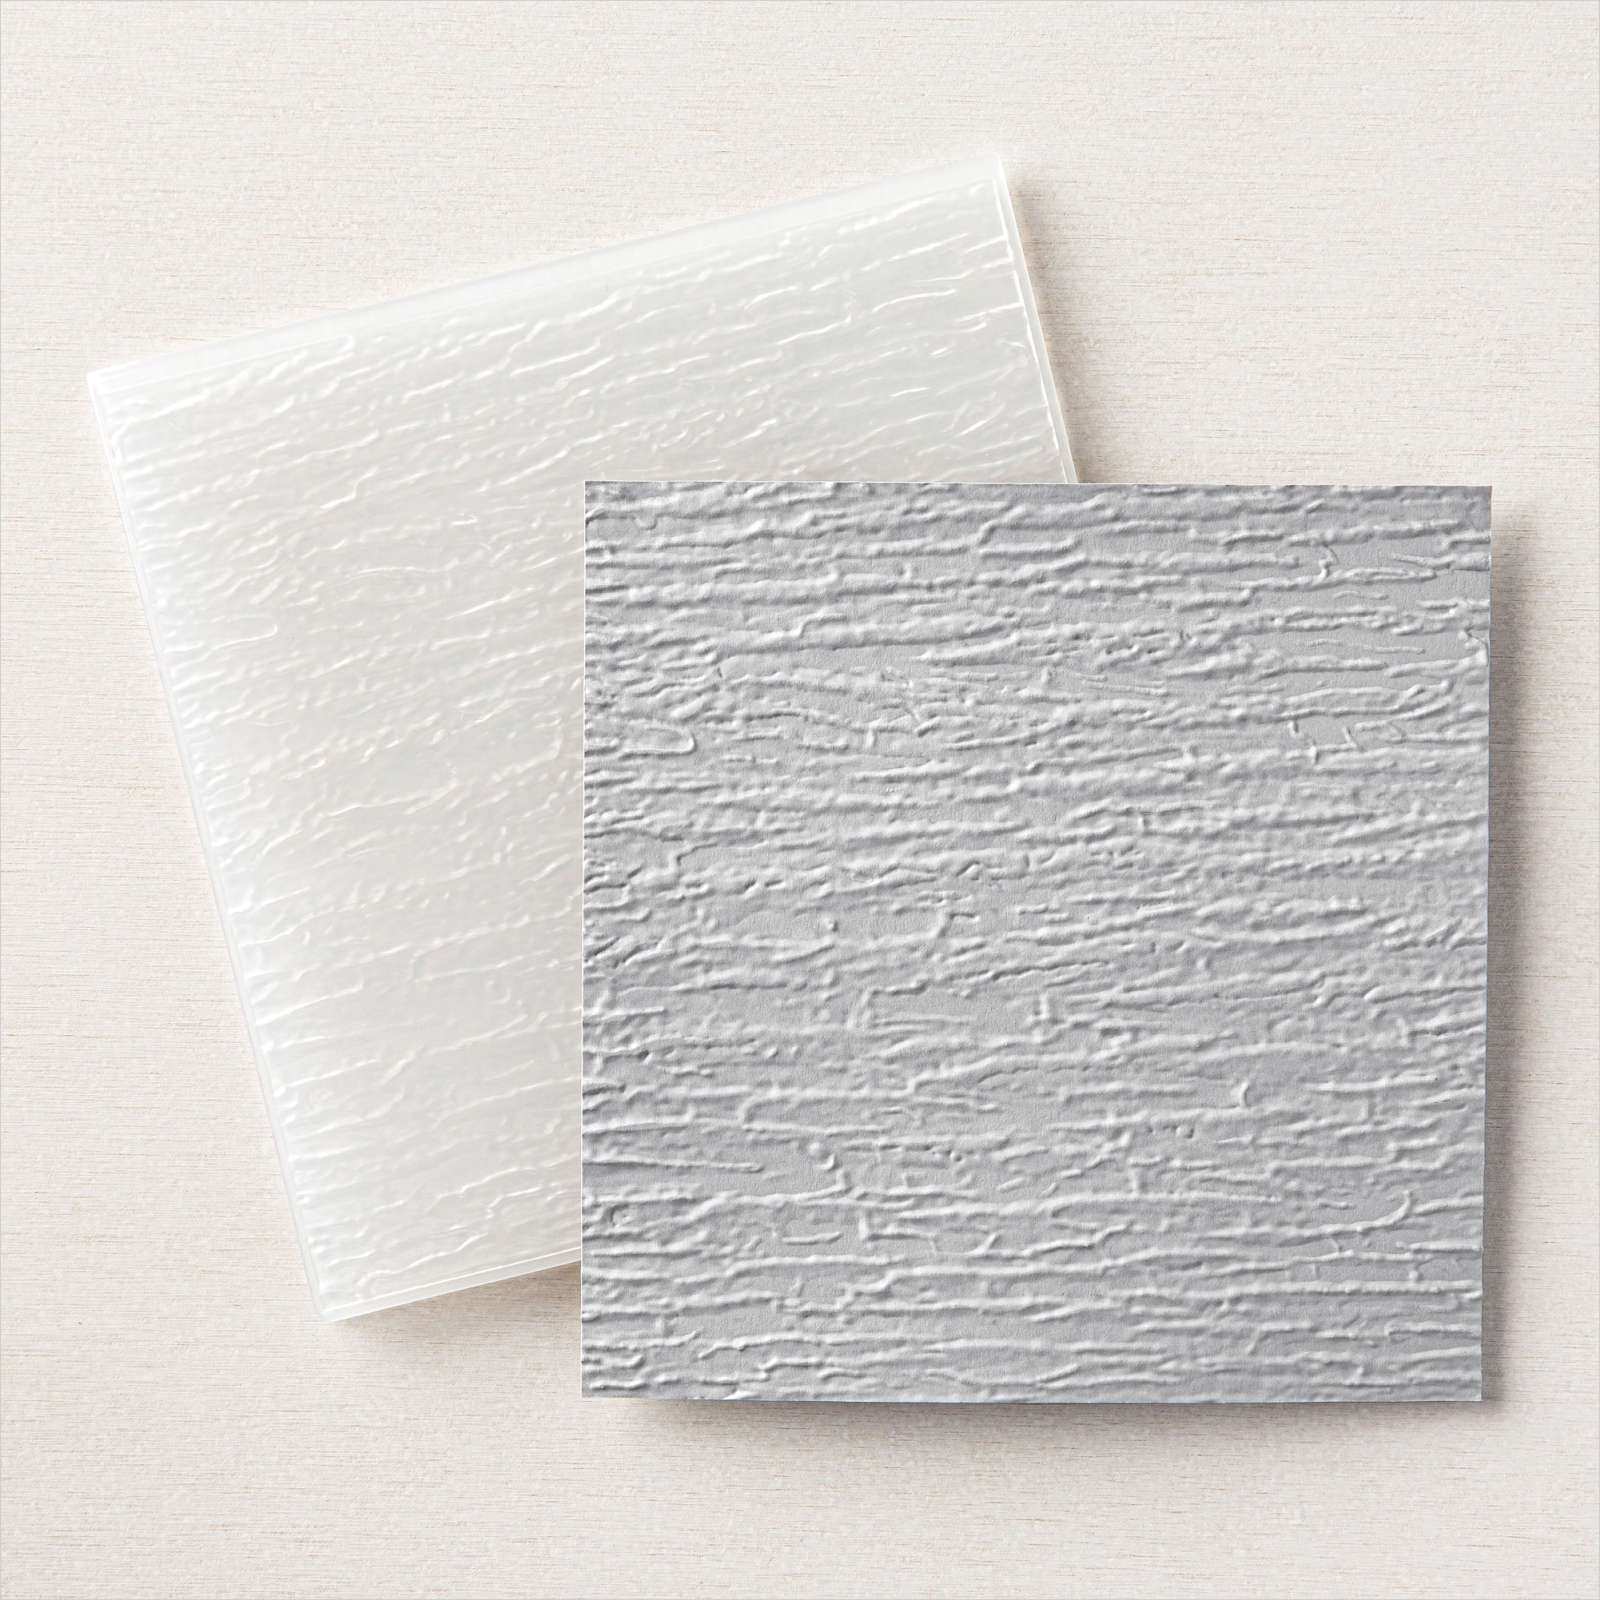
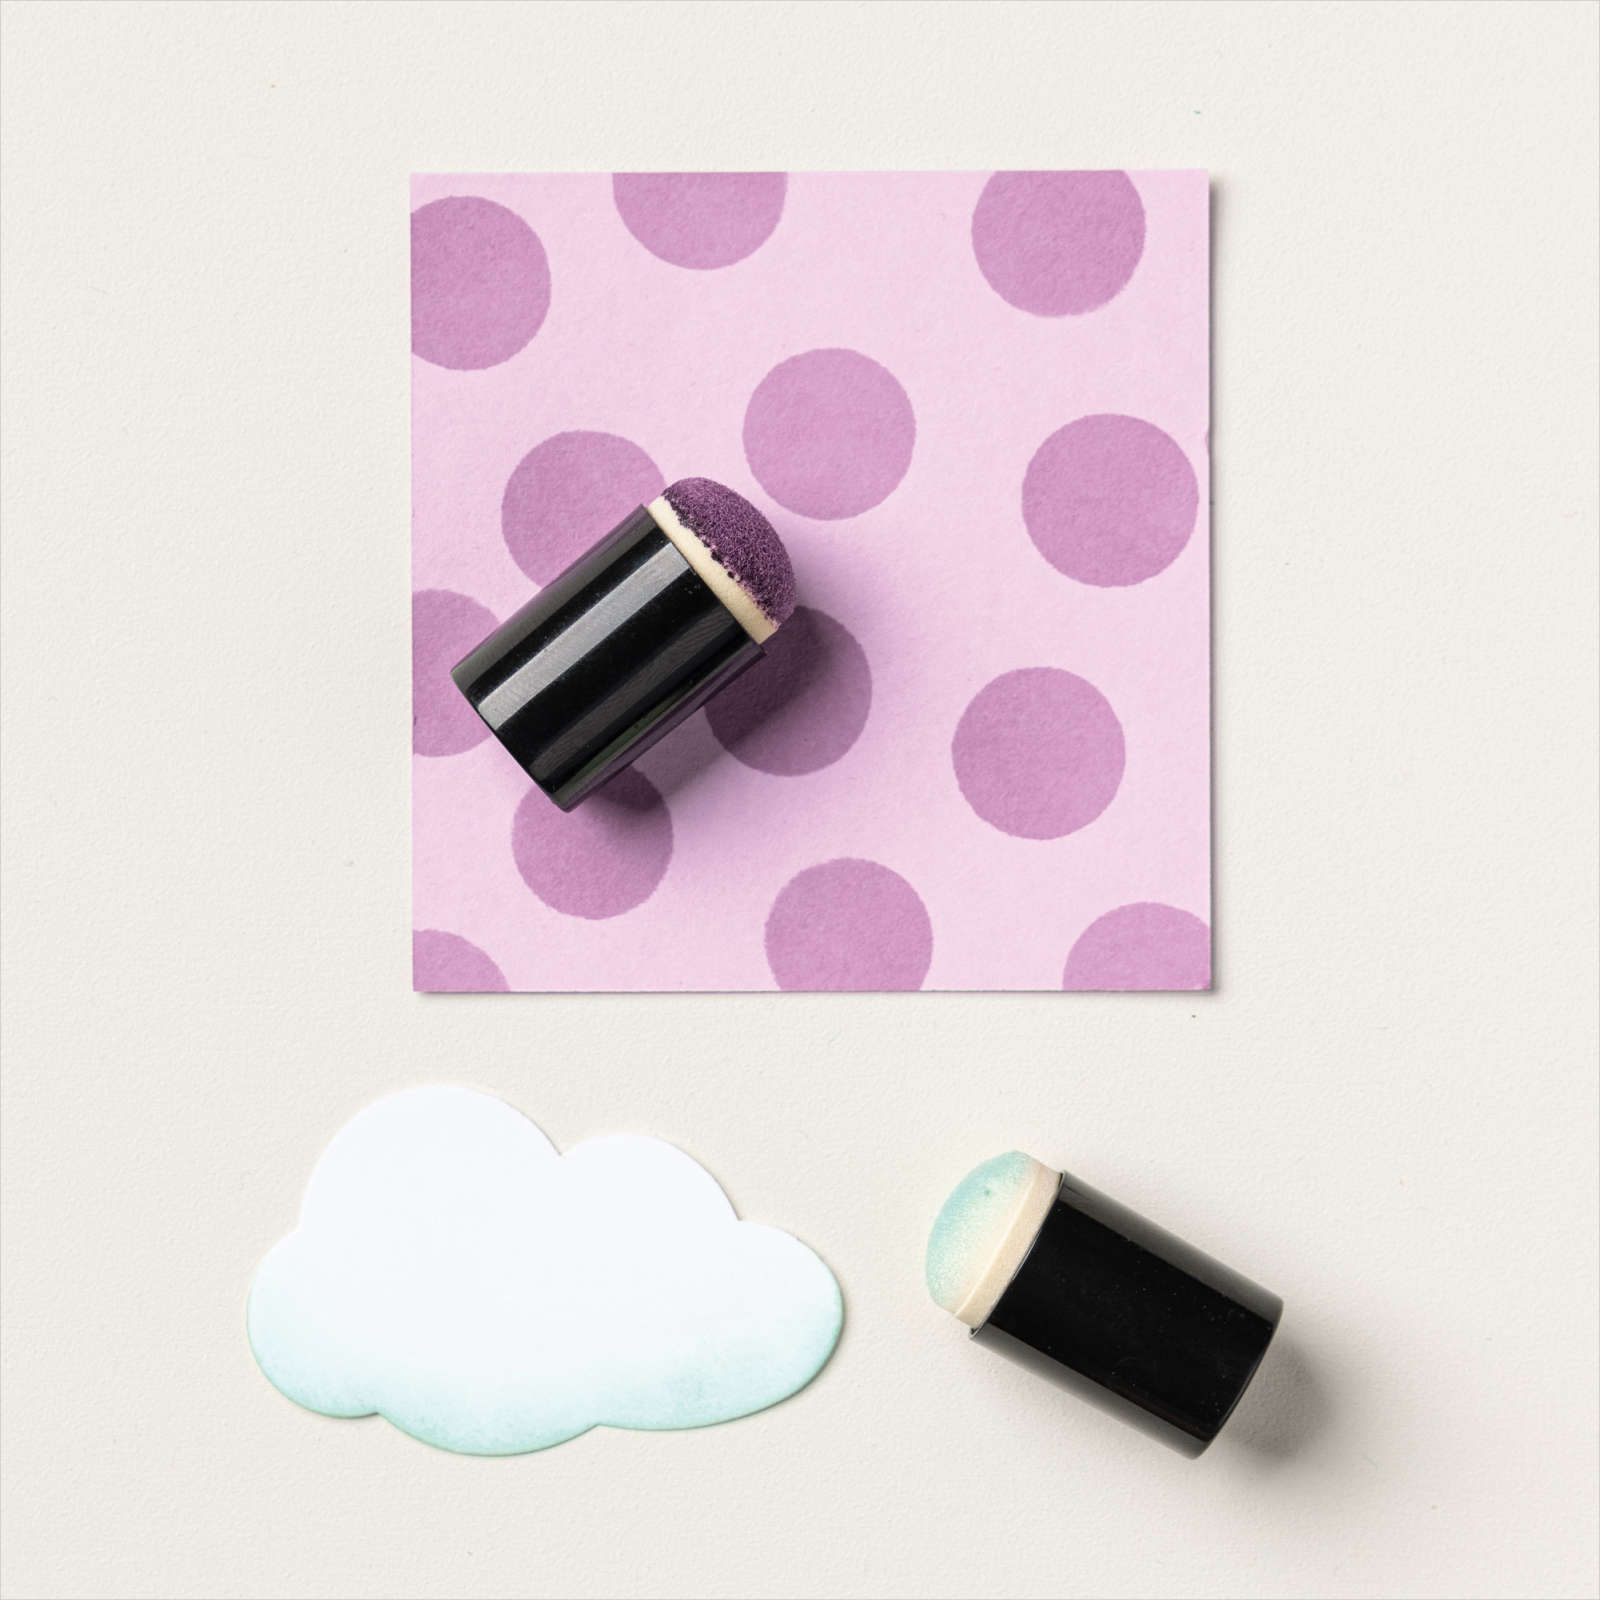
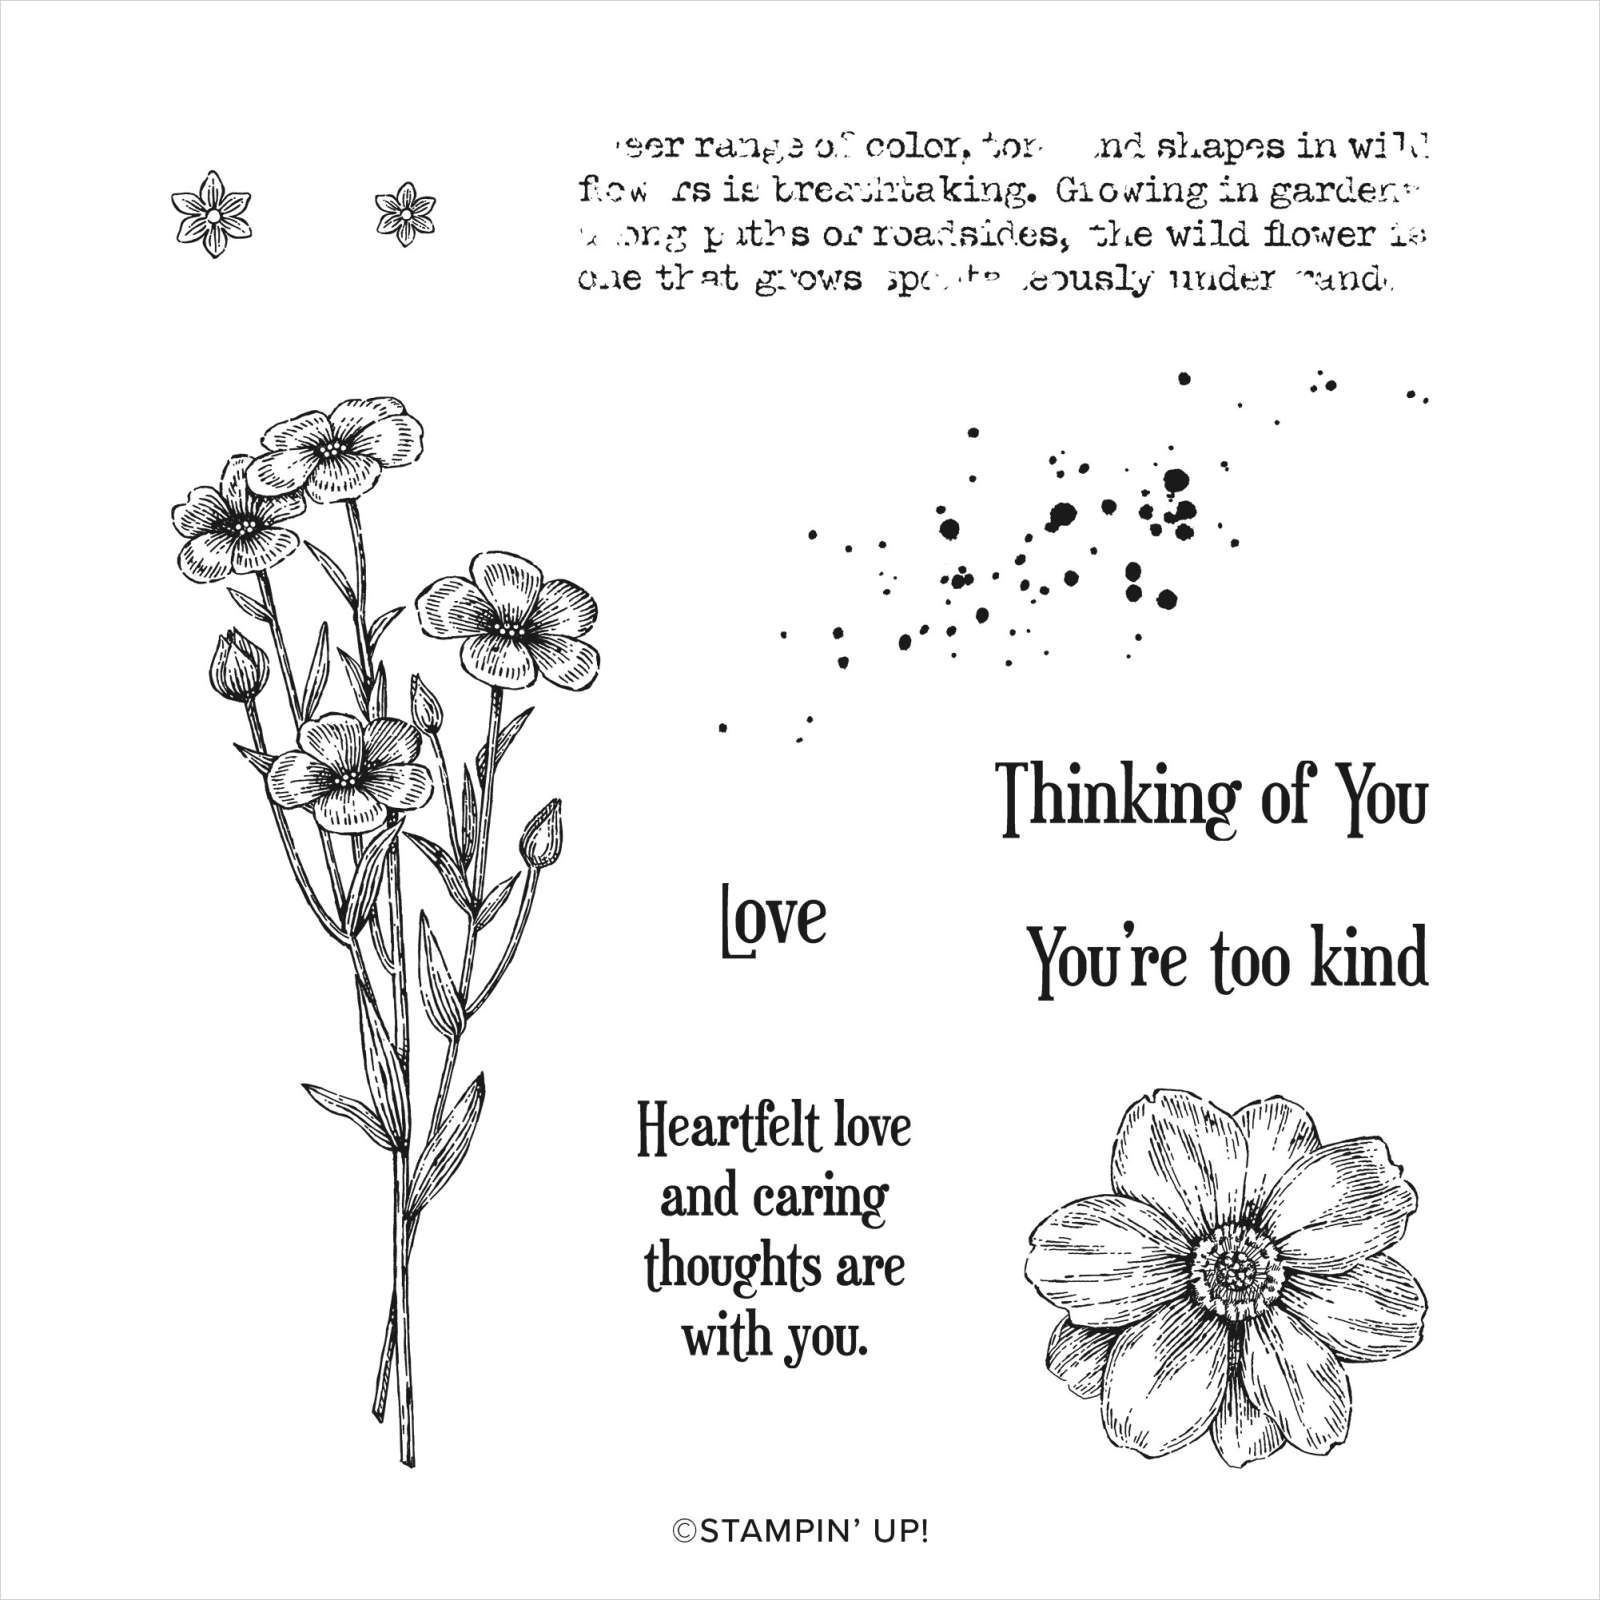
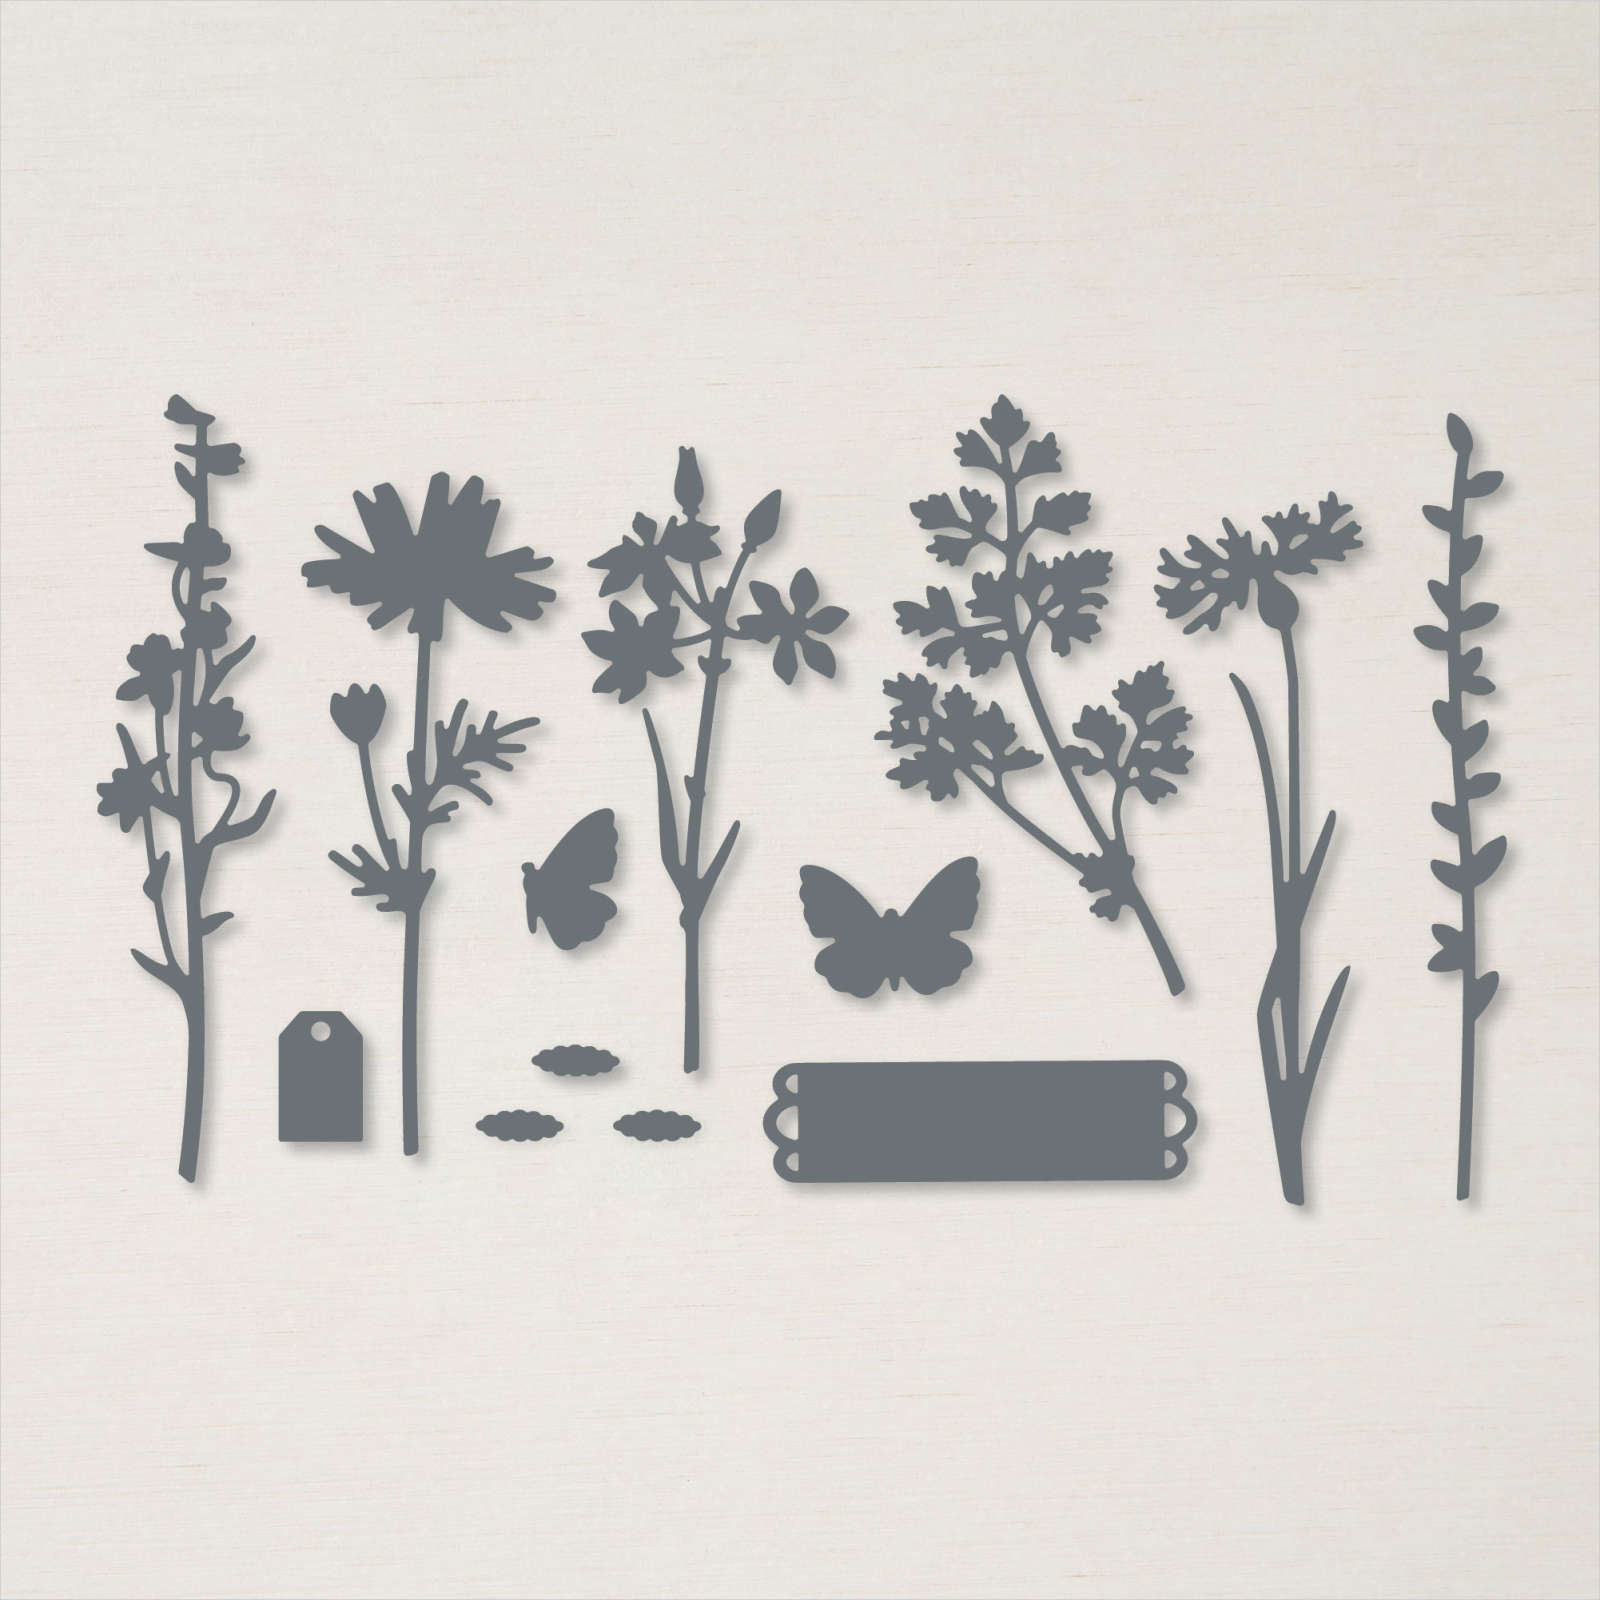
For today’s peek-a-boo card, I cut Basic White card using the circle die from the Picture This Dies. I cut the openings so that they were closer to the top of the card and embossed the panel using the Tasteful Textile 3D Embossing Folder. I stamped the “dotted” background image from the Quiet Meadow stamp set onto scored and folded Soft Sea Foam card using Soft Sea Foam ink. I used the Meadow Dies to cut some flowers and a Butterfly from Basic White card.

I used Dark Calypso Coral, Dark Mint Macaron, Dark Blackberry Bliss and Highland Heather Stampin’ Blends to colour the images. I cut the small flowers apart and attached them inside the small round openings.

I attached the larger flowers so that they peeked out of two of the larger circles and the butterfly so that it sits inside the last circle. I stamped “thinking of you” from the Quiet Meadow stamps set onto Soft Sea Foam card using Gorgeous Grape ink. I cut out the greeting using the label from the Meadow Die and attached it to the bottom of the card front using dimensionals. To decorate the inside of the card, I cut one of the flowers from Basic White card using the Meadow Dies. I coloured the image using the Dark Calypso Coral and Dark Mint Macaron Stampin’ Blends before attaching it to the lower left hand side of Basic White card.
I really love how the images pop on this card, don’t you.
Bye for now,
Kris
Product Used:


Peek-a-boo Birthday
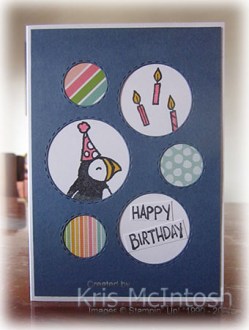
Yesterday in my Facebook Live, I shared some cards created using the Picture This Dies. These dies from the Annual Catalogue are stand alone dies, they do not co-ordinate specifically with any stamp set in the catalogue but can be used in any way you wish. For today’s card, I cut a card front sized piece of Misty Moonlight using the circle card front die. At the same time I cut a card front sized piece of scrap paper using the same dies. I used the template to stamp the Puffin and candle images from the Party Puffin stamp set onto a scored and folded Thick Basic White card front.
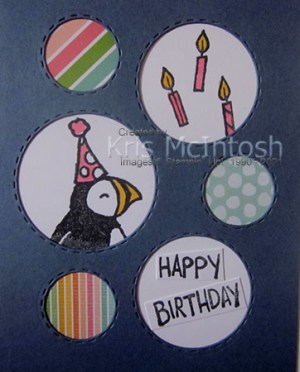
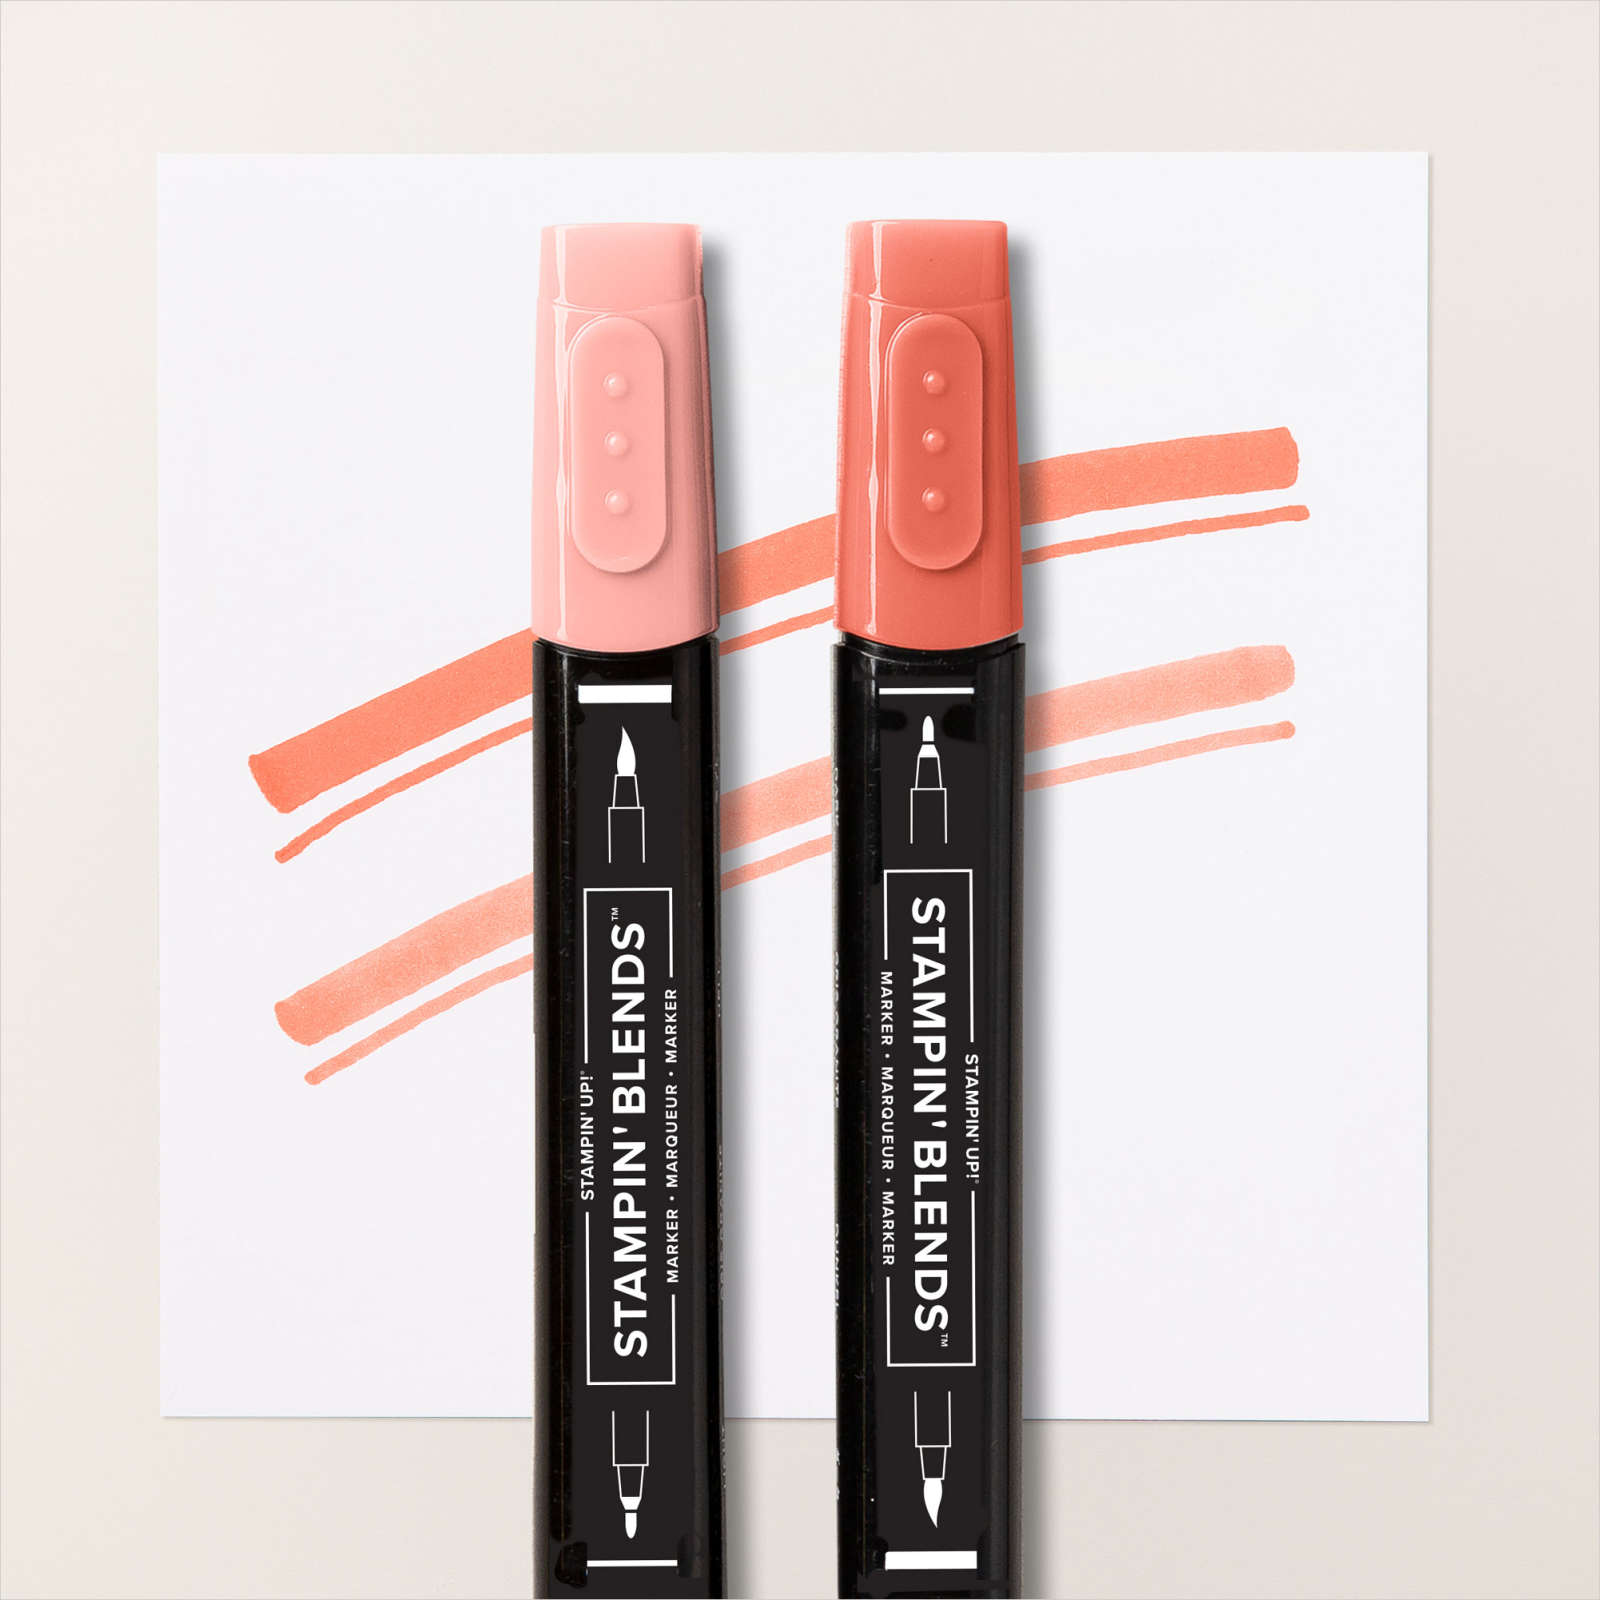
I coloured the images using the Dark Flirty Flamingo and Dark Daffodil Delight Stampin’ Blends. I attached small squares of three different designs from the Pattern Party Designer Series Paper to the back of the Misty Moonlight card behind the small circle openings.

The Misty Moonlight panel is attached to the card front so that you can see the Puffin and candle images. I stamped “happy birthday” from the Party Puffin stamp set onto Basic White card and cut the greetings down so that I could attach them inside the last remaining circle opening. To decorate the inside of the card, I stamped the cake image and another greeting from the Puffin Party stamp set onto Basic White card. The cake image is coloured using the Dark Flirty Flamingo and Dark Daffodil Delight Stampin’ Blends.
So much fun and just think of all the stamp sets you have collected with small images that can be used with these dies! I have one more to share with you tomorrow.
Bye for now,
Kris
Product Used:


Sharing My First Christmas Card
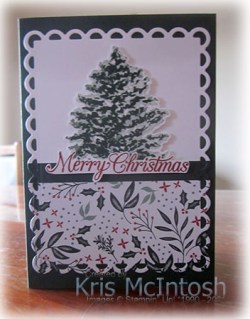
Once I saw the July-December Mini Catalogue I couldn’t stop thinking about Christmas Cards! So while I was waiting for my pre-order, I decided to use the Beauty of Friendship stamp set to create this card. I attached a piece of the Tidings of Christmas Designer Series Paper across the bottom of a piece of Basic White card. I attached a narrow strip of Evening Evergreen card across the Basic White card just above the Designer Series Paper. I used the largest rectangle die from the Scalloped Contours Dies to cut out the panel before attaching it to scored and folded Evening Evergreen card.

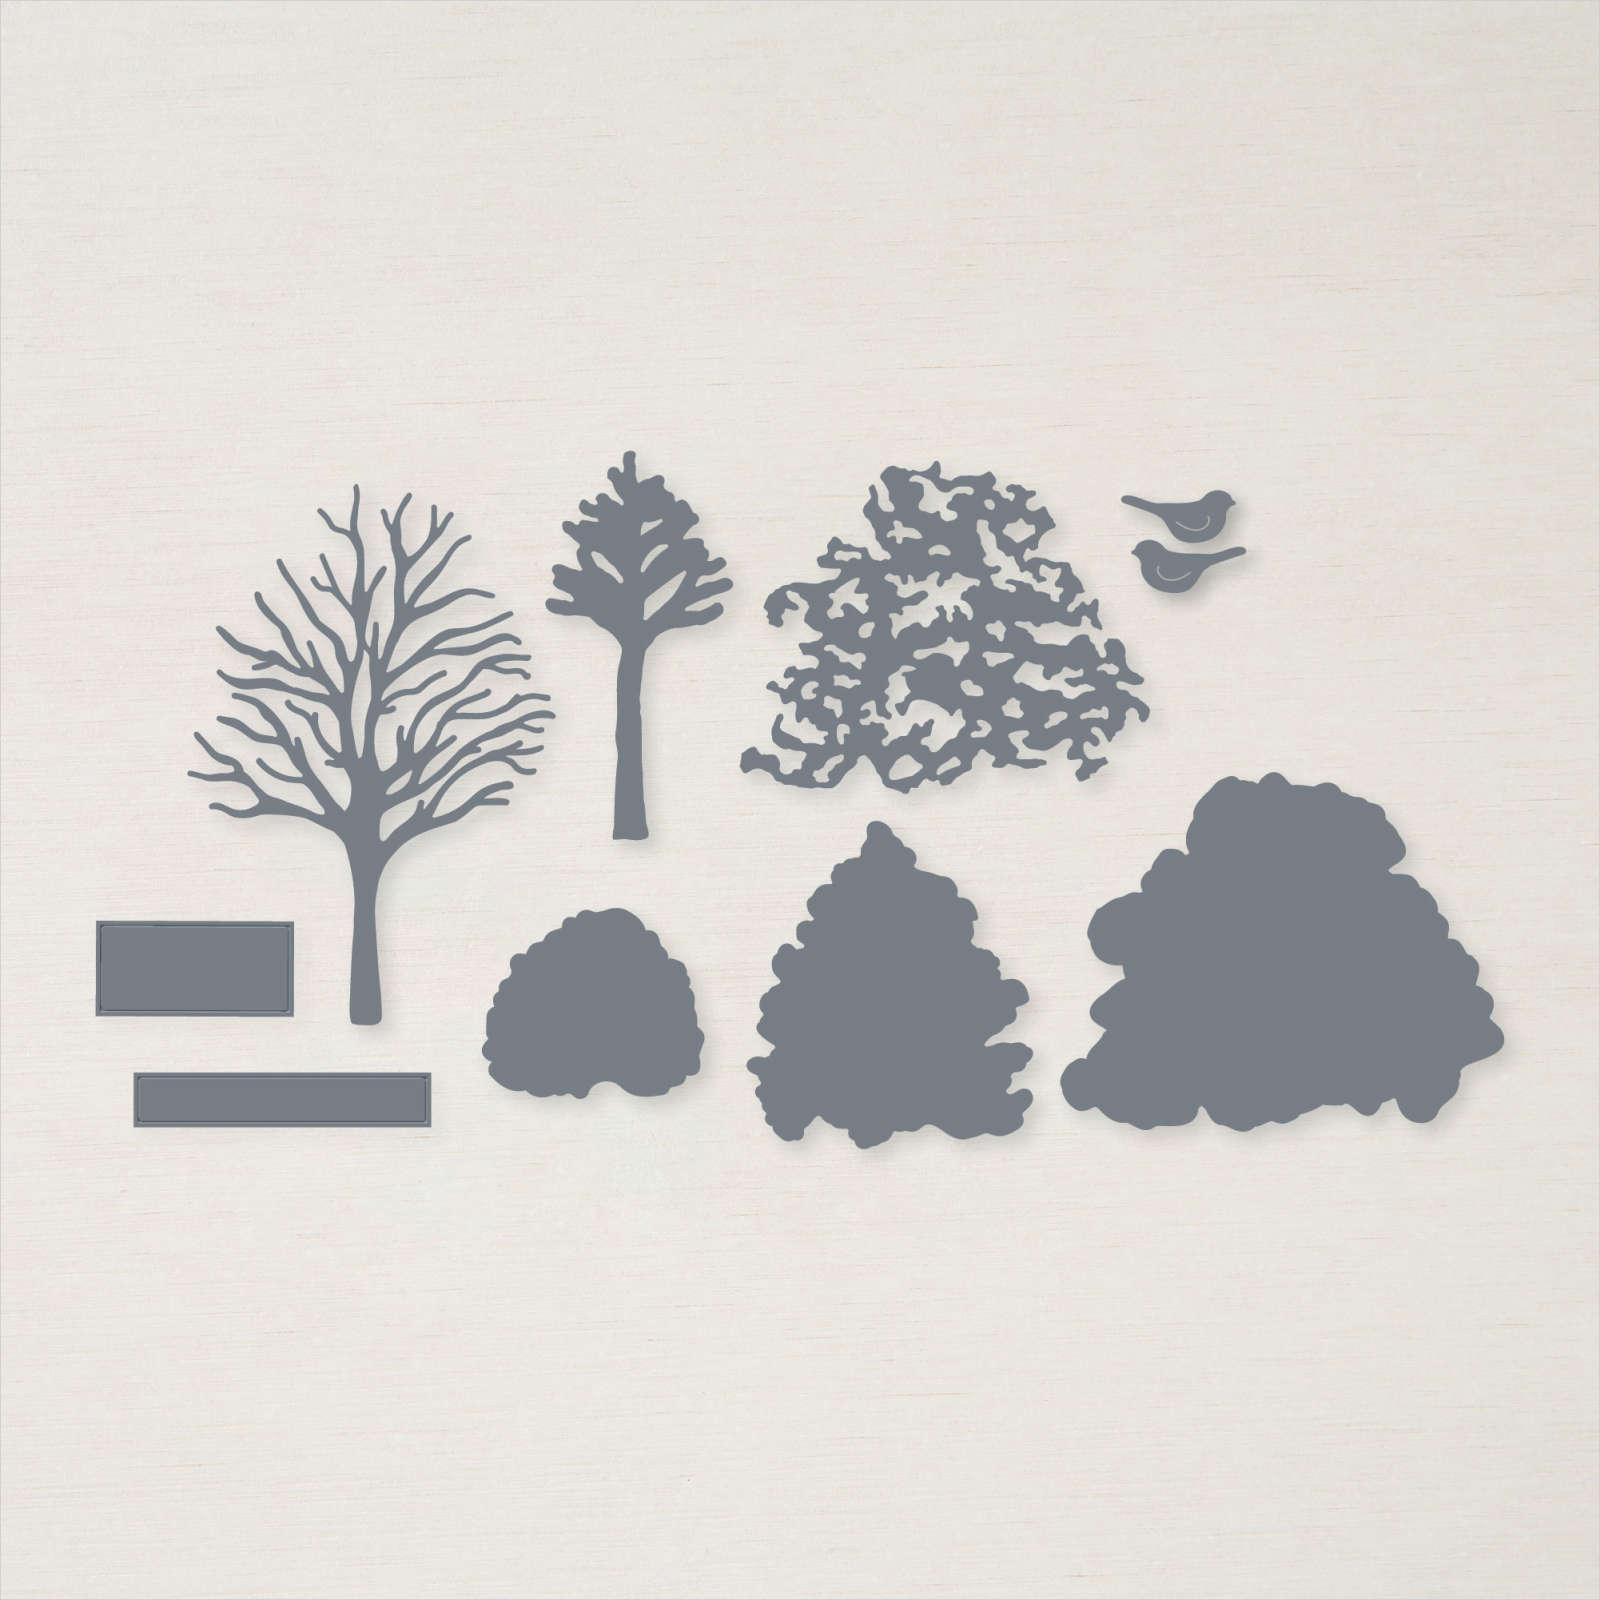
I stamped the more solid large tree image from the Beauty of Friendship stamp set onto Basic White card using Soft Succulent ink. I stamped the more detailed image over the top using Evening Evergreen ink. I cut out the tree using the co-ordinating Beautiful Trees Die.

I attached the tree to the card front using dimensionals. I stamped “Merry Christmas” from the Poinsettia Petals stamp set onto Basic White card using Cherry Cobbler ink. I trimmed around the greeting and attached it to the card front just over the edge of the tree using mini dimensionals where necessary. To decorate the inside of the card, I stamped the greeting from the Poinsettia Petals stamp set onto Basic White card using Cherry Cobbler ink. I attached a narrow strip of Evening Evergreen card behind one long edge of a narrow strip of the same pattern Tidings of Christmas Designer Series Paper. The Designer Series Paper panel is attached across the bottom of the stamped Basic White card.
I am so happy with my first Christmas card and would love to hear what you think.
Bye for now,
Kris
Product Used:


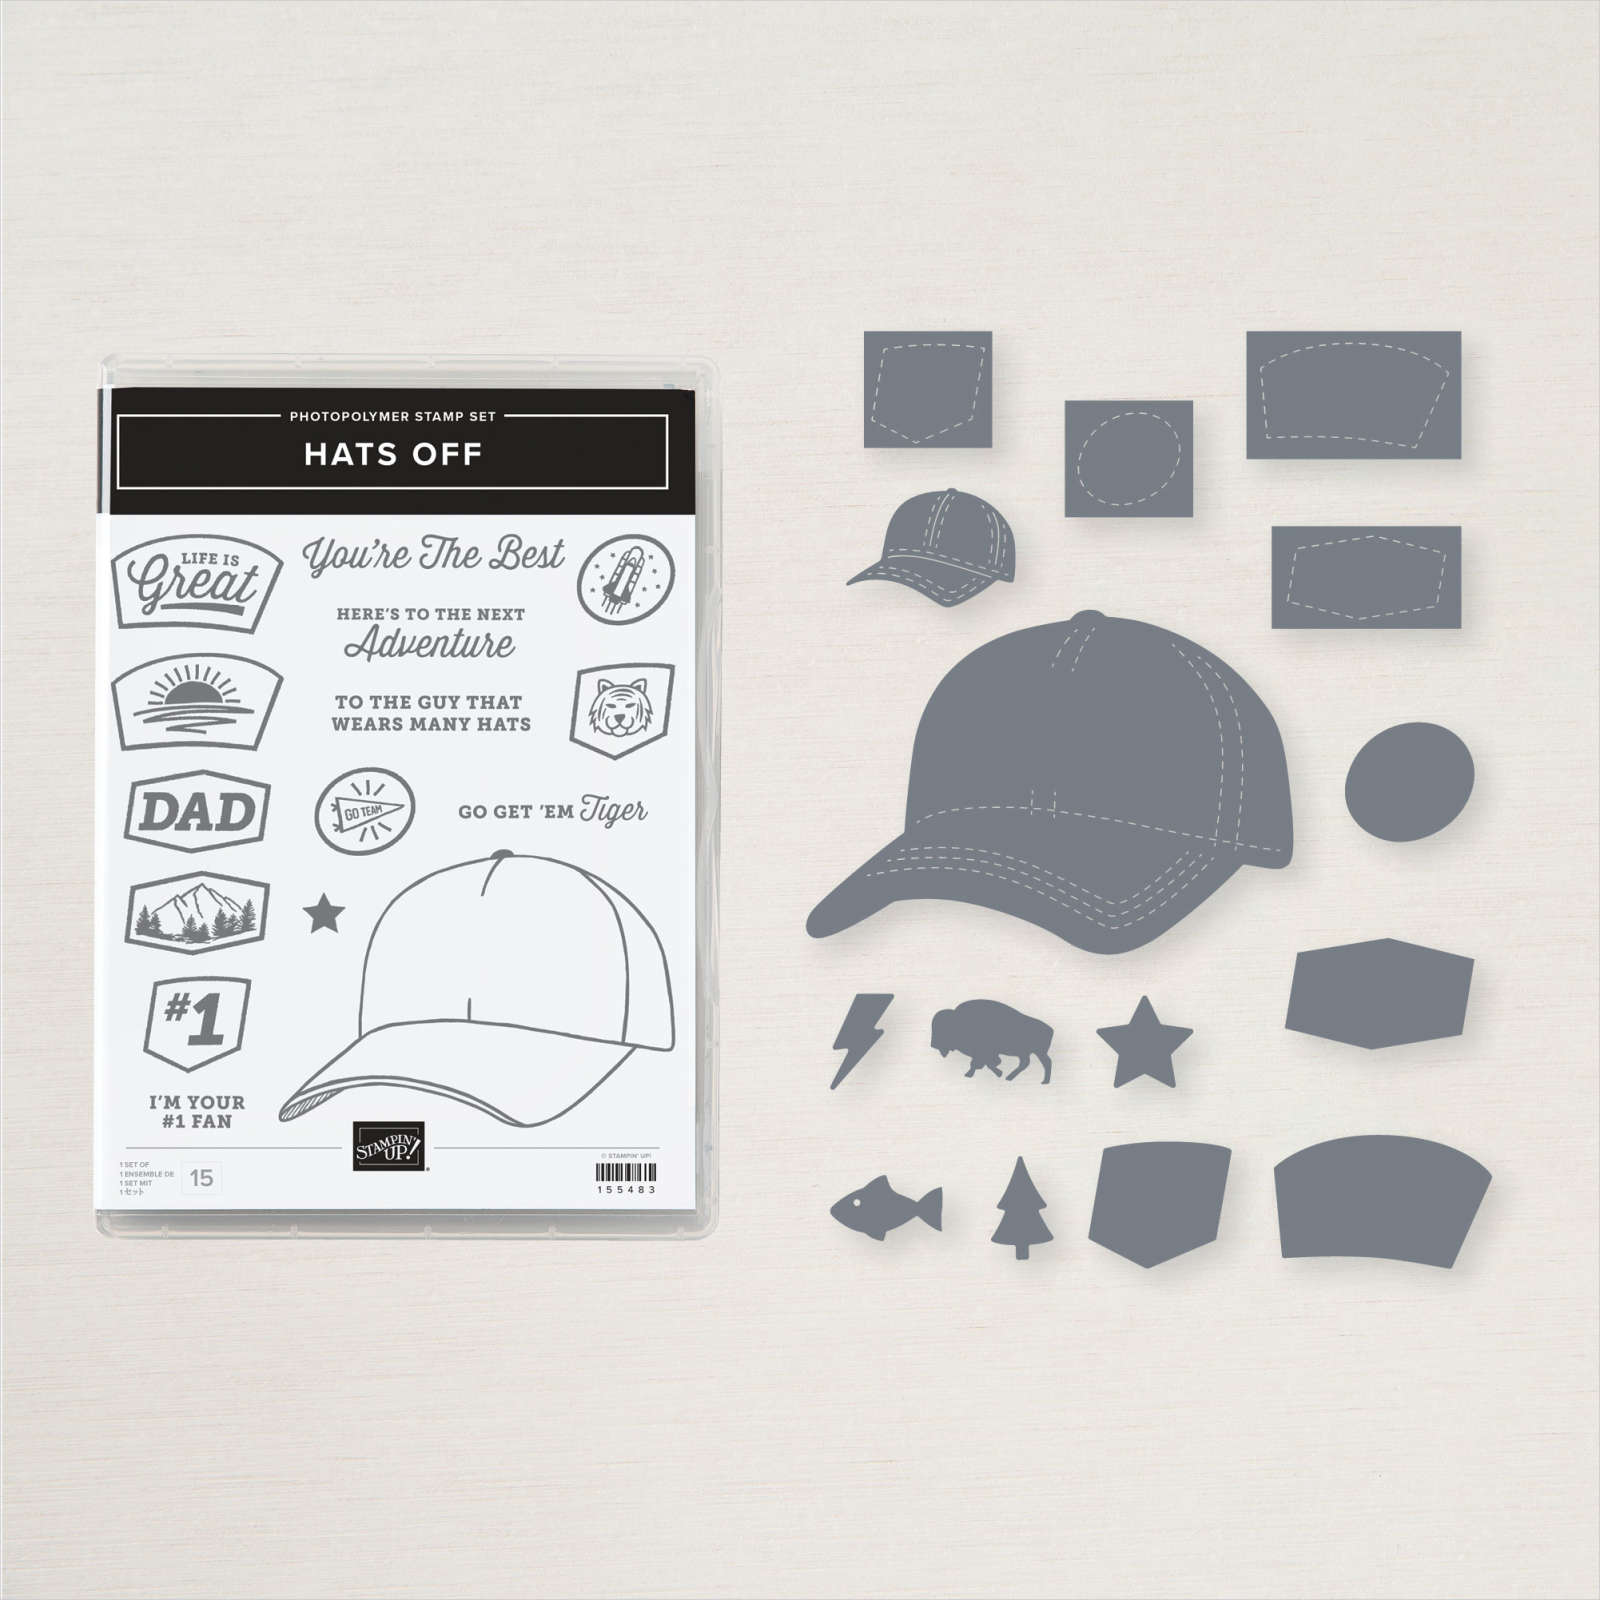
Best Grandkid Ever

How fun is this stamp set Hats Off. I saw a post on a demonstrator only page where Laura Seki shared an idea. She wanted to make a camouflage background and used the fill images from the Dressed to Impress stamp set to create the background. I decided to try it to day to create a boy and a girl card using the Hats Off stamp set. I started with Smoky Slate card and added the largest fill image from the Dressed to Impress stamp set using Smoky Slate ink. I added the second largest fill image from the Dressed to Impress stamp set using Gray Granite ink.
I added the smallest fill image from the Dressed to Impress stamp set using Basic Gray ink. I cut out the card using the hat die from the Hats Builder Dies. I embossed Very Vanilla card using the Painted Texture 3D Embossing Folder and attached it to Scored and folded Basic Gray card. I attached the hat to the top of the embossed panel.

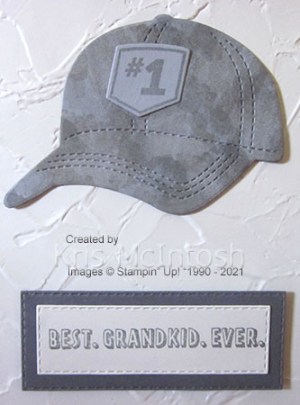
I stamped the #1 image from the Hats Off stamp set onto Smoky Slate card using Basic Gray ink. I die the #1 using the co-ordinating Hats Builder Die and attached it to the hat. I stamped the greeting from the A Grand Kid stamp set onto Very Vanilla card using Basic Gray ink. I cut out the greeting using the Stitched Rectangle Dies and attached it to Basic Gray card also cut using the Stitched Rectangle Dies. I attached the greeting to the card front using dimensionals. To decorate the inside of the card I stamped another greeting from the A Grand Kid stamp set using Basic Gray ink. I cut the small hat using the Hats Builder Dies from the left over piece I used for the large hat and attached it next to the greeting.
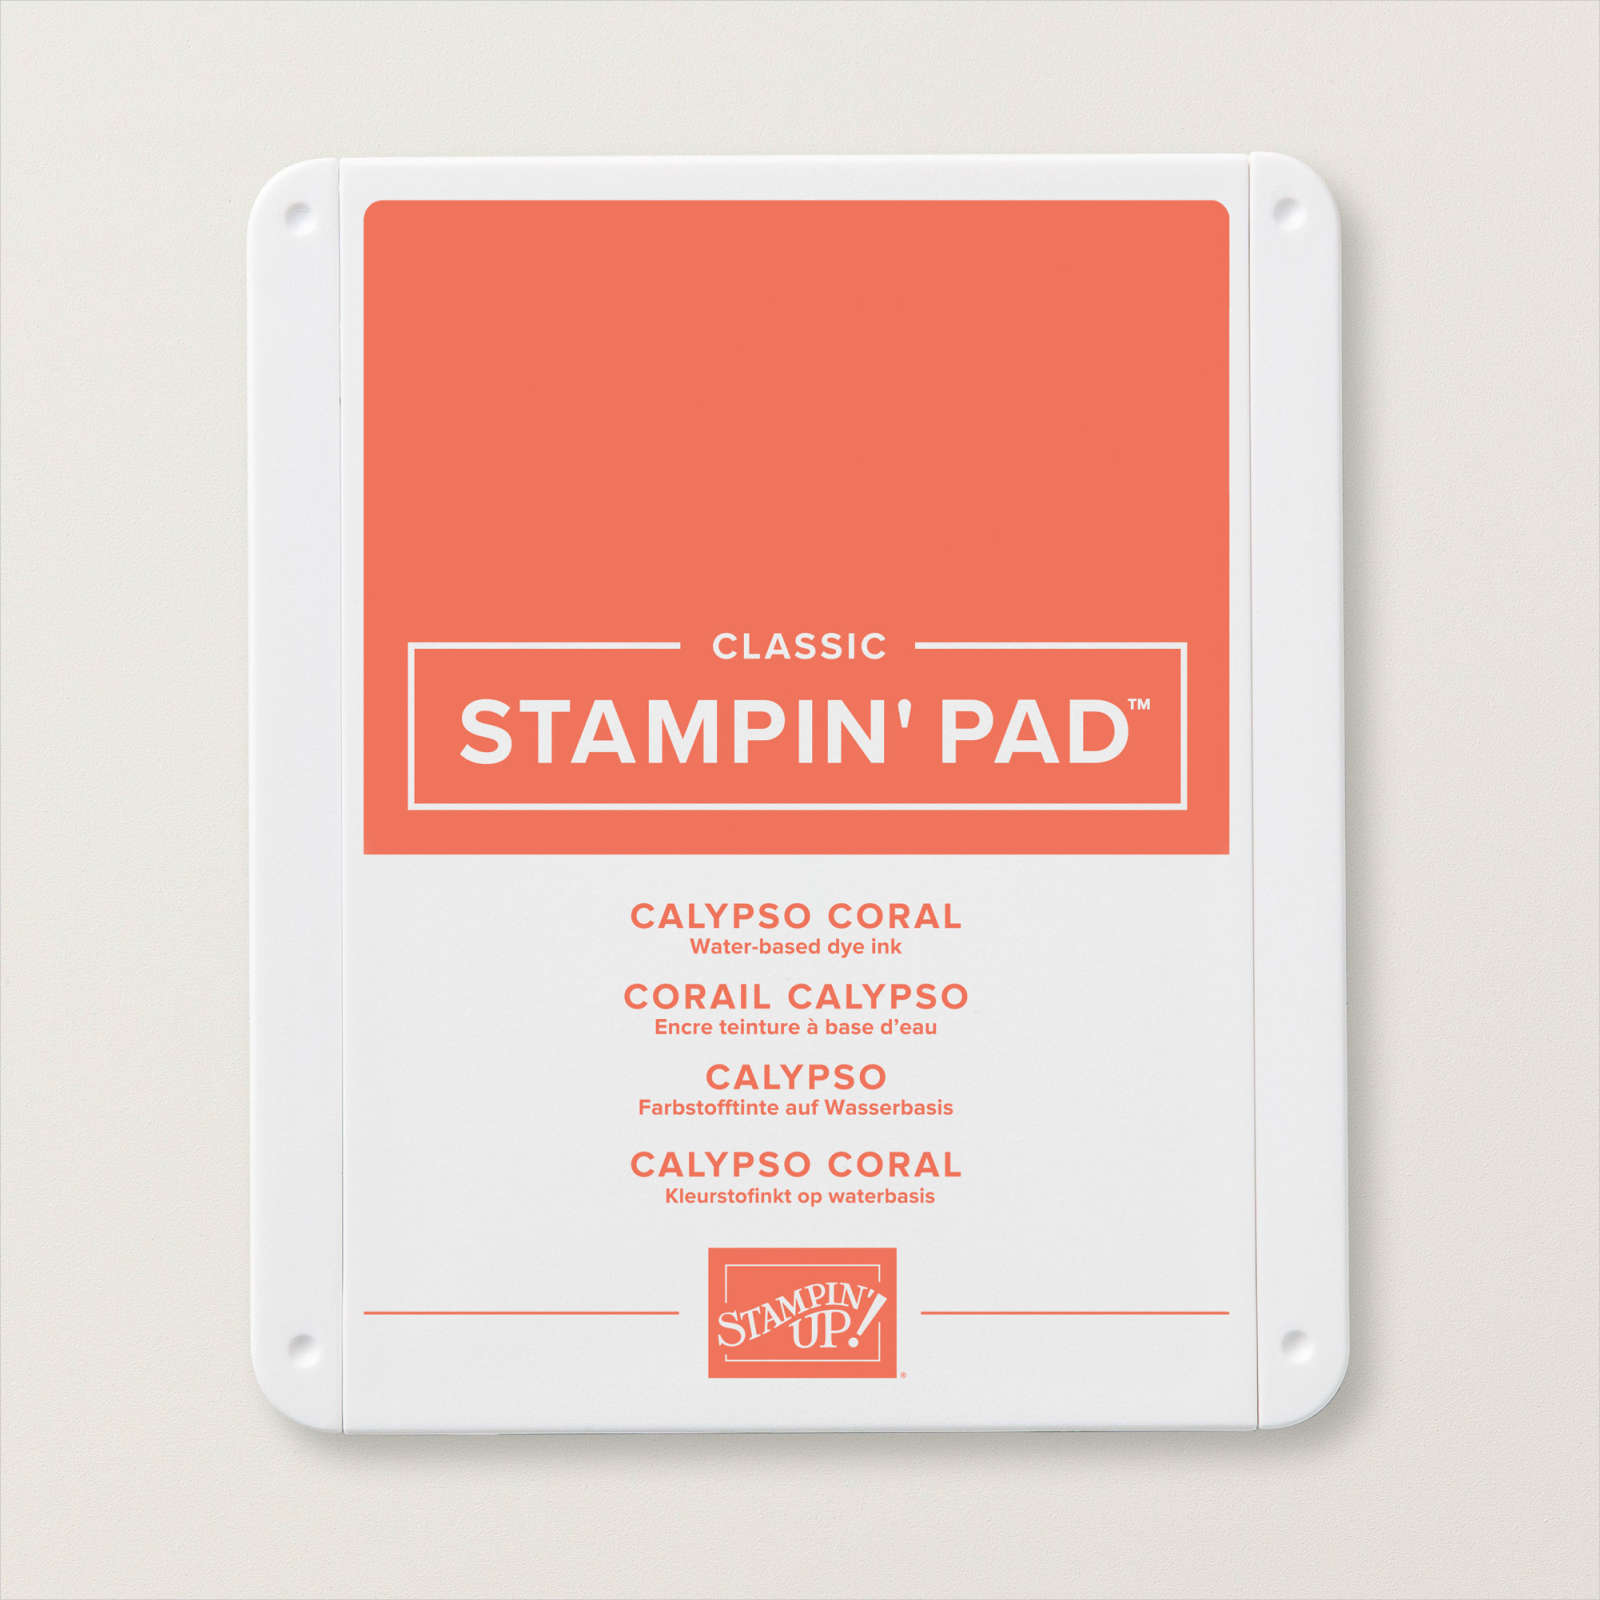
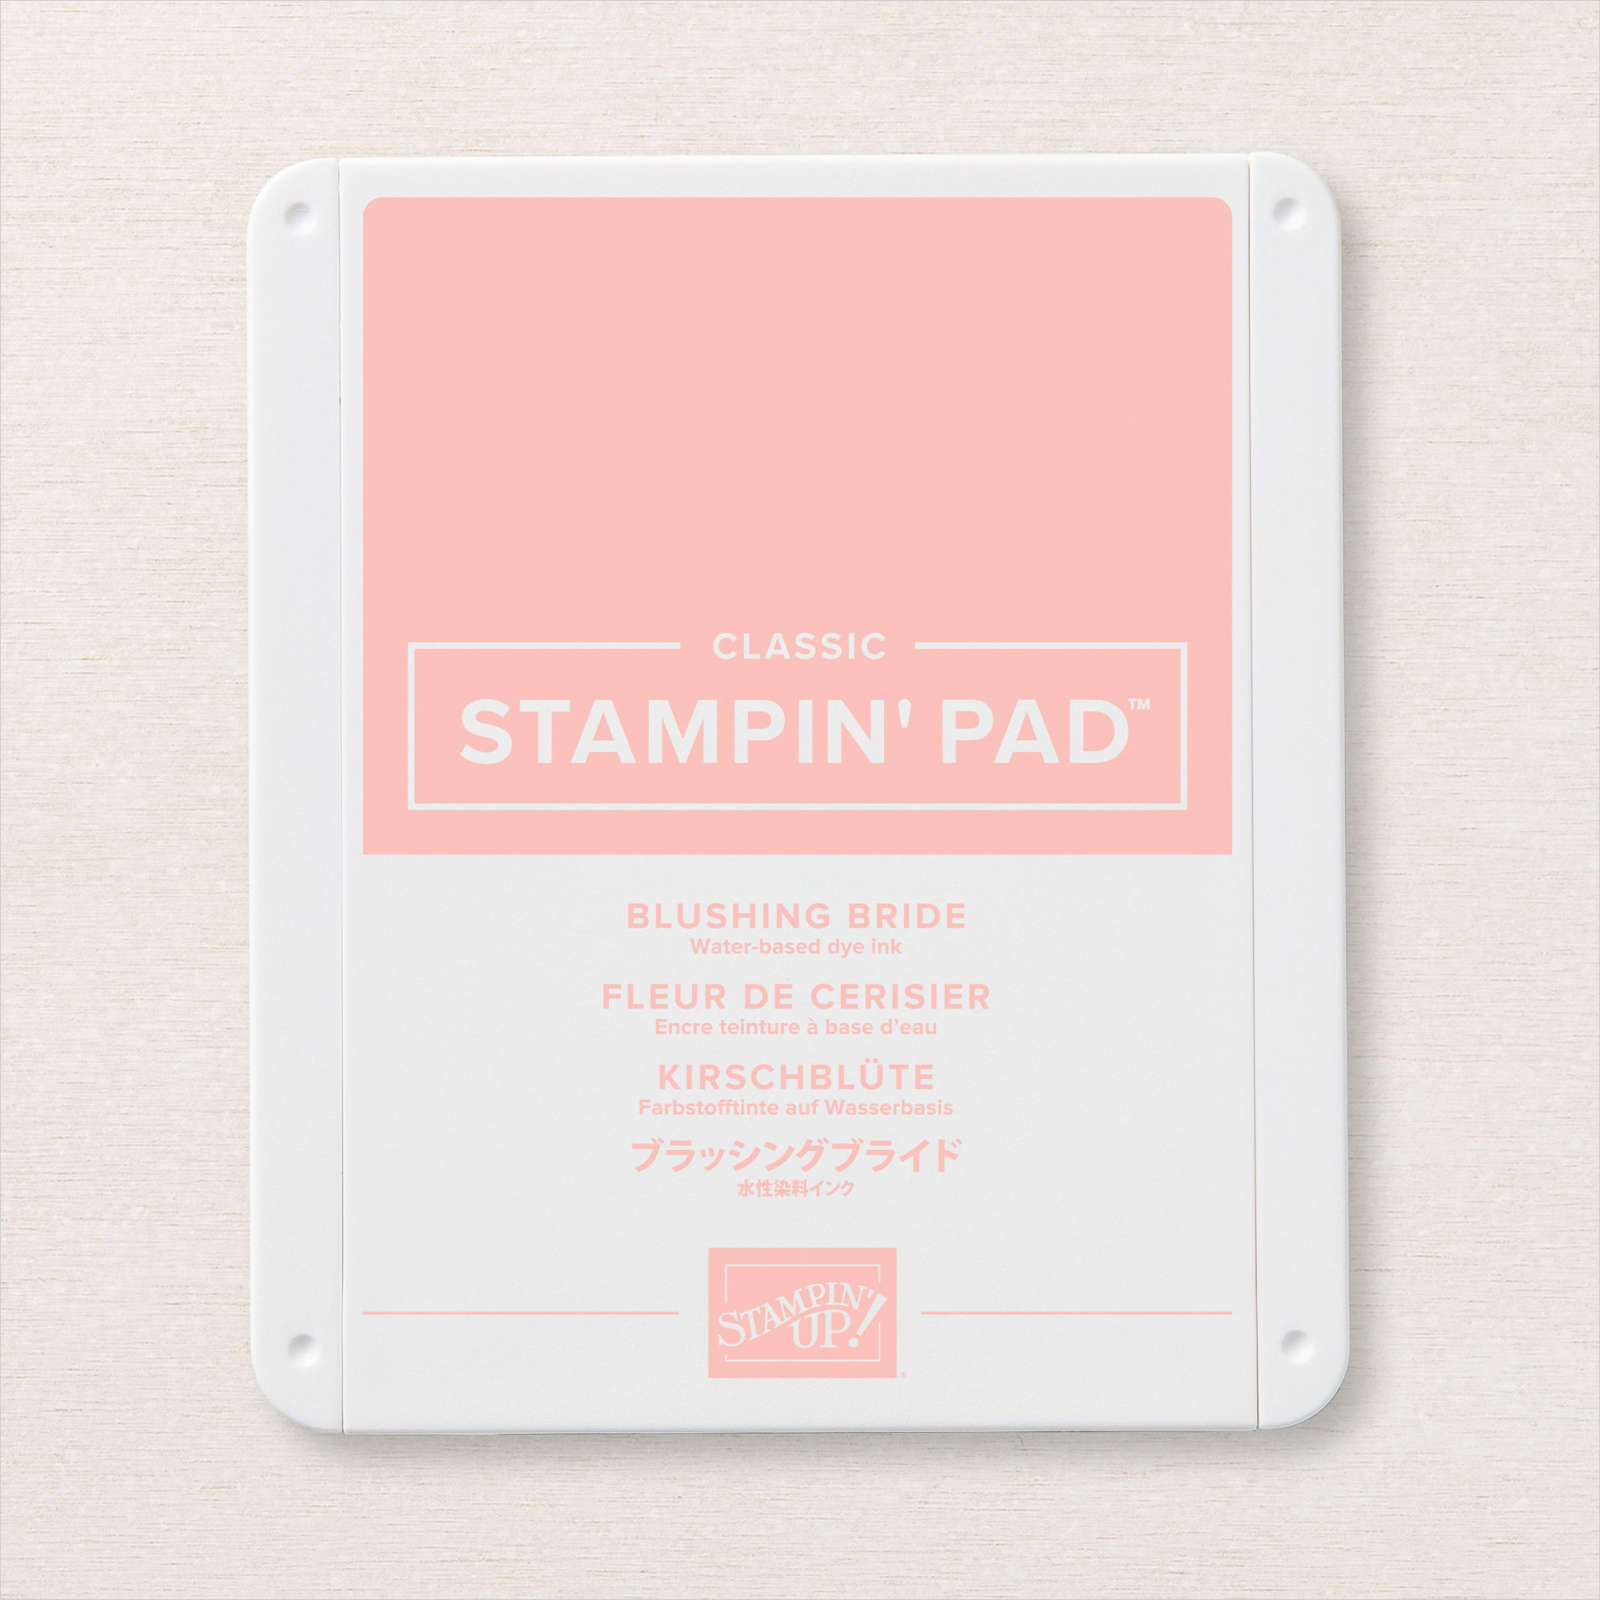
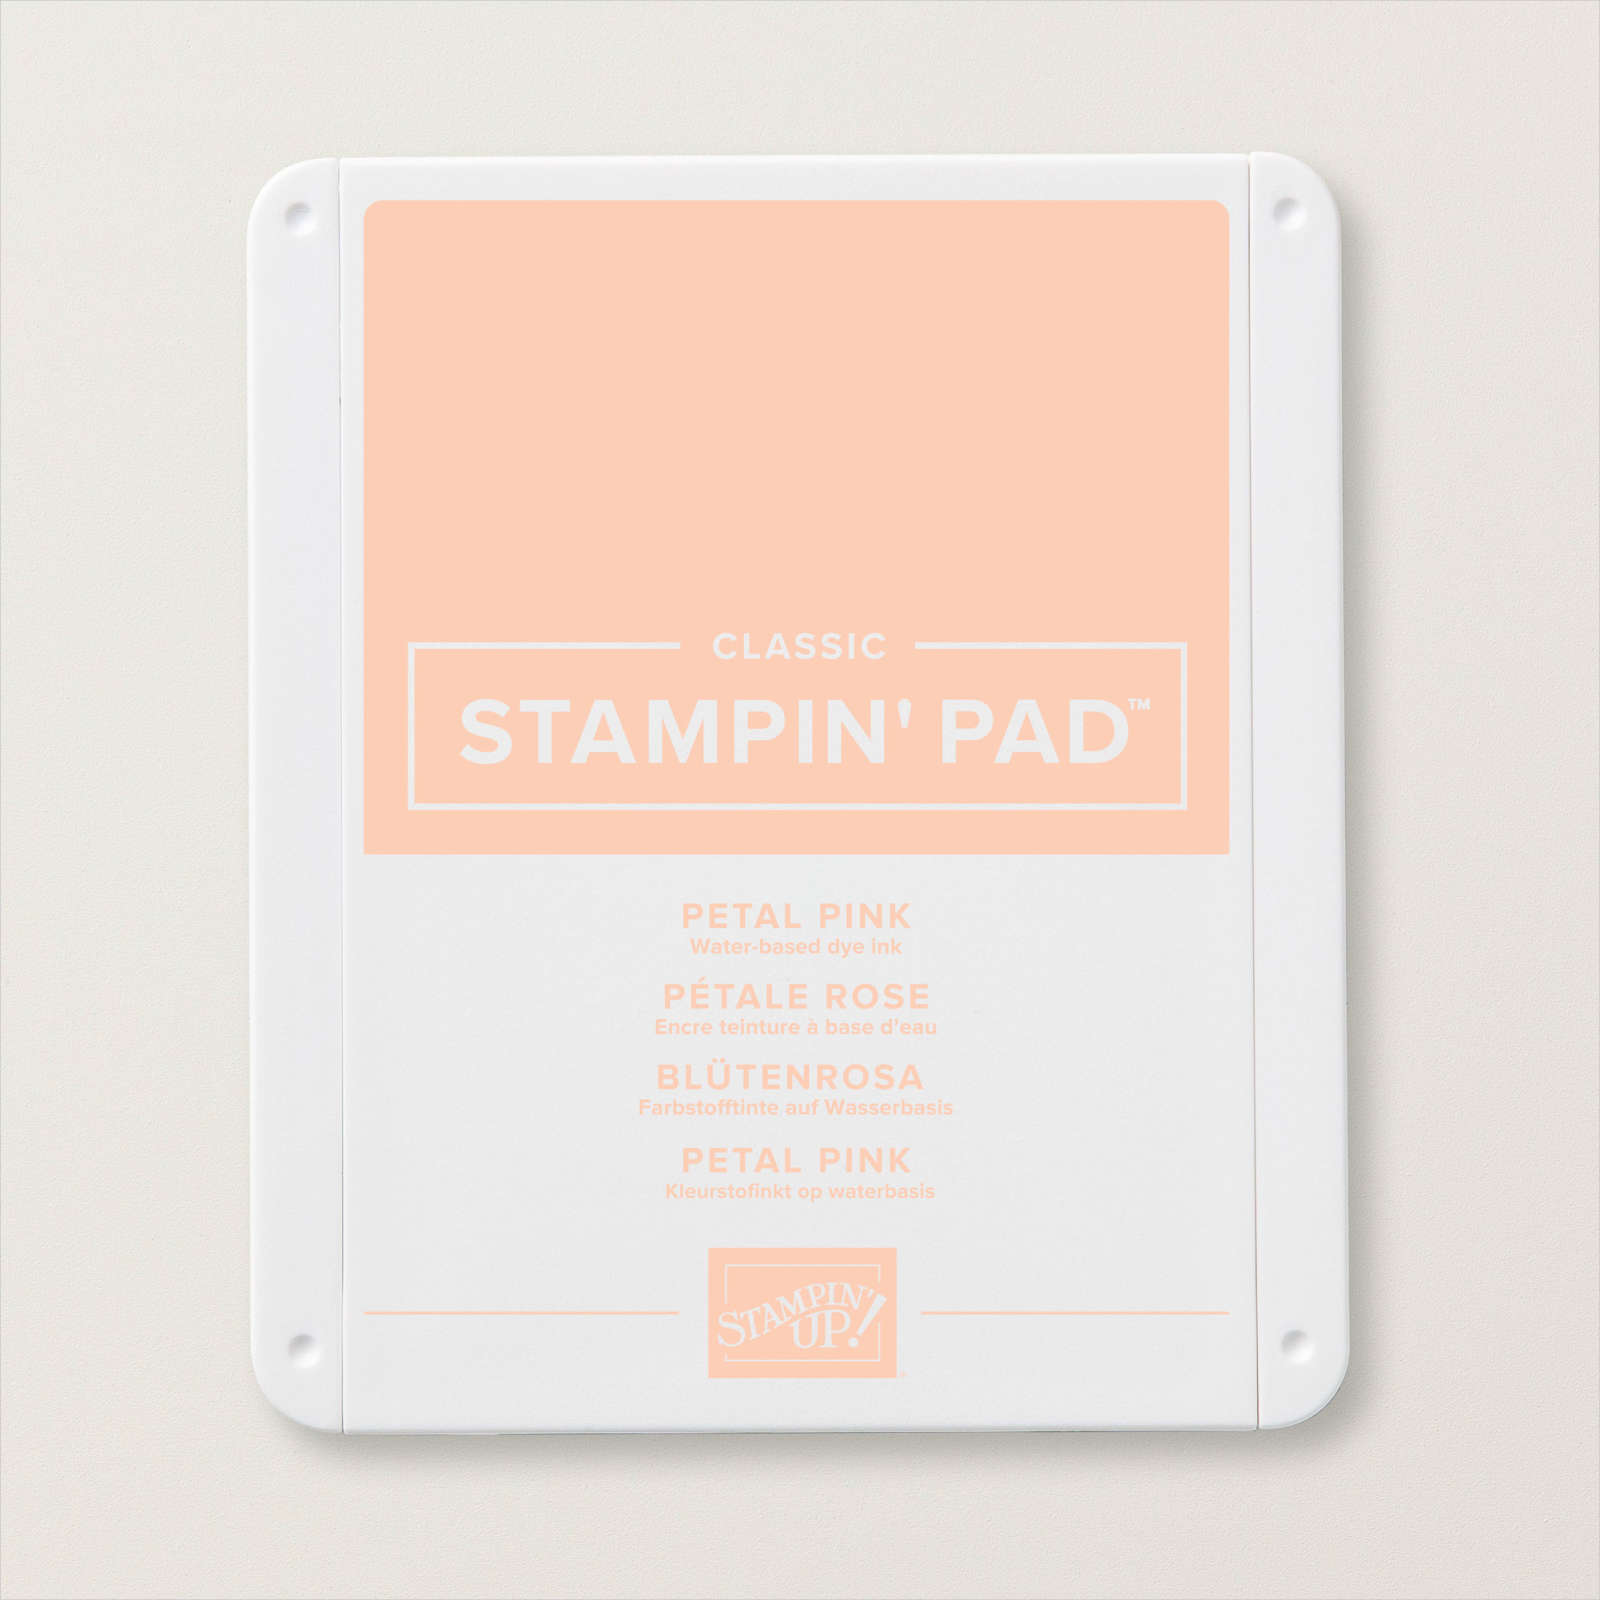
To create the girl card, I used Petal Pink card and added Petal Pink, Blushing Bride and Calypso Coral ink. The card base is Calypso Coral and the greetings are stamped using Calypso Coral ink.
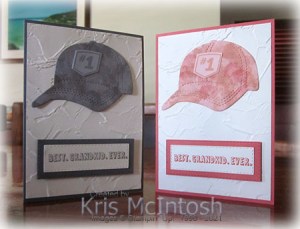
I am so happy with the way these turned out and I can’t thank Laura enough for sharing her idea.
Bye for now,
Kris
Product Used:


Happy 15th

Today’s page shows some photos from my Grandson Ethan’s birthday morning tea. We had a lovely time and Elyssa created this amazing guitar shaped birthday cake. I attached all of my photos to Night of Navy card and attached the two photos on the right to a Basic White 12″ x 12″page. I cut Night of Navy card using the now retired Happy Dies to cut out the title. I love this die because it keeps all of the letters together. I simply trimmed across the top of the letters and attached the bottom panel behind the edge of the Night of Navy mat photo mat before attaching to the page. I created the journaling on my computer and printed onto Basic White card.

I used the retired Remember This stamp set to add the “sweet moments” greeting to the journaling panel using Night of Navy ink. The journaling panel is also attached to Night of Navy card before attaching to the page. I cut “15th” from Night of Navy card using the Playful Alphabet Dies and attached the die cuts next to the “happy”. I stamped three balloons from the retired So Much Happy stamp set onto Basic White card using Night of Navy ink. I cut out the balloons using the co-ordinating Happy Dies. I also used these dies to cut the balloon strings from Night of Navy card. The balloons and balloon strings are attached next to the journaling panel.
Another simple page but one that brings back happy memories. I know I use a lot of retired stamps and dies on my memory keeping pages but I do not sell off anything which I think I might use when I am creating my pages. I bet most of you do that too!
Bye for now,
Kris
Product Used:

Set Sail
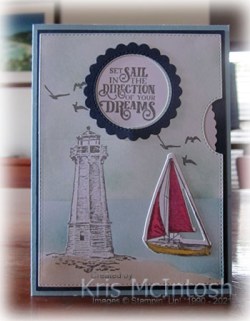
Today’s card is another that I made using the Give It A Whirl Dies. I cut Basic White card using the card front die and using the circle window at the same time. I stamped the lighthouse from the Sailing Home stamp set onto the lower left hand corner using Basic Gray ink. I used a post it note mask to cover the lighthouse and more post-it-notes to mask off all but a small portion across the bottom of the card front. I used a Blending Brush to add Crumb Cake ink.
I masked the Crumb Cake section using post it notes and added Balmy Blue ink using a Blending Brush to create the sea. I masked the Balmy Blue section and added Pool Party ink to the rest of the card front for my sky.
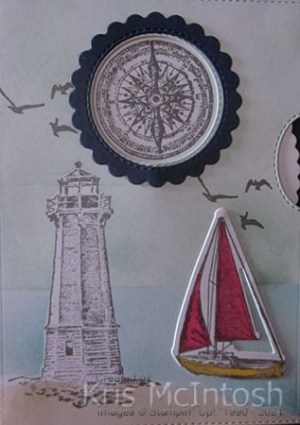
I stamped the bird image from the Sailing Home stamp set twice onto the card front using Basic Gray ink. I stamped the large sailing ship from the Sailing Home stamp set onto Basic White card using Basic Gray ink and coloured the sails using a Light Real Red Stampin’ Blend and the hull using Dark Daffodil Delight Stampin’ Blend. I cut out the ship using the co-ordinating Smooth Sailing Die. I attached the sailing ship to the card front.
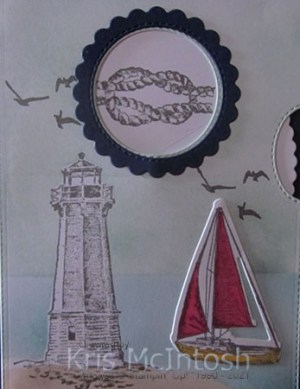
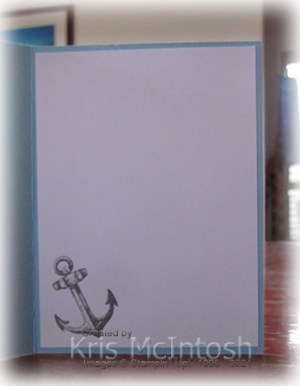
I cut the turning mechanism from Basic White card using the Give It A Whirl Die and stamped the compass, rope and greeting from the Sailing Home stamp set using Basic Gray ink so that they would show in the circle window. I attached the circle from the card front to the back of the turning mechanism and attached it to Night of Navy card using dimensionals. I attached the card front also using dimensionals in the corners only. The whole panel is attached to scored and folded Balmy Blue card. I cut the frame for the circle window from Night of Navy card using the Give It a Whirl Die. To decorate the inside of the card I stamped the anchor image from the Sailing Home stamp set onto the lower left hand corner of Basic White card using Basic Gray ink.
I hope you are inspired to take another look at these dies and perhaps create a card (or two) using them.
Bye for now,
Kris
Product Used:


