True Blue
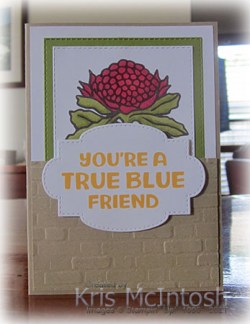
Today’s card is another one I created using the United Through Creativity FREE PDF download which Stampin’ Up! has currently made available and which you can find here in my online store. I printed out the images and greeting from the United Through Creativity download onto Basic White card. I coloured the floral images using Light Real Red, Cherry Cobbler and Old Olive Stampin’ Blends. I cut one image using one of the Stitched Rectangle Dies, attached it to Old Olive card cut using a slightly larger rectangle from the same dies before attaching the panel to Basic White card.
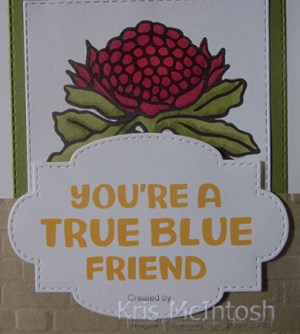
I embossed Crumb Cake card using the Brick & Mortar 3D Embossing Folder and attached it across the bottom of the panel before attaching the whole piece to scored and folded Crumb Cake card.

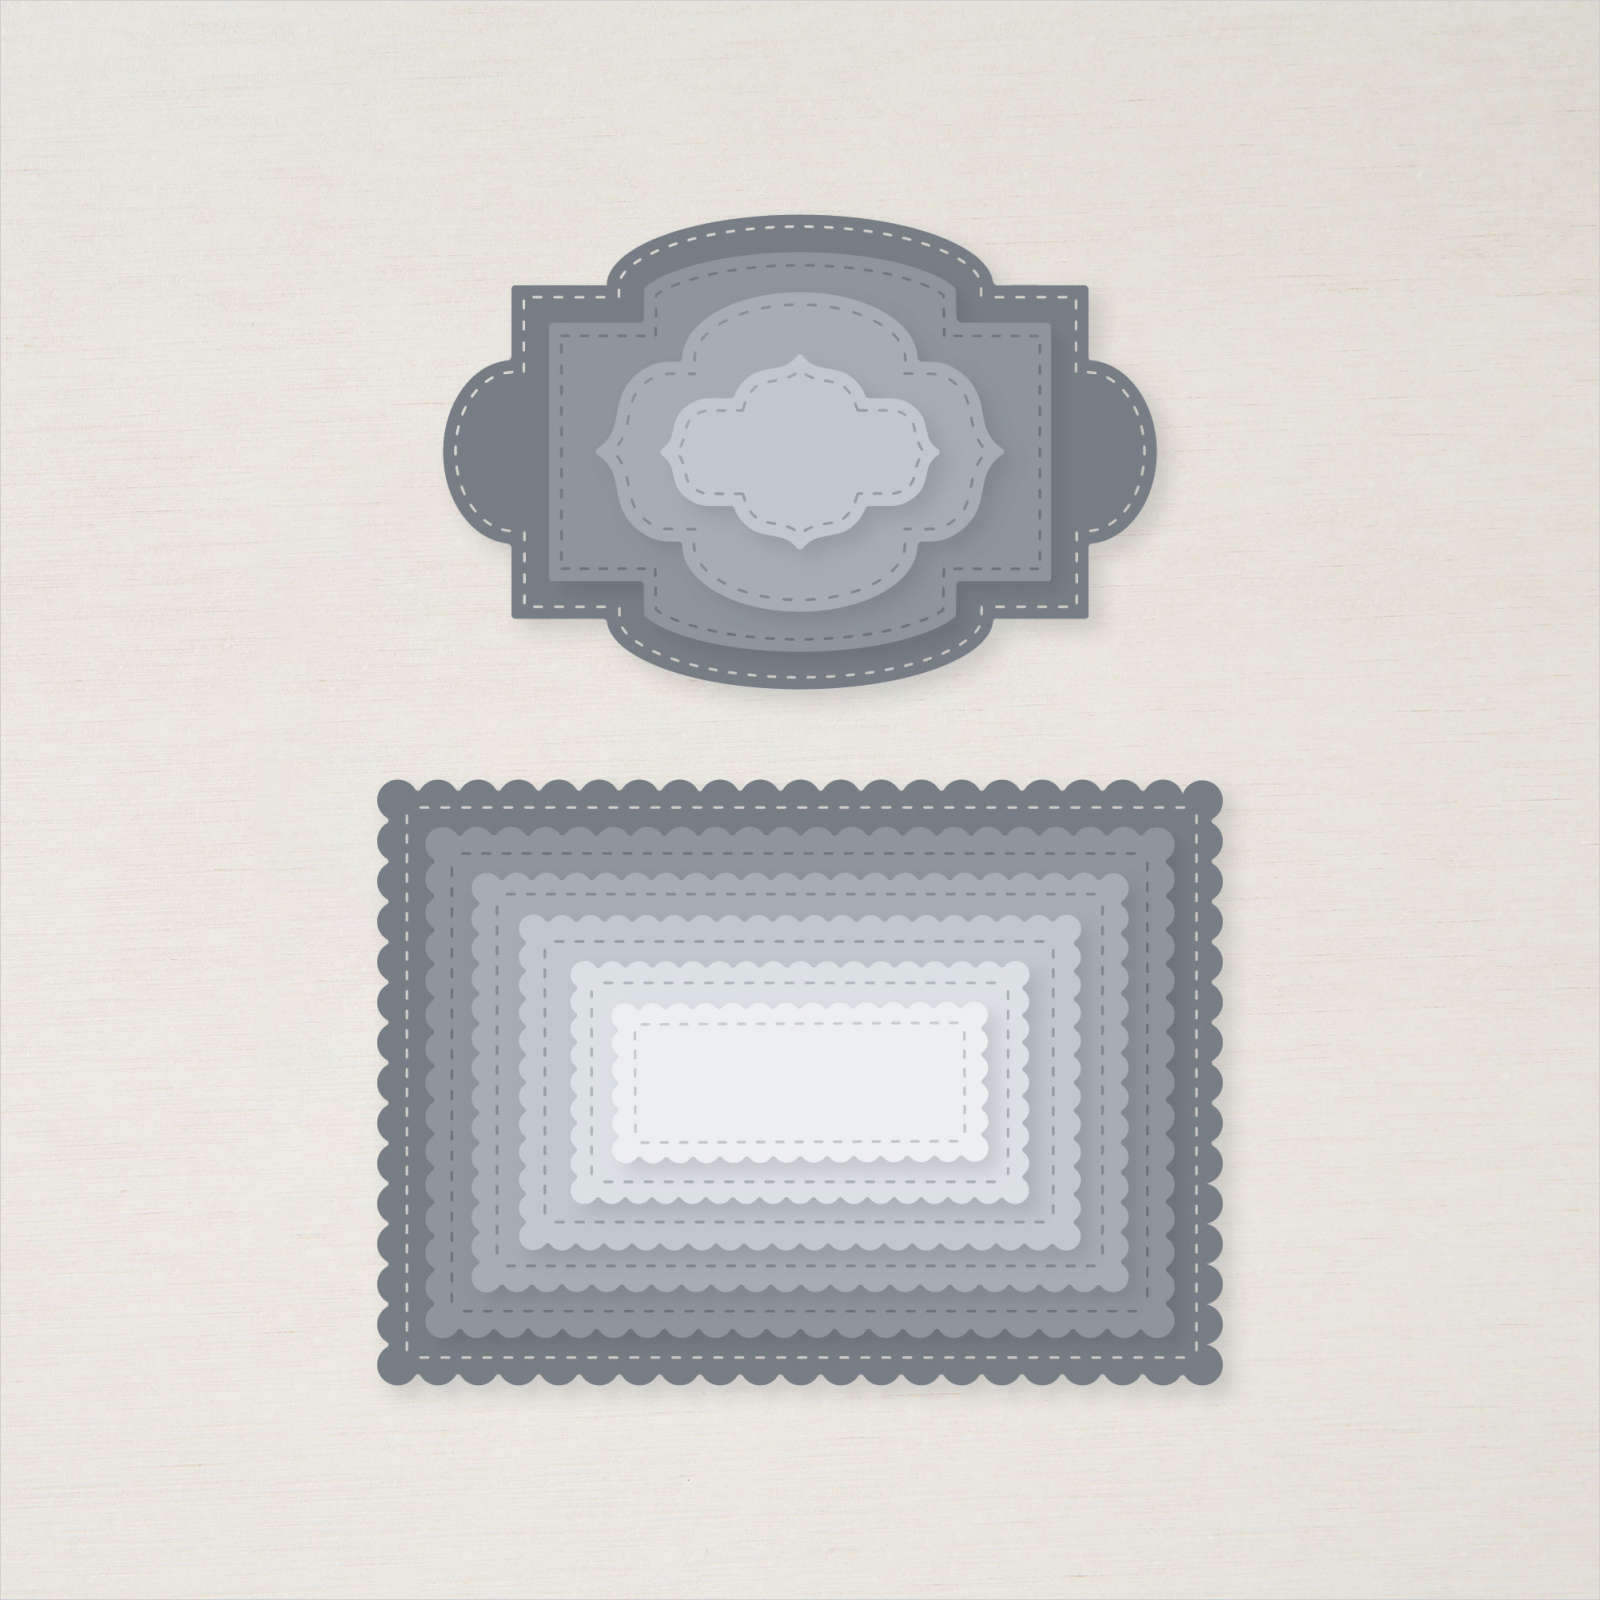
I cut out the greeting using the die from the Stitched So Sweetly dies and attached it to the card front using dimensionals. To decorate the inside of the card, I coloured the floral image using the same Stampin’ Blends as before, cut it out and attached it to the lower left hand corner of Basic White card.
I am really excited by how easy it is to create lovely cards using this PDF and the best thing is once you download them, they are yours to use forever.
Bye for now,
Kris
Product Used:
Download the United in Creativity PDF here.


Free As A Bird
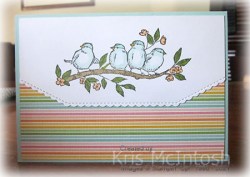
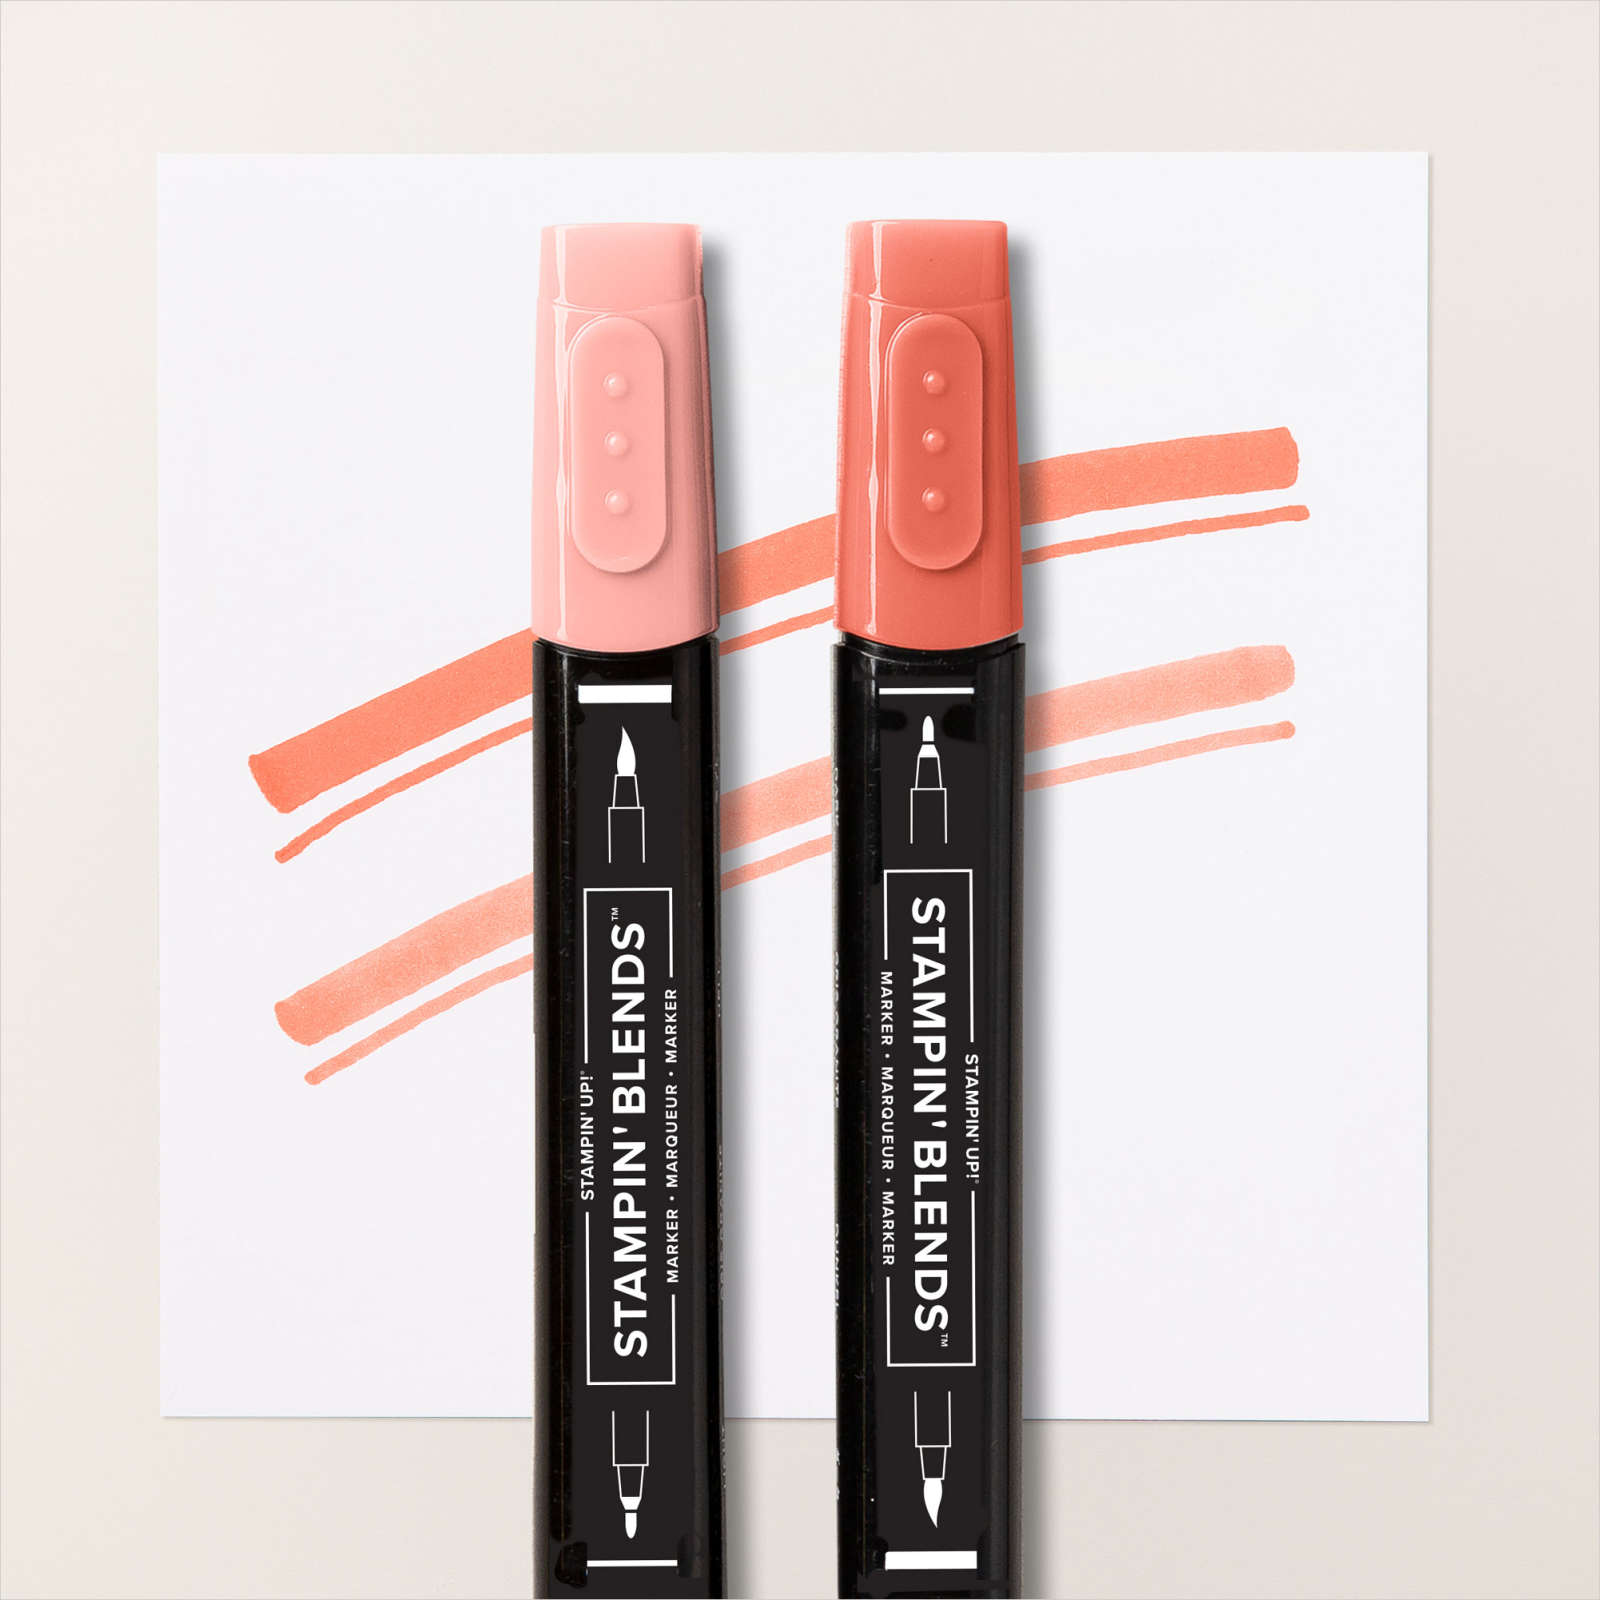
is another stamp set I haven’t used in a while but it fitted perfectly with my idea for today’s card. I stamped the bird image from the Free As A Bird stamp set onto Basic White card using Memento Tuxedo Black ink. I coloured the bird image using Pool Party, Dark Daffodil Delight, Dark Granny Apple Green, Light Calypso Coral and Light Soft Suede Stampin’ Blends.
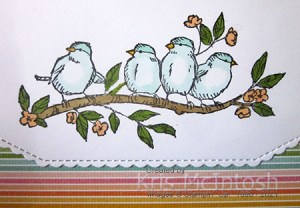
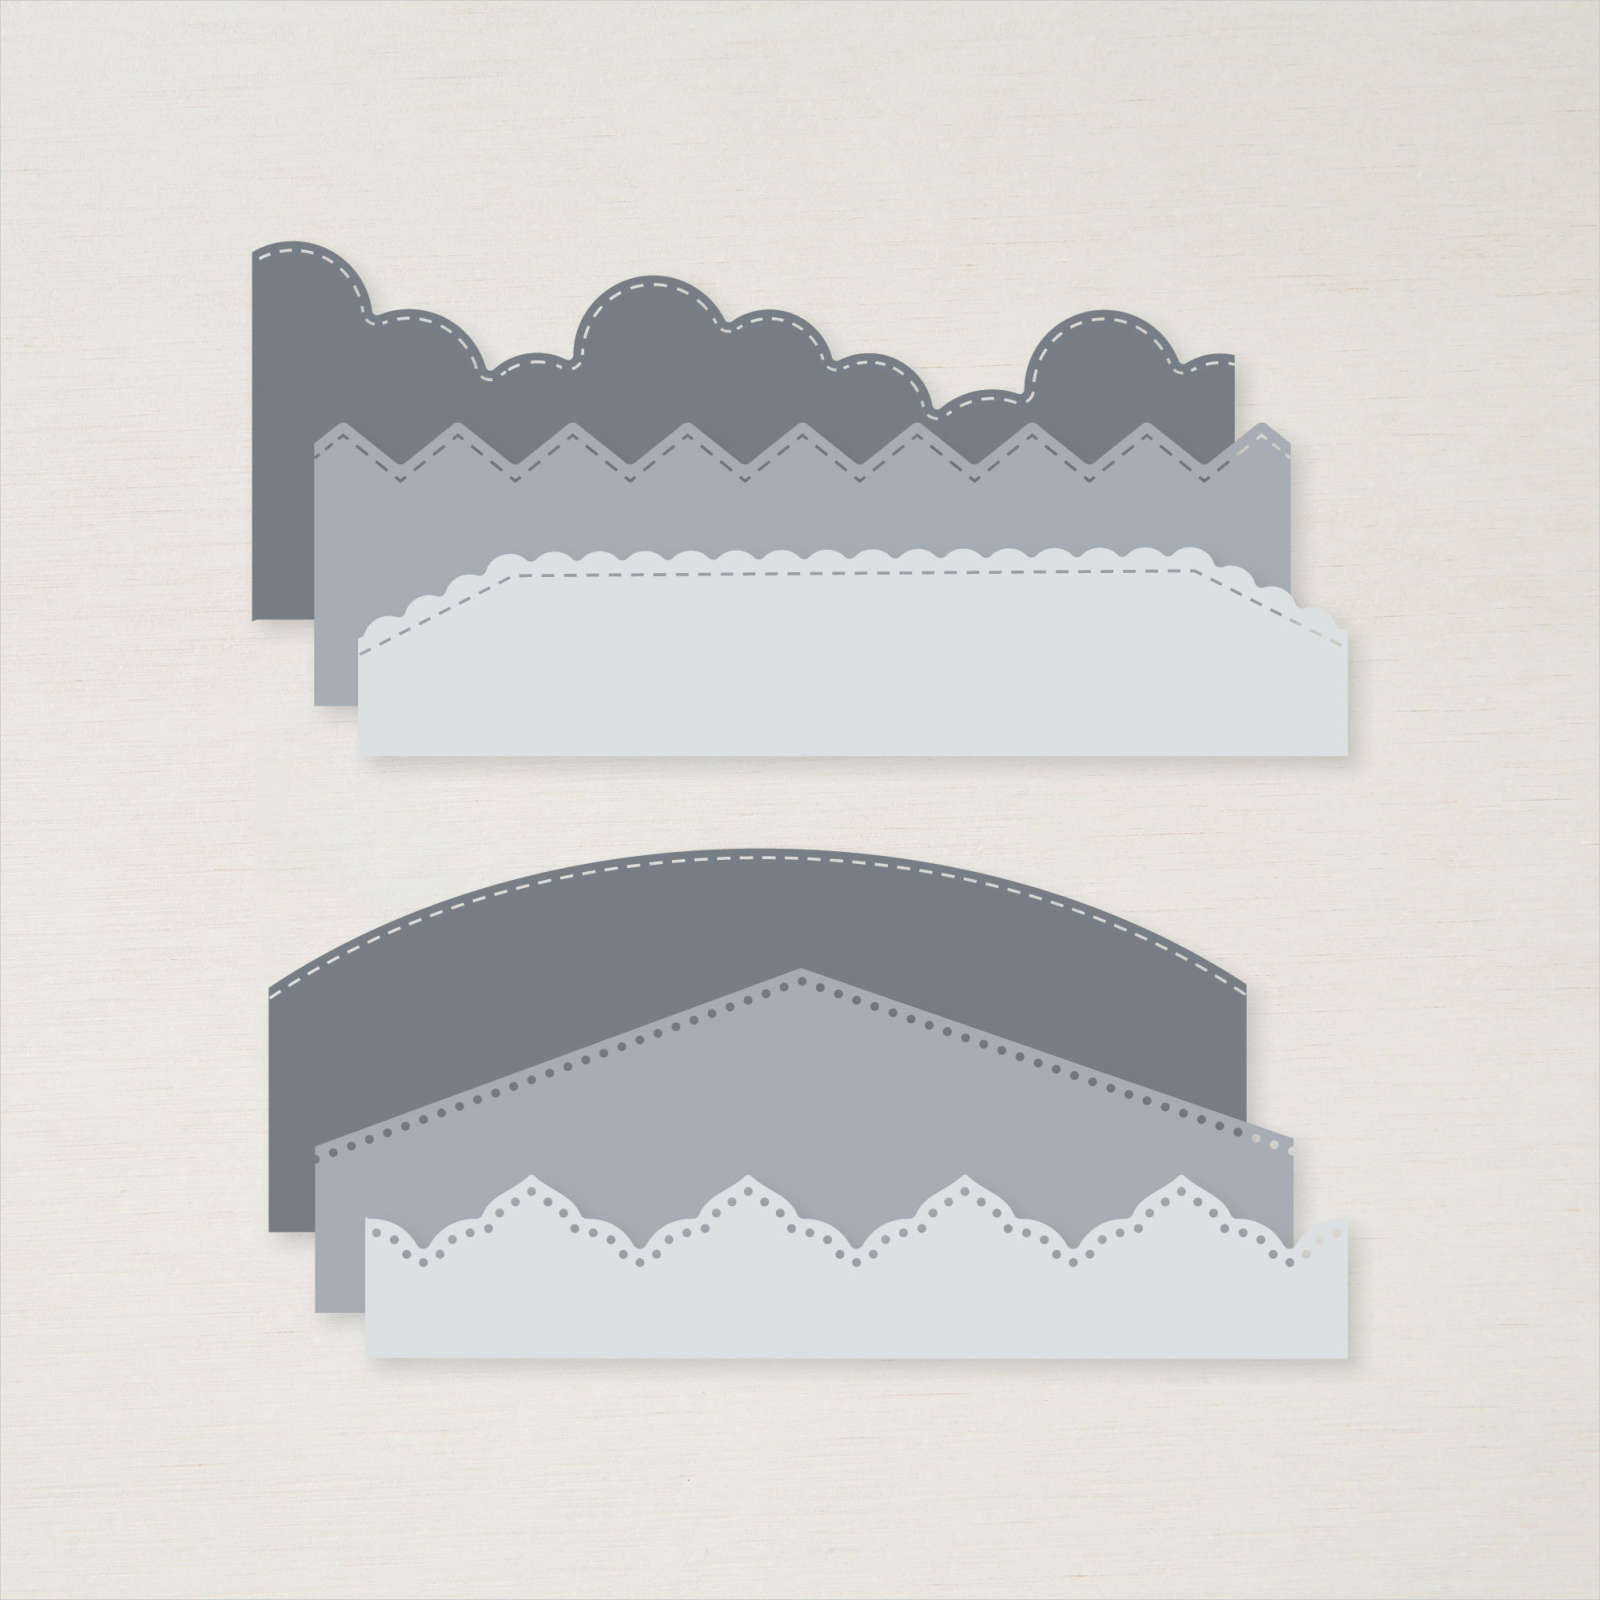
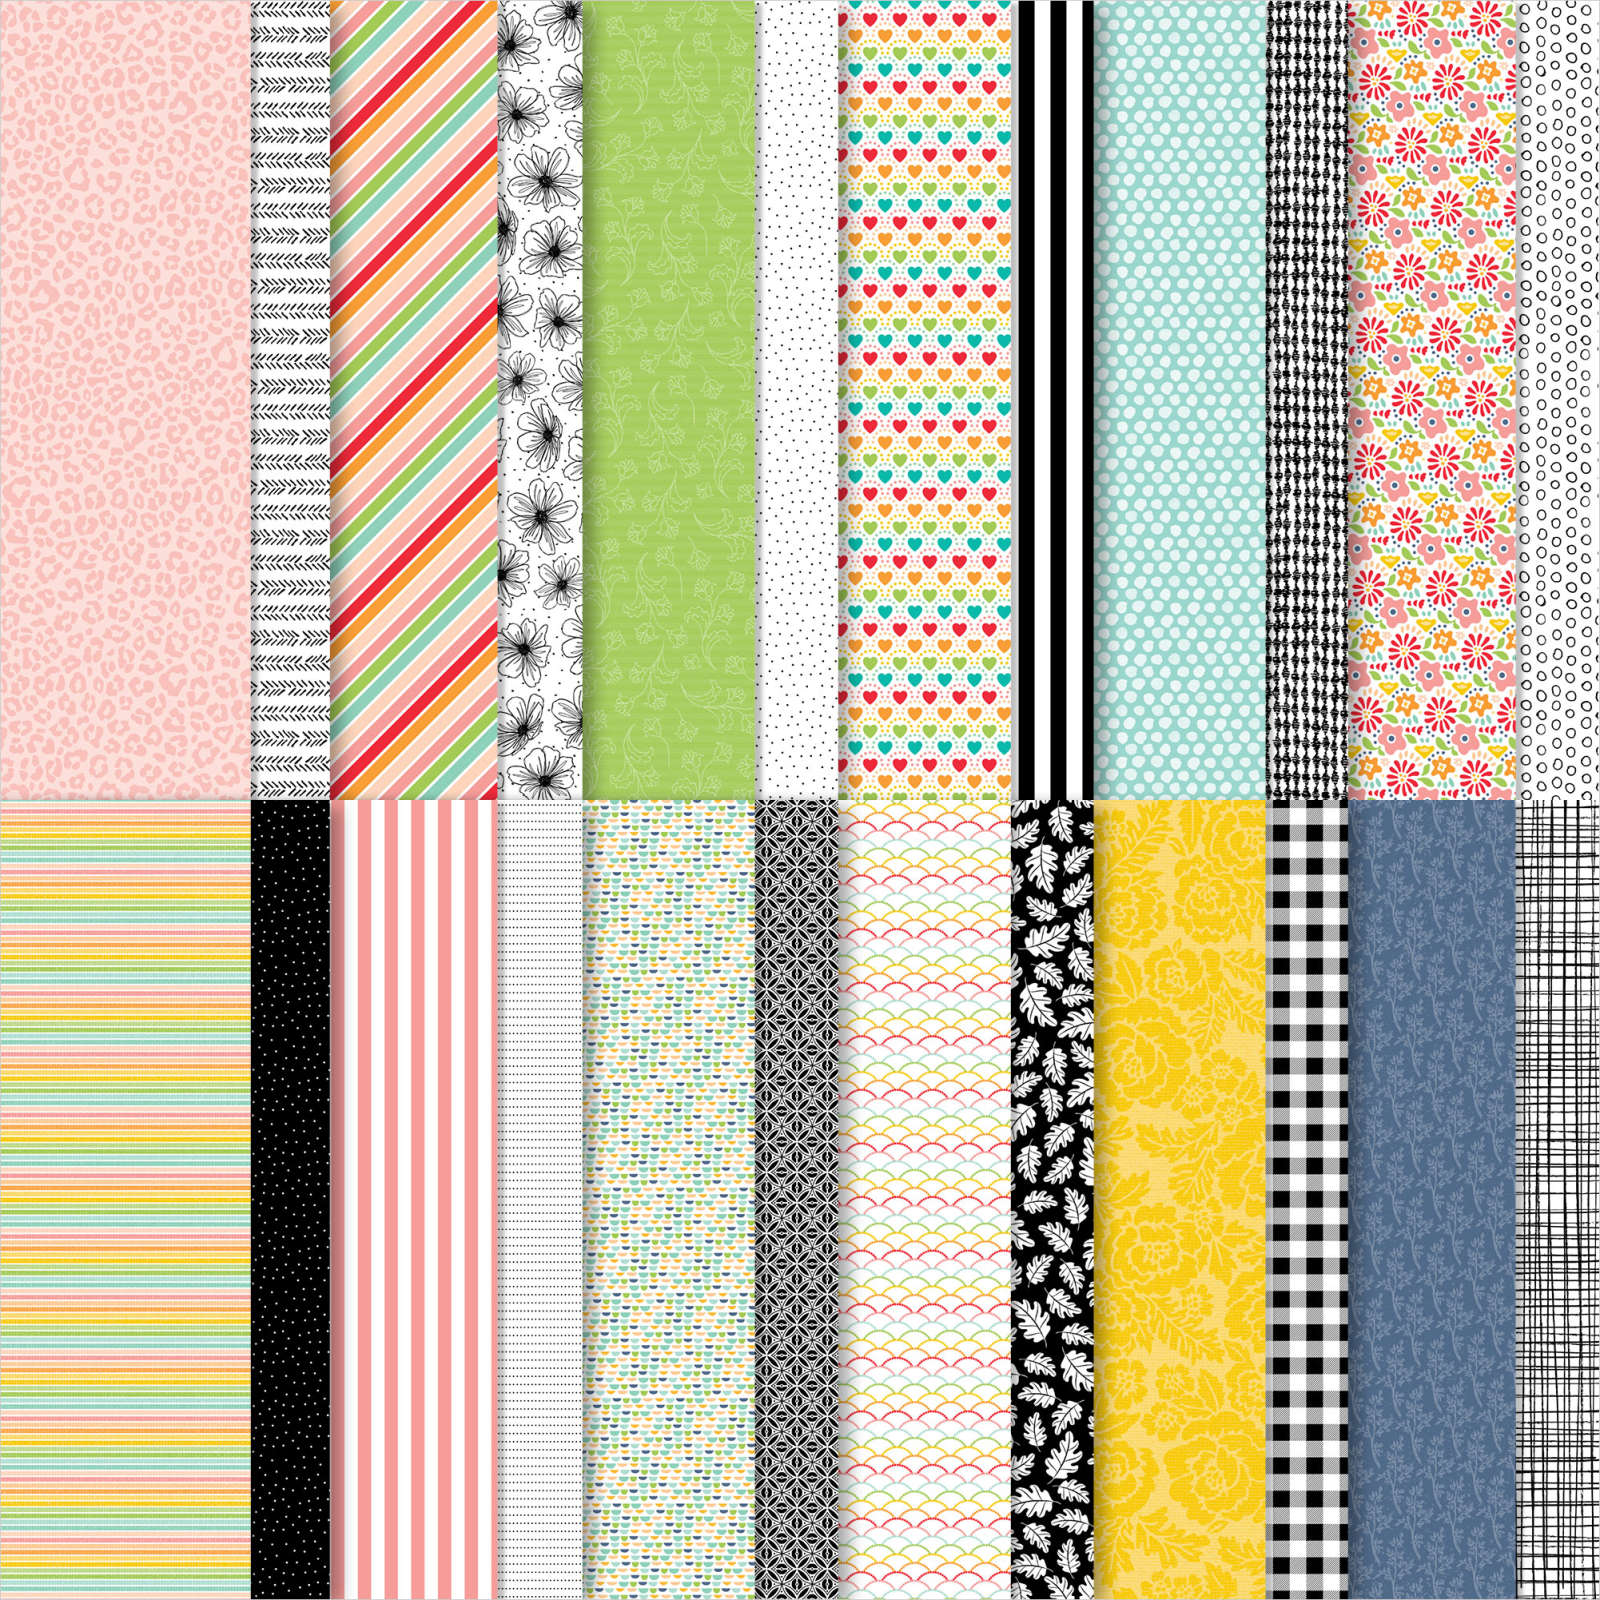
I cut the bird image using one of the Basic Borders Dies. I attached a piece of the Pattern Party Designer Series Paper across the bottom of Basic White card before attaching the bird image to the top of the card.
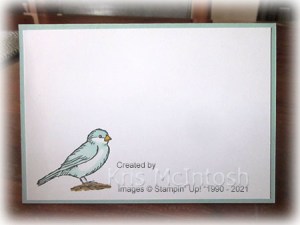
The whole panel is attached to scored and folded Pool Party card. I just love how the beautiful die cut and paper make this card so pretty. To decorate the inside of the card, I stamped the large single bird from the Free As A Bird stamp set onto the lower left hand corner of Basic White card using Memento Tuxedo Black ink. I coloured the bird using Pool Party, Dark Daffodil Delight and Light Soft Suede Stampin’ Blends. I haven’t added a greeting to this card, because I think it could be used for several occasions, so I am leaving my options open.
Bye for now,
Kris
Product Used:


First Trip

Ron and I finally took delivery of our new caravan late in April. We had to wait a bit longer than we thought because of all the Covid shut downs and because no-one can travel overseas, caravans are in big demand. We were excited to take it away before Ron had his knee operation. We decided to visit Tin Can Bay because it’s a lovely spot and because it’s only a few hours from home. To begin my page I attached a strip of the Pattern Party Designer Series Paper to the right hand side of Basic White 12″ x 12″ page and the left hand side of the another Basic White 12″ x 12″ page.

I attached a length of Very Vanilla Scalloped Lace Trim down the edge of the Designer Series Paper. I cut Basic Black card using the Basic Borders Dies to create a circle effect and attached the die cuts to each of the photos before they were attached across the page.
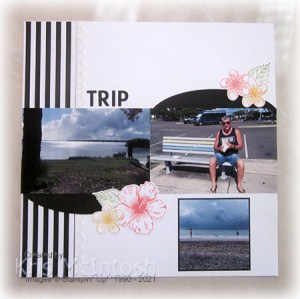
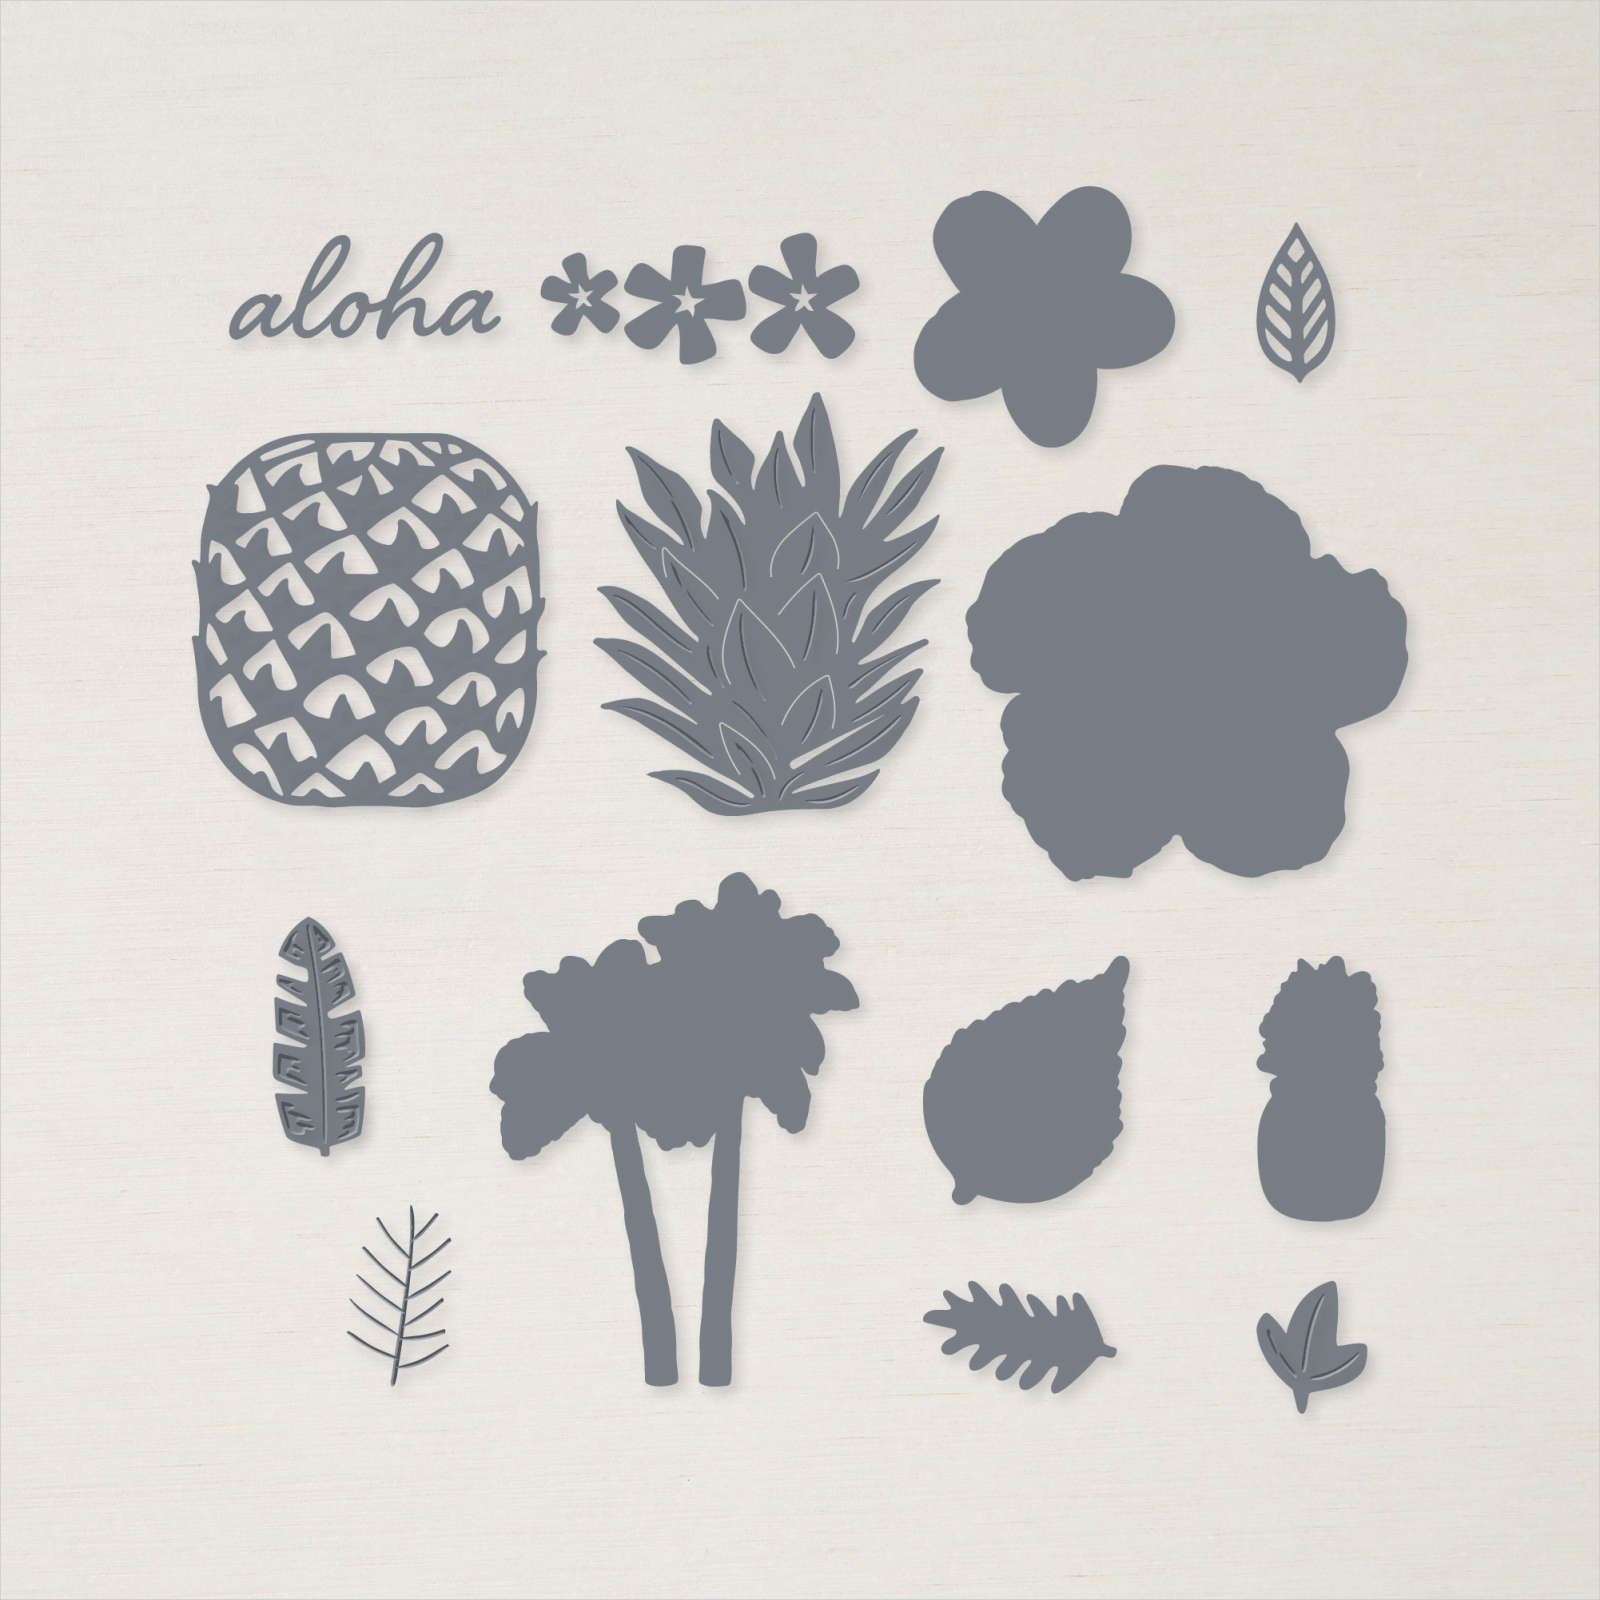
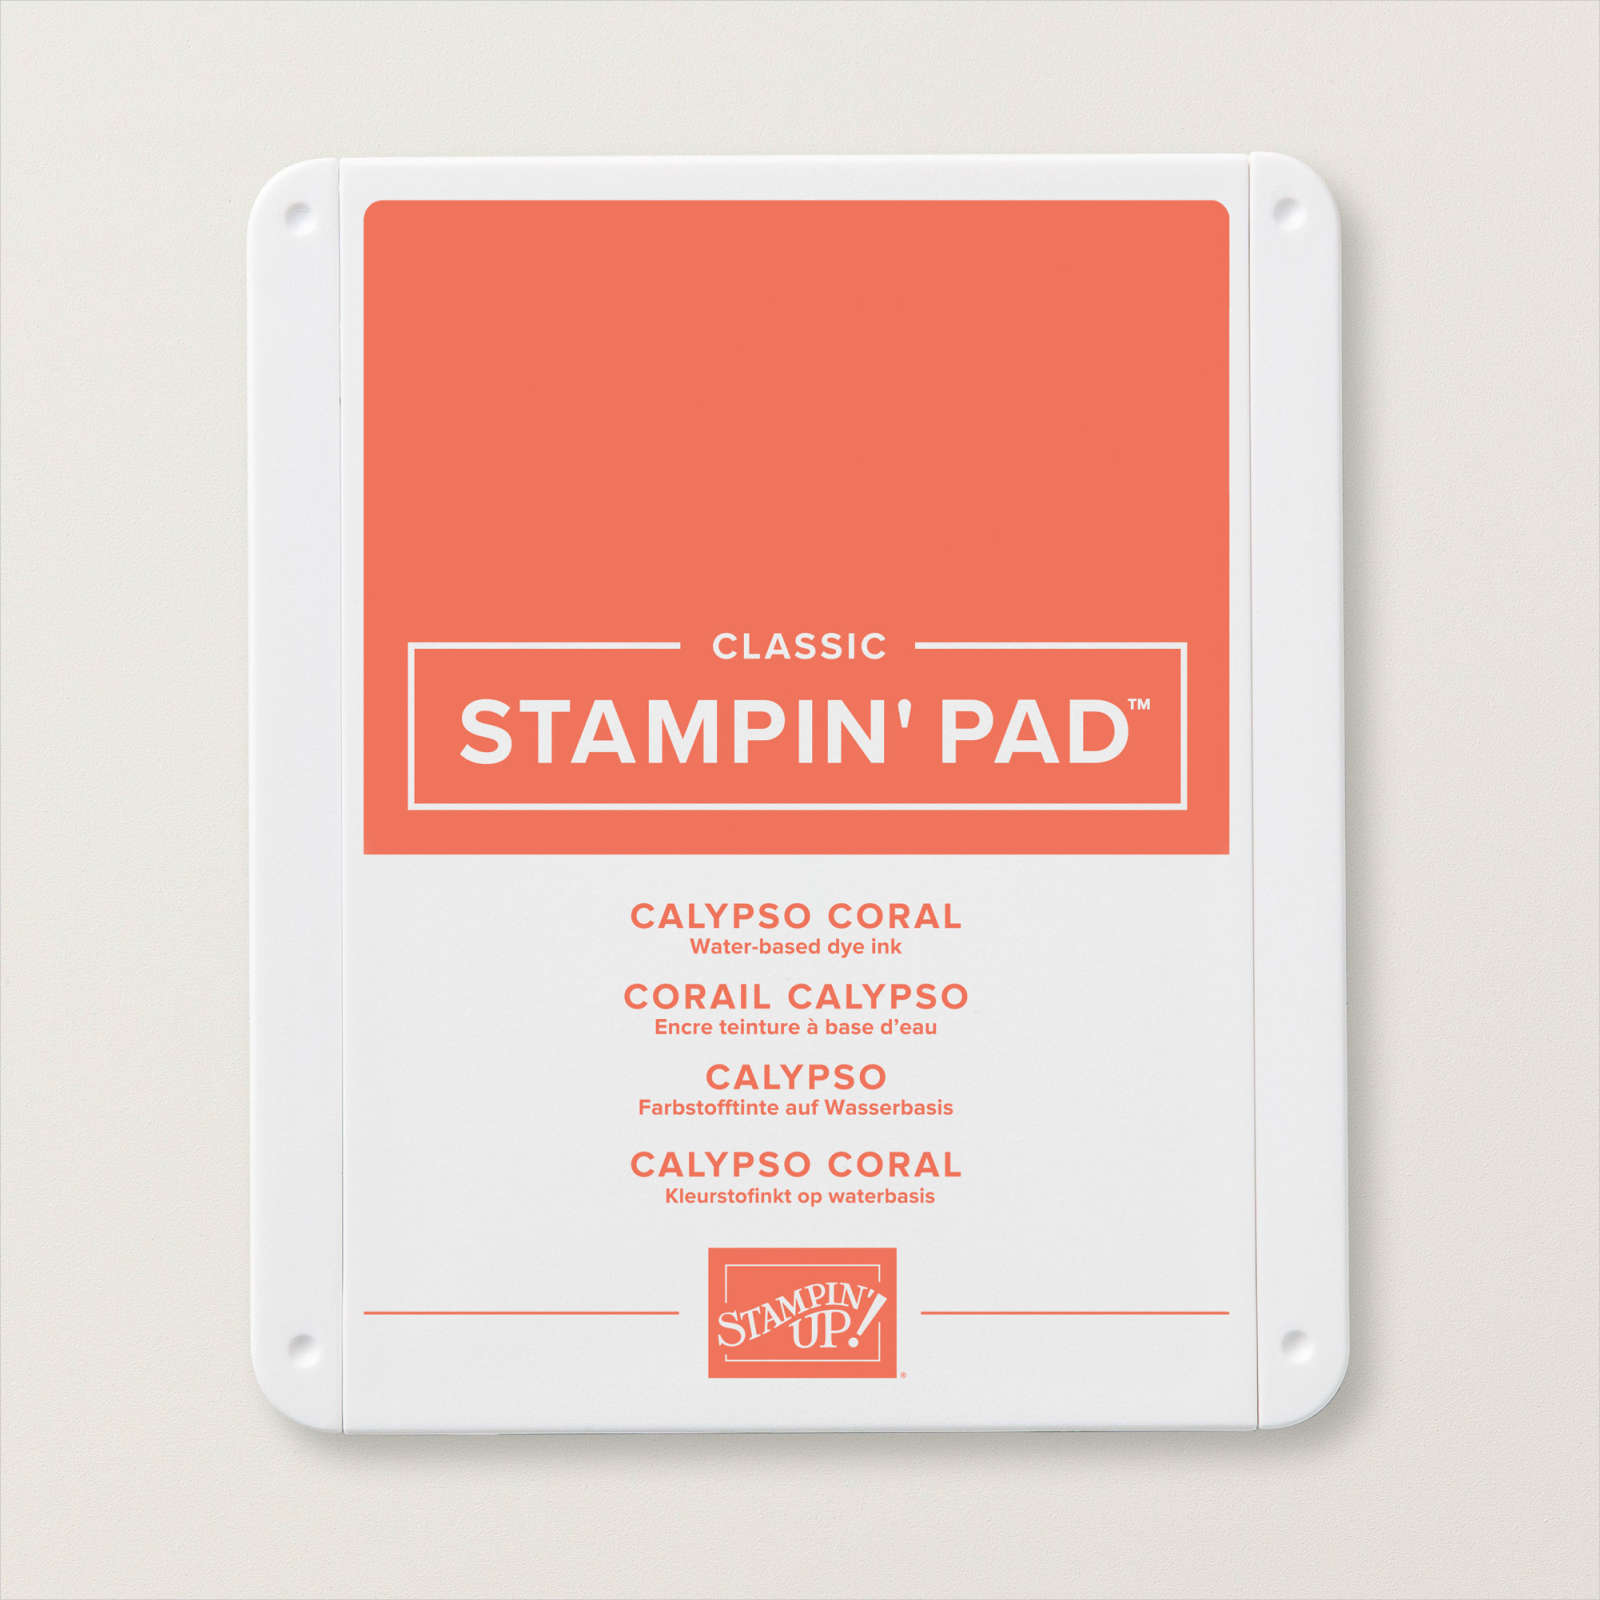
I cut the title from Basic Black card using the Playful Alphabet Dies and attached “first” to one page and “trip” to the other. I created my journaling on the computer and printed onto Basic White card. The journaling is attached to Basic Black card and then left hand page. I attached a smaller photo to the right hand page, it shows the storm brewing out to sea when we visited Rainbow Beach. I stamped several hibiscus and frangipani flowers from the Timeless Tropical stamp set onto Basic White card using Calypso Coral, Mango Melody and Daffodil Delight ink. I also stamped several leaves from the same stamp set using Granny Apple Green ink. The flowers and leaves were cut out using the co-ordinating In The Tropics stamp set before attaching them to the pages.

As usual, simple but brings happy thoughts to mind.
Bye for now,
Kris
Product Used:


Artistic Birthday
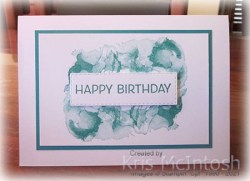
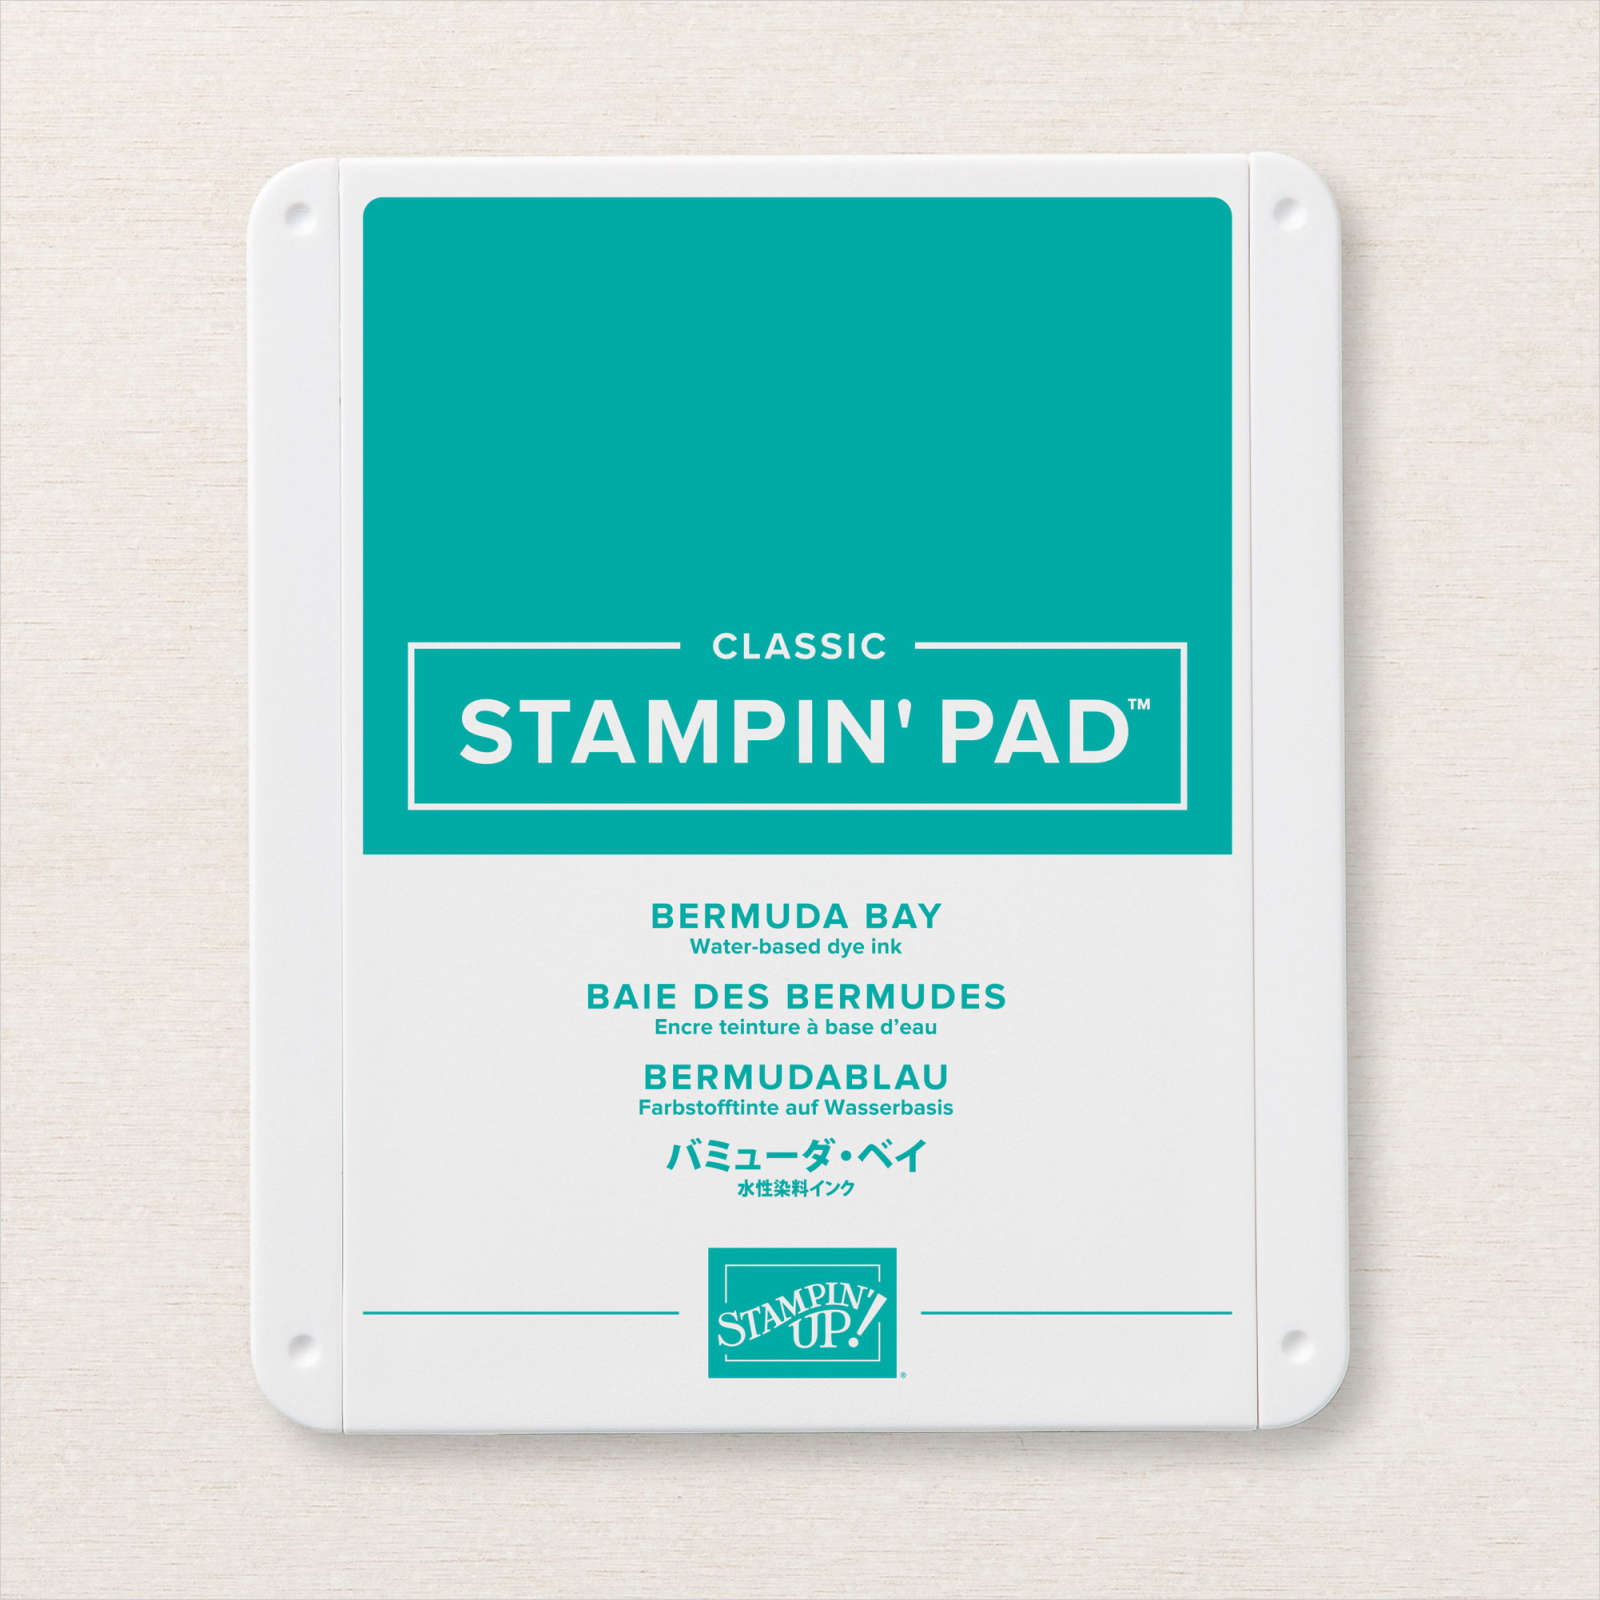
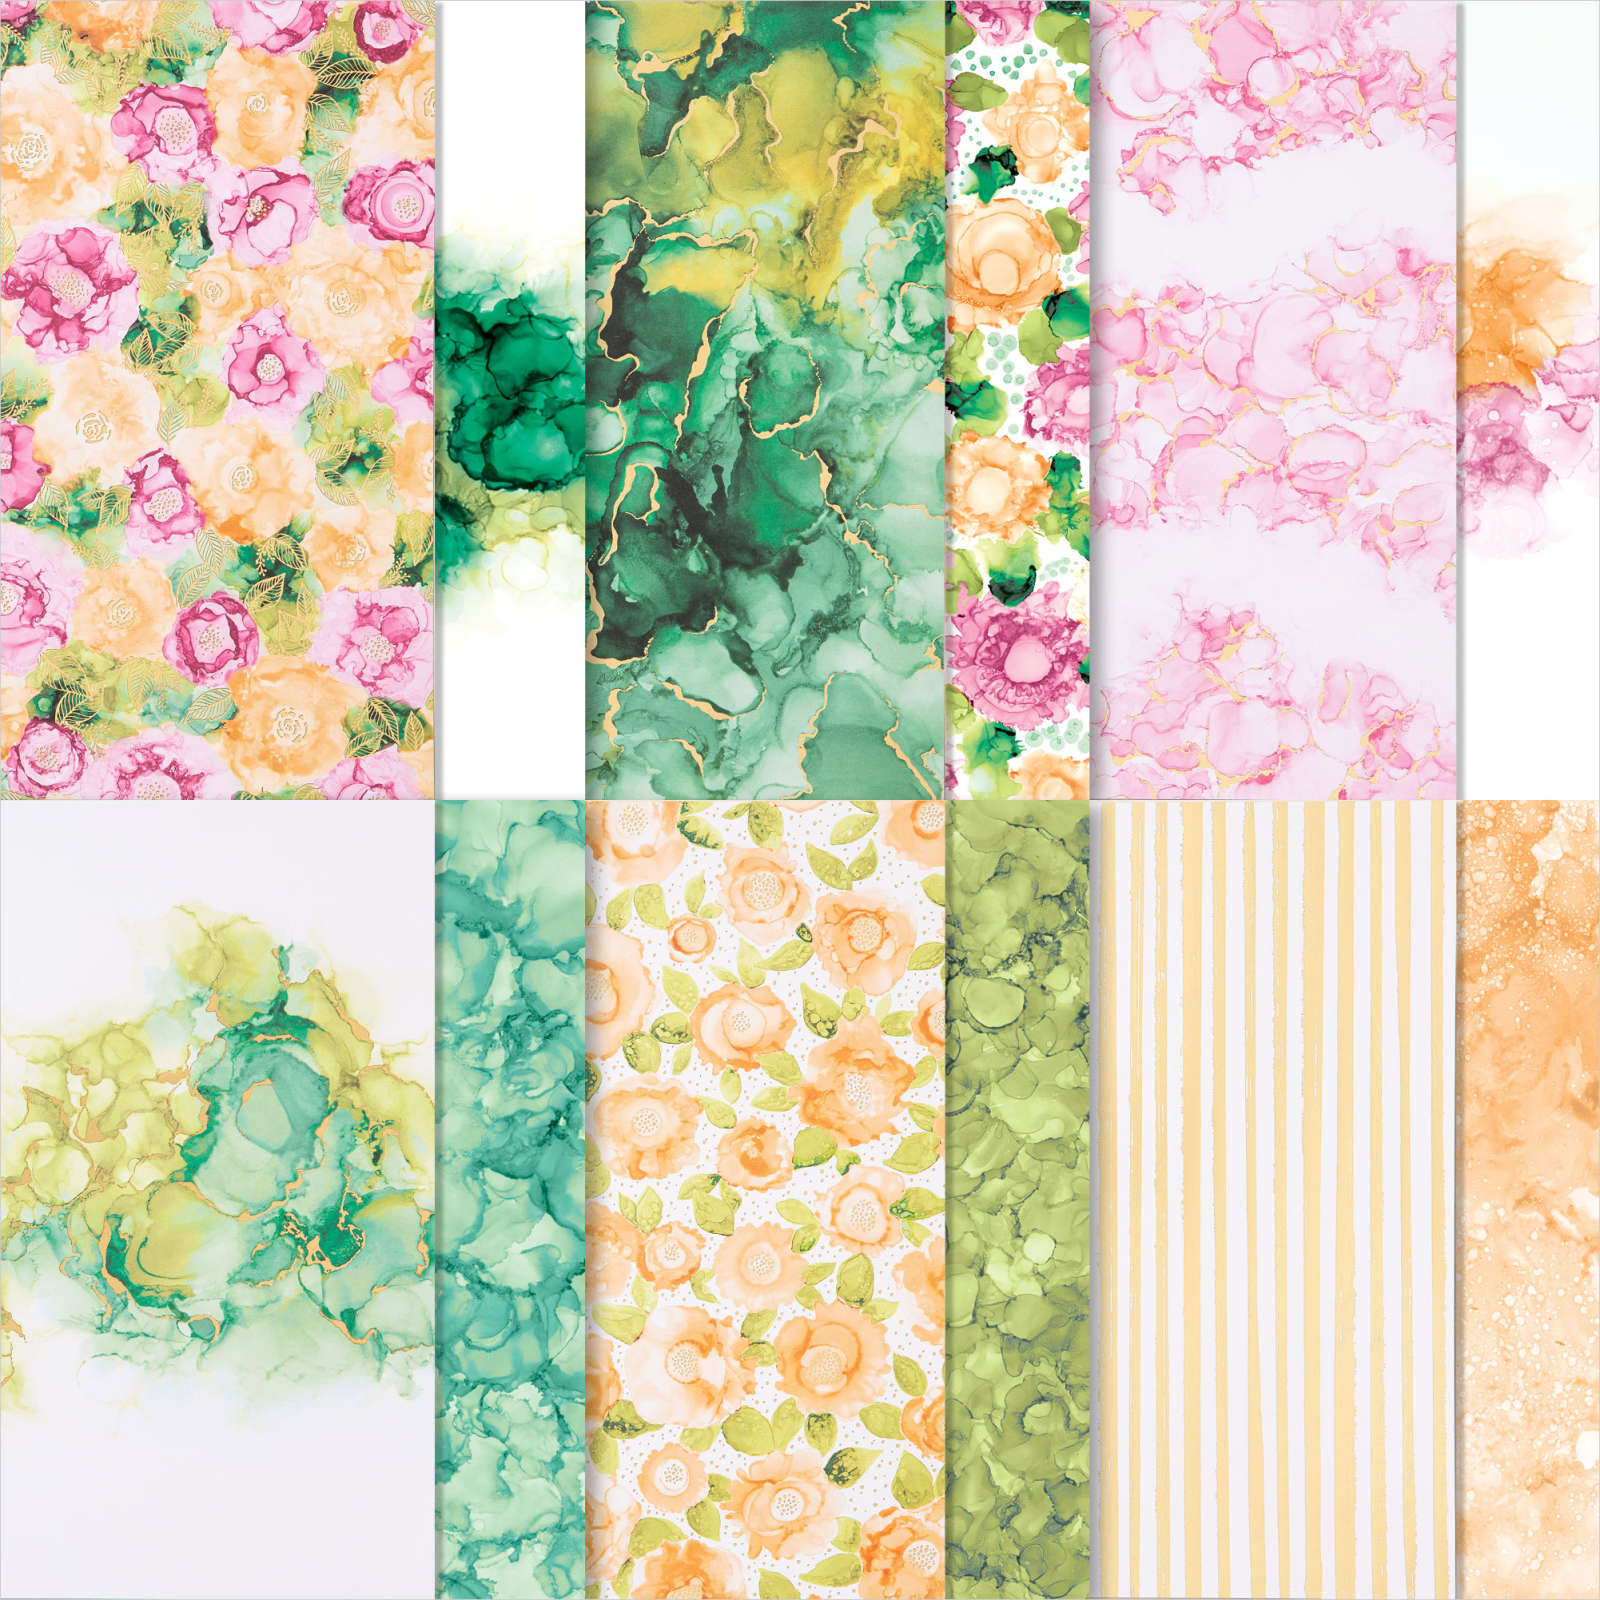
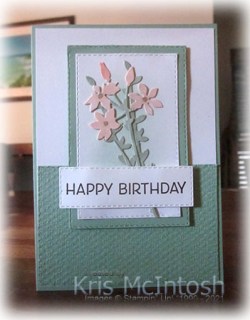
I was drawn to the Expressions in Ink Product Suite because of the beautiful colours and the watercolour look of the papers and stamps. However, the first card I created using this suite is very simple. I stamped the large watercolour image from the Artistcally Inked stamp set onto Basic White card twice using Bermuda Bay ink.

I love how many shades you get using just one colour! I attached the stamped Basic White card to Bermuda Bay card and then scored and folded Thick Basic White card.

I stamped “happy birthday” from the Artistically Inked stamp set onto Basic White card using Bermuda Bay ink and cut it out using one of the Stitched Rectangle Dies. I attached the greeting to the centre of the stamped images using dimensionals. To decorate the inside of the card, I stamped the large flower from the Artistically Inked stamp set onto the lower left hand corner using Bermuda Bay ink. I stamped the smallest single flower into the centre of the large flower using the same ink which I stamped onto scrap paper first. I masked the flower image and stamped the leaf image from the Artistically Inked stamp set twice using Pear Pizzazz ink.
As I said so simple but, I think, so effective. What about you? What do you think?
Bye for now,
Kris
Product Used:


Special Birthday

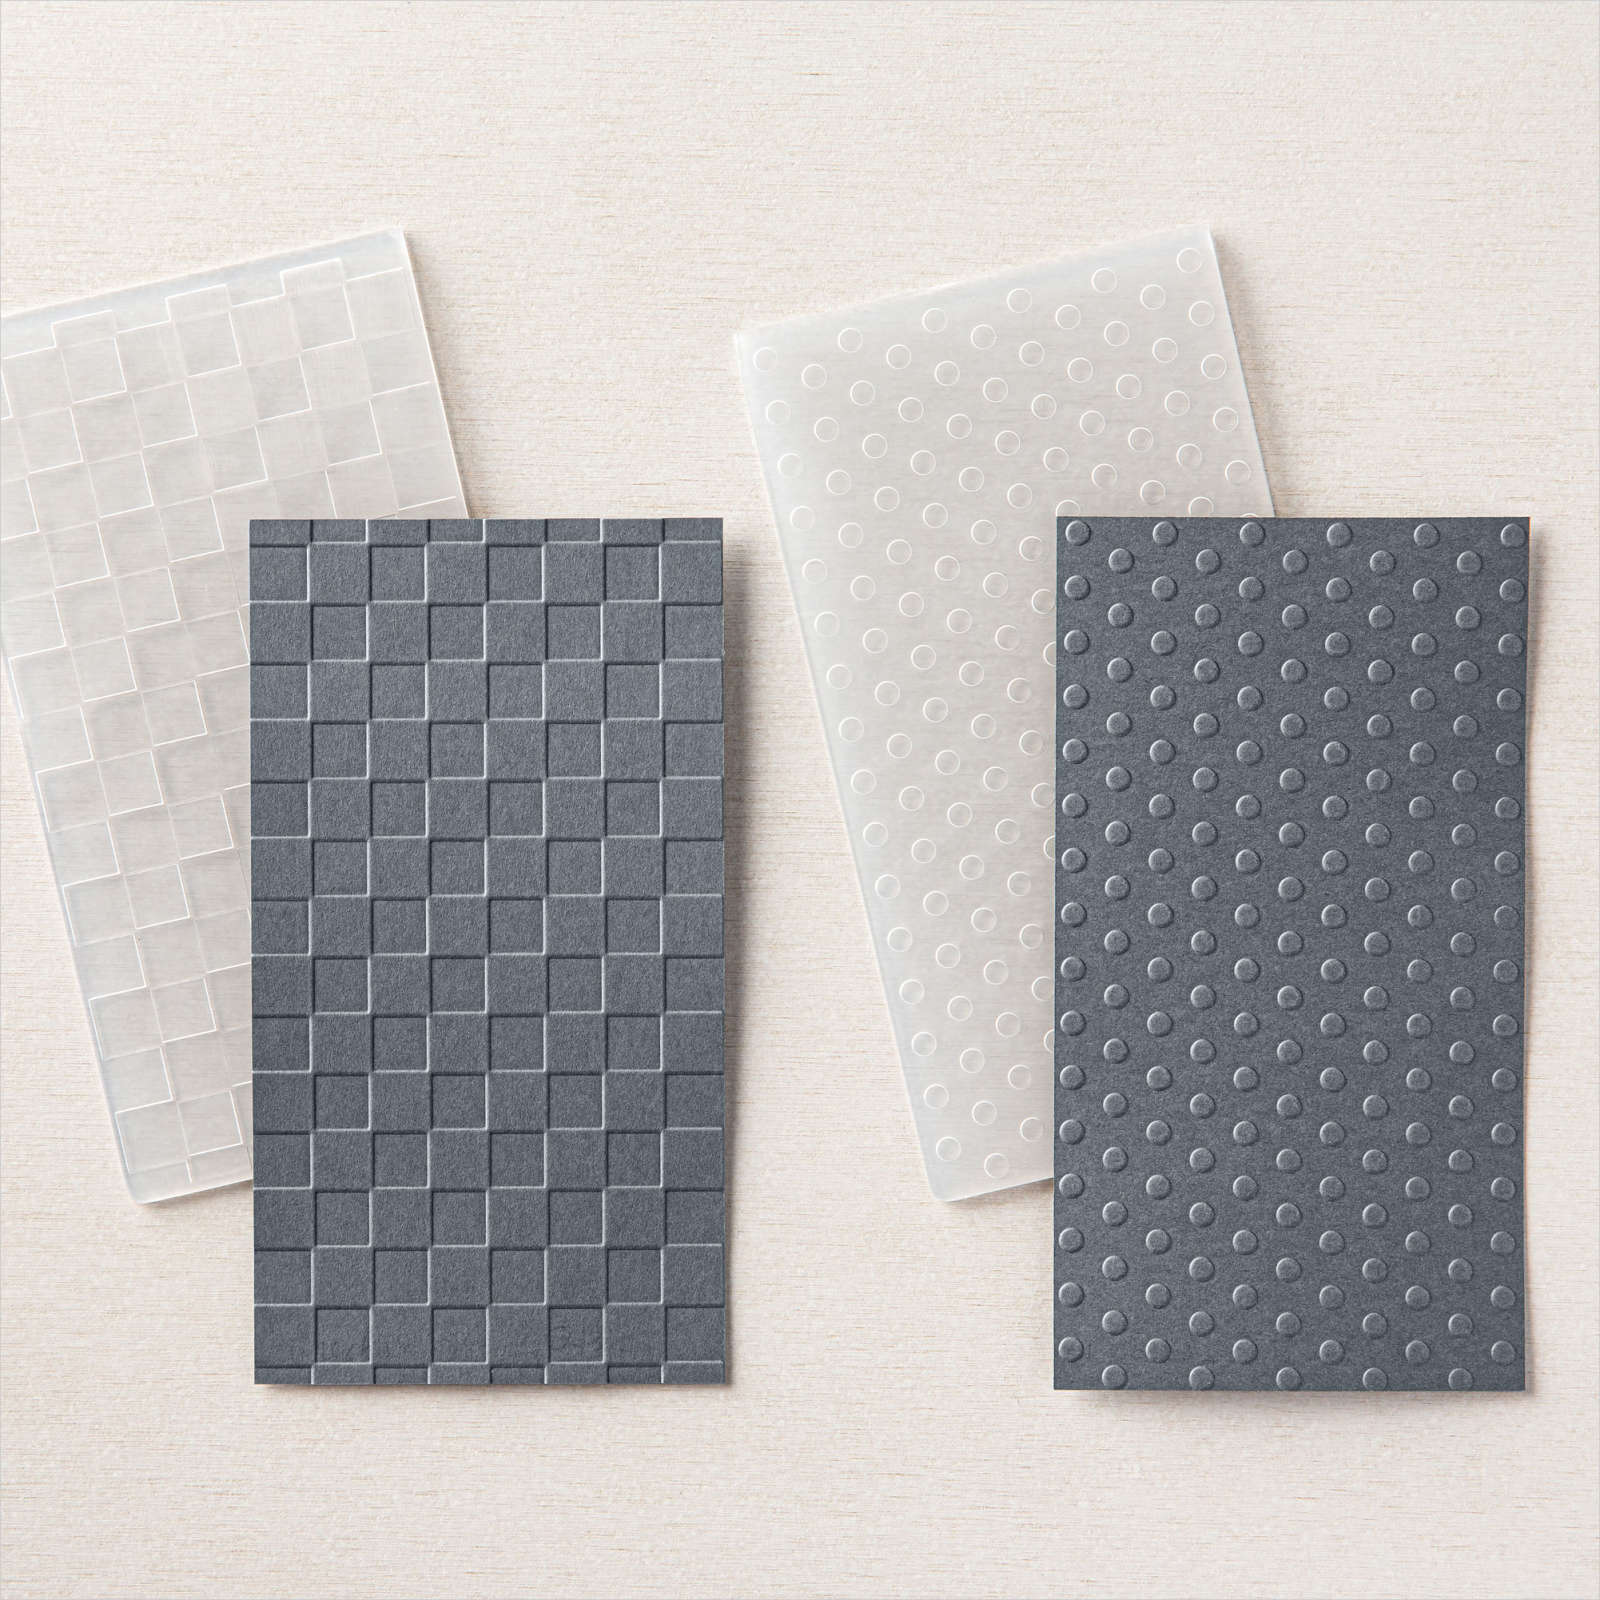
I shared the Expressions of Ink Product Suite on my Facebook Live yesterday so today I have another card using the same product suite. This card was made for my friend and ex-neighbour, Nat. I love the Artistically Inked stamp set and hope that she does too. I embossed Basic White card using the dotted folder from the Checks & Dots Embossing Folders. The embossed card is attached to scored and folded Highland Heather card. I stamped the large flower from the Artistically Inked stamp set onto Basic White card using Highland Heather ink. I stamped the smaller flower from the same stamp set onto Basic White card using Gorgeous Grape ink. I stamped the smallest flower from the Artistically Inked stamp set onto Basic White card using Gorgeous Grape ink.

I stamped the double leaf once and the single leaf twice onto Basic White card using Pear Pizzazz ink. I cut out all of the images using the co-ordinating dies from the Artistic Dies. I attached the double leaf behind the largest flower and attached it to the card front. I attached the two single leaves behind the smaller flower and attached it to the card front. I added the smallest flower to the centre of the largest flower. I stamped “happy birthday” from the Artistically Inked stamp set onto Basic White card using Pear Pizzazz ink and cut it out using one of the Rectangle Stitched Shapes Dies.

I cut a slightly larger rectangle from Pear Pizzazz card and attached the greeting. I attached a length of the gold thread from the Forever Greenery Trim Combo to the back of the greeting panel before attaching to the card front using dimensionals. To decorate the inside of the card, I attached a length of Old Olive card behind Basic White card which I embossed using the dotted folder from the Checks & Dots Embossing Folders. The embossed panel is attached across the bottom of Basic White card.
This is so pretty, I just love the watercolour look and of course, I am a bit of a fan of purple colours. What about you, do you love purple or is it not so much your colour?
Bye for now,
Kris
Product Used:


United Through Creativity
Have you seen the amazing United Through Creativity FREE PDF download that Stampin’ Up! has available for demonstrators and customers. It’s 14 pages of images and greetings in all the languages in which Stampin’ Up! has a market. I love it and best of all once you download it, it never retires. So don’t delay head to my store and download your copy to keep and use forever.

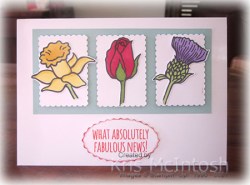
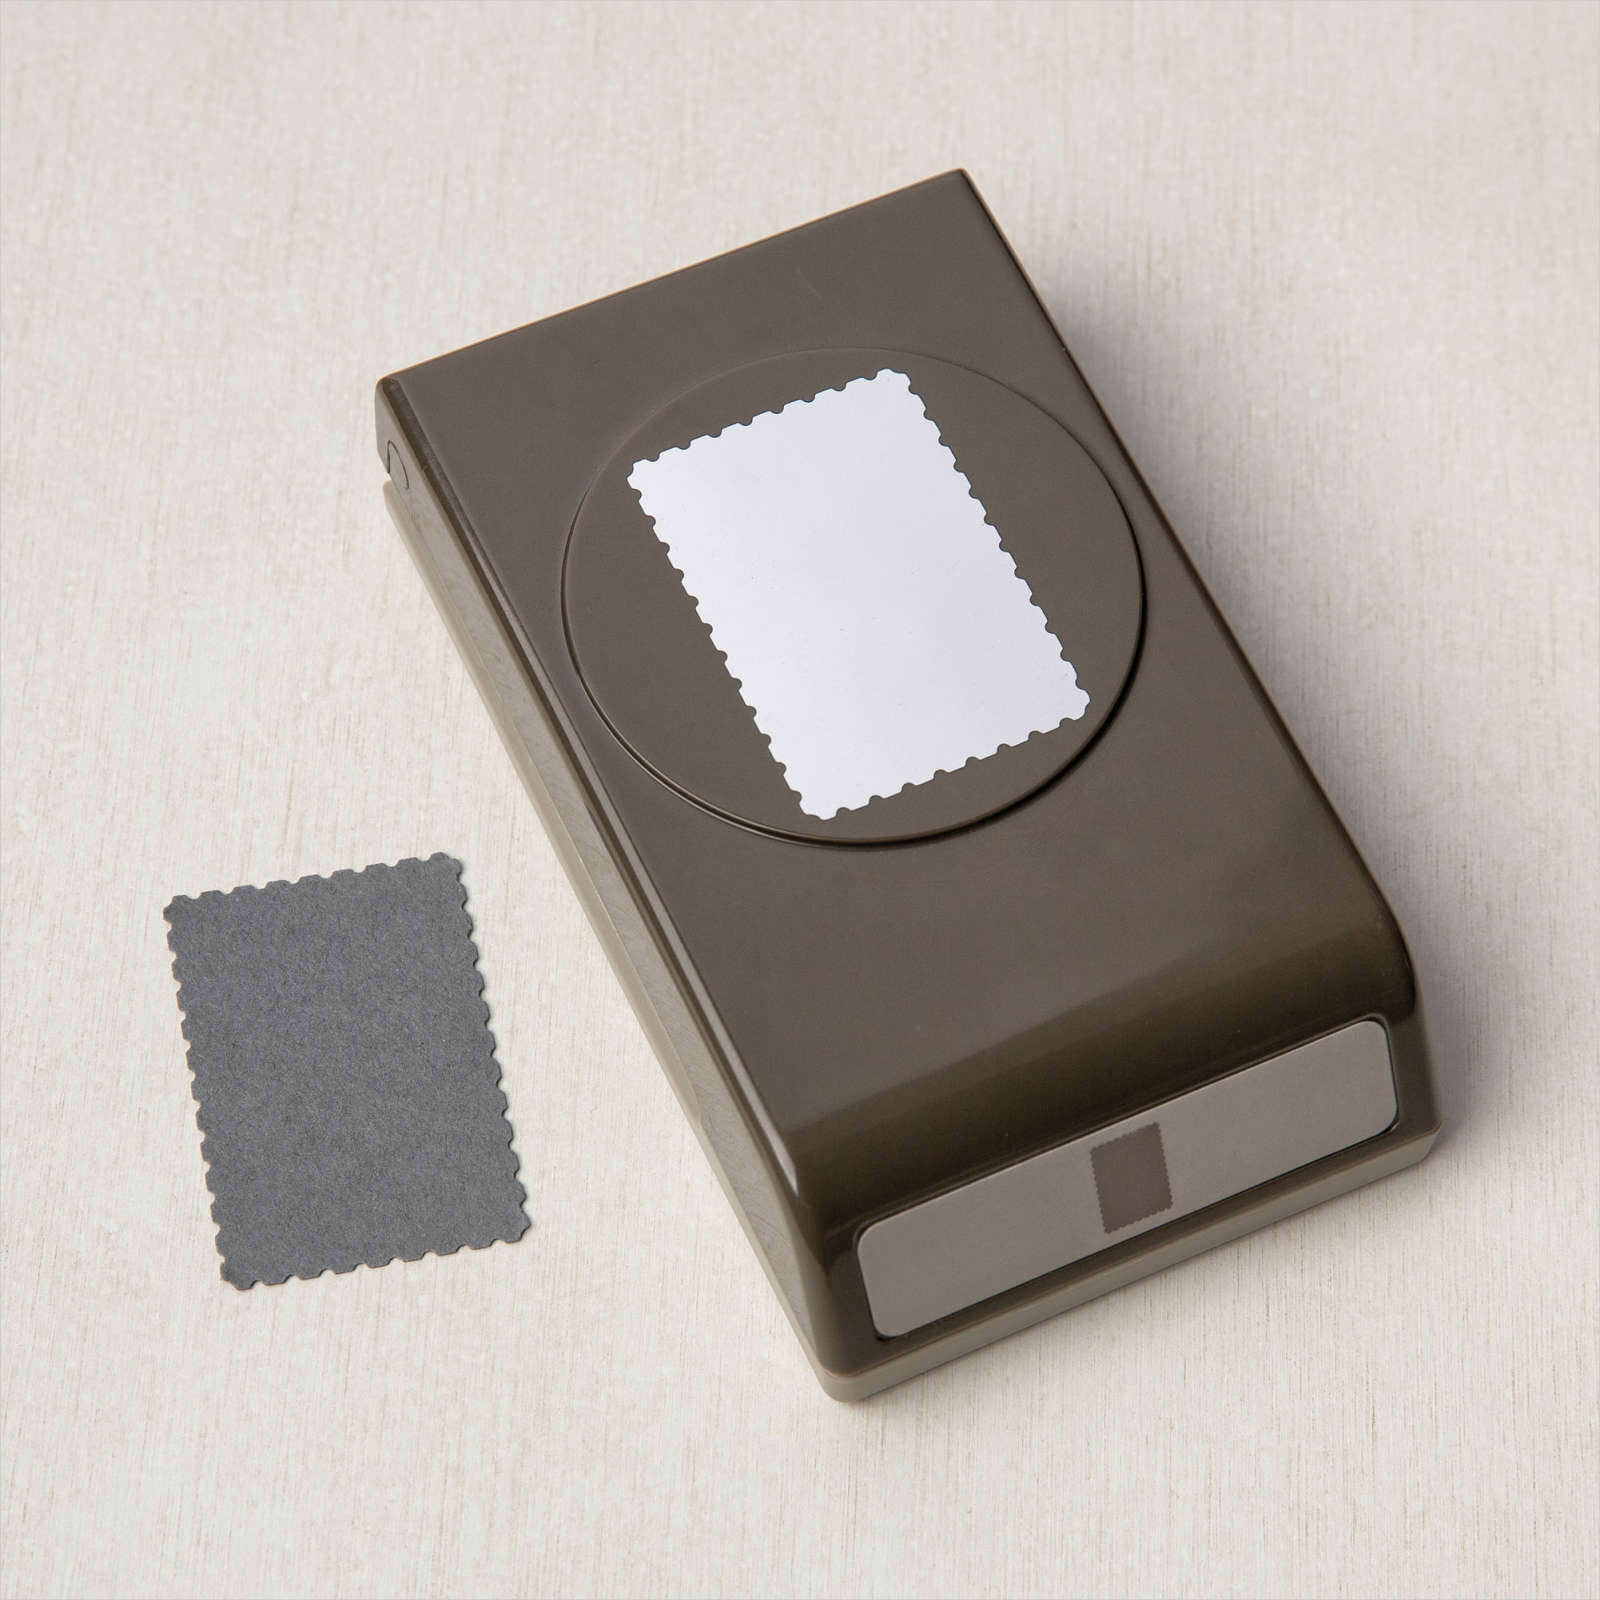
Today I am sharing with you the first card that I made using this fabulous resource. I printed the page with the four small floral images and lots of greetings onto Basic White card. I coloured the flowers using Granny Apple Green, Highland Heather, Light Daffodil Delight and Dark Real Red Stampin’ Blends. Once I coloured the images I cut them out. I punched Basic White card using the Postage Stamp Punch and attached the punched pieces to Pool Party card using dimensionals.
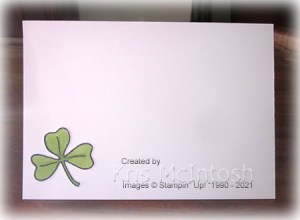
The panel is attached to scored and folded Thick Basic White card. I attached the three floral images to the postage stamp panels and the last image to the inside of the card. I punched out the greeting using the Double Oval Punch and sponged a little Real Red ink around the edges before attaching it to the card front. I am absolutely amazed at how gorgeous these images are once you print them out and add a little colour. So don’t delay, head on over to my store and download your free copy.
I am sure to be sharing more cards made with this amazing download in the future, so don’t forget to pop in regularly so you don’t miss out on some inspiration.
Bye for now,
Kris
Product Used:
Visit my online store to download your copy of the United through Creativity PDF.


Forever Blossoms

I haven’t used this stamp set in quite a while although I do love it. There just always seems to be something new to play with! I was able to purchase the Hostess Only Pattern Party Designer Series Paper pack on my demonstrator pre-order. This paper pack is amazing it contains 48 sheets, 4 each of 12 double sided designs. The patterns are amazing and one side is black and white. My absolute favourite. So today’s card features some old and something new! I began by using the Basic Borders Dies to cut a piece of the Pattern Party Designer Series Paper.

I attached the Designer Series Paper to Basic White card and then scored and folded Calypso Coral card. I stamped the large floral image from the Forever Blossoms stamp set onto Basic White card using Memento Tuxedo Black ink. I coloured the flowers using Calypso Coral Stampin’ Blends and the leaves using Granny Apple Green Stampin’ Blends.
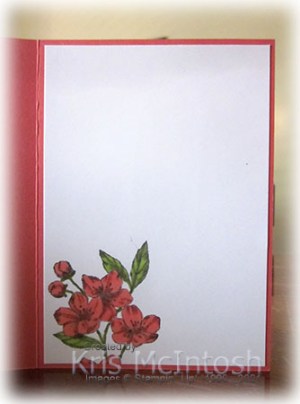
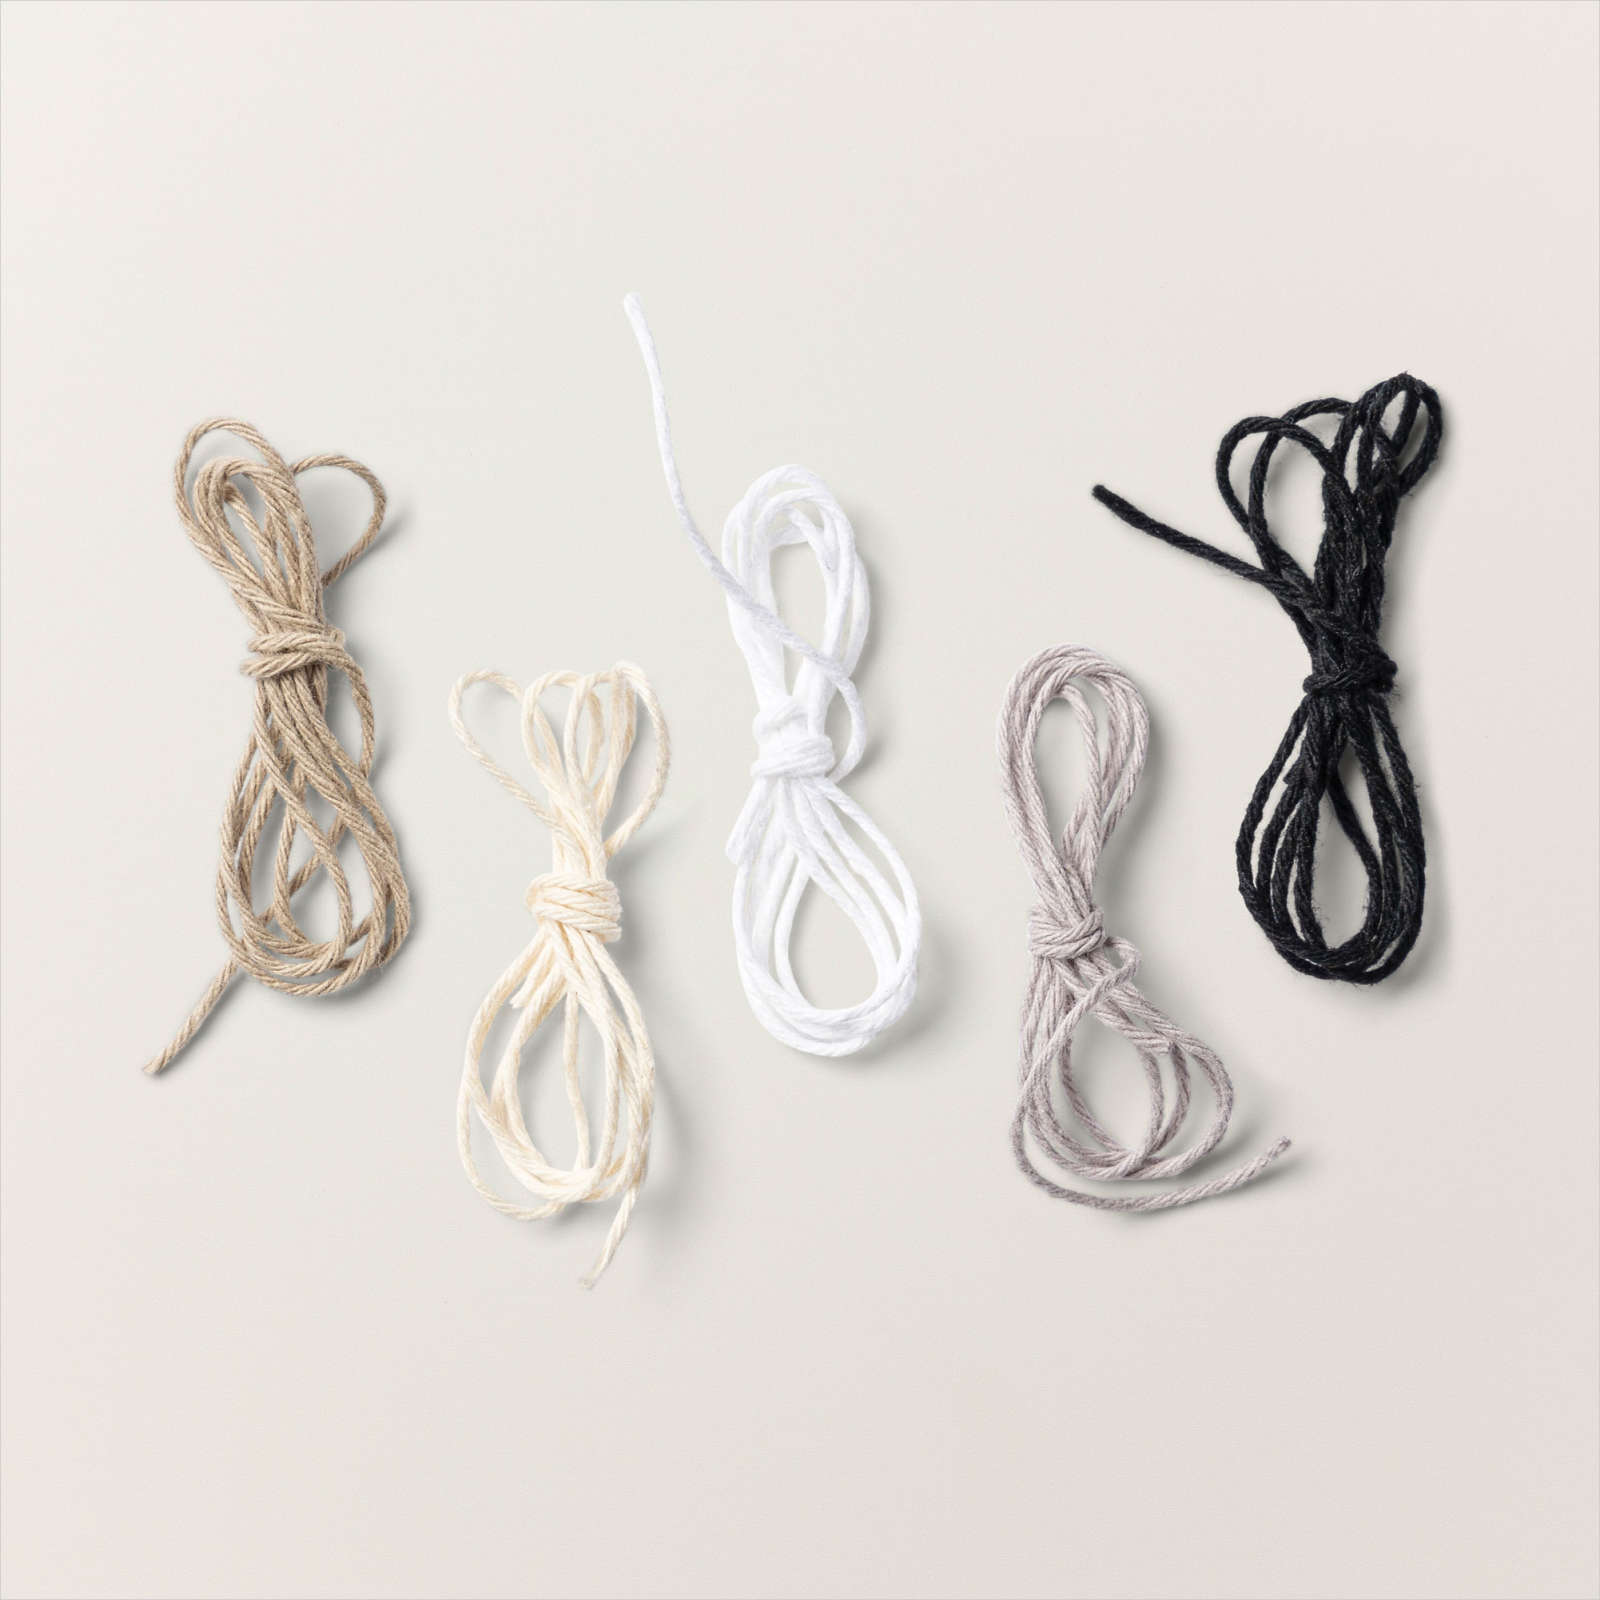
I cut out the flower using the co-ordinating Cherry Blossoms Die and attached it to the card front so that it followed the curved line of the die cut. I stamped the greeting from the Forever Blossoms stamp set onto Basic White card using Calypso Coral ink. I punched out the greeting using the Double Oval Punch. I attached the greeting to a Calypso Coral oval punched using the Double Oval Punch and then to card front. I coloured a length of Basic White Baker’s Twine from the Baker’s Twine Essentials Pack using the Dark Calypso Coral Stampin’ Blend and tied a bow which I attached to the flower stem. To decorate the inside of the card, I stamped a portion of the large floral image from the Forever Blossoms stamp set onto the lower left hand corner of Basic White card using Memento Tuxedo Black ink. The image is coloured using the Calypso Coral and Granny Apple Green Stampin’ Blends.
I love how pretty this card is and I love that you can combine new product with old product to get a fresh new look. Thank you Stampin’ Up! for being so clever!
Bye for now,
Kris
Product Used:


Mother’s Day

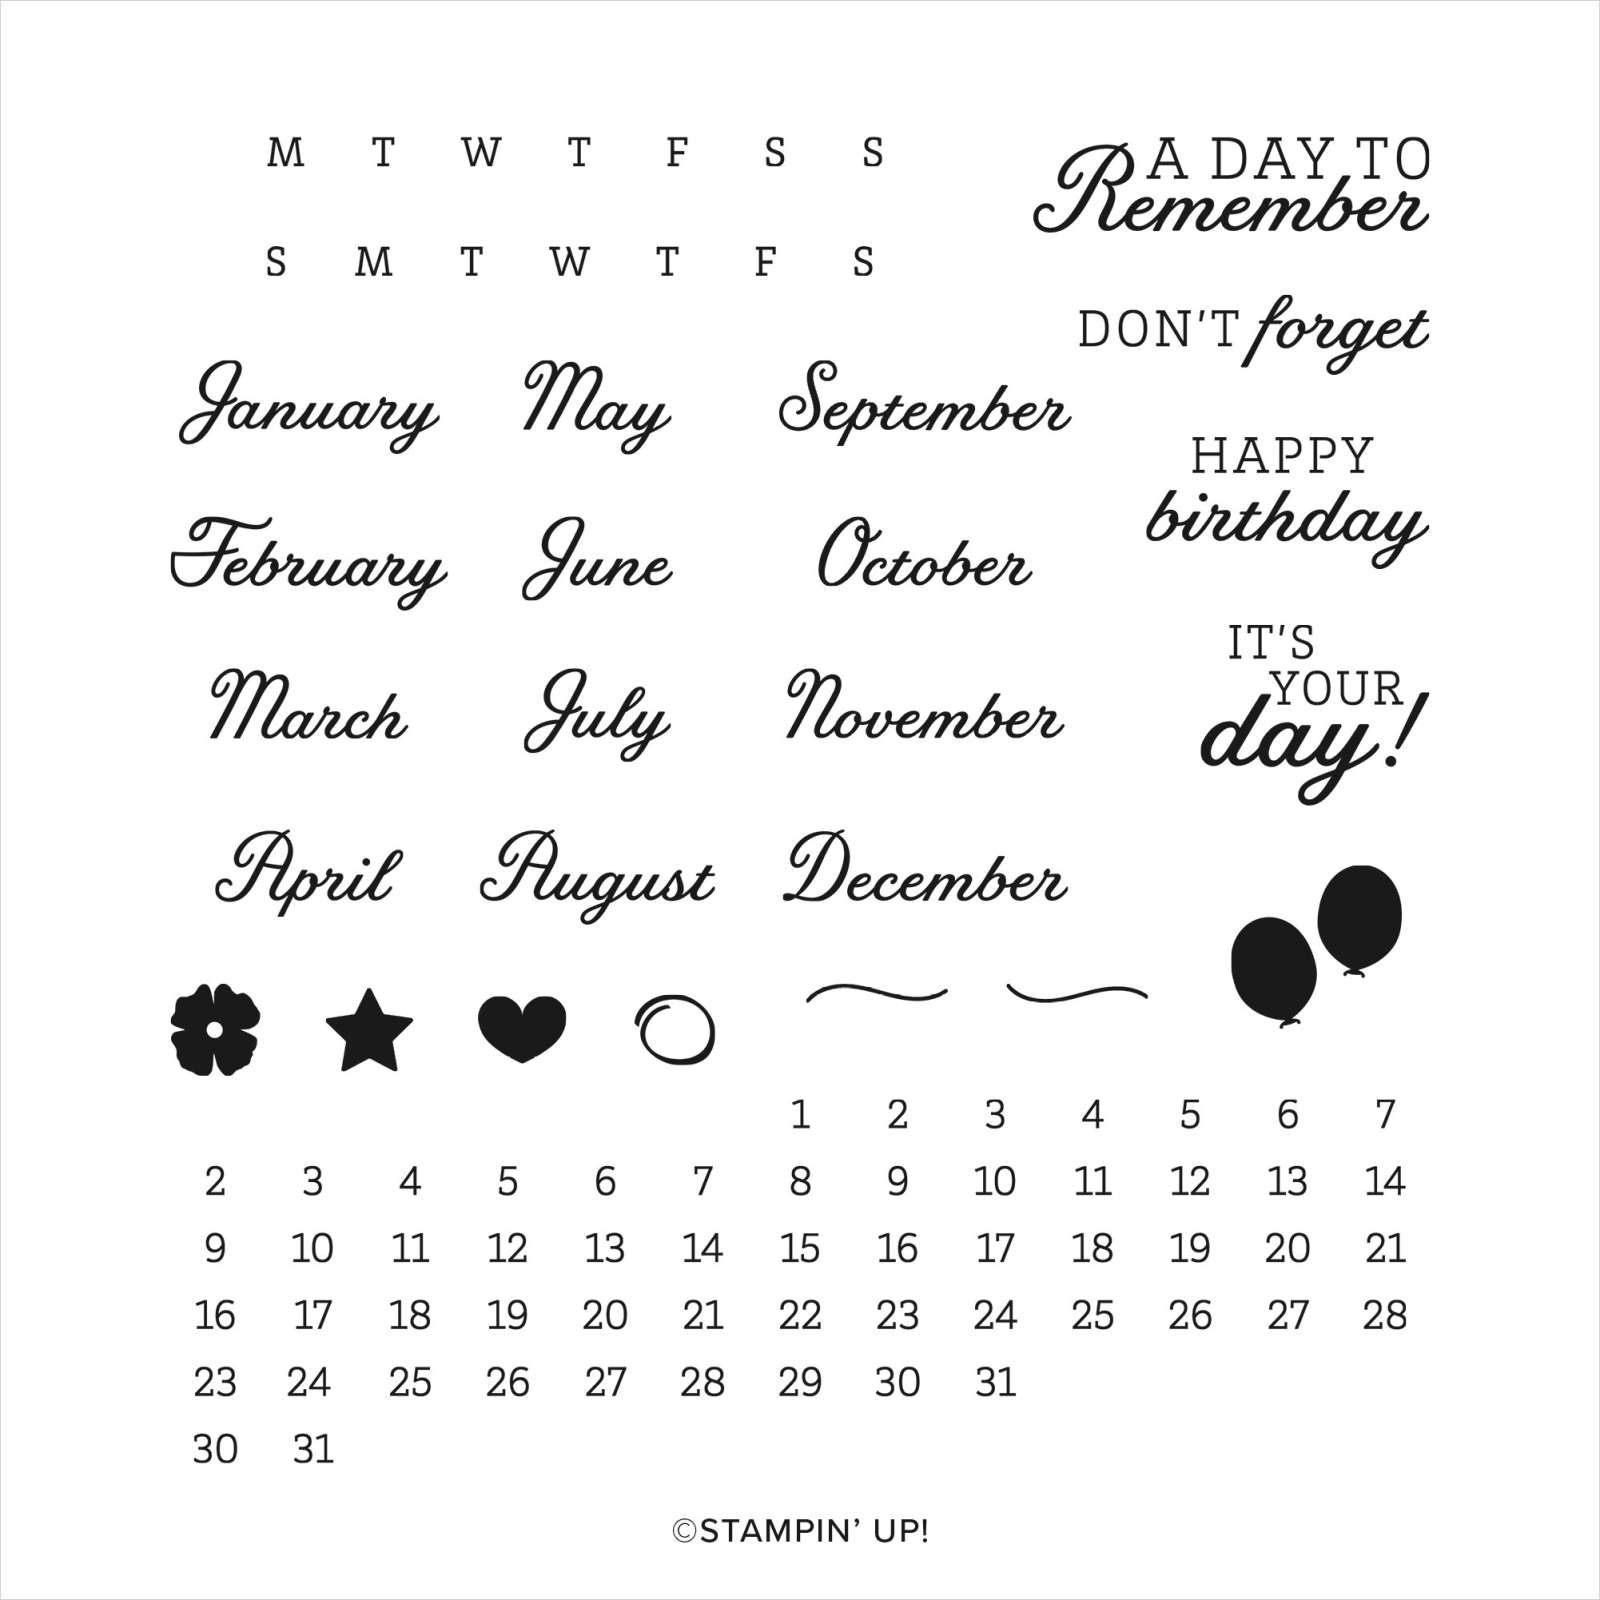
Was a little different this year with Ron in hospital. I was invited to Sarah and Sean’s for breakfast on Mother’s Day which was so lovely. Ron was still in hospital so I had to dash off to visit him. Then a detour on the way home to visit Mum and Dad. My page is pretty simple but it does show off a new stamp set which you may quickly bypass in the Annual Catalogue – Days to Remember. This is an awesome stamp set which allows you to create calendars as you wish but also has some great sayings as well.

I love that it even has a little circle which allows you to highlight the different dates. I cut a strip of Basic Black card with one of the Basic Borders Dies and attached it behind one long edge of a piece of the absolutely gorgeous Expressions in Ink Specialty Designer Series Paper. The Designer Series Paper panel is attached across a Basic White 12″ x 12″ page. I attached my photos to Basic Black card before attaching them to the page. I stamped the calendar for May this year added the days and the month as well as that cut little circle using Memento Tuxedo Black ink. I attached the calendar to Basic Black card before attaching to the page. I cut the title from Basic Black card using the Playful Alphabet Dies. Like I said, a simple page but one that I love.
Bye for now,
Kris
Product Used:
Meadow Thinking of You
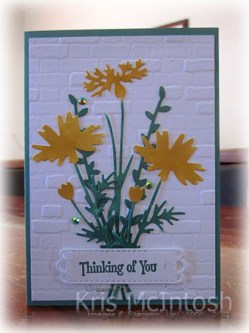
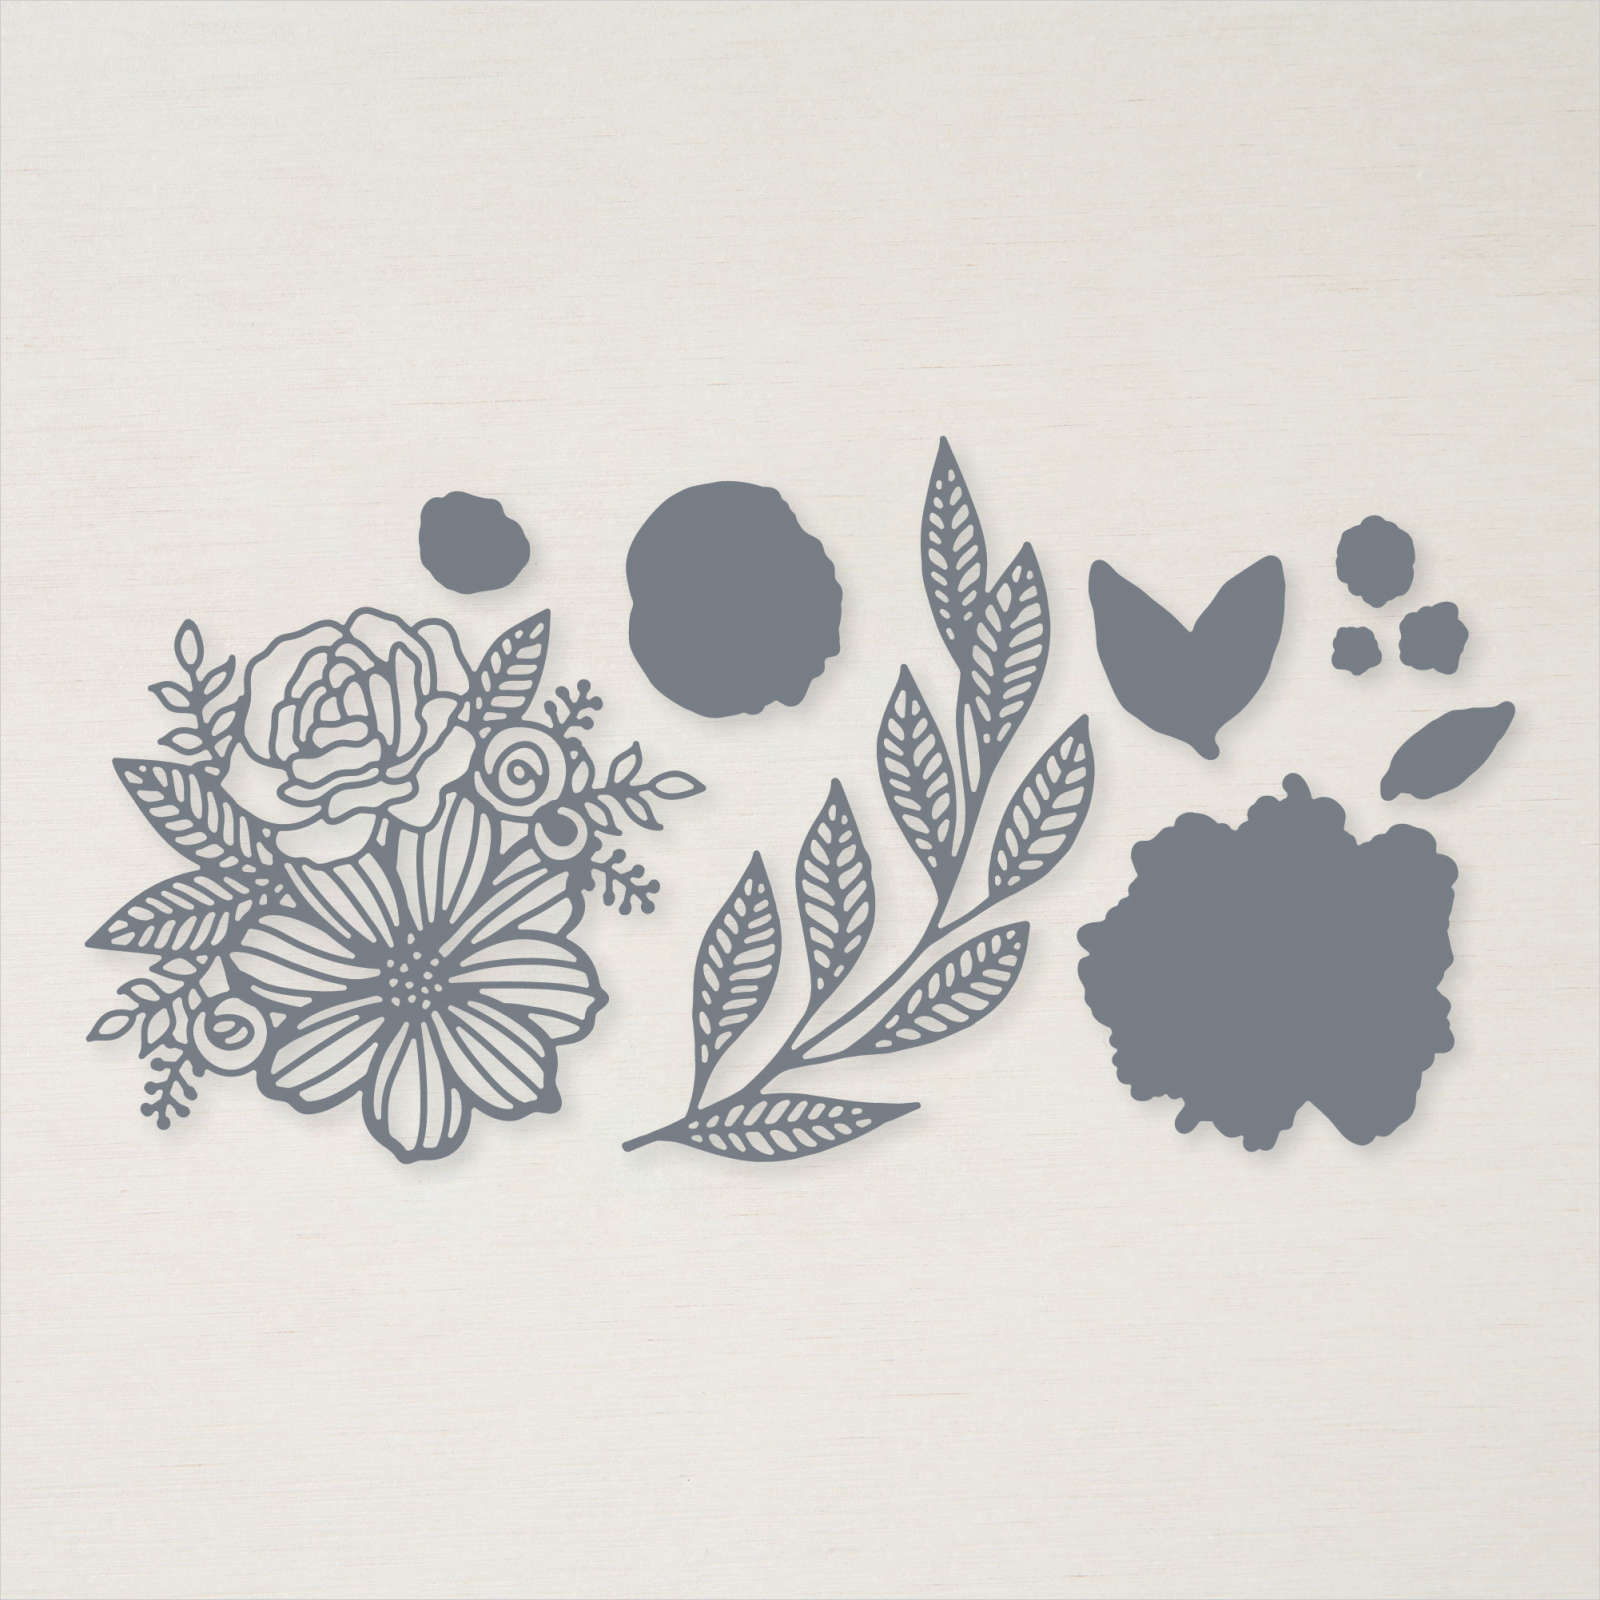
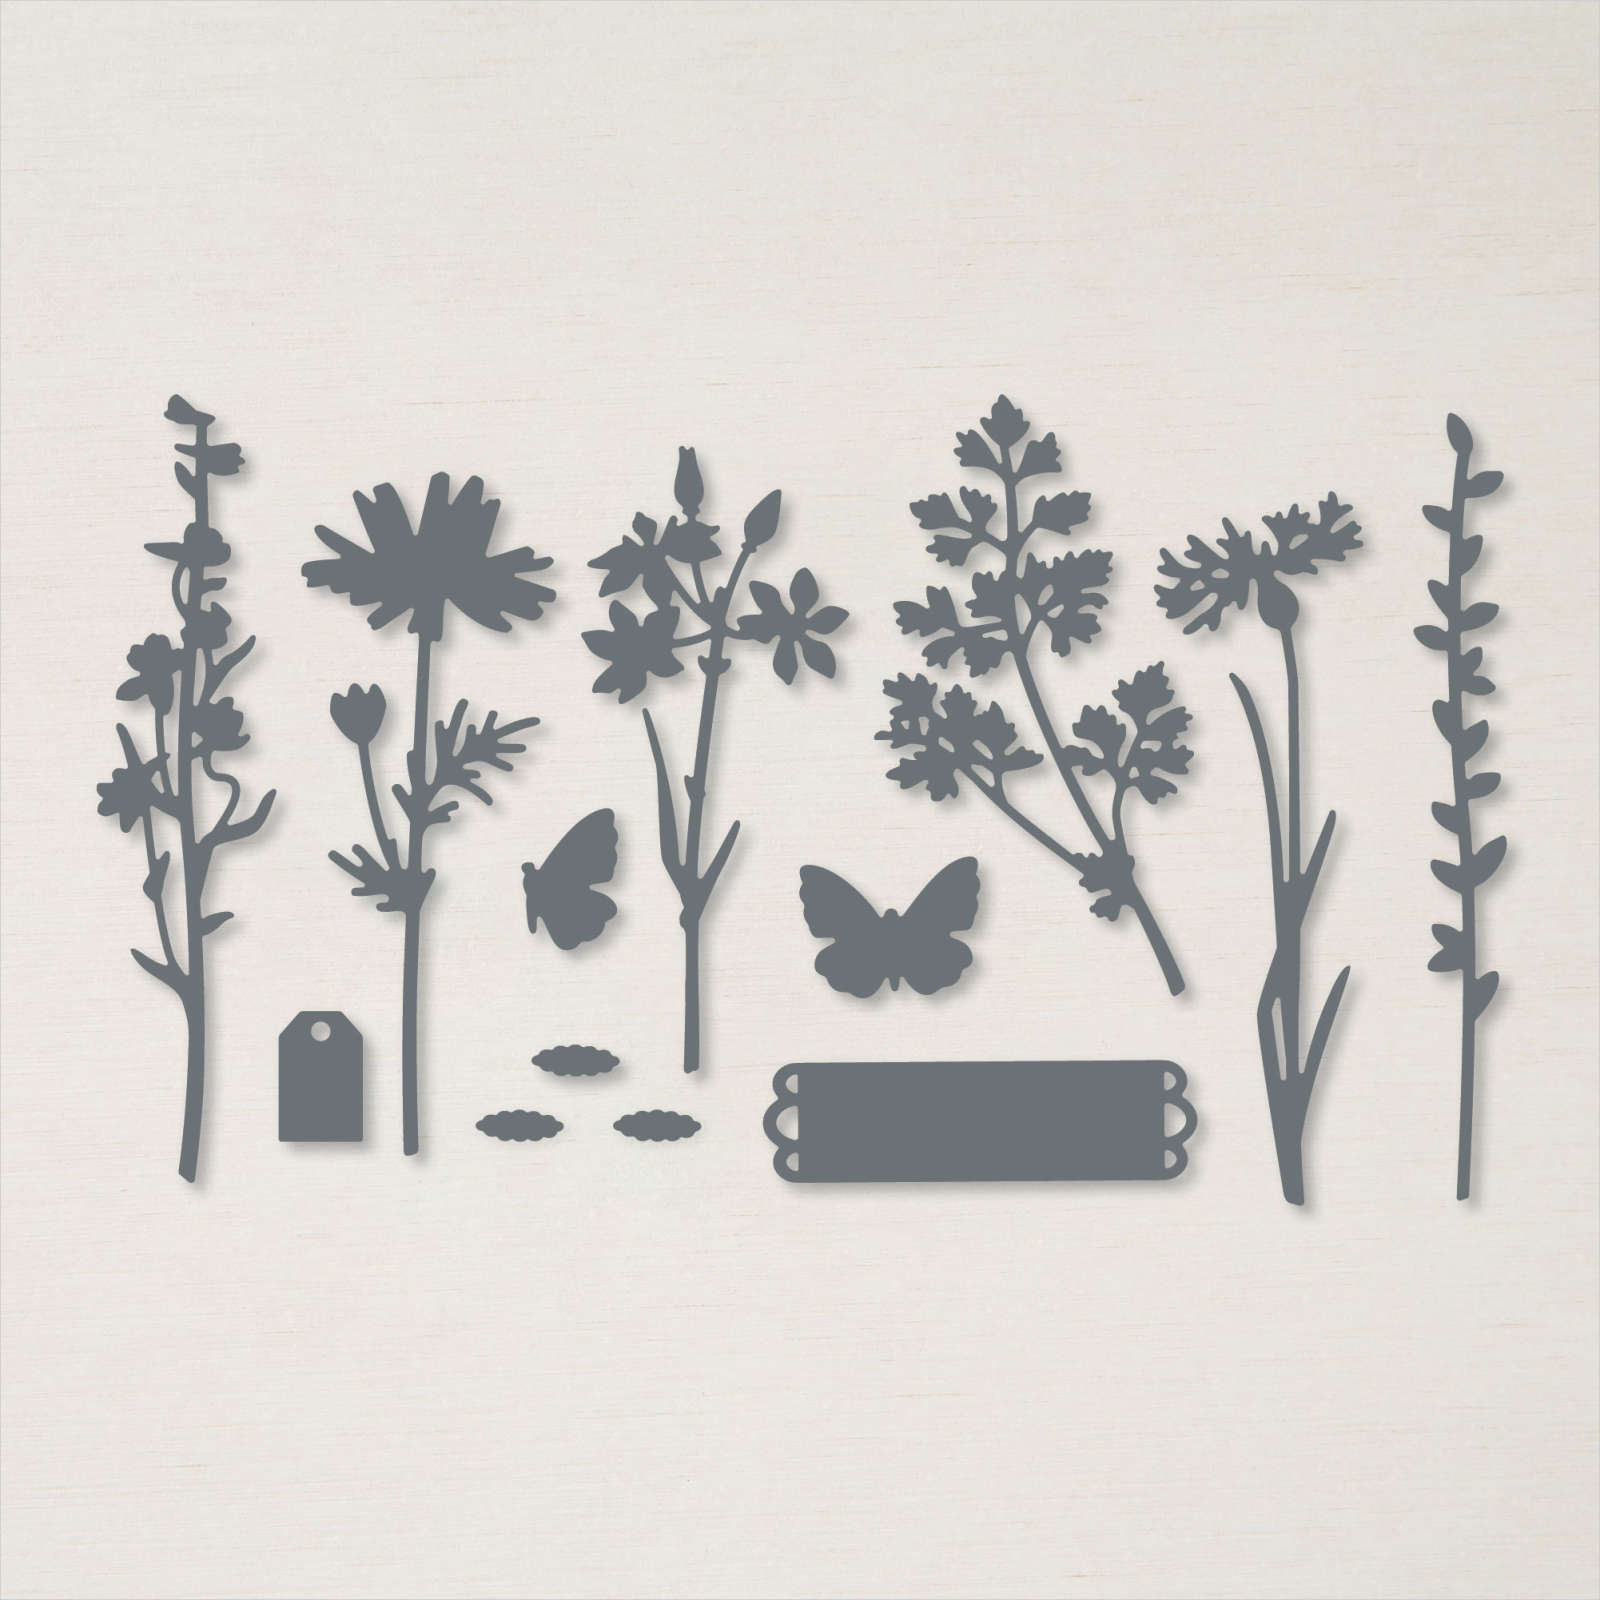
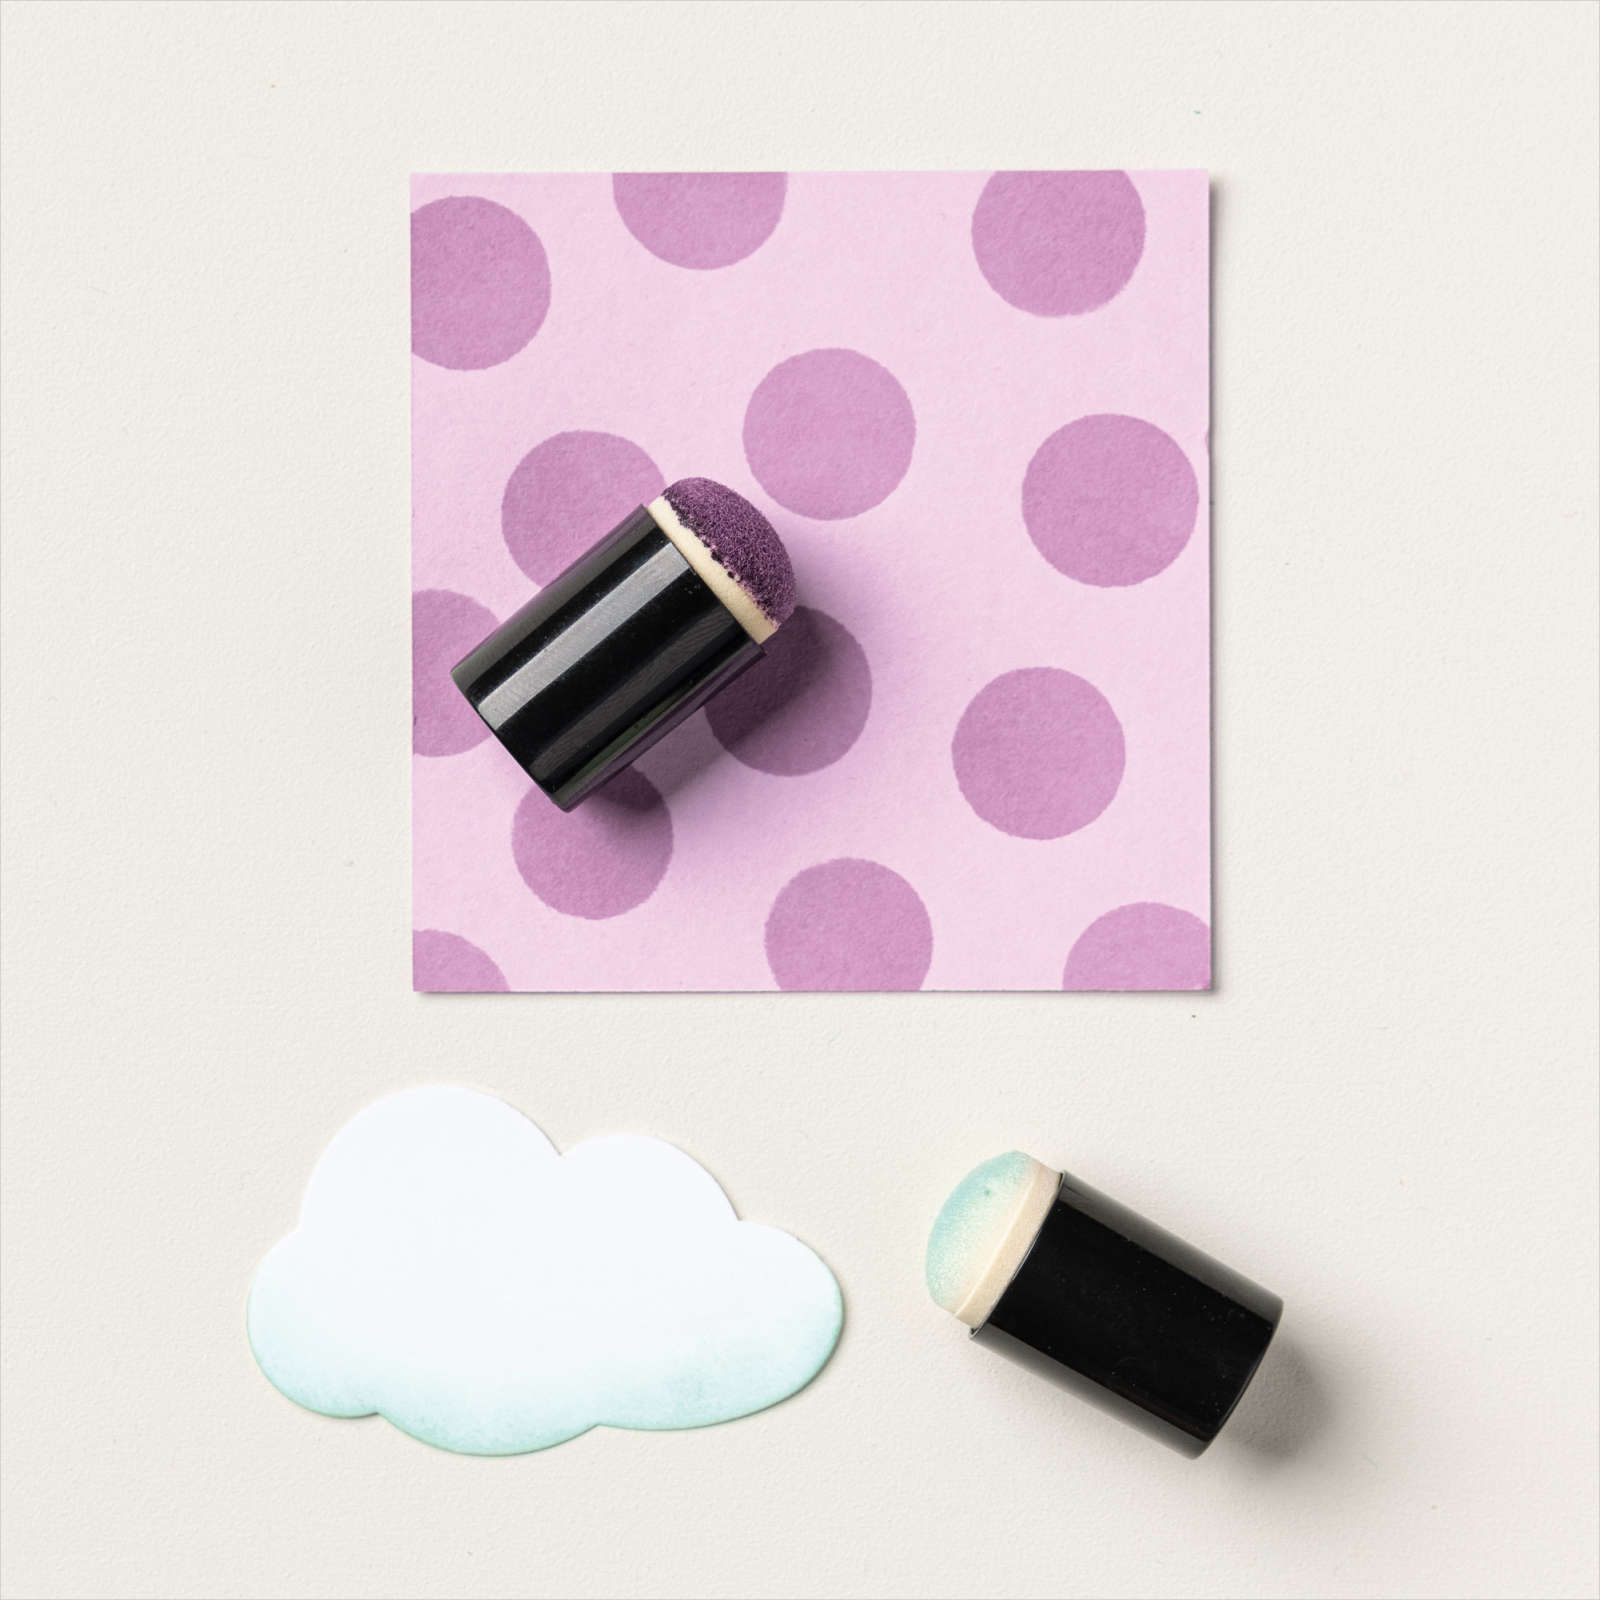
Today’s card uses the Quiet Meadow Bundle which I featured this week in my Facebook Video. This is a lovely bundle, which gives you the opportunity to get really creative. I embossed Basic White card using the Brick & Mortar 3D Embossing Folder and attached it to scored and folded Just Jade card. I cut Basic White card using two different floral dies from the Meadow Dies, two of one and just one of the other. I also cut two leaf dies from Basic White card using the same Dies.
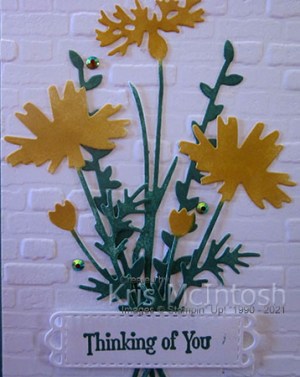
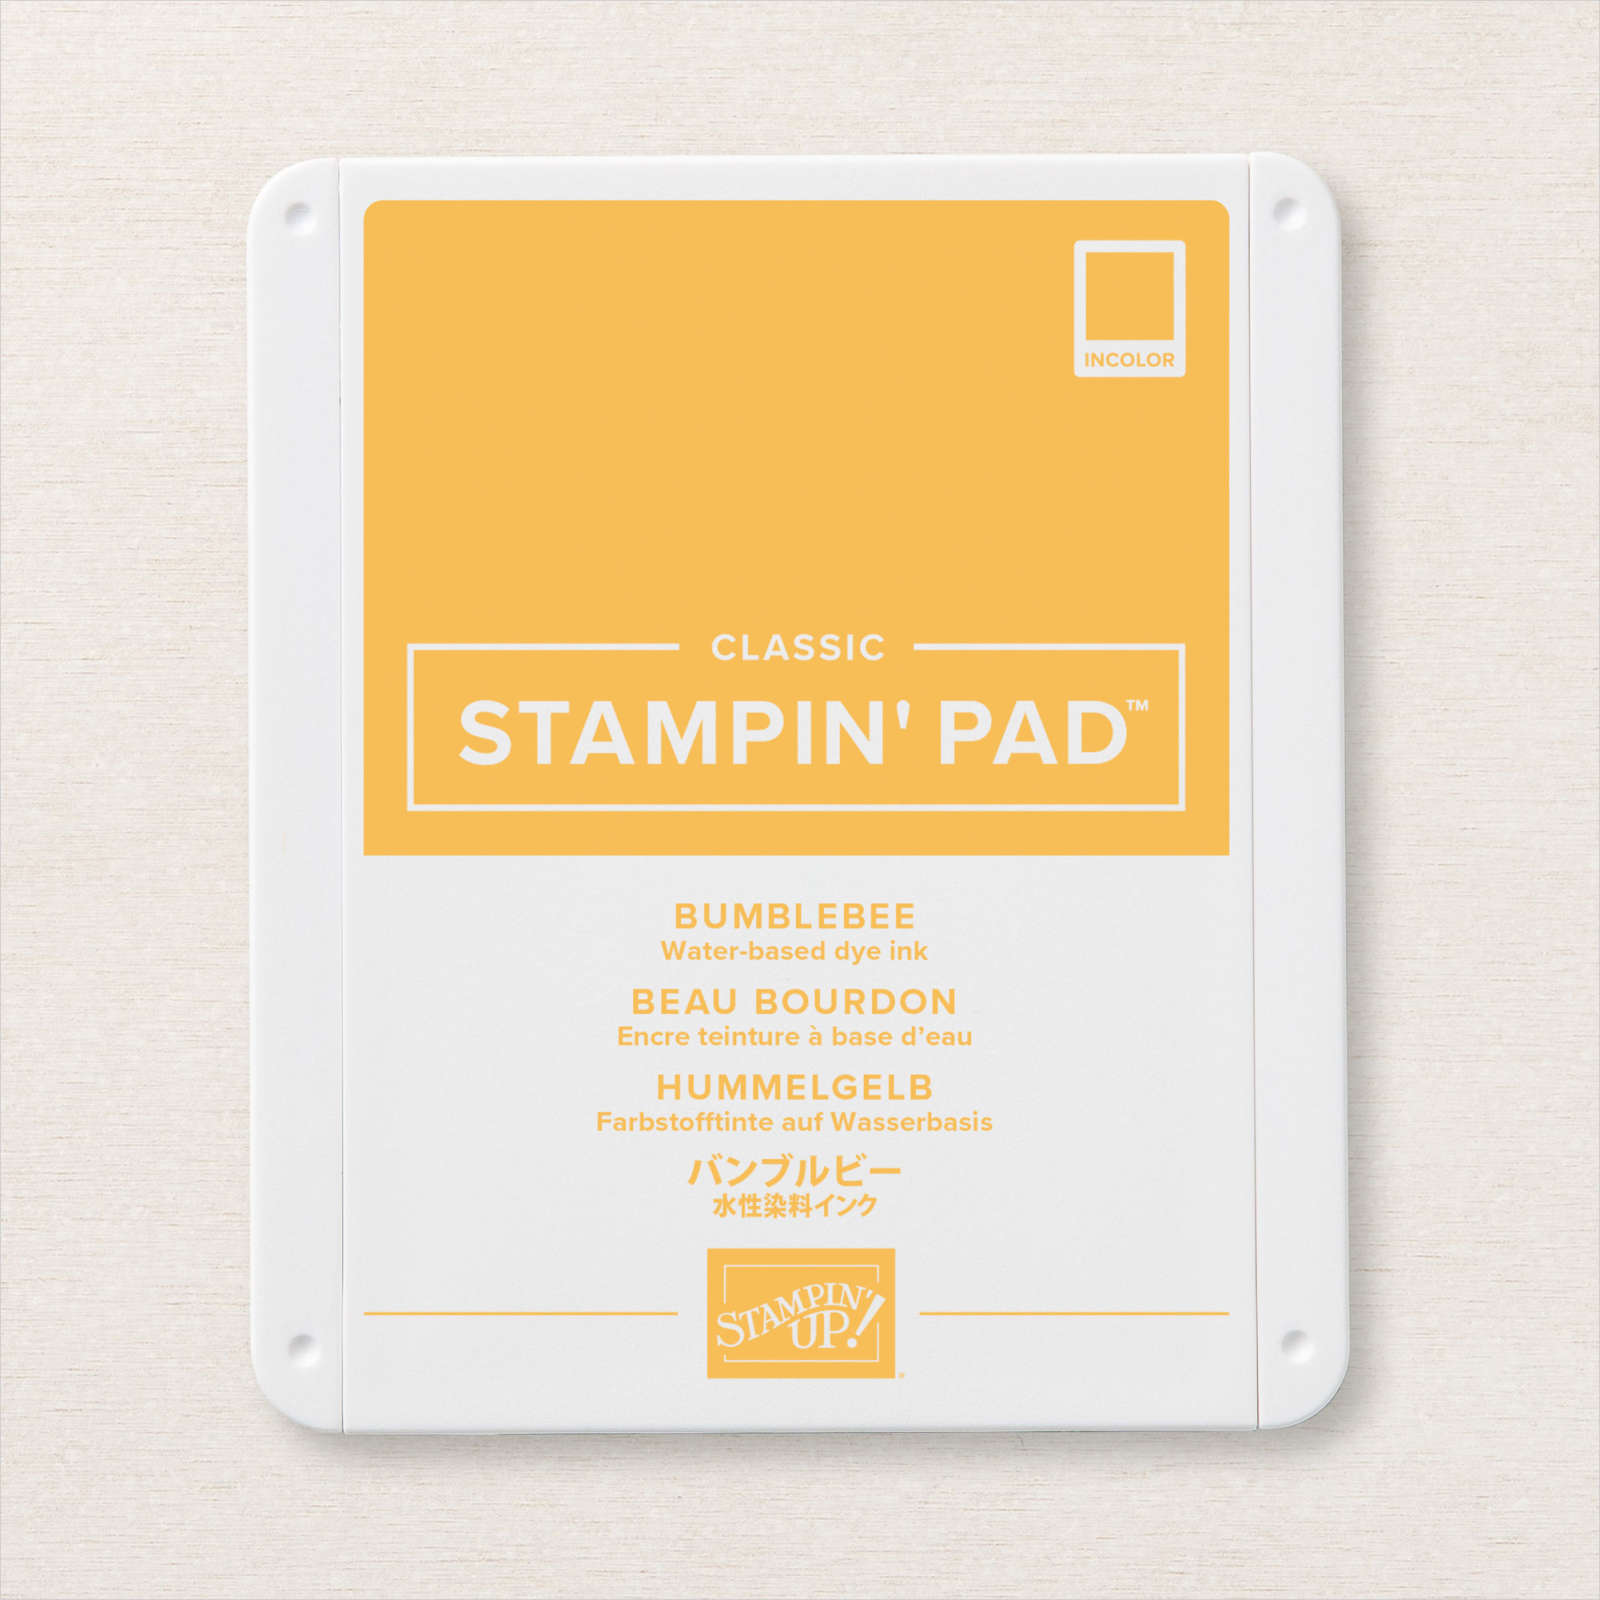
I used a sponge daubers to add Bumblebee ink to the flowers and Just Jade ink to the stems and leaves. It’s surprising just how much colour you get when you do this. I attached the leaf die cuts to the card front and then the single flower die with the two remaining flower dies on top, trimming away any of the stems where they extended beyond the embossed layer.

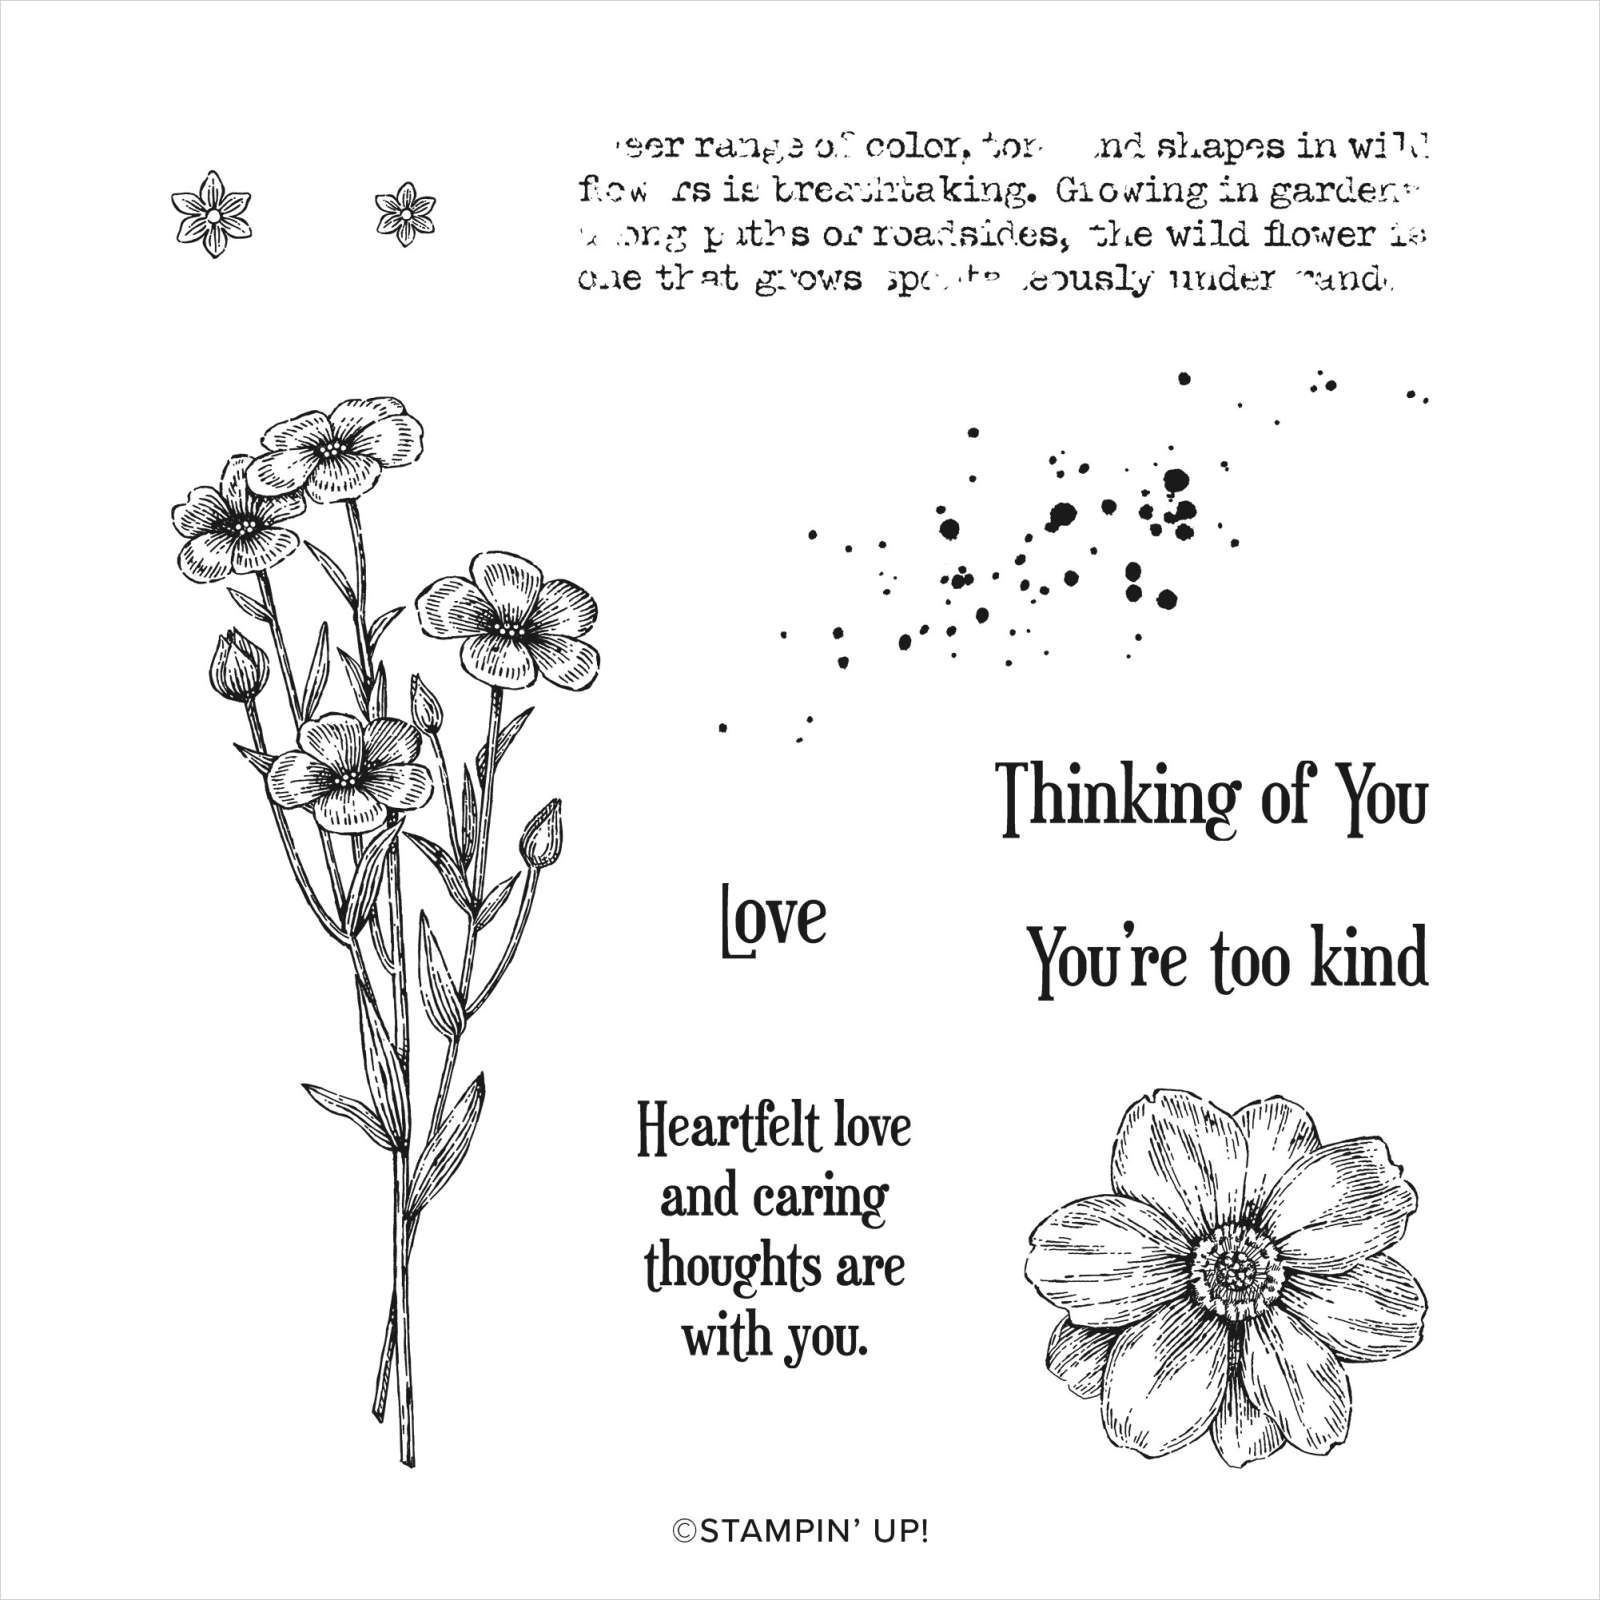
I stamped the greeting from the Quiet Meadow stamp set onto Basic White card and cut it out using the label die from the Meadow Dies. I attached the greeting to the card front using dimensionals. To decorate the inside of the card, I used the negative space created when cutting the die cuts for the front of the card. I placed the template onto the left hand side of Basic White card and using it as a stencil I added Bumblebee ink to the flowers and Just Jade ink to the leaves and stem using sponge daubers. I like the effect you get when doing this and this particular die works perfectly for this technique.
I love how pretty this turned out, don’t you? I think you are going to see the Quiet Meadow bundle used quite extensively. I’d love to know what you think.
Bye for now,
Kris
Product Used:


New Product
 Yesterday on my Facebook Live, I shared some cards I made using the Quiet Meadow Bundle from the new Annual Catalogue. This card is kind of a step up from the cards I shared yesterday and is bound for a friend who is celebrating a birthday. I began by embossing a piece of Mint Macaron card using the Tasteful Textile 3D Embossing Folder. I attached the embossed card to the bottom of Basic White card and then scored and folded Mint Macaron card. I cut Basic White card using the Stitched Rectangle Dies and also Mint Macaron card using one size larger stitched rectangle.
 I used a Blending Brush to add Pool Party ink to the centre of the Basic White die cut. I cut two flower die and two leaf dies from Basic White card using the Meadow Dies.
 I used the dark Petal Pink and Dark Mint Macaron Stampin’ Blends to colour the die cuts before attaching the two leaf dies and one flower dies to the Basic White die cut. I attached the image panel to the Mint Macaron rectangle and then the card front using dimensionals. I stamped “happy birthday” from the Artistically Inked stamp set onto Basic White card using Early Espresso ink and cut it out using another of the Stitched Rectangle Dies. I attached the greeting across the card front using dimensionals where necessary. To decorate the inside of the card, I attached the last flower die to the left hand side of Basic White card.
The Quiet Meadow bundle is going to be one of those I reach for often. I hope you love it too.
Bye for now,
I used the dark Petal Pink and Dark Mint Macaron Stampin’ Blends to colour the die cuts before attaching the two leaf dies and one flower dies to the Basic White die cut. I attached the image panel to the Mint Macaron rectangle and then the card front using dimensionals. I stamped “happy birthday” from the Artistically Inked stamp set onto Basic White card using Early Espresso ink and cut it out using another of the Stitched Rectangle Dies. I attached the greeting across the card front using dimensionals where necessary. To decorate the inside of the card, I attached the last flower die to the left hand side of Basic White card.
The Quiet Meadow bundle is going to be one of those I reach for often. I hope you love it too.
Bye for now,


