Colouring Fun

Yesterday I share some cards with you I cased from Jan Ewan, well I loved how easy and how beautiful these cards looked. So as the True Love Designer Series Paper is just so beautiful, I thought I would spend some time colouring the design patterns and creating some more cards. Once more I cut two pieces of patterned paper from the same design.

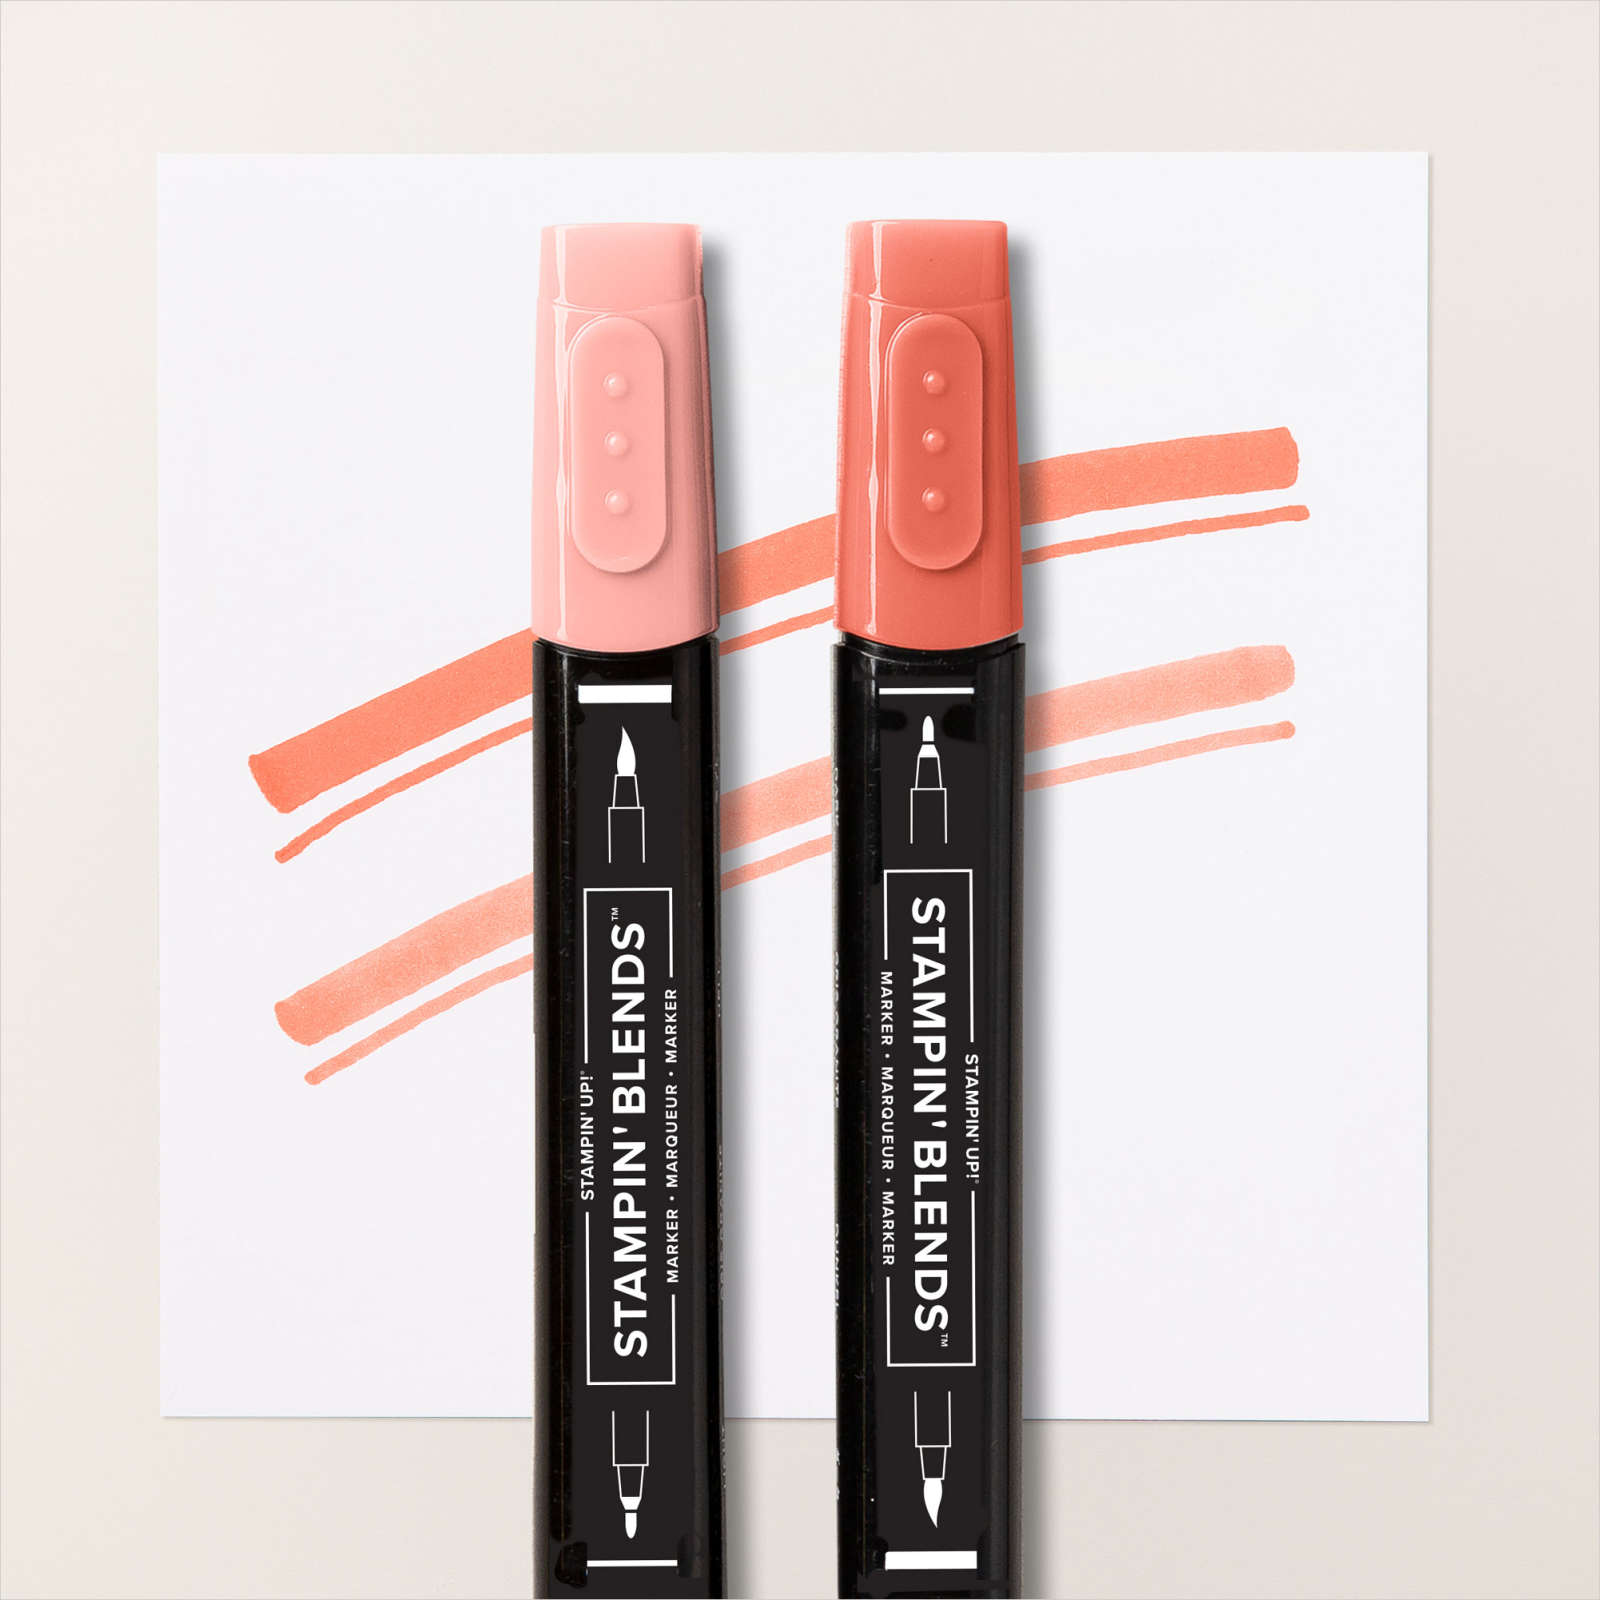
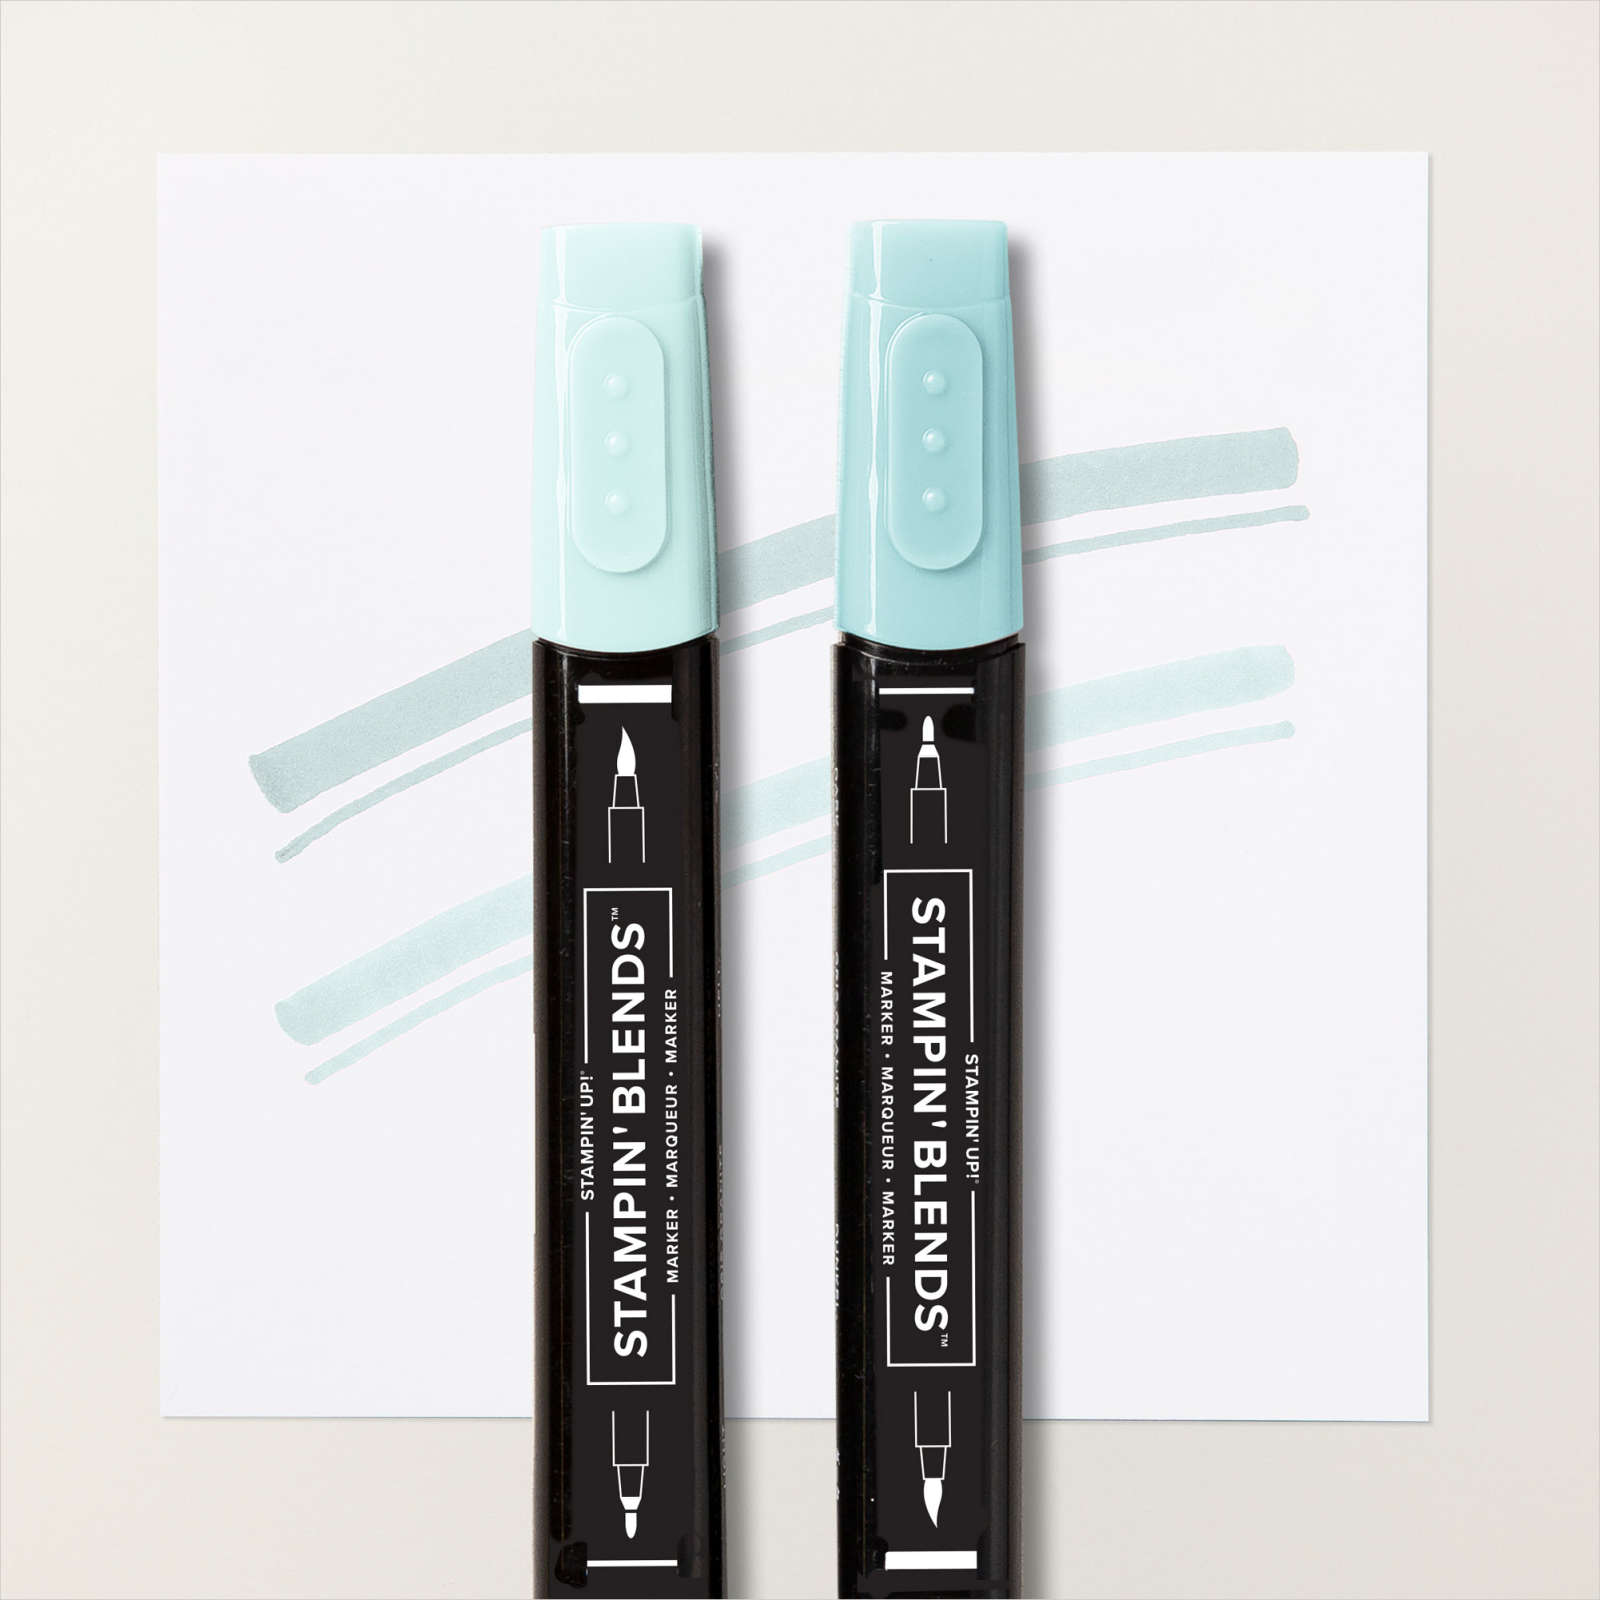
I used both sides but I coloured the floral side using combinations of Highland Heather, Poppy Parade, Calypso Coral, So Saffron, Petal Pink and Mint Macaron Stampin’ Blends.

I attached each piece of Designer Series Paper to Basic Black card and then Basic White card which I embossed using the Tasteful Textile 3D Embossing Folder. I attached a strip of Basic Black card across the centre of the card front before attaching to scored and folded Basic Black card. I stamped the greeting from the Forever Blossoms stamp set onto Basic White card using Memento Tuxedo Black ink and punched out the greeting using the Double Oval Punch. I attached the greetings to the card front using dimensionals. To decorate the inside of the card, I attached a narrow strip of Basic Black card behind one long edge of a narrow strip of True Love Designer Series Paper. The Designer Series Paper panel was attached across the bottom of Basic White card. I created five different versions of this card using five different patterns from the True Love Designer Series Paper.
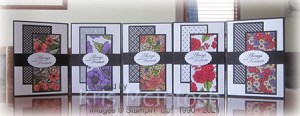
Don’t they look pretty. Which one is your favourite?
Bye for now,
Kris
Product Used:


Cased layout
I received an email from Jessica Taylor a US demonstrator who shared a card by Jan Ewert using Flowers for Every Season 6″ x 6″ Designer SEries Paper. Since this paper is on the Last Chance list and because I had lots of 2″ strips of this paper, I decided to case her design. To create my cards, I embossed Basic White card using the Ornate Floral 3D Embossing Folder and attached it to scored and folded Just Jade Card

I cut two pieces from the same pattern of the Flowers For Every Season Designer Series Paper and attached them to the embossed card, using both sides of the paper.

I attached a strip of Just Jade card across the centre of the card front. I stamped the greeting from the Many Mates stamp set (another stamp set on the Last Chance list) onto Basic White card using Just Jade ink and punched the greeting using the 1-1/2″ Circle Punch (another one on the Last Chance list). To decorate the inside of the card, I attached a strip of Just Jade card behind one long edge of a strip of the same pattern paper from the Flowers For Every Season Designer Series Paper. The designer series paper panel is attached across the bottom of Basic White card. I created more cards using different patterns from the Flowers For Every Season Designer Series Paper. This one uses Cinnamon Cider ink and A4 card.

This one using Bumblebee ink and A4 card.

The last card uses the Christmas pattern from the Flowers For Every Season Designer Series Paper. For this card I used a greeting from the Itty Bitty Christmas stamp set and Cinnamon Cider ink and A4 card.

I love this design and I am sure it will be a design that I use with many different Designer Series Papers. So thank you to Jessica for sharing in her email and thank you to Jan for the beautiful layout.
Bye for now,
Kris
Product Used:


School Days

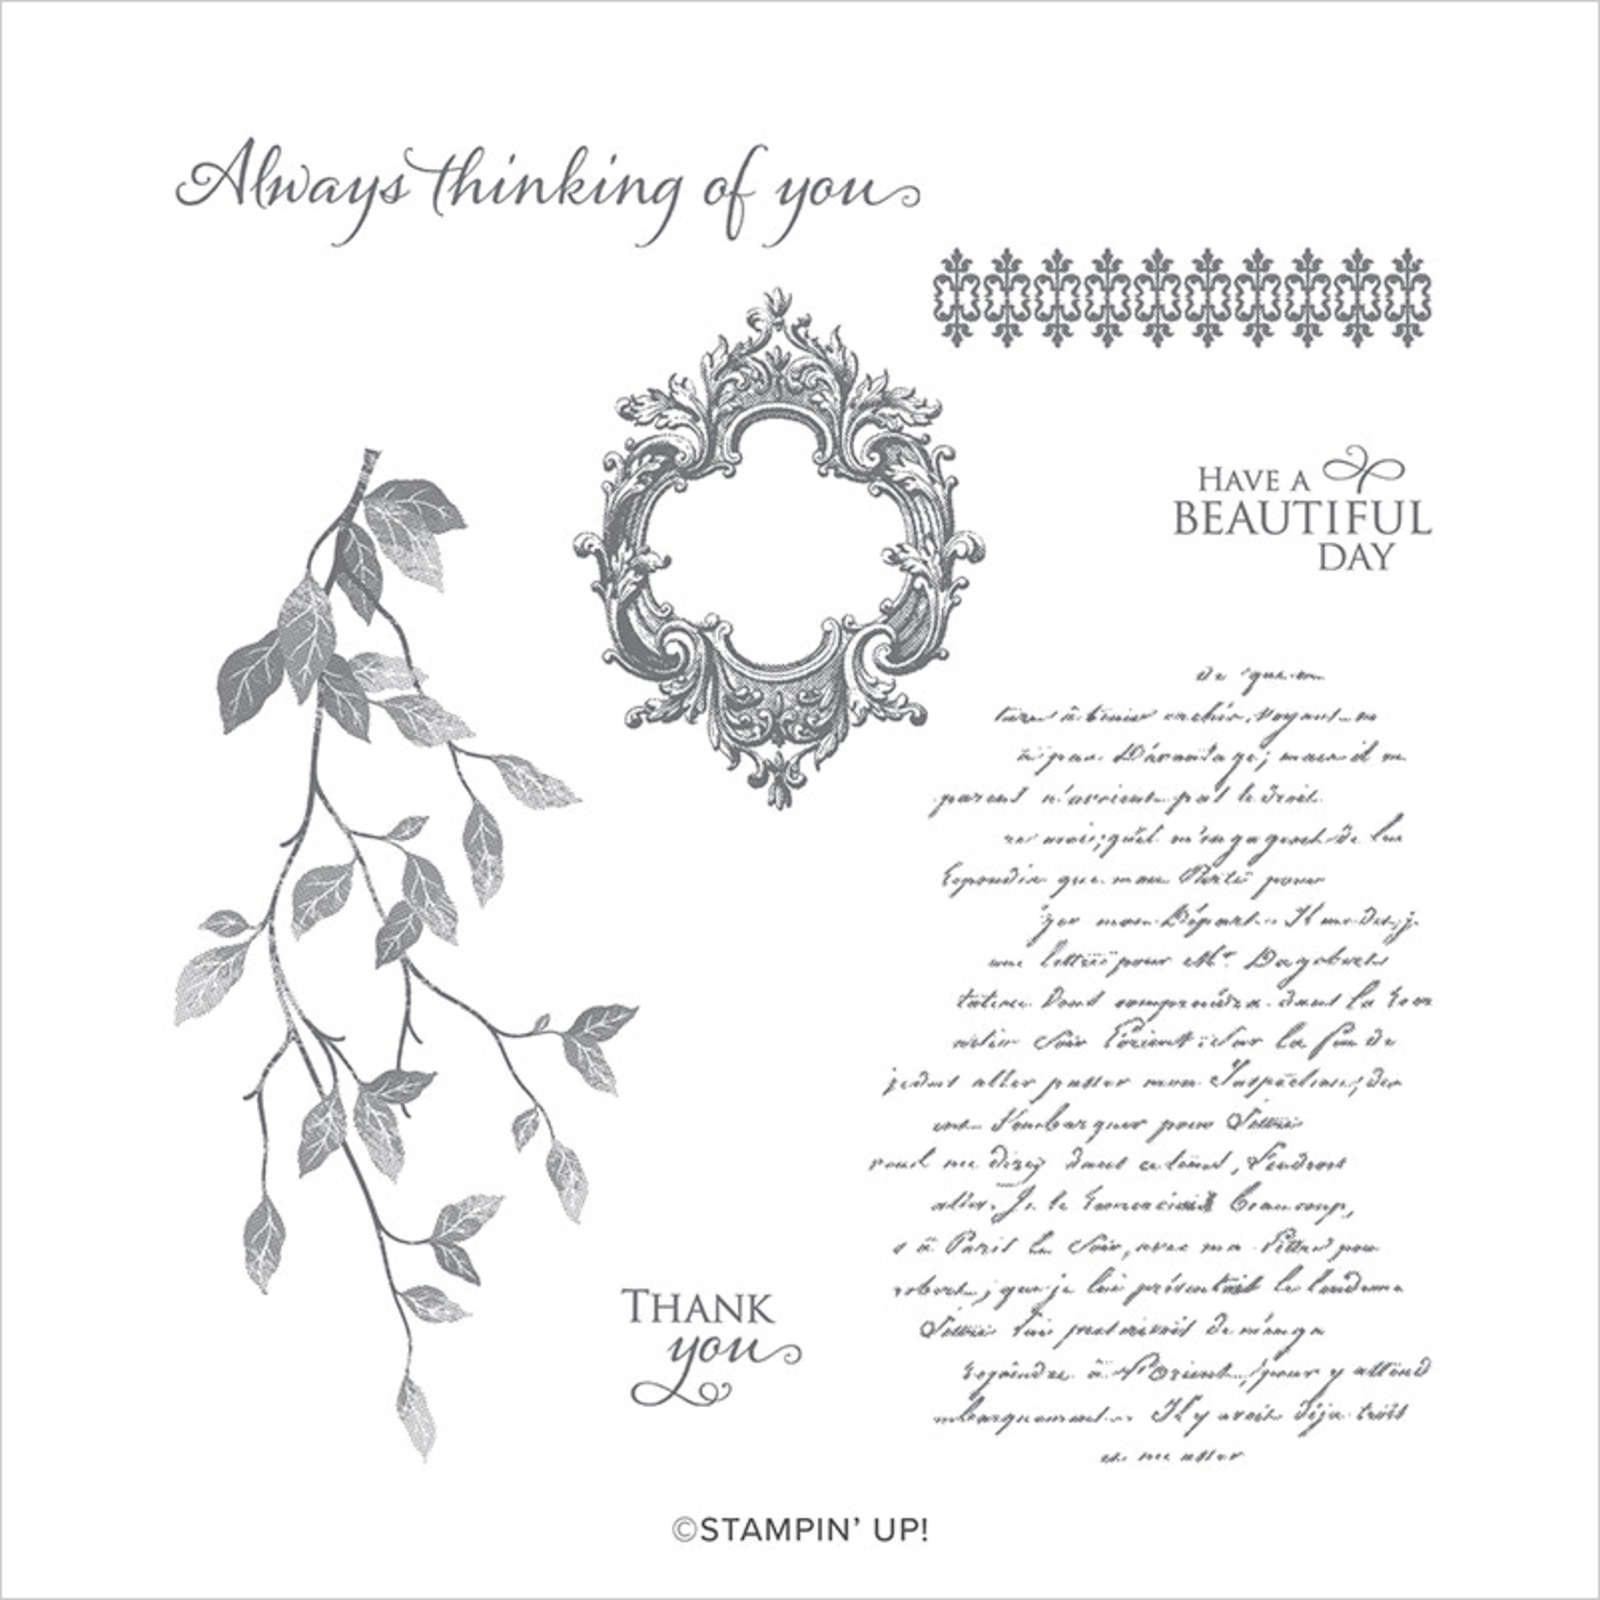
The photos on this page are quite old. The top photo shows my grandmother in a school photo. I don’t know the exact year but she looks quite young so maybe 1913-1914 The bottom photo is of my Dad in a school photo. Again I don’t know the exact year but going by how young he looks, I am guessing 1945-1946. I began by stamping the writing image from the Very Versailles stamp set onto the top left hand corner and continuing diagonally across the Very Vanilla 12″ x 12″ page to the bottom right hand corner using Crumb Cake ink.
I stamped the leaf image from the same stamp set over the writing in the top left and lower right hand corners using Crumb Cake ink. I stamped the straight edge image from the Very Versailles stamp set onto the top right and bottom left hand corners using Crumb Cake ink. I used a Blending Brush to add Crumb Cake ink to all four sides of the page. I attached the photos straight onto the Very Vanilla page. I created the journaling on my computer and printed onto Very Vanilla card. I stamped the straight edge from the Very Versailles stamp set twice below the journalling using Crumb Cake ink. I used a Blending Brush to add Crumb Cake ink around the edges of the journaling panel before attaching it to Early Espresso card and then the page. I cut the title from Early Espresso card using the Playful Alphabet Dies.
I love finding these old photos and I am lucky I still have my Dad to help me with the details.
Bye for now,
Kris
Product Used:


Fab Friday #211 Sketch Challenge

I was looking for something to create and found the current challenge at Fab Friday and decided to play along. I embossed a panel of Basic White card using the Ornate Floral 3D Embossing Folder. I attached the embossed card to Silver Foil card and then scored and folded Poppy Parade card. I cut a piece of the True Love Designer Series Paper (my least favourite pattern) and coloured it in using Highland Heather Blackberry Bliss, Dark Daffodil Delight, Dark Poppy Parade and Dark Old Olive Stampin’ Blends.

I attached Silver Foil card to both long edges of the coloured Designer Series Paper and attached it to the embossed Basic White card. I stamped “always and forever” from the Forever Blossoms stamp set onto Basic White card using Poppy Parade ink.

I cut out the greeting using one of the ovals from the Stitched Shapes Dies. I attached the greeting to a Silver Foil scalloped oval cut using the Layering Ovals Dies. The greeting is attached to the centre of the Designer Series Paper Panel. To decorate the inside of the card, I embossed a narrow strip of Basic White card using the Ornate Floral 3D Embossing Folder. I attached a strip of Silver Foil card behind one long edge before attaching the panel to the bottom of Basic White card.
I wasn’t sure if I liked this card when I first created it, however it has grown on me. I think it could make a lovely wedding or anniversary card. So thank you Fab Friday for another great sketch challenge. Please let me know what you think of my creation.
Bye for now,
Kris
Product Used:
Unfortunately the Stitched Shapes Dies and the Layering Ovals Dies are no longer available.


Happy Birthday Ron

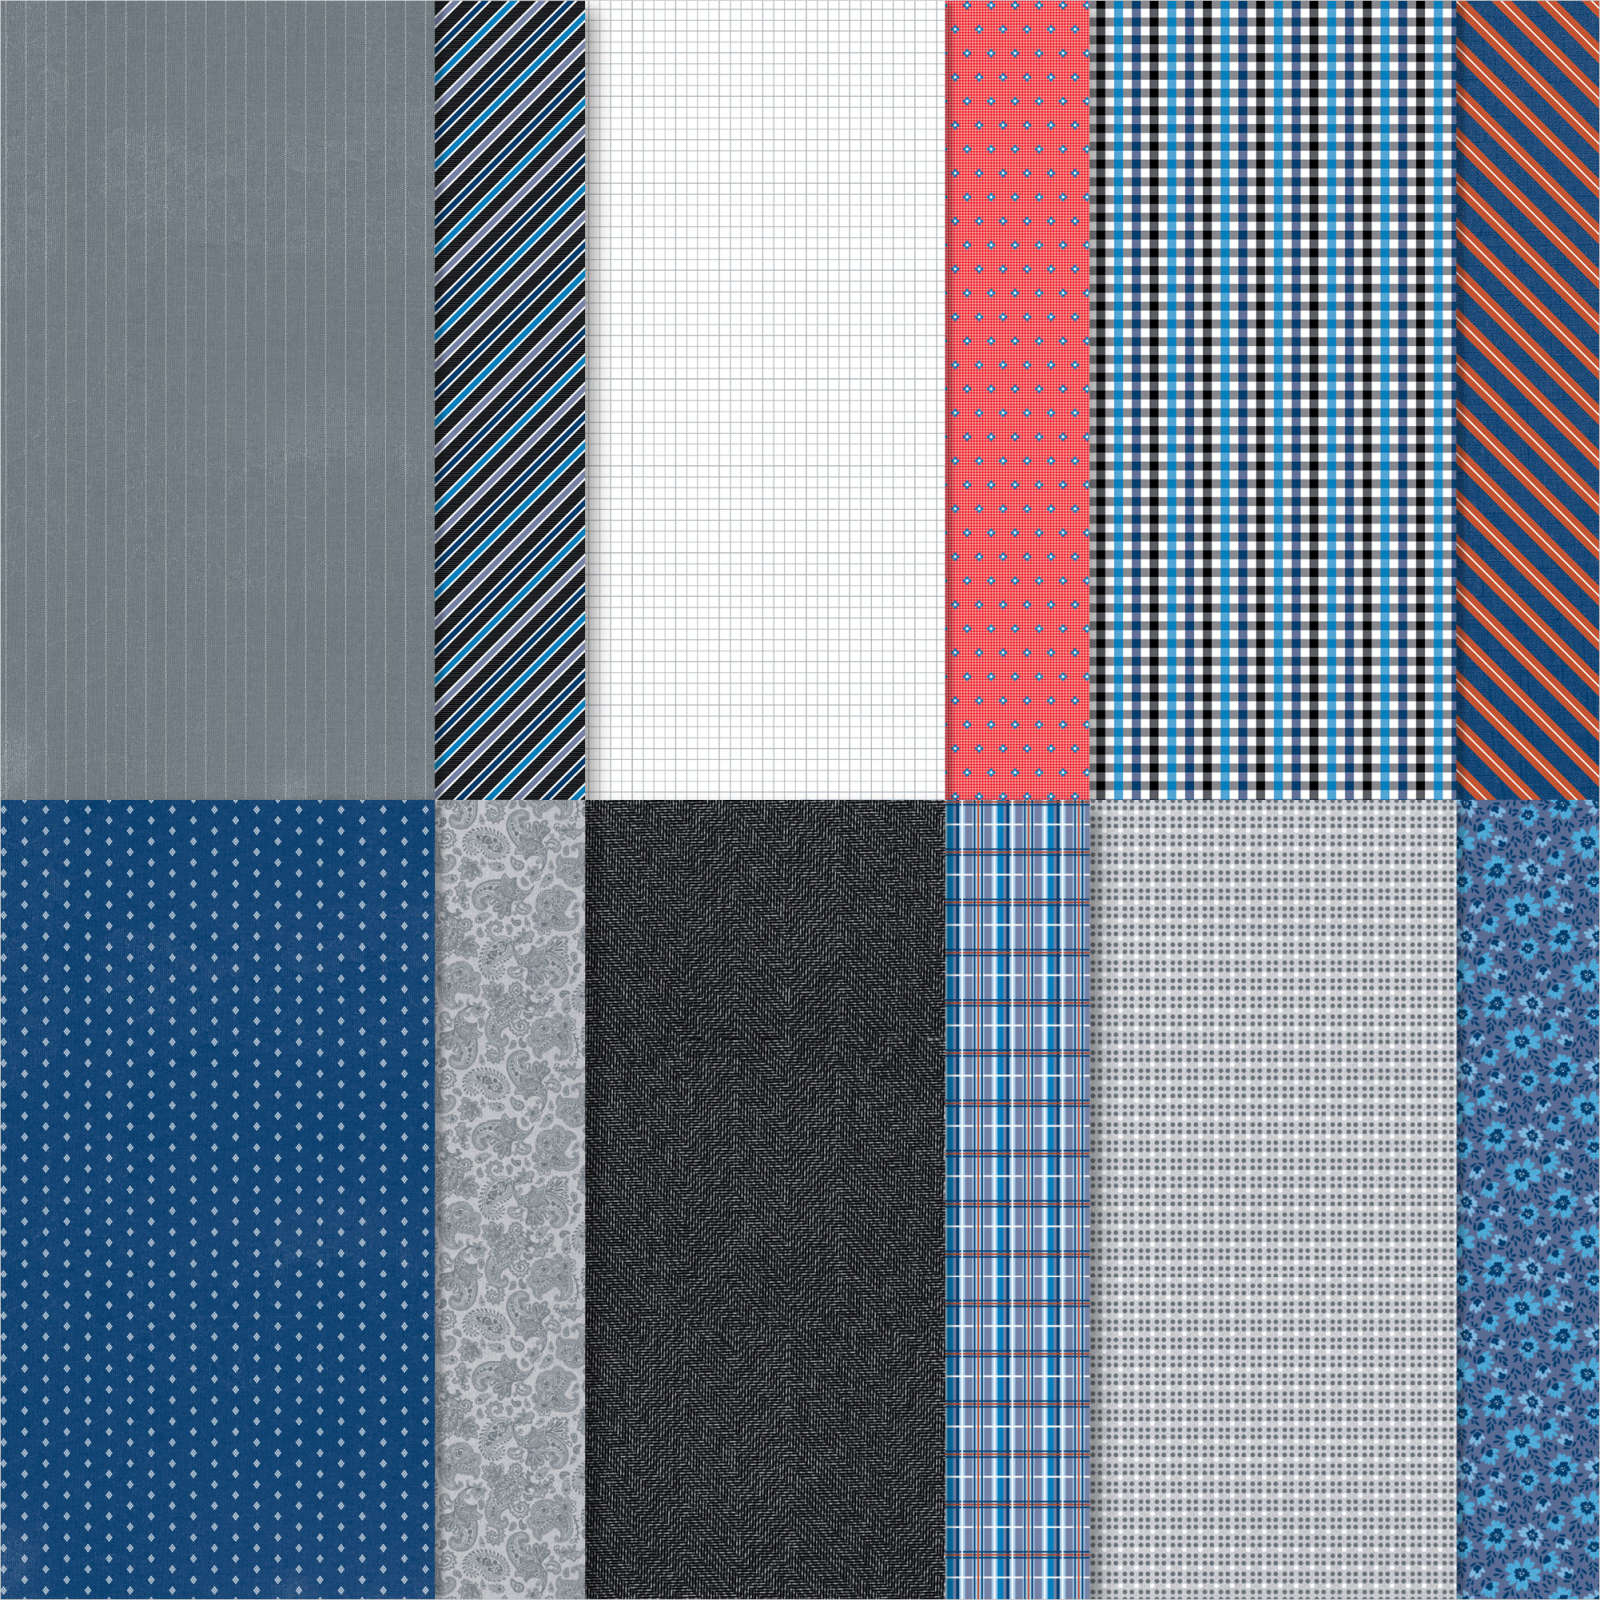
Today’s card is one that I made for my husband to celebrate his birthday yesterday. I was in the middle of getting ready for my Facebook Live where I shared this fancy fold and so I had to make one for Ron. I created the card base from Basic White card. The panels are decorated with layers of Basic Gray card and Well Suited Designer Series Paper. To decorate the front panel, I stamped the image from the A Good Man stamp set onto Basic White card and cut it out using the largest circle from the Stitched Shapes Dies.

I coloured the image using Ivory, Smoky Slate and Poppy Parade Stampin’ Blends. Once coloured, I covered the image with a post-it-note mask and used a Blending Brush to sponge some Balmy Blue ink and Sahara Sand ink around the image to create a sky and some sand.

The image panel is attached to a Basic Gray scalloped circle cut using the Layering Circles Dies. I attached the panel flat to the card front. To create the panel to hold my easel in place, I stamped “happy birthday” from the Itty Bitty Birthday stamp set onto Basic White card using Basic Gray ink. I cut out the greeting and Basic Gray card using the Stitched Rectangle Dies. I attached the greeting to the Basic Gray rectangle then the card using dimensionals. To decorate the greeting panel, I stamped the greeting from the Itty Bitty Birthday stamp set using Basic Gray ink and the heart image from the A Good Man stamp set using Poppy Parade ink. This card suited my hubby, fancy in that it has a special fold but simple in that it is not too fussy!
Bye for now,
Kris
Product Used:
Not sure why I can’t get the icon for Smoky Slate Stampin’ Blends but you can see them here.


A Wonderful Man

Yesterday I shared a card with you using the retiring Flowers for Every Season 6″ x 6″ Designer Series Paper to create a male card. Today I have another male card using the same Designer Series Paper. This time I attached the dotted Misty Moonlight paper from the Flower For Every Season Designer Series Paper across the bottom of Basic White card.

I wrapped the top of the Designer Series Paper using the Bumblebee Ribbon. The panel is attached to scored and folded Bumblebee card. I cut Basic White card using the Stitched So Sweetly Dies and stamped the plane image from the Soar Confidently stamp set onto the panel using Misty Moonlight ink.

I stamped the greeting from the same stamp set below the plane image also using Misty Moonlight ink. I attached the stamped die cut to Bumblebee card and then the card front using dimensionals. To decorate the inside of the card, I stamped the plane image from the Soar Confidently stamp set onto the centre of Basic White card using Misty Moonlight ink.
This is such a simple card, but kind of lovely, don’t you think?
Bye for now,
Kris
Product Used:
A few of the products I used in this card are on the Last Chance List and appear to already be sold out. So if you want something on this list, don’t delay in placing your order.


Not just for Girls

Today’s card uses the Flowers for Every Season 6″ x 6″ Designer Series Paper not for a girly card, but one for the boys. I embossed Basic White card using the Woodland Embossing Folder. I attached a strip of the Flowers for Every Season Designer Series paper across the bottom of the embossed card.

I wrapped the top of the Designer Series Paper with the Just Jade Ribbon before attaching the panel to scored and folded Cinnamon Cider card. I stamped the car image from the All Geared Up stamp set onto Basic White card.
I cut out the image using the Layering Ovals Dies and stamped the greeting from the All Geared Up stamp set below the car using Just Jade ink. I cut Cinnamon Cider using one of the scalloped ovals from the Layering Ovals Dies. I attached the image panel to the Cinnamon Cider scalloped oval and then the card front using dimensionals. To decorate the inside of the card, I embossed a narrow strip of Basic White card using the Woodland Embossing Folder. I attached a narrow strip of Just Jade card behind one long edge of the embossed card before attaching the embossed panel across the bottom of Basic White card.
I love that this pattern from the Flowers For Every Season Designer Series Paper works so well for a male card. I wonder, do you agree?
Bye for now,
Kris
Product Used:
A few of the products I used in this card are on the Last Chance List and appear to already be sold out. So if you want something on this list, don’t delay in placing your order.

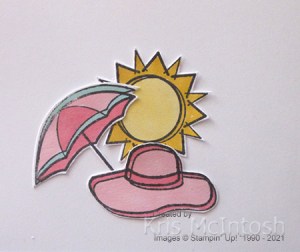
Summer Fun

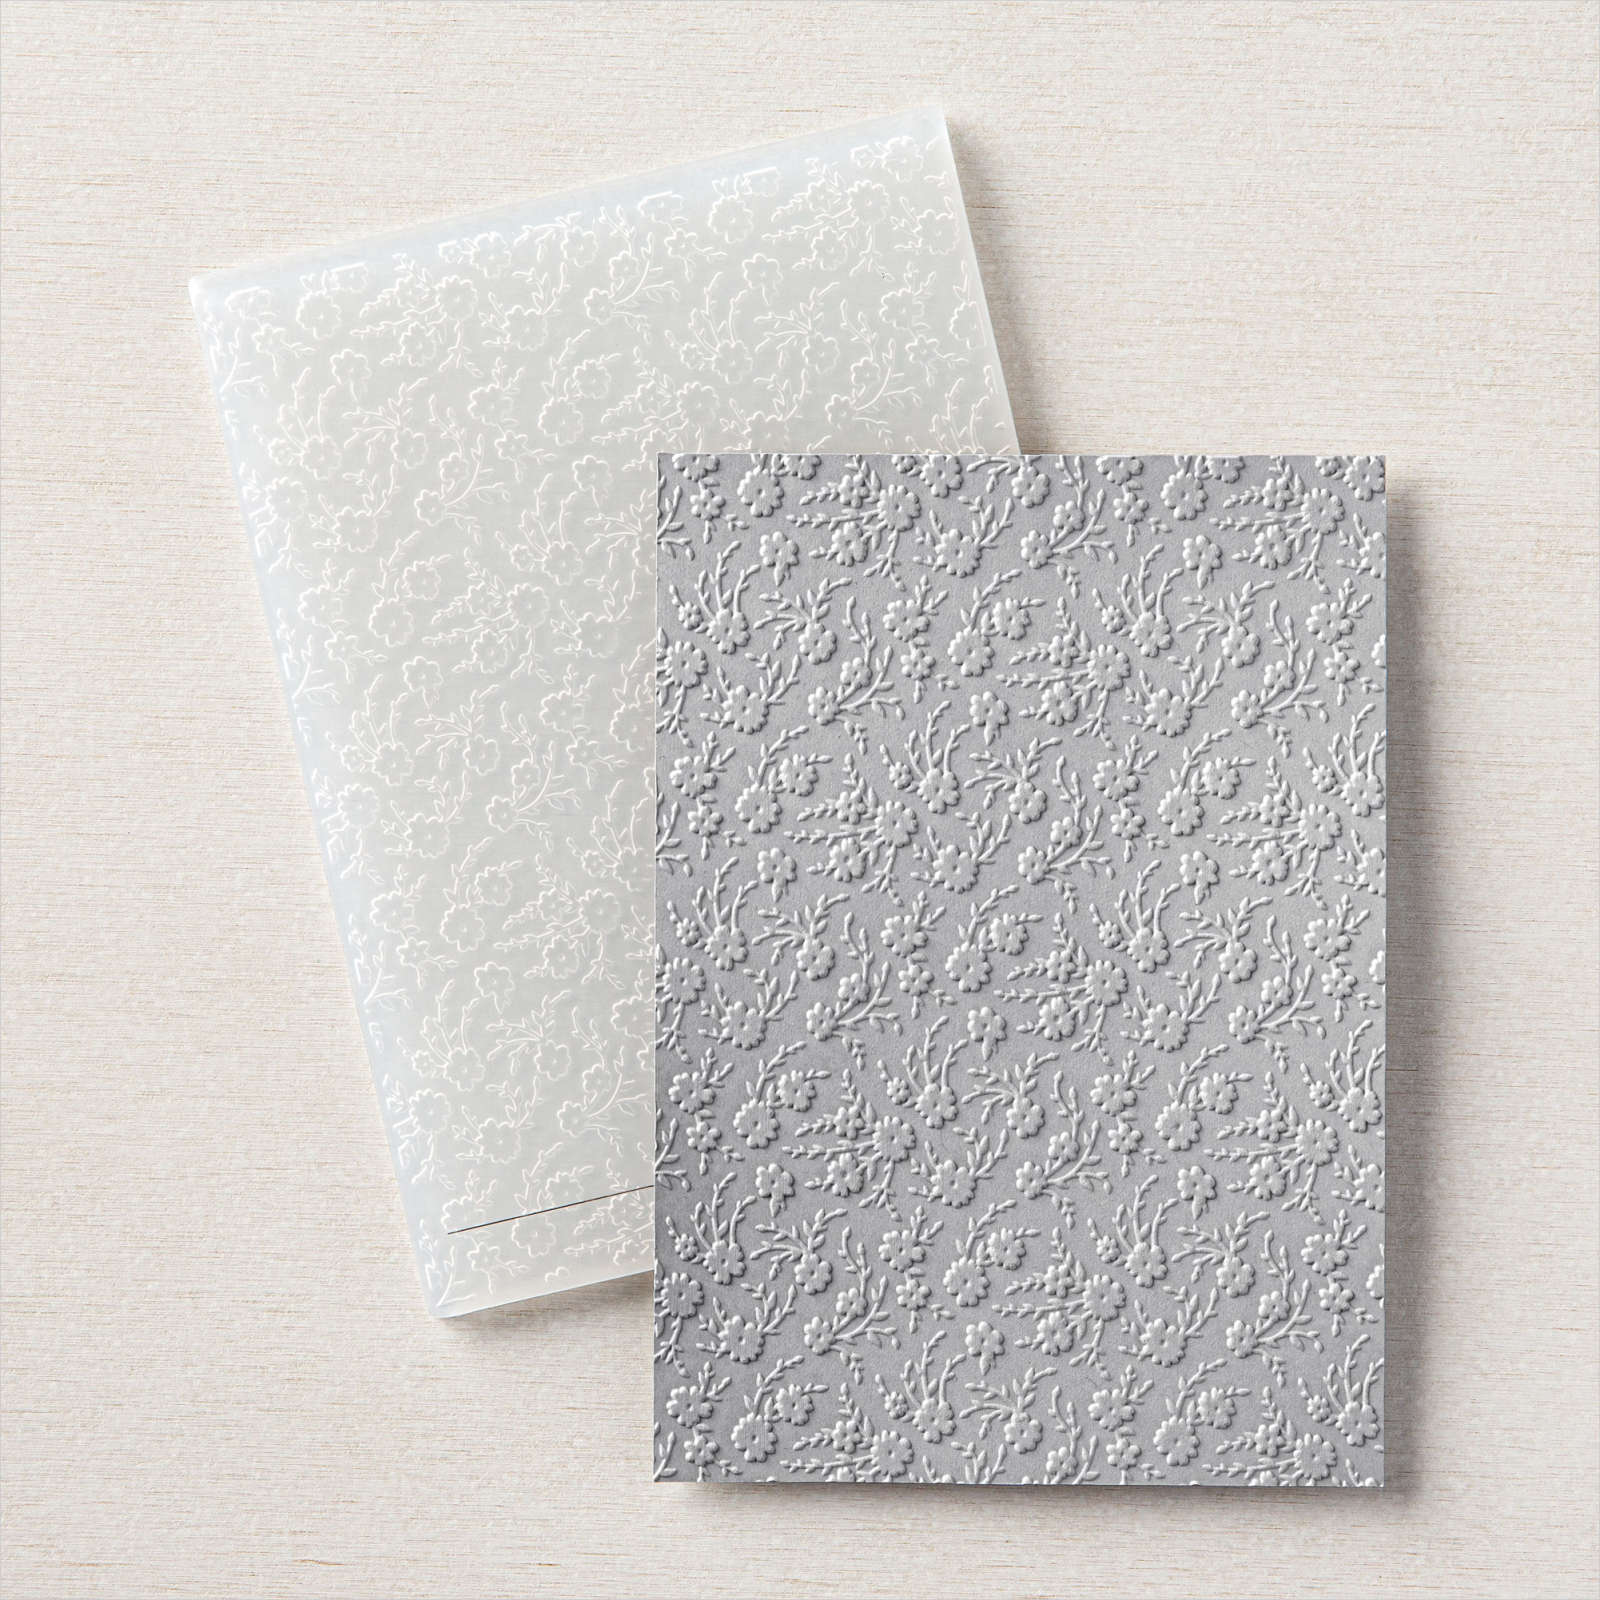
Today’s page shows off some photos taken during a quick visit by three of my grandchildren. They love the pool and it’s hard to get them out. Although they will get out for a game of Gin Rummy! I embossed a panel of Night of Navy card using the Old World 3D Embossing Folder and attached it to the left hand side of a Basic White 12″ x 12″ page. It is a little tricky to emboss larger pieces of card but I did manage using my Big Shot Plus.
I also embossed the blue panels which span across the two pages (I think it is retired Soft Sky) using the Subtle 3D Embossing Folder. The two small photos taken when we went 10 pin Bowling are attached to Night of Navy card before being attached to the page.

The larger photos are attached straight onto the embossed panels. The journaling was created on my computer and printed onto Basic White card and cut into strips before attaching it to the left hand page. The small images I used to decorate the page come from a long retired stamp set called Day at the Beach. I stamped the images onto Basic White card using Memento Tuxedo Black ink and coloured the images using Flirty Flamingo, Pool Party and Daffodil Delight Stampin Blends. I hand cut the images before attaching them to the pages. The title is cut from Basic White card using the Playful Alphabet Dies.

These pages bring back such happy memories.
Bye for now,
Kris
Product Used:
Some product I have used on this page may already have disappeared from the Last Chance List.


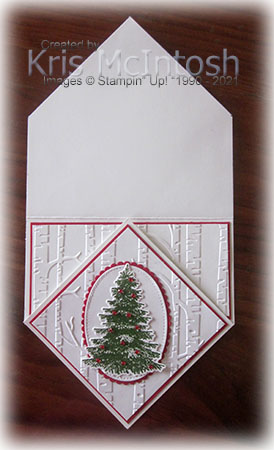
Another Diamond Fold
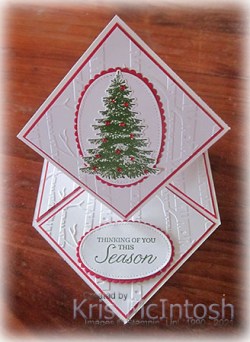
Todays Diamond Fold Easel card shows off some retiring product. It’s always sad to see things retiring that you love, but at the same time it’s exciting because of all the new things coming! I used Basic White card to create the card base. I added layers of Real Red card and Basic White card embossed using the Woodland Embossing Folder. I stamped the tree image from the Winter Woods stamp set onto Basic White card using Garden Green ink. I used the co-ordinating In The Woods Dies to cut out the tree.
I attached the tree to Basic White oval cut using the Stitched Shapes Dies. The panel is attached to a Real Red scalloped oval cut using the Layering Ovals Dies. I added some Red Rhinestones to the tree to add a bit more colour.

To hold the easel in place, I stamped the greeting from the Winter Woods stamp set onto Basic White card using Garden Green ink which I cut out using another oval from the Stitched Shapes Dies. The greeting is attached to a Real Red scalloped oval cut using the Layering Ovals Dies before being attached to the card base using dimensionals.

I decided that I wouldn’t create a box for this card but an envelope instead. I used the long retired Envelope Punch Board and Basic White 12″ x 12″ card to make the envelope. I decorated the front of the envelope by stamping the same tree from the Winter Woods stamp set using Garden Green ink. I slightly toned down version of this fancy fold when compared to yesterday’s card.
Some of the product I used on this card has already disappeared from the Last Chance List, so if you do want something that is still available you need to place your order as soon as possible.
Bye for now,
Kris
Product Used:


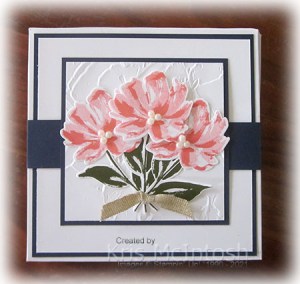
Diamond Fold Easel Card
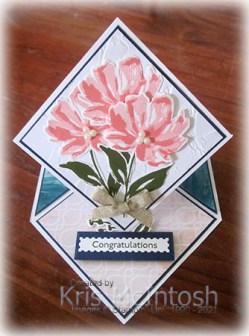
Yesterday on my Facebook Live I demonstrated how to create this kind of card. I watched a video by Teri Pocock which I found on Pinterest which showed how to create this style of card. Teri created a box for her card but not a pizza style box. Since the card in 6″ square, I also shared how to create a pizza box to gift the card. I created the card base from Basic White card. I attached pieces of the Floral Gallery Designer Series Paper to Night of Navy card and then the card base.

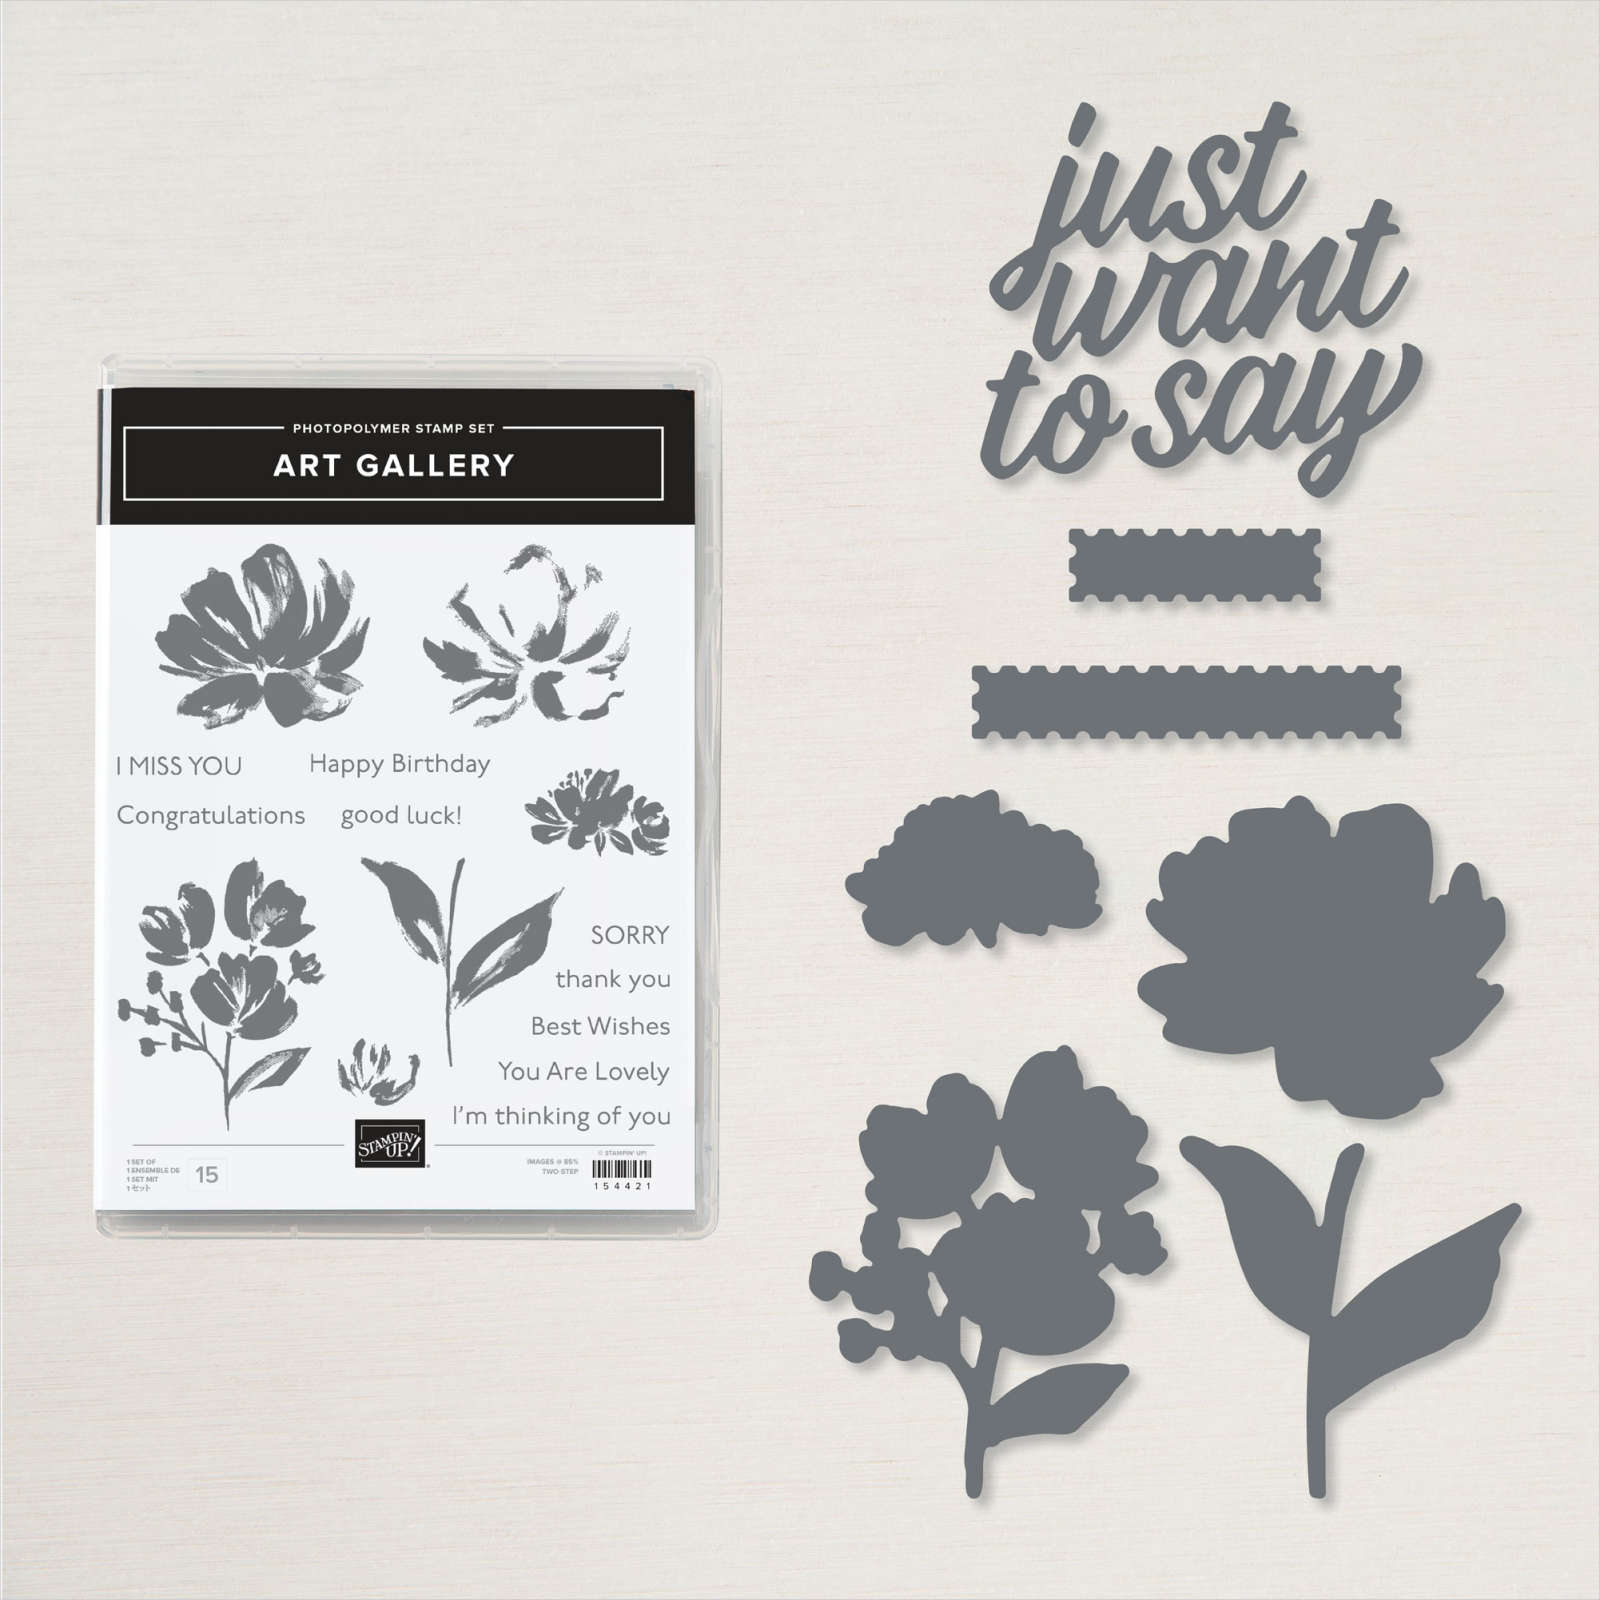
For the front panel of the card, I embossed a piece of Basic White card using the Painted Texture 3D Embossing Folder. I stamped the flower stem from the Art Gallery stamp set onto Basic white card twice using Mossy meadow ink and cut them out using the co-ordinating Floral Gallery Die. I stamped the solid flower from the Art Gallery stamp set onto Basic White card using Flirty Flamingo ink which I had stamped onto scrap paper first. I stamped the detailed flower from the Art Gallery stamp set over the solid flower using Flirty Flamingo ink.

I cut out the flowers using the co-ordinating Floral Gallery Die. I attached the flower stems and flowers to the front panel of the card using dimensionals under the last flower. I added three large Basic Pearls to the centre of each flower. Lastly I tied a bow in a length of Fine Art Ribbon and attached it over the flower stems using a Glue Dot. To create the mechanism to hold the card upright, I stamped “congratulations” from the Art Gallery stamp set onto Basic White card using Mossy Meadow ink.

I cut out the greeting using the banner from the Floral Gallery Dies. I attached the greeting to Mossy Meadow card I cut out using the Stitched Rectangle Dies. I stamped the smaller floral image from the Art Gallery stamp set onto Basic White card once using Mossy Meadow ink and once using Flirty Flamingo ink which I stamped onto scrap paper first. I used the small single flower from the Art Gallery stamp set over the flowers using Flirty Flamingo ink.
I cut out the images using the co-ordinting Floral Gallery Die. I cut the flowers from the stems on the Flirty Flamingo image and attached the flowers over the Mossy Meadow image. I attached the floral image to the inside of the card before attaching the greeting using dimensionals. As I said, the card is rather large, so I created a pizza style box from Basic White card. To decorate the top of the box I added Basic White card to Night of Navy card.

I decided to create a belly band from Night of Navy card to slide over the box. I added Basic White card which I embossed using the Painted Texture 3D Embossing Folder to Night of Navy card and then the belly band. I stamped three flower stems and three flowers from the Art Gallery stamp set as before and cut them out with the co-ordinating Floral Gallery Dies. and attached them to the embossed Basic White card again using dimensionals under one flower. I tied a knot in a length of Fine Art Ribbon and attached it over the flower stems using a Glue Dot. Lastly I added three Basic Pearls to the centre of each flower. This panel slides off easily but keeps the box nicely closed when attached.
Although a little more complicated than some other fancy fold cards I have made recently, it is so worth the effort. I love the finished card and presentation box, almost a gift on its own.
Bye for now,
Kris
Product Used: