Meadow Thinking of You
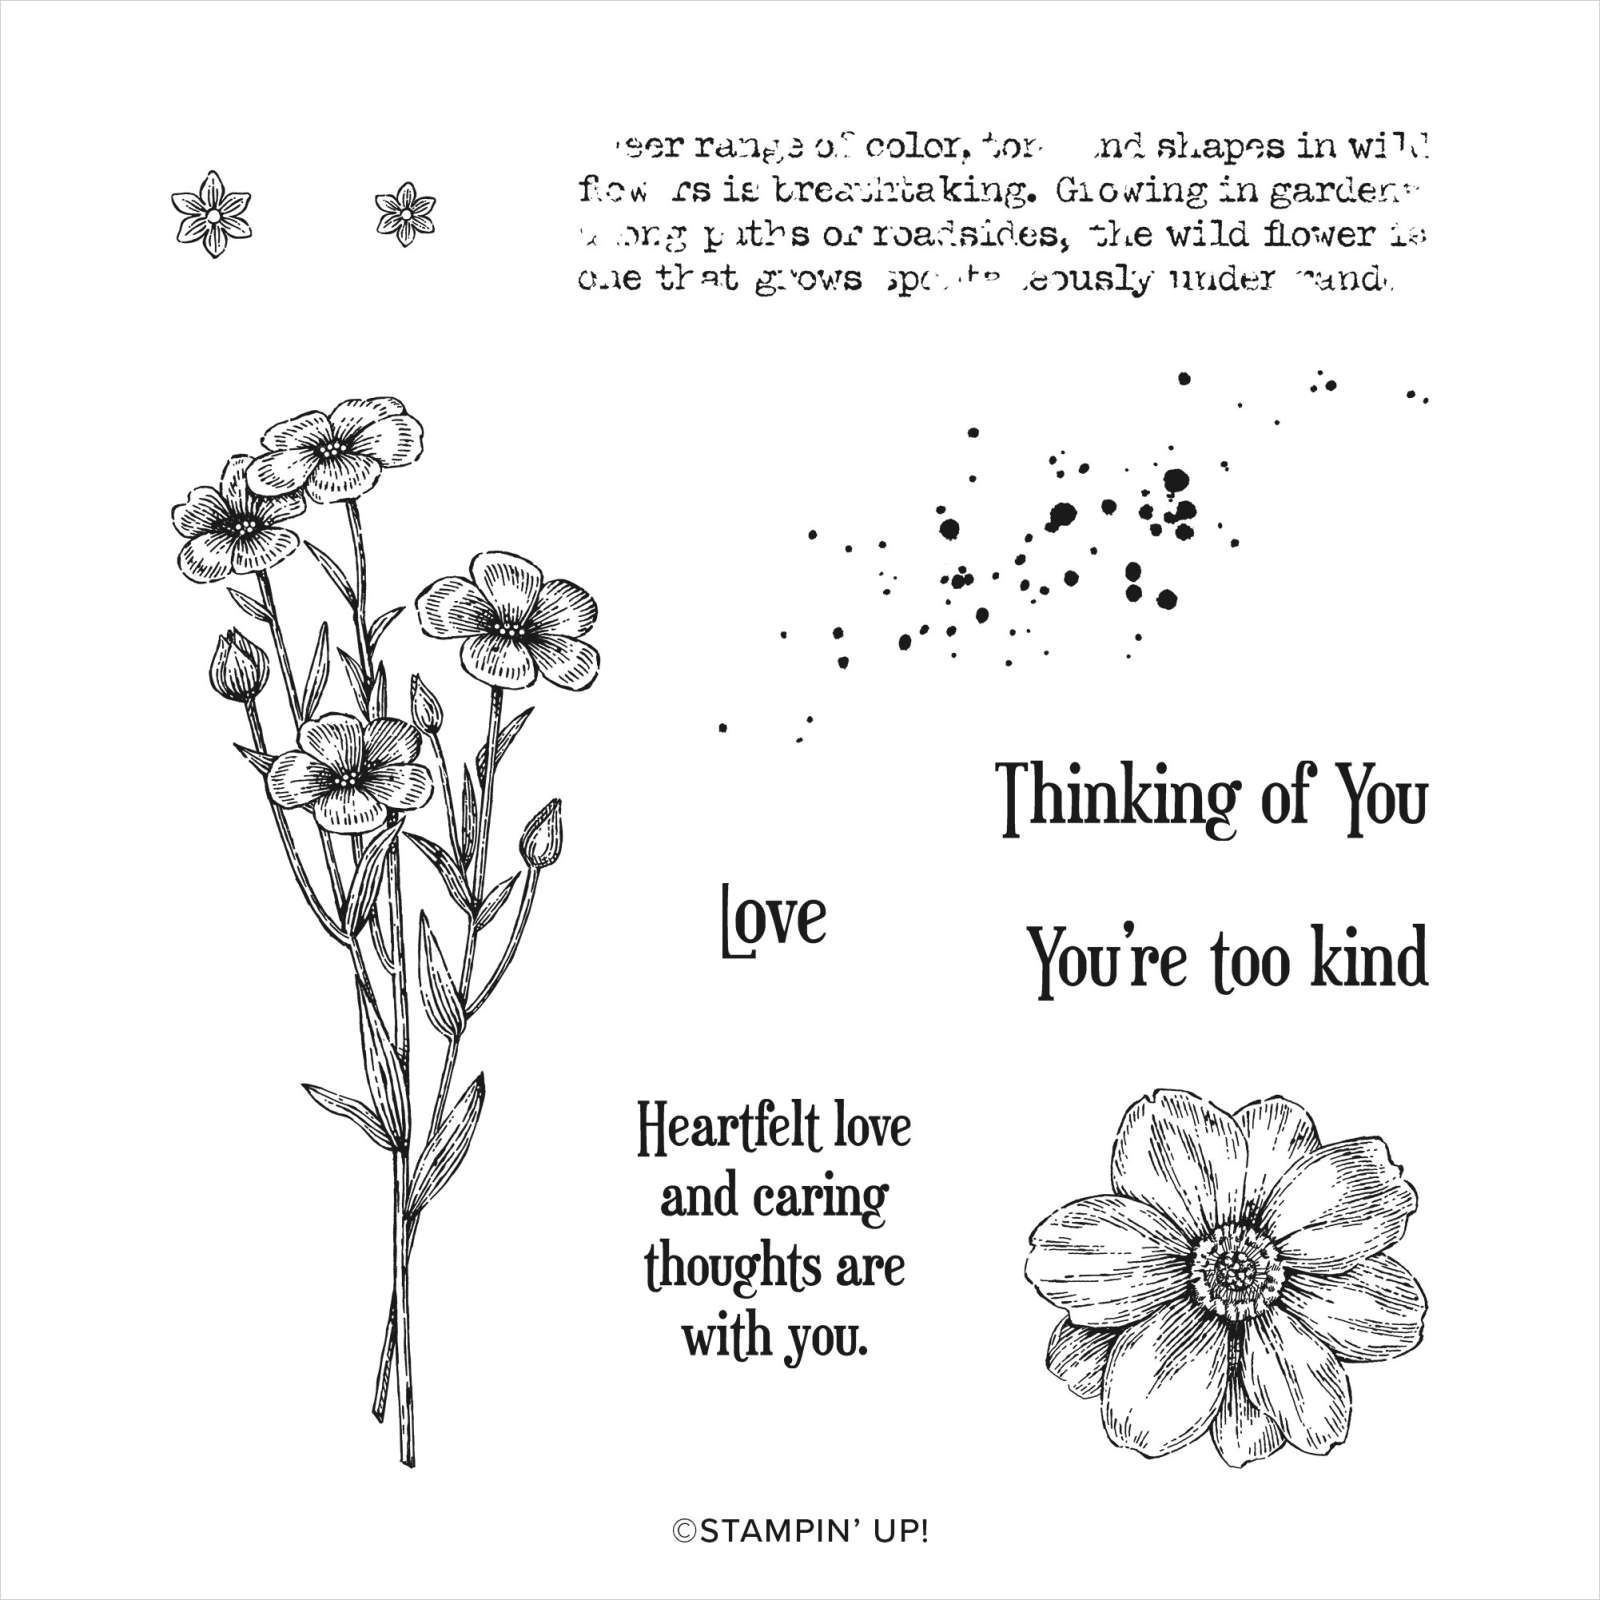
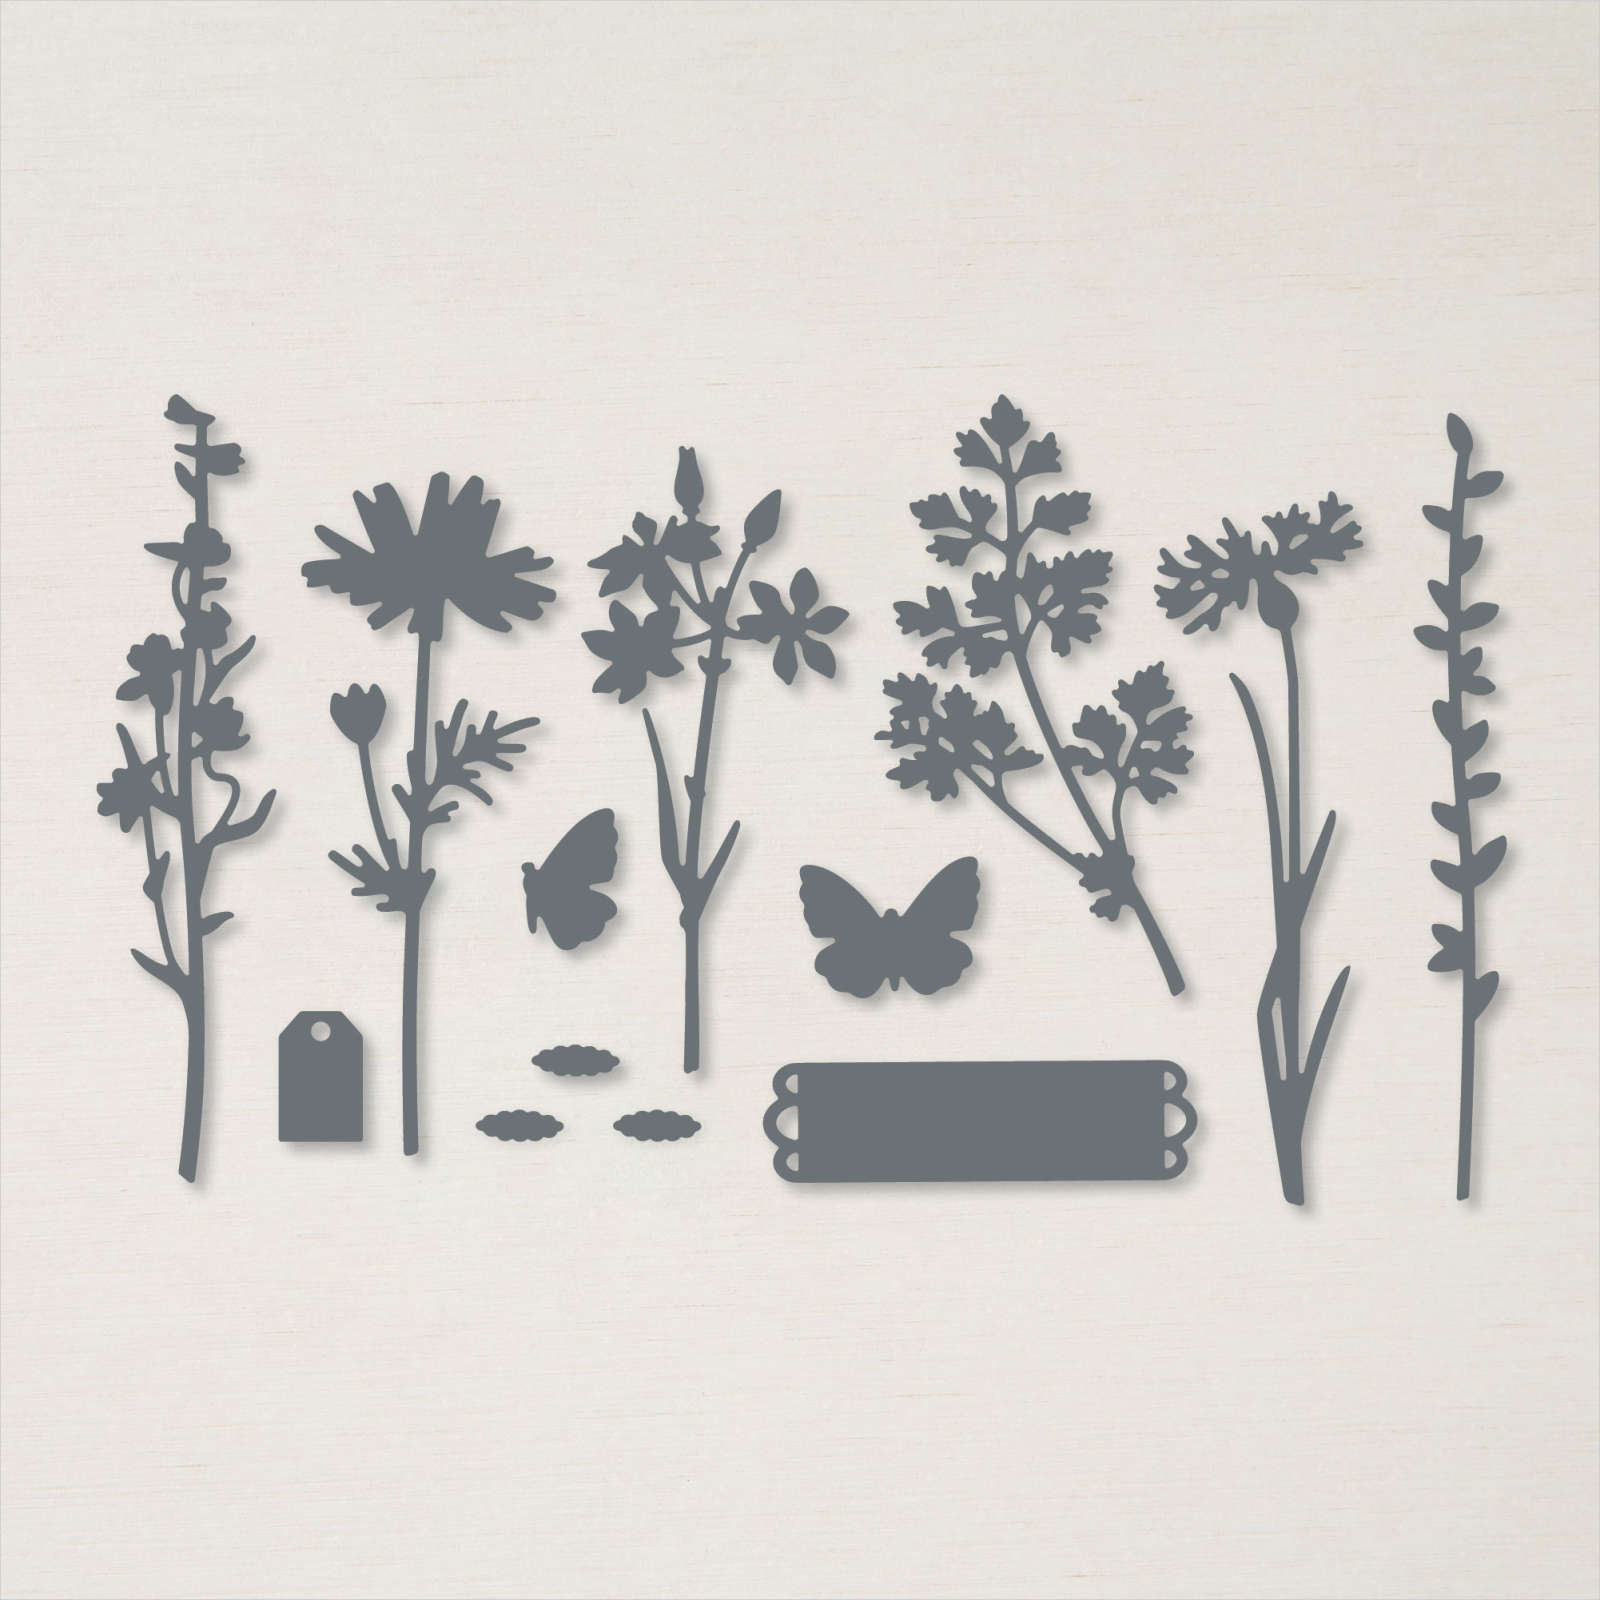
Today’s card uses the Quiet Meadow Bundle which I featured this week in my Facebook Video. This is a lovely bundle, which gives you the opportunity to get really creative. I embossed Basic White card using the Brick & Mortar 3D Embossing Folder and attached it to scored and folded Just Jade card. I cut Basic White card using two different floral dies from the Meadow Dies, two of one and just one of the other. I also cut two leaf dies from Basic White card using the same Dies.
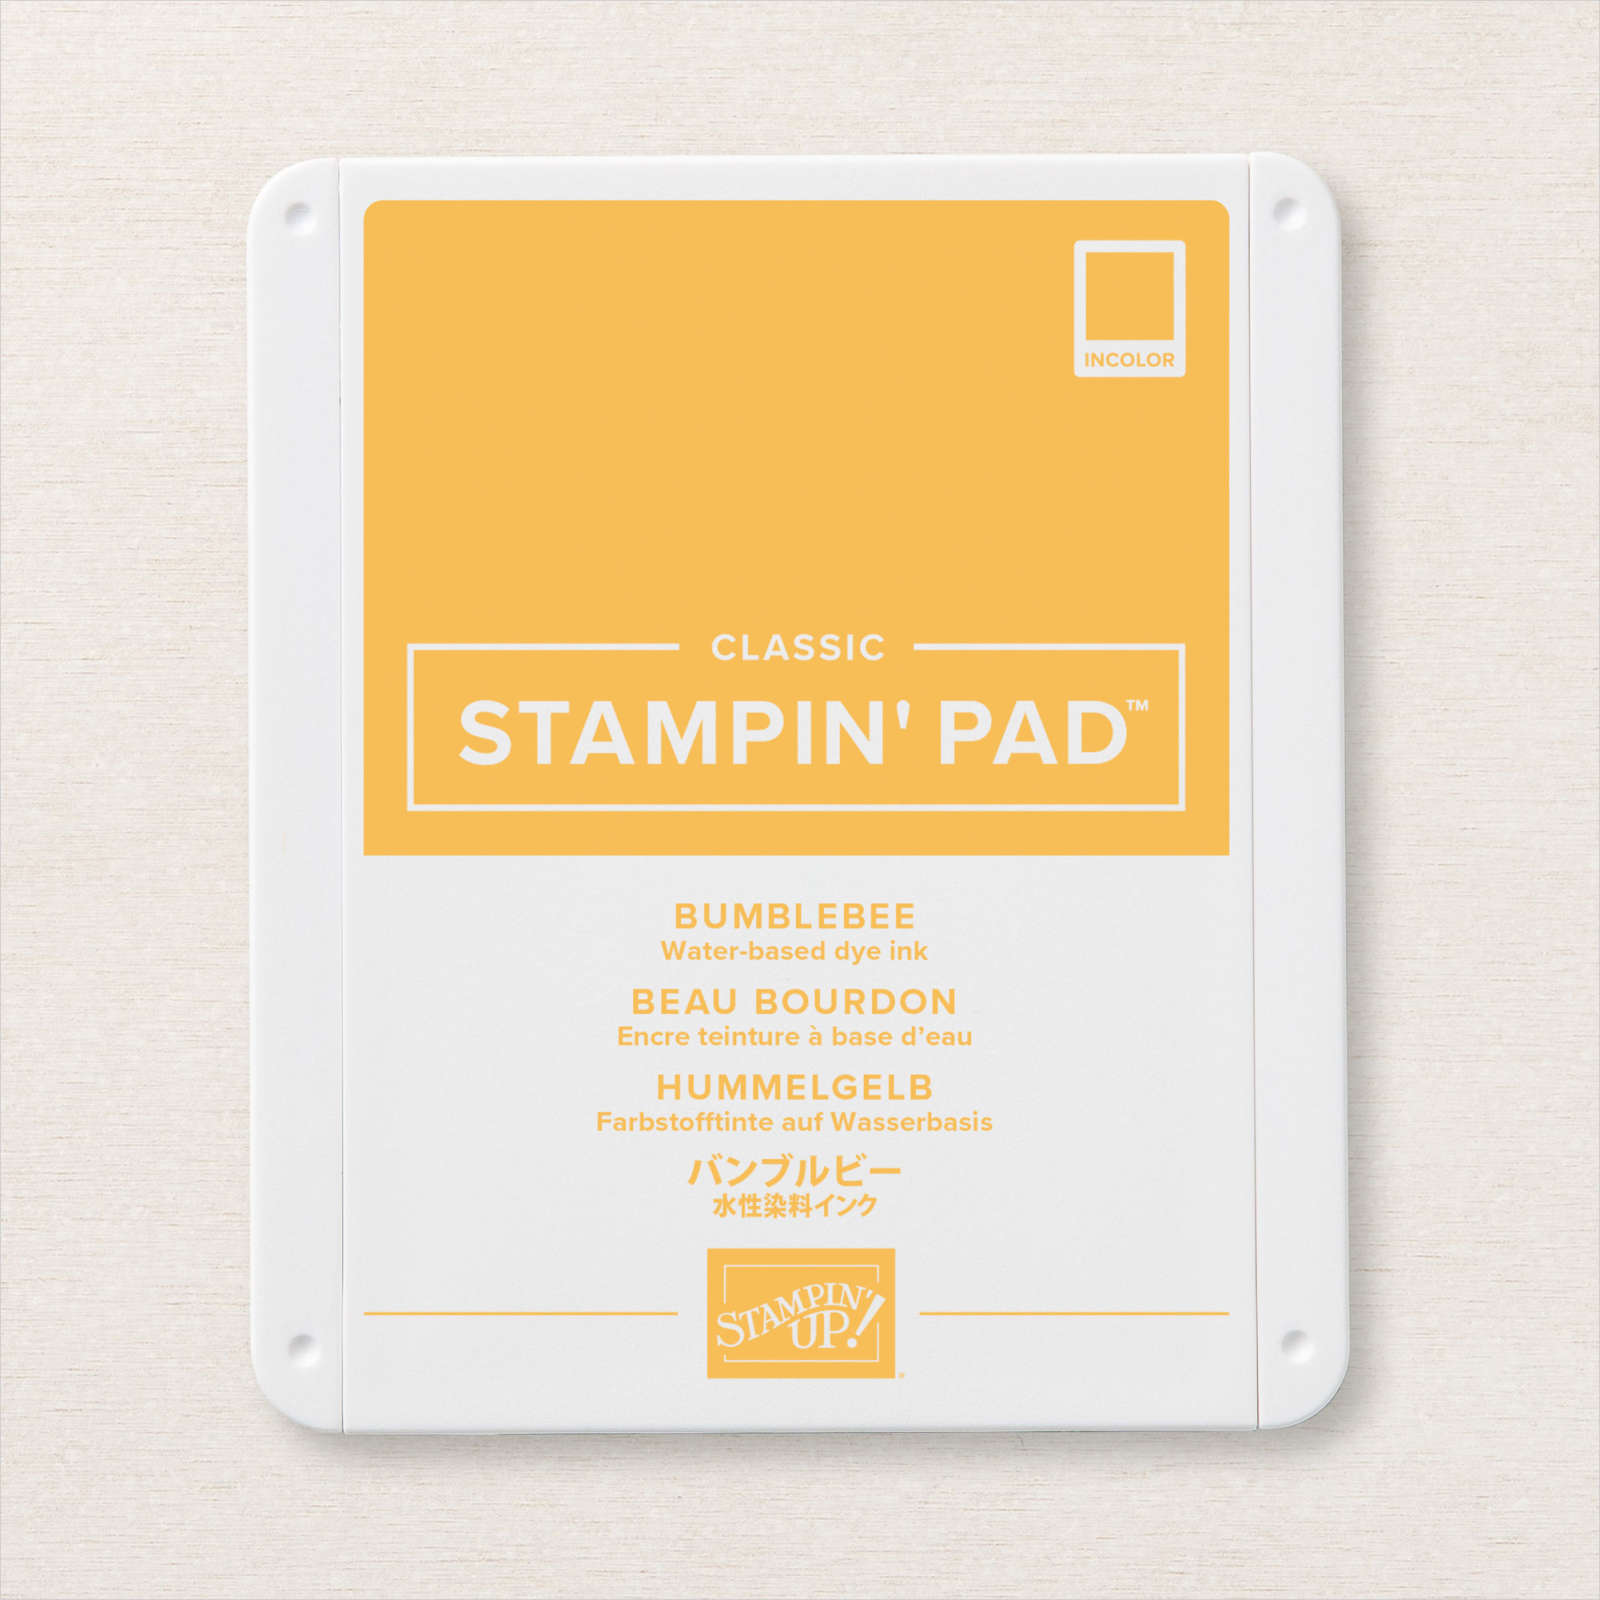
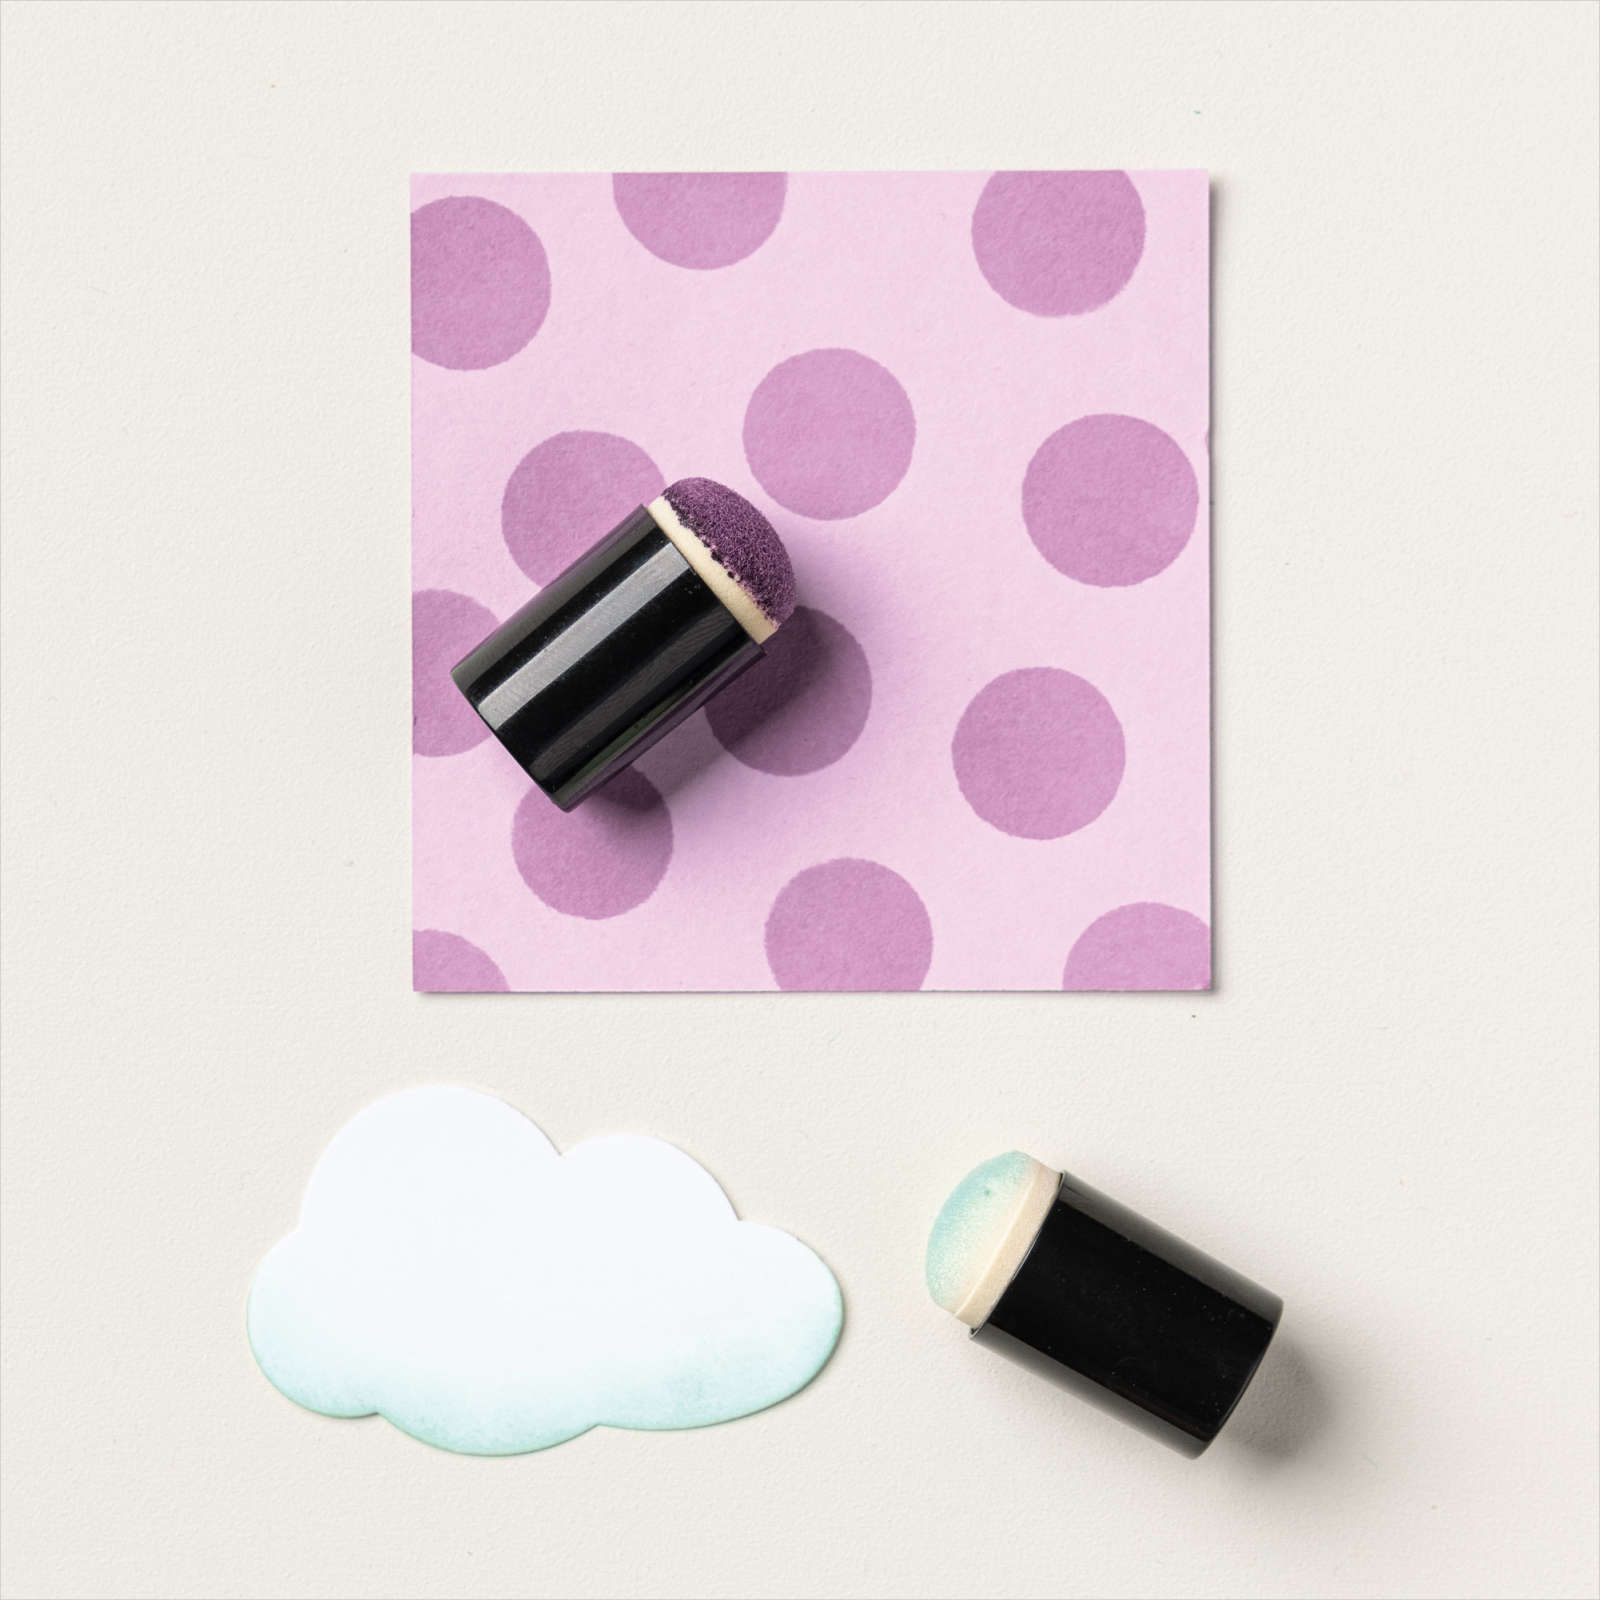
I used a sponge daubers to add Bumblebee ink to the flowers and Just Jade ink to the stems and leaves. It’s surprising just how much colour you get when you do this. I attached the leaf die cuts to the card front and then the single flower die with the two remaining flower dies on top, trimming away any of the stems where they extended beyond the embossed layer.

I stamped the greeting from the Quiet Meadow stamp set onto Basic White card and cut it out using the label die from the Meadow Dies. I attached the greeting to the card front using dimensionals. To decorate the inside of the card, I used the negative space created when cutting the die cuts for the front of the card. I placed the template onto the left hand side of Basic White card and using it as a stencil I added Bumblebee ink to the flowers and Just Jade ink to the leaves and stem using sponge daubers. I like the effect you get when doing this and this particular die works perfectly for this technique.
I love how pretty this turned out, don’t you? I think you are going to see the Quiet Meadow bundle used quite extensively. I’d love to know what you think.
Bye for now,
Kris
Product Used:


New Product
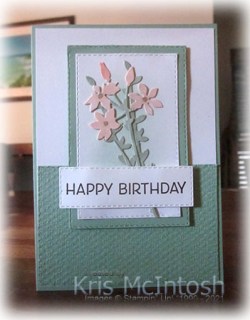 Yesterday on my Facebook Live, I shared some cards I made using the Quiet Meadow Bundle from the new Annual Catalogue. This card is kind of a step up from the cards I shared yesterday and is bound for a friend who is celebrating a birthday. I began by embossing a piece of Mint Macaron card using the Tasteful Textile 3D Embossing Folder. I attached the embossed card to the bottom of Basic White card and then scored and folded Mint Macaron card. I cut Basic White card using the Stitched Rectangle Dies and also Mint Macaron card using one size larger stitched rectangle.
 I used a Blending Brush to add Pool Party ink to the centre of the Basic White die cut. I cut two flower die and two leaf dies from Basic White card using the Meadow Dies.
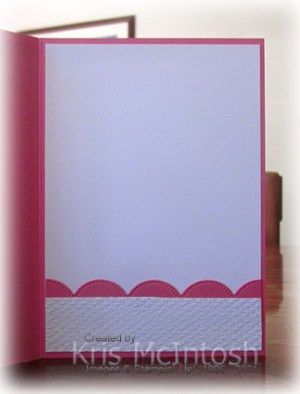
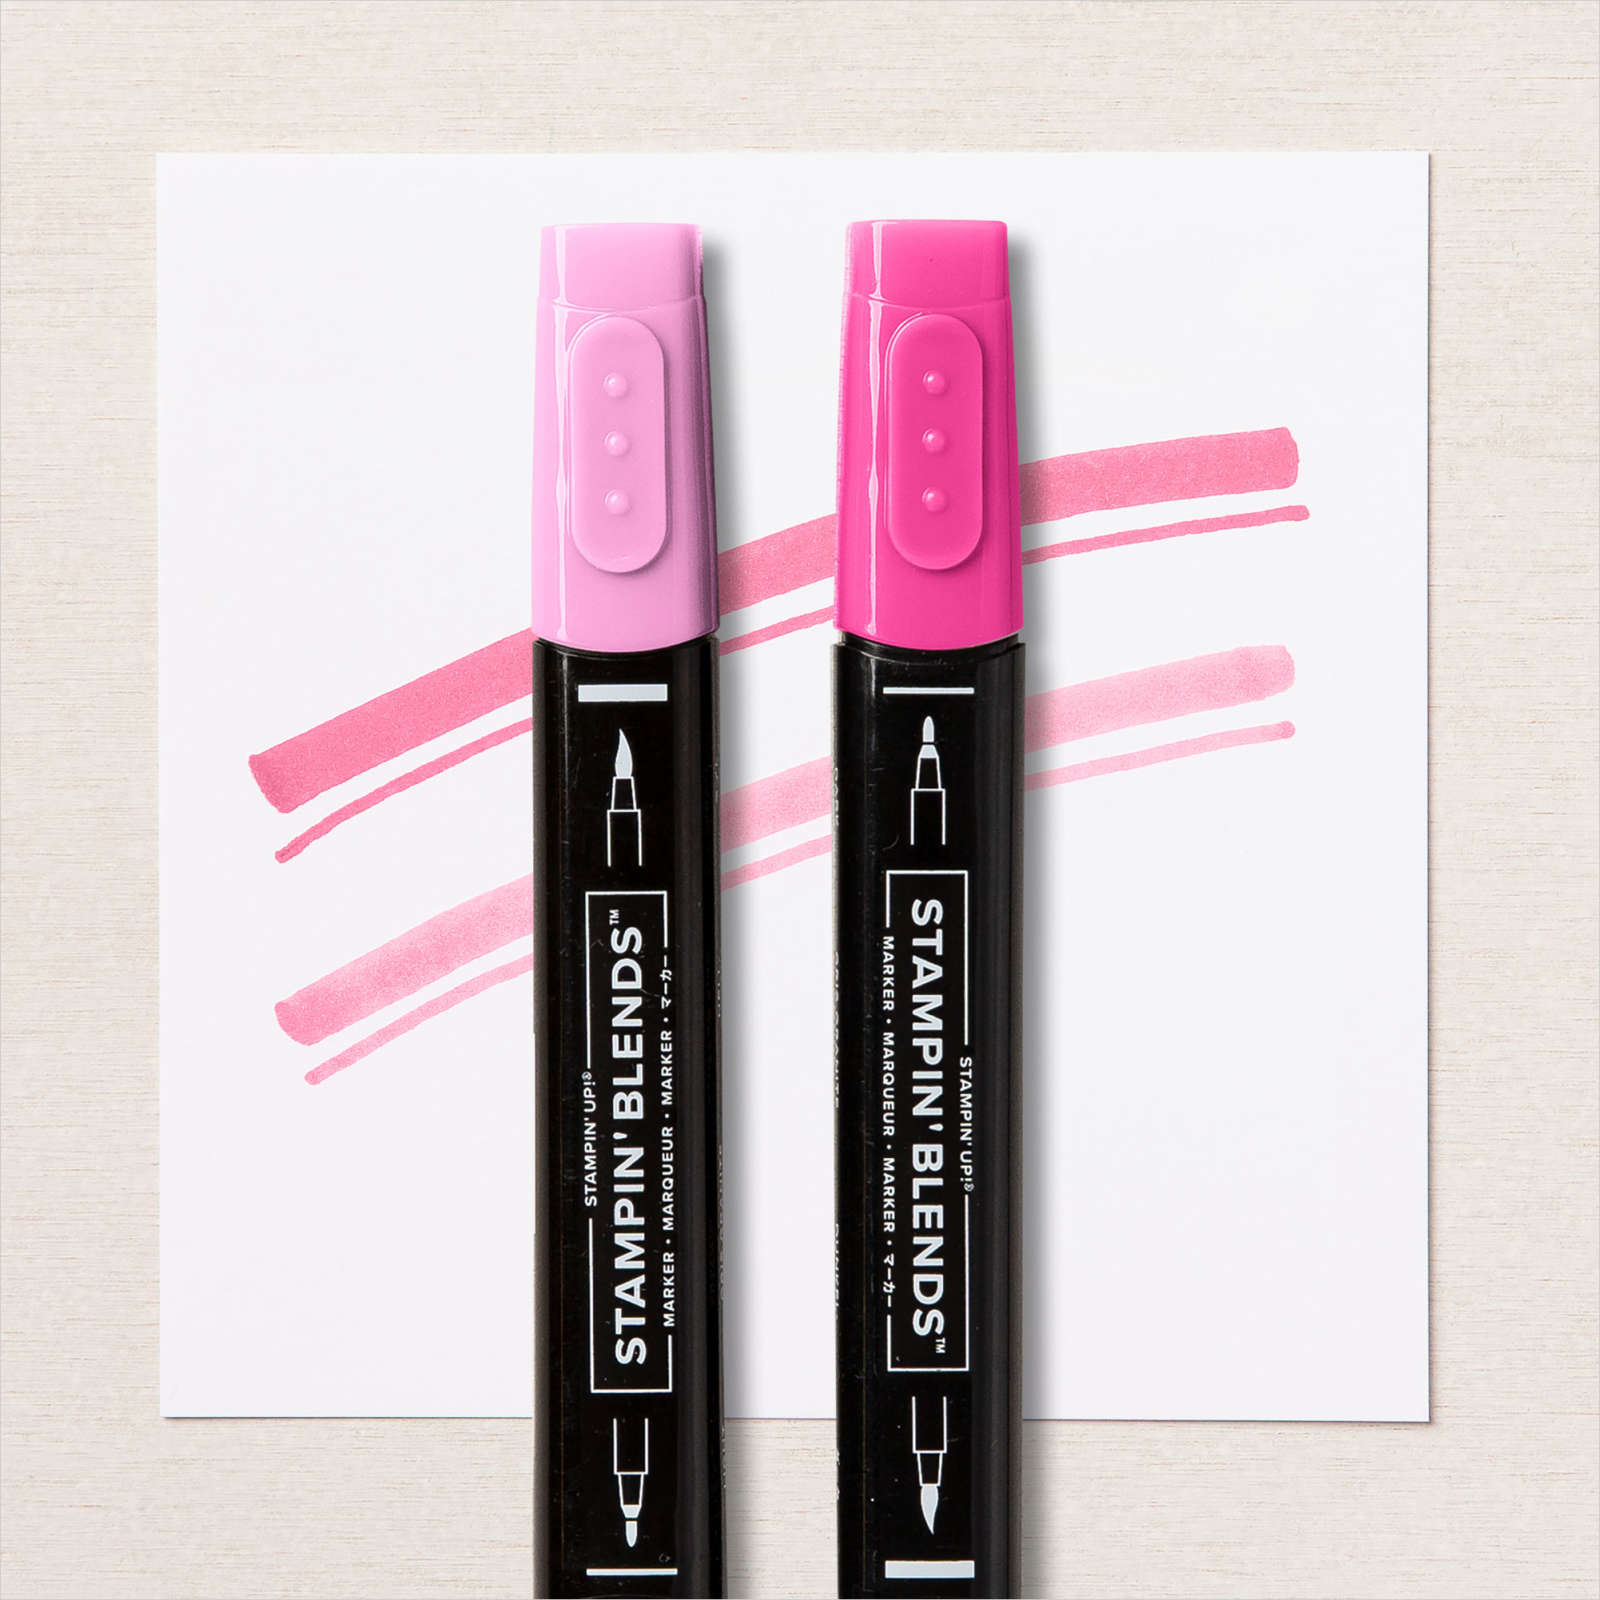
 I used the dark Petal Pink and Dark Mint Macaron Stampin’ Blends to colour the die cuts before attaching the two leaf dies and one flower dies to the Basic White die cut. I attached the image panel to the Mint Macaron rectangle and then the card front using dimensionals. I stamped “happy birthday” from the Artistically Inked stamp set onto Basic White card using Early Espresso ink and cut it out using another of the Stitched Rectangle Dies. I attached the greeting across the card front using dimensionals where necessary. To decorate the inside of the card, I attached the last flower die to the left hand side of Basic White card.
The Quiet Meadow bundle is going to be one of those I reach for often. I hope you love it too.
Bye for now,
I used the dark Petal Pink and Dark Mint Macaron Stampin’ Blends to colour the die cuts before attaching the two leaf dies and one flower dies to the Basic White die cut. I attached the image panel to the Mint Macaron rectangle and then the card front using dimensionals. I stamped “happy birthday” from the Artistically Inked stamp set onto Basic White card using Early Espresso ink and cut it out using another of the Stitched Rectangle Dies. I attached the greeting across the card front using dimensionals where necessary. To decorate the inside of the card, I attached the last flower die to the left hand side of Basic White card.
The Quiet Meadow bundle is going to be one of those I reach for often. I hope you love it too.
Bye for now,
Kris
Product Used:


Always and Forever

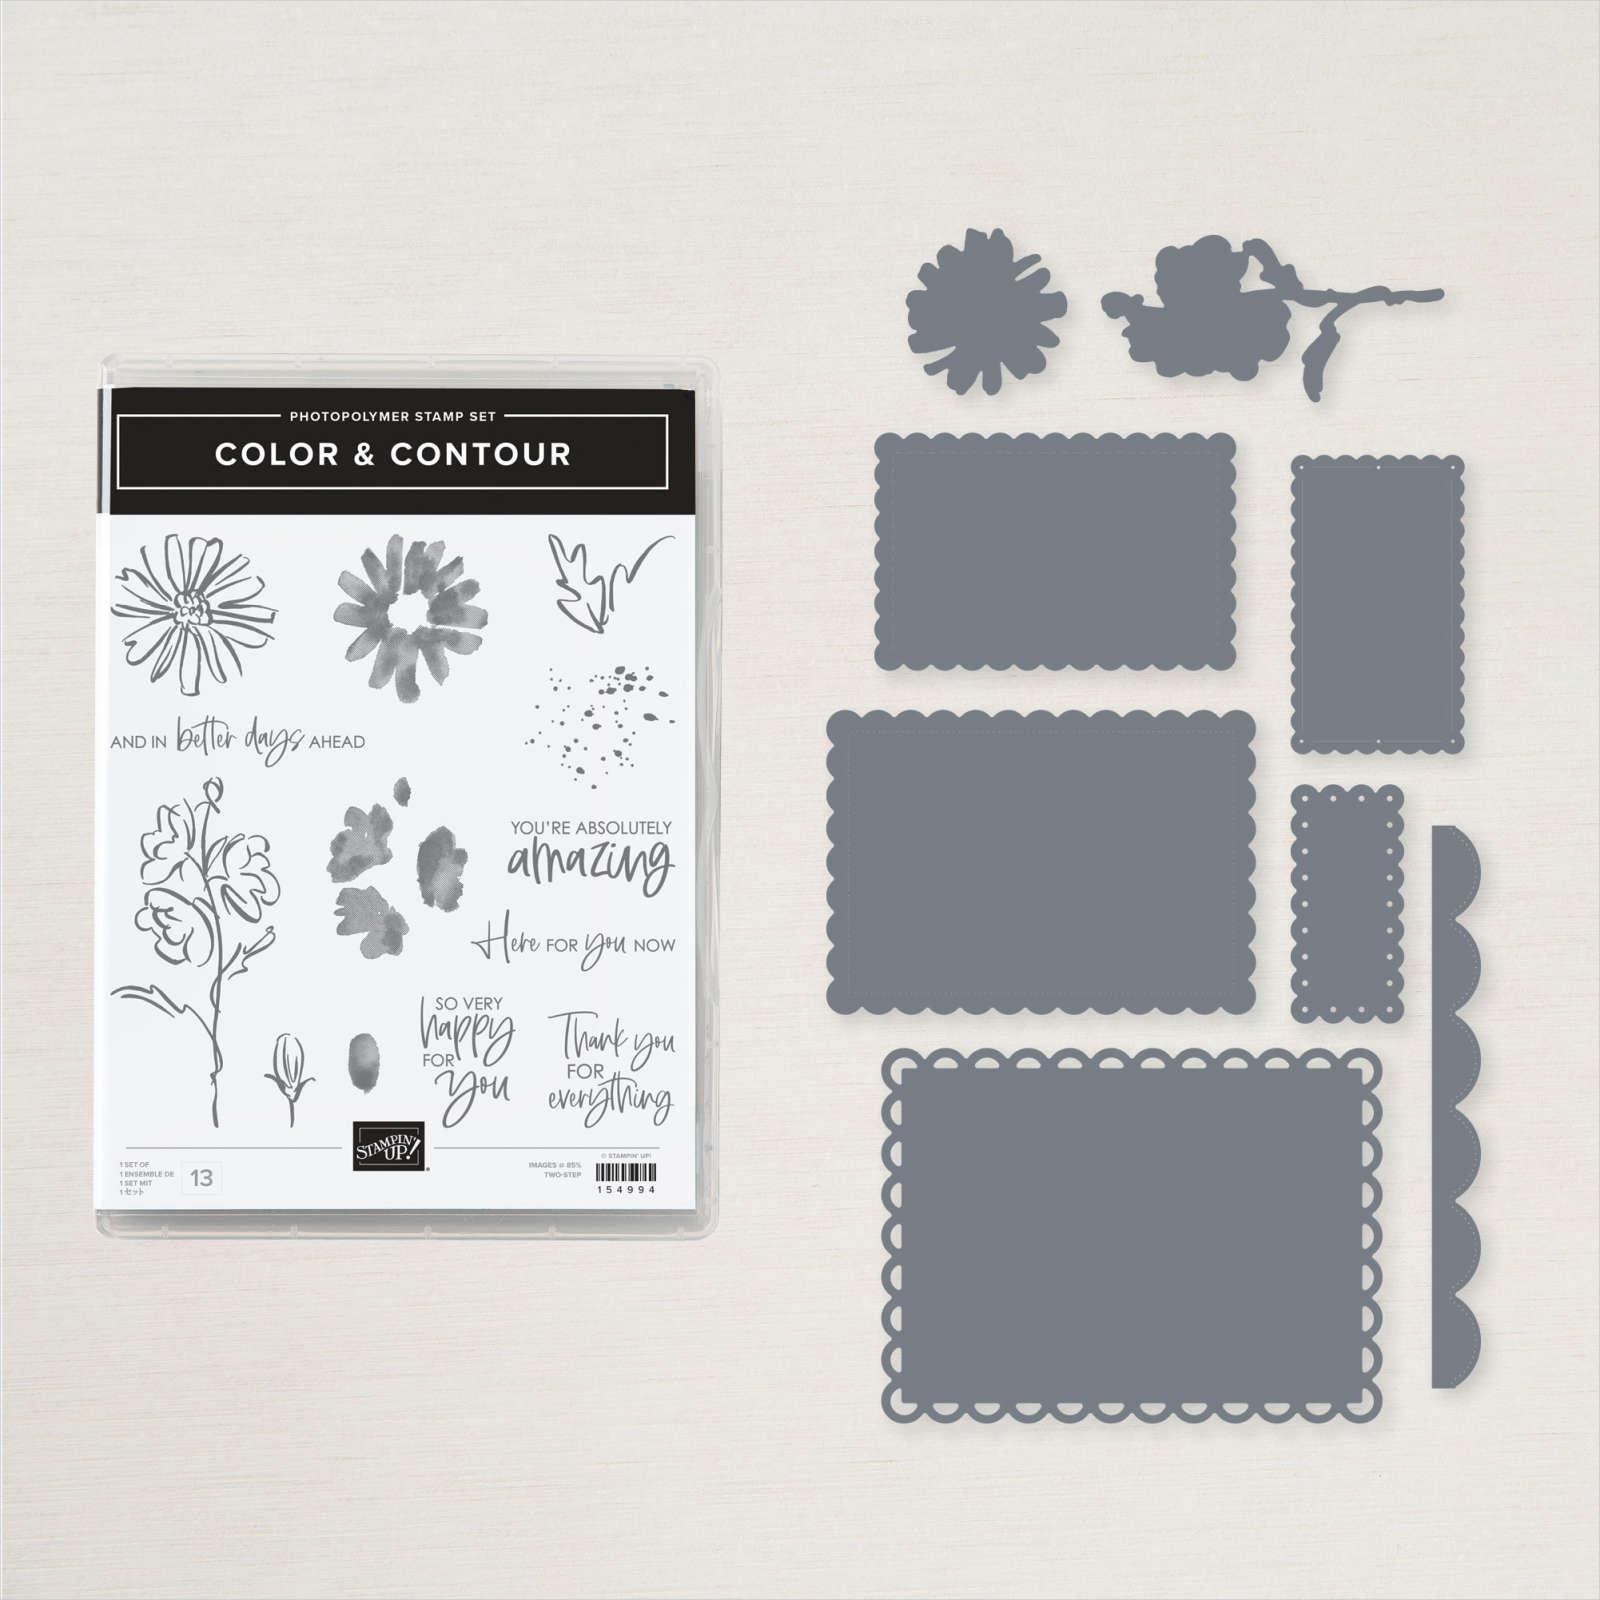
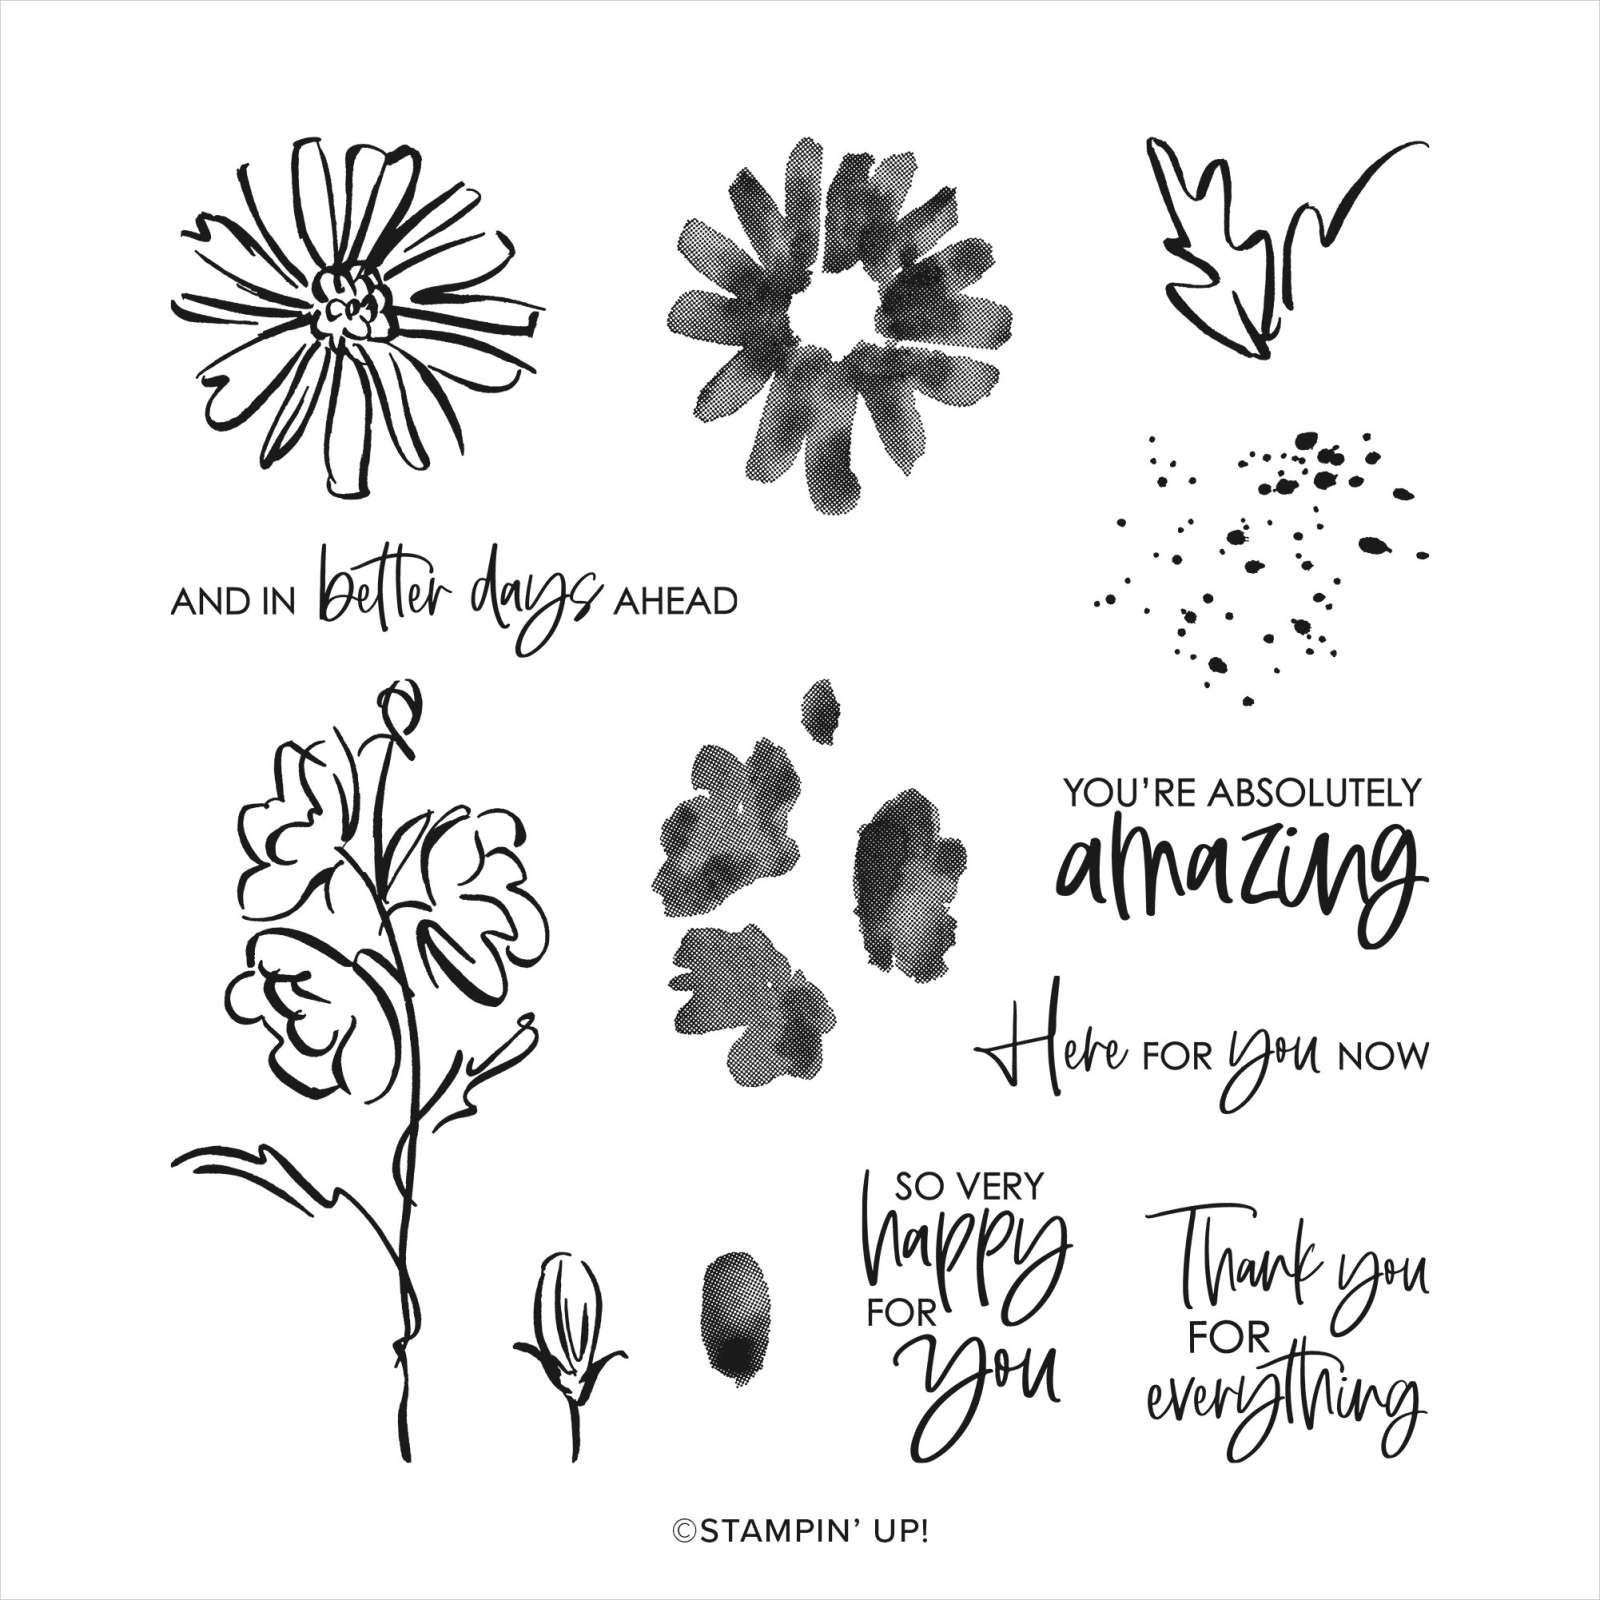
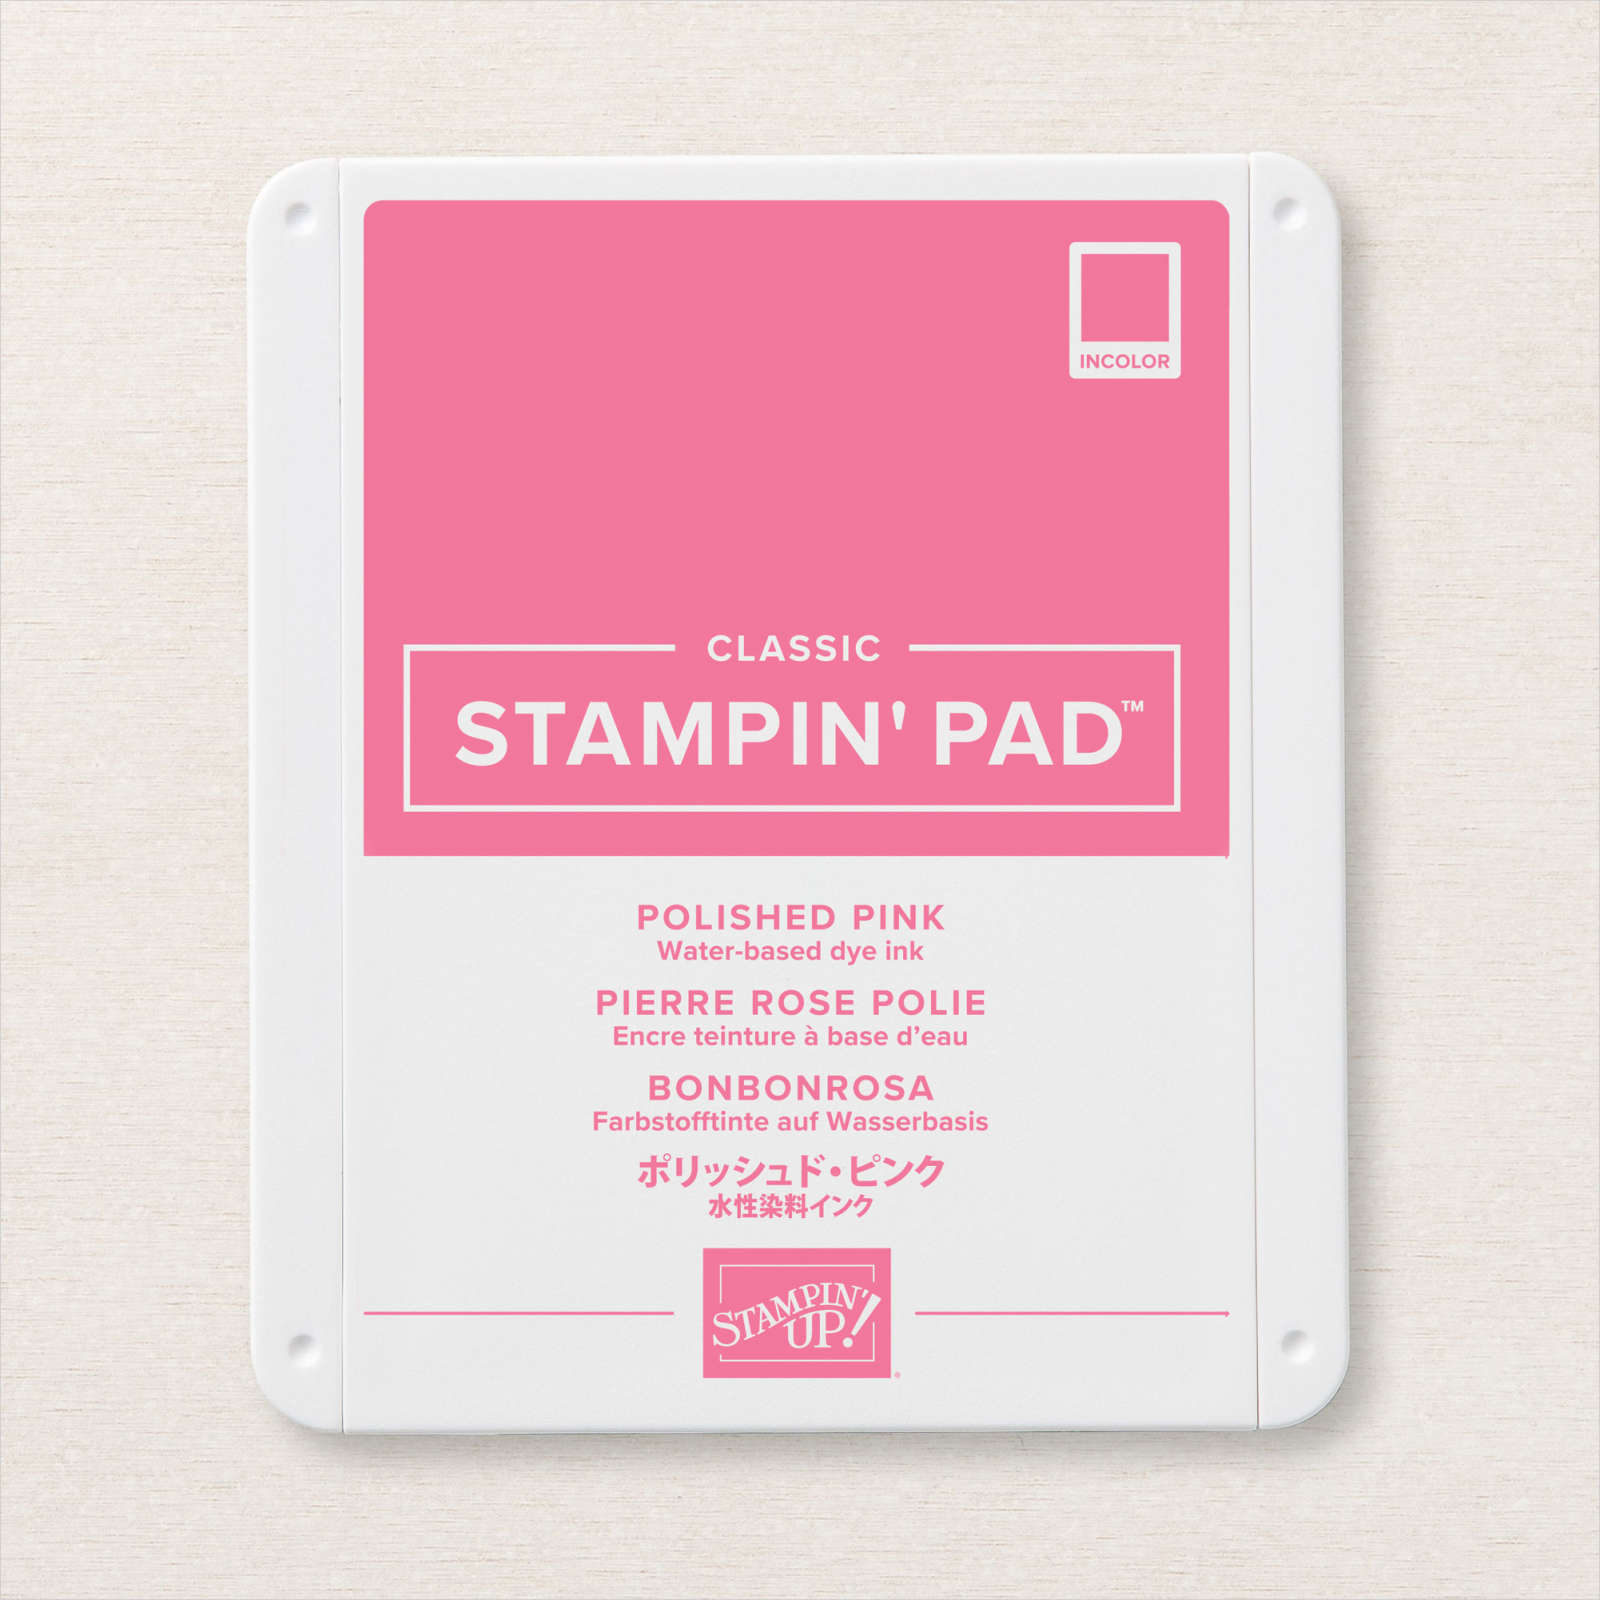
Today’s card is one of the first I made using the Colour & Contour Bundle. I embossed Basic White card using the Tasteful Textile 3D Embossing Folder. I cut a narrow strip of Polished Pink card using the scalloped edge die from the Scalloped Contours Dies. I cut the right hand edge of a strip of Basic White card using the same scalloped edge die. I stamped the flower image from the Colour & Contour stamp set onto the Basic White card using Memento Tuxedo Black ink. I added the flower fill image from the Colour & Contour stamp set using Polished Pink ink.

I attached the Polished Pink scalloped edge behind the Basic White scalloped edge before attaching the panel to the embossed Basic White card. The whole piece is attached to scored and folded Polished Pink card.
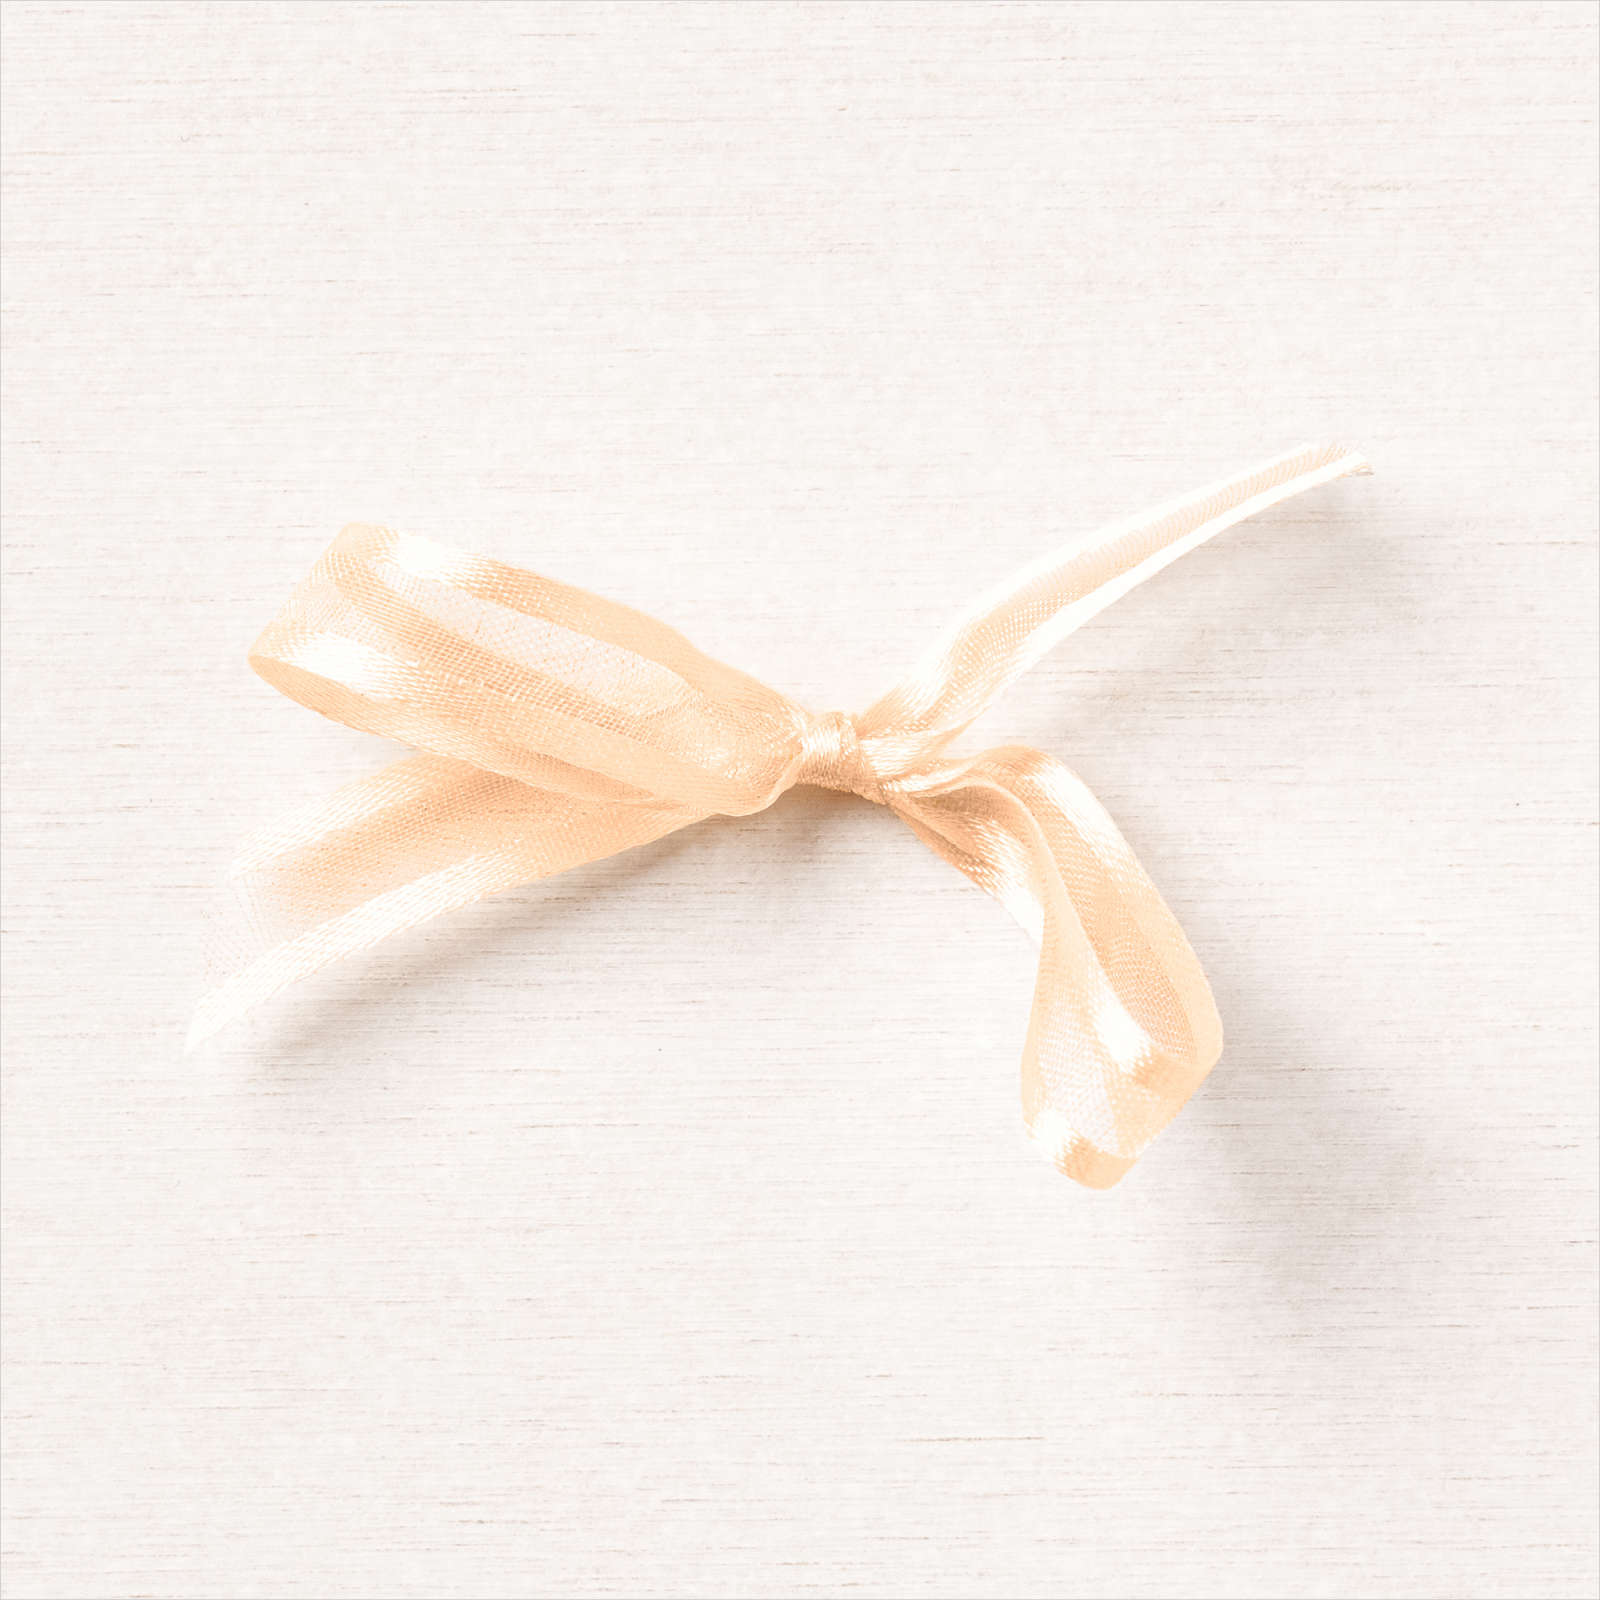
I stamped “always and forever” from the Forever Blossoms stamp set onto Basic White card using Polished Pink ink. I punched out the greeting using the Double Oval Punch. I attached the greeting to a Polished Pink scalloped oval punched using the same Punch. The greeting is attached to the card front below the stamped image. I tied a bow in a length of Polished Pink 3/8″ Open Weave Ribbon and attached it to the flower stem using a Glue Dot. To decorate the inside of the card, I cut one edge of a strip of Polished Pink card using the scalloped edge die from the Scalloped Contour Dies. I embossed a strip of Basic White card using the Tasteful Textile 3D Embossing Folder. I attached the Polished Pink scalloped edge behind one long edge of the embossed card before attaching the panel to the bottom of Basic White card.
I am really loving this beautiful Polished Pink colour.
Bye for now,
Kris
Product Used:


Happy Mother’s Day

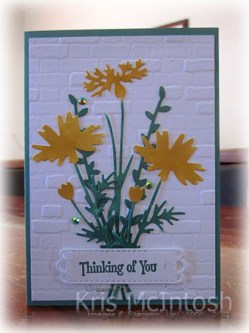
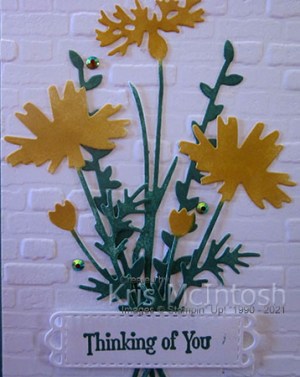
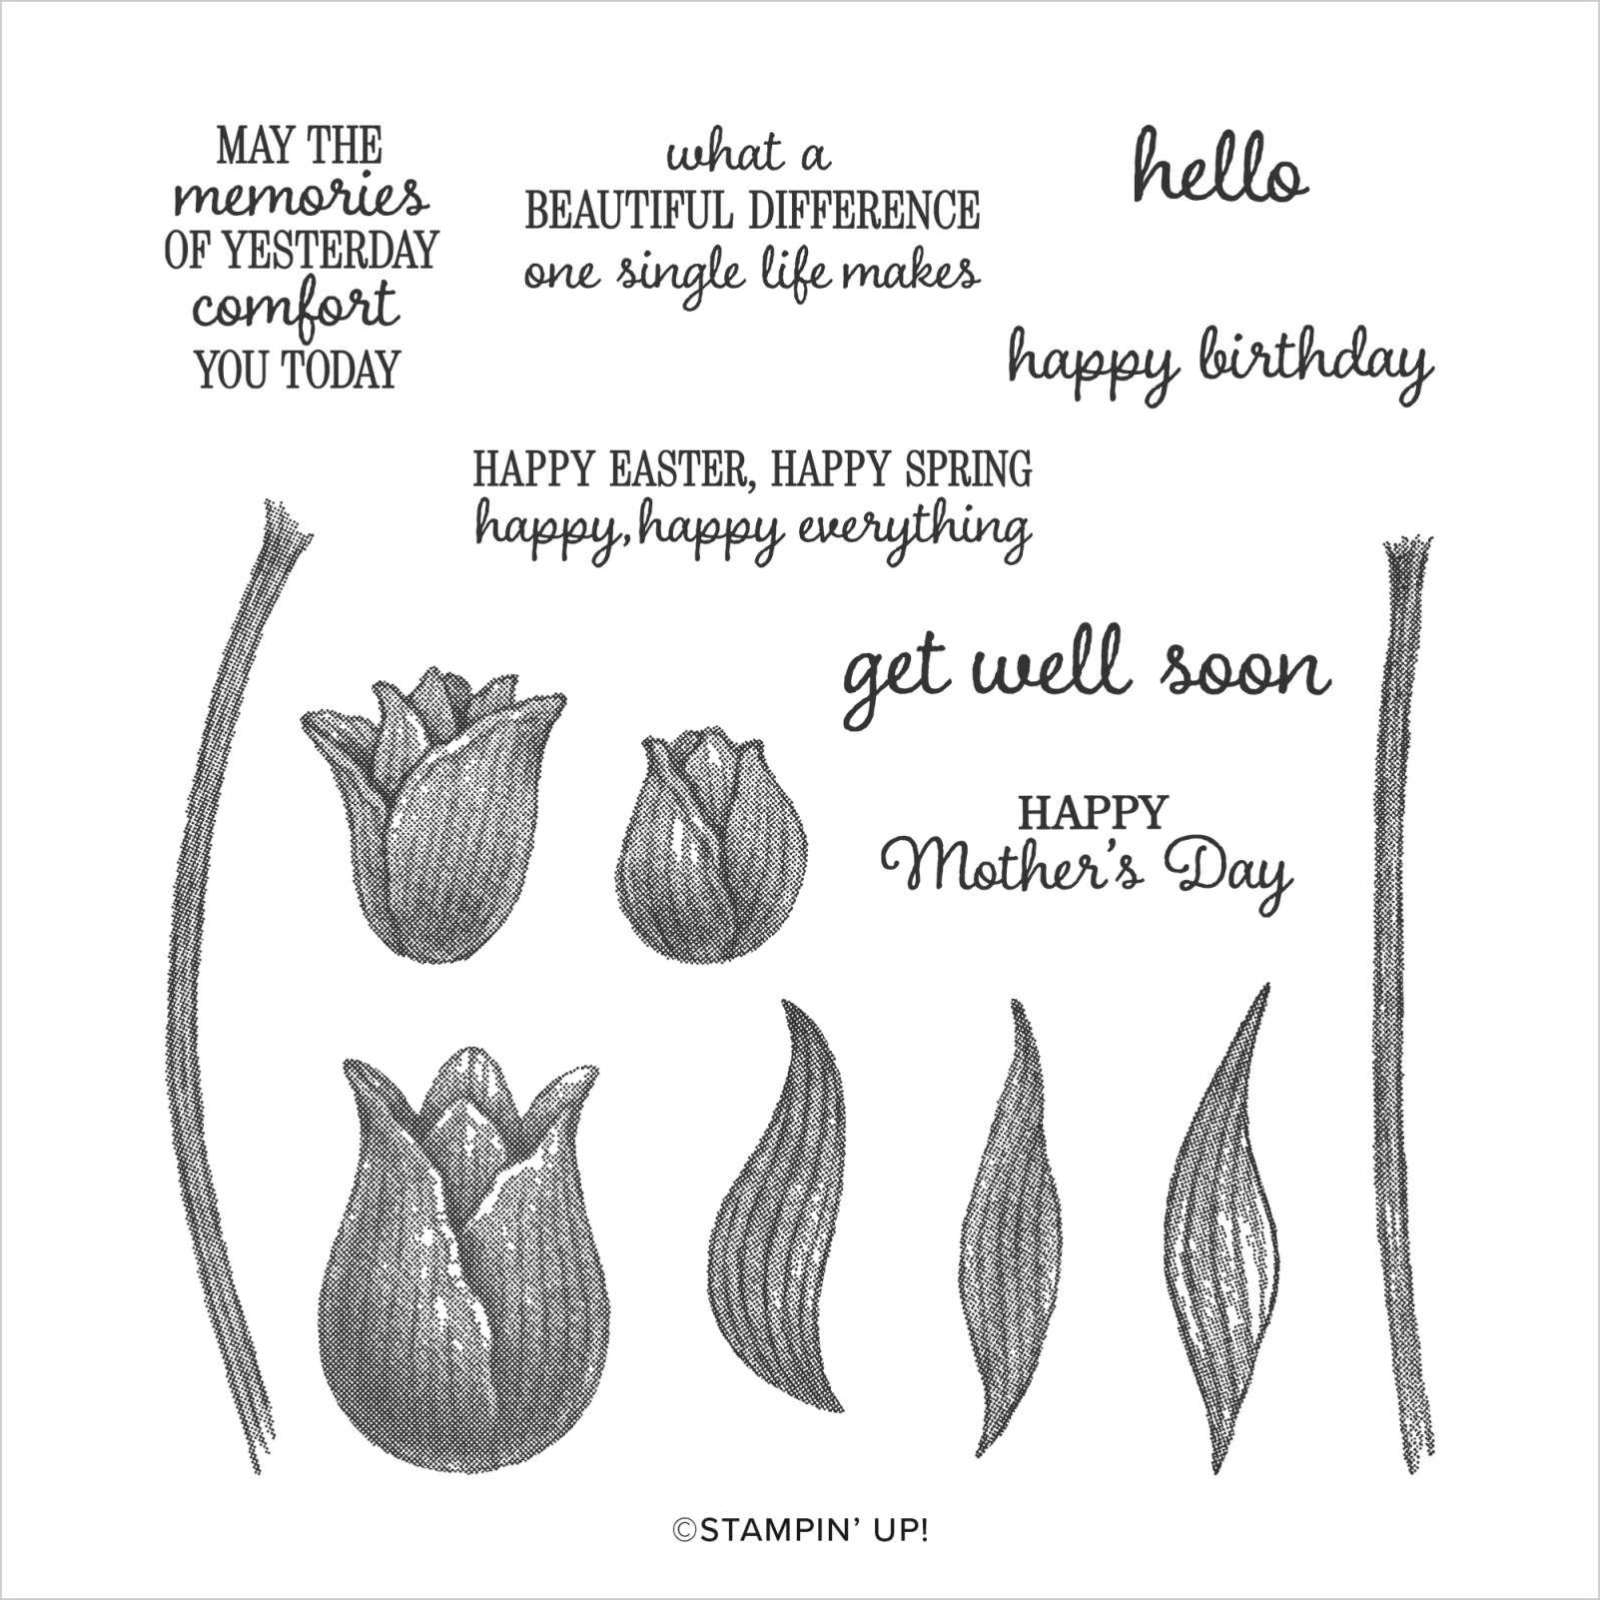
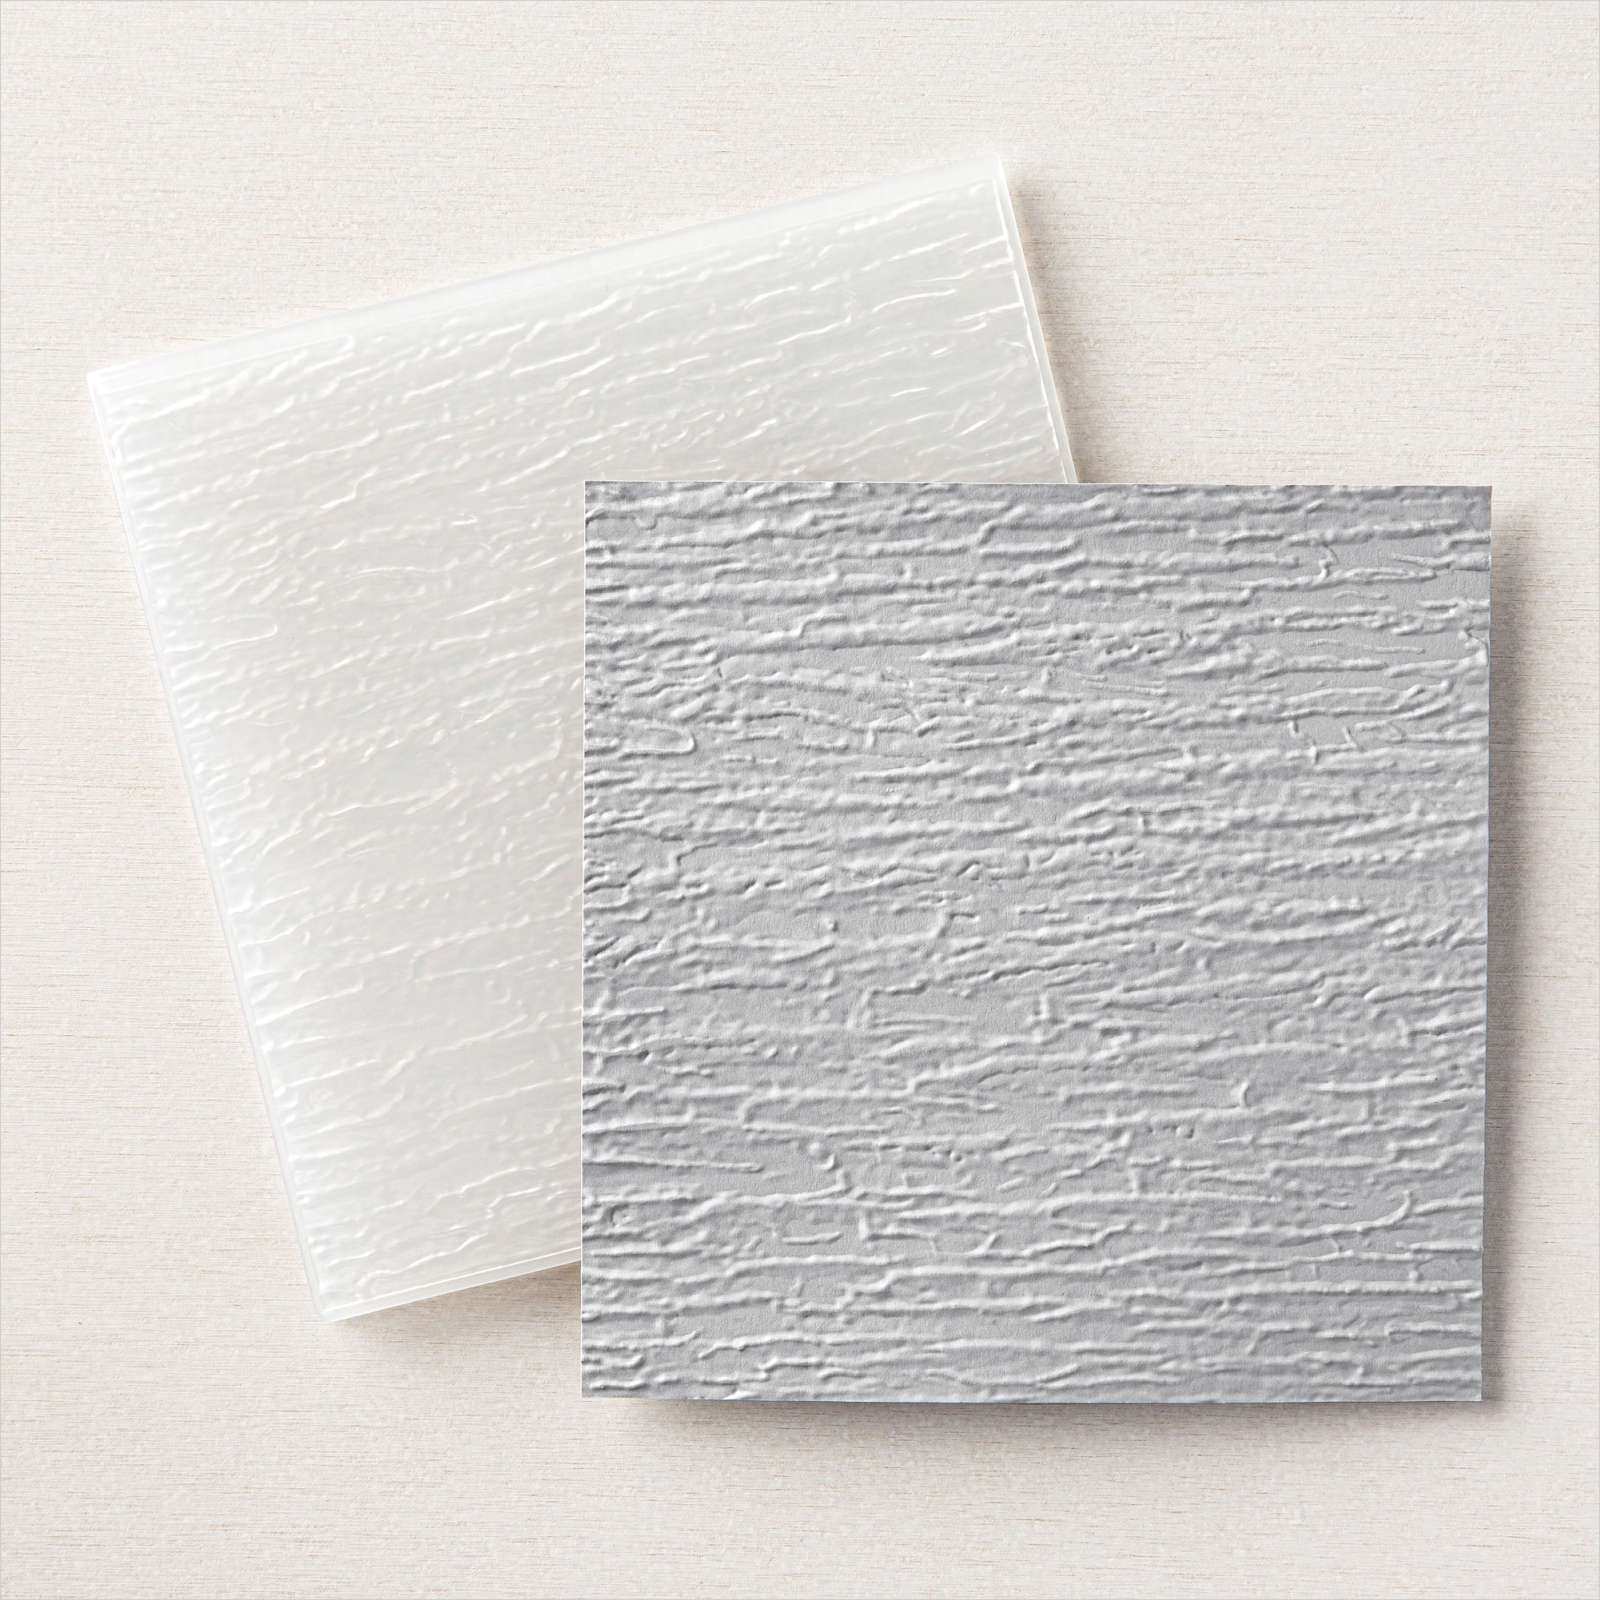
Today I thought I would share the card I made for my Mum for Mother’s Day. I embossed the bottom third of a piece of Basic White card using the Bark 3D Embossing Folder. I stamped the greeting from the Timeless Tulips stamp set onto the Basic White card just above the embossing using Fresh Freesia ink. I stamped the image from the Quiet Meadow stamp set twice onto Basic White card using Smoky Slate ink. I coloured the flowers using the Dark Fresh Freesia Stampin’ Blend.

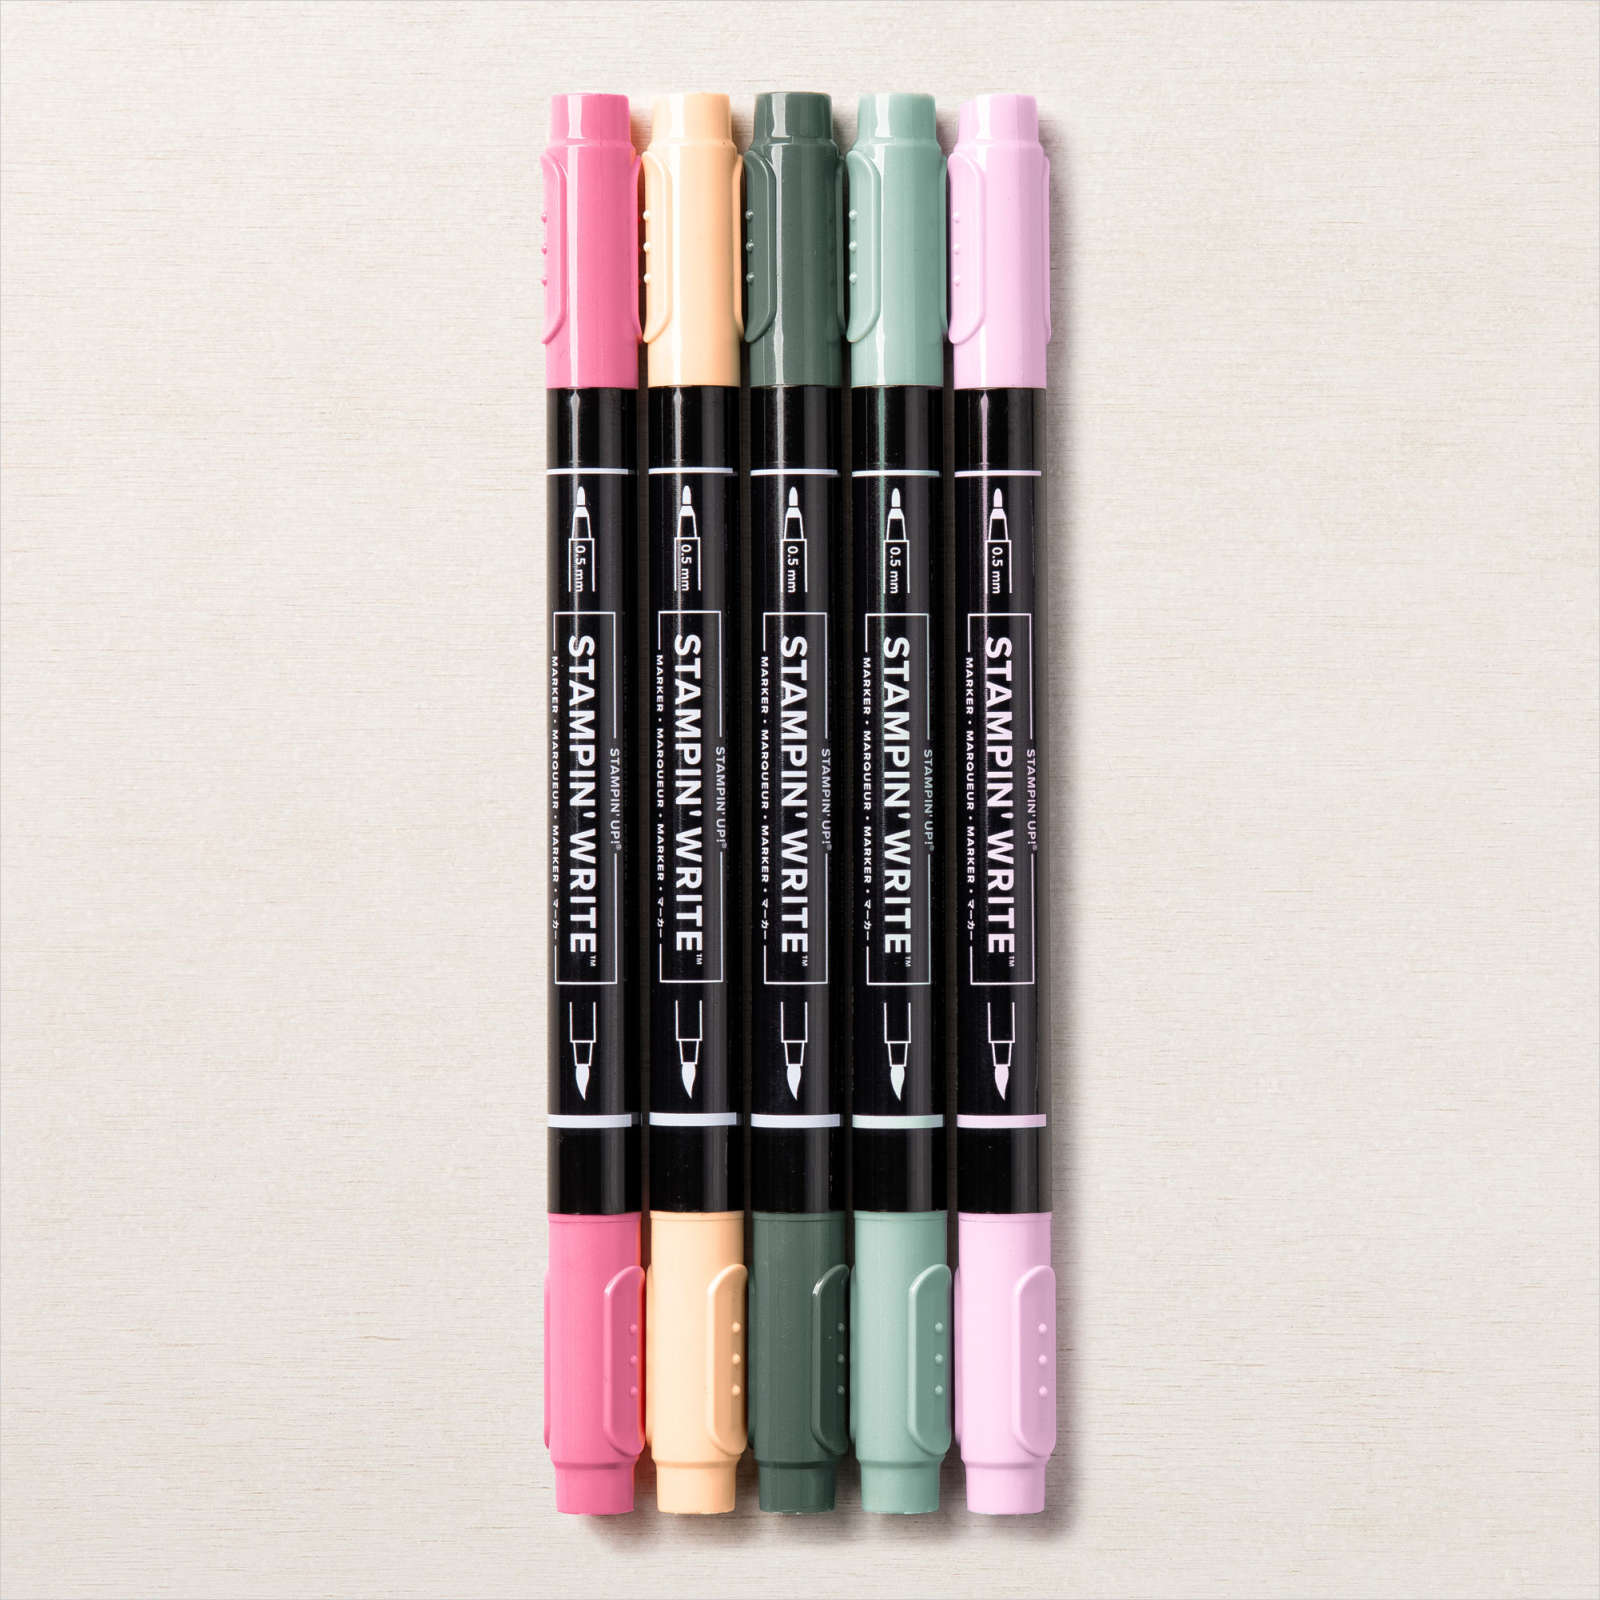
I coloured the leaves and the stems using the Soft Succulent Stampin’ Write Marker before cutting out the images. I attached the images to the card front before wrapping the top of the embossed Basic White card using the Fresh Freesia Open Weave Ribbon.

I attached the Basic White panel to scored and folded Fresh Freesia card. I tied a bow in a length of the Fresh Freesia Open Weave Ribbon and attached it to the card front using a Glue Dot. To decorate the inside of the card, I stamped the greeting from the now retired Strong & Beautiful Stamp Set using Fresh Freesia ink. I stamped the same floral image from the Quiet Meadow stamp set beside the greeting using Smoky Slate ink. I coloured the flowers using the Dark Fresh Freesia Stampin’ Blend and the leaves and stems using the Soft Succulent Stampin’ Write Marker.
I love how pretty this card is and I know that my Mum did too.
Bye for now,
Kris
Product Used:


Tamworth
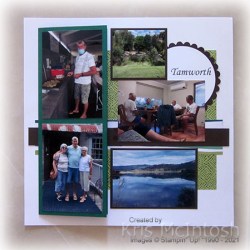
Today’s page shows off some photos from our visit to Tamworth in March. We met up with our friends for a week. We had a wonderful time, even if it did rain most of the time. I attached a square of Forever Greenery Designer Series Paper (now retired) to a Basic White 12″ x 12″ page. I attached a strip of a different pattern from the Forever Greenery Designer Series Paper across the page with a strip of Early Espresso card on top.
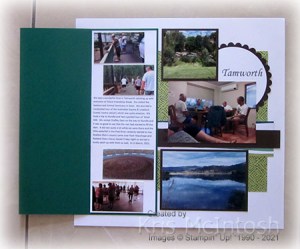
I created an opening panel on the left hand side using Shaded Spruce and attached two photos to the front. I printed the title onto Basic White card and used a couple of old Sizzix dies to cut out the greeting and the scalloped circle underneath. I attached the small photo at the top of the page and the one on the bottom right to Early Espresso card before attaching them to the page. I created the journaling on my computer and printed onto Basic White card. I attached a few more photos above and below the journaling and attached the panel to the inside of the folded Shaded Spruce card. Not many photos for a whole week, but certainly brings back a lot of happy memories.
Bye for now,
Kris
Product Used:


Centre Step Card

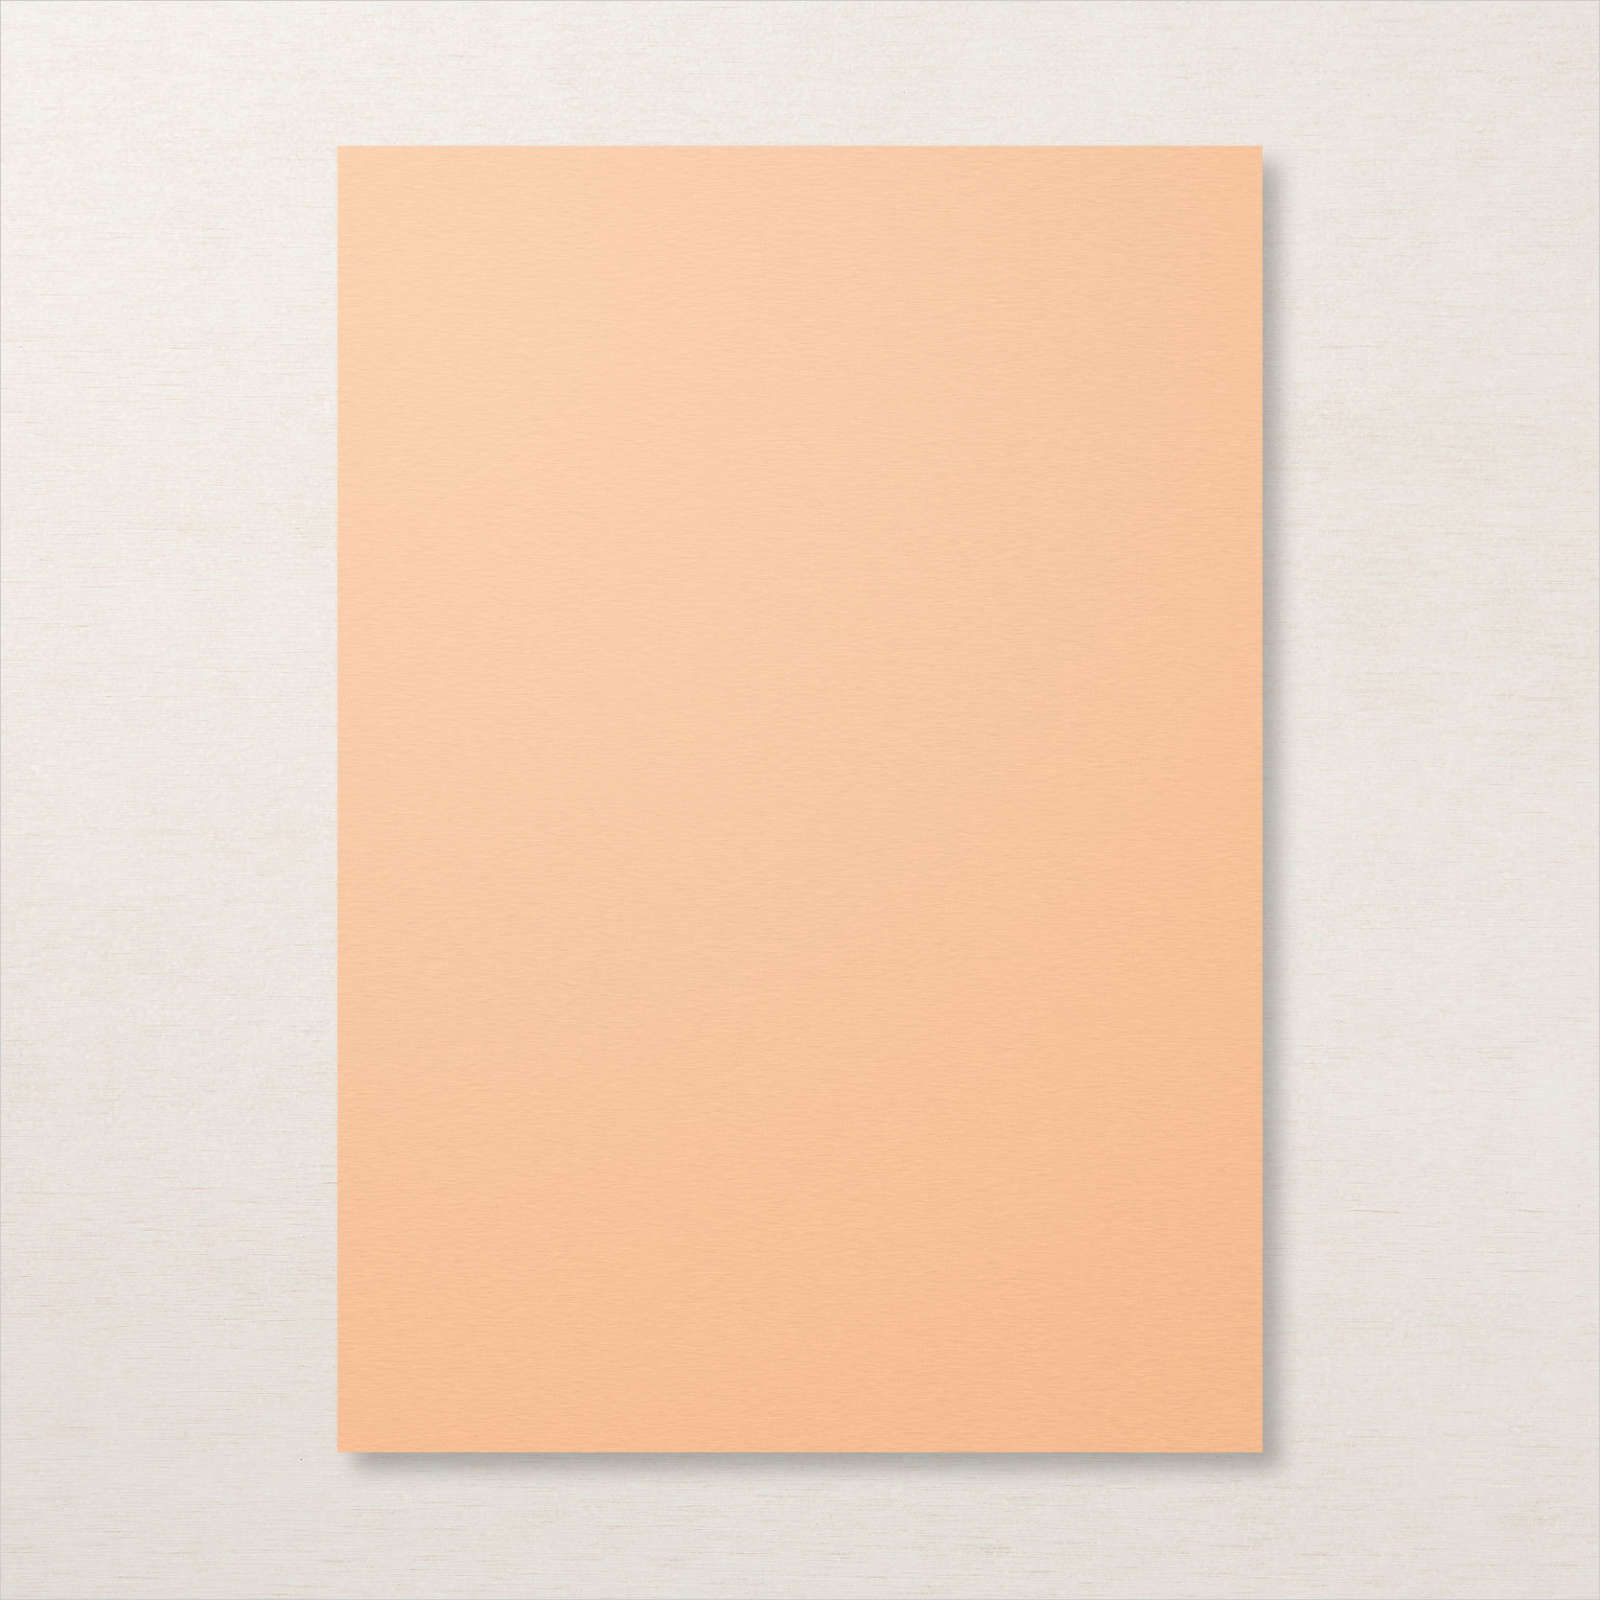
I haven’t made one of these cards in a while but I thought that the new Colour & Contour stamp set would work well. I use the instructions at Splitcoast Stampers for dimensions (all in inches). I cut the card base from Pale Papaya card and attached Basic White card which I embossed using the Painted Texture 3D Embossing Folder to the side panels and across the bottom of the card. I stamped the floral image from the Colour & Contour stamp set onto Basic White card using Memento Tuxedo Black ink.

I coloured the image using the Dark Pale Papaya and Dark Soft Succulent Stampin’ Blends. I attached the image panel to the centre step of the card. I stamped “you’re absolutely amazing” from the Colour and Contour stamp set onto Basic White card using Pale Papaya ink and punched it out using the Double Oval Punch.

I sponged Pale Papaya ink around the edges of the greeting panel and attached it to the card front. I tied a bow in a length of the Pale Papaya 3/8″ Open Weave Ribbon and attached it to the flower stem using a Glue Dot. To decorate the inside of the card, I stamped the single leaf and small floral image from the Colour & Contour stamp set using Memento Tuxedo Black ink. I coloured the images using the Dark Pale Papaya and Dark Soft Succulant Stampin’ Blends.
I am having fun playing with this stamp set and I am sure you will be seeing more of it in the future.
Bye for now,
Kris
Product Used:


Polished Pink

Since I shared the Colour & Contour Bundle in my Facebook Live yesterday, I thought I would share another card, I made using products from this Bundle. I embossed Basic White card using the Tasteful Texture 3D Embossing Folder. I cut the edge of Polished Pink card using the scalloped edge die from the Scalloped Contour Dies before embossing the panel using the Tasteful Textile 3D Embossing Folder. I only embossed the panel to just below the scalloped edge so that I didn’t spoil the beautiful fine stitching on the edge of this die. I attached the embossed Polished Pink card to the embossed Basic White card.

I cut Basic White card using one of the scalloped rectangle dies from the Scalloped Contour Dies and attached it to the embossed panel. I stamped the floral image from the Colour & Contour stamp set onto Basic White card using Memento Tuxedo Black ink. I coloured the image using the Dark Polished Stone and Dark Soft Succulent Stampin’ Blends.

I cut out the flower using the co-ordinating Colour & Contour Die and attached it to the scalloped rectangle. I wrapped the panel to cover the edge of the embossing on the Polished Pink card using the Polished Pink 3/8″ Open Weave Ribbon. I attached the whole panel to scored and folded Polished Pink card. I tied a bow in a length of the Polished Pink 3/8″ Open Weave Ribbon and attached it to the card front so that it sits over the flower stem. To decorate the inside of the card, I stamped the floral image from the Colour & Contour stamp set onto Basic White card using Memento Tuxedo Black ink. I coloured the image using the same Stampin’ Blends as on the card front. I stamped the greeting from the Colour & Contour stamp set beside the greeting using Polished Pink ink.
Such a pretty card, don’t you think? You are going to love the new in-colours they are just gorgeous.
Bye for now,
Kris
Product Used:
Happy Birthday Noah

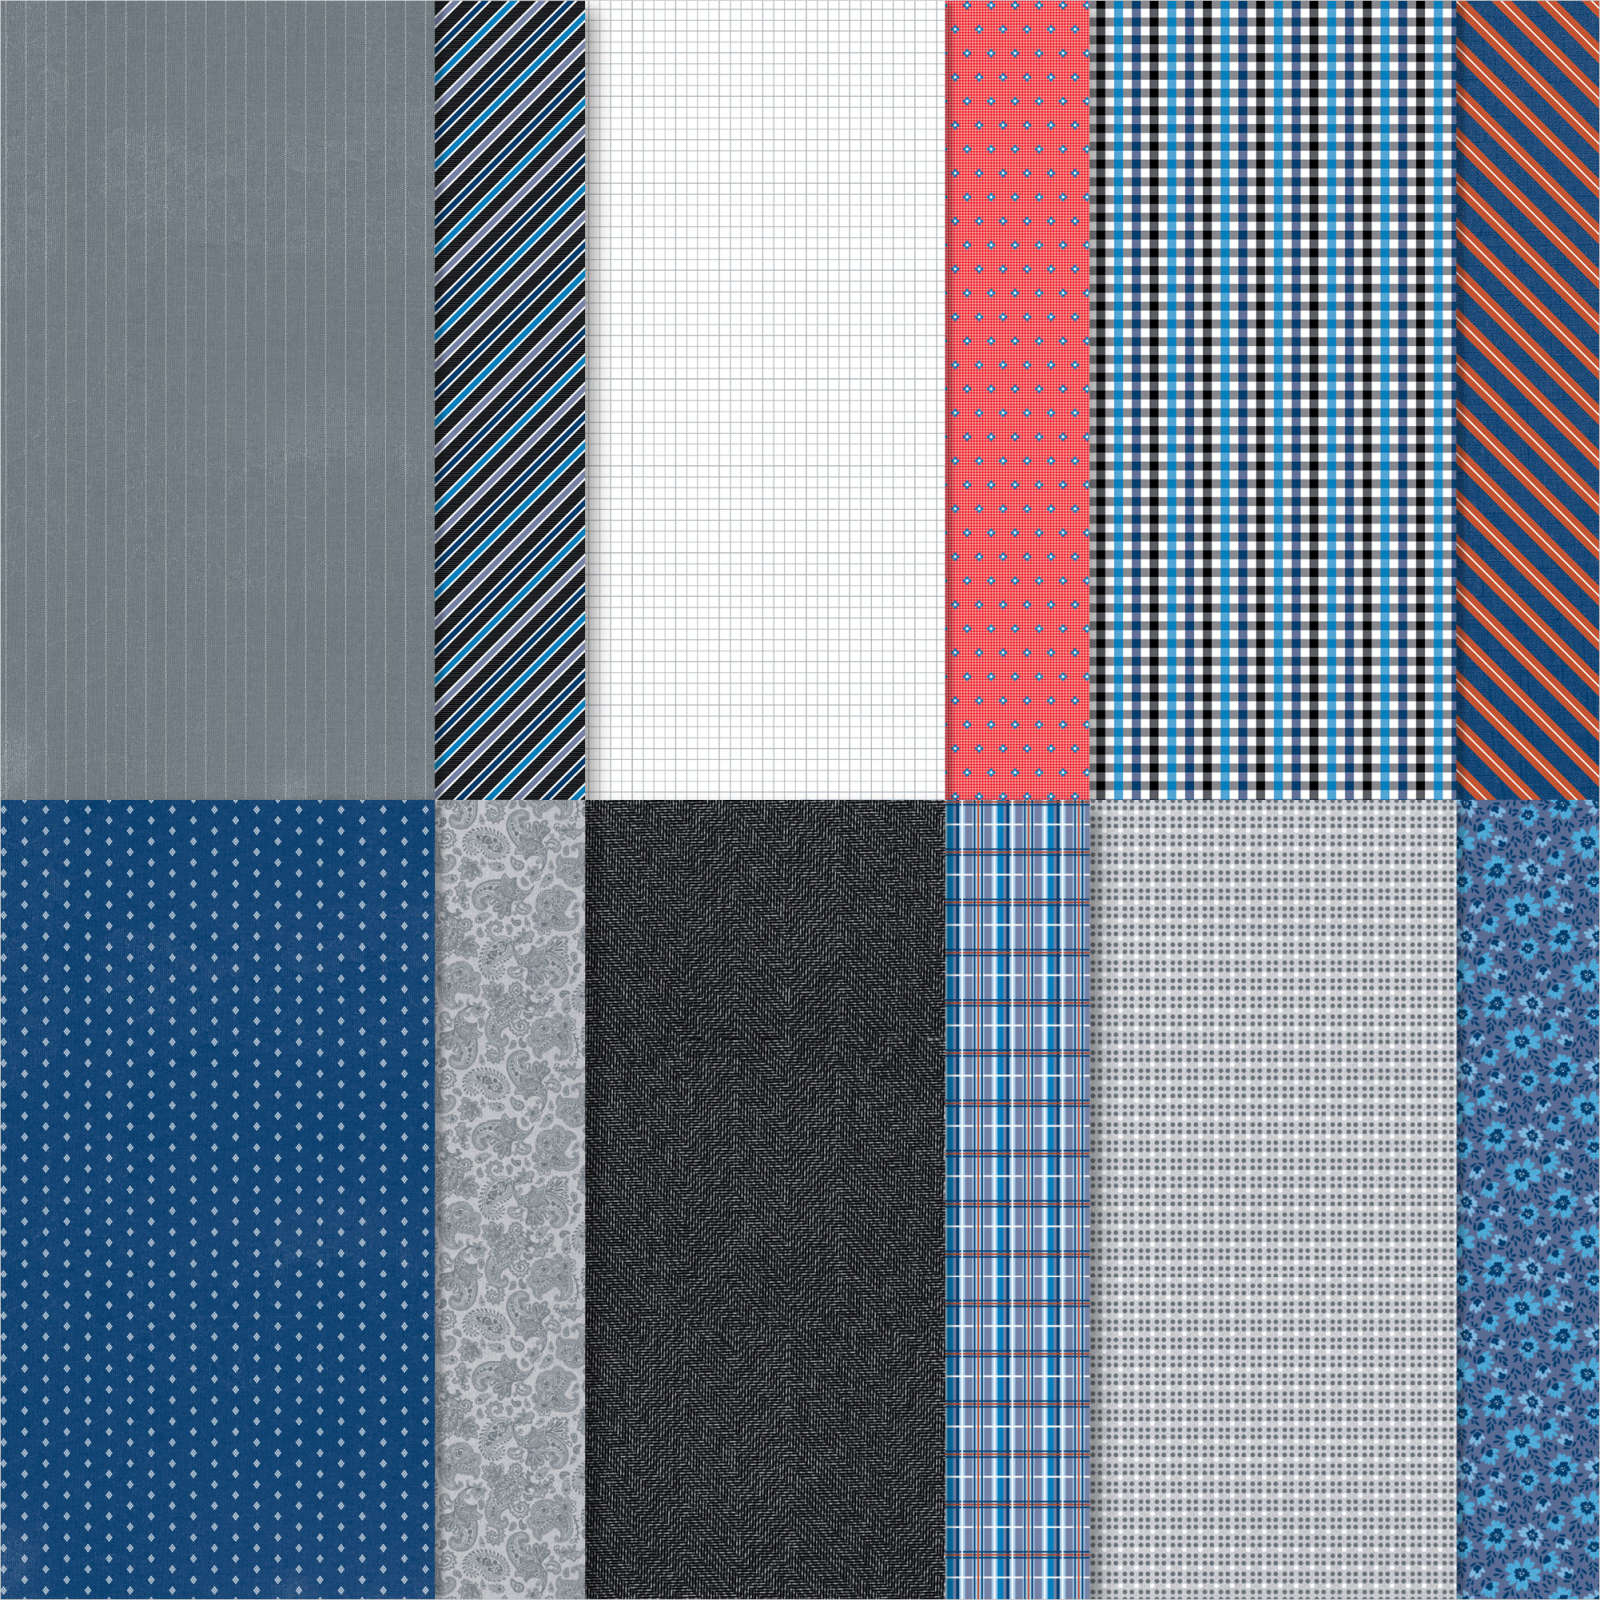
My youngest grandson recently celebrated his 14th birthday and is madly saving up to buy an old car that he and his dad can work on so that when he gets his driver’s licence he will have his own car. I embossed a Basic White panel using the Tasteful Textile 3D Embossing Folder and attached it to scored and folded Pacific Point card. I cut three pieces of the same pattern from the Well Suited Designer Series Paper using one of the Stitched Rectangle Dies.

I attached the diagonal striped panels to the top left and bottom right corners of the embossing Basic White card. I used the reverse side of the last panel and cut it in half so that I could make it look a little longer and attached it between the other panels. I cut Pacific Point card using another of the dies from the Stitched Rectangle Dies and attached it to the centre of the card front. I stamped the car image from the recently retired Geared Up Garage stamp set onto Basic White card using Pacific Point ink.

I cut out the image using one of the Stitched Rectangle Dies and stamped the greeting from the Geared Up Garage stamp set using Pacific Point ink. I used a Blender Pen to move around the colour on the car to give a bit of a “beat up” look. The image panel is attached to the card front using dimensionals. To decorate the inside of the card, I stamped the greeting from the A Grand Kid stamp set onto Basic White card using Pacific Point ink. I attached a narrow strip of Pacific Point card behind one long edge of the same patterned Well Suited Designer Series Paper. The Designer Series Paper panel is attached across the bottom of the stamped Basic White card.
I love how this card turned out and I hope that Noah did too.
Bye for now,
Kris
Product Used:


Thank You

Today’s card was made to say thank you to the team at Brisbane RV’s where Ron and I purchased our latest caravan. We love it. I stamped the solid mountain image from the Mountain Air stamp set onto Basic White card using Crumb Cake ink. I stamped the detailed mountain image over the top using Soft Suede ink. I stamped the solid tree-line image using Soft Sea Foam ink and the detailed image over the top using Mossy Meadow ink. I stamped the large solid tree image from the Mountain Air stamp set onto the left hand side of the panel using Soft Sea Foam ink.
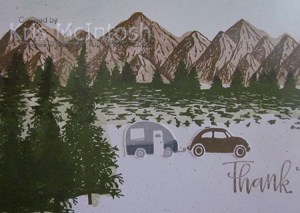
I stamped the detailed image over the top using Mossy Meadow ink. I stamped “thank you” from the Peaceful Moments stamp set onto the lower right hand corner using Soft Suede ink. I stamped the caravan image from the long retired Let’s Get Away stamp set onto Basic White card using Smoky Slate ink. I added a strip of darker colour using the Light Basic Black Stampin’ Blend.

I stamped the car image from the Let’s Get Away stamp set onto Basic White card using Soft Suede ink. I cut out the caravan and the car images and attached them to the card front. I sponged a little Pool Party ink above the mountain images before attaching the panel to Mossy Meadow card and then scored and folded Thick Basic White card. To decorate the inside of the card, I stamped the large solid tree image from the Mountain Air stamp set using Soft Sea Foam ink. I stamped the detailed image over the top using Mossy Meadow ink. I really love the beautiful finish you get using the Mountain Air stamp set – I should use it more often. Let me know what you think of my card.
Bye for now,
Kris
Product Used:


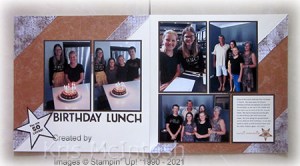
Birthday Lunch

Today’s page shows off some photos taken on the day we took Elyssa and Ava out to celebrate their birthdays. They both celebrate in March, Ava turned 11 and Elyssa turned 13. I can’t believe how quickly they are growing up. I found a sketch layout I liked and decided to use the World of Good Specialty Designer Series Paper (now retired). I cut two different patterns of paper in half on the diagonal, cutting a narrow strip and the corner piece from one pattern and the large central pieces from another pattern.

Since I don’t have a large paper trimmer it was a little challenging but in the end I think it worked out well. The Designer Series Paper panels are attached to a Very Vanilla 12″ x 12″ page. I attached my photos to Early Espresso card before attaching them to the page. I cut the title from Early Espresso card using the Playful Alphabet Dies. The journaling was created on the computer and printed onto Very Vanilla card. I stamped “sweet moments” from the long retired Remember This stamp set using Cinnamon Cider ink. I cut Cinnamon Cider card using one of the Stitched Stars Dies and attached it beside the greeting. The journaling is attached to Early Espresso card and then the page. I cut the largest star from the Stitched Stars Dies from Early Espresso card. I cut the second largest star from Very Vanilla card. I stamped the greeting from the A Grand Kid stamp set onto the Very Vanilla star using Early Espresso ink before attaching it to the title page.
Simple but kind of fun, don’t you think?
Bye for now,
Kris
Product Used: