Words of Cheer
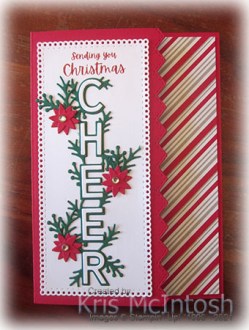
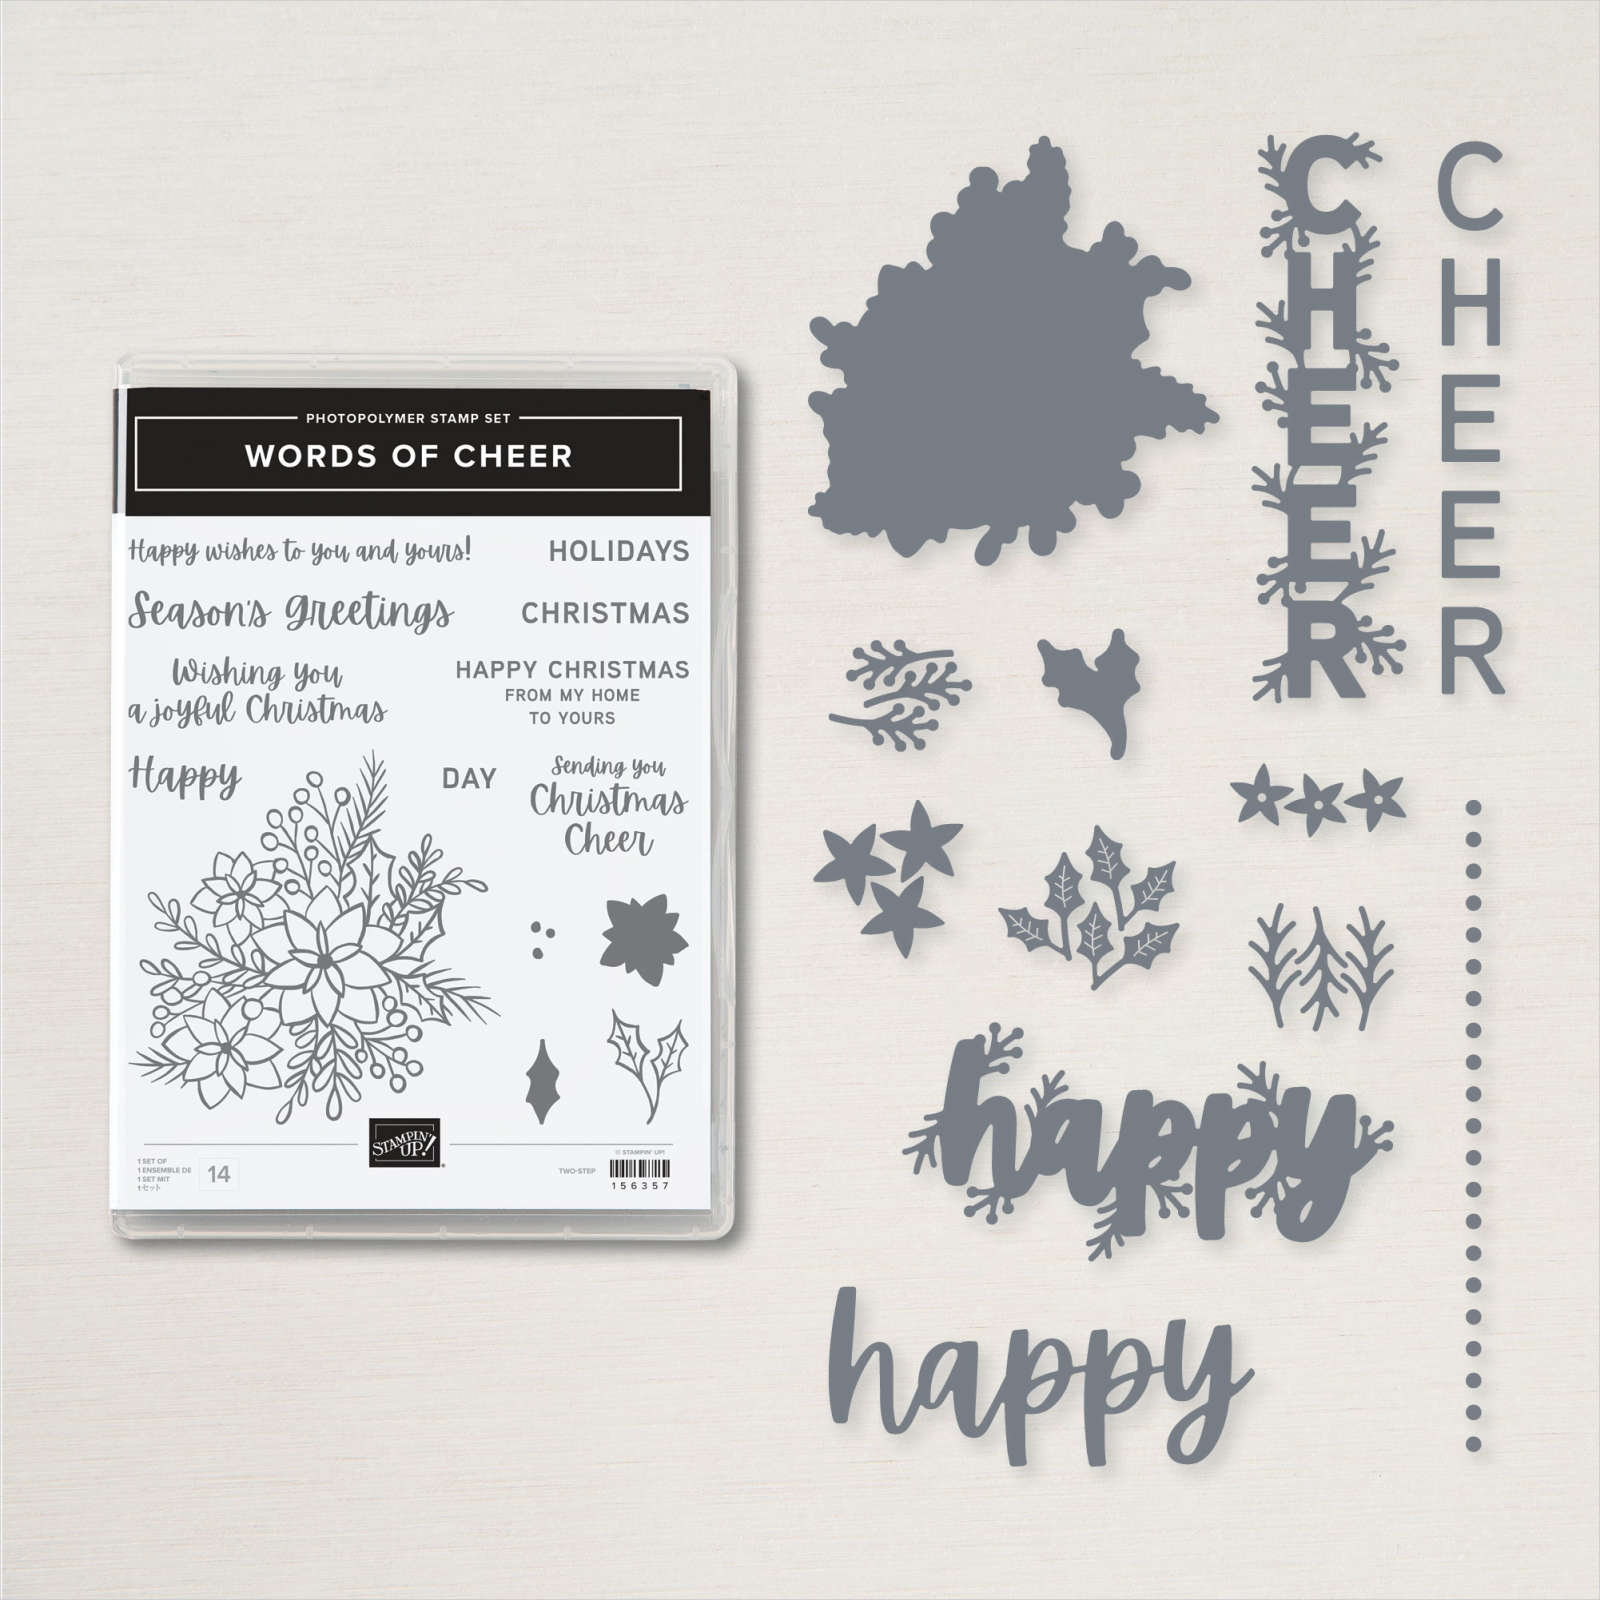
Yesterday on my Facebook Page I shared a video with some ideas for using the Words of Cheer stamp set and co-ordinating Christmas Cheer Dies. Today I am sharing another card I created using these products. I began by cutting the edge of a Real Red card base using the Basic Border Dies. I partially inked the greeting from the Words of Cheer stamp set with Real Red ink and stamped onto Basic White card cut using the Ornate Layers Dies. This panel is attached to the card front.
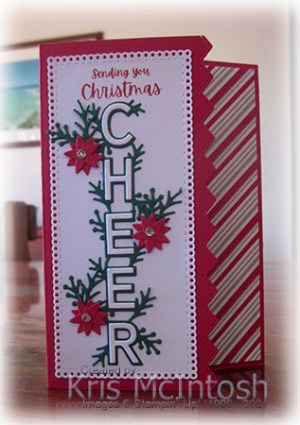
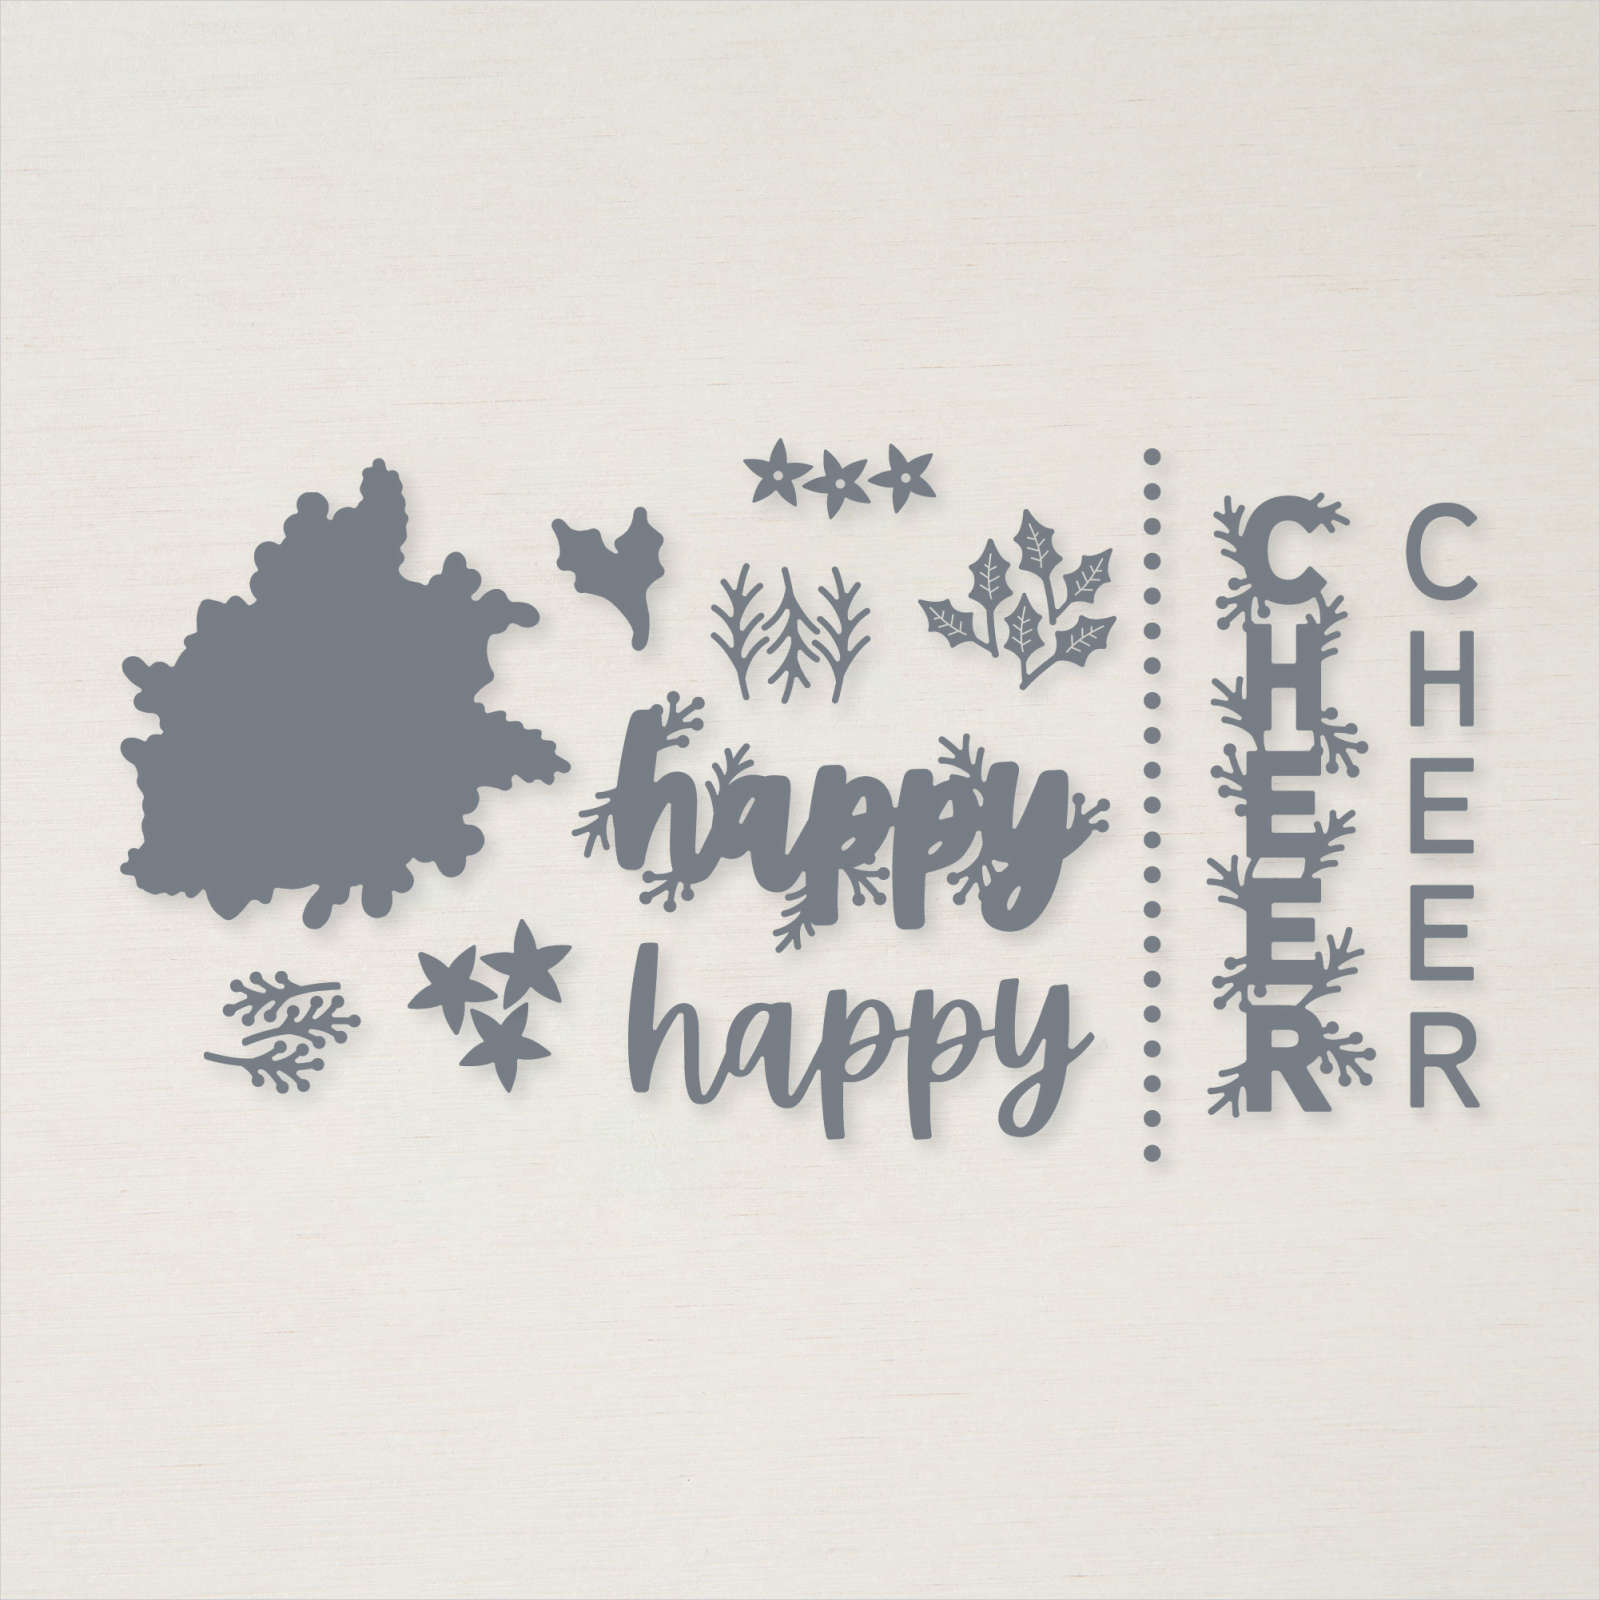
I cut the background die for the word “cheer” from Shaded Spruce card using the Christmas Cheer Die. The die cut is attached below the greeting onto the Basic White layer. I cut the individual letters for the word “cheer” from Basic White card and attached them to the Shaded Spruce die cut.
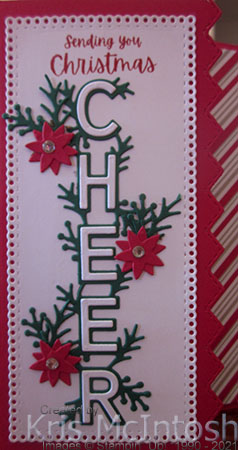
I cut the larger star image from the Christmas Cheer Dies twice from Real Red card. I also cut the two different leaf image dies from Shaded Spruce card. I layered the small leaf images and two of the stars together to create a “poinsettia” which I attached around the die cut “cheer”. I also added medium Basic Rhinestones to the centre of the “poinsettias”.
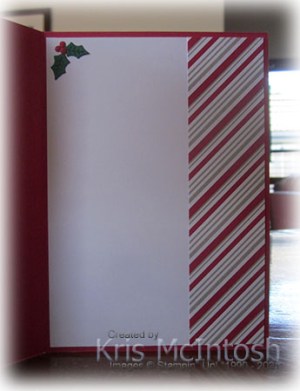
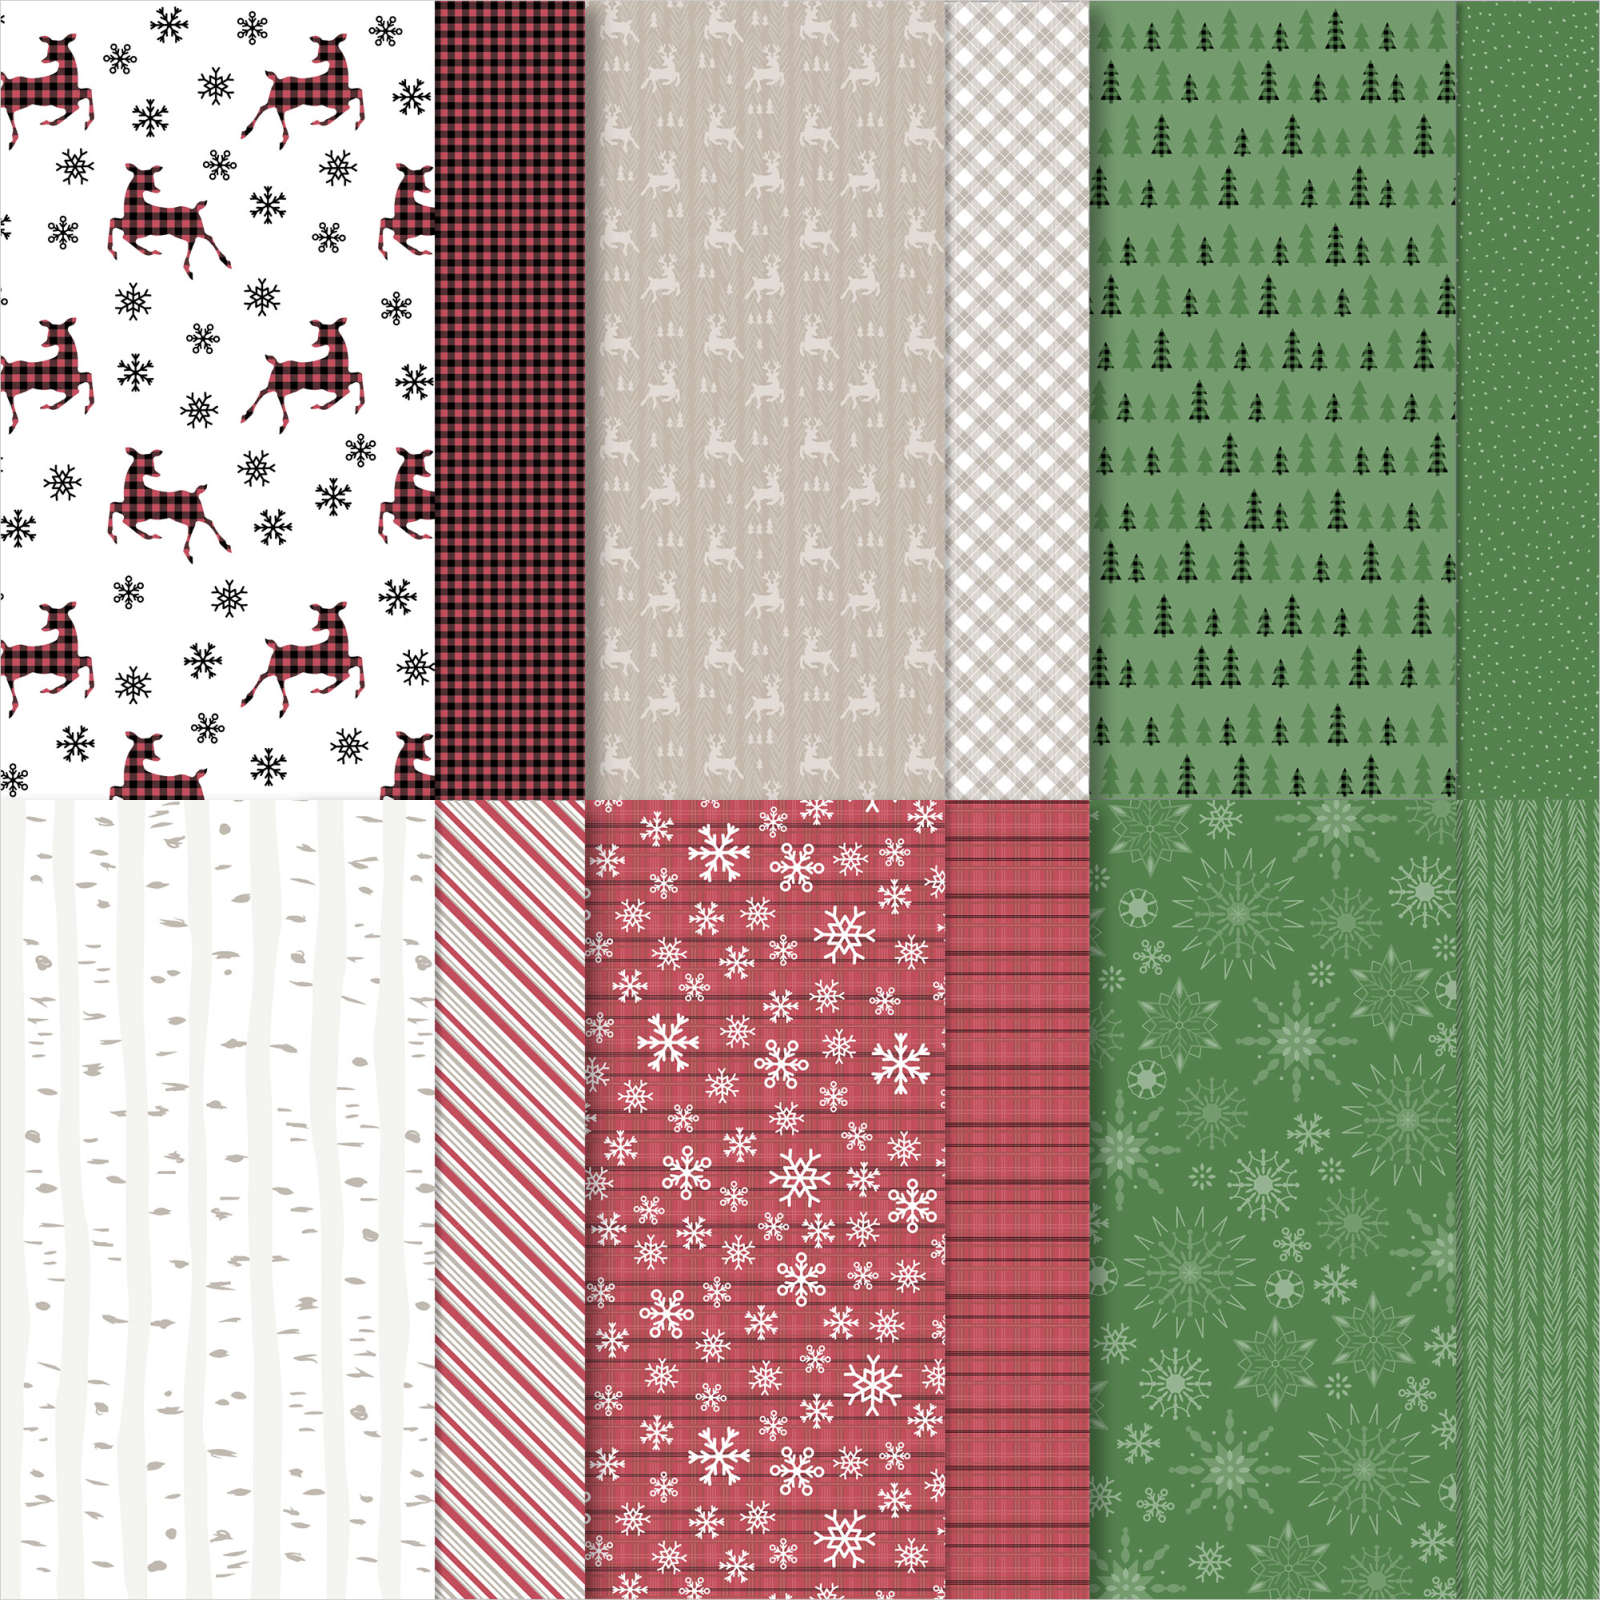
To decorate the inside of the card, I cut a piece of the Peaceful Prints Designer Series Paper and attached it to the right hand side of Basic White card. I die cut Shaded Spruce card using the holly die from the Christmas Cheer Dies and attached them to the top left hand corner of the Basic White card. I also die cut the holly berries from Real Red card using the Christmas Cheer Dies and attached them onto the holly leaves. The panel is attached to the inside of the card and because I cut down the card front, you can see the Designer Series Paper when the card is closed. The great thing about this Designer Series Paper is that you can earn it for FREE during Sale-a-Bration with a qualifying order.
This is such a fun bundle to create with. Have you noticed it in the Mini Catalogue?
Bye for now,
Kris
Product Used:


Beautiful card! Yay for Christmas!
LikeLike
Thank you.
LikeLike