Designer Tags
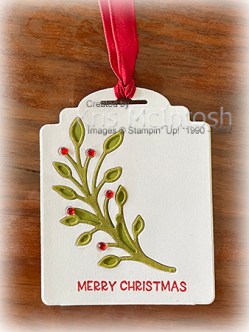
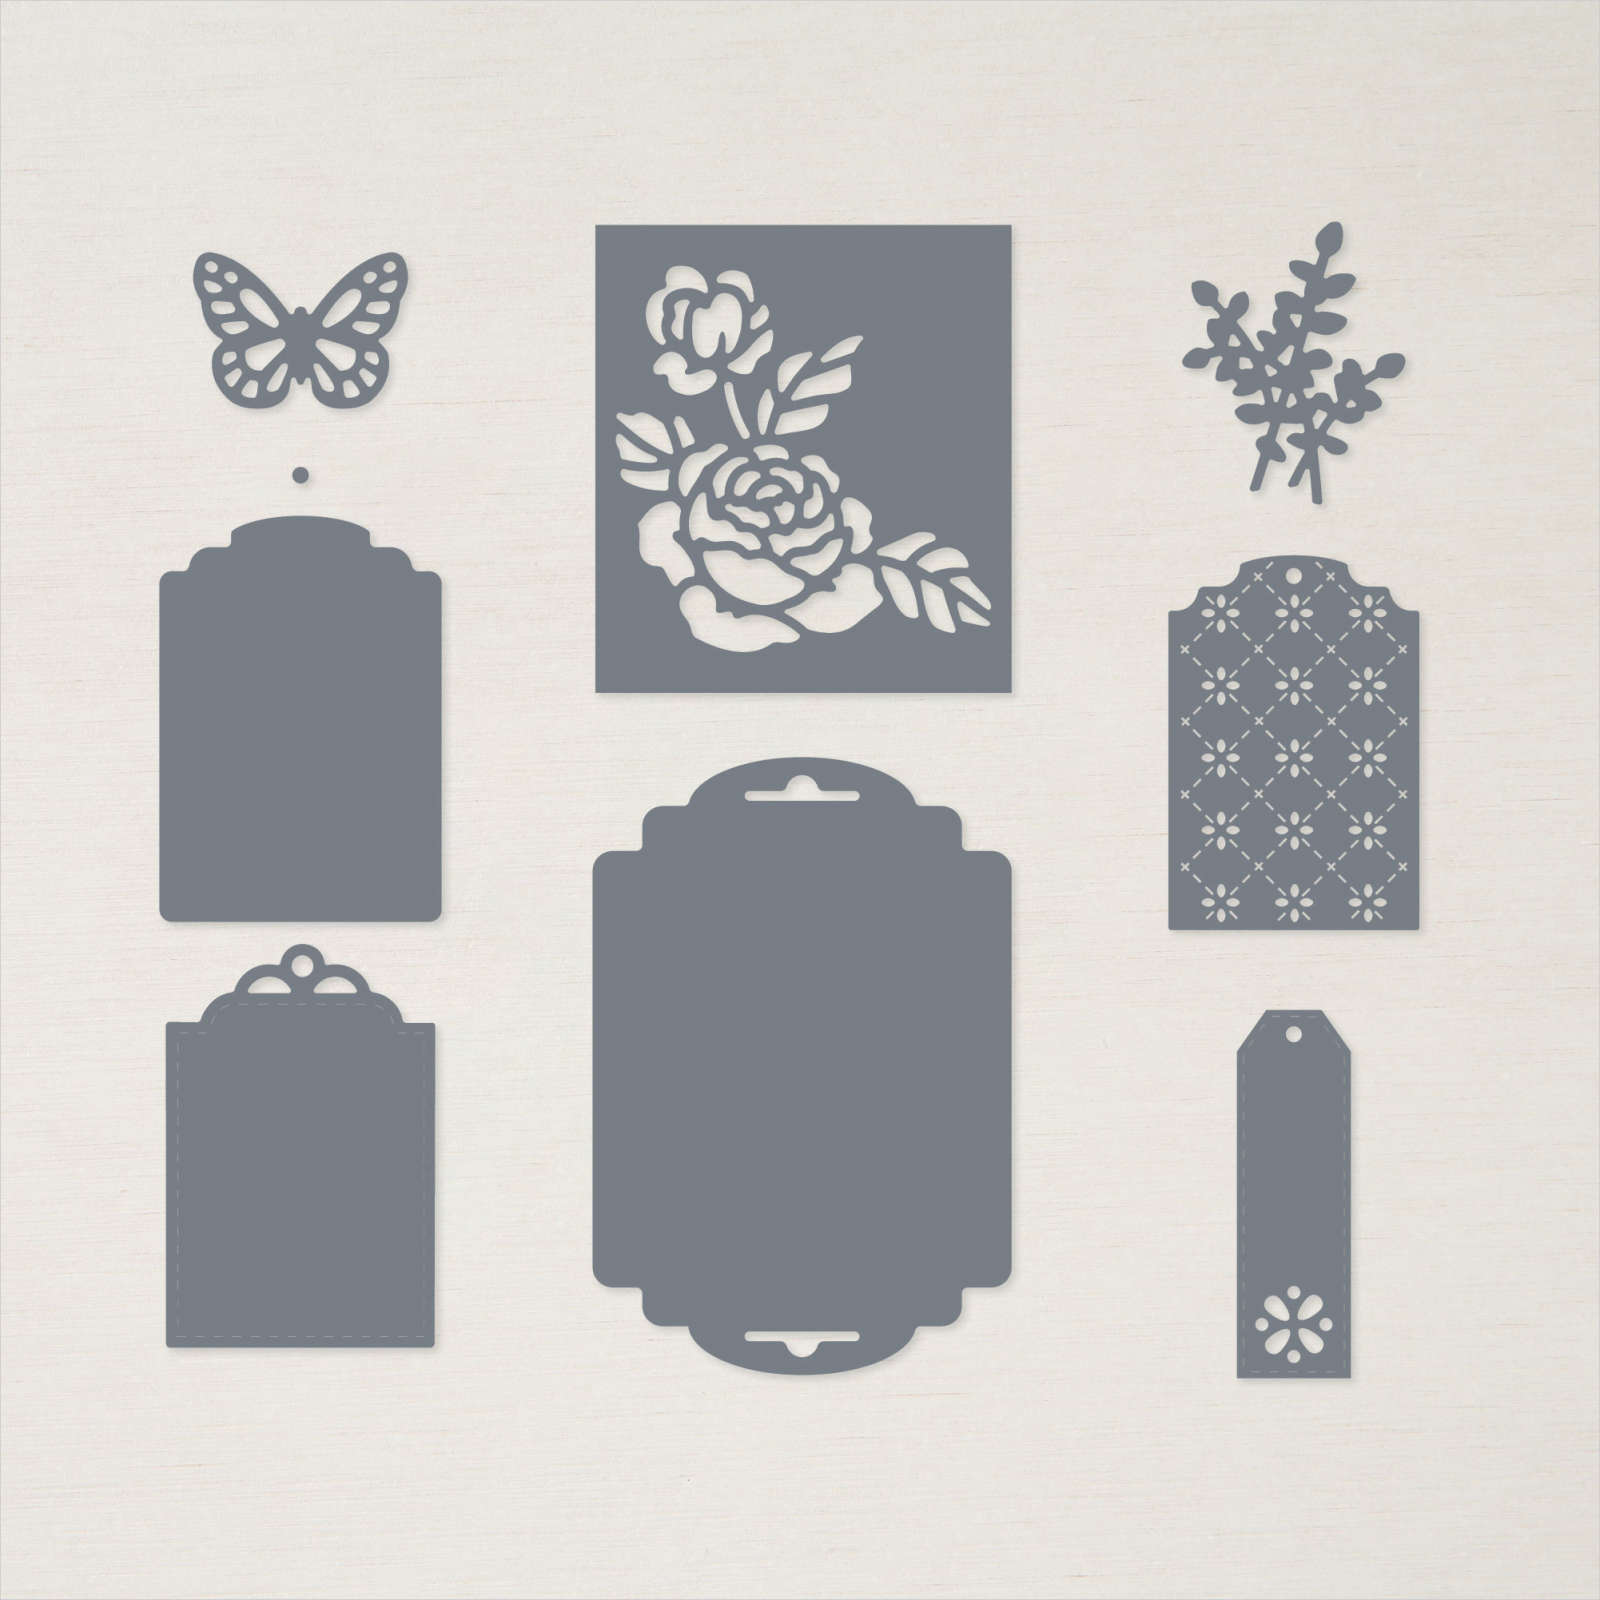
Today I decided to have another play with the Designer Tag Dies. These dies are stand alone dies and do not specifically co-ordinate with any stamp set, which means you are only limited by your imagination. Since I also had the Framed Floret Dies on my desk, I decided to cut the large tag from the Designer Tag Dies from Basic White card. I then cut the leaf image from the Framed Flored Dies from the Basic White tag. I cut Old Olive card using the large tag die from the Designer Tag Dies. I trimmed the bottom of the dies and attached them together. I stamped the greeting from the Framed & Festive stamp set onto the bottom of the Basic White tag using Real Red ink
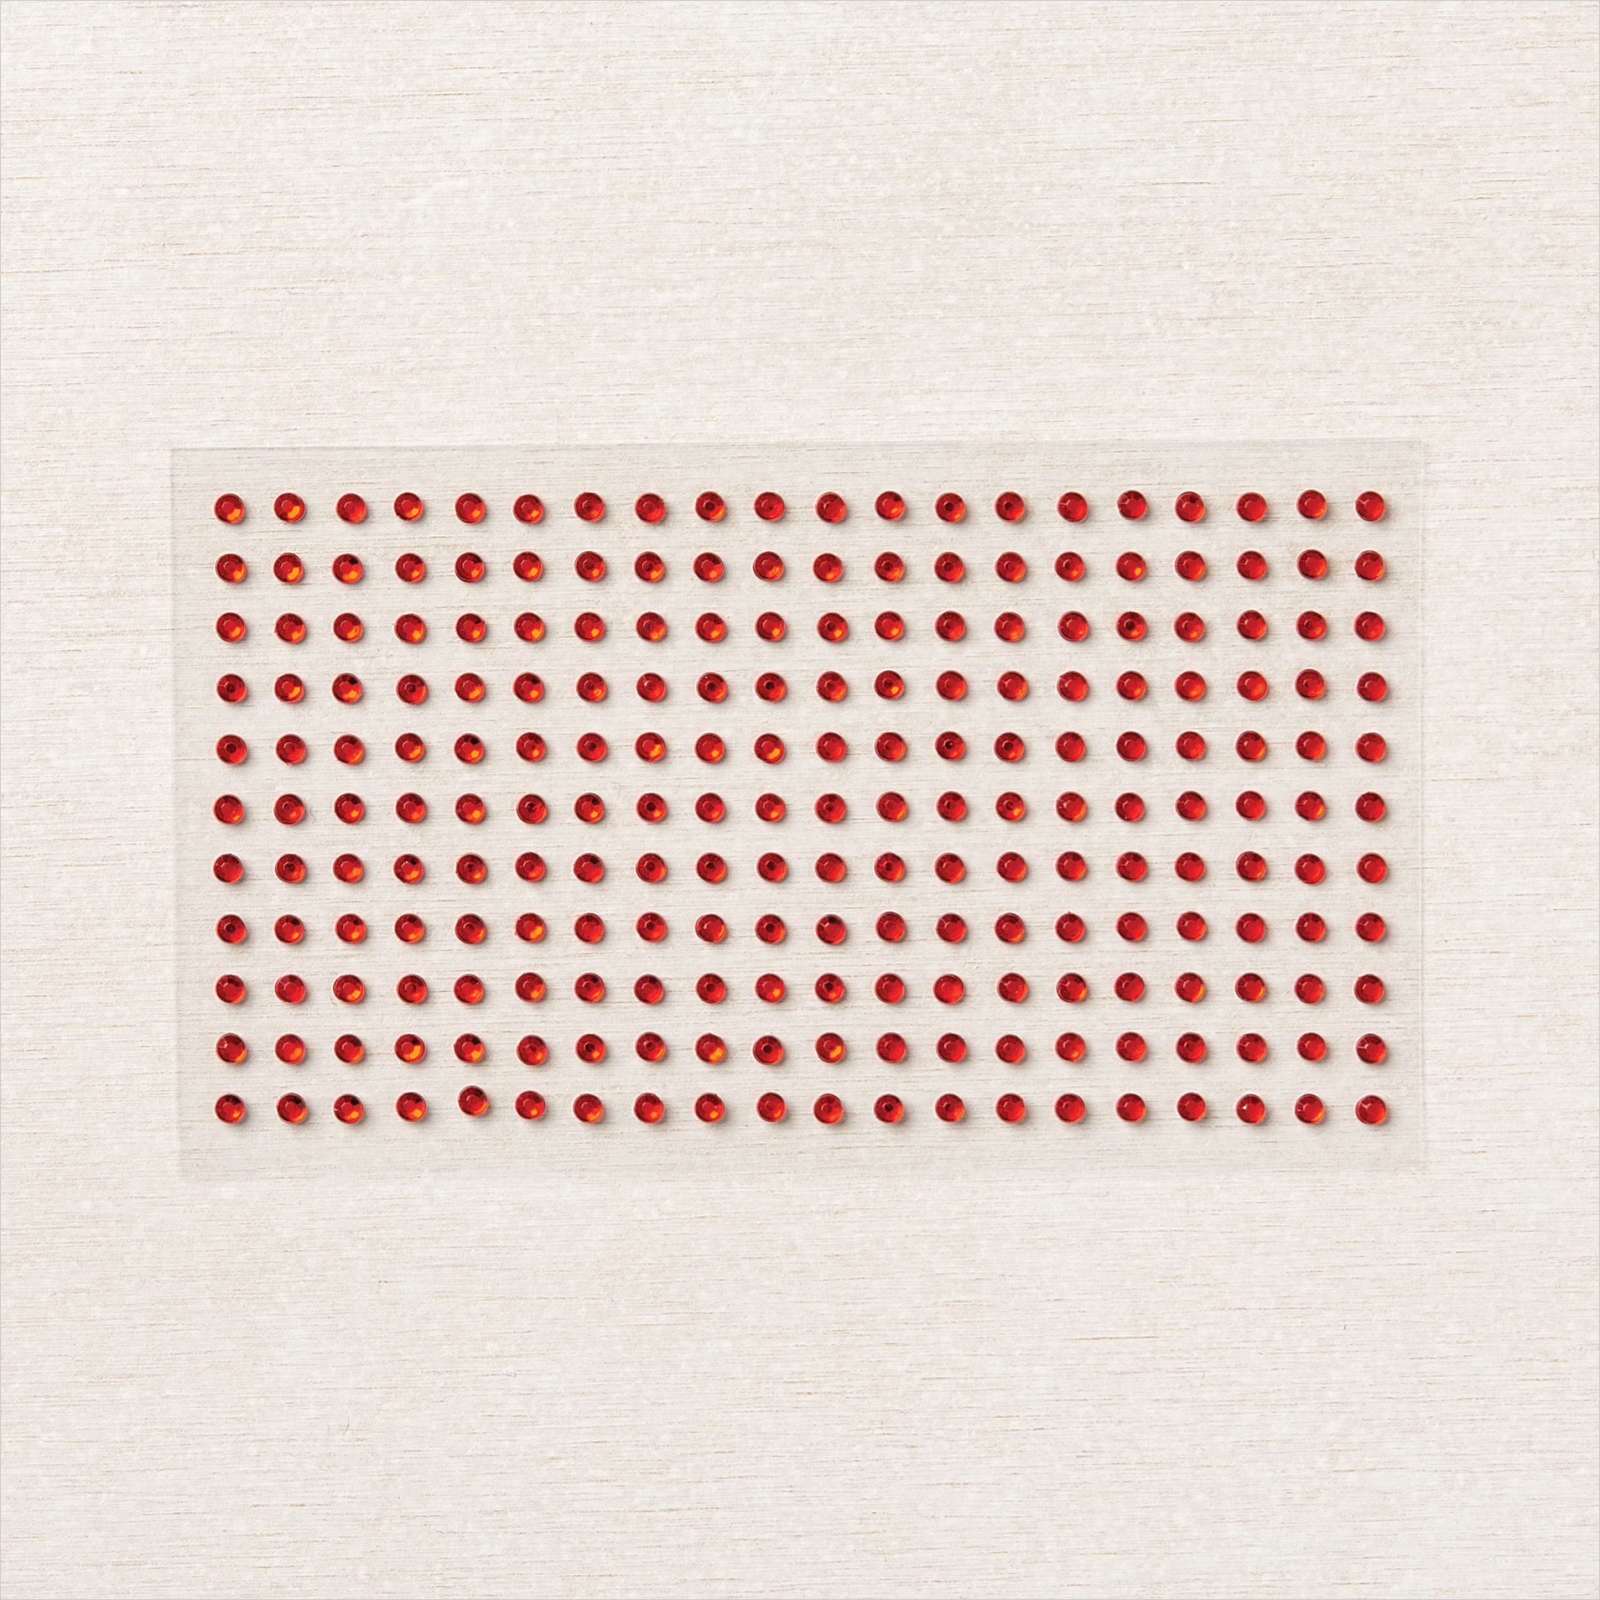
I coloured the die cut leaf using the dark Old Olive Stampin’ Blend and attached it inside the space on the Basic White tag. I added Real Red Rhinestones to look like the berries on the image. I added a Basic White panel to the back of the tag and stamped the “to/from” from the Christmas Gifting Kit using Real Red ink. Lastly I threaded a length of the Real Red Ribbon from the Real Red & Garden Green 3/8″ Ribbon Combo Pack through the tag.
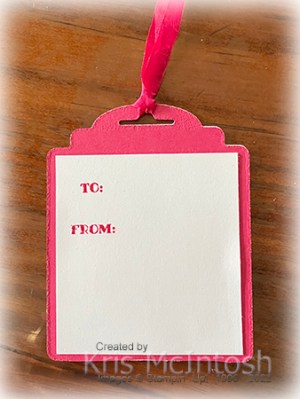
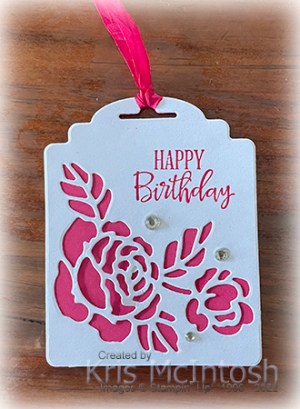
I had fun creating this tag so I created a second one. This time I cut the large tag and flower from the Designer Tag Dies from Basic White card. I stamped “happy birthday” from the Peaceful Moments stamp set onto a Basic White panel using Melon Mambo ink. I also die cut Melon Mambo card using the same tag die. I attached the two tags together before adding three Basic Rhinestones to front of the Basic White tag. I added a Basic White panel onto the Melon Mambo tag and stamped the “to/from” using the stamp from the Christmas Gifting Kit.
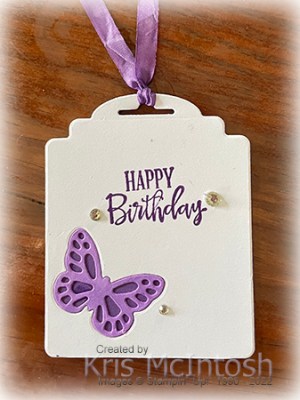
I coloured a length of White Crinkled Seam Binding using the Dark Melon Mambo Stampin’ Blend and attached it through the tag. I could stop at two and so I created a third tag. This time I die cut Basic White card using the large tag die and the butterfly die from the Designer Tag Dies. I also cut Highland Heather card using the same tag die. I trimmed the bottom of the tags before attaching the dies together and stamped “happy birthday” from the Peaceful Moments stamp set onto the Basic White tag using Gorgeous Grape ink.I coloured the Basic White butterfly using the Dark Highland Heather Stampin’ Blend before attaching it into the die cut space on the Basic White tag. I also added three Basic Rhinestones just because. I added a Basic White panel to the back and stamped the “to/from” using the stamp from the Christmas Gifting Kit using Gorgeous Grape ink. I coloured a length of White Crinkled Seam Binding using the Dark Highland Heather Stampin’ Blend and attached it through the tag.

I love the way they all turned out, don’t you?
Bye for now,
Kris
Product Used: