Merry Christmas
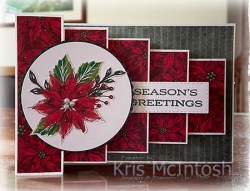
First of all let me wish everyone a very Merry Christmas. I hope that today you are spending time with those that you love. Today’s post is going to be a long post because I want to share with you the cards I created for my grandchildren, two each of three different designs. I found a fancy fold card on Pinterest with some directions from Frenchie.Stamps. What fun cards. I followed her instructions to create all the pieces for the bases from Basic White card. For the first card, I attached a piece of Boughs of Holly 12″ x 12″ Designer Series Paper behind the pop up cubes. Once the cubes were in place, I cut up another design from the Boughs of Holly Designer Series Paper to cover the tops of the cubes.

I cut Basic White card using the largest circle from the Layering Circle Dies and attached them to an Evening Evergreen scalloped circle cut using the same dies. I attached the circles to the first panel on the card. I cut out one of the flowers from the Boughs of Holly Designer Series Paper and attached it to the centre of the Basic White circle.

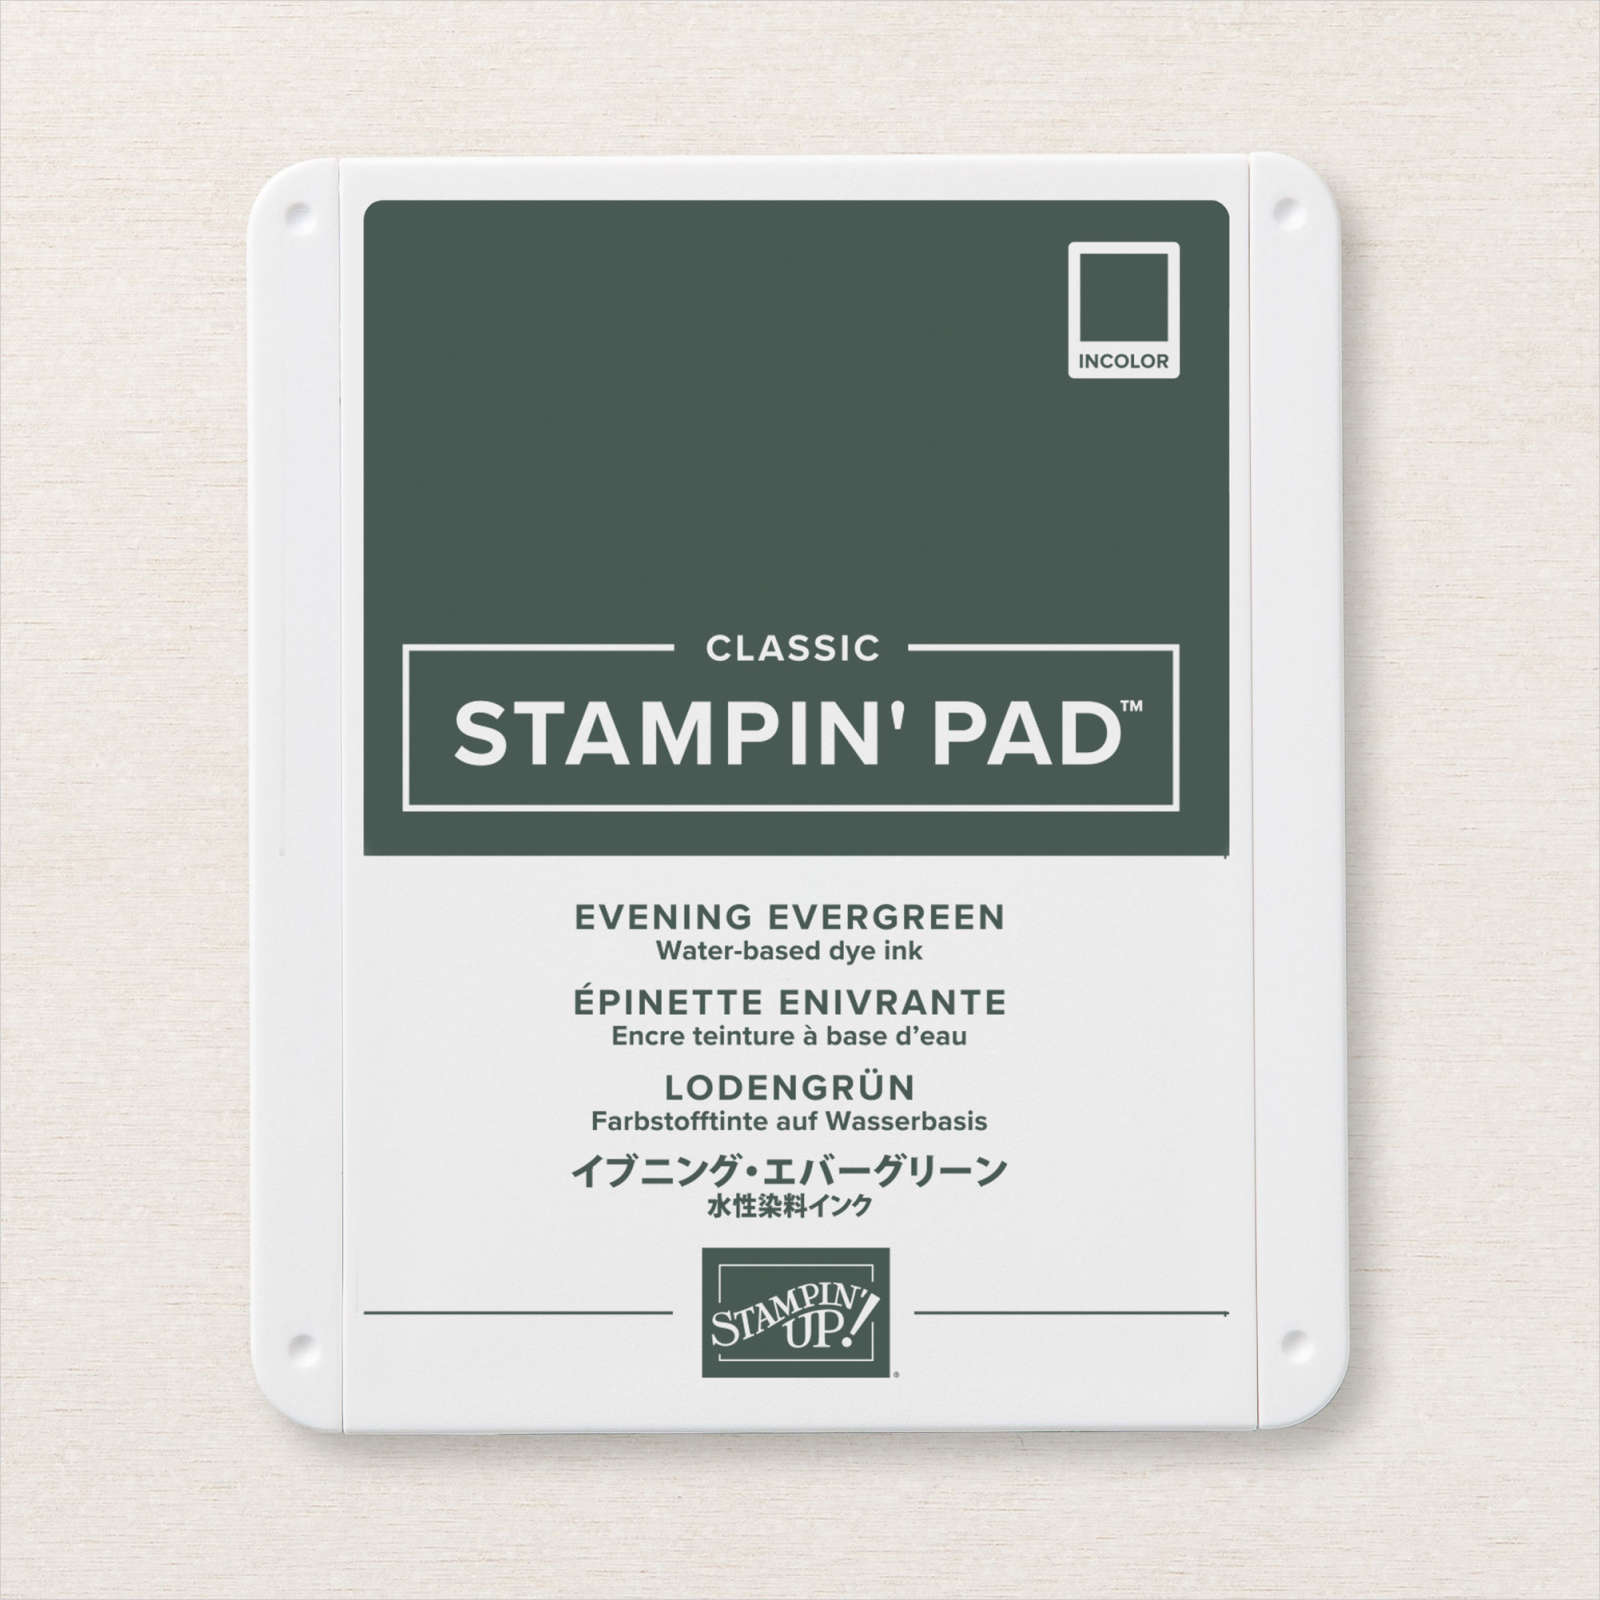
I stamped the greeting from the Leaves of Holly stamp set onto Basic White card using Evening Evergreen ink and cut it out using one of the Stitched Rectangle Dies. I attached the greeting to the top of the third pop up cube. To decorate the back of the card (which is where you write your message), I cut out another flower from the edge of the Boughs of Holly Designer Series Paper and attached it to the lower left hand corner of Basic White card. The Basic White panel is attached to Evening Evergreen card and then the back of the card.
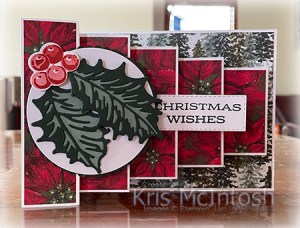
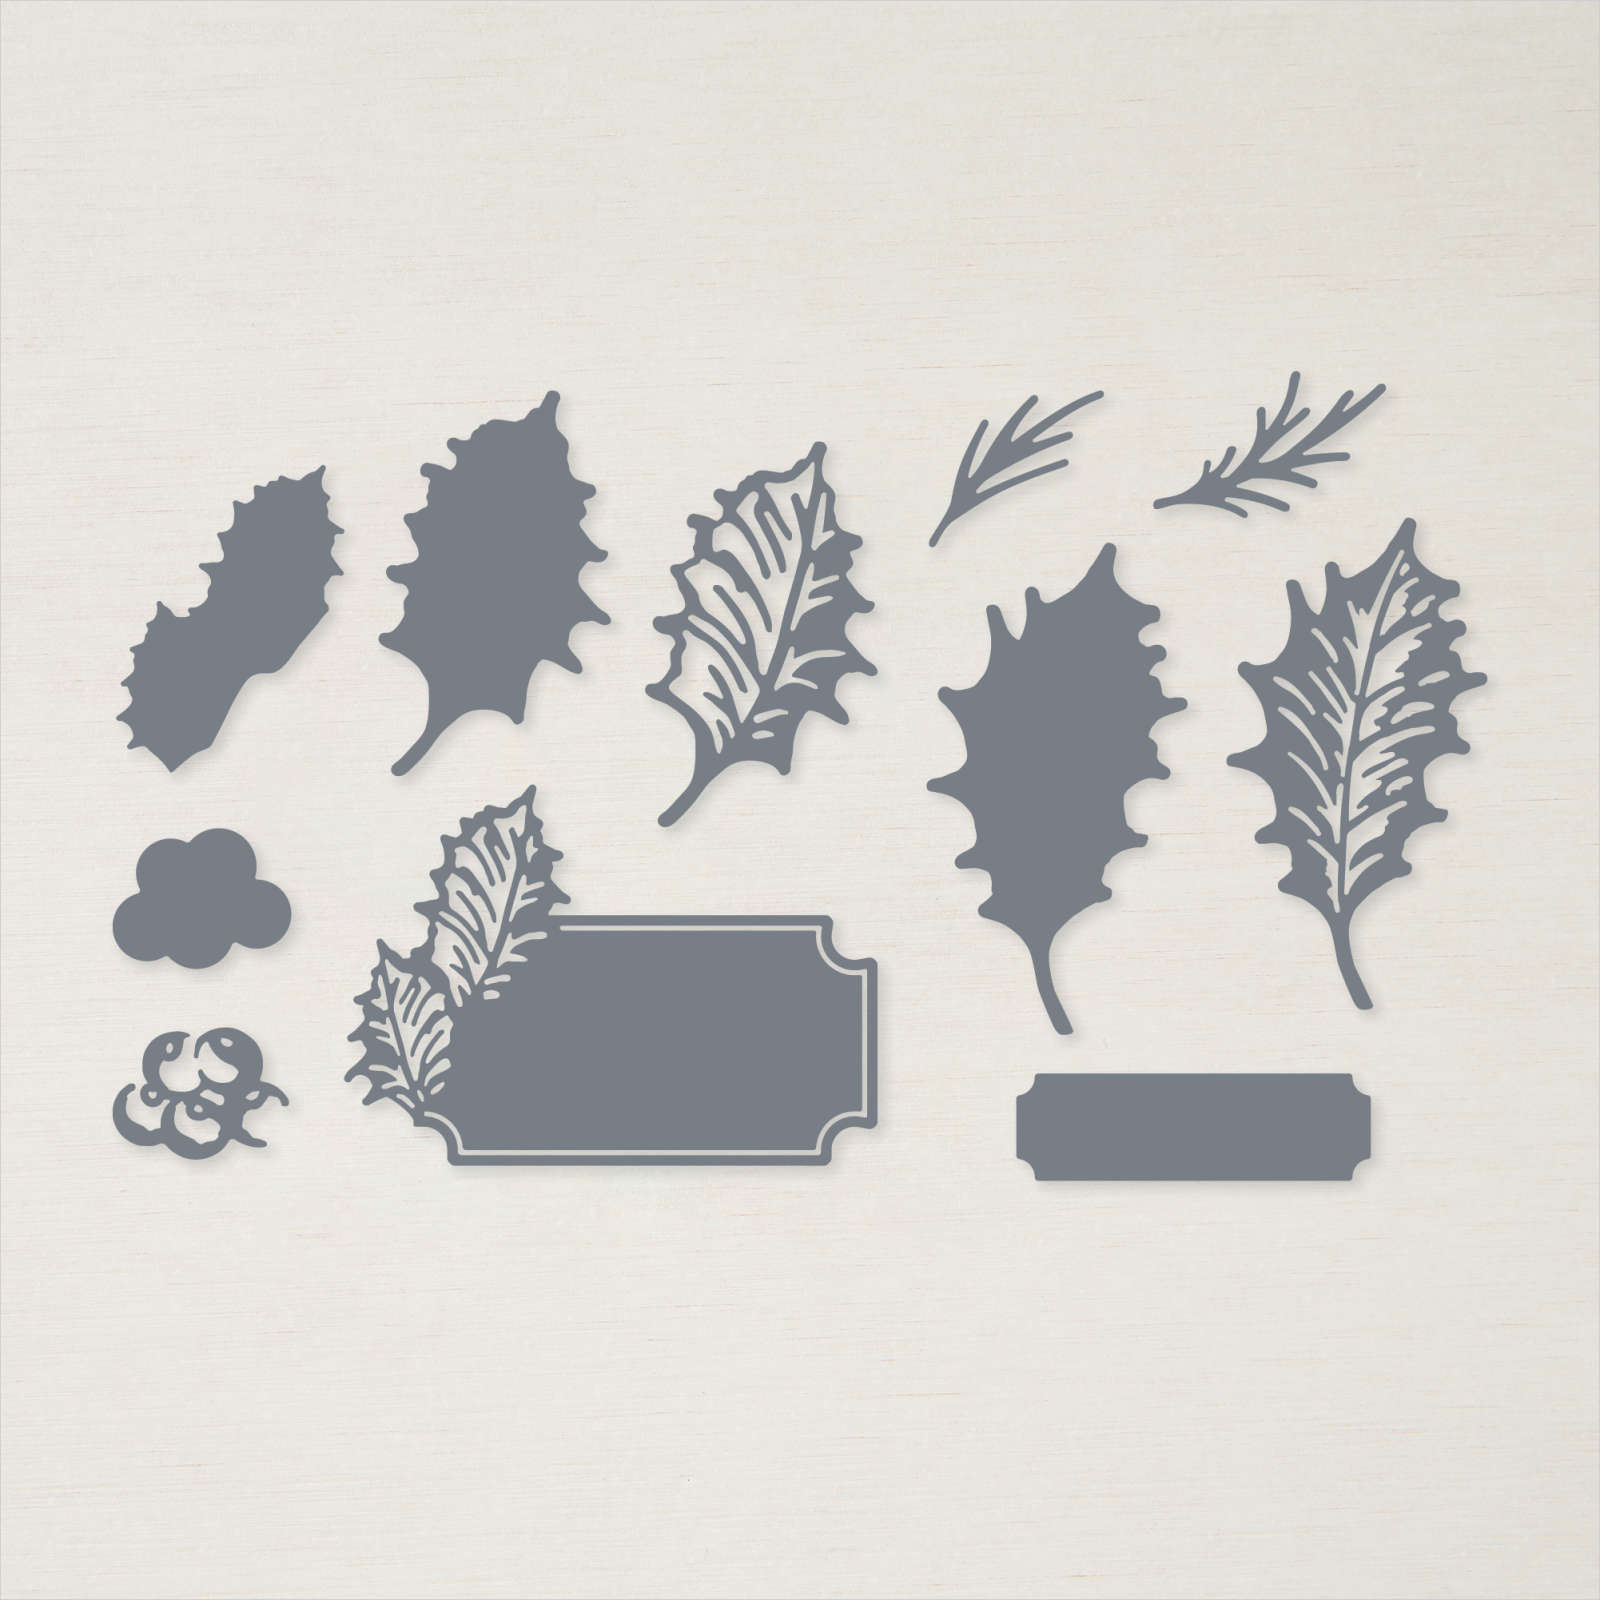
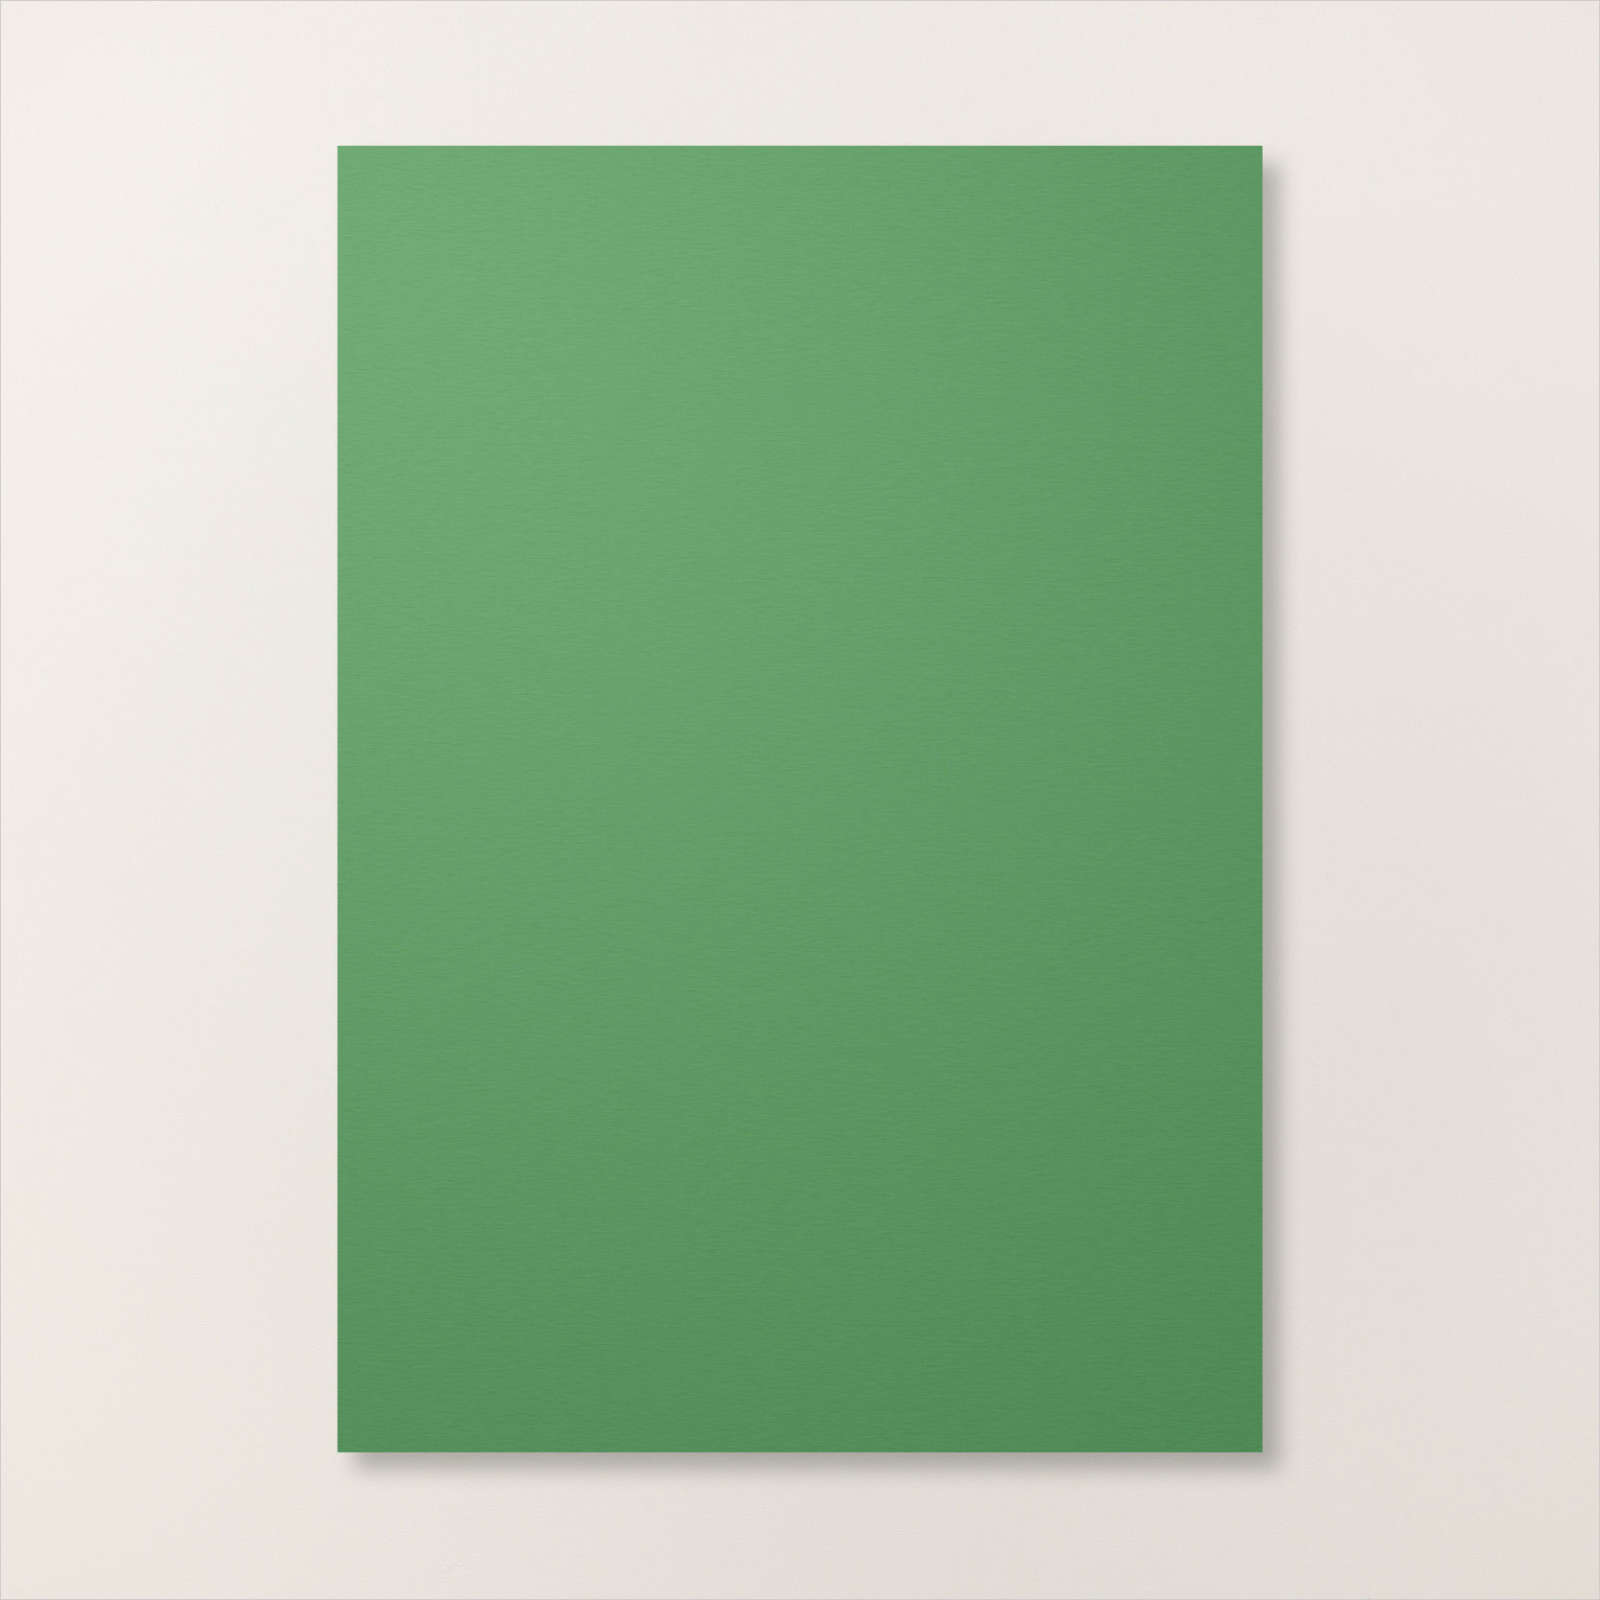
The second card is created using the Boughs of Holly Designer Series Paper as well but different patterns to the first card. To decorate the front panel, I cut Basic White using the largest circle from the Layering Circle Dies and attached it to an Evening Evergreen scalloped circle cut using the largest scalloped circle from the Layering Circle Dies. The circles are attached together and then attached to the first panel on the card. I cut Soft Succulent card using the small and large solid leaf dies from the Holly Berry Dies. I cut Evening Evergreen card using the small and large detailed leaf dies from the Holly Berry Dies. I attached the detailed leaves to the solid leaves before attaching them to the Basic White circle. I stamped the solid berry image from the Leaves of Holly stamp set onto Basic White card using Real Red ink, making sure to stamp onto scrap paper first.

I stamped the detailed berry image from the Leaves of Holly stamp set over the solid image using Real Red ink. I cut out the image using the co-ordinating Holly Berry Die and attached it over the ends of the leaves using dimensionals. I stamped the greeting from the Leaves of Holly stamp set onto Basic White card using Evening Evergreen ink and cut it out using one of the Stitched Rectangle Dies. The greeting is attached to the top of the third pop up. To decorate the back of the card I once again cut the leaf images from the Soft Succulent and Evening Evergreen card using the Holly Berry Dies. I attached them to the upper left hand corner of Basic White card and then Evening Evergreen card. I stamped the berry image and die cut it as before before attaching it over the ends of the leaves.

For the third card I attached pieces of the Sweetest Christmas 12″ x 12″ Designer Series Paper to each of the panels on the Basic White card Base. I cut Basic White card using the largest circle from the Layering Circle Dies. I attached the Basic White circle to a Garden Green scalloped circle cut using the Layering Circle Dies. The panel is attached to the first pop up on the card. I cut two candy canes from the Sweetest Christmas Designer Series Paper using the co-ordinating Candy Cane Die. I also stamped two sets of leaves from the Sweet Candy Canes stamp set onto Basic White card using Garden Green ink and cut them out using the co-ordinating Candy Cane Die. The candy canes and the leaves are attached to the Basic White Circle.

I tied a knot in a length of Garden Green ribbon from the Real Red and Garden Green 1/4″ Ribbon Combo Pack and attached it to the candy canes using a Glue Dot. I stamped “Merry & Bright” from the Sweet Candy Cane stamp set onto Basic White card using Garden Green ink. I cut out the greeting using one of the Stitched Rectangle Dies. The greeting is attached to the third pop up on the card front. To decorate the back of the card I stamped the leaf image from the Sweet Candy Canes stamp set twice onto Basic White card using Garden Green ink. I cut out another candy cane from the Designer Series Paper using the co-ordinating Candy Cane Die and attached it over the stamped leaves. I cut Real Red card using the die from the Misteltoe Dies and attached it to the candy cane. I stamped the greeting from the Sweet Candy Cane stamp set across the bottom of the Basic White card using Real Red ink.

I love how these cards turned out and so did my grandchildren. So thank you to Frenchie for the instructions. Once more Merry Christmas, I hope you have a wonderful day.
Bye for now,
Kris
Product Used:
Unfortunately the Boughs of Holly Designer Series Paper and the Sweetest Christmas Designer Series Paper are no longer available.