Paper Pumpkin
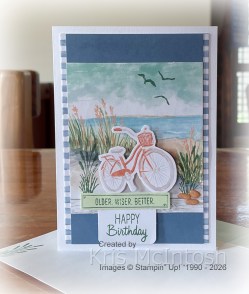
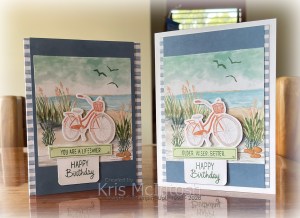
This week in my Facebook Live I shared the new Paper Pumpkin Kit, the first one available now that we are able to subscribe. Amazing. This first kit is called Lakeside Retreat and it co-ordinates with the Waterside Retreat Collection in the May to August Catalogue. This particular kit includes enough product to create three cards in three different designs. I decided to take one of those cards and create two cards using some product from the Lakeside Retreat and some product from the Waterside Retreat Collection.
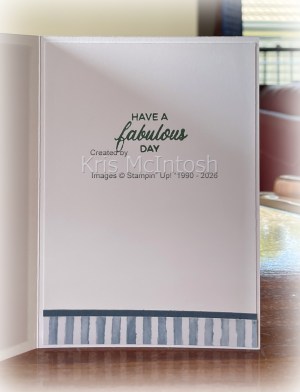
So I cut the card base in half and used one for each card. For the first card I used all of the components from the Lakeside Retreat kit but using a standard A4 card base. So I had to trim the width from the striped blue panel and then after I attached the scene and the timber panel to the Misty Moonlight panel I trimmed it down as well. The whole panel is attached to scored and folded Thick Basic White card. I used the stamps from the Lakeside Retreat Kit for the greetings and die cuts from the Kit. To decorate the inside I attached a piece of Misty Moonlight card behind one long edge of the piece I cut from the striped panel and attached it across the bottom of Basic White card.
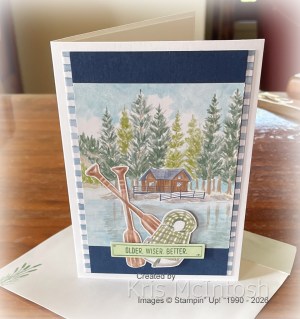
I added one of the greetings from the Phrases & Frames stamp set using the ink from the Lakeside Retreat Kit. The second card uses the striped panel and one of the banners from the Lakeside Retreat Kit. The whole panel is attached to scored and folded Thick Basic White card. Then I used one of the image panels from the Waterside Retreat 12″ x 12″ Designer Series Paper and attached it to Night of Navy card. I cut the oar and life jacket images from the same Designer Series Paper which I attached to the card front.
I stamped the greeting from the stamp set included in the Lakeside Retreat stamp set onto one of the banners from the Kit using the Peaceful Pine ink included in the Kit. To decorate the inside of the card I attached Night of Navy card behind one long edge of the striped panel I trimmed from the card base and attached it across the bottom of Basic White card. I stamped the greeting from the stamp set included from the Kit using the ink included as well. Because one envelope for each card is included in the kit, I opened the sides of the envelope and cut it in half and attached a piece to each flap on a standard C6 envelope. I also stamped the grass image from the Kit onto the front of the envelope. I had a lot of fun playing with this kit and can’t wait to finish using it.
Bye for now,
Kris
Product Used:
You can check out the Paper Pumpkin subscriptions here in the online store.


