Happy Birthday
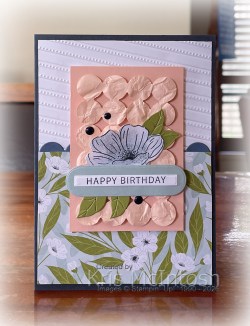
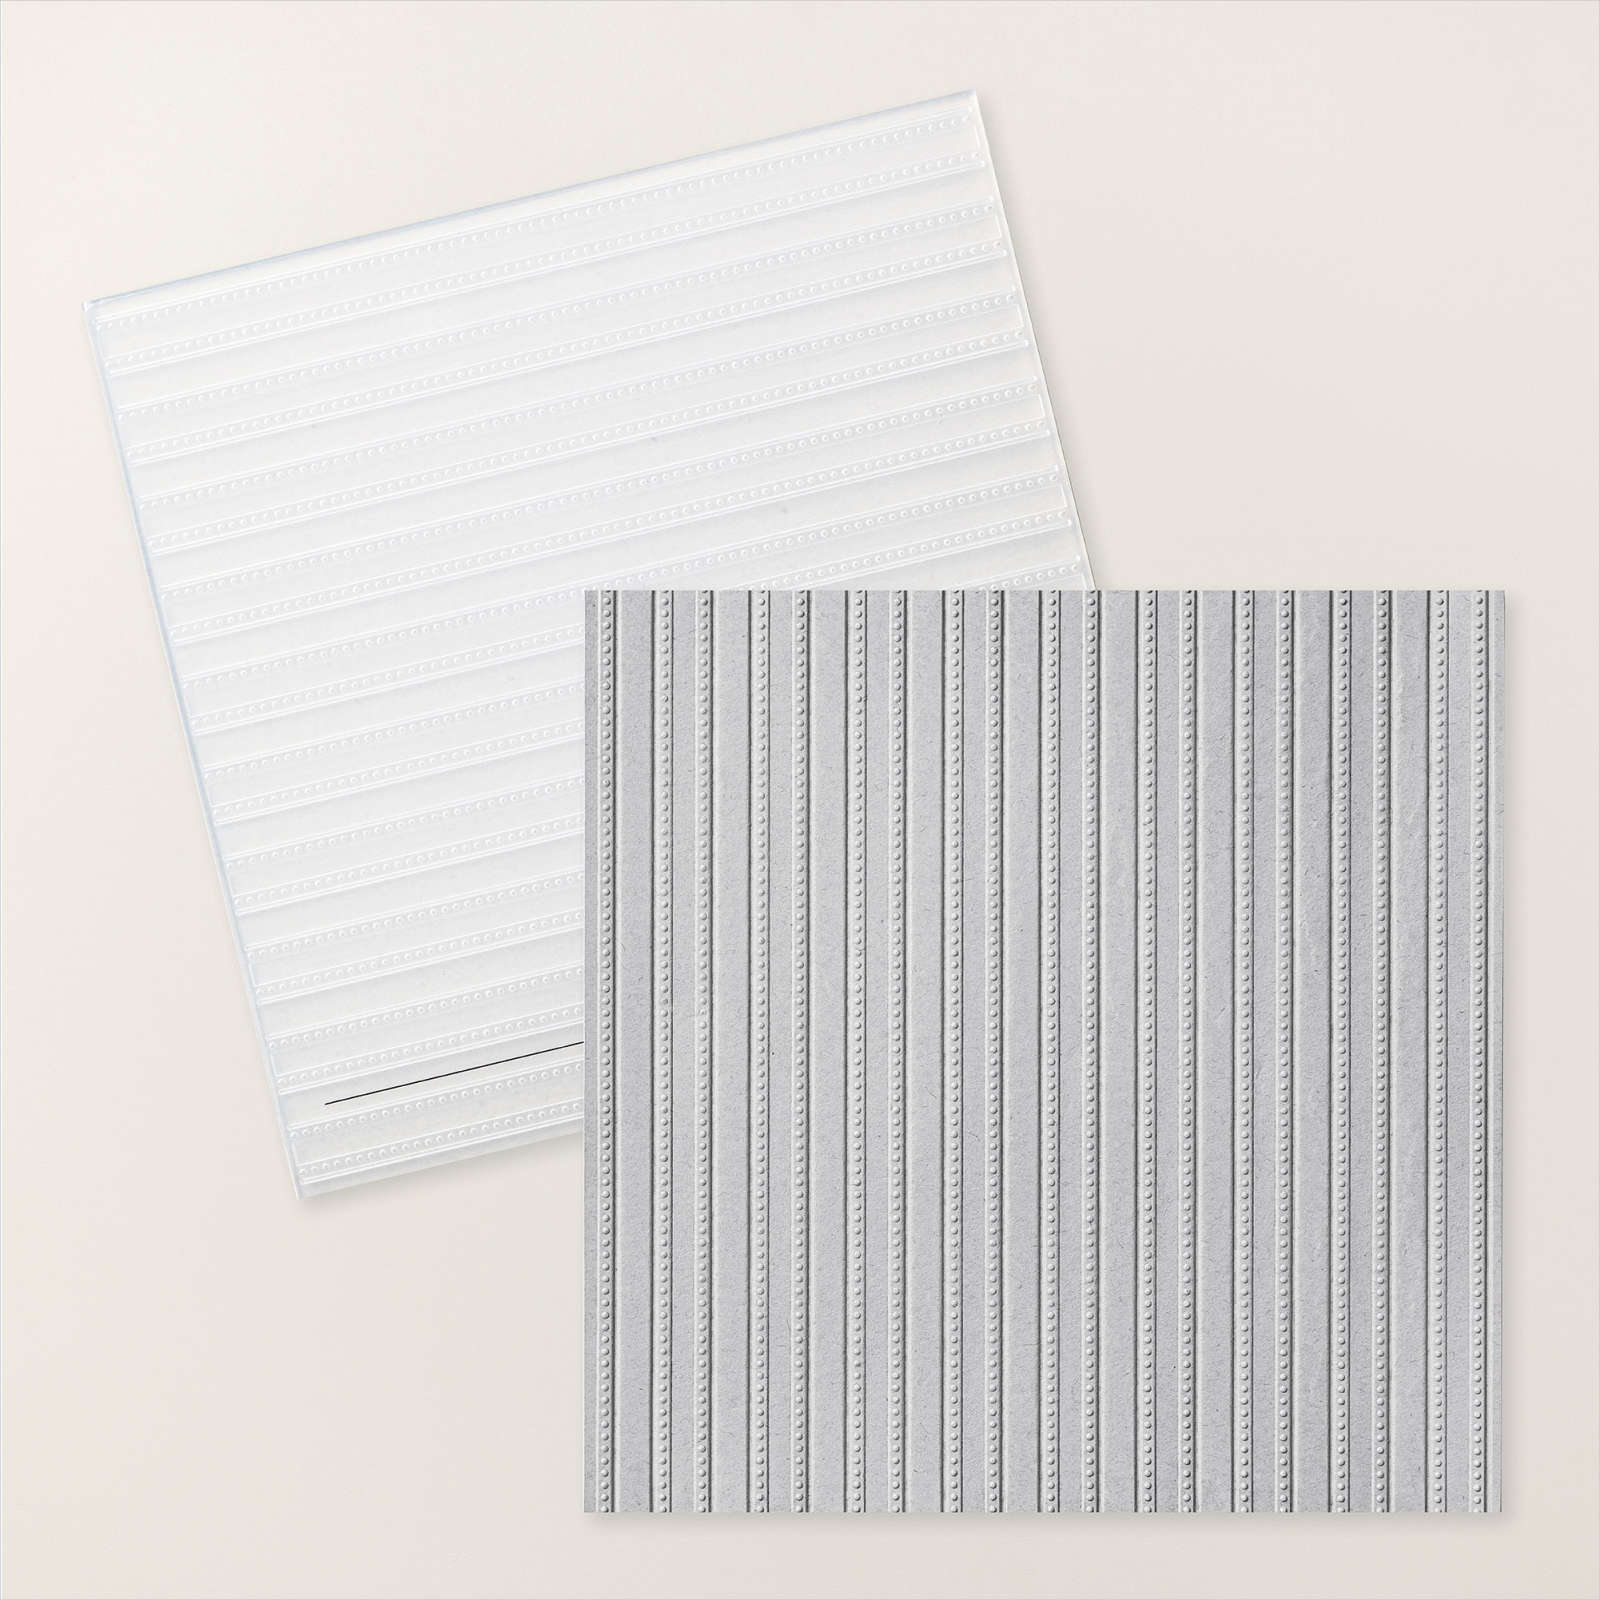
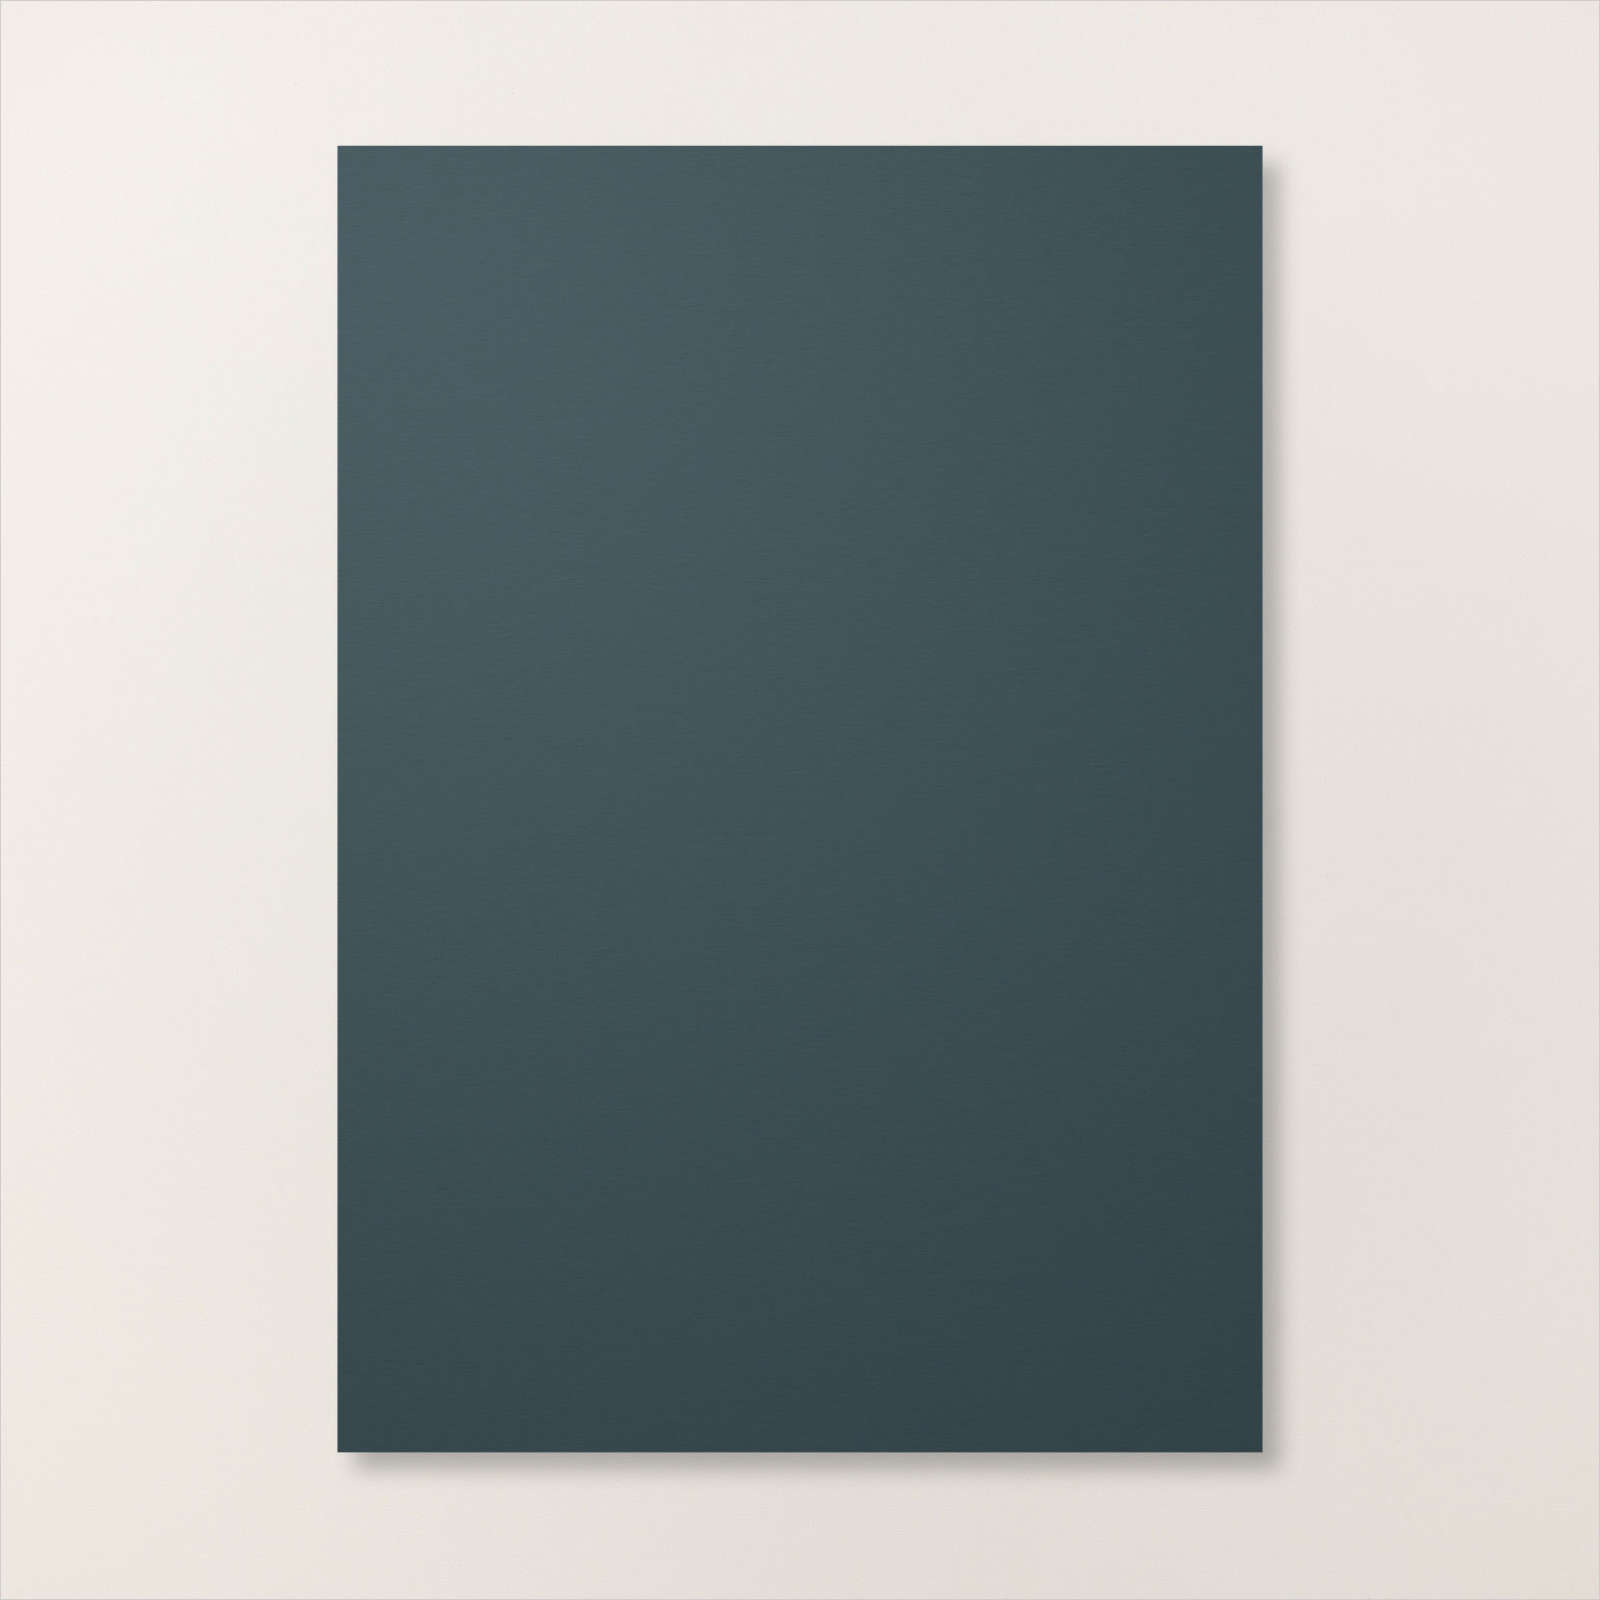
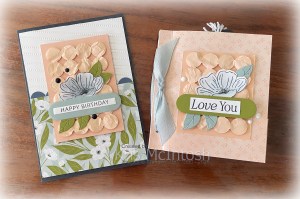
During the online Lovely Blossoms Craft Class that I joined, we created a beautiful mini album which I just adored. I decided to create a card using the front of the album as inspiration. I embossed a panel of Basic White using the Lovely Stripes Embossing Folder. I tilted the paper slightly so that the lines didn’t run straight which is one of the techniques we learned in the class. I cut a line using the circle die from the Lovely Arrangements Dies and attached a piece of Secret Sea card behind the top of one edge of a piece of Lovely Blossoms 12″ x 12″ Designer Series Paper before attaching it to the bottom of the embossed Basic White panel. The whole piece is attached to scored and folded Secret Sea card. I attached a piece of Petal Pink Two-Tone cardstock to the card front, making sure that the dark side with showing.
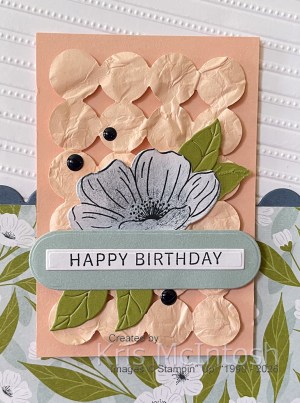
I die cut another piece of Petal Pink Two-Tone cardstock using the circle die from the Lovely Blossoms Dies. This time making sure that the light side of the cardstock was the front. I spritzed the panel with water and squashed it. I opened the panel carefully and let it dry. Once it was dry I attached the panel to the card front using dimensionals. I stamped the small flower from the Lovely Blossoms stamp set onto Basic White card using Secret Sea ink. I sponged the stamped image with more Secret Sea ink before cutting it out using the co-ordinating Lovely Blossoms Die. I die cut two small leaves from Old Olive Two-Tone cardstock, Making sure that one was showing the light side and one was showing the dark side.
I also die cut the double leave image from the dark side of the Old Olive Two Tone cardstock. I attached the leaves to the back of the flower before attaching them to the card front. I stamped “happy birthday” from the Lovely Blossoms stamp set onto Basic White card using Secret Sea ink. I cut out the greeting using the thin banner die from the Lovely Blossoms Dies. I die cut a banner from the dark side of Cloud Cover Two-Tone cardstock using the large banner from the Lovely Blossoms Dies. I attached the narrow banner to the Cloud Cover banner before attaching the panel to the card front. Lastly I added three Moody Palette Glossy Dots to the card front. To decorate the inside of the card, I attached a strip of Secret Sea card cut using the circle die from the Lovely Blossoms Dies behind one long edge of a strip of Lovely Blossoms Designer Series Paper.
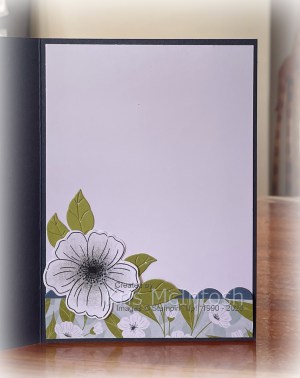
The panel is attached across the bottom of Basic White card. I stamped the large flower from the Lovely Blossoms stamp set onto Basic White card using Secret Sea ink. I sponged some Secret Sea ink to colour the image before cutting it out using the co-ordinating Lovely Blossoms Die. I die cut the dark side of Old Olive Two-Tone cardstock using the double leaf die from the Lovely Blossoms Dies. I attached the flower and the leaves to the left hand side of the Designer Series Paper before attaching the panel to the inside of the Secret Sea card base. I am really happy with this card and cannot say “thank you” enough for the inspiration from Stampin’ Up!. Just so you can compare I have added a photo of the card with the mini album.
Bye for now,
Kris
Product Used: