Another Adventure

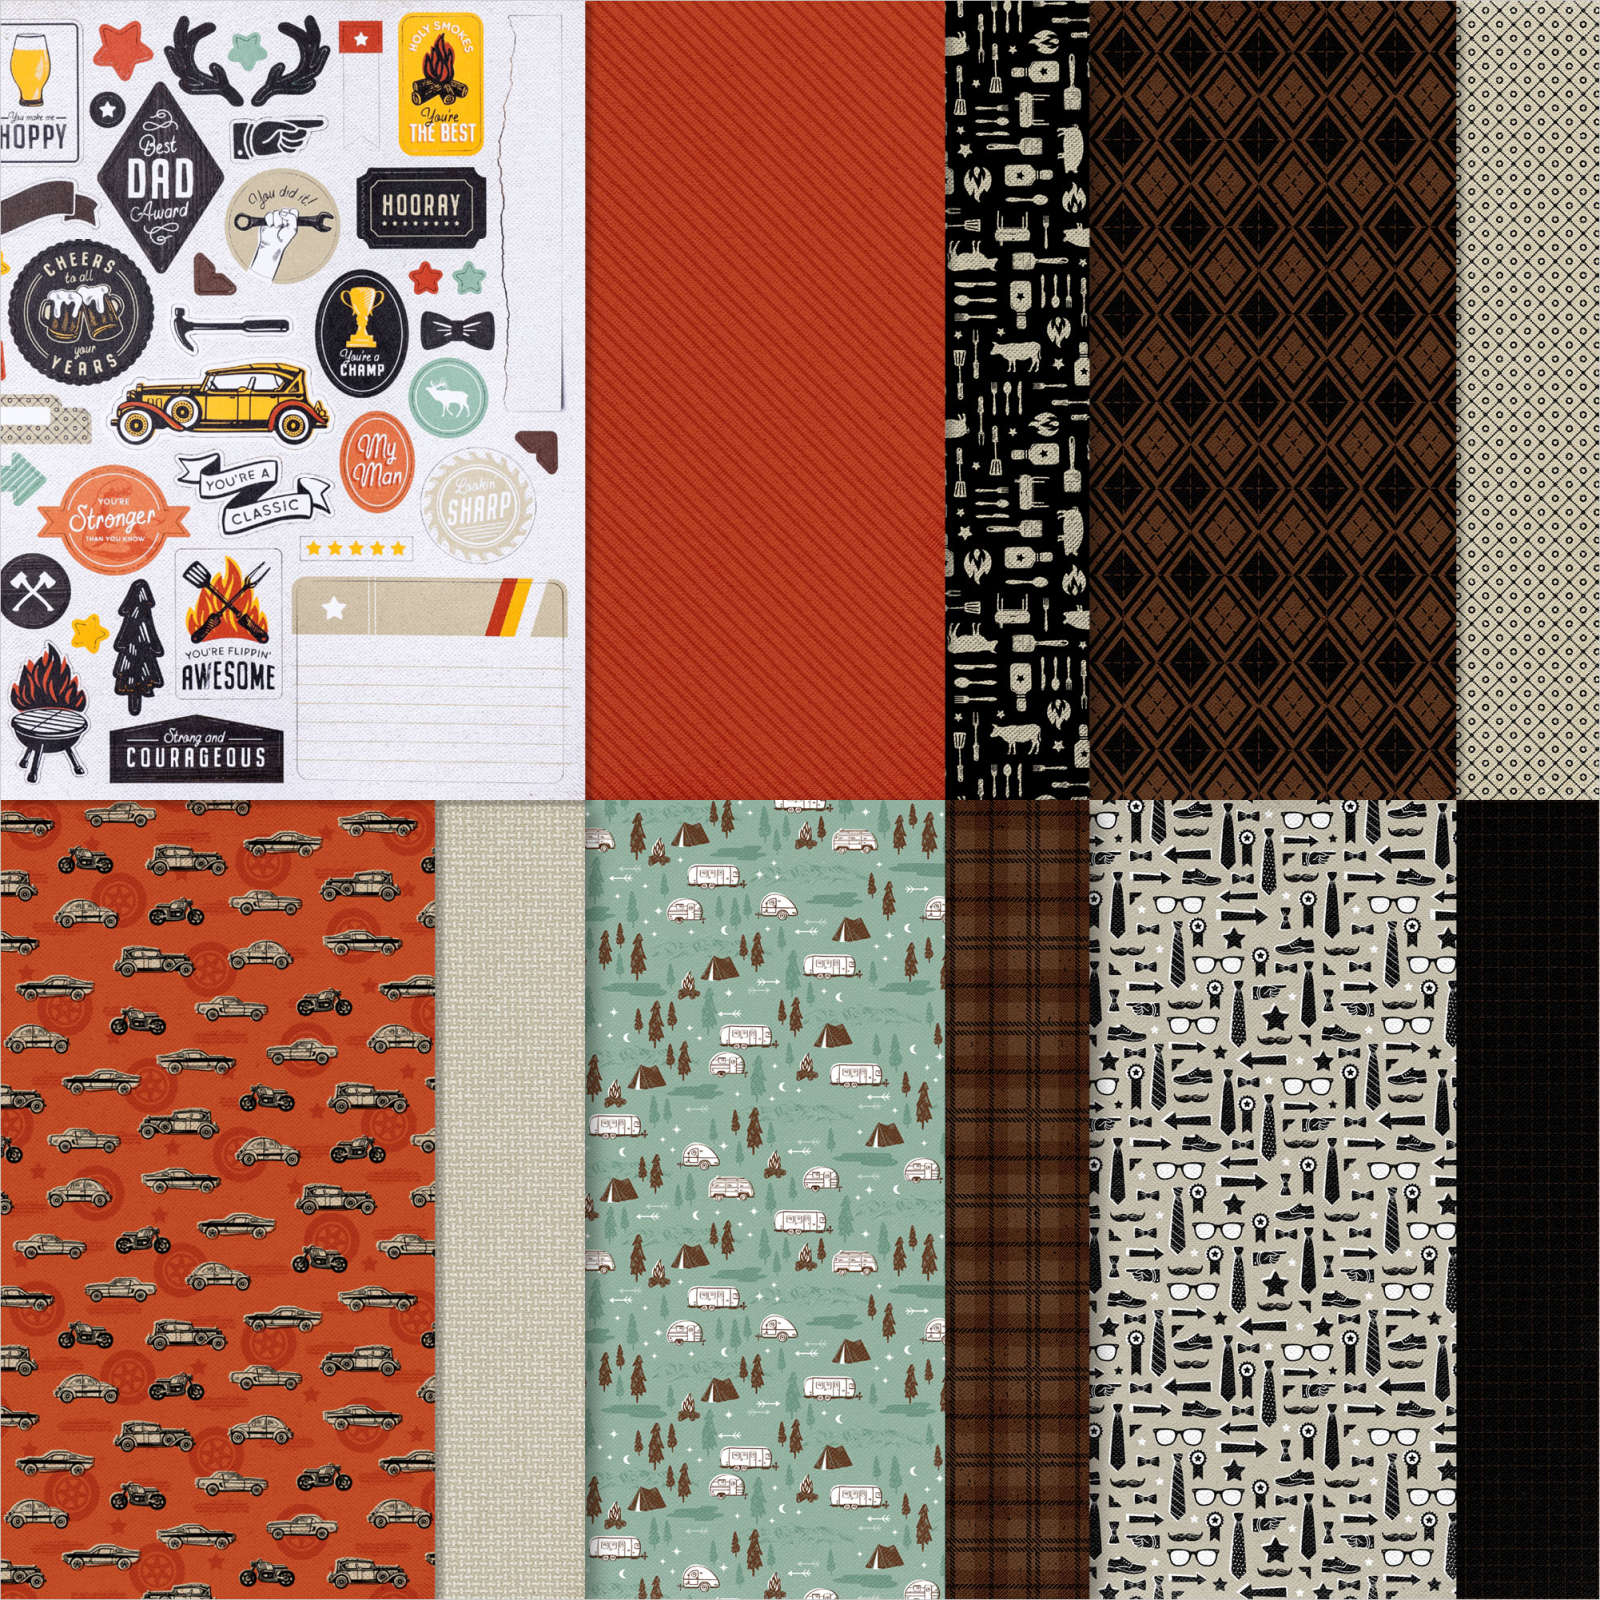
Today’s cards show off a couple of quick cards using the fun He’s All That Bundle. I cut two pieces of He’s The Man 12″ x 12″ Specialty Paper on the diagonal, making sure that two different patterns were facing up. This lets me create the front panels for two cards at the one time. I don’t need to measure as the pieces are all exactly the same size. I attached the pieces of Designer Series Paper to two Thick Basic White scored and folded card bases. I cut two narrow strips of Cajun Craze card and attached them across the join in the papers.

I stamped two different greetings from the He’s All That stamp set onto Basic White card using Early Espresso ink. I cut out the greetings using the circle die from the All That Dies.
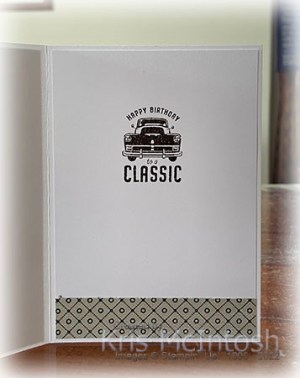
The greetings are attached to the card front using dimensionals. To decorate the inside of the card I attached a narrow strip of the He’s The Man Specialty Designer Series Paper across the bottom of Basic White card. I stamped a greeting from the He’s All That stamp set onto the Basic White card using Early Espresso ink. Another quick, fun and easy set of cards using this amazing product collection. If you haven’t already taken a look at this collection, I recommend that you do. I am sure you won’t be disappointed.

I think both cards look great, don’t you.
Bye for now,
Kris
Product Used:


46 Years

Last weekend Ron & I were joined by some of our family at lunch to celebrate ouf 46th Wedding Anniversary. So today’s page shows off a couple of photos from the day. I attached a piece of Design a Daydream 12″ x 12″ Designer Series Paper across the top of the Basic White 12″ x 12″ page. I printed my journaling onto Basic White card which I attached to Blackberry Bliss card. I attached the photos and journaling to the page before stamping the leaf image from the Vintage Christmas stamp set twice onto the lower left hand corner of the page using Old Olive ink.
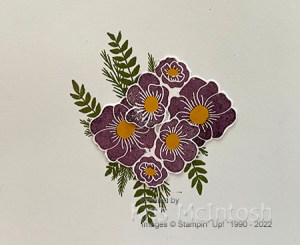
I stamped the flower from the Vintage Christmas stamp set twice onto Basic White card using Blackberry Bliss. I used a dark Daffodil Delight Stampin’ Blend to colour the flower centres. I cut out the flowers and attached them to the page over the stamped leaves.
I always say it, but, again this is a simple page which I think looks lovely and I love how it lets the photos shine! I’d love to know what you think.
Bye for now,
Kris
Product Used:


Happy Holidays
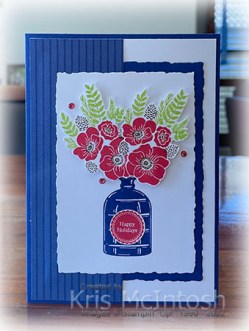
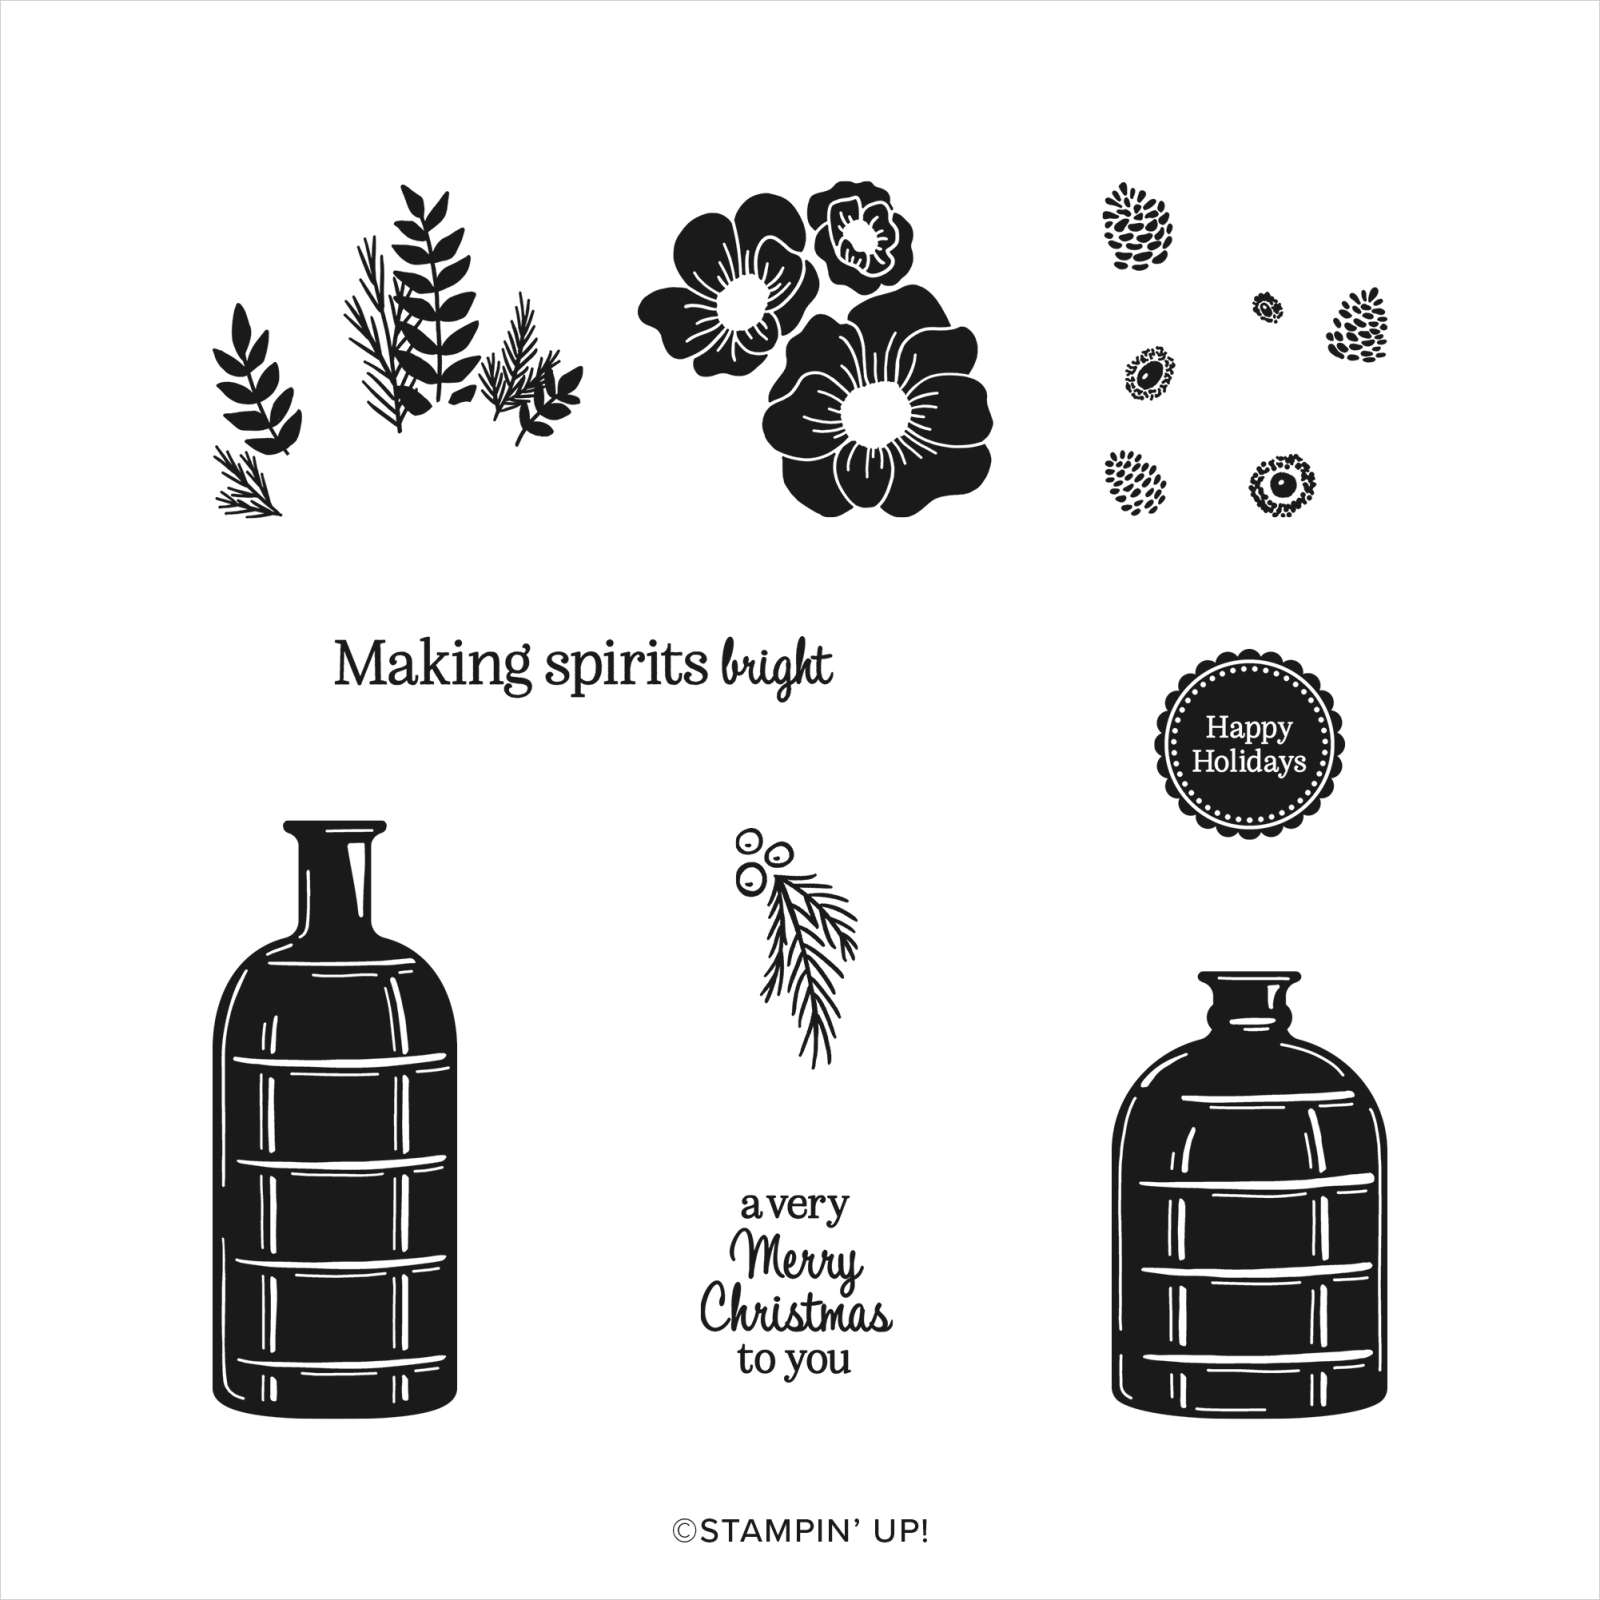
Today’s card uses the Vintage Christmas stamp set from the July to December Mini Catalogue. I shared some cards on my Facebook Live this week and this card is a slightly stepped up version of those cards. I cut Starry Sky card using one of the Deckled Rectangle Dies and attached it to Basic White card. I attached a piece of Starry Sky 2022-2024 In-Colour Designer Series Paper to the left hand side of the Basic White card partially covering the die cut. The Basic White panel is attached to scored and folded Starry Sky card. I cut Basic White card using a slightly smaller die from the Deckled Rectangle Dies and stamped the smaller bottle image from the Vintage Christmas stamp set using Starry Sky ink.

The panel is attached to the card front so that it sits evenly into the Starry Sky deckled rectangle. I stamped the flower image from the Vintage Christmas Stamp set twice onto Basic White card using Sweet Sorbet ink. I stamped the leaves from the same stamp set onto the flowers using Parakeet Party ink. I stamped the flower centre/pine cone image from the Vintage Christmas stamp set onto the flowers using Soft Suede ink.
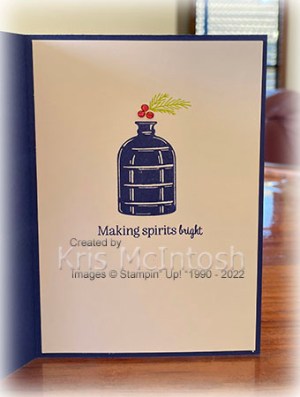
I used my Paper Snips to cut out each of the images before attaching them to the card front using dimensionals. I stamped “happy holiday” from the Vintage Christmas stamp set onto Basic White card using Sweet Sorbet ink. I used a retired 3/4″ Circle Punch to cut out the greeting before attaching it to the stamped bottle image. Lastly I coloured three Basic Rhinestones using the Dark Sweet Sorbet Stampin’ Blend and attached them to the card front. To decorate the inside of the card, I stamped the small bottle image from the Vintage Christmas stamp set onto Basic White card using Starry Sky ink. I stamped the holly image onto the top of the bottle image using Parakeet Party ink. The greeting from the Vintage Christmas stamp set is stamped below the bottle image using Starry Sky ink. I coloured three more Basic Rhinestones using the Dark Sweet Sorbet Stampin’ Blend and attached them over the stamped holly image.
I really love this stamp set and look forward to using is lots more in the future.
Bye for now,
Kris
Product Used:


24hr Stamp Sale

On September 15th (that’s tomorrow) from 12.00am tonight until 11.59pm tomorrow night, Stampin’ Up! is having a 24 hour sale of selected stamps from the current annual catalogue. This is a great opportunity to purchase stamps on your wish list and save money at the same time! You can download the full list of discounted stamps here.
Happy Shopping!
Kris
More Trimming The Tree

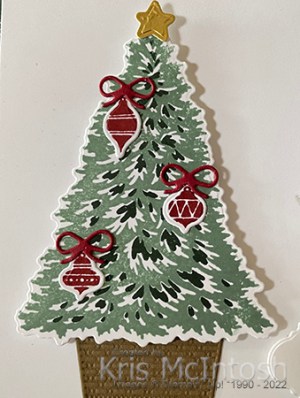
Today’s card uses the Trimming the Tree stamp set and the co-ordinating Tree Trimming Dies which are available to purchase during the month of September while supplies last. You can purchase a bundle if you don’t already have the stamp set or you can order the dies if you already have the stamp set. For today’s card I cut a card base from Smoky Slate card and attached a piece of Design A Daydream 12″ x 12″ Designer Series paper to the front panel. I used the Stitched Rectangle Dies to cut a piece from the card front. I also used the same die and a slightly larger die to cut Old Olive card to create a frame which I attached around the opening. I cut Basic White card to go inside my card and scored it in half and then scored one half in half again (hope that makes sense!). I stamped the banner image from the Trimming the Tree stamp set across the top of the inside panel using Old Olive ink.
I stamped one of the baubles from the Trimming The Tree stamp set three times beneath the banner image using Real Red ink. I also stamped the greeting from the Trimming The Tree stamp set using the same ink. I attached a piece of the same pattern Design A Daydream Designer Series Paper to the middle panel of the Basic White card. The whole piece is attached to the inside of the Smoky Slate card base, with the folds on the right hand side. I cut Basic White card using the same sized Stitched Rectangle Die as I used to cut the piece from the card front. I used the larger die which I used to create the frame for the card front to cut Old Olive card. I attached the Basic White rectangle to the Old Olive rectangle and using glue only on the folded section of Basic White card, attached the panel so that the Basic White rectangle sits inside the frame on the card front.

I cut the tree base from Early Espresso card using the Tree Trimming Die and attached it to the bottom of the Basic White rectangle. I stamped the more solid tree image from the Trimming the Tree stamp set onto Basic White card using Old Olive ink which I stamped onto scrap paper first. I stamped the more detailed tree image over the top using Old Olive ink. The image is cut out using the co-ordinating Tree Trimming Die. The tree is attached to the Basic White rectangle using dimensionals so that it sits slightly over the top of the tree base. I attached some Adhesive Sheet to the back of Real Red card and used the Tree Trimming Die to cut three baubles for the tree. I attached some Adhesive Sheet to the back of Gold Foil card and used the Tree Trimming Dies to cut three bows and one star. The bows are attached to the top of the baubles and the star to the top of the tree.
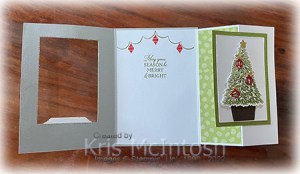
To finish off the card, I stamped “peace & joy” from the Trimming The Tree stamp set onto Basic White card using Real Red ink. The greeting is cut out using one of the label dies from the Tree Trimming Dies and attached to the card front.
I love how this card turned out and although the Designer Series Paper is not technically a Christmas paper, I think it works well for Christmas, don’t you? If you would like to make one of these cards you might like to visit Brenda Quintana here to get a better idea of how the mechanism works.
Bye for now,
Kris
Product Used:


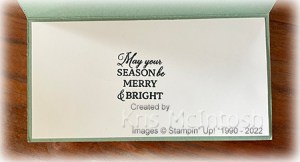
May Your Season

be Merry & Bright. Today’s page is another that I have created in preparation for the Christmas Season. I cut 3″ squares from Old Olive and Real Red card and embossed them using the Whimsical Woodland 3D Embossing Folder. I attached the embossed squares to an Early Espresso square which is attached to a Basic White 12″ x 12″ page. I stamped the solid tree from the Trimming the Tree stamp set onto Basic White card using Old Olive ink which I stamped onto scrap paper first. I stamped the detailed tree over the top using Old Olive ink and then cut out the image using the Tree Trimming Dies. I attached the tree to the lower left hand corner of the Early Espresso card. I attached Adhesive Sheet to the back of Real Red card and cut the three baubles using the Tree Trimming Dies.

I attached the baubles to the tree image. I attached Adhesive Sheet to the back of Gold Foil card and cut the bows and star using the Tree Trimming Dies. I attached a bow to the top of each bauble and the star to the top of the tree. I cut Early Espresso card and placed it in the centre of the page. This is where I will attach my photo. I stamped the greeting from the Trimming The Tree stamp set onto Basic White card using Early Espresso ink and cut it out using one of the label dies from the Tree Trimming Dies. I attached this to the page with adhesive only behind the right hand side so that I can slip my photo underneath.
A simple page but one that will let the photo shine. Don’t forget that the Tree Trimming Dies are only available for purchase this month. So if you want them, place your order ASAP to make sure you do not miss out.
Bye for now,
Kris
Product Used>


September Weekly Deals

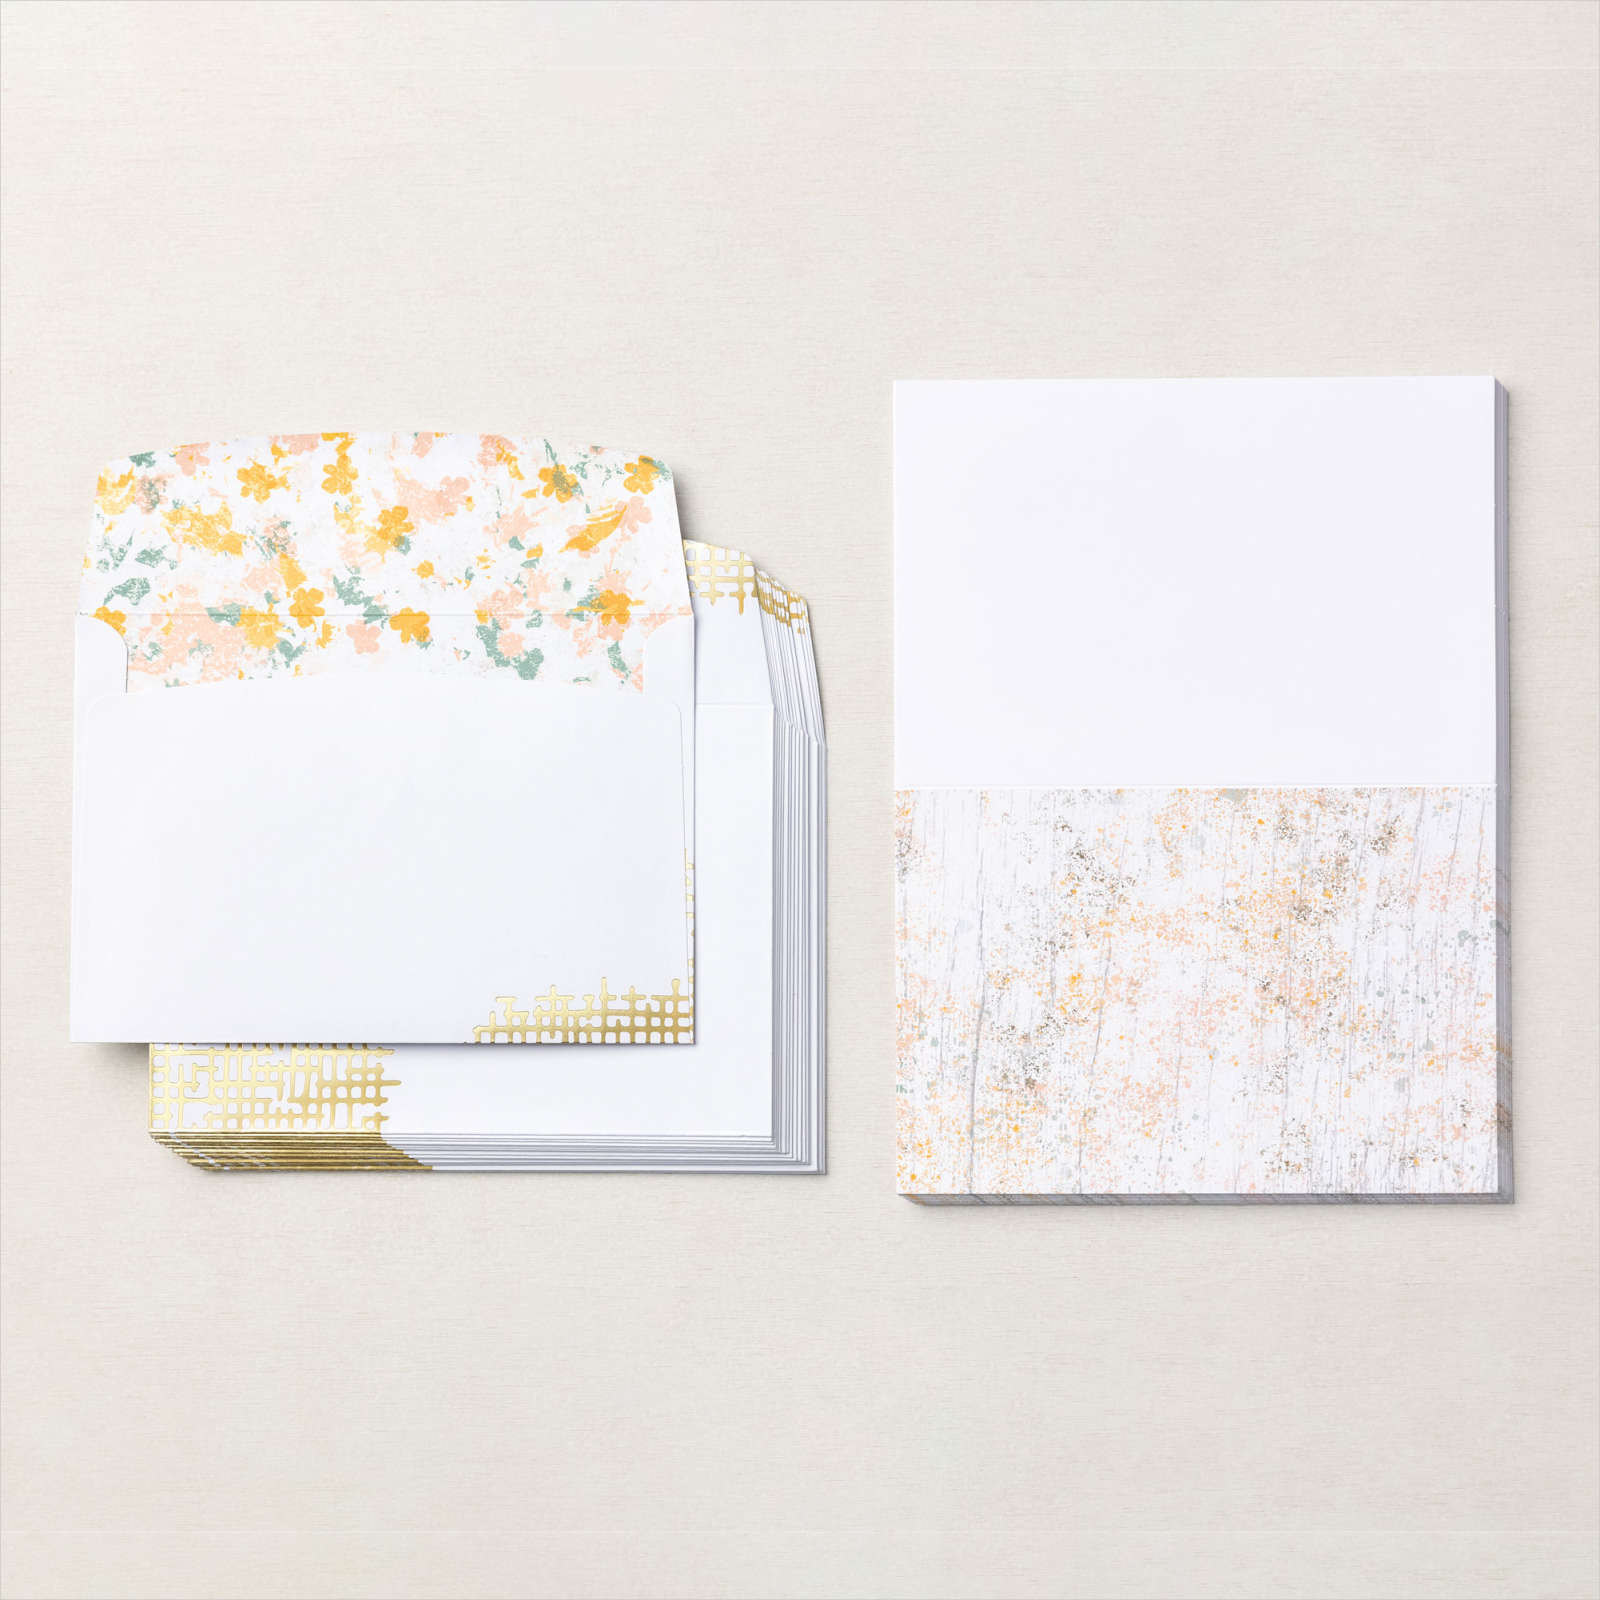
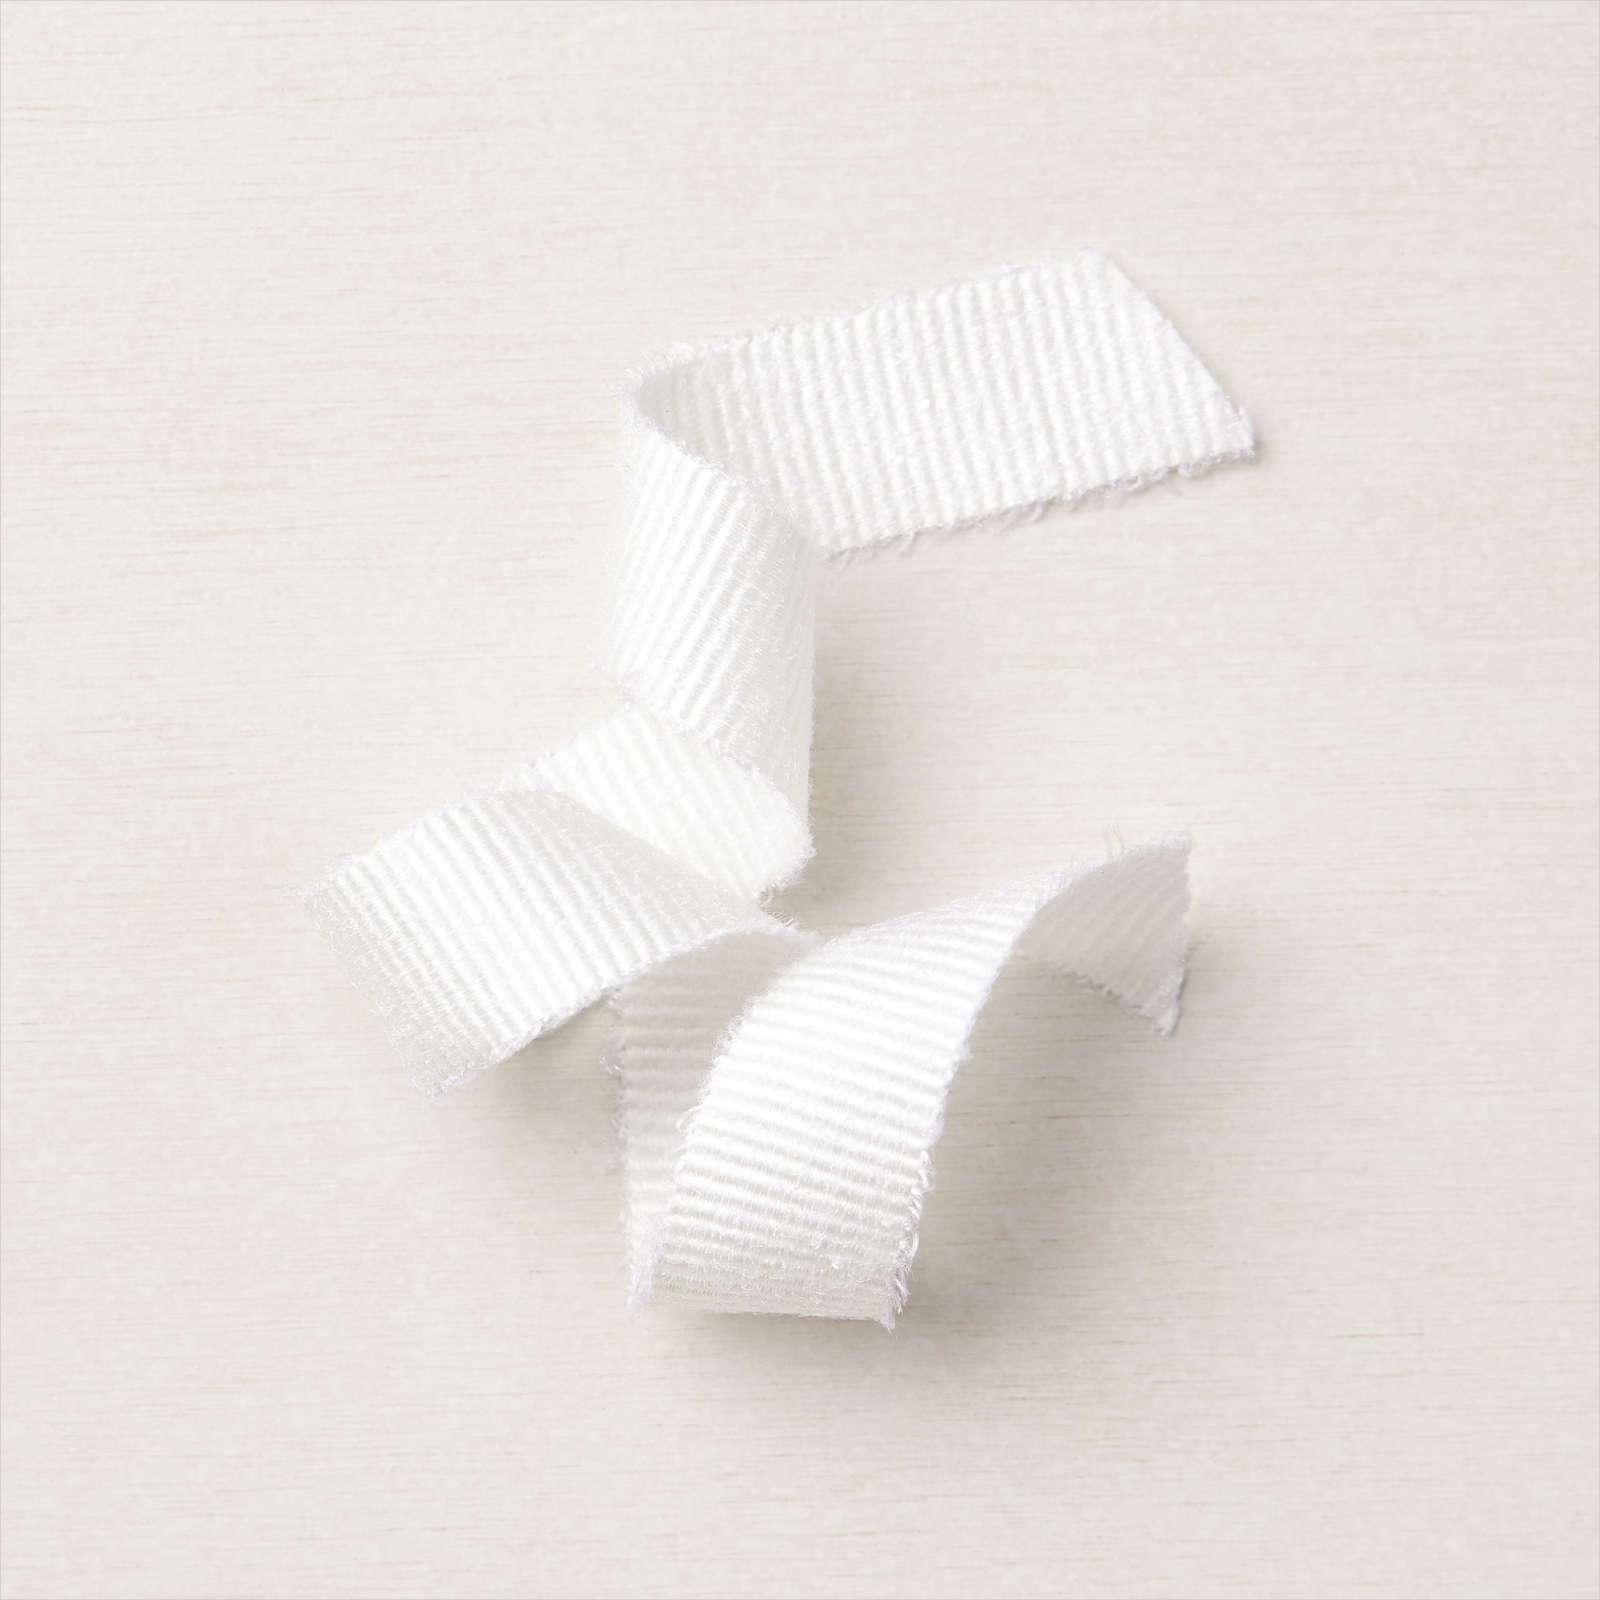
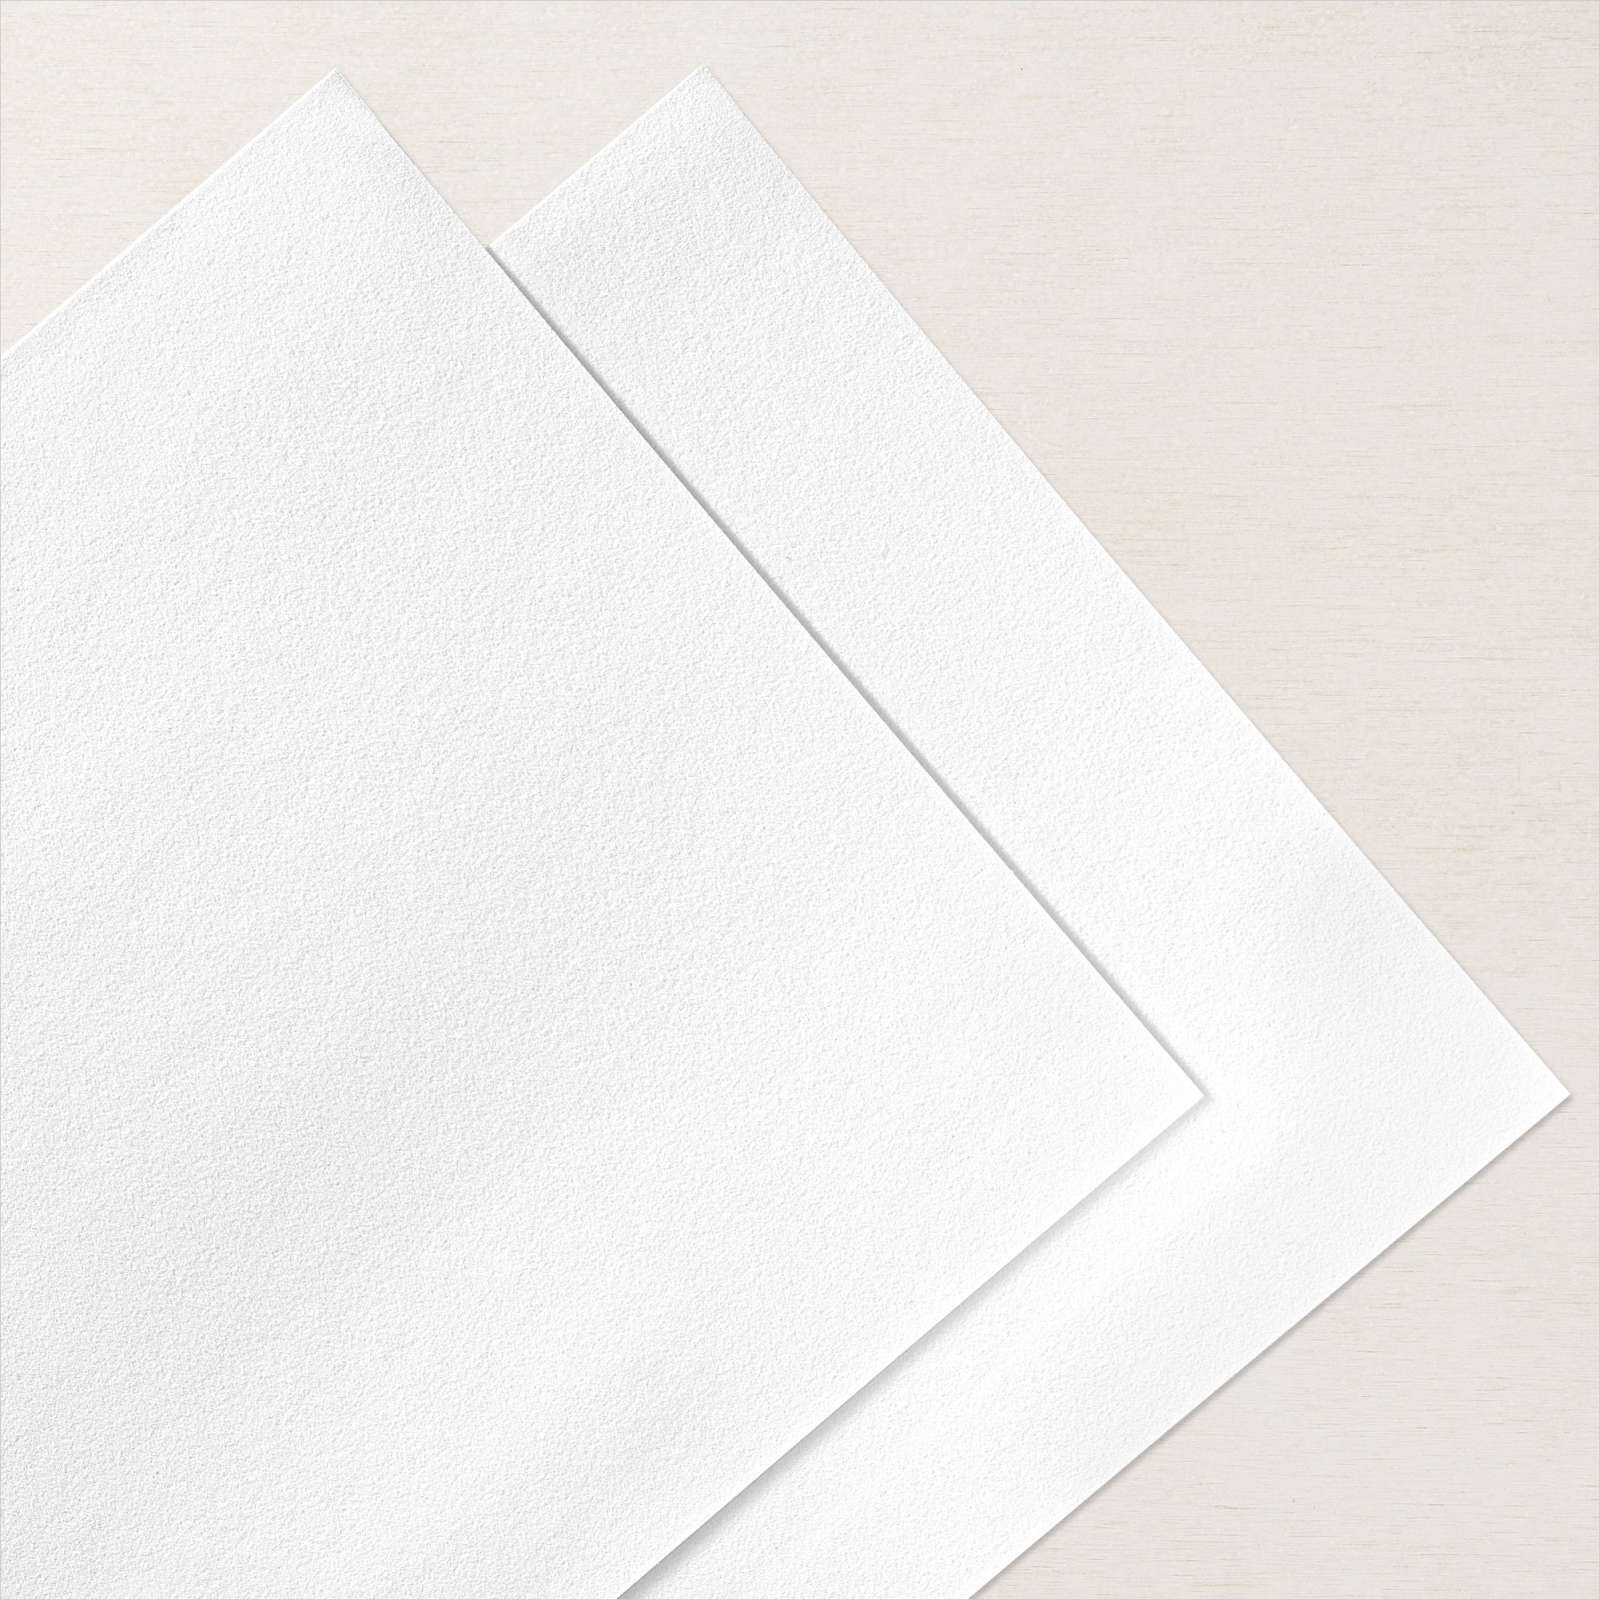
I am a bit late in letting you know this but during the month of September, Stampin’ Up! is having Weekly Deals. Each week new product will be added to what you can purchase and all product will be discounted. This week’s deals began yesterday and I have included photos of the discounted product. It may be that something you really want/need will be on the list. Remember however, that the product you want/need may sell out, so don’t delay placing your order. Happy Shopping.
Bye for now
Kris
Weekly Deals:
You can click on the links below to take you directly to my store. Please note the prices on these photos is full price and the products are discounted for this week only.


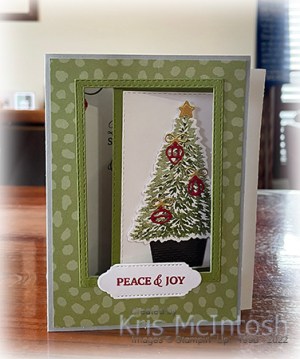
Peace & Joy

Today’s card uses the Trimming The Tree Bundle which I shared during my Facebook Live this week. For this card I decided to create a landscape faux centre step card using the instructions I found on Frenchie Stamps. I cut my card bases from Soft Succulent card and added pieces of the Metallic & Shimmer 6″ x 6″ Specialty Paper which is in the July to December Mini Catalogue. I added layers of Evening Evergreen and Basic White card to the centre step panel before attaching the two card bases together. I stamped the more solid tree image from the Trimming The Tree stamp set onto Basic White card using Soft Succulent ink. I stamped the detailed tree image over the top using Evening Evergreen ink.
I stamped the three bauble images from the Trimming The Tree stamp set onto Basic White card using Cherry Cobbler ink. I cut out the tree and the baubles using the co-ordinating Tree Trimming Dies. These dies are only available for purchase during the month of September. They do not appear in any of the current catalogues, so if you want this stamp set with the co-ordinating dies you need to place your order ASAP. I used the Tree Timming Dies to cut the tree base from Soft Suede card and the bows from Cherry Cobbler card. I attached the tree base to the bottom of the Basic White panel. The tree is attached using dimensionals so that it sits over the top of the tree base. I attached the stamped baubles and die cut bows to the tree image. I cut Gold Foil card using a star die from the Tree Trimming Dies and attached it to the top of the tree.
I stamped the greeting from the Trimming The Tree stamp set onto Basic White card using Evening Evergreen ink and cut it out using the label die from the Tree Trimming Dies. I attached the greeting to the card front using dimensionals. To decorate the inside panel of the card I stamped another greeting from the Trimming The Tree stamp set using Evening Evergreen ink. I also added a panel of the Metallic & Shimmer 6″ x 6″ Specialty Paper to the back of the card to cover the attached image panel. These type of cards usually have the centre step in the middle but I wanted it off-set so that I could attached the greeting. I think this card is very pretty with all the gold and shimmer, don’t you?
Bye for now,
Kris
Product Used:
Bottled Birthday
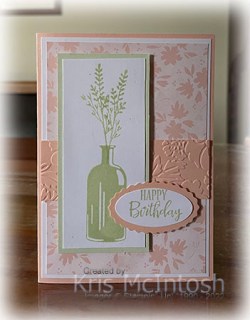
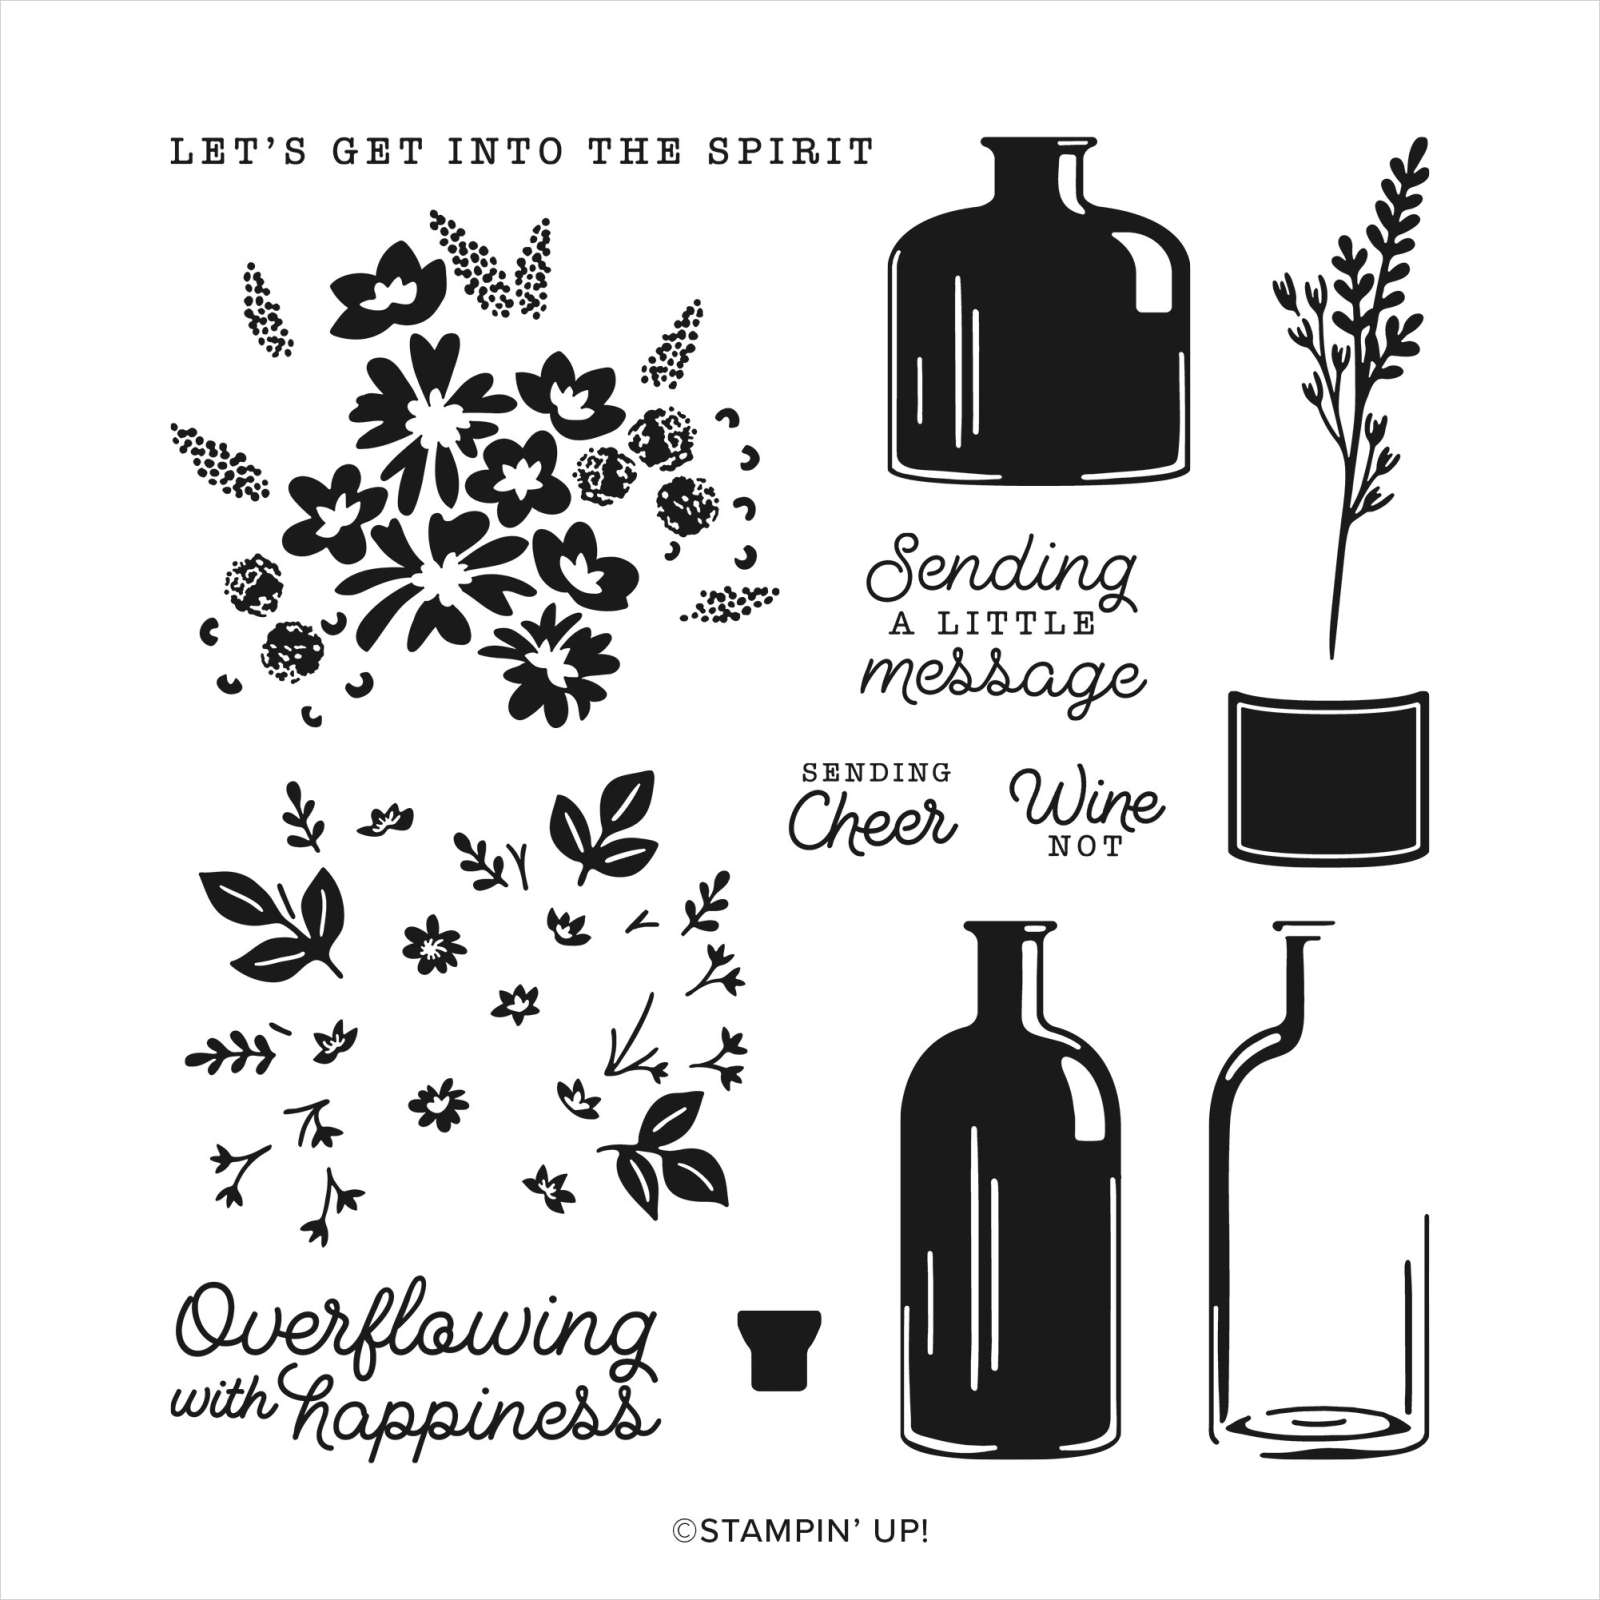
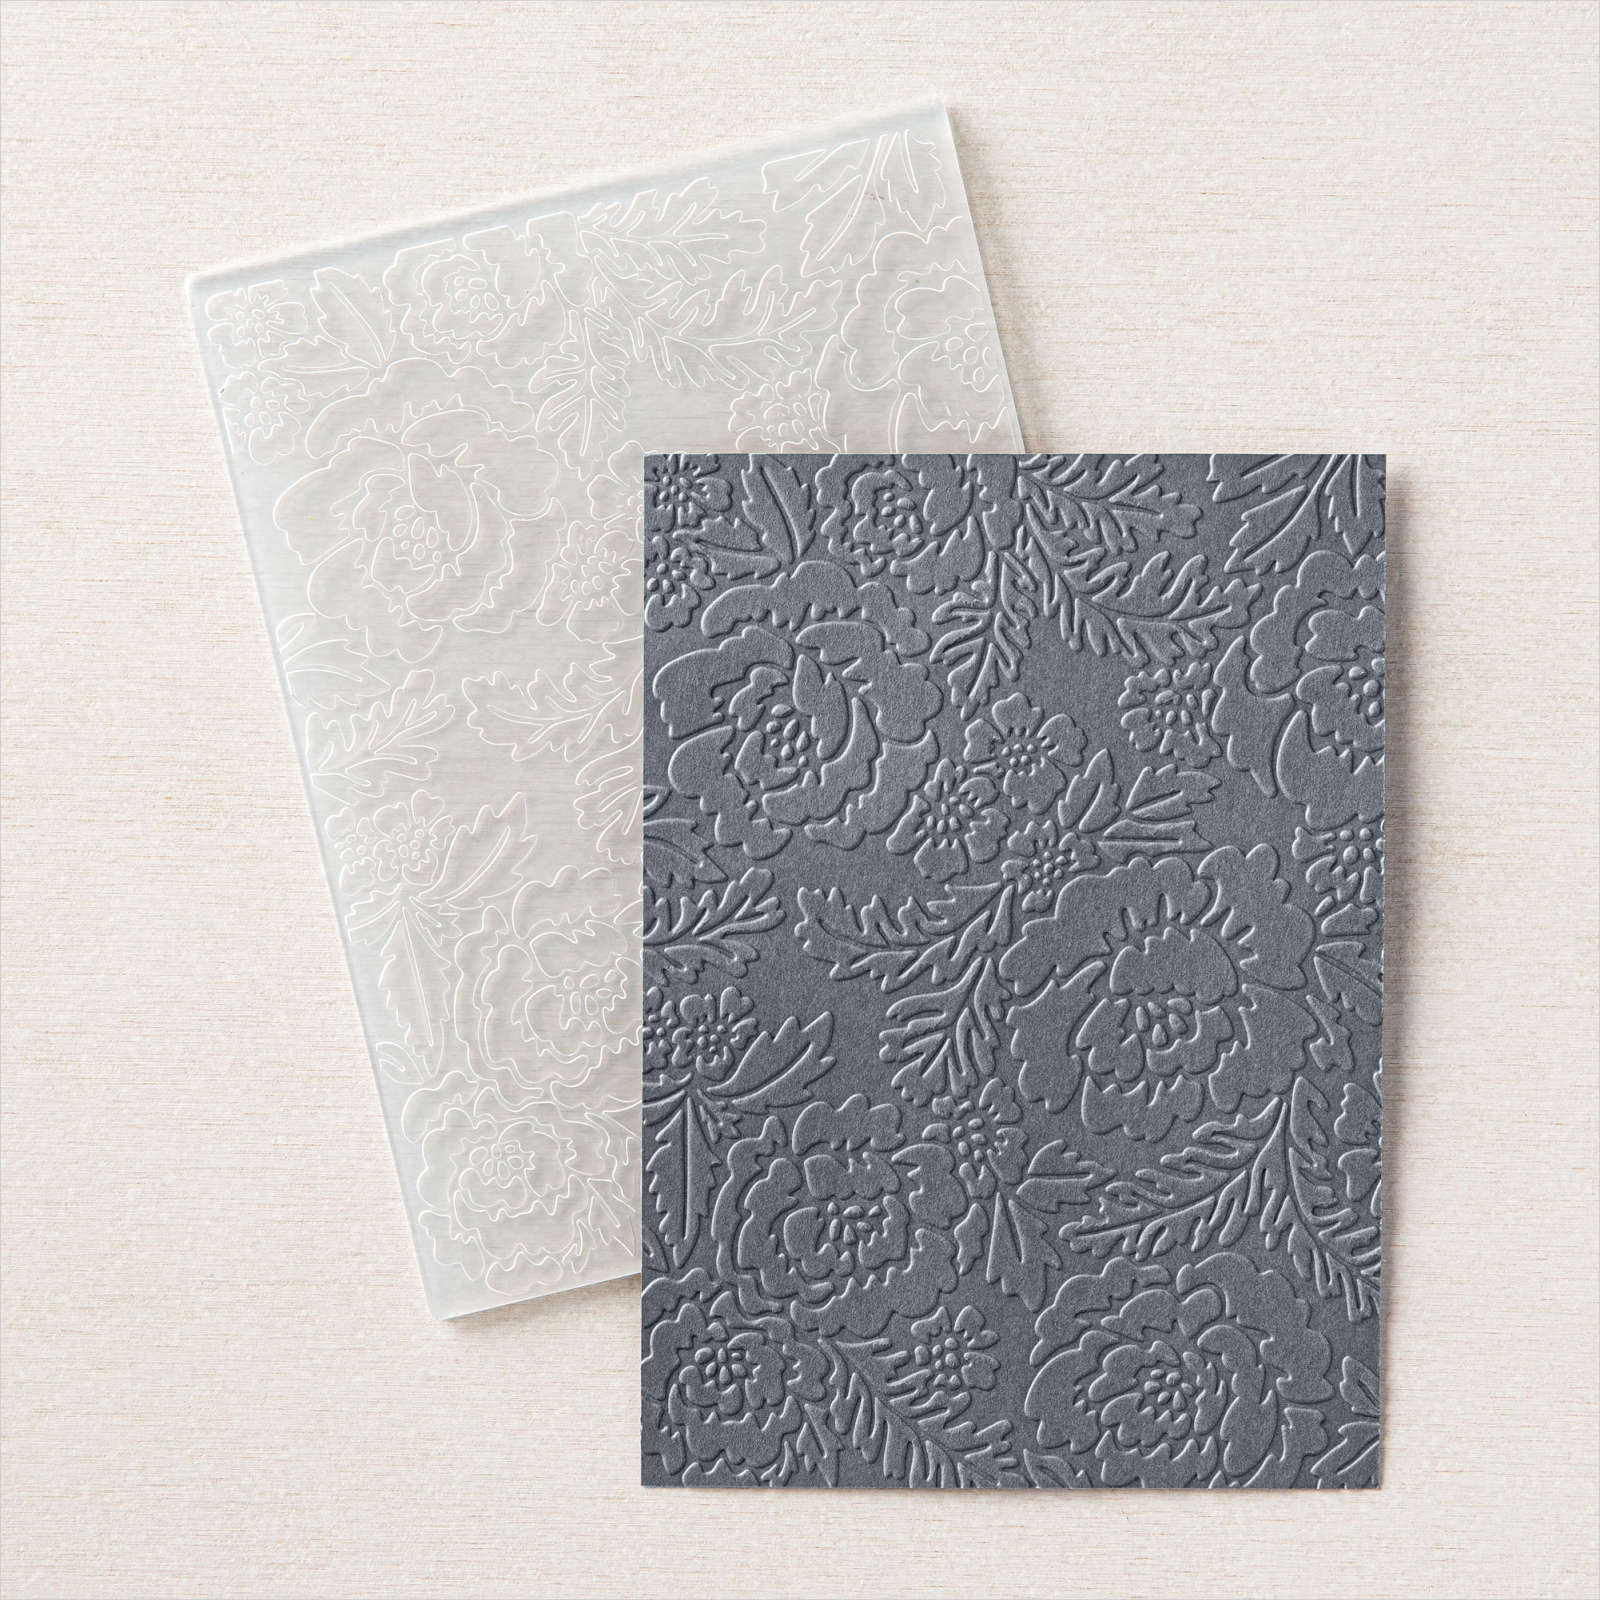
Today’s card uses some more of the beautiful Design A Daydream 12″ x 12″ Designer Series Paper along with the Bottled Happiness stamp set. I attached a piece of the Design a Daydream Designer Series Paper to Basic White card and then scored and folded Petal Pink card. I embossed a piece of Petal Pink card using the Pretty Flowers Embossing Folder and attached it across the card front. I stamped the bottle image from the Bottled Happiness stamp set onto Basic White card using Soft Sea Foam ink.
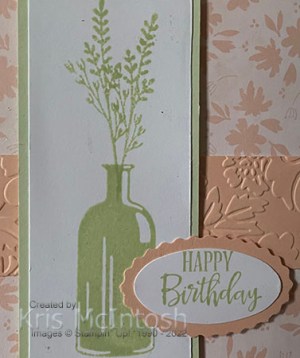
I stamped the leafy image from the Bottled Happiness stamp set twice so that it sits inside the neck of the bottle using Soft Sea Foam ink. I attached the stamped panel to Soft Sea Foam card and then the card front using dimensionals. I stamped “happy birthday” from the Peaceful Moments stamp set onto Basic White card using Soft Sea Foam ink.

I punched out the greeting using the Double Oval Punch. I attached the greeting to a Petal Pink scalloped oval cut using the same Punch and then the card front using dimensionals where necessary. To decorate the inside of the card, I stamped the greeting from the Peaceful Moments stamp set onto Basic White card using Soft Sea Foam ink. I stamped the leafy image from the Bottled Happiness stamp set beside the greeting also using Soft Sea Foam ink. I attached a strip of the same pattern Design A Daydream Designer Series Paper across the bottom of the stamped panel.
This card is so soft and pretty. I hope the recipient loves it too.
Bye for now,
Kris
Product Used:


The Dress reveal


I shared a page I created for these photos way back in June when she first purchased it. I had several people ask when they could see the dress which I wasn’t allowed to share until now. Her formal was held last night so here is the page with photos of Abigail in her dress.
Of course she looked way more glamorous last night with her hair and make up done, but I love that she wanted me to see this special outfit when she first got it. I am one lucky Nan! If you want more details on how I created the page check out this post.
Bye for now,
Kris


