Happy Day
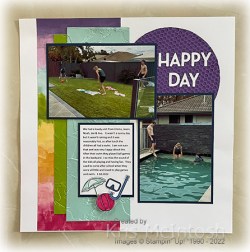
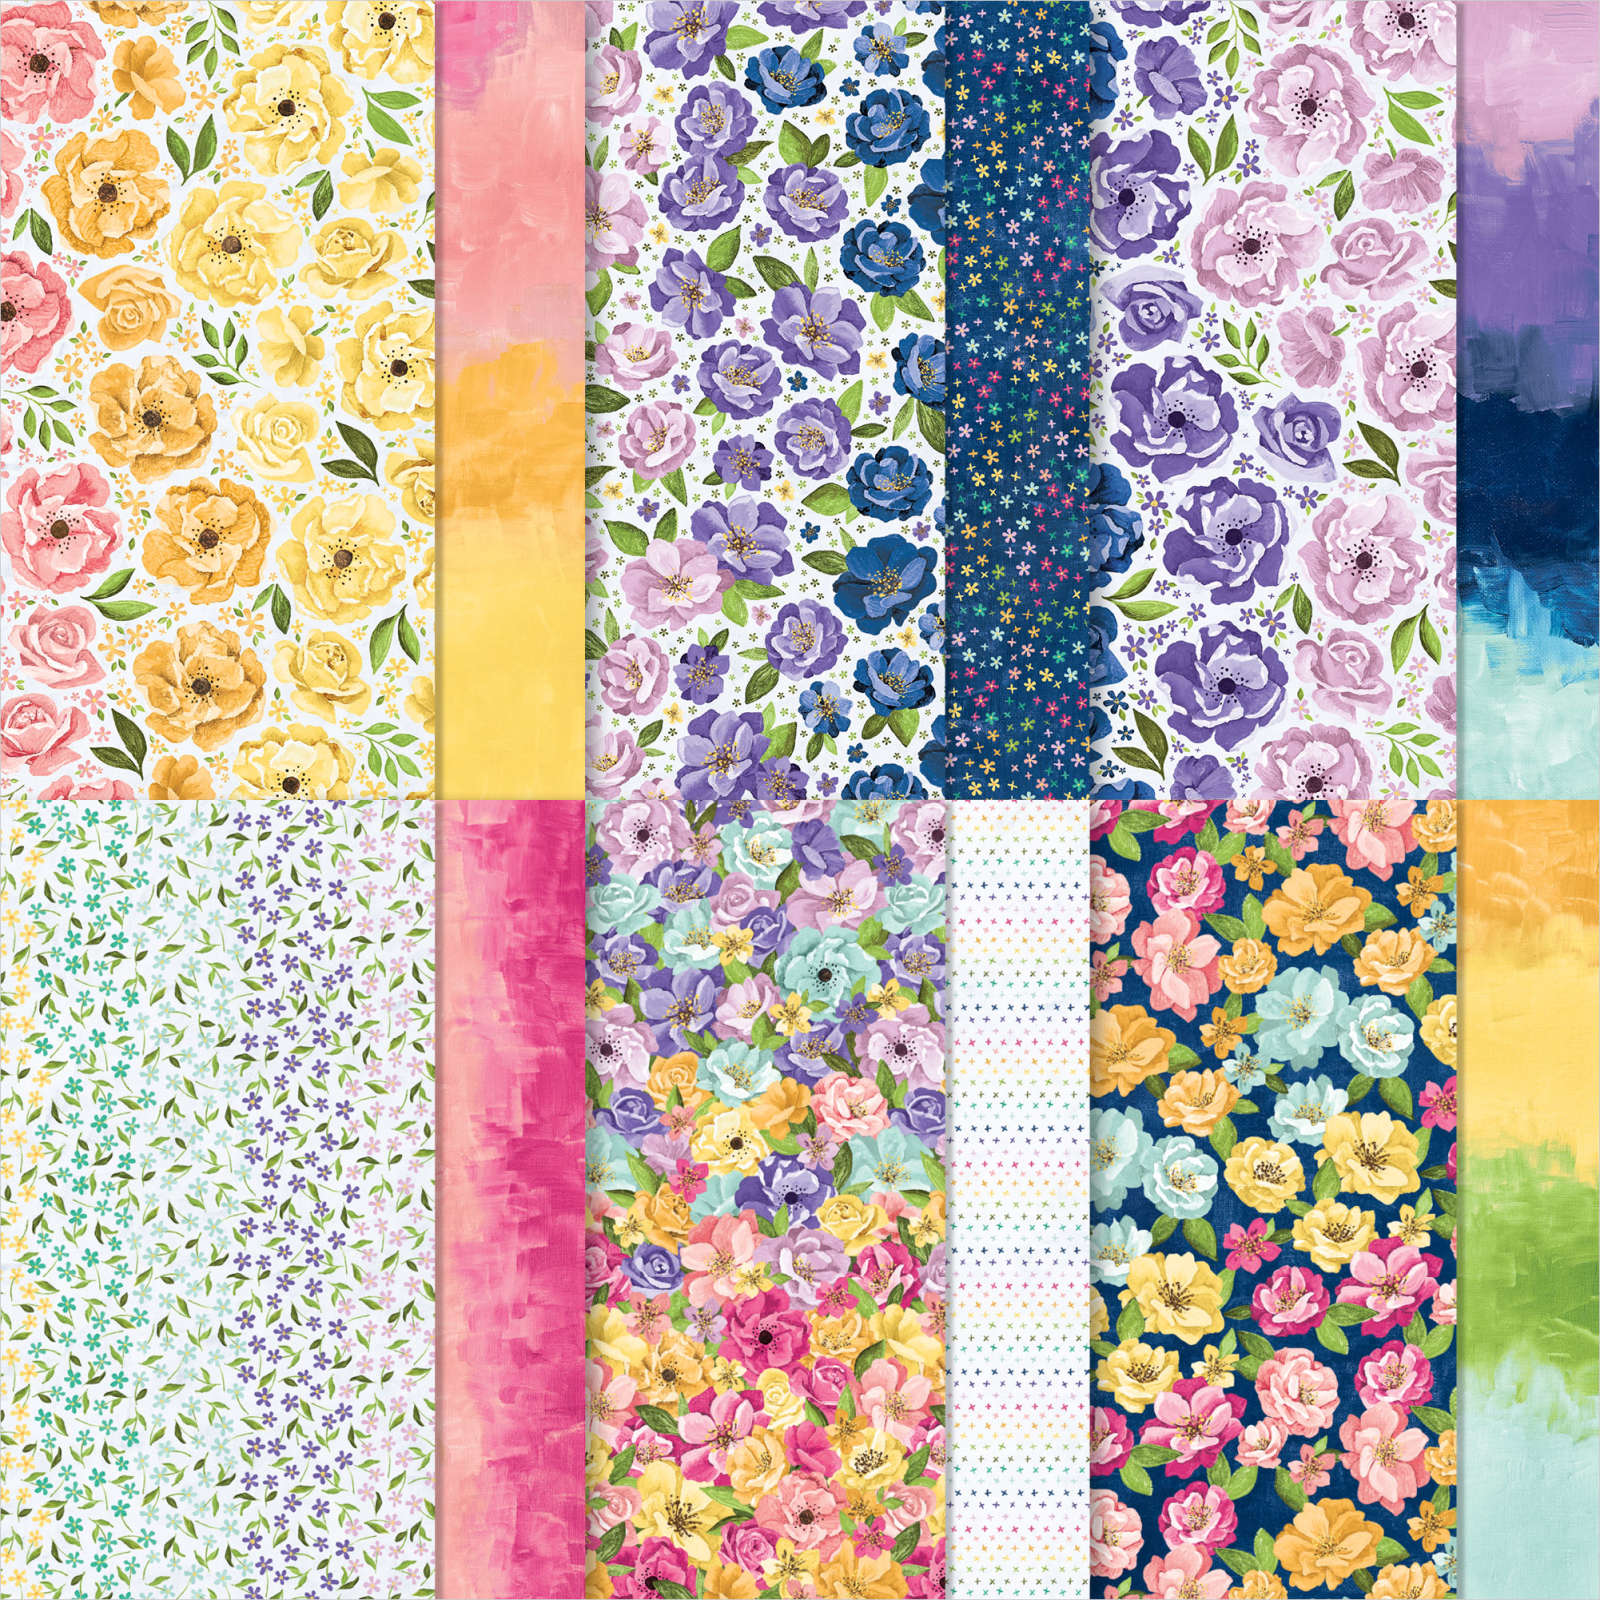
My youngest daughter and her family visited us for the day recently. It was a nice day and the best part was watching the kids play in the pool and the backyard. Once upon a time when they were all much younger they used to visit almost every day (they also lived around the corner then). To begin this page I attached a piece of Hues of Happiness 12″ x 12″ Designer Series Paper down the left hand side of a Basic White 12″ x 12″ page.

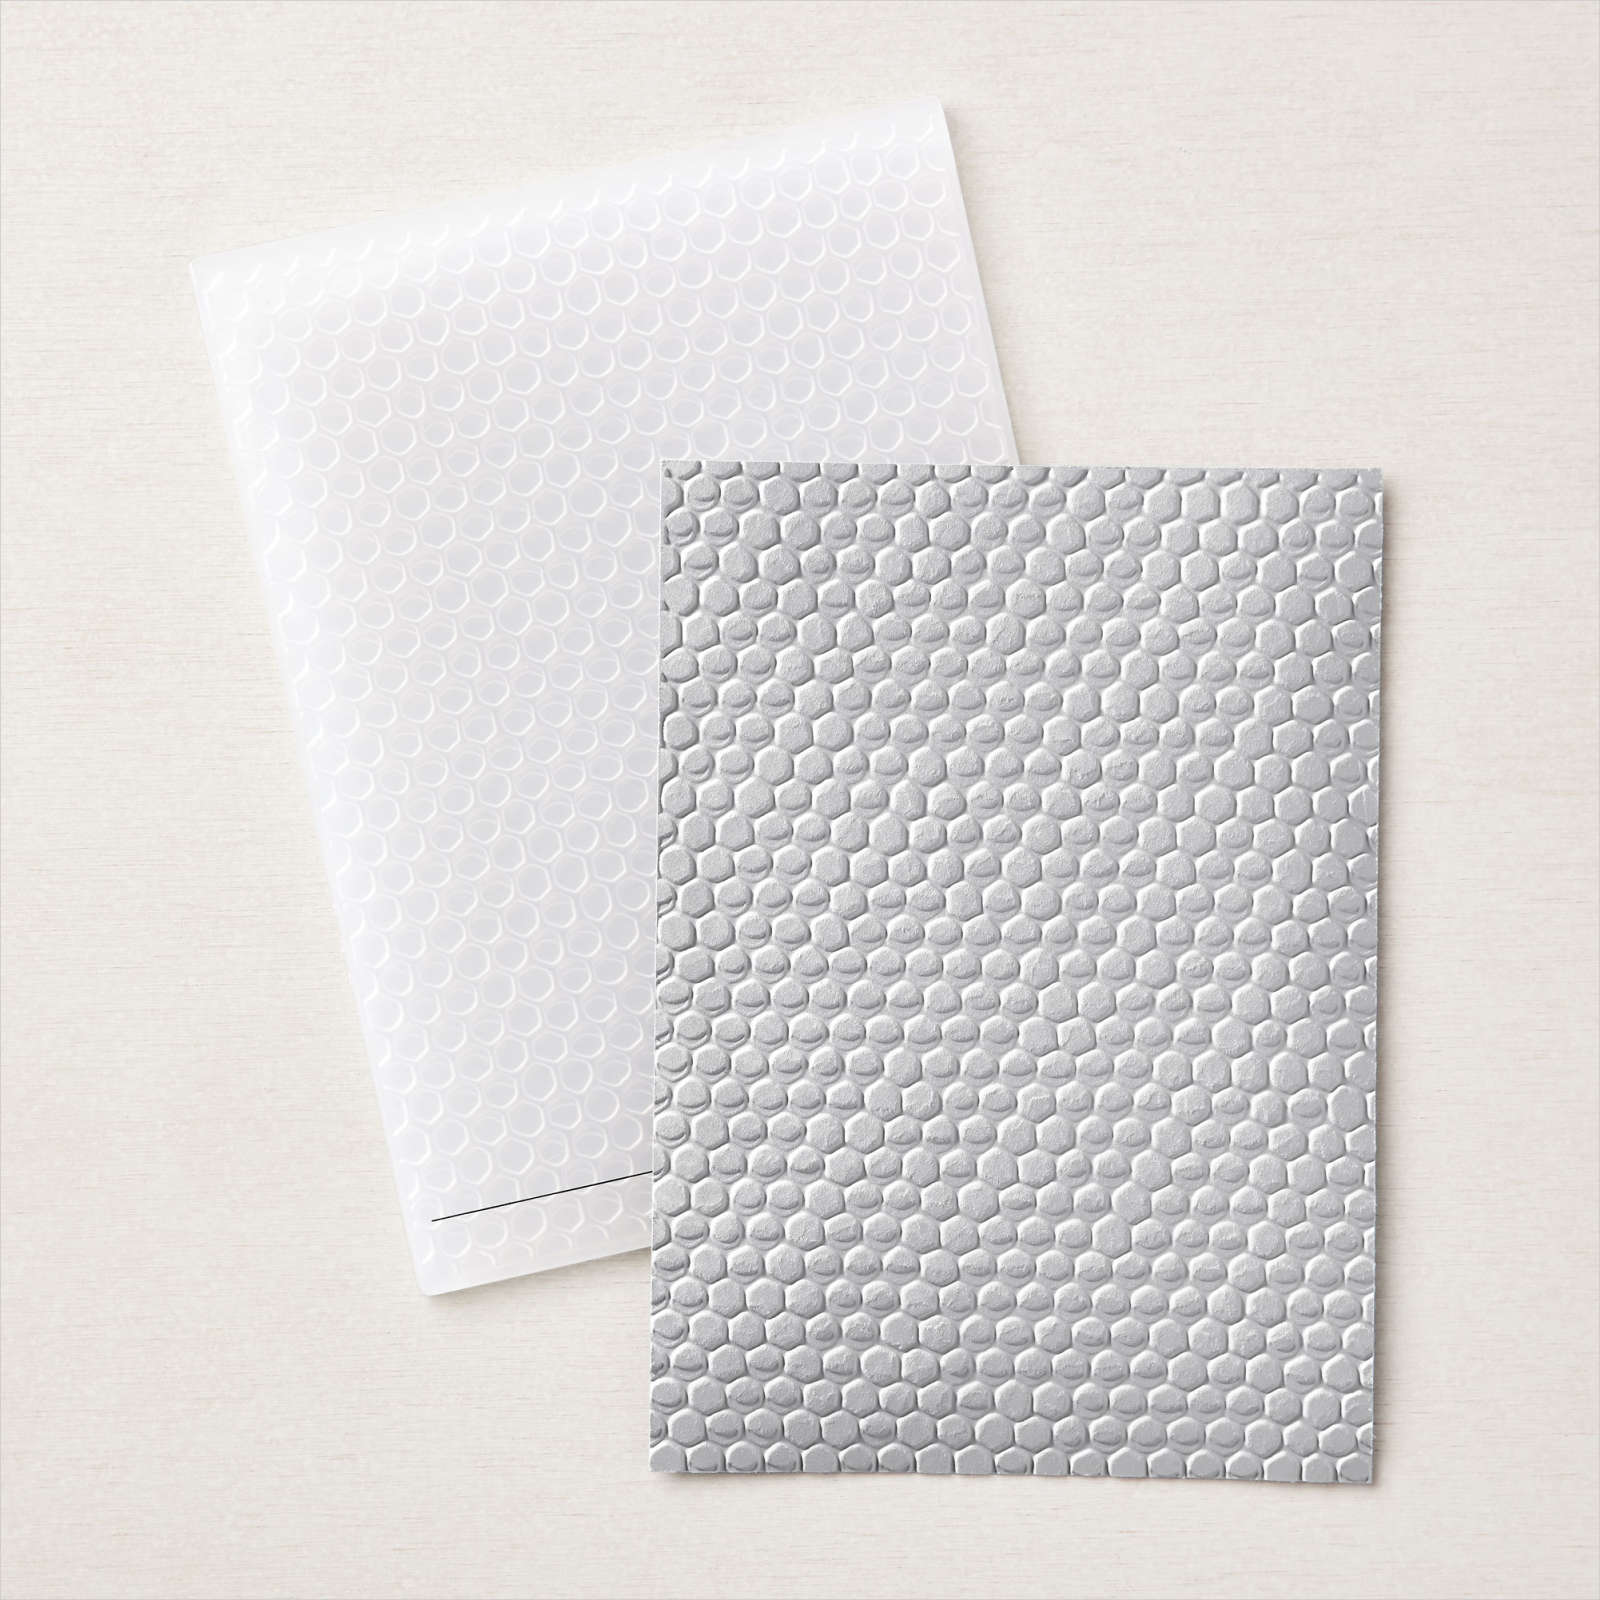
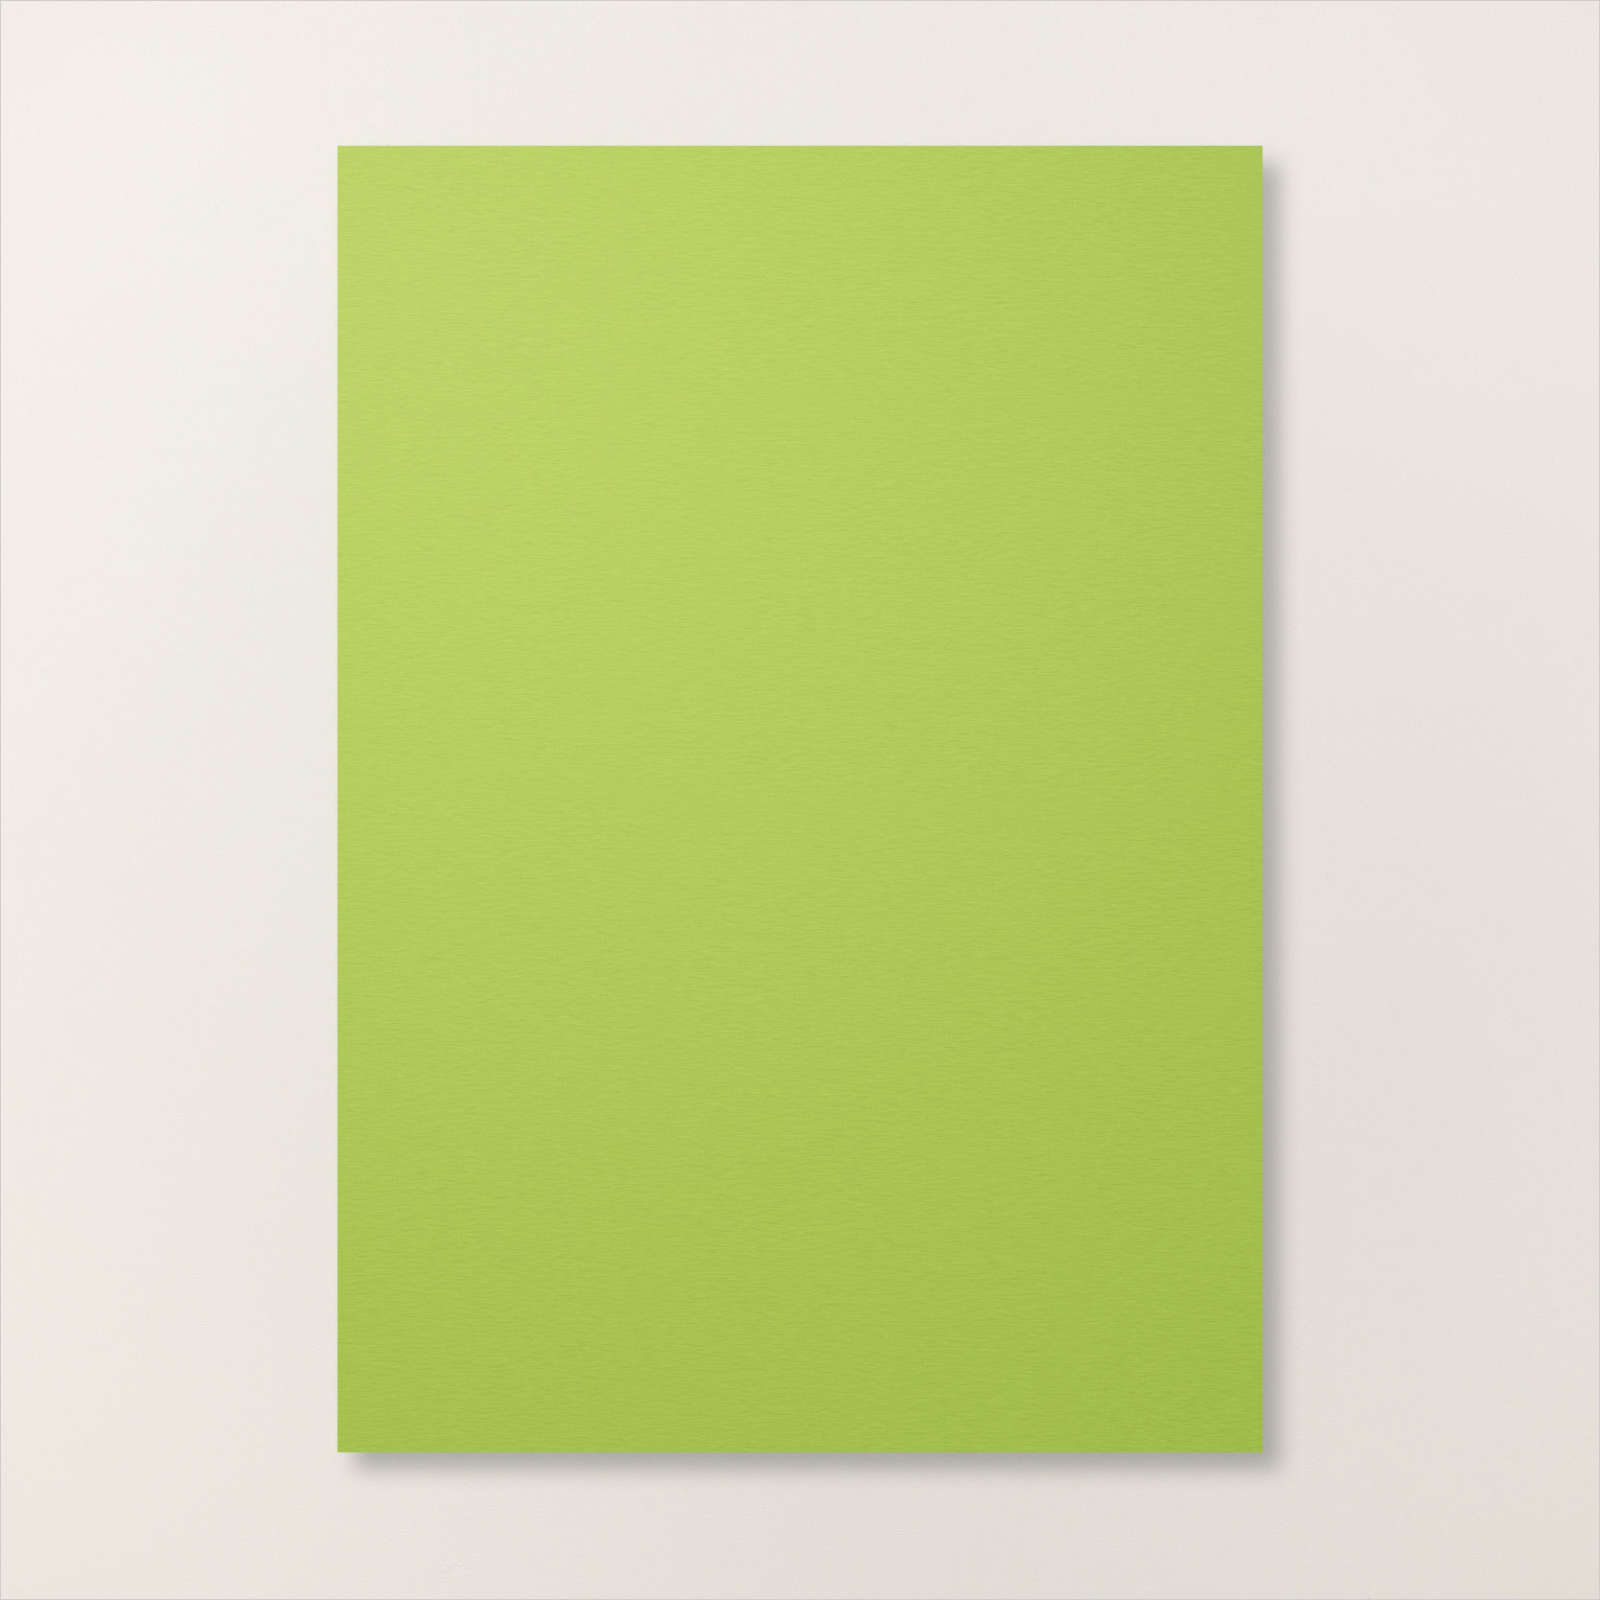
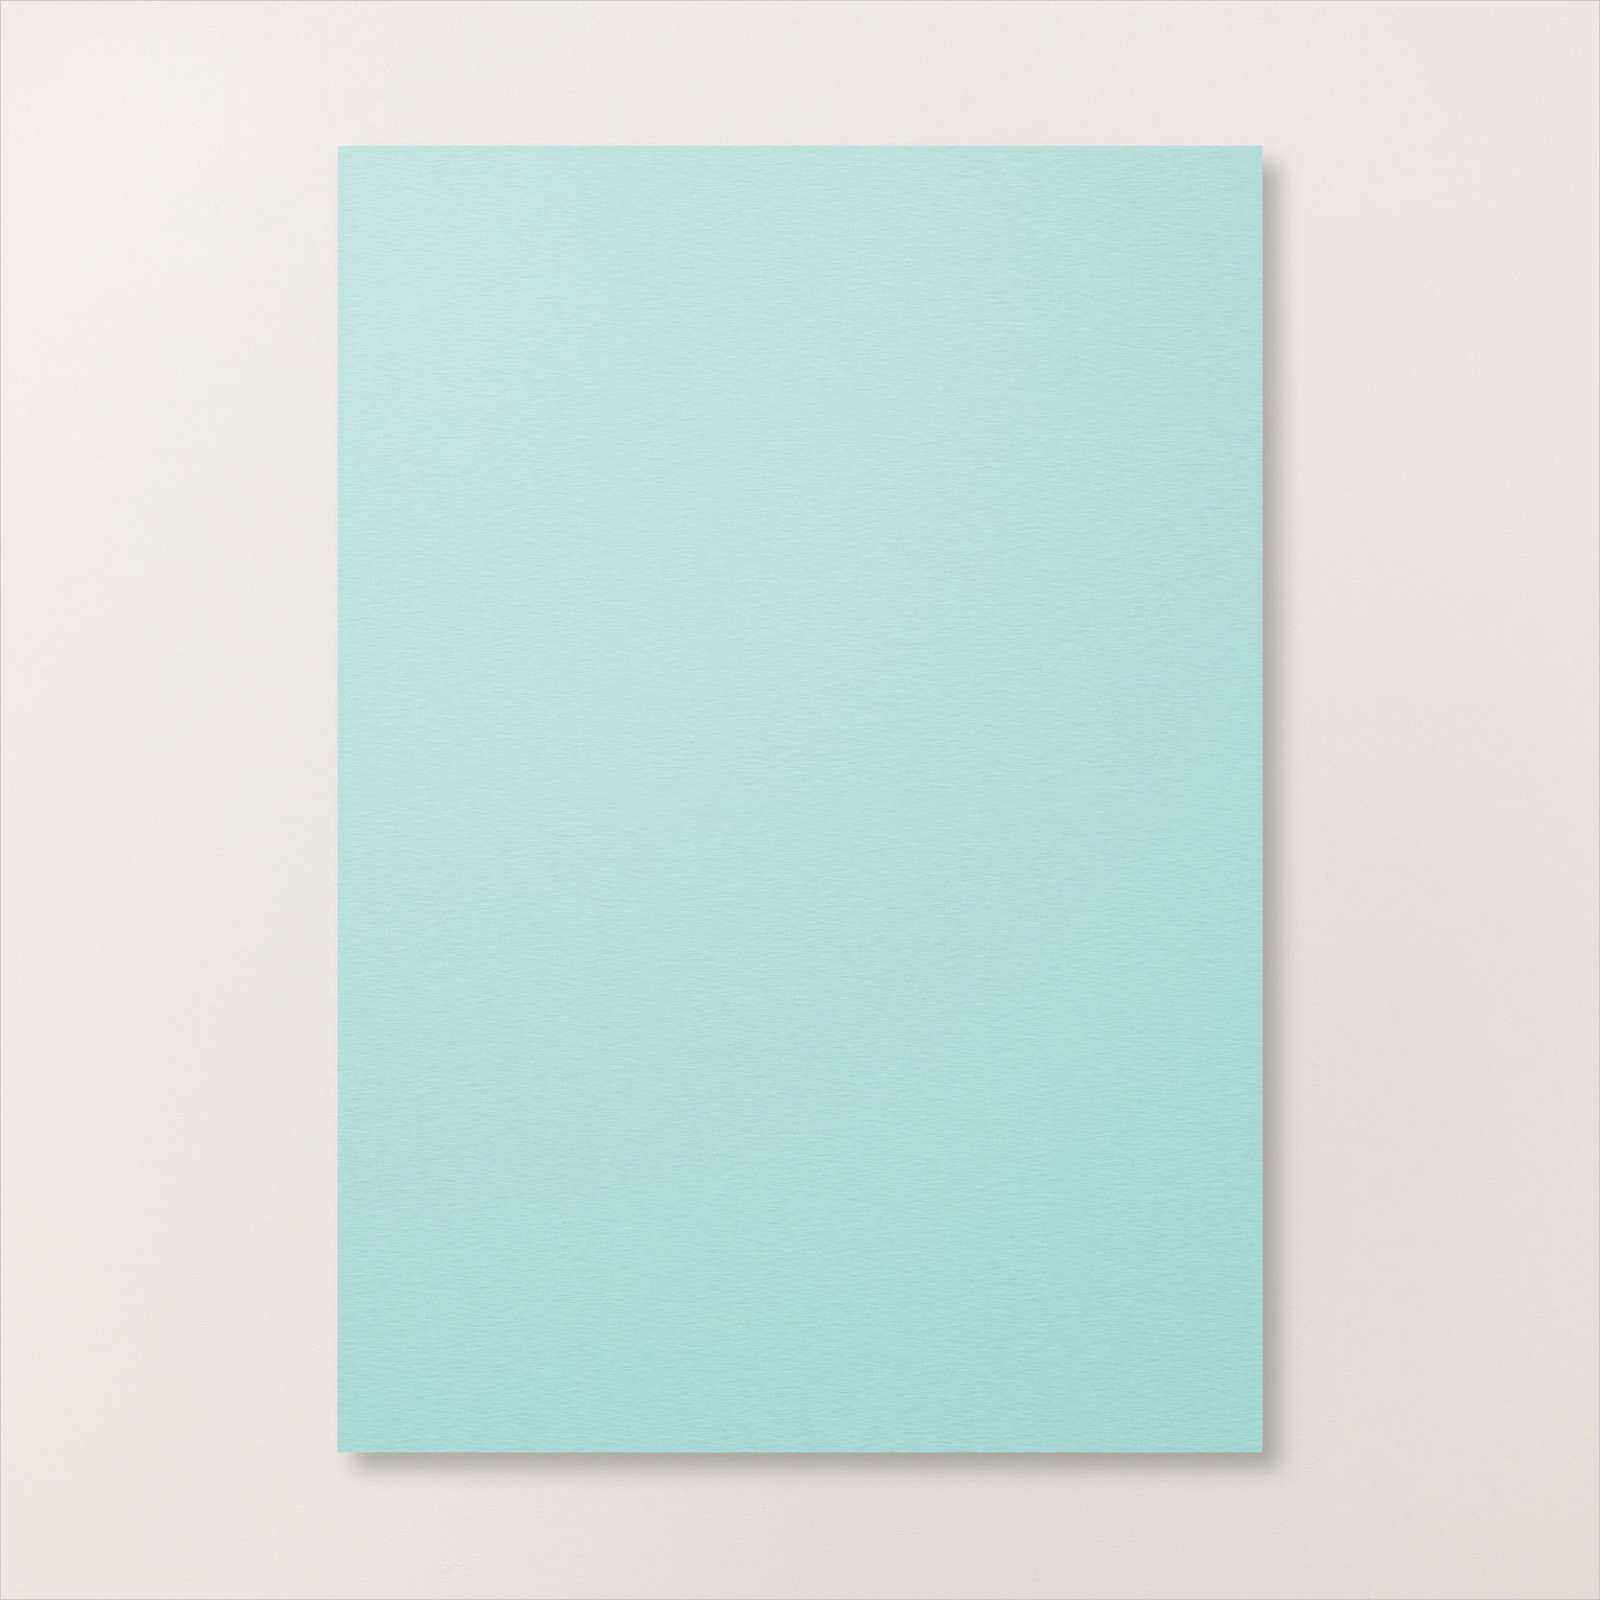
I embossed a strip of Granny Apple Green card using the Painted Texture 3D Embossing Folder and attached it over the Designer Series Paper. I embossed a larger piece of Pool Party card, embossed it using the Painted Texture 3D Embossing Folder and attached it over the right hand edge of the embossed Granny Apple Green card. I cut a circle from Gorgeous Grape card and embossed it using the Hive 3d Embossing Folder and attached it to the upper right hand corner of the page.

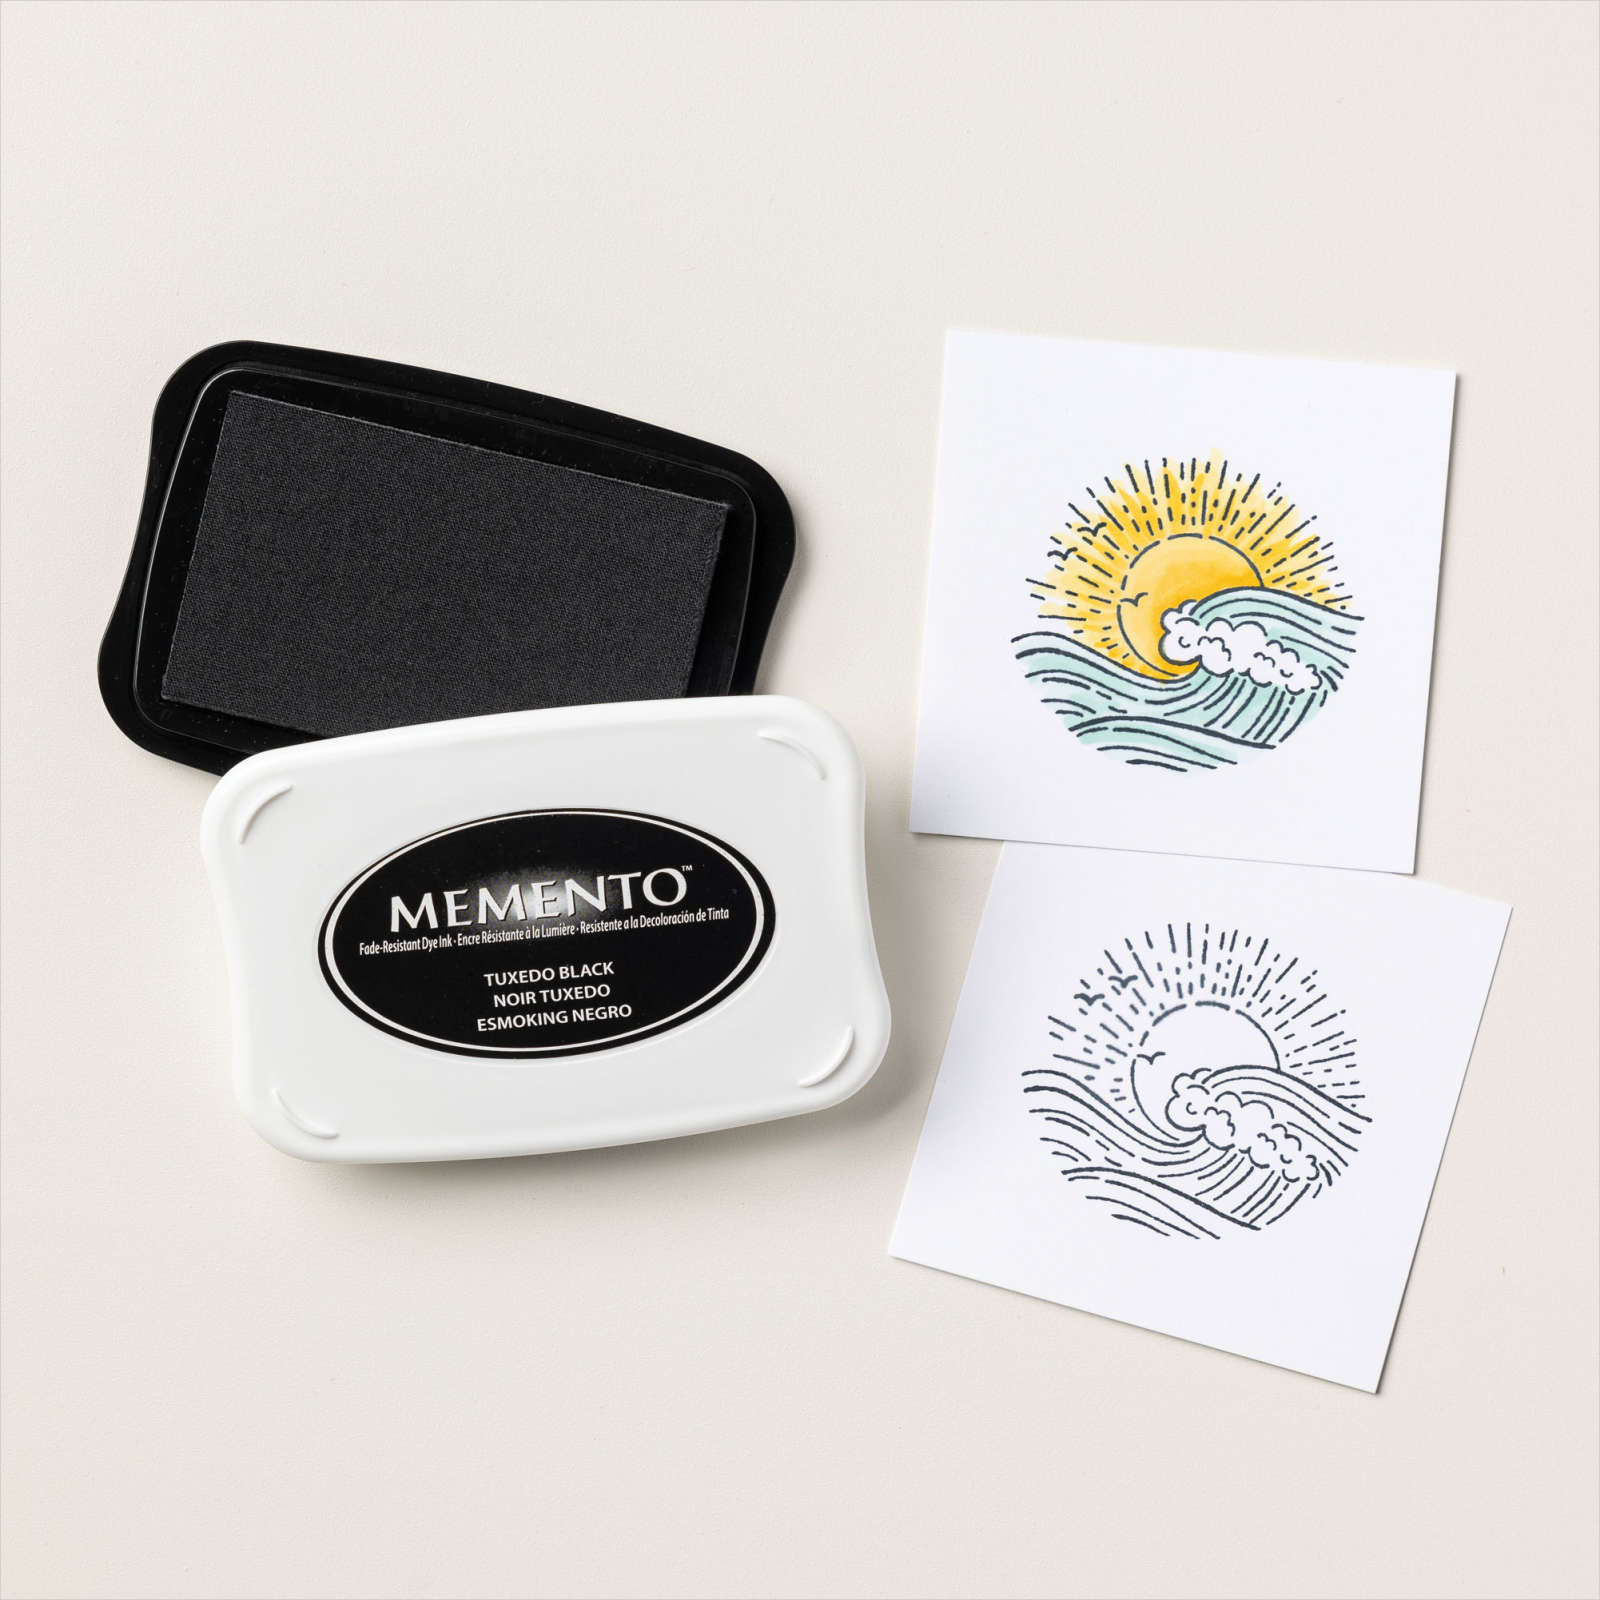
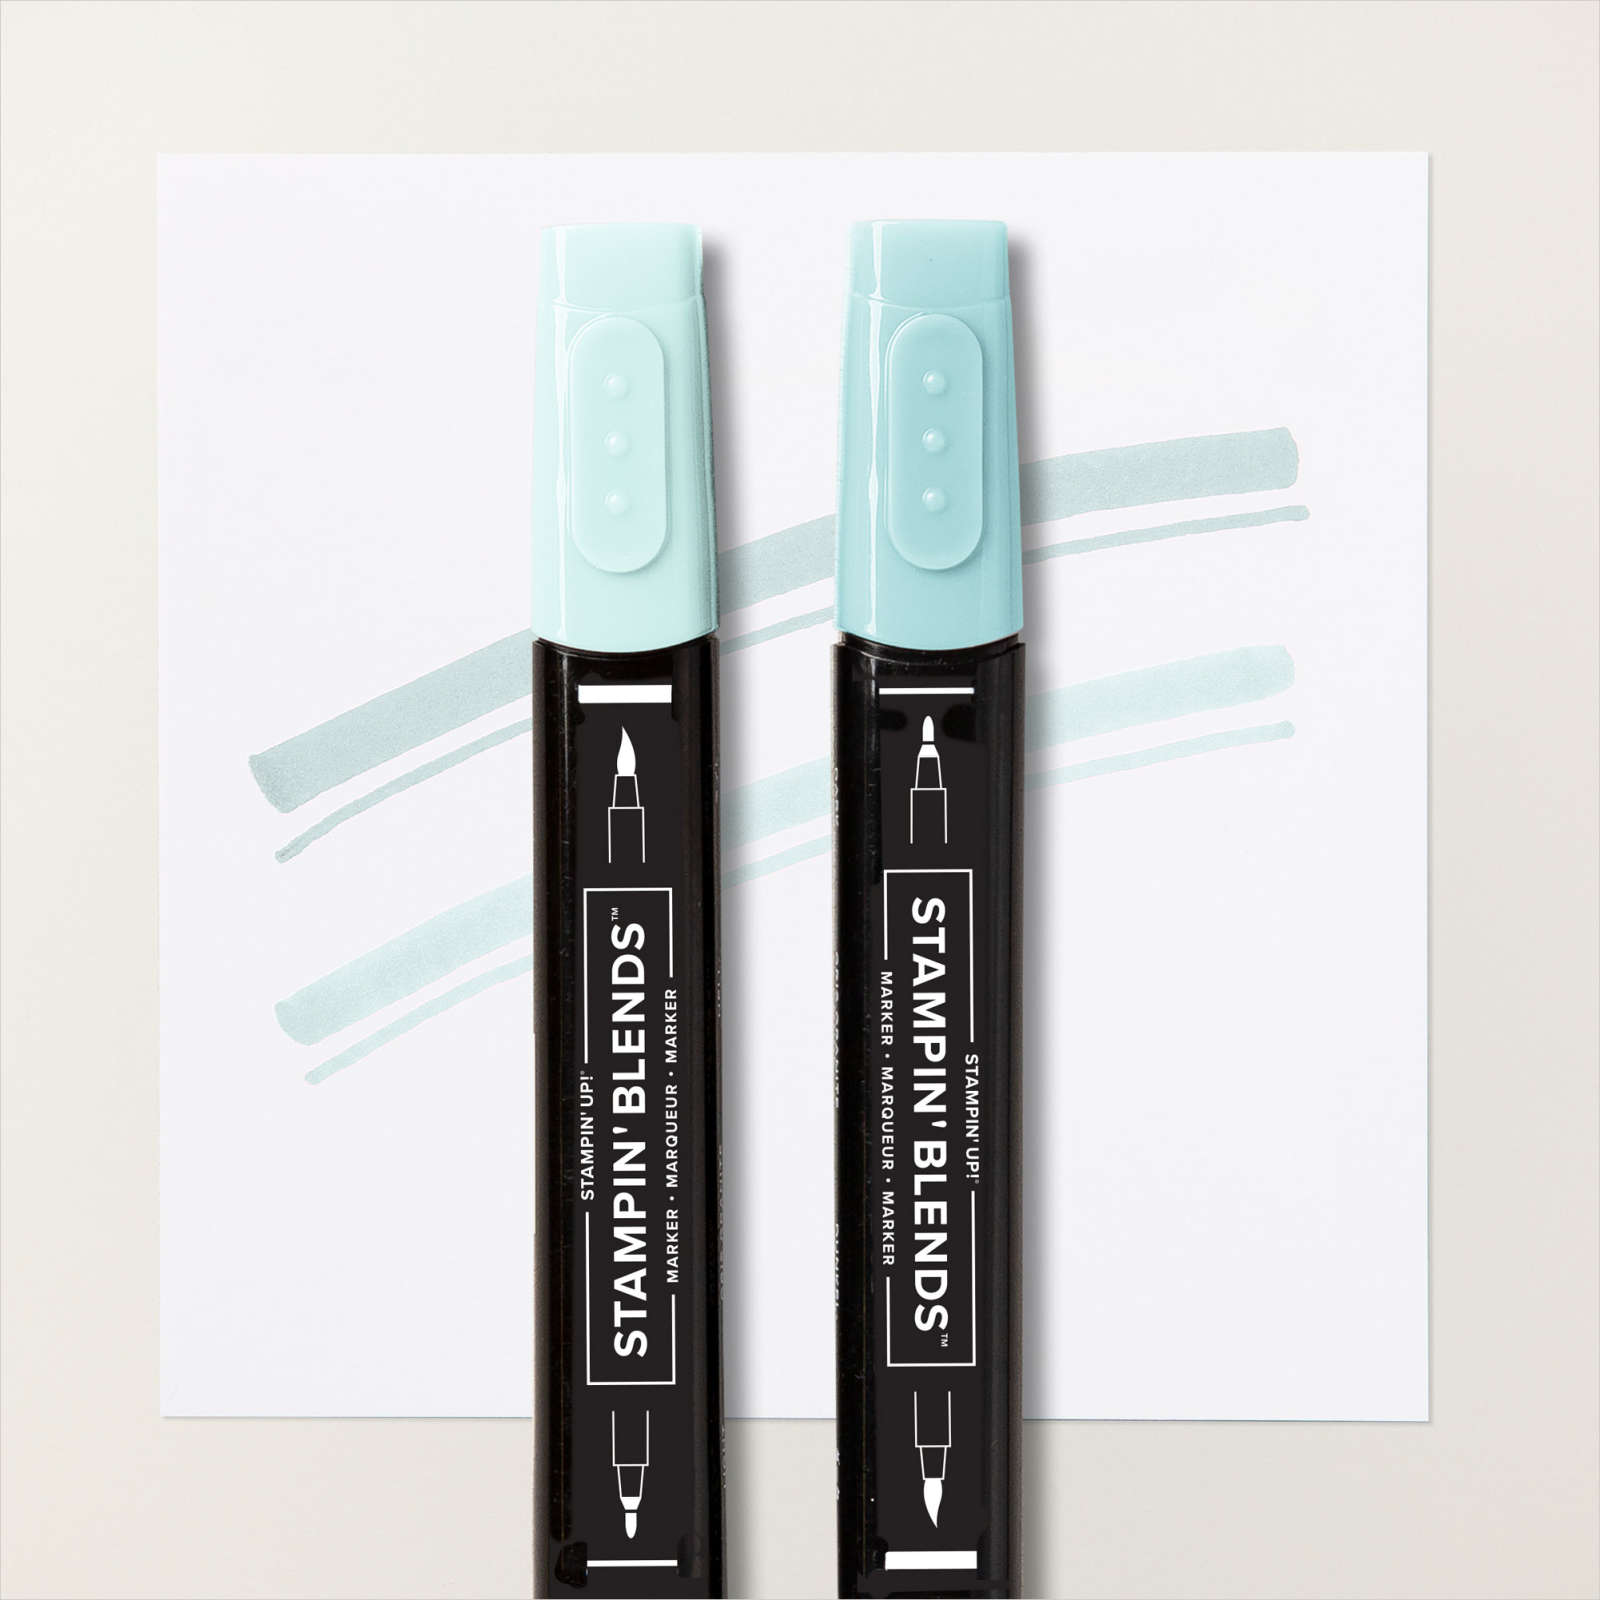
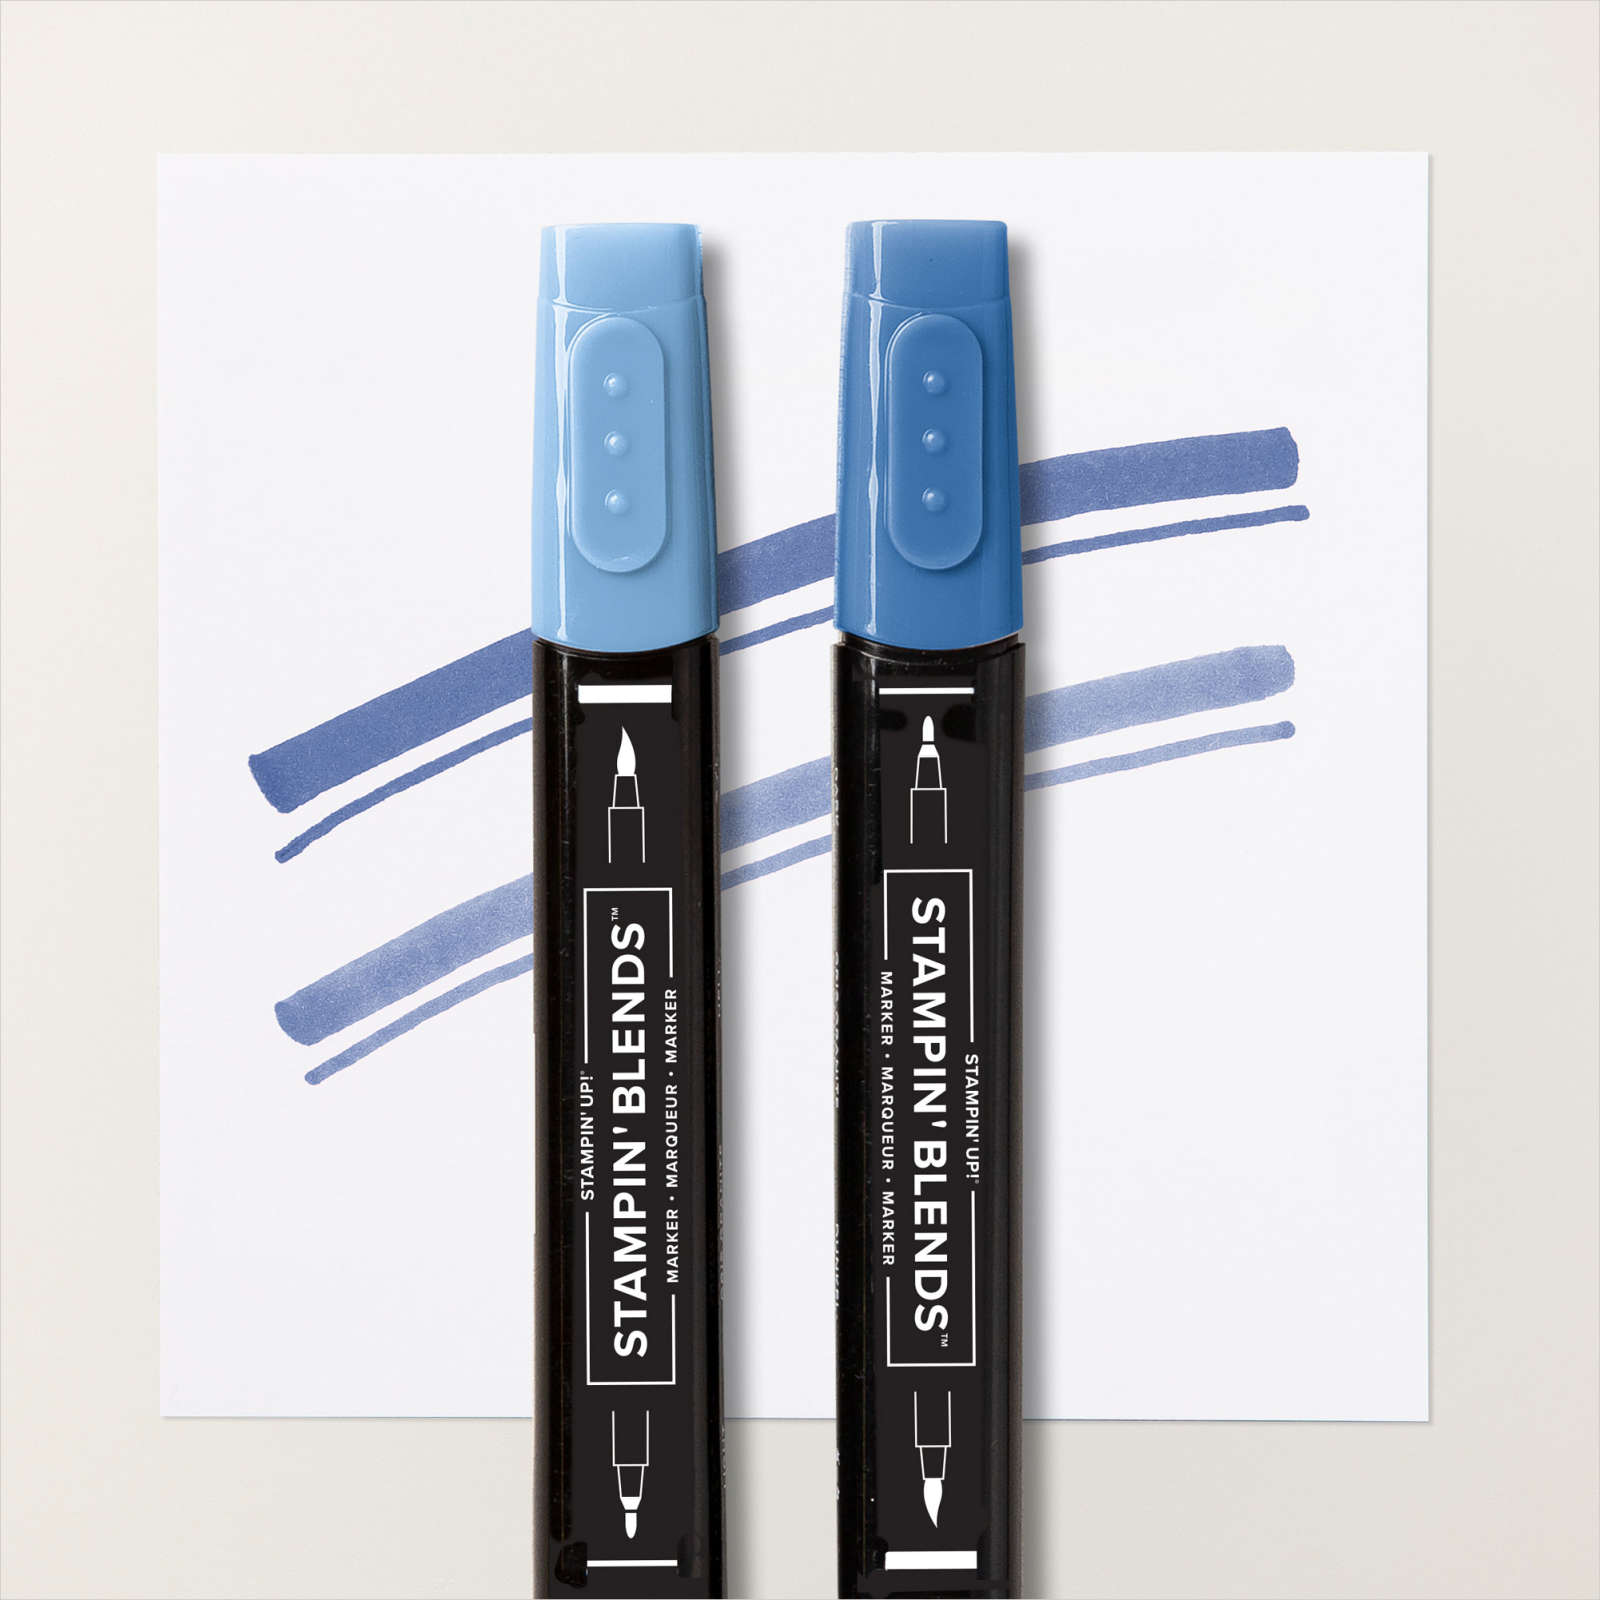
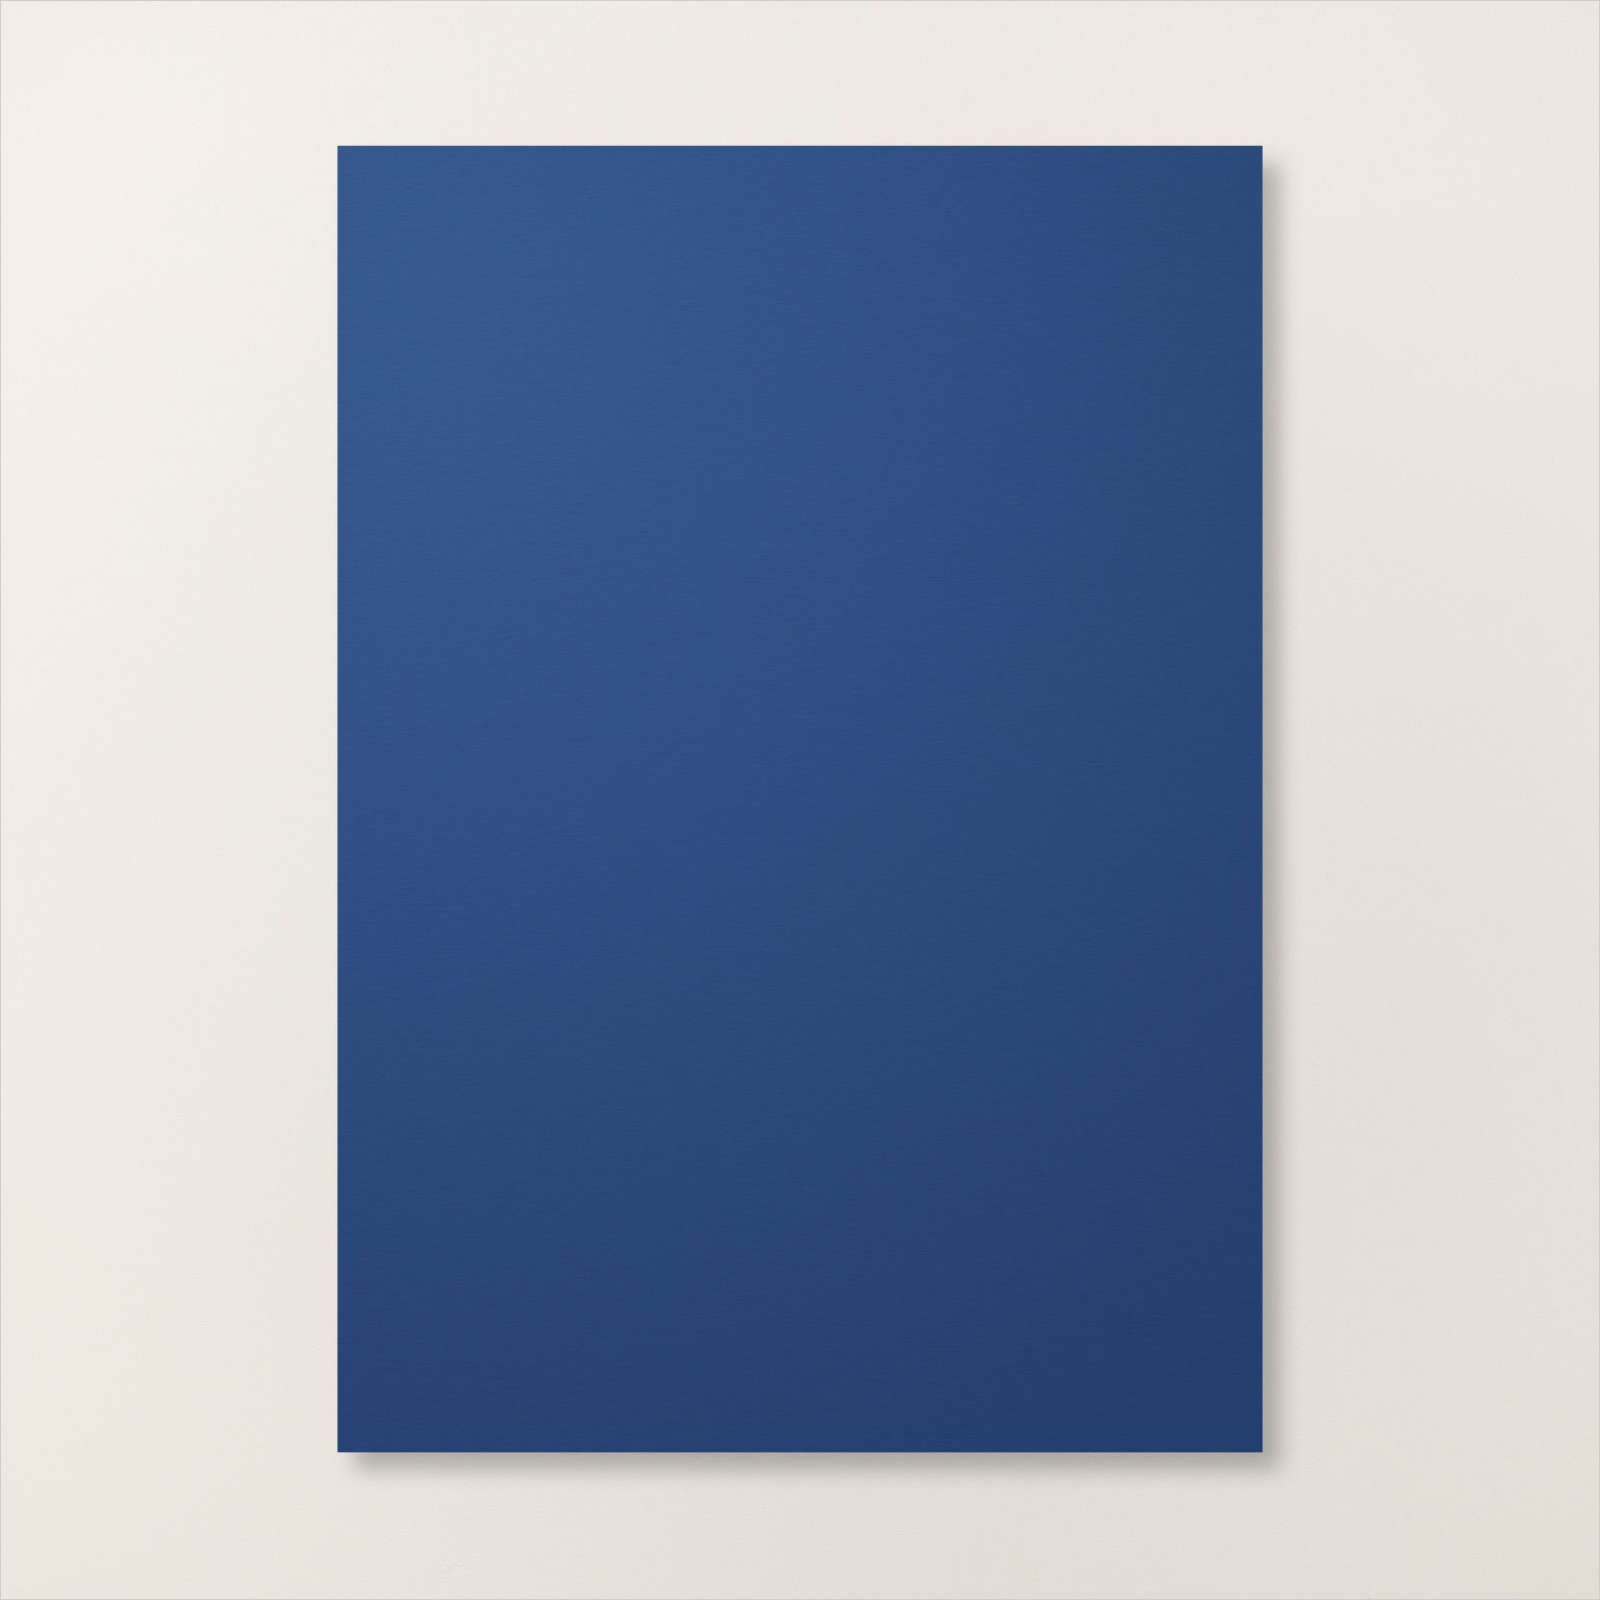
I attached the two photos to Night of Navy card before attaching them to the page, overlapping them slightly. I printed my journaling onto Basic White card, attached it to Night of Navy card and then the page. I cut the title from Basic White card using the now retired Playful Alphabet Dies and attached it to the embossed Gorgeous Grape circle. I stamped the umbrella, ball and goggle images from the long retired Day at the Beach stamp set onto Basic White card using Memento Tuxedo Black ink. I used Pool Party, Melon Mambo and Night of Navy Stampin’ Blends to colour the images. I cut out the images and attached them to the bottom of the journaling panel. I really love how bright and happy this page is, don’t you. I know that I use a lot of retired stamps and dies on my pages, but you know, when you scrapbook, you just can’t give away something you just might use!
Bye for now,
Kris
Product Used:


Christmas Wreath
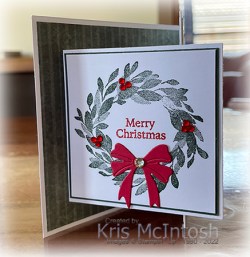
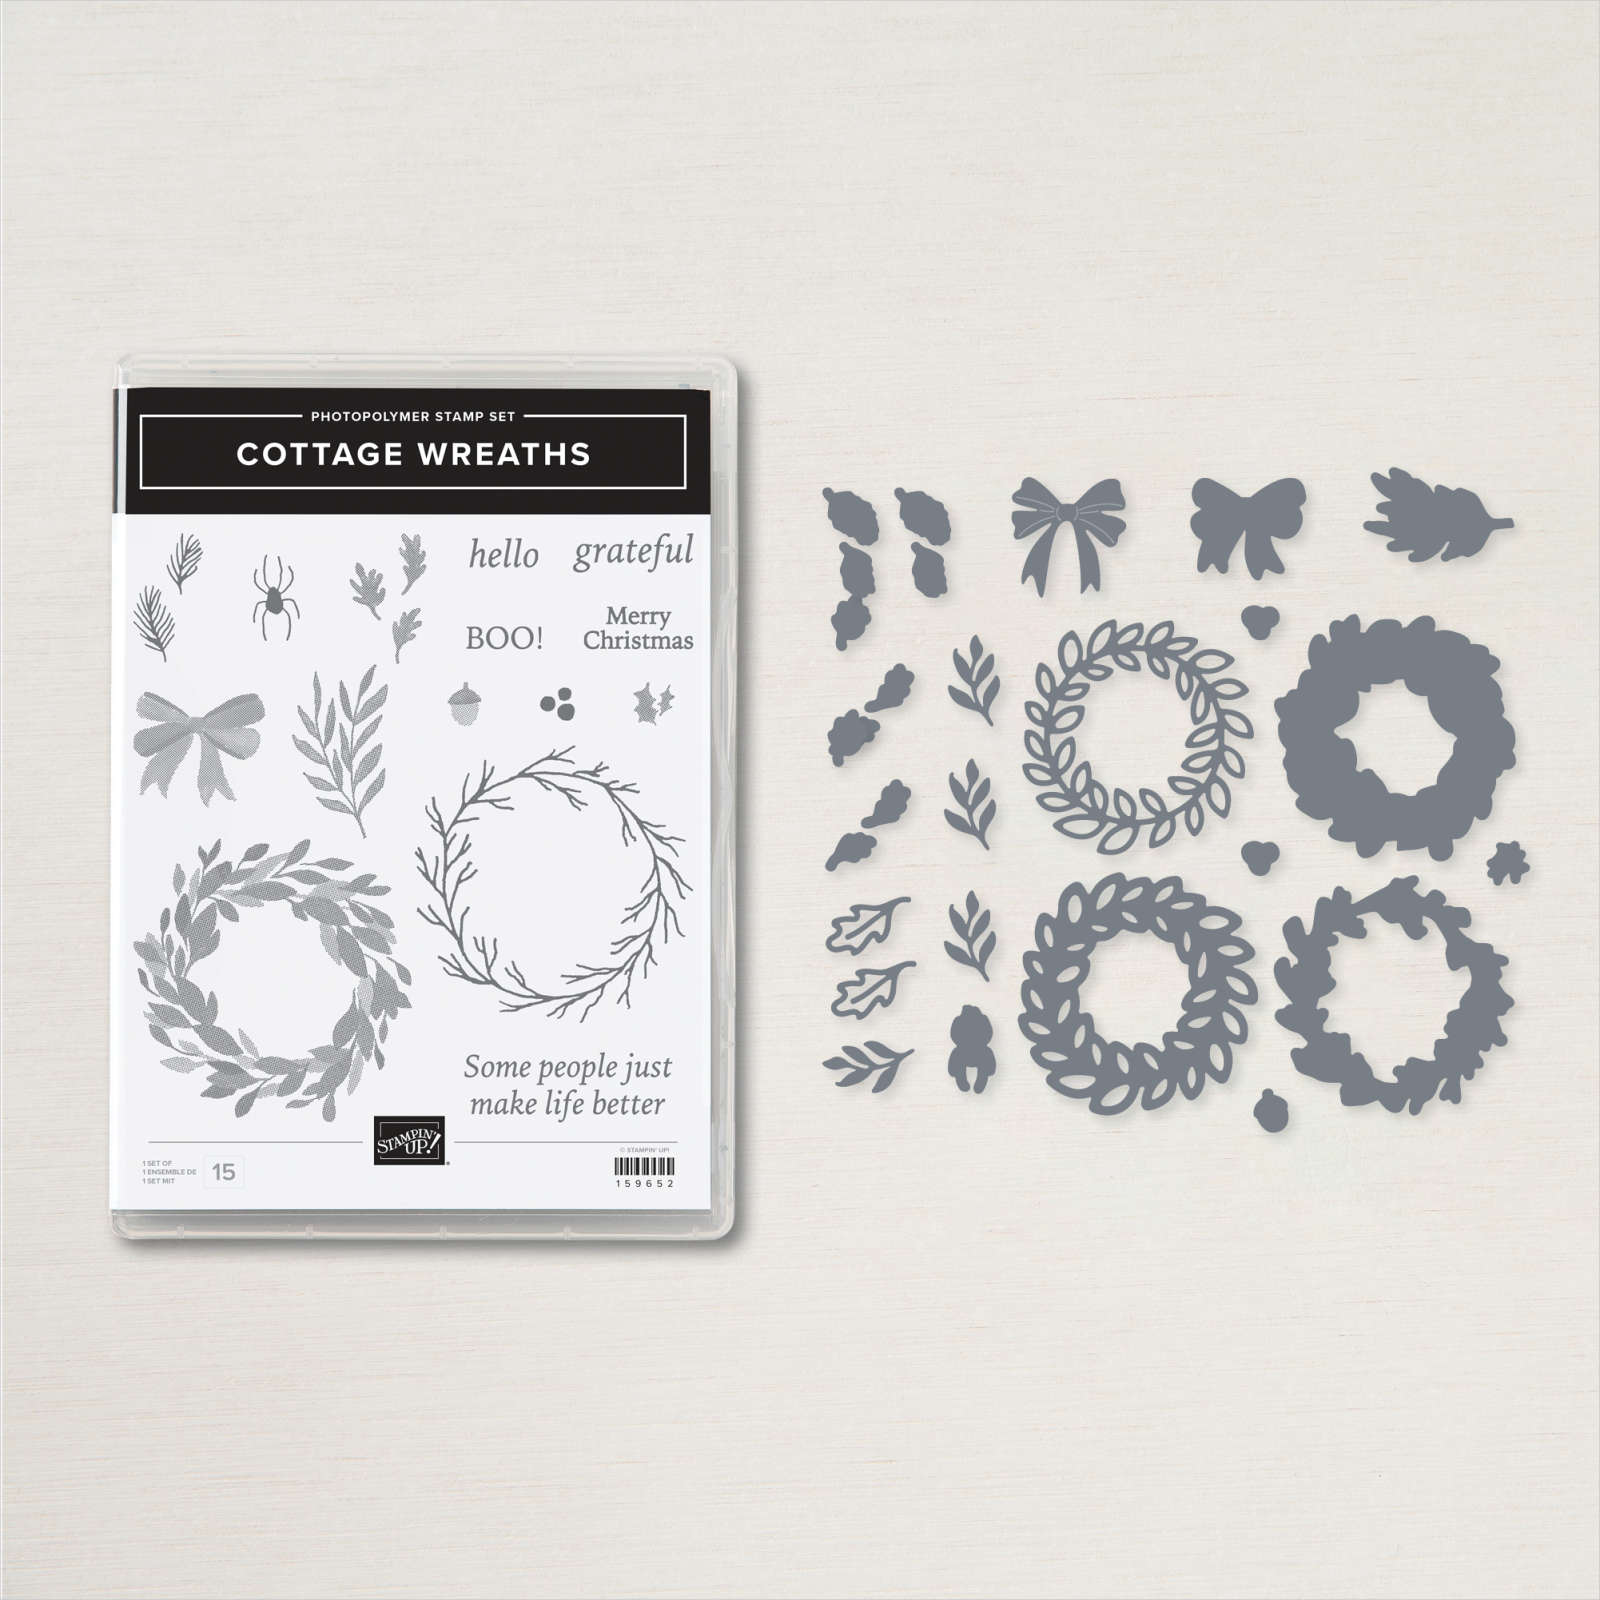
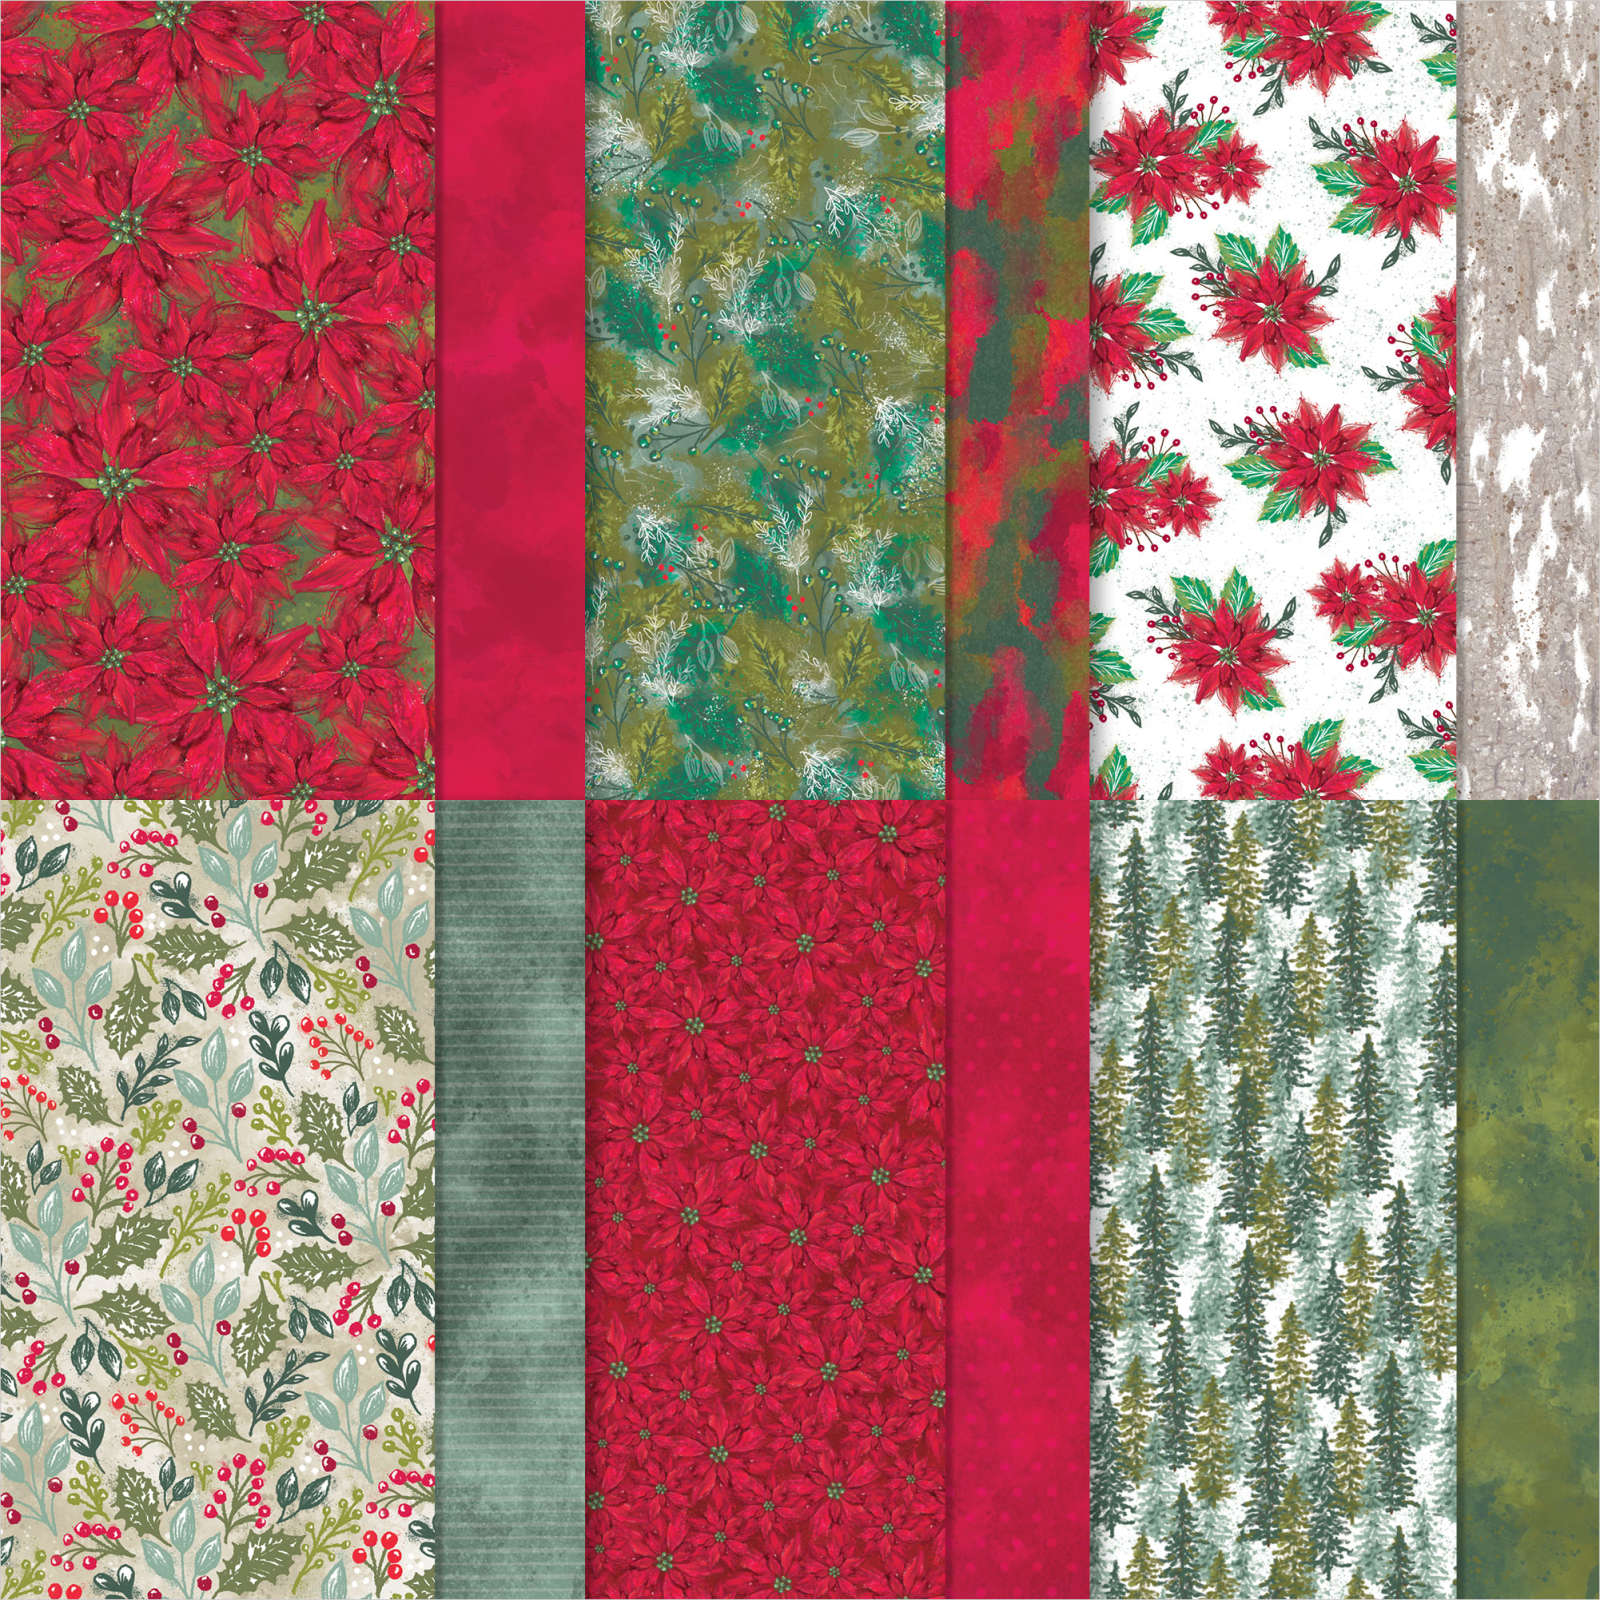
This week on my Facebook Live I shared some cards I made using the Cottage Wreaths Bundle and today I have another one for you. I found this gift card holder on Pinterest, however it doesn’t link to a tutorial so I decided to have a play and create something similar. I cut my card bases from Thick Basic White card and added layers of the Boughs of Holly 12″ x 12″ Designer Series Paper to the large card Base.
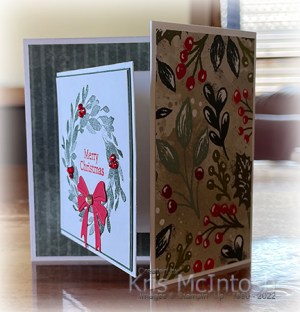
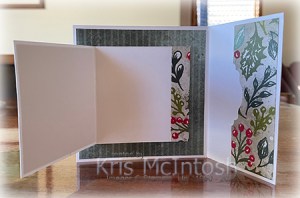
I punched the edge of the gift card pocket using the Label Me Lovely Punch before add Multipurpose glue down the sides only. I attached a narrow strip of Designer Series Paper down the right hand side of the inside of the small card base before attaching it to the large card base.
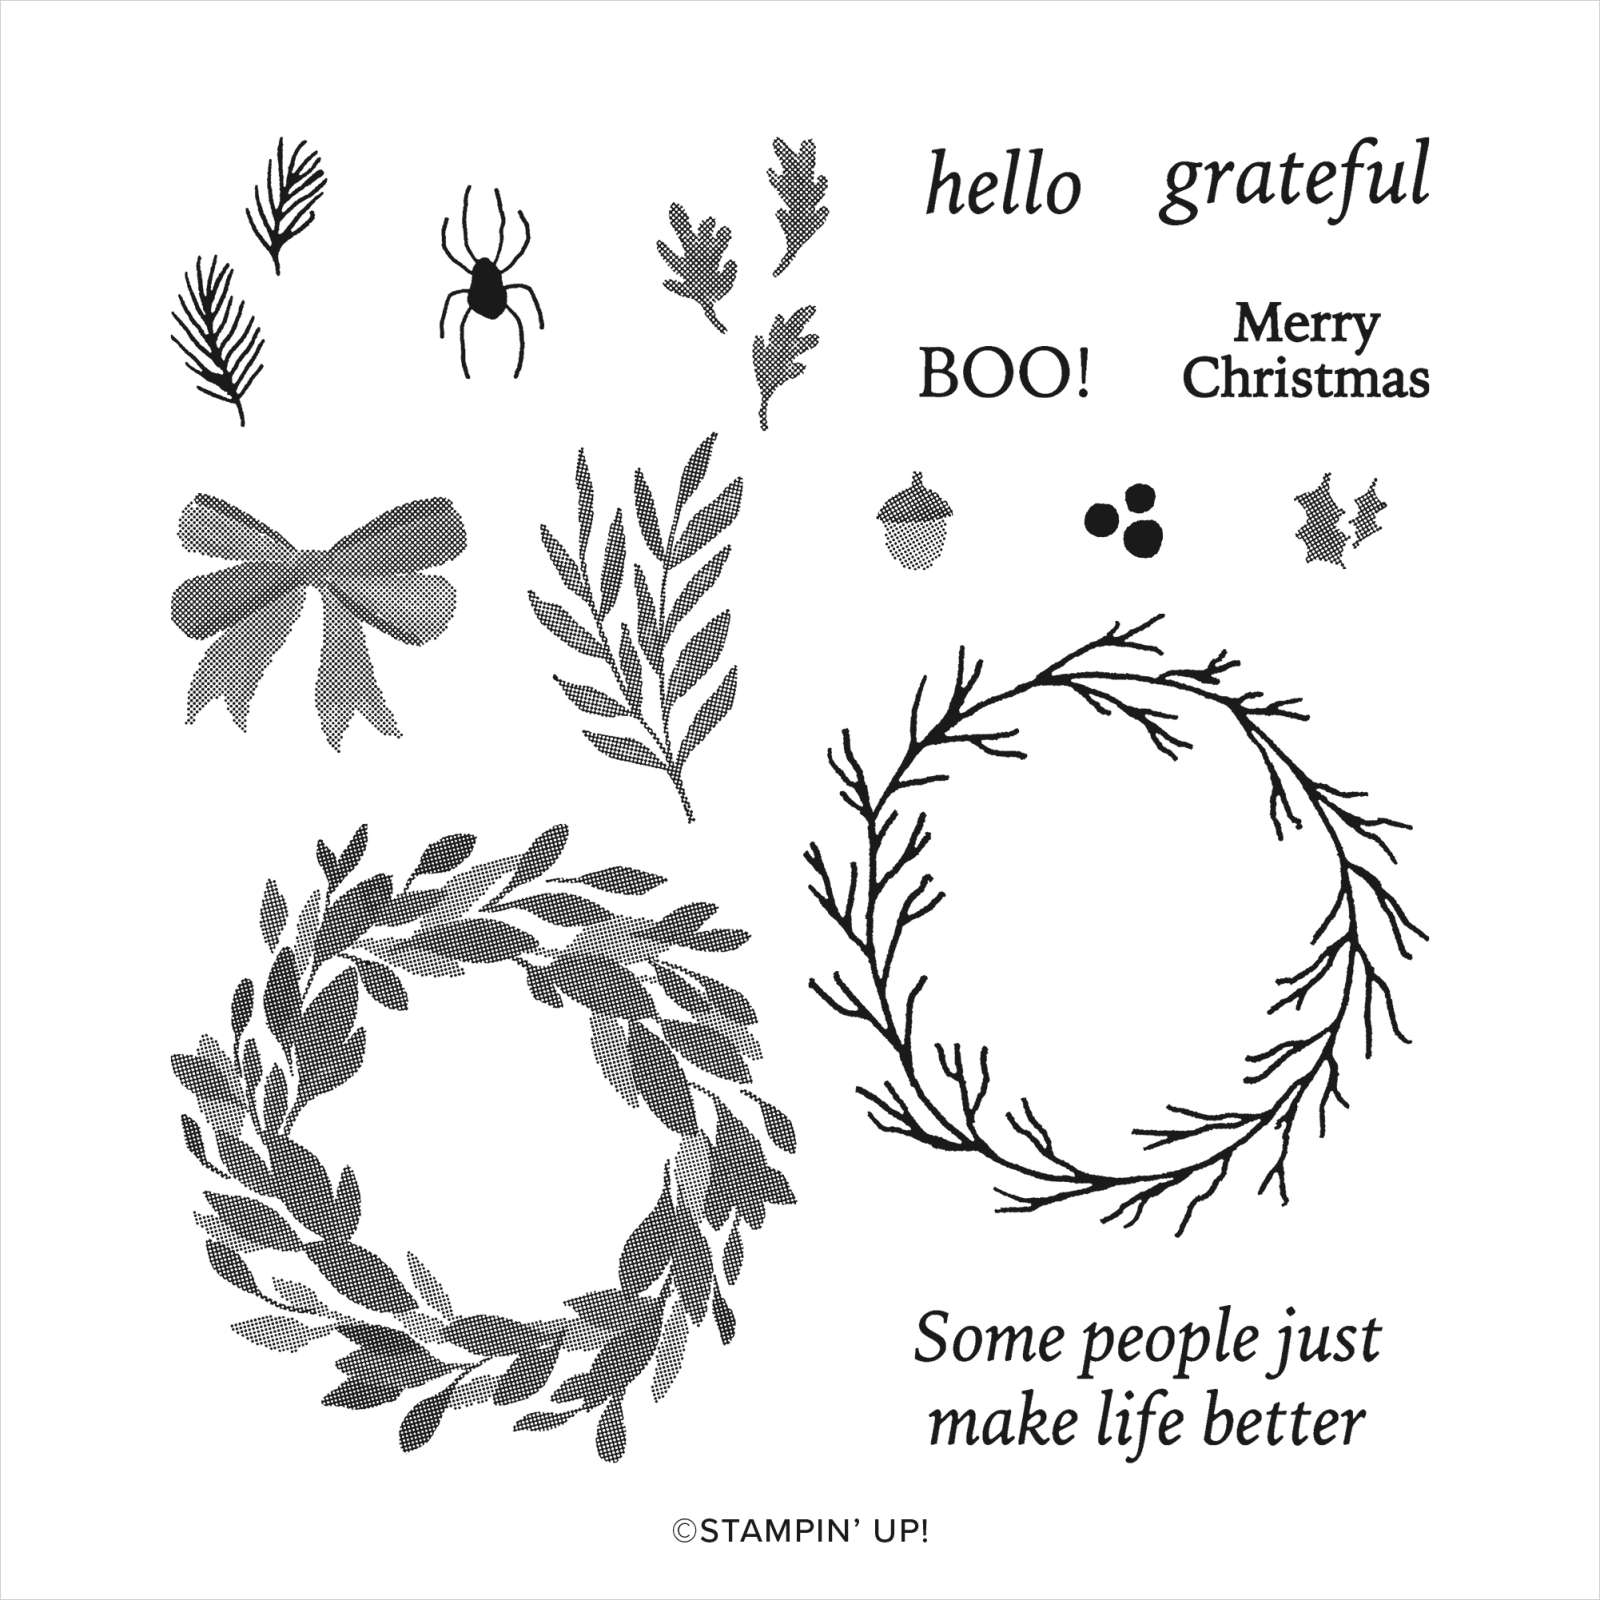
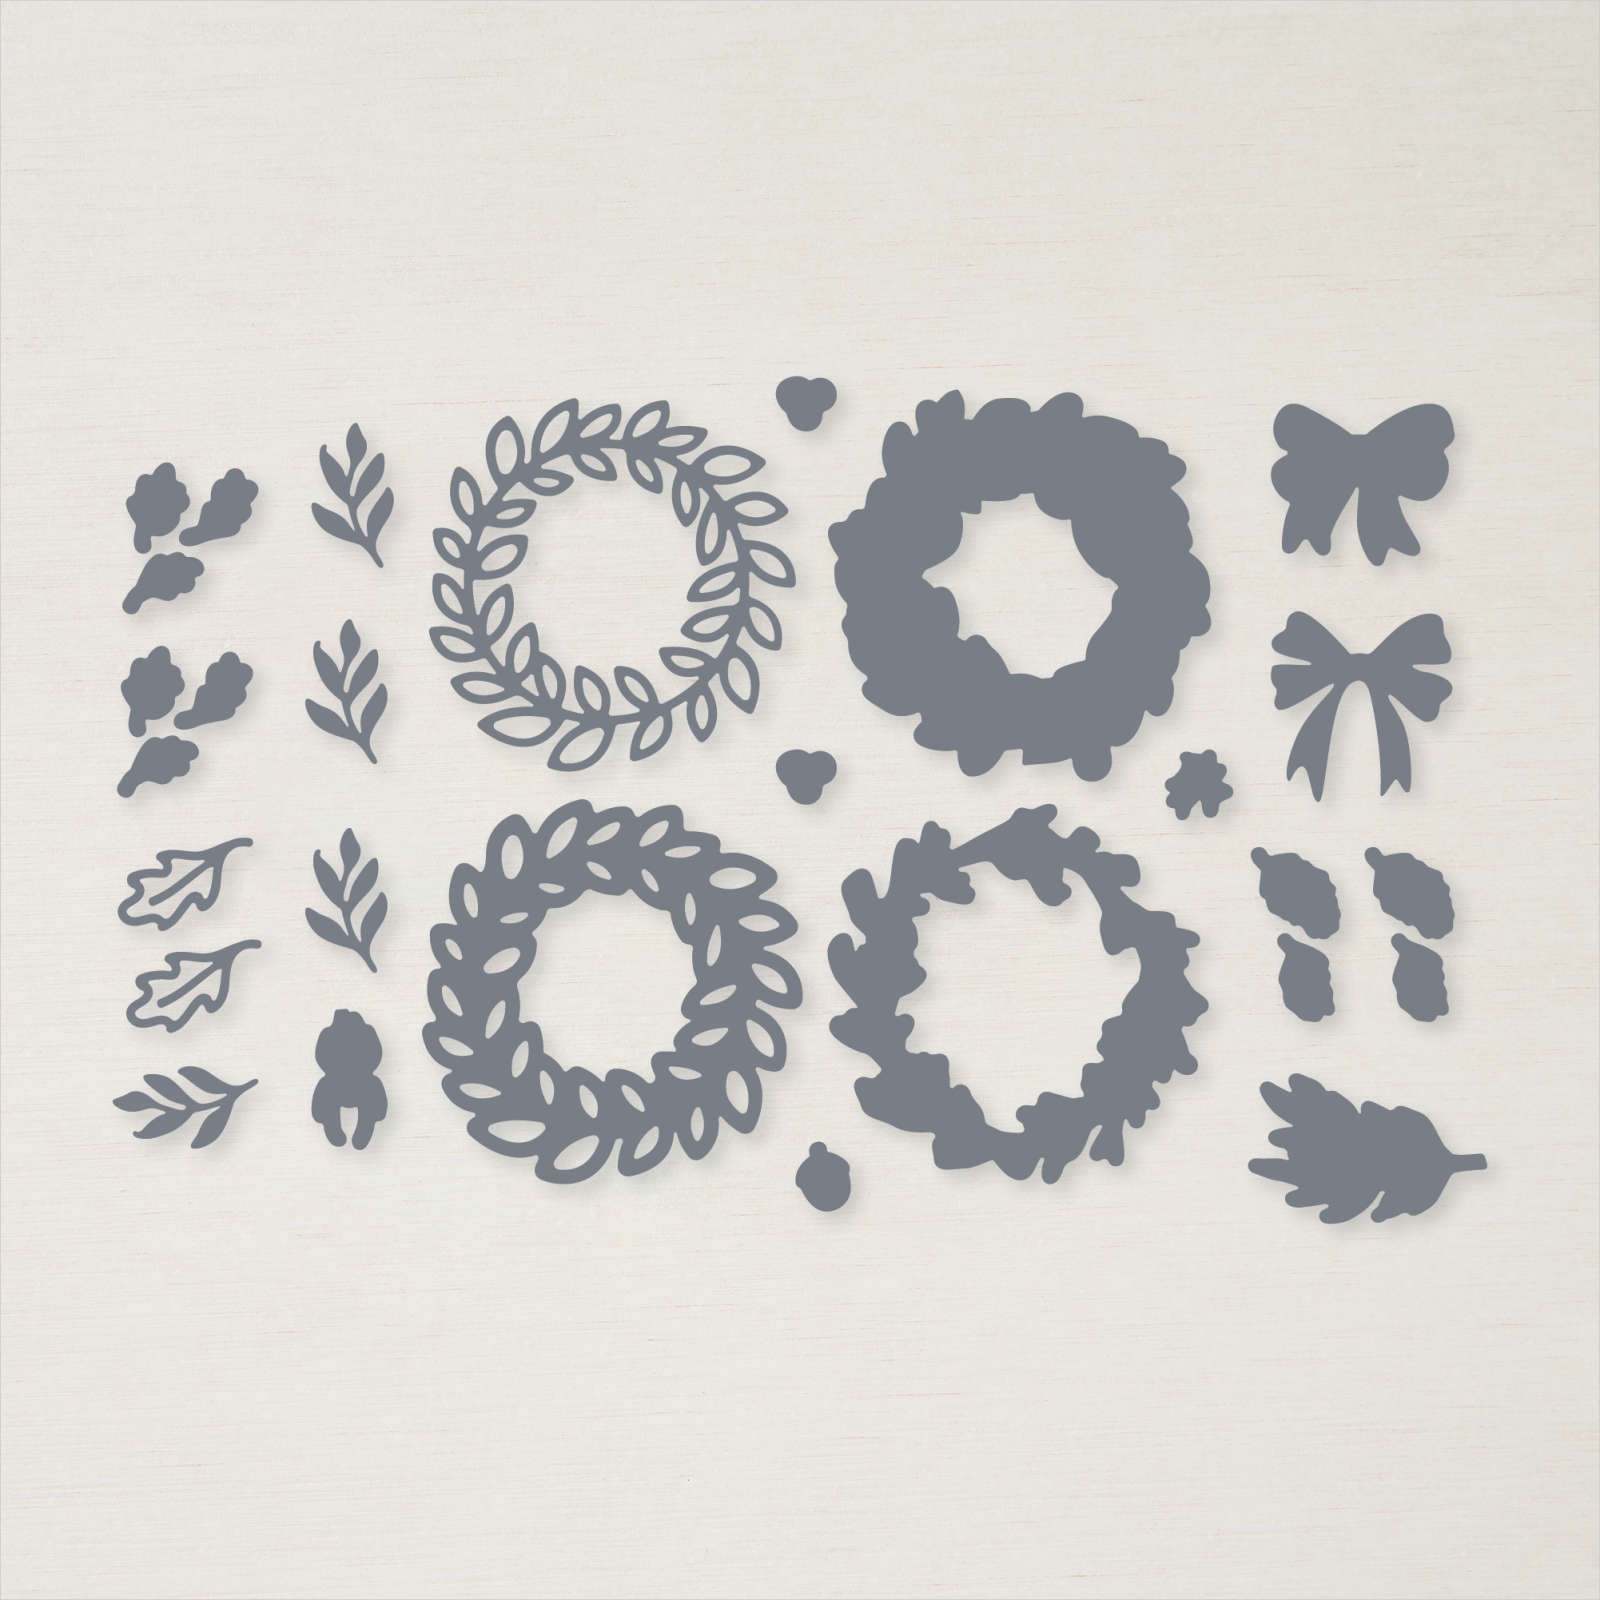
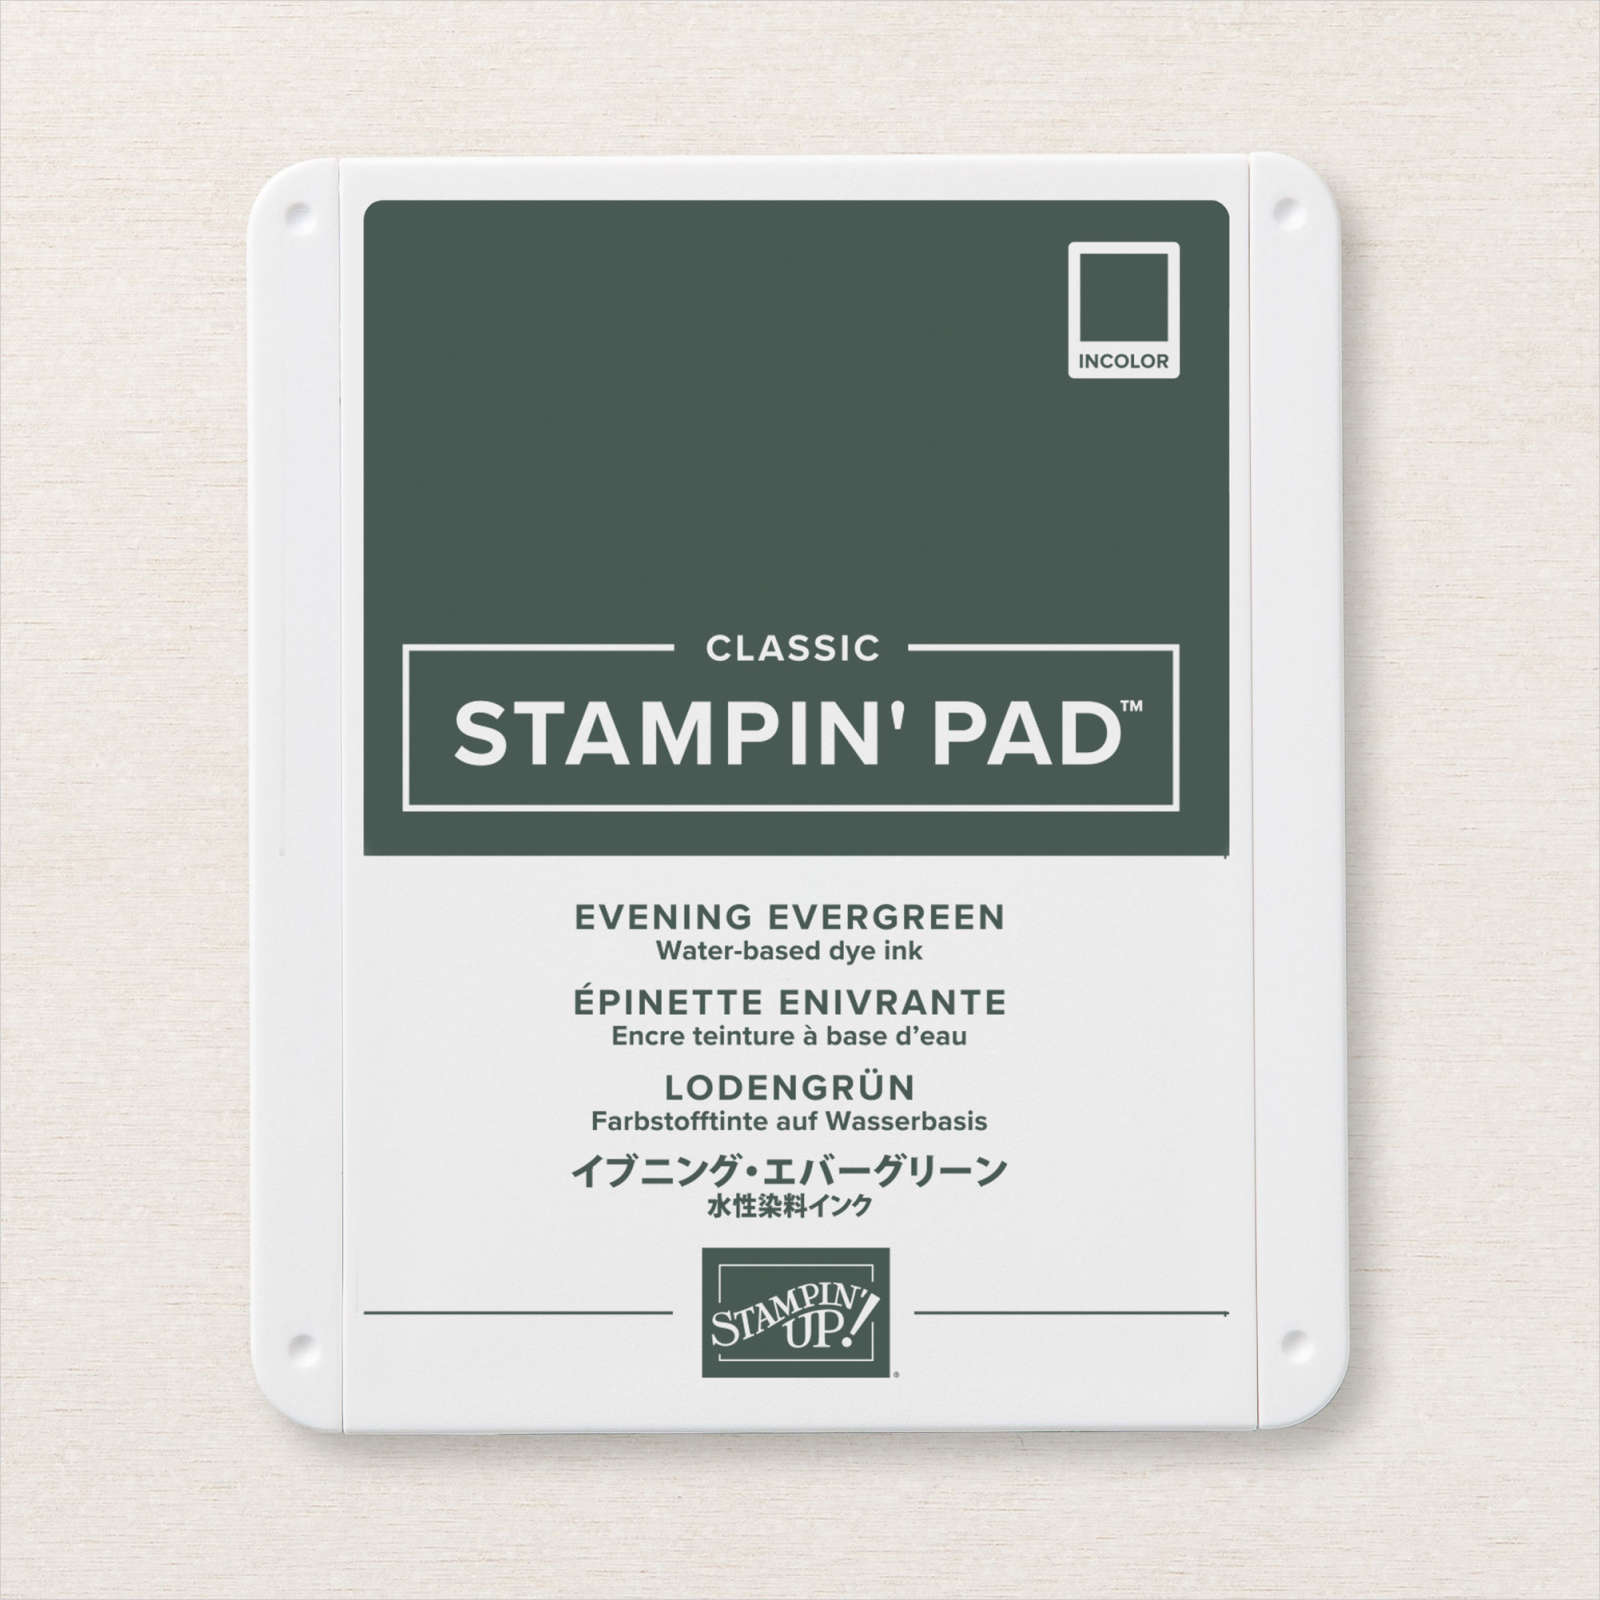
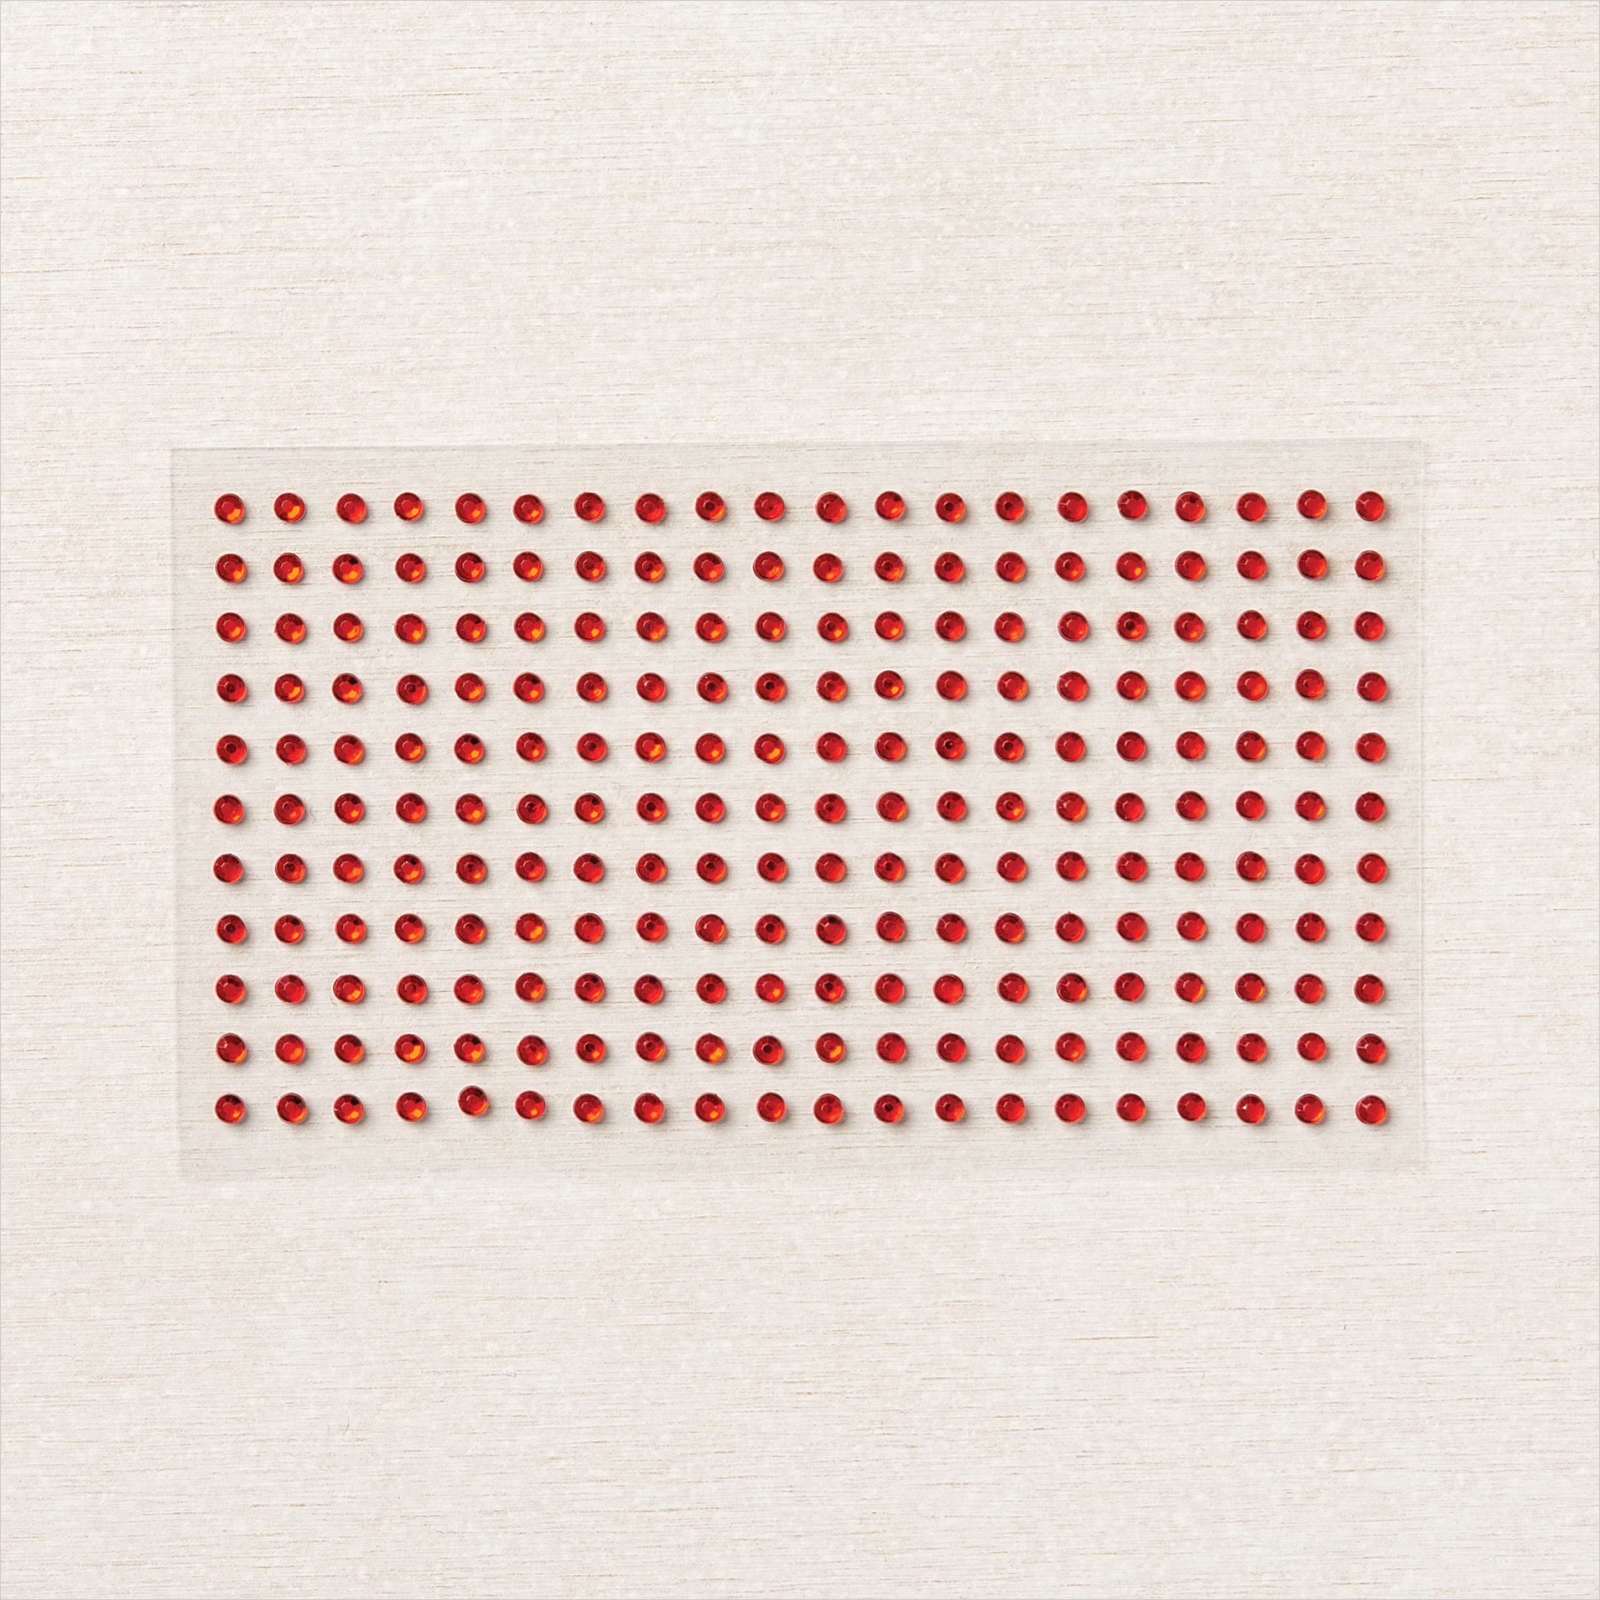
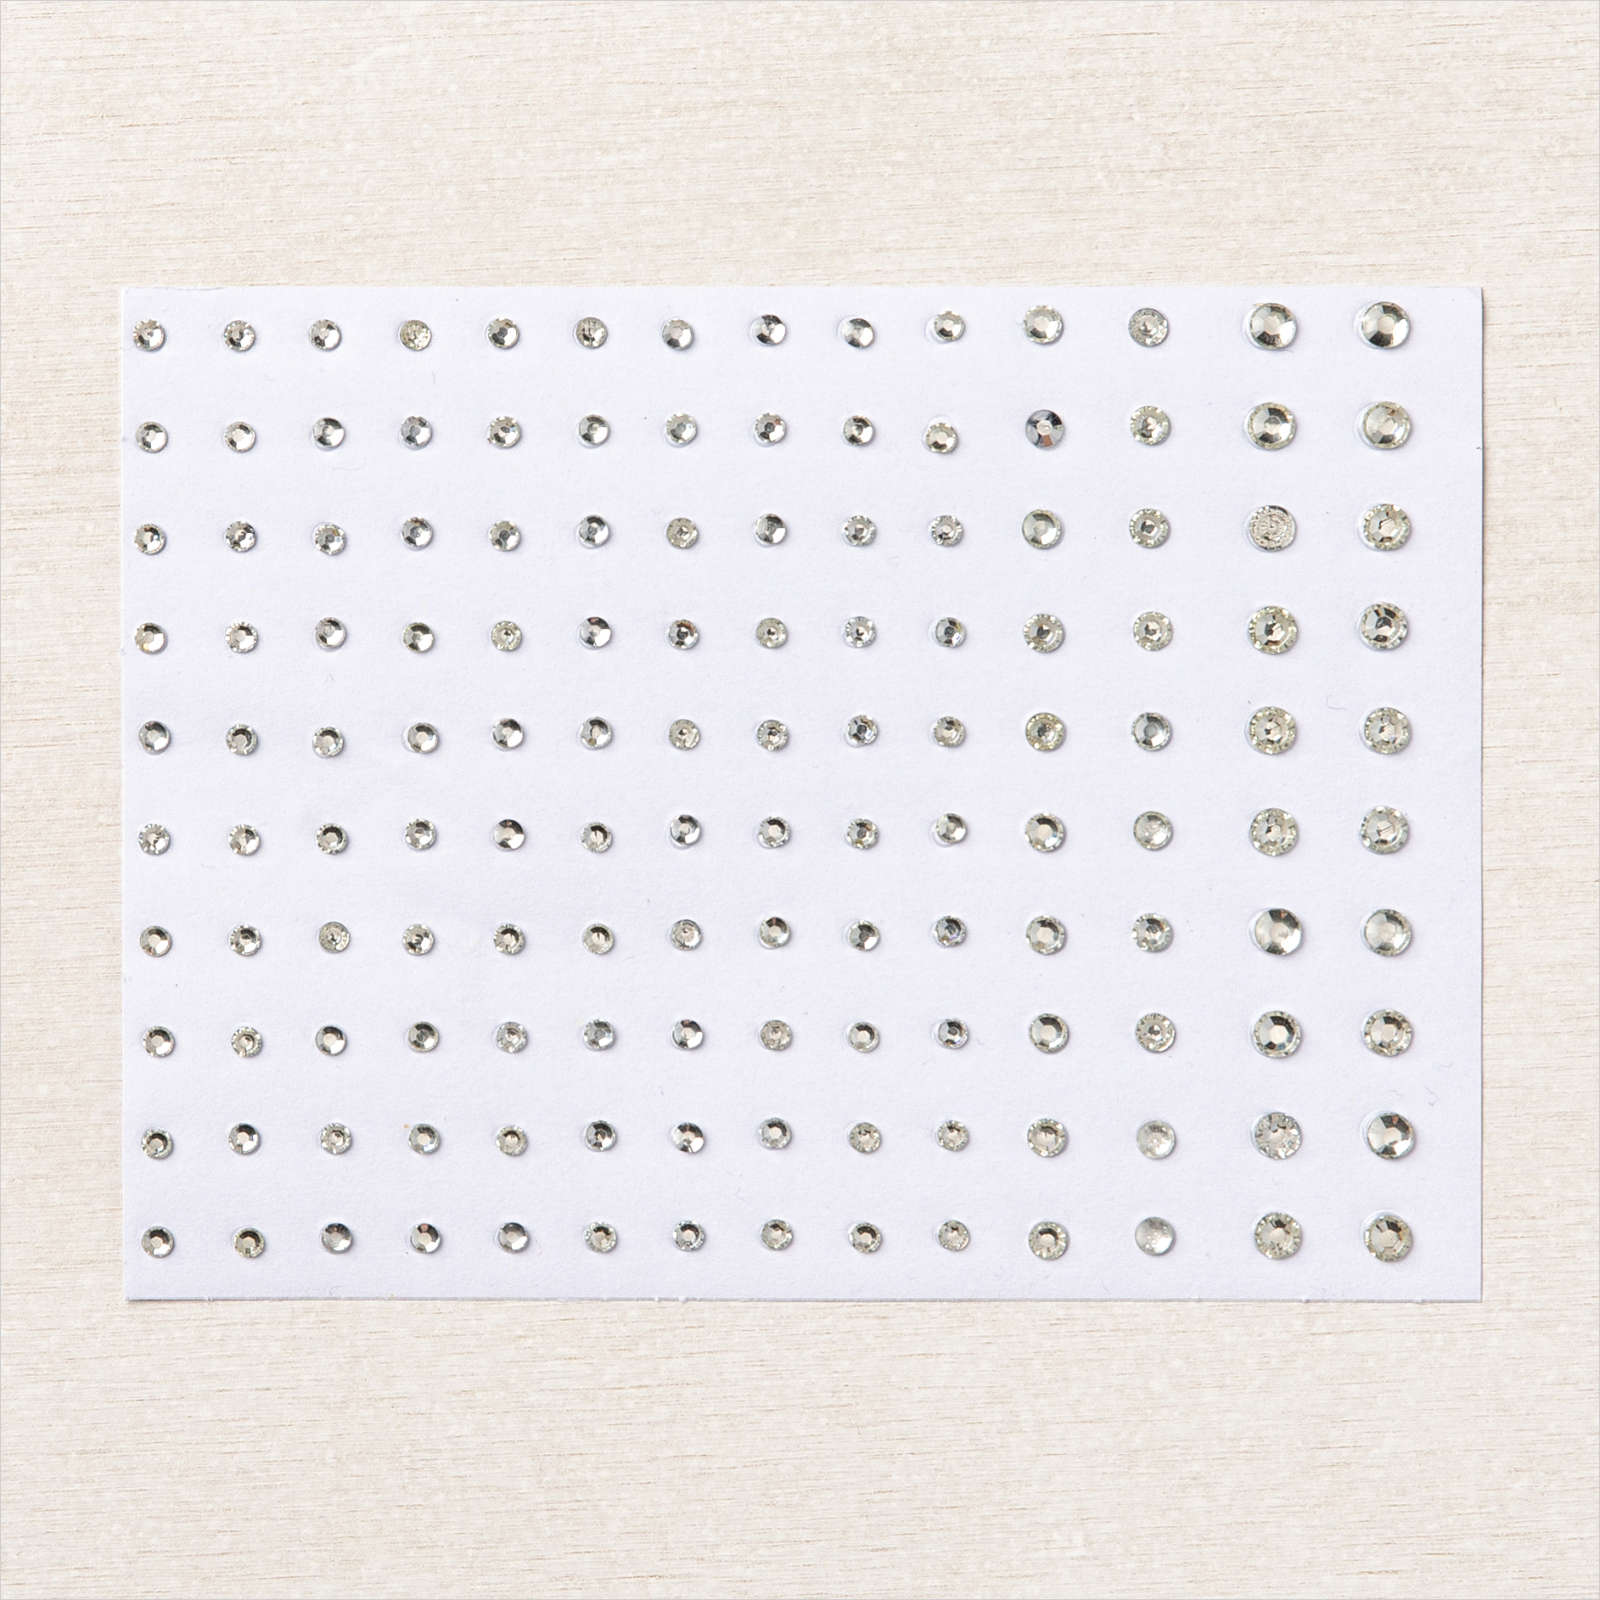
I stamped the wreath image from the Cottage Wreaths stamp set onto Basic White card using Evening Evergreen. I stamped the greeting from the same stamp set into the centre of the wreath using Real Red ink. I attached the panel to Evening Evergreen card and then the front of the small folded panel. I cut a bow from Real Red card using the Country Wreath’s Die. I added the die to the stamped wreath. To represent berries I added some Red Rhinestones. I also added one Basic Rhinestone Jewels to the bow. Such a simple idea but a great way to give a gift card this Christmas.
Bye for now,
Kris
Product Used:


Framed Birthday

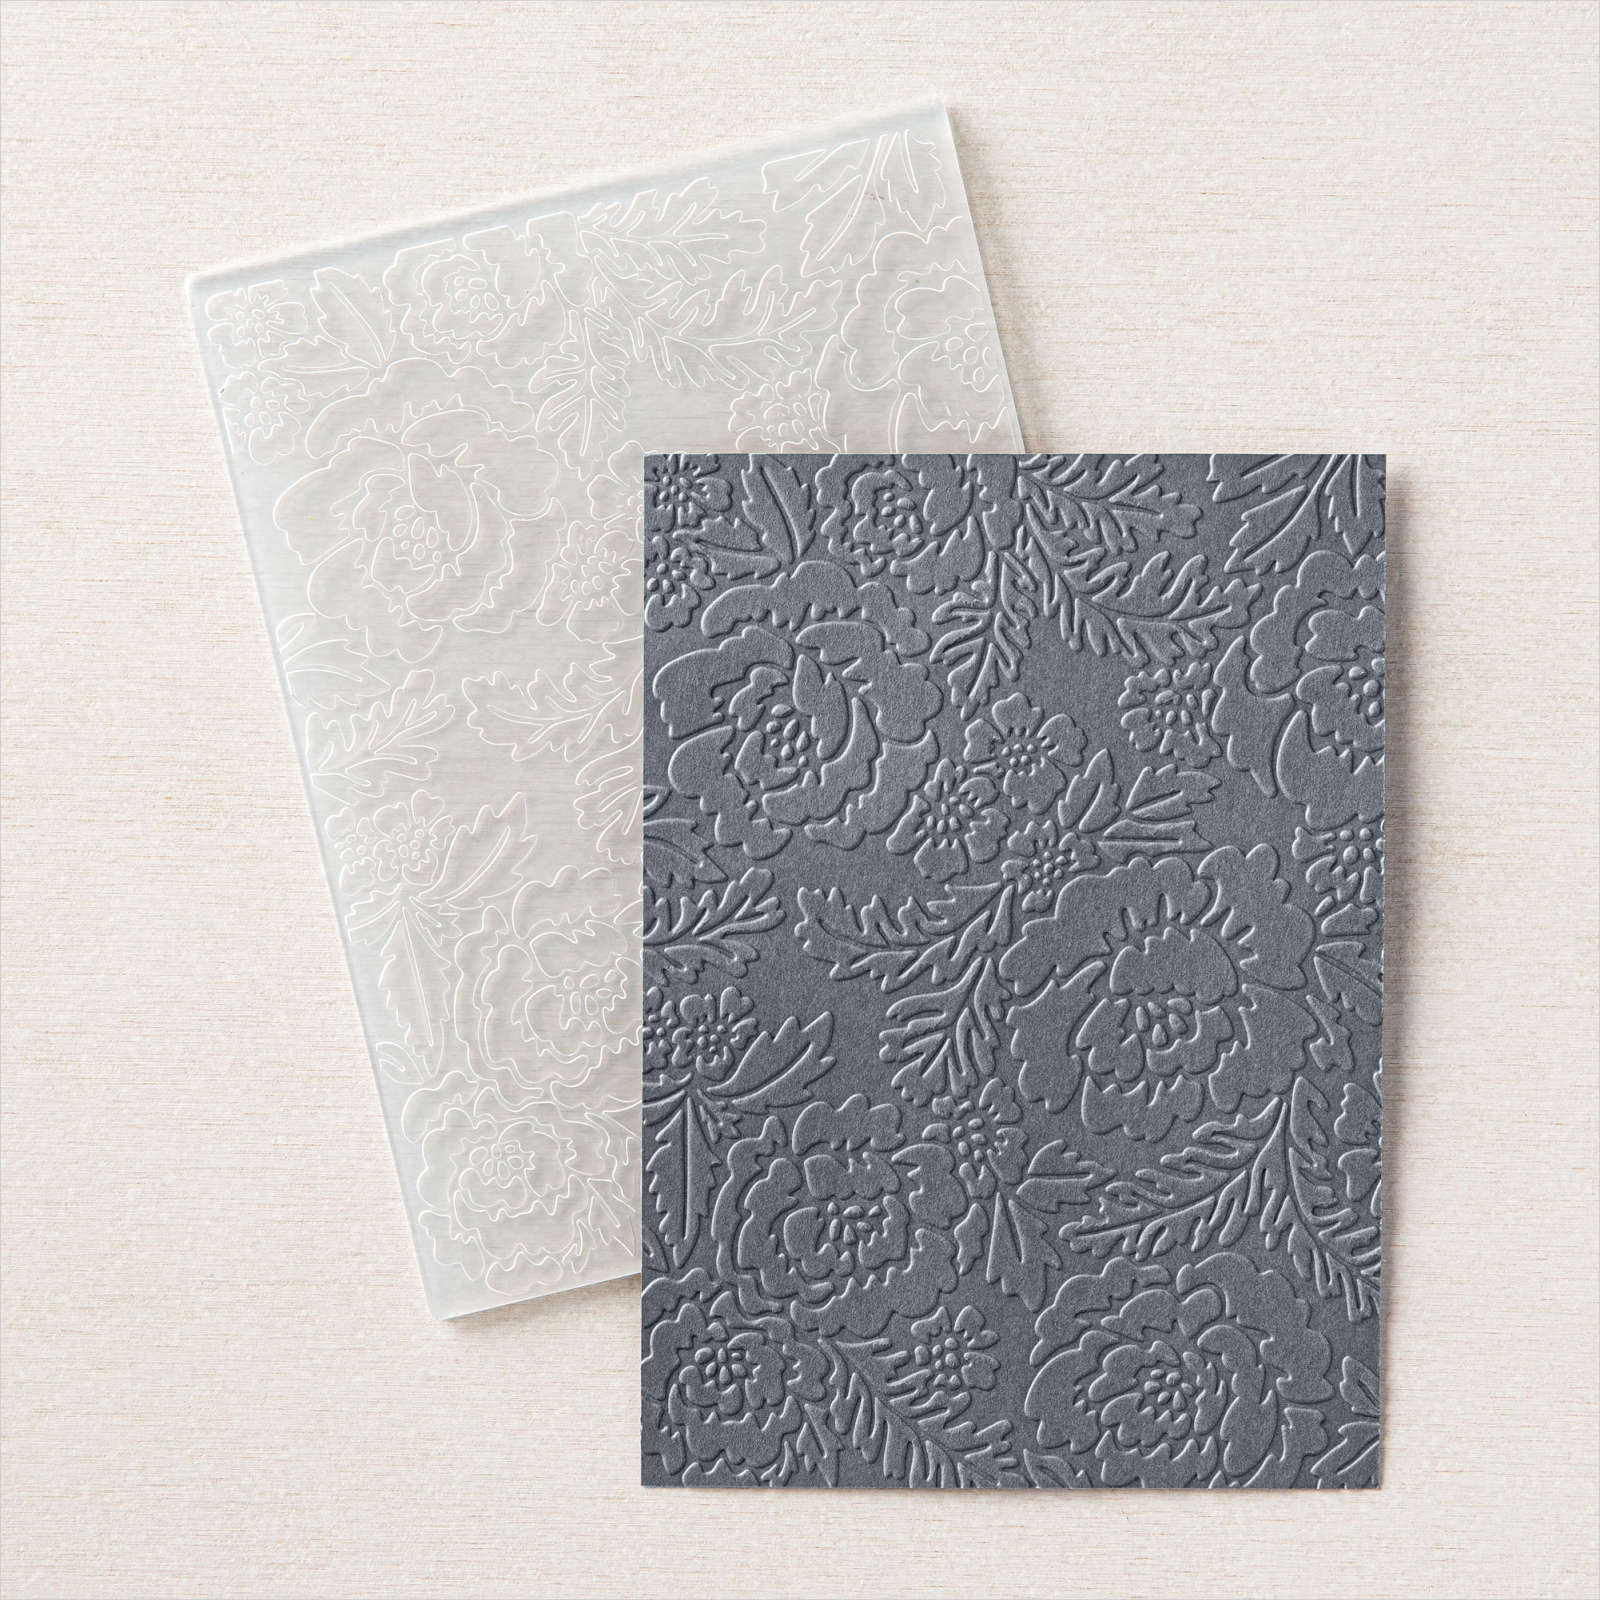
Today I am sharing a card I made for a friend who celebrated her birthday at the beginning of October. I followed some instructions you can find on Lyn Dunn’s blog to create this card. She also has a video and a free downloadable tutorial. I cut my card base from Evening Evergreen card and embossed the small section at the front using the Pretty Flowers Embossing Folder.

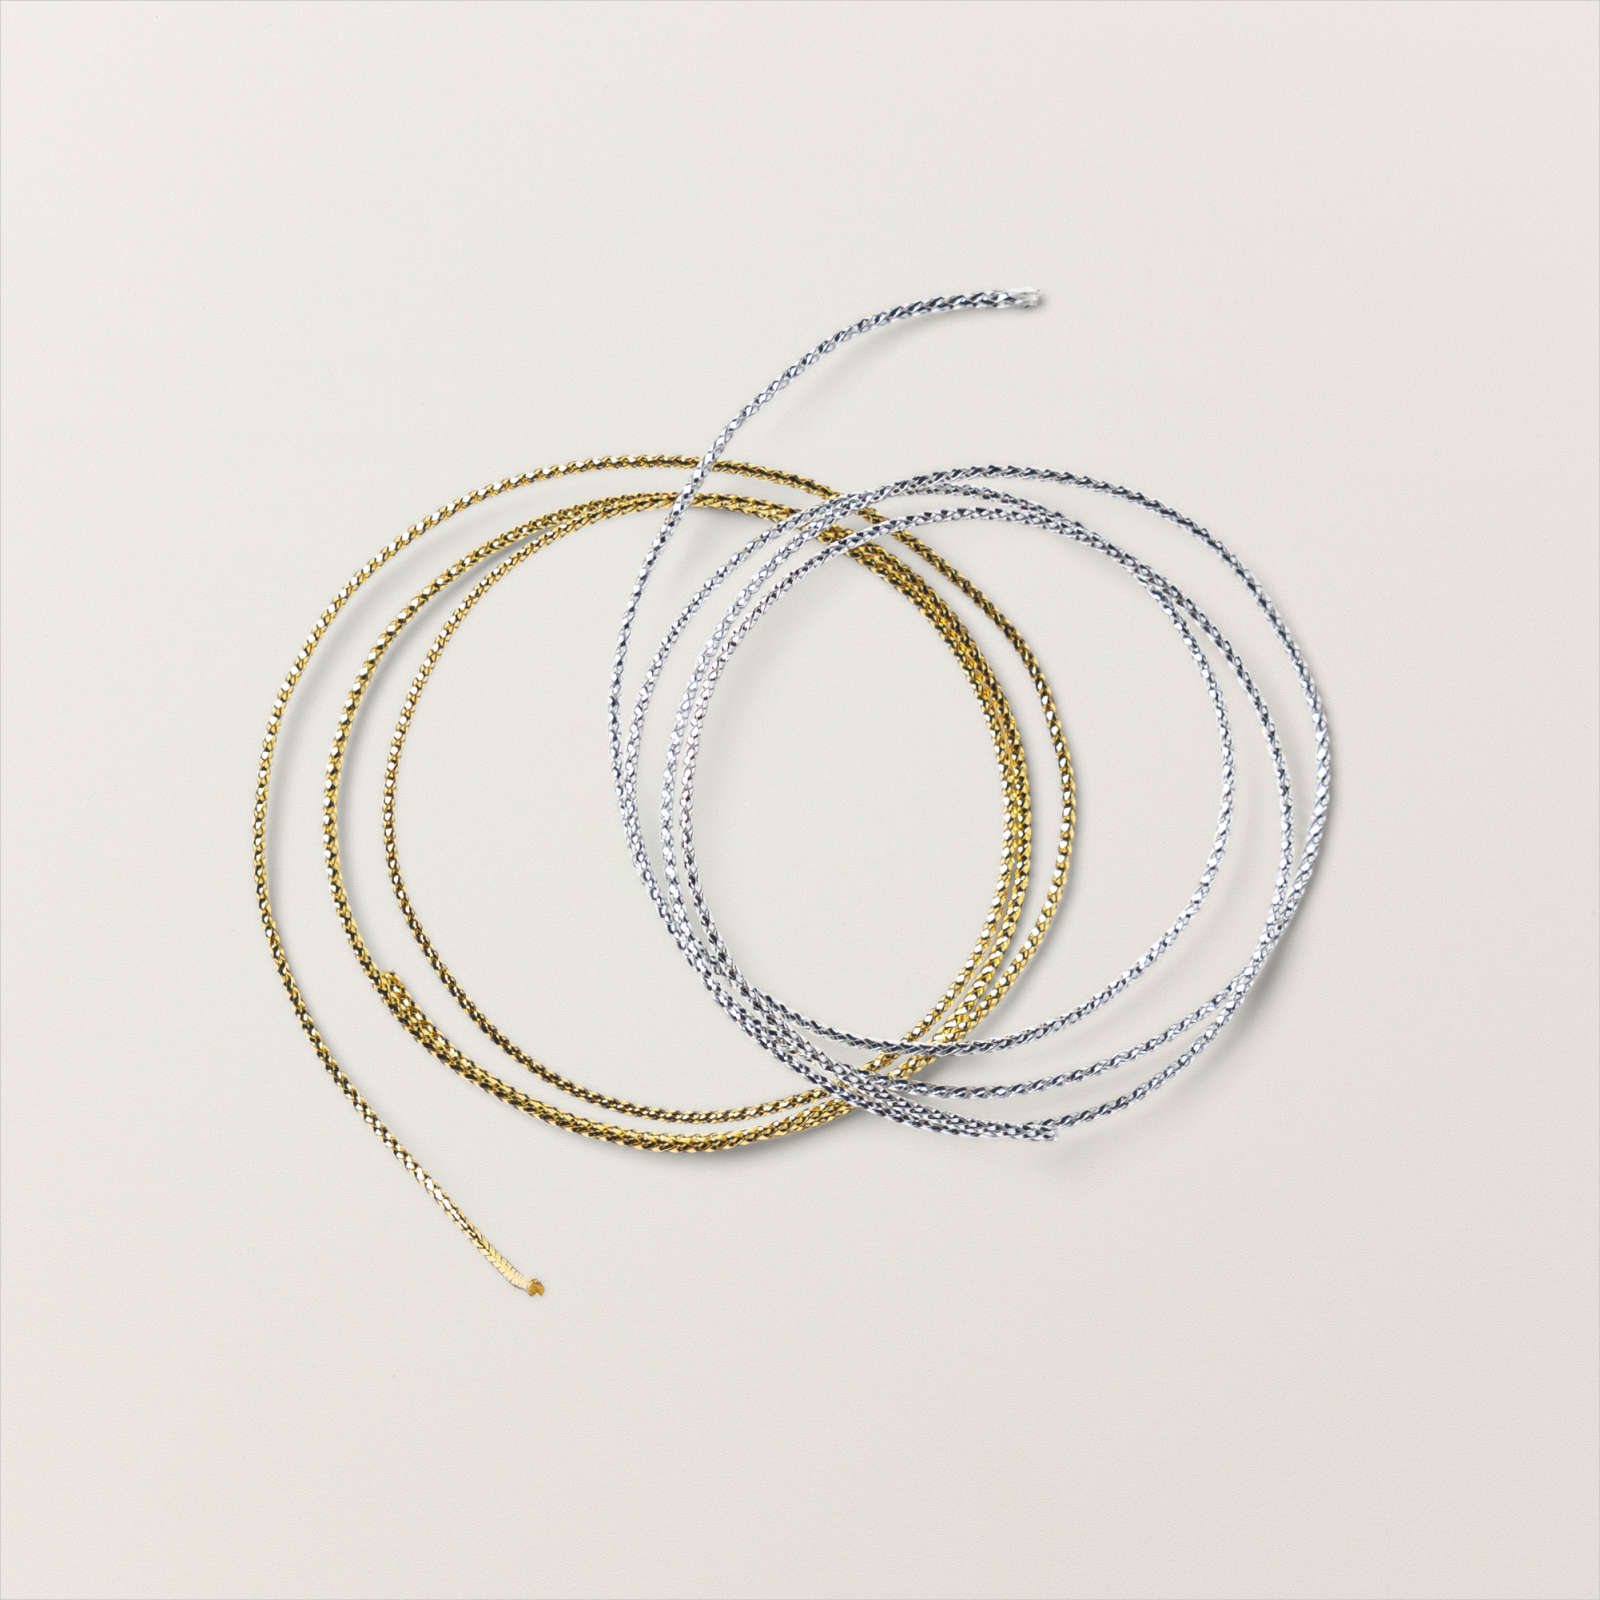
I cut the second card base from Smoky Slate card and added an Evening Evergreen panel to the front before attaching it inside the base. I embossed a piece of Basic White card using the Pretty Flowers Embossing Folder and attached it to the Evening Evergreen panel. I attached a length of Gold Simply Elegant Trim to the card front using a dimensional.

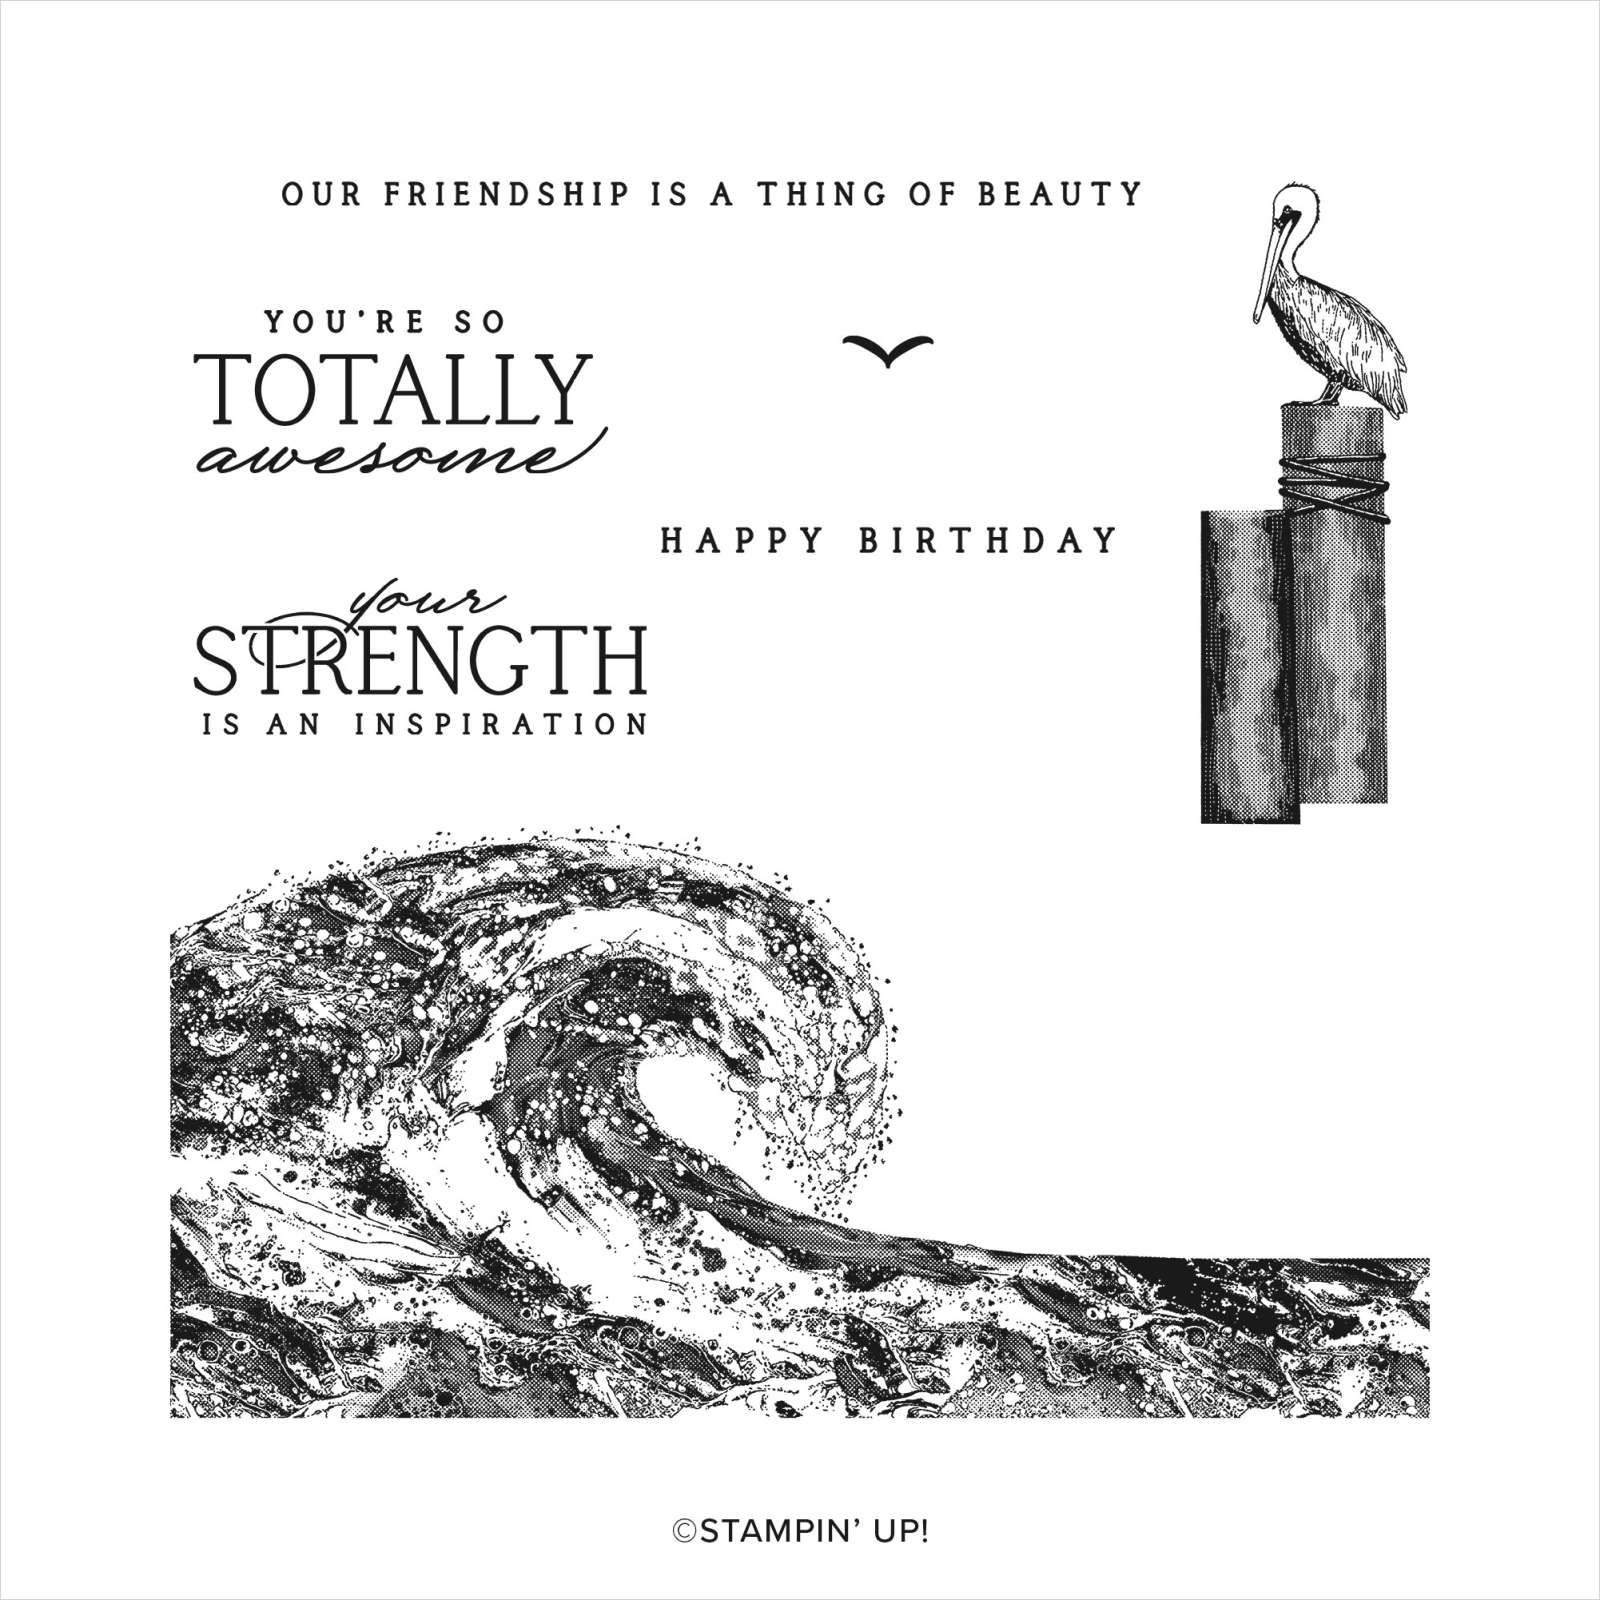
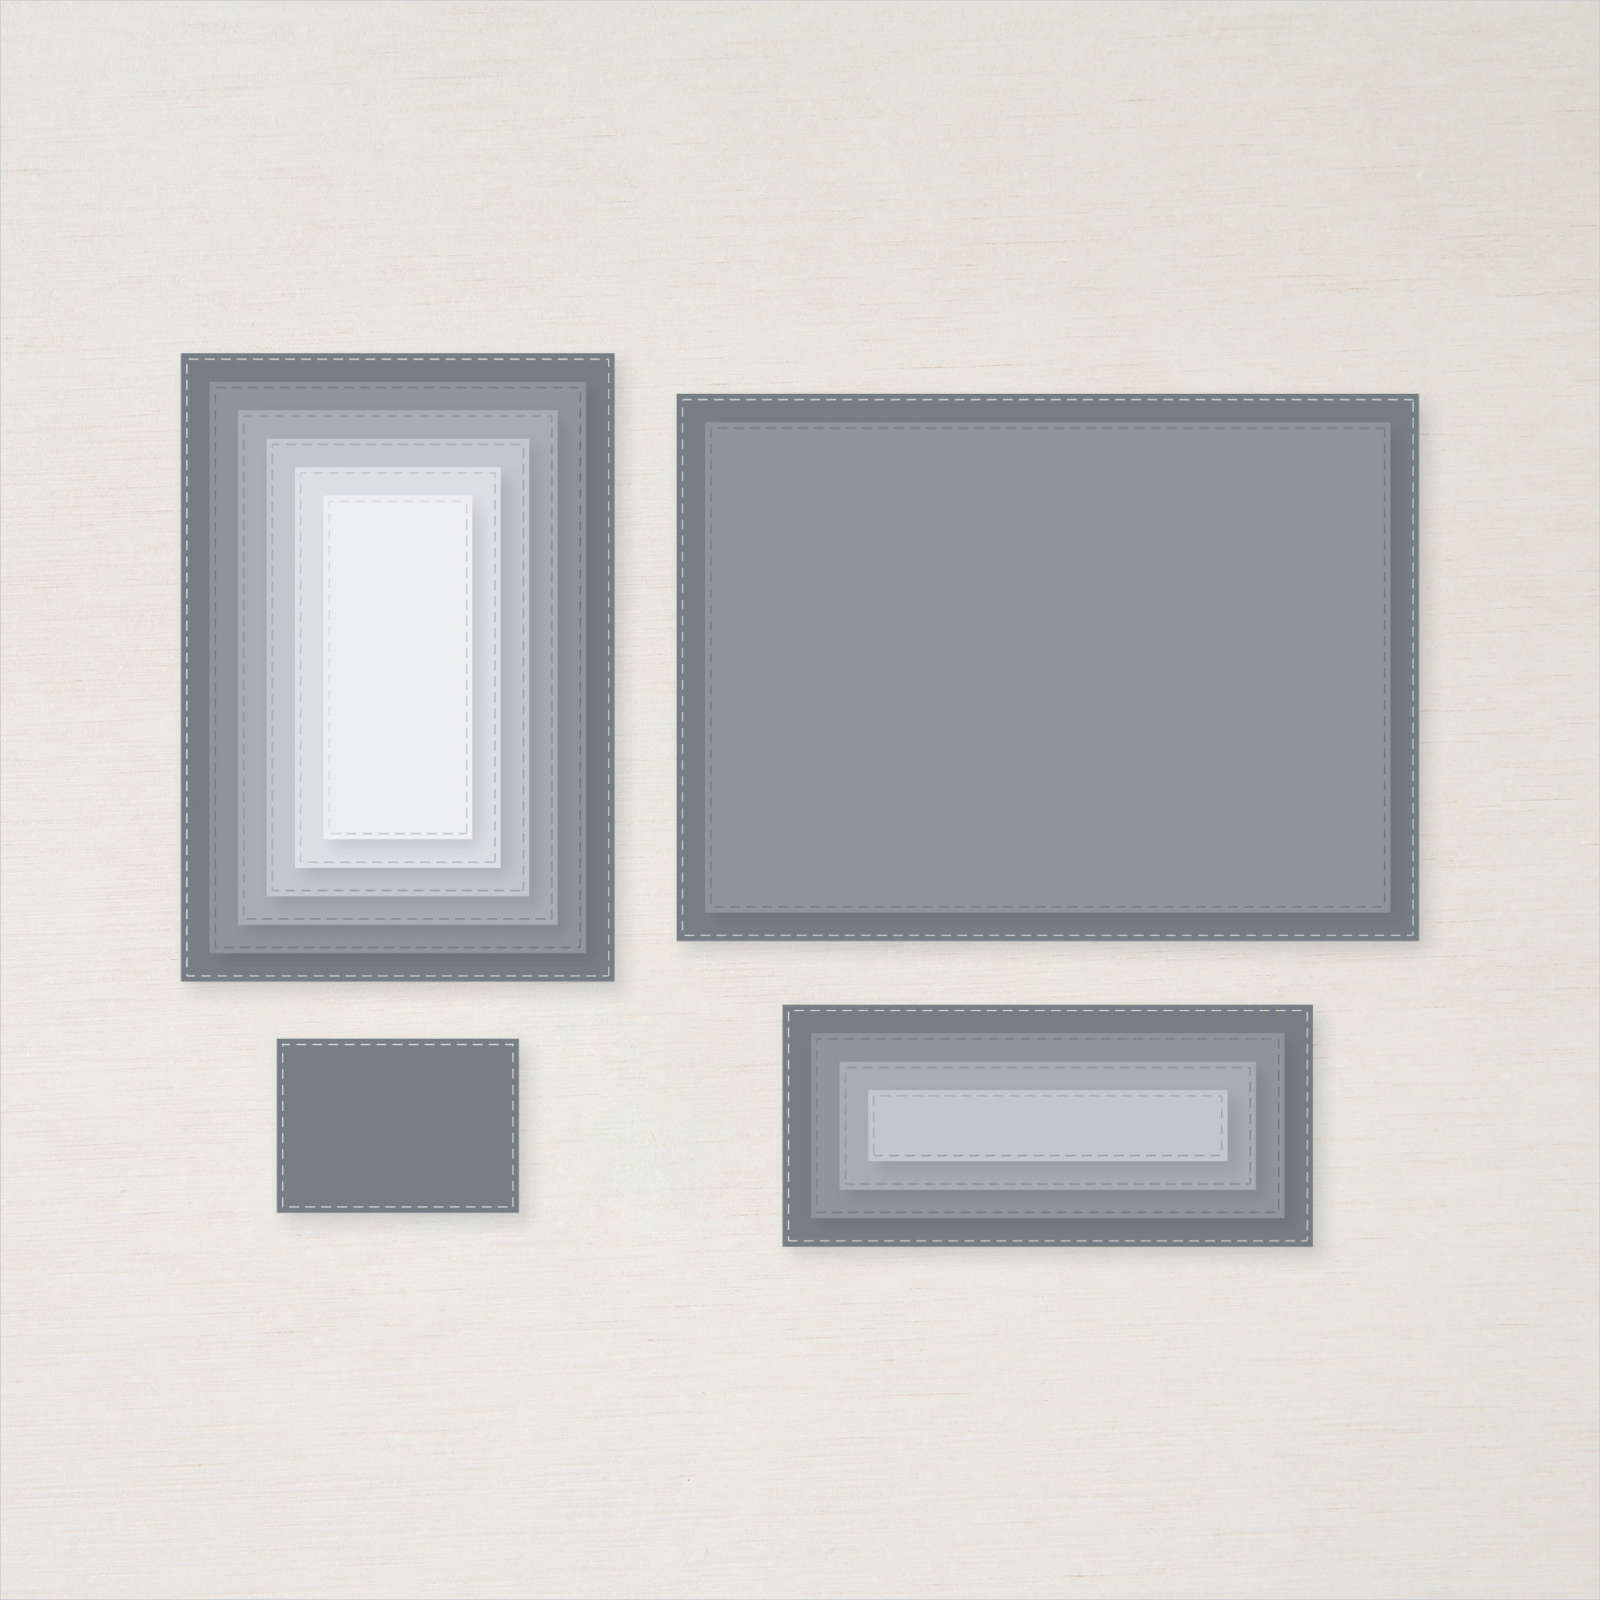
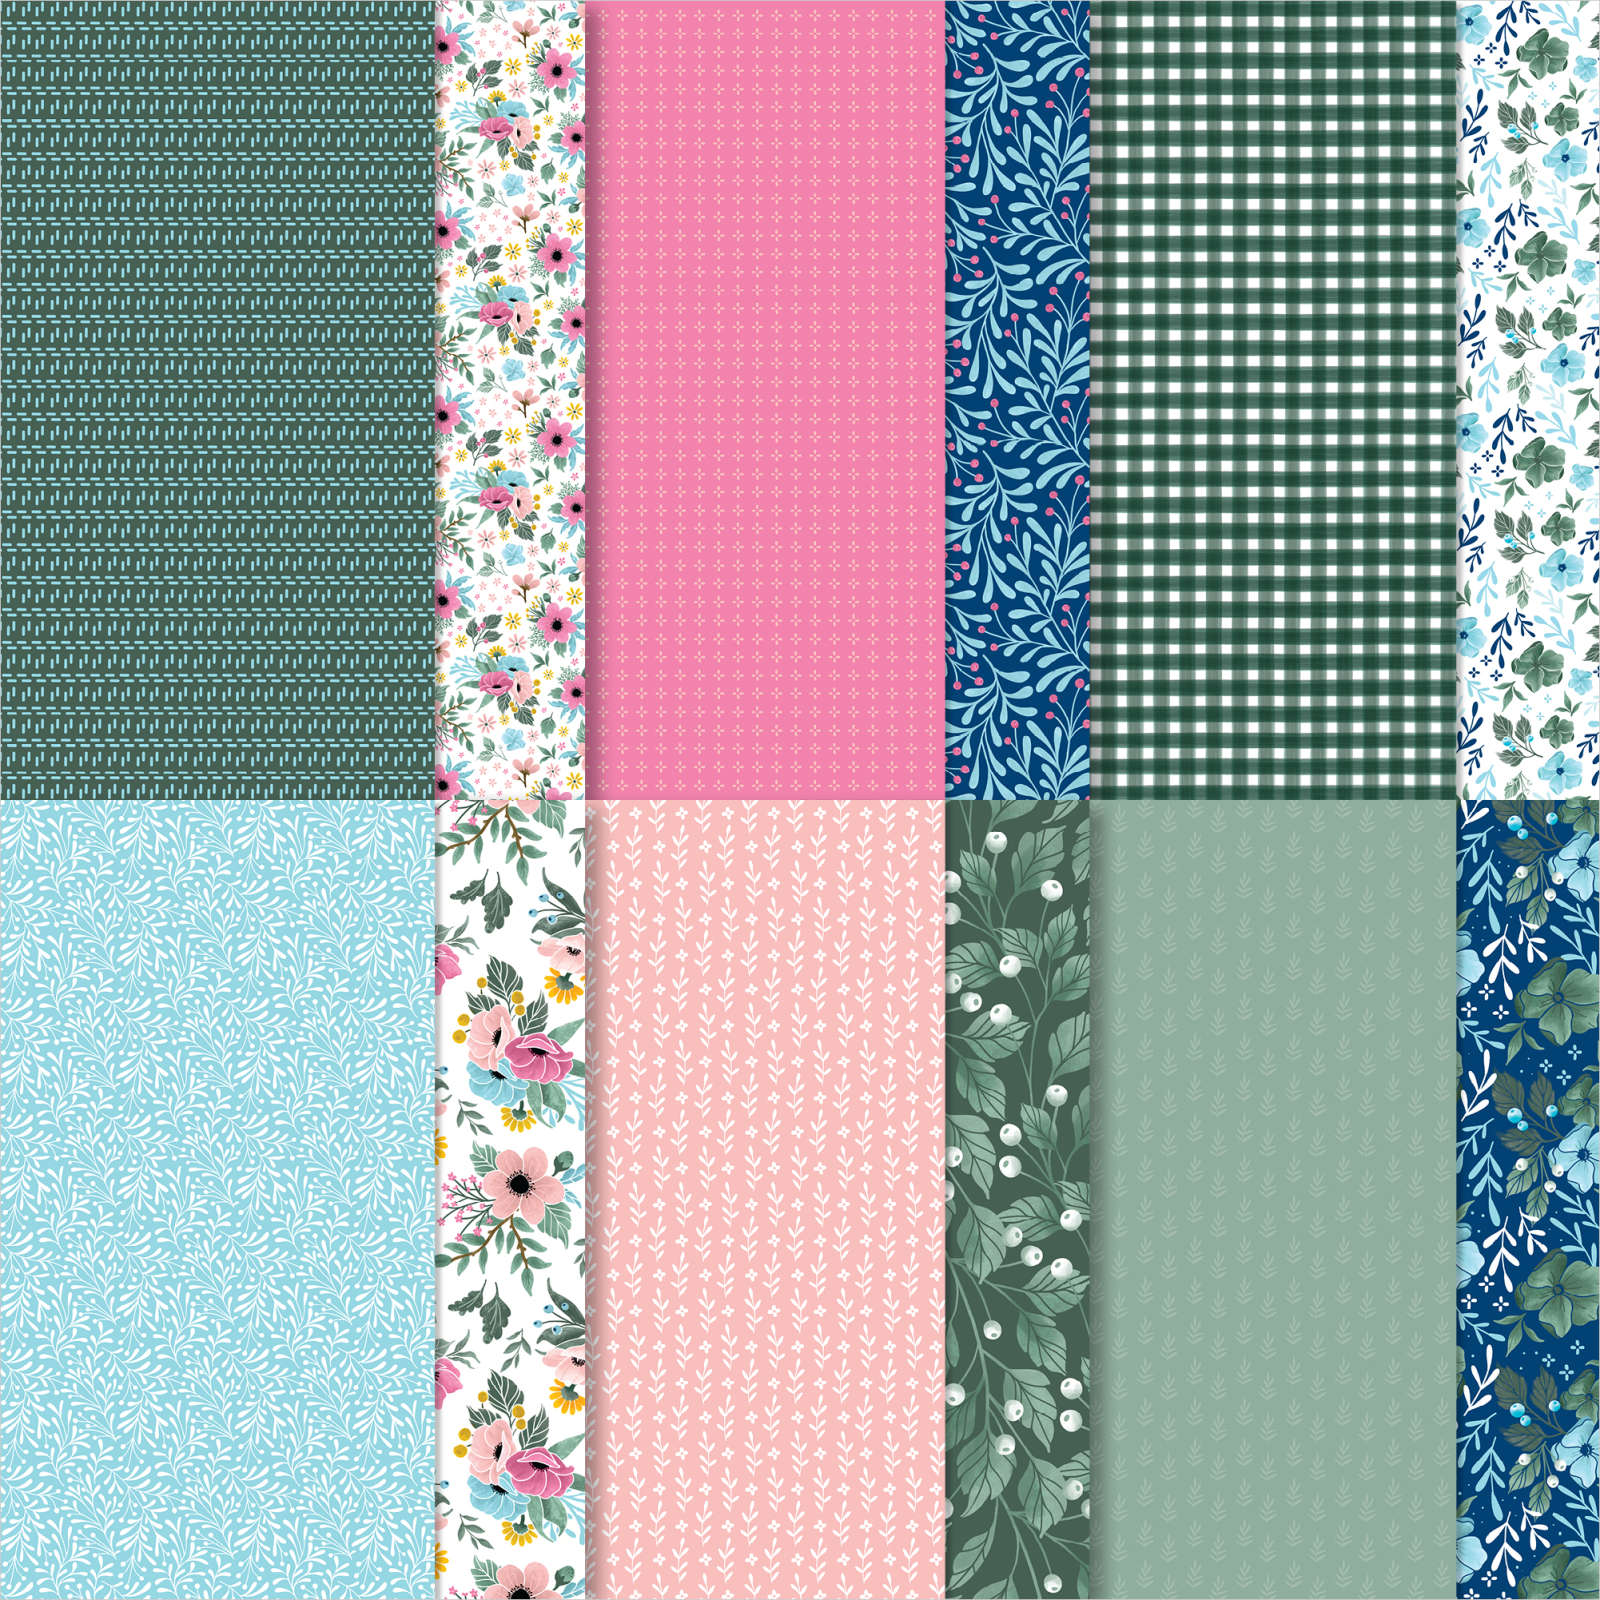
I cut two floral images from the Fitting Florets 12″ x 12″ Designer Series Paper and attached them over the Gold Simply Elegant Trim using dimensionals. I stamped “happy birthday” from the Waves of Inspiration stamp set onto Basic White card using Evening Evergreen ink. I cut out the greeting using one of the Stitched Rectangle Dies.

The greeting is attached to an Evening Evergreen rectangle cut using the same dies. I attached the greeting to the embossed panel on the card base using dimensionals along the lower edge only. To decorate the inside of the card, I attached another flower I cut from the Fitting Florets Designer Series Paper to the lower left hand corner of Basic White card. I love how this turned out. I have tried to create this type of card before but have not succeeded, so I am very grateful to Lynn for her instructions. I’d love to know what you think.
Bye for now,
Kris
Product Used:

Most Wonderful Time
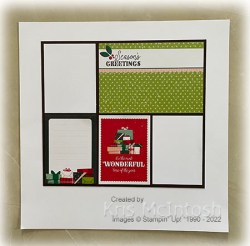
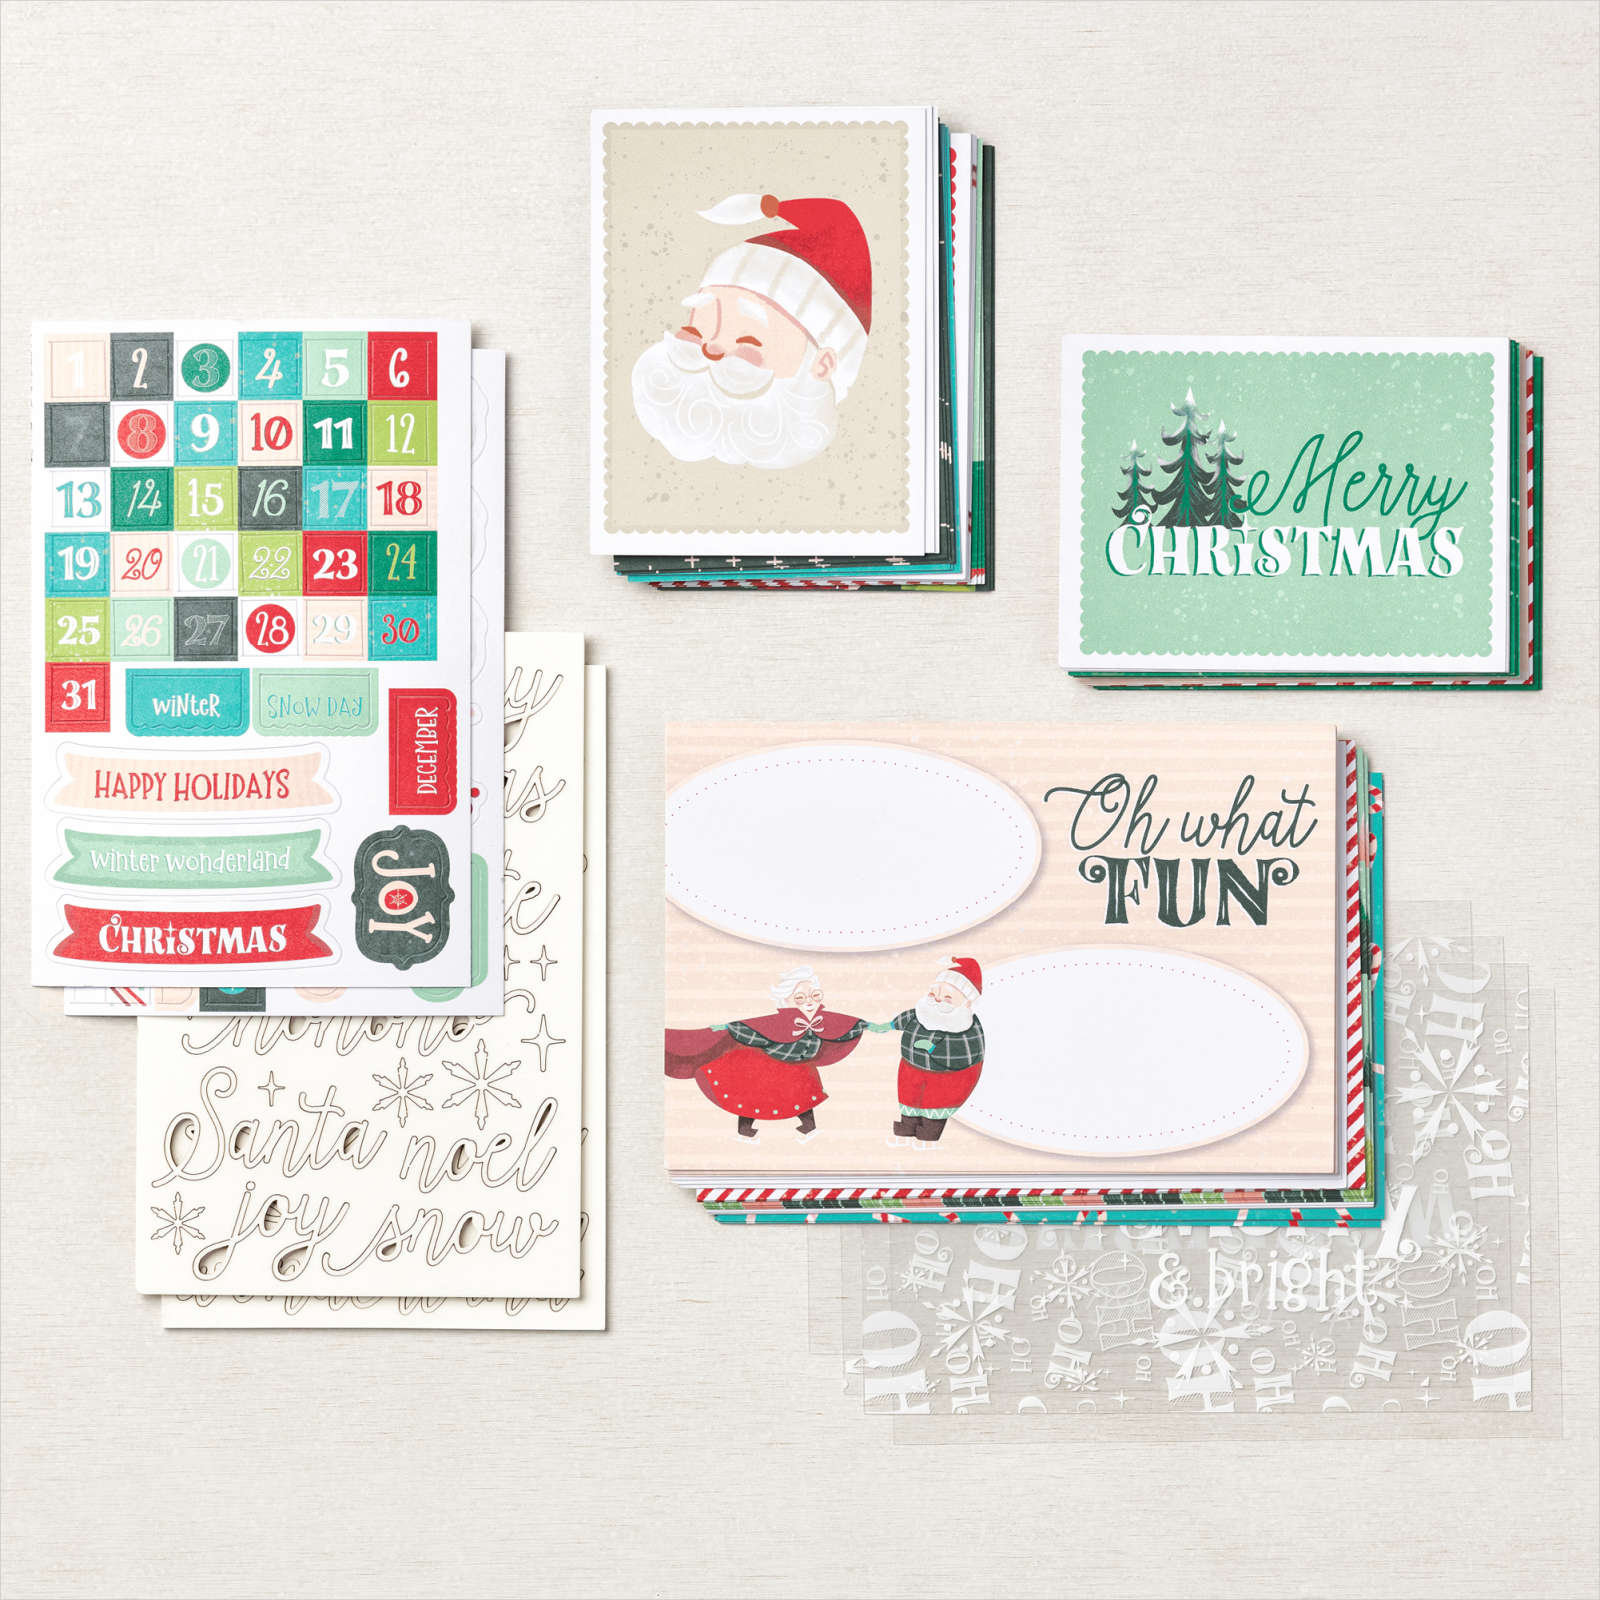
Today I am sharing a page I created using the Santa Express Memories & More card pack. If you love to create quickly and easily then Memories & More card packs are your best go to. I don’t have any photos to add to this page yet but I am sure that over the coming months, there will be lots of Christmas memories created. I attached a piece of Early Espresso card to a Basic White 12″ x 12″ page. I attached one 6″ x 4″ and two 3″ x 4″ Santa Express Memories and More cards to the Early Expresso card. I added Basic White card where I will place my photos. My page is ready to go all I need are the photos and some journaling. Easy! What do you think?
Bye for now,
Kris
Product Used:
Special Delivery
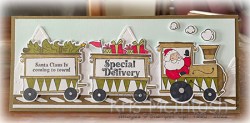
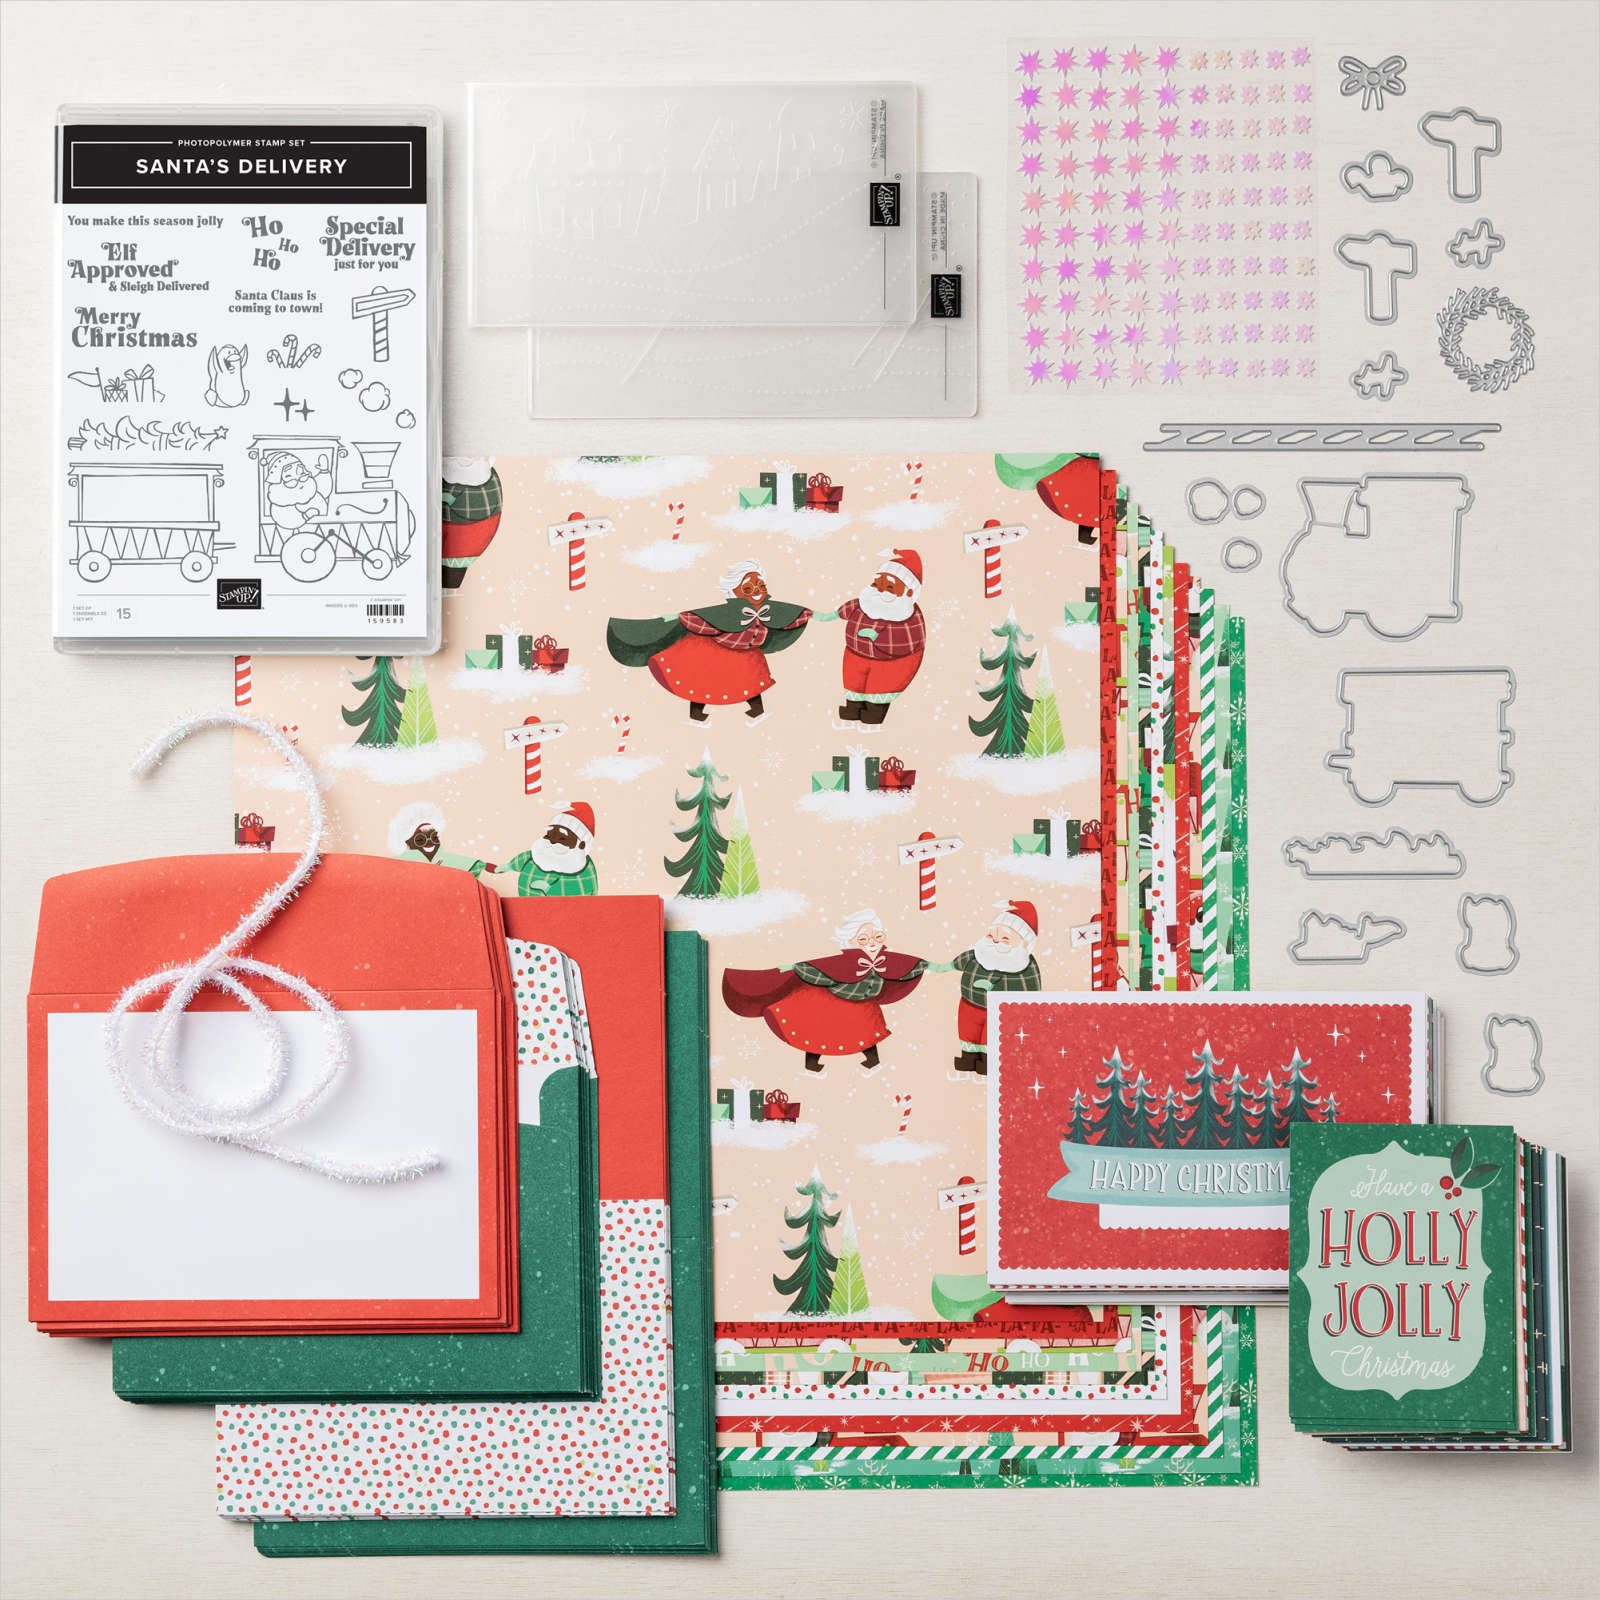
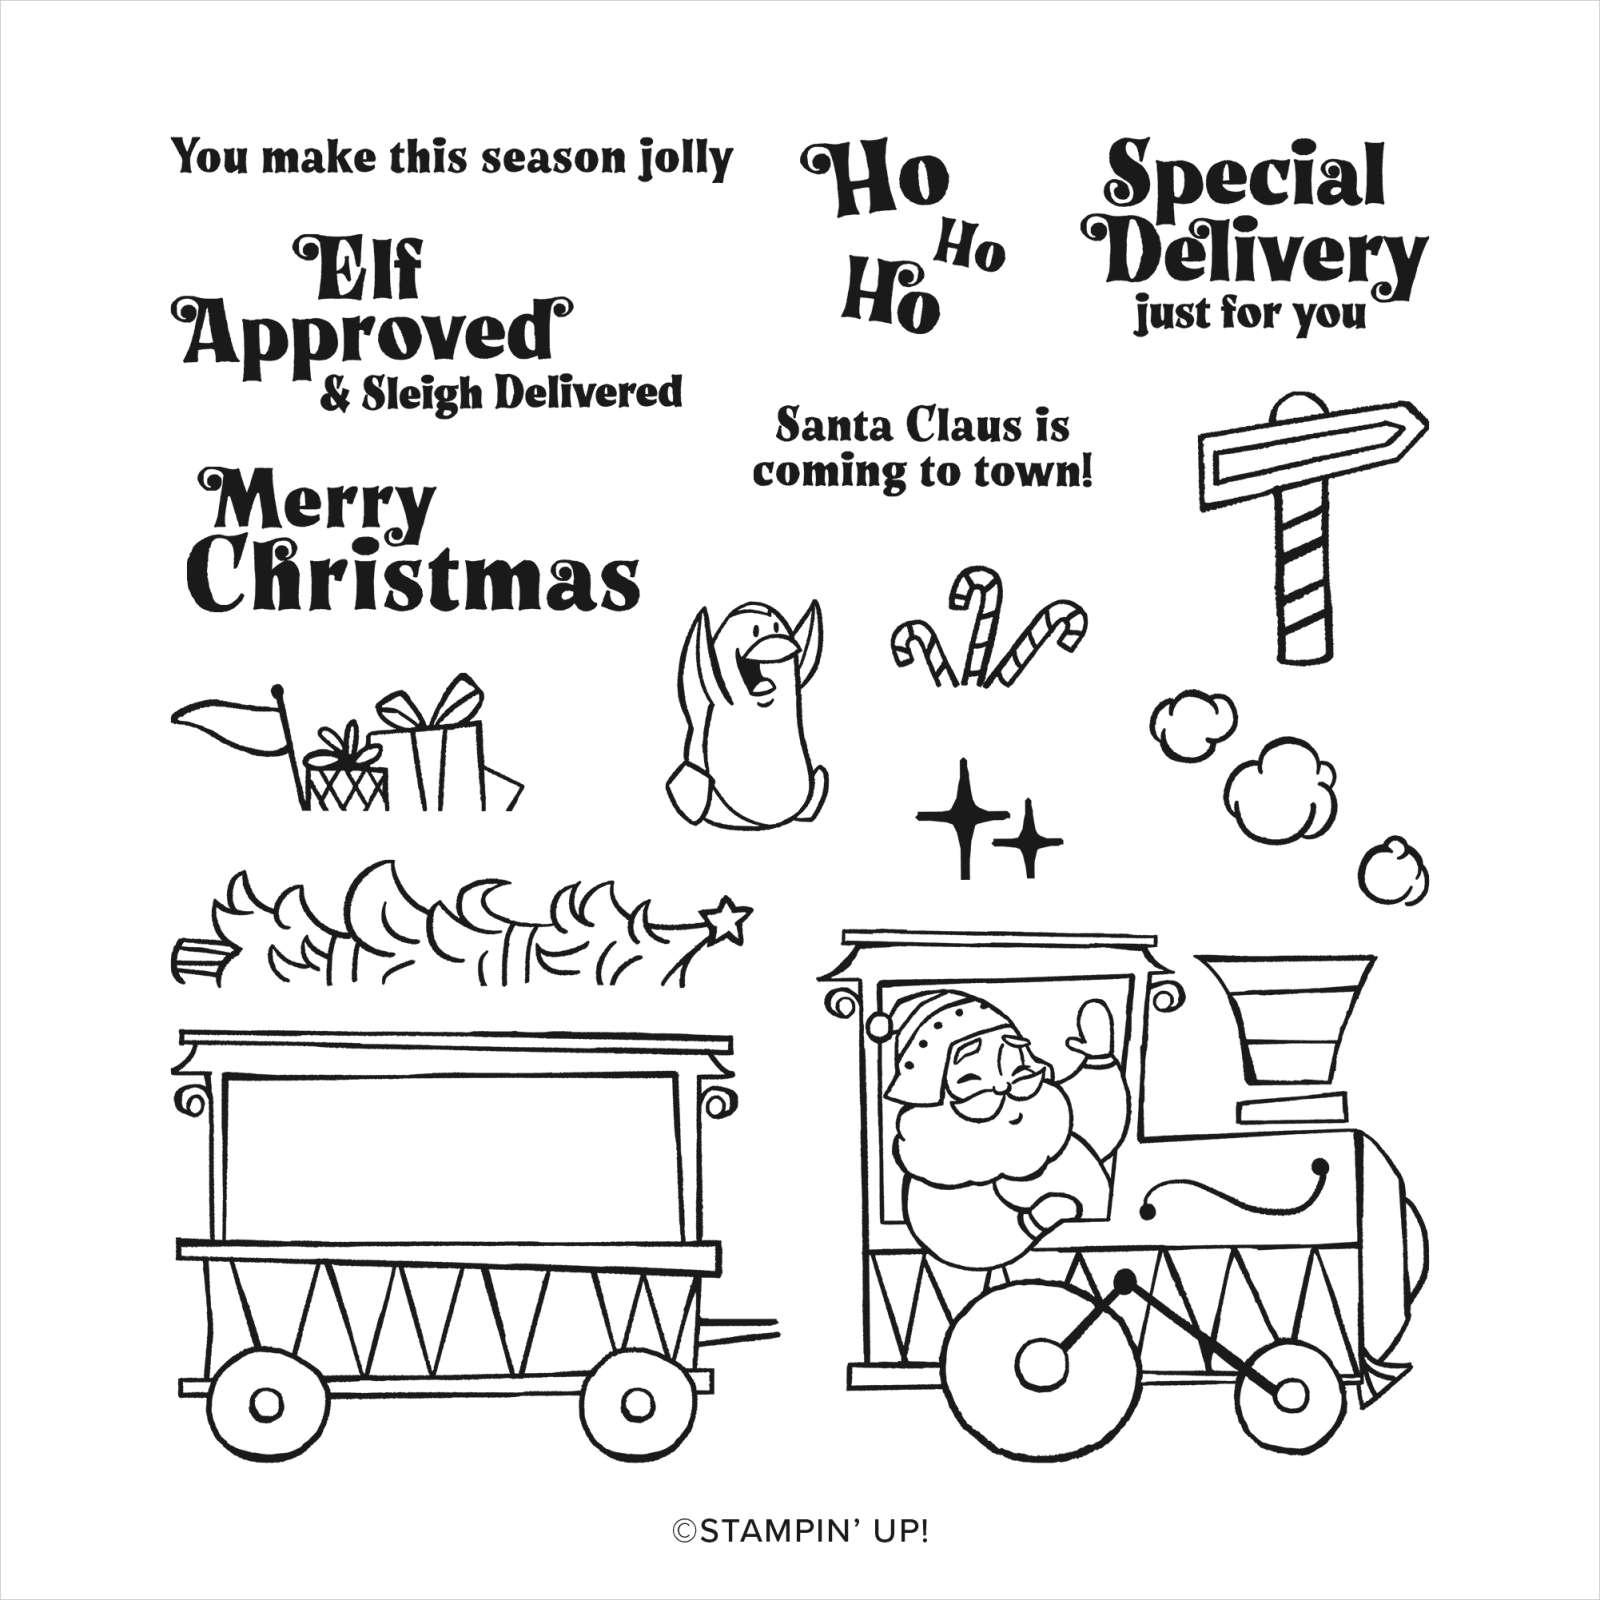
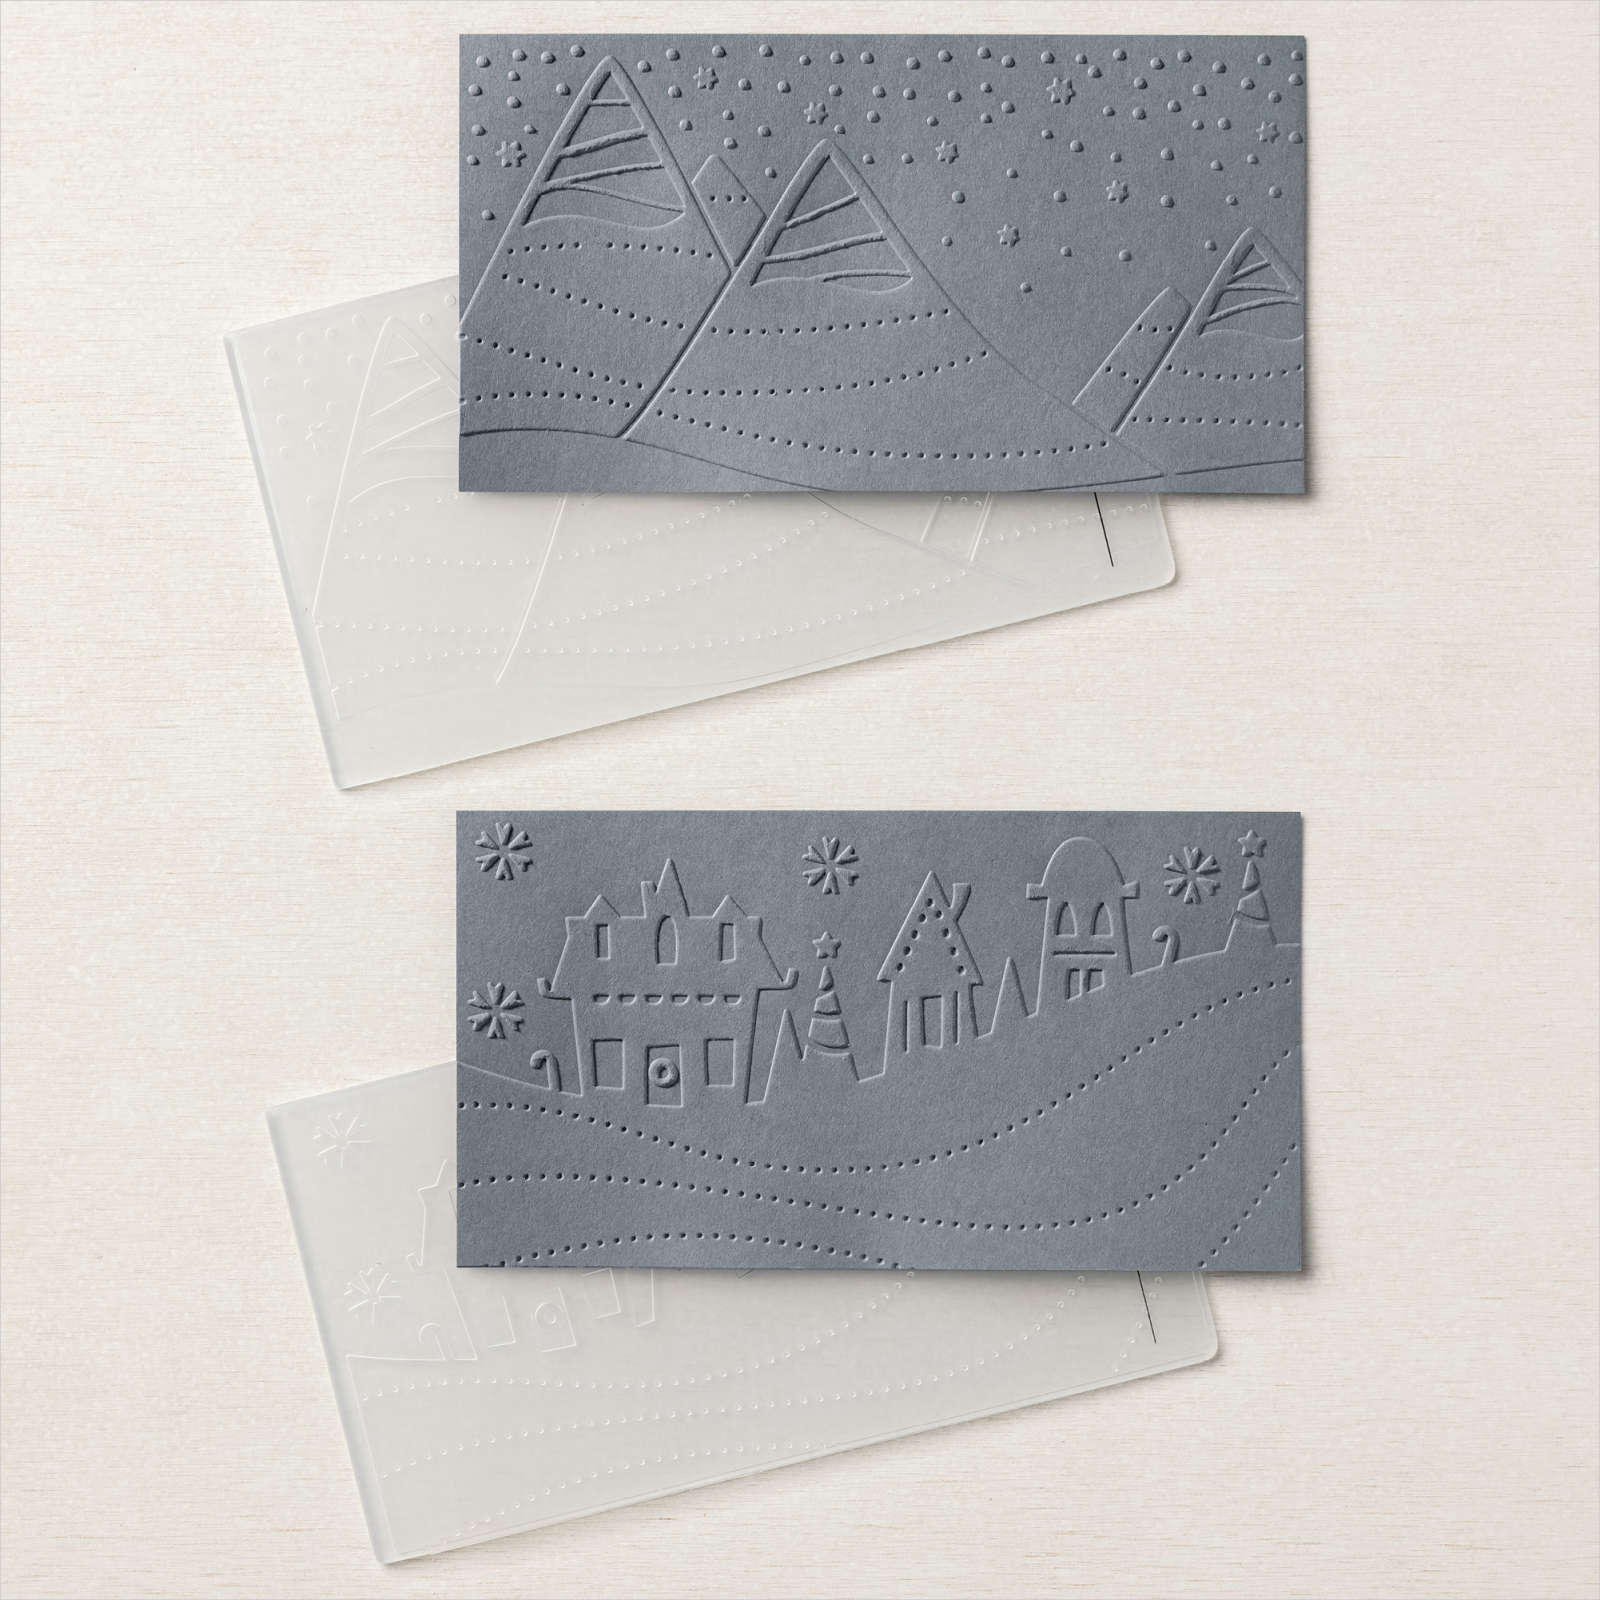
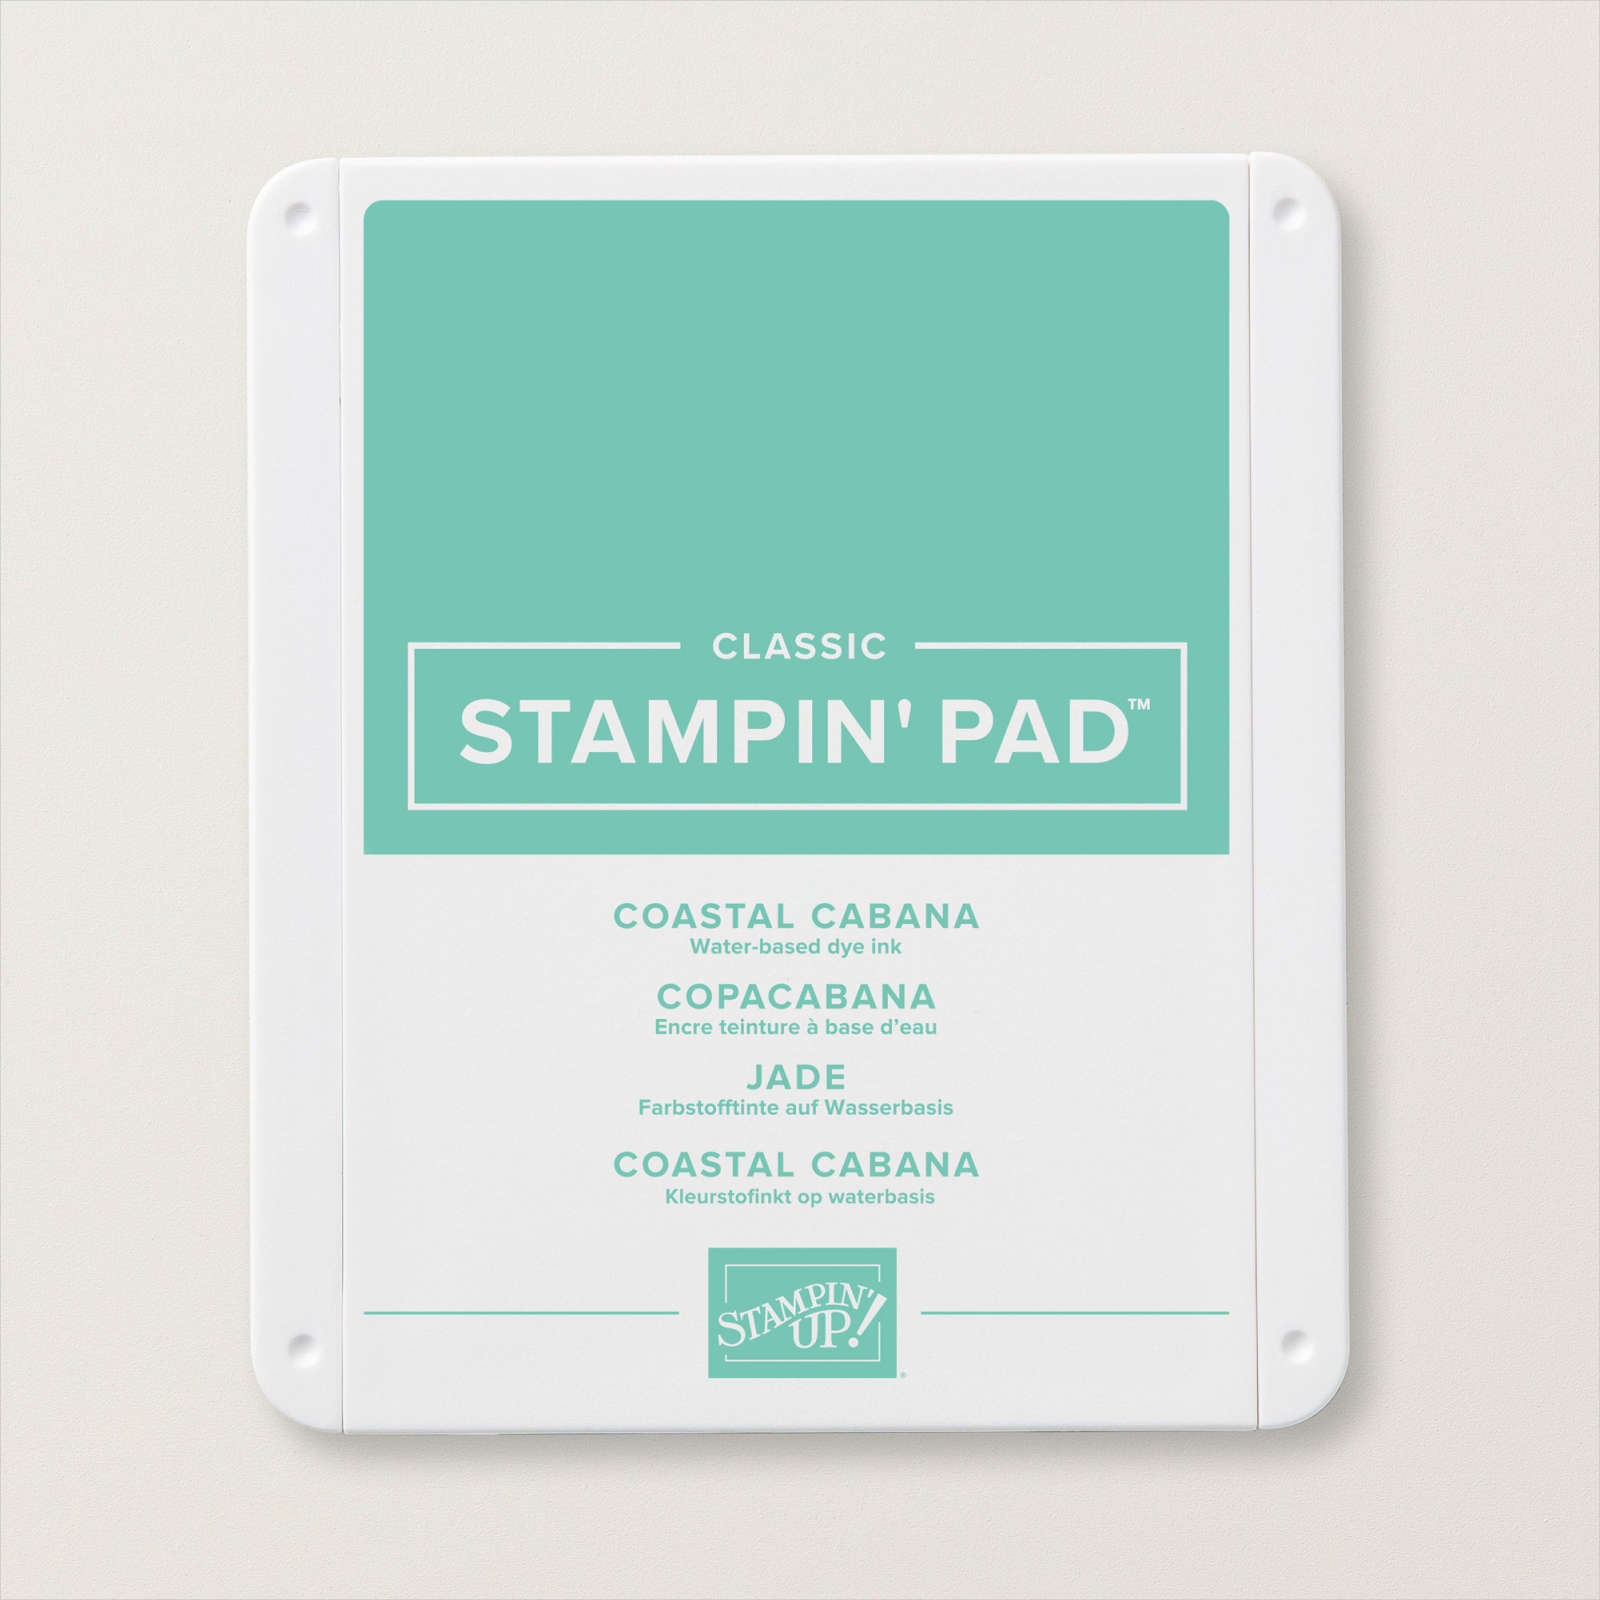
Today’s card uses the Santa Express suite of products to create a slim card. This is a really fun product suite to use with great images in the Santa’s Delivery stamp set and co-ordinating Santa’s Train Dies. The Santa Express 12″ x 12″ Designer Series Paper is gorgeous and has some great images which you can cut out using the Santa’s Train Dies. I began by using a Blending Brush to add Coastal Cabana ink across a panel of Basic White card. I die cut Soft Suede card using the train track die from the Santa’s Train Dies. I attached this across the bottom of the coloured Basic White card. I embossed two pieces of Basic White card using the mountain folder from the Charming Landscapes Embossing Folders.

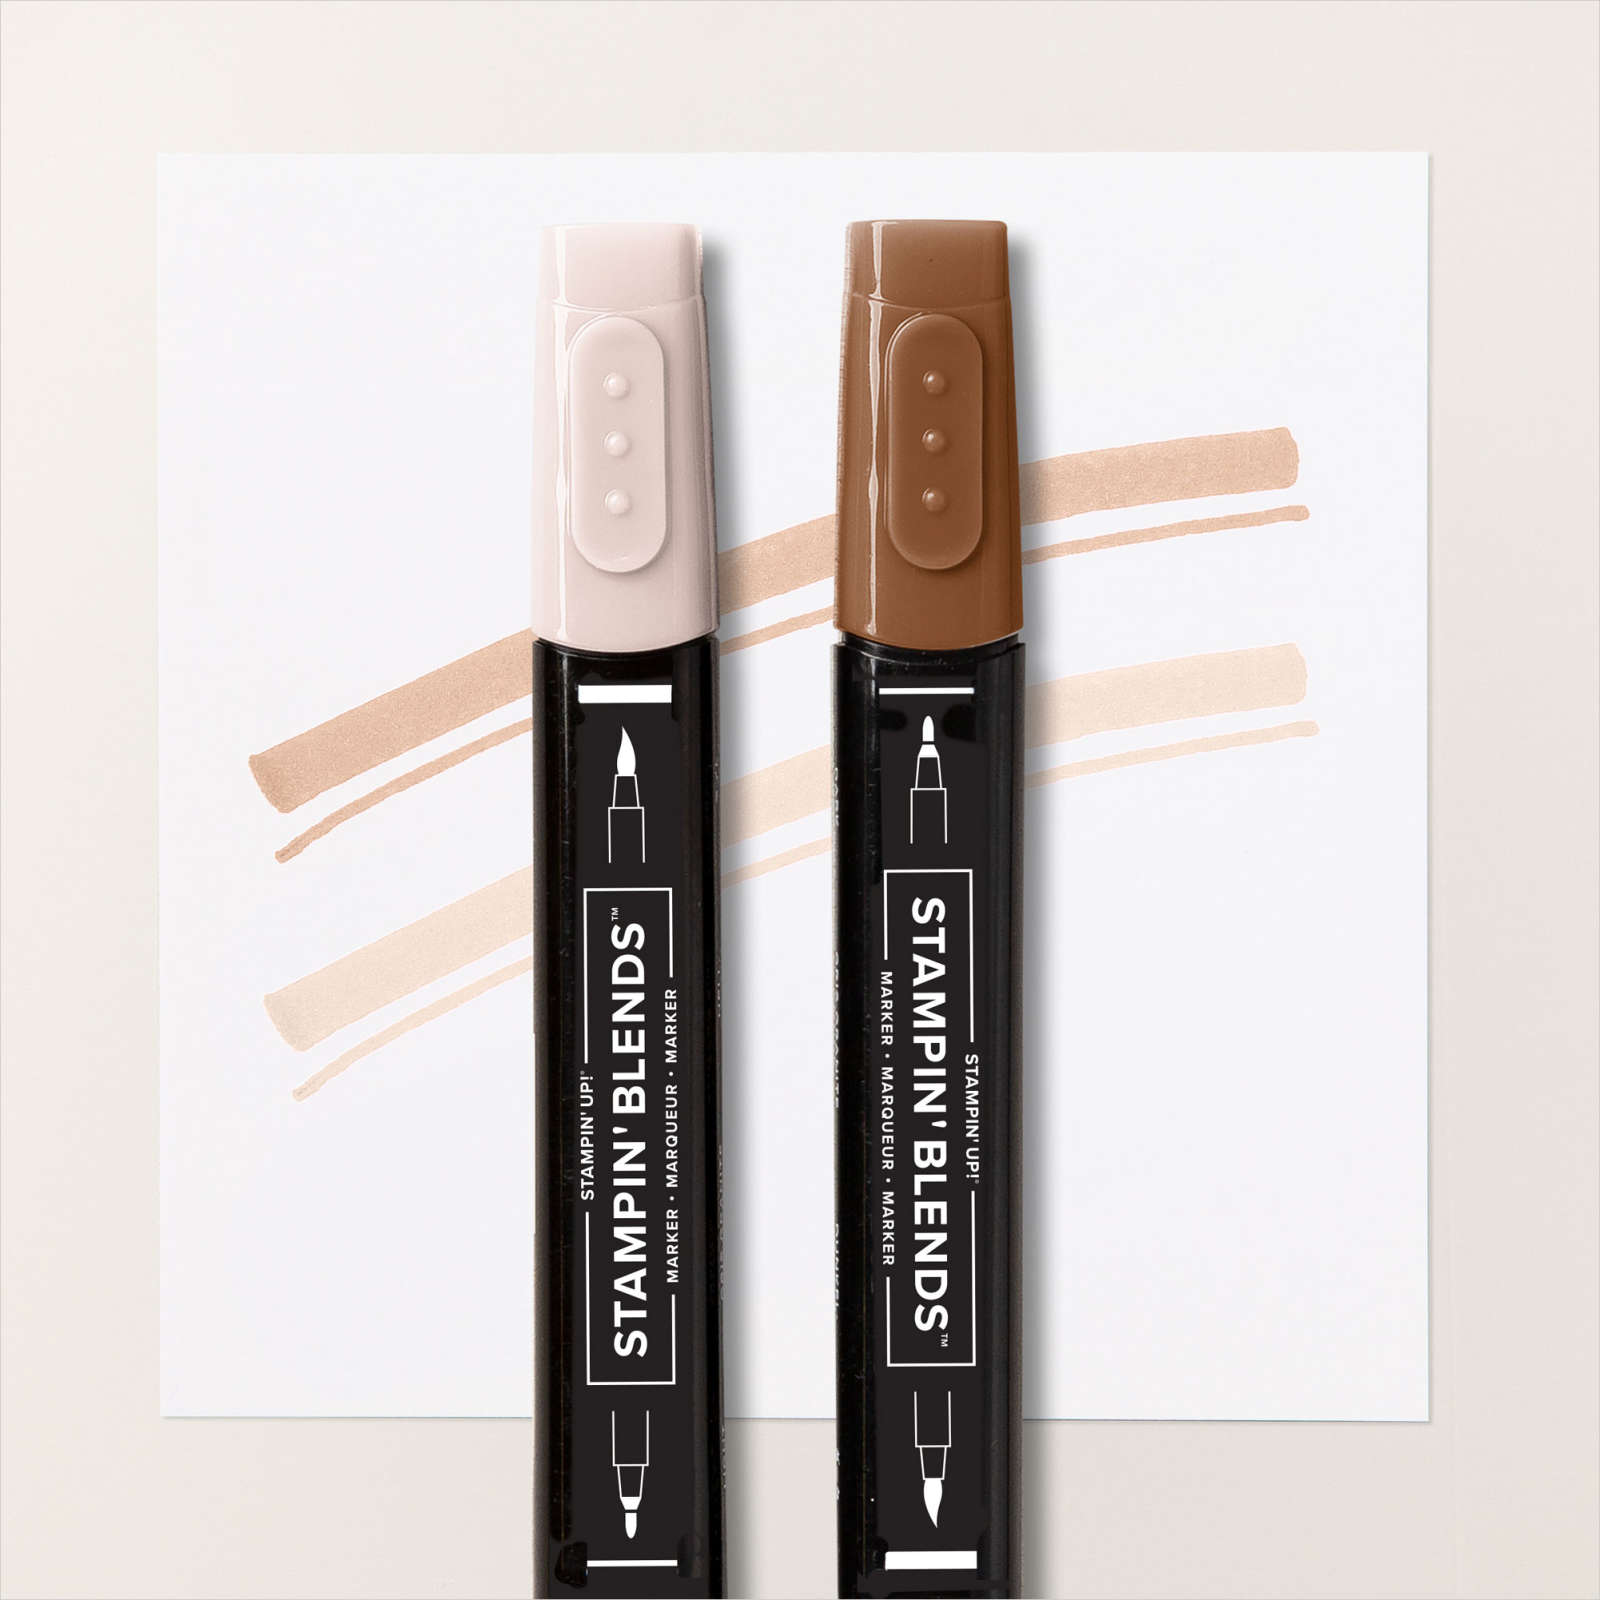
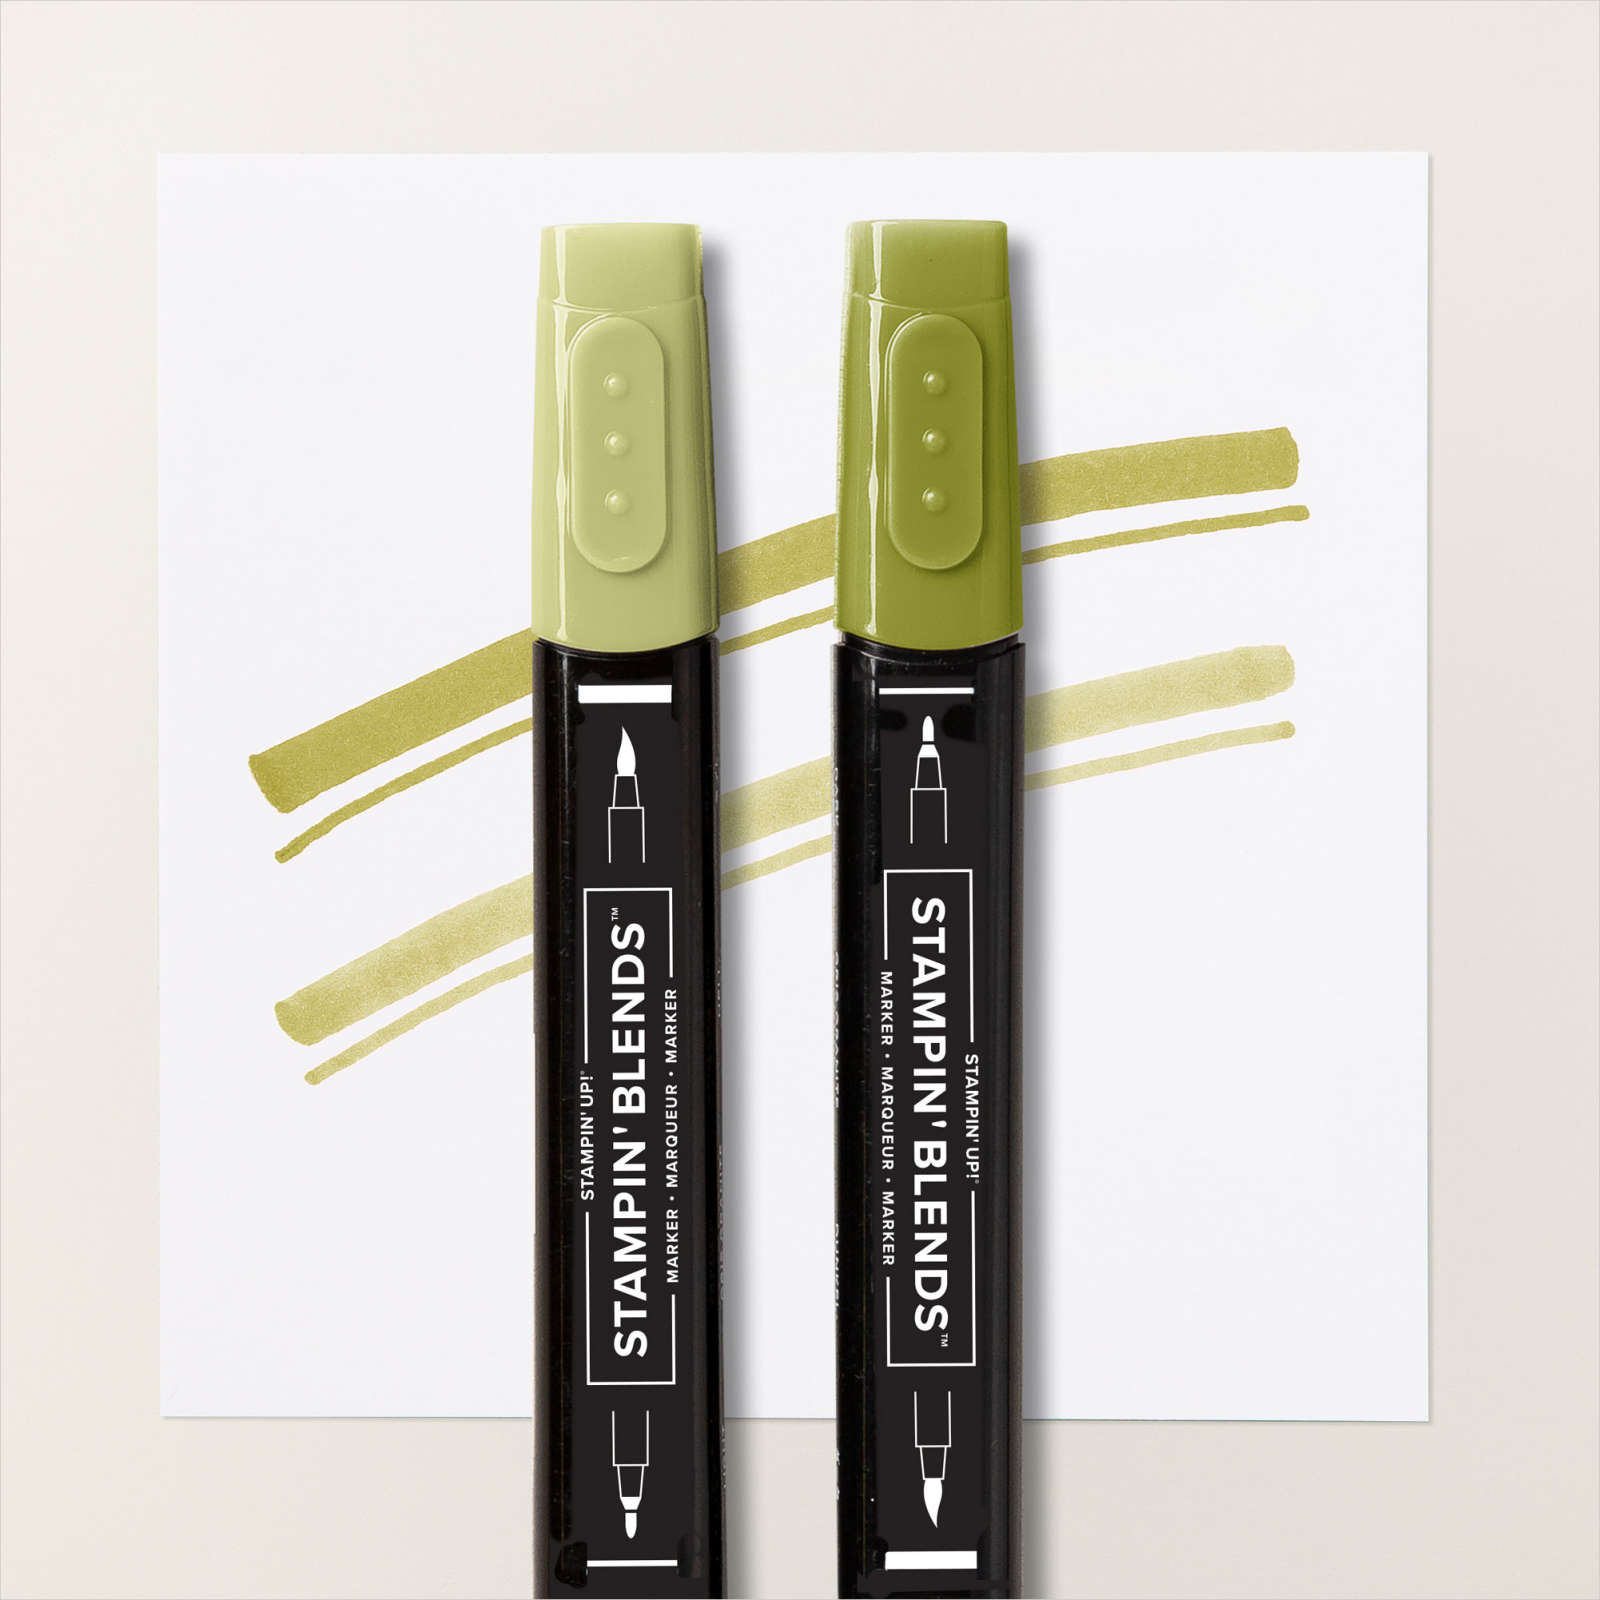
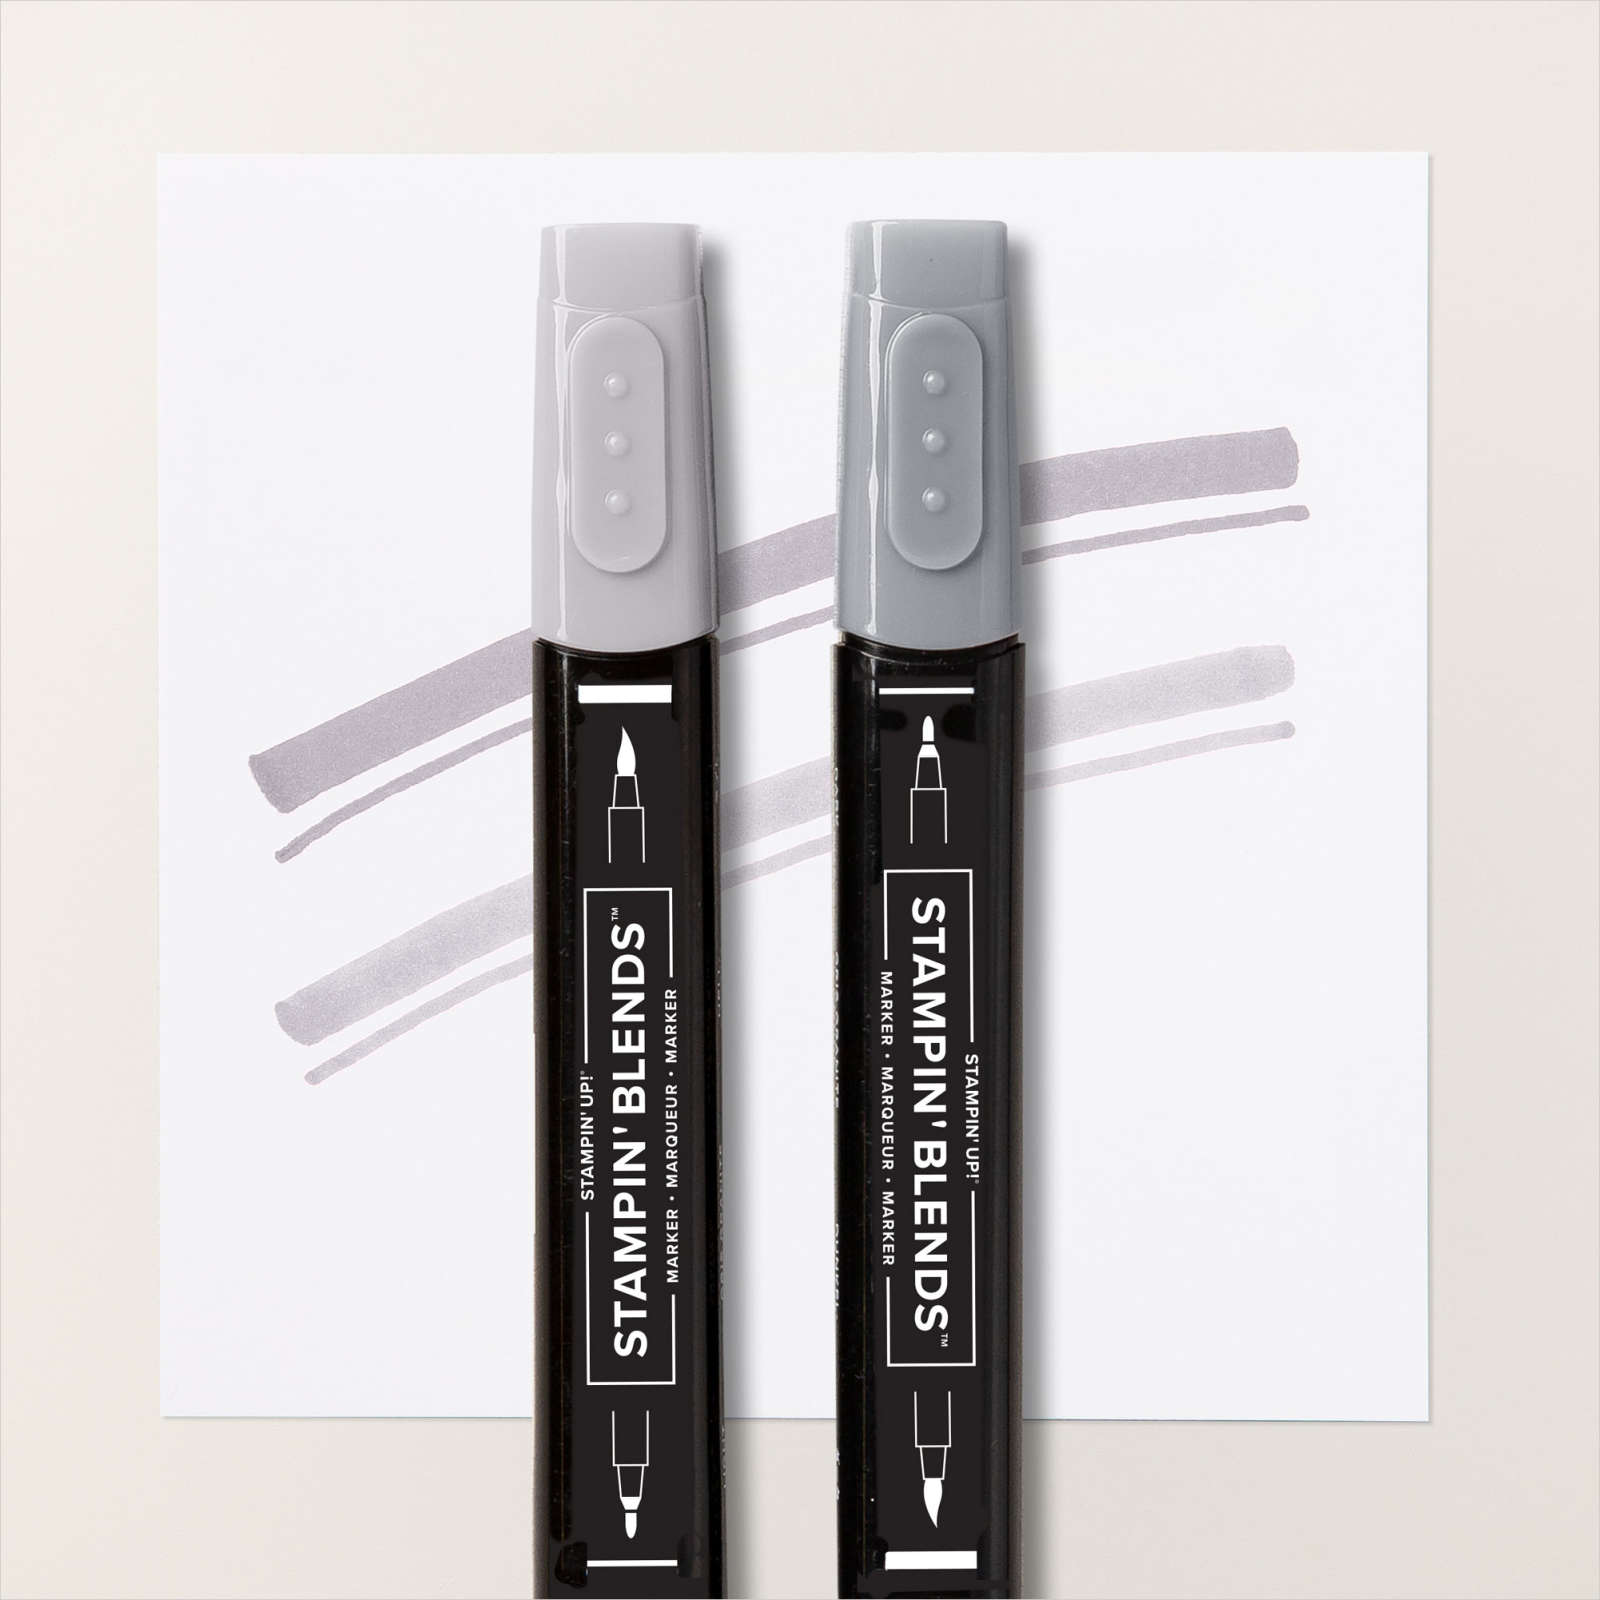
I cut around the top of the mountains and layered up the pieces to cover the length of the Basic White card. I made sure to butt the bottom of the embossed pieces up against the top of the die cut train track. I stamped the images from the Santa’s Delivery stamp set onto Basic White card using Memento Tuxedo Black ink. I also added greetings from the Santa’s Delivery stamp set onto the side of the two carriages using Memento Tuxedo Black ink. I coloured the images using Ivory, Real Red, Old Olive, Dark Daffodil Delight, Dark Basic Black, Soft Suede and Light Smoky Slate ink.
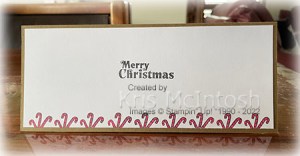
I die cut all of the pieces and attached them to the card front using dimensionals. The tree and present images are attached separately. To decorate the inside of the card, I stamped “Merry Christmas” from the Santa’s Delivery Stamp set onto Basic White card using Memento Tuxedo Black ink. I stamped the candy cane image from the Santa’s Delivery stamp set across the bottom of the Basic White card also using Memento Tuxedo Black ink. I used the Dark Real Red Stampin’ Blend to colour the candy canes. I am so happy with the way this card turned out. In fact I am very happy with all the product I have used from this amazing Product Suite.
Bye for now,
Kris
Product Used:






Cheers To You
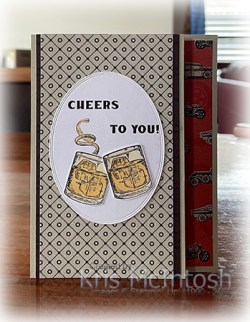
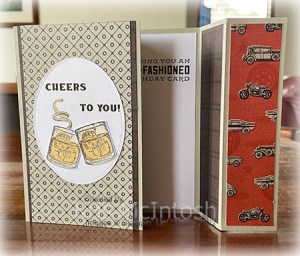
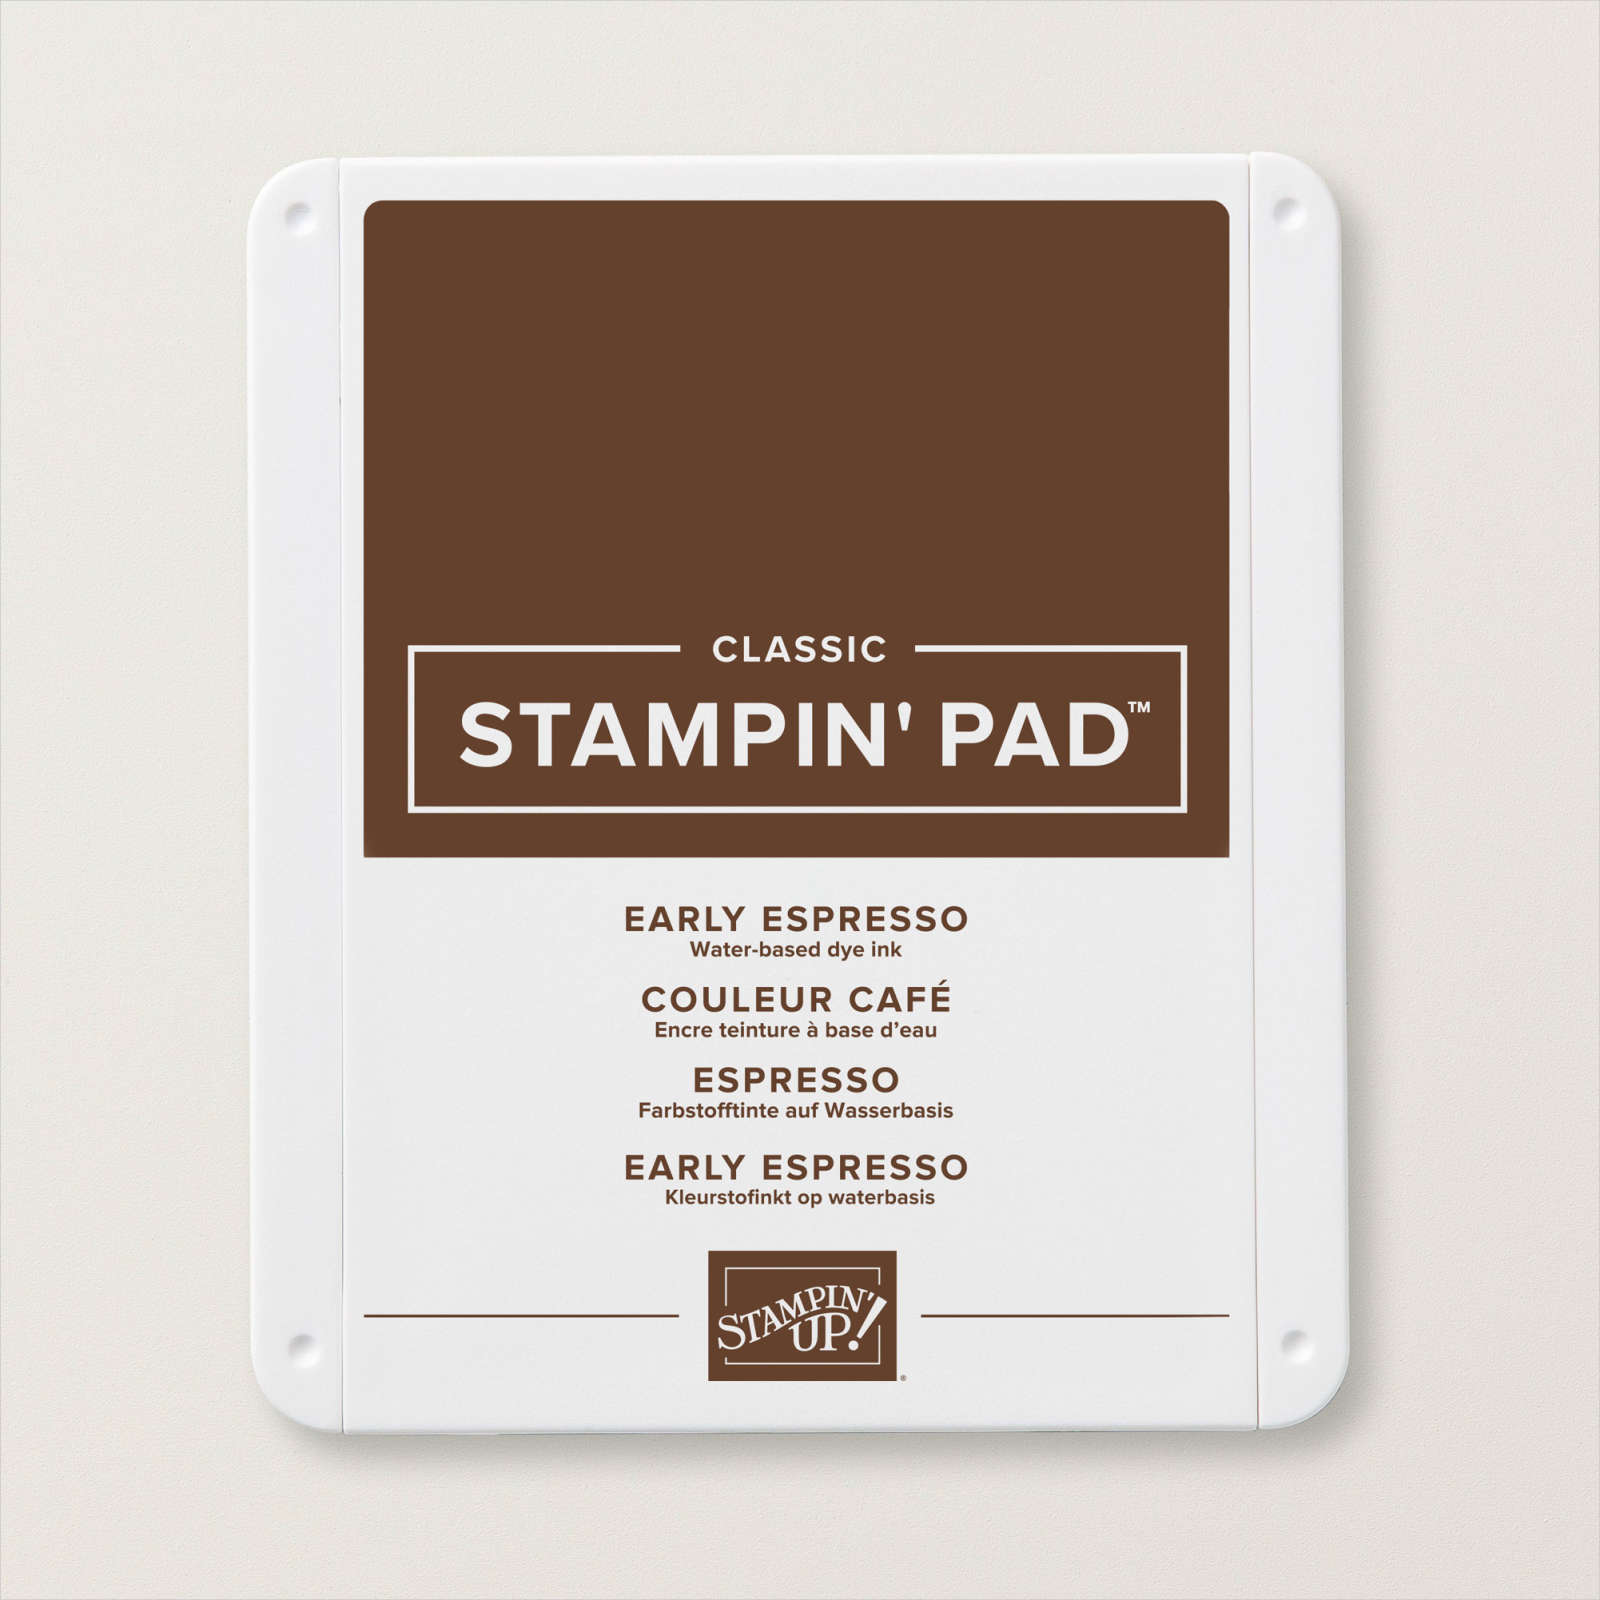
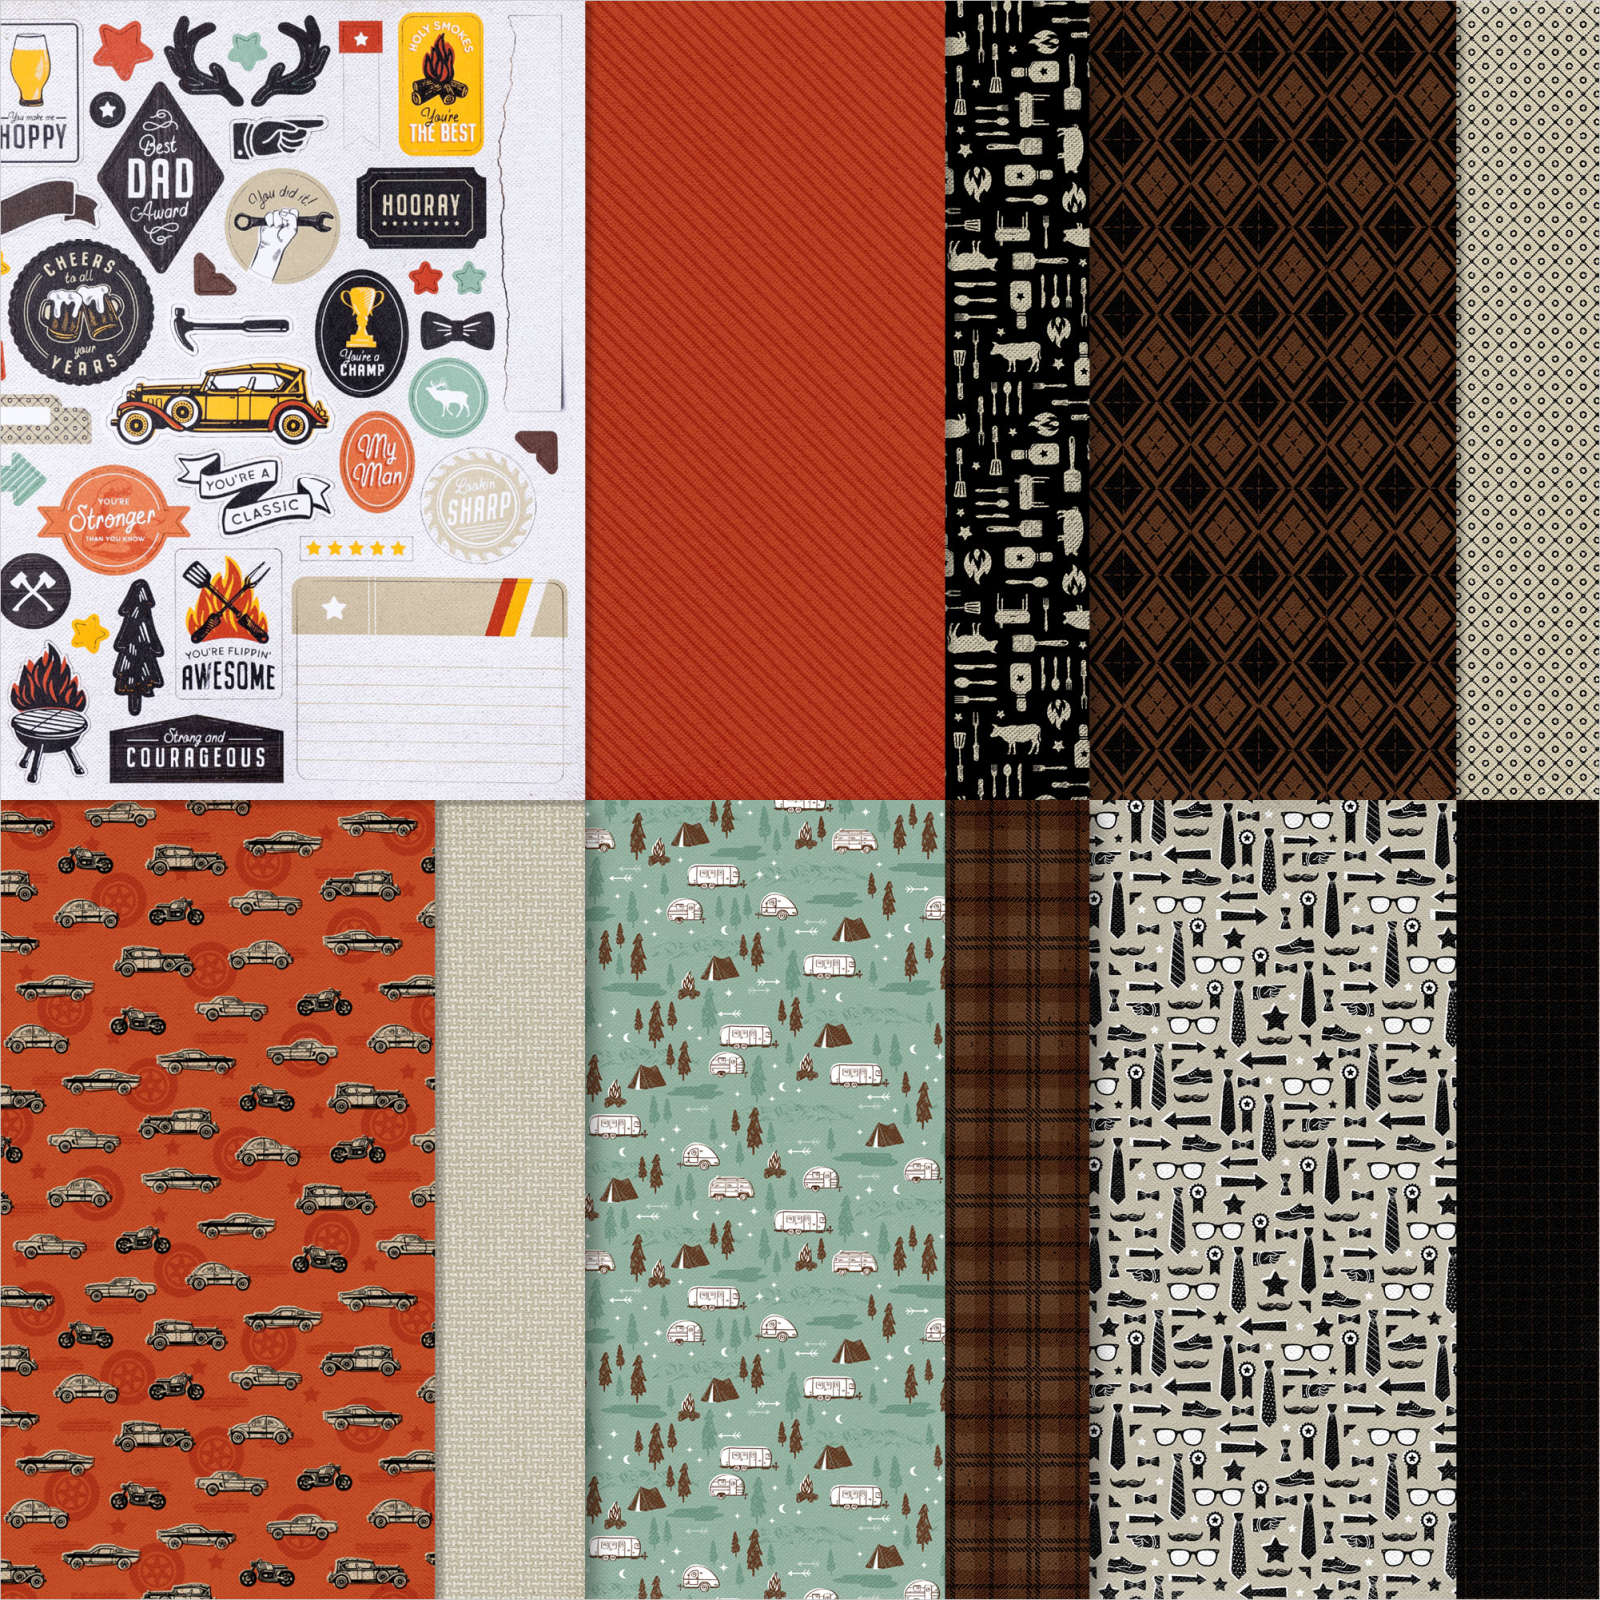
My son-in-law recently celebrated his birthday and today I am sharing his card with you. I followed a video by Lisa Curcio to create this fancy fold card. You can find her video here. I cut my card base pieces from Sahara Sand card and used the He’s The Man 12″ x 12″ Designer Series Paper to decorate the panels. I stamped a greeting from the Whiskey Business stamp set onto Basic White card using Early Espresso ink and attached the panel to the inside of the card.
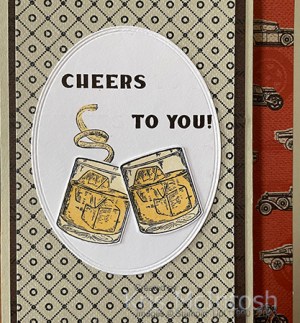
I cut Basic White card using one of the frames from the Framed Florets Dies. I stamped the greeting from the Whiskey Business stamp set onto the top of the Basic White oval using Early Espresso ink. I only inked the word “Cheers” the first time and then “to you” the second time so that I could space the words how I wanted.
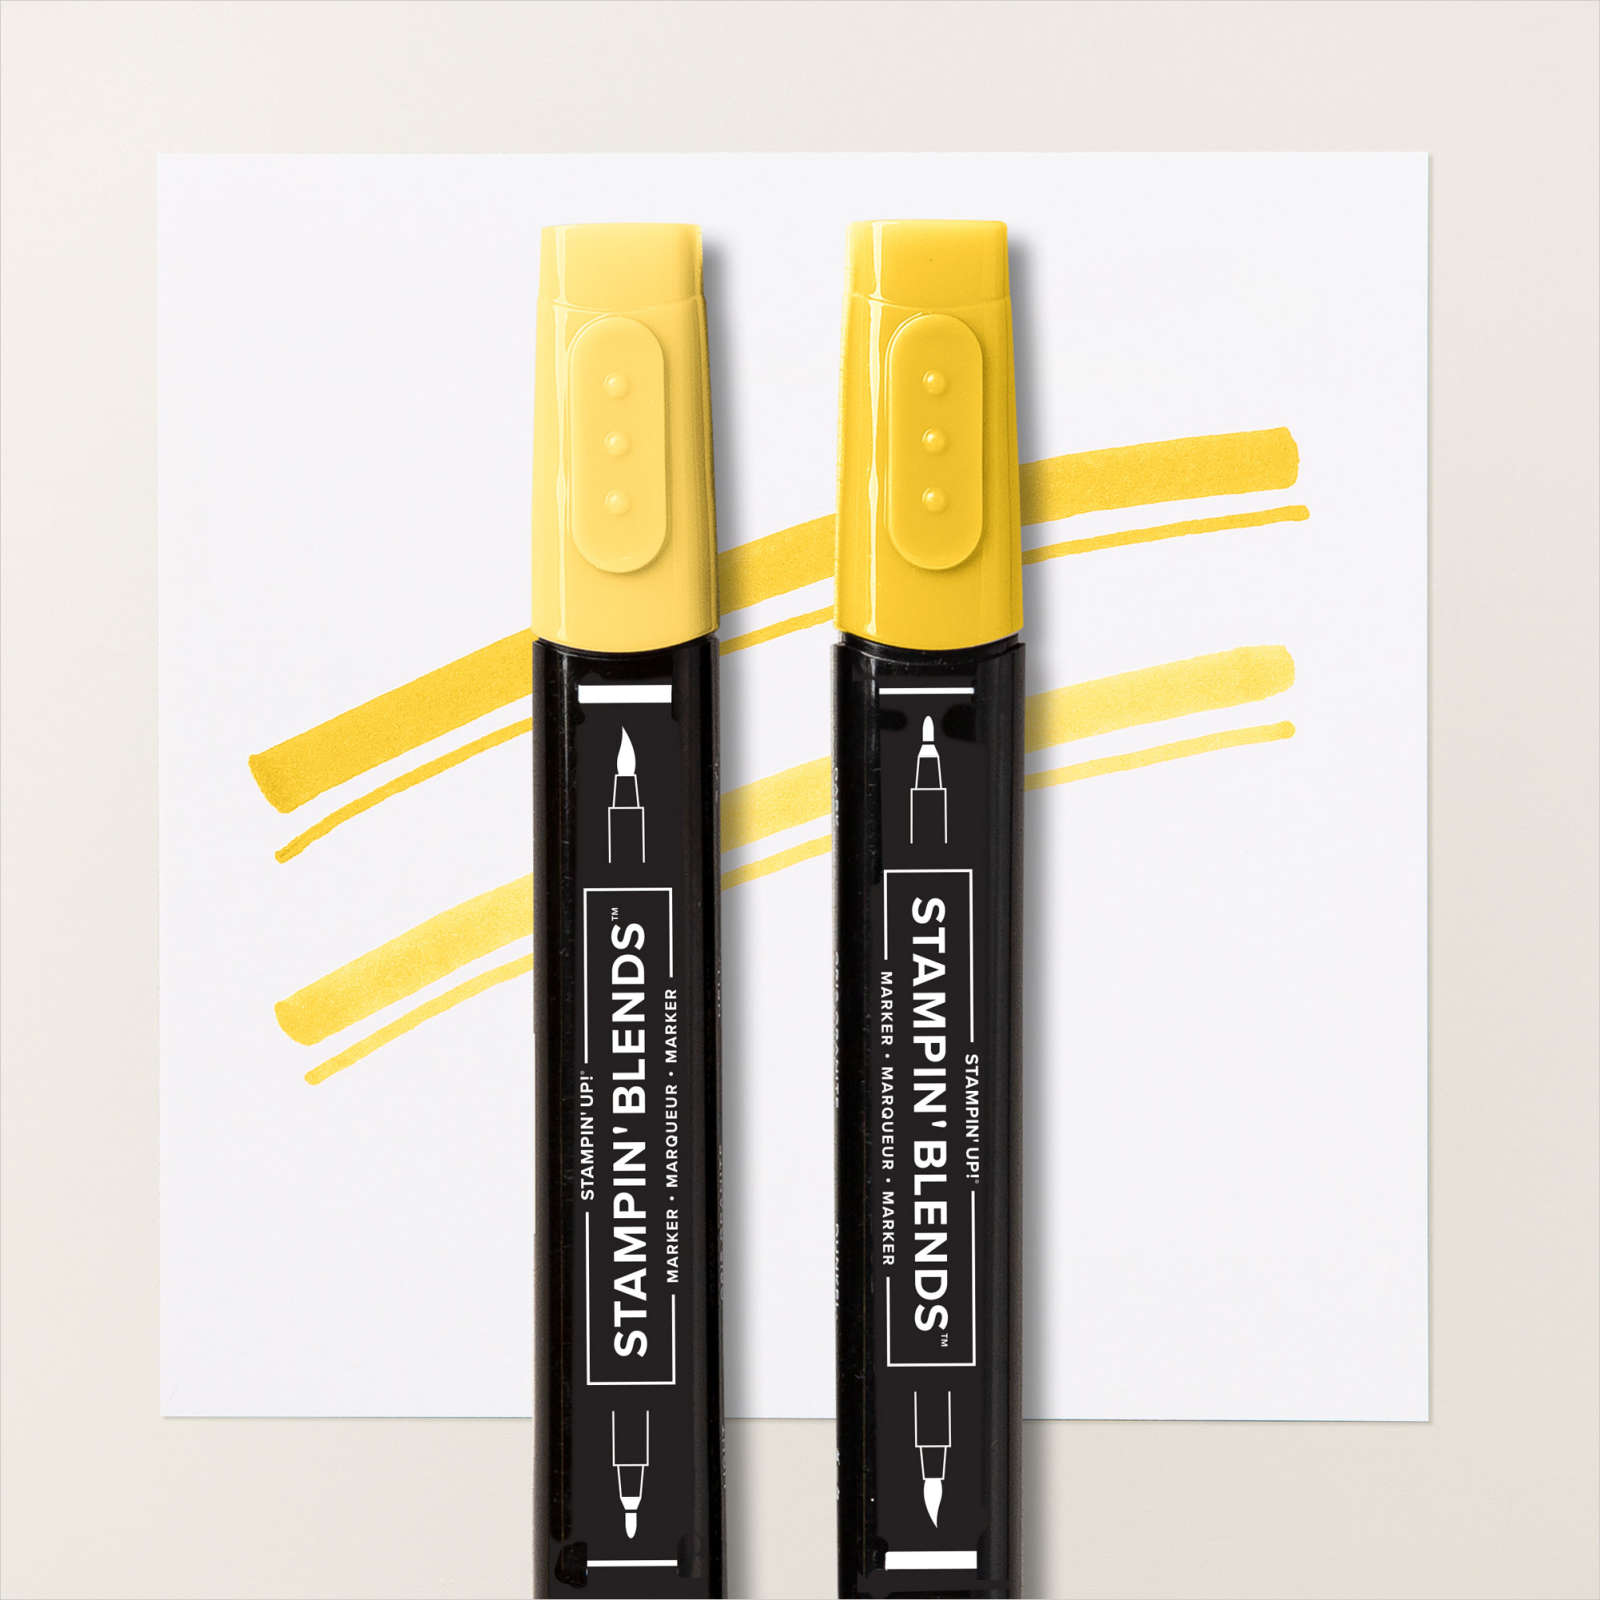
I stamped the “lime” image from the Whiskey Business stamp set onto the oval using Memento Tuxedo Black ink. I coloured the image using the Light So Saffron Stampin’ Blend. I stamped the glass image from the Whiskey Business stamp set twice onto Basic White card using Memento Tuxedo Black ink. I coloured the image using the So Saffron Stampin’ Blends. I cut out the glass images and attached them to the stamped oval. The oval is attached to the centre of the card front. I really love how this card turned. Thank you Lisa for your instructions. I must admit I will have to play with this one to convert the directions to fit our A4 card. I’d love to hear what you think.
Bye for now,
Kris
Product Used:



Seasonal Sale
First we had Click Frenzy and Black Friday and now Stampin’ Up! is holding a Seasonal Sale from the 15th November to the 18th November. Select product from the Annual Catalogue will be discounted. 10% of selected punches. 15% of Selected Stamp Sets. 20% of selected Dies. 20% of selected embossing folders. 20% of selected Designer Series Paper. Wow! What a wonderful time to stock up on the items on your Wish List. You can download a PDF of the items on sale here.
Once you have decided what to buy you can head on over to my store to place your order.
Happy Shopping!
Bye for now,
Kris
Emu Park
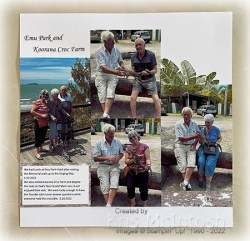
and Koorana Croc Farm. We had a lovely day visiting Emu Park where we did the Memorial WWI walk up the hill to the Singing Ship. It was a lovely sunny day but really windy (just check out the hair!). After our walk we had lunch at the Hotel. The next day we visited the Koorana Croc Farm. This is an amazing place and certainly worth a visit if you are in the Rockhampton area. I decided to create this page to co-ordinate with the one that I shared last week. I attached a piece of Boughs of Holly 12″ x 12″ Designer Series Paper across the bottom of the page before attaching my photos. I created the journaling on my computer and printed onto Basic White card. I stamped the palm tree image from the retired Island Vibes stamp set onto Basic White card using Old Olive ink and cut it out. I attached the palm tree image above the right hand photo. The title is printed onto Basic White card and fussy cut.

Here are both pages together. Simple pages but the happy memories will last a long time. I hope I am inspiring you to do some Memory Keeping of your own.
Bye for now,
Kris
Product Used:

‘Tis The Season

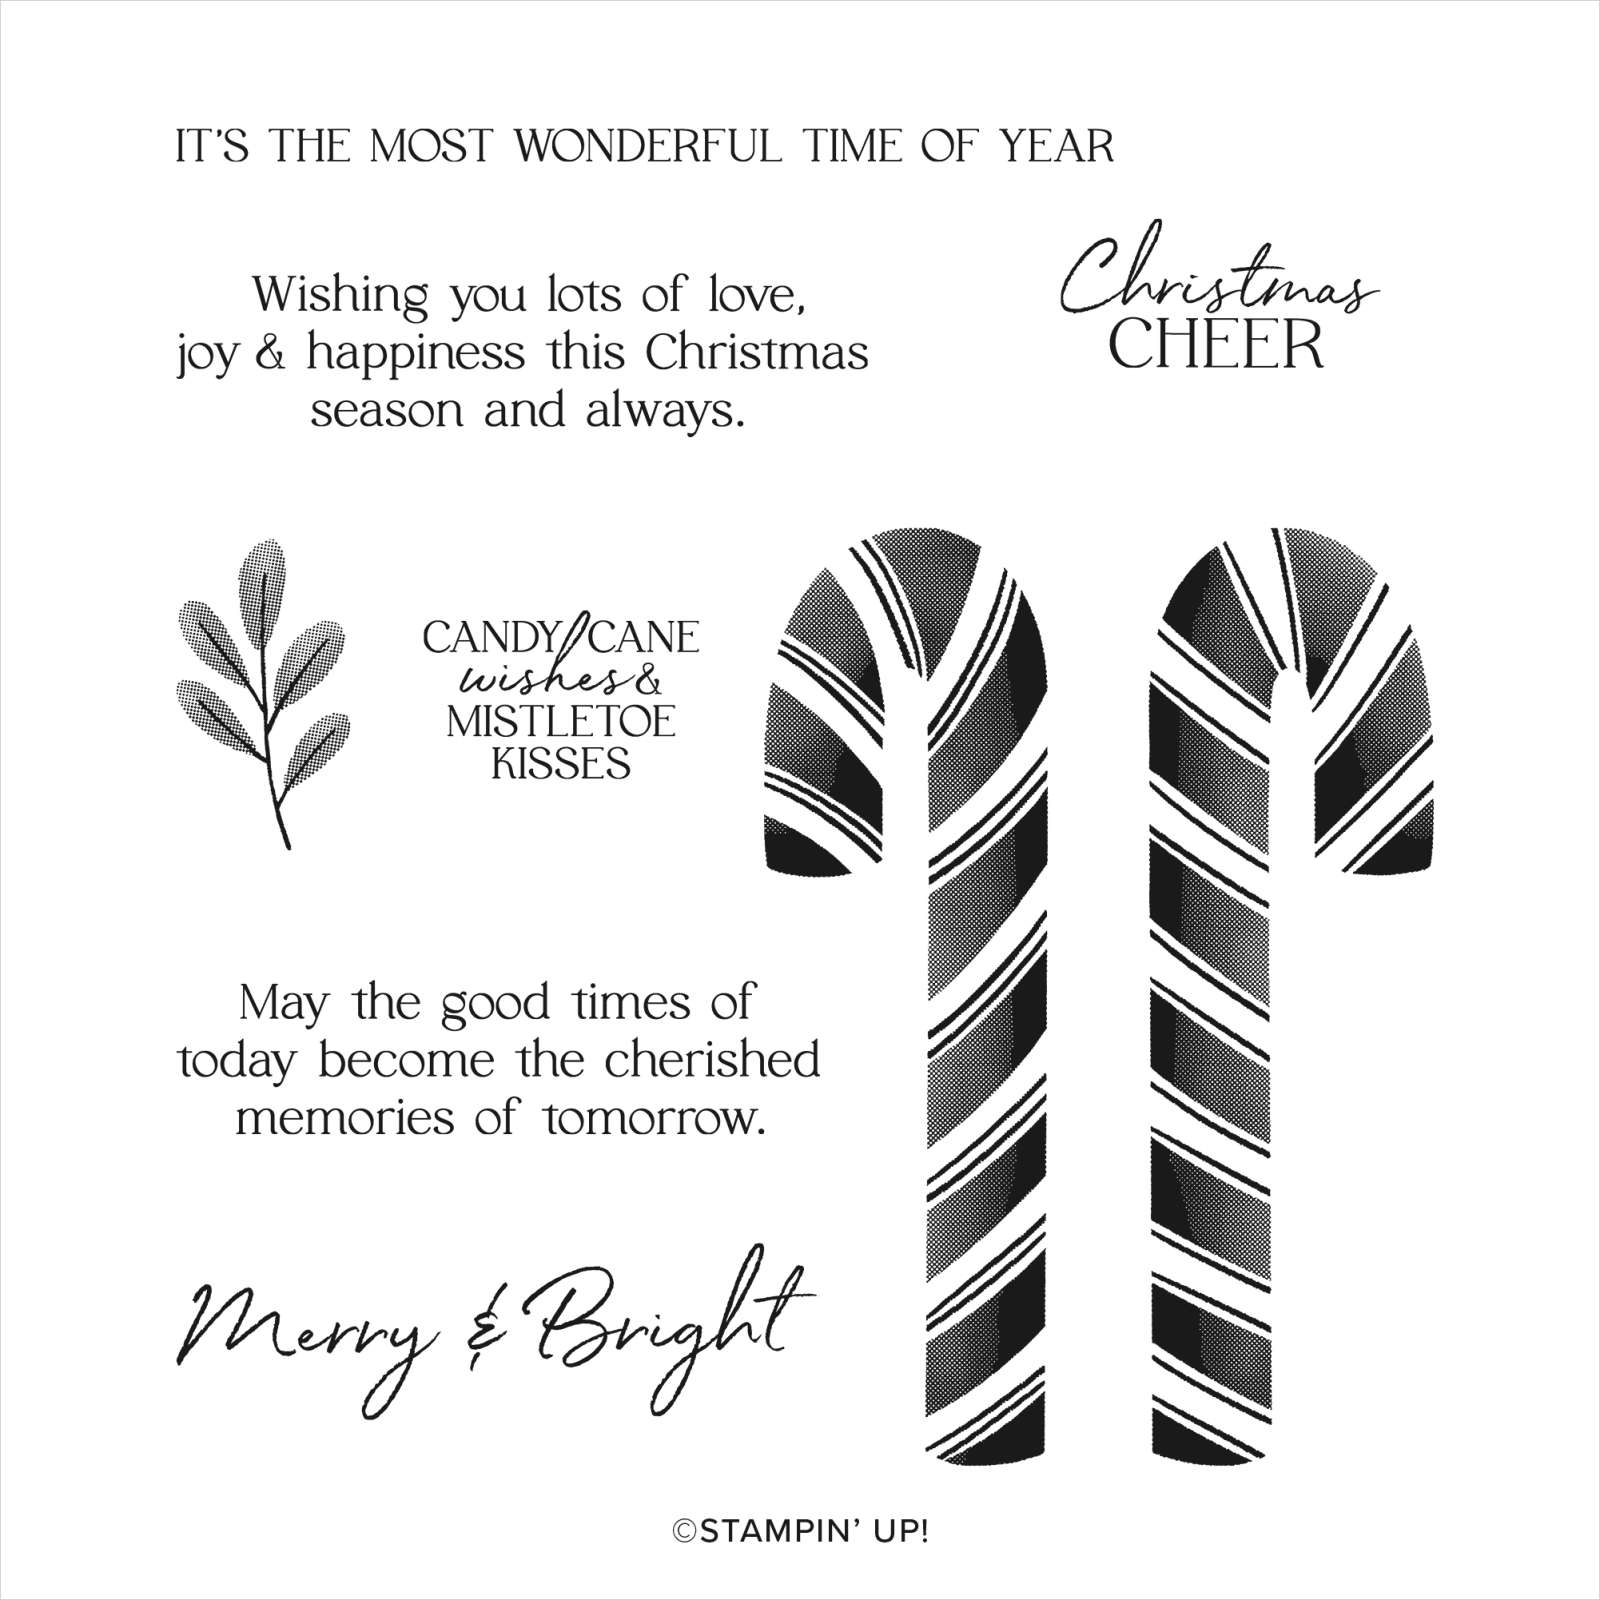
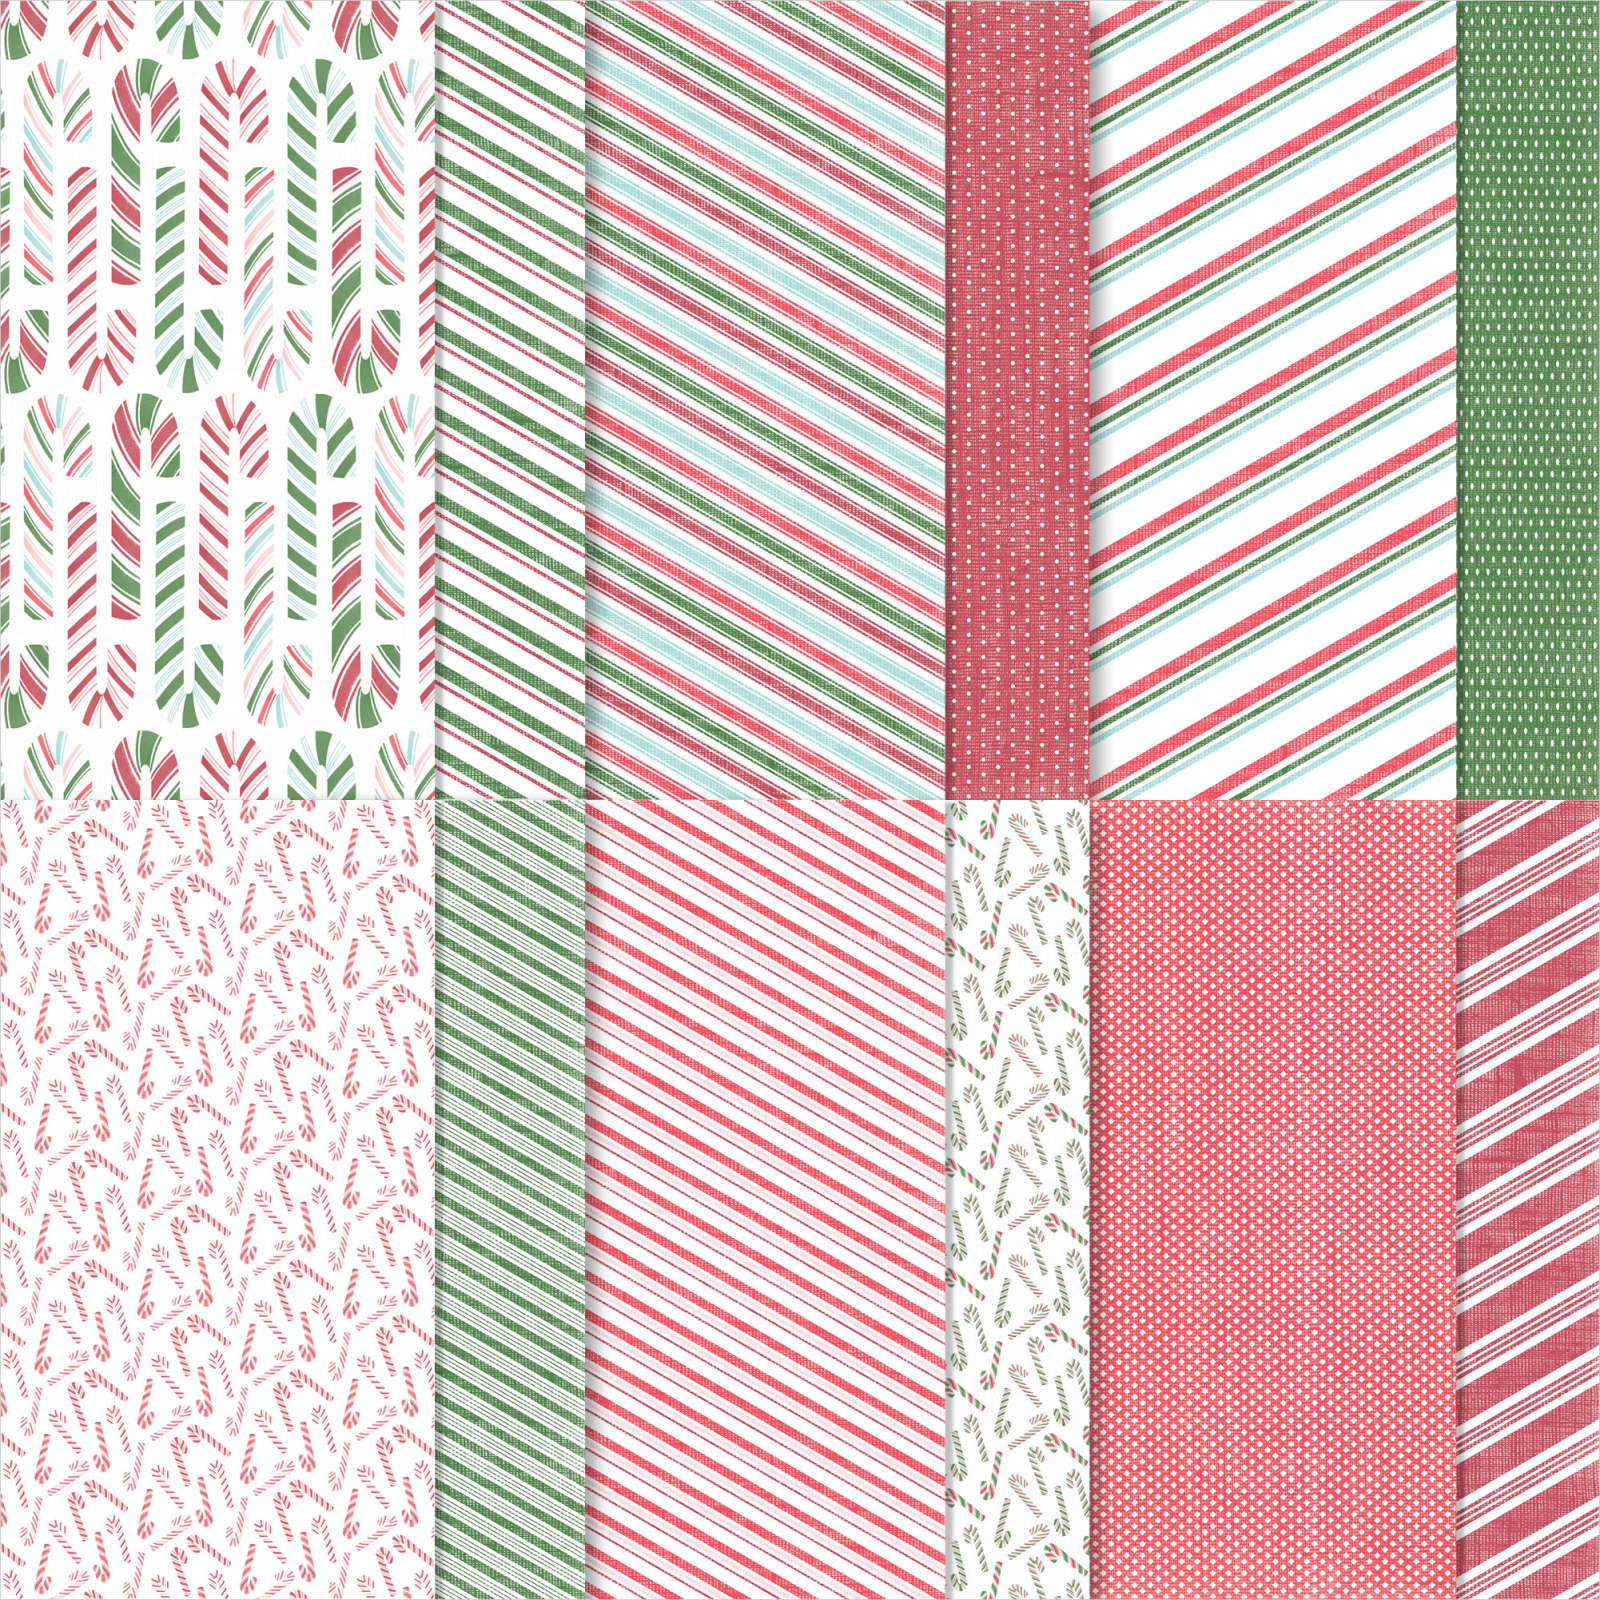
Today’s card uses the Sweetest Christmas Suite from the July to December Mini Catalogue. This product suite has two stamp sets with co-ordinating dies, sequins, ribbon, designer series paper and some glimmer paper too. For today’s card, I attached a piece of the Sweetest Christmas Designer Series Paper to Real Red card and then Thick Basic White (note that I used a flat piece of card for the base). I scored and folded a panel of Thick Basic White card to create the front panel of the card. I stamped a greeting from the Sweet Candy Canes stamp set onto the inside before attaching the panel to the left hand side of the card front.
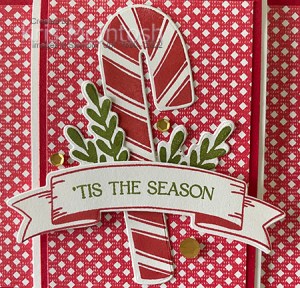
I attached a piece of the same Sweetest Christmas Designer Series Paper to Real Red card and then front of the folded card. I stamped the candy cane image from the Sweet Candy Canes stamp set onto Basic White card using Real Red ink. I also stamped two of the leaf images from the Christmas Banners stamp set onto Basic White card using Old Olive ink. I die cut the candy cane using the co-ordinating Candy Canes Die and the leaves using the co-ordinating Christmas Banner Die.

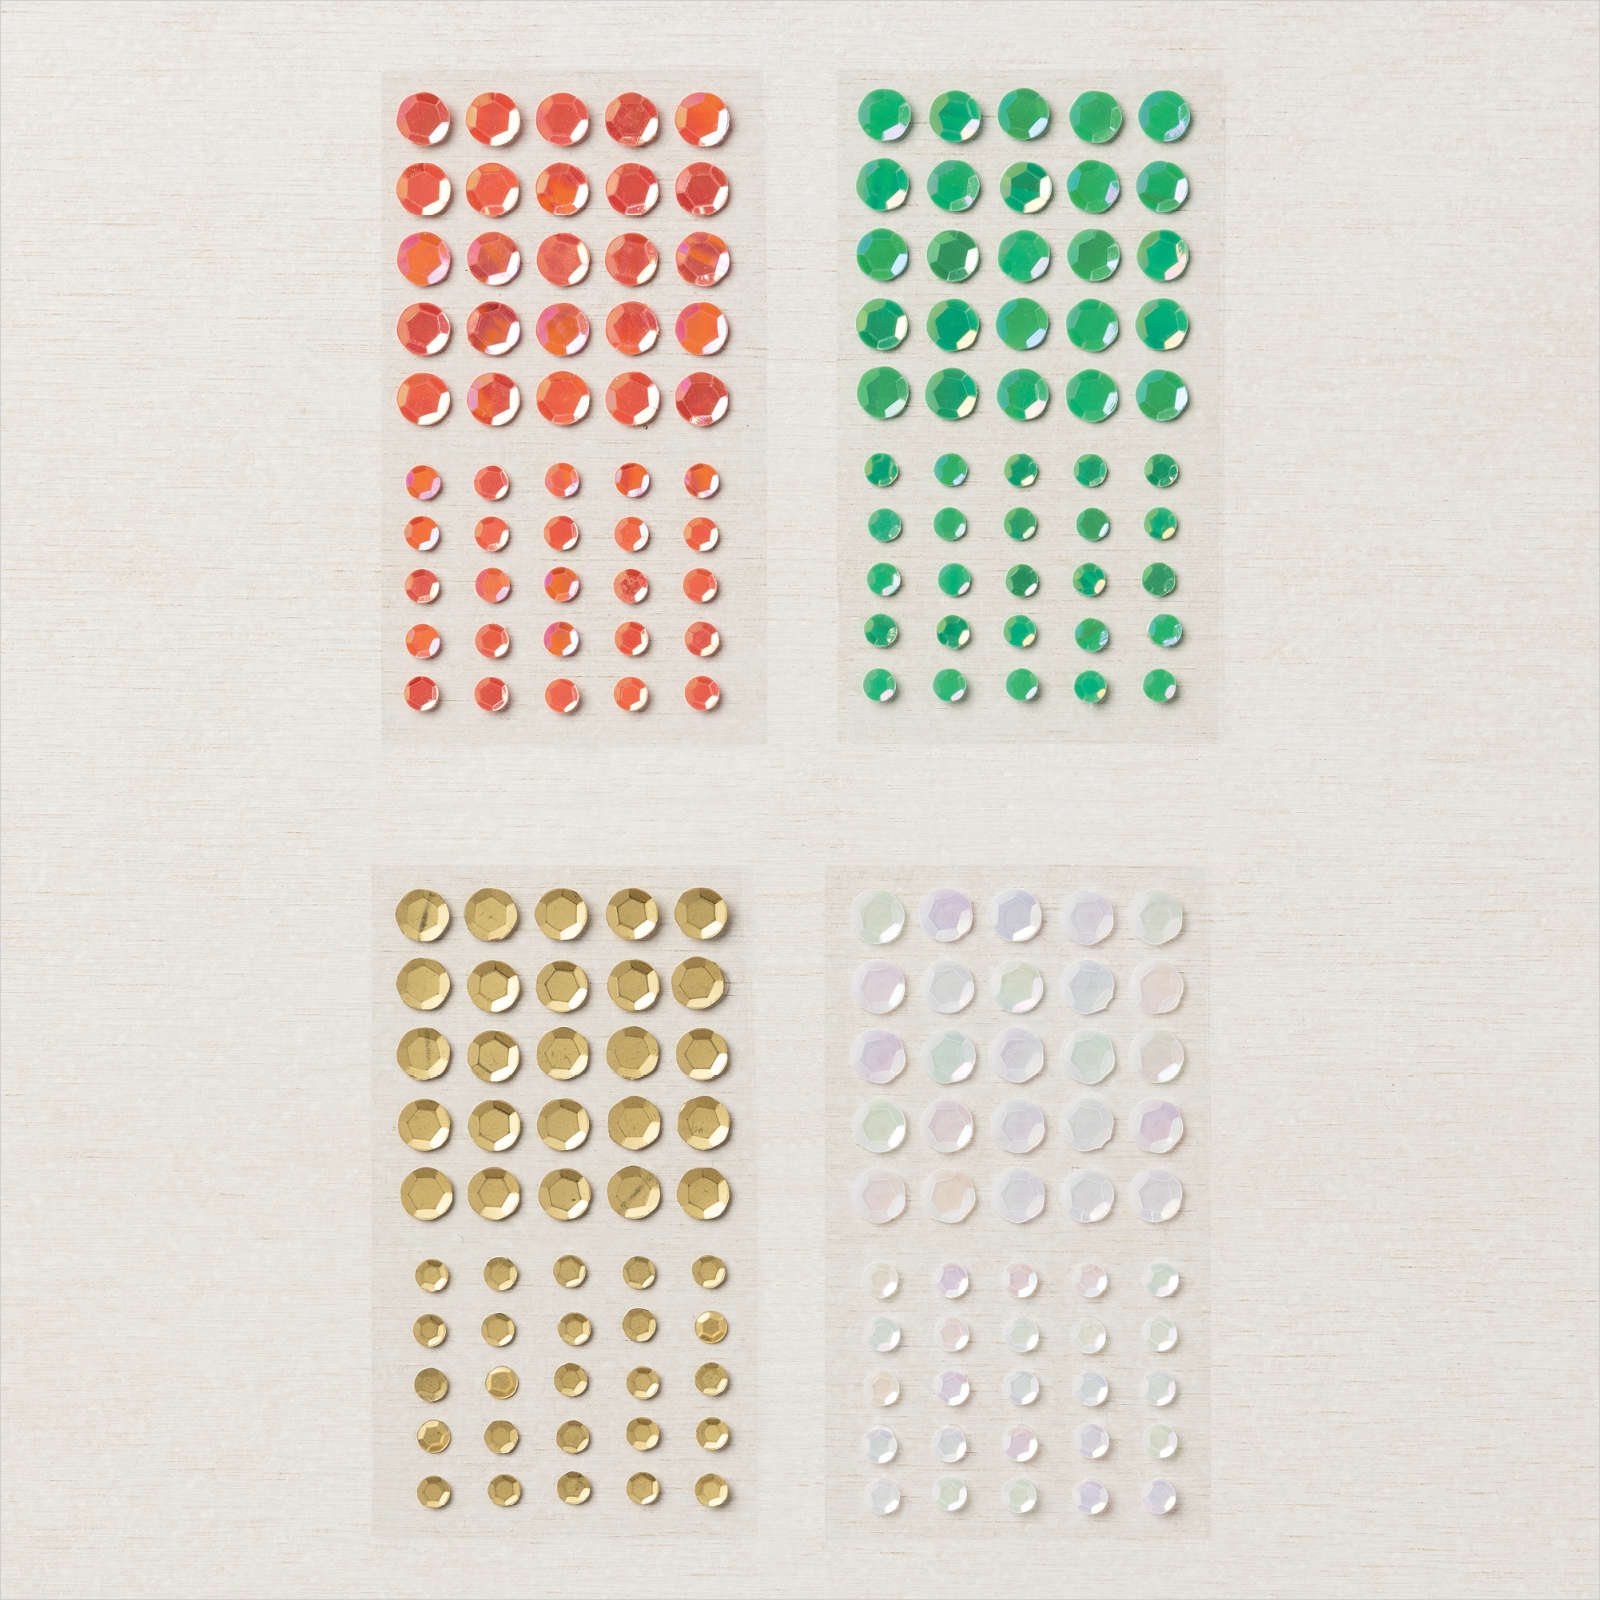
I also stamped the banner from the Christmas Banner stamp set onto Basic White card using Real Red ink and cut it out using the co-ordinating Christmas Banner Die. I stamped the greeting from the Christmas Banners stamp set onto the centre of the banner die using Old olive ink. I attached the leaves and candy cane flat onto the Designer Series paper on front of the folded card. I attached the banner using dimensionals. Lastly I added three Gold Adhesive Backed Seasonal Sequins around the candy cane. This is such a great fancy fold which I found on Pinterest here. Not sure who created the card but thanks for the inspiration.
Bye for now,
Kris
Product Used:



Birthday Wishes
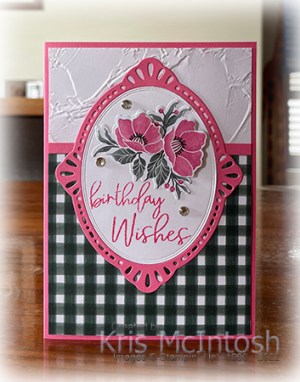
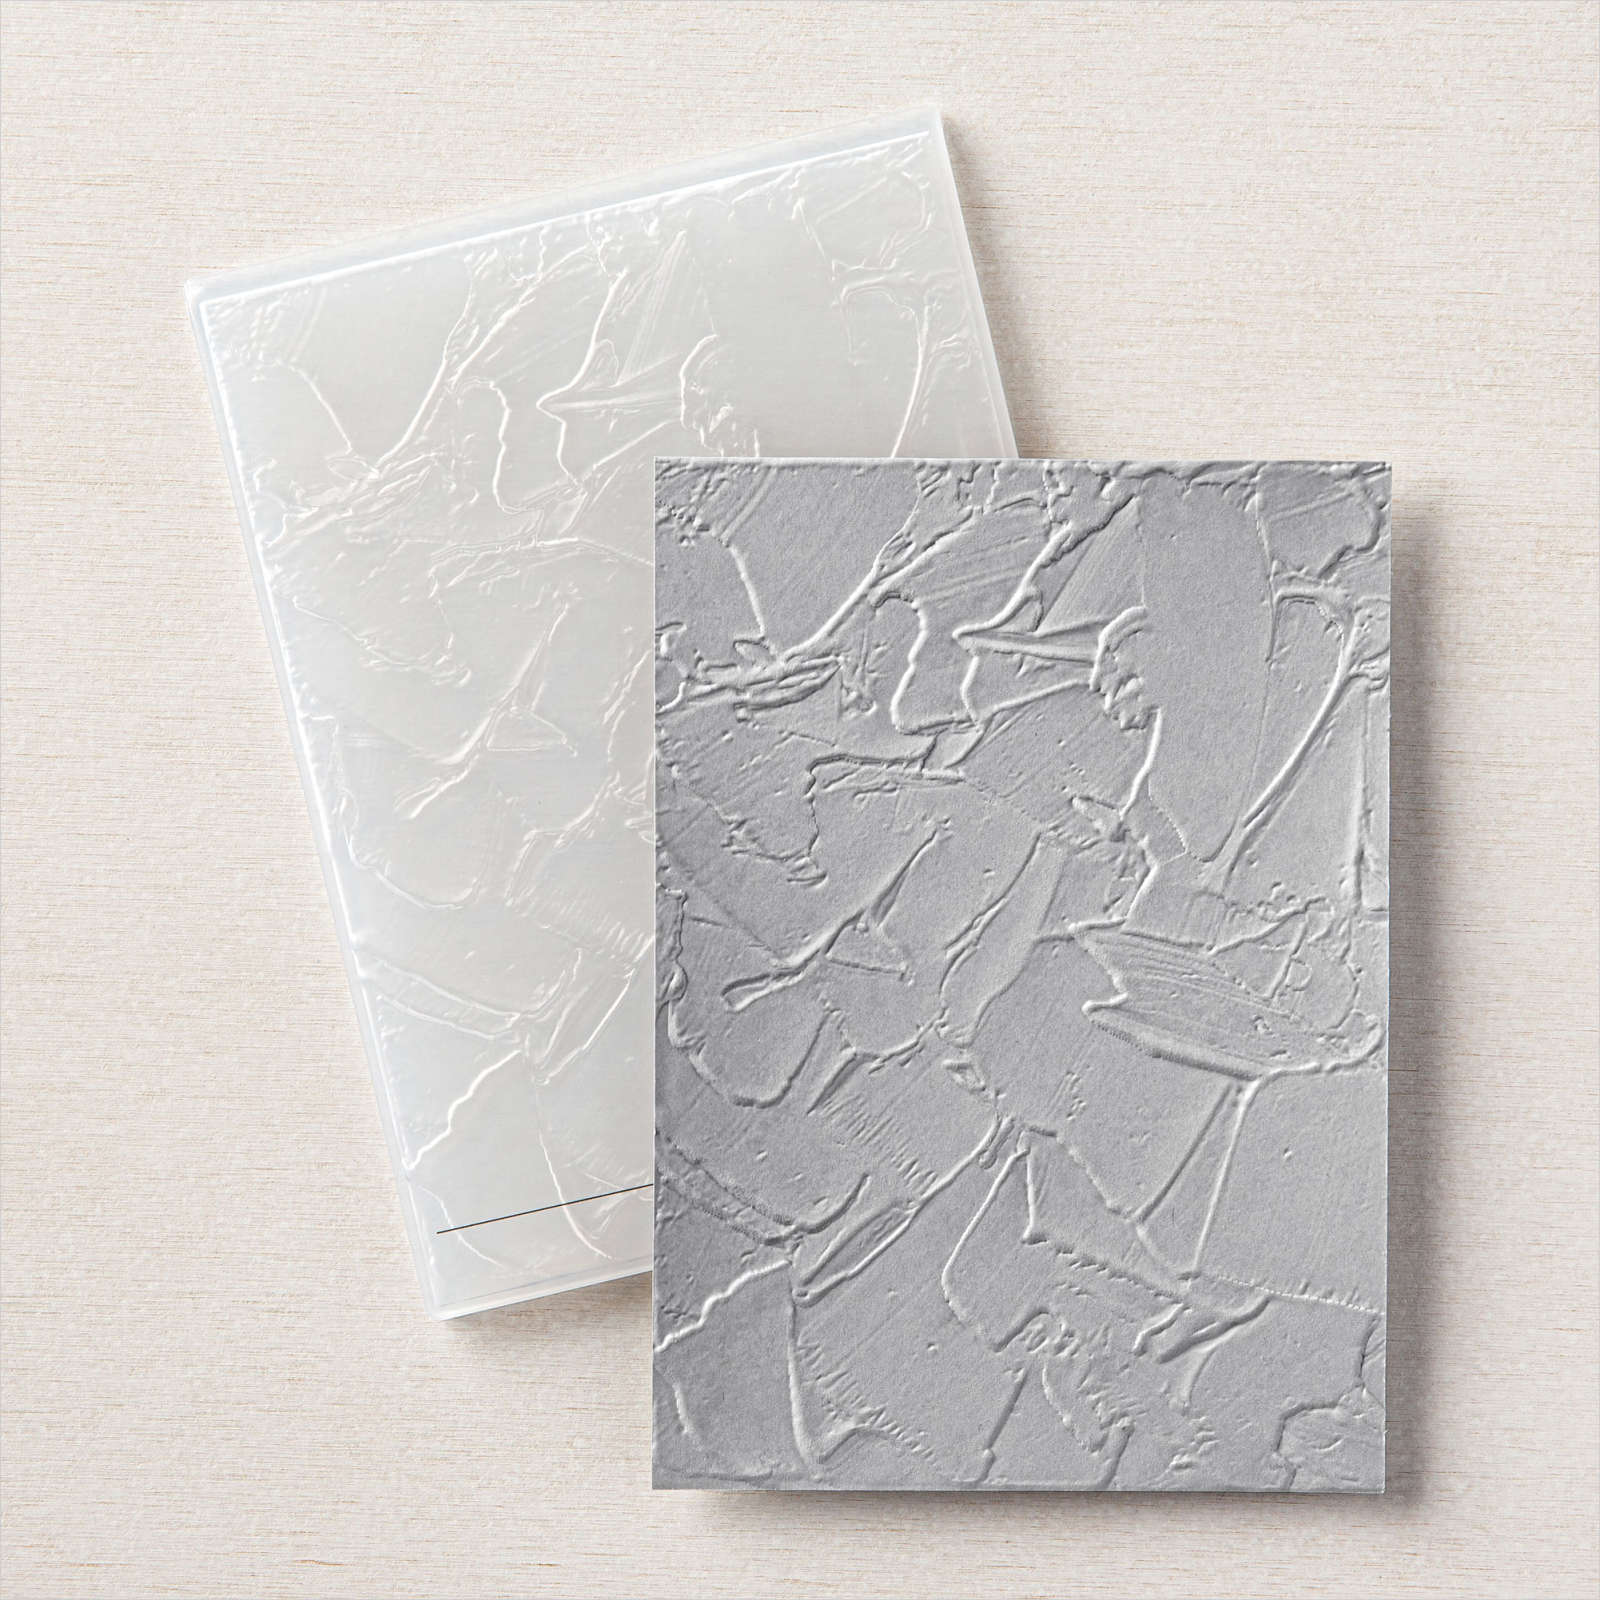
My niece celebrated a special “O” birthday and I wanted to give her a special card as I couldn’t attend her celebration party. This card is very similar to one I created when I first got the Fitting Florets Collection but a little more stepped up. I embossed Basic White card using the Painted Texture 3D Embossing Folder and attached a piece of the Fitting Florets 12″ x 12″ Designer Series Paper across the bottom. I added a narrow strip of Polished Pink card across the top of the Designer Series Paper before attaching the panel to scored and folded Polished Pink card.
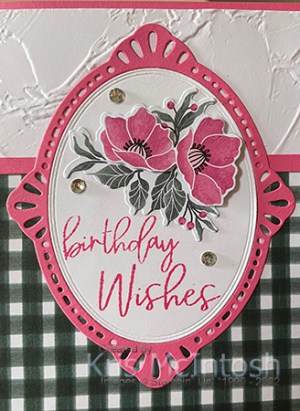
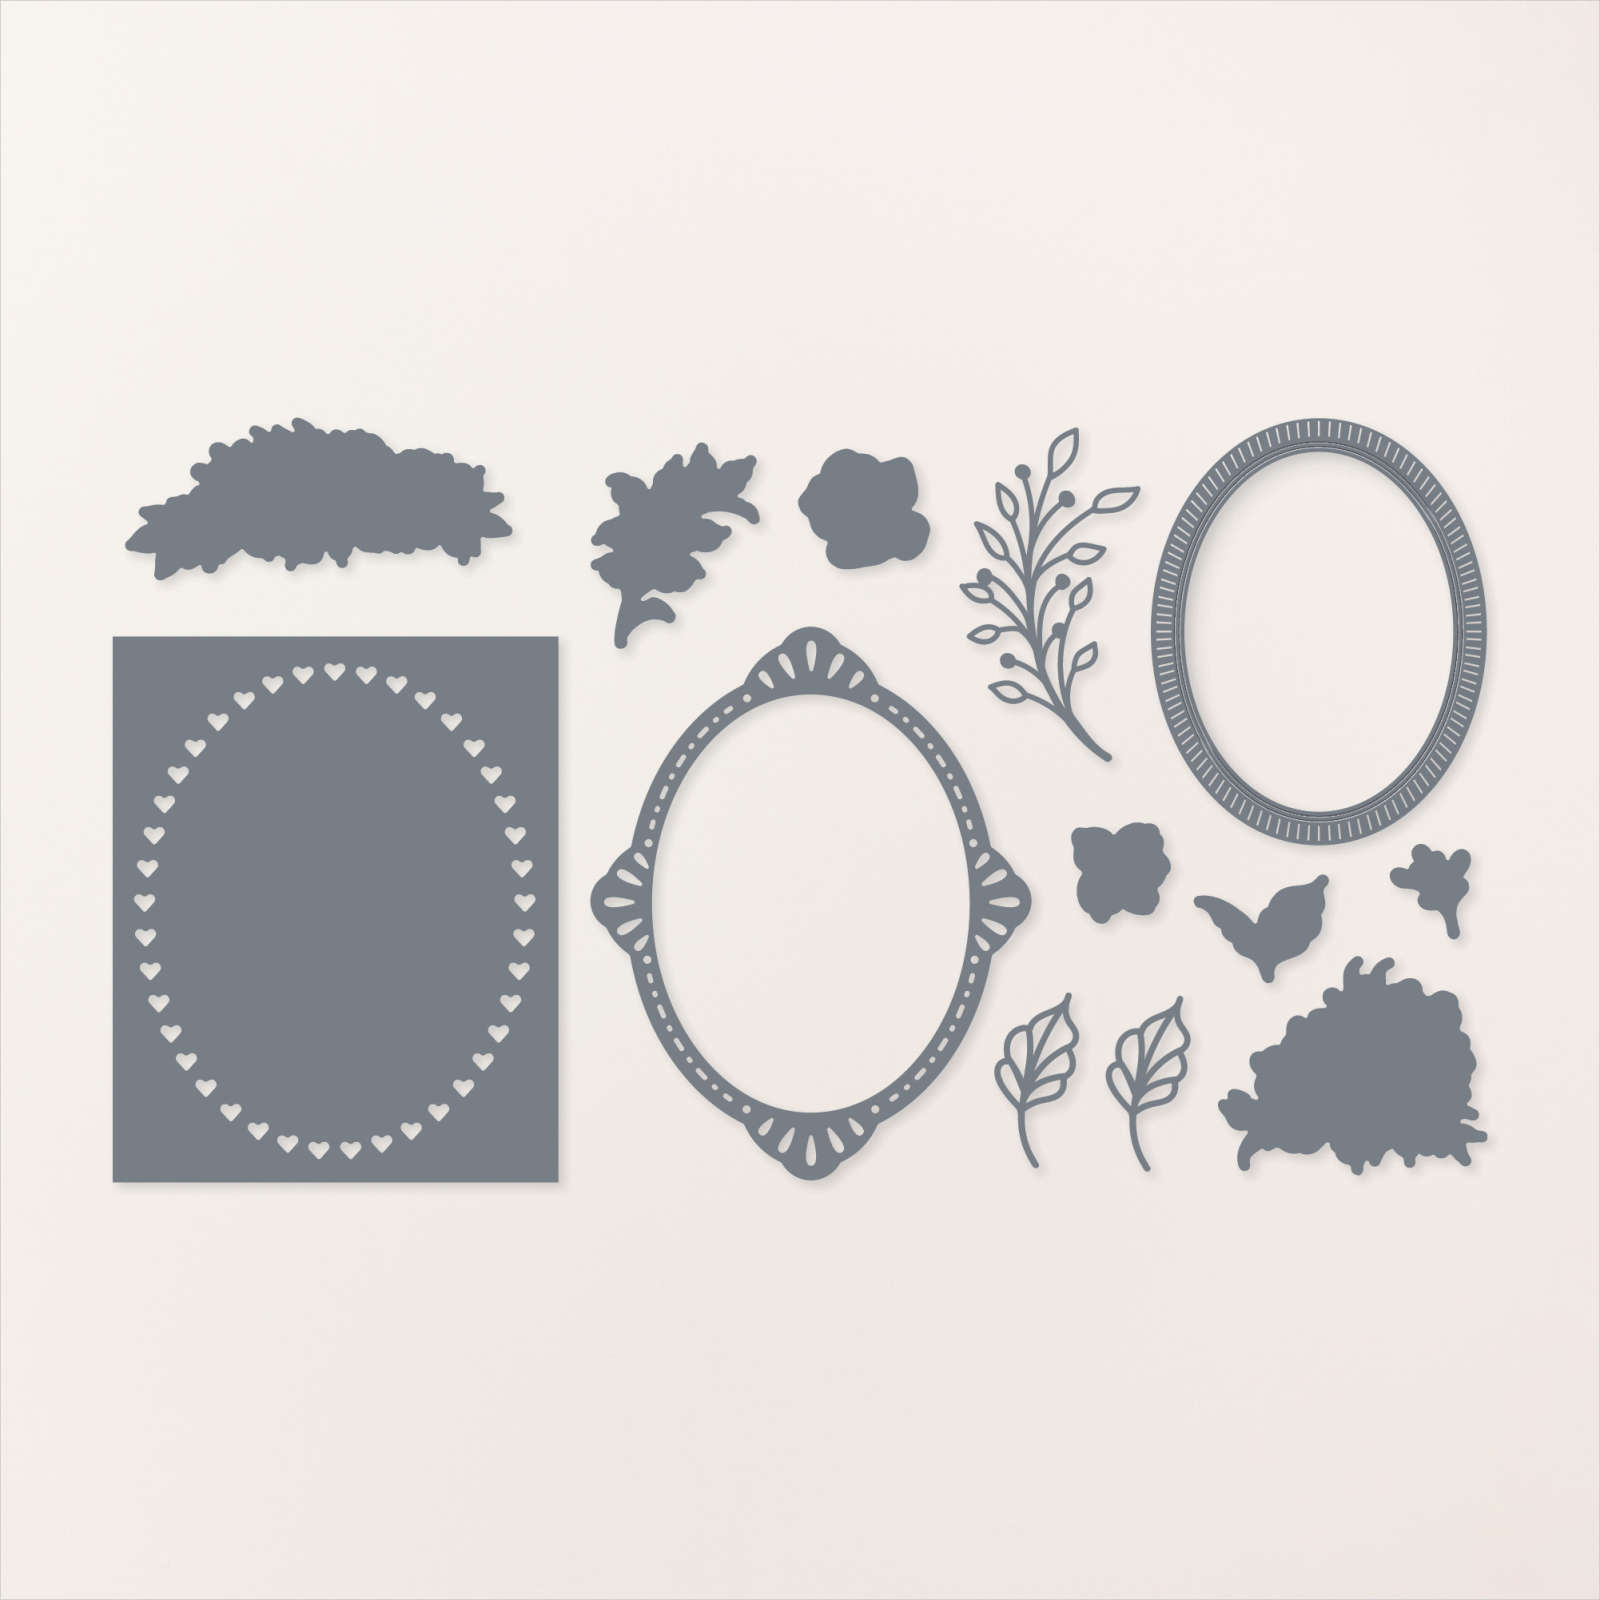
I die cut Polished Pink and Basic White card using the frame die from the Framed Florets Dies. I inked “wishes” from the birthday stamp in the Framed Florets Stamp set using Polished Pink ink and stamped it onto the bottom of the Basic White oval. I inked “birthday” from the same stamp using Polished Pink ink and stamped it above “wishes”. I attached the Polished Pink frame and the stamped Basic White oval to the card front. I die cut two flowers from the Fitting Florets Designer Series Paper.
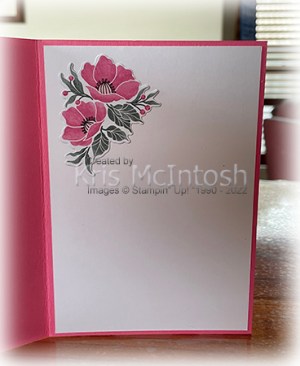
I attached one floral image to the stamped Basic White oval. I cut the flowers from the second die cut and attached them over the full image using dimensionals. I added three Basic Rhinestones just to add a little bling. To decorate the inside of the card, I die cut another flower from the Fitting Florets Designer Series Paper and attached it to the upper left hand corner of Basic White card. I decided since it was a special occasion to die cut another image from the Designer Series Paper and attach it to the upper left hand corner of a Basic White envelope.

As you can see in the photo the first card on the left is pretty but I think the second card, on the right is just a little bit more special. I’d love to hear what you think.
Bye for now,
Kris
Product Used: