Designer Tags
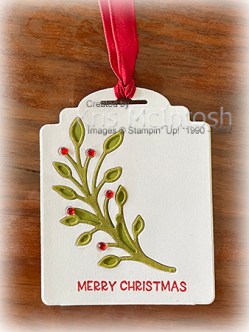
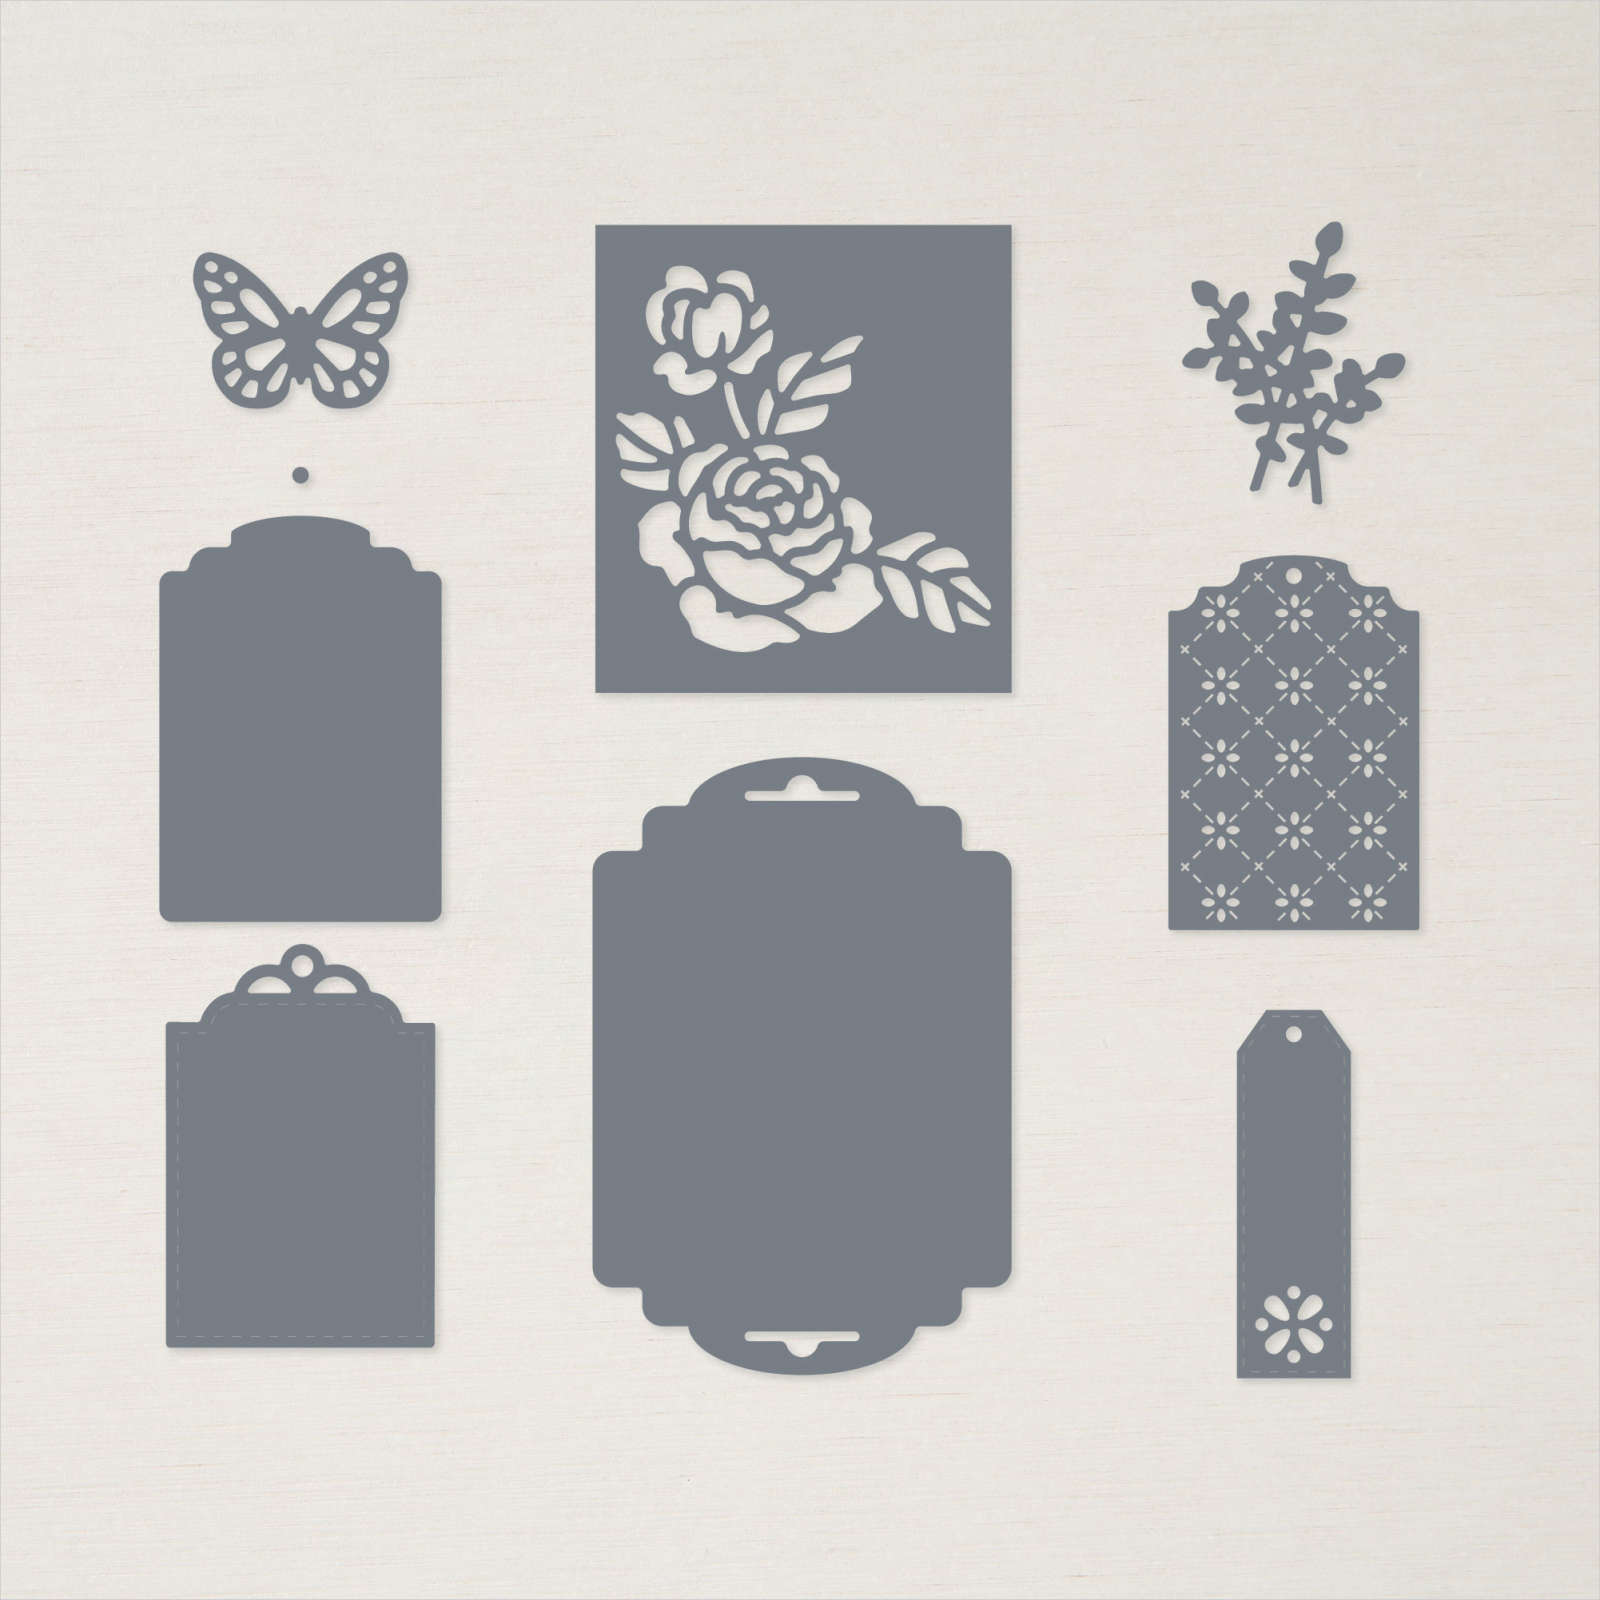
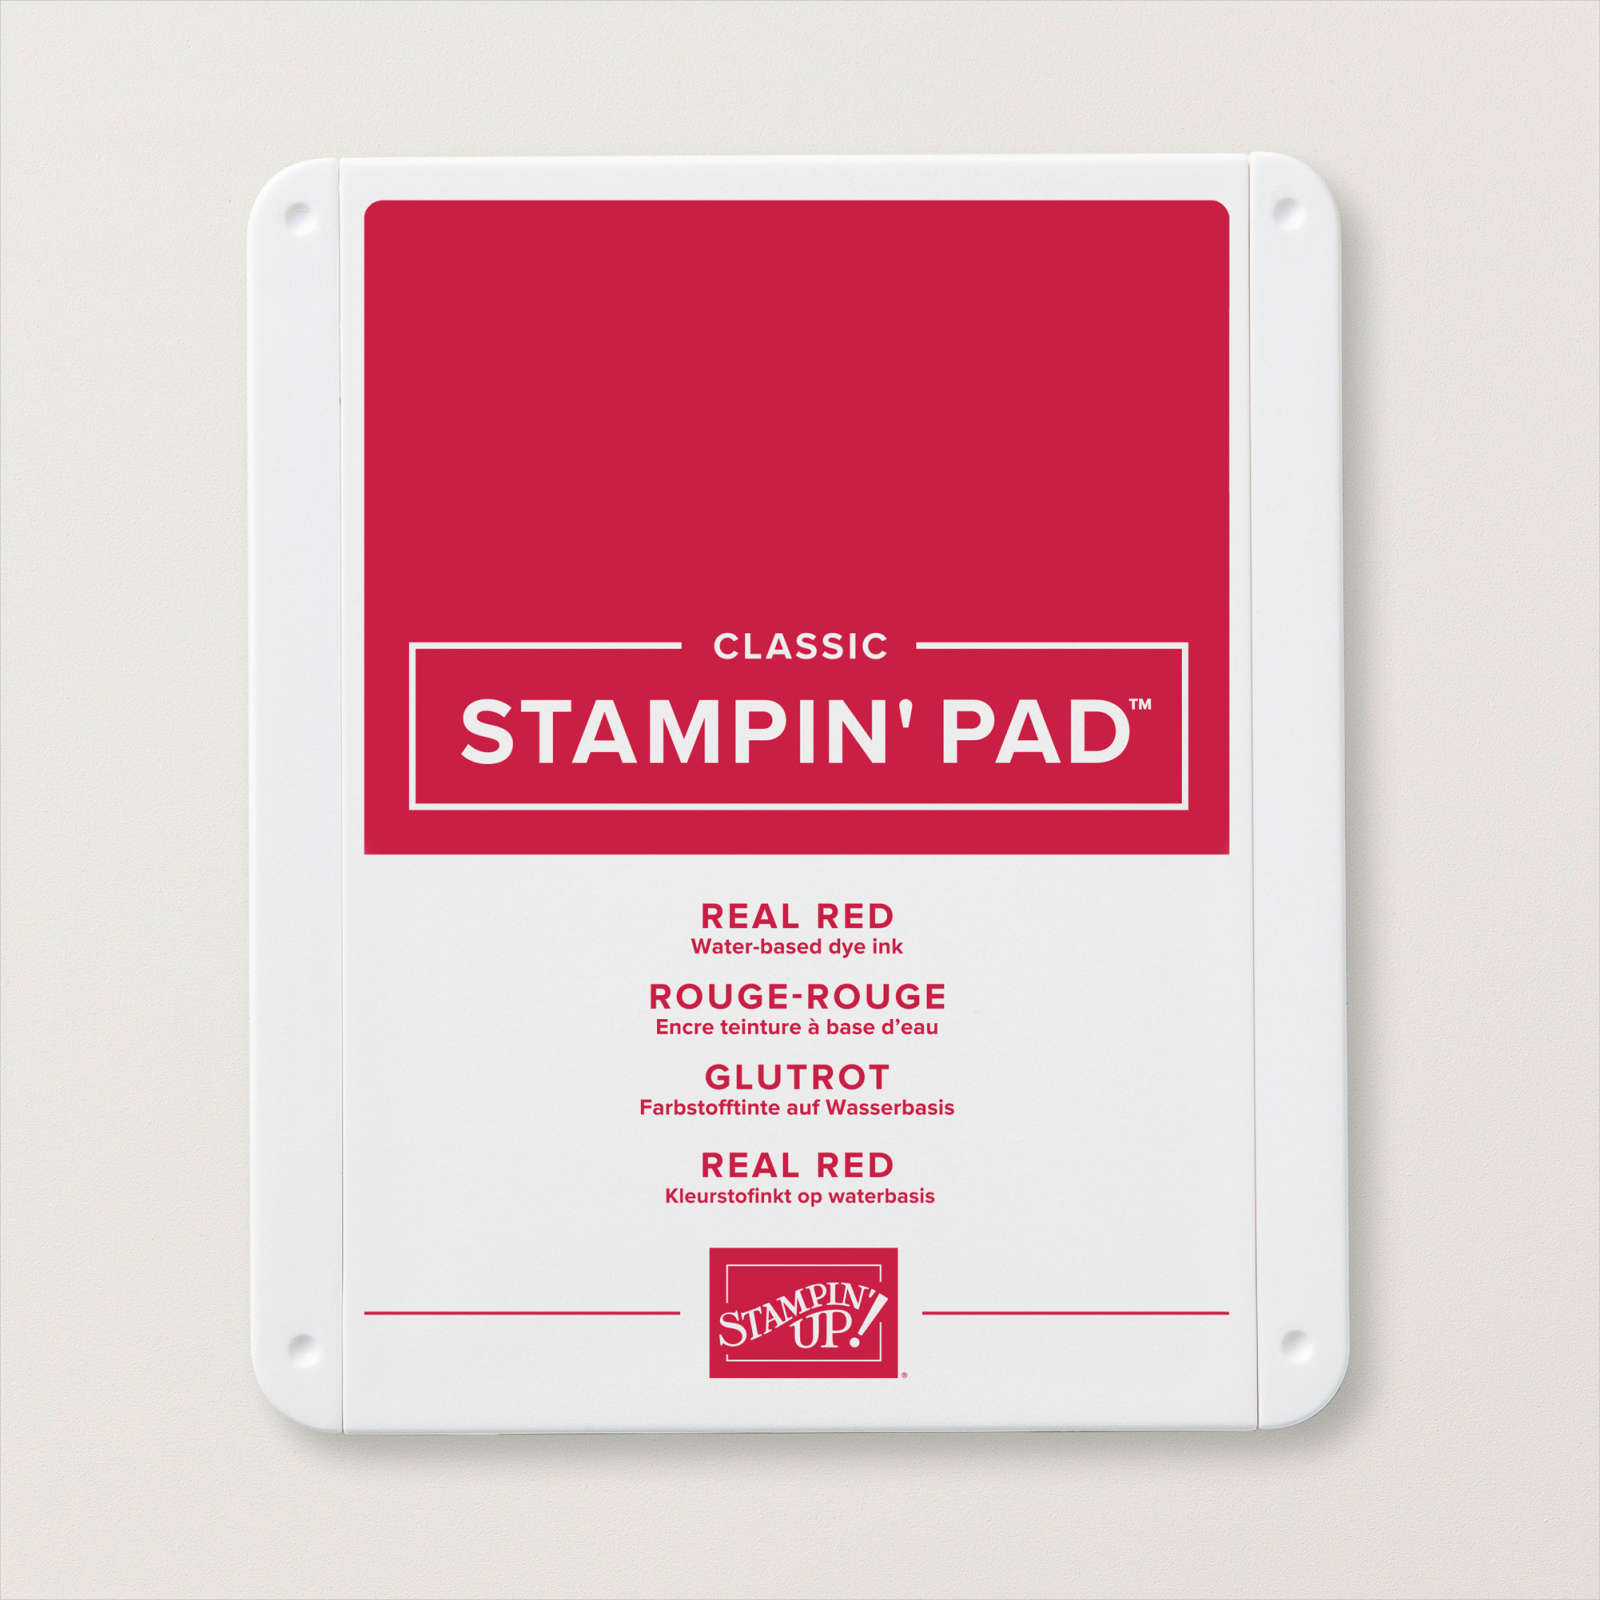
Today I decided to have another play with the Designer Tag Dies. These dies are stand alone dies and do not specifically co-ordinate with any stamp set, which means you are only limited by your imagination. Since I also had the Framed Floret Dies on my desk, I decided to cut the large tag from the Designer Tag Dies from Basic White card. I then cut the leaf image from the Framed Flored Dies from the Basic White tag. I cut Old Olive card using the large tag die from the Designer Tag Dies. I trimmed the bottom of the dies and attached them together. I stamped the greeting from the Framed & Festive stamp set onto the bottom of the Basic White tag using Real Red ink
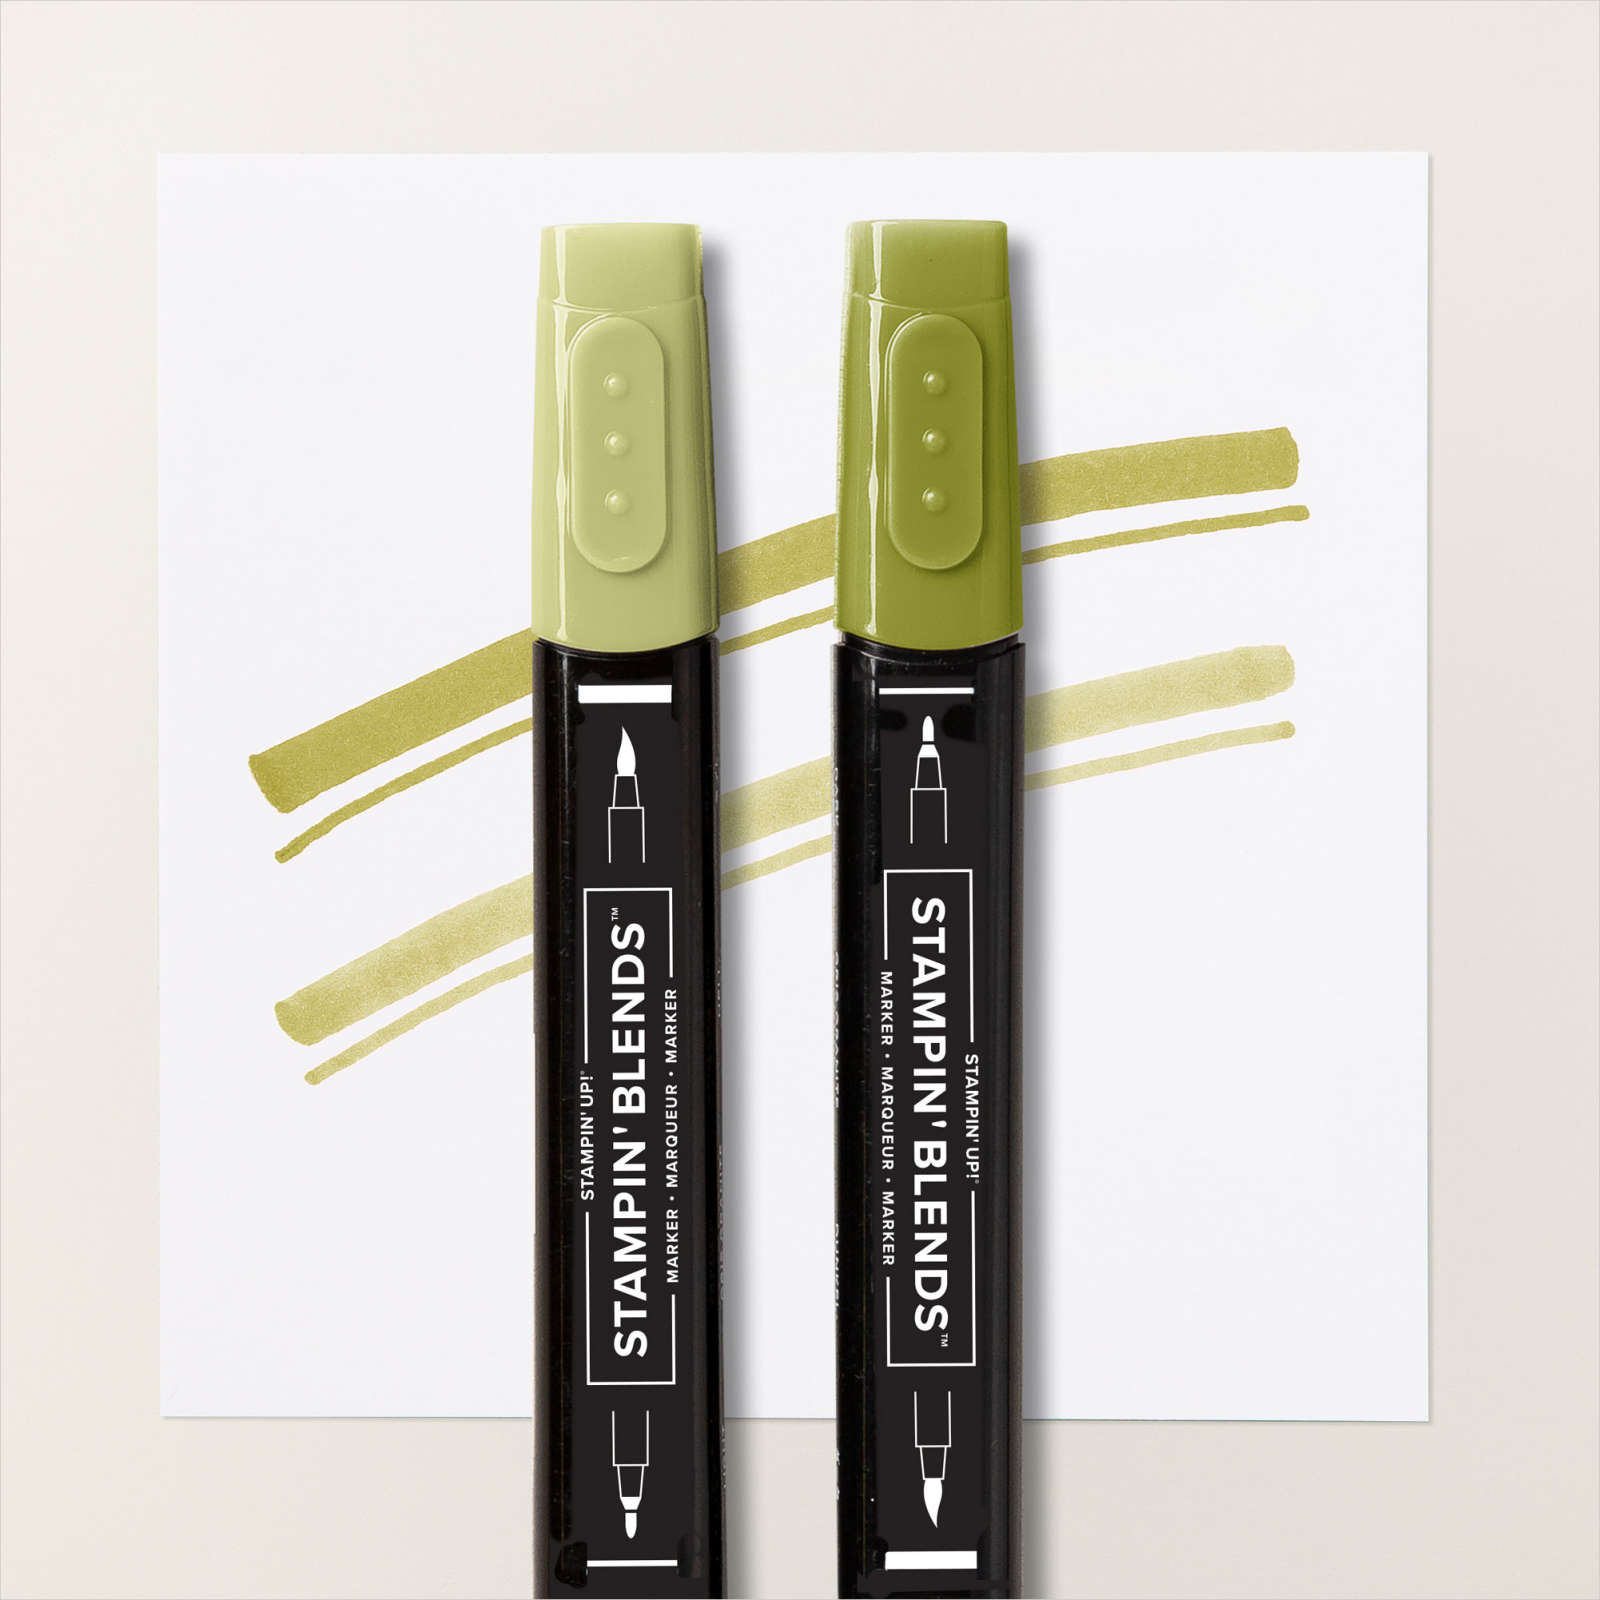
I coloured the die cut leaf using the dark Old Olive Stampin’ Blend and attached it inside the space on the Basic White tag. I added Real Red Rhinestones to look like the berries on the image. I added a Basic White panel to the back of the tag and stamped the “to/from” from the Christmas Gifting Kit using Real Red ink. Lastly I threaded a length of the Real Red Ribbon from the Real Red & Garden Green 3/8″ Ribbon Combo Pack through the tag.
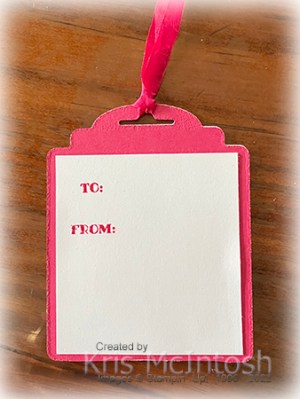
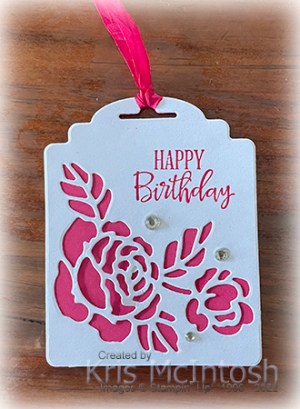
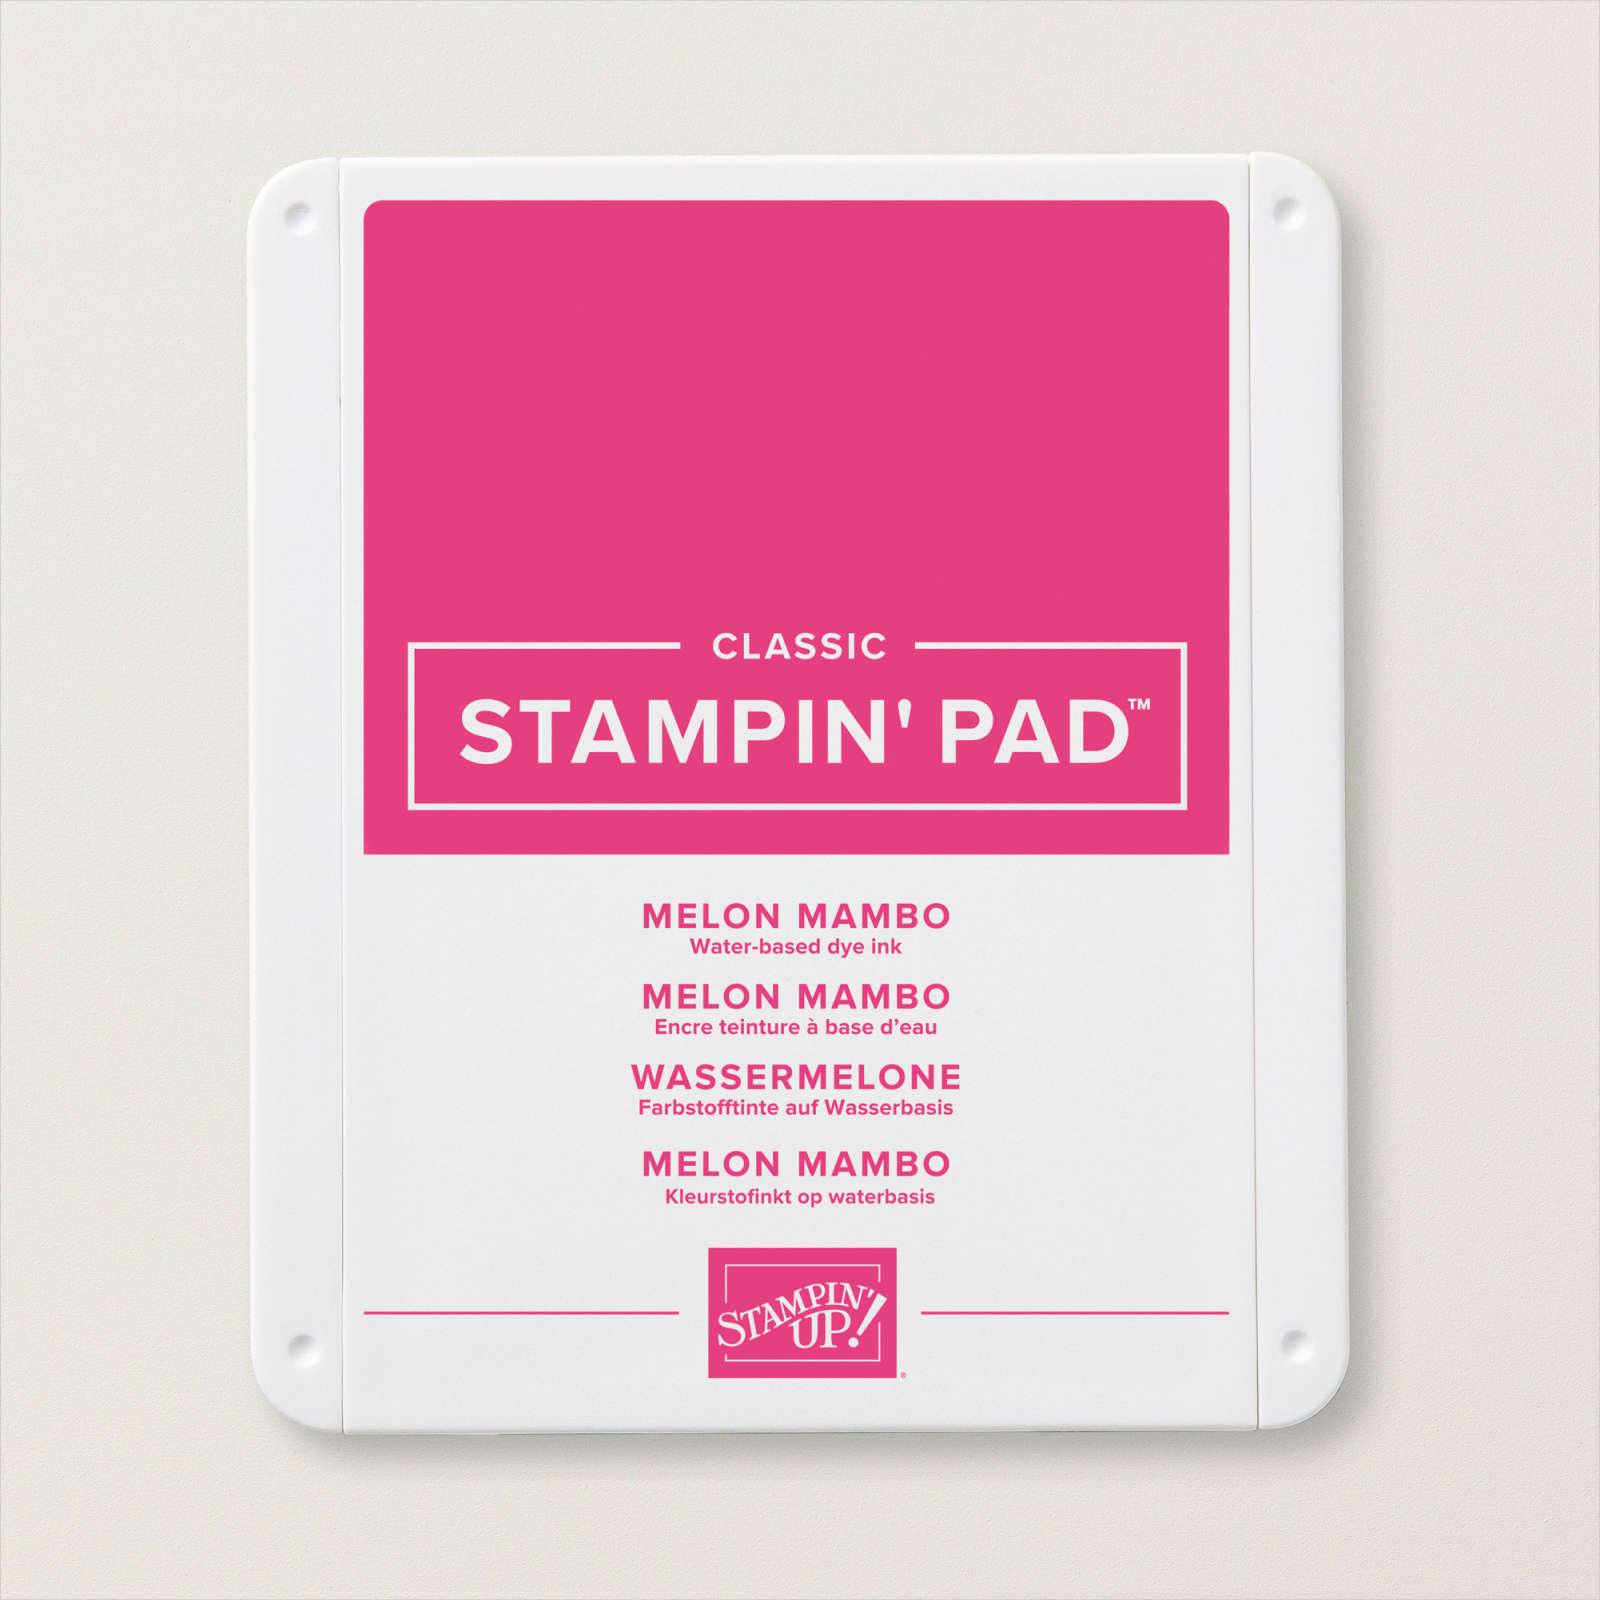
I had fun creating this tag so I created a second one. This time I cut the large tag and flower from the Designer Tag Dies from Basic White card. I stamped “happy birthday” from the Peaceful Moments stamp set onto a Basic White panel using Melon Mambo ink. I also die cut Melon Mambo card using the same tag die. I attached the two tags together before adding three Basic Rhinestones to front of the Basic White tag. I added a Basic White panel onto the Melon Mambo tag and stamped the “to/from” using the stamp from the Christmas Gifting Kit.
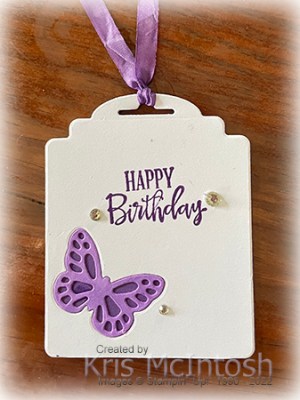
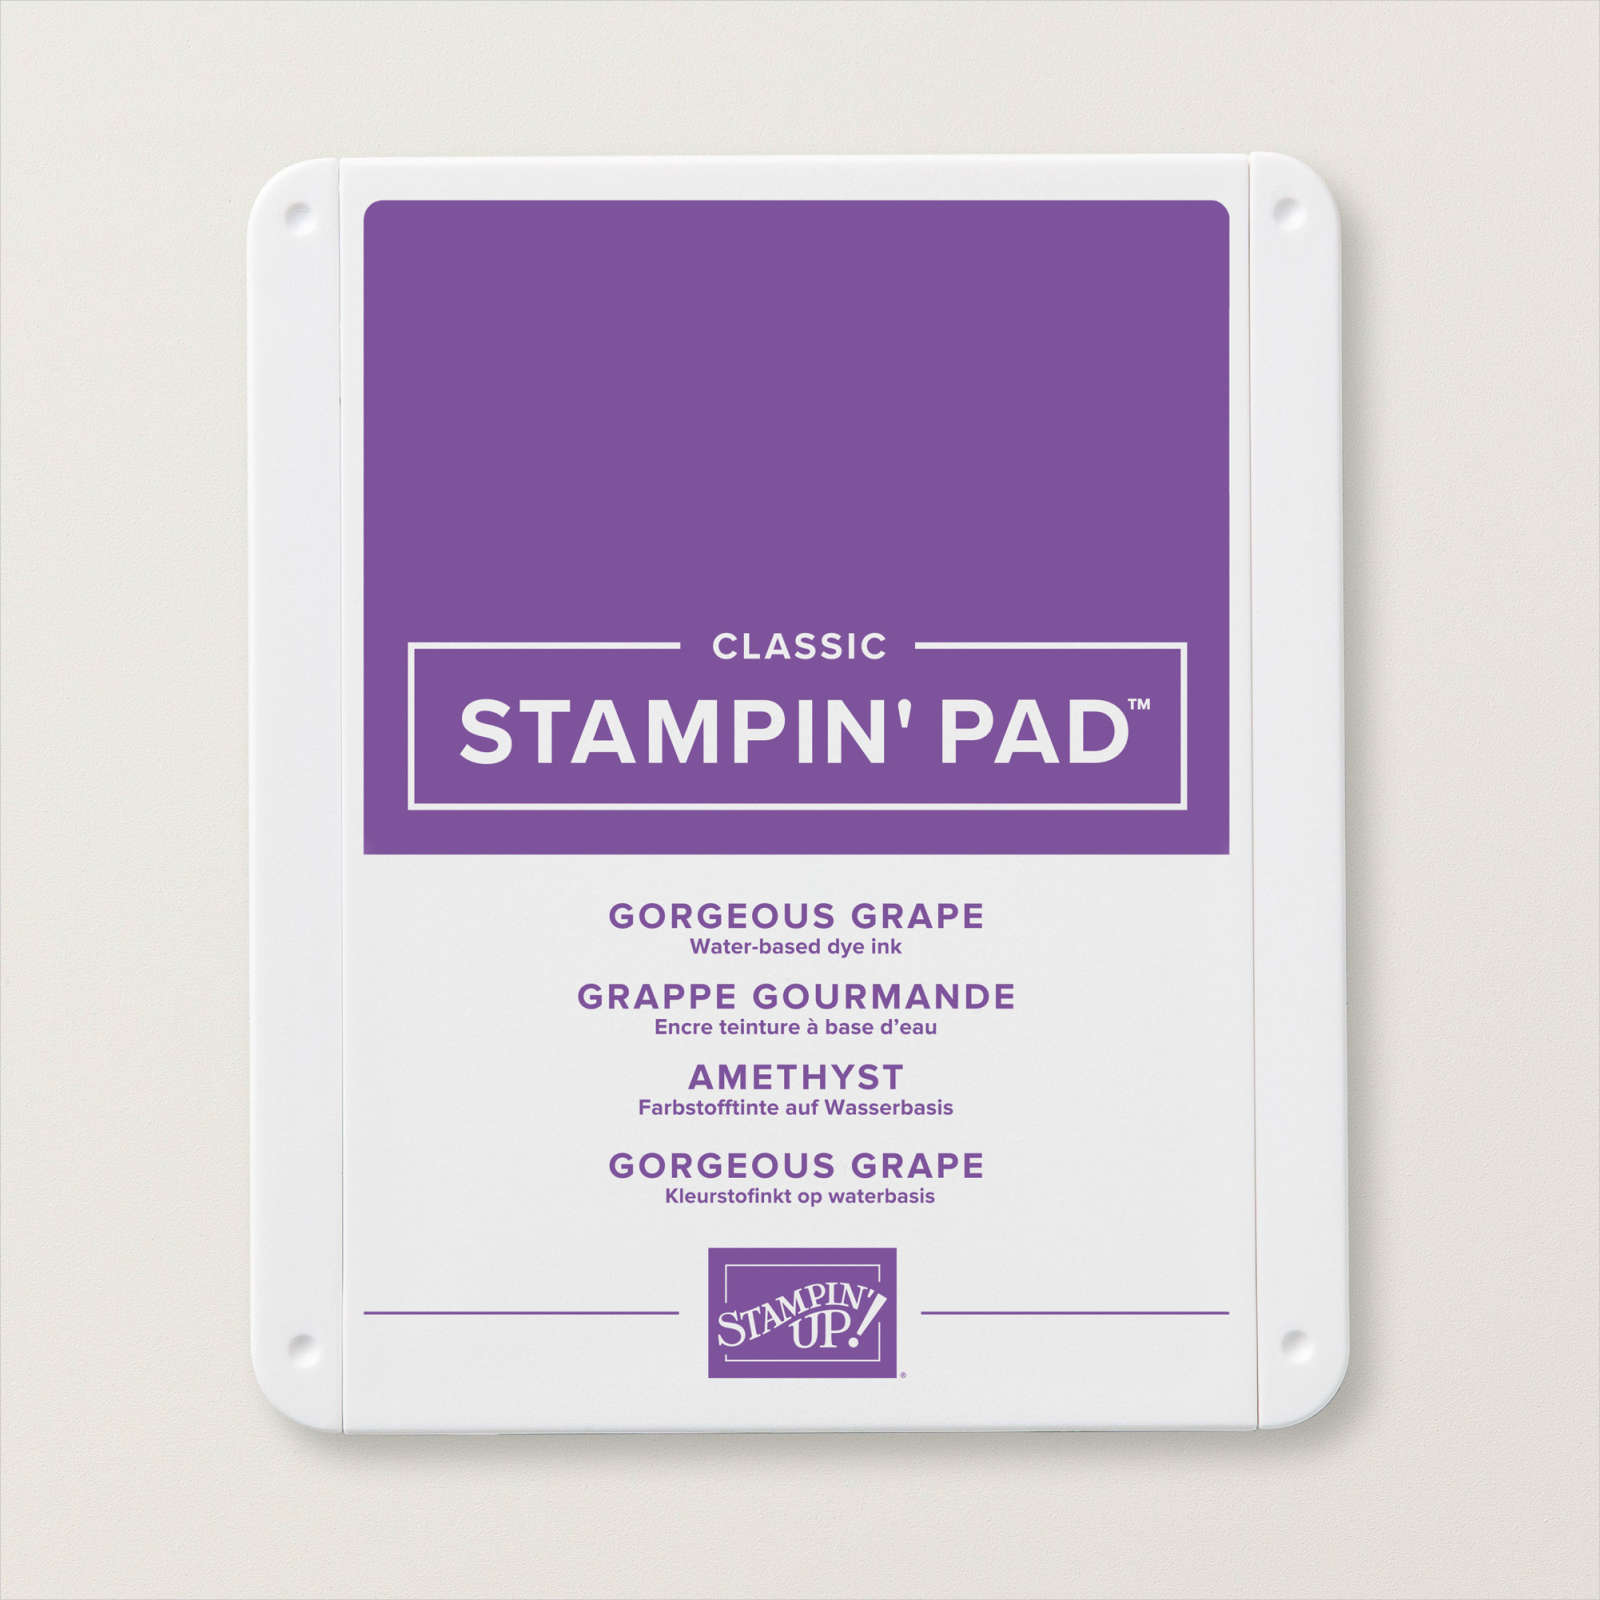
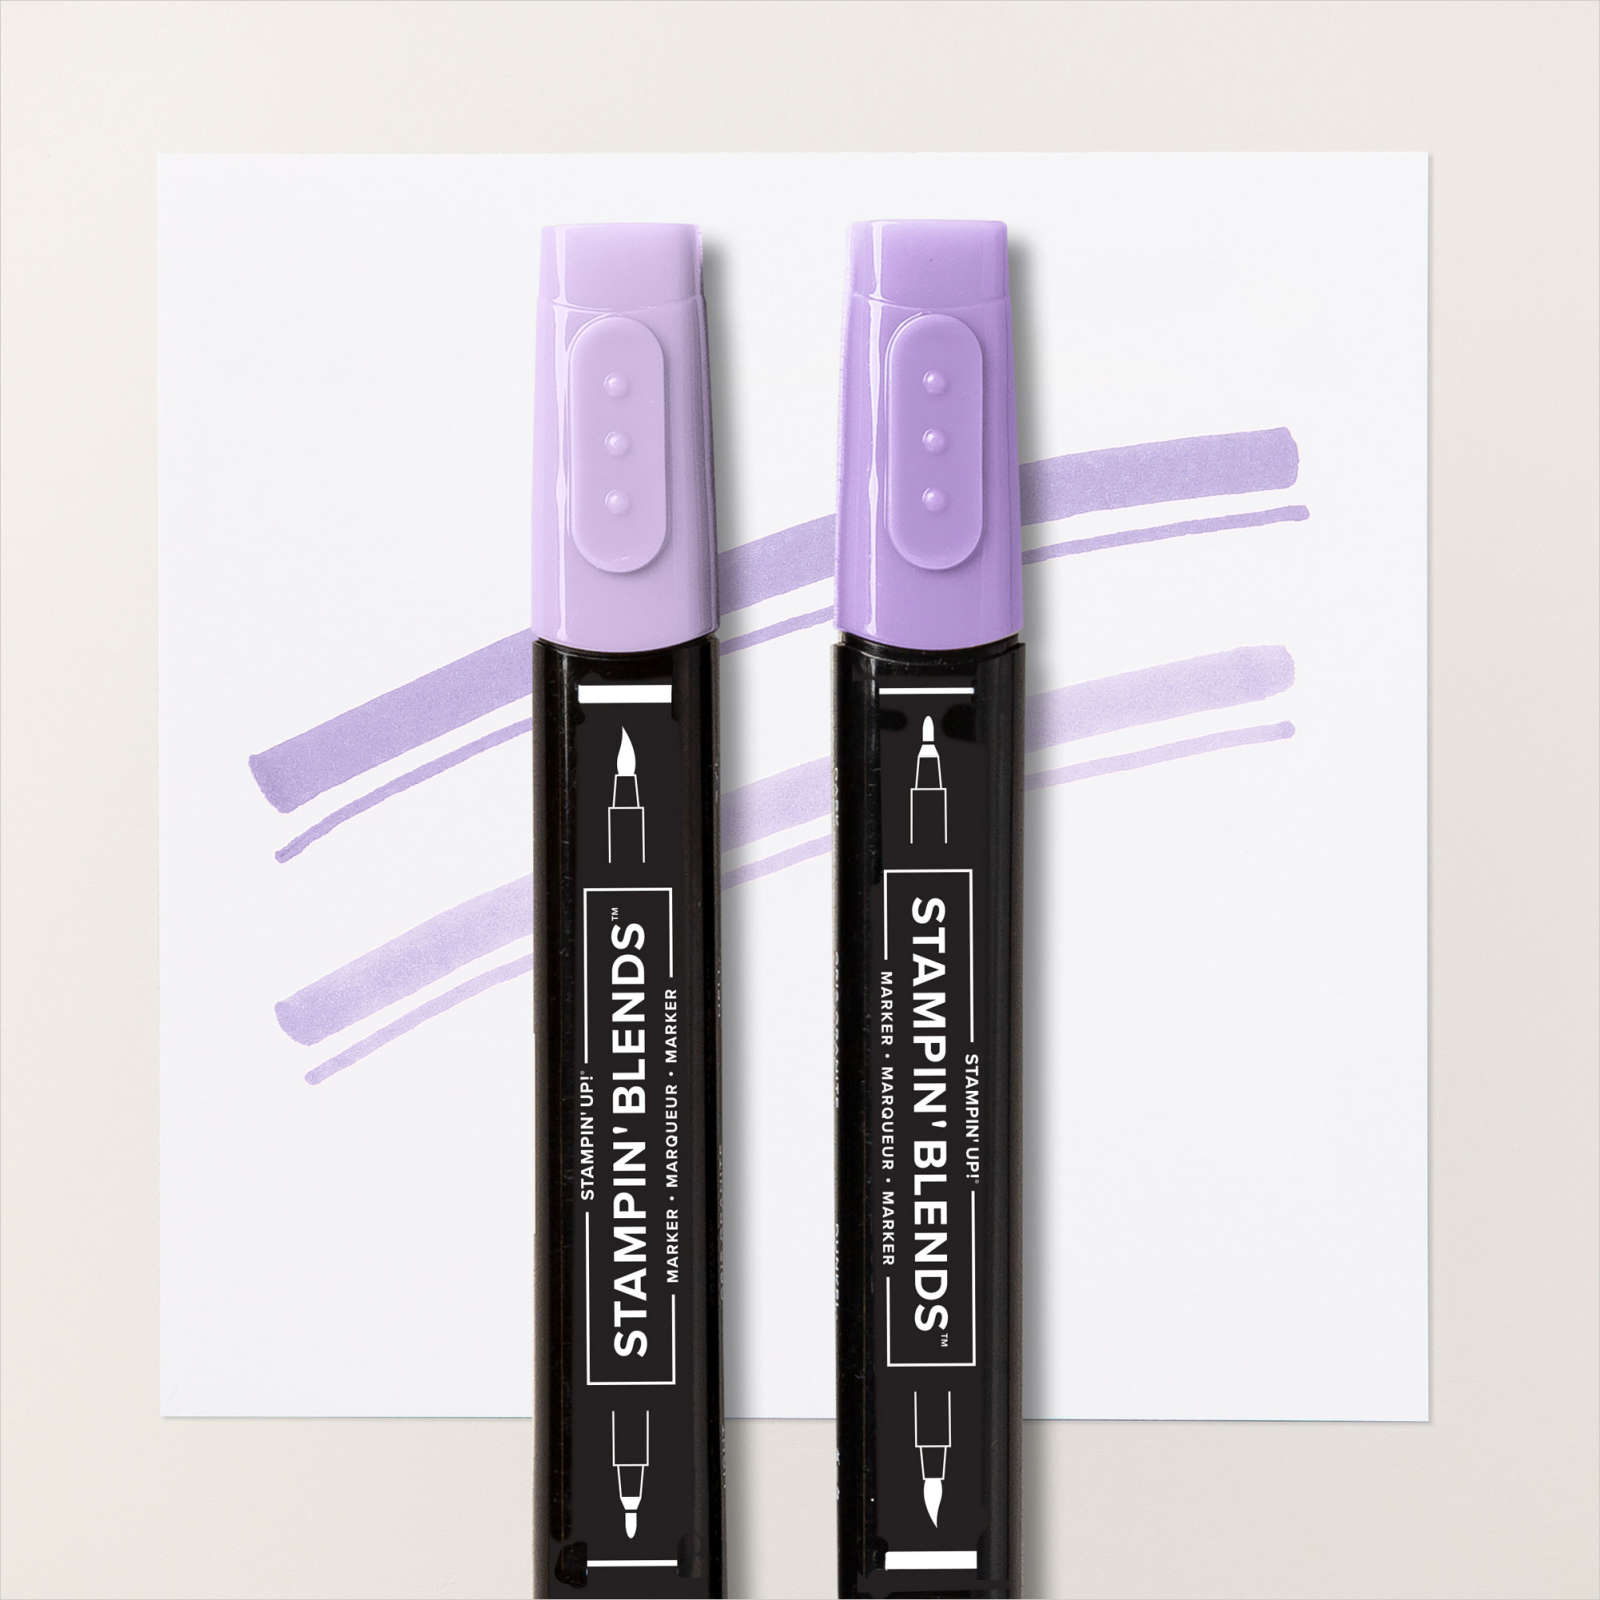
I coloured a length of White Crinkled Seam Binding using the Dark Melon Mambo Stampin’ Blend and attached it through the tag. I could stop at two and so I created a third tag. This time I die cut Basic White card using the large tag die and the butterfly die from the Designer Tag Dies. I also cut Highland Heather card using the same tag die. I trimmed the bottom of the tags before attaching the dies together and stamped “happy birthday” from the Peaceful Moments stamp set onto the Basic White tag using Gorgeous Grape ink.I coloured the Basic White butterfly using the Dark Highland Heather Stampin’ Blend before attaching it into the die cut space on the Basic White tag. I also added three Basic Rhinestones just because. I added a Basic White panel to the back and stamped the “to/from” using the stamp from the Christmas Gifting Kit using Gorgeous Grape ink. I coloured a length of White Crinkled Seam Binding using the Dark Highland Heather Stampin’ Blend and attached it through the tag.
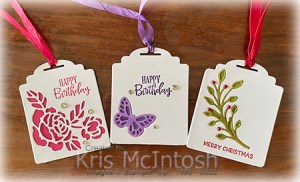
I love the way they all turned out, don’t you?
Bye for now,
Kris
Product Used:





Ilfracombe
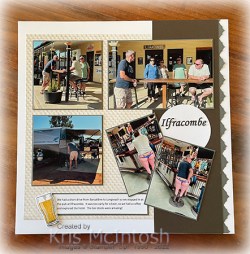
We had a really short day when we travelled from Barcaldine to Longreach with our friends, so we stopped off at the Hotel at Ilfracombe. It was a little early for a beer, so we had a coffee. The only cafe in town burned down several years ago and now the Hotel has a coffee bar. We had a wander around the hotel and found these amazing bar stools! I attached a piece of now retired In Good Taste 12″ x 12″ Designer Series Paper to a Basic White 12″ x 12″ page. I added cut a strip of Basic Gray card using one of the Basic Border Dies and attached it to the right hand side of a strip of Early Espresso card. The panel is attached down the right hand side of the Basic White page. I attached all of the photos to Basic Gray card before attaching them to the page. The circle is cut from Basic White card using the Layering Circle Dies. I printed the title and my journaling onto Basic White card and attached them to the page. I did fussy cut the title to make it stand out a little more. I stamped the glass image from the Brewed For You stamp set onto Basic White card using Memento Tuxedo ink and added the fill image using Crushed Curry ink. I cut out the glass using the co-ordinating Brewed Die and attached it next to the journaling. This page fills me with happy memories!
I’d love to hear what you think.
Bye for now,
Kris
Product Used:



Happy Anniversary
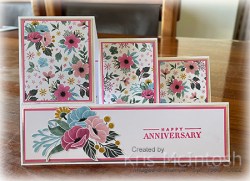
Both my sister and my eldest daughter celebrated their Wedding Anniversaries recently, actually on the same day! I decided to make them Triple Side Step cards following some instructions shared here by crafykarendesigns. For the first card, I cut my card base from Thick Basic White card, following Karen’s instructions.
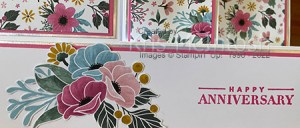
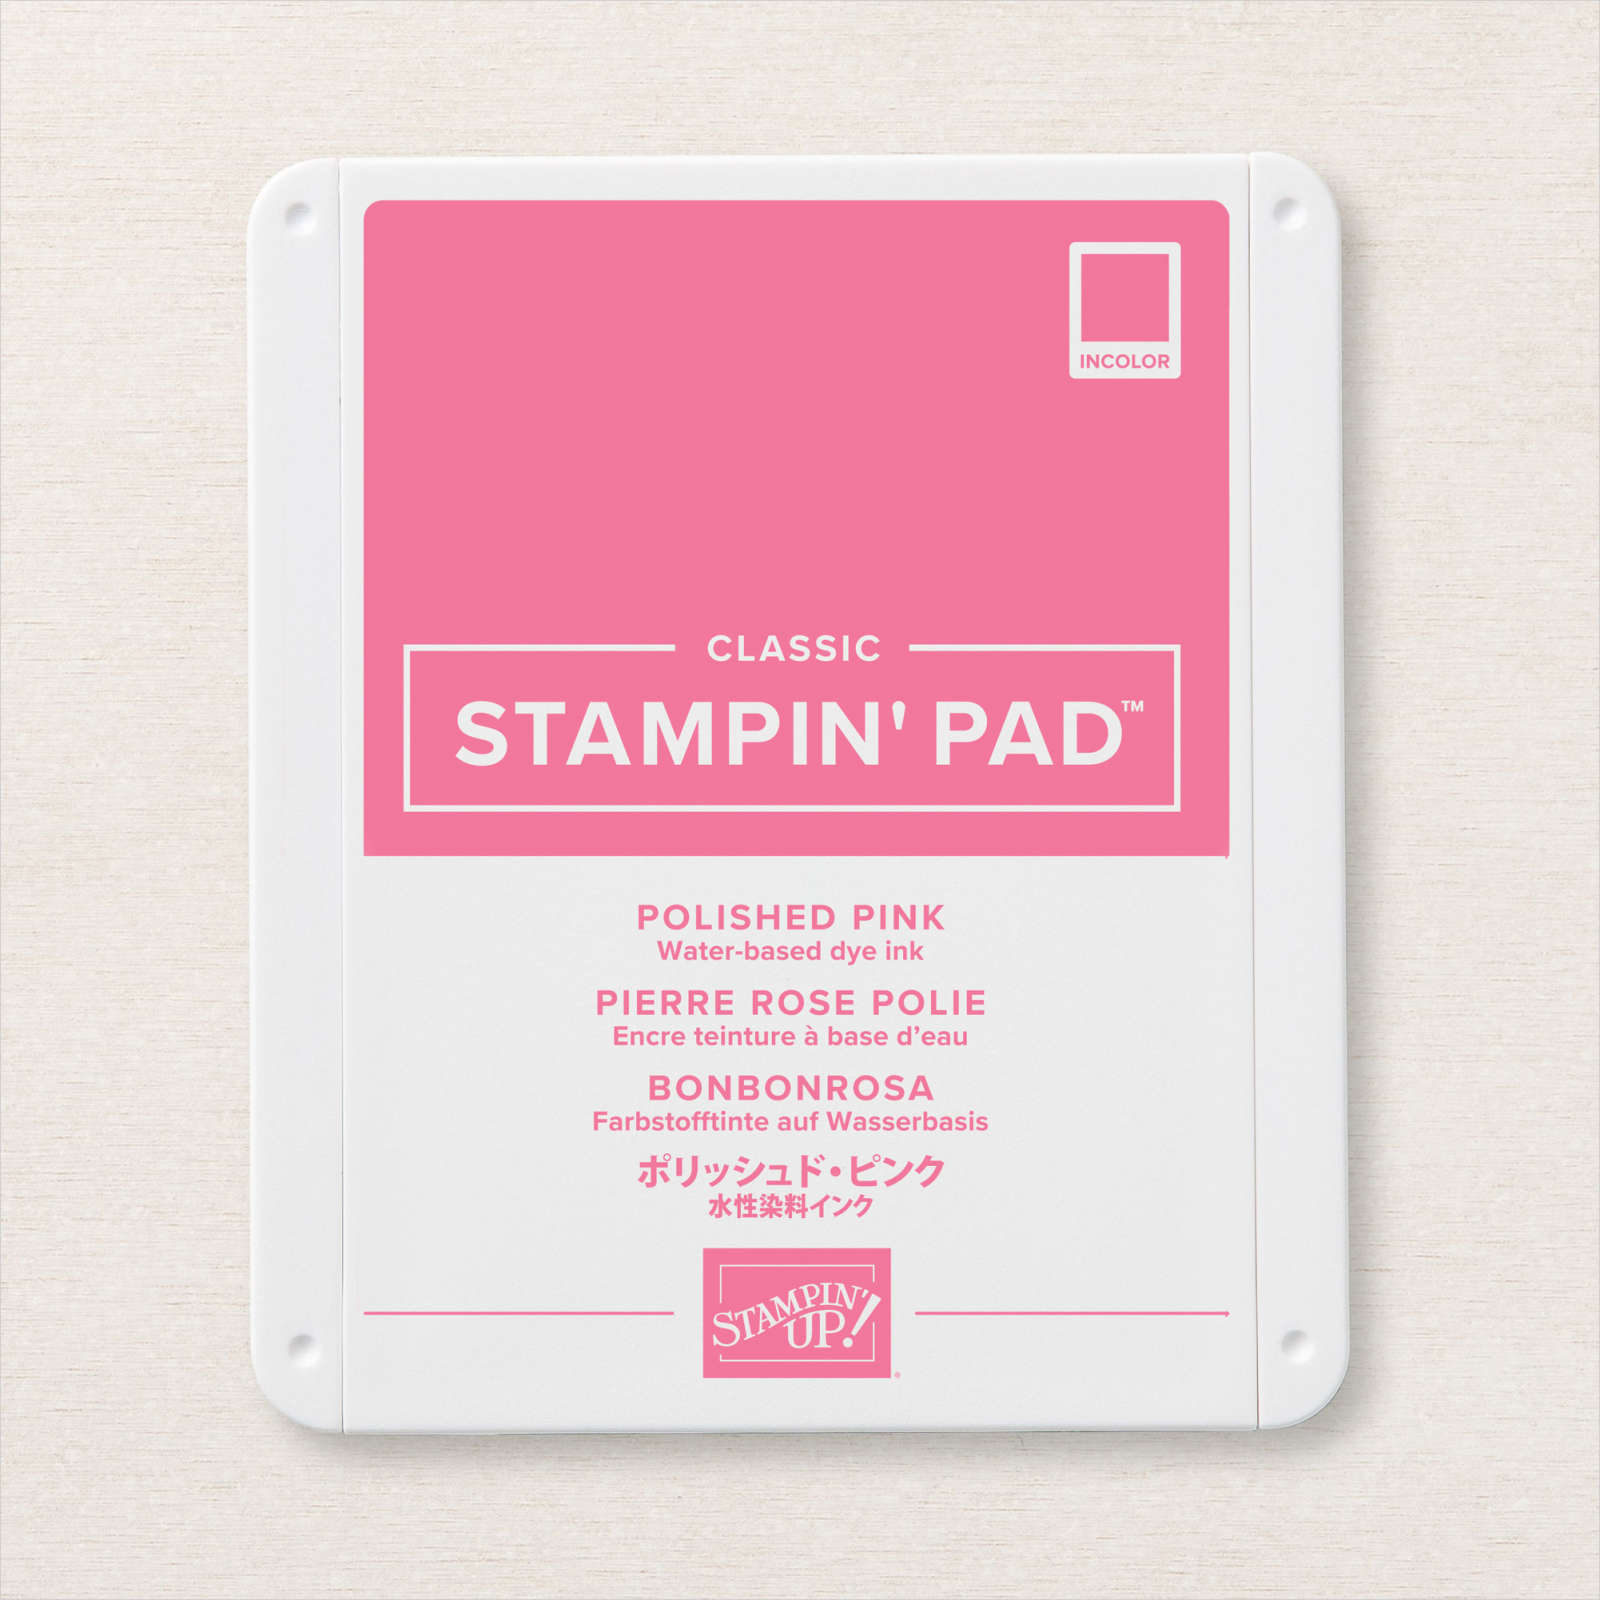
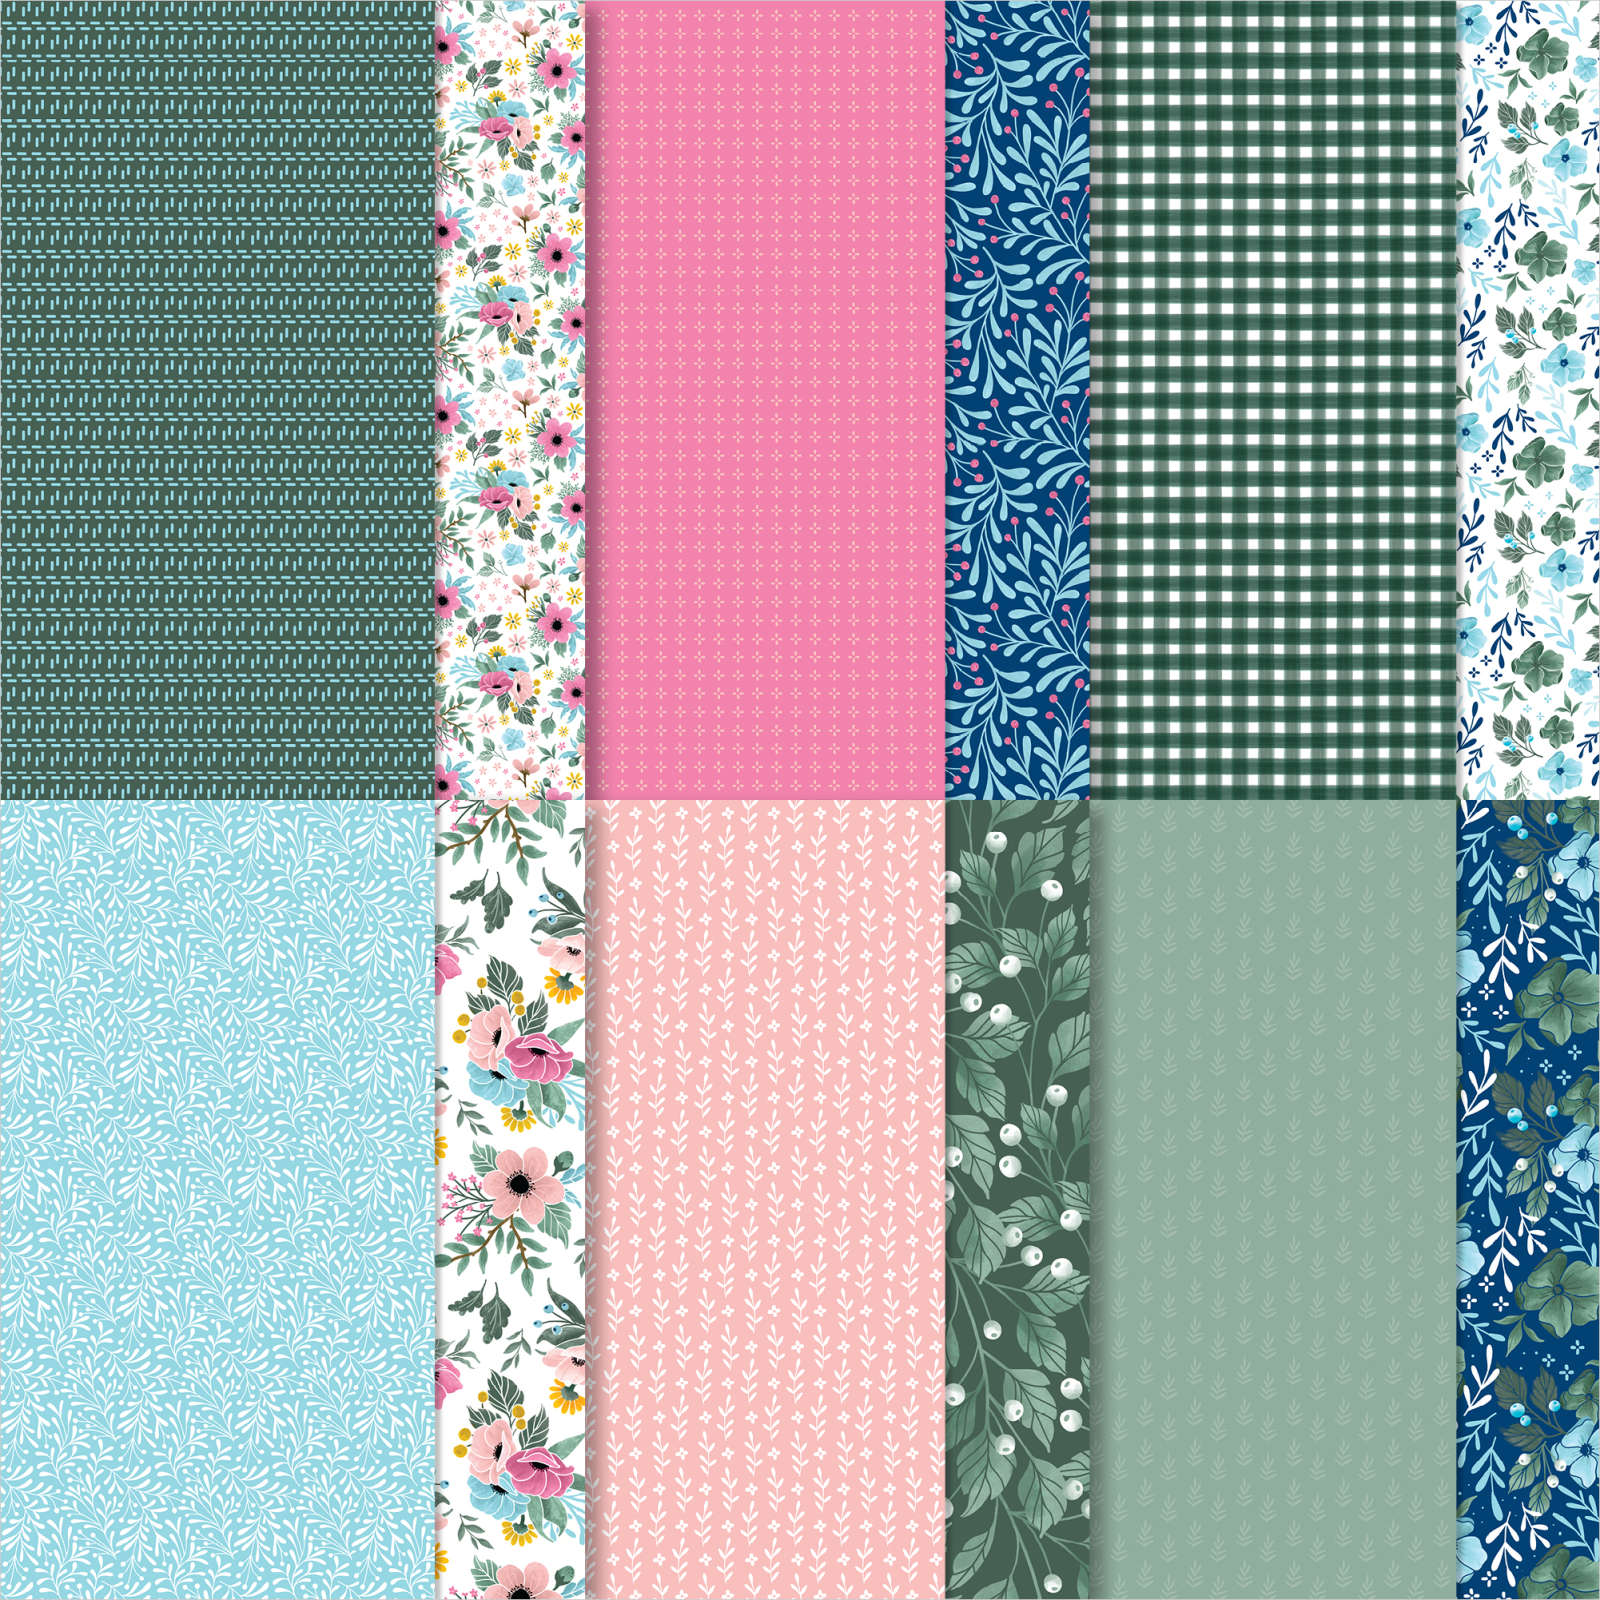
I cut pieces of the beautiful Fitting Florets 12″ x 12″ Designer Series Paper and attached them to Polished Pink card. This Designer Series Paper is available as part of the Fitting Florets Collection which is available now until the 4th January while stocks last.
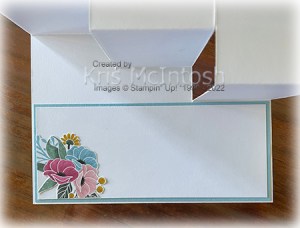
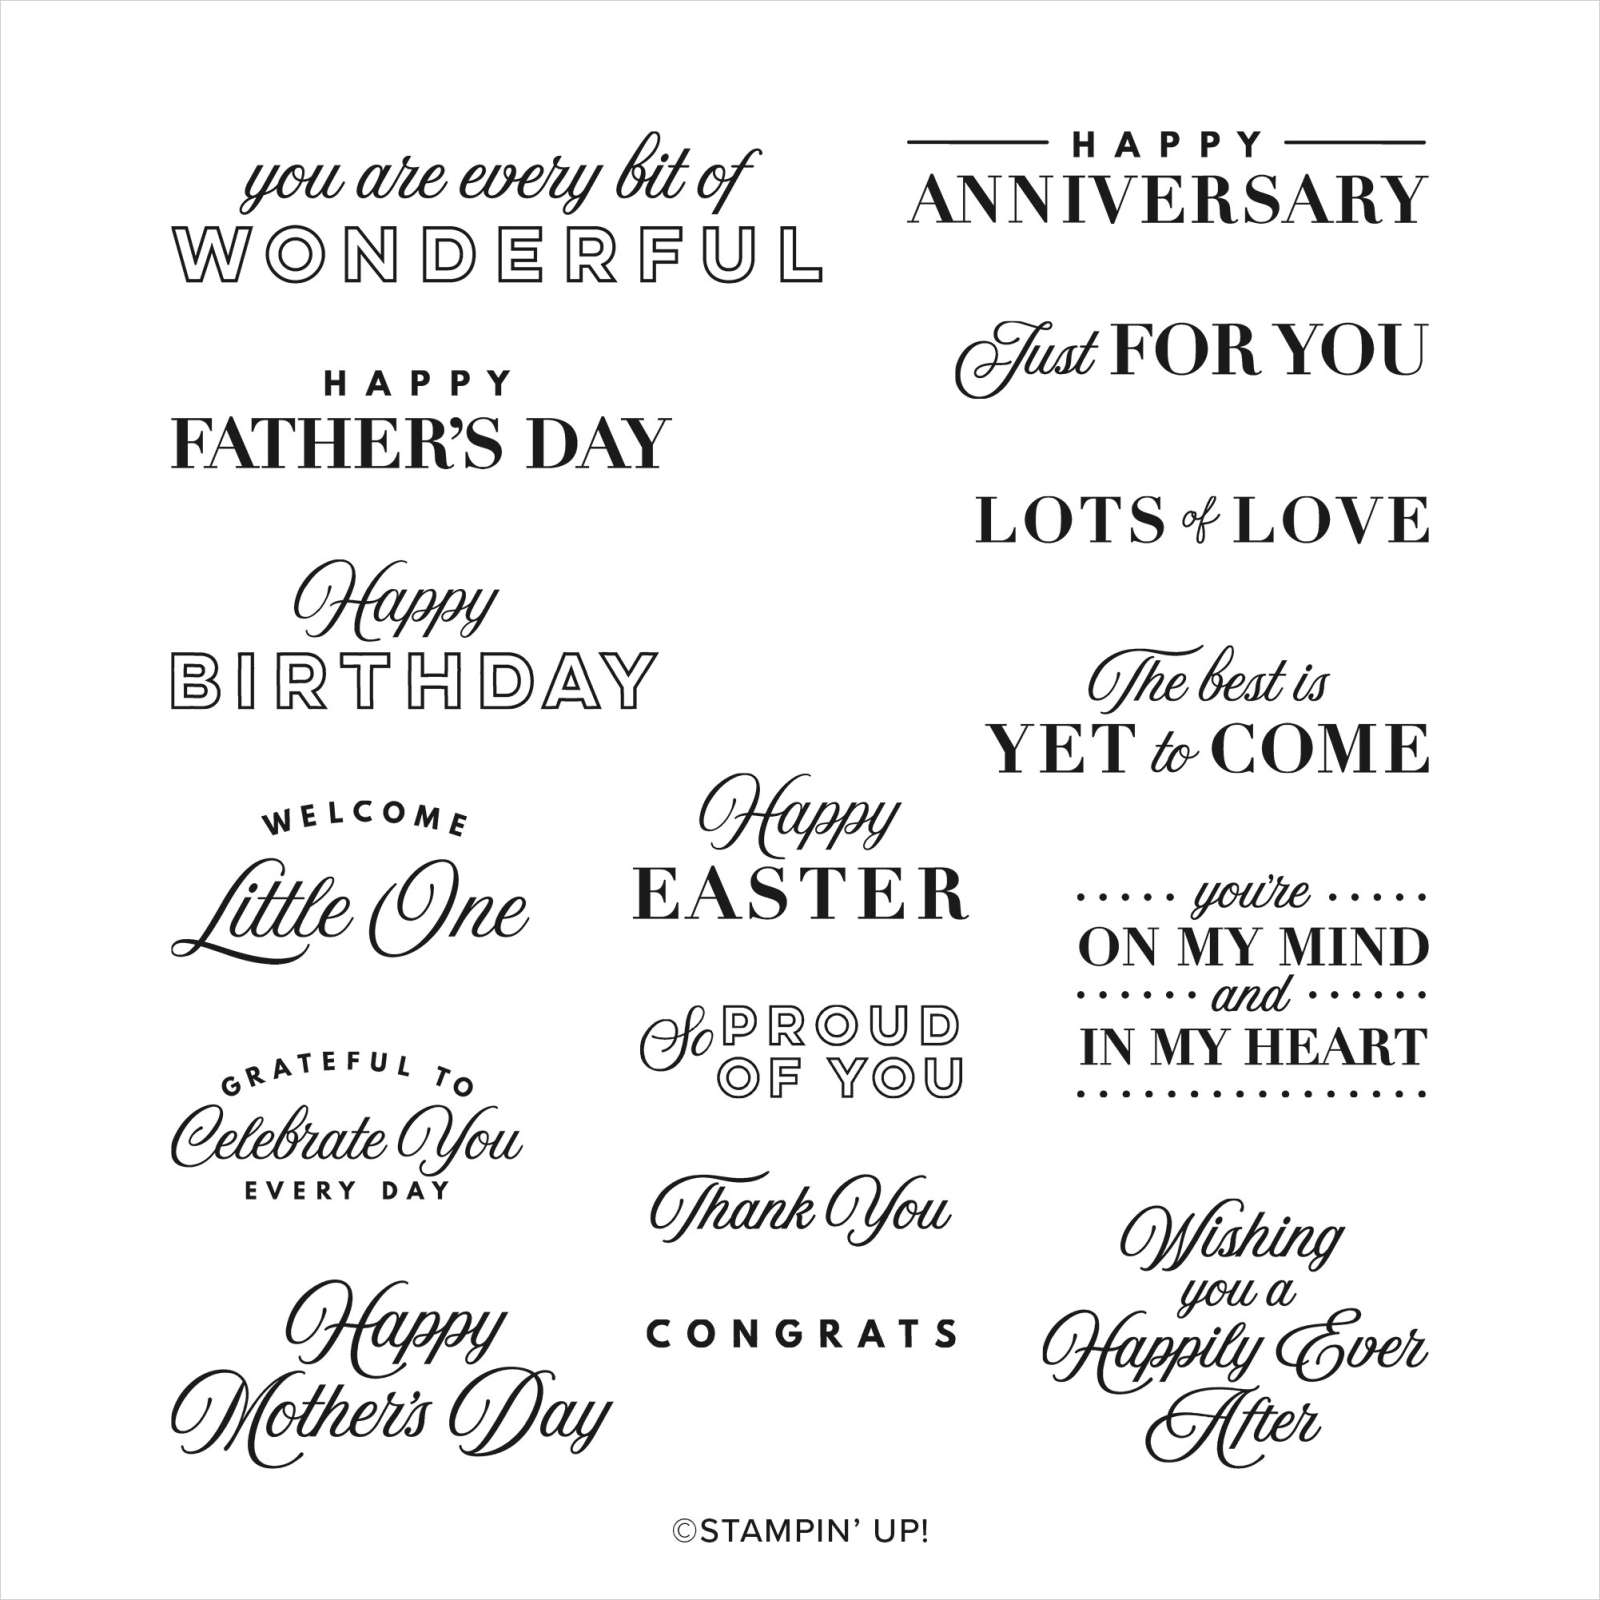
I attached each of the panels to Silver Foil card and then to the card base. The greeting from the Celebrating You stamp set is stamped onto Basic White card using Polished Pink ink. The panel is attached to Polished Pink card and then Silver Foil card before being attached across the bottom of the front of the card. I cut the floral arrangement from the Designer Series Paper and attached it to the left hand side of the stamped panel. To decorate the inside of the card, I cut one of the partial floral arrangements from the edge of the Designer Series Paper and attached it to the left hand side of Basic White card. I attached the panel to Polished Pink card and then the inside of the card.
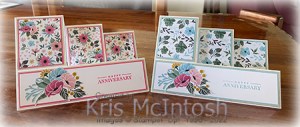
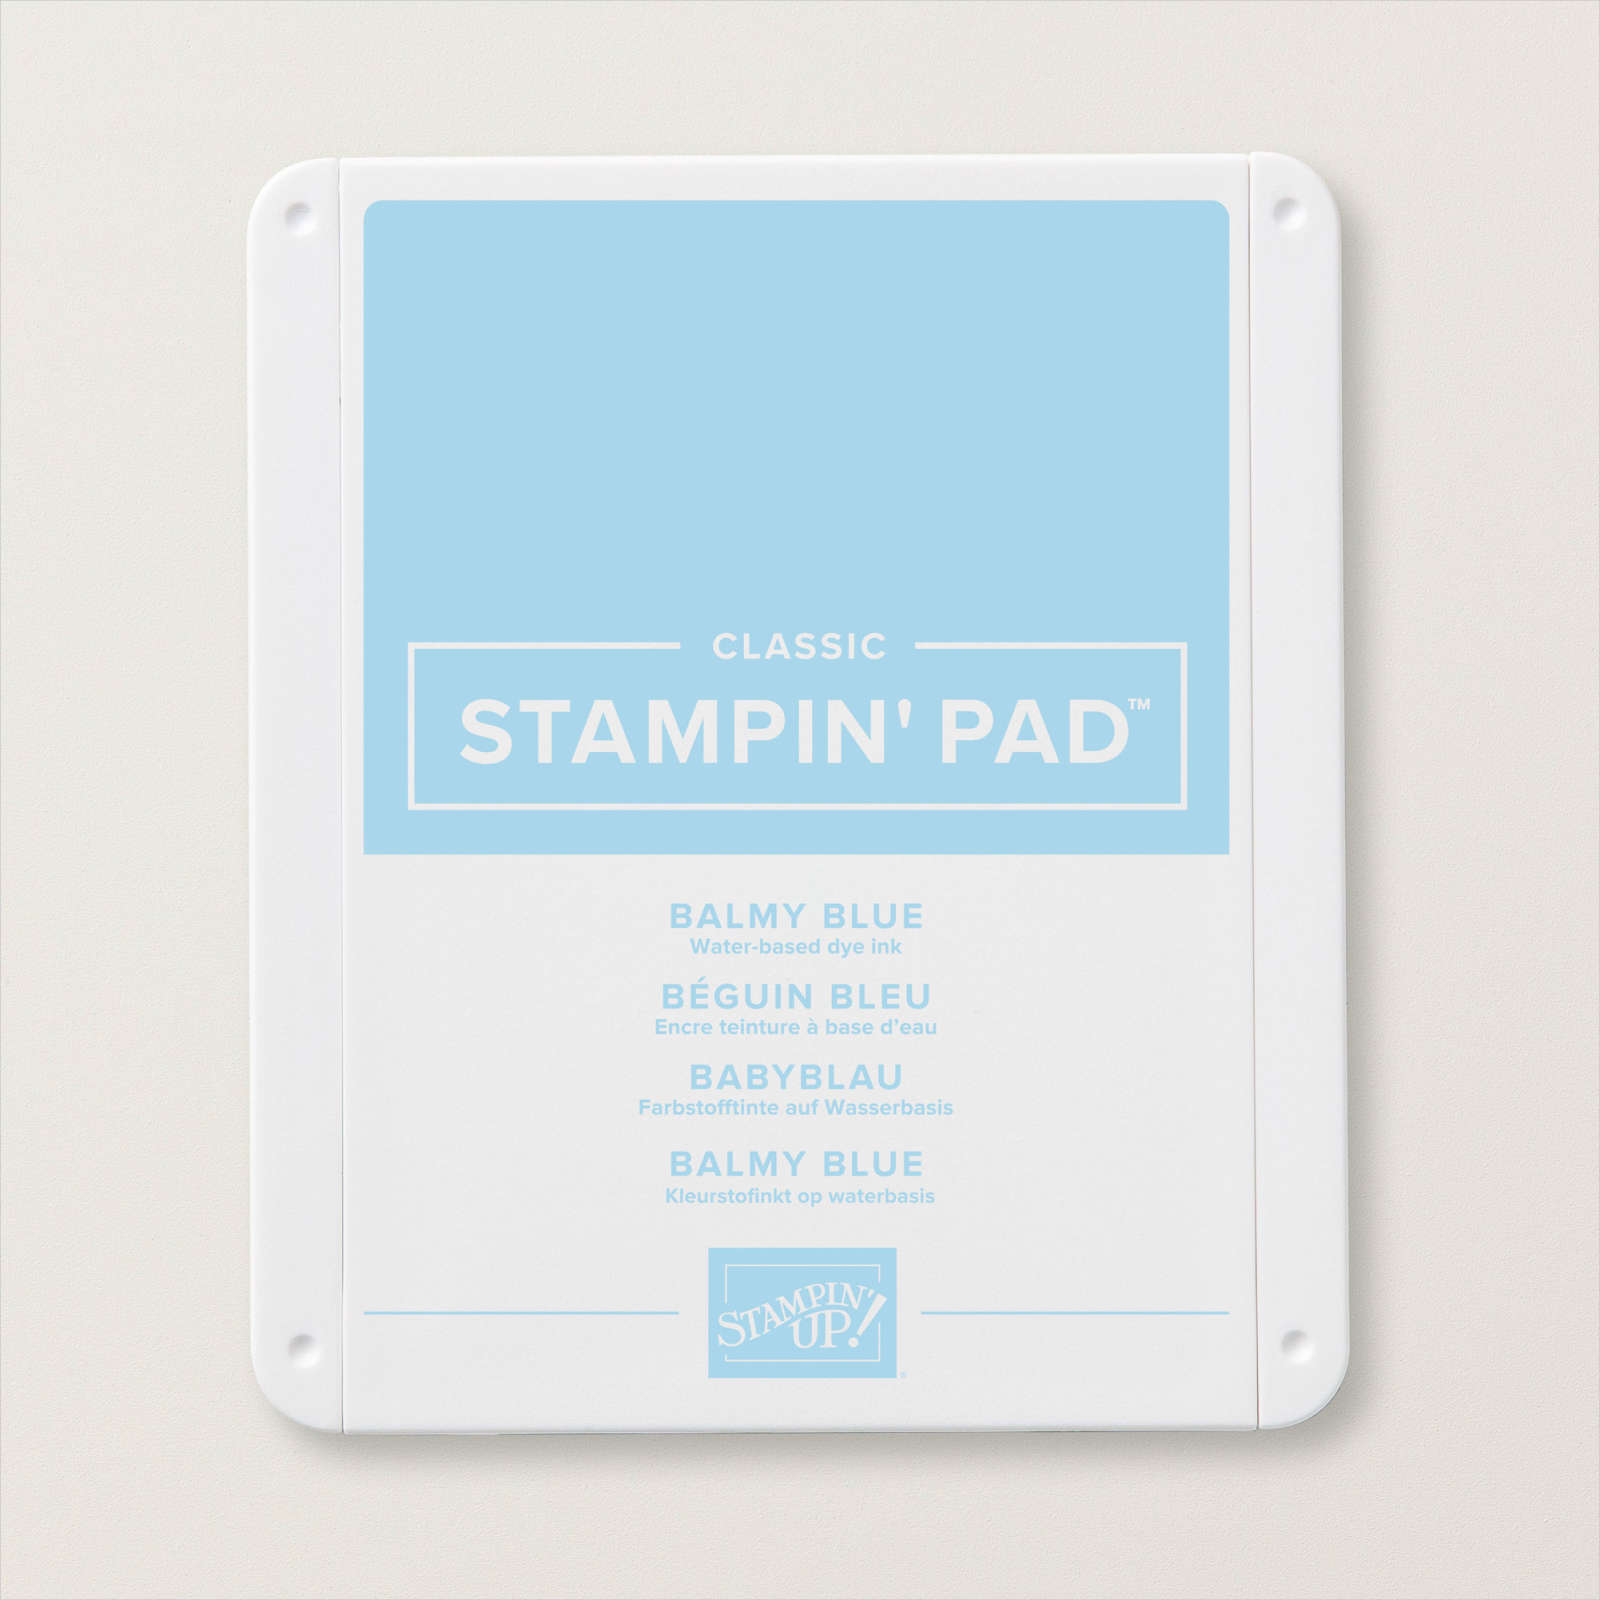
I created the second card in exactly the same way using a different pattern of the Fitting Florets Designer Series Paper, Balmy Blue card and Balmy Blue ink. I love how they both turned out, don’t you.
Kris
Product Used:



Christmas Happiness
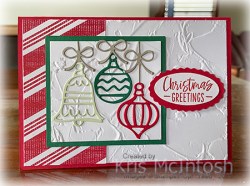
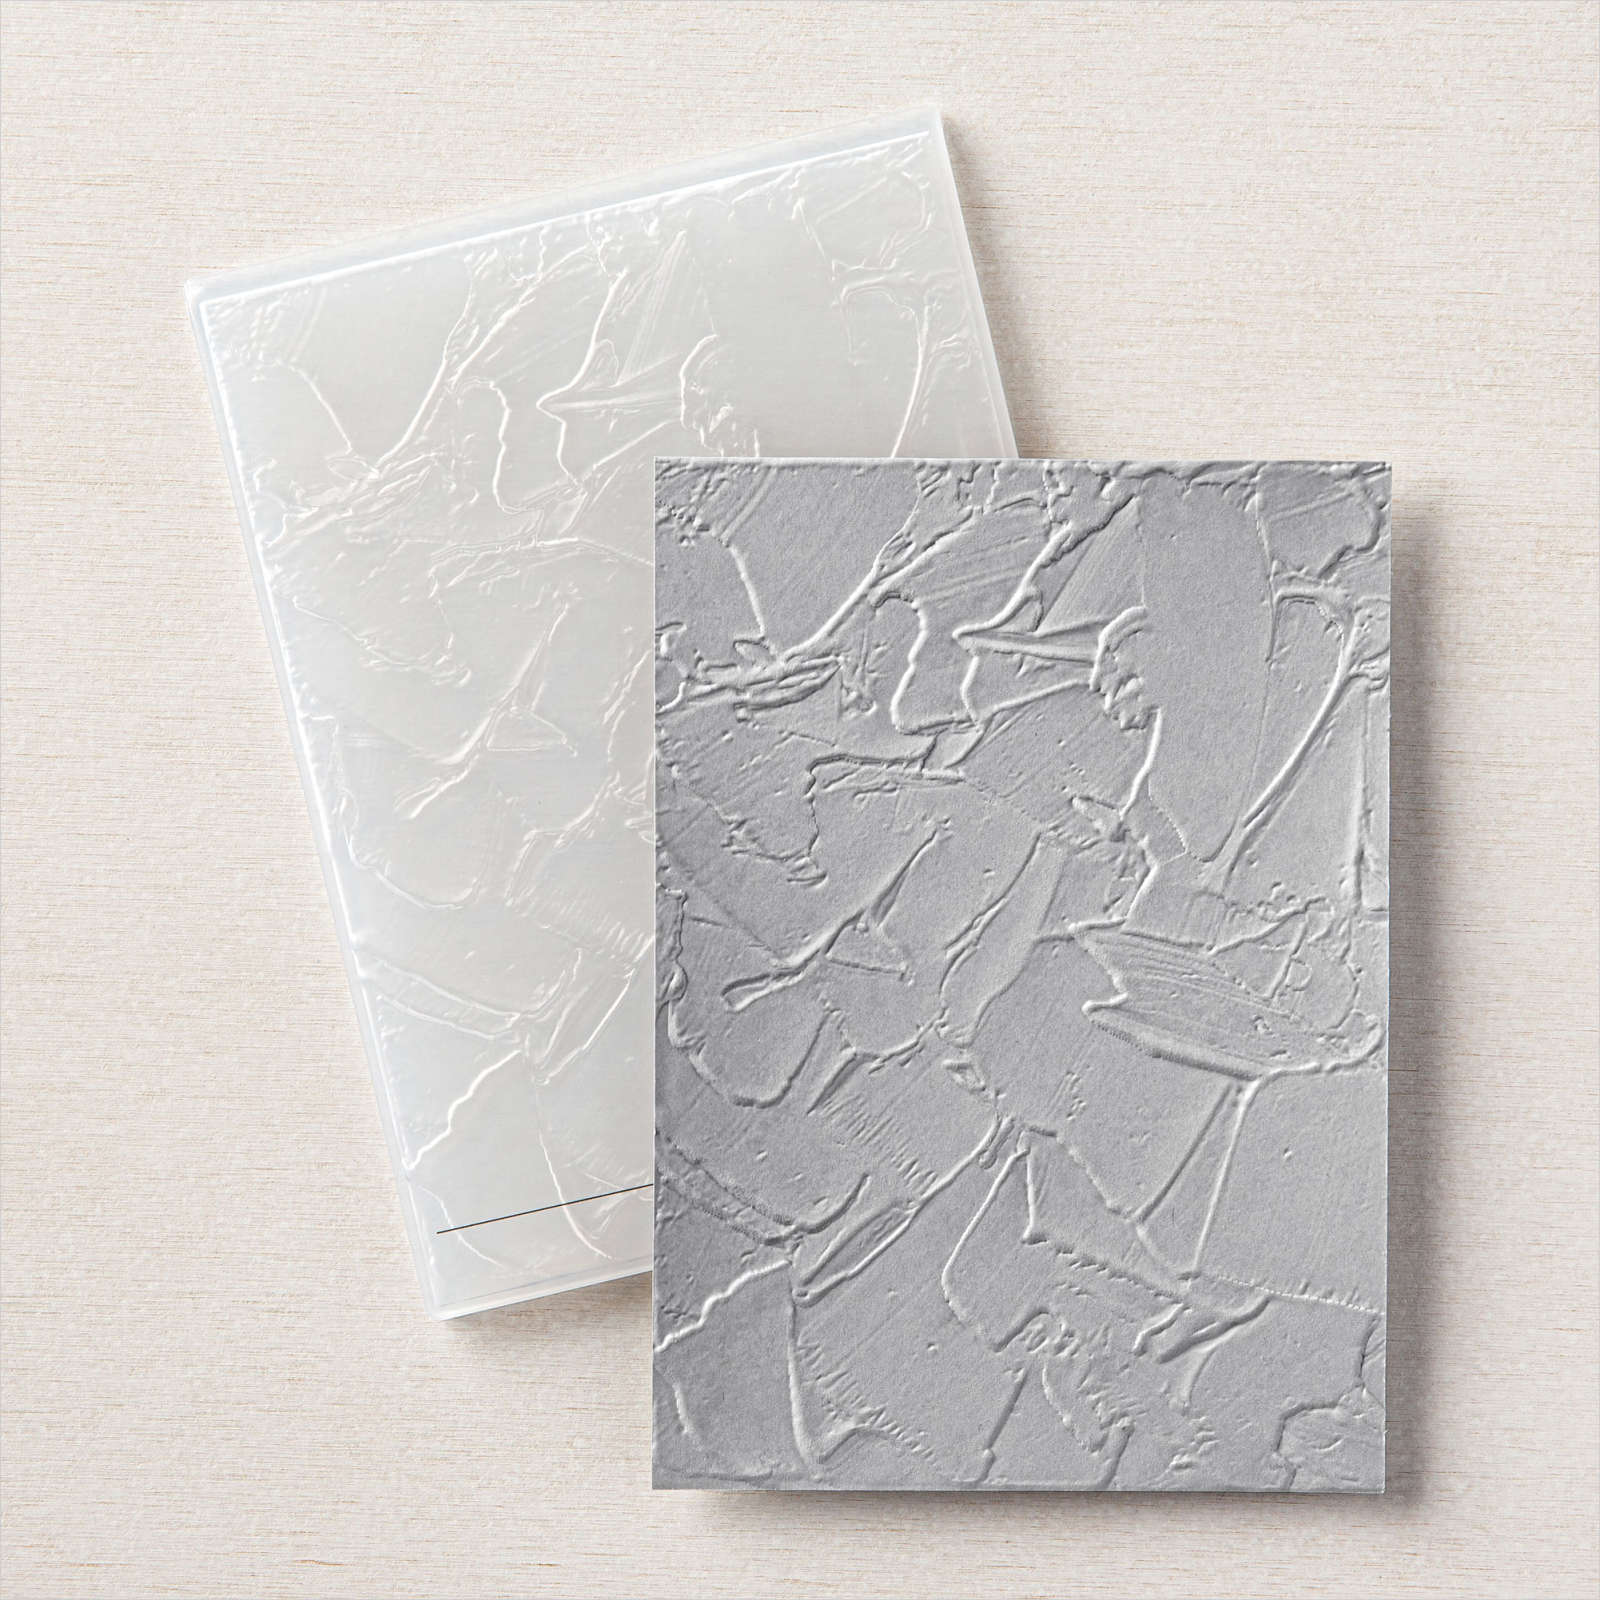
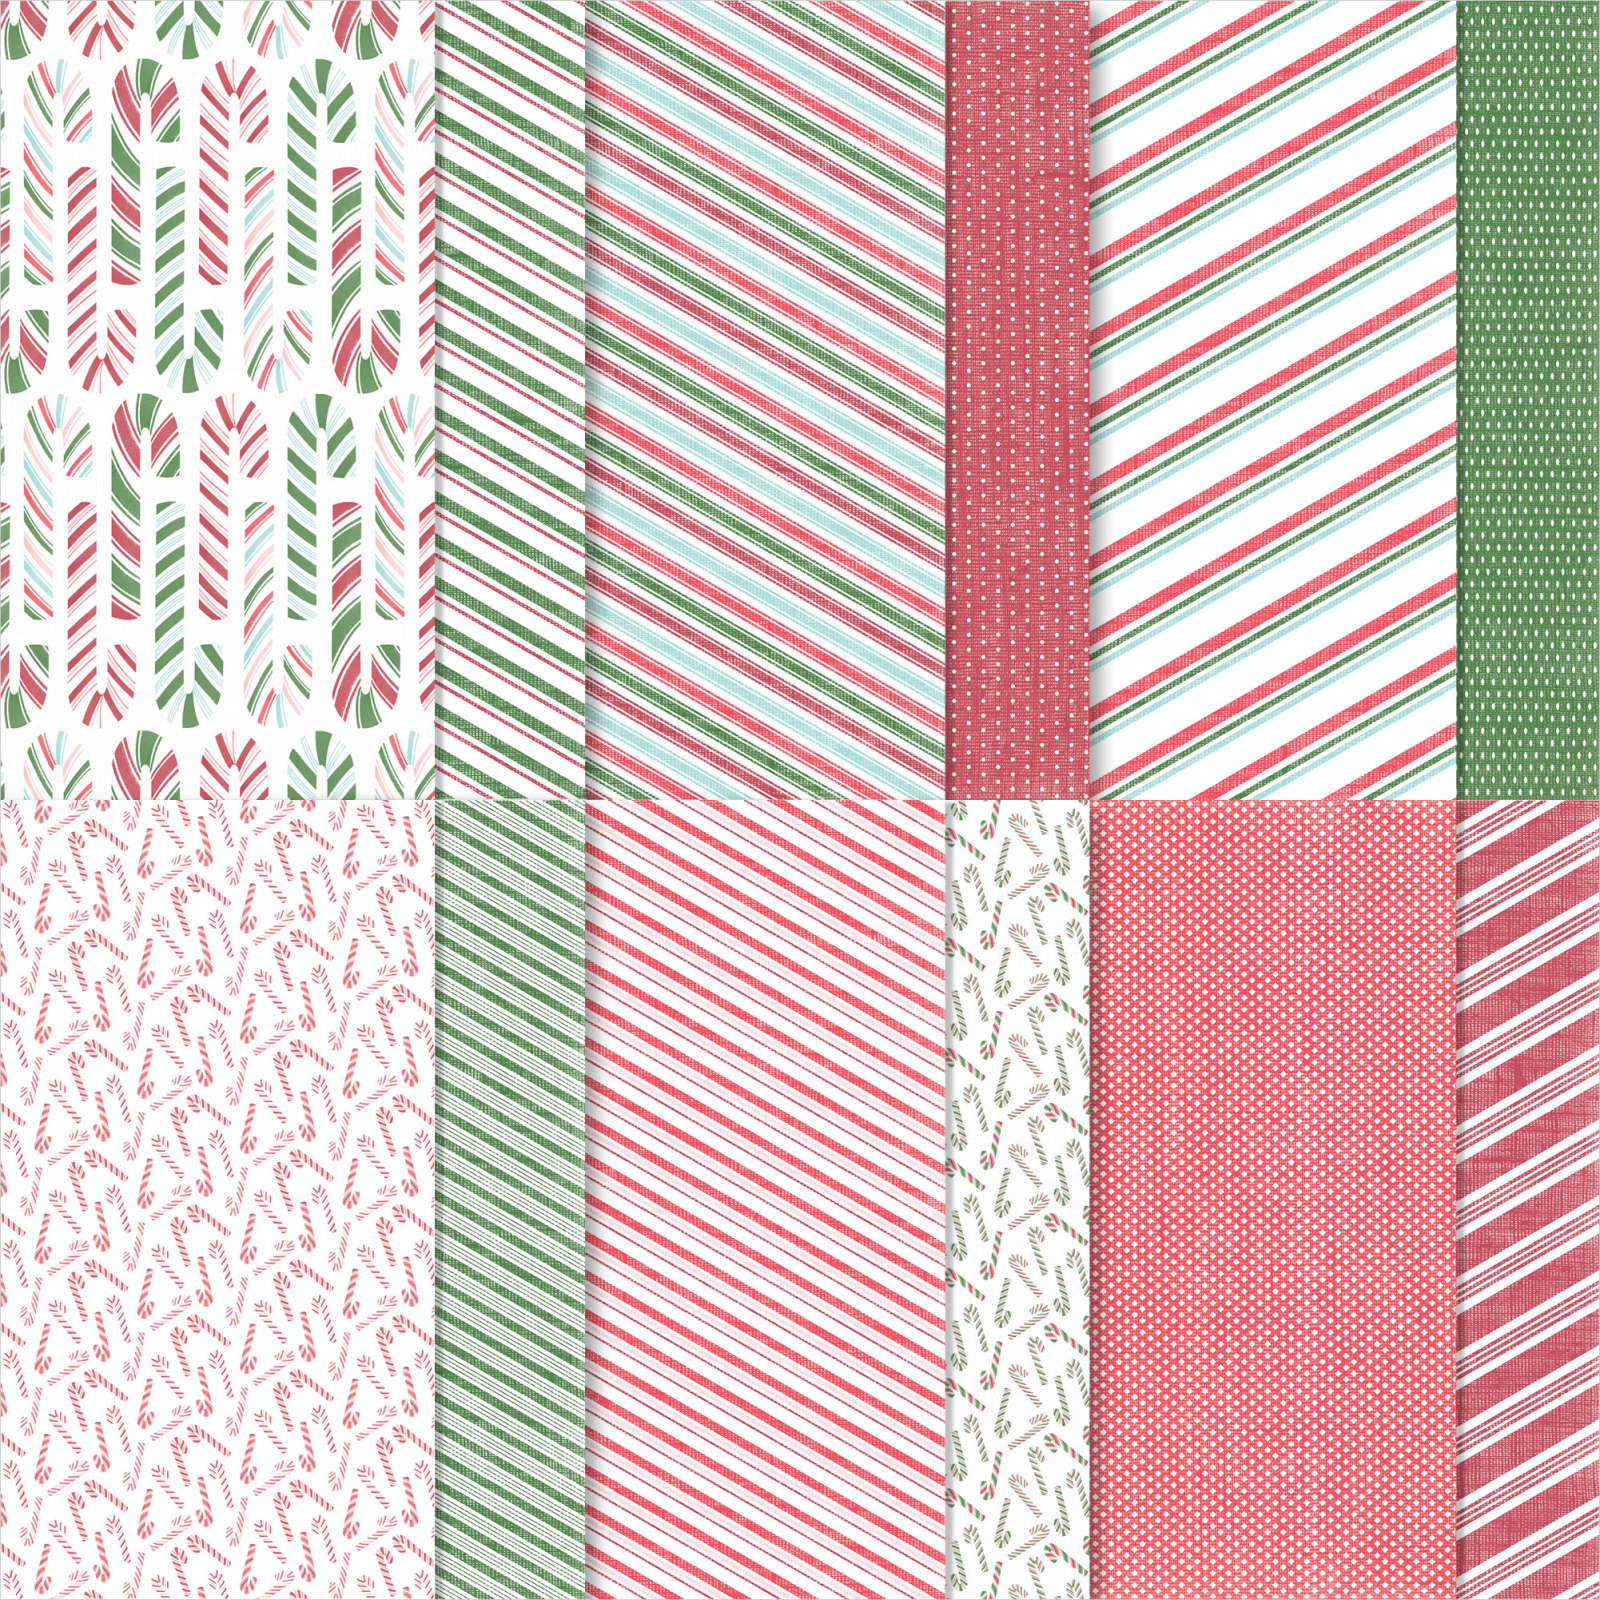
Today I decided to use up some product left over from making the Framed Art Decoration from my all day class at Beachmere. I embossed Basic White card using the Tasteful Textile 3D Embossing Folder before attaching a piece of Sweetest Christmas 12″ x 12″ Designer Series Paper to the left hand side

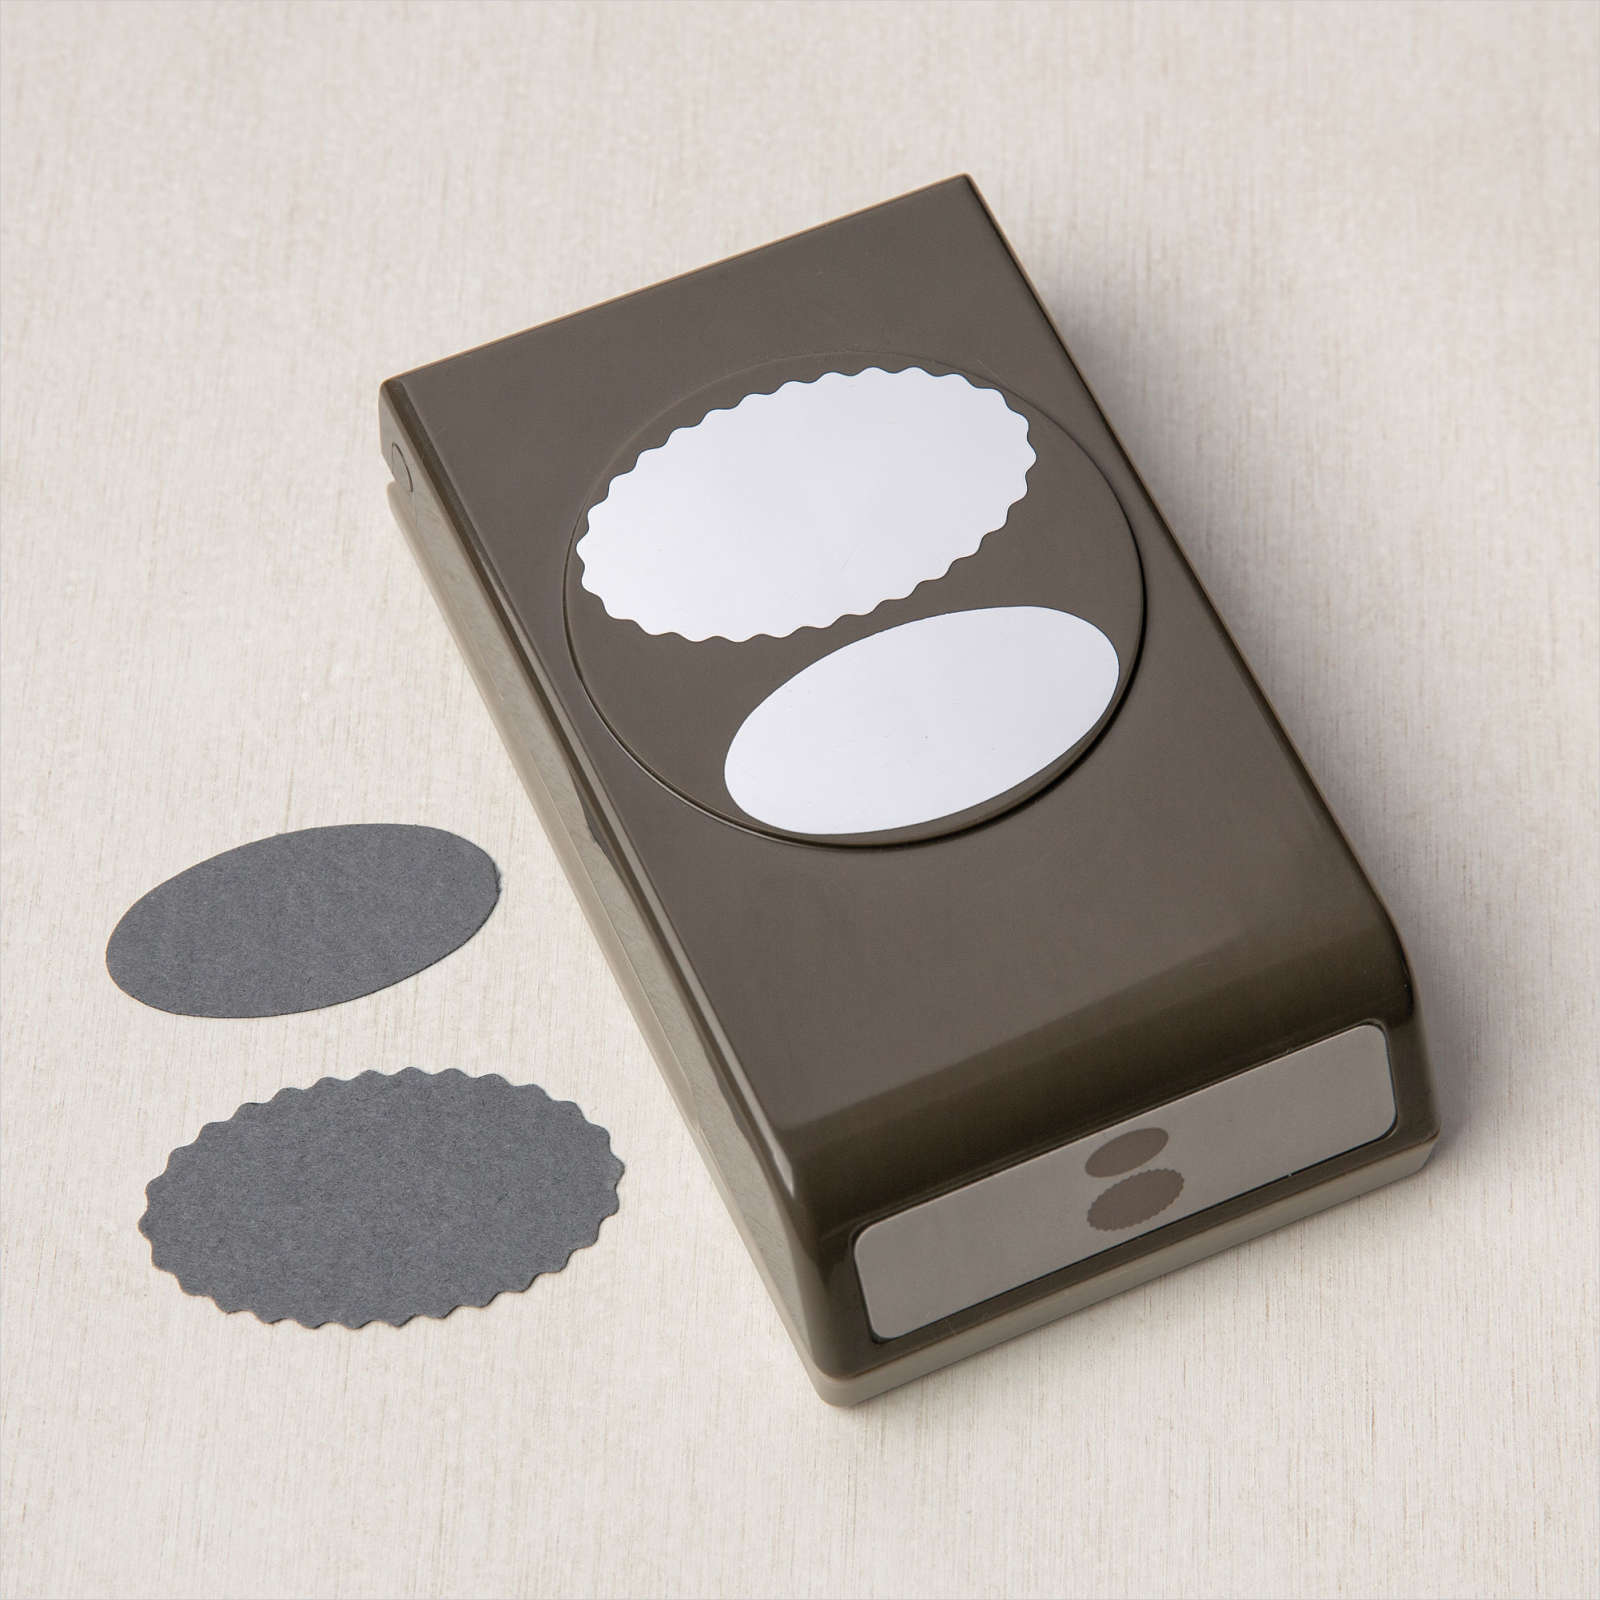
I attached panel 1 from the Decoration and then added it to a card front partially coering the Designer Series Paper. You can find the instructions to create the panel here. The Basic White panel is attached to scored and folded Real Red card. I stamped the greeting from the Decorated with Happiness stamp set onto Basic White card using Real Red ink. I punched out the greeting using the Double Oval Punch and attached it to a punched Real Red scalloped oval.

To decorate the inside of the card, I attached a piece of the same pattern Designer Series Paper to the left hand side of Basic White card. I also stamped another greeting from the Decorated with Happiness stamp set using Real Red ink. I love how this panel looks on the card front and I know that some of my ladies from Beachmere are going to create cards with their panels instead of the Framed Art Decoration. You can get the instructions for the panel on my Free Tutorial Page. Let me know what you think.
Bye for now,
Kris
Product Used:

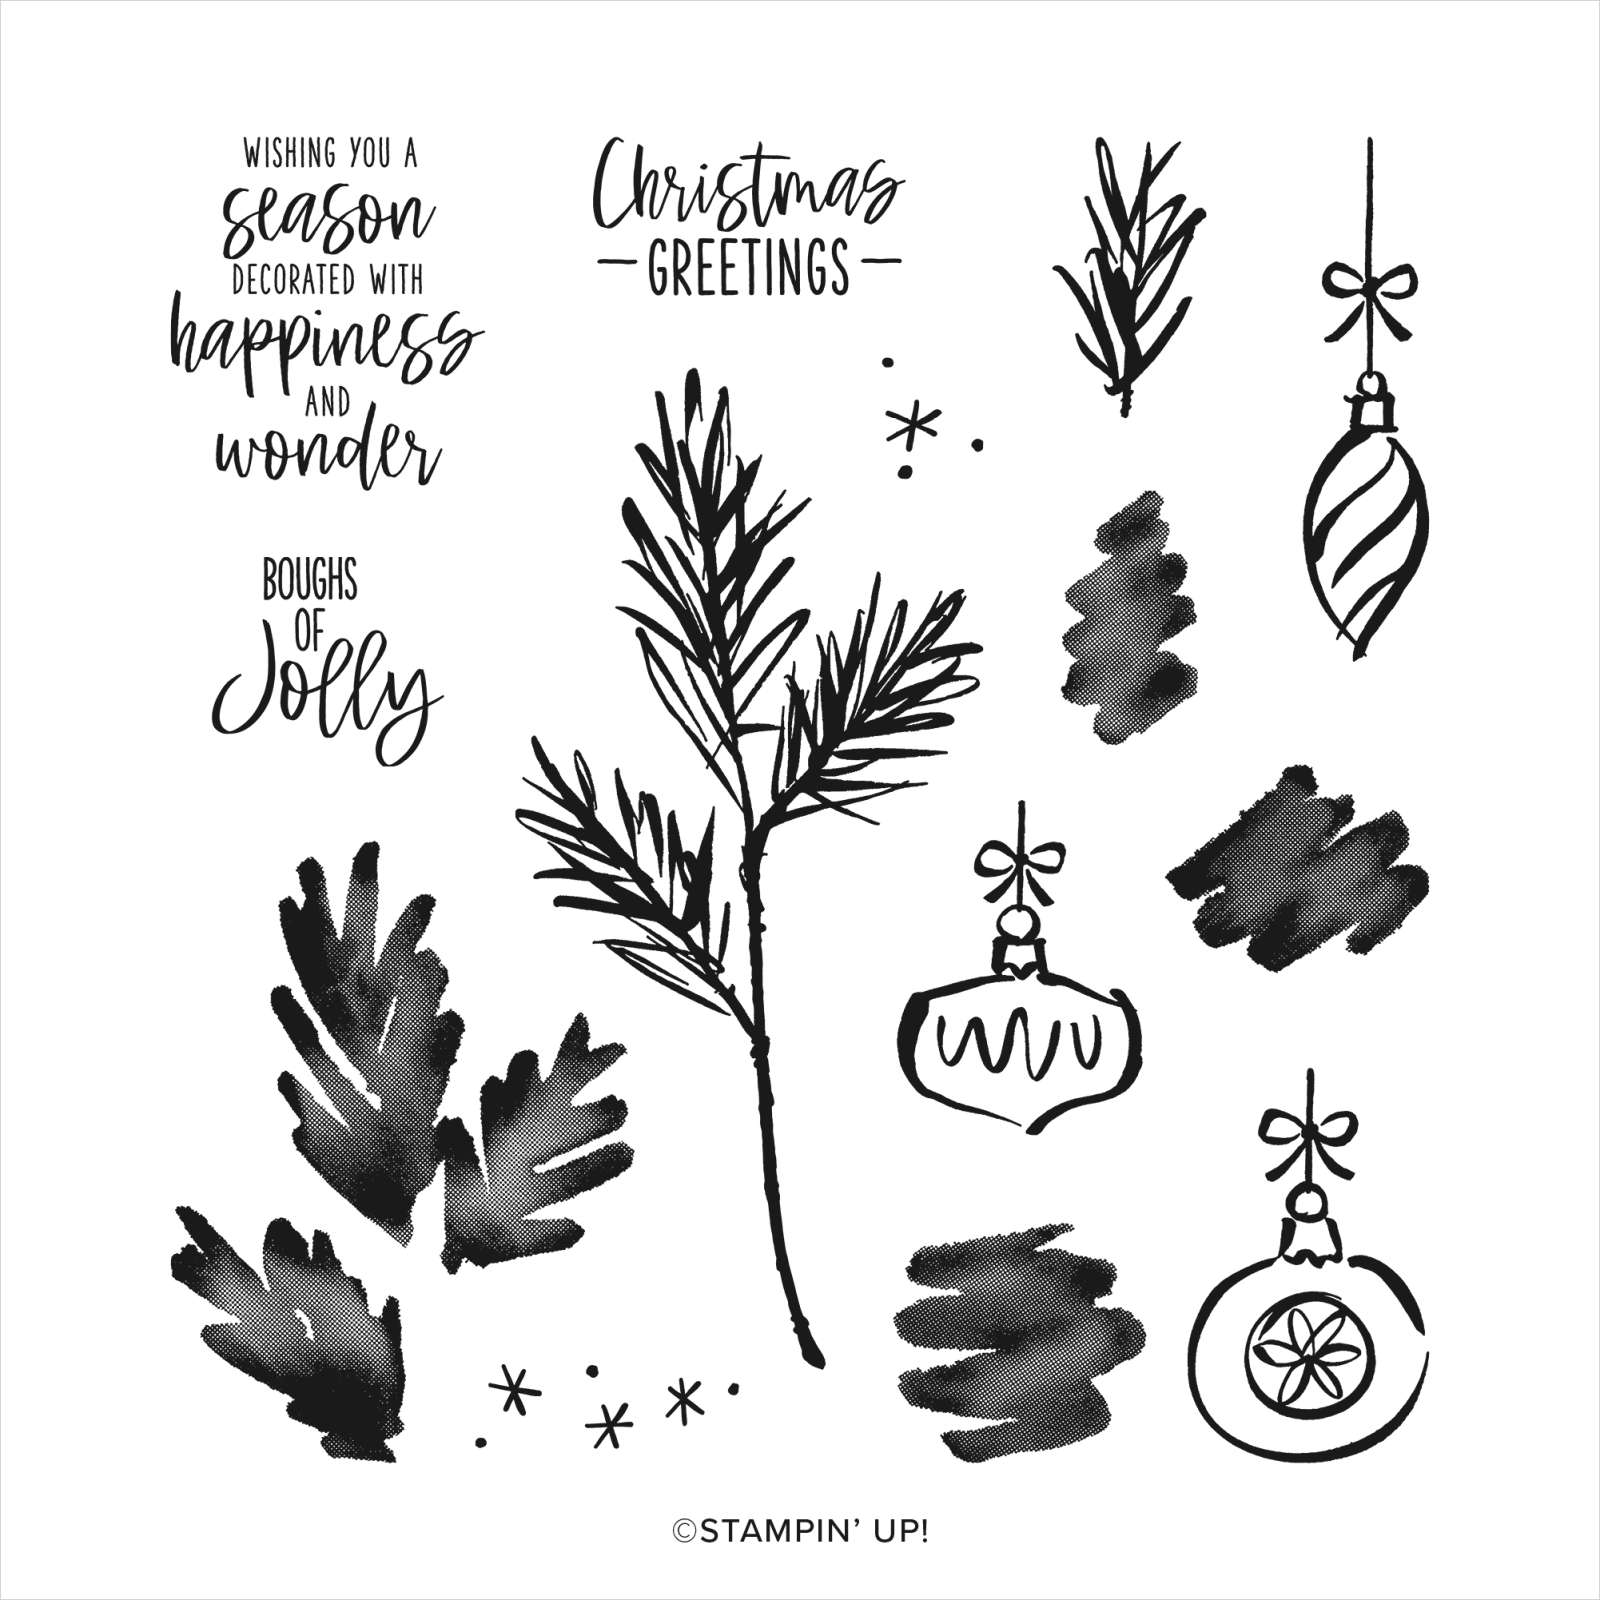
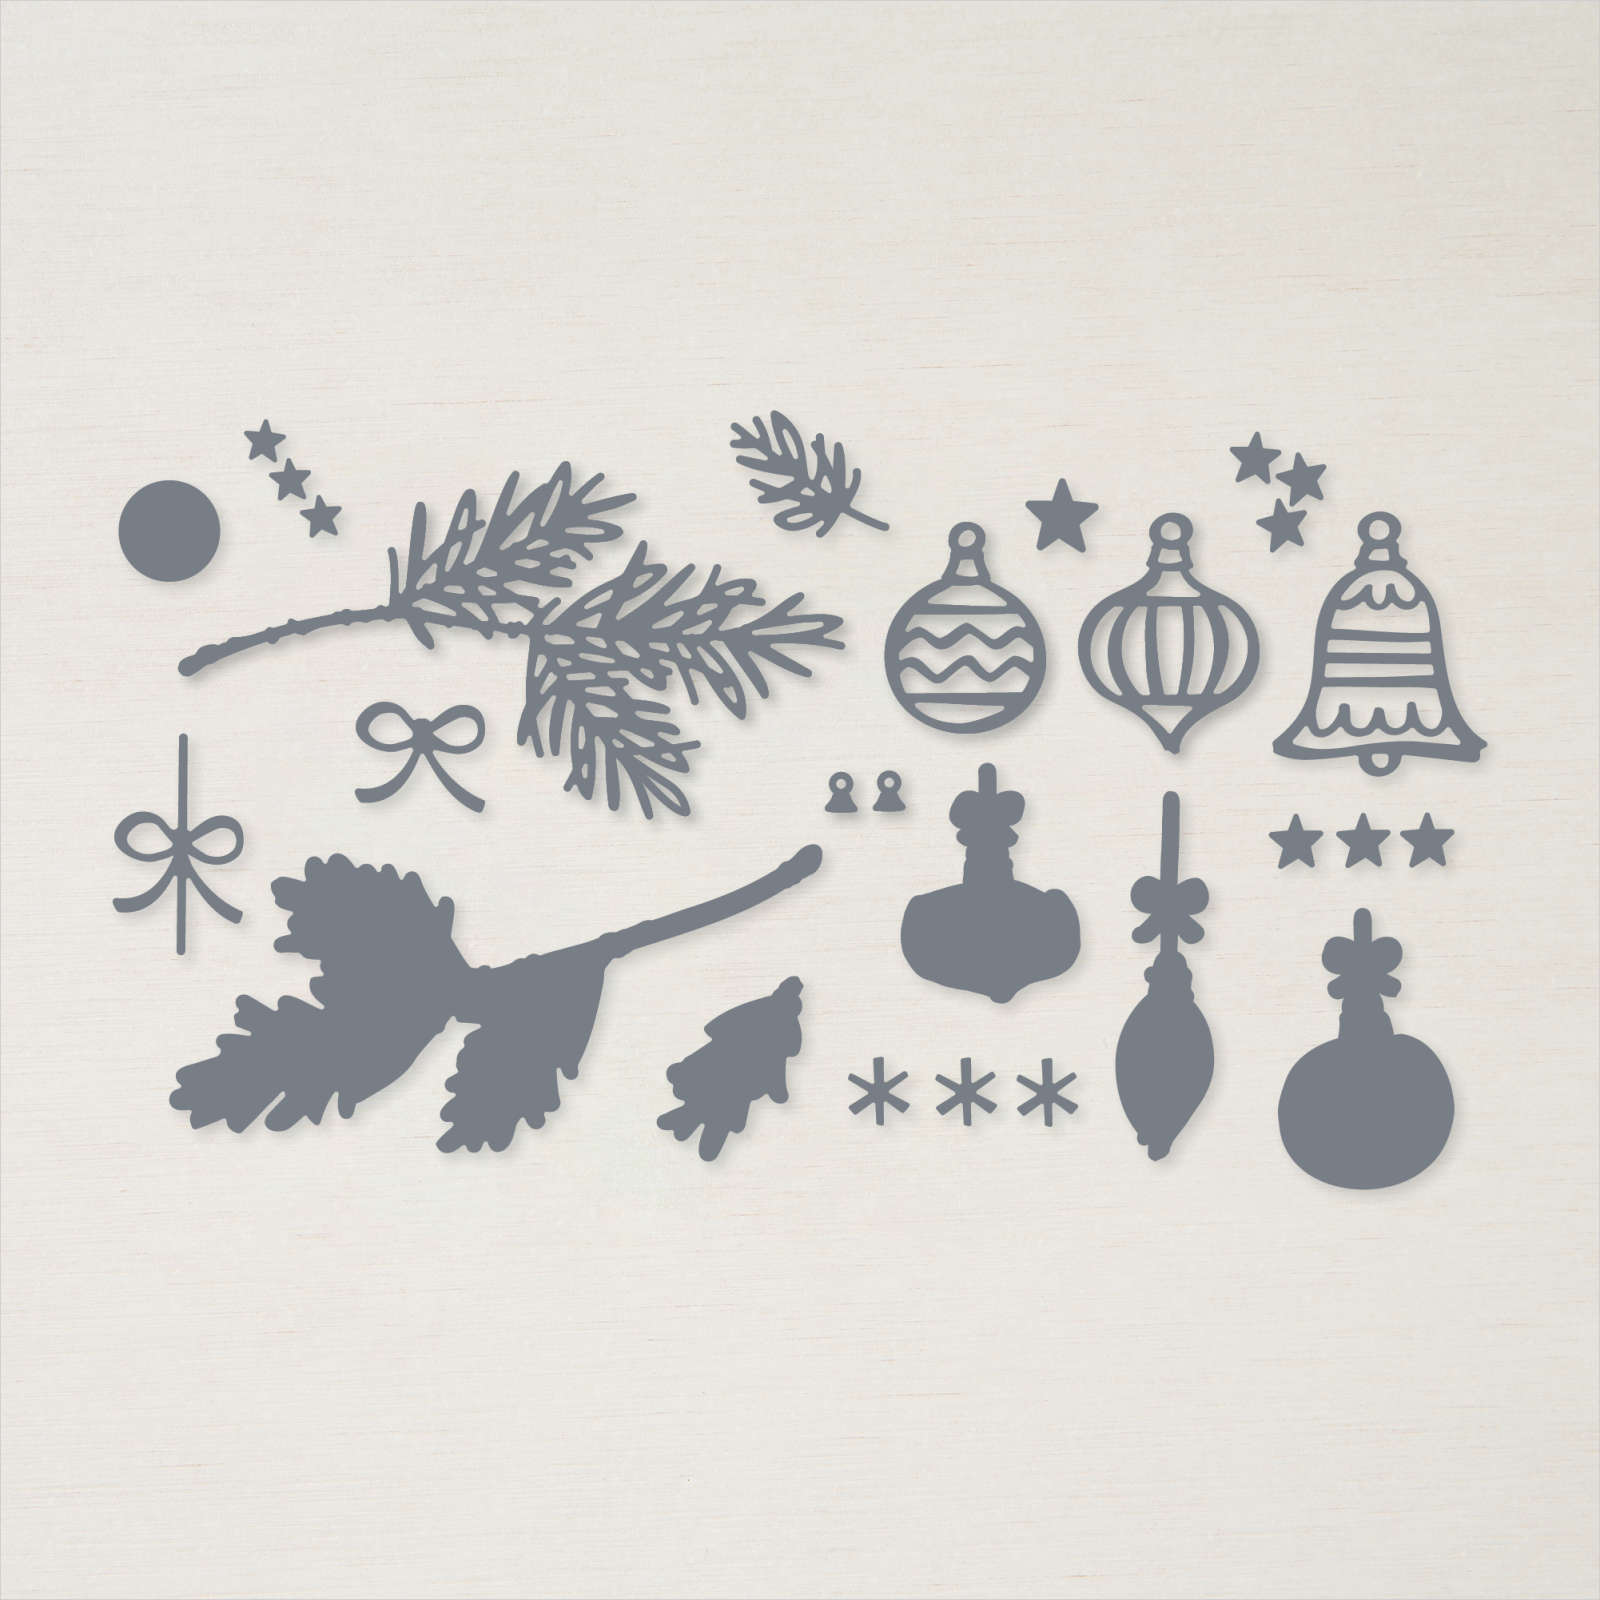


Framed Art
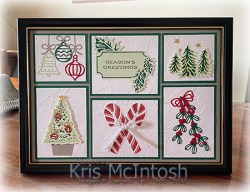
Every year since I started classes at Beachmere we have had an All Day Class in November to create projects for Christmas. One of the projects which has been an ongoing favourite is our Framed Art decoration. Today I thought I would share the one we created this year. I embossed each of the Basic White panels using the Painted Texture 3D Embossing Folder before attaching the embossed panels to Shaded Spruce card. The first panel has some decorations attached which were die cut from Real Red, Shaded Spruce, Soft Sea Foam and Grey Granite card using the Decorated Pine Dies. The second panel uses the Leaves of Holly Dies to cut Soft Sea Foam and Shaded Spruce card. The greeting is from the Leaves of Holly stamp set and uses Shaded Spruce ink. The third panel uses the Trees for Sale stamp set and the Co-ordinating Tree Lot Dies. The stars were cut from Gold Foil using the Tree Trimming Dies. The fourth panel uses the Trimming the Tree Stamp Set and co-ordinating Tree Trimming Dies. I uses Soft Sea Foam and Shaded Spruce ink. The dies are cut from Real Red and Gold Foil card. The fifth panel uses the Sweet Candy Cane stamp set and co-ordinating Candy Cane Dies. I also added a bow tied with the Iridescent Trim. The last panel uses the Misteltoe Dies cut from Real Red and Shaded Spruce card.
If you like this decoration you can download the instructions here. Or you can visit my Free Tutorials Page to download the instructions.
Bye for now,
Kris
Product Used:
Just so you know the Tree Lot Dies were part of Sale-A-Bration and are no longer available. The Tree Trimming Dies were released as a short term promotion and are currently available on the clearance rack while stocks last.





Graduation
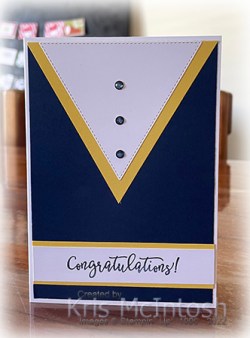
My eldest granddaughter graduated from High School recently and I thought I would share the card I made for her. I searched Pinterest and was inspired by a number of ideas, so thank you to all those who shared their creations. I used one of the retired Triangle Dies to cut Basic White card. I used that as a guide to cut a piece of Daffodil Delight card. I attached the panels together before attaching them to a piece of Night of Navy card. I stamped “congratulations” from the A Grand Kid stamp set onto Basic White card using Night of Navy ink.
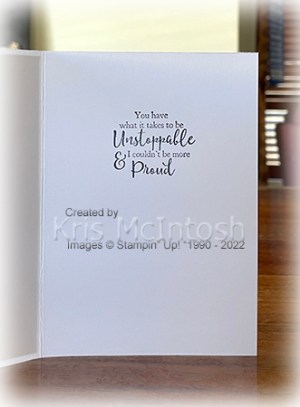
The greeting is attached to Daffodil Delight card and then the Night of Navy panel. The whole piece is attached to scored and folded Thick Basic White card. I used the Dark Night of Navy Stampin’ Blend to colour three large Basic Pearls and attached them to the Basic White triangle. To decorate the inside of the card, I stamped the greeting from the retired Strong & Beautiful stamp set using Night of Navy ink. Such a simple card but it commemorates a massive effort on Abigail’s part. We are so proud of her.
Bye for now,
Kris
Product Used:

Sunset Cruise
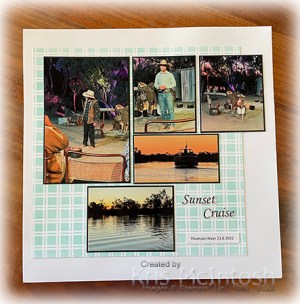
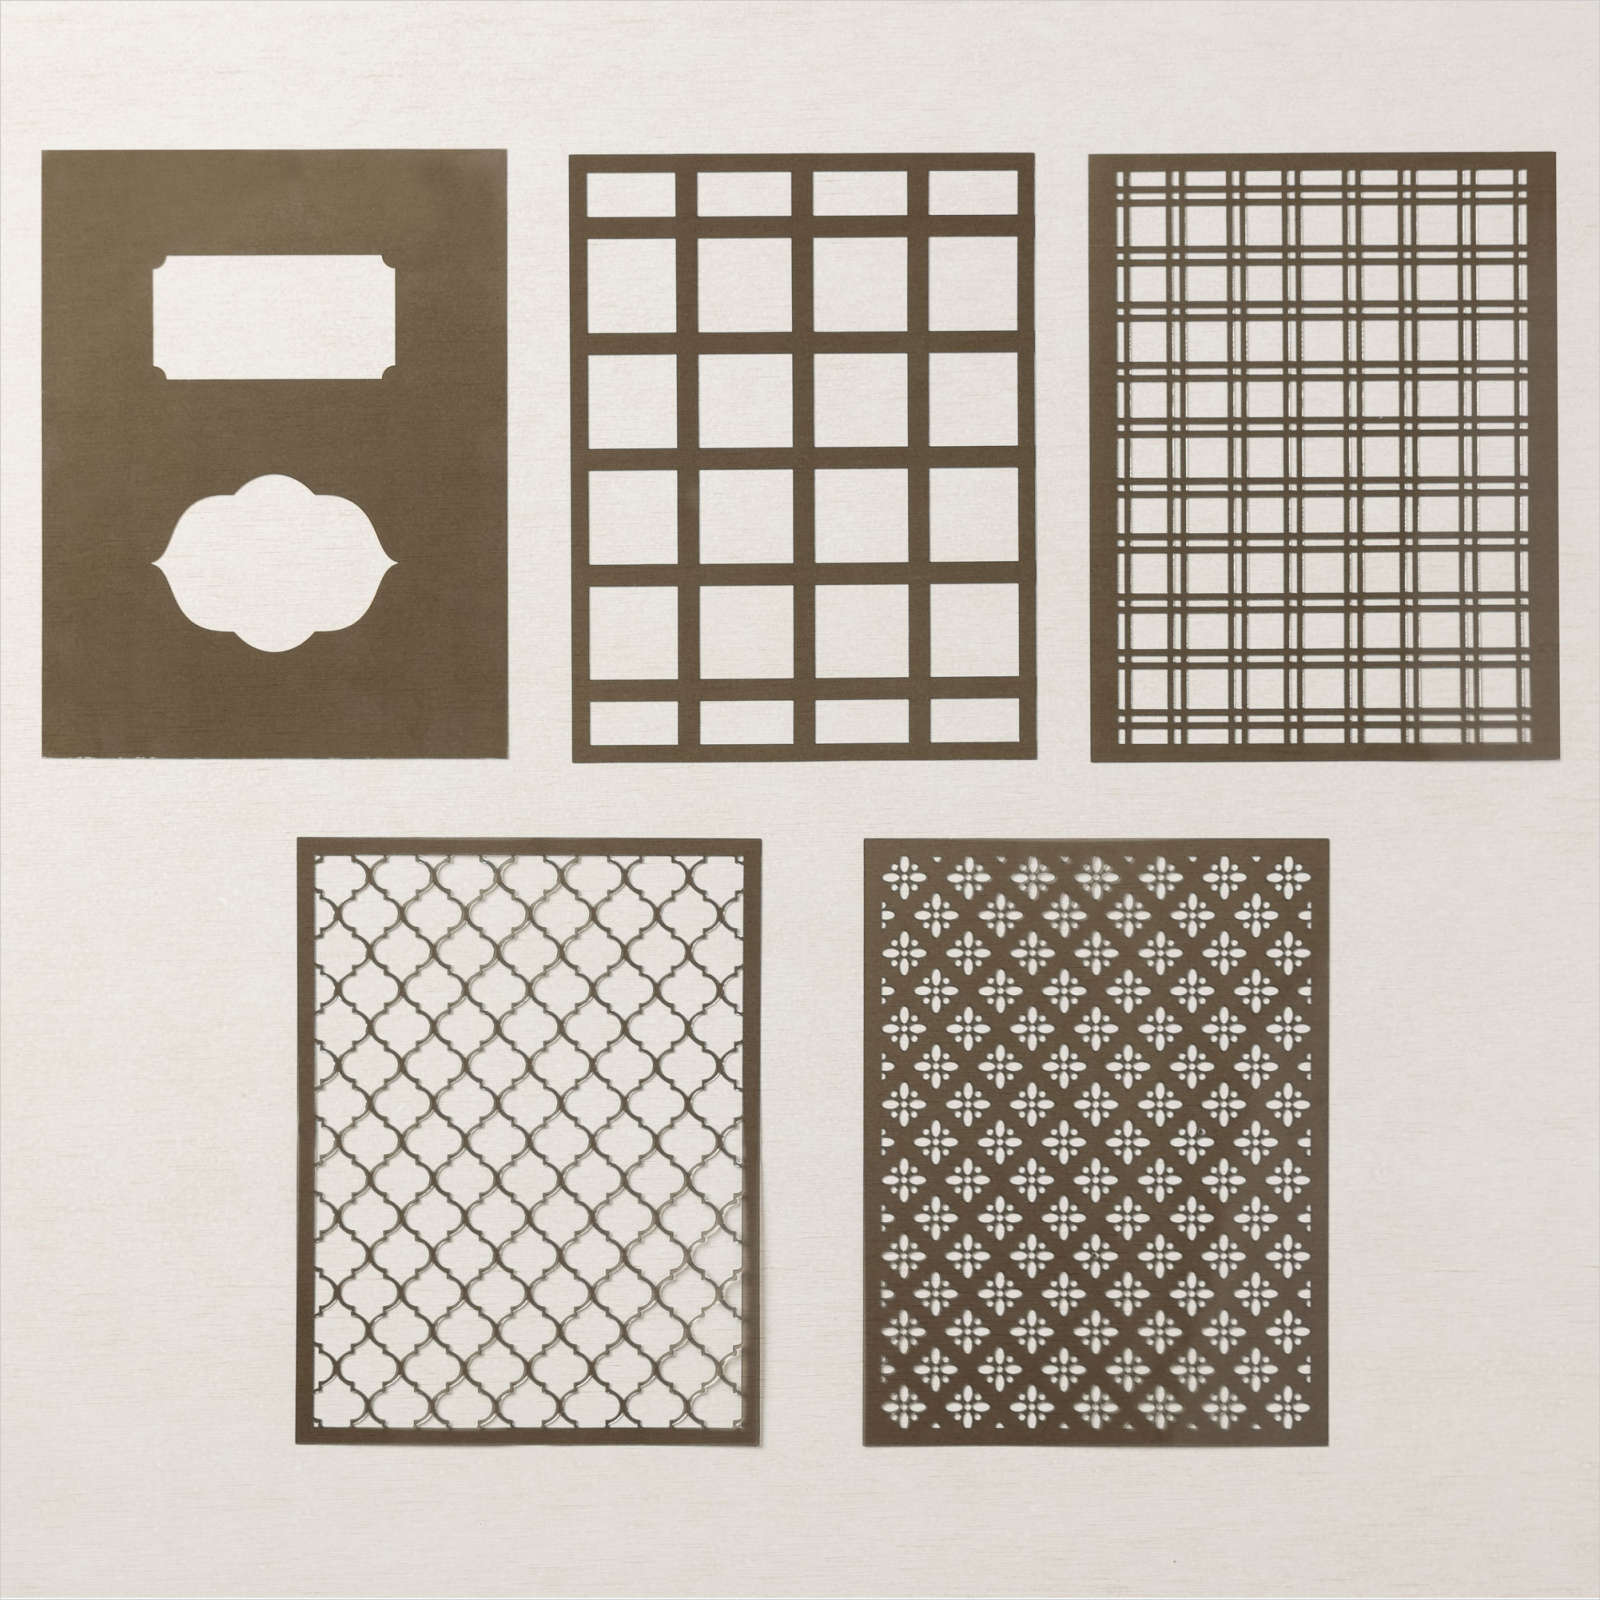
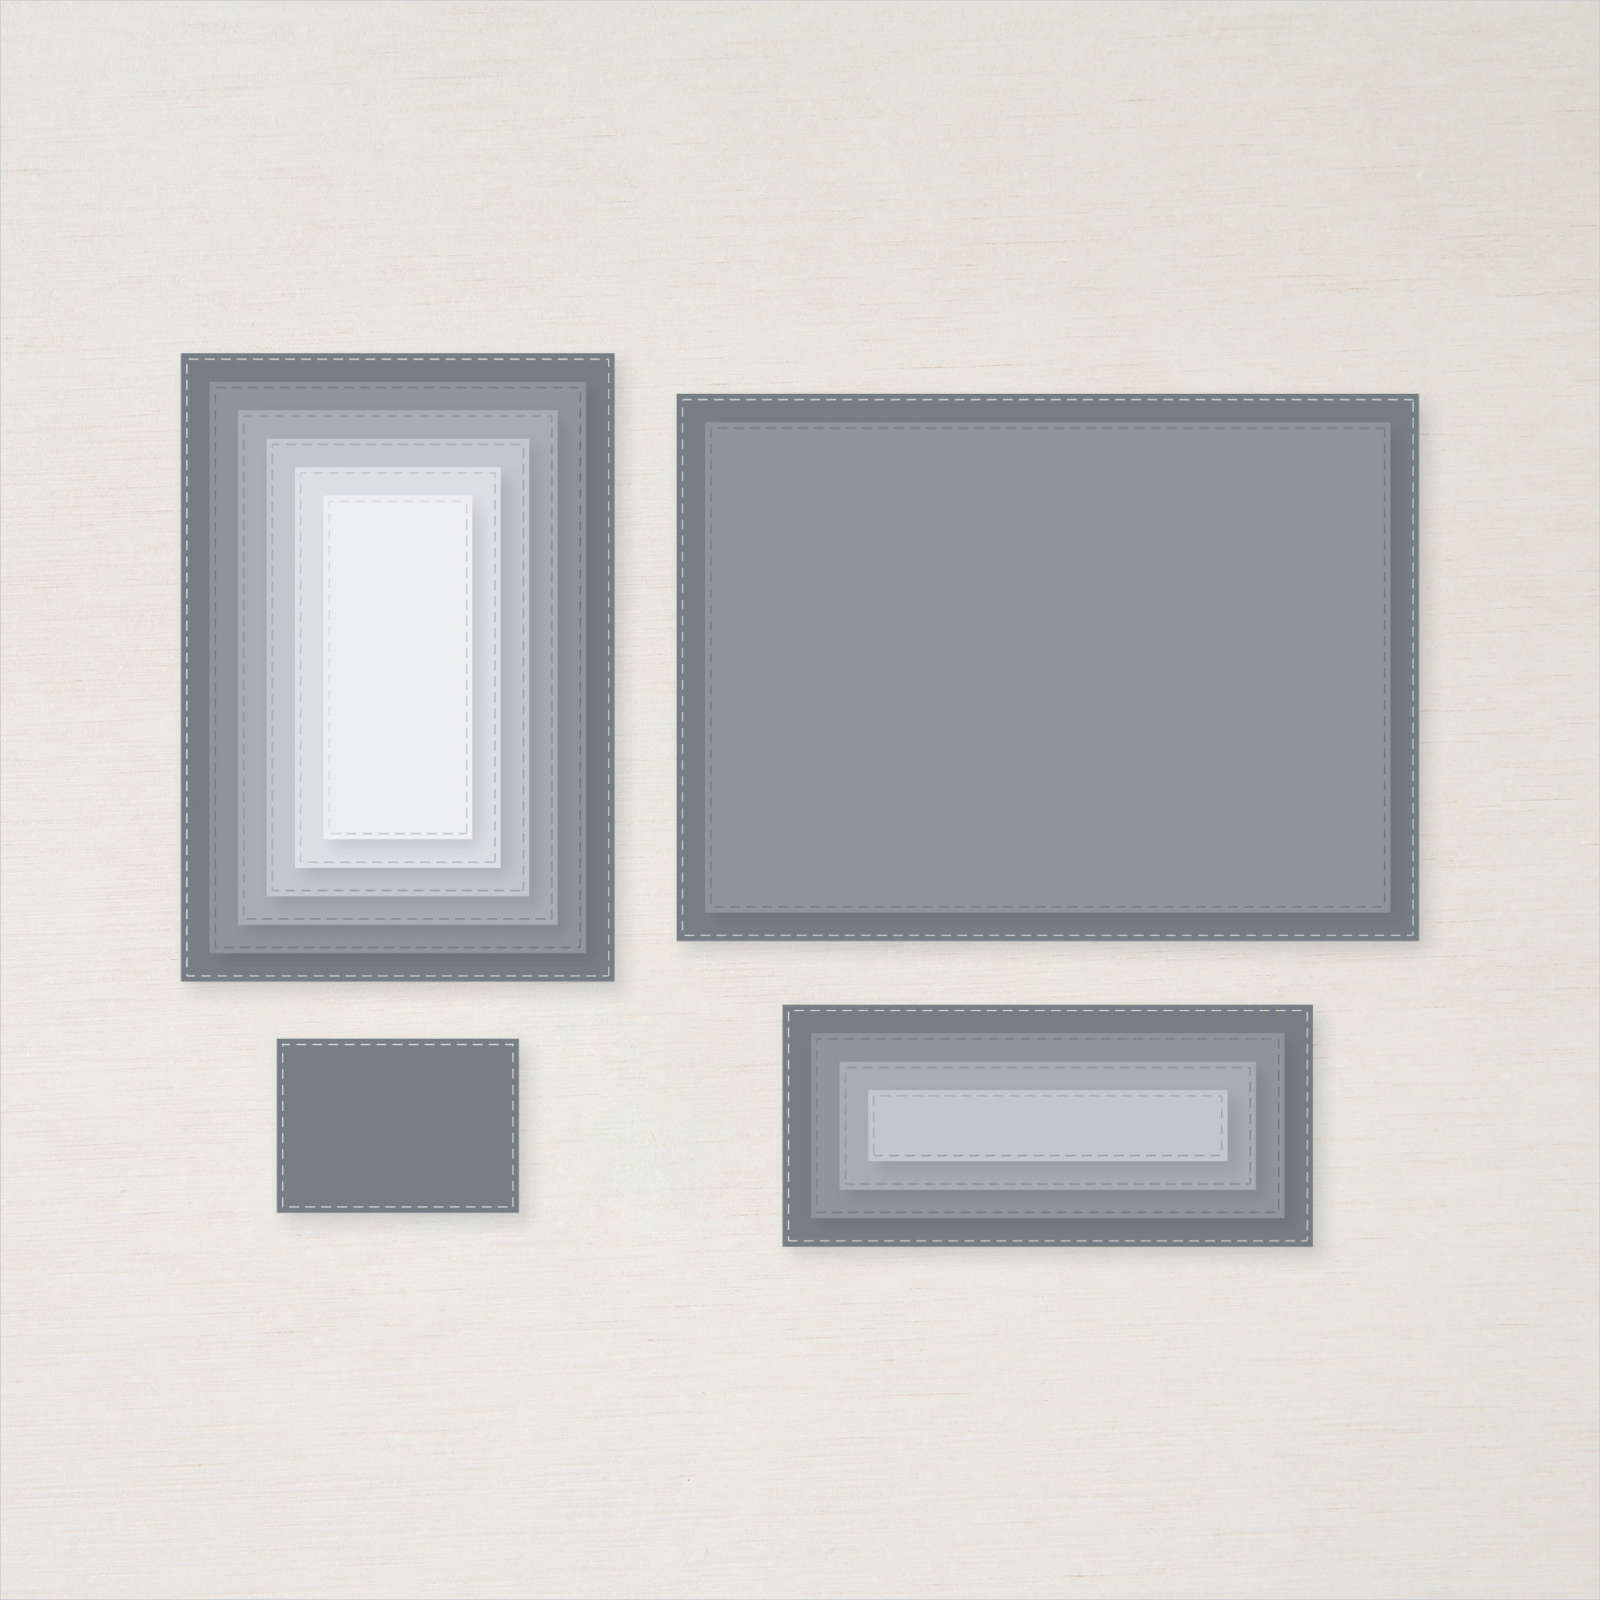
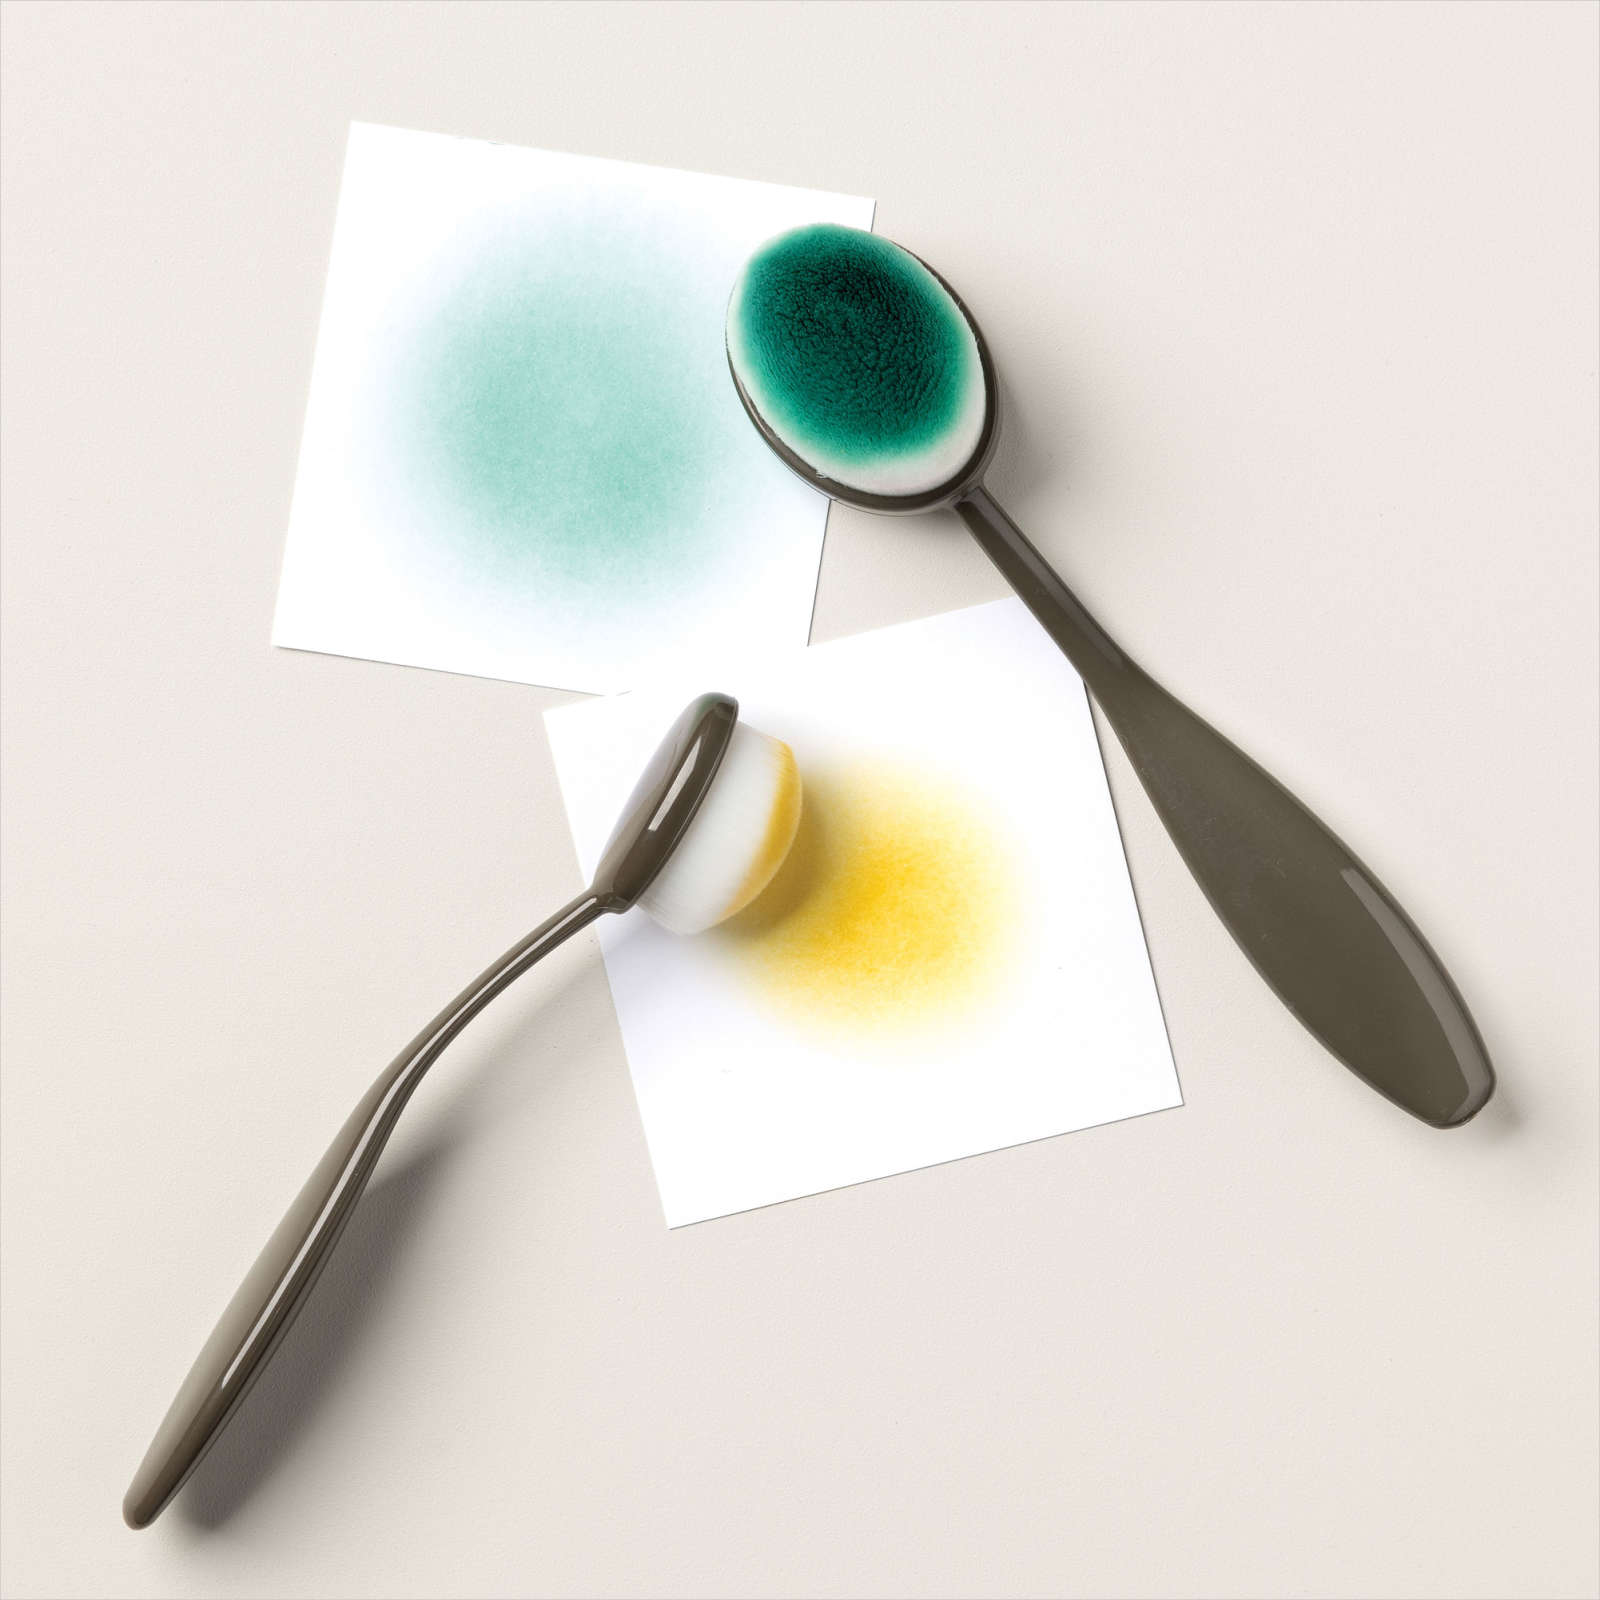
on the Thomson River at Longreach. We love doing this cruise with the Outback Pioneers. Always so much fun. I cut a piece of Basic White 12″ x 12″ card to 10″ x 10″. I used one of the Artistic Mix Decorative Masks, a Blending Brush and Bermuda Bay ink to add decorate the panel before attaching it to Basic White 12″ x 12″ card. I attached my photos to Basic Black card before attaching them to the page. I printed my title onto Basic White card and used my Paper Snips to cut it out. I also printed the extra title onto Basic White card and used one of the banners from the Stitched Rectangle Dies to cut it out. It makes me a little sad to know that one of the entertainers has since passed away. I am sure he will be missed.
I love how this page turned out, don’t you?
Bye for now,
Kris
Product Used:

Framed Christmas
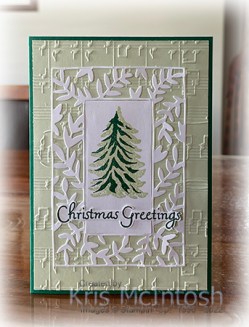
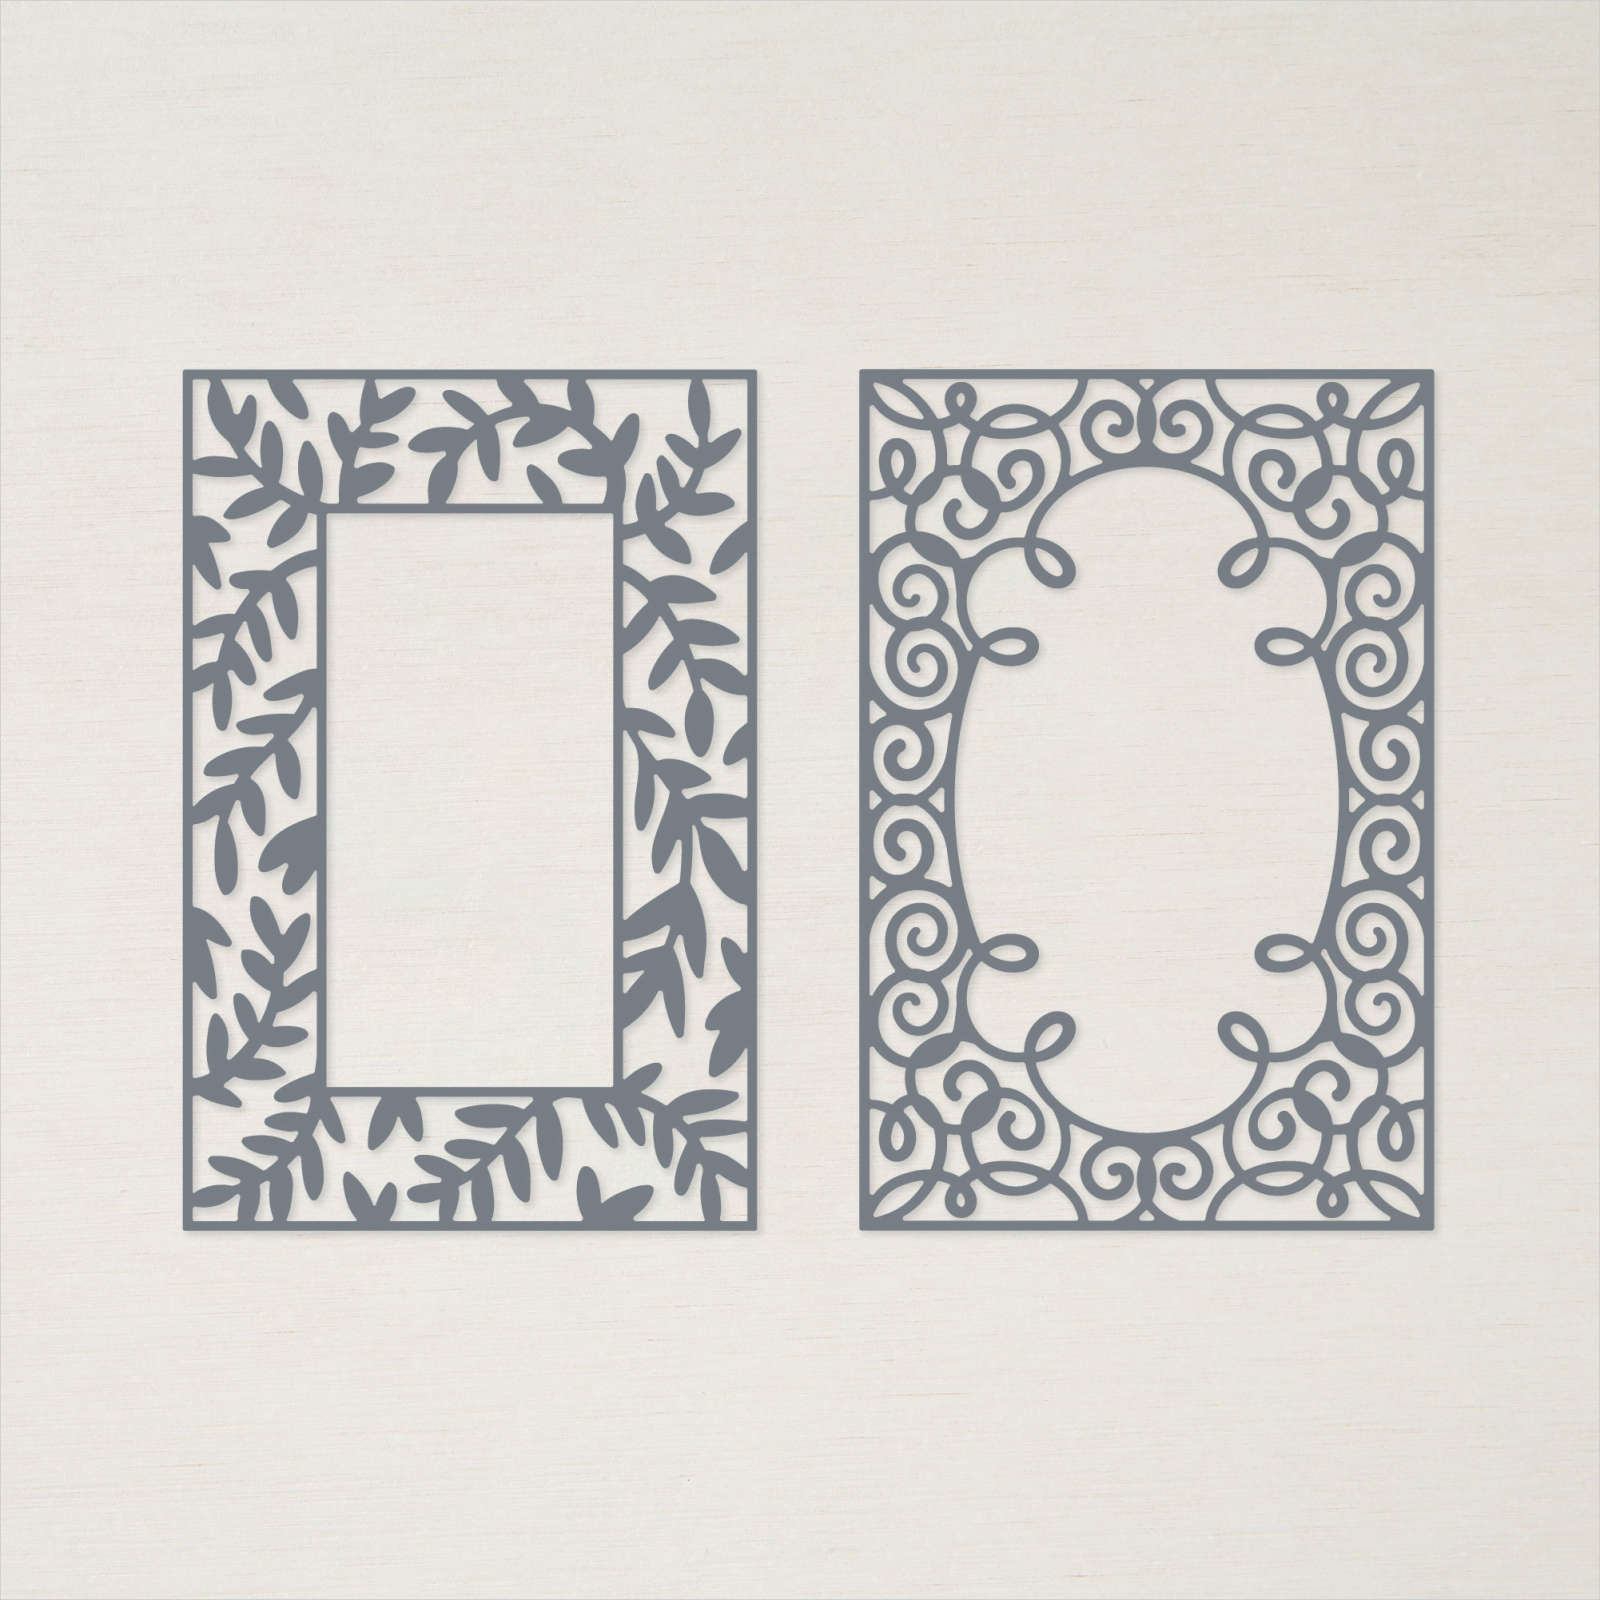
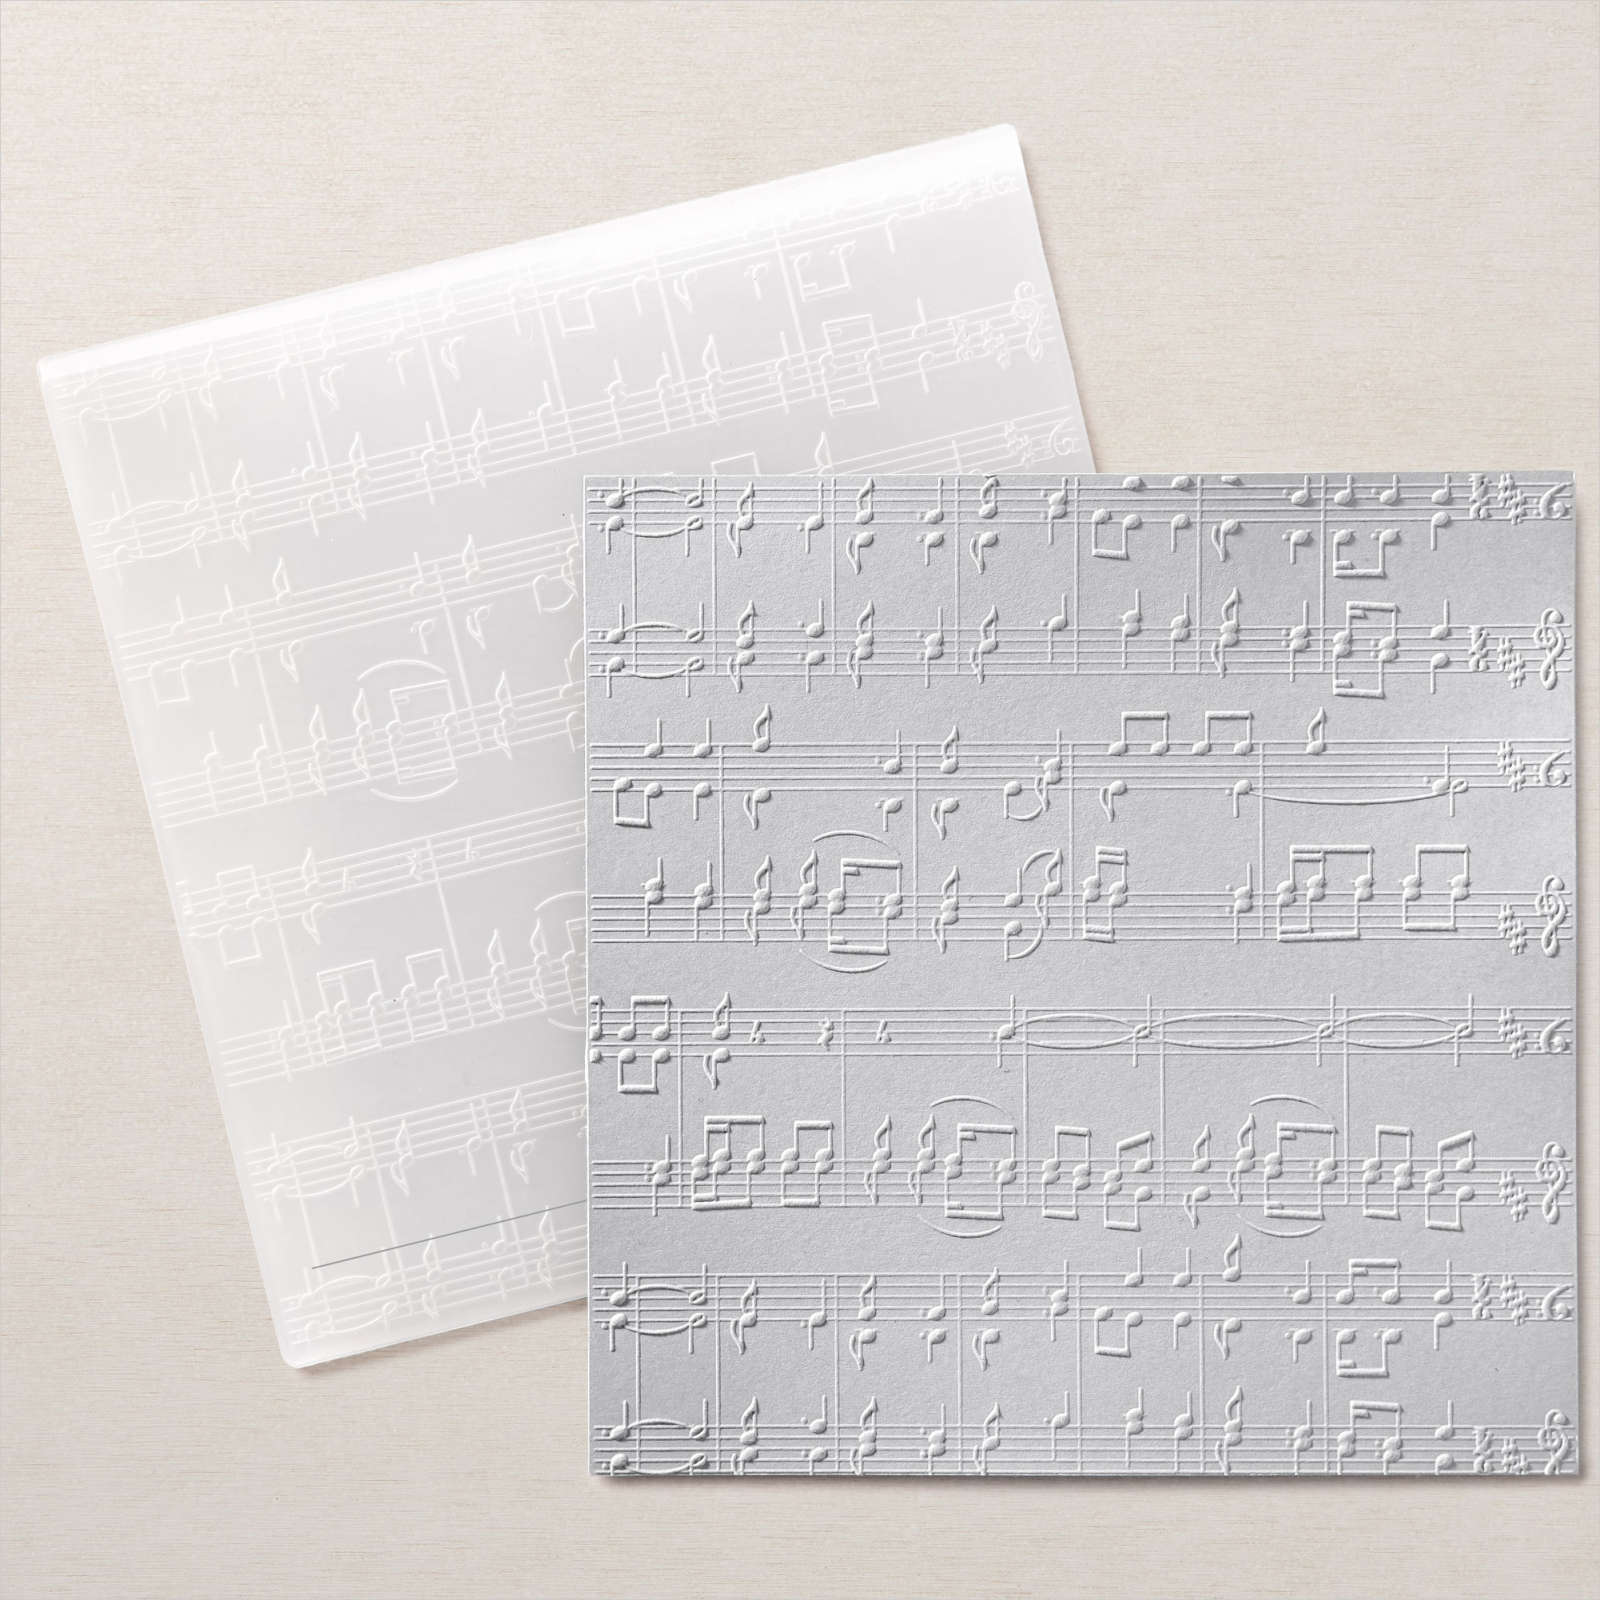
Today’s card once again uses the Fancy Frames Dies which I shared on my Facebook Live this week. For this card, I embossed Soft Sea Foam card using the Merry Melody 3D Embossing Folder and attached it to scored and folded Shaded Spruce card. I cut the leafy frame from Basic White card to which I had attached Adhesive Sheet.

I stamped the large solid tree from the Trees For Sale stamp set onto the central Basic White panel using Soft Sea Foam ink. I stamped the detailed tree from the Trees For Sale stamp set over the top using Shaded Spruce ink. I attached the leafy frame to the embossed Soft Sea Foam card before attaching the stamped Basic White rectangle.

I stamped the greeting from the Trees For Sale stamp set onto Basic White card using Shaded Spruce ink and cut it out using my Paper Snips. The greeting is attached across the leafy frame. To decorate the inside of the card I stamped the large solid tree from the Trees For Sale stamp set onto Basic White card using Soft Sea Foam ink. I stamped the detailed tree over the top using Shaded Spruce ink.
Such fun dies to play with and I just know that I will be using them a lot in the future.
Bye for now,
Kris
Product Used:

Peace & Joy

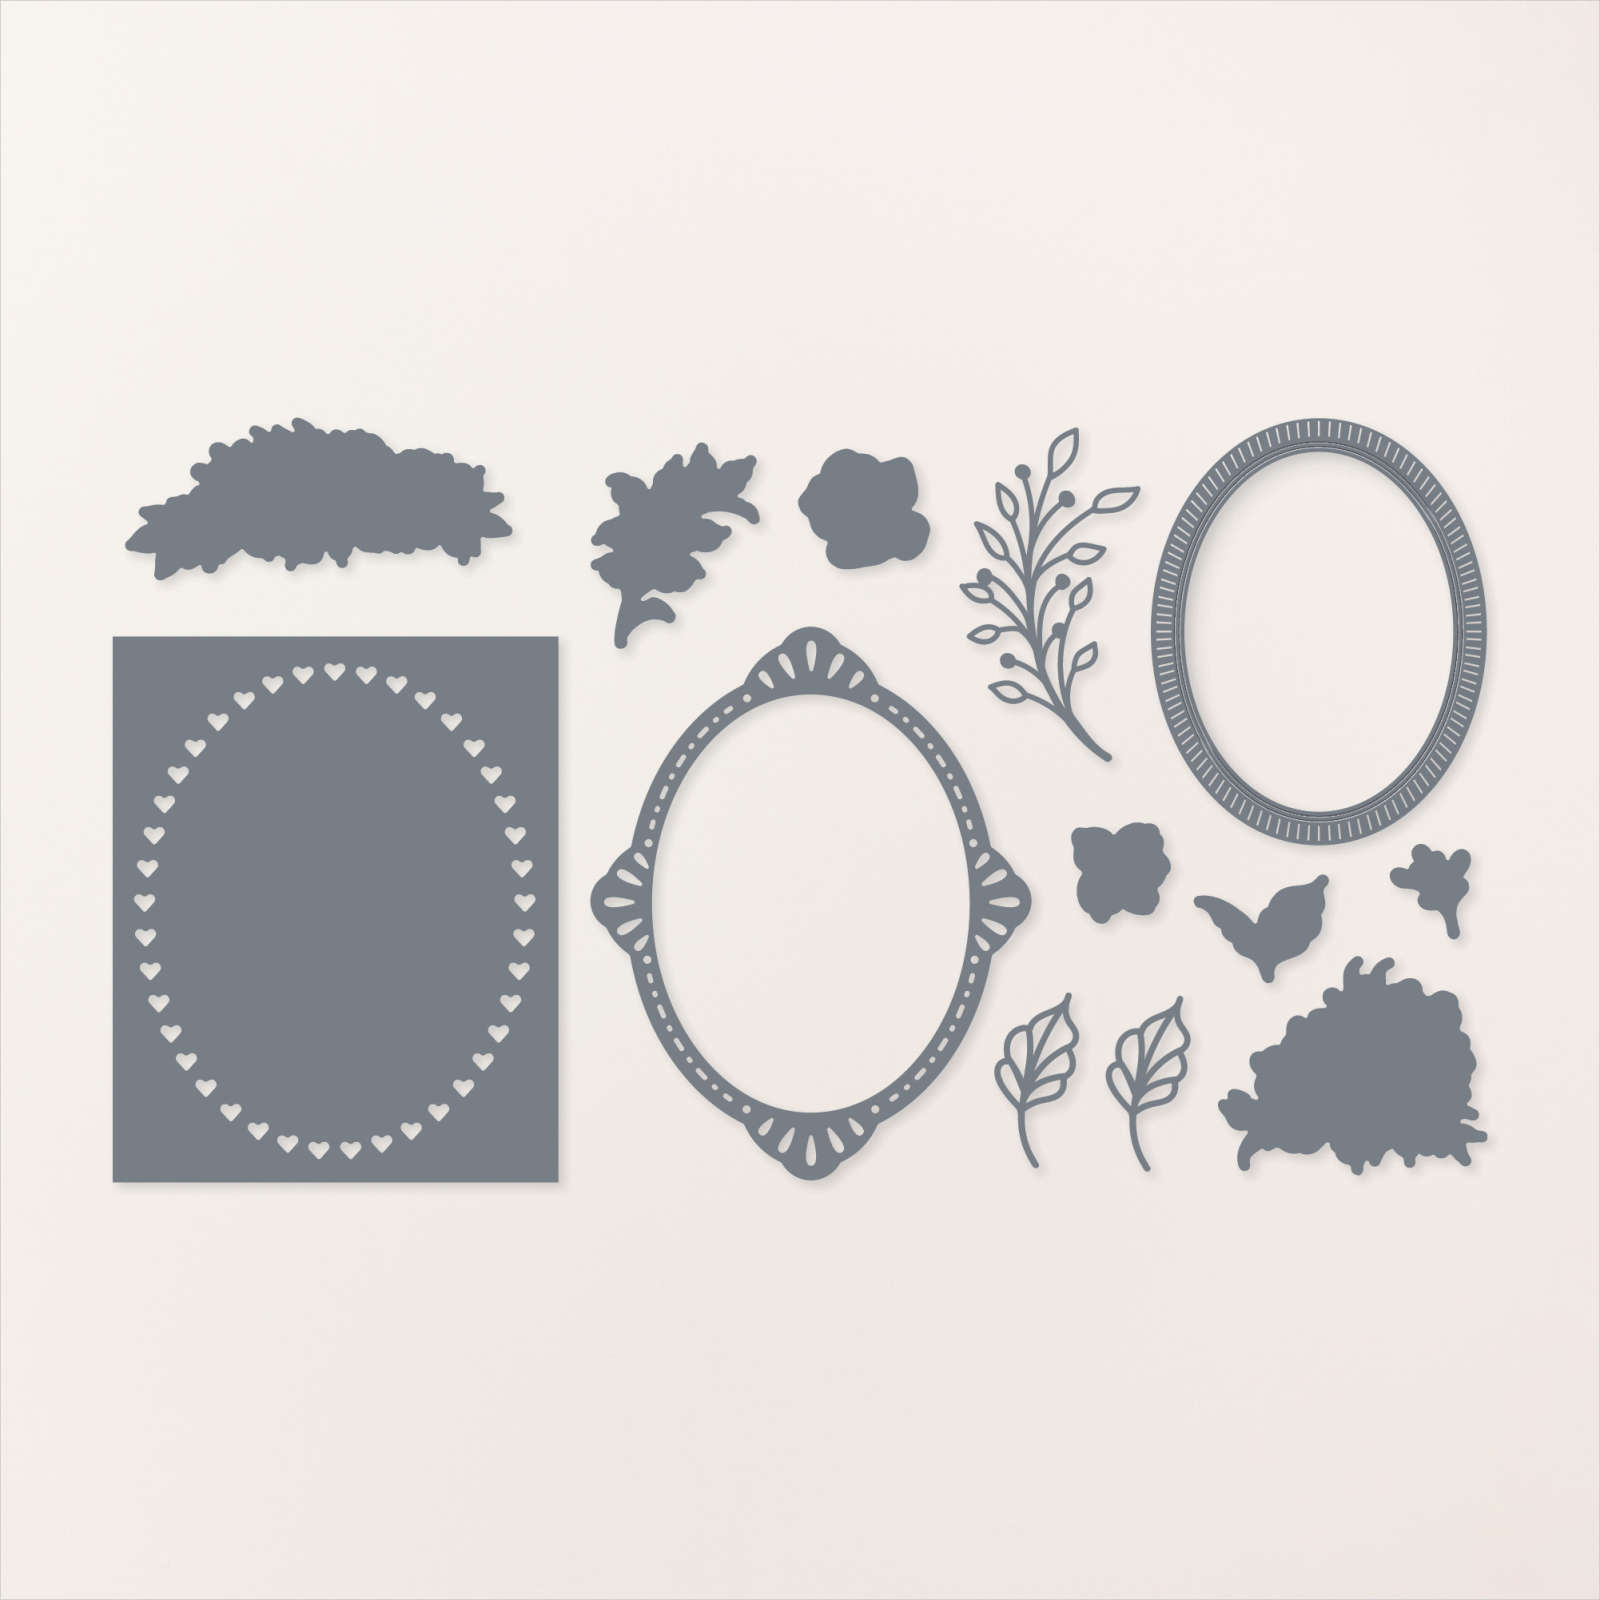
This week in my Facebook Live, I shared some cards I made using the Fancy Frames Dies. These are stand alone dies in the current Annual Catalogue and were one of the products you could buy at a reduced price during the Seasonal Sale in November (15th to 18th). They are really pretty dies and I had fun creating using them. Today’s card uses the leaf die from the Fancy Frames Dies which I cut from Basic White card to which I had added Adhesive Sheet. I cut a piece of Fitting Florets 12″ x 12″ Designer Series Paper and coloured the berries using the Dark Real Red Stampin’ Blend. I attached the coloured Designer Series Paper to scored and folded Thick Basic White card.
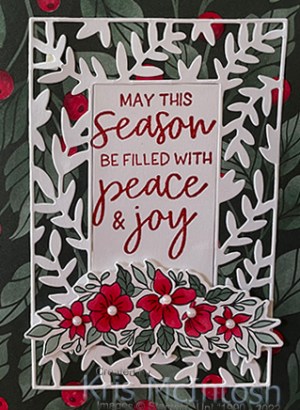
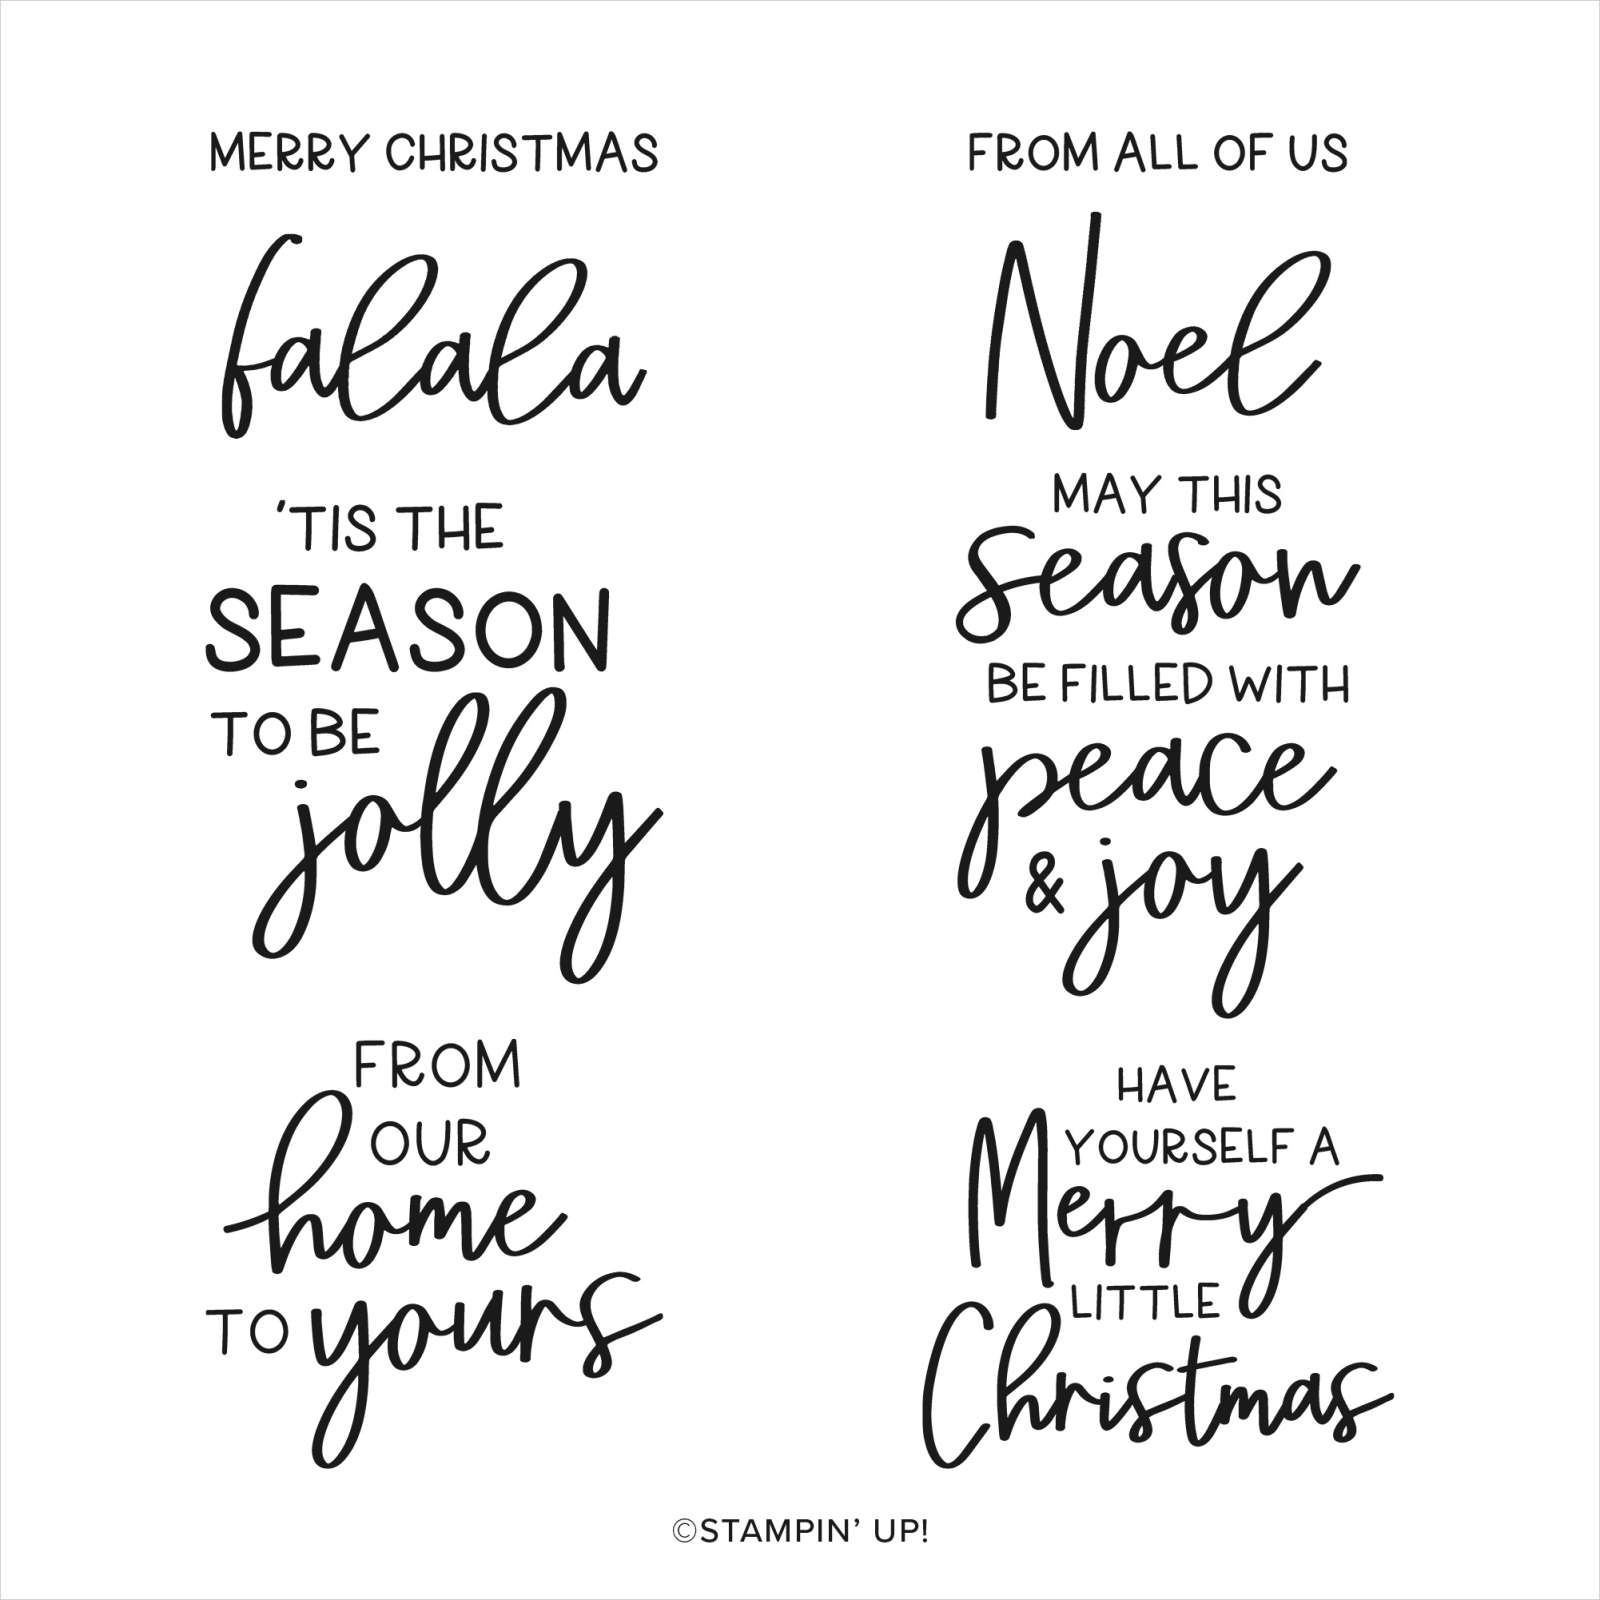
The central panel in the die comes as a separate piece and I stamped the greeting from the Framed & Festive stamp set onto the panel using Real Red ink. I attached the outer die cut to the designer series paper and then the central piece with the greeting. I stamped the floral bouquet from the Framed Florets stamp set onto Basic White card using Memento Tuxedo Black ink.

I coloured the image using Real Red and Soft Succulent Stampin’ Blends. I cut out the bouquet using the co-ordinating Framed Florets Die and attached it to the card front using dimensionals. I added an Iridescent Pearl to the centre of each of the flowers. To decorate the inside of the card, I stamped the greeting from the Framed & Festive stamp set onto Basic White card using Real Red ink. I stamped the flower from the Framed Florets stamp set beside the greeting using Memento Tuxedo Black ink. I covered the stamped image with a mask and stamped the leaf from the same stamp set using the same ink. I coloured the flower using the Real Red Stampin’ Blends and the leaf using the Soft Succulent Stampin’ Blends.
I think this is a really pretty Christmas card, don’t you.
Bye for now,
Kris
Product Used:




Another Round
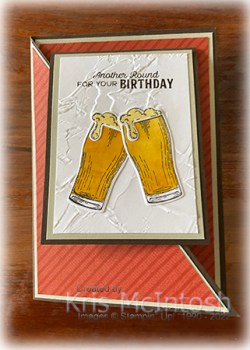
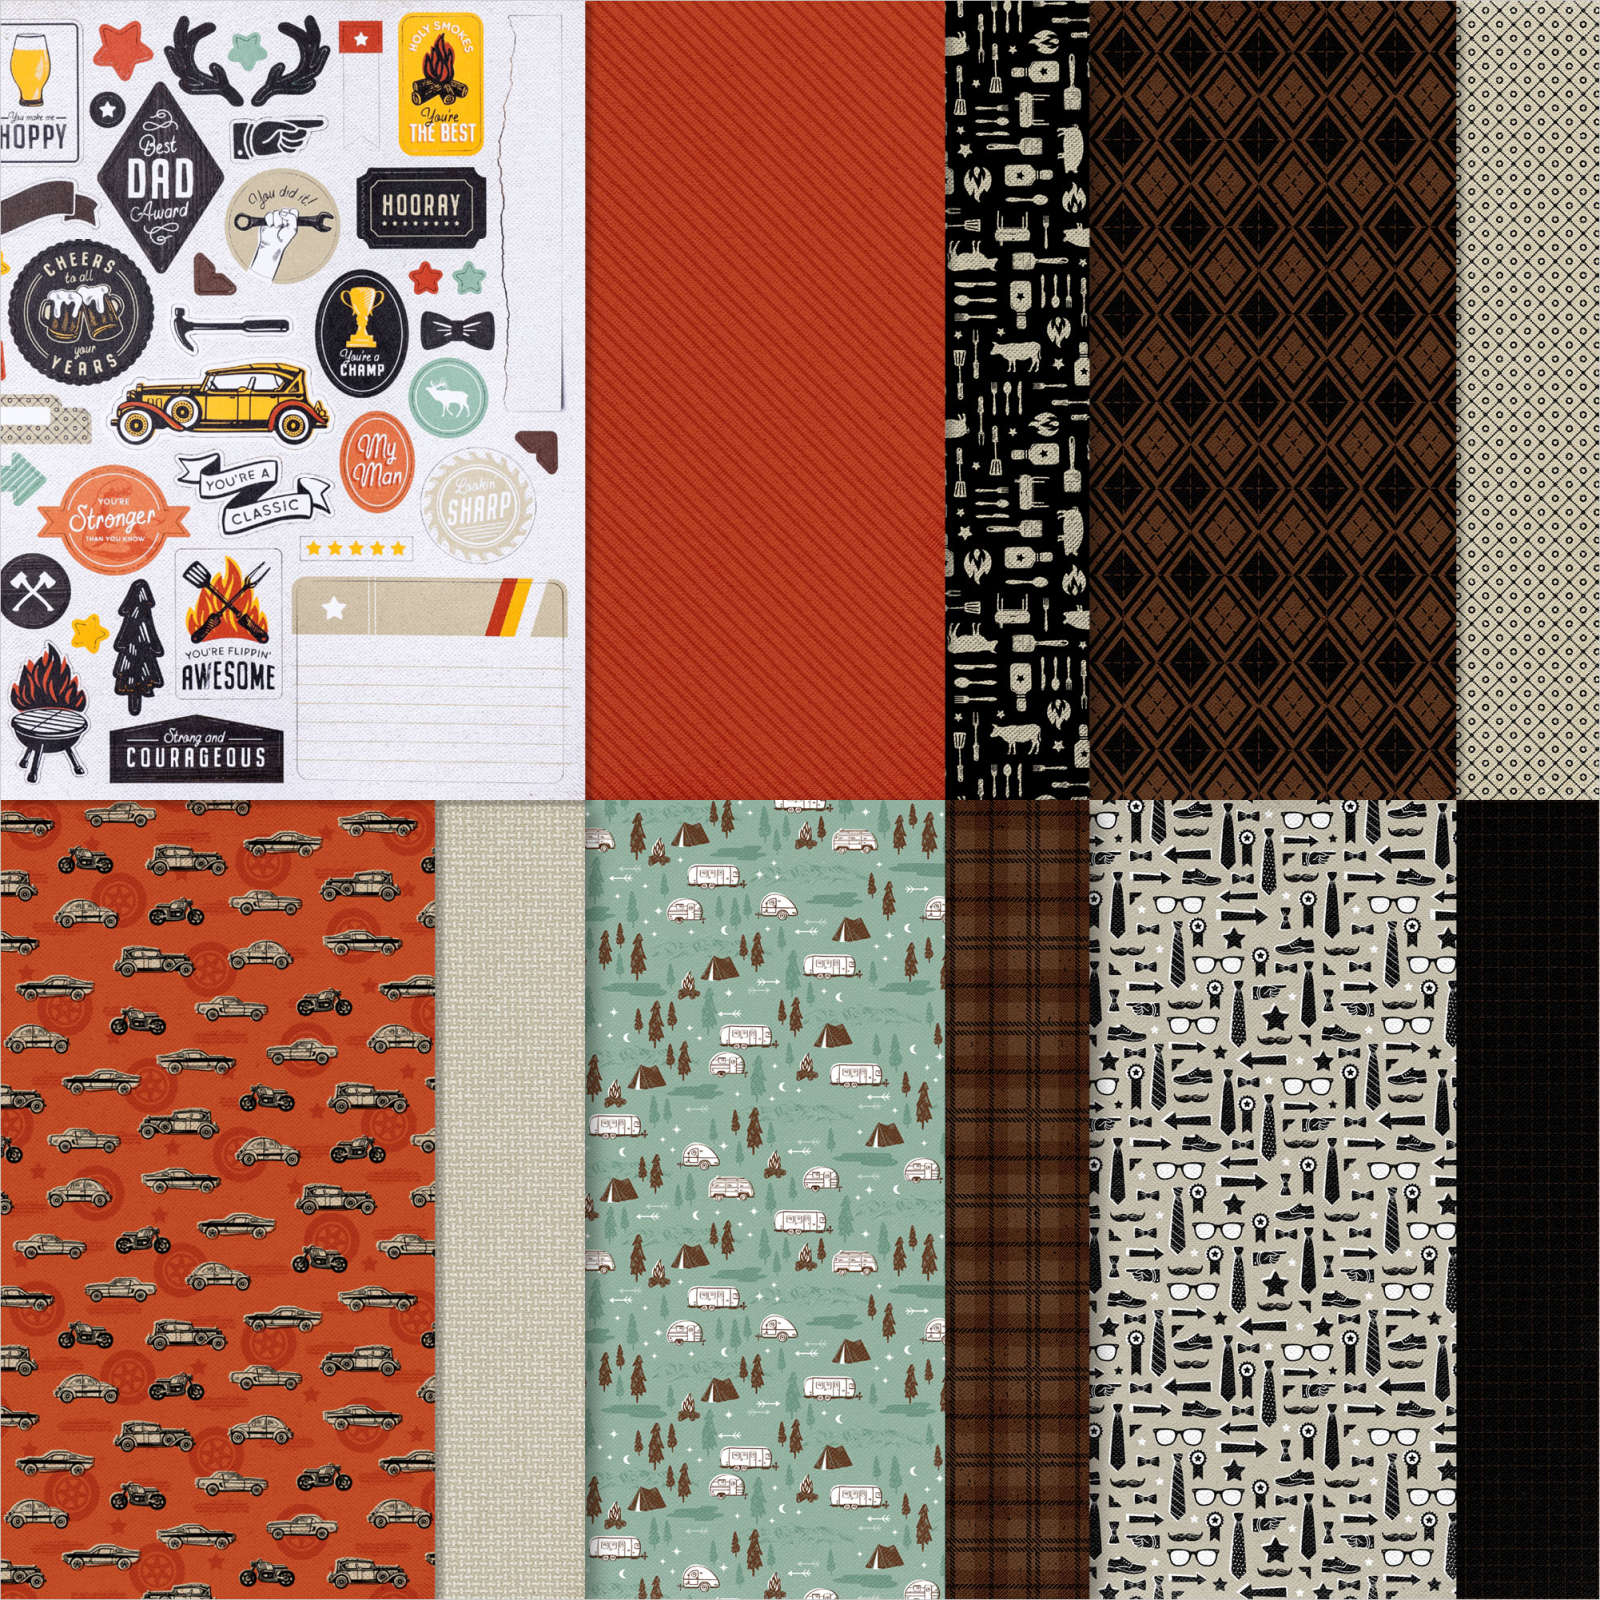
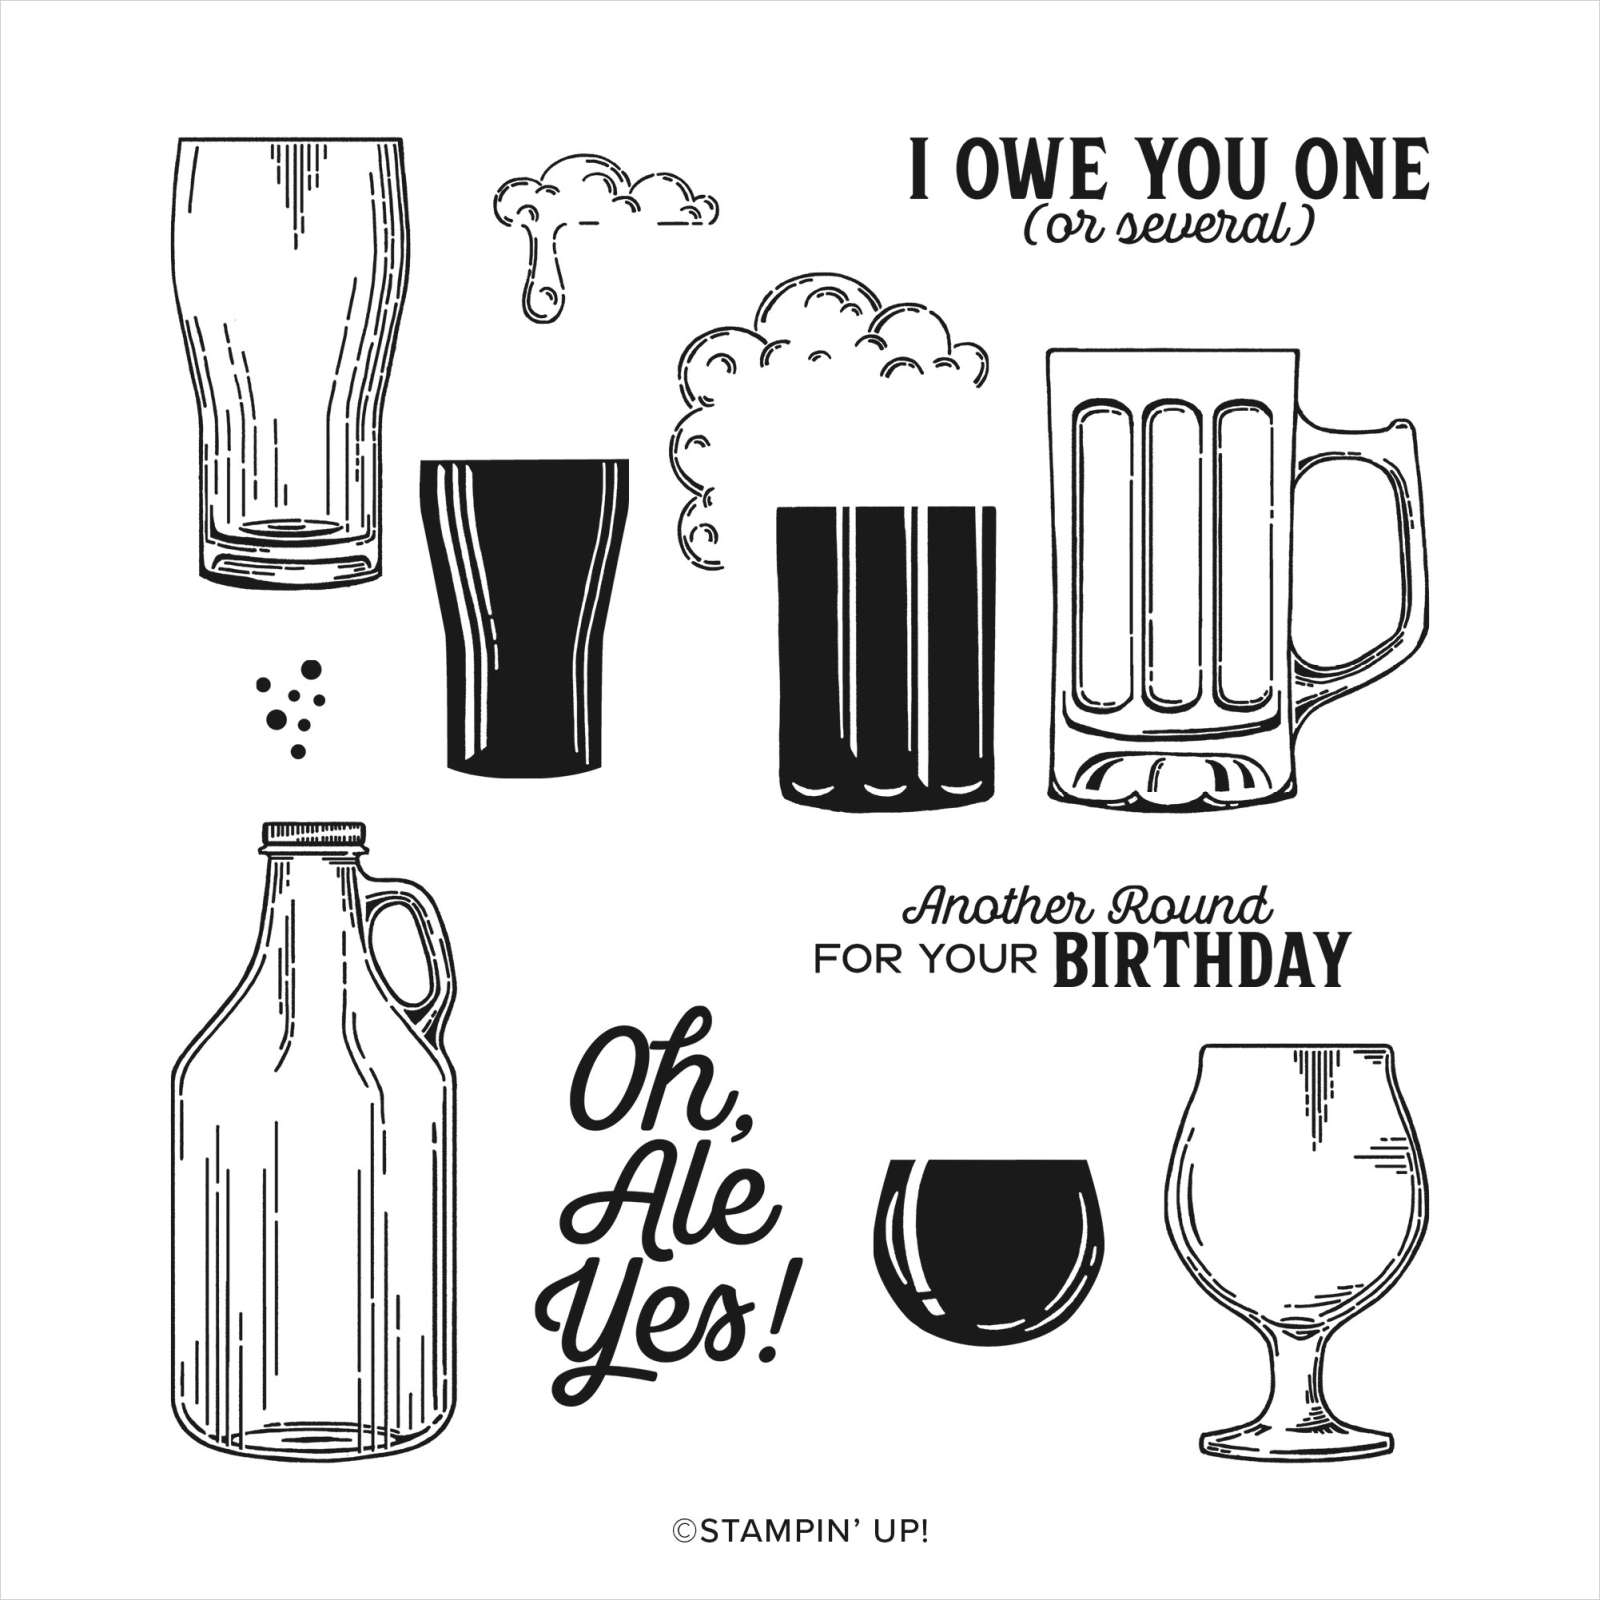
for your birthday. A really good friend of Ron & I celebrated his birthday recently and this is the card I made for him. I followed some instructions from Sherry Roth to create this fancy fold. You can find her card and instructions here. I cut the card bases from Early Espresso card. The large card base has the front panel cut on the diagonal. I added layers of Sahara Sand card to the inside of the large card base and on the diagonal panel. I layered He’s The Man 12″ x 12″ Designer Series Paper onto each of these panels, before attaching the smaller card base onto the large inside panel. I stamped the greeting from the Brewed For You stamp set onto Basic White card using Early Espresso ink.
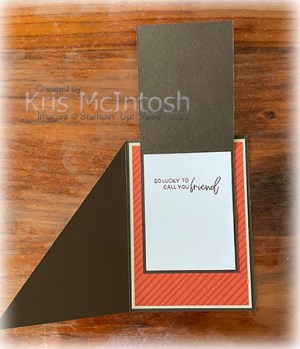
I embossed the stamped Basic White card using the Painted Texture 3D Embossing Folder. The embossed panel is attached to a piece of Sahara Sand and then to the card front. I stamped the glass and froth images from the Brewed For You stamp set onto Basic White card using Memento Tuxedo Black Ink. I coloured the images using the Dark and Light Daffodil Delight Stampin’ Blends before cutting out the images using the co-ordinating Brewed Dies. I attached the glass and froth images to the front panel. To decorate the inside of the card I stamped the greeting from the Framed Florets stamp set onto Basic White card using Early Espresso ink.
Thank you Sherry for the inspiration to create this fun card. I hope our friend likes it as much as I do.
Bye for now,
Kris
Product Used: