Merry Christmas
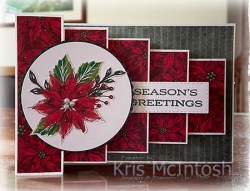
First of all let me wish everyone a very Merry Christmas. I hope that today you are spending time with those that you love. Today’s post is going to be a long post because I want to share with you the cards I created for my grandchildren, two each of three different designs. I found a fancy fold card on Pinterest with some directions from Frenchie.Stamps. What fun cards. I followed her instructions to create all the pieces for the bases from Basic White card. For the first card, I attached a piece of Boughs of Holly 12″ x 12″ Designer Series Paper behind the pop up cubes. Once the cubes were in place, I cut up another design from the Boughs of Holly Designer Series Paper to cover the tops of the cubes.

I cut Basic White card using the largest circle from the Layering Circle Dies and attached them to an Evening Evergreen scalloped circle cut using the same dies. I attached the circles to the first panel on the card. I cut out one of the flowers from the Boughs of Holly Designer Series Paper and attached it to the centre of the Basic White circle.

I stamped the greeting from the Leaves of Holly stamp set onto Basic White card using Evening Evergreen ink and cut it out using one of the Stitched Rectangle Dies. I attached the greeting to the top of the third pop up cube. To decorate the back of the card (which is where you write your message), I cut out another flower from the edge of the Boughs of Holly Designer Series Paper and attached it to the lower left hand corner of Basic White card. The Basic White panel is attached to Evening Evergreen card and then the back of the card.
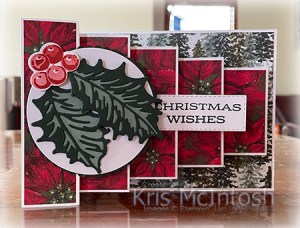
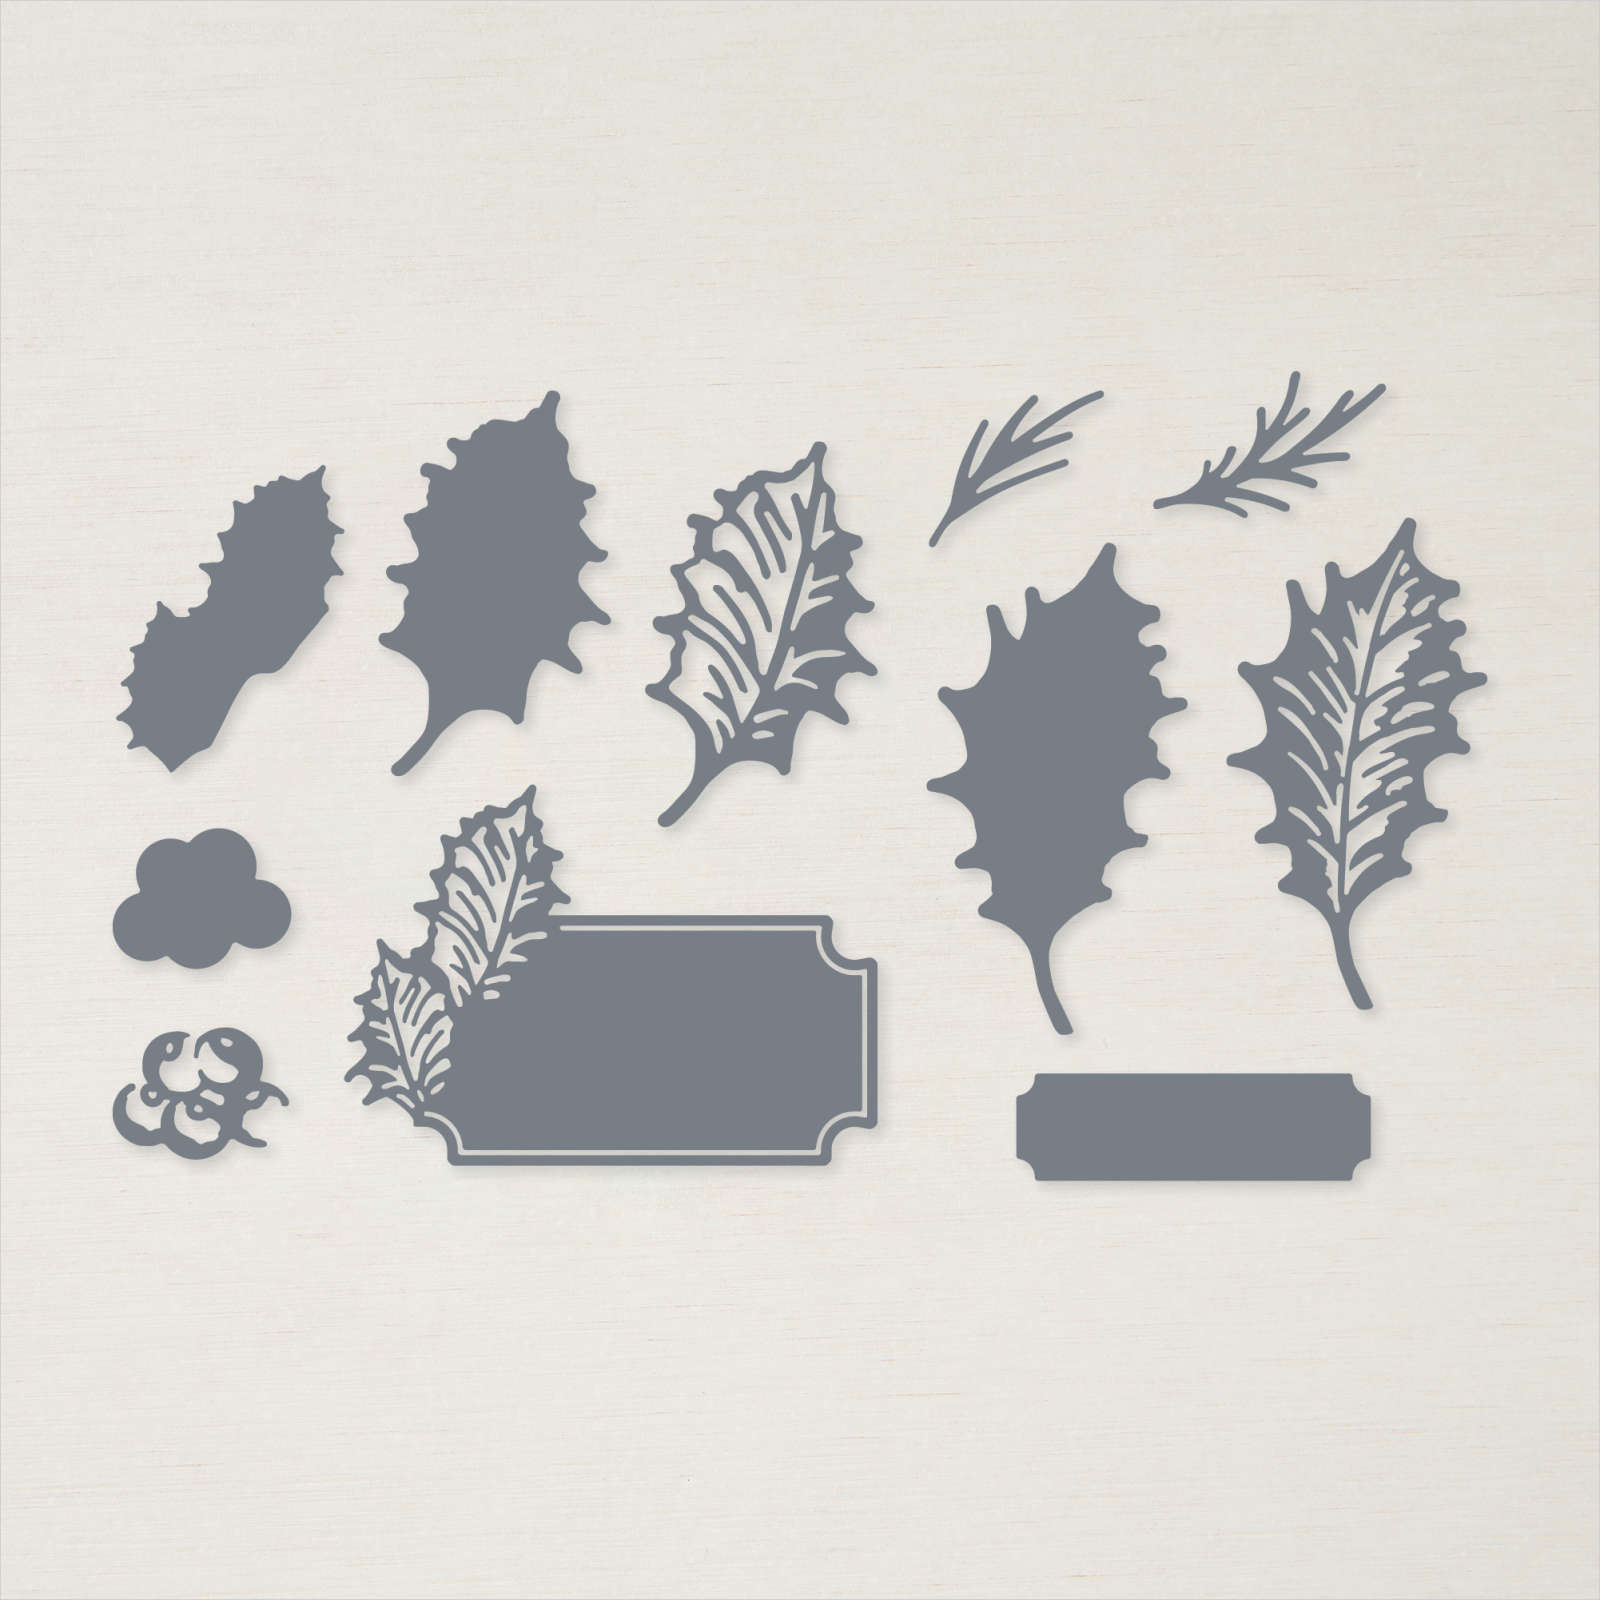
The second card is created using the Boughs of Holly Designer Series Paper as well but different patterns to the first card. To decorate the front panel, I cut Basic White using the largest circle from the Layering Circle Dies and attached it to an Evening Evergreen scalloped circle cut using the largest scalloped circle from the Layering Circle Dies. The circles are attached together and then attached to the first panel on the card. I cut Soft Succulent card using the small and large solid leaf dies from the Holly Berry Dies. I cut Evening Evergreen card using the small and large detailed leaf dies from the Holly Berry Dies. I attached the detailed leaves to the solid leaves before attaching them to the Basic White circle. I stamped the solid berry image from the Leaves of Holly stamp set onto Basic White card using Real Red ink, making sure to stamp onto scrap paper first.

I stamped the detailed berry image from the Leaves of Holly stamp set over the solid image using Real Red ink. I cut out the image using the co-ordinating Holly Berry Die and attached it over the ends of the leaves using dimensionals. I stamped the greeting from the Leaves of Holly stamp set onto Basic White card using Evening Evergreen ink and cut it out using one of the Stitched Rectangle Dies. The greeting is attached to the top of the third pop up. To decorate the back of the card I once again cut the leaf images from the Soft Succulent and Evening Evergreen card using the Holly Berry Dies. I attached them to the upper left hand corner of Basic White card and then Evening Evergreen card. I stamped the berry image and die cut it as before before attaching it over the ends of the leaves.

For the third card I attached pieces of the Sweetest Christmas 12″ x 12″ Designer Series Paper to each of the panels on the Basic White card Base. I cut Basic White card using the largest circle from the Layering Circle Dies. I attached the Basic White circle to a Garden Green scalloped circle cut using the Layering Circle Dies. The panel is attached to the first pop up on the card. I cut two candy canes from the Sweetest Christmas Designer Series Paper using the co-ordinating Candy Cane Die. I also stamped two sets of leaves from the Sweet Candy Canes stamp set onto Basic White card using Garden Green ink and cut them out using the co-ordinating Candy Cane Die. The candy canes and the leaves are attached to the Basic White Circle.

I tied a knot in a length of Garden Green ribbon from the Real Red and Garden Green 1/4″ Ribbon Combo Pack and attached it to the candy canes using a Glue Dot. I stamped “Merry & Bright” from the Sweet Candy Cane stamp set onto Basic White card using Garden Green ink. I cut out the greeting using one of the Stitched Rectangle Dies. The greeting is attached to the third pop up on the card front. To decorate the back of the card I stamped the leaf image from the Sweet Candy Canes stamp set twice onto Basic White card using Garden Green ink. I cut out another candy cane from the Designer Series Paper using the co-ordinating Candy Cane Die and attached it over the stamped leaves. I cut Real Red card using the die from the Misteltoe Dies and attached it to the candy cane. I stamped the greeting from the Sweet Candy Cane stamp set across the bottom of the Basic White card using Real Red ink.
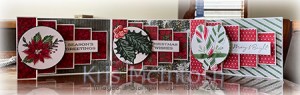
I love how these cards turned out and so did my grandchildren. So thank you to Frenchie for the instructions. Once more Merry Christmas, I hope you have a wonderful day.
Bye for now,
Kris
Product Used:
Unfortunately the Boughs of Holly Designer Series Paper and the Sweetest Christmas Designer Series Paper are no longer available.








Misteltoe Christmas

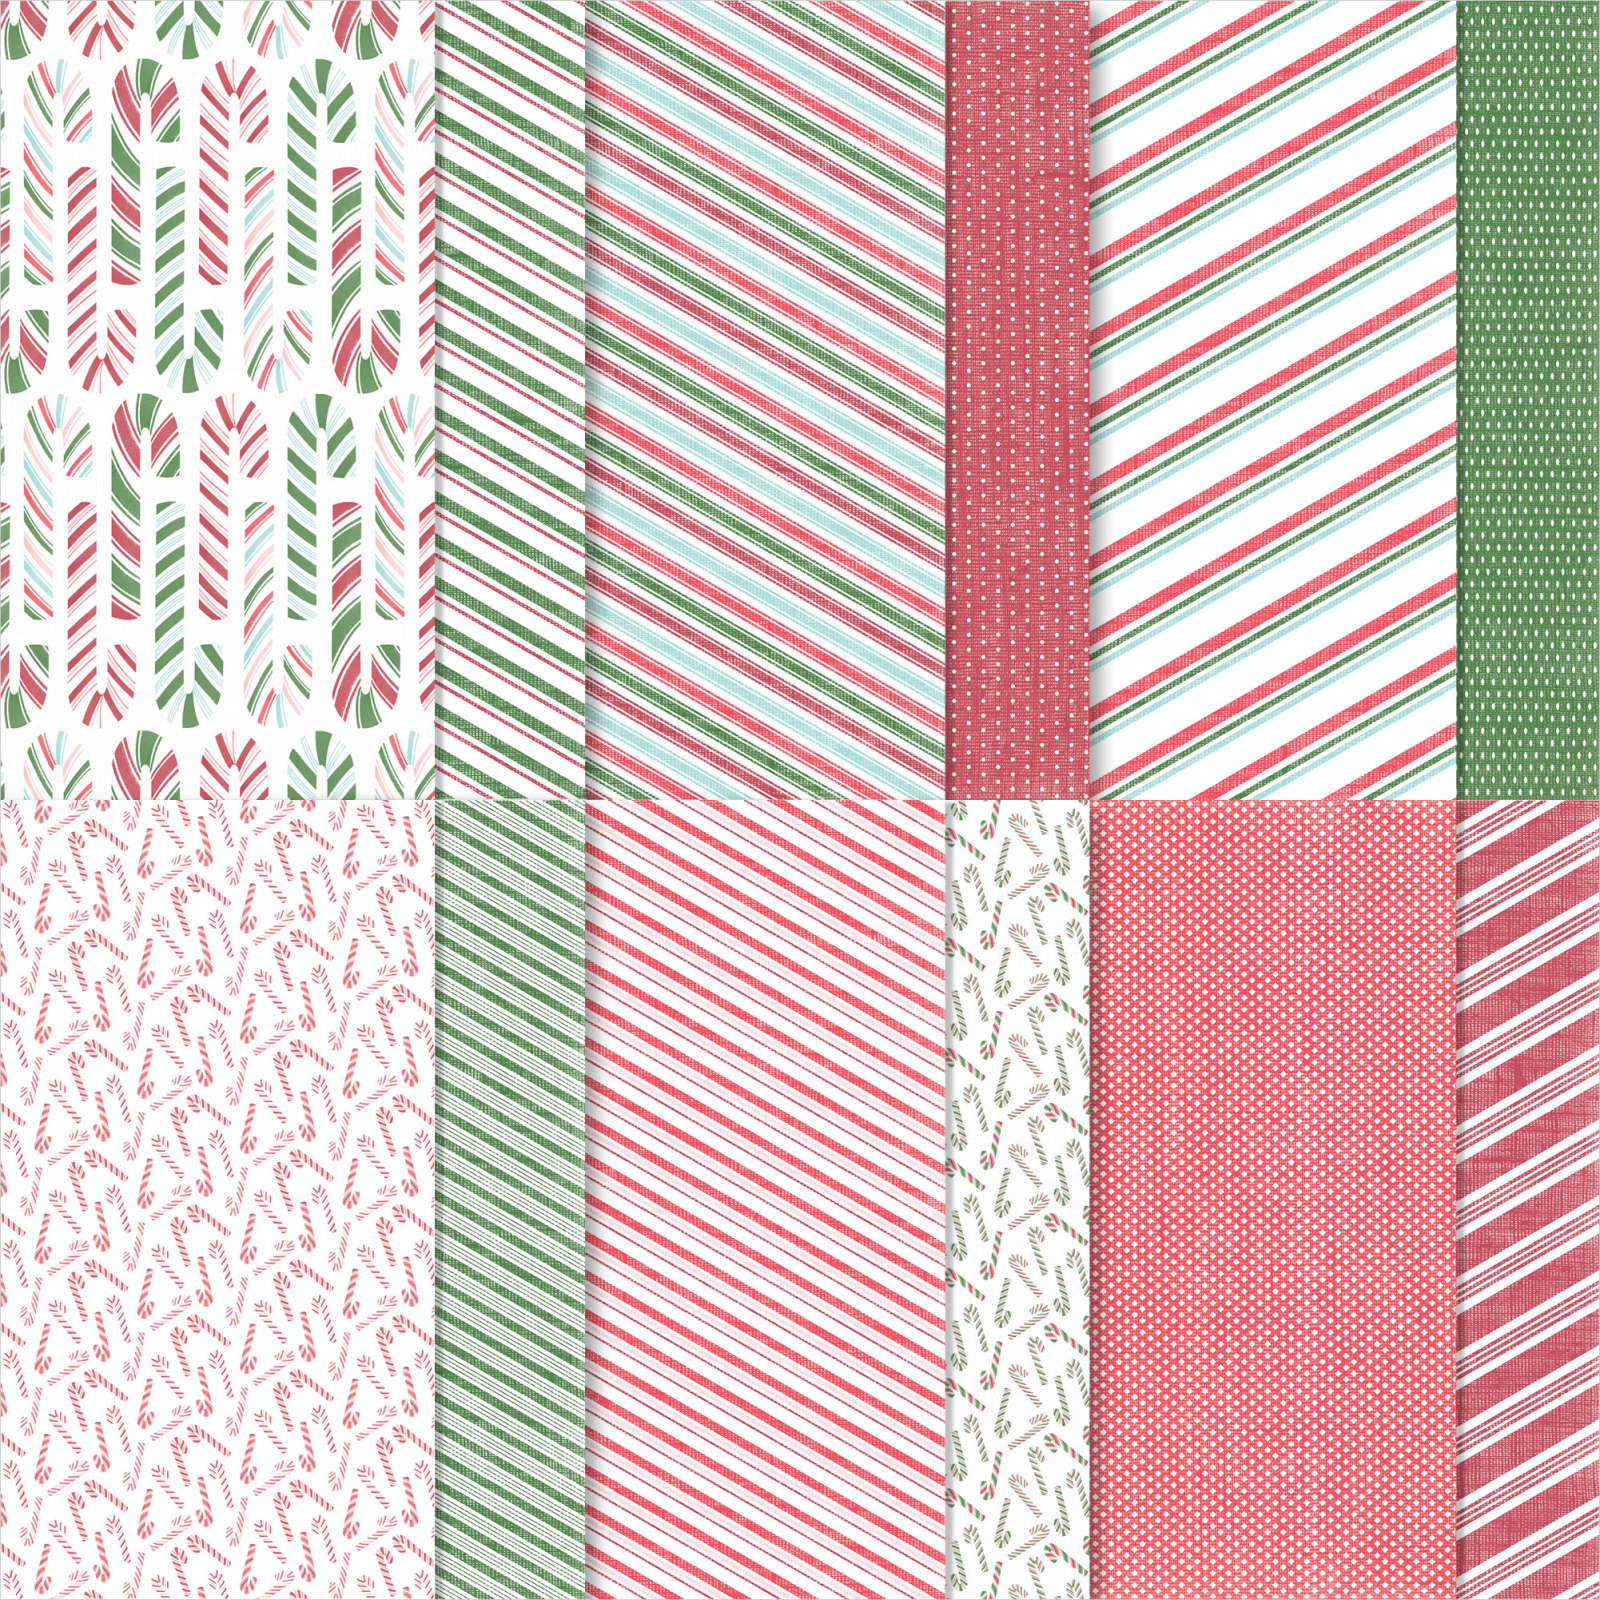
I usually share a scrapbook page on Saturdays but I wanted to share the last card I created using the panels from the Framed Art Decoration we created in our Beachmere Class. You can find the instructions for this on my Free Tutorials page here. For this card, I attached a piece of Sweetest Christmas 12″ x 12″ Designer Series Paper down the centre of Basic White. The panel which is created according to the instructions you can find here is attached to the Basic White card using dimensionals.

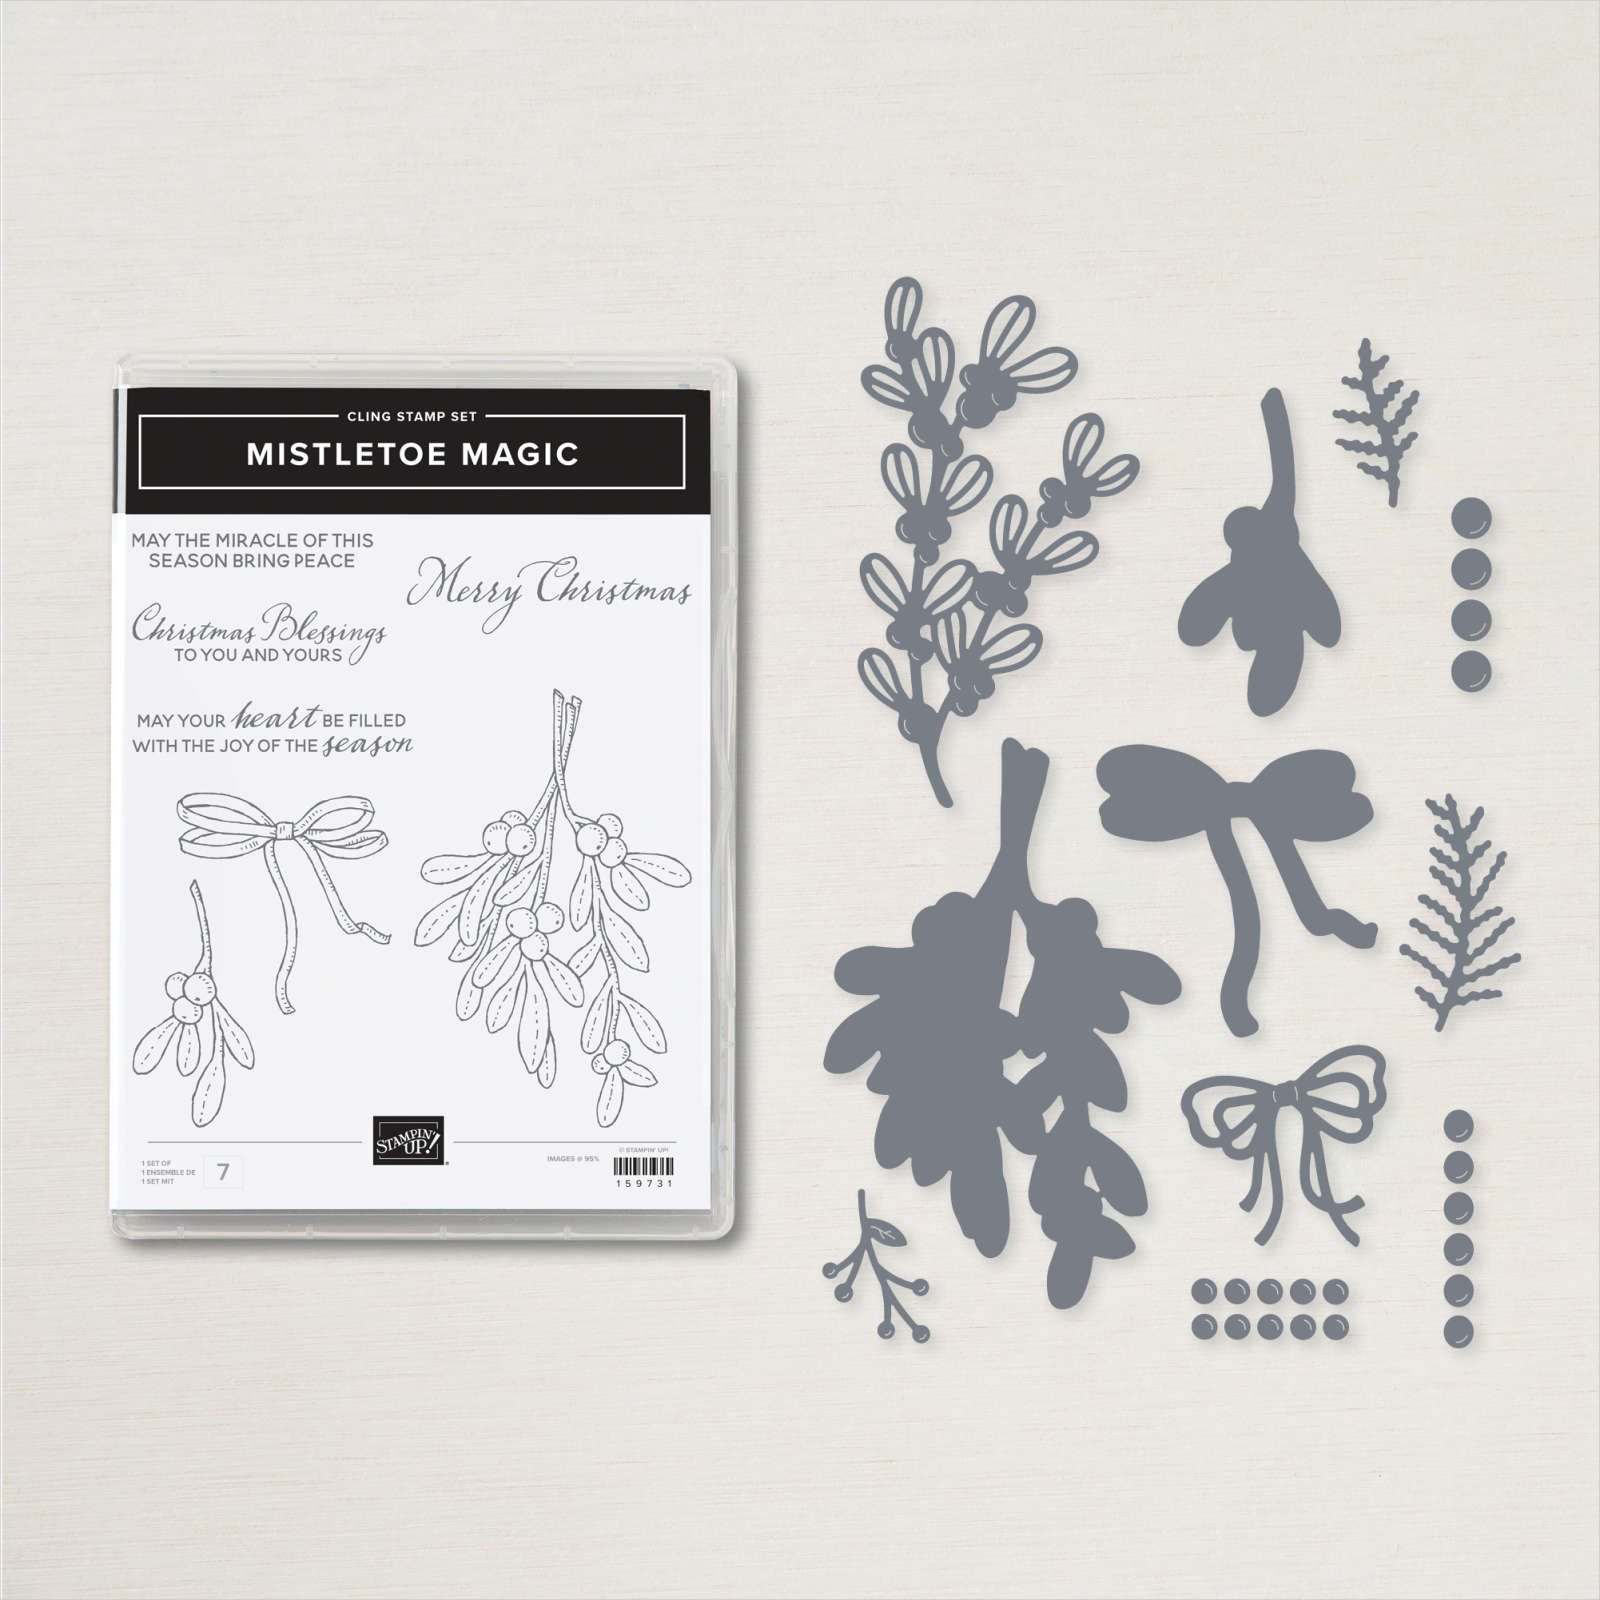
I stamped “Merry Christmas” from the Mistletoe Magic stamp set onto basic White card using Real Red ink and cut it out using my paper snips. The greeting is attached across the bottom of the image panel. To decorate the inside of the card,
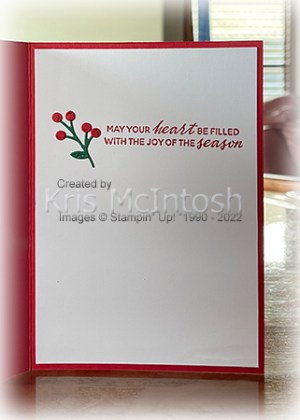
I stamped another greeting from the Mistletoe Magic stamp set onto Basic White card using Real Red ink. I cut the leaf image from Shaded Spruce card using the Mistletoe Dies. I cut Real Red card using the small berry die from the Mistletoe Dies and attached them over the Shaded Spruce image. I love how this turned out, don’t you? Since this is the last card I have to share with you using the panels from the Framed Art Decoration, I thought you might like to see all six cards.
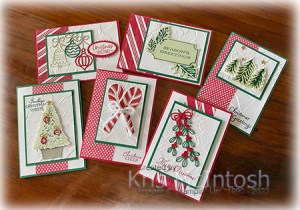
They look pretty good, don’t you think?
.
Bye for now,
Kris
Product Used:


Candy Cane Cheer
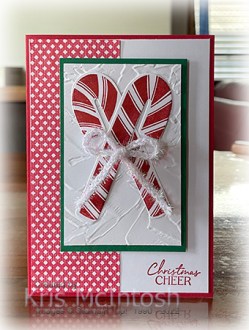
Today’s card uses panel five from the Framed Art Decoration which we created in my all day class at Beachmere. I did cut down the Basic White embossed panel and also the Shaded Spruce layer by 2.5cm (approximately 1″) to create this card. You can find the instructions to create the panel here.
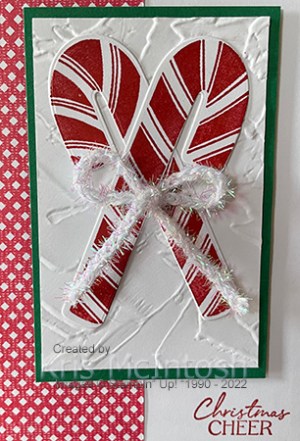
I attached a piece of Sweetest Christmas 12″ x 12″ Designer Series Paper down the left hand side of Basic Whtie card. I stamped the greeting from the Sweet Candy Cane stamp set onto the lower right hand corner using Real Red ink. I attached the image panel to scored and folded Real Red card using dimensionals. I tied a bow in a length of 3/16″ Iridescent Trim and attached over the candy canes usng a Glue Dot .
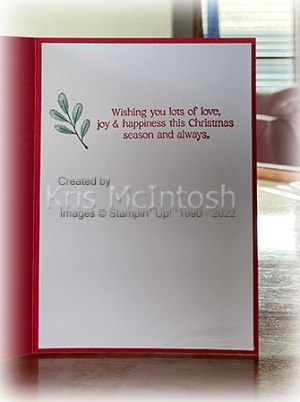
To decorate the inside of the card I stamped another greeting from the Sweet Candy Cane stamp set onto Basic White card using Real Red ink. I also stamped the small leaf image from the same stamp set beside the greeting using Shaded Spruce ink.
I am pretty happy with how this card turned out. I’d love to hear what you think.
Bye for now,
Kris
Product Used:


Happily Every After

Today’s card uses the Artisan Additions Dies which I showcased in my Facebook Live this week. These dies can be found in the current Annual Catalogue and are stand alone dies in that they do not co-ordinate specifically with any stamp set. This means that you can use these dies with any stamps you might currently own. For today’s card, I cut the lower left and top right hand corner of a piece of Basic Gray card using the floral die from the Artisan Additions Dies. I attached the Basic Grey panel to Basic White card (the same size as the Basic Gray panel) before attaching the whole piece to scored and folded Sweet Sorbet A4 card.
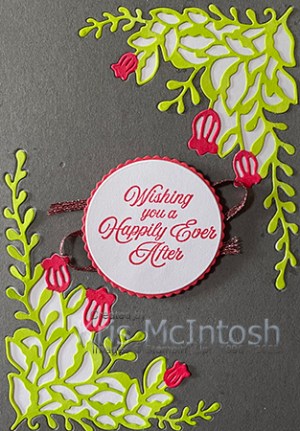
I die cut Basic White card twice using the floral die from the Artisan Additions Dies. I coloured each of the Basic White die cuts using Dark Sweet Sorbet and Dark Parakeet Party Stampin’ Blends. After colouring I attached each of the Basic White die cuts inside the space on the Basic Gray panel.
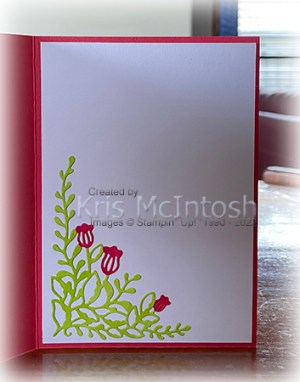
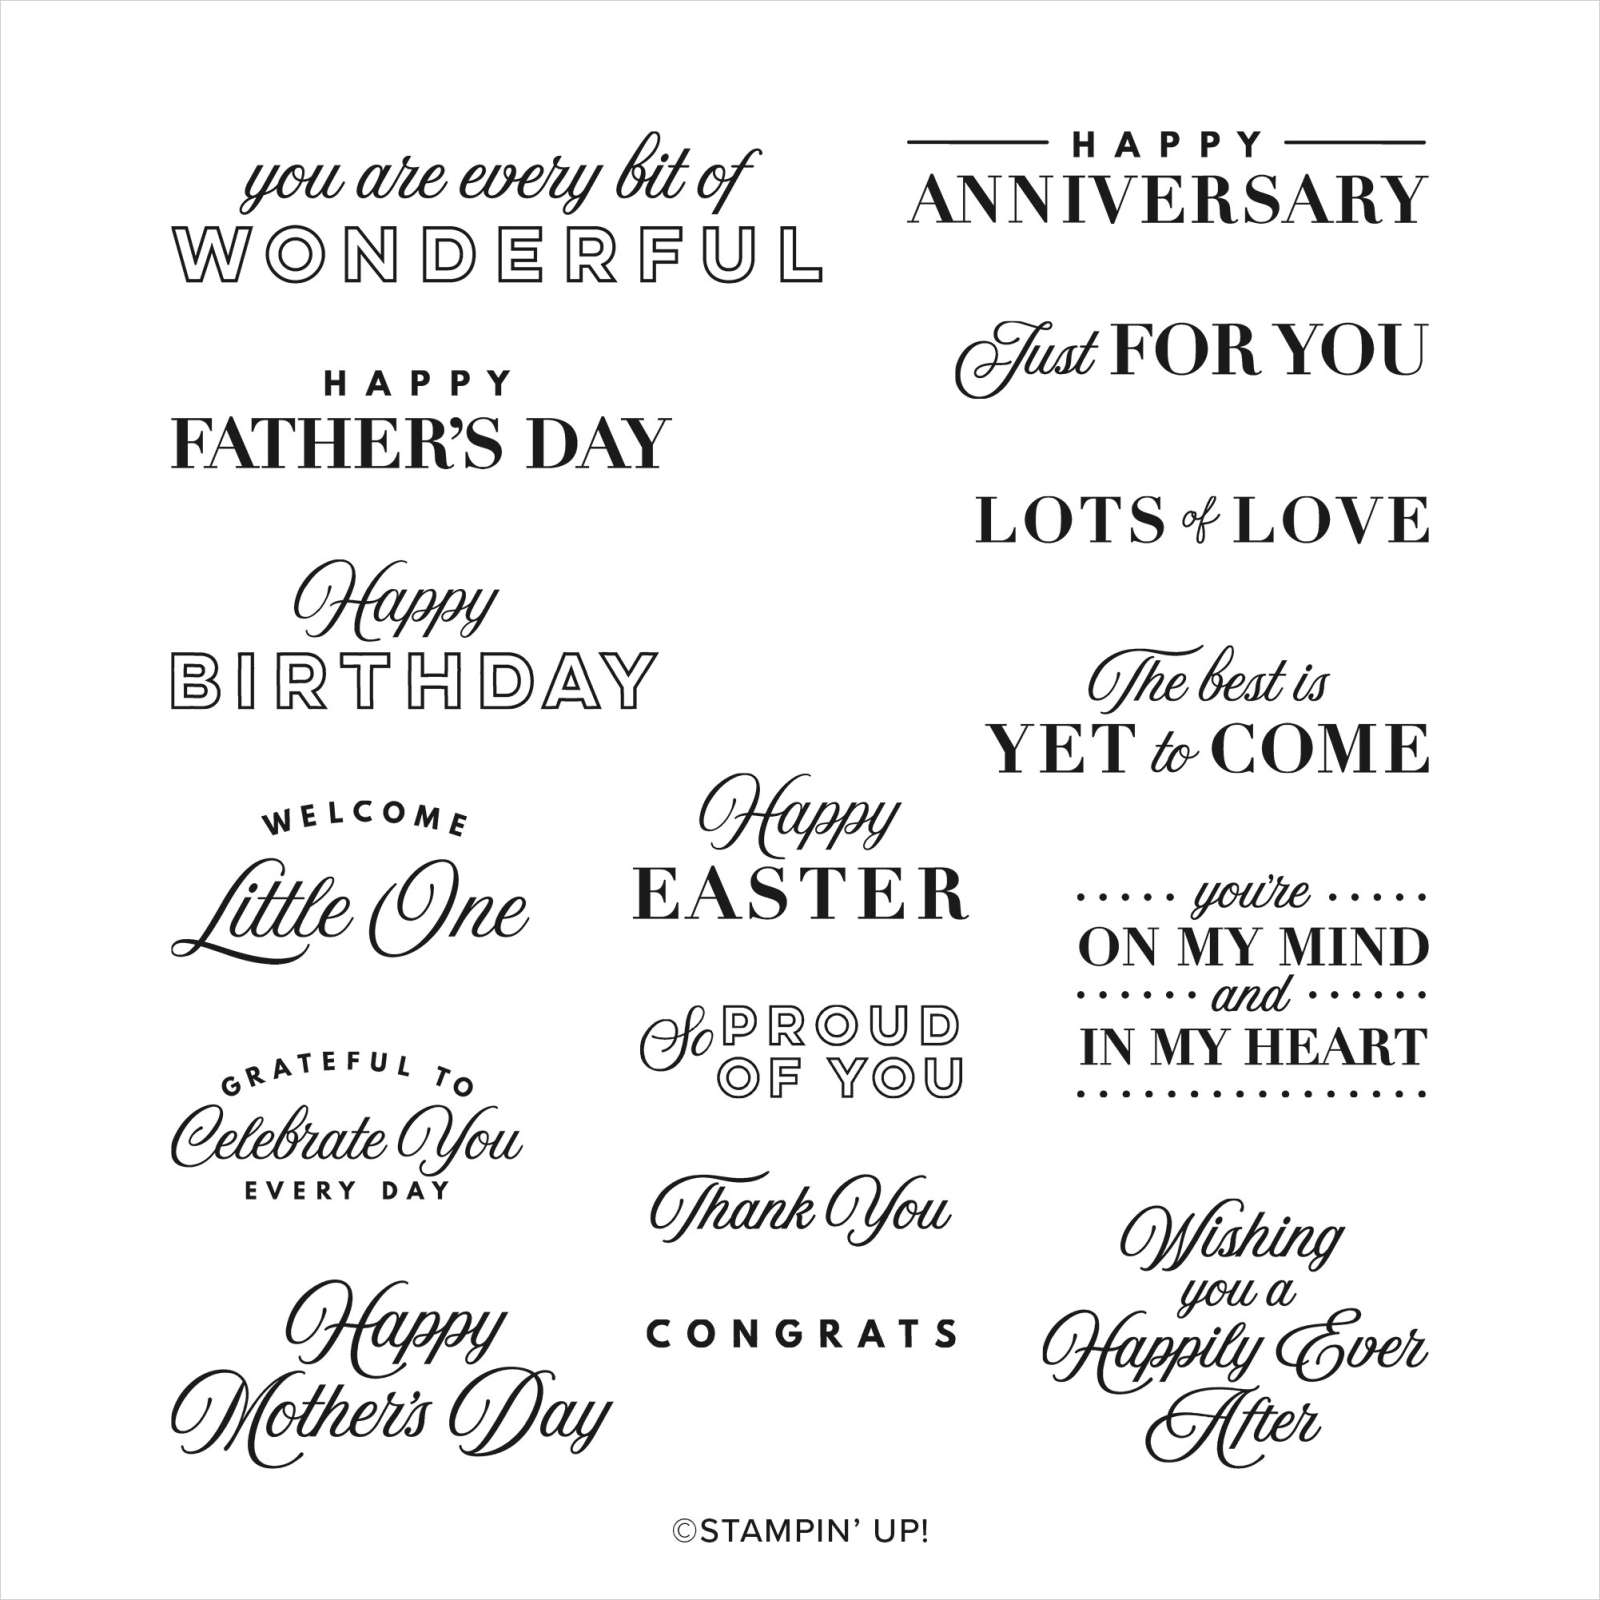
I stamped the greeting from the Celebrating You stamp set onto Basic White card using Sweet Sorbet ink and cut it out using one of the Layering Circle Dies. I attached the greeting to a Sweet Sorbet scalloped circle cut using the same dies. I attached some of the Sweet Sorbet 1/8″ Metallic Woven Ribbon to the back of the greeting panel before attaching it to the card front using dimensionals. To decorate the inside of the card, I cut another floral die from Basic White card and coloured it as before. The die cut is attached to the lower left hand corner of Basic White card. These dies are so much fun and you are only limited by your imagination as to what you can create using them. I would love to know what you think.
Bye for now,
Kris
Product Used:



Sending Christmas Cheer
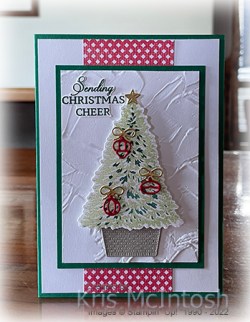
Well here I am, up to panel four of the Framed Art Decoration. I have been having fun converting the panels to cards and I hope you are enjoying it too. For this card, I attached a piece of Sweetest Christmas 12″ x 12″ Designer Series Paper down the centre of a Basic White panel.

I attached the panel to scored and folded Shaded Spruce card. I created the panel as I did for the Decoration piece and you can find the instructions here, however, I did add a greeting. I stamped , the greeting from the Trimming The Tree stamp set onto Basic White card using Shaded Spruce ink and cut it out using my paper snips, before attaching it to the image panel.

To decorate the inside of the card, I attached a narrow strip of the same Designer Series Paper down the left hand side. I and added another greeting from the Trimming The Tree stamp set using Shaded Spruce ink.
You can download the instructions for creating the panel here.
Bye for now,
Kris
Product Used:

Happy 18th
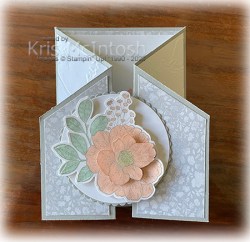
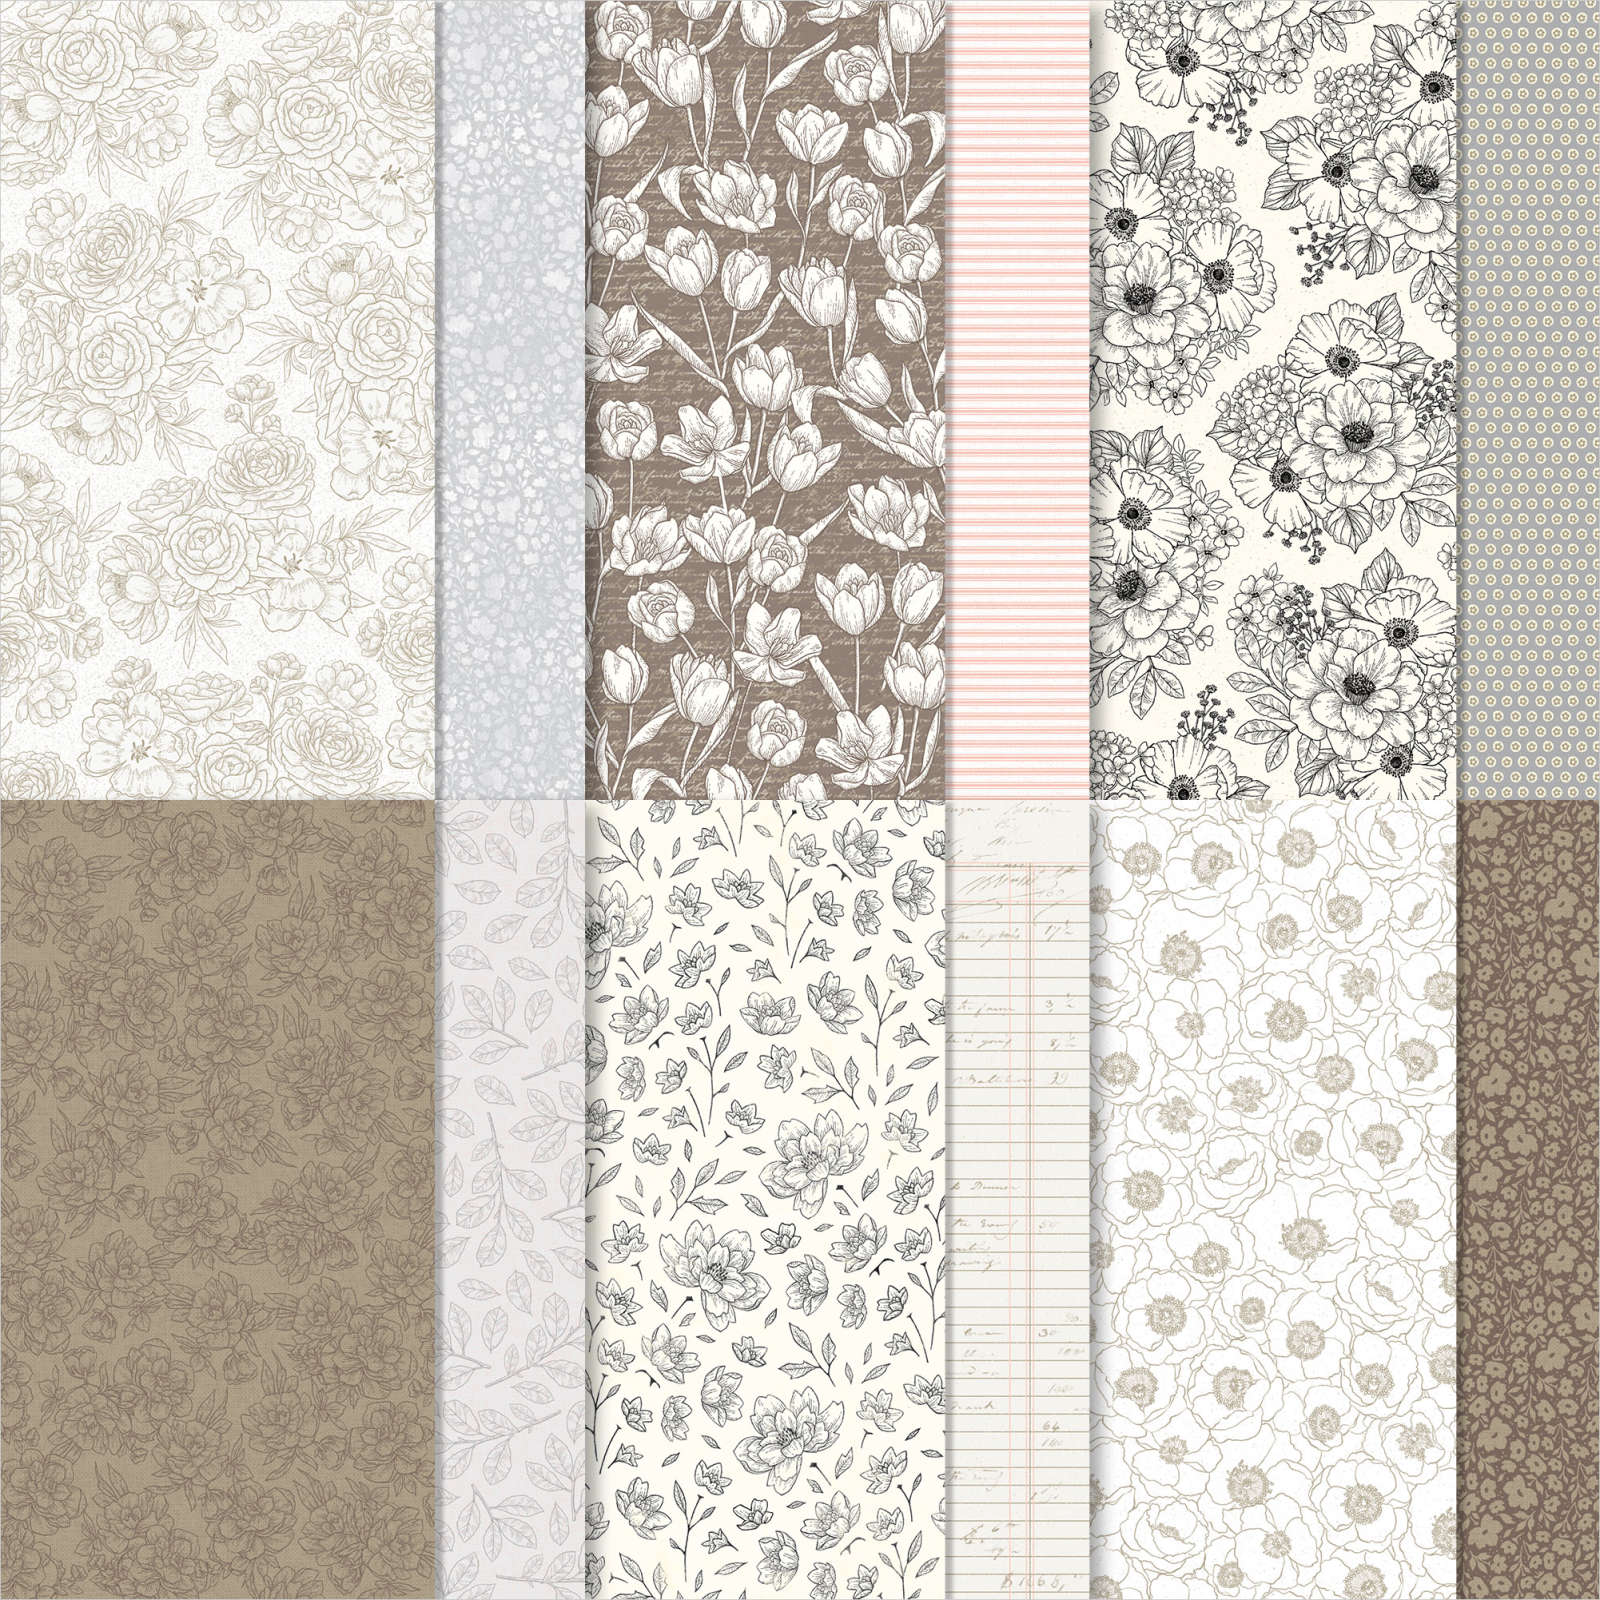
My eldest granddaughter turned 18 last week. I can’t believe how quickly she has grown from a cute little baby to an amazing young woman. Today I thought I would share the card I made for her. I followed some instructions I found on Pinterest by Julie Davison. Julie used Designer Series Paper as her card base and although I liked that idea, I wanted to use card instead. I followed Julie’s dimensions to cut Smoky Slate card and then did some fine tuning to add one of the papers from the Abigail Rose 12″ x 12″ Designer Series Paper to each panel. I cut a Basic White panel to go inside the card and stamped “happy” and “birthday” from the Biggest Wish stamp set. I cut “18” from Petal Pink card using the retired Playful Alphabet Dies and added them beside the stamped “happy”.

I used post-it-notes to cover all of the letters in “birthday” except for the “th”, inked it with Smoky Slate and added the “th” beside the “18”. To decorate the front of the card, I stamped the flower from the Cottage Rose stamp set onto Basic White card twice using Smoky Slate ink. I coloured one whole image using Petal Pink, Dark So Saffron and Mint Macaron Stampin’ Blends. I cut out the whole flower using the co-ordinating Cottage Flowers Die. I coloured the flower only from the second image and cut out part of the flower which I attached over the whole image using dimensionals. I cut Basic White card using the largest circle die from the Layering Circle Dies. I attached the circle to a scalloped circle cut from Smoky Slate card using the largest scalloped circle from the Layering Circle Dies. I attached the circles together before attaching the flower using dimensionals. The whole panel is attached to the left hand panel on the card front. I love how this card turned out, so thank you Julie for the instructions.
Bye for now,
Kris
Product Used:





On The Road

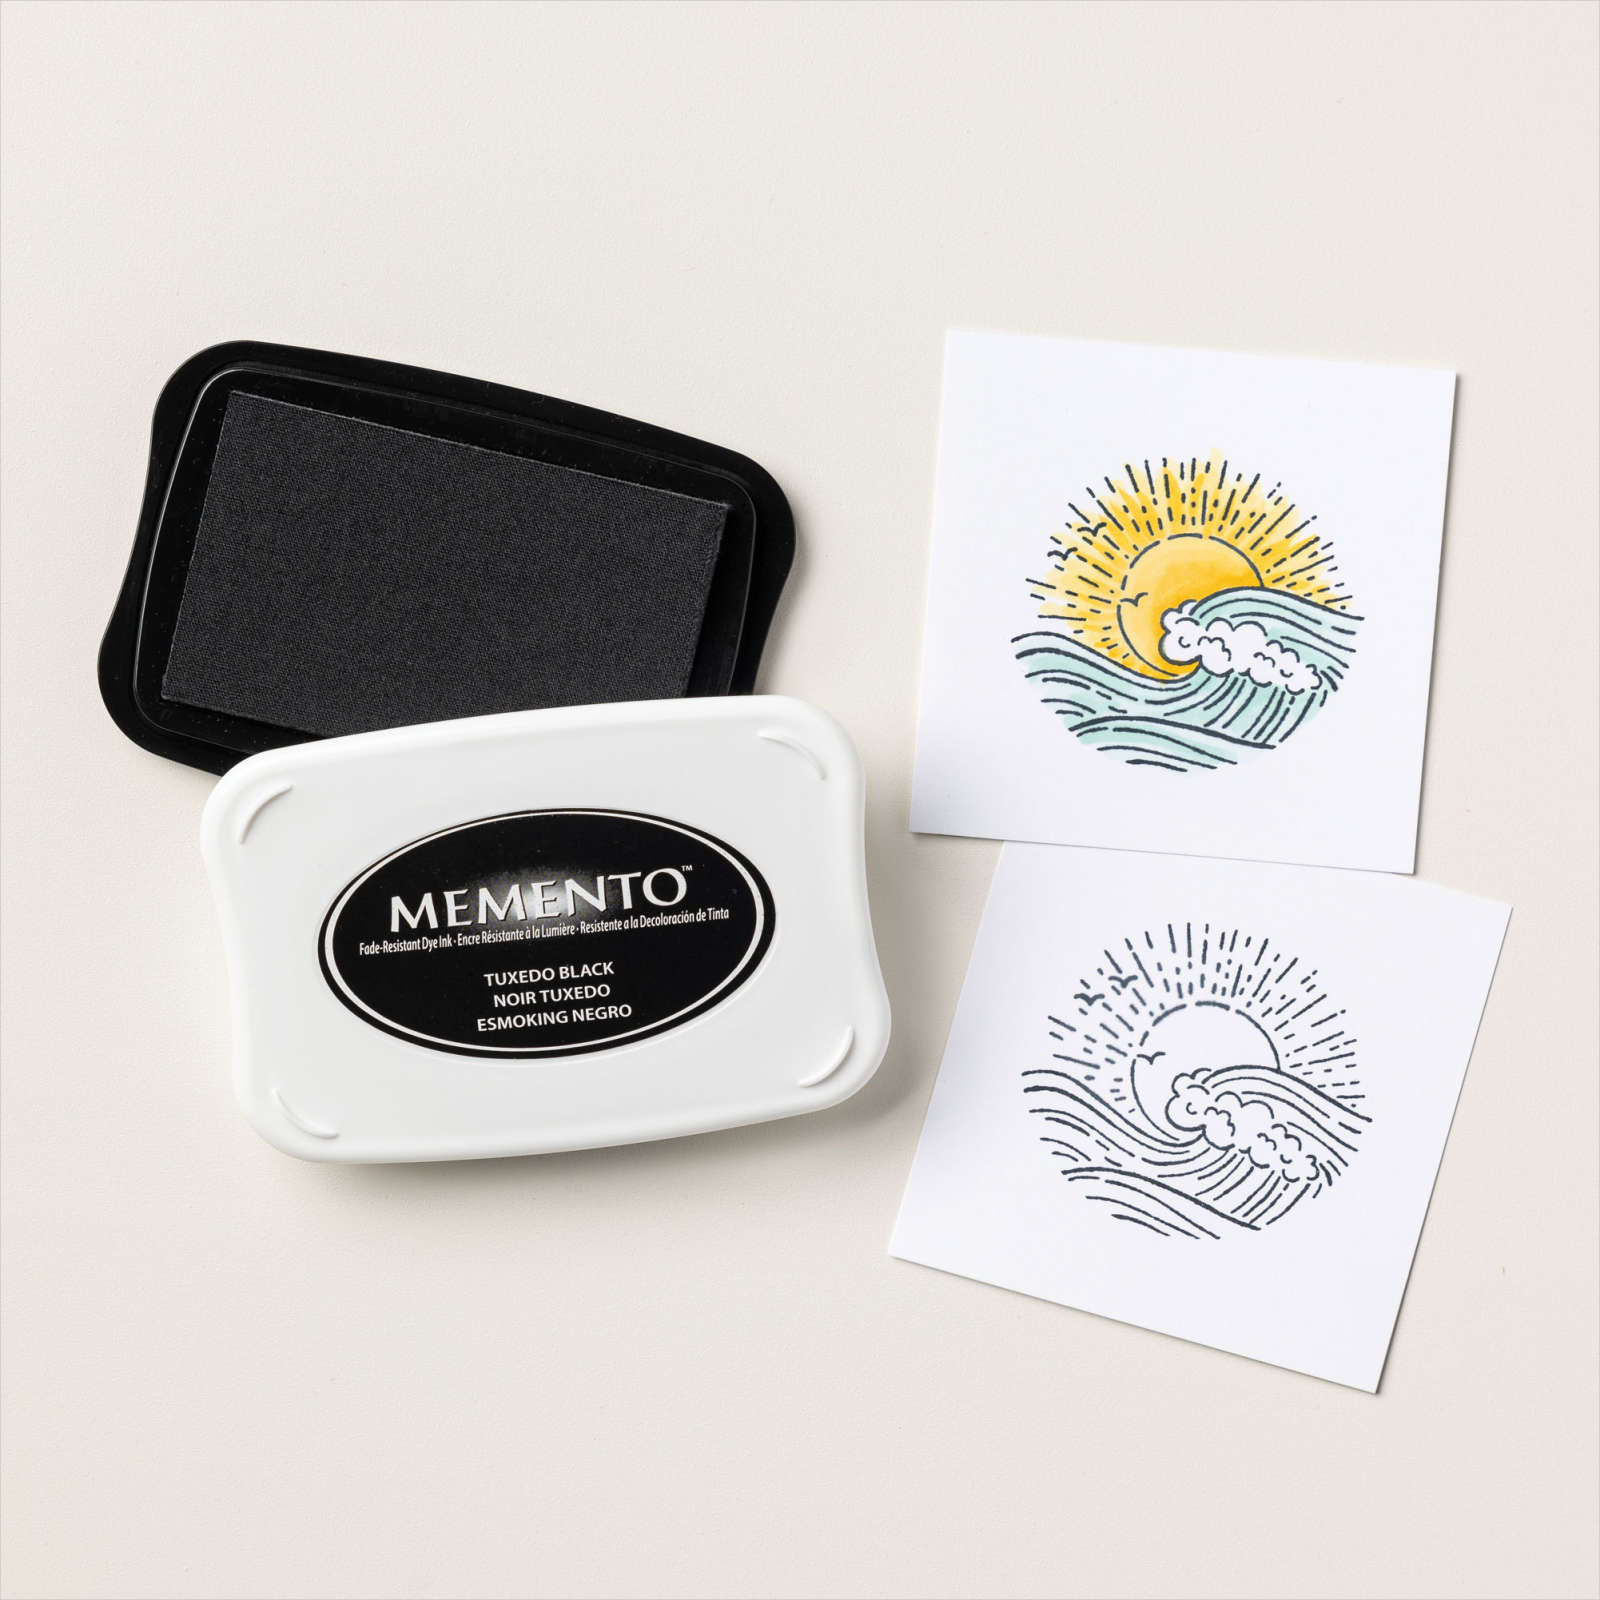
Recently Ron & I travelled to Woolgoolga to meet up with some friends. We stayed at the caravan park right in Woolgoolga and were blessed with perfect weather. For my page today, I attached a large piece and a narrow strip of Night of Navy card across the lower part of a Basic White 12″ x 12″ page. I cut Balmy Blue card using the die from the Palm Dies and attached it across the bottom of the large Night of Navy panel. I didn’t add any mats for my photos before attaching them to the page. My journaling was printed onto Basic White card. I cut the title from Night of Navy card using the now retired Playful Alphabet Dies. I stamped the image from the long retired Glamper Greetings stamp set onto Basic White card using Memento Tuxedo Black ink. The image is coloured using Basic Black, Smoky Slate and Light Balmy Blue Stampin’ Blends. The image is cut out using my Paper Snips before being attached to the page. I have used a few retired products on my page but I love to keep products that I am sure I will be able to use in my Memory Keeping. I am willing to bet that you don’t get rid of your retired products if you love them too.
Bye for now,
Kris
Product Used:



Christmas Trees

Today’s card is created using Panel 3 from the Framed Art Decoration we created in my all day class at Beachmere. I stamped the greeting from the Trees For Sale stamp set using Shaded Spruce ink onto the lower right hand corner of Basic White card.
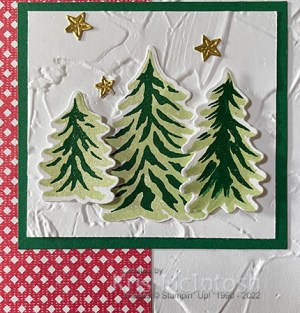
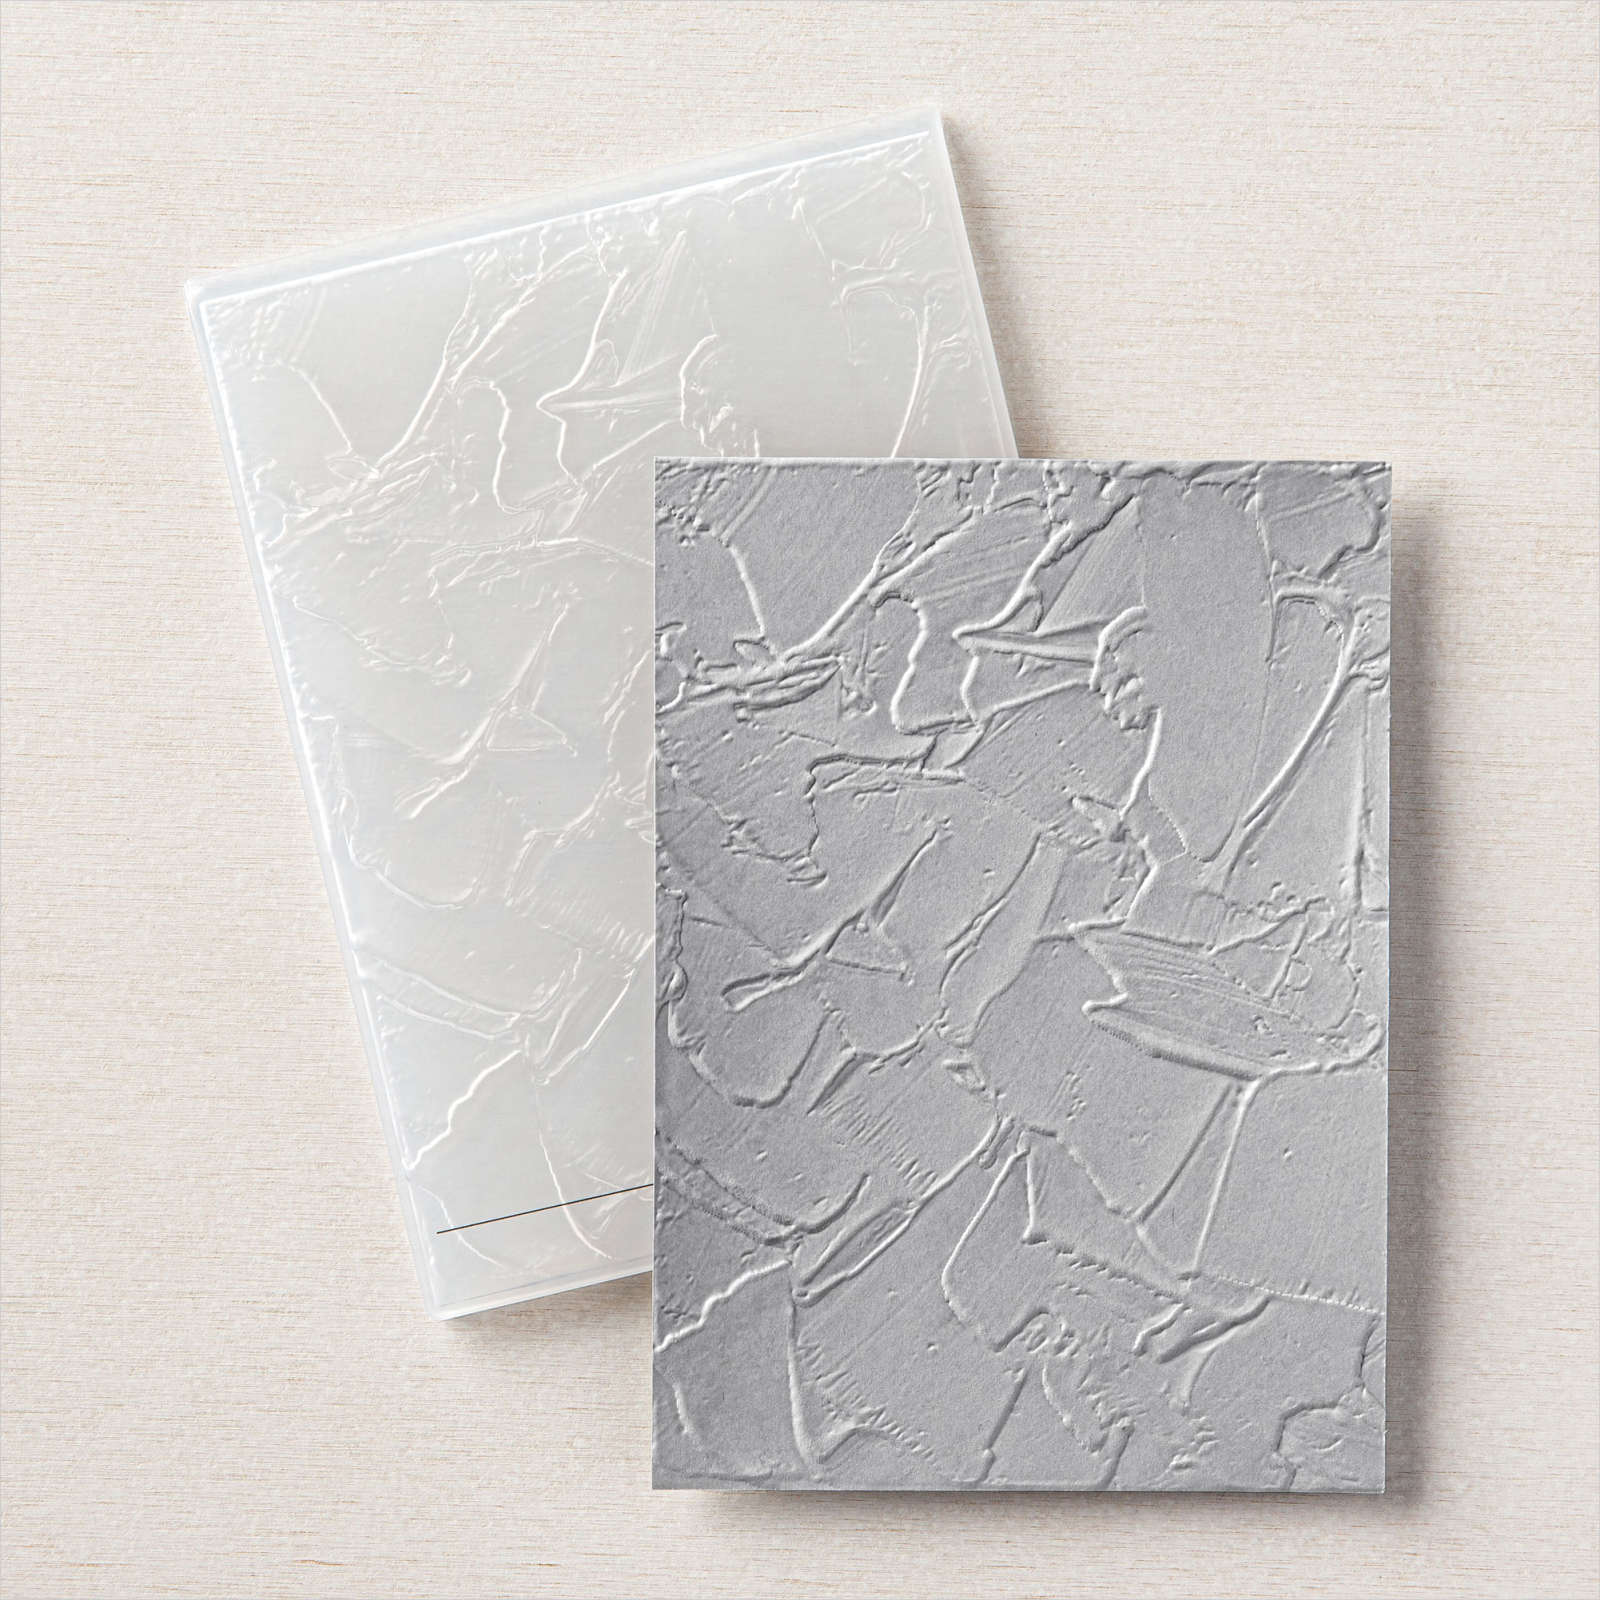
I embossed the stamped panel using the Painted Texture 3D Embossing Folder. I attached a piece of Sweetest Christmas 12″ x 12″ Designer Series Paper to the left hand side of the embossed card before attaching the whole panel to scored and folded Shaded Spruce card. I attached the panel from the Decoration piece to the top of the card front.
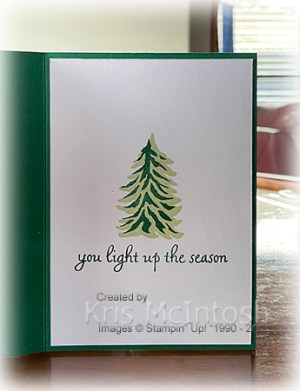
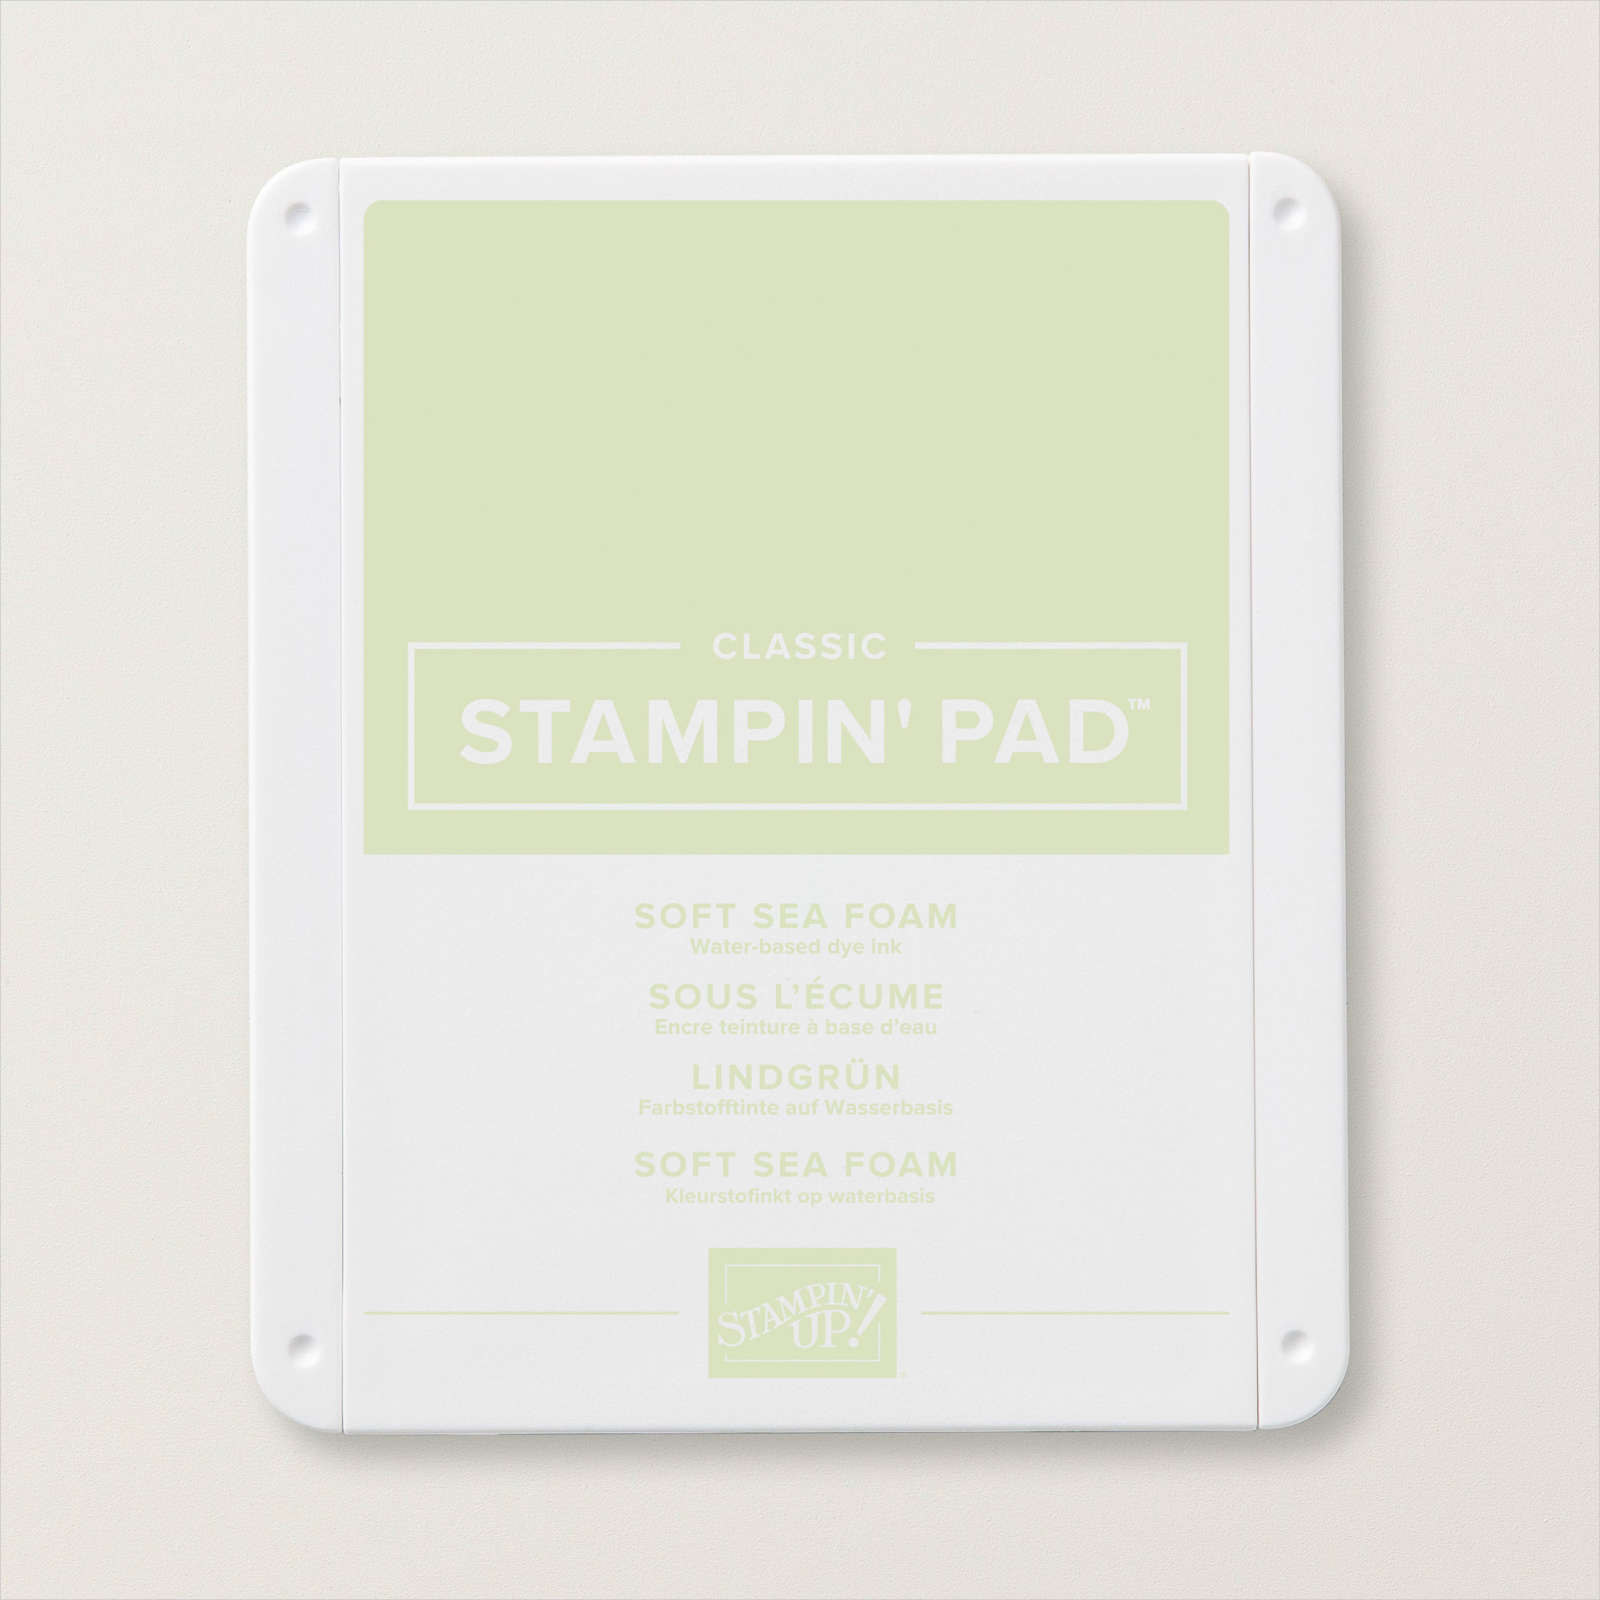
You can find the instructions to create the panel here. To decorate the inside of the card, I stamped the largest solid tree from the Trees For Sale stamp set using Soft Sea Foam ink. I stamped the detailed tree over the top using Shaded Spruce ink. I also stamped the greeting from the Trees For Sale stamp set below the tree using Shaded Spruce ink.
Another sweet card, don’t you think.
Bye for now,
Kris
Product Used:

Celebrate
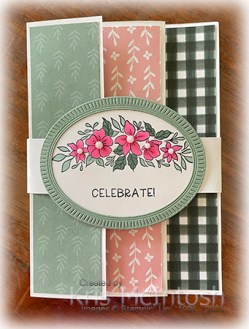
Today’s card is created using a Fancy Fold which I shared on my Facebook Live this week. I don’t know about you, but I have a lot of Designer Series Paper that is about to become retired, so I am on a mission to use it up. This Fancy Fold uses quite a bit of Designer Series Paper. I created my card base from Basic White card and attached pieces of Fitting Florals 12″ x 12″ Designer Series Paper.
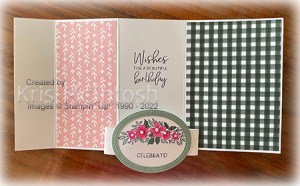
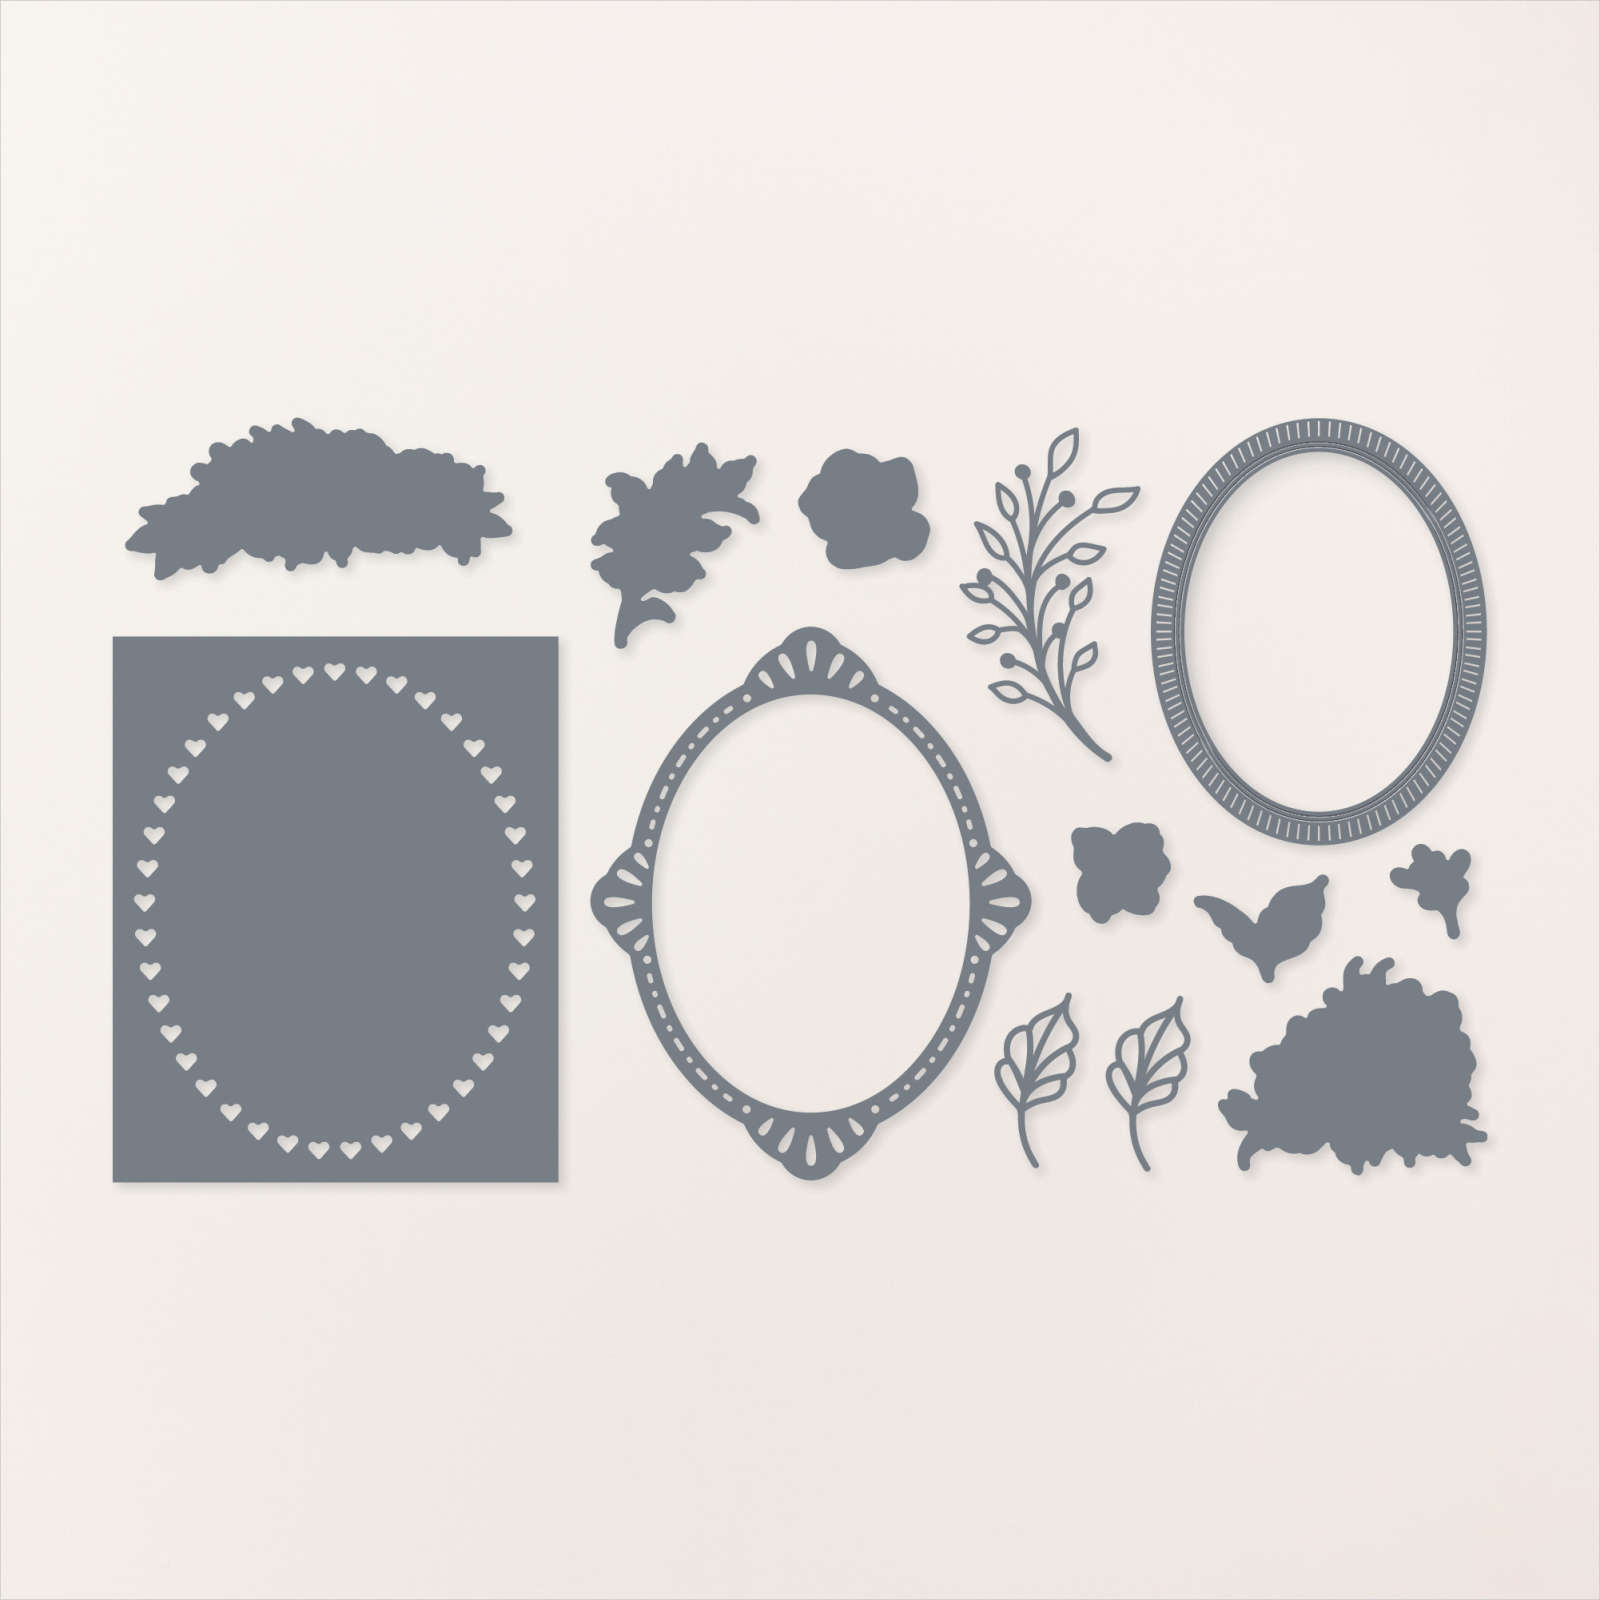
I stamped a greeting from the Framed Florets stamp set onto the inside of the card using Evening Evergreen ink. I cut Basic White card using the fancy shaped die from the Framed Florets Dies. I cut Soft Succulent card using the embossed oval from the Framed Florets Dies.
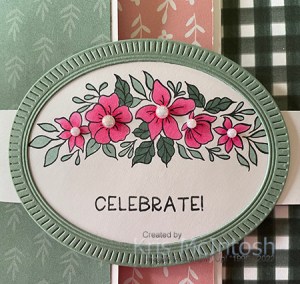
I stamped the floral bouquet from the Framed Florets stamp set onto the Basic White oval using Memento Tuxedo Black ink. I coloured the image using the Polished Pink and Soft Succulent Stampin’ Blends. I attached the Soft Succulent oval onto the edges of the Basic White oval and stamped the greeting from the Framed Florets Stamp set using Memento Tuxedo Black ink. The oval is attached to the Basic White belly band to keep the card closed. I added Iridescent Rhinestones to the centre of each of the flowers to give them a little sparkle.
I am really loving creating these cards. You can use any stamps and any Designer Series paper you like. You could even use embossed card panels instead of the Designer Series Paper.
Bye for now,
Kris
Product Used:



Seasons Greetings
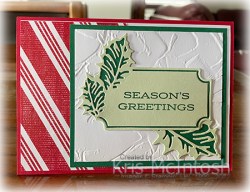
Today’s card uses the second panel from the Framed Art Decoration we made at our all day class at Beachmere. For this card, I attached a panel of Sweetest Christmas Designer Series Paper to the left hand side of Basic White card.

I attached the image panel to the right hand side of the card before attaching the whole panel to scored and folded Real Red card. You can find the instructions to create the image panel here.
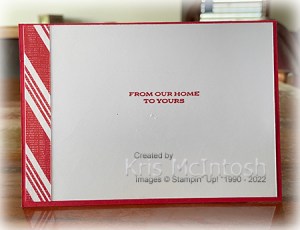
To decorate the inside of the card, I attached a piece of the same pattern Sweetest Christmas Designer Series paper to the left hand side of the Basic White card. I also stamped another greeting from the Leaves of Holly stamp set using Real Red ink. This is a very simple card but I am happy with the way it turned out.
I’d love to know what you think.
Bye for now,
Kris
Product used:







