Happy Thank You
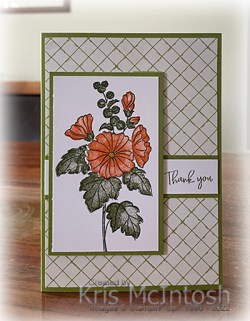
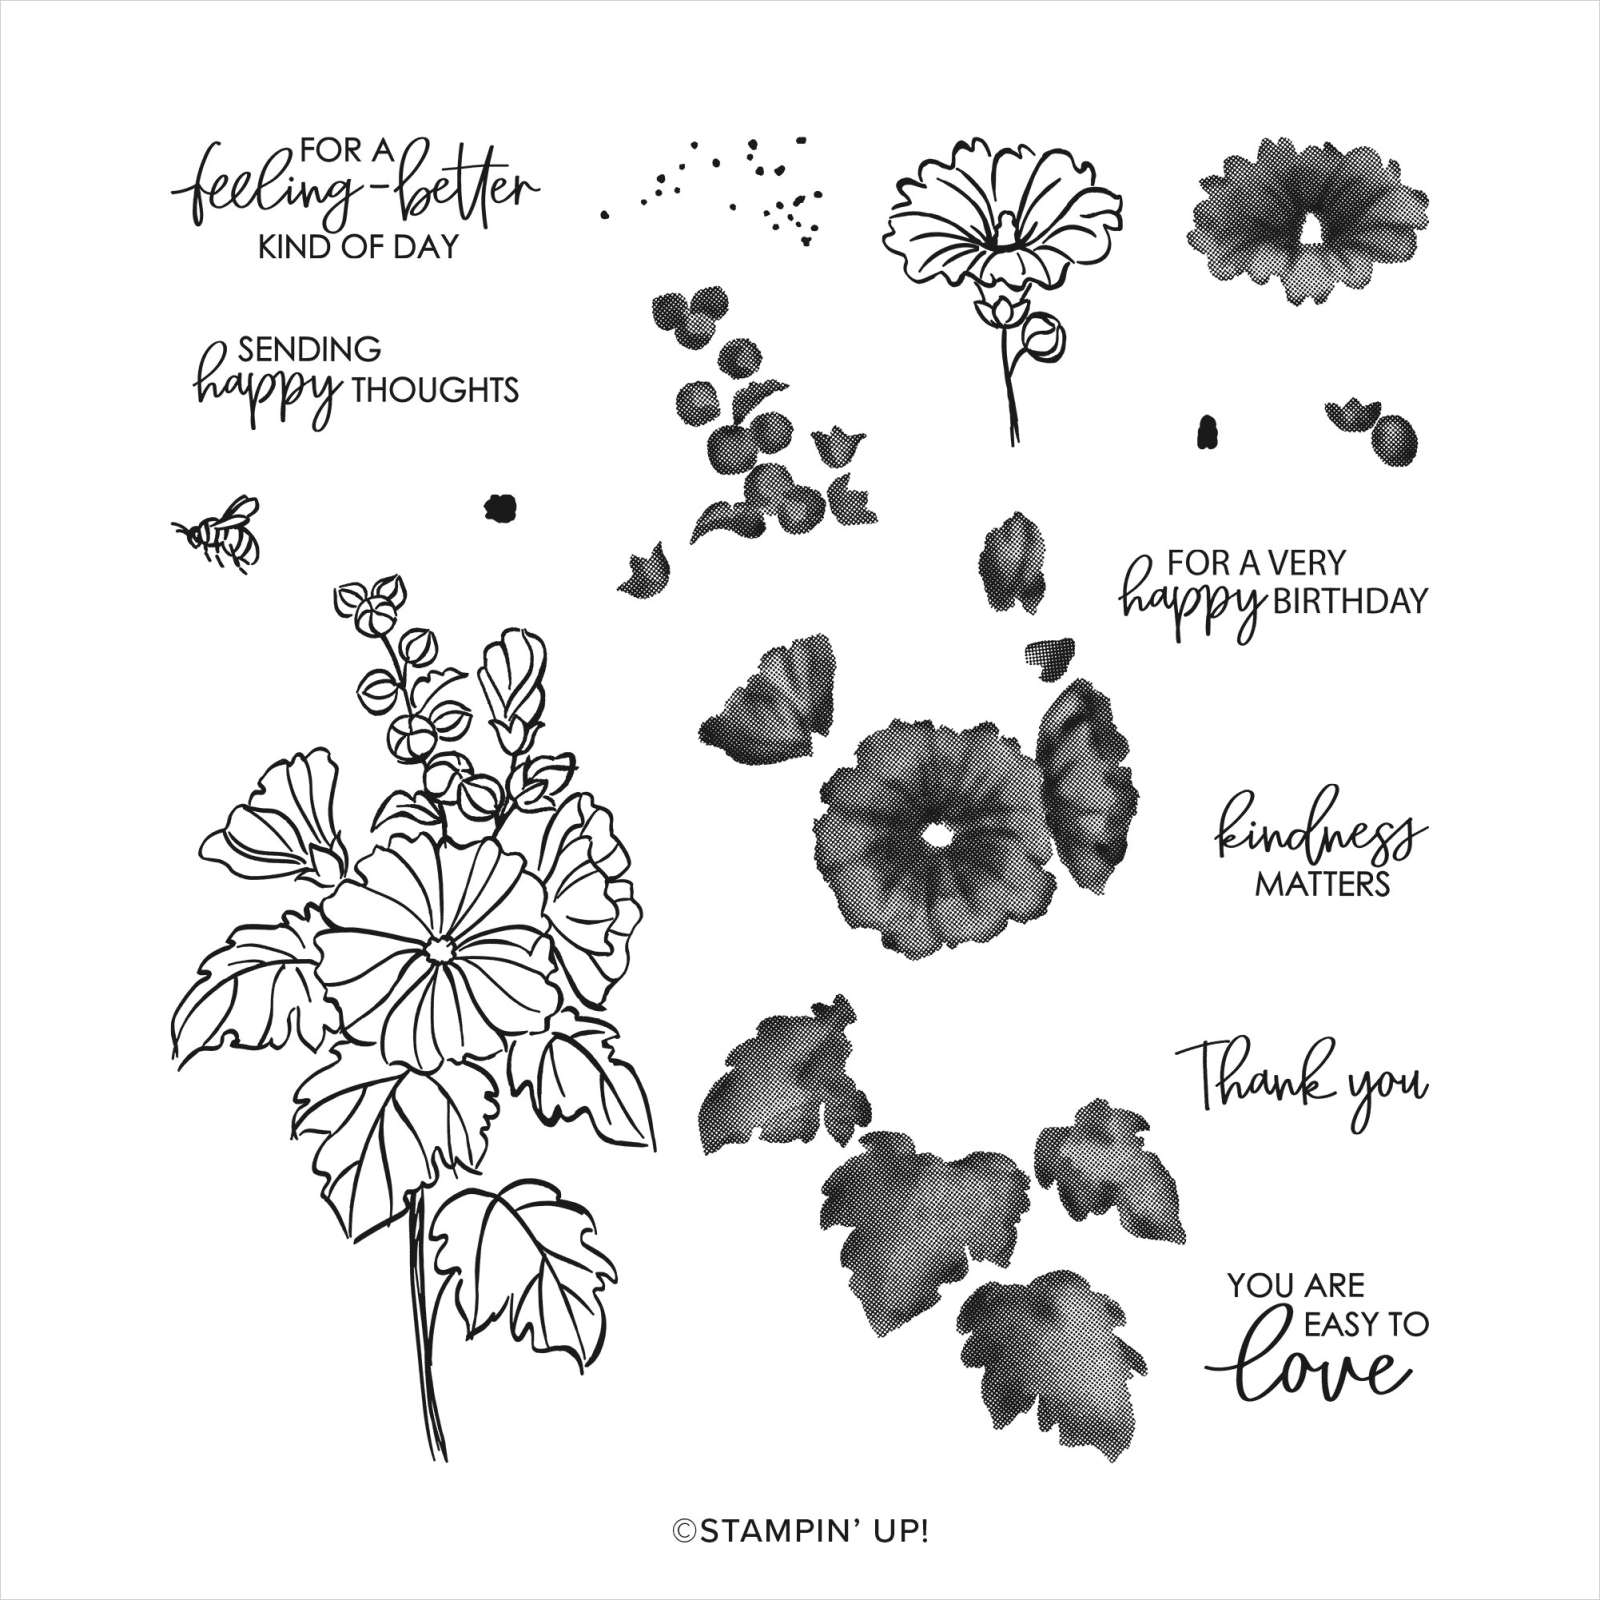
Today’s card uses the Beautifully Happy stamp set which you can earn for free with a qualifying spend during Sale-a-bration (5 January to 28 February 2023). I attached a piece of Design a Daydream 12″ x 12″ Designer Series Paper to scored and folded Old Olive card. I stamped “thank you” from the Beautifully Happy stamp set onto Basic White card using Old Olive ink. I attached the stamped panel to Old Olive card and then the card front. I stamped the large floral outline from the Beautifully Happy stamp set onto Basic White card using Memento Tuxedo Black ink.

I stamped the flower fill image onto the outline image using Pumpkin Pie ink. I added the leaf images from the Beautifully Happy stamp set onto the outline image using Old Olive ink. I stamped the flower centre using Crushed Curry ink. I attached the stamped Basic White panel to Old Olive card and then the card front using dimensionals.
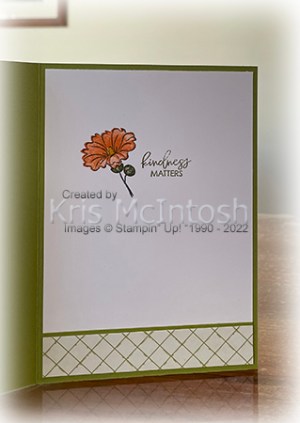
To decorate the inside of the card, I stamped another greeting from the Beautifully Happy stamp set onto Basic White card using Old Olive ink. I stamped the small outline floral image from the same stamp set beside the greeting using Old Olive ink. I stamped the fill images from the Beautifully Happy stamp set onto the outline image using Pumpkin Pie and Old Olive ink. I attached a narrow strip of Old Olive card behind one long edge of the Design a Daydream Designer Series Paper. The panel is attached across the bottom of the stamped Basic White card.
Such a lovely stamp set and since it is photopolymer it is so easy to line up the images. Let me know what you think.
Bye for now
Kris
Product Used:


Crows Nest
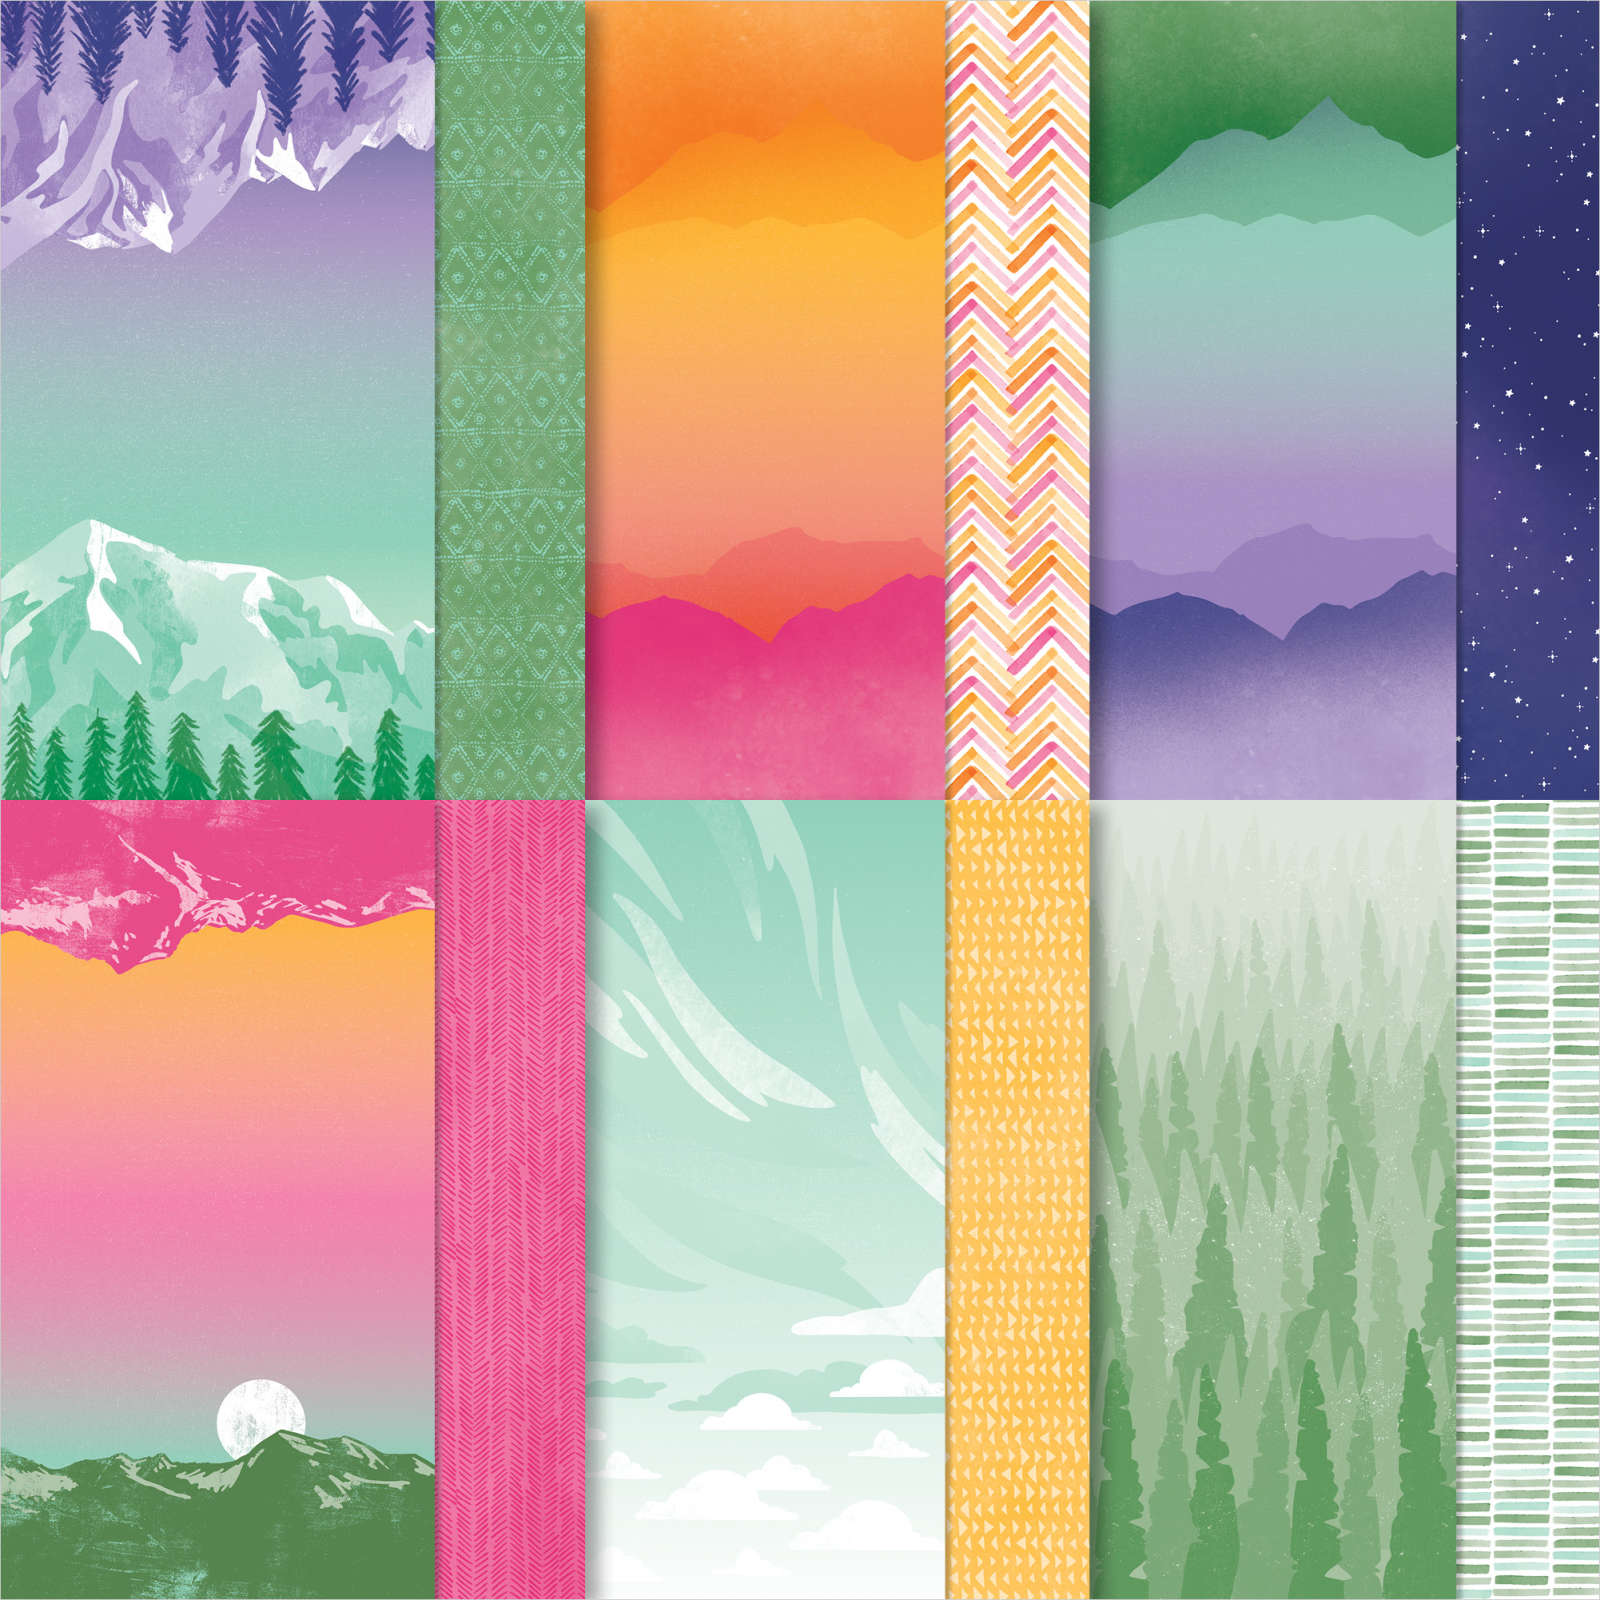
Before Christmas Ron and I decided to take a short break and visited a little town about two hours from home. We had a lovely time. For my page I attached a piece of the Enjoy The Journey 12″ x 12″ Designer Series Paper across the bottom half of a Basic White 12″ x 12″ page. I did cut a border from Basic Black card using one of the Blossoming Happiness Dies which I attached to the bottom edge of the paper first. I attached my photos onto the page without adding any mats. I cut two of the decorative panels from Basic Black card using the All That Dies to attach to the page. I cut the title from Basic Black card using the new Alphabet A La Mode Dies which you can find in the new Mini Catalogue.
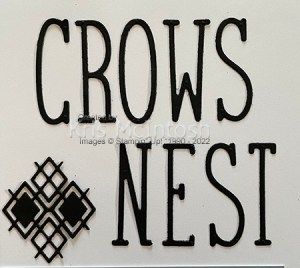
I added Adhesive Sheet to the back of the Basic Black card first to make it easier to attach the title. I printed my journaling onto Basic White card and cut it out using one of the Something Fancy Dies and attached it to the lower right hand corner of the page. Lastly I cut Basic Black card using the Greatest Journey Dies and attached the tree image to the bottom of the page. I love how pretty this page looks and the Designer Series Paper is just simply gorgeous. You can find the Enjoy The Journey Collection on page 58 of the new Mini Catalogue.
Bye for now,
Kris
Product Used:


Thanks
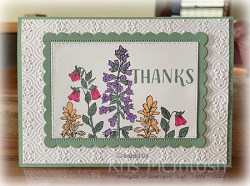
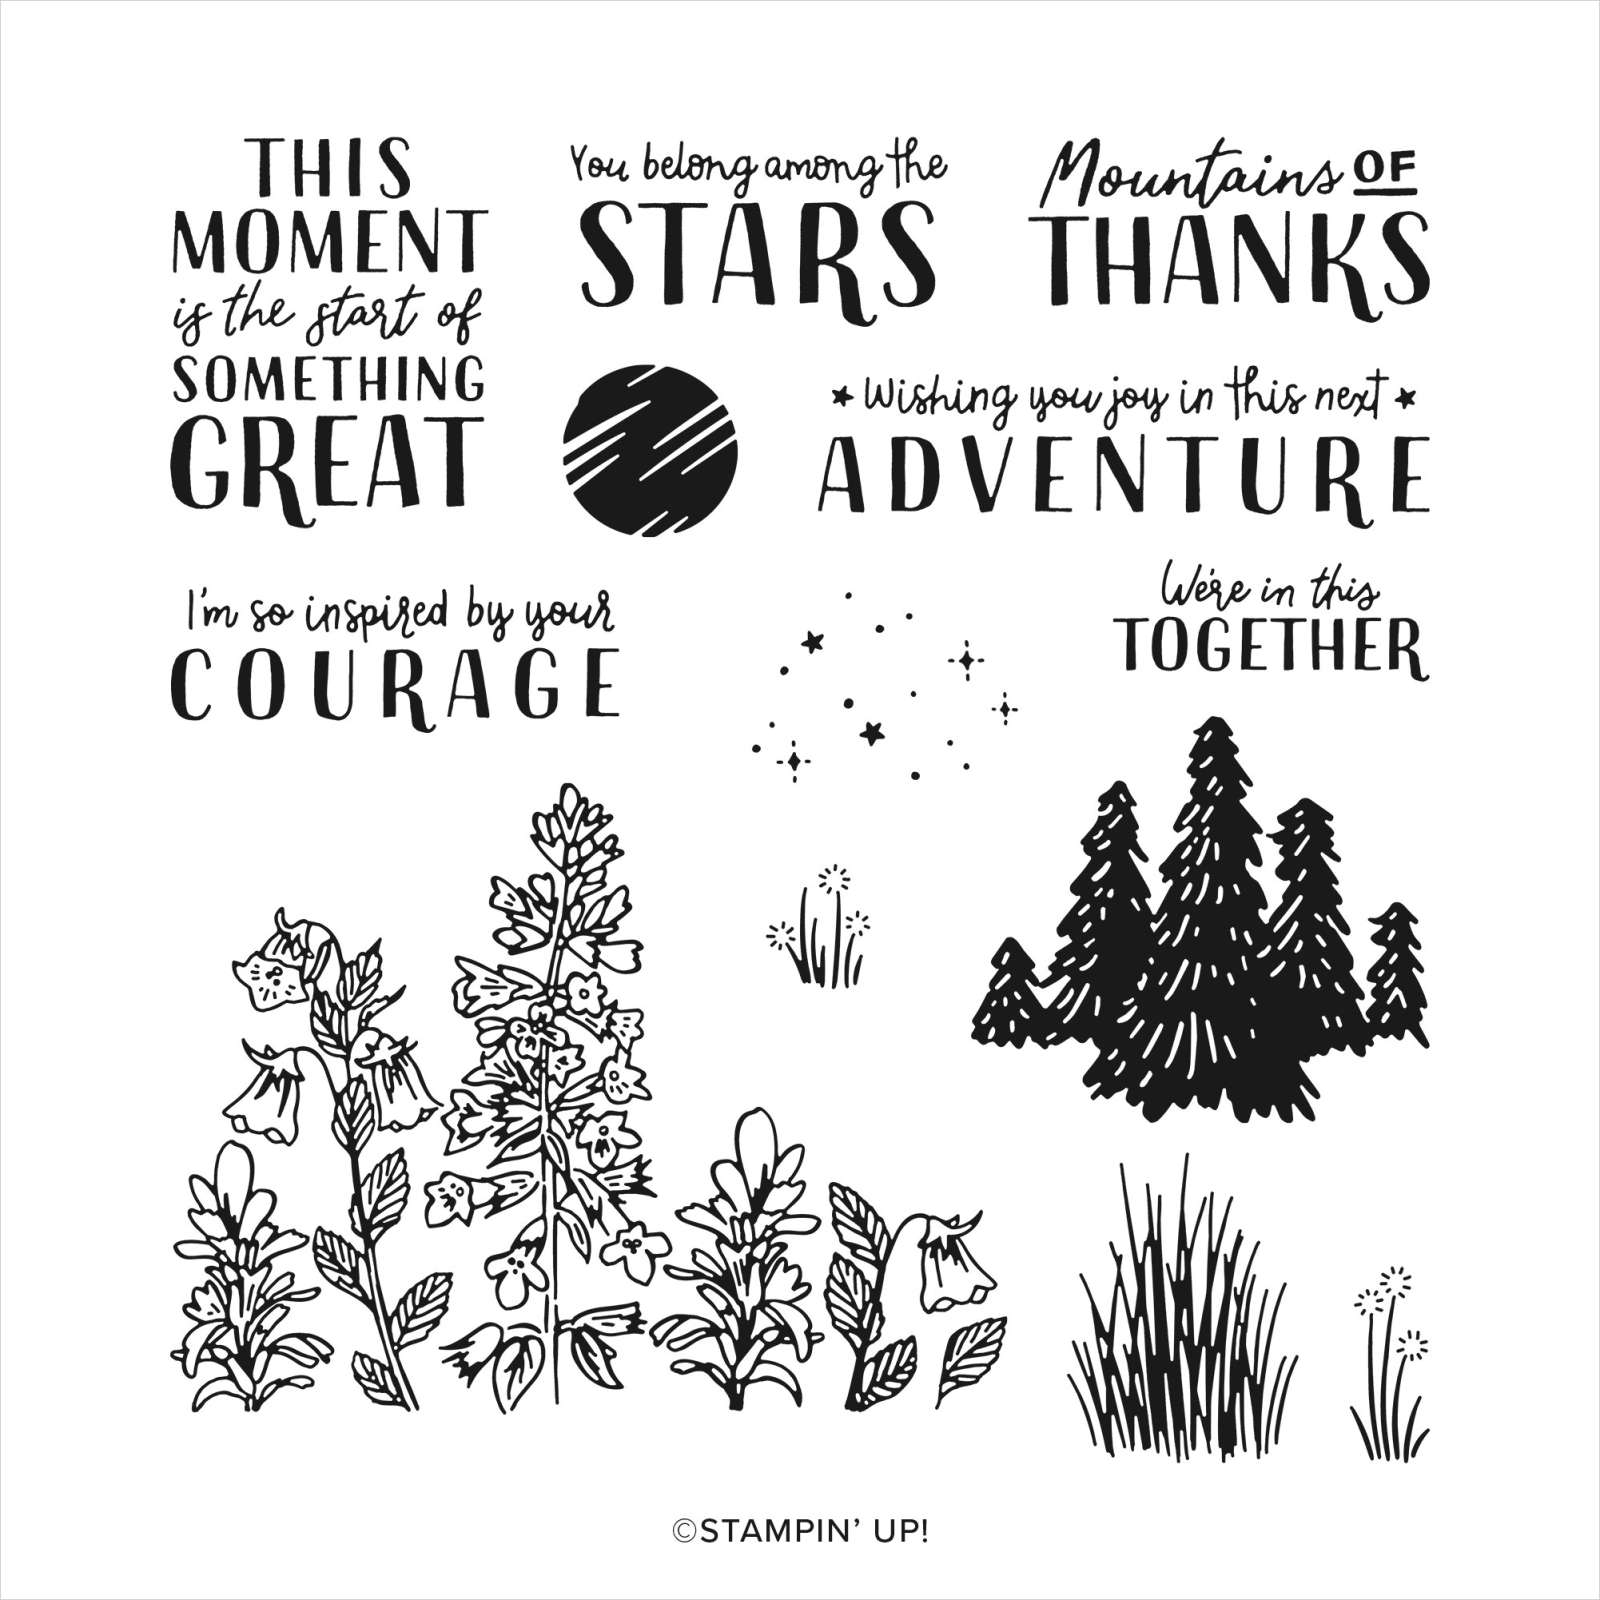
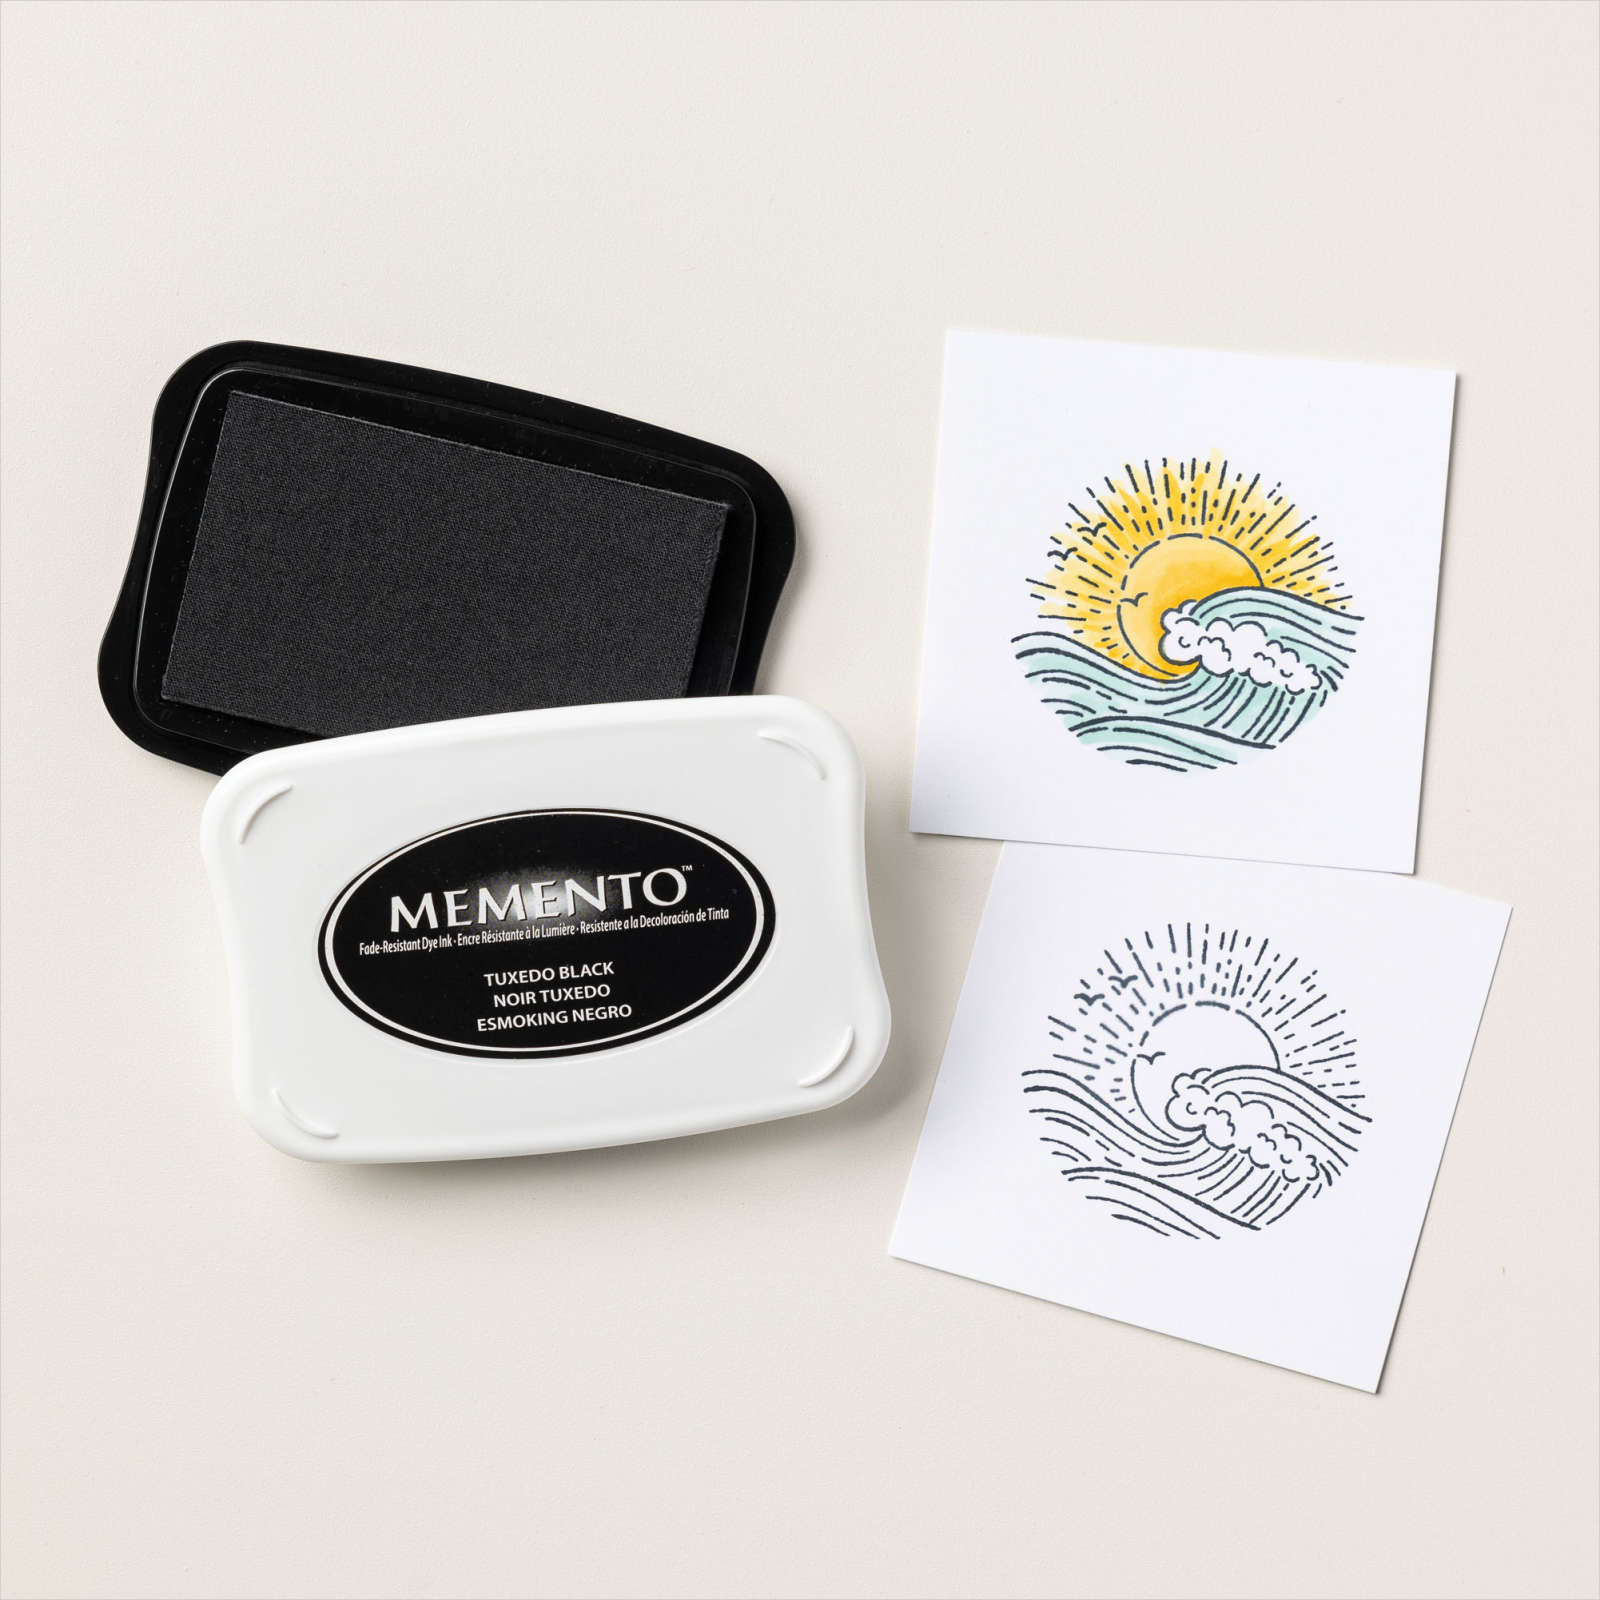
Today I have a card to share with you using the Greatest Journey stamp set which I showcased in my Facebook Live this week. I embossed a Basic White panel using the Quatrefoil Tile Embossing Folder and attached it to scored and folded Soft Succulent card. I stamped the large floral image from the Greatest Journey stamp set onto Basic White card using Memento Tuxedo Black ink.
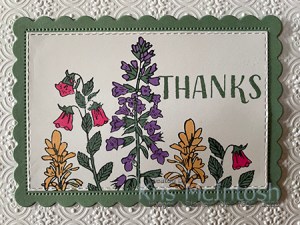
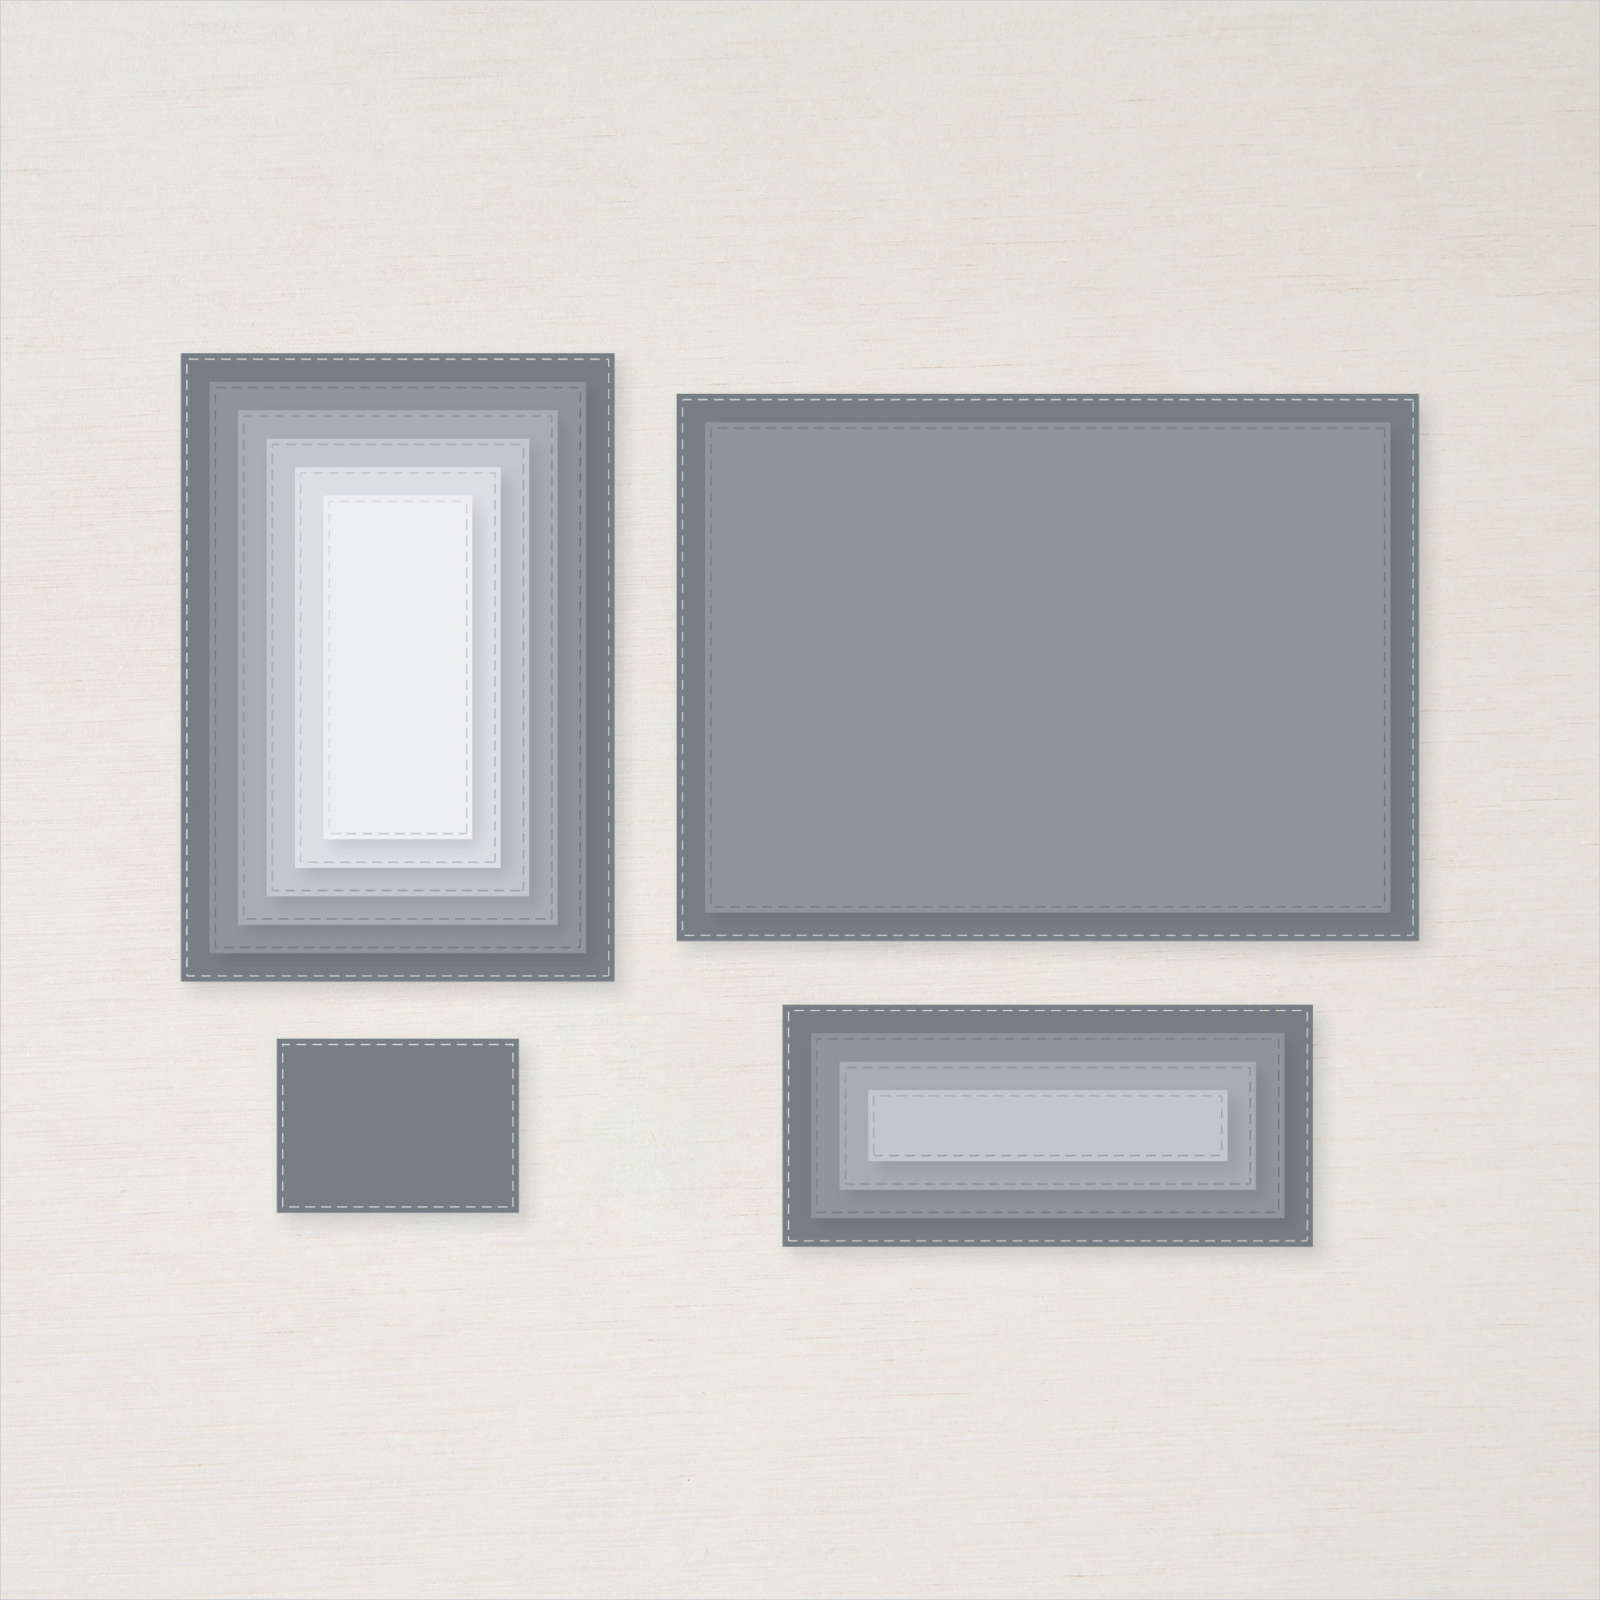
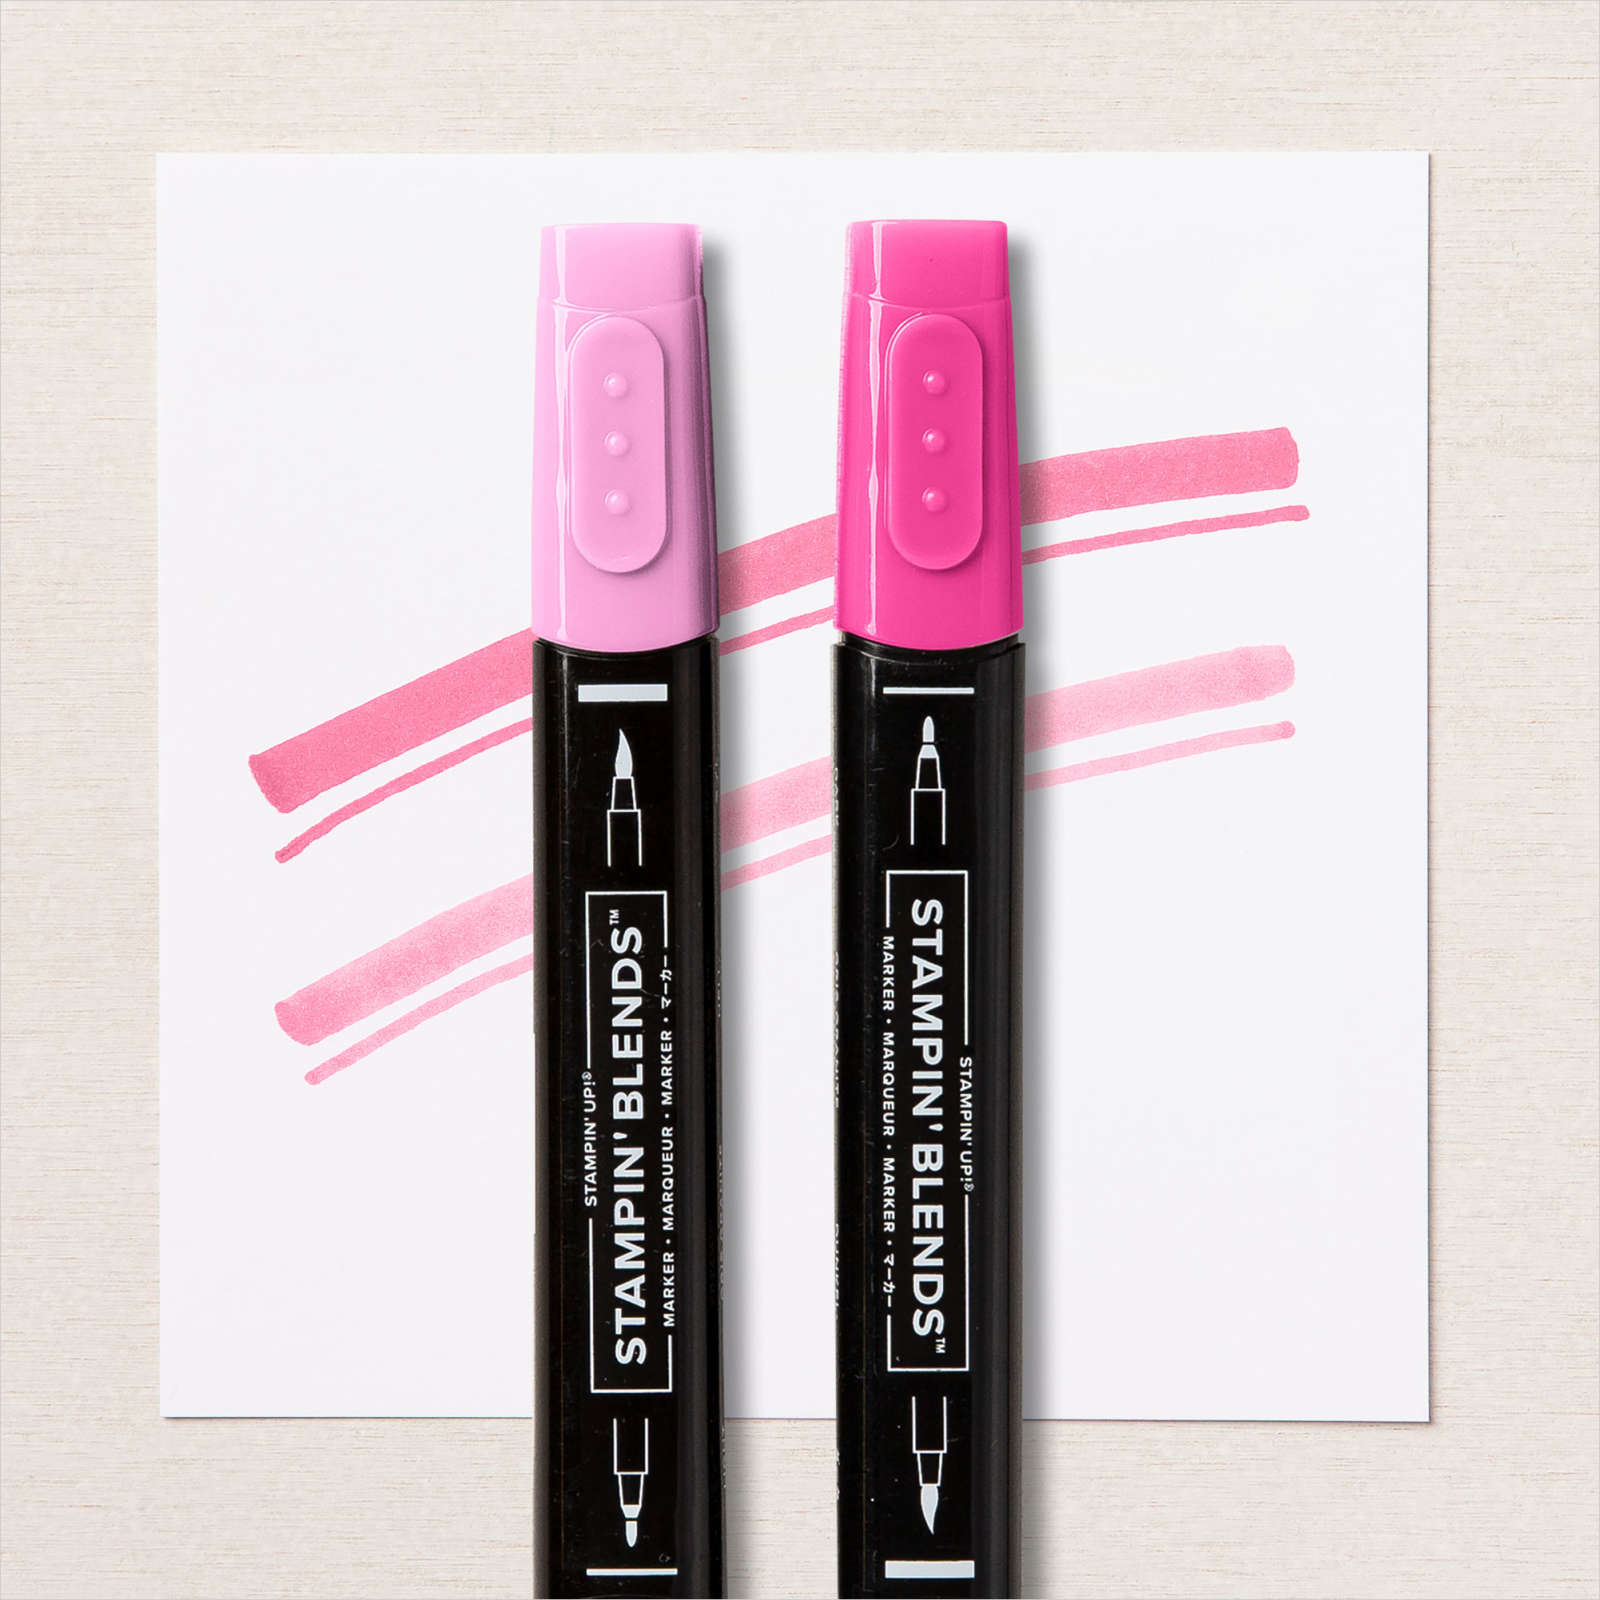
I coloured the image using the Dark Polished Pink, Dark Highland Heather, Light Soft Succulent and Light Pumpkin Pie Stampin’ Blends. I cut out the image using one of the Stitched Rectangle Dies and stamped “thanks” from one of the greetings in the Greatest Journey stamp set onto the right hand corner using Soft Succulent ink.

I cut Soft Succulent card using the Scalloped Contour Dies and attached the image panel to the centre. The whole panel is attached to the card front. To decorate the inside of the card, I stamped part of the floral image from the Greatest Journey stamp set onto the lower left hand corner of Basic White card using Memento Tuxedo Black ink. I coloured the image using the same Stampin’ Blends. This is such a pretty image, don’t you think.
Bye for now,
Kris
Product Used:




It’s Your Day

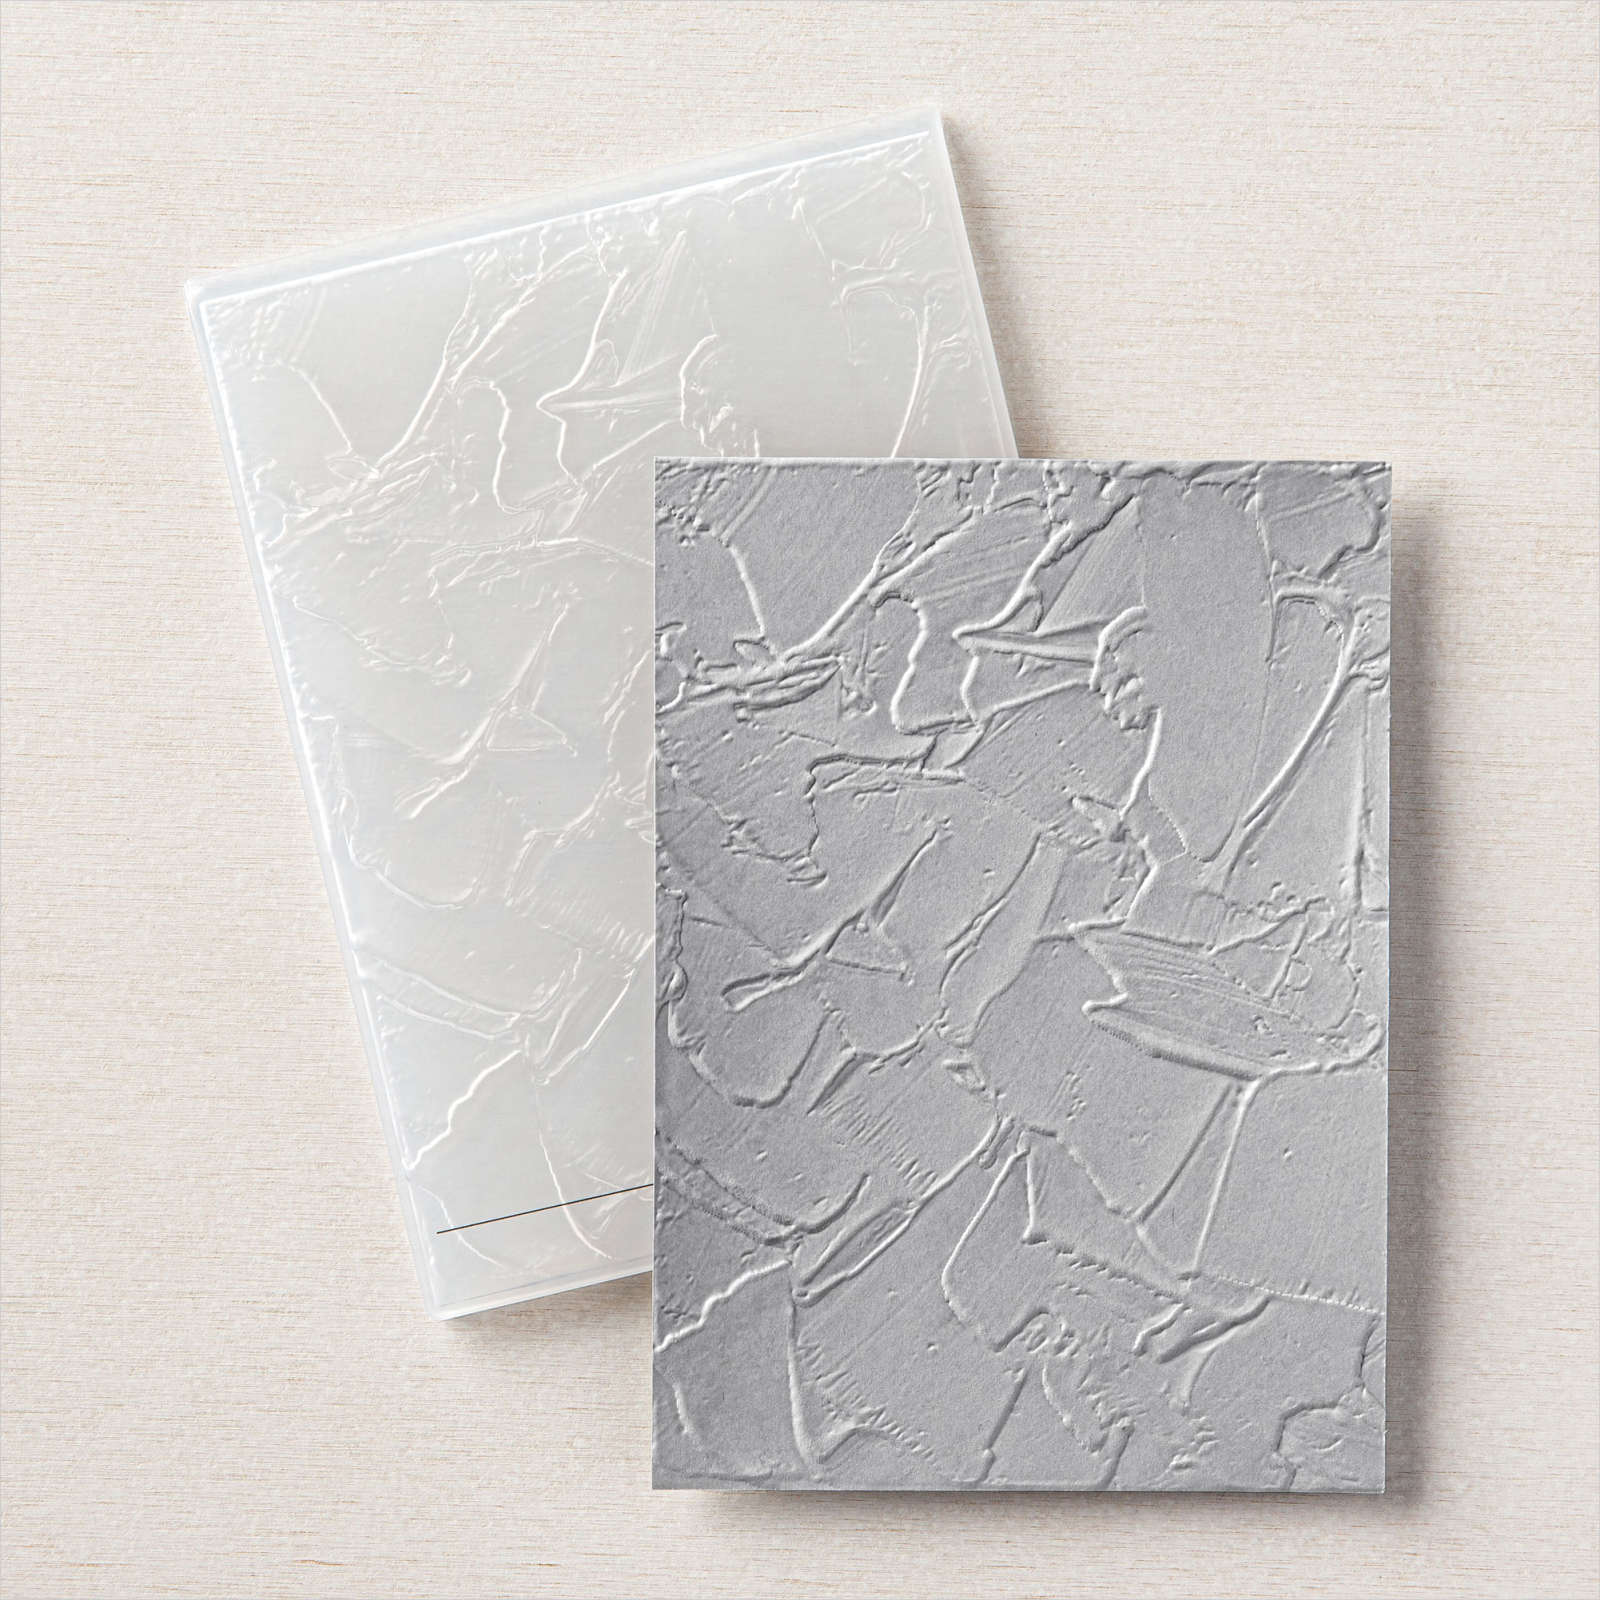
Today I am sharing with you a card I made using the Adorable Owls stamp set which is available to earn free during Sale-a-bration (4.1.2023 to 28.2.20230 with a qualifying order. I embossed Basic White card using the Painted Texture 3D Embossing Folder and attached it to scored and folded Pool Party card. I attached two strips of Design a Daydream 12″ x 12″ Designer Series Paper to the embossed panel. I attached a strip of Pool Party card across the card front using dimensionals. I cut Basic White card using the largest circle from the Layering Circle Dies and a scalloped circle from Pool Party card using the same dies.
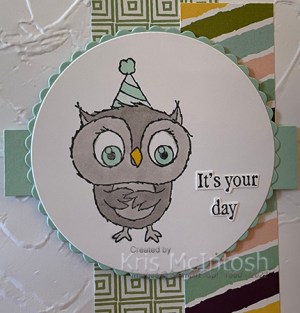
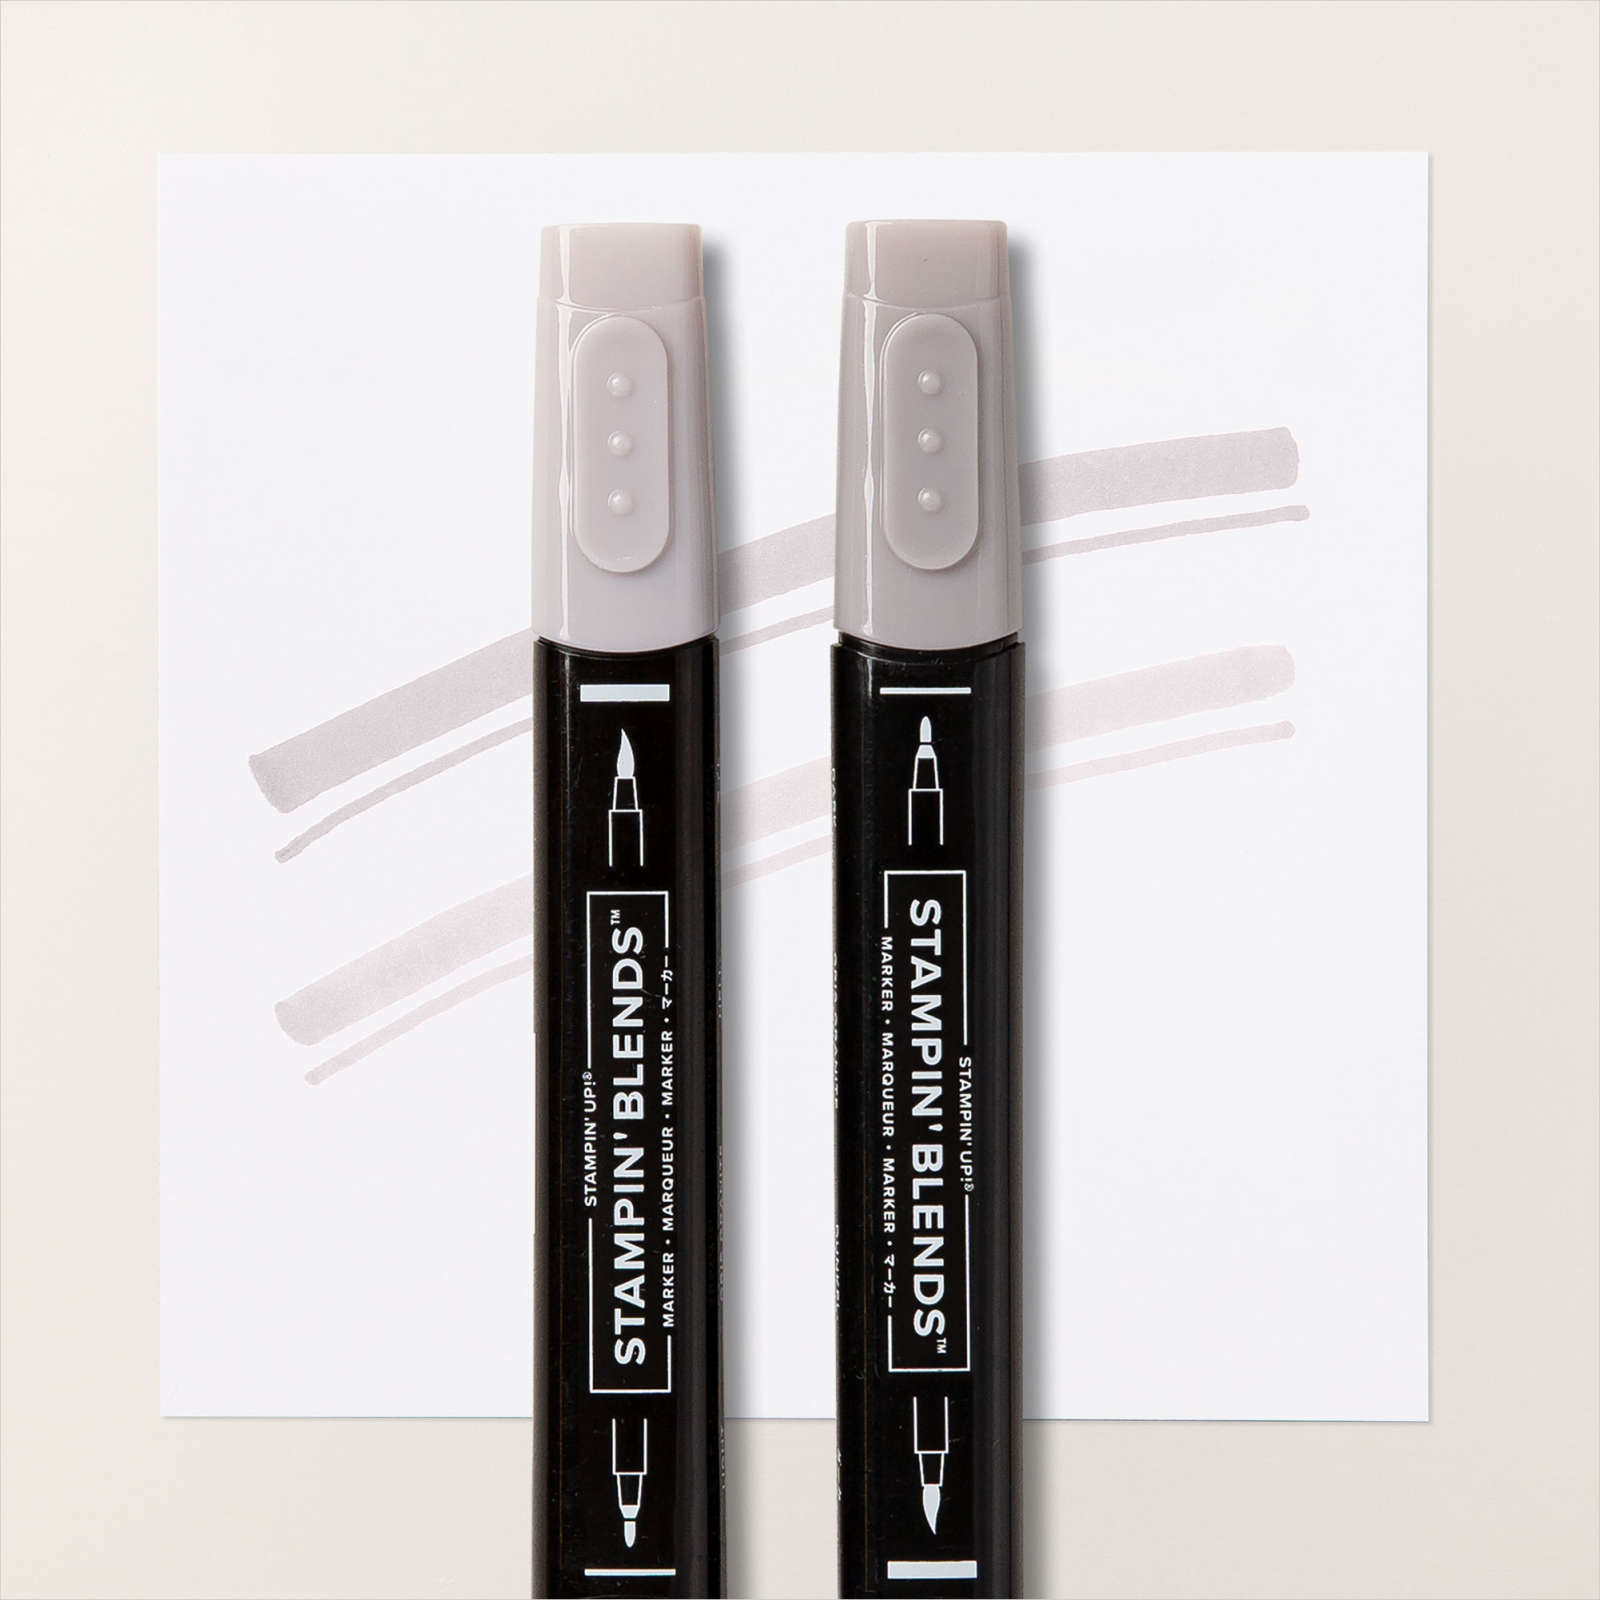
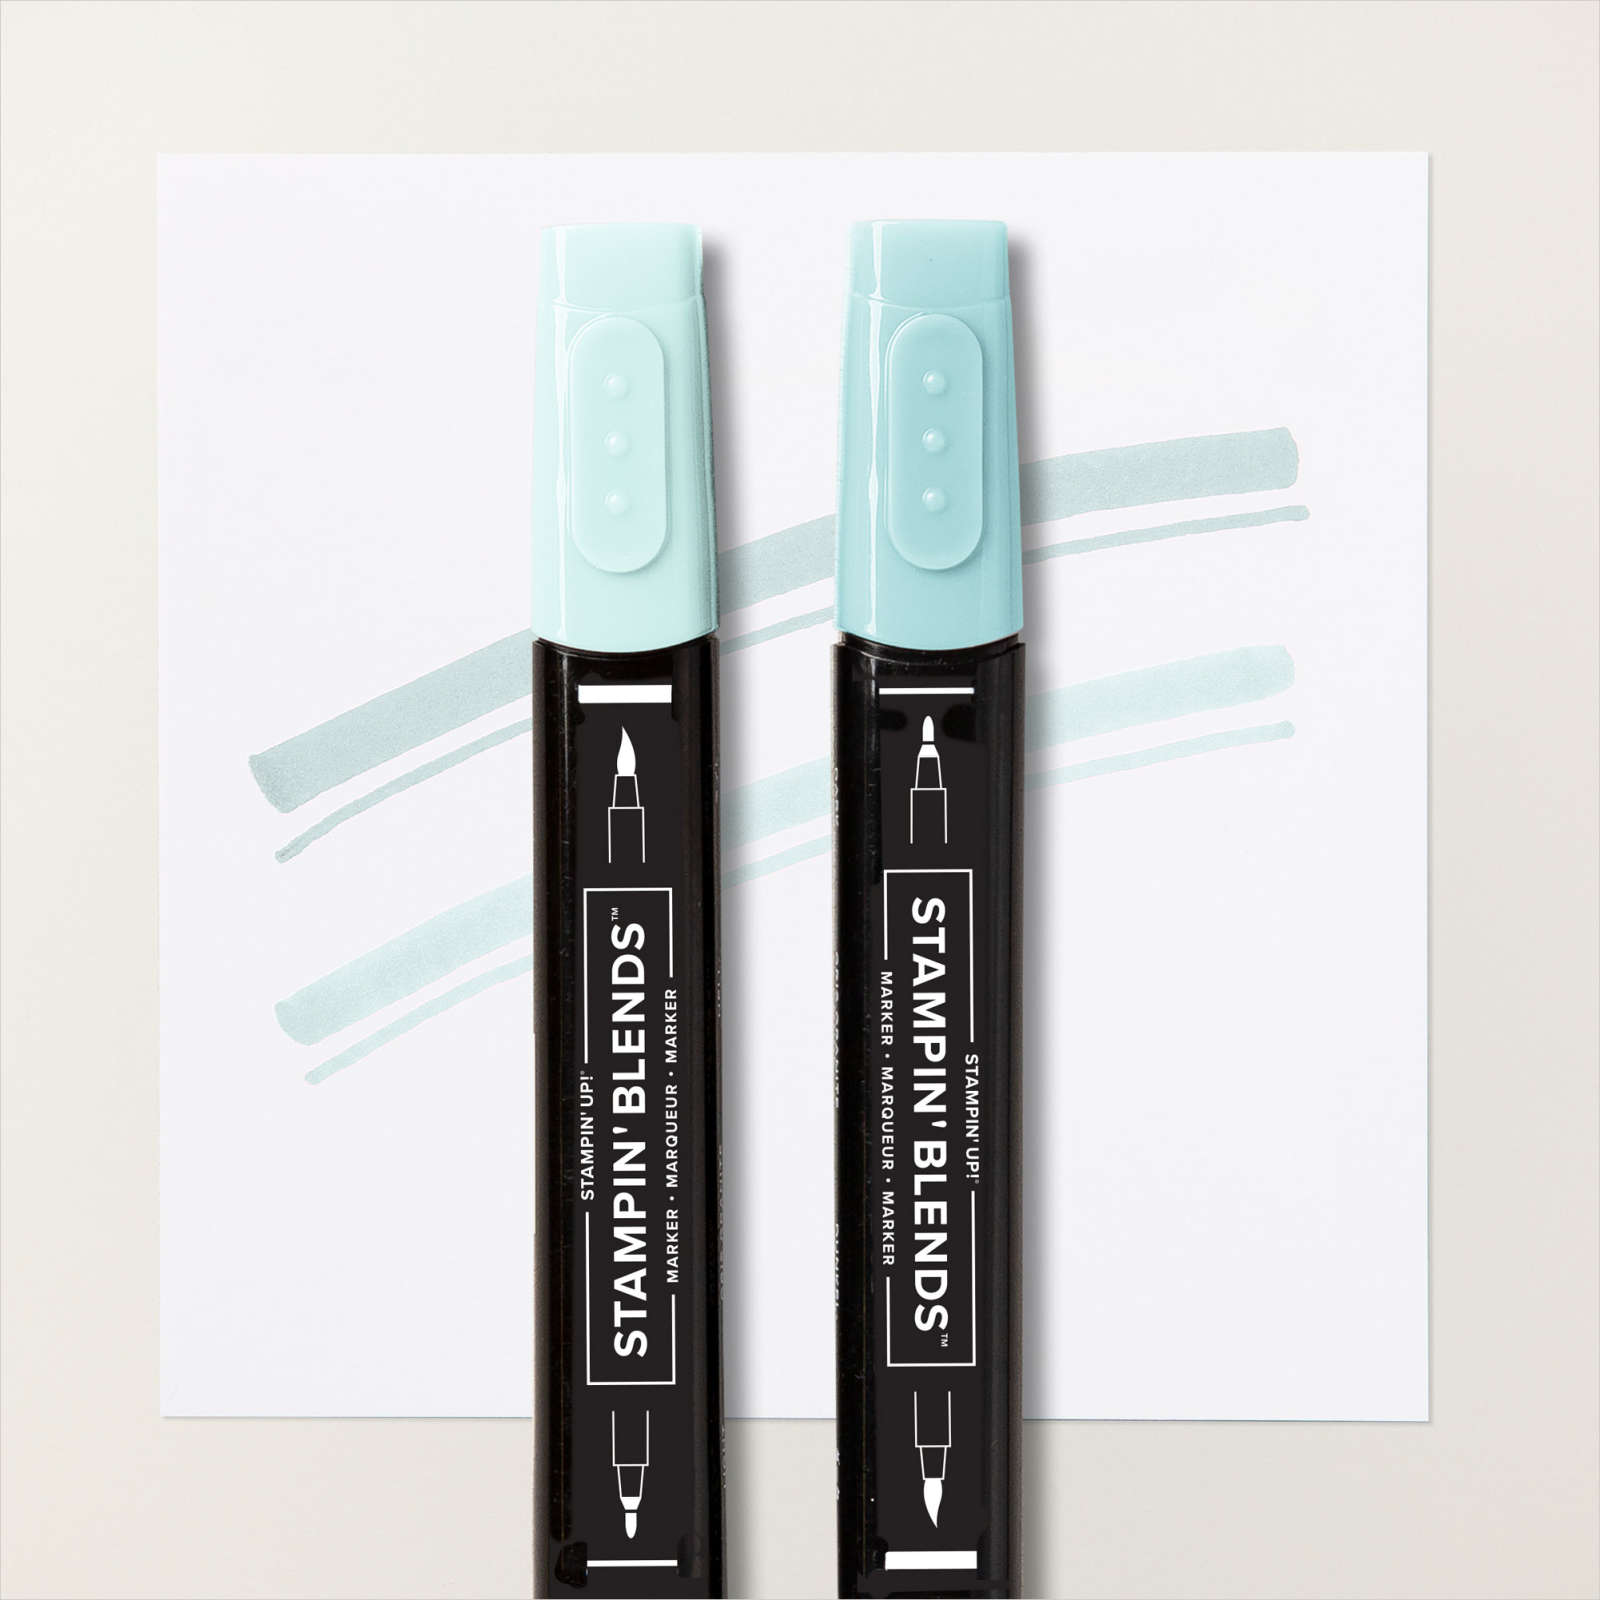
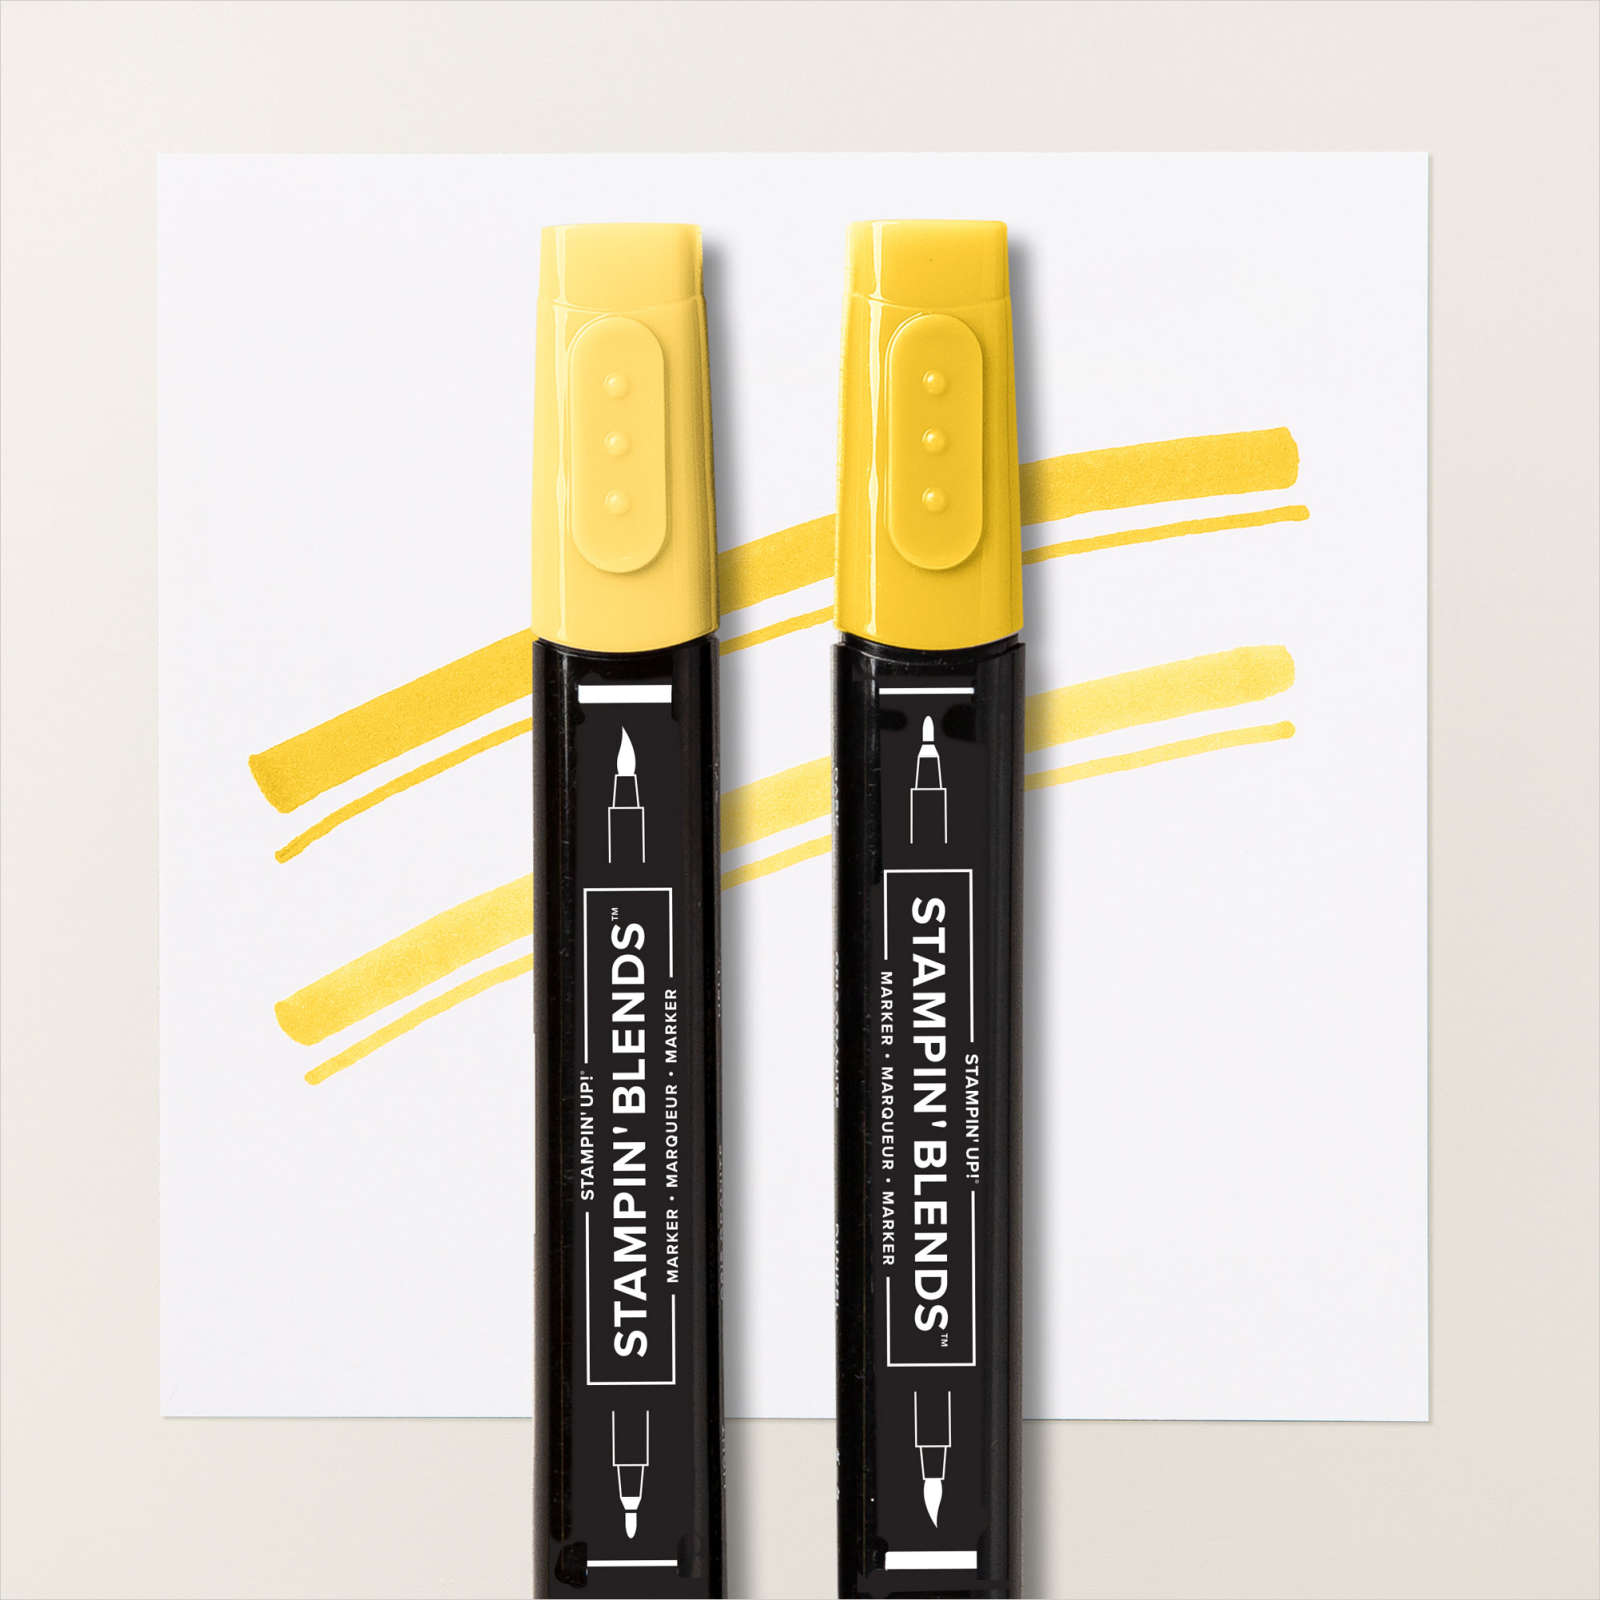
I stamped the owl image from the Adorable Owls stamp set onto the Basic White circle using Memento Tuxedo Black ink. I coloured the image using Gray Granite, Pool Party and Dark Daffodil Delight Stampin’ Blends. I stamped “It’s your day” from the Adorable Owls stamp set onto Basic White card using Memento Tuxedo Black ink. I cut the greeting into two pieces and attached them to the stamped Basic White circle. The stamped Basic White circle is attached to the Pool Party scalloped circle and then the card front using dimensionals.
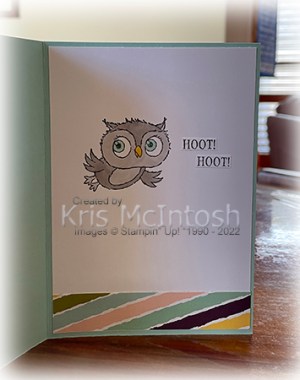
To decorate the inside of the card, I stamped another owl from the Adorable Owls stamp set onto Basic White card usng Memento Tuxedo Black ink. I coloured the image using Gray Granite, Dark Pool Party and Dark Daffodil Delight Stampin’ Blends. I stamped “Hoot! Hoot! Your so cute” from the Adorable Owls stamp set onto Basic White card using Memento Tuxedo Black ink. I cut out “Hoot! Hoot!” and attached them beside the stamped owl. I attached a piece of Design a Daydream Designer Series Paper across the bottom of the stamped card before attaching the panel to the inside of the Pool Party card base.
This is such a cute stamp set and one I am sure you are going to want, so place your order early as the Sale-a-Bration items are only while stocks last.
Bye for now,
Kris
Product Used:

18
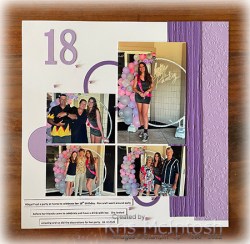
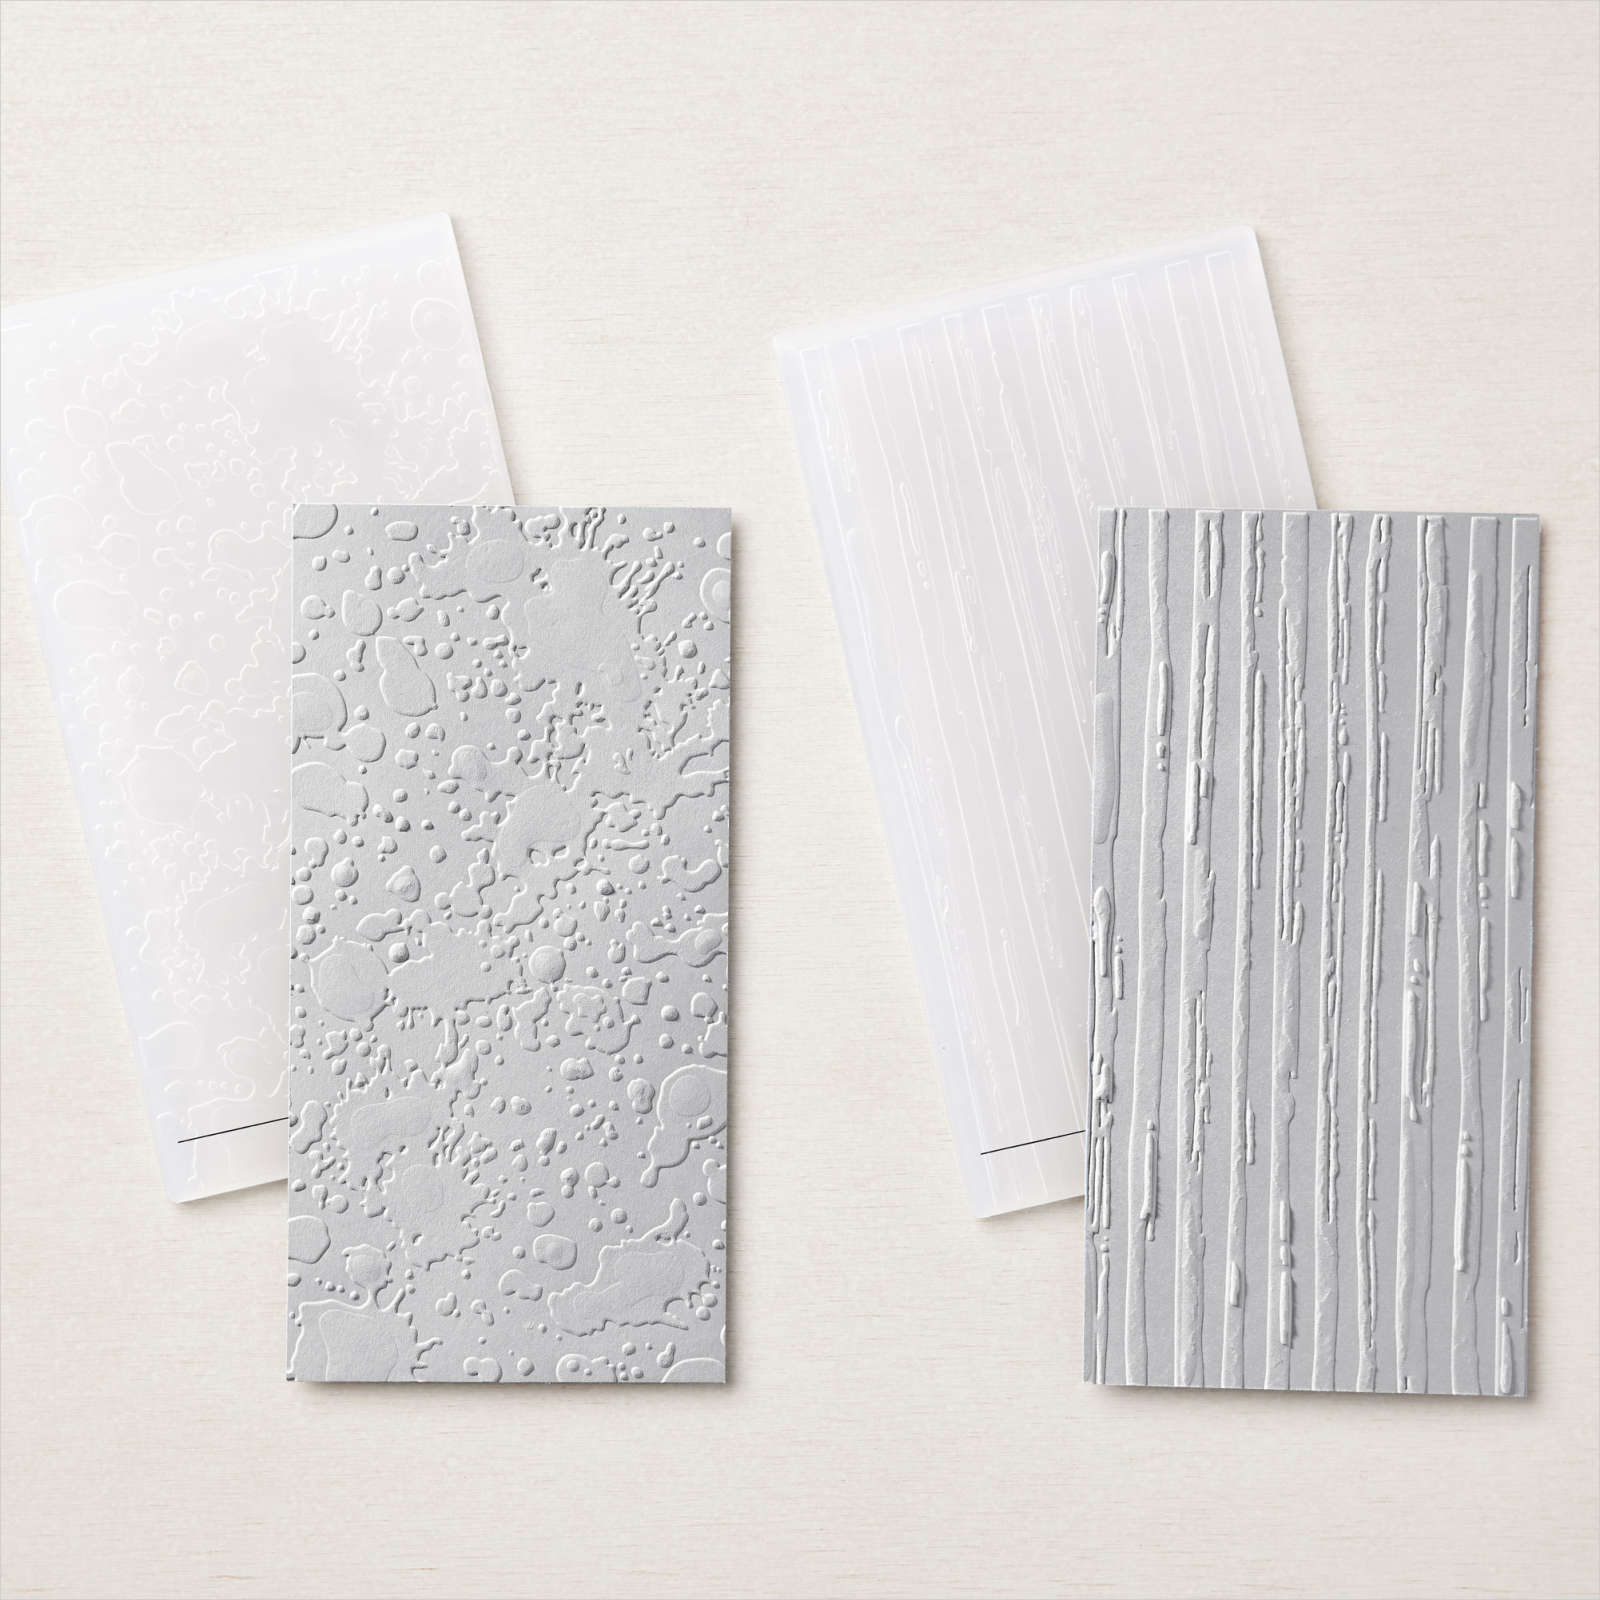
My eldest granddaughter celebrated her 18th birthday with a small party at home with her friends. Ron & I attended early in the afternoon and left when all her friends began to arrive. For my page I cut strips of Highland Heather and Gorgeous Grape card and embossed each strip using one of the folders from the Strips & Splatters 3D Embossing Folders. The panels are attached to the right hand side of a Basic White 12″ x 12″ page. I die cut Highland Heather and Gorgeous Grape card using the circles from the Stylish Shapes Dies and attached them and the photos directly to the page. I printed the journaling onto Basic White card and cut it into strips. I tapped the edges of the strips onto my Highland Heather ink pad before attaching them to the page. The title was cut using the long retired Large Numbers Dies. Simple page but a lovely memory.
Bye for now,
Kris
Product Used:



Bayside Birthday
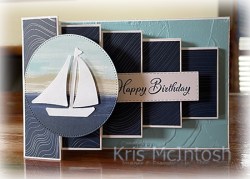
Today’s card was created to show off the product I featured in my Facebook Live this week, but I knew that I wanted to give it to my Dad for his recent birthday. I created my Pop Up Block card following the instructions by Frechie which you can find here. I cut my card base from Basic White card and added a panel of Balmy Blue which I embossed using the Painted Texture 3D Embossing Folder. I added panels of By The Bay 6″ x 6″ Specialty Designer Series Paper across the pop up panels. I cut one of the patterns from the same Designer Series Paper using the largest circle from the Stylish Shapes Dies.
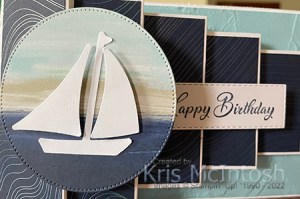
I punched Basic White card using the Sailboat Builder Punch and attached the mast piece to the Designer Series Paper. I attached the sails using dimensionals before attaching the panel to the front of my card. I stamped “happy birthday” from the Go To Greeting stamp onto Basic White card using Night of Navy ink and cut it out using one of the Stitched Rectangle Dies. I attached the greeting to the third pop up panel. To decorate the back of the card (which is where you can add your message),
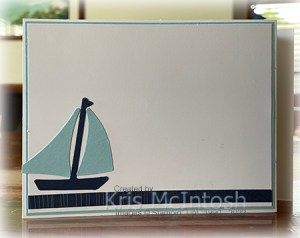
I attached a narrow strip of the By The Bay Designer Series Paper across the bottom of Basic White card. I punched Night of Navy and Balmy Blue card using the Sailboat Builder Punch. I attached the Night of Navy mast and Balmy Blue sails to the lower left hand corner of the Basic White panel. I attached the decorated panel to Balmy Blue card and then the back of the card base. I love that this paper is so pretty. There are gorgeous designs you can just stamp or decorate as I have on this card but there are also beautiful designs which have gold foil or pearl foil to really make them “pop”. I must say that I really love these Pop Up Block cards (thank you Frenchie) and I think this design will feature in an upcoming class.
Bye for now,
Kris
Product Used:

More Places in the Heart
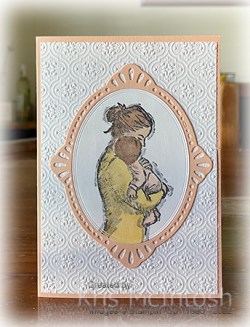
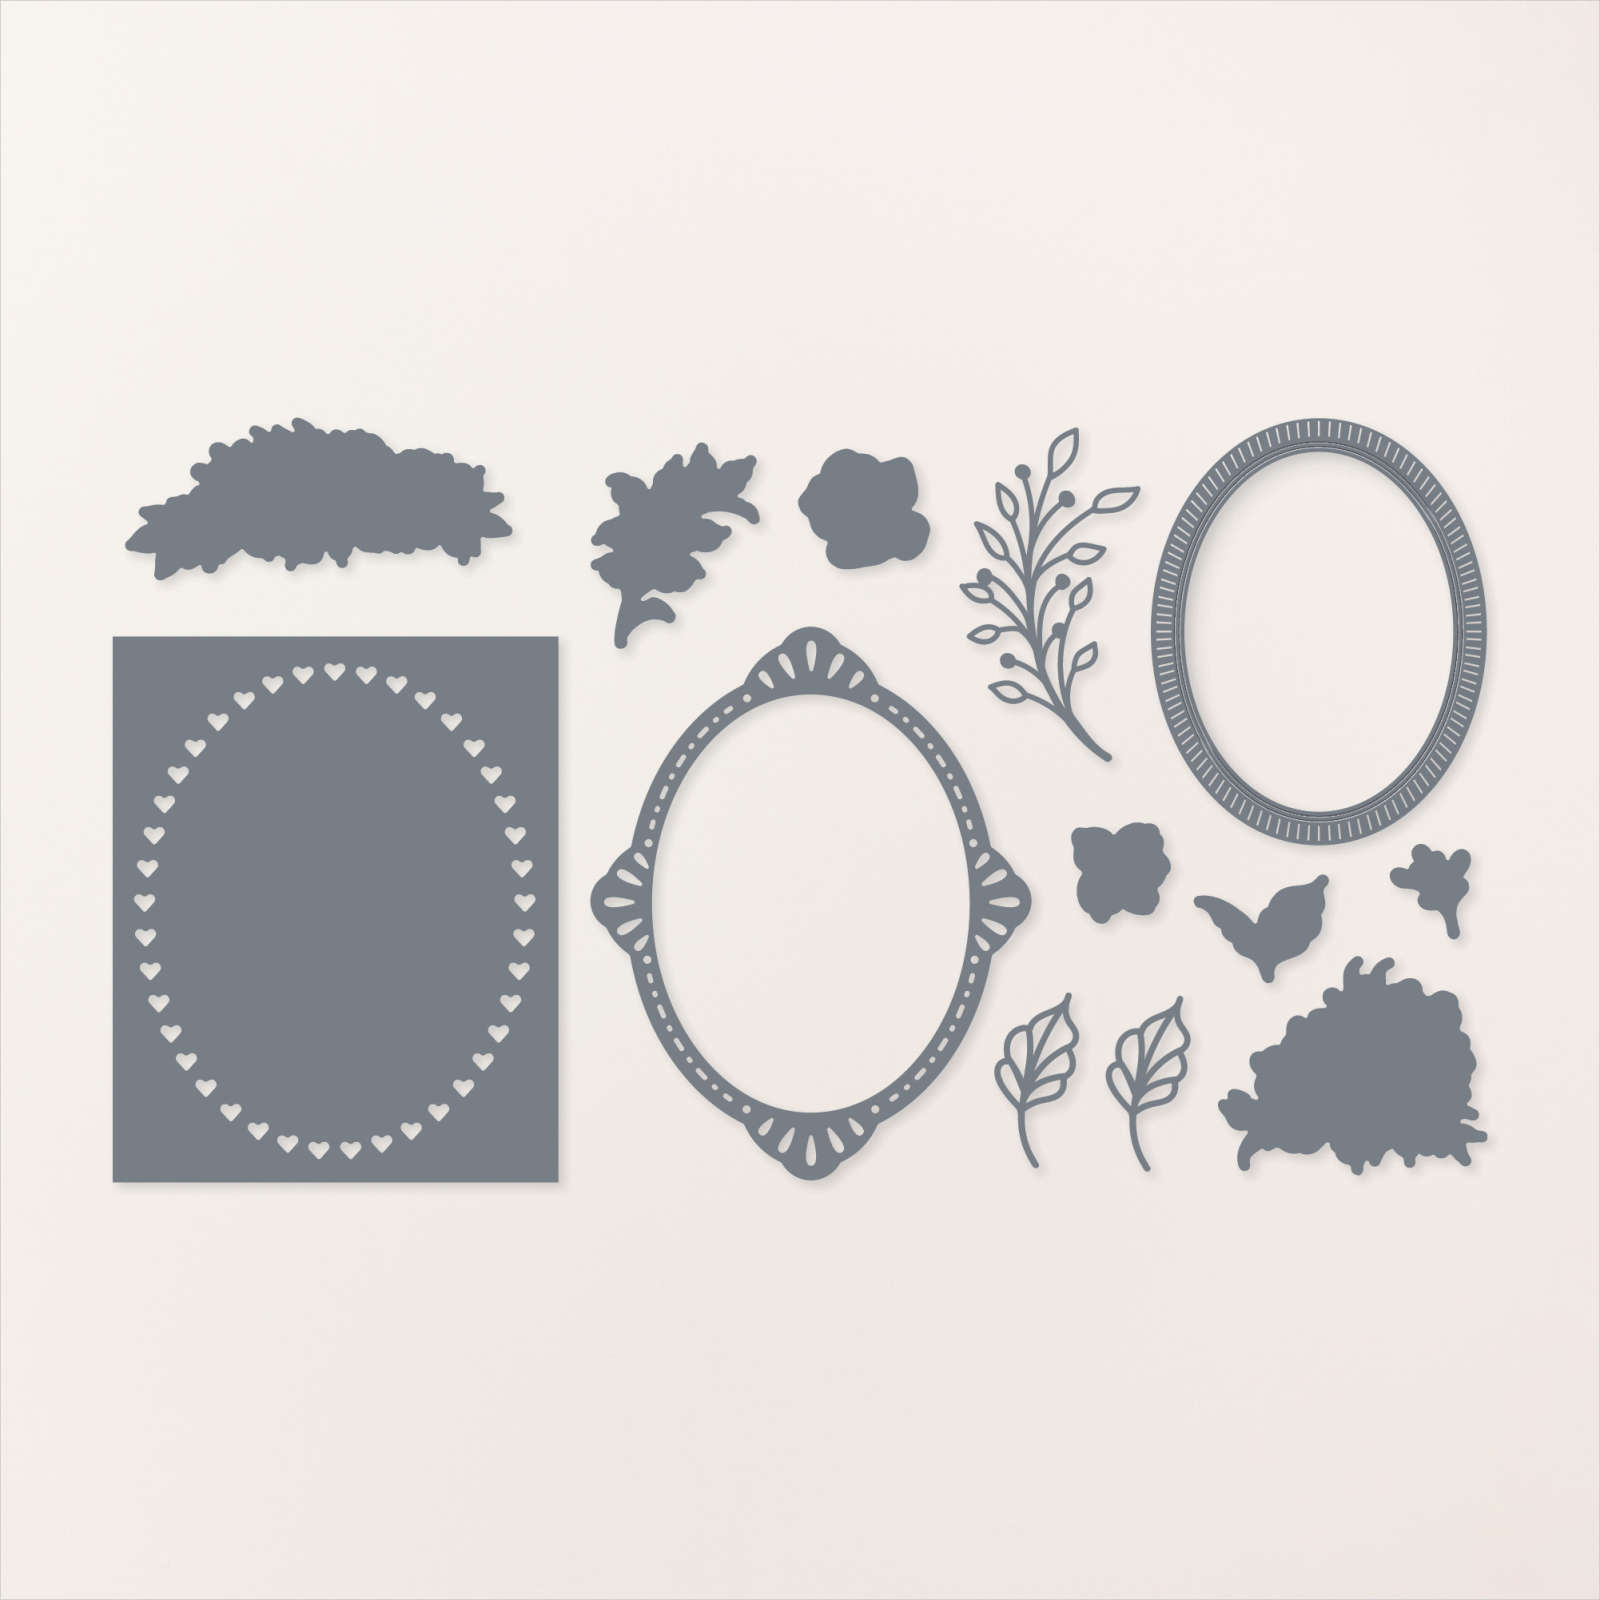
Today’s card is another I made using the Places in the Heart stamp set which is a new purchase for me. This stamp set is from the current Annual Catalogue. I embossed Basic White card using the Quatrefoil Tile Embossing Folder. I attached the embossed panel to scored and folded Petal Pink card. I cut Petal Pink card and Basic White card using the same die from the Framed Florets Dies.

I stamped the image from the Places in the Heart stamp set onto the Basic White oval using Memento Tuxedo Black ink. I coloured the image using the Dark So Saffron, Dark Petal Pink, Ivory & Bronze Stampin’ Blends.
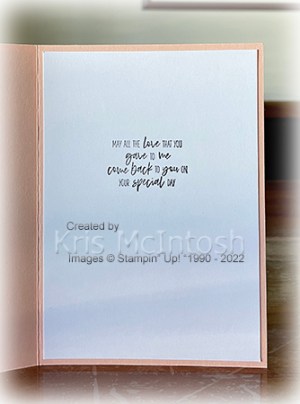
I attached the Petal Pink detailed oval to the embossed panel to the card front. The stamped oval panel is attached inside the Petal Pink frame. To decorate the inside of the card, I stamped one of the greetings from the Places in the Heart stamp set onto Basic White card using Memento Tuxedo Black ink. So simple, but I think it is pretty, don’t you?
Bye for now,
Kris
Product Used:



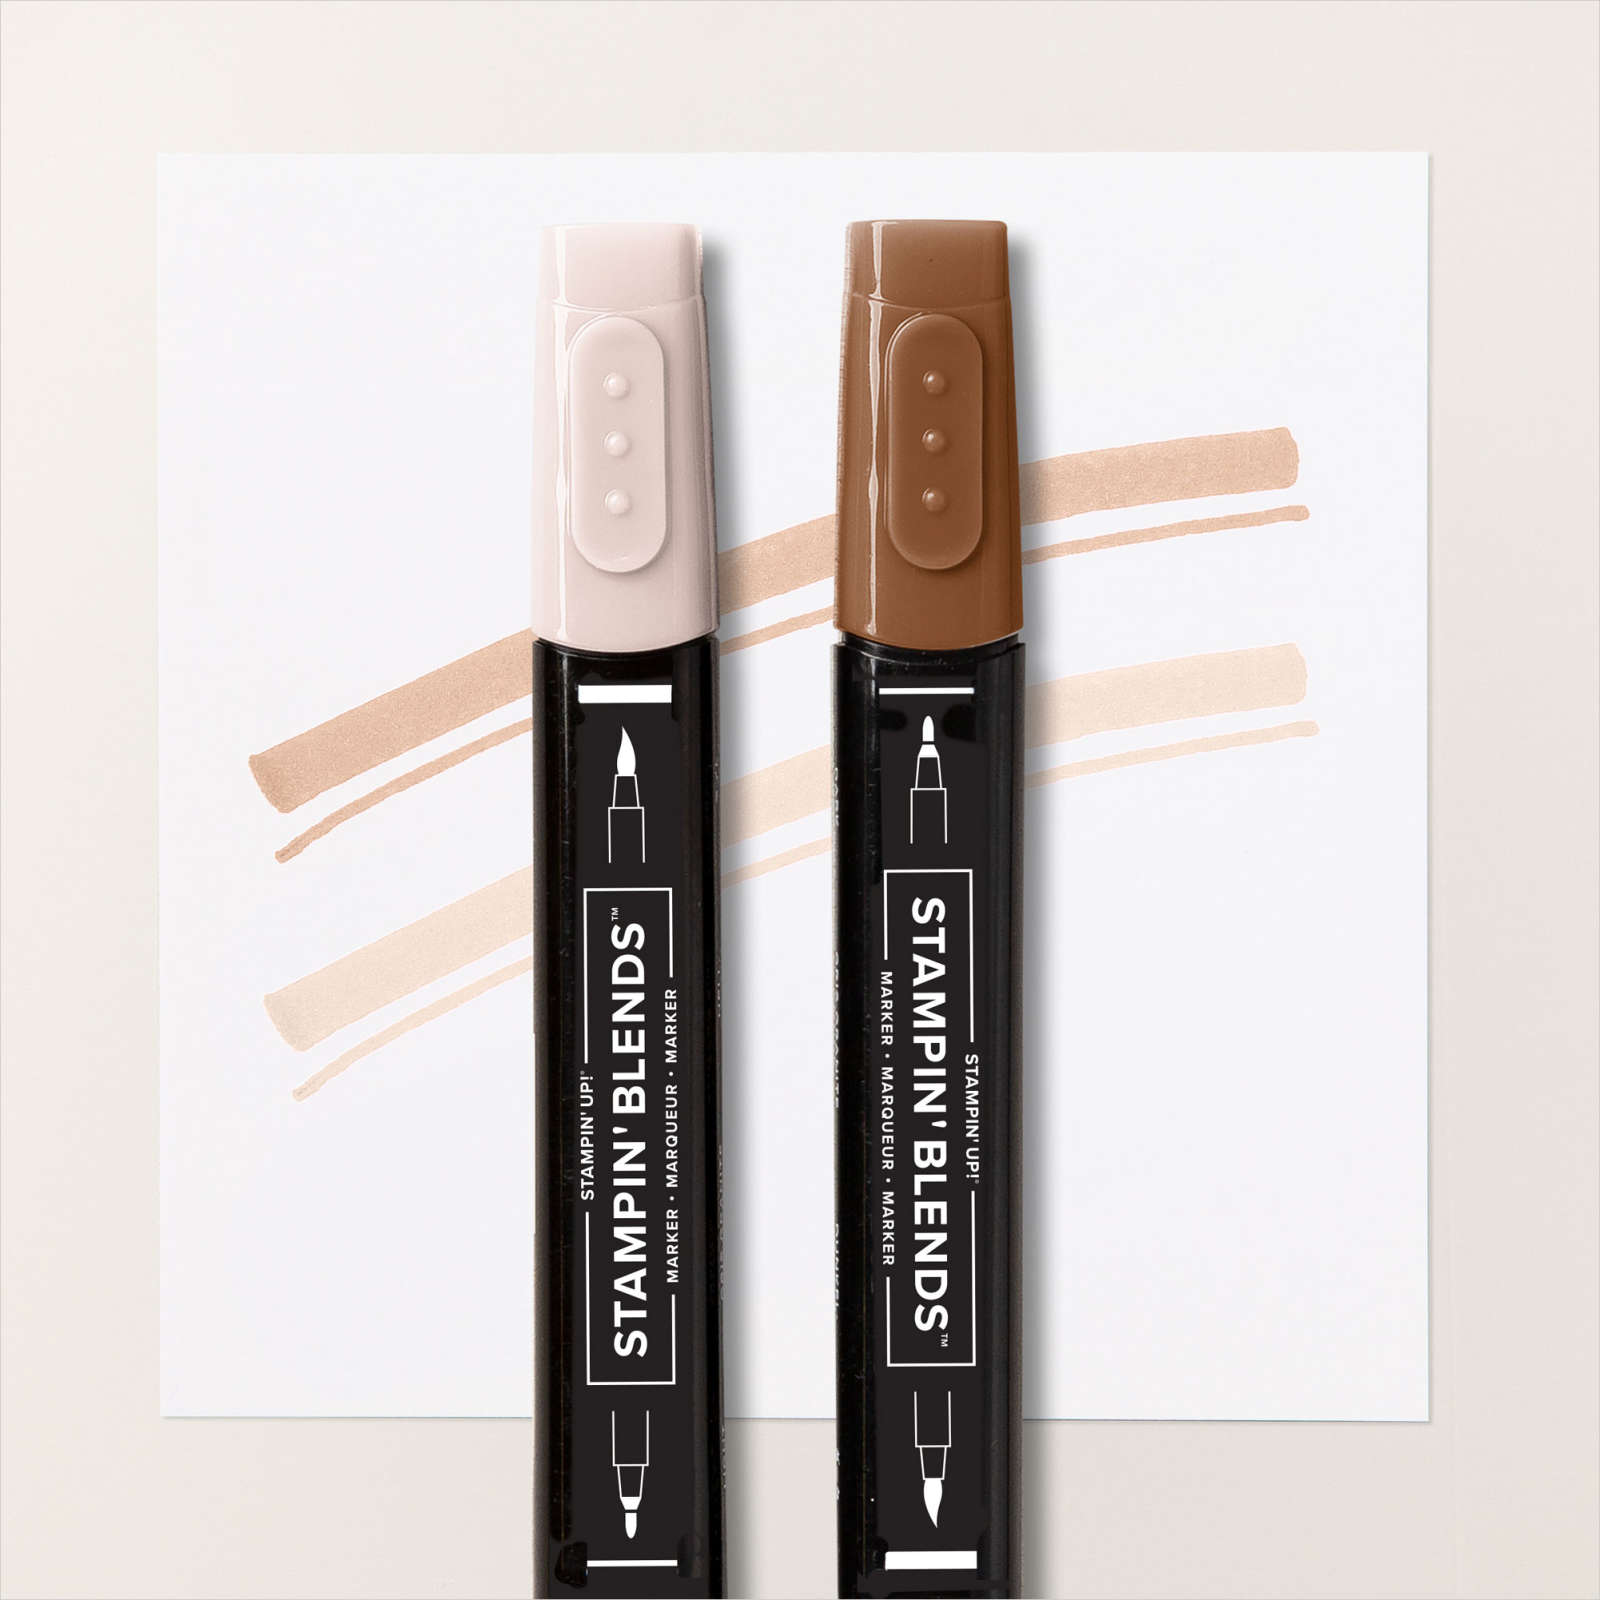
Christmas 2022

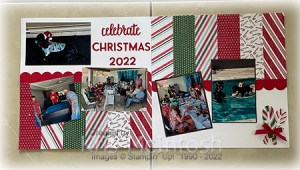
Today’s page shows off some photos taken at our family get together – not Christmas Day but we had lots of fun anyway. Unfortunately the product I am sharing in this project is already retired but hopefully you were lucky enough to get your hands on them while they were available. I attached strips of the Sweetest Christmas 12″ x 12″ Designer Series Paper across the top of one Basic White 12″ x 12″ page and the bottom of another Basic White 12″ x 12″ page.
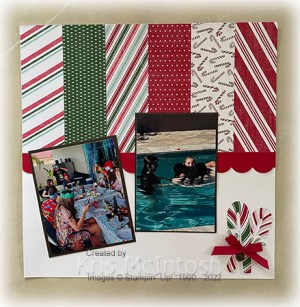
I cut a strip of Real Red card using the border from the Scalloped Contour Dies and attached the pieces across the edge of the Designer Series Paper. The photos on the right page are attached to Early Espresso card to give them a little more definition. I cut two candy canes from the Sweetest Christmas Designer Series Paper using the Candy Cane Die and attached them to the lower right hand corner of the second page.

I also stamped two leaves from the Sweet Candy Cane stamp set onto Basic White card using Garden Green ink and cut them out using the co-ordinating Candy Cane Die. The leaves are tucked under the edge of the candy canes. I tied a bow in a length of the Real Red Ribbon from the Real Real & Garden Green 3/8″ Ribbon Combo Pack and attached it to the candy canes using a Glue Dot. Lastly I added one Flat Jingle Bell Trinket to the candy canes just below the bow. The “celebrate” in the title comes from the long retired Celebrate You Dies and I used the retired Playful Alphabet Dies to cut “Christmas” and “2022” from Real Red card.
Simple but fun pages to show off some great Christmas Memories.
Bye for now,
Kris
Product Used:

Two Tone Flora Birthday

This week in my Facebook Live, I shared some cards which I made using product from the Fancy Flora Suite Collection. Today I have another card to share with you. For this card, I attached adhesive sheet to the back of Basic White card before cutting it using the large die from the Two-Tone Flora Dies. I attached the die cut to a piece of Soft Succulent Fine Shimmer 12″ x 12″ Paper. I cut a rectangle from a piece of Mint Macaron card using one of the Deckled Rectangle Dies. I attached the outside frame over the Basic White die cut. The whole panel is attached to scored and folded Thick Basic White card. I stamped two solid flower images from the Two-Tone Flora stamp set onto Basic White card using Fresh Freesia ink which I stamped onto scrap paper first.
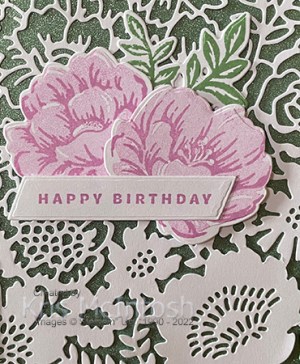
I stamped the co-ordinating detailed images from the Two-Tone Flora stamp set over the top of the solid images using Fresh Freesia ink. I also stamped the large leaf image from the Two-Tone Flora stamp set onto Basic White card using Mint Macaron ink. I cut out the flowers and the leaf using the co-ordinating Two Tone Flora Dies. I attached the leaf and one of the flowers flat onto the card front. The second flower is attached using dimensionals. I stamped the greeting from the Something Fancy stamp set onto Basic White card using Fresh Freesia ink.

I used the banner die from the Two Tone Flora Dies to cut out the greeting. I attached the greeting to the card front using dimensionals where necessary. To decorate the inside of the card, I stamped one of the solid flower images from the Two-Tone Flora stamp set onto the lower left hand corner of Basic White card using Fresh Freesia ink which I stamped onto scrap paper first. I stamped the co-ordinating detailed image over the top of the solid image using Fresh Freesia ink. I stamped the same solid flower onto masking paper and cut it out. I attached the mask over the stamped floral image. I stamped the leaf image twice around the flower using Mint Macaron ink. I removed the mask and attached the stamped panel to the inside of the Thick Basic White card base. This is a truly awesome product suite which I know you are all going to love.
Bye for now,
Kris
Product Used:
I’ll add the links to the Fancy Flora Collection when it goes live on the 4th January. In the meantime if you have a catalogue you can find it on page 14 of the January to April 2023 Mini Catalogue.



Places in the Heart
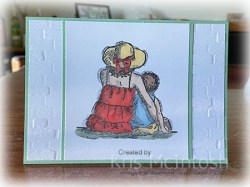
Today I am sharing a card I made using the Places in the Heart stamp set which I purchased recently. This stamp set is from the current Annual Catalogue. I love the style of the images. I began this card by embossing a Basic White panel using the Brick & Mortar 3D Embossing Folder. I attached the embossed card to scored and folded Mint Macaron card.

I stamped the image from the Places in the Heart stamp set onto Basic White card using Memento Tuxedo Black ink. I coloured the image using Dark Calypso Coral, Dark Mint Macaron, Dark Balmy Blue, Dark So Saffron, Bronze & Ivory Stampin’ Blends.

I attached the stamped Basic White panel to Mint Macaron card and then the card front. To decorate the inside of the card, I stamped one of the greetings from the Places in the Heart stamp set onto Basic White card using Memento Tuxedo Black ink. I didn’t do any shading with my colouring because the stamp has the shading already done.
Bye for now,
Kris
Product Used: