Bayside Birthday
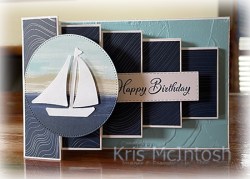
Today’s card was created to show off the product I featured in my Facebook Live this week, but I knew that I wanted to give it to my Dad for his recent birthday. I created my Pop Up Block card following the instructions by Frechie which you can find here. I cut my card base from Basic White card and added a panel of Balmy Blue which I embossed using the Painted Texture 3D Embossing Folder. I added panels of By The Bay 6″ x 6″ Specialty Designer Series Paper across the pop up panels. I cut one of the patterns from the same Designer Series Paper using the largest circle from the Stylish Shapes Dies.
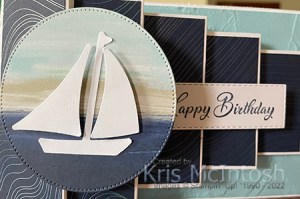
I punched Basic White card using the Sailboat Builder Punch and attached the mast piece to the Designer Series Paper. I attached the sails using dimensionals before attaching the panel to the front of my card. I stamped “happy birthday” from the Go To Greeting stamp onto Basic White card using Night of Navy ink and cut it out using one of the Stitched Rectangle Dies. I attached the greeting to the third pop up panel. To decorate the back of the card (which is where you can add your message),
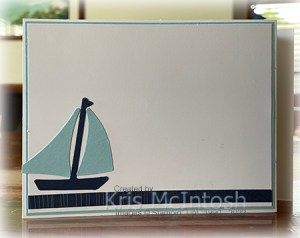
I attached a narrow strip of the By The Bay Designer Series Paper across the bottom of Basic White card. I punched Night of Navy and Balmy Blue card using the Sailboat Builder Punch. I attached the Night of Navy mast and Balmy Blue sails to the lower left hand corner of the Basic White panel. I attached the decorated panel to Balmy Blue card and then the back of the card base. I love that this paper is so pretty. There are gorgeous designs you can just stamp or decorate as I have on this card but there are also beautiful designs which have gold foil or pearl foil to really make them “pop”. I must say that I really love these Pop Up Block cards (thank you Frenchie) and I think this design will feature in an upcoming class.
Bye for now,
Kris
Product Used: