1983
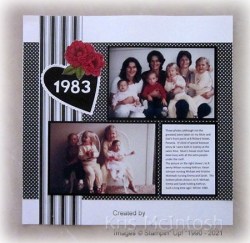
Today’s page shows off a couple of photos taken in 1983 on my Mum and Dad’s front porch. Kind of special because only my sister Karyn lived in Sydney at the time, so Jenny and I must have been home for a visit. I attached a piece of True Love Designer Series Paper across Basic White 12″ x 12″ page. I attached a strip of another pattern from the True Love Designer Series Paper down the left hand side. I attached my photos to Basic Black card before attaching them to the page.
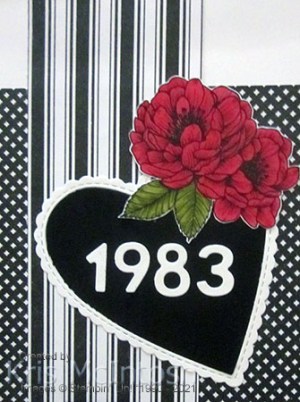
The journaling which I created on the computer and printed onto Basic White card is also attached to Basic Black card and then the page. I cut Basic White and Basic Black card using the largest heart from the Be Mine Dies. I attached the Basic White scalloped heart to the upper left hand corner with the Basic Black heart in the centre. I cut 1983 from Basic White card using the Playful Alphabet Dies. I coloured one of the flowers from the True Love Designer Series Paper using Real Red and Old Olive Stampin’ Blends, cut it out and attached it to partially cover the heart. I just can’t seem to stop using this beautiful True Love Designer Series Paper, especially for my memory keeping. I love this page and would love to know what you think.
Bye for now,
Kris
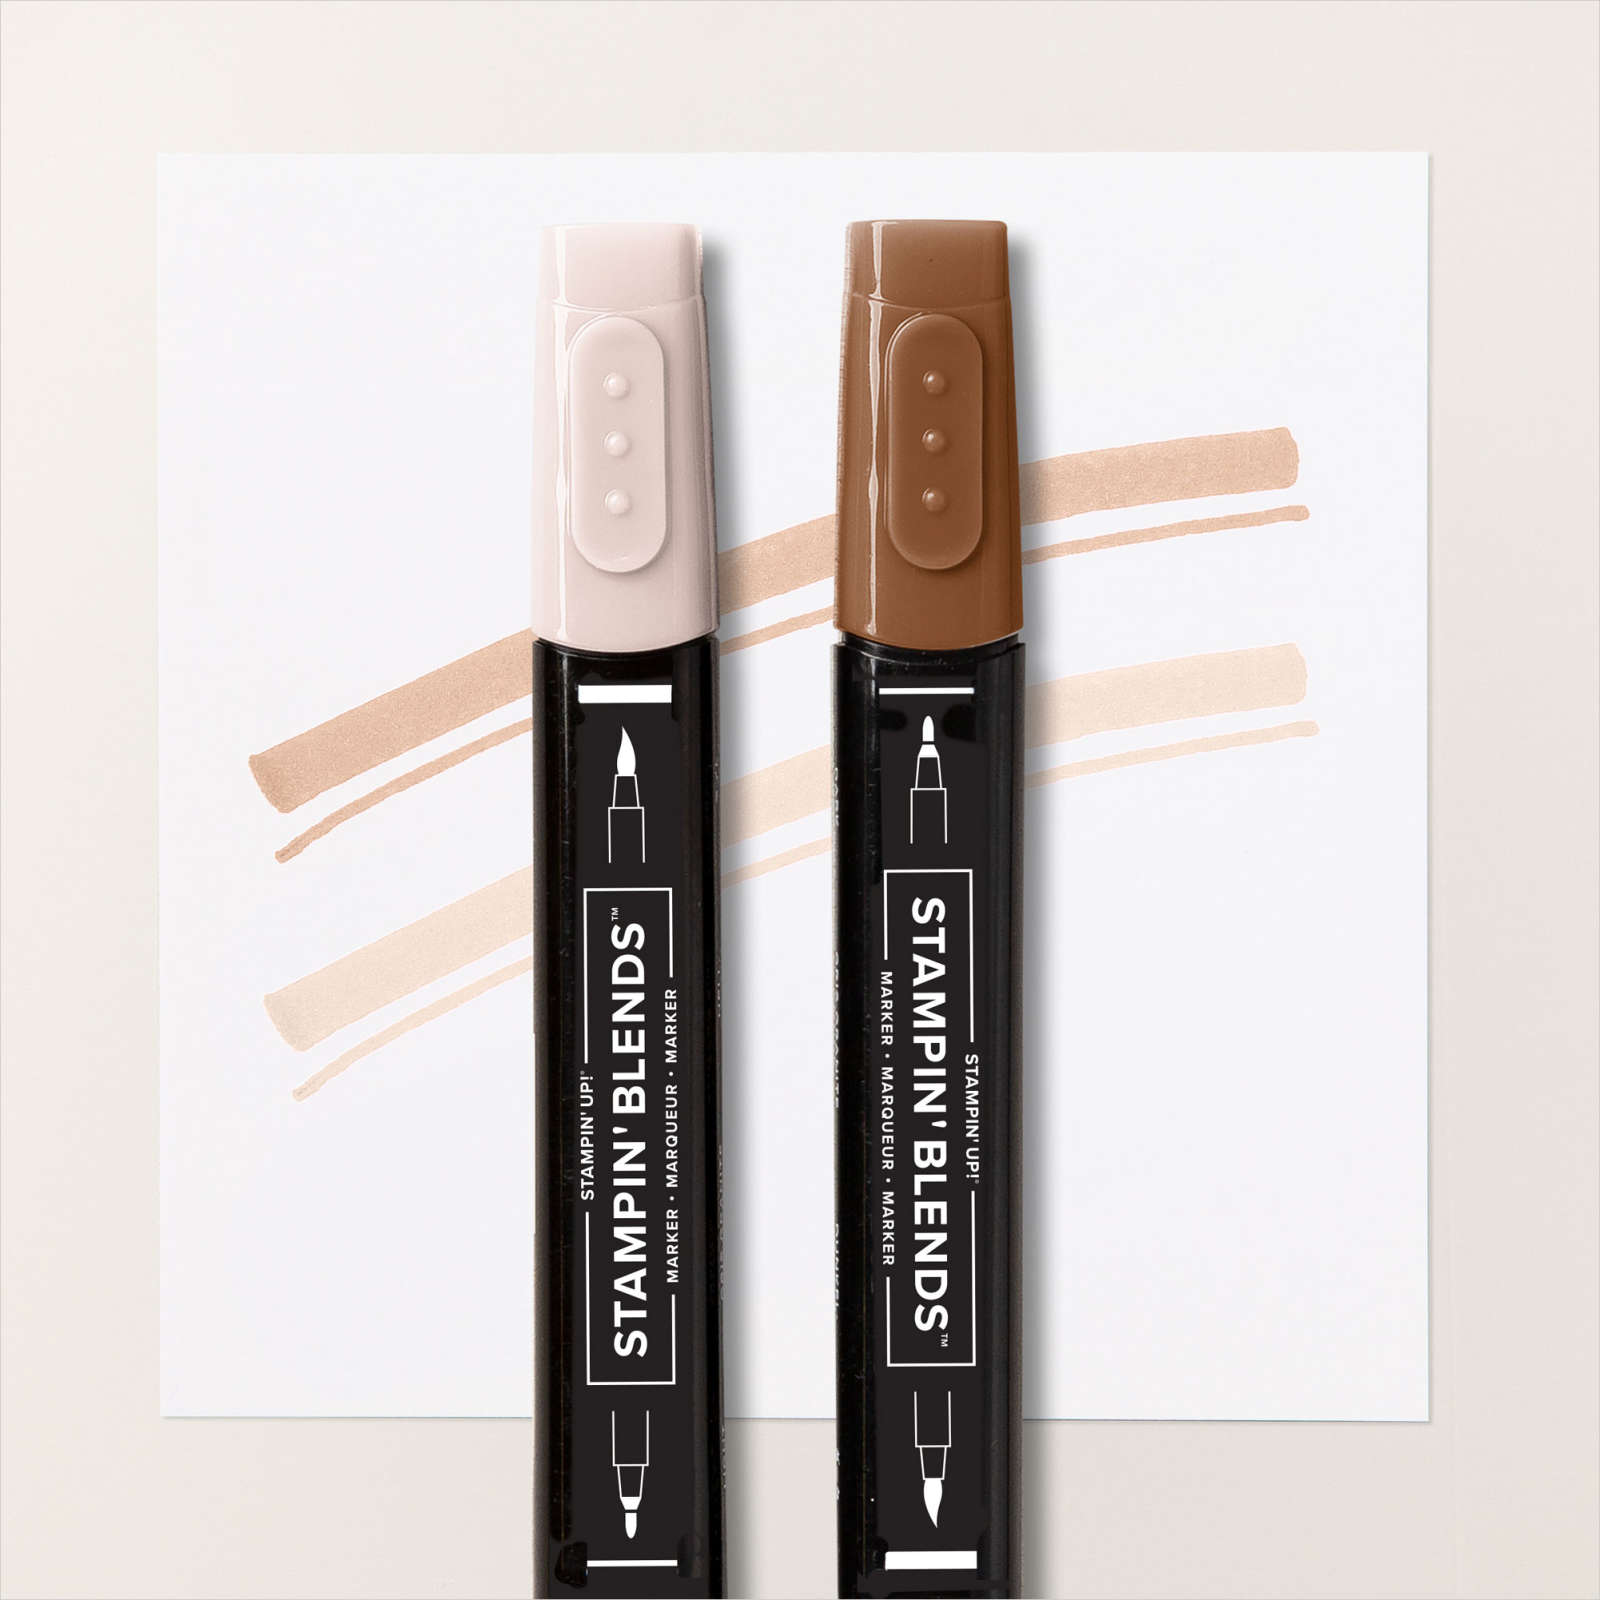
Product Used:


Hello Dear Friend
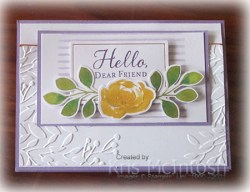
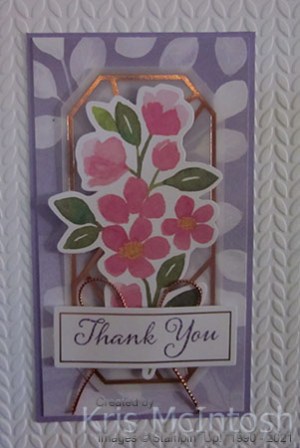
Today I am sharing another stepped up card using another note card from the Hello Dear Friend All Inclusive Card Kit. For this card, I embossed Basic White using one of the folders from the Greenery Embossing Folders. I wrapped the top of the embossing using the Copper Twine included in the kit before attaching to Highland Heather card.

I cut the note card in half and attached the front panel to Highland Heather card and then the embossed panel. I stamped the greeting from the included stamp set onto the die cut label using Highland Heather ink.

I attached die cut leaves and one die cut flower from the kit onto the stamped label. The whole piece is attached to the note card panel using dimensionals. I scored and folded Highland Heather card and attached the note card panel to create an easel card. I attached Basic White card to the inside of the easel card and attached two die cut leaves and one die cut flower to the bottom edge using dimensionals so that the easel would sit correctly. I don’t know why I waited so long to purchase this kit! This was fun to make and I love the finished easel card, what about you?
Bye for now,
Kris
Product Used:


Thank You card
Yesterday I shared with you the cards you can make using the Hello Dear Friend All Inclusive Kit which you can find on Page 6 of the January to June Mini Catalogue. You can make three each of four different cards, two full sized and two small note card sized cards. They are really lovely. However, today I thought I would share a card I made using one of the small note cards which I have turned into a full sized card with the addition of a couple of layers.
I embossed Basic White card using the one of the Greenery Embossing Folders and attached it to scored and folded Highland Heather card. I cut the back off the small note card and attached it to Highland Heather card. I attached the vellum piece using glue dots and the die cut flowers using mini dimensionals.
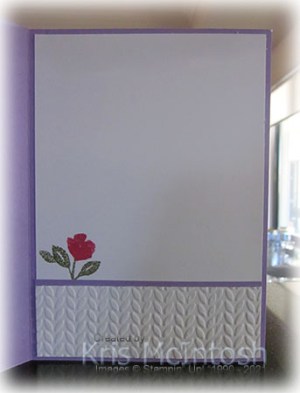
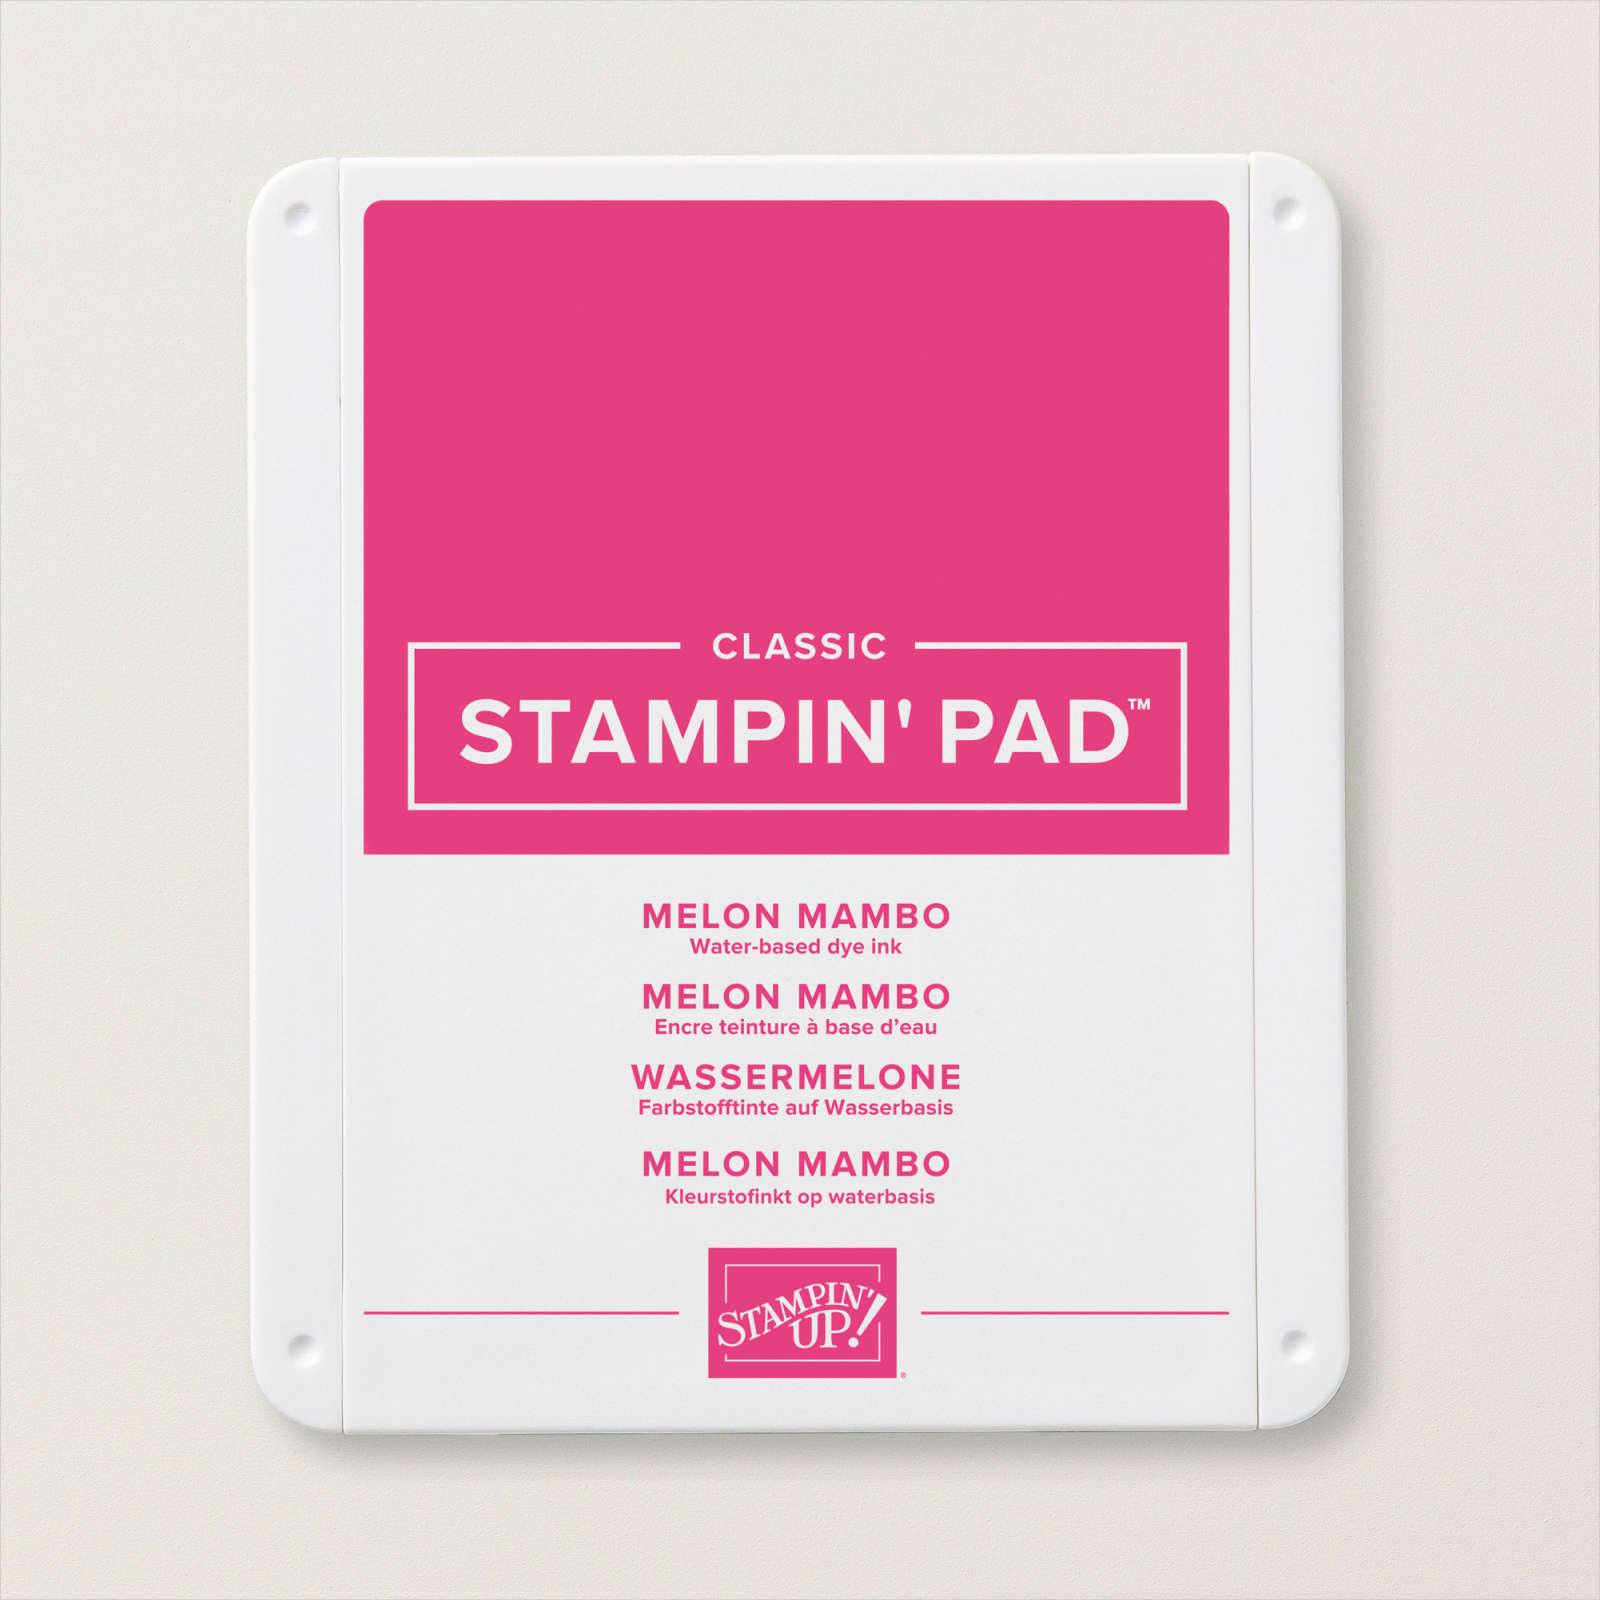
I stamped the greeting from the included stamp set onto the die cut label using Highland Heather ink. I tied a bow in the copper cord included in the kit and attached it to the back of the greeting panel. The greeting is attached using dimensionals on the ends only. To decorate the inside of the card I stamped the leaf image from the included stamp set onto the lower left hand side of Basic White card using Old Olive ink. I stamped the small flower from the included stamp set onto the leaves using Melon Mambo ink. I embossed a strip of Basic White card using the same Greenery Embossing Folder and attached a narrow strip of Highland Heather card behind one long edge. The embossed panel is attached to the stamped Basic White card.
I really loved the note card when I made it yesterday but I love this stepped up version too. I have to admit the best thing about these type of kits is that they also include all the adhesives and embellishments you need.
Bye for now,
Kris
Product Used:

Missed Challenge
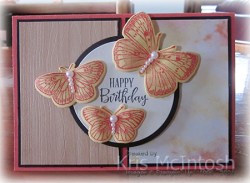
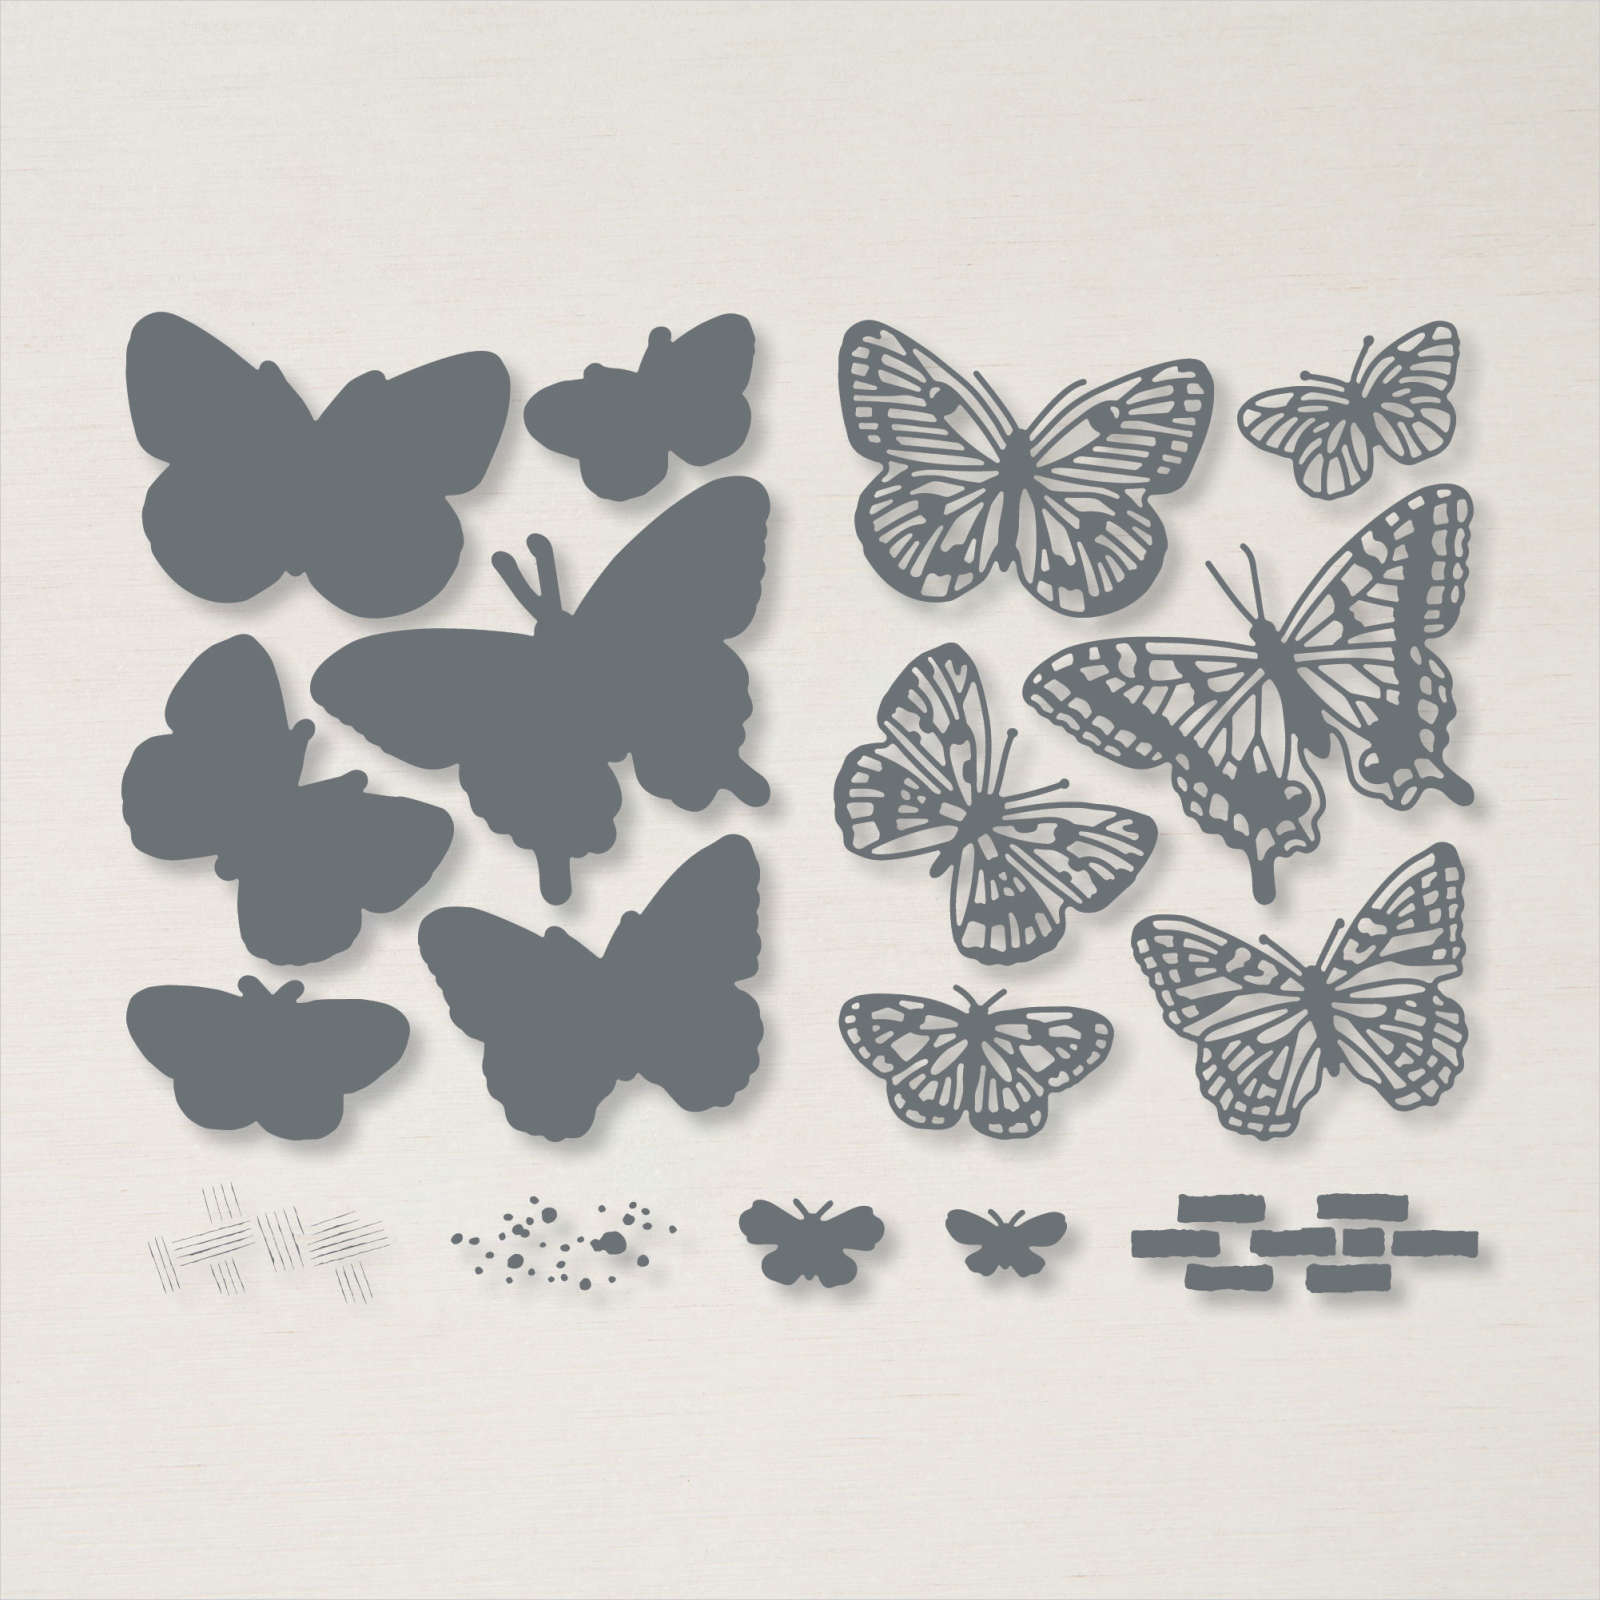
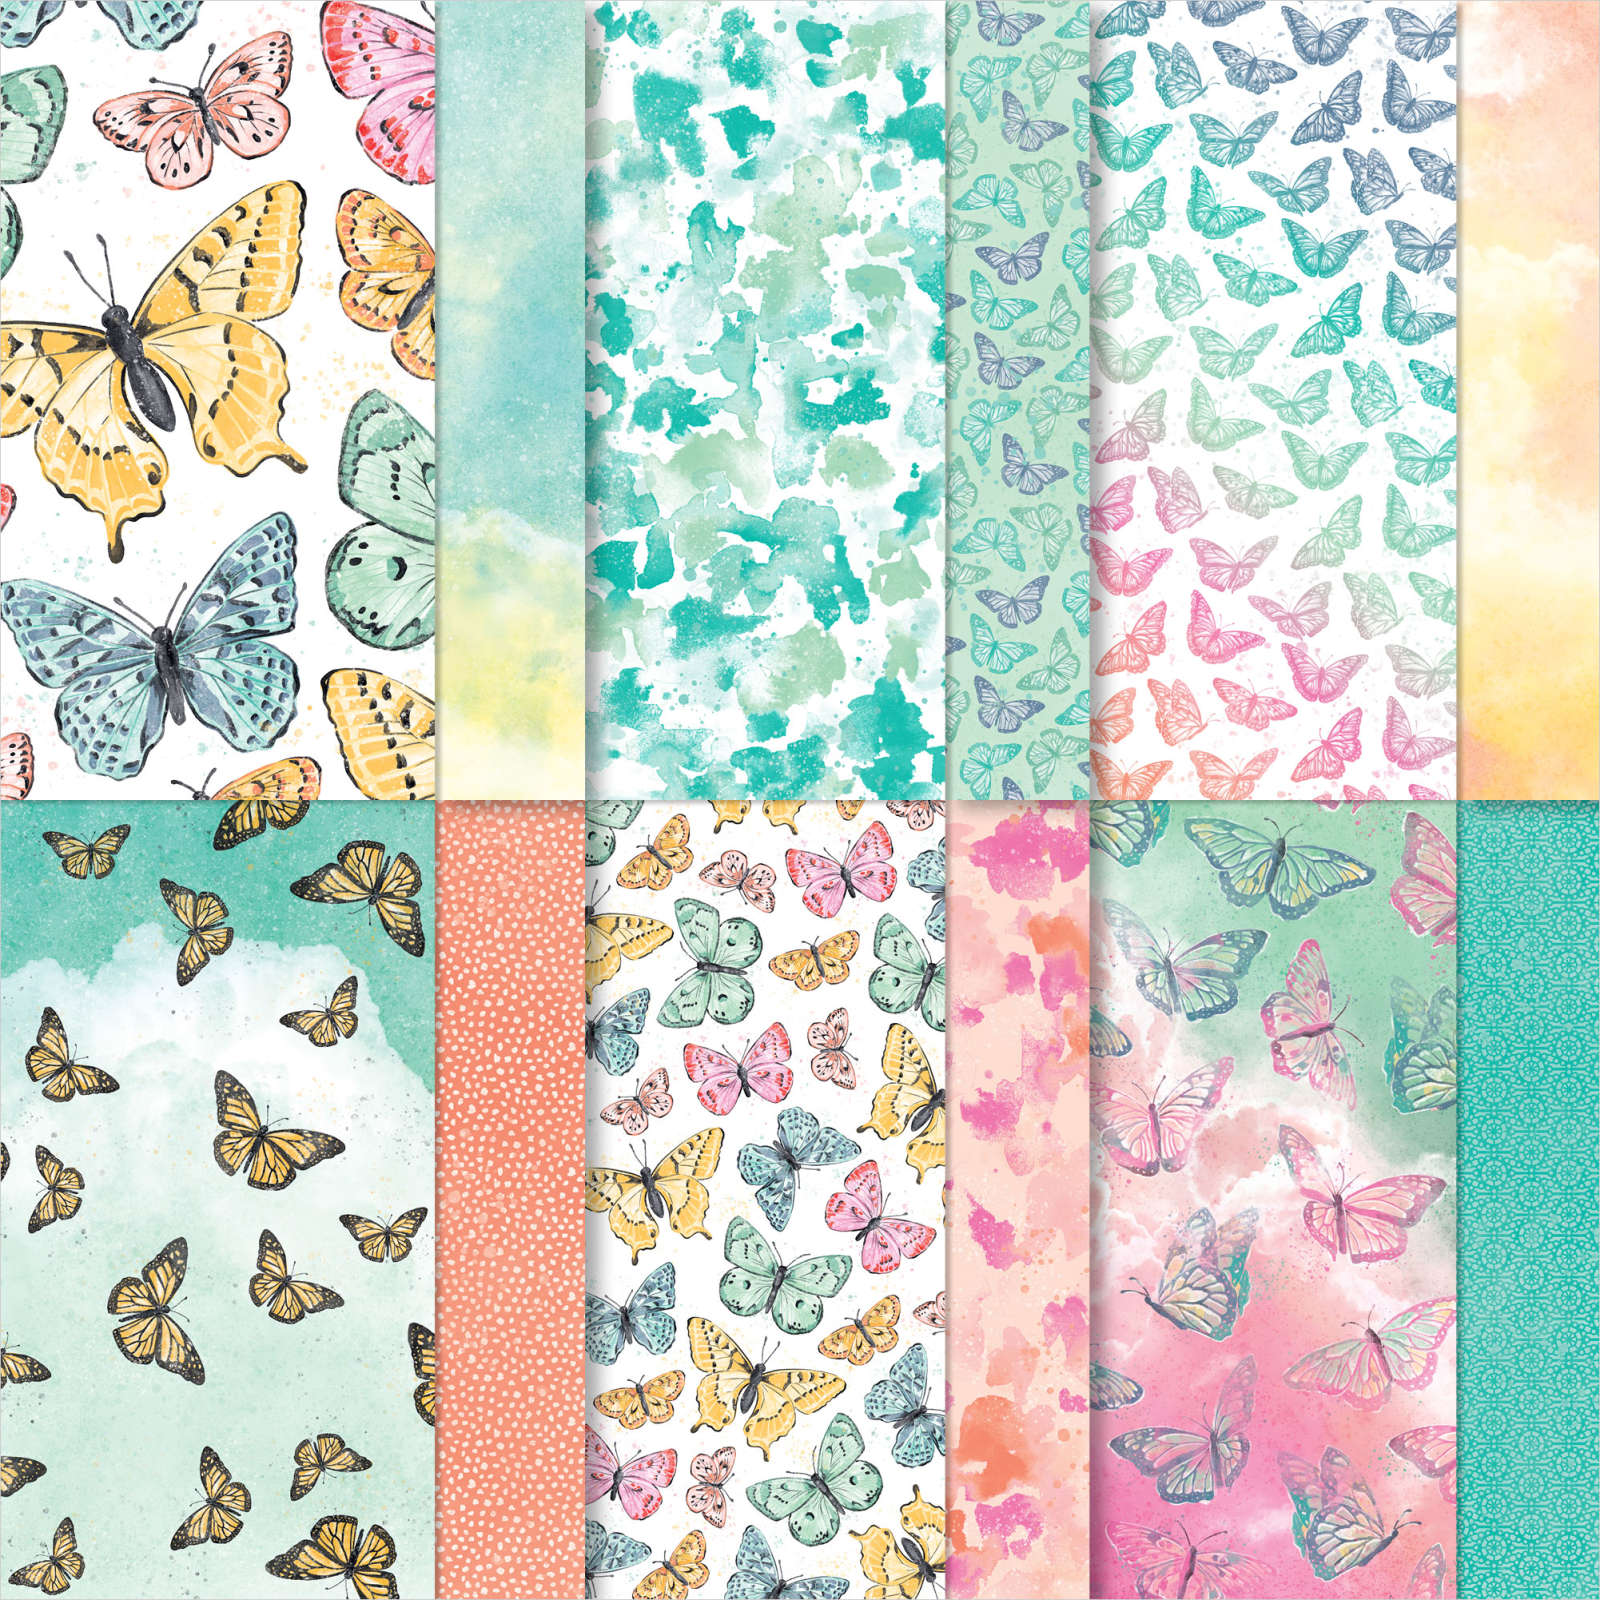
I recently saw a sketch challenge on Tuesday Morning Sketches but as happens, I missed the deadline. However, I loved the card and thought that I would share it with you. I cut a piece of Butterfly Bijou 6″ x 6″ Designer Series Paper and attached it Basic Black card. I also cut a piece of Natural Touch Specialty Paper and attached it to Basic Black card.
The Basic Black panels are attached to scored and folded Calypso Coral card. I cut Very Vanilla card using the second largest circle from the Layering Circle Die and stamped “happy birthday” from the Peaceful Moments stamp set using Memento Tuxedo Black ink. I cut Basic Black card using the largest circle from the Layering Circle Dies.
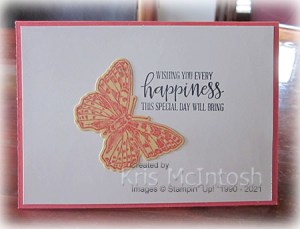
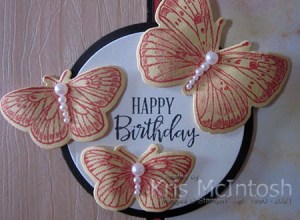
I attached the two circles together before attaching them to the card front using dimensionals. I stamped the image from the Butterfly Brilliance stamp set onto So Saffron card using Calypso Coral ink and cut out the butterflies using the co-ordinating Brilliant Wings Die. I curled the wings of three butterflies and attached them to the card front using dimensionals under the wings and glue dots in the centre of the body. Where the wings hang over the edge of the greeting panel, I stacked two dimensionals. Lastly I added Basic Pearls to the centres of the butterfly bodies. To decorate the inside of the card, I stamped another greeting from the Peaceful Moments stamp set onto Very Vanilla card using Memento Tuxedo Black ink. I attached another of the butterflies beside the greeting. This card turned out so great, I created another one using a different pattern paper from the Buttefly Bijou Designer Series Paper. I also used Blushing Bride and Magenta Madness card and Magenta Madness ink.
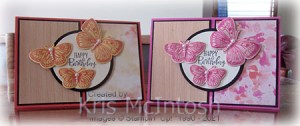
Don’t they look pretty together? Thank you Tuesday Morning Sketches for the inspiration.
Bye for now,
Kris
Product Used:
I can’t link an icon for the Butterfly Brilliance Product Suite, but you can find it here in my store.


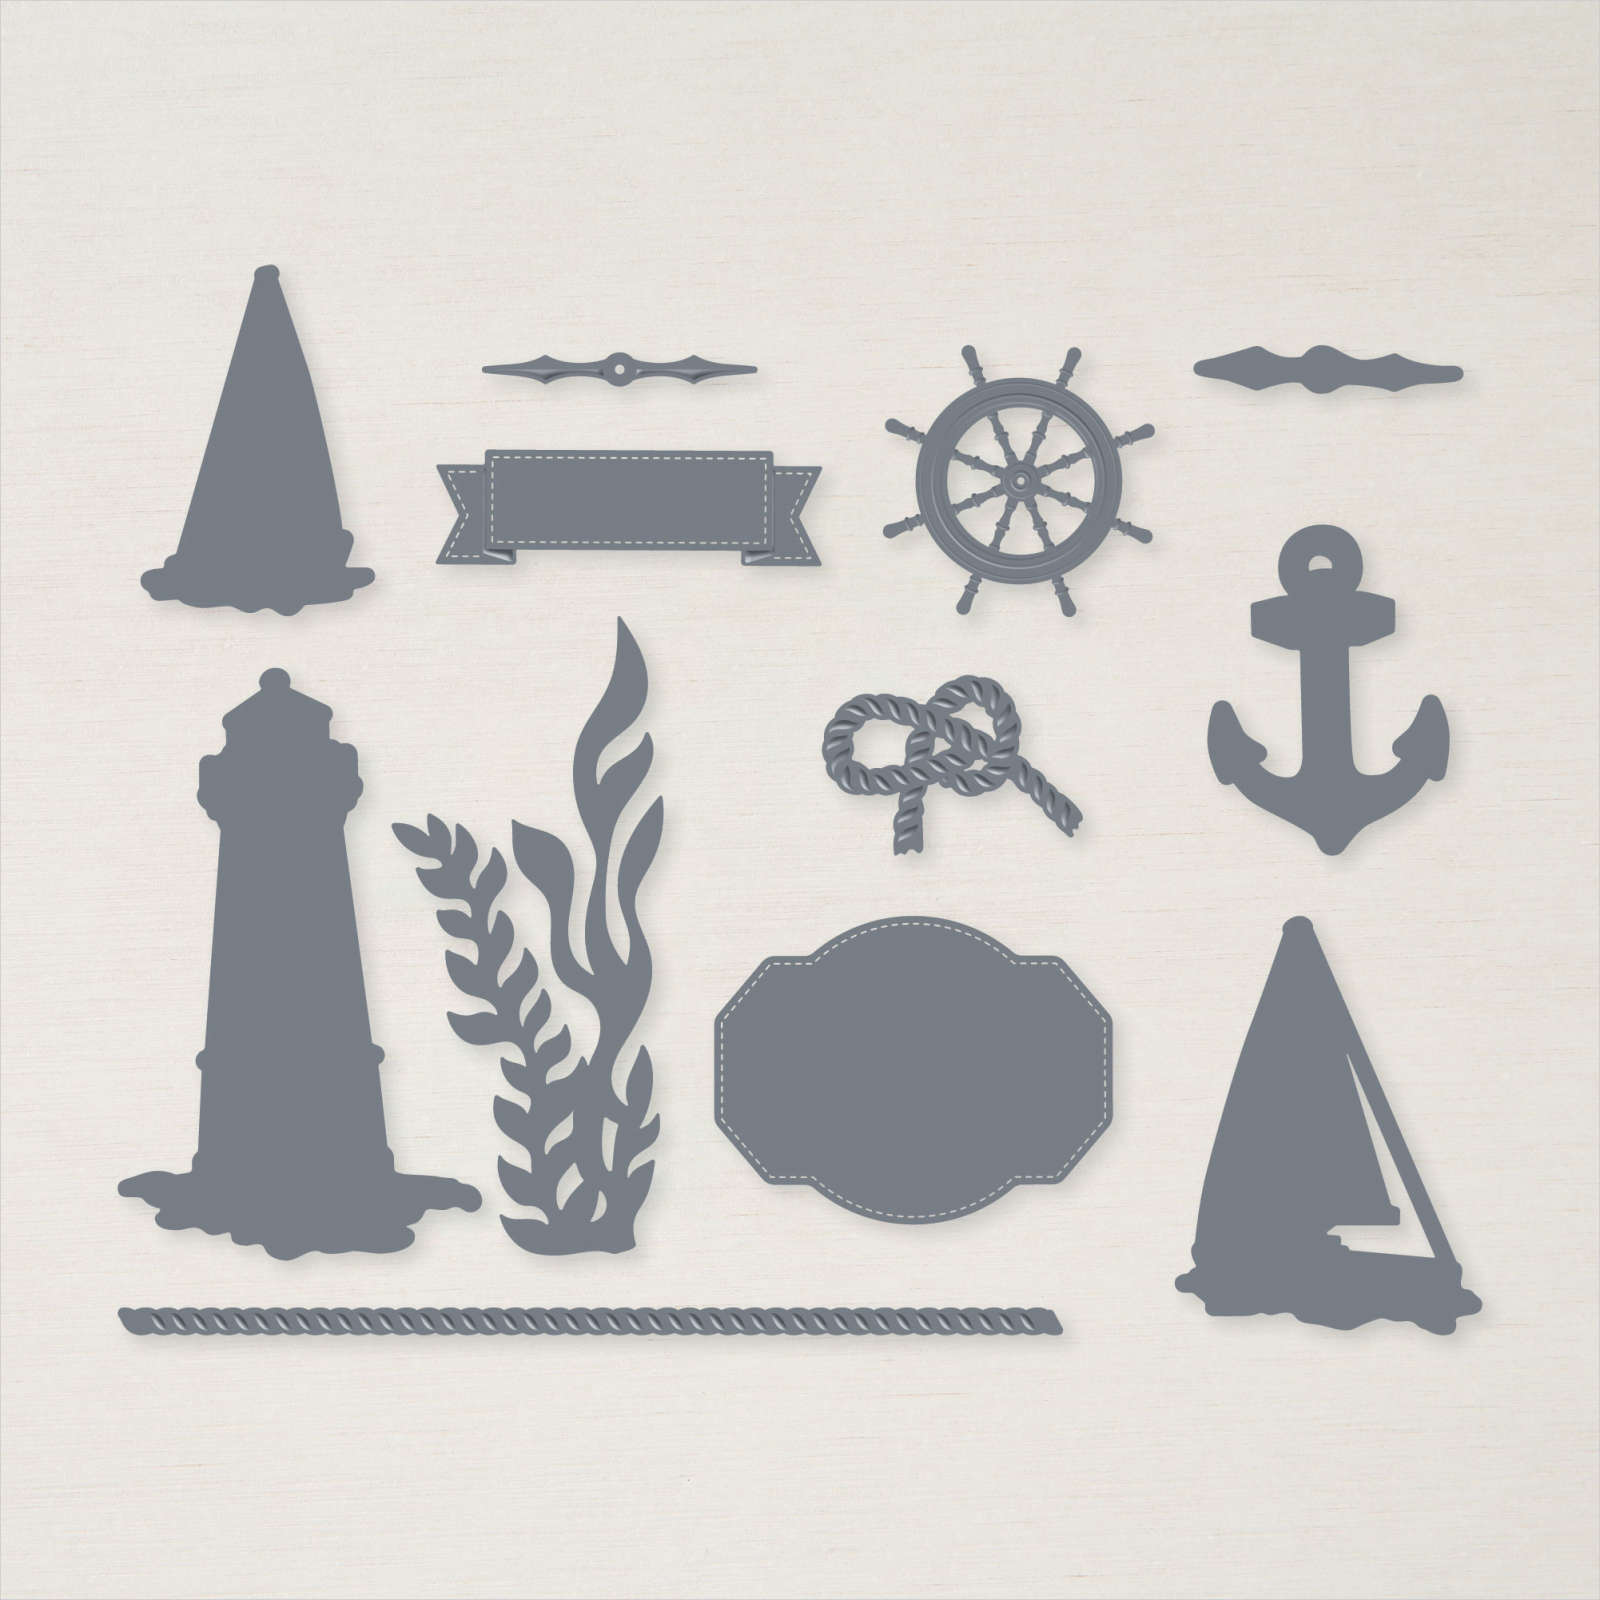
Lighthouse Birthday
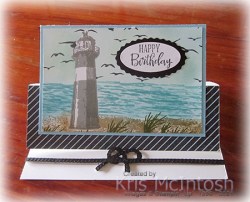
Today I am sharing another easel card which uses the High Tide stamp set. I cut the card base from Thick Basic White card and scored and folded it to create the easel. I coloured a strip of the True Love Designer Series Paper using the Dark Balmy Blue Stampin’ Blend before attaching to the lower section of the card front. I stamped the sand image from the High Tide stamp set across the bottom of Basic White card using Crumb Cake ink. I stamped the lighthouse images using Smoky Slate and Basic Gray ink. I masked the lighthouse image and stamped the sea image using Balmy Blue ink. With the mask still in place, I used a Blending Brush to add Pool Party ink to the top part of the card. I also used the Blending Brush to add a little more Balmy Blue ink to the sea.
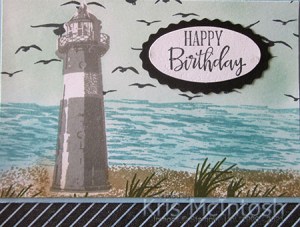
With the mask still in place, I stamped the bird image from the High Tide stamp set (maybe too many birds?) using Memento Tuxedo Black ink. I also stamped the grass image across the “sand” using Mossy Meadow ink. I stamped “happy birthday” from the Peaceful Moment stamp set onto Basic White card using Memento Tuxedo Black ink. I punched out the greeting using the Double Oval Punch. I attached the greeting to a Basic Black scalloped oval punched using the same punch. The greeting is attached over the sky part of the card front. I attached the image panel to Balmy Blue card and then the card front, making sure that image panel is centred over the whole card front but only attached to the lower part. To hold the easel in place, I cut Basic Black card using the “rope” and “knot” dies from the Smooth Sailing Dies. I attach the “knot” to the “rope” and then used dimensionals to attach it across the inside of the card.
I have a person in mind for this card and I hope he likes it. What about you? What do you think?
Bye for now,
Kris
Product Used:


Birthday Wishes
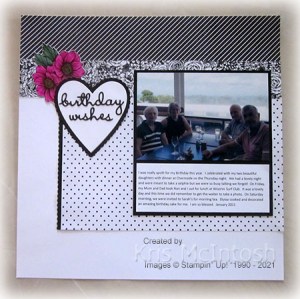
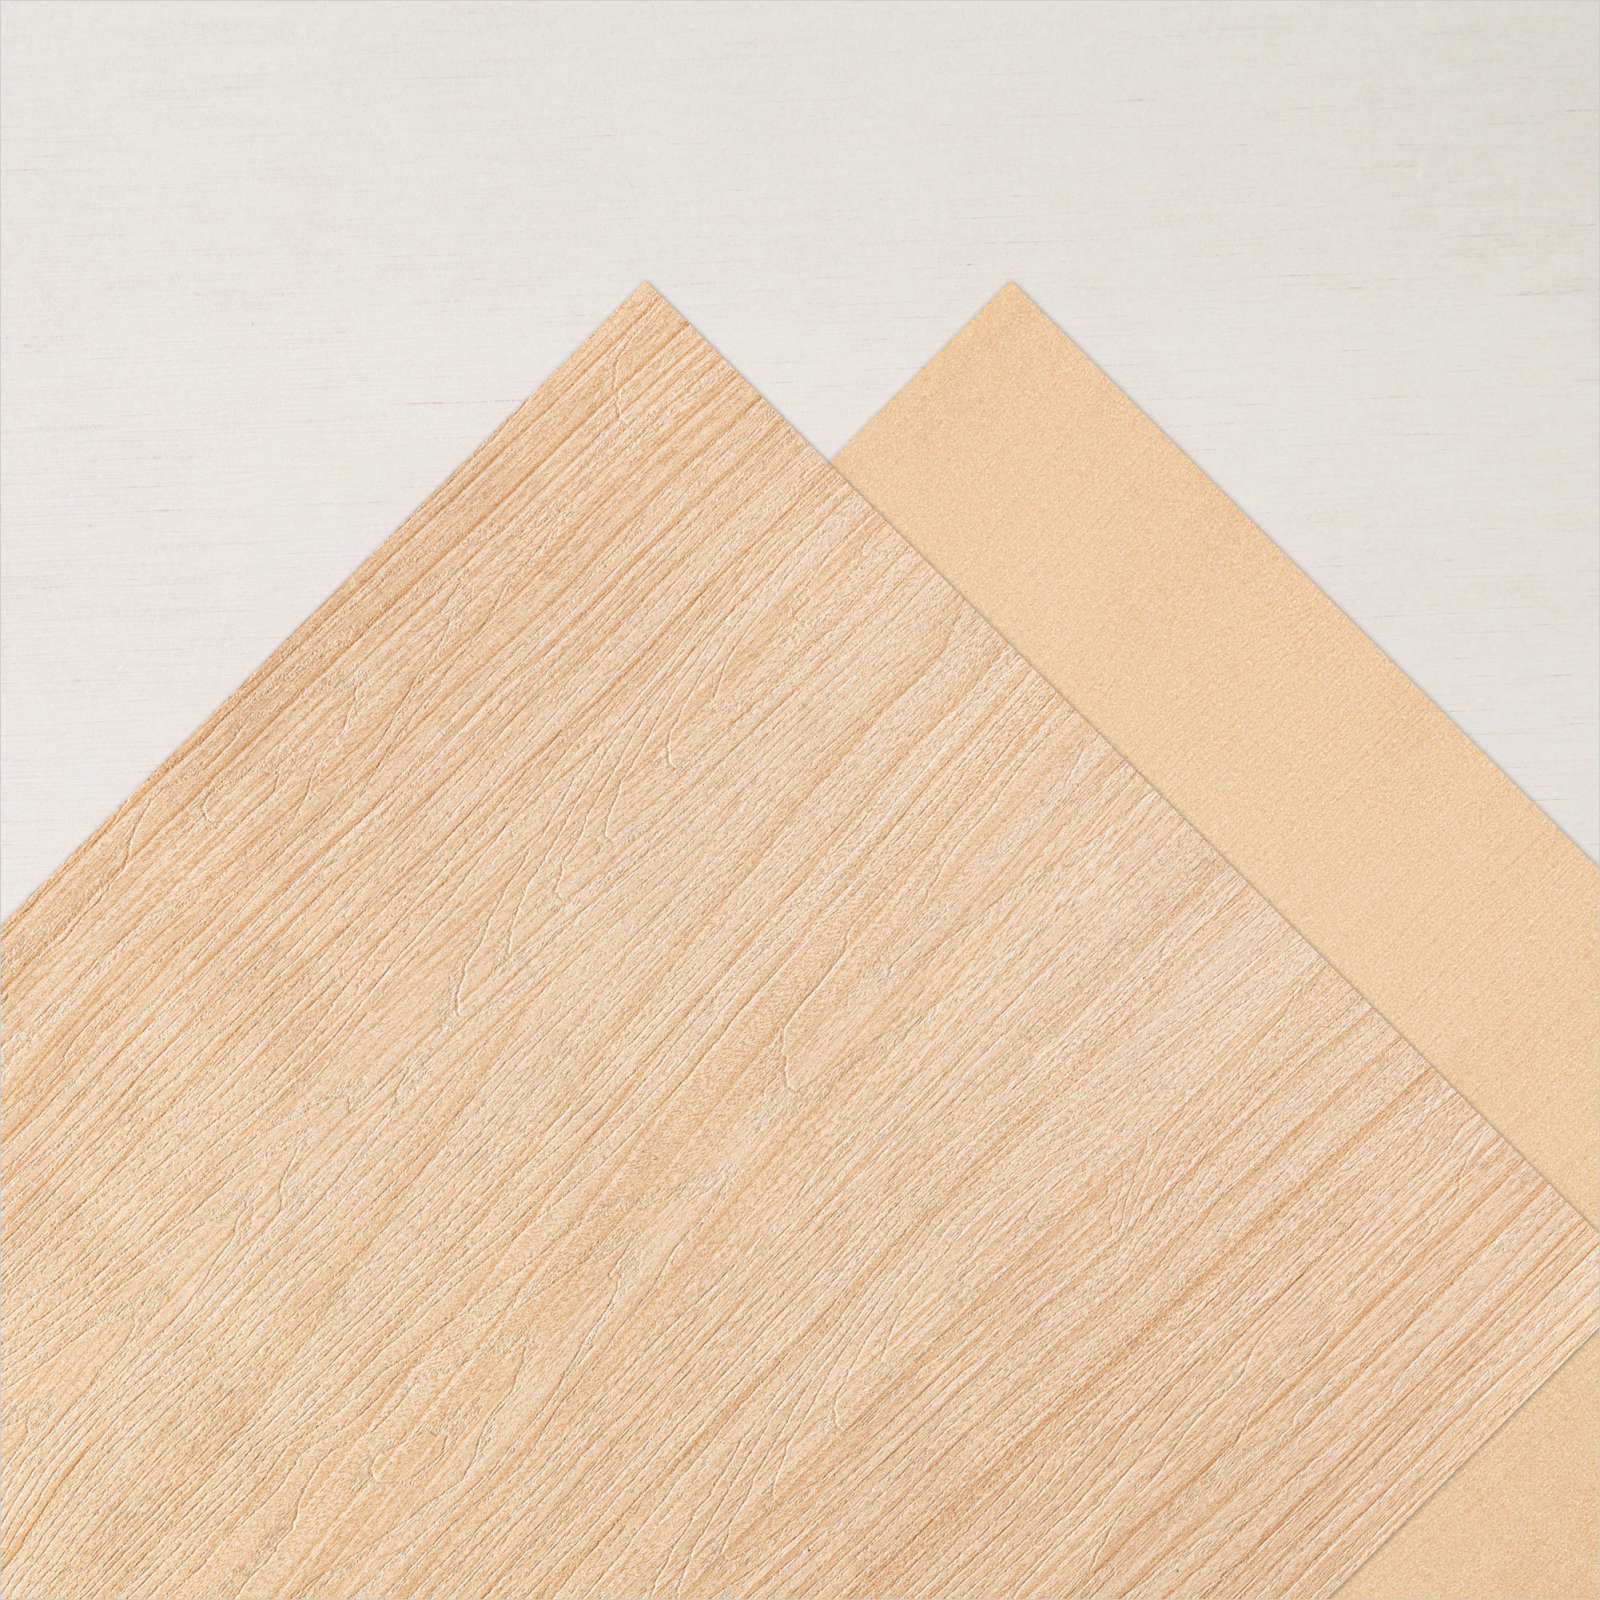
Today’s page shows off some photos taken whilst I was celebrating my birthday! I was very spoilt. Dinner out with my two beautiful daughters on Thursday, lunch on Friday with Mum and Dad and morning tea at Sarah’s with a beautiful cake cooked and decorated by Elyssa on Saturday. So lucky. I decorated the pages by attaching two strips of True Love Designer Series Paper across the top of a Basic White 12″ x 12″ page. I cut Basic Black card using the scalloped edge die from the Be Mine Dies which I attached behind one edge of another piece of True Love Designer Series Paper before attaching the paper to the page. For the title page, I coloured a flower from the True Love Designer Series Paper using Magenta Madness, Just Jade and Dark Daffodil Delight Stampin’ Blends and attached it to the upper right hand side of the page.

I cut Basic Black and Basic White card using the large heart die from the Be Mine Dies and attached the Basic Black scalloped outline heart to the page just covering the edge of the flowers. I attached the Basic White heart in the centre. I cut “birthday” and “wishes” from Basic Black card using the Well Written Dies. The words are attached to the Basic White heart. I created my journaling on the computer and printed onto Basic White card. I attached the photo and the journaling panel to Basic Black card before attaching to the page. For the second page I attached the photos to Basic Black card before attaching them to the page. I coloured two double and one single flower from the True Love Designer Series Paper using Magenta Madness, Just Jade and Dark Daffodil Delight Stampin’ Blends. I cut out the flowers and attached them to the page to the right of the photos.
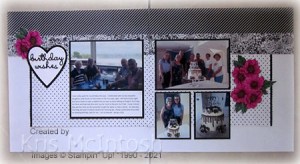
I really love the True Love Designer Series Paper, especially for my Memory Keeping because it is so neutral and goes with just about any theme.
Bye for now,
Kris
Product Used:


Anniversary

My daughter Emma and her husband celebrated their Wedding Anniversary recently and I thought I would share the card I made for them. I cut two pieces of my favourite True Love Designer Series Paper and attached them to Whisper White card and then scored and folded Basic Black card. I cut Basic Black and Basic White using the largest heart from the Be Mine Dies and attached the Basic Black scalloped heart outline to the card front. I embossed the Whisper White heart using the Scripty 3D Embossing Folder before attaching it to the card front inside the scalloped heart.

I stamped “happy anniversary” using the Well Said stamp set onto Basic White card. I punched out the greeting using the Double Oval Punch. I attached the greeting to a scalloped oval cut from Basic Black card using the same punch.

The greeting is attached to the card front using dimensionals. I coloured one of the flowers from the True Love Designer Series Paper using Bermuda Bay and Granny Apple Green Stampin’ Blends. I cut out the flower and attached it to the left hand side of the embossed heart. To decorate the inside of the card, I coloured one of the flowers from the True Love Designer Series Papers. I coloured the flower using the same Stampin’ Blends and cut it out. Because the flower was cut from the corner of the Designer Series Paper it fits perfectly onto the top left hand corner of Basic White card.
So Happy Anniversary Emma and Jason, I know you had an amazing day.
Bye for now,
Kris
Product Used:


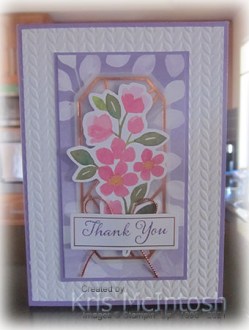
Fine Floral Thinking of You

I created today’s card for a friend who recently underwent an operation and I thought I would share it with you. I stamped the stem image from the Art Gallery stamp set onto Basic White card using Old Olive ink. I stamped the solid flower image from the Art Gallery stamp set onto the stem using Melon Mambo ink which I had stamped onto scrap paper first. I stamped the detailed flower image over the top using Melon Mambo ink. I love how you get the variation in colour when you use a stamped off image.

I inked the greeting from the Art Gallery stamp set so that I only inked the “thinking of you” using Old Olive ink. I stamped the greeting next to the leaf image. I attached a piece of the Golden Garden Designer Specialty Acetate to the co-ordinating paper from the Fine Art Floral Designer Series Paper.

I attached the Designer Series Paper panel across the bottom of the stamped Basic White panel. I attached a narrow strip of Gold Foil just above the designer series paper panel before attaching the Basic White card to Gold Foil card and then scored and folded Melon Mambo card. I had a couple of the now retired Beaded Pearls left so I added one to the centre of the flower. To decorate the inside of the card, I stamped the greeting from the Healing Hugs stamp set using Old Olive ink. I stamped the small floral image from the Art Gallery stamp set onto the bottom of the Basic White card using Melon Mambo ink which I had stamped onto scrap paper first. I added the small detailed flower over the top using Melon Mambo ink.
I love the finished card, don’t you.
Bye for now,
Kris
Product Used:


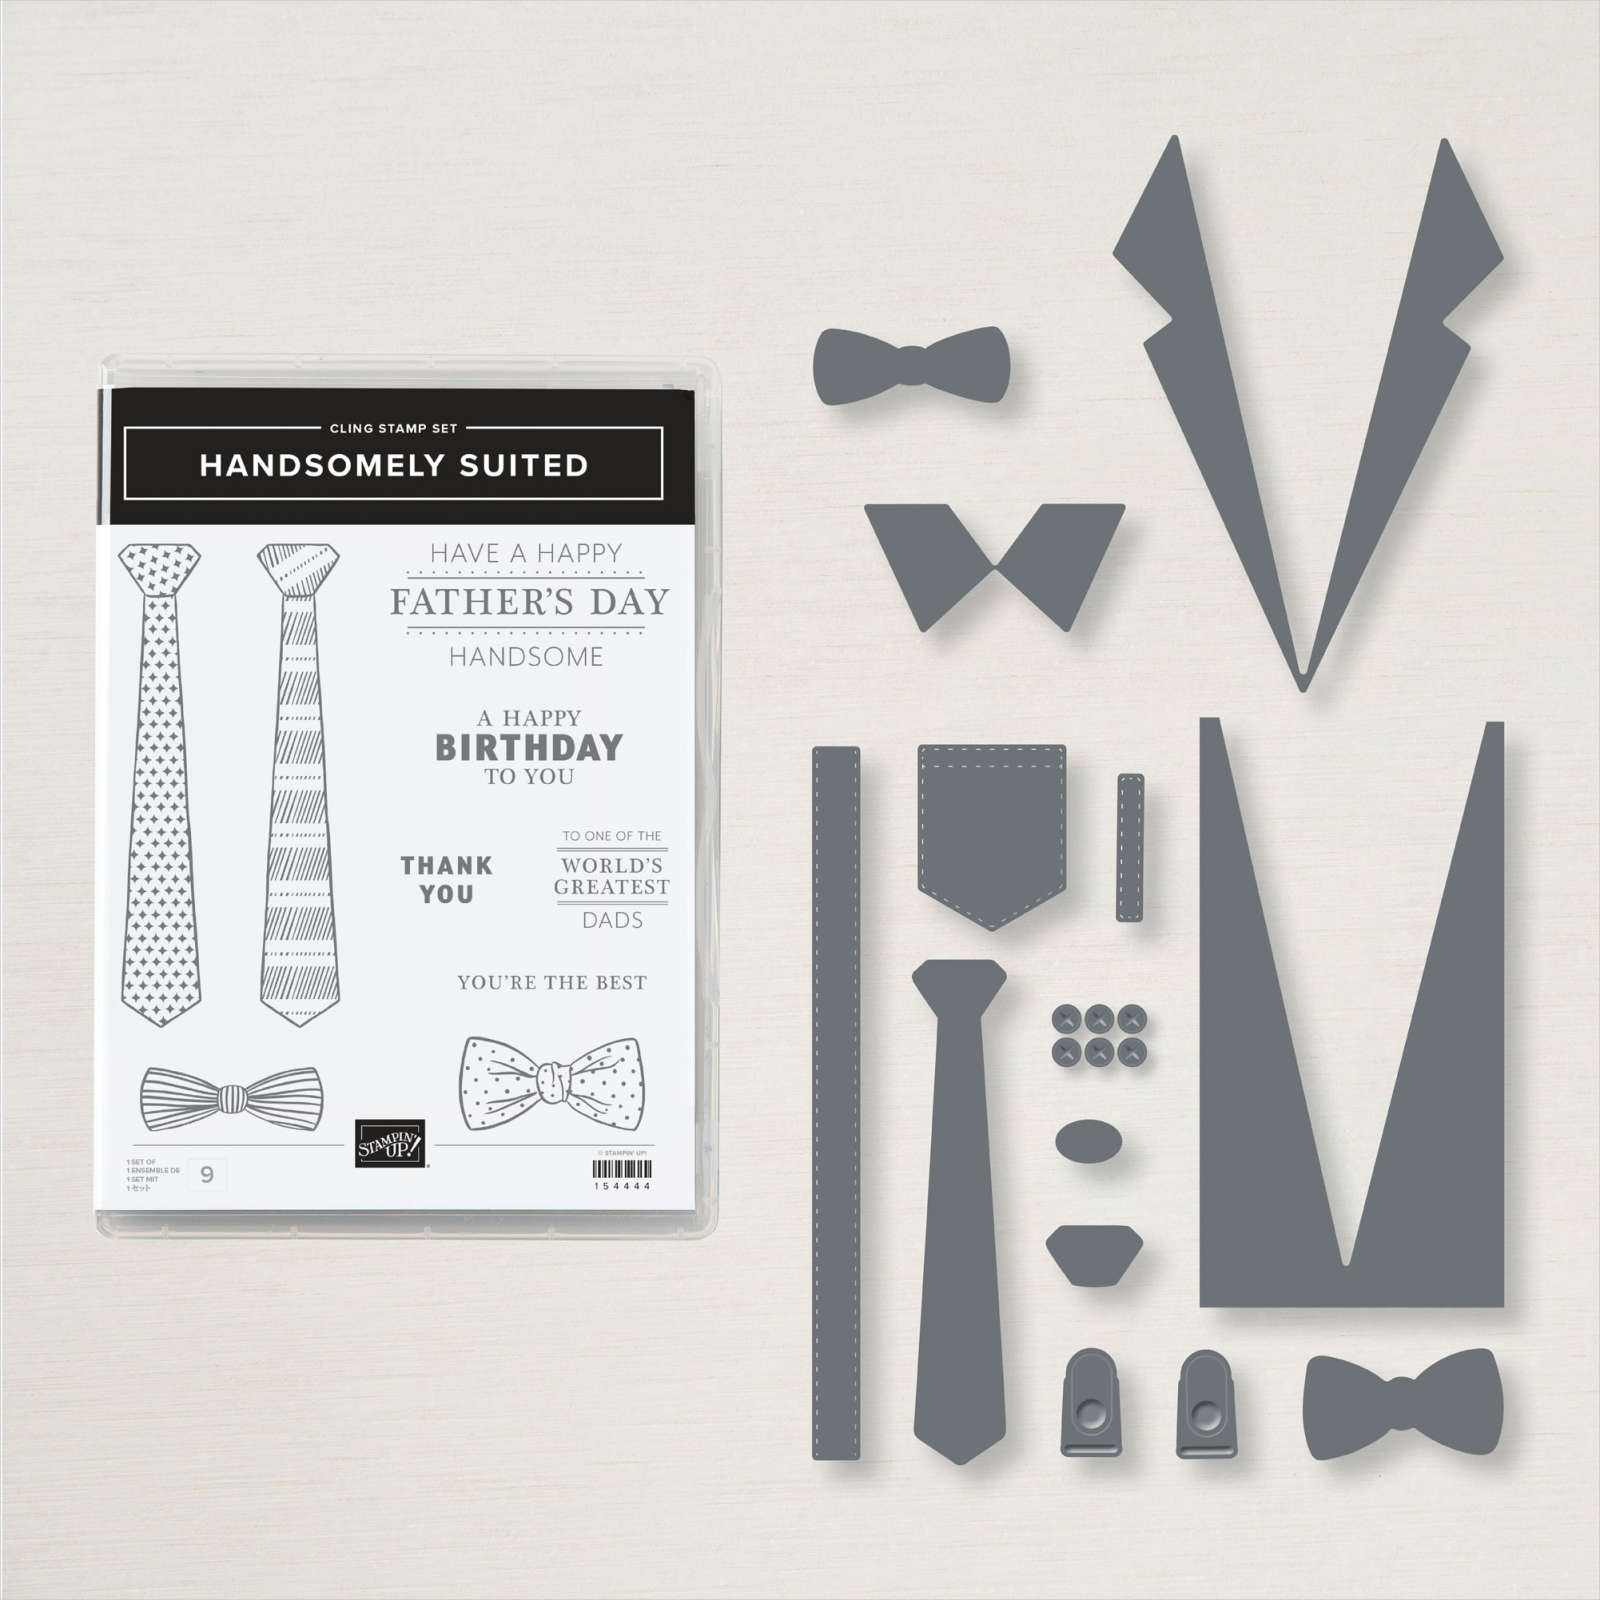
Birthday Suit
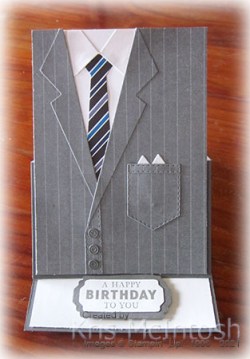
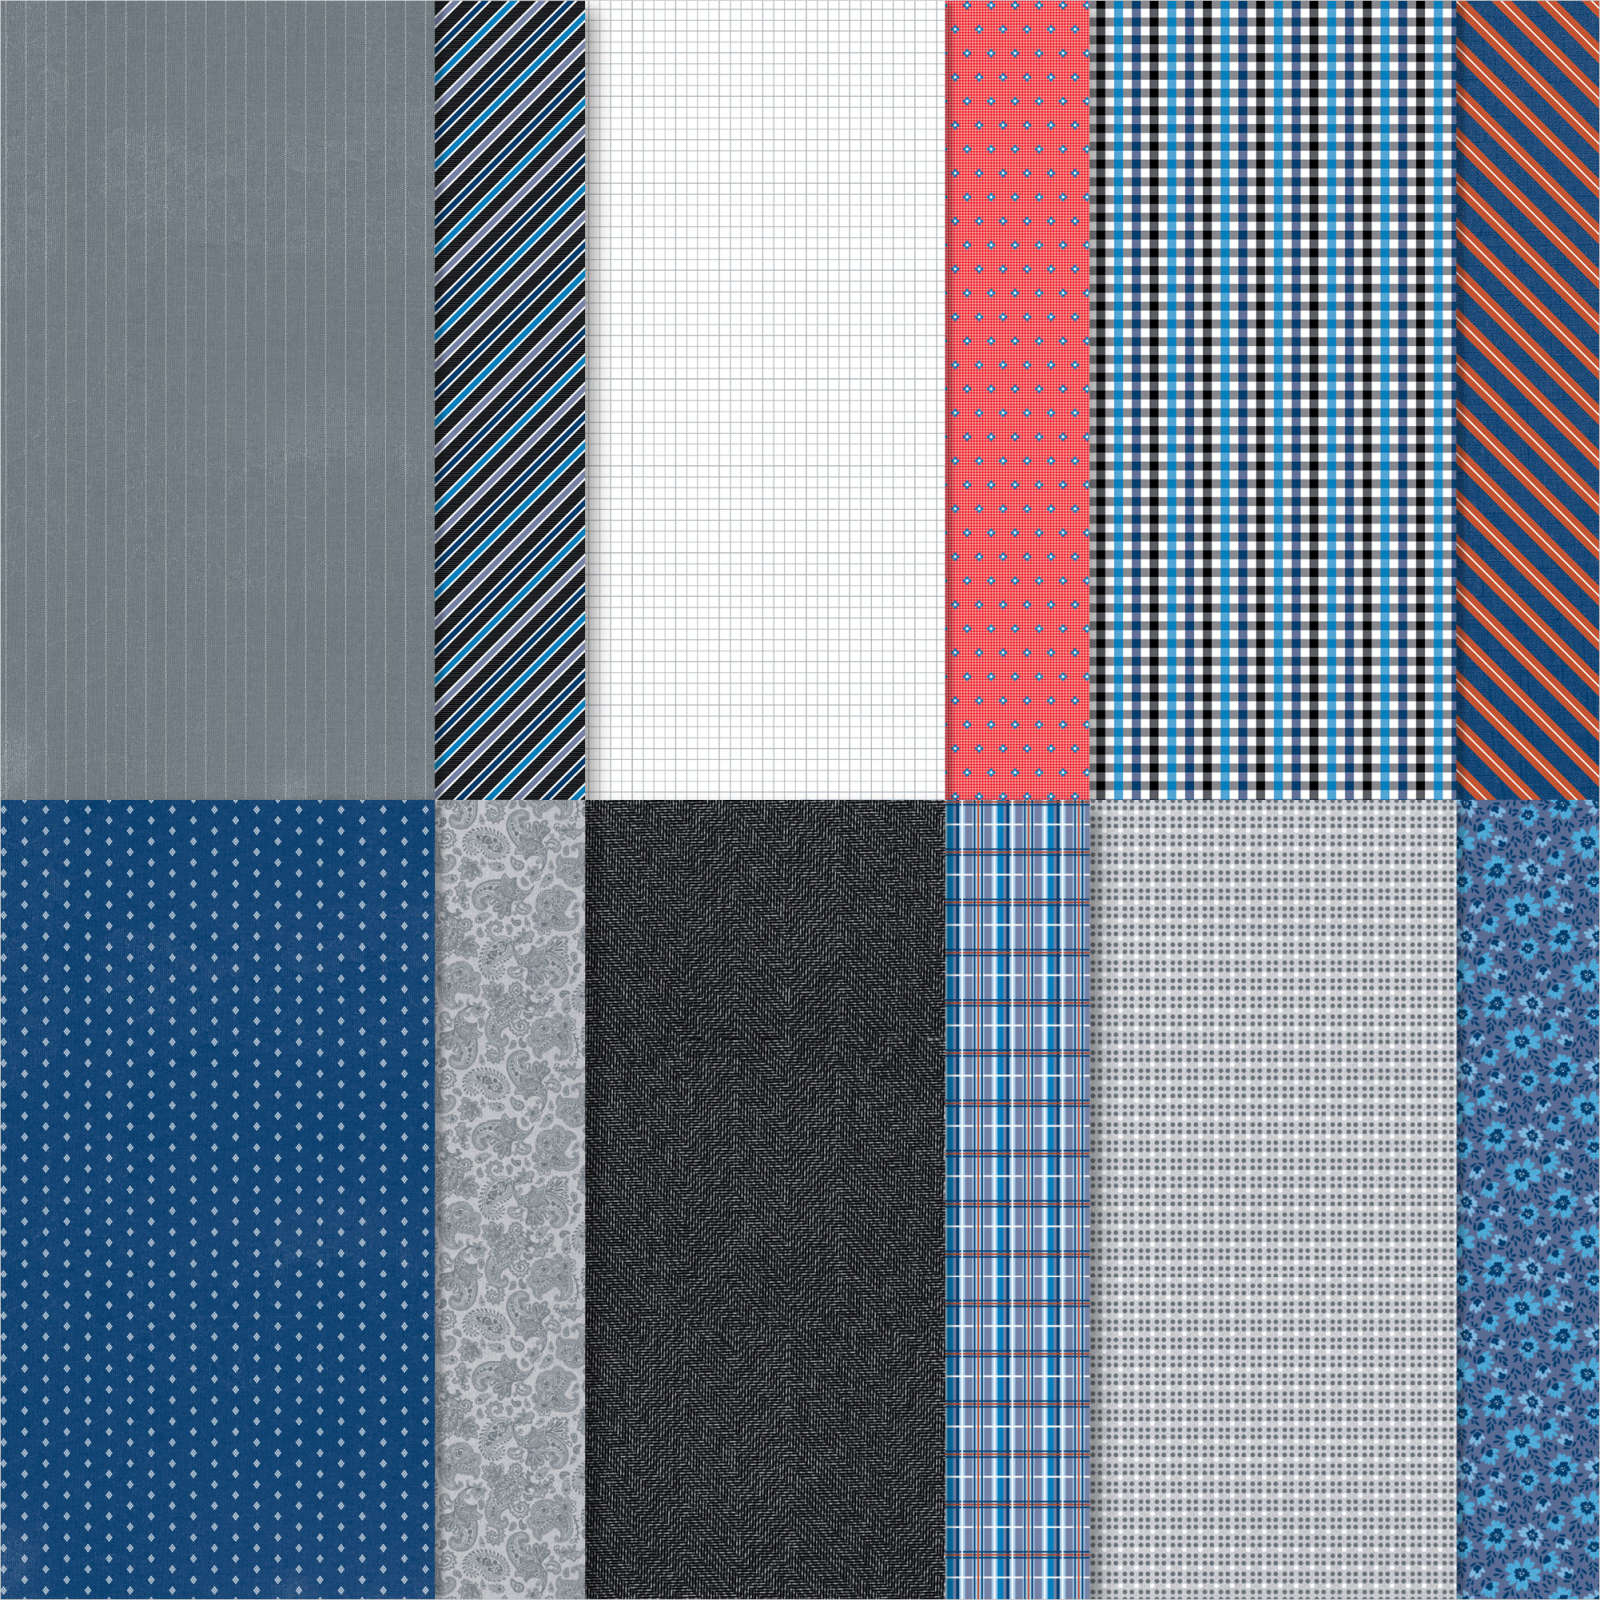
Today’s card uses the Hansomely Suited stamp set and the Suit & Tie Dies. I have wanted to try making a card where the coat pieces overlap and finally got it done. I cut the pieces for the suit and tie from the Well Suited Designer Series Paper using the Suit and Tie Dies. I cut the suit coat pieces in half at the end of the “v”. I attached the collar panel to one side and on the second side, I added the edging strip before attaching the collar piece. I attached the shirt collar piece to a Basic White layer making sure to attach the tie underneath.

I attached the smaller piece of the “jacket” to the card front and attached the second piece so that it sits over the first piece. I attached the small decorative topper to the pocket. I attached the second shirt collar piece (which is folded to look like a handkerchief) behind the pocket before attaching it to the card front. I cut Basic Gray card using the button die from the Suite & Tie Dies and attached three buttons to the coat. I cut my card base from Basic Gray card and scored and folded it to create an easel card base before attaching the suit piece. I stamped “a happy birthday to you” from the Handsomely Suited stamp set onto Basic White card using Basic Gray ink. I punched the stamped panel using the Lovely Labels Pick a Punch. I punched both ends of Basic Gray card using the Lovely Labels Pick a Punch and attached the greeting. The whole piece is attached to the bottom of Basic White card using dimensionals before attaching the panel inside the easel card base.
I am rather happy with the way this card turned out. What do you think?
Bye for now,
Kris
Product Used:


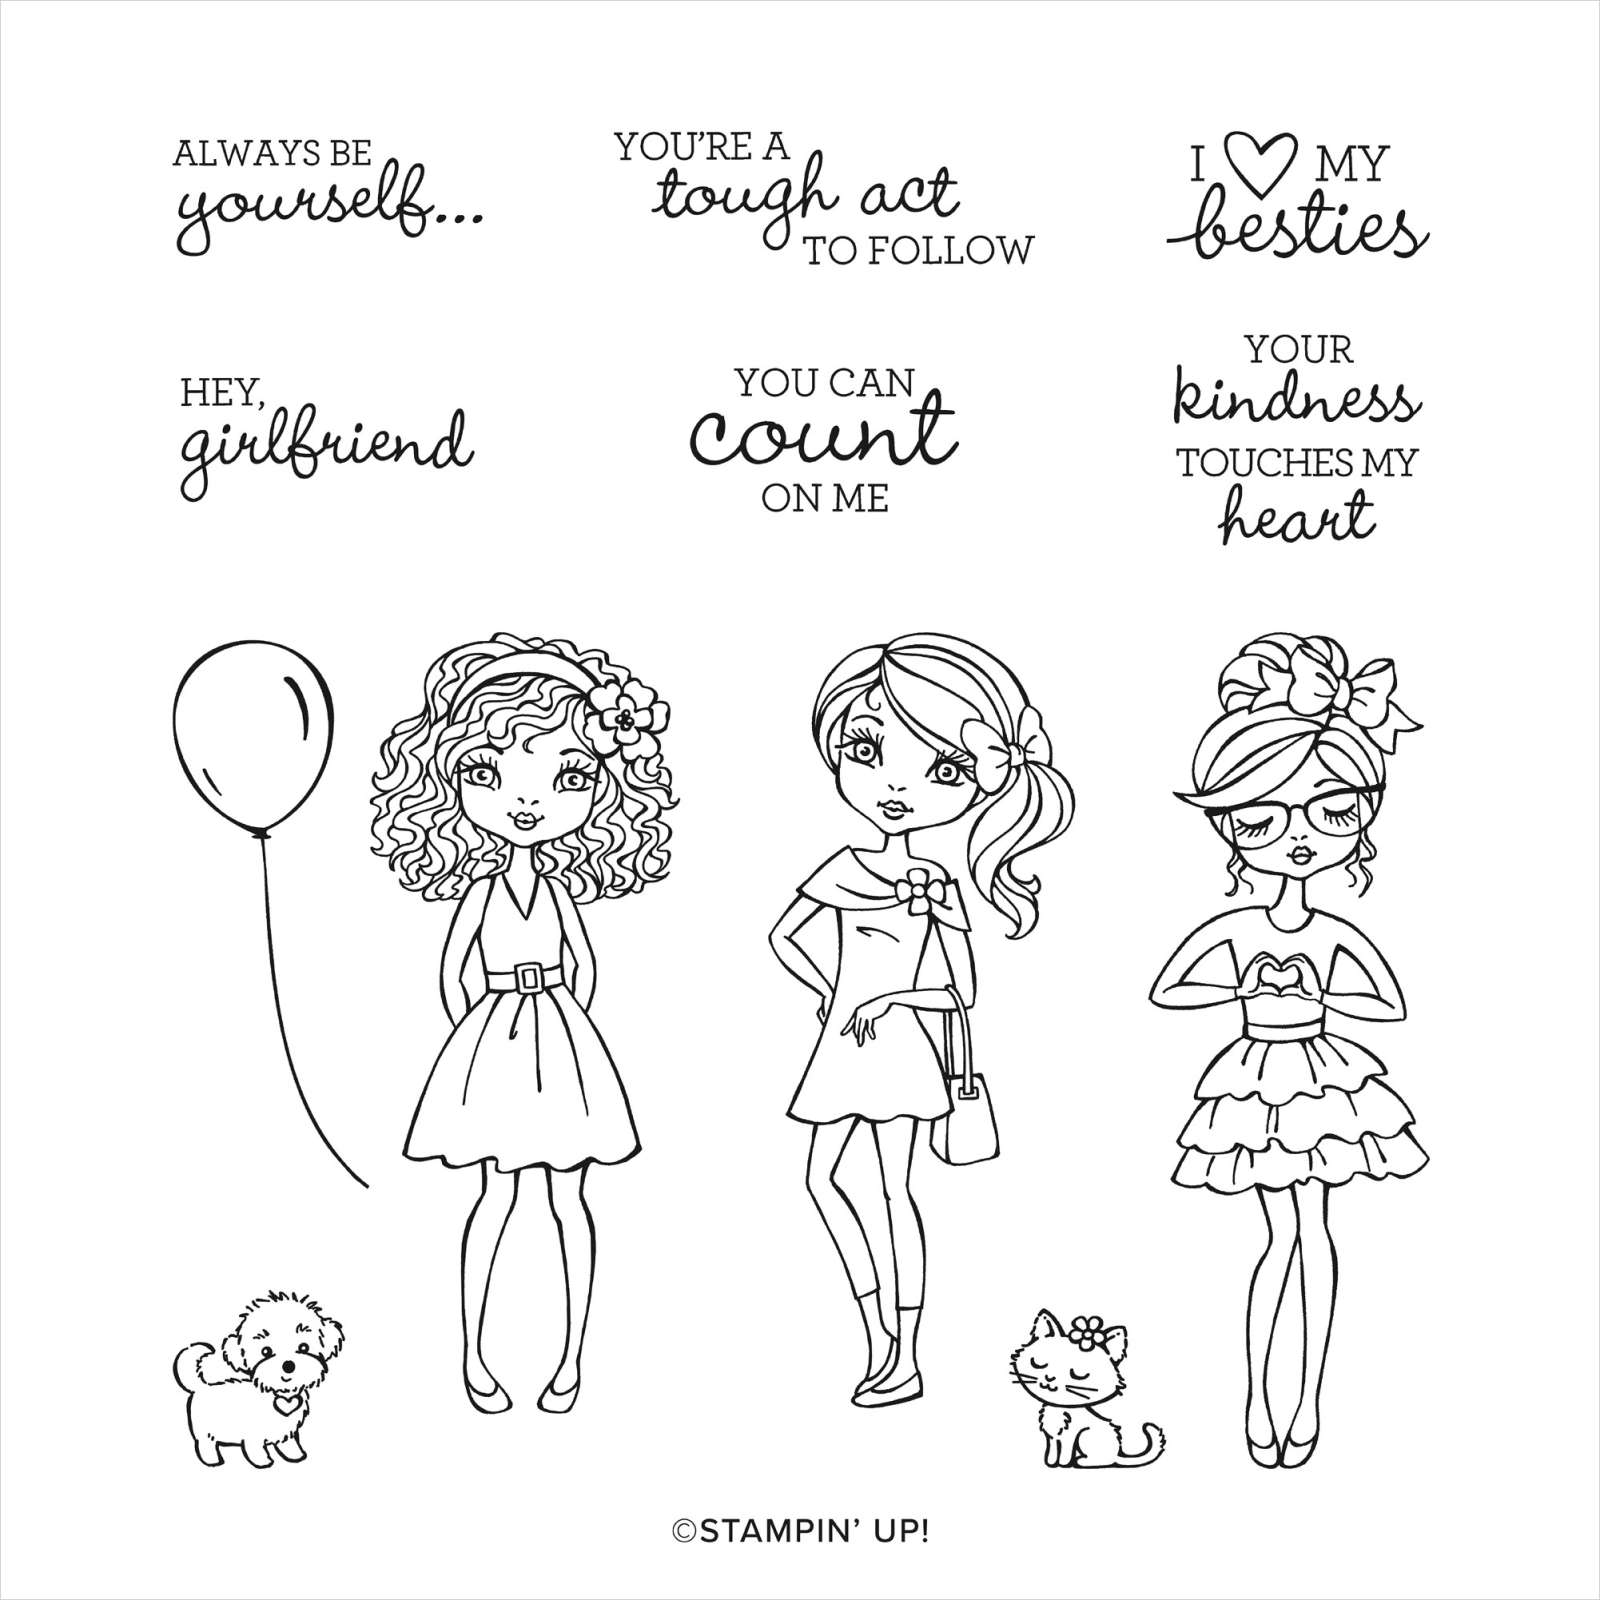
Happy Birthday Elyssa

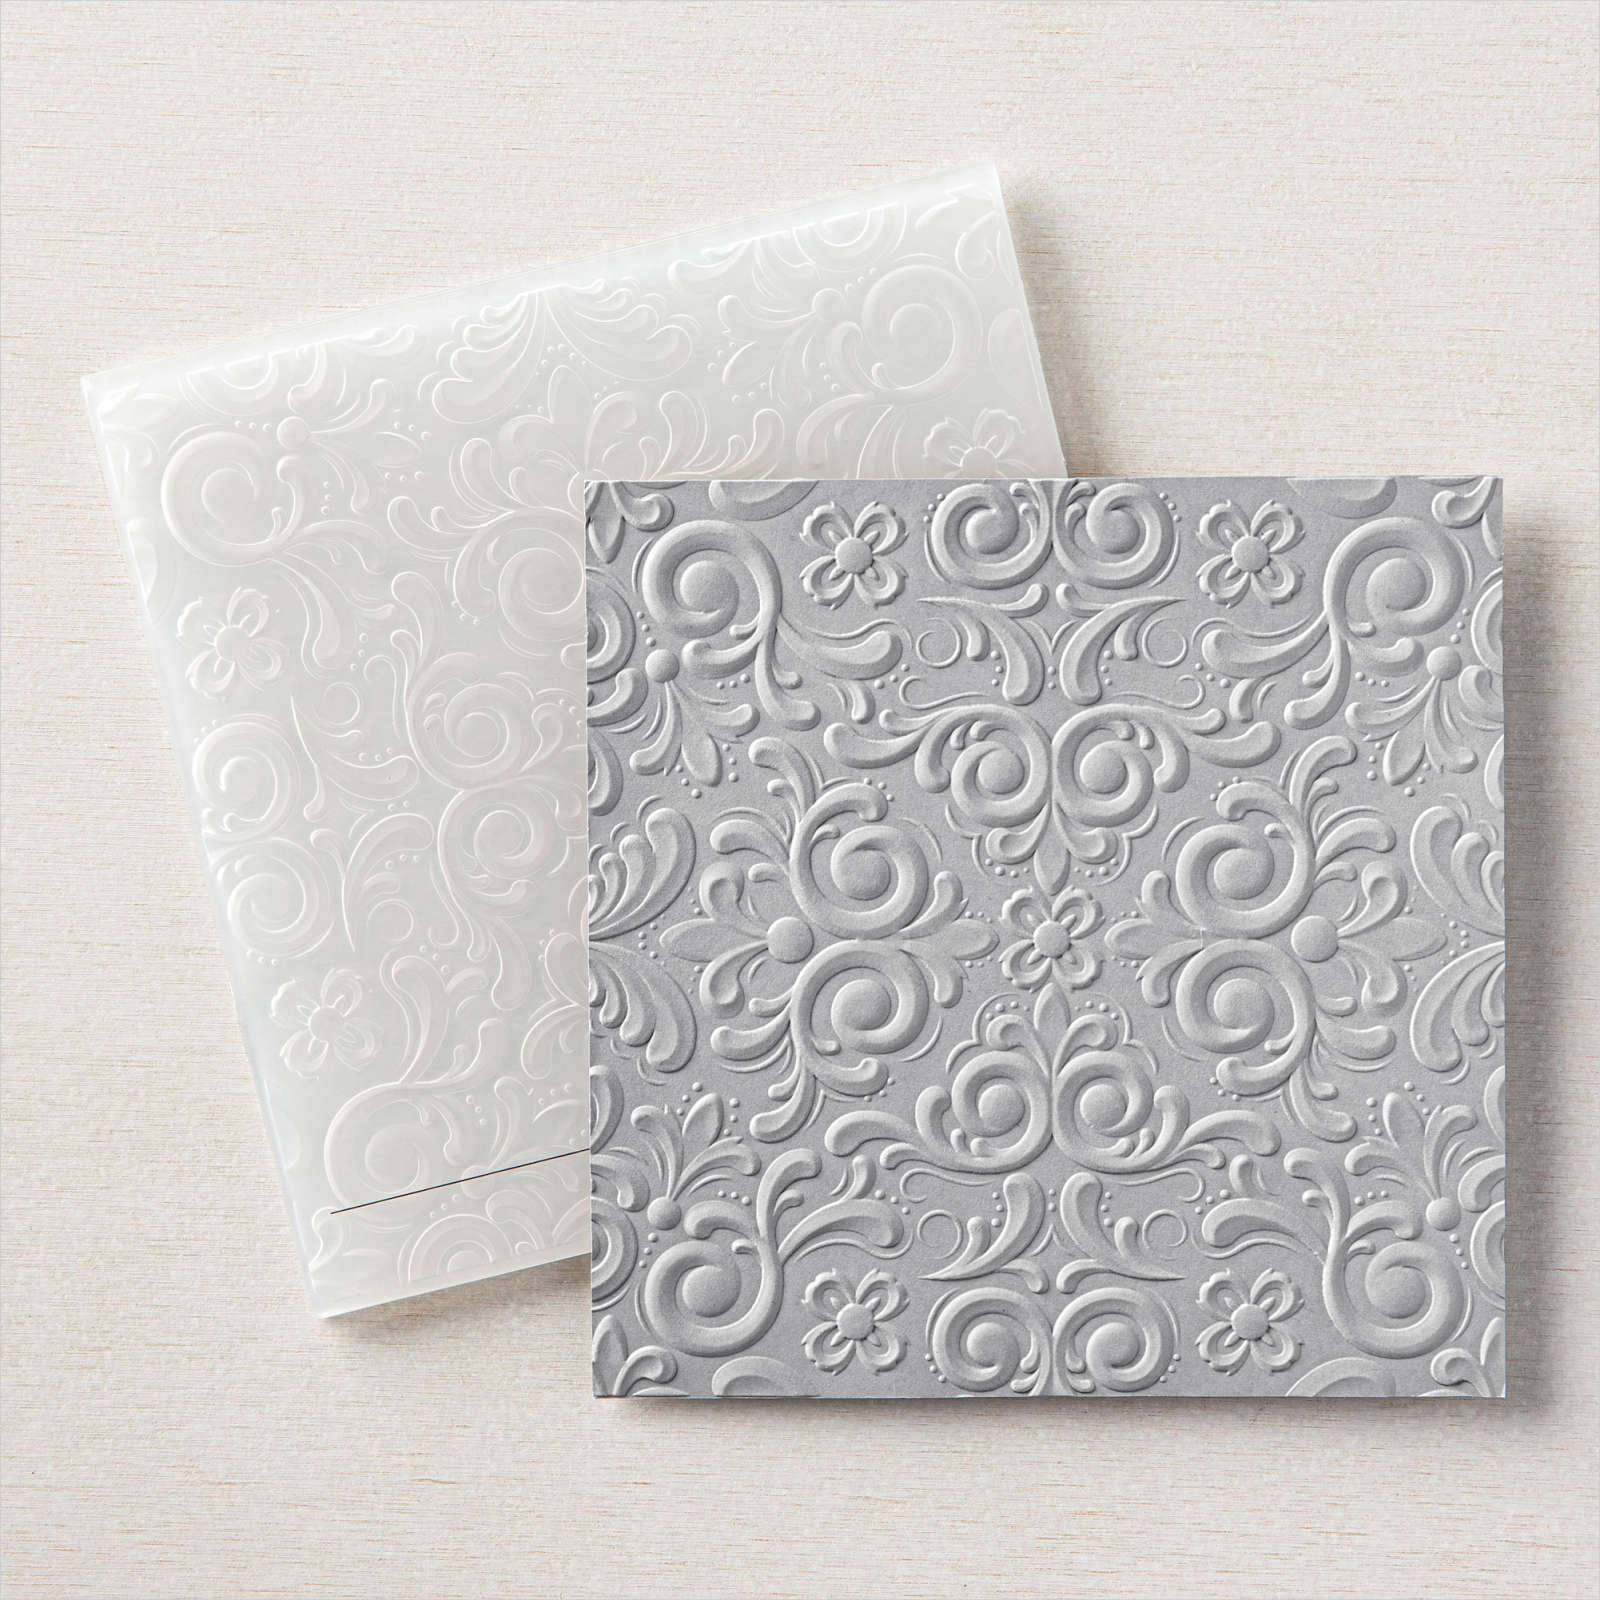
My granddaughter Elyssa celebrated her 13th birthday last week and I thought I would share the card I made for her. Since I was on a roll making Z-Fold cards, I had to make Elyssa one! I cut the card base and the Z-Fold from Rococo Rose card. I cut all of the panels from Basic White card and embossed all but one using the Parisian Flourish 3D Embossing Folder.

I stamped the image from the Hey Girlfriend stamp set onto Basic White card using Memento Tuxedo Black ink. I coloured the image using Rococo Rose, Ivory and Light Soft Suede Stampin’ Blends. I cut out the image using the Layering Ovals Dies and attached it to a scalloped oval cut from Rococo Rose card. The image panel is attached to the centre of the card front.

I cut “happy” and “birthday” from Rococo Rose card using the Well Written Dies. I used the Playful Alphabet Dies to cut “13” and to create the “th”, I die cut Rococo Rose card using the “birthday” die from the Well Written Dies and trimmed out the “th”. The die cuts are attached to the centre panel on the Z-Fold. The last panel is plain Basic White card so that I could write a greeting.
I just love the finished result, so soft and pretty but kind of grown up for someone entering their “teens”. I’d love to know what you think.
Bye for now,
Kris
Product Used: