Abigail’s Album

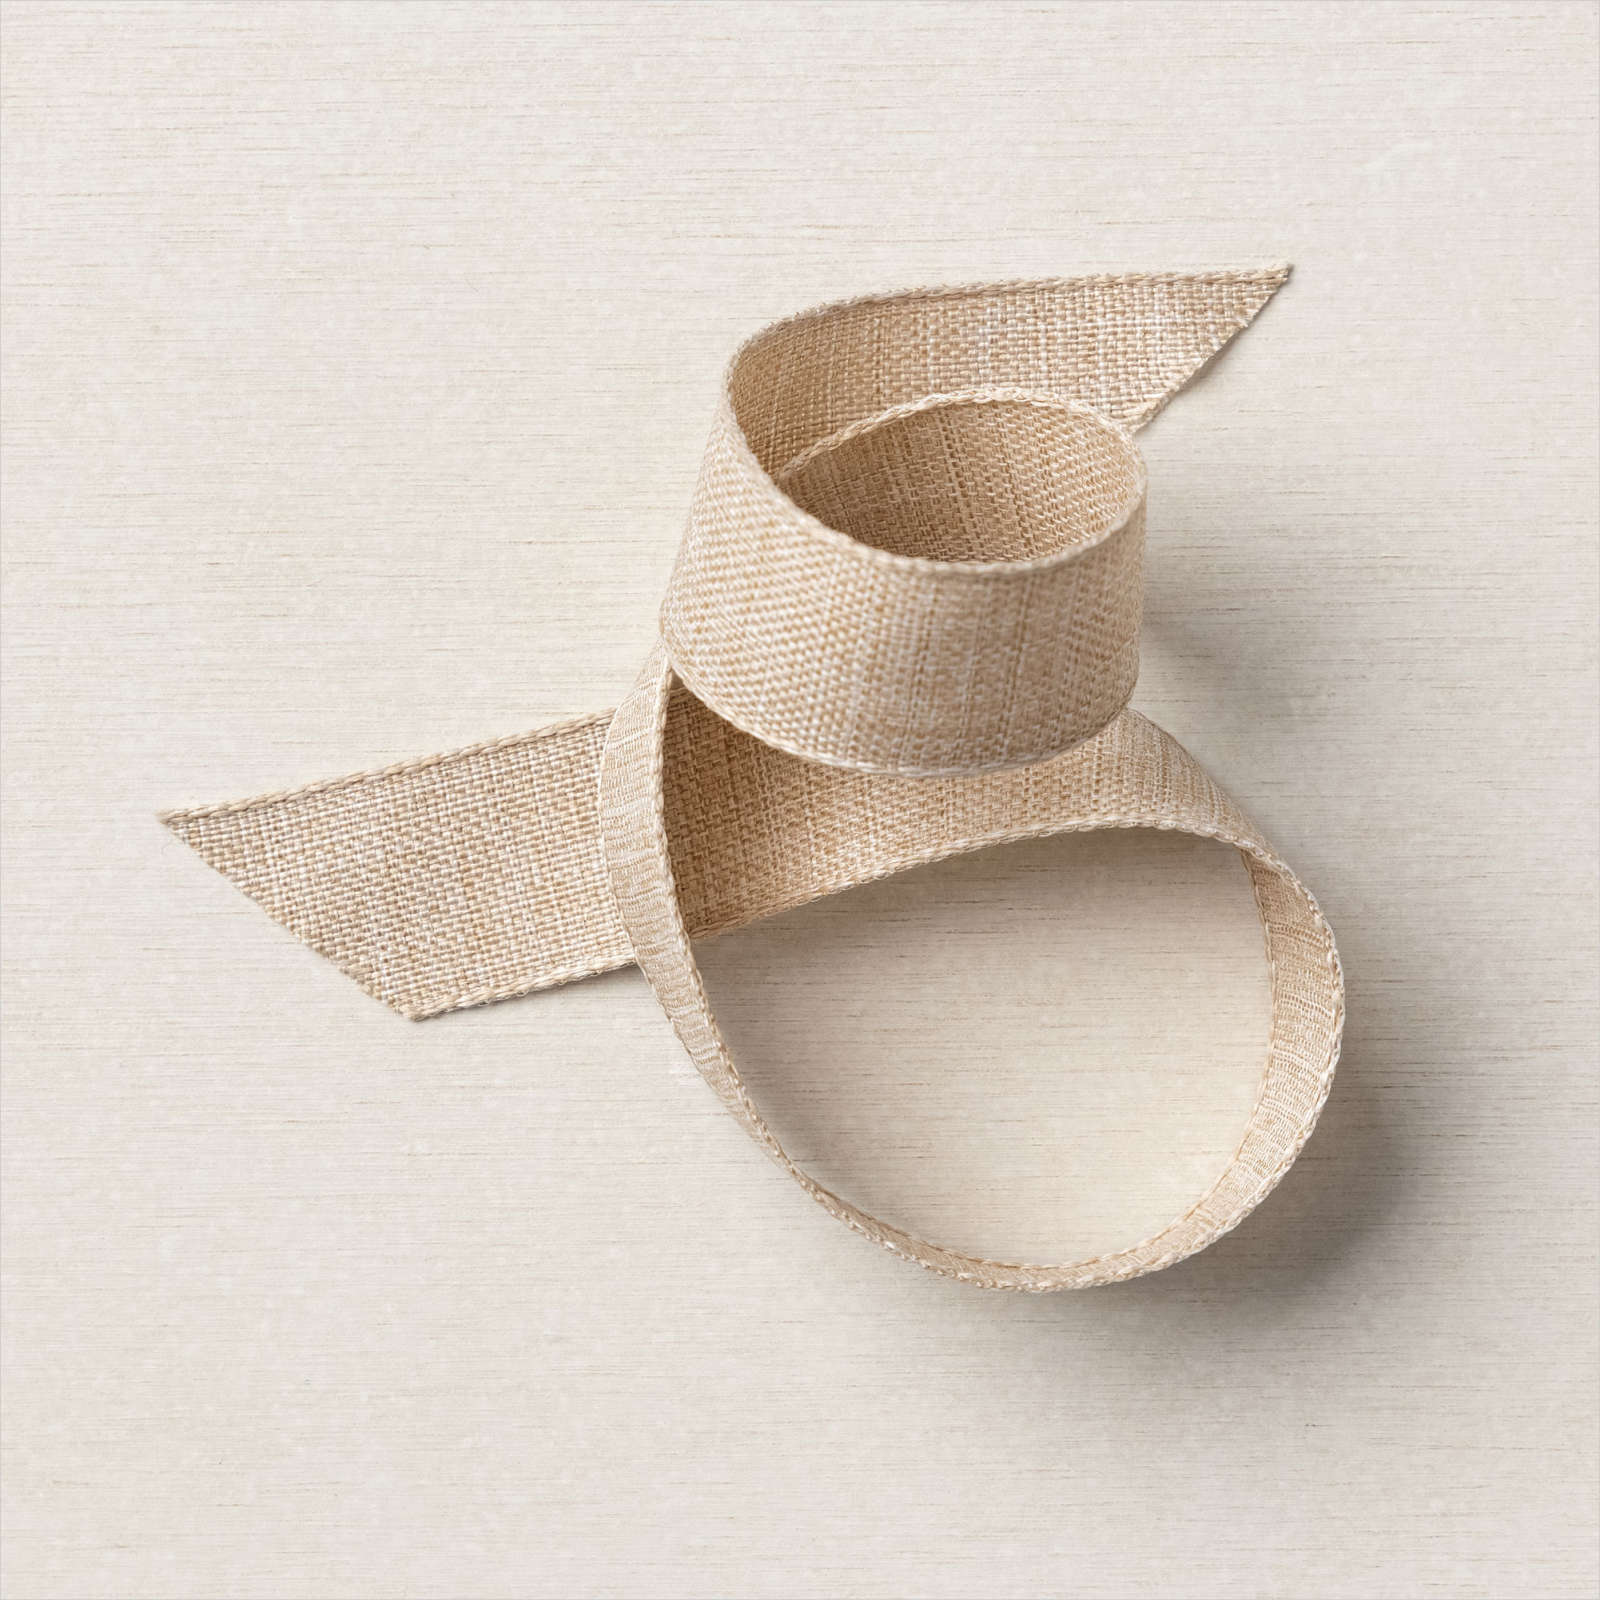
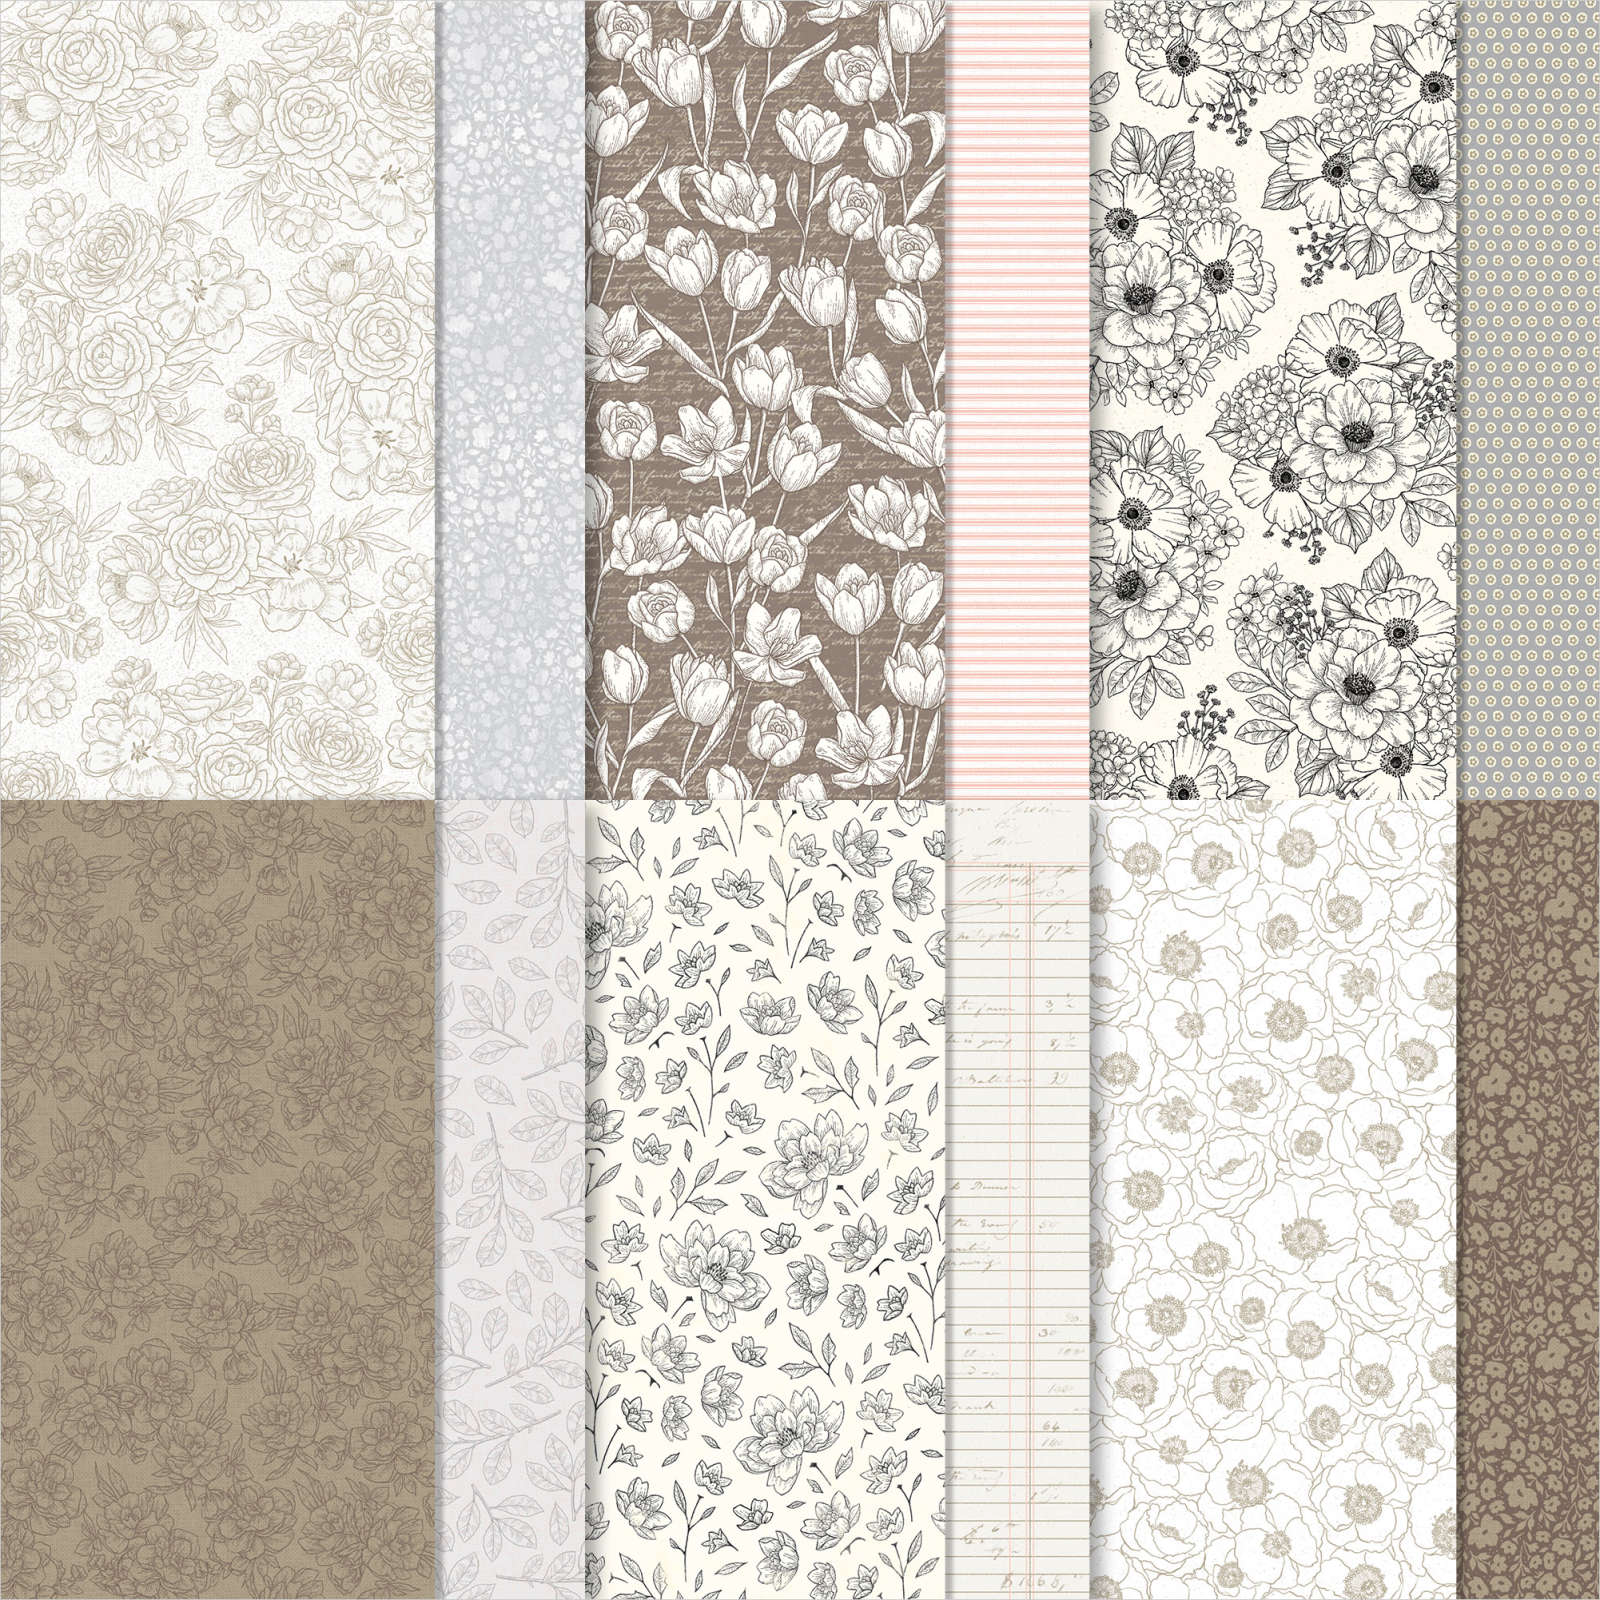
I promised Abigail that I would create an album for her to use as a keepsake for photos of her formal. I followed the instructions that Clare from Created the Ottaway shared here. I added cardboard to all of my pages and added an extra two envelopes to give Abi plenty of room for photos. Once I had assembled the envelopes, I used the gorgeous Abigail Rose 12″ x 12″ Designer Series Paper (gotta love the name) to decorate each of the pages. For the front and back covers, I did what Clare did and cut the paper into two pieces and covered the join using the Natural Finish Ribbon which will allow Abi to tie a bow to keep the album closed (I think it is going to end up kind of thick). I cut Basic White and Smoky Slate card using the Deckled Rectangle Dies and attached them to the Album cover. I die cut Petal Pink using the Cottage Flowers Dies to add to the Basic White panel. I printed the title onto Basic White card and cut it out using my Paper Snips.

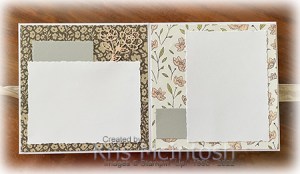
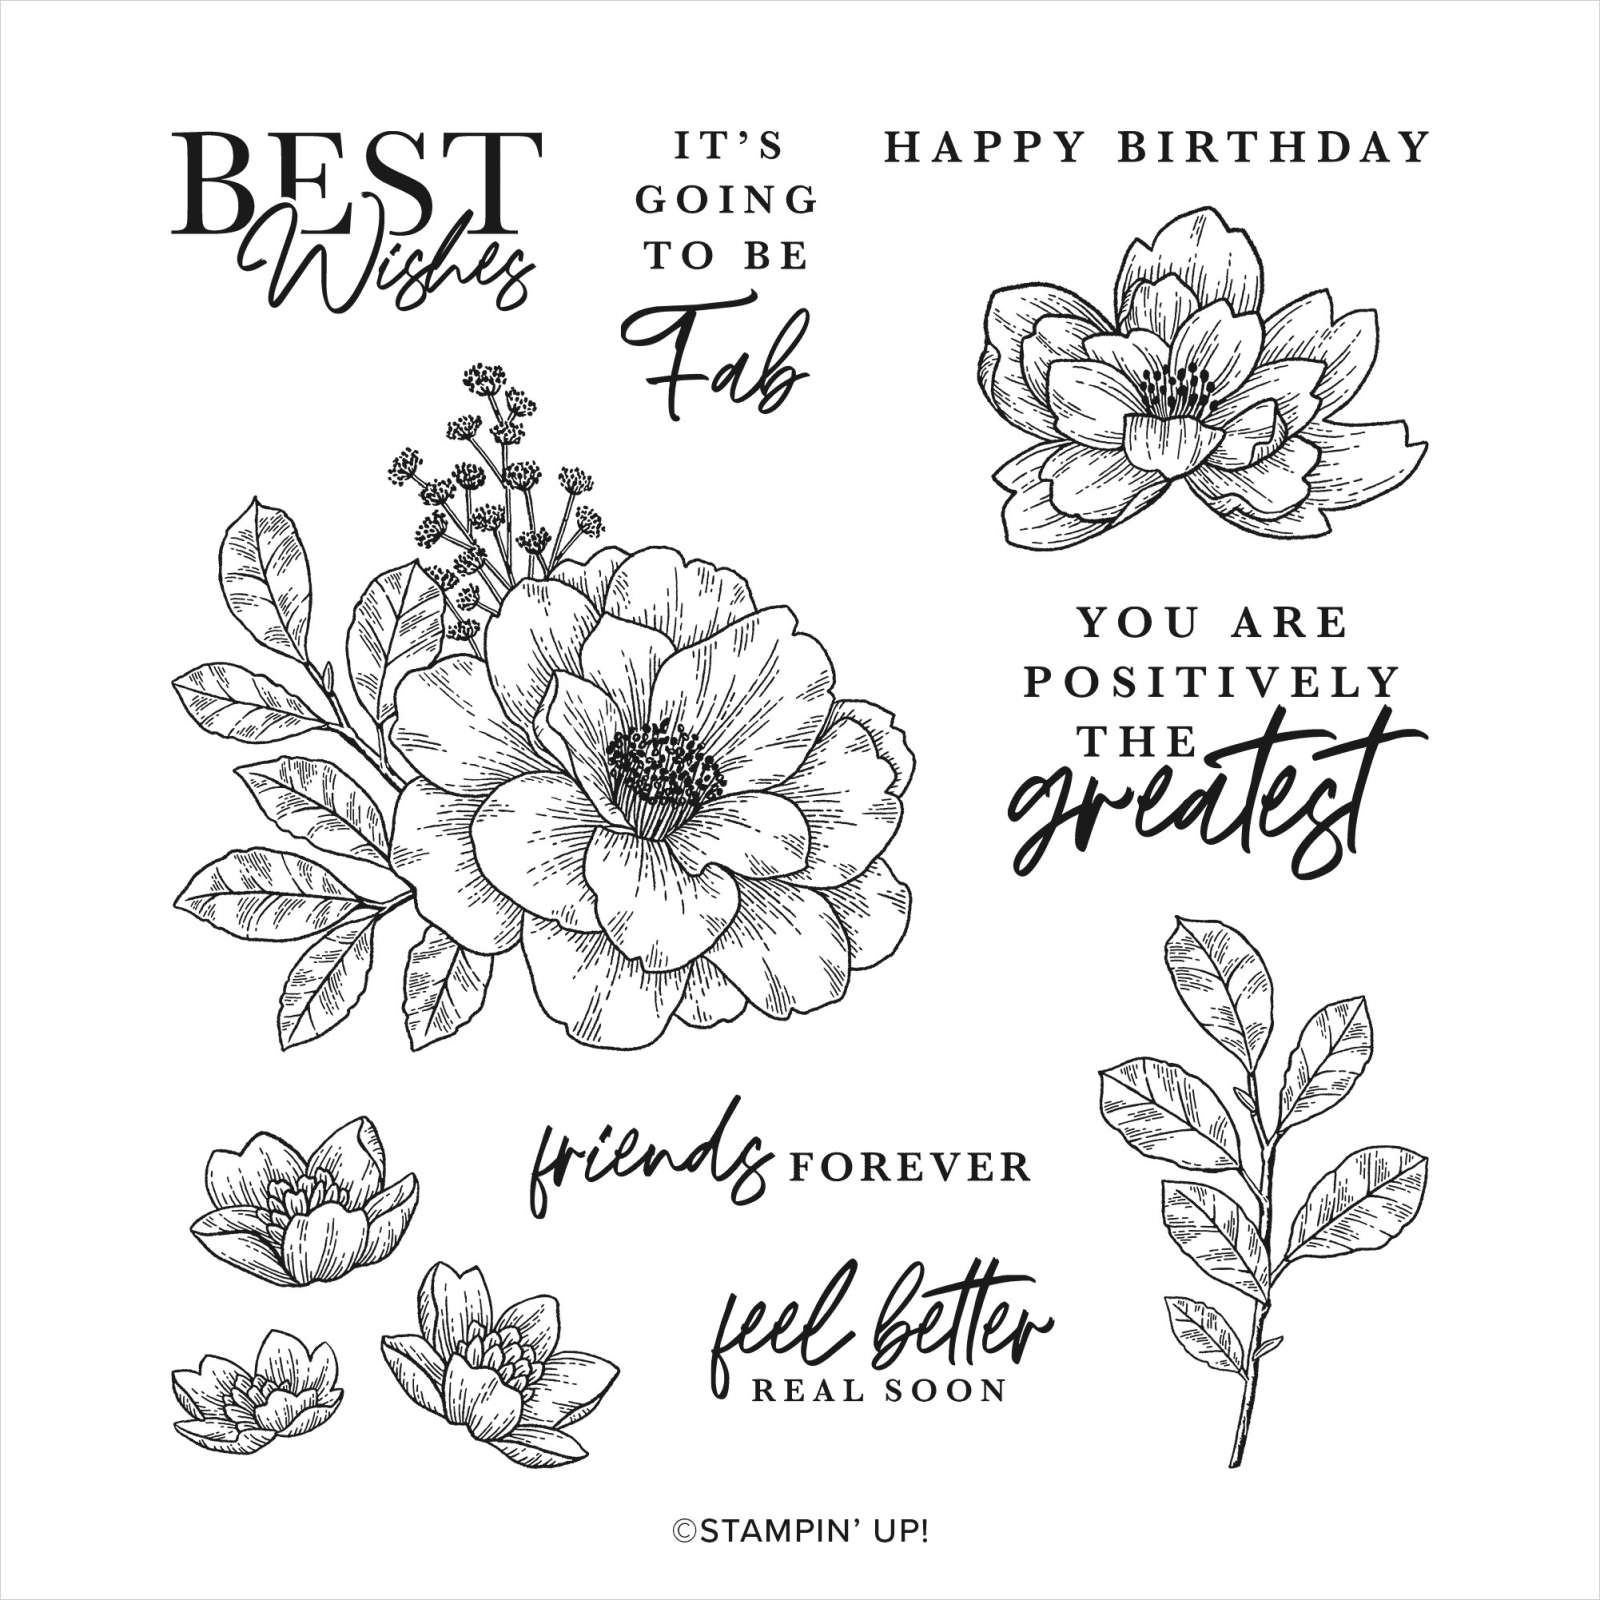
For the first pages, I added Designer Series Paper and Basic White Deckled Rectangles cut using the largest one that would fit on my 6″ x 6″ pages. I also cut Smoky Slate card using the second smallest Deckled Rectangle Die. A die cut petal pink flower using the Cottage Flowers Dies decorates the left page. On the right I stamped the single flower and single leaf images from the Cottage Rose stamp set onto Basic White card using Basic Gray ink. I coloured the flower using Petal Pink and Light Smoky Slate Stampin’ Blends and the leaf using Old Olive Stampin’ Blends. The images were cut out using the co-ordinating Cottage Flowers Dies.

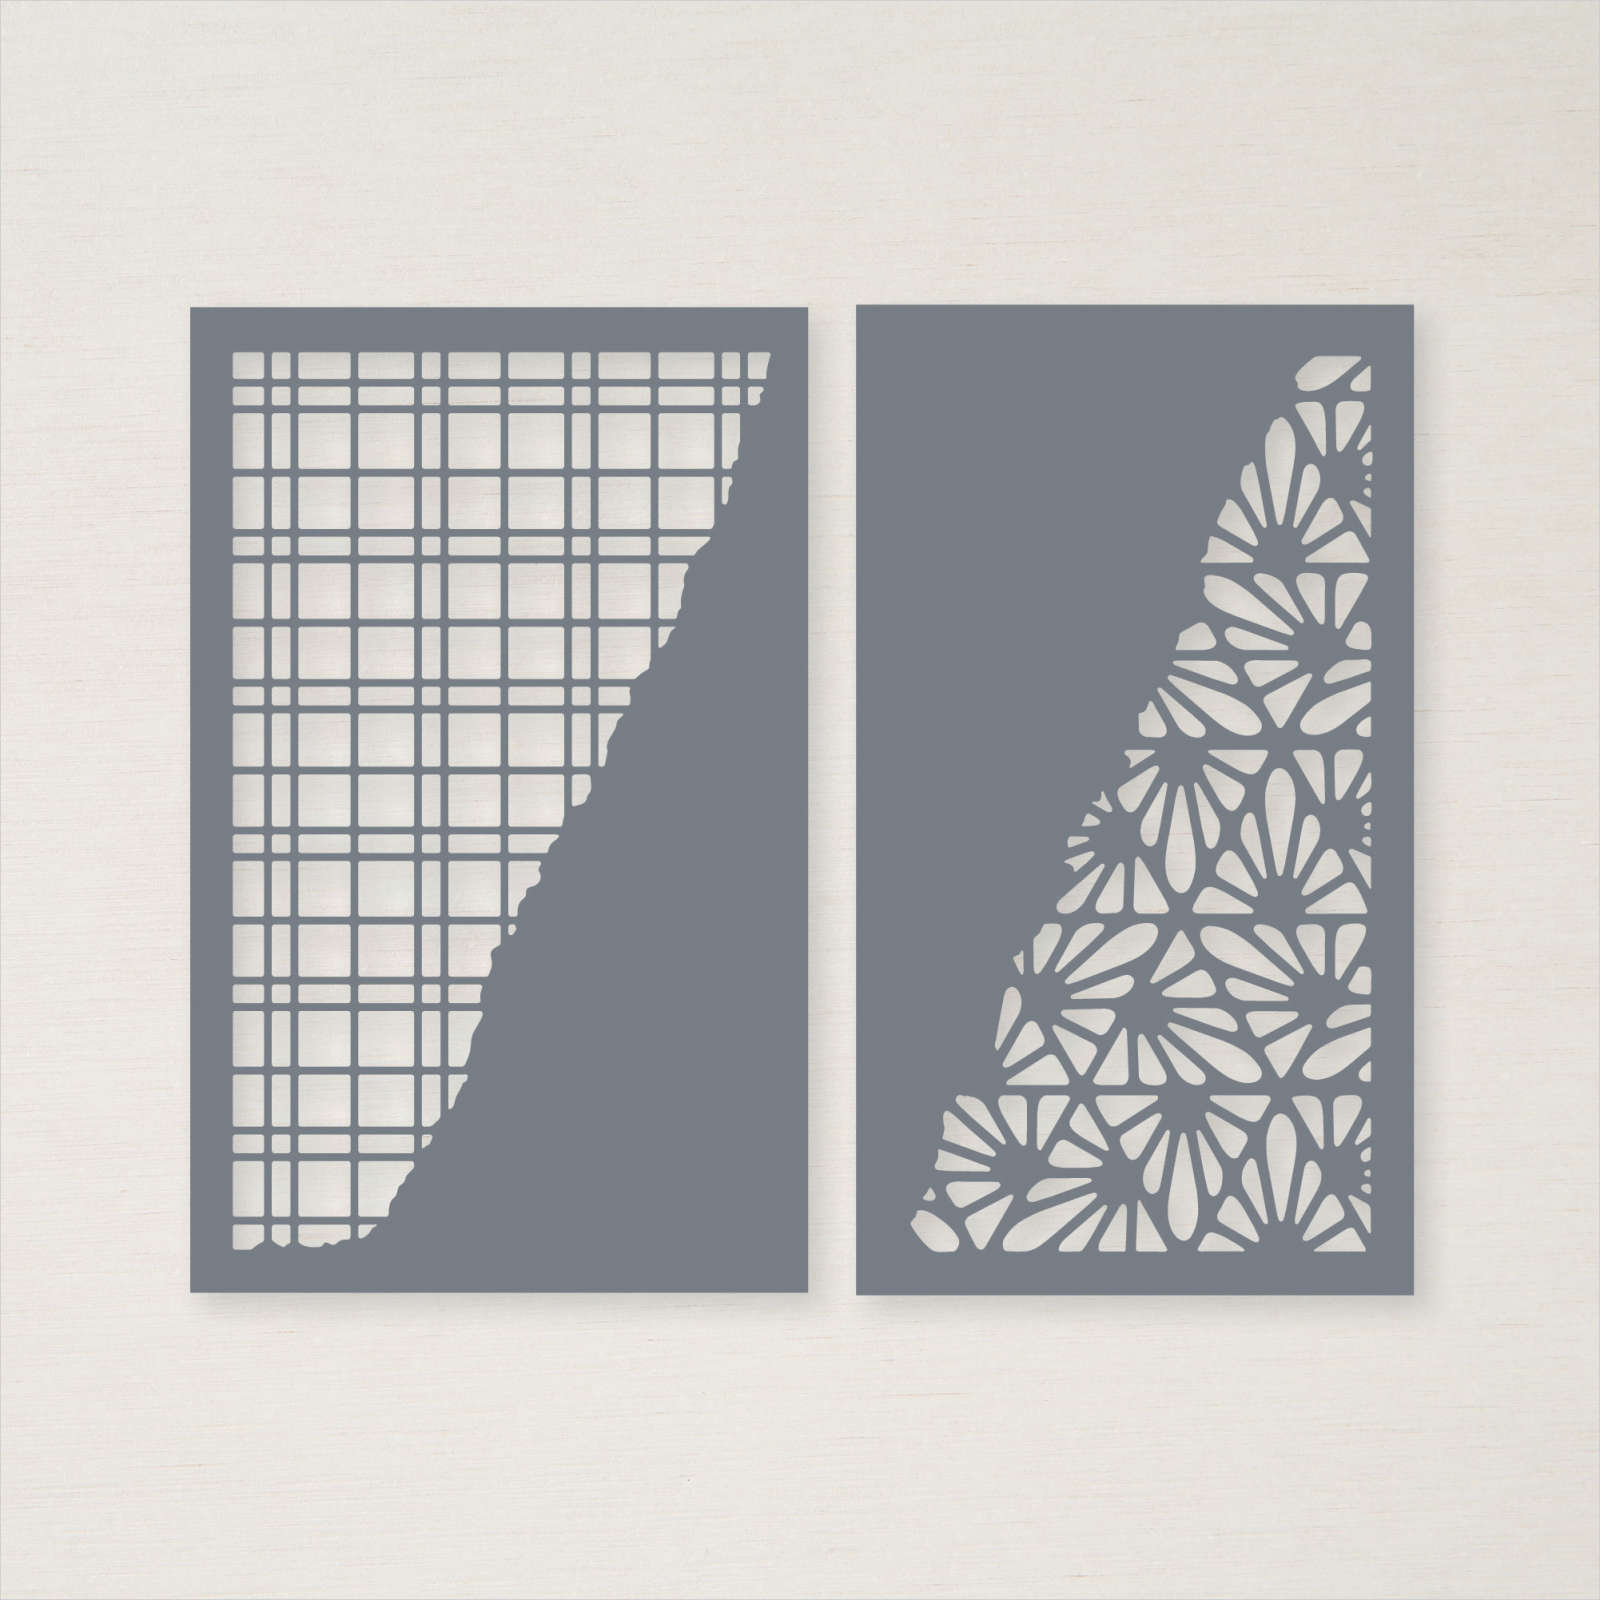
The next pages also have the addition of Abigail Rose Designer Series Paper. On the left page, I created a pocket based loosely on Clare’s instructions and before attaching it to the left hand page I die cut it using one of the Split Card Textures Dies. For this page I cut two pieces of Basic White card and trimmed the corners using the retired Detailed Trio Punch. I also stamped the large flower image from the Cottage Rose stamp set onto Basic White card using Basic Gray ink. The image is coloured using Petal Pink, Old Olive and Light Smoky Slate Stampin’ Blends before being cut out using the co-ordinating Cottage Flowers Die. On the right page I stamped, coloured and die cut the single leaf image from the Cottage Rose stamp set. The addition of two Basic White Deckled Rectangles gives Abigail somewhere to add photos. The smaller Smoky Slate Deckled Rectangle will allow her to add either one of the stamped sentiments I created or hand write something onto a Basic White Deckled Rectangle.
The third page has the addition of Abigail Rose Designer Series Paper to each page. I coloured the right hand piece of Designer Series Paper using Dark Petal Pink and Light Old Olive Stampin’ Blends to give it more colour. I added two Basic White Deckled Rectangles and two small Smoky Slate Deckled Rectangles. The left page also has the addition of a die cut Petal Pink flower.
Once again the fourth page has the addition of Abigail Rose Designer Series Paper, Deckled Rectangles and two Basic White pieces in the pocket which is die cut using the Split Card Texture Dies. The flower on the left page is die cut from Petal Pink card and the flower on the right is stamped, coloured and die cut as before.

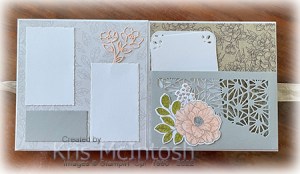
The fifth page also has the addition of Abigail Rose Designer Series Paper and Basic White Deckled Rectangles. I decided to add the rectangles so that the photos could be horizontal instead of vertical. I added two smaller Deckled Rectangle Dies, one in Petal Pink (on the left) and one in Smoky Slate (on the right). I also die cut Crumb Cake card using the Cottage Flowers Dies.

The sixth page looks a bit plain. However once the photos go onto the Basic White card, I am sure it will look lovely. I have added Abigail Rose Designer Series Paper with the addition of a Basic White pocket on the left. The pocket holds two Basic White card pieces which can hold photos or journaling. On the right the Basic White flap lifts up giving the opportunity to add another photo or journaling as Abi wishes. The flower is stamped, coloured and die cut as before. I have added a Smoky Slate Deckled Rectangle to the right hand page.

The seventh and last page has Abigail Rose Designer Series Paper asw well as a Smoky Slate pocket which has been cut using the Split Card Textures Die. The right hand page has Basic White and Crumb Cake Deckled Rectangles as well as a Petal Pink die cut flower.
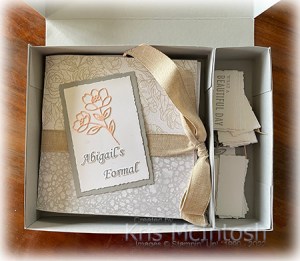
I created a pizza box from Smoky Slate card which will hold the album but also has a place for the stamped sentiments as well as some additional die cuts which Abi may want to add to some of her pages. To decorate the box, I die cut Basic White card using the largest die from the Cottage Flowers Dies. I attached the co-ordinating piece of Abigail Rose Designer Series Paper behind the die cut after using Dark Petal Pink and Light Old Olive Stampin’ Blends to colour the image. I die cut the title from Smoky Slate card using the retired Playful Alphabet Dies.

I know this is a long post but I thought you would like to see all of the pages. I am so happy with the way this has turned out and hope that Abigail will be too. I’d love to hear what you think.
Bye for now,
Kris
Product Used:


Such a beautiful project x
LikeLike
Thank you so much Catherine.
LikeLike