Birthday Wishes
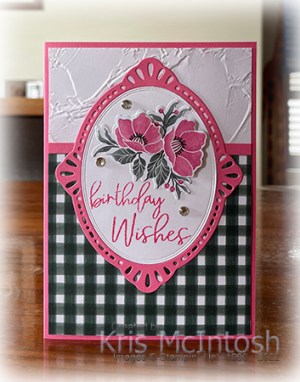
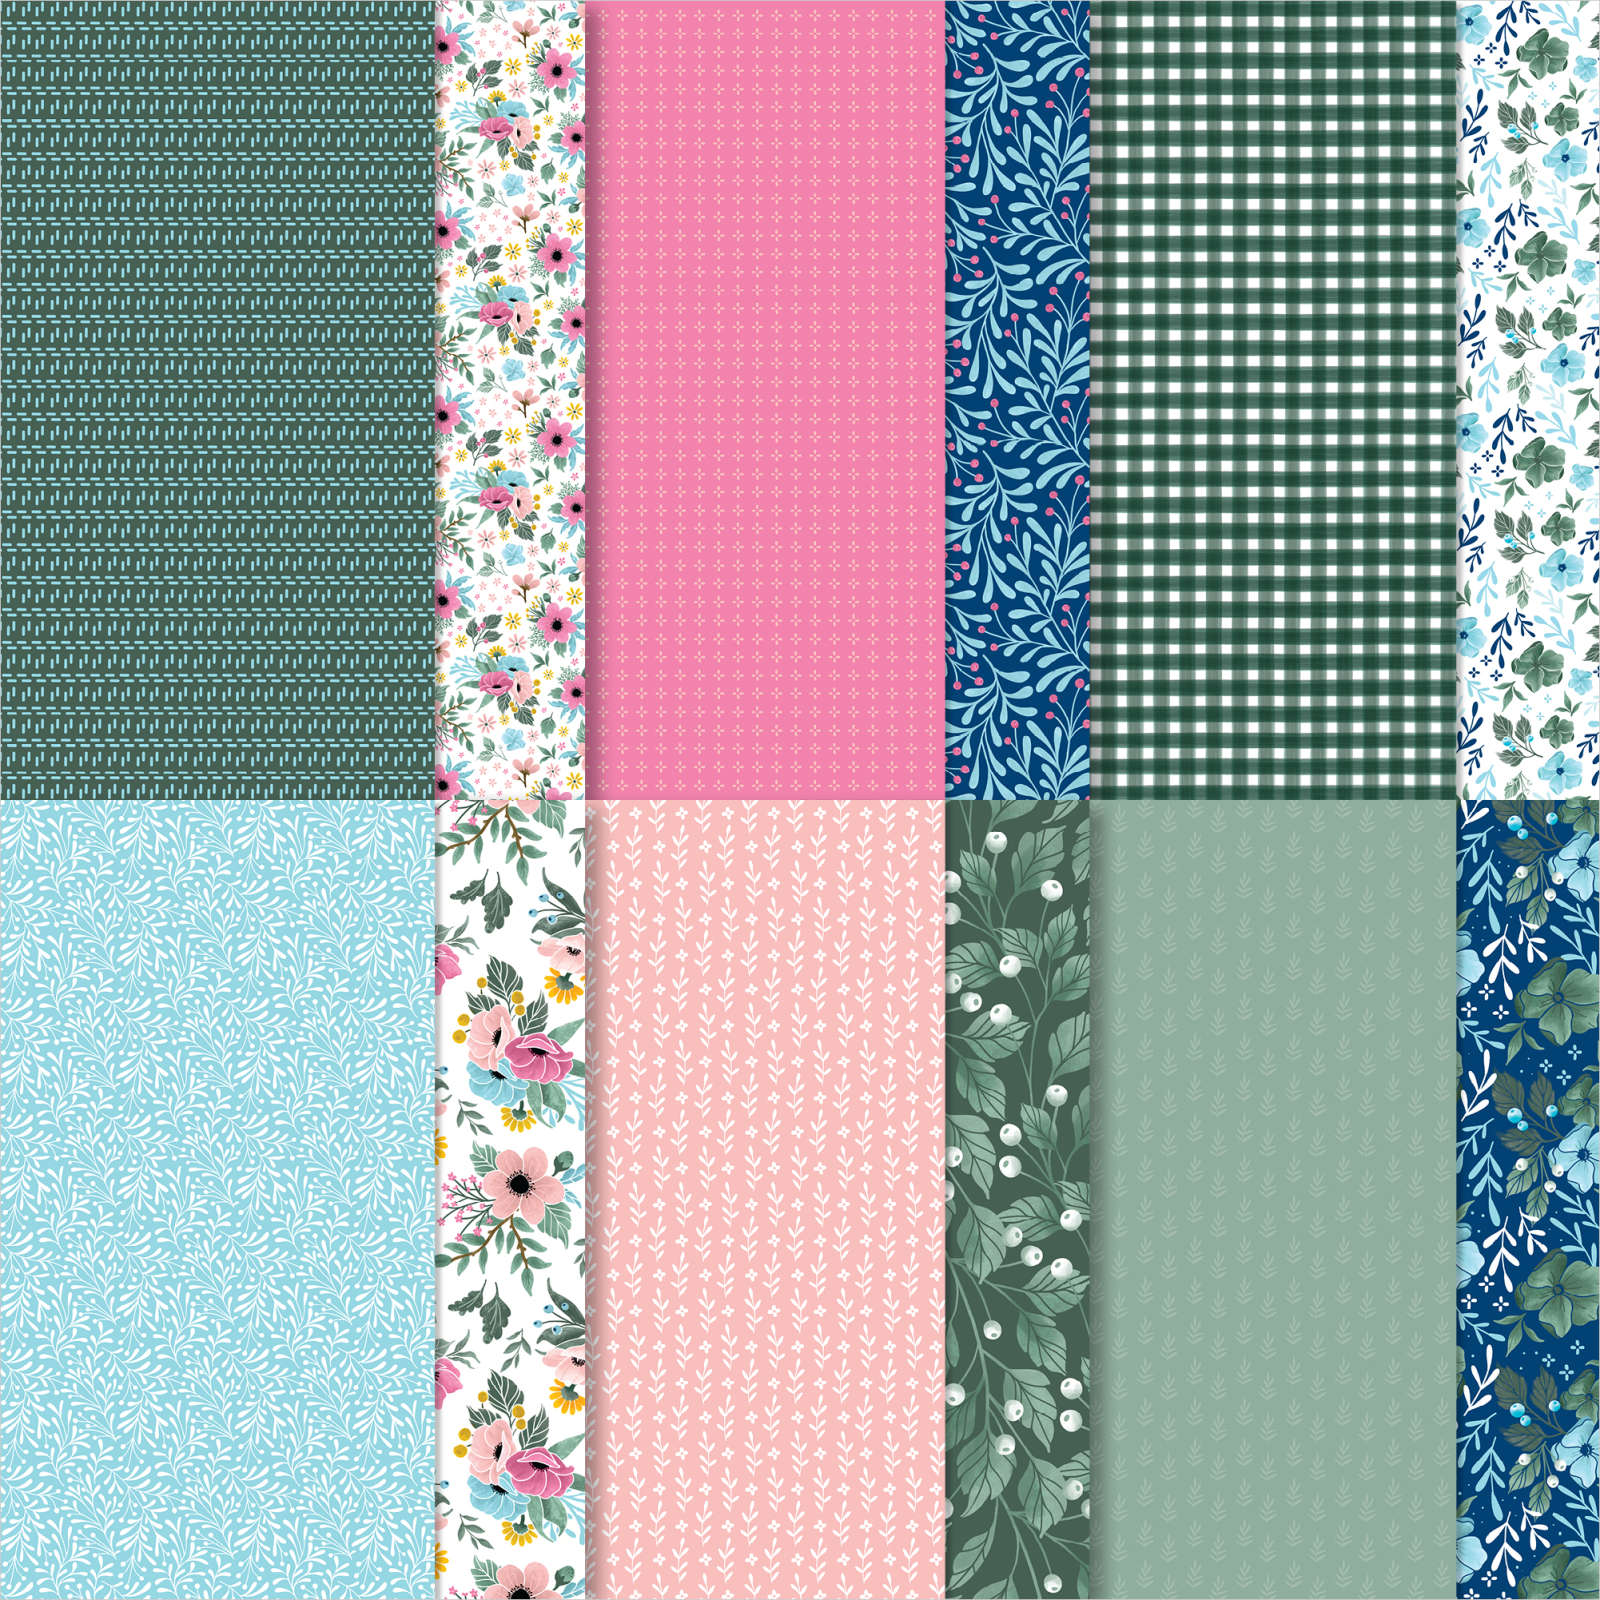
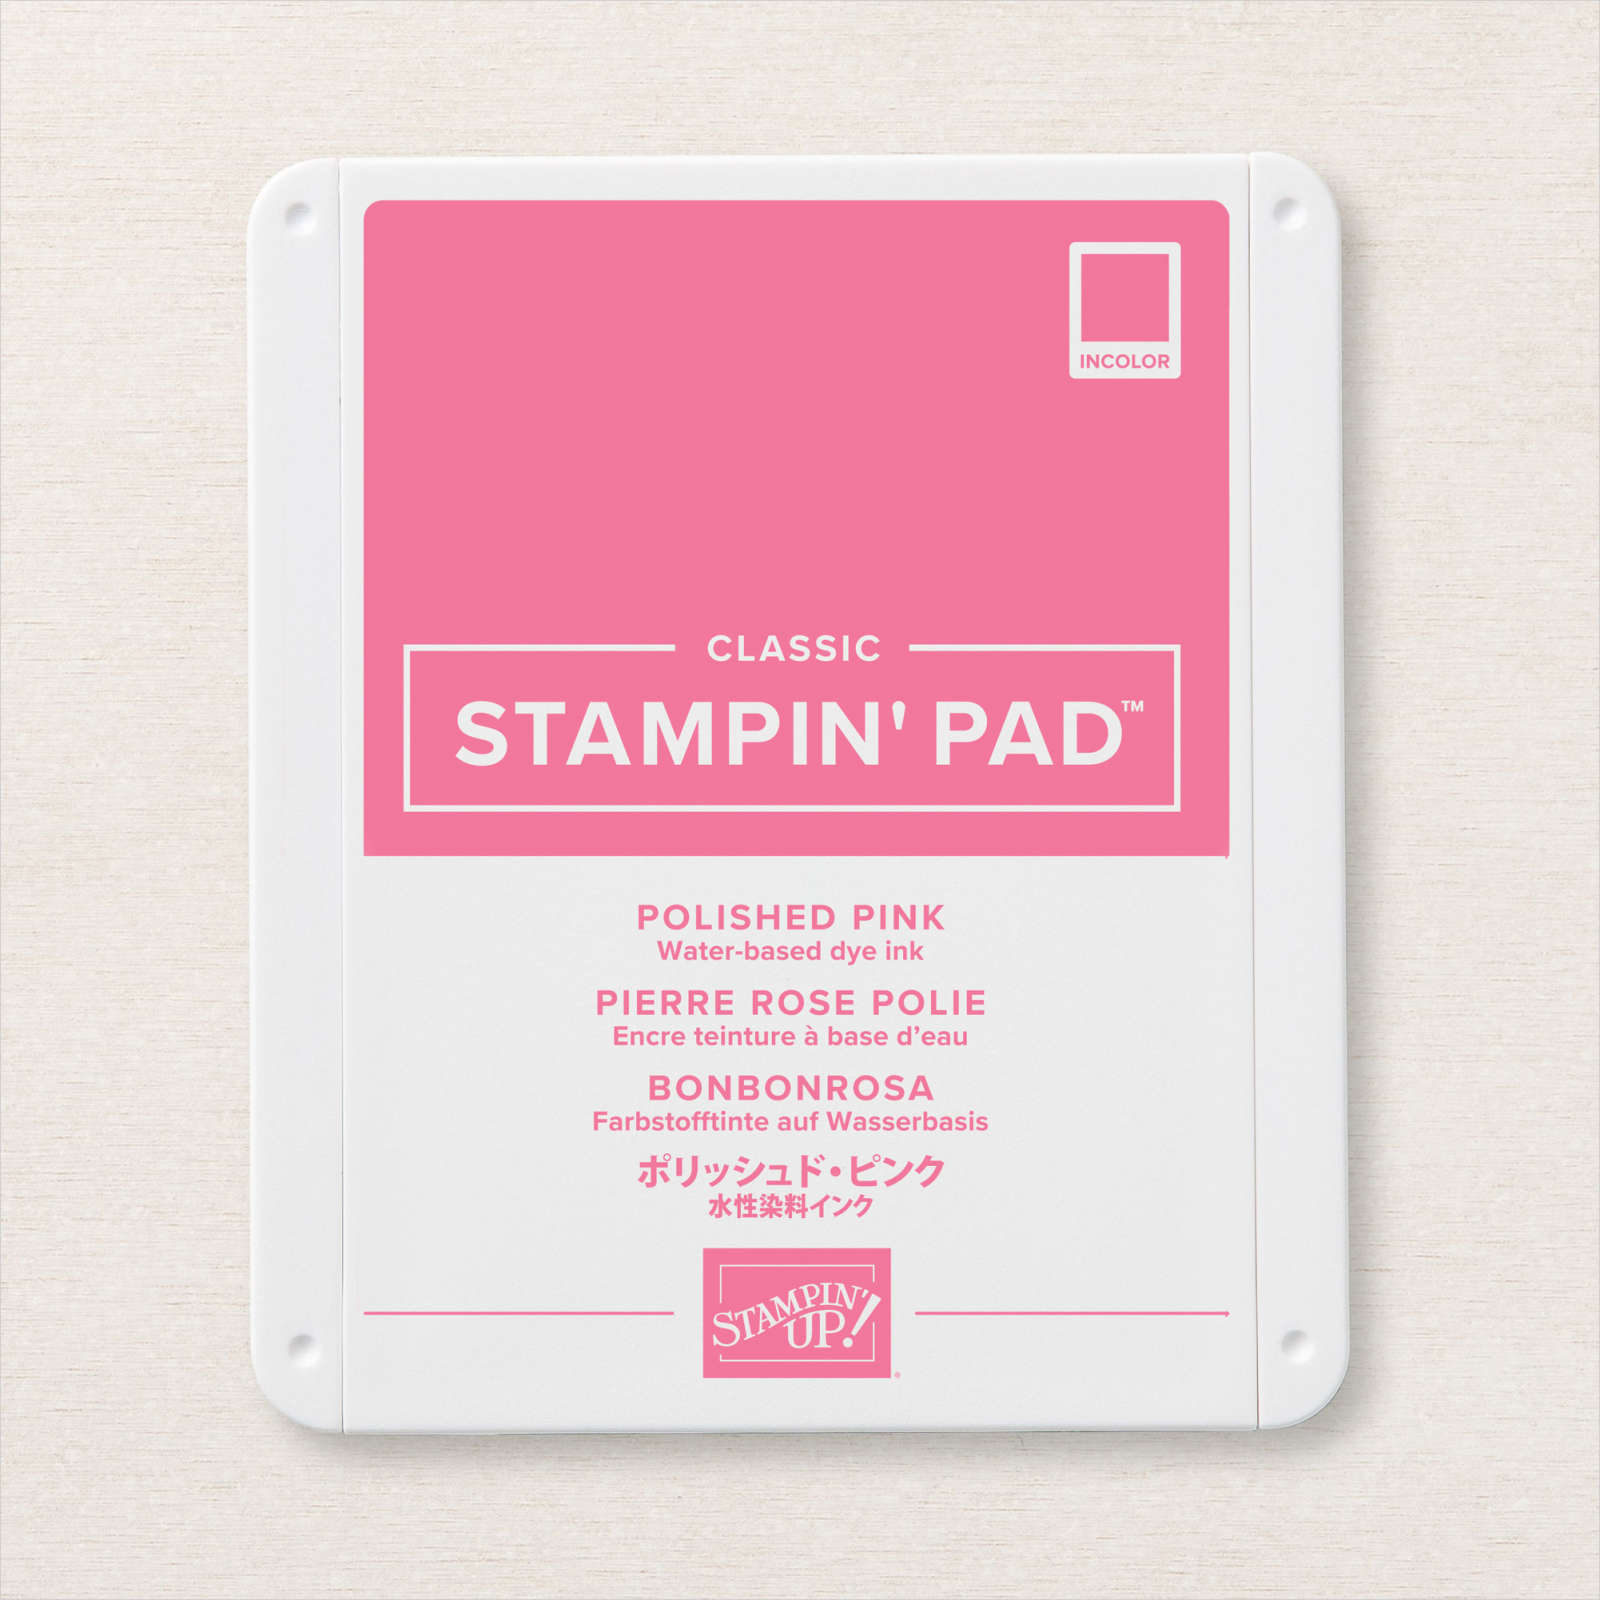
My niece celebrated a special “O” birthday and I wanted to give her a special card as I couldn’t attend her celebration party. This card is very similar to one I created when I first got the Fitting Florets Collection but a little more stepped up. I embossed Basic White card using the Painted Texture 3D Embossing Folder and attached a piece of the Fitting Florets 12″ x 12″ Designer Series Paper across the bottom. I added a narrow strip of Polished Pink card across the top of the Designer Series Paper before attaching the panel to scored and folded Polished Pink card.
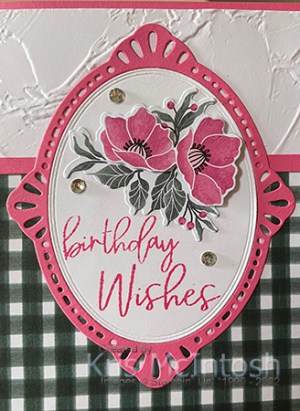
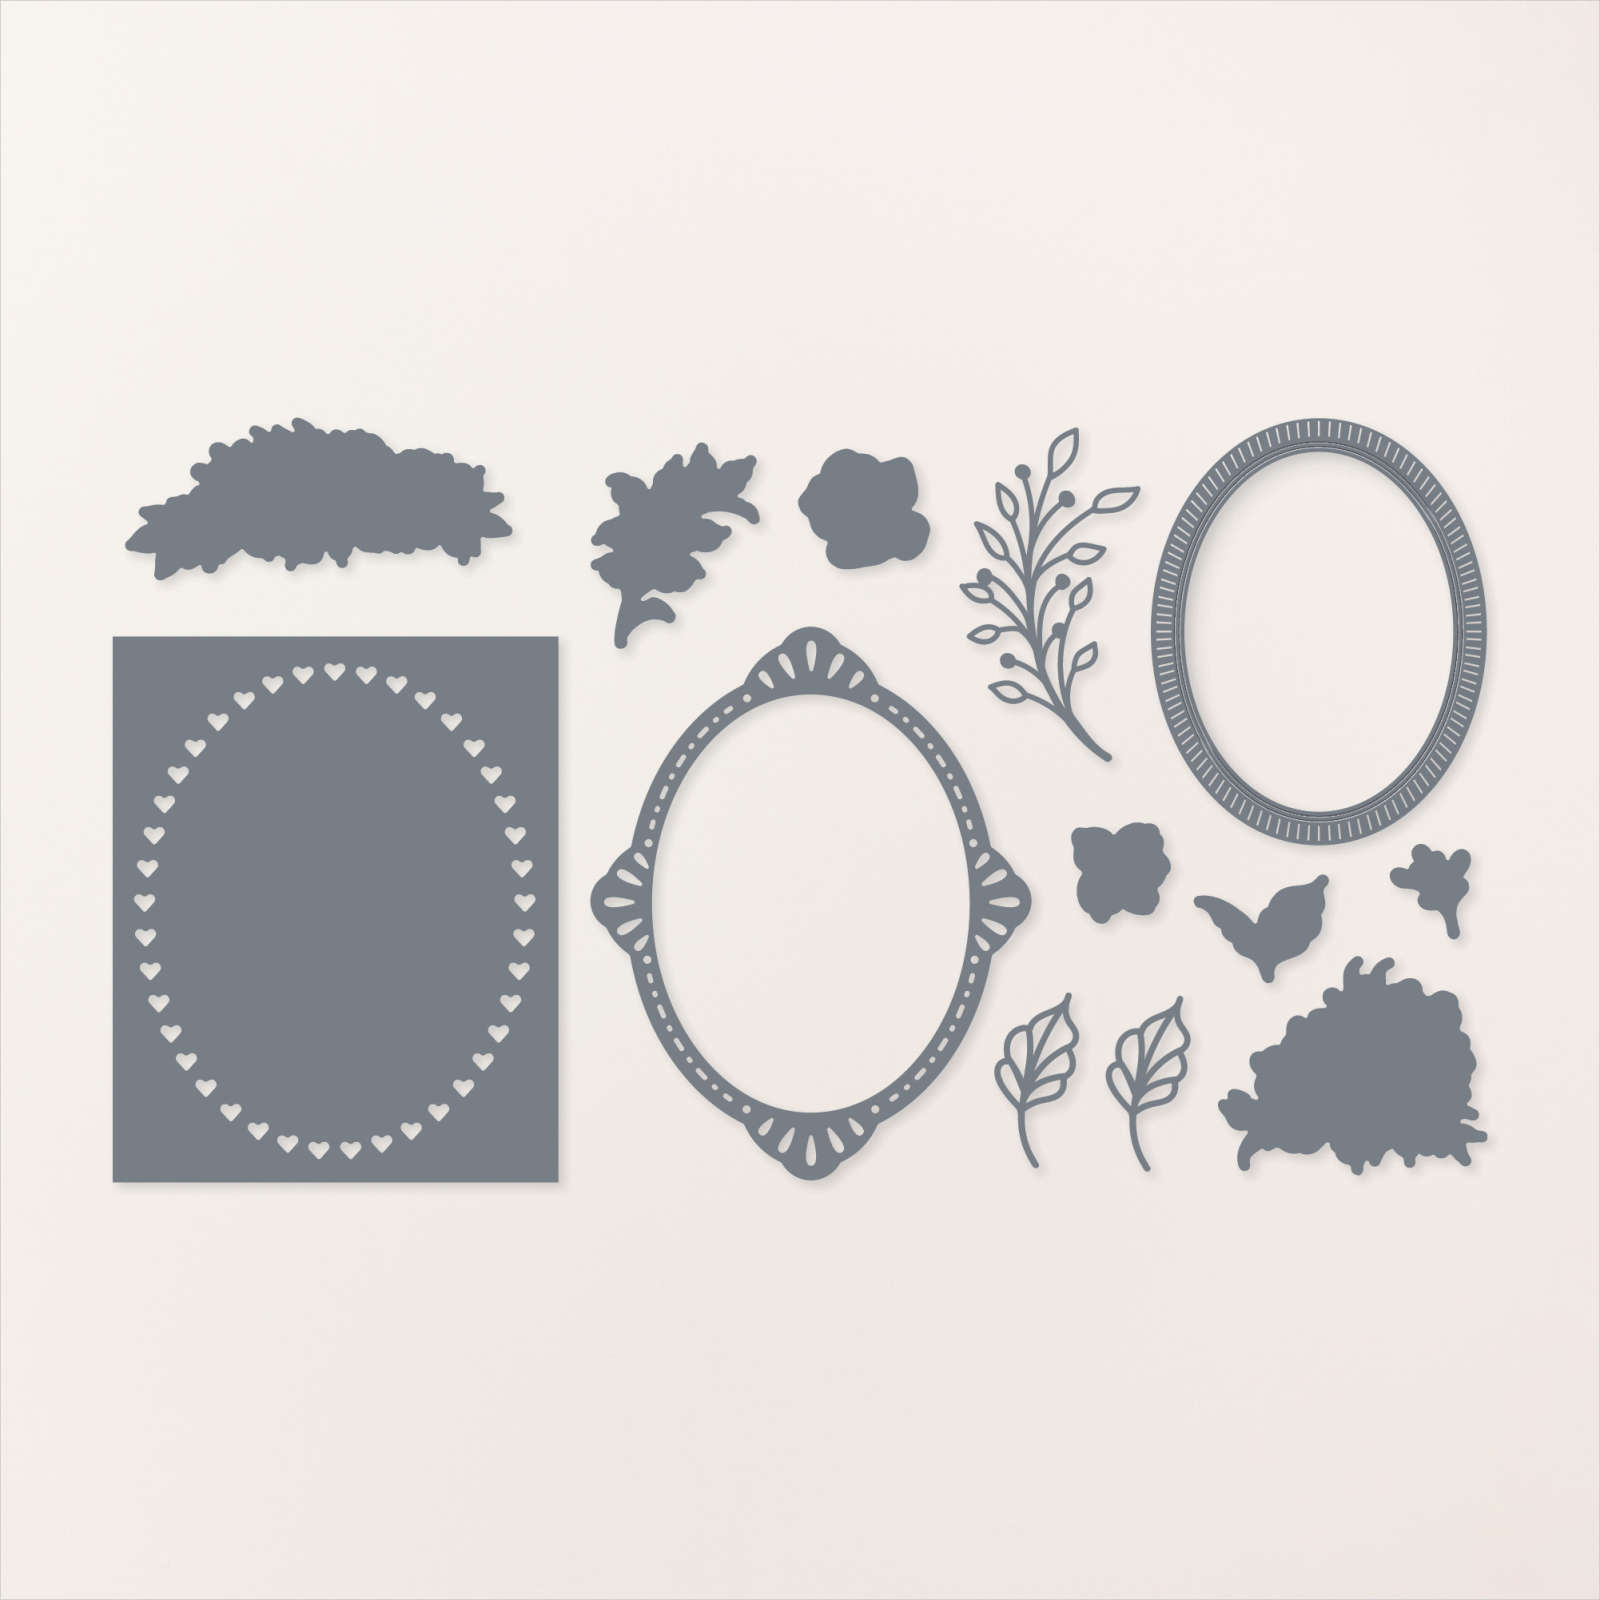
I die cut Polished Pink and Basic White card using the frame die from the Framed Florets Dies. I inked “wishes” from the birthday stamp in the Framed Florets Stamp set using Polished Pink ink and stamped it onto the bottom of the Basic White oval. I inked “birthday” from the same stamp using Polished Pink ink and stamped it above “wishes”. I attached the Polished Pink frame and the stamped Basic White oval to the card front. I die cut two flowers from the Fitting Florets Designer Series Paper.
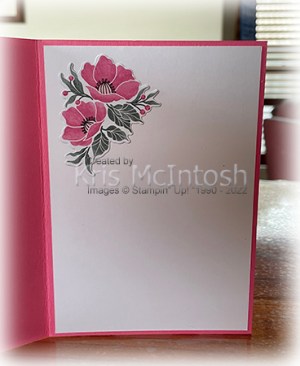
I attached one floral image to the stamped Basic White oval. I cut the flowers from the second die cut and attached them over the full image using dimensionals. I added three Basic Rhinestones just to add a little bling. To decorate the inside of the card, I die cut another flower from the Fitting Florets Designer Series Paper and attached it to the upper left hand corner of Basic White card. I decided since it was a special occasion to die cut another image from the Designer Series Paper and attach it to the upper left hand corner of a Basic White envelope.

As you can see in the photo the first card on the left is pretty but I think the second card, on the right is just a little bit more special. I’d love to hear what you think.
Bye for now,
Kris
Product Used: