To you and Yours
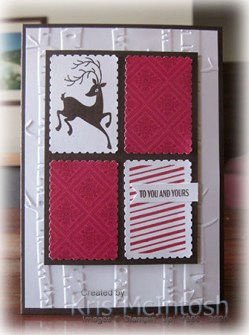
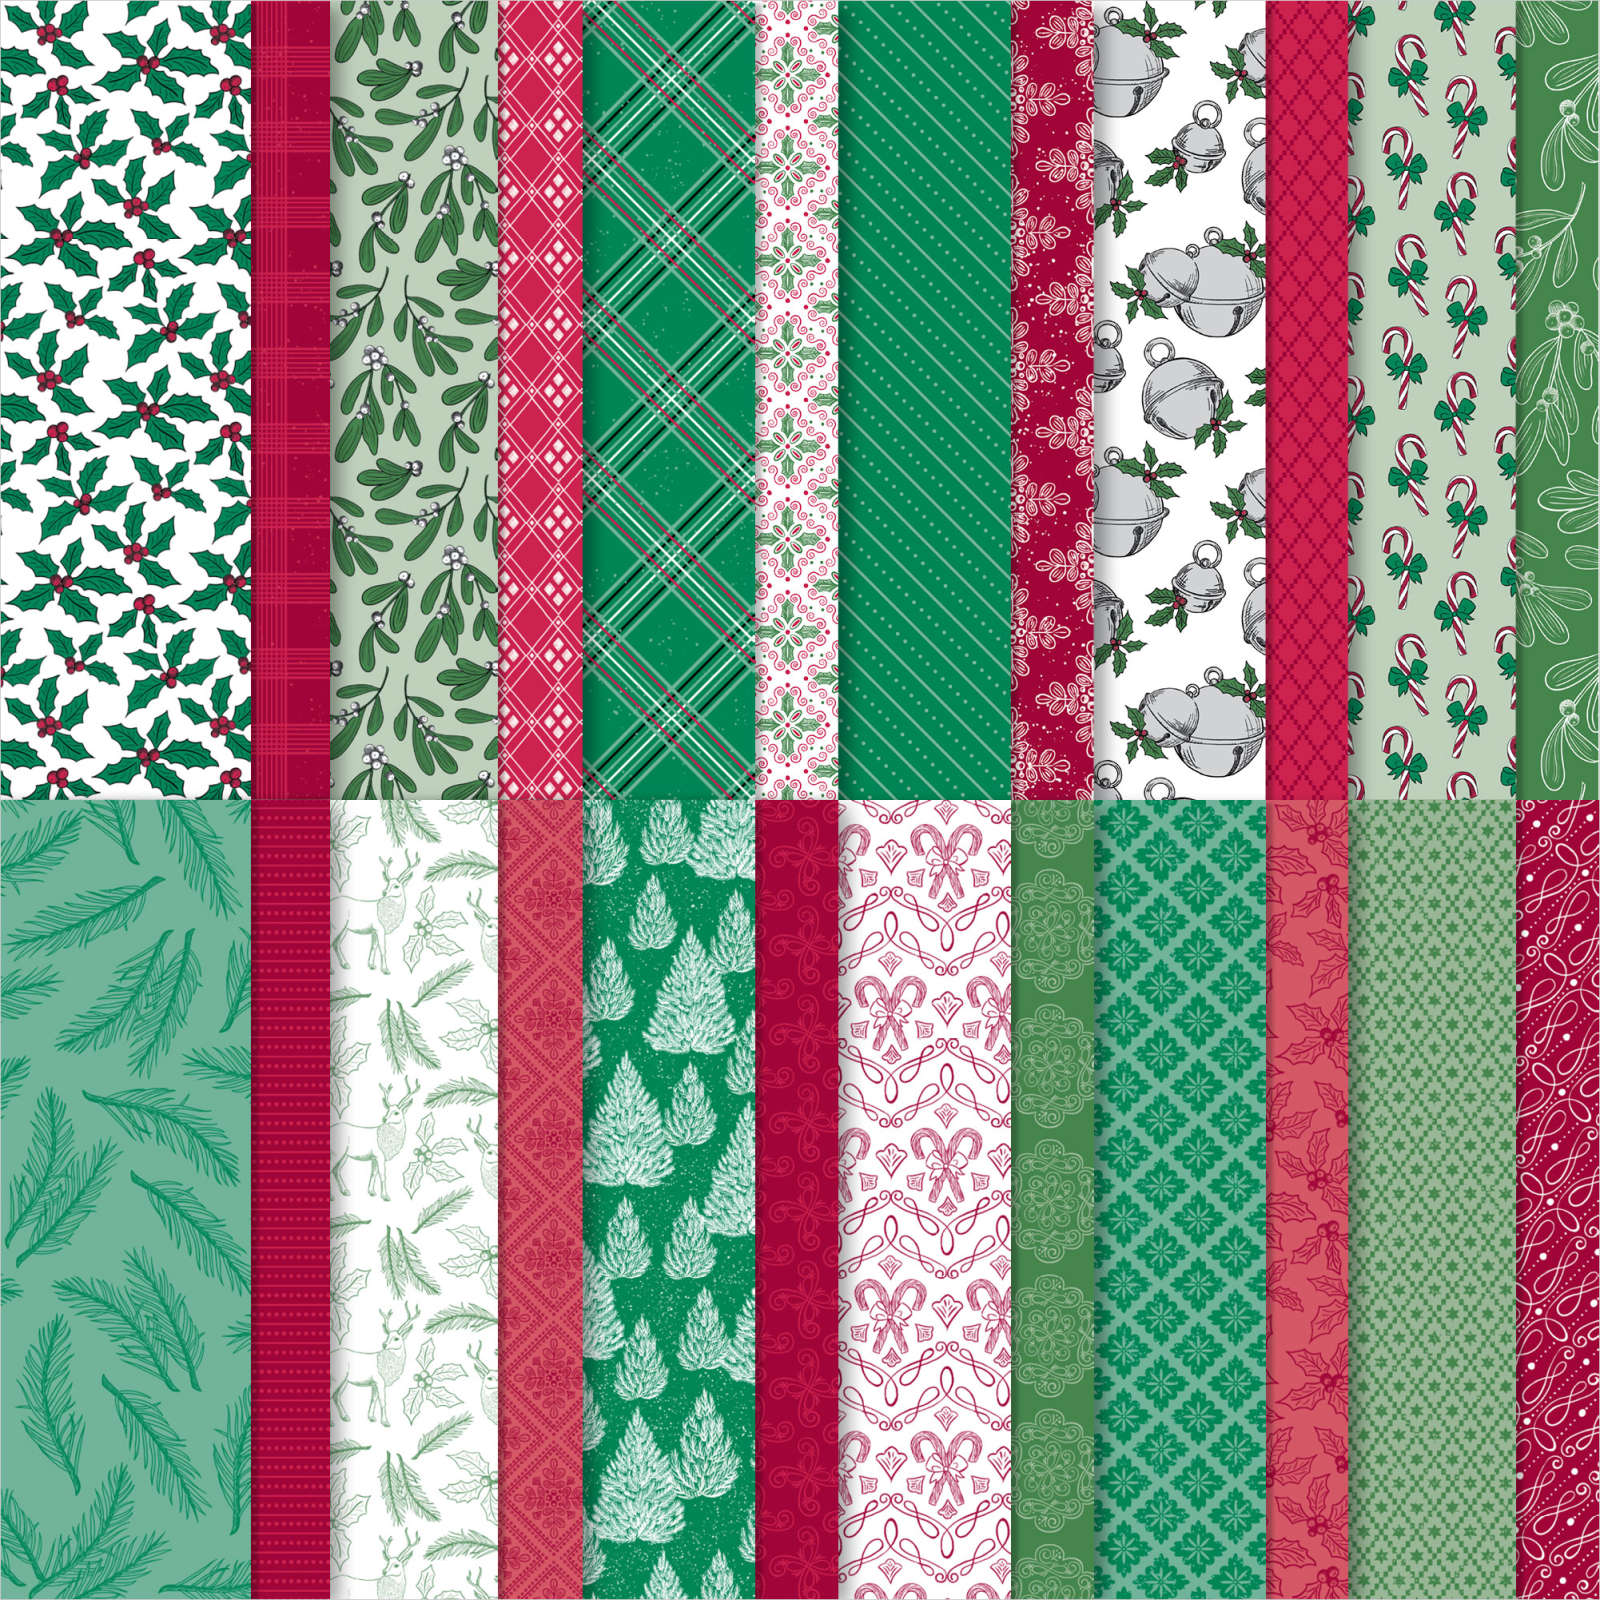
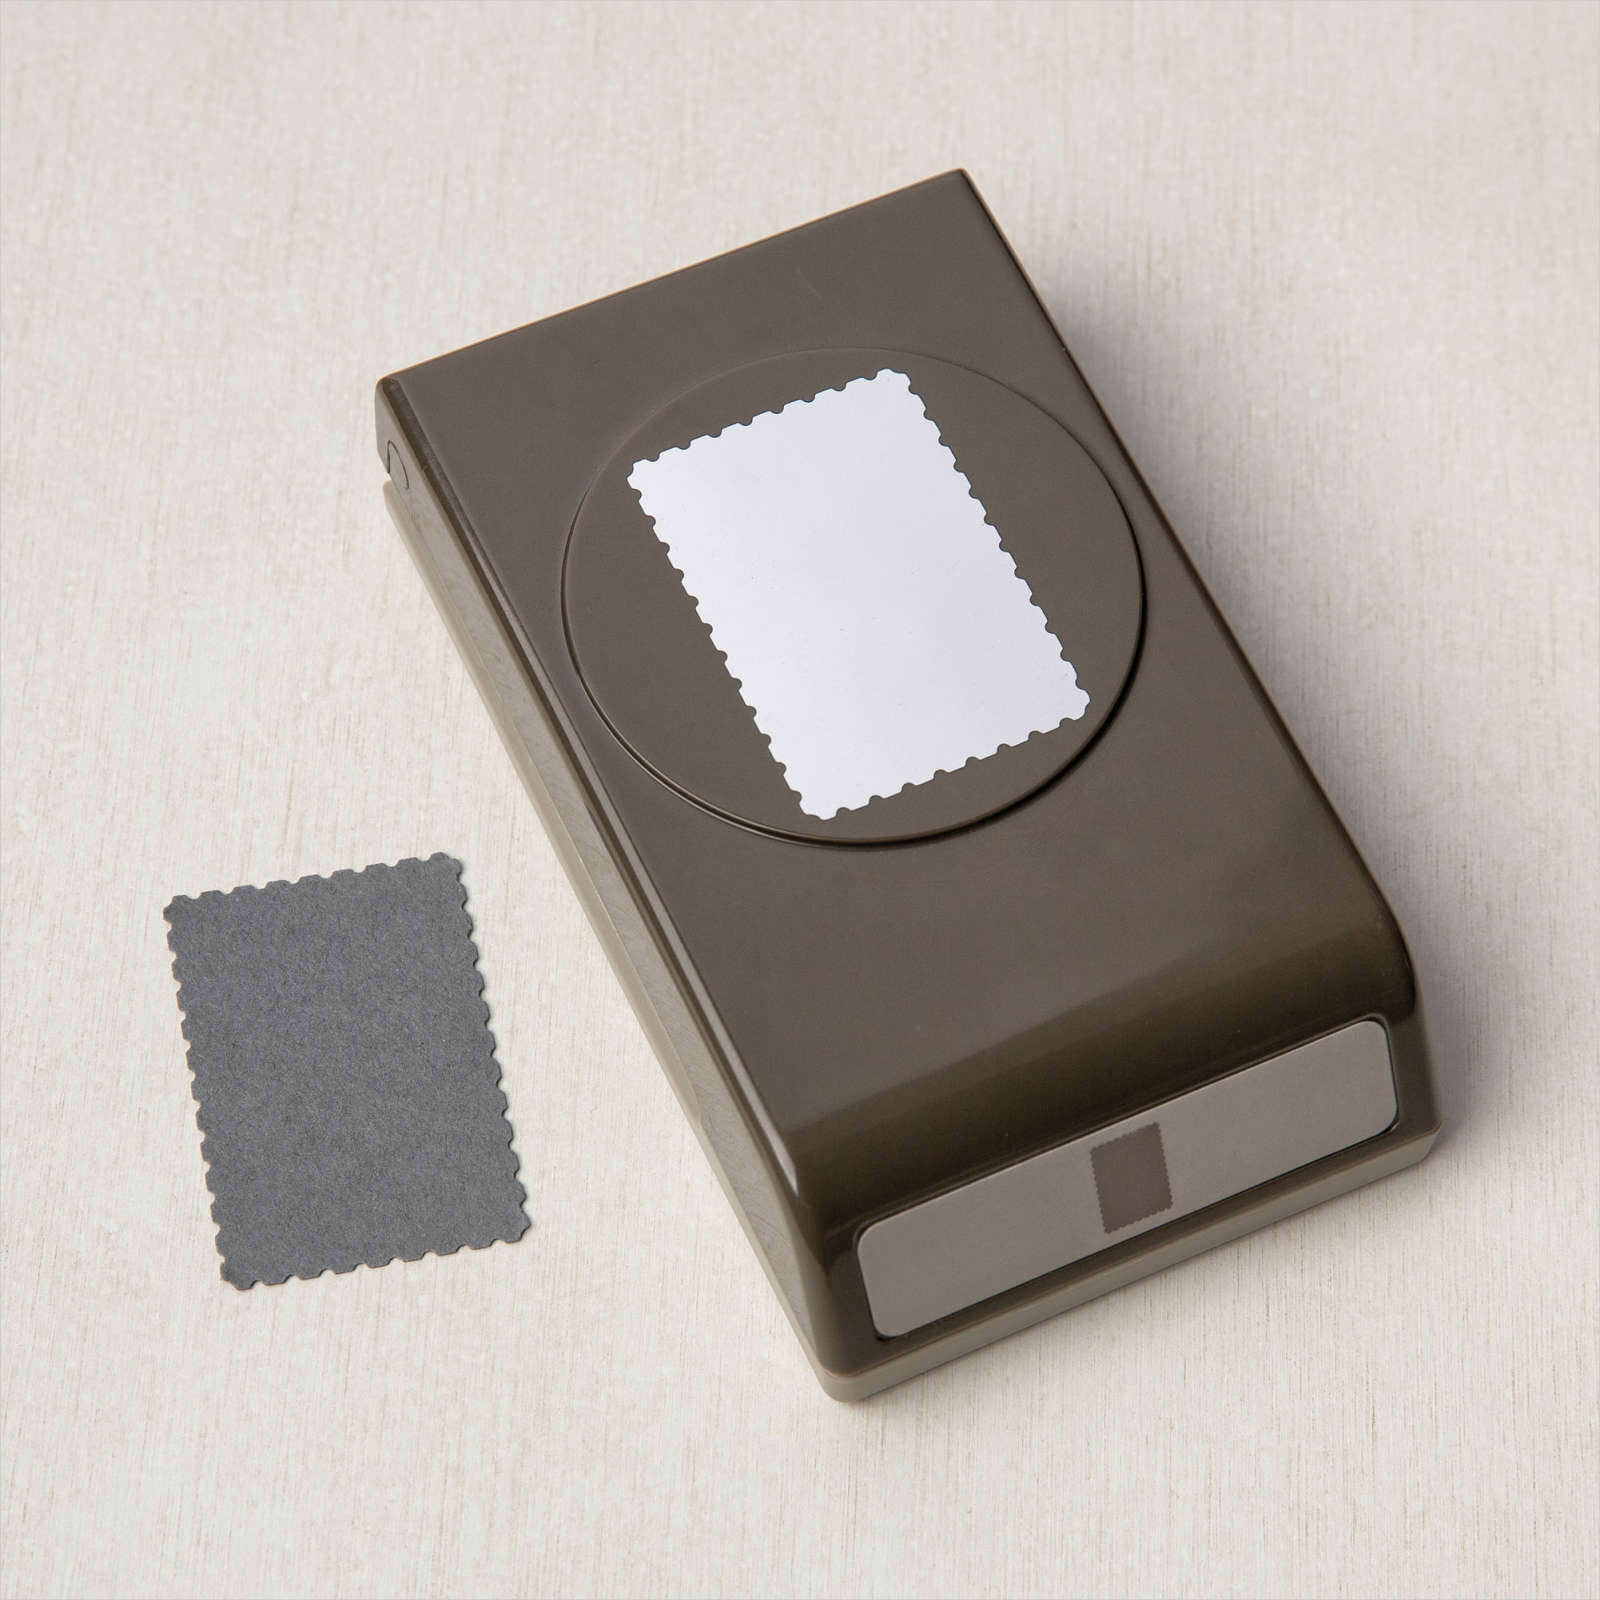
This is another Christmas card I made using the Festive Post stamp set. I embossed Whisper White card using the Woodland Embossing Folder and attached it to scored and folded Early Espresso card. I punched a piece of the ‘Tis the Season 6″ x 6″ Designer Series Paper twice using the Postage Stamp Punch. I stamped the deer image from the Festive Post stamp set onto Whisper White card using Early Espresso ink and punched it out using the Postage Stamp Punch. I also stamped the striped image from the Festive Post stamp set onto Whisper White card using Real Red ink.  I attached each of the punched pieces to Early Espresso card before attaching the panel to the card front using dimensionals. I stamped the greeting from the Festive Post stamp set onto Whisper White card using Early Espresso ink and punched it out using the Classic Label Punch.
  I trimmed the right hand edge and re-inserted it into the punch to create a “v” on the left hand edge and attached it to the card front.
To decorate the inside of the card, I stamped the striped image from the Festive Post stamp set onto Whisper White card using Real Red ink. I stamped the circle greeting from the Festive Post stamp set onto scrap Whisper White using Real Red ink. I punched out the greeting using the retired 3/4″ Circle Punch. I attached the greeting to a circle of Early Espresso card punched using the retired 1″ Circle Punch before attaching it to the centre of the stamped image.
I am having lots of fun playing with the Festive Post stamp set and I am sure I will have more examples to share with you in the future.
Bye for now,
Kris
Product Used:


Flower Girl
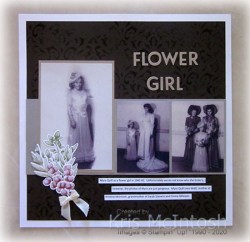
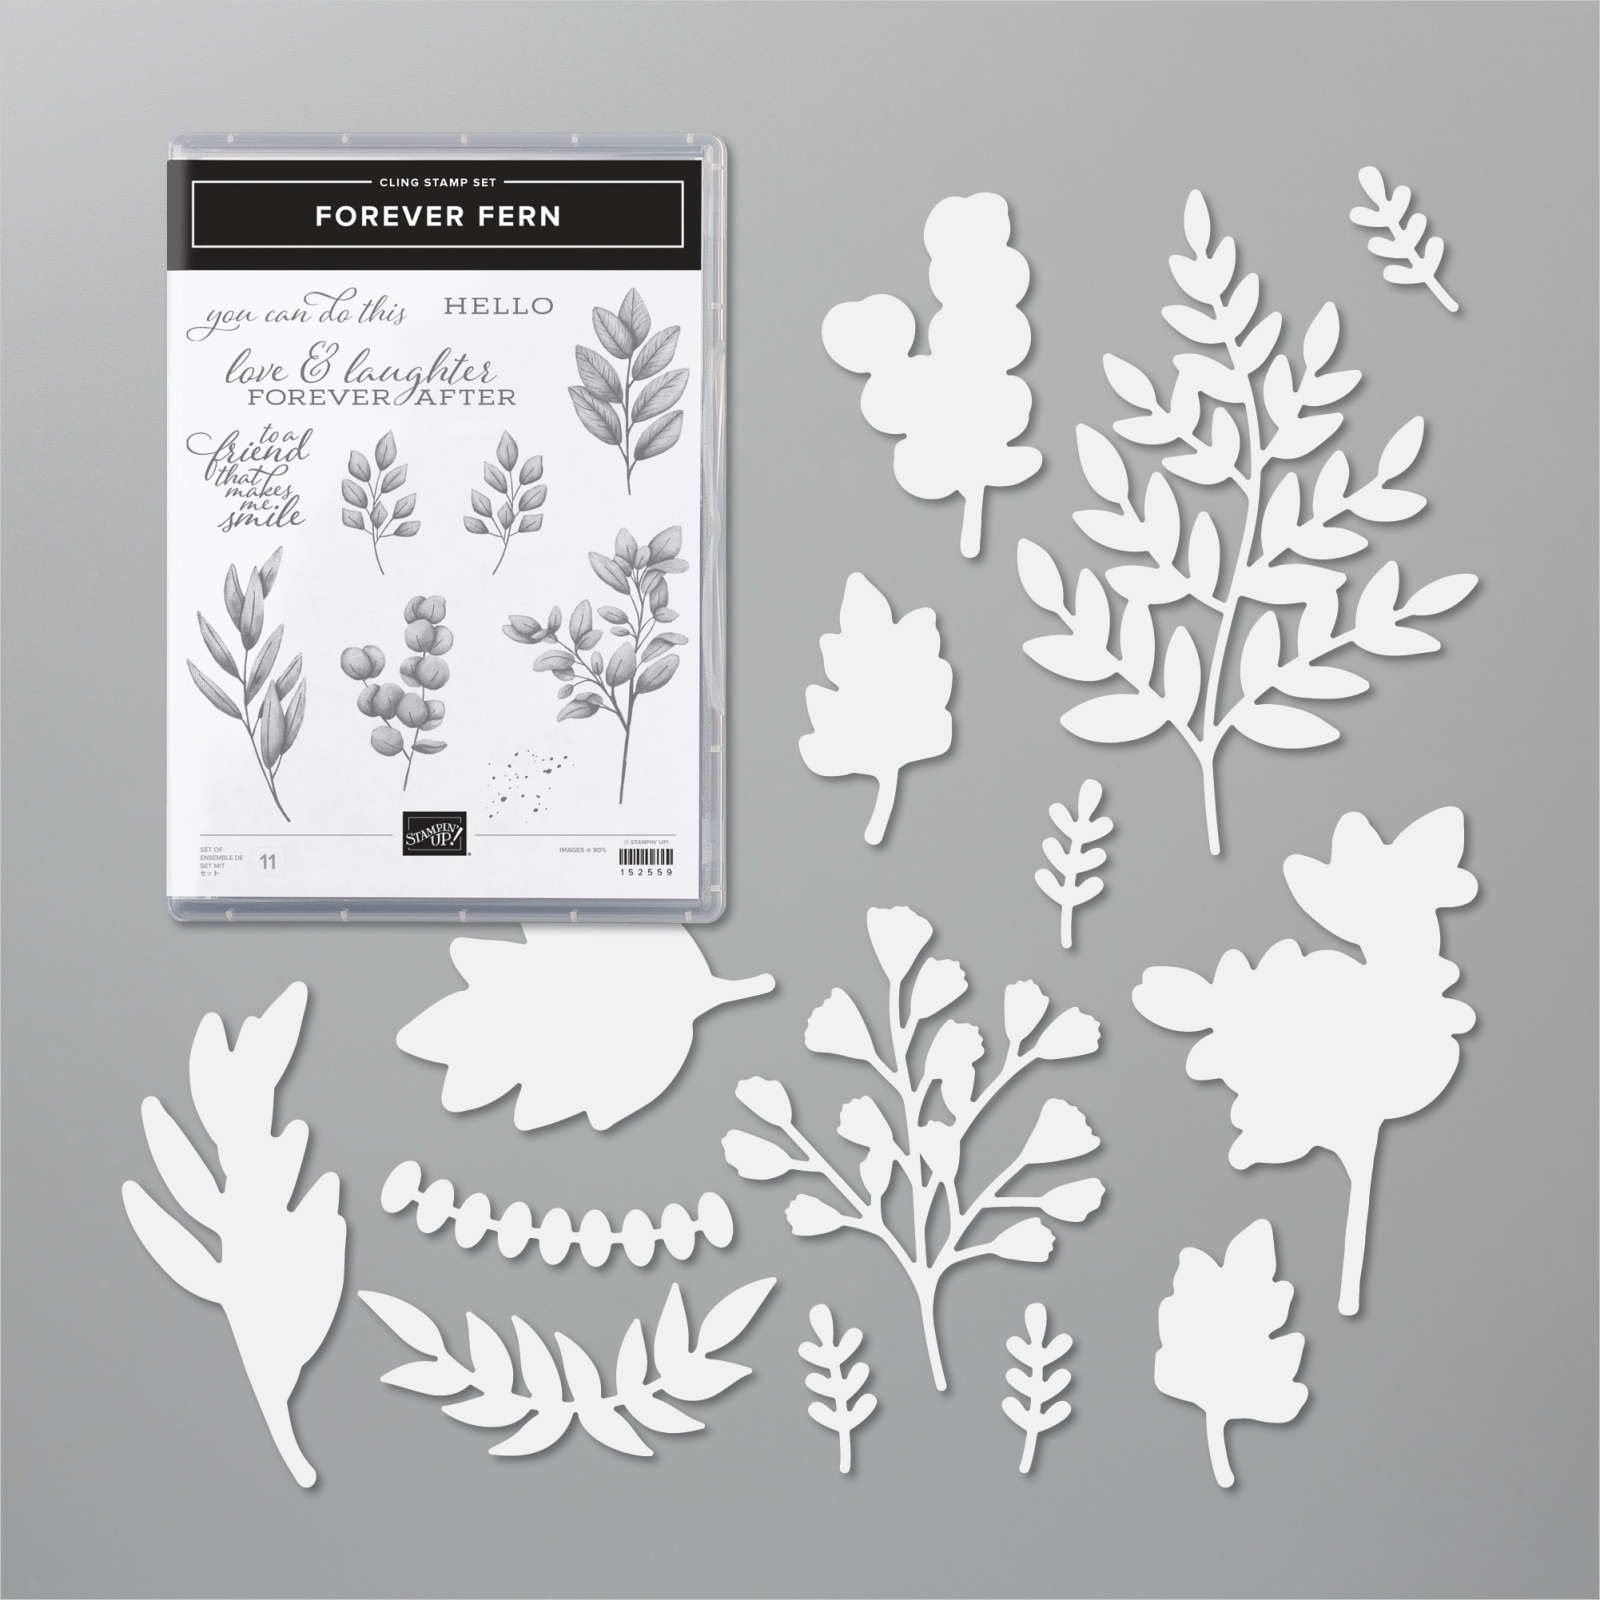
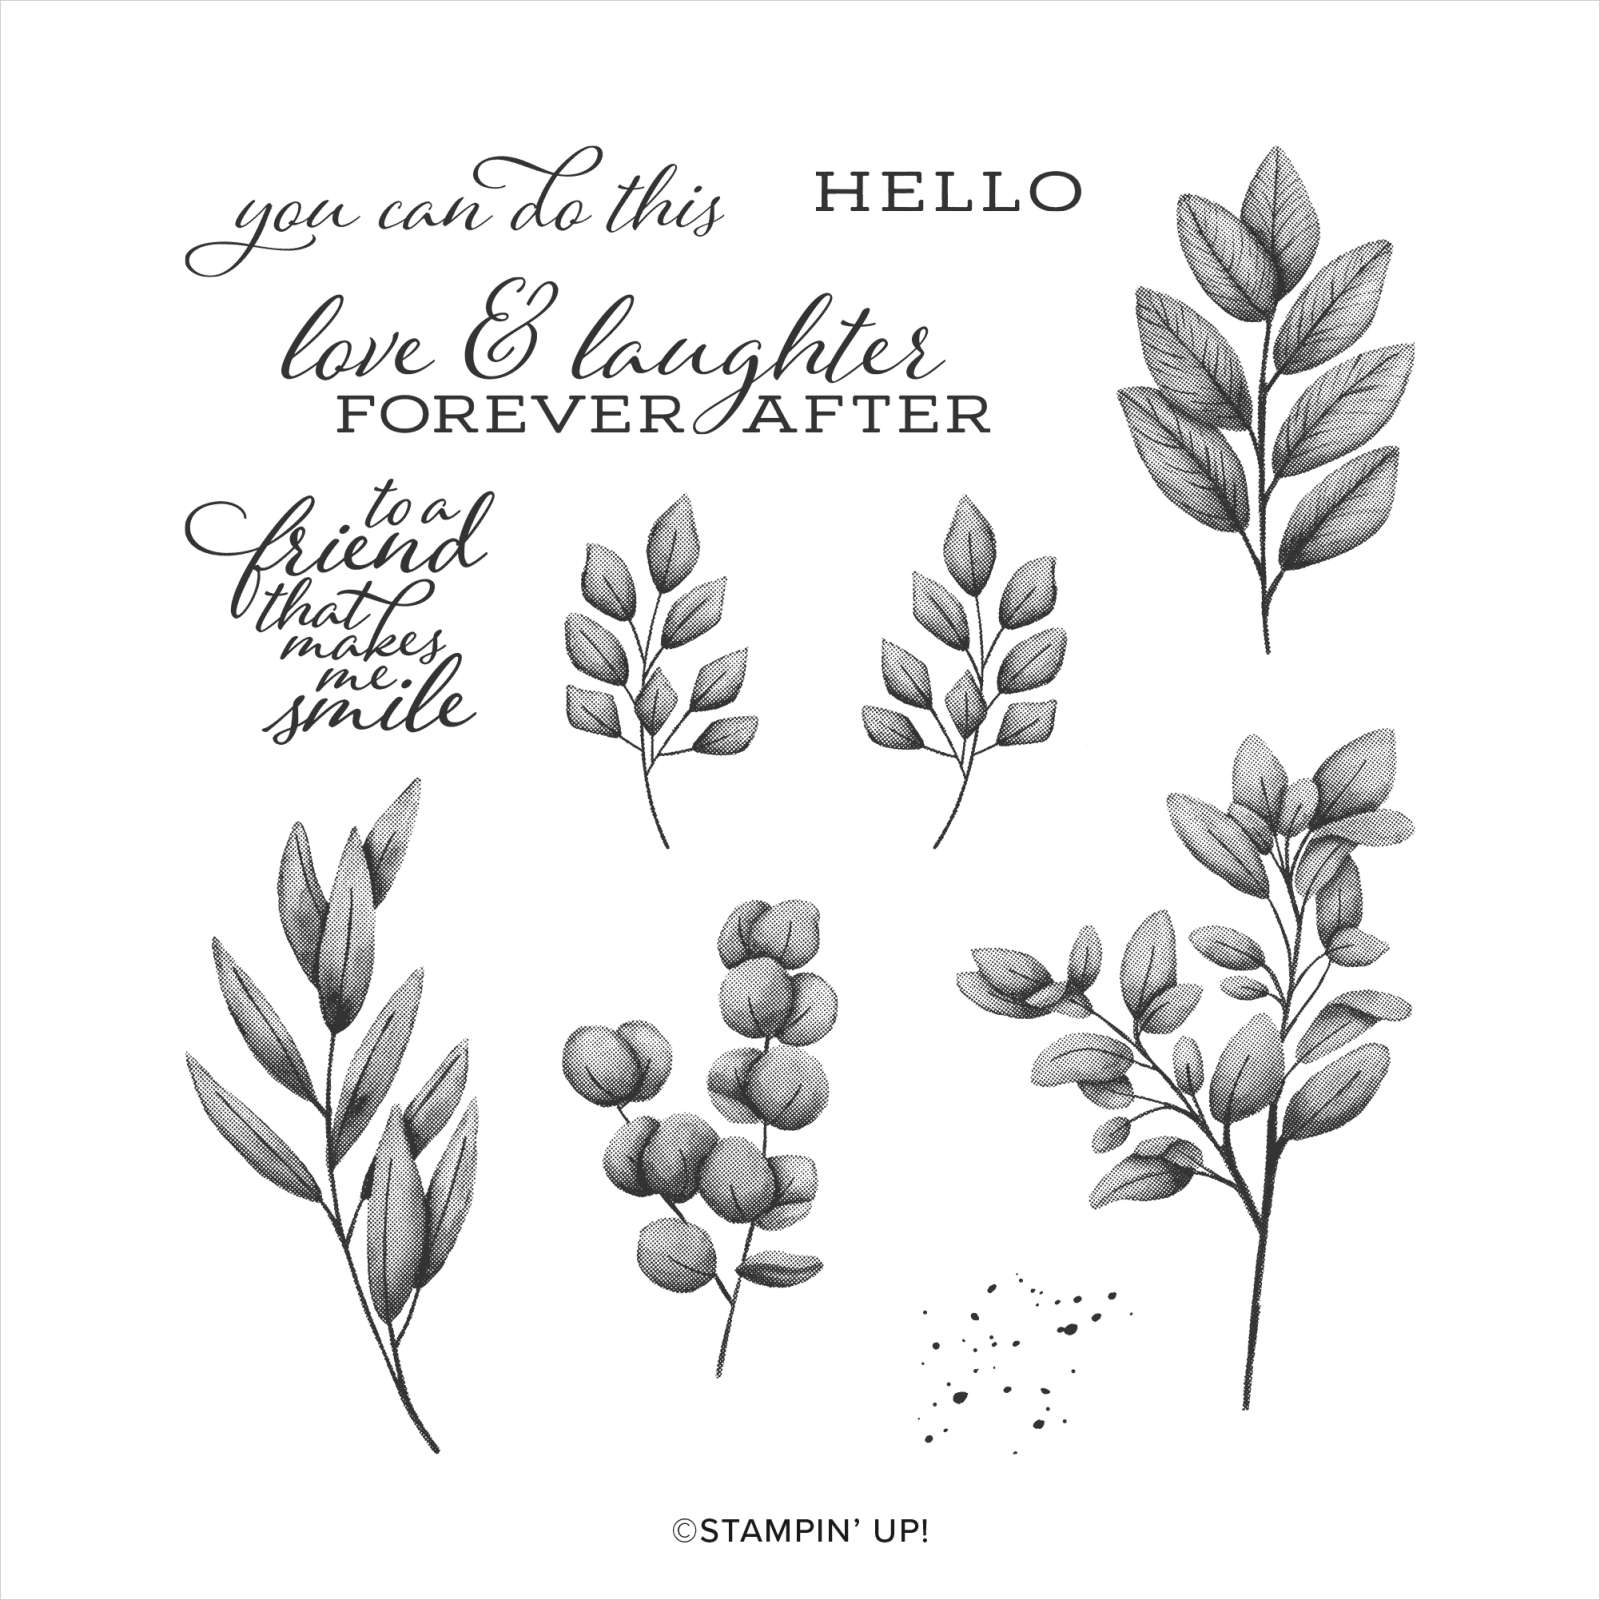
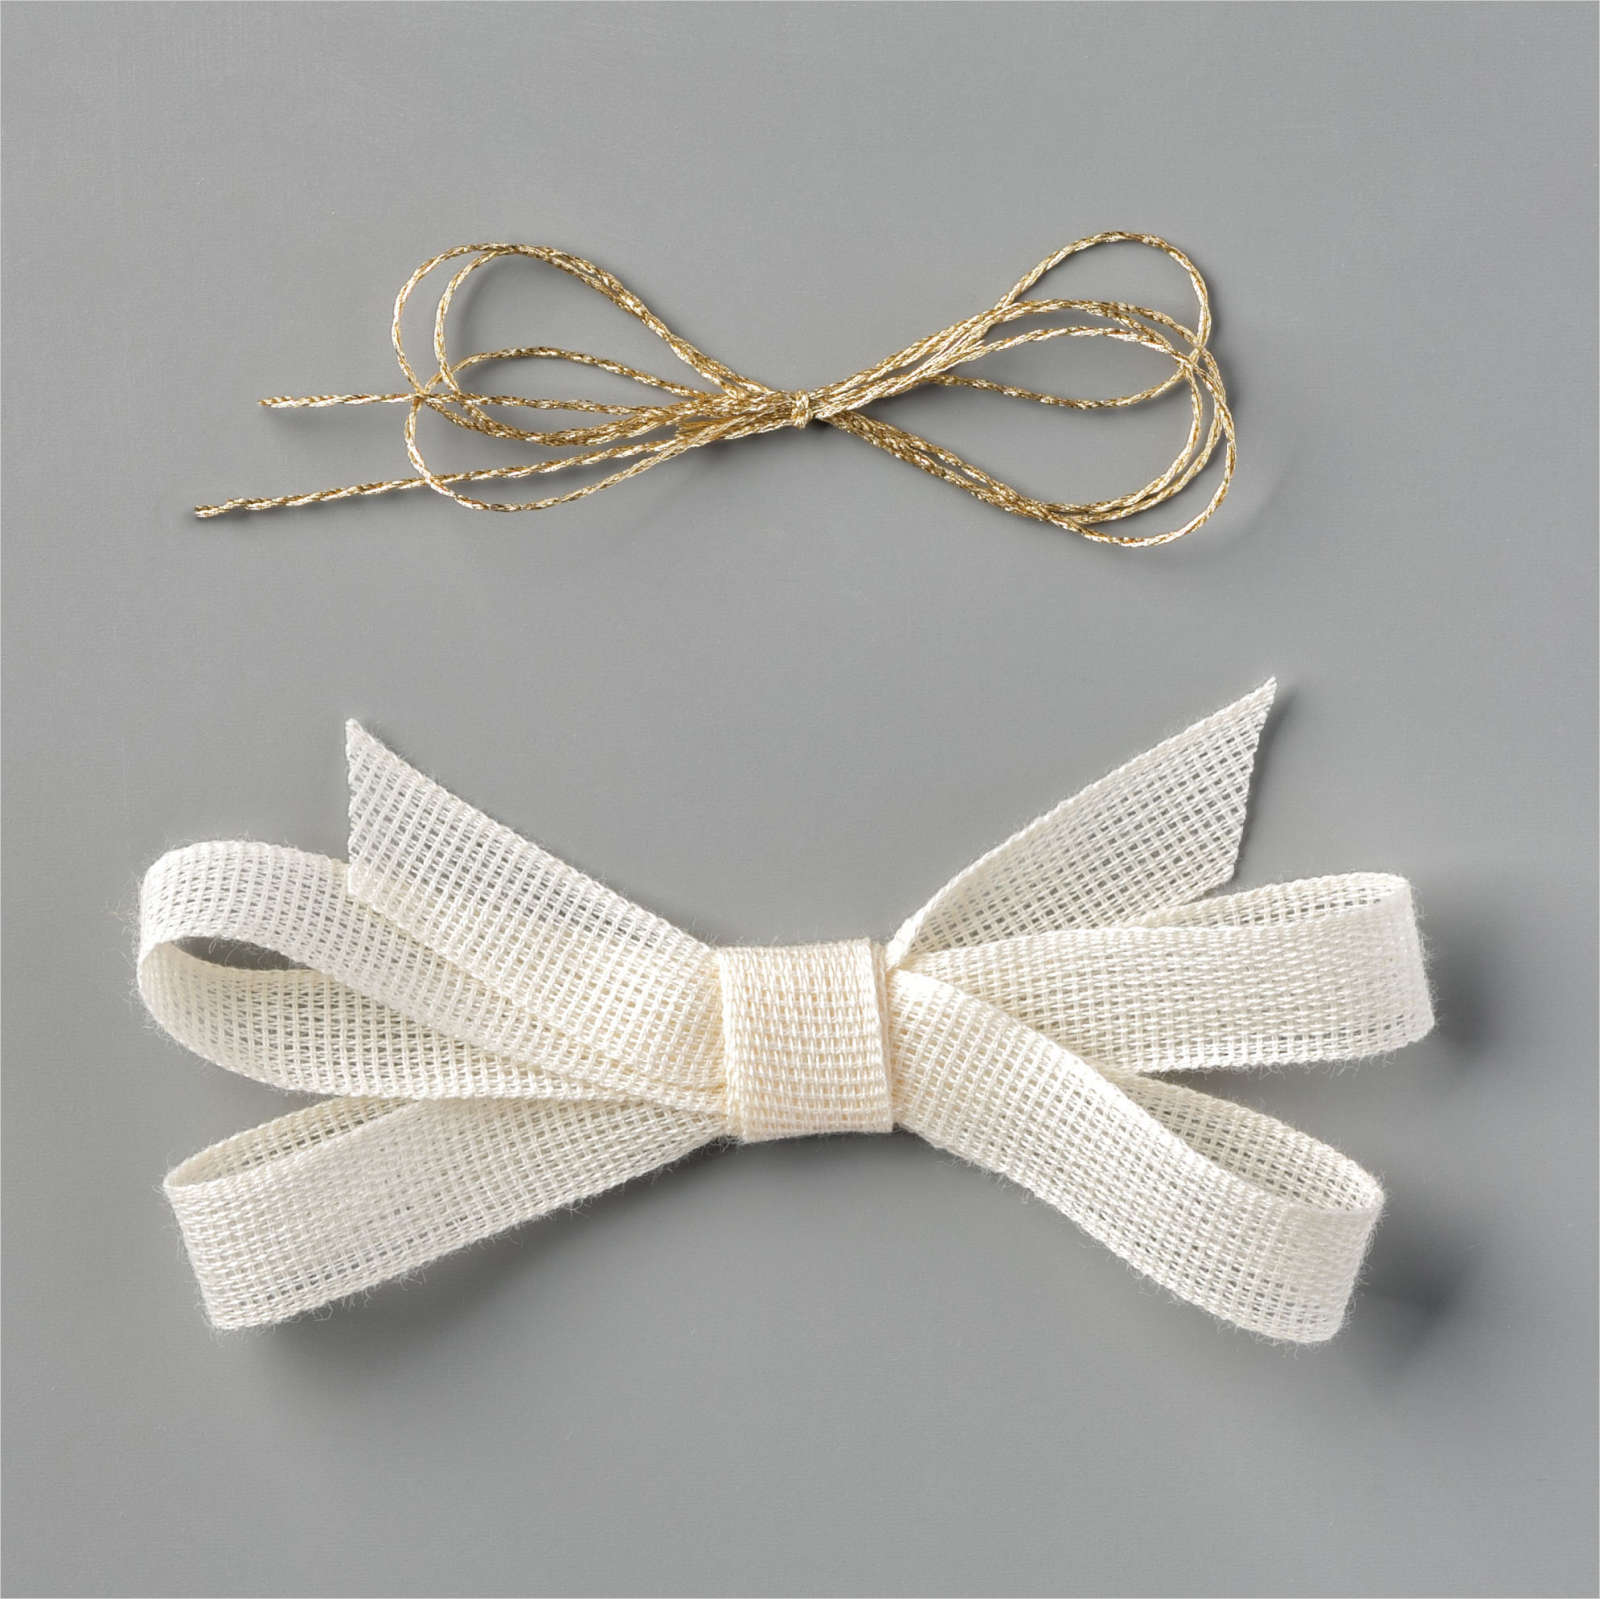
Today’s page shows off some photos of my Mum being a Flower Girl back in 1941 or 1942. I used one of the Basic Pattern Masks to add Early Espresso ink to a piece of Early Espresso card. I didn’t want it to be uniform so I just sponged on some ink and moved around the mask to get a kind of faded out pattern. I attached the Early Espresso card to a Whisper White 12″ x 12″ page. I embossed a strip of Smoky Slate card using the Subtle 3D Embossing Folder and attached it across the page. I attached the two 3″ x 4″ photos to the embossed card before attaching the main photo which is mounted on Crumb Cake card. I cut the title from Crumb Cake card and attached it to the page above the two smaller photos. I stamped one leaf from the Forever Fern stamp set onto Whisper White card using Mossy meadow ink. I stamped two of another of the leaves from the Forever Fern stamp set onto Whisper White card using Old Olive ink. I also stamped two of the floral images from the Forever Fern stamp set onto Whisper White card using Merry Merlot ink. I cut out the leaves and flowers using the co-ordinating Forever Flourishing Dies. I attached the leaves and flowers to the left hand side of the main photo. I tied a bow in a length of some of the Very Vanilla open weave ribbon from the Forever Greenery Trim Combo Pack and attached it over the ends of the bouquet. I created the journaling on the computer and printed it onto Whisper White card which I cut into strips to add to the page.
I cannot begin to describe how happy I am with this page. Such a beautiful photo of my Mum.
Bye for now,
Kris
Product Used:


Sunday Stamps Sketch 240
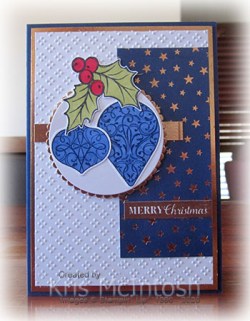
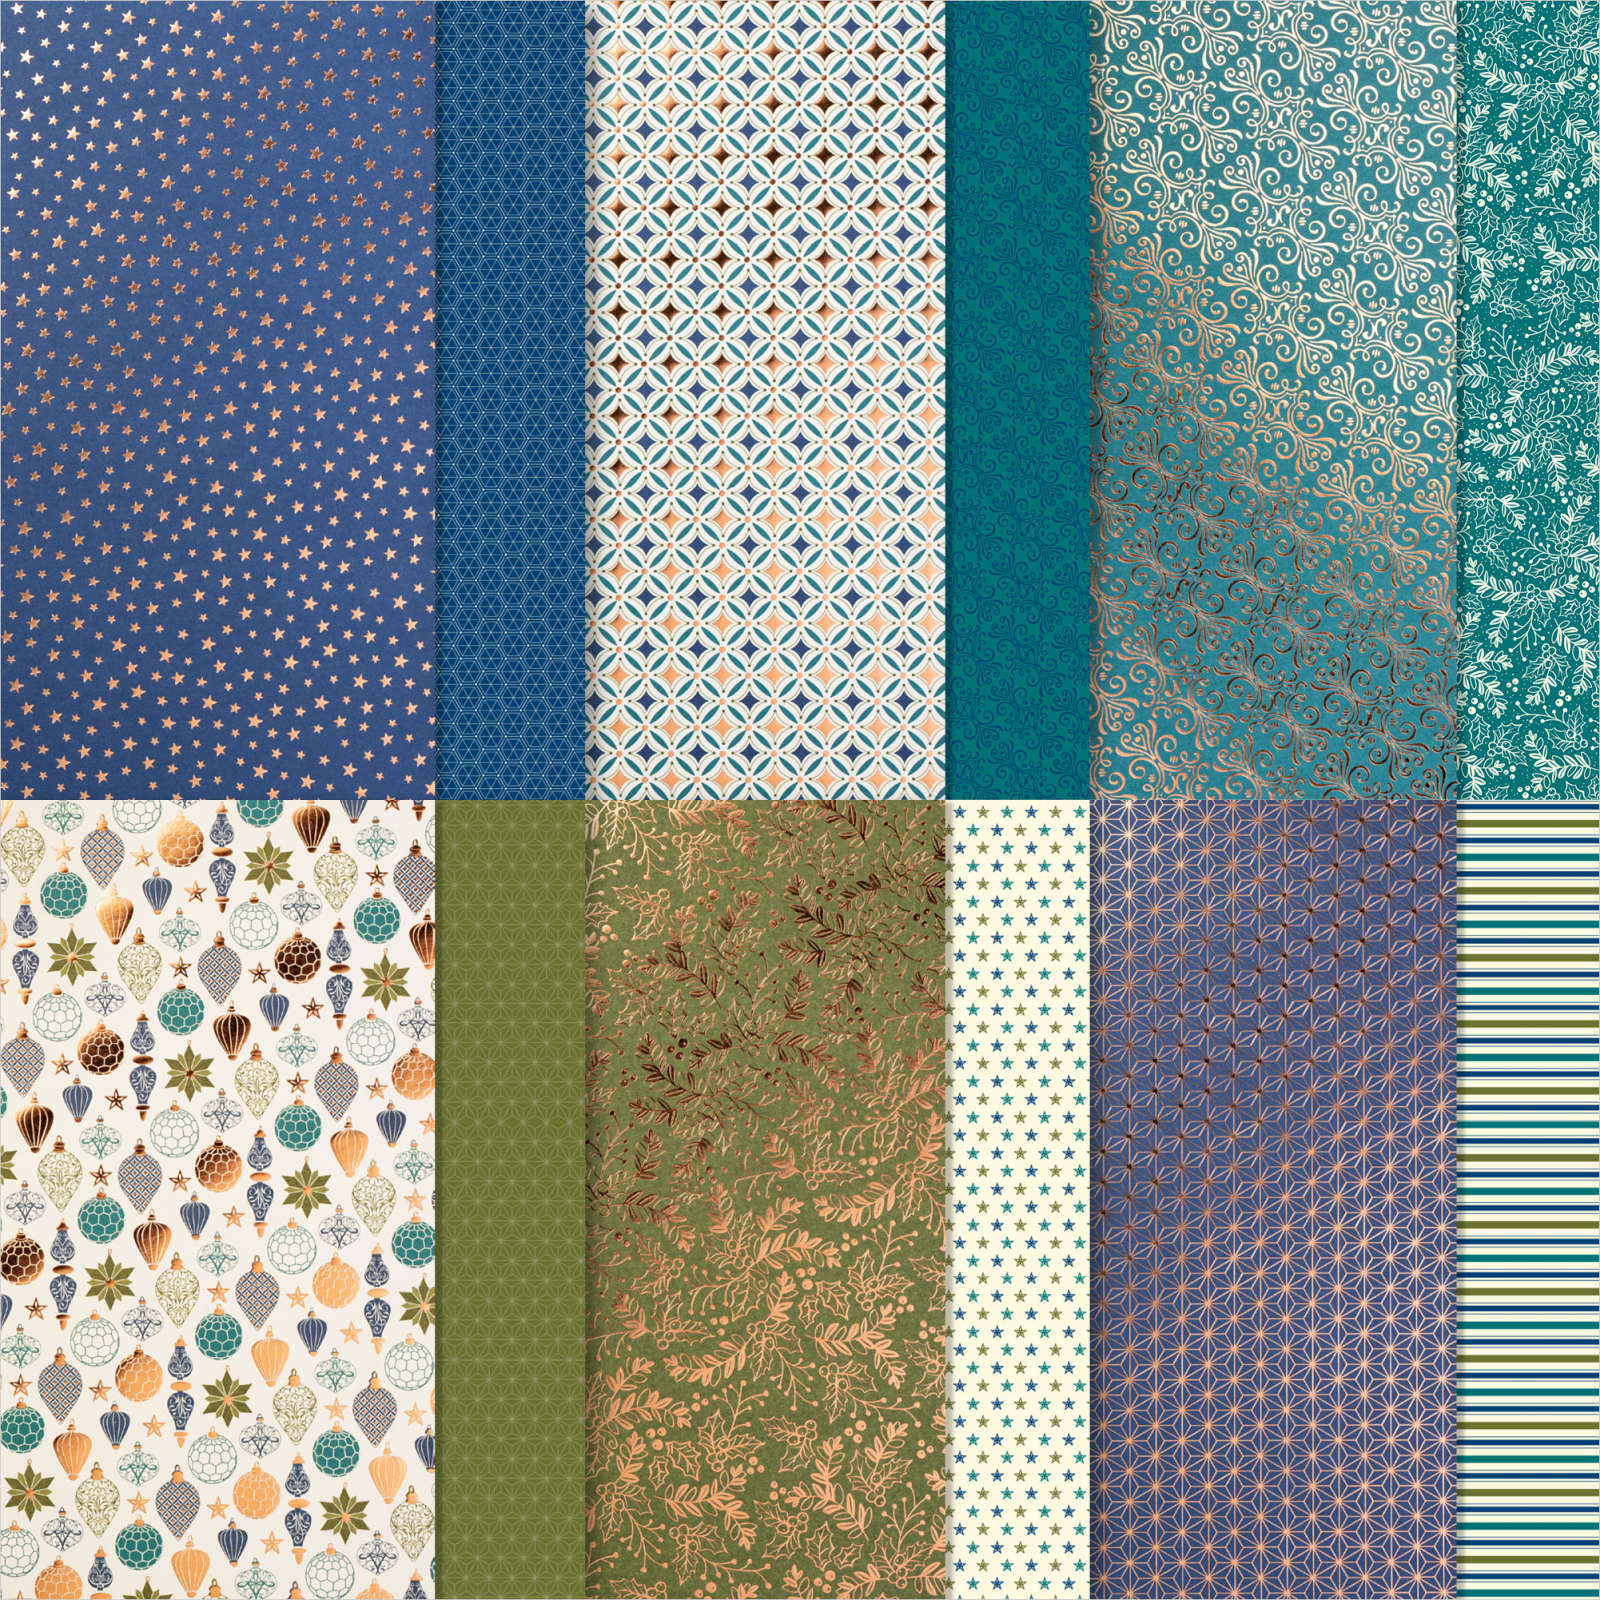
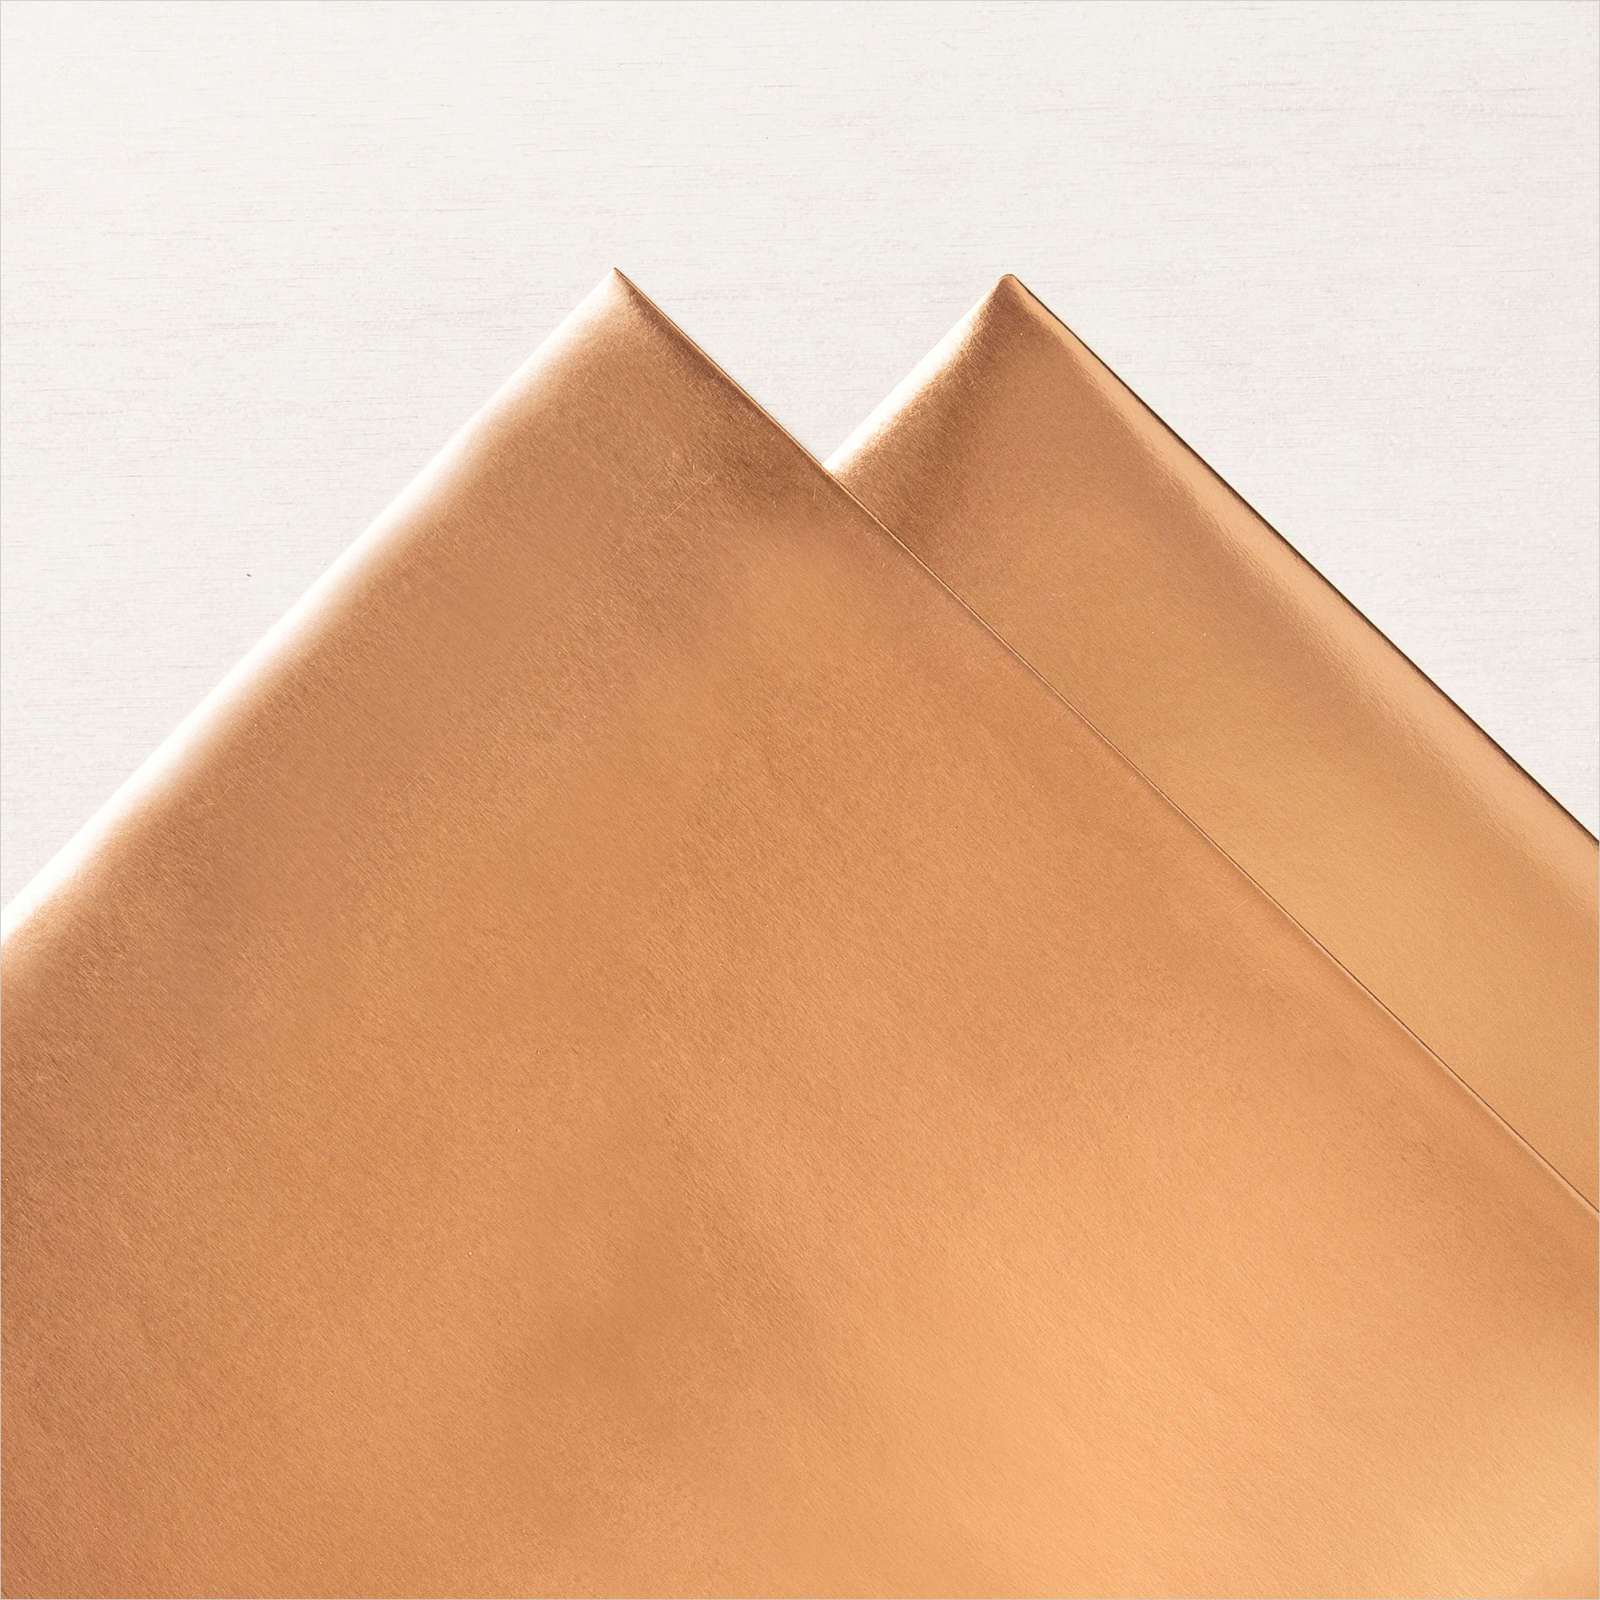
Today’s card was inspired by the sketch challenge at Sunday Stamps this week. I embossed Whisper White card using one of the Wrapped in Texture Embossing Folder. I attached a piece of the Brightly Gleaming Specialty Designer Series Paper to the right hand side of the embossed card. I attached a strip of Copper Foil card across the panel and attached the panel to another piece of Copper Foil card. The whole piece is attached to scored and folded Night of Navy card. I stamped the baubles from the Christmas Gleaming stamp set onto Whisper White card using Night of Navy ink.  I coloured each of the baubles using the Light Night of Navy Stampin’ Blend and punched them out using the co-ordinating Gleaming Ornament punch. I also stamped the holly image from the Christmas Gleaming stamp set onto Whisper White card using Night of Navy ink and coloured the image using Old Olive and Real Red Stampin’ Blends.
  I cut Whisper White card using the Layering Circle Dies and Copper Foil card using the same dies. I attached the baubles and the holly to the Whisper White circle and then the scalloped Copper Foil circle. The panel is attached to the card using dimensionals. I stamped the greeting from the Christmas Gleaming stamp set onto Whisper White card using Versamark ink. I sprinkled the image with retired Copper Embossing Powder and heat set it. I cut around the greeting and attached it to the Designer Series Paper panel.
To decorate the inside of the card, I attached a narrow strip of Copper Foil card behind one long edge of the same Brightly Gleaming Specialty Designer Series Paper. The Designer Series Paper panel is attached across the bottom of Whisper White card.
I love this card, so thanks Sunday Stamps for giving me an excuse to break out this paper!
Bye for now,
Kris
Product Used:


Block Stamping
Yesterday on my Facebook Live I shared a couple of cards I made using backgrounds created by inking up my clear blocks and stamping onto card. This was a fun technique and I wanted to share another card with you all today. I embossed Merry Merlot card using the Subtle 3D Embossing folder and attached it to scored and folded Thick Whisper White card. I cut Whisper White card using one of the Ornate Layers Dies and attached it to the embossed card. I inked my Clear Block E using Soft Sea Foam ink and stamped onto Whisper White card. I did use a mouse mat under the card just so I could add a little more pressure.  I cut the stamped Whisper White card using one of the Stitched Rectangle Dies. I stamped the holly image from the Christmas Gleaming stamp set onto the die cut card using Memento Tuxedo Black ink.
  The stamped card is attached to the centre of the Ornate Layer Die. I stamped “Merry Christmas from the Tag Buffet stamp set onto Whisper White card using Memento Tuxedo Black ink. The greeting is attached to the card front using dimensionals.
To decorate the inside of the card I stamped one of the greetings from the Wishes & Wonder stamp set using Memento Tuxedo Black ink.
Simple card but I love the texture created by stamping using the clear blocks, don’t you. I hope I have inspired you to try out this technique for yourself.
Bye for now,
Kris
Product Used:


Two in One
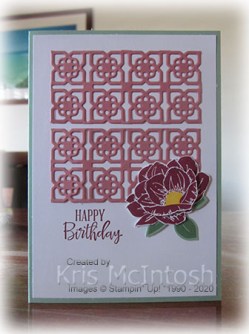
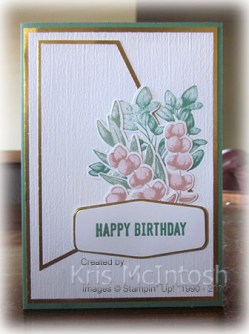
Today’s card is inspired by the sketch challange at Case this Sketch and the colour challenge at Just Add Ink. I don’t do colour challenges very often but it is nice to be taken out of your comfort zone to try new things and I must admit I love these colours together. I began by adding Adhesive Sheet to the back of Rocco Rose card before running it through my Cut & Emboss Machine using the large die from the Many Medallions Dies. I cut the card down into two panels four squares x two squares and attached them to Whisper White card. Adding the Adhesive Sheet makes attaching intricate dies like this one so easy! The Whisper White panel is attached to scored and folded Mint Macaron card.  I stamped the large and small solid flowers from the Floral Essence stamp set onto Whisper White card using Merry Merlot ink and cut them out. I coloured the centre of the small flower using the Dark Daffodil Delight Stampin’ Blend. I stamped the three leaf image from the Floral Essence stamp set onto Mint Macaron card using Mint Macaron ink. I punched the leaf image using the retired Leaf Punch.
 I attached the small flower to the centre of the large flower using dimensionals. I attached the leaf to the back of the large flower before attaching to the card front. I stamped “happy birthday” from the Peaceful Moments stamp set to the left of the flower below the die cuts using Merry Merlot ink.
To decorate the inside of the card, I stamped the greeting from the Peaceful Moments stamp set onto Whisper White card using Merry Merlot ink. I also stamped the small flower from the Floral Essence stamp set using Merry Merlot ink and coloured the centre using the Dark Daffodil Delight Stampin’ Blend.
I love the colours in this card and the layout. So thanks to Just Add Ink for the colour inspiration and Case This Sketch for the layout.
Bye for now,
Kris
Product Used:


Forever Gold Birthday
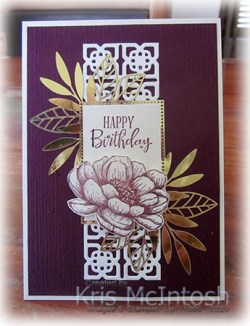
Today’s card features the Forever Gold Specialty Designer Series Paper. I have had this Designer Series Paper since the Annual Catalogue launched back in July and I have only used it twice! However, today’s card may have inspired me to use it more. I began by embossing Rich Razzleberry card using the Subtle 3D Embossing Folder. I cut Very Vanilla card using the Many Medallions Dies and cut it down to 2 squares by 6 squares. I attached the die cut to the centre of the embossed Rich Razzleberry card.  I stamped the greeting from the Peaceful Moments stamp set onto Very Vanilla card using Rich Razzleberry ink and attached the stamped panel to one of the die cuts from the Forever Gold Specialty Designer Series Paper. The die cut panel is attached to the card front over the centre of the Many Medallions die cut.
 I stamped the flower from the Tasteful Touches stamp set onto Very Vanilla card using Rich Razzleberry in and cut it out. The flower is attached to the card front using dimensionals.
To decorate the inside of the card, I stamped the flower from the Tasteful Touches stamp set onto Very Vanilla card using Rich Razzleberry ink. I covered the flower with a post-it-note mask and stamped the leaf image from the Tasteful Touches stamp set over the top using Old Olive ink. I also stamped the greeting from the Peaceful Moments stamp set using Rich Razzleberry ink.
This is a super pretty card. The gold really packs a lot of oomph over the darkness of the Rich Razzleberry card, don’t you think?
Bye for now,
Kris
Product Used:


Lorikeets
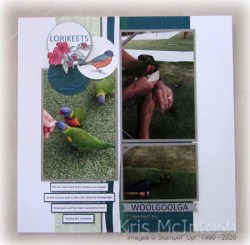
On the way home from Stockton we stopped overnight at Woolgoolga. This caravan park has been done up and is really lovely and so convenient, right on the beach and in town! Ron had a lovely time feeding the Lorikeets. I embossed Soft Sea Foam card using the Woodland Embossing Folder and Pretty Peacock card using the Pinewood Planks 3D Embossing Folder. I attached the embossed card to a Whisper White 12″ x 12″ page with a piece of the Forever Greenery Designer Series Paper between them. I attached the photos to Crumb Cake card before attaching them to the page. I printed “Woolgoolga” onto Crumb Cake card and cut a “v” in each end before attaching it to the page. The journaling is printed onto Whisper White card, cut into strips which are attached the Pretty Peacock card and then attached to the page.  I cut a circle from Pretty Peacock card using the Layering Circle Dies and embossed it using the Old World Paper 3D Embossing Folder before attaching it to the card front. I stamped the single bird image from the Free As A Bird stamp set onto Whisper White card using Memento Tuxedo Black ink. I coloured the bird using Pretty Peacock, Night of Navy Daffodil Delight and Real Red Stampin’ Blends. I was hoping to re-create the colour in the Lorikeets – not sure if I succeeded!
  I cut out the bird image using the Layering Circle Dies and attached it to the page slightly overlapping the embossed card. I printed “lorikeets” onto Whisper White card and cut it out using the Layering Circle Dies. I attached it to a scalloped circle cut from Crumb Cake card using the same dies and attached it to the page overlapping both the embossed circle and the stamped circle. I stamped the leaf image from Free As A Bird stamp set onto Whisper White card three times using Memento Tuxedo Black ink. I stamped the large single flower from the Free As A Bird stamp set onto twice onto Whisper White using Memento Tuxedo Black ink. I also stamped the small single flower bud onto Whisper White card three times using Memento Tuxedo Black ink. I coloured these images using the Real Red, Soft Sea Foam and Pretty Peacock Stampin’ Blends. I cut out the images and attached them to the page just below “Lorikeets”.
I love this page and love that it brings back memories of a very happy day.
Bye for now,
Kris
Product Used:


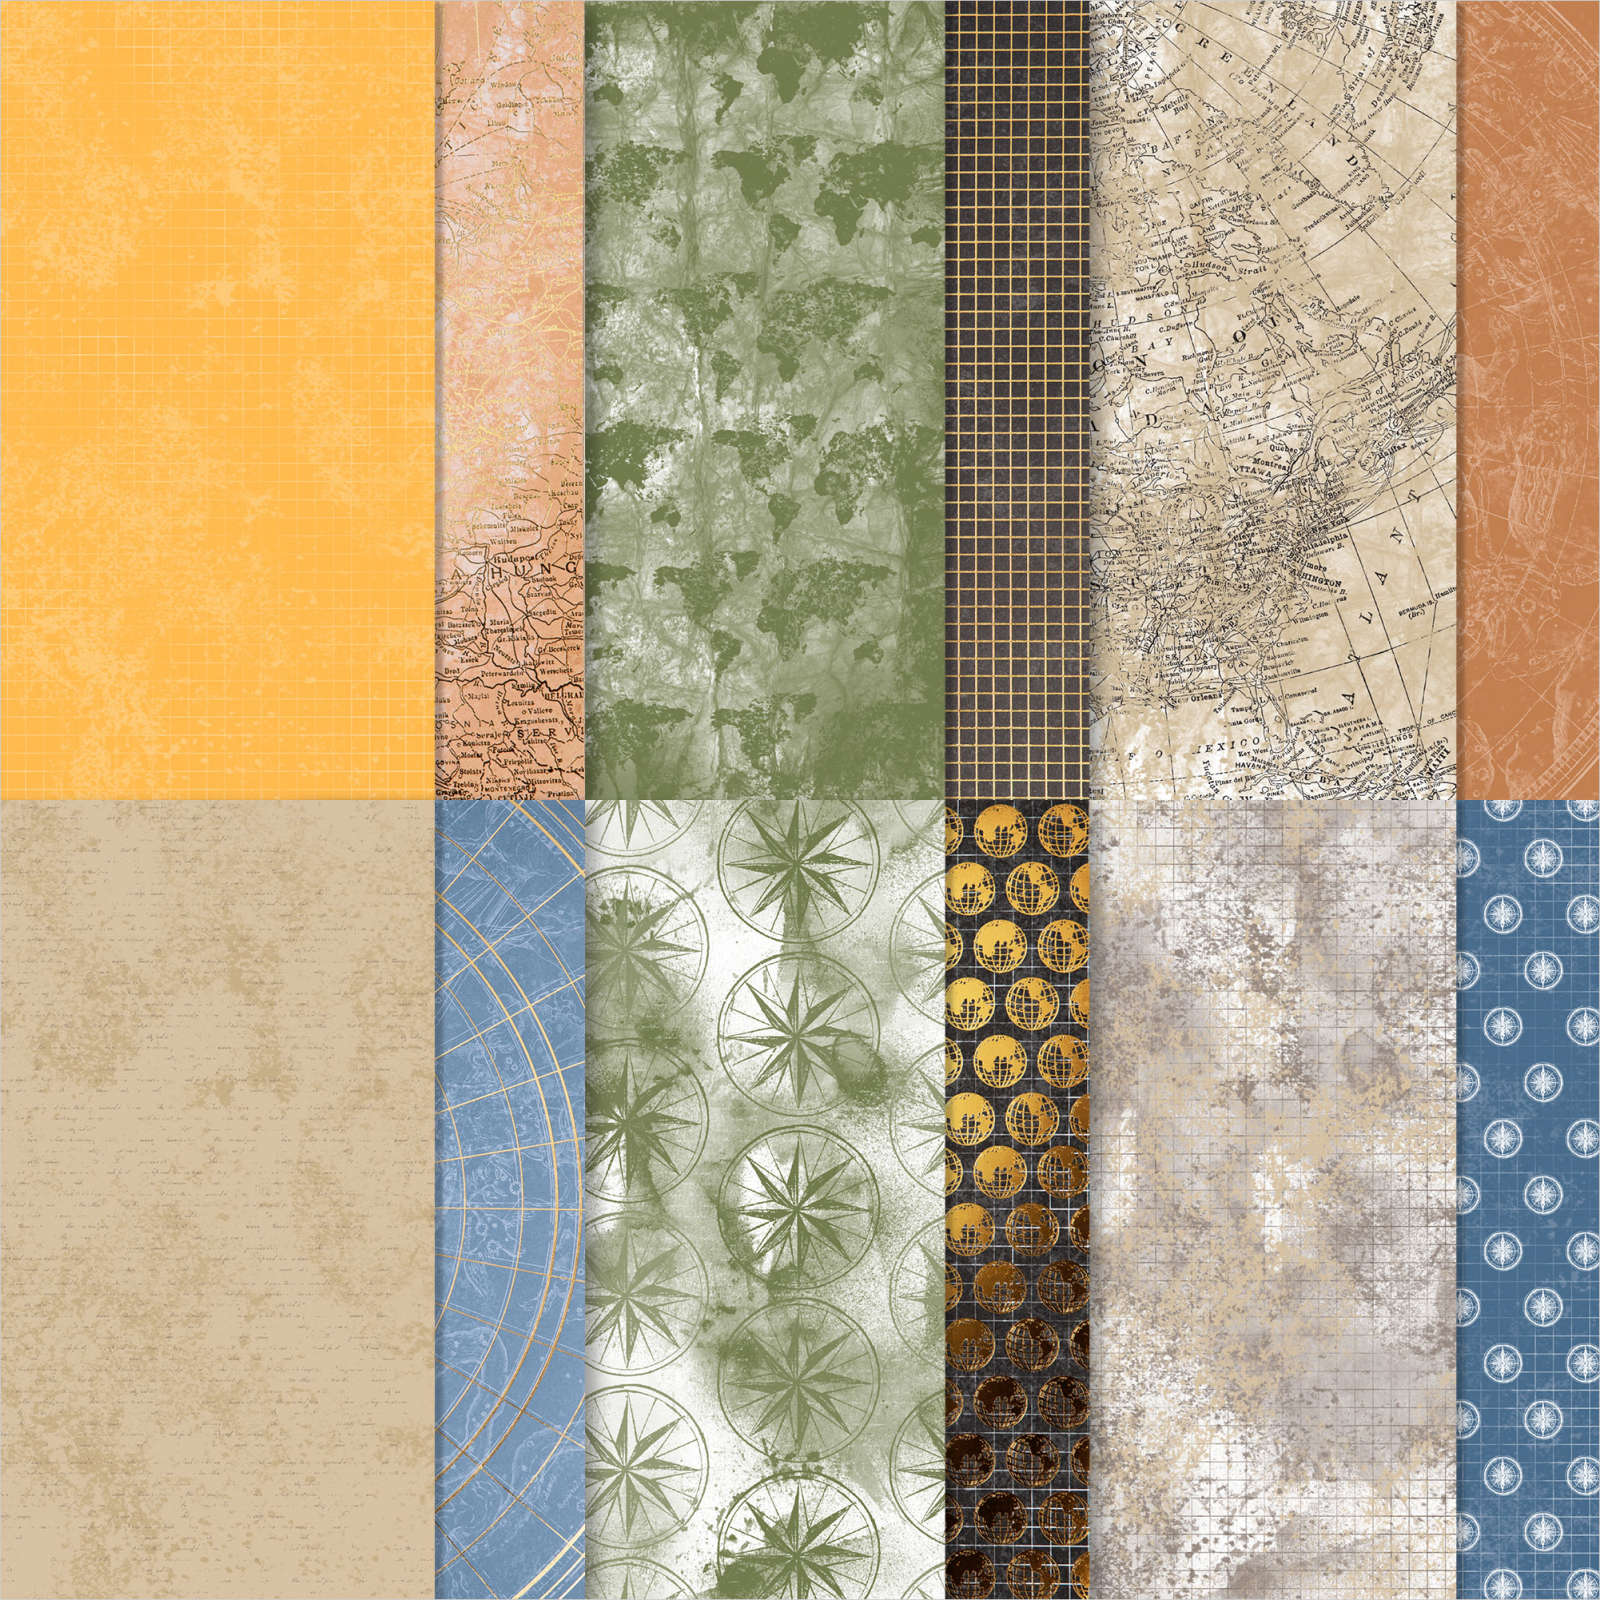
Just thinking of you
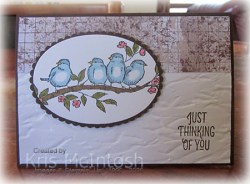
Today’s card was created after looking at some sketches and then my thoughts taking me in a new direction. Happens a lot when I am creating, I start with one idea and end up with a completely different one! Anyway, I stamped the greeting from the Many Mates stamp set onto the lower right hand corner of Whisper White card using Early Espresso ink. I embossed the stamped panel using the Old World Paper 3D Embossing Folder and attached a strip of World of Good Specialty Designer Series Paper across the top. I attached the embossed panel to scored and folded Early Espresso card. I stamped the bird image from the Free as a Bird stamp set onto Whisper White card using Memento Tuxedo Black ink. I coloured the image using Dark Soft Suede, Dark Flirty Flamingo, Dark Daffodil Delight, Dark Old Olive and Balmy Blue Stampin’ Blends. I cut out the image using the Layering Ovals Dies and attached it to a Early Espresso scalloped oval cut using the same dies.
  The image panel is attached to the card front using dimensionals.
To decorate the inside of the card I stamped another greeting from the Many Mates stamp set using Memento Tuxedo Black ink. I coloured the image using the Dark Balmy Blue and the Dark Flirty Flamingo Stampin’ Blends. I attached a narrow strip of Early Espresso card behind one long edge of Whisper White card embossed using the Old World Paper 3D Embossing Folder. I attached the embossed panel across the bottom of the stamped Whisper White card.
I think this card is kind of cute, don’t you?
Bye for now,
Kris
Product Used:


Forever Lovely
Yesterday on my Facebook Live I shared a template for cutting a 6″ x 6″ piece of Designer Series Paper into four pieces to create four cards. I thought that today I would share that this template can be used for card as well as Designer Series Paper. So today I decided to share four cards I made using the template but I have used Whisper White card instead of Designer Series Paper. Each of the cards are made with the same elements and embossing folders. So I cut my 6″ x 6″ Whisper White card using the template I shared yesterday. If you visit my Facebook Page you will find the template with the photos of the cards I shared. I also cut a 6-1/2″ x 6-1/2″ piece of Gold Foil card into four pieces using the template you can also find on my Facebook Page. I embossed the Whisper White card using the Subtle 3D Embossing Folder and attached each embossed panel to a Gold Foil panel.  I stamped one of the leaf images from the Forever Fern stamp set onto a card front size Whisper White panel using Just Jade ink. Once each panel was stamped I embossed each piece using the Subtle 3D Embossing Folder. The stamped and embossed panel is attached to scored and folded Just Jade card before attaching the smaller embossed panel. For each card I stamped one leaf the same as used on the embossed card onto scrap Whisper White card using Just Jade ink. I also stamped an additional leaf from the Forever Fern stamp set for each panel using Mint Macaron ink. In addition I stamped two of the floral images from the Forever Fern stamp set onto scrap Whisper White card using Blushing Bride ink. All of the stamped images were cut out using the co-ordinating Forever Flourishing Die.
 I layered the dies together around and over the stamped image. I stamped “happy birthday” from the Itty Bitty Birthday stamp set four times onto Whisper White card using Just Jade ink. I cut out the greetings using one of the Tasteful Labels Dies. I also cut Gold Foil card four times using the same die. I trimmed down the greeting dies to the inside score line and attached each greeting to a Gold Foil die. The greetings are attached to the card fronts using dimensionals.
To decorate the inside of the card, I stamped the larger leaf image from the Forever Fern stamp set onto the lower left hand corner of four pieces of Whisper White card. I stamped the floral image from the Forever Fern stamp set four times onto Whisper White card using Blushing Bride ink and cut them out using the co-ordinating Forever Flourishing Die. The die cut flowers are attached over the stamped leaf image.

I love how these cards turned out and I hope I have inspired you to try cutting your Designer Series Paper or card stock to create some yourself. I think the Gold Foil makes the cards look classy, don’t you?
Bye for now,
Kris
Product Used:


Papercraft Crew Challenge 393
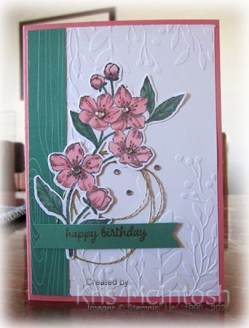
The current challenge at the Papercraft Crew was my inspiration for today’s card. I embossed Whisper White card using one of the Greenery Embossing Folders and attached it to scored and folded Flirty Flamingo card. I attached a strip of Just Jade In-colour 2020-2022 6″ x 6″ Designer Series Paper onto the left hand edge of the embossed Whisper White card. I stamped the flower from the Forever Blossoms stamp set onto Whisper White card using Memento Tuxedo Black ink. I coloured the flowers using Flirty Flamingo Stampin’ Blends and the leaves using Just Jade Stampin’ Blends and cut out the flower using the co-ordinating Cherry Blossoms Die.  I attached a length of the Gold Twine from the Forever Greenery Trim Combo Pack to the back of the flower. I stamped the greeting from the Timeless Tulips stamp set onto Just Jade card using Versamark ink. I sprinkled the greeting with Gold Embossing Powder and heat set it.
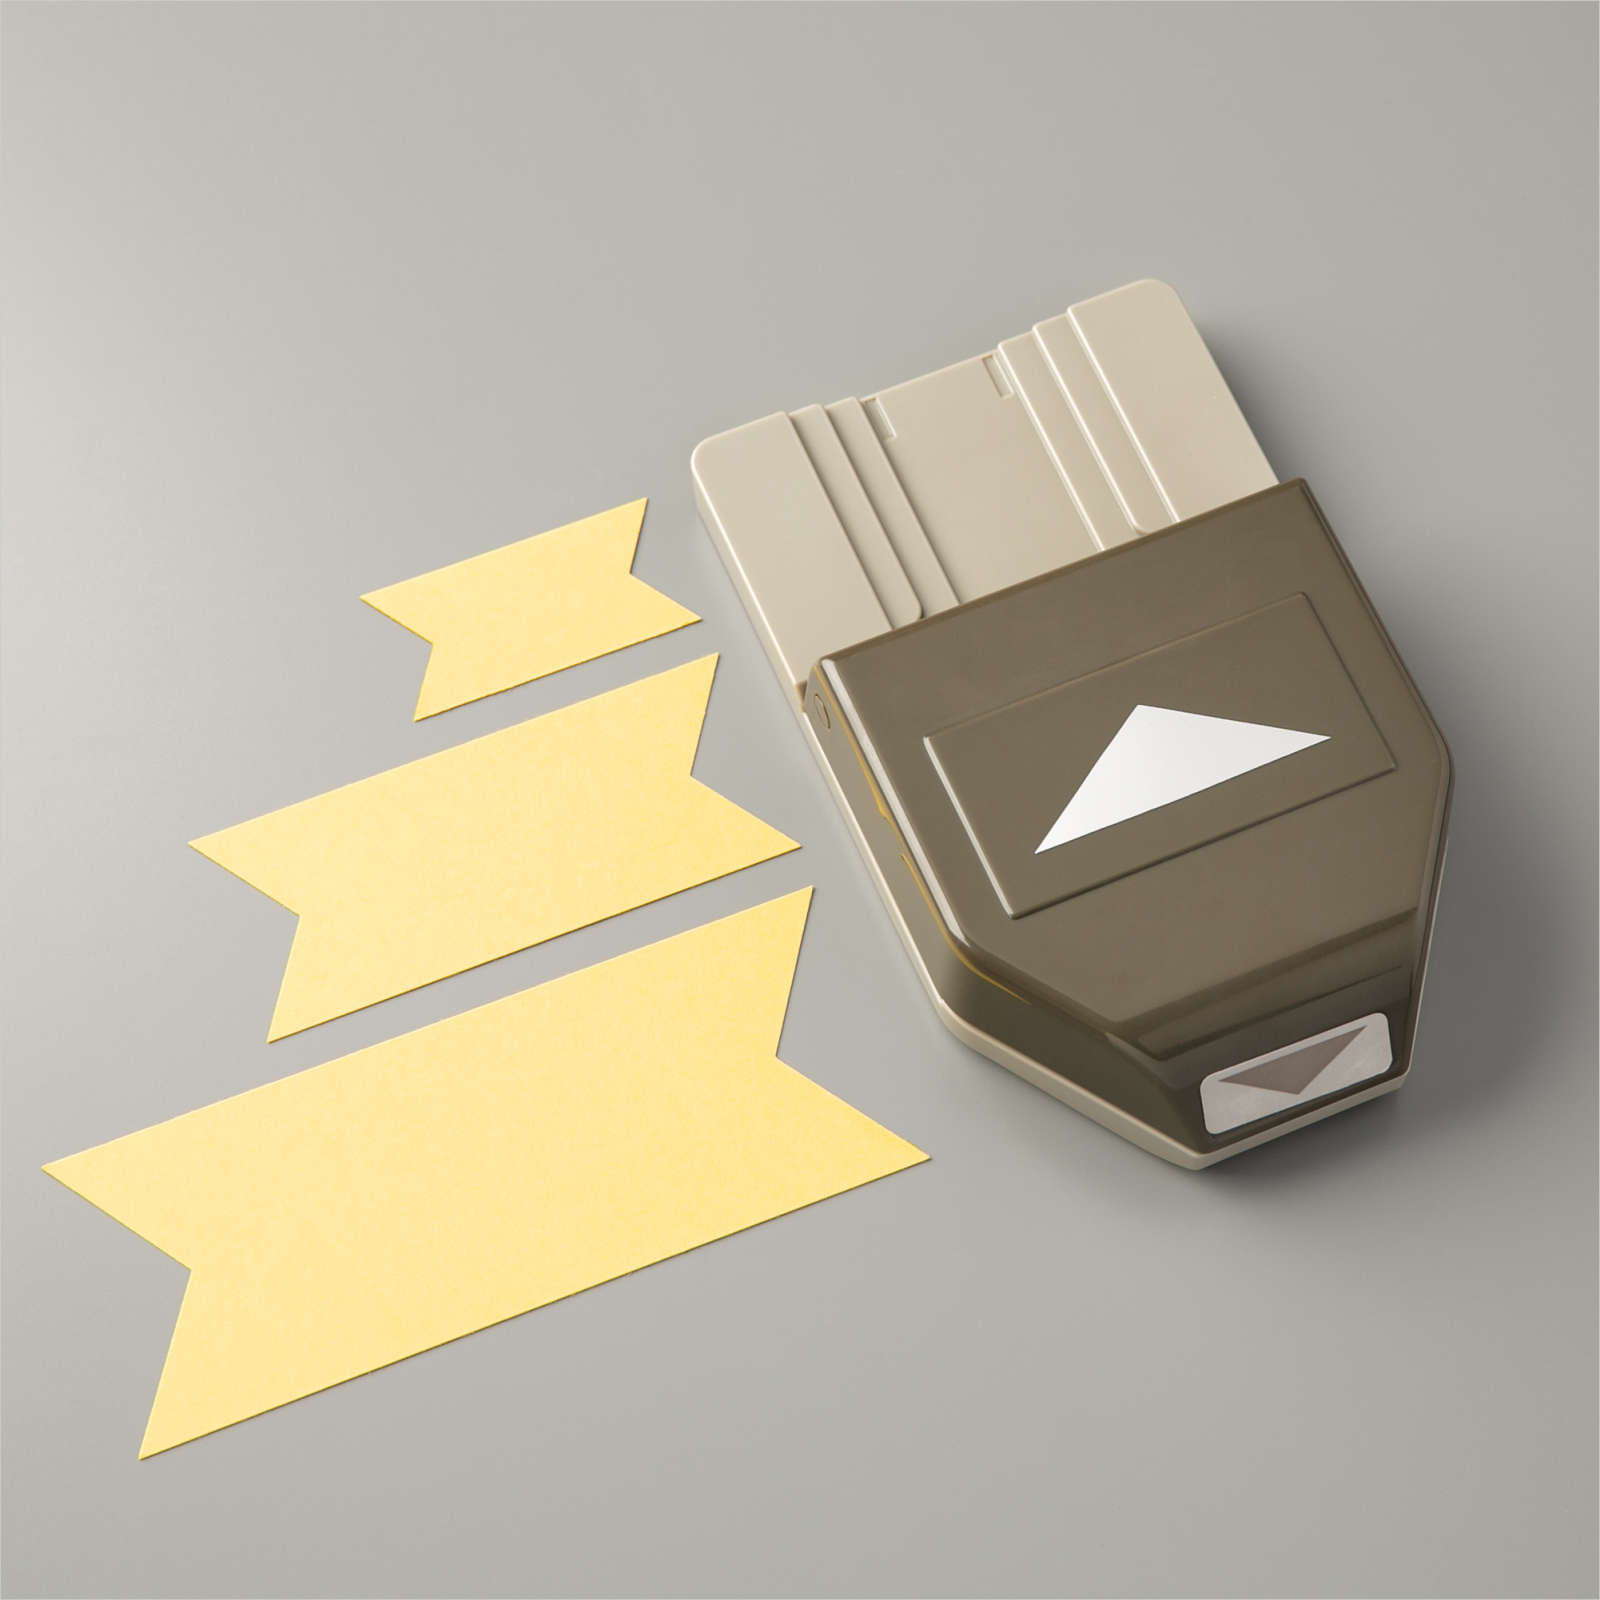
  I cut a “v” in each end of the Just Jade card using the Triple Banner Punch. I attached the greeting to the card front using dimensionals. I added some Basic Rhinestones to the flower centres and around the Gold Twine.
To decorate the inside of the card I stamped the same flower from the Forever Blossoms stamp set onto the lower left hand side of Whisper White card using Memento Tuxedo Black ink. I coloured the image using Flirty Flamingo and Just Jade Stampin’ Blends.
This card is destined for a friend who recently celebrated her birthday. Thank you Papercraft Crew for the inspiration.
Bye for now,
Kris
Product Used: