Goodbye

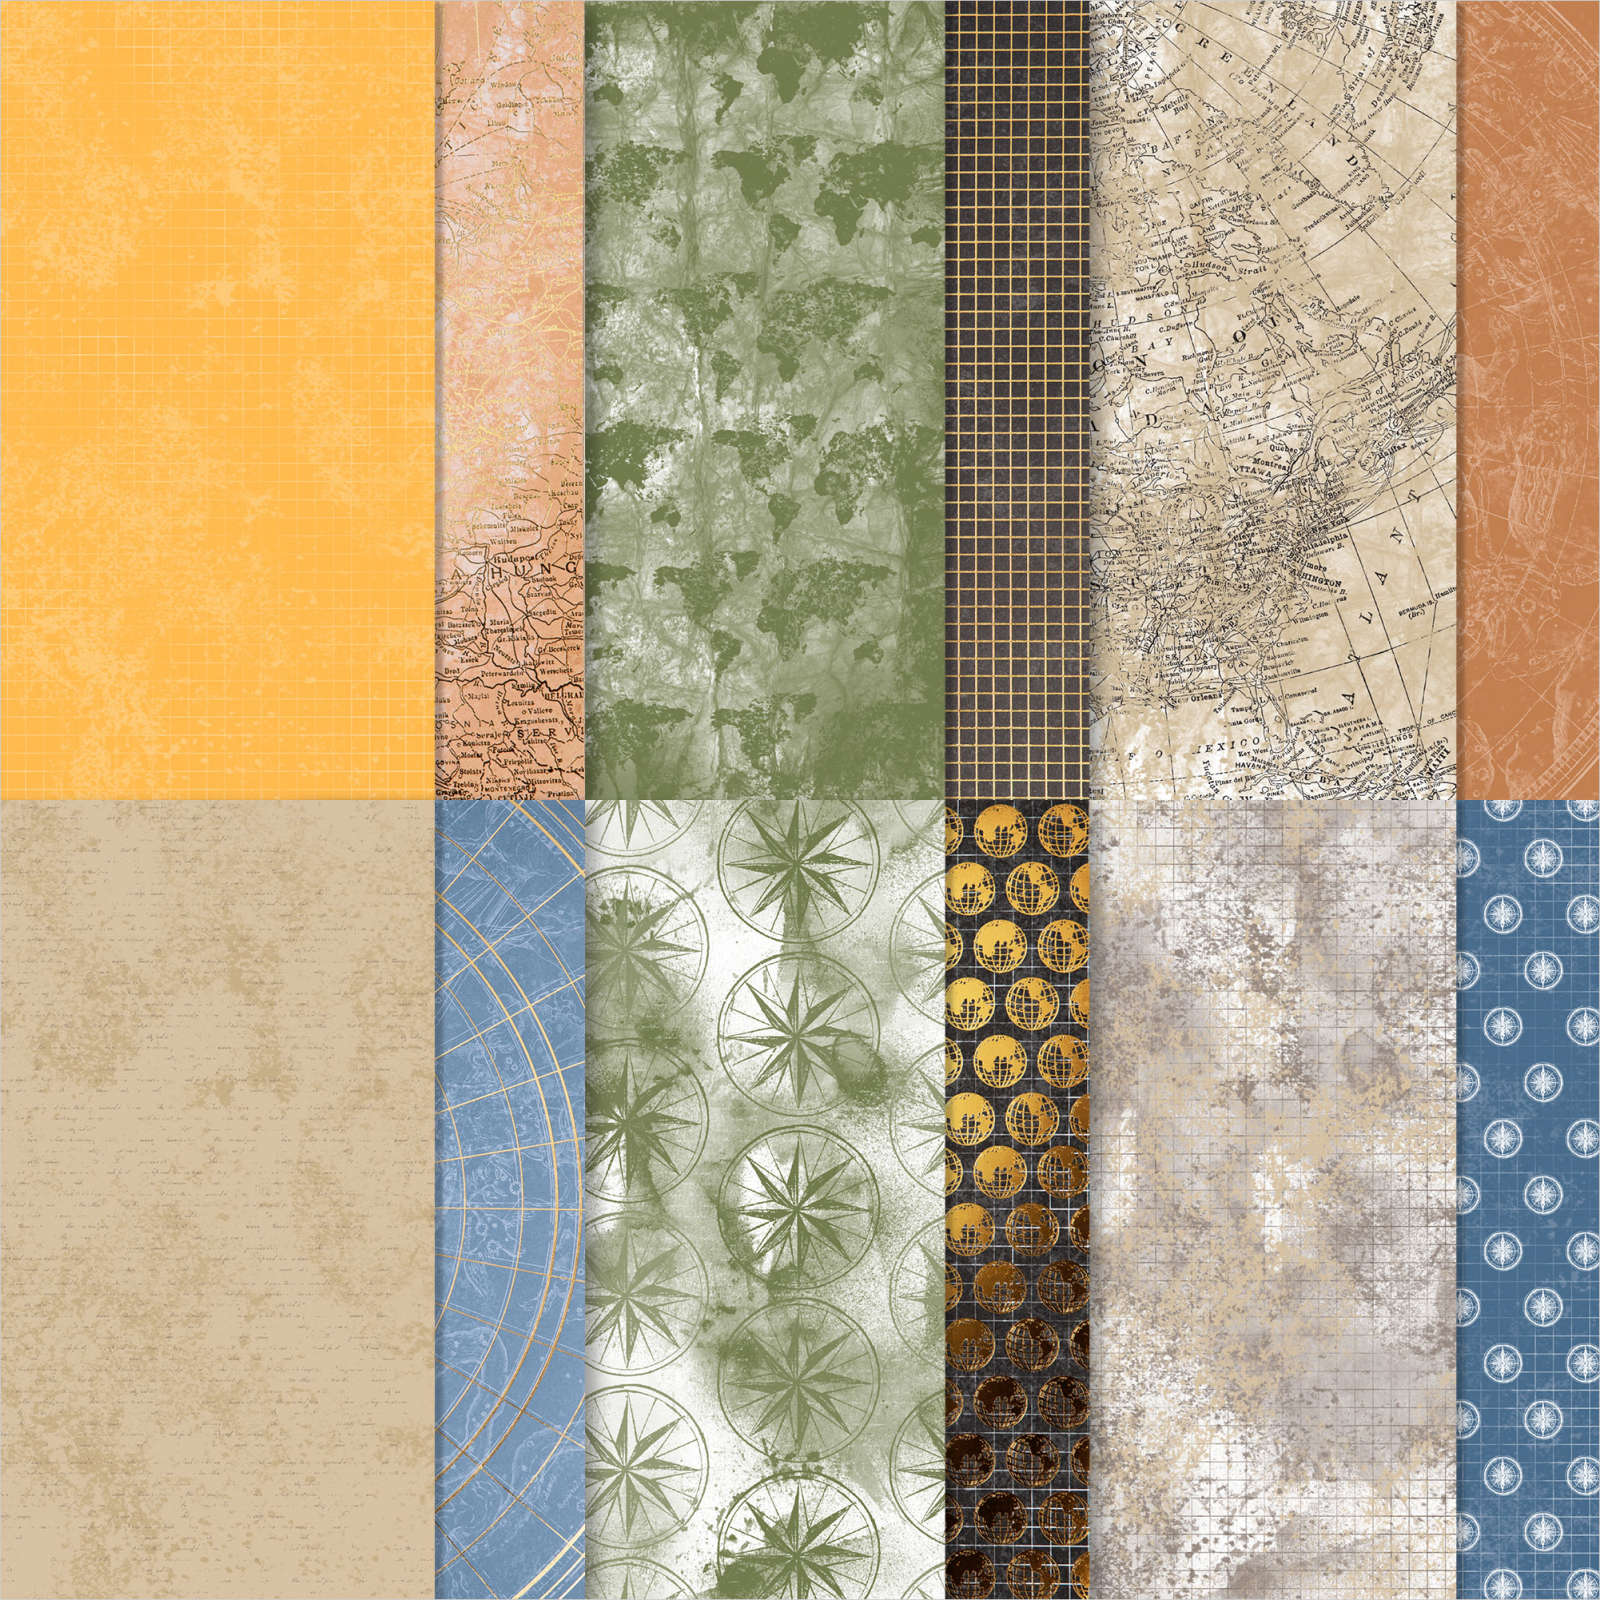
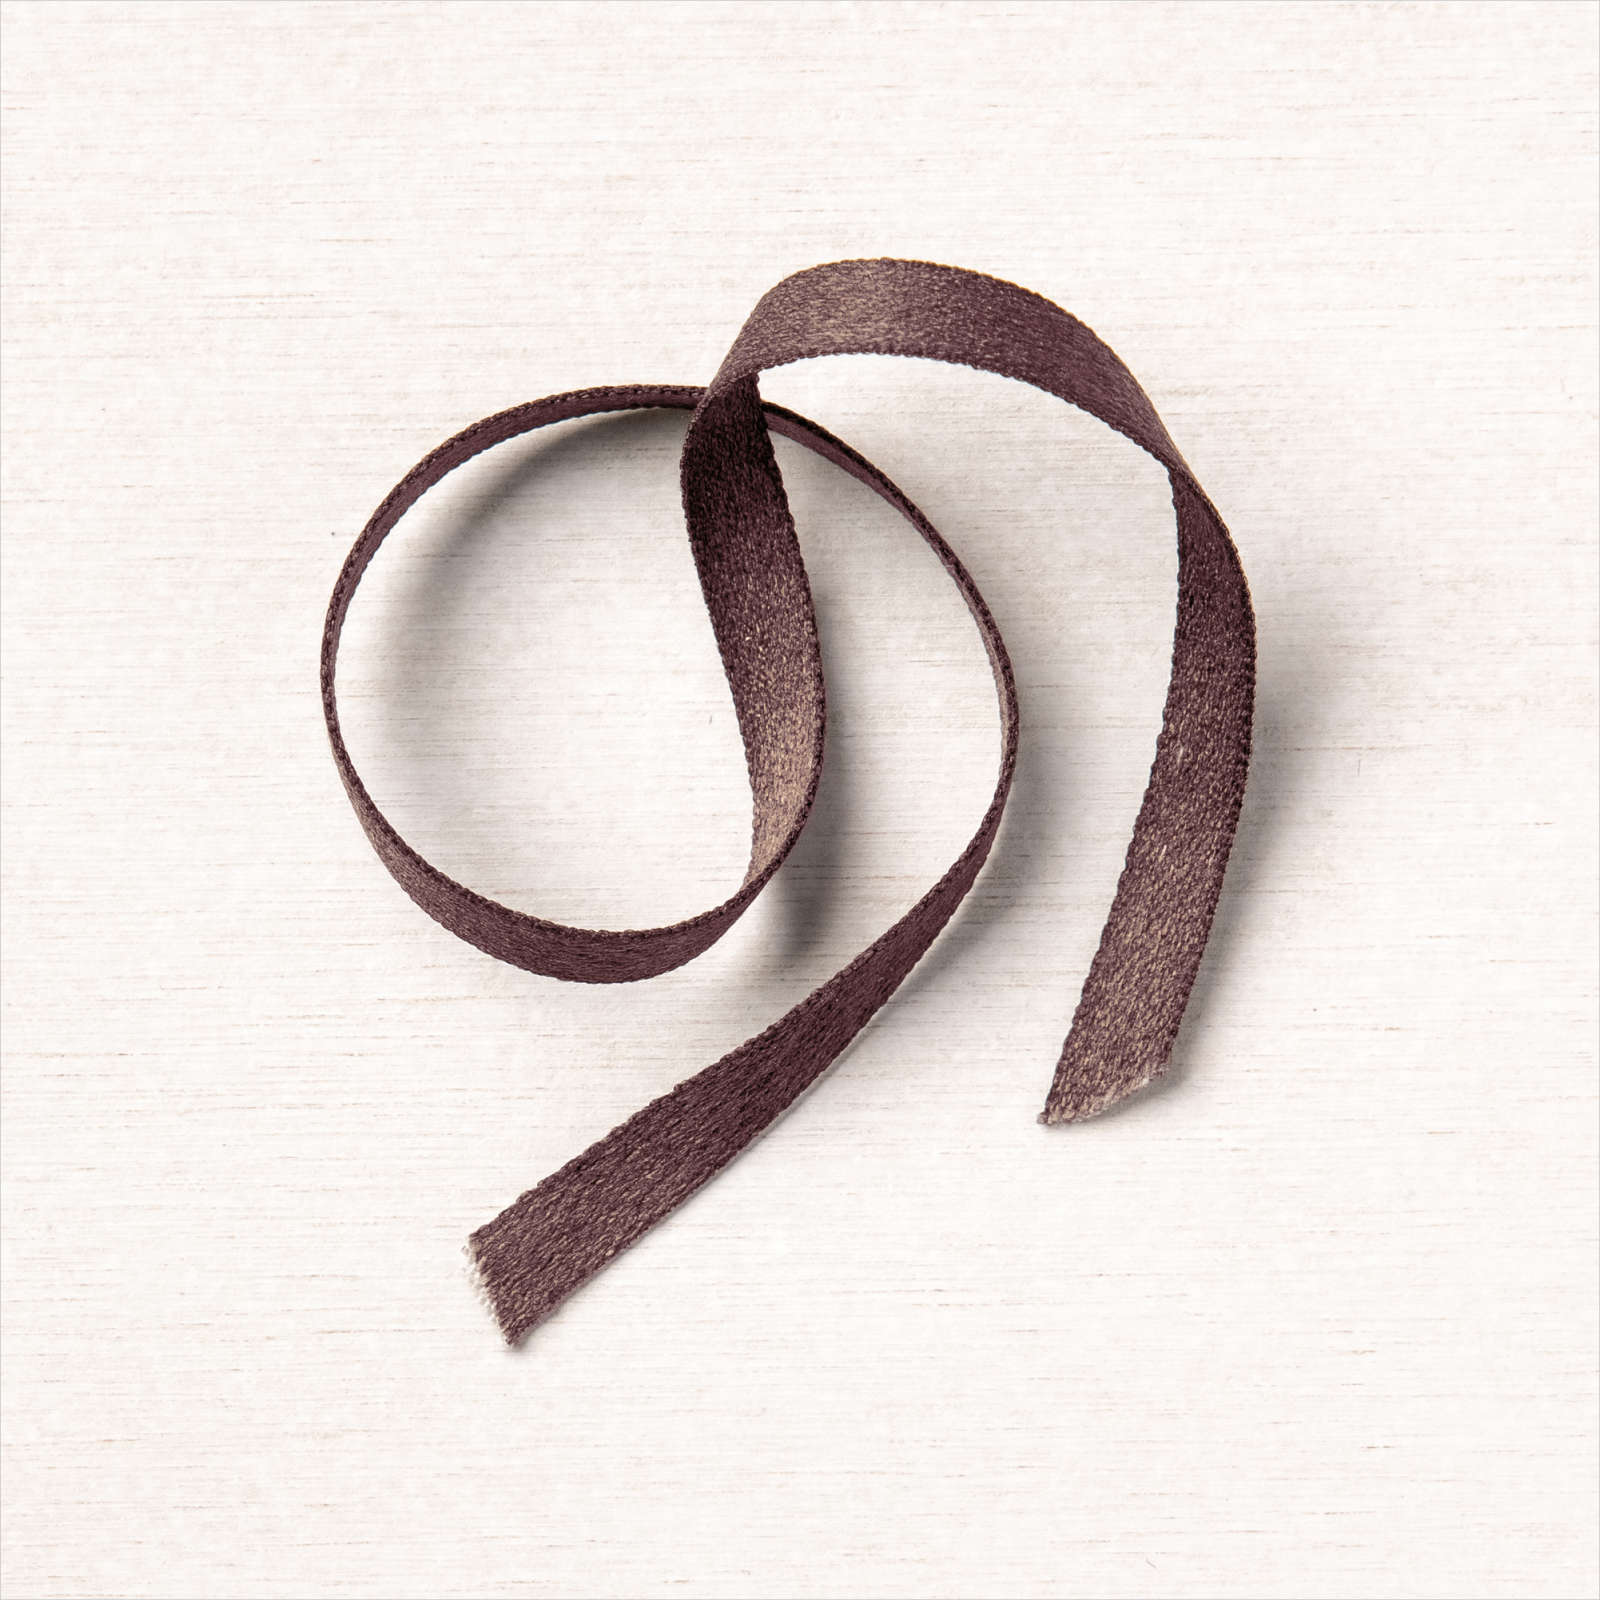
Ron and I have bought a new caravan and we were a little bit sad on the day we traded it in. This van had bunks in it for our grandchildren and the new van doesn’t. So we know that we won’t be having any more adventures with them and that made us a little bit sad. On the other hand, they are all growing up and getting busy doing their own thing, so they probably wouldn’t be coming with us in any case! This is a simple page but you know that’s my style and I wanted to focus on the feelings and emotions that Ron and I were experiencing. I attached a piece of World of Good Specialty Designer Series Paper across the bottom of a Whisper White 12″ x 12″ page. I wrapped the top of the Designer Series Paper with Early Espresso Faux Suede Trim.
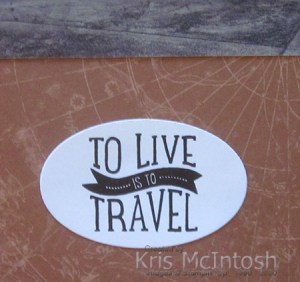
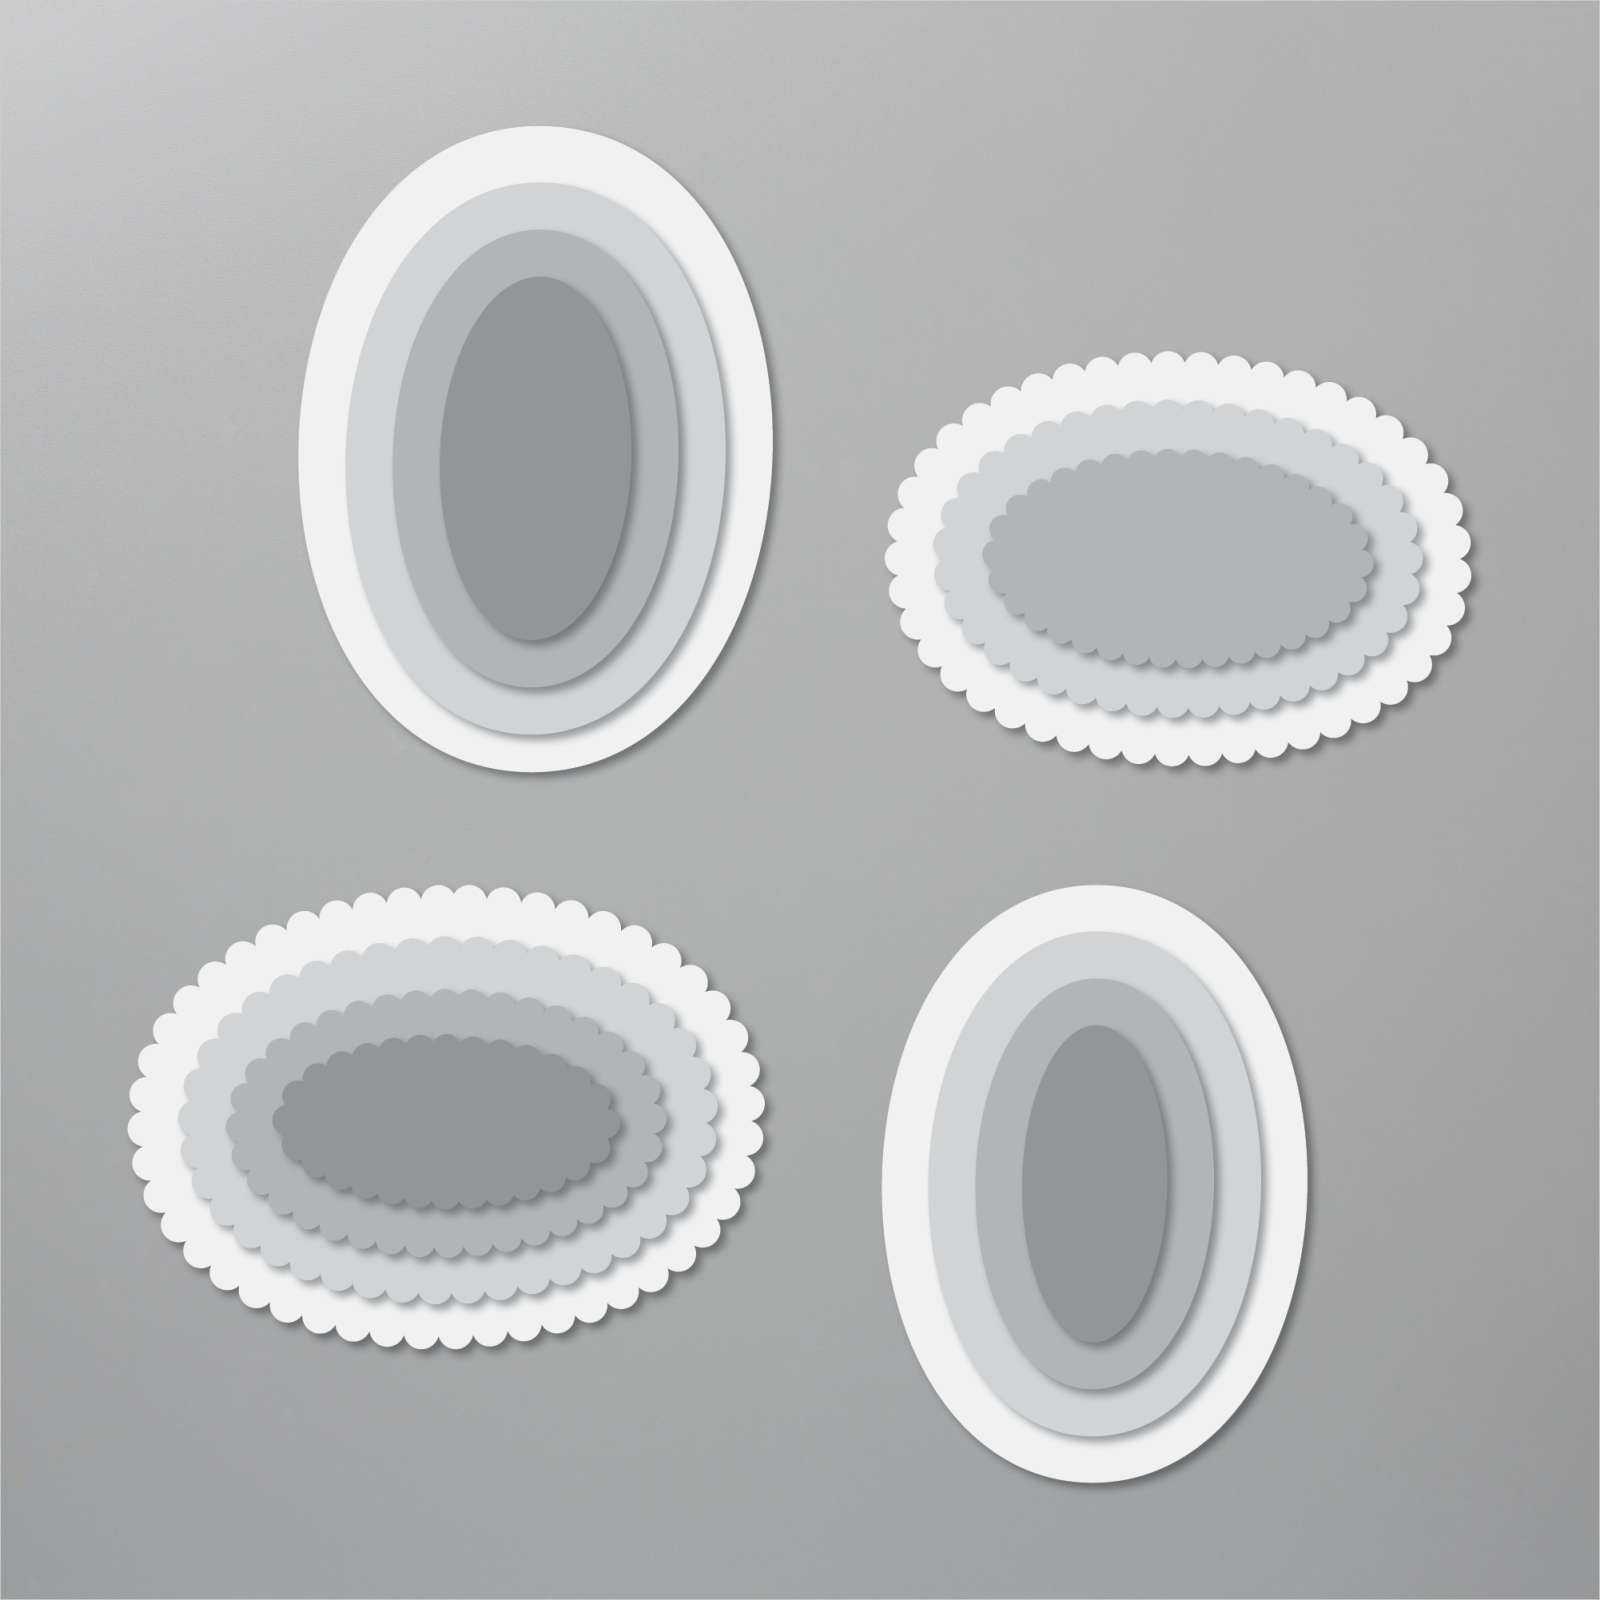
I attached the top two photos to the page using dimensionals and the third photo flat to the page. I created the journaling on the computer and printed it onto Whisper White card. I stamped the greeting from the long retired Let’s Get Away stamp set onto scrap Whisper White card using Early Espresso ink. I cut out the greeting using the Layering Oval Dies and attached it below the photos. The title is cut from Cinnamon Cider card using the Playful Alphabet Dies.
Now all we have to do is wait for the new van to arrive.
Bye for now,
Kris
Product Used:


Congratulations

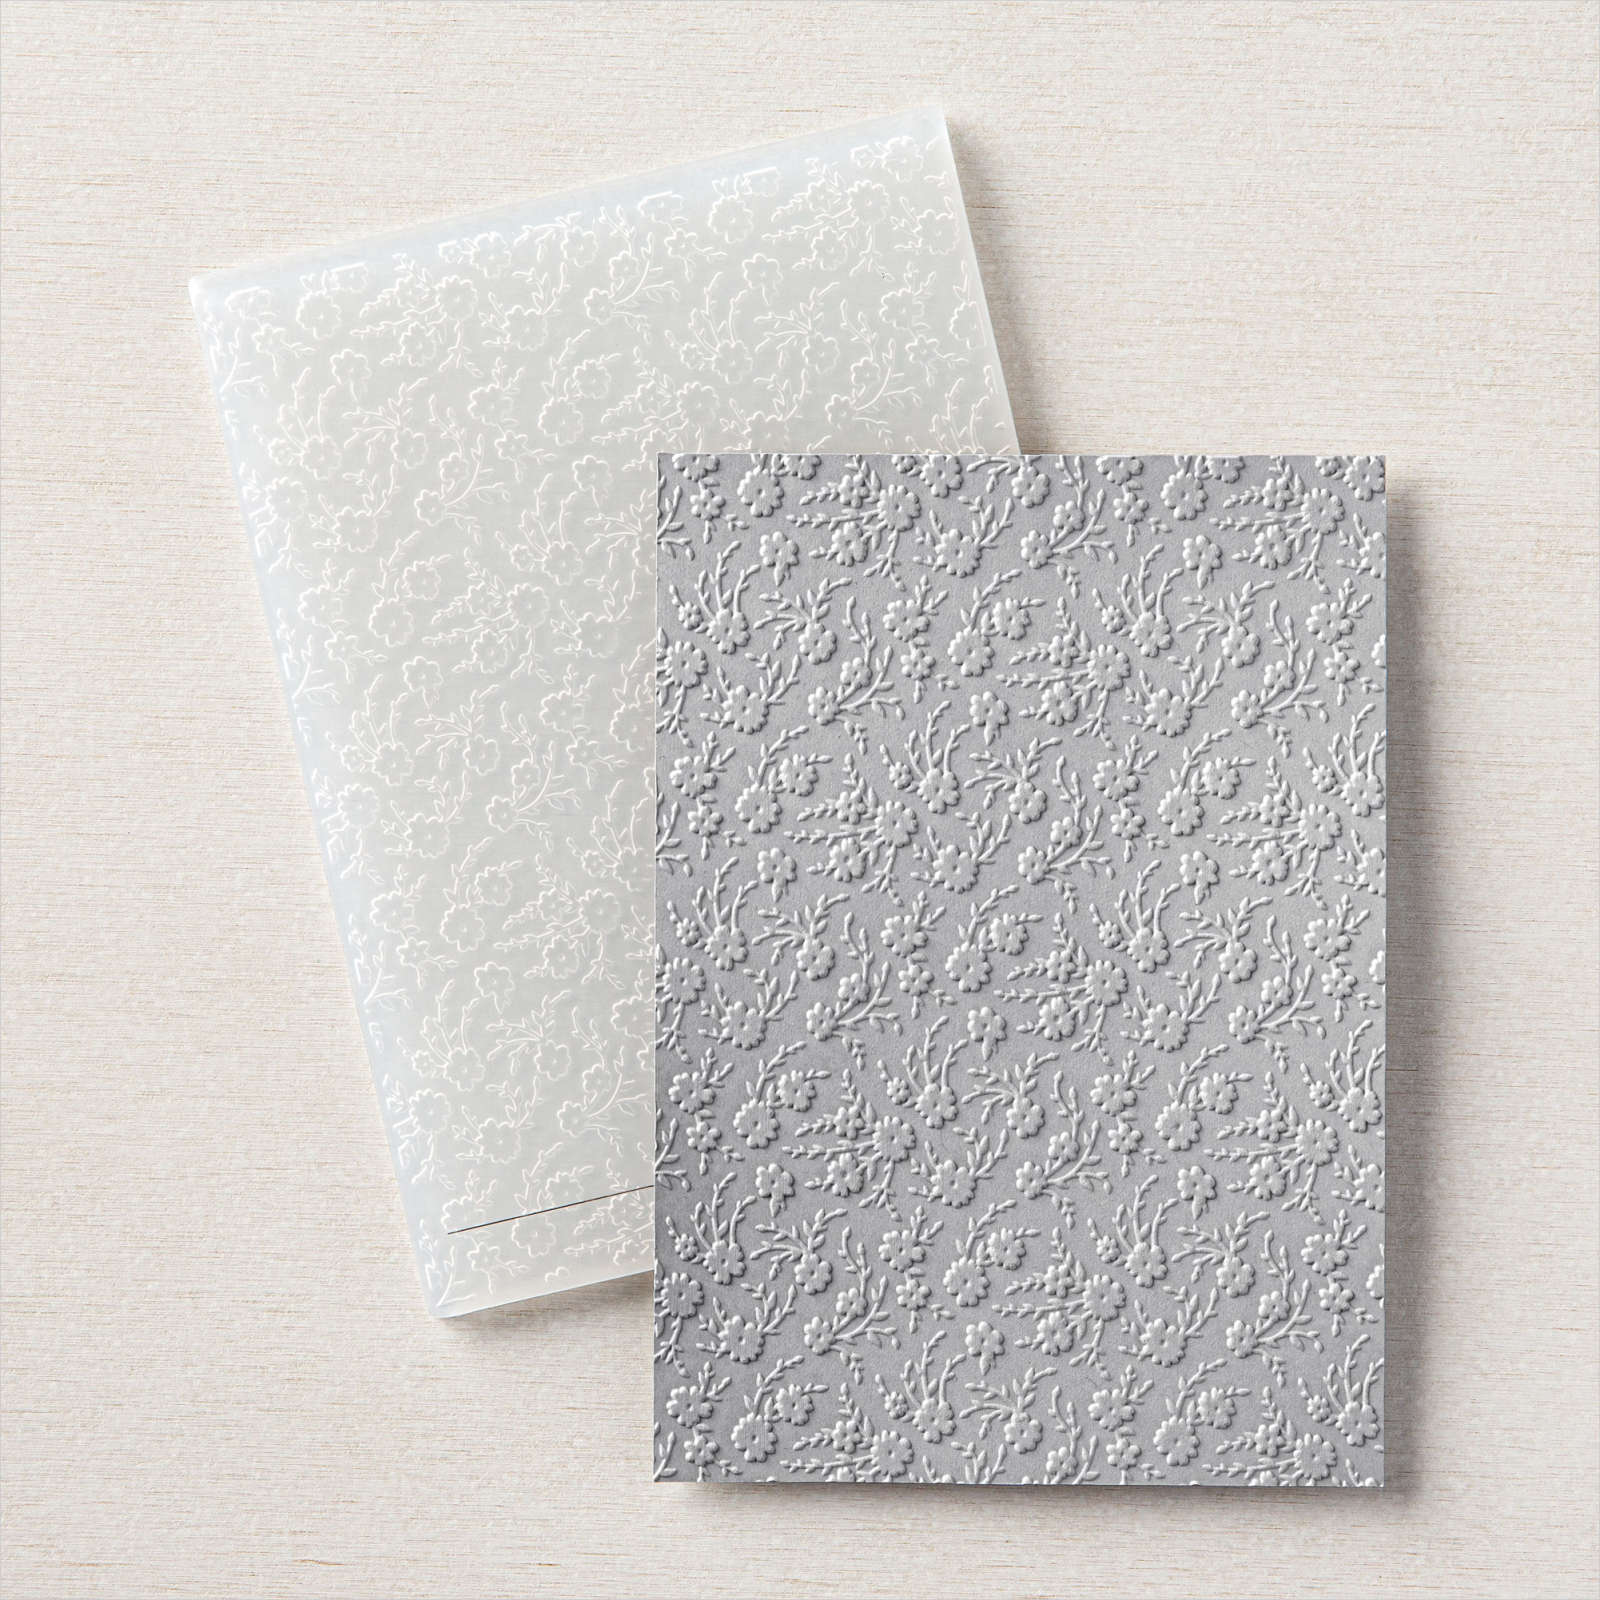
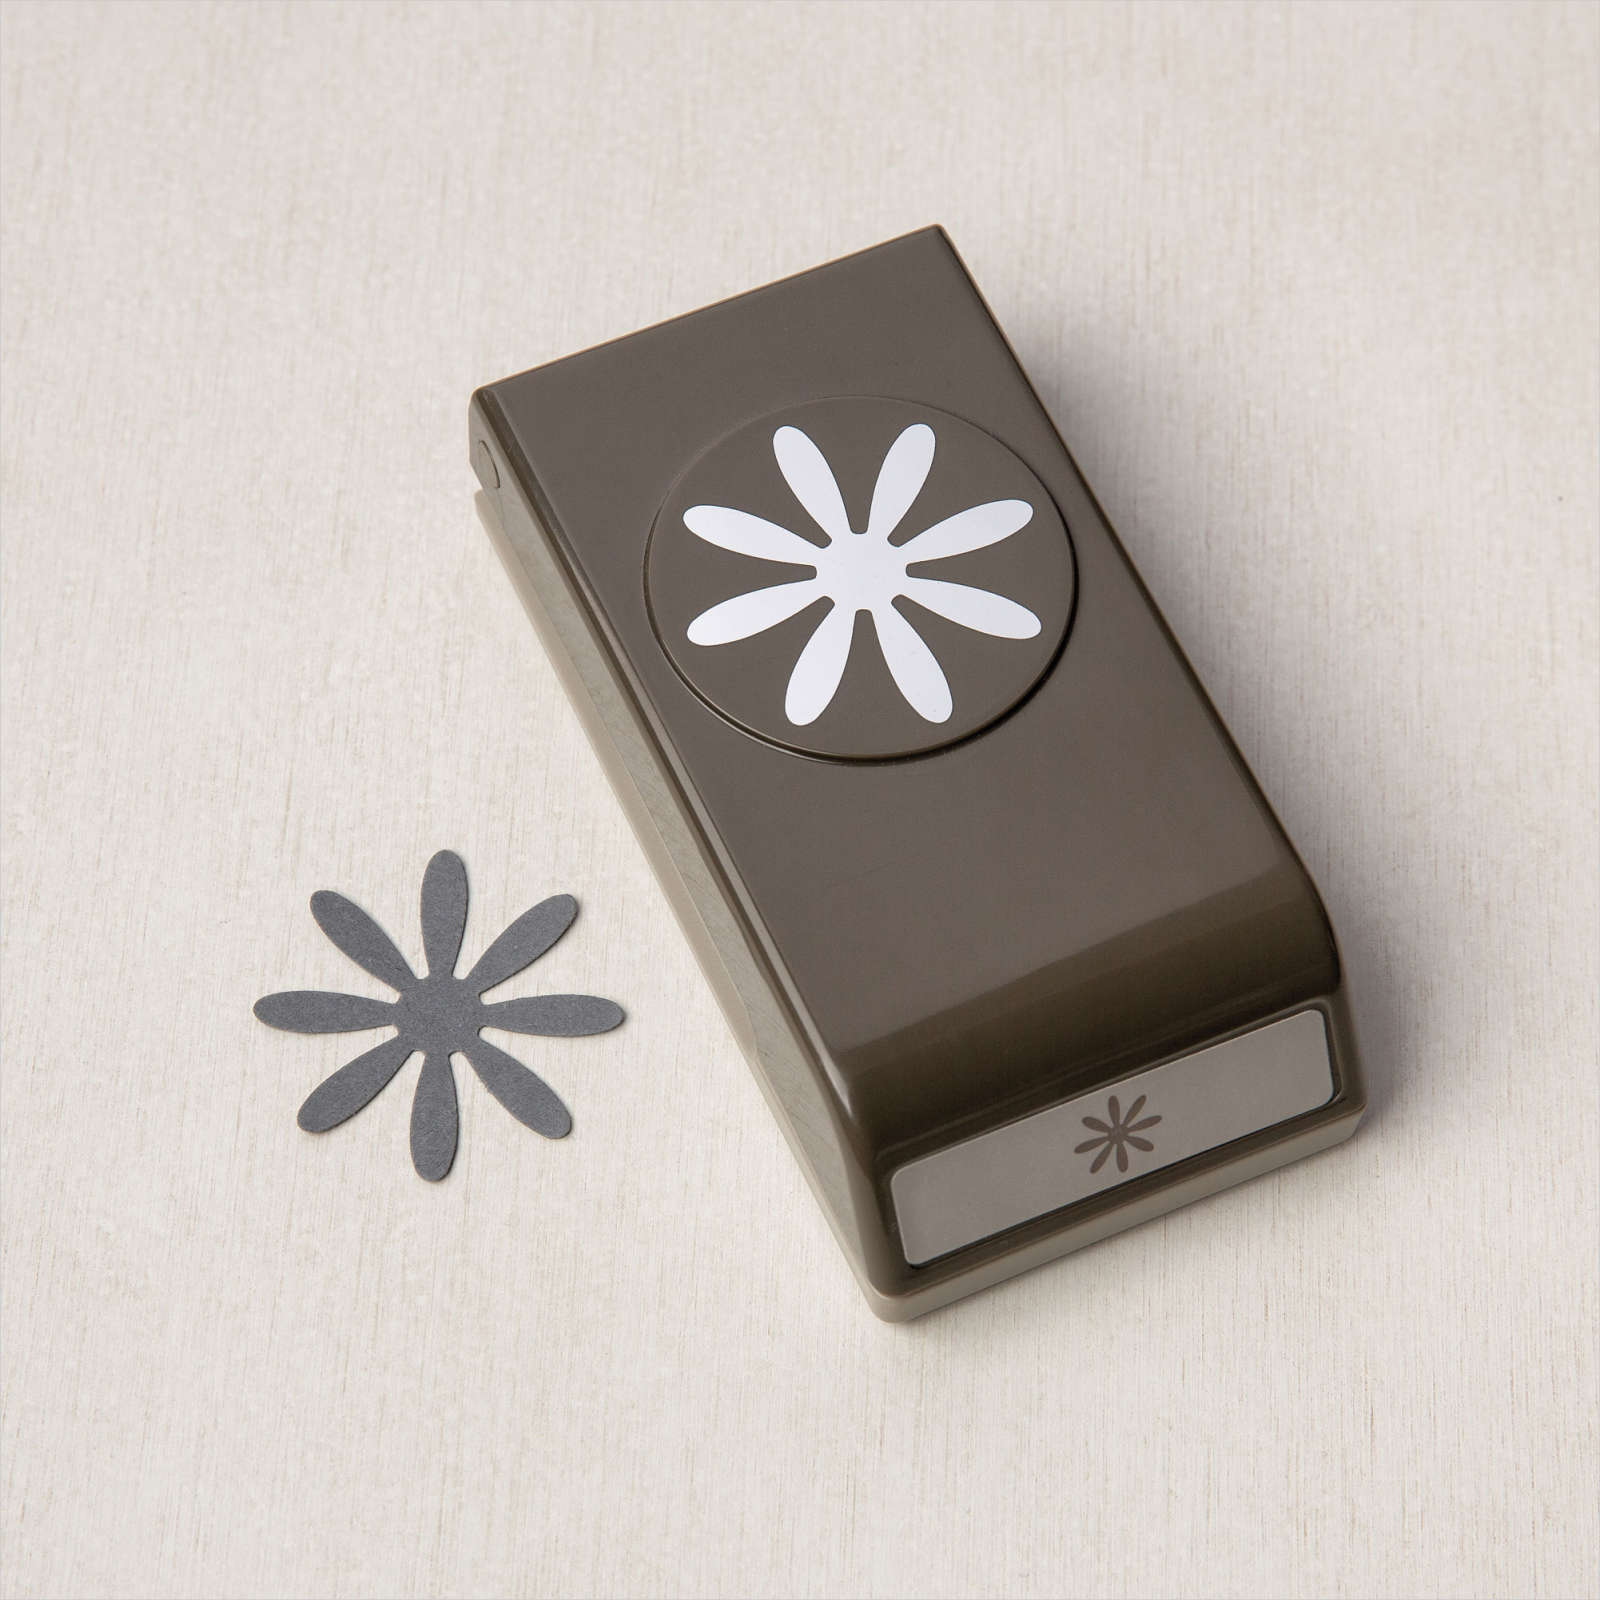
I embossed Whisper White card using the Ornate Floral 3D Embossing Folder. I cut Soft Sea Foam card using the dotted Curvy Die and embossed it using the Tasteful Textile 3D Embossing Folder. I also cut Gold Foil card using the same die. I attached the embossed Soft Sea Foam card to the Gold Foil card and then the embossed Whisper White card. The whole panel is attached to scored and folded Shaded Spruce card. I punched Whisper White card six times using the Medium Daisy Punch.

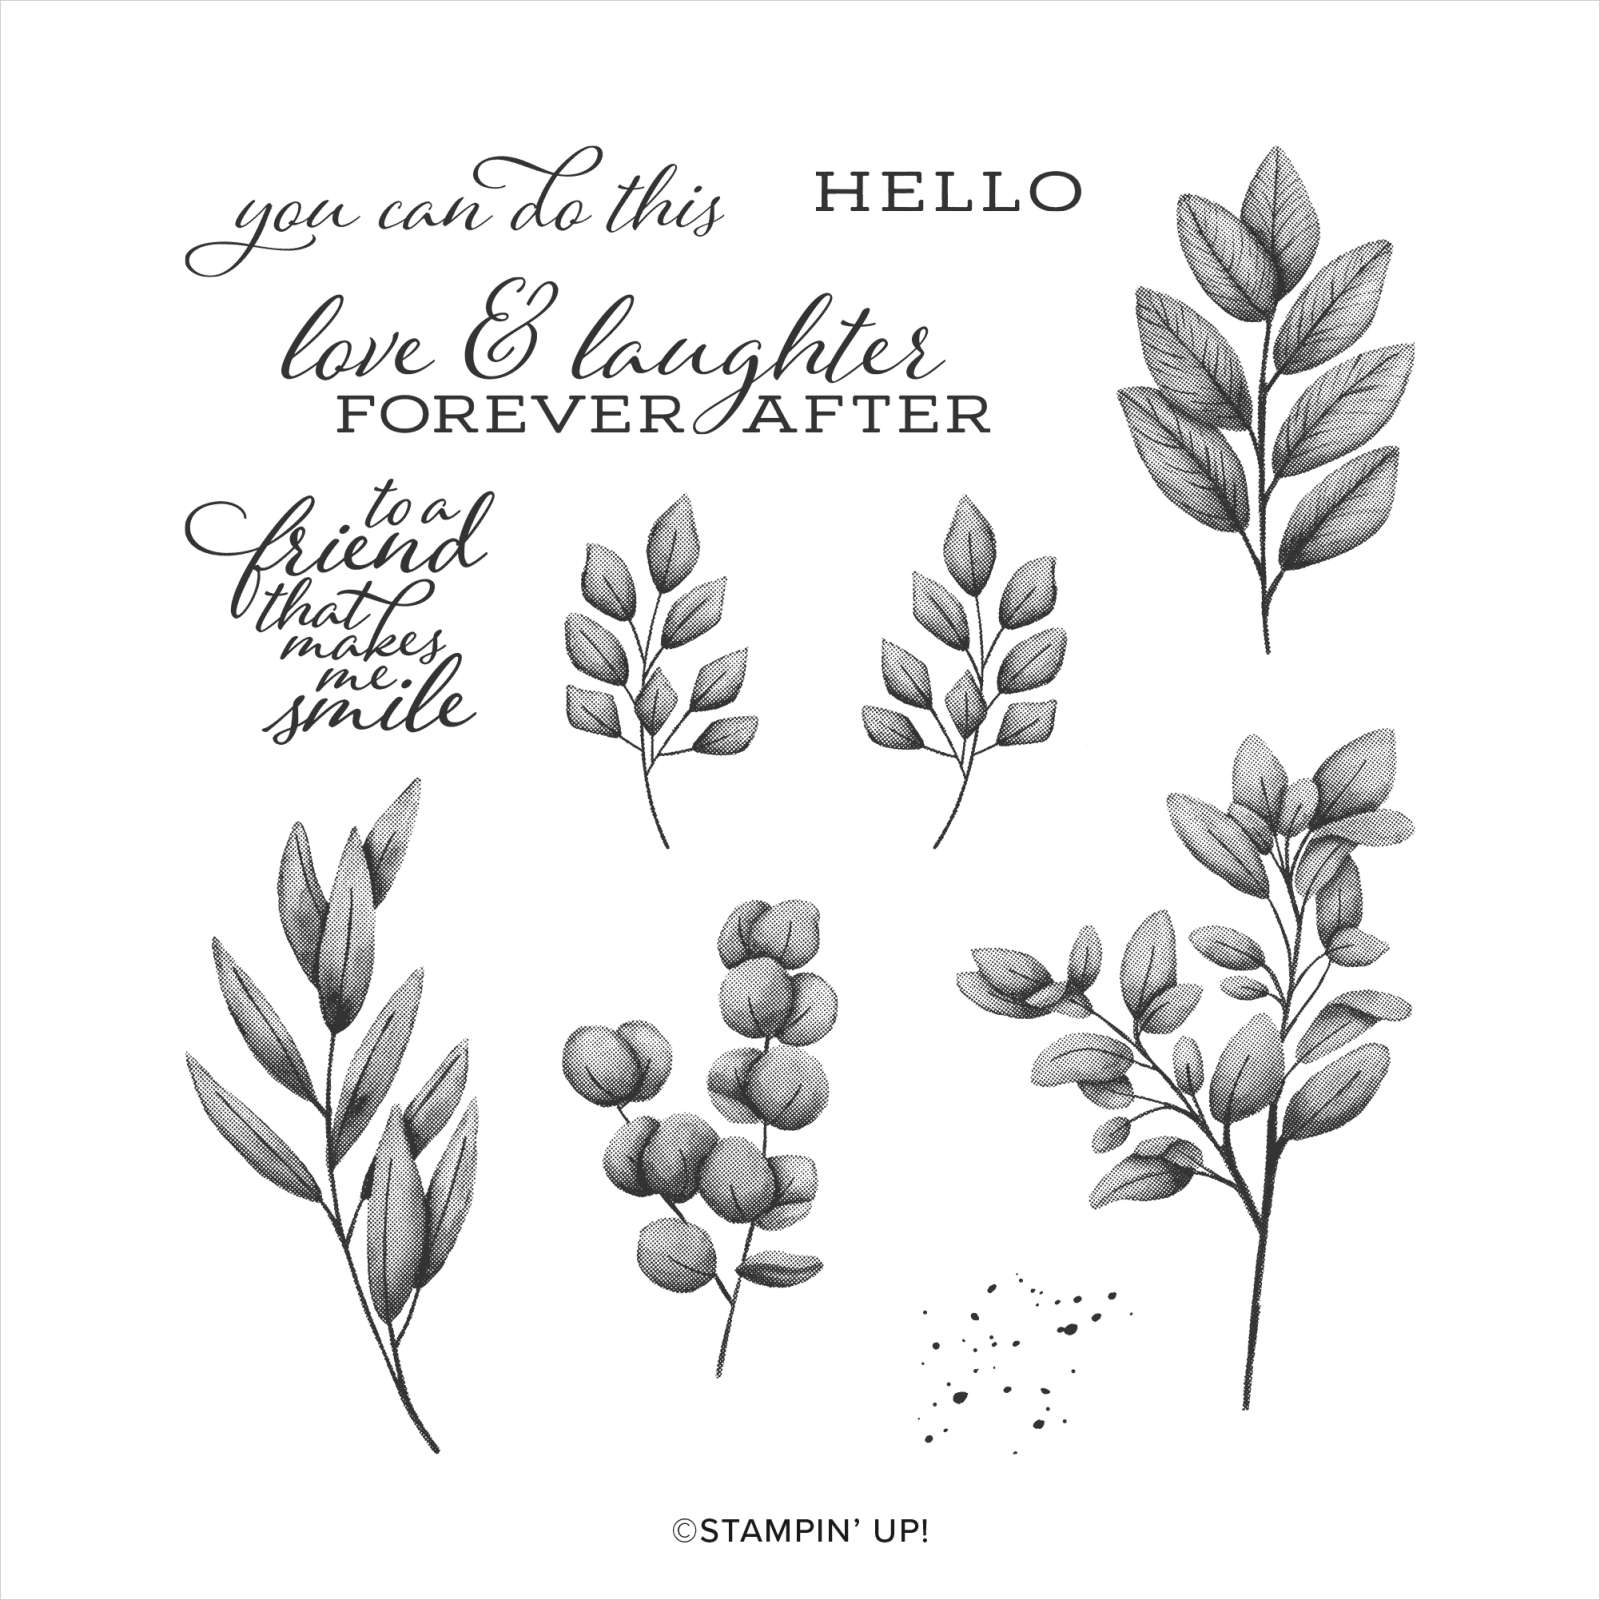
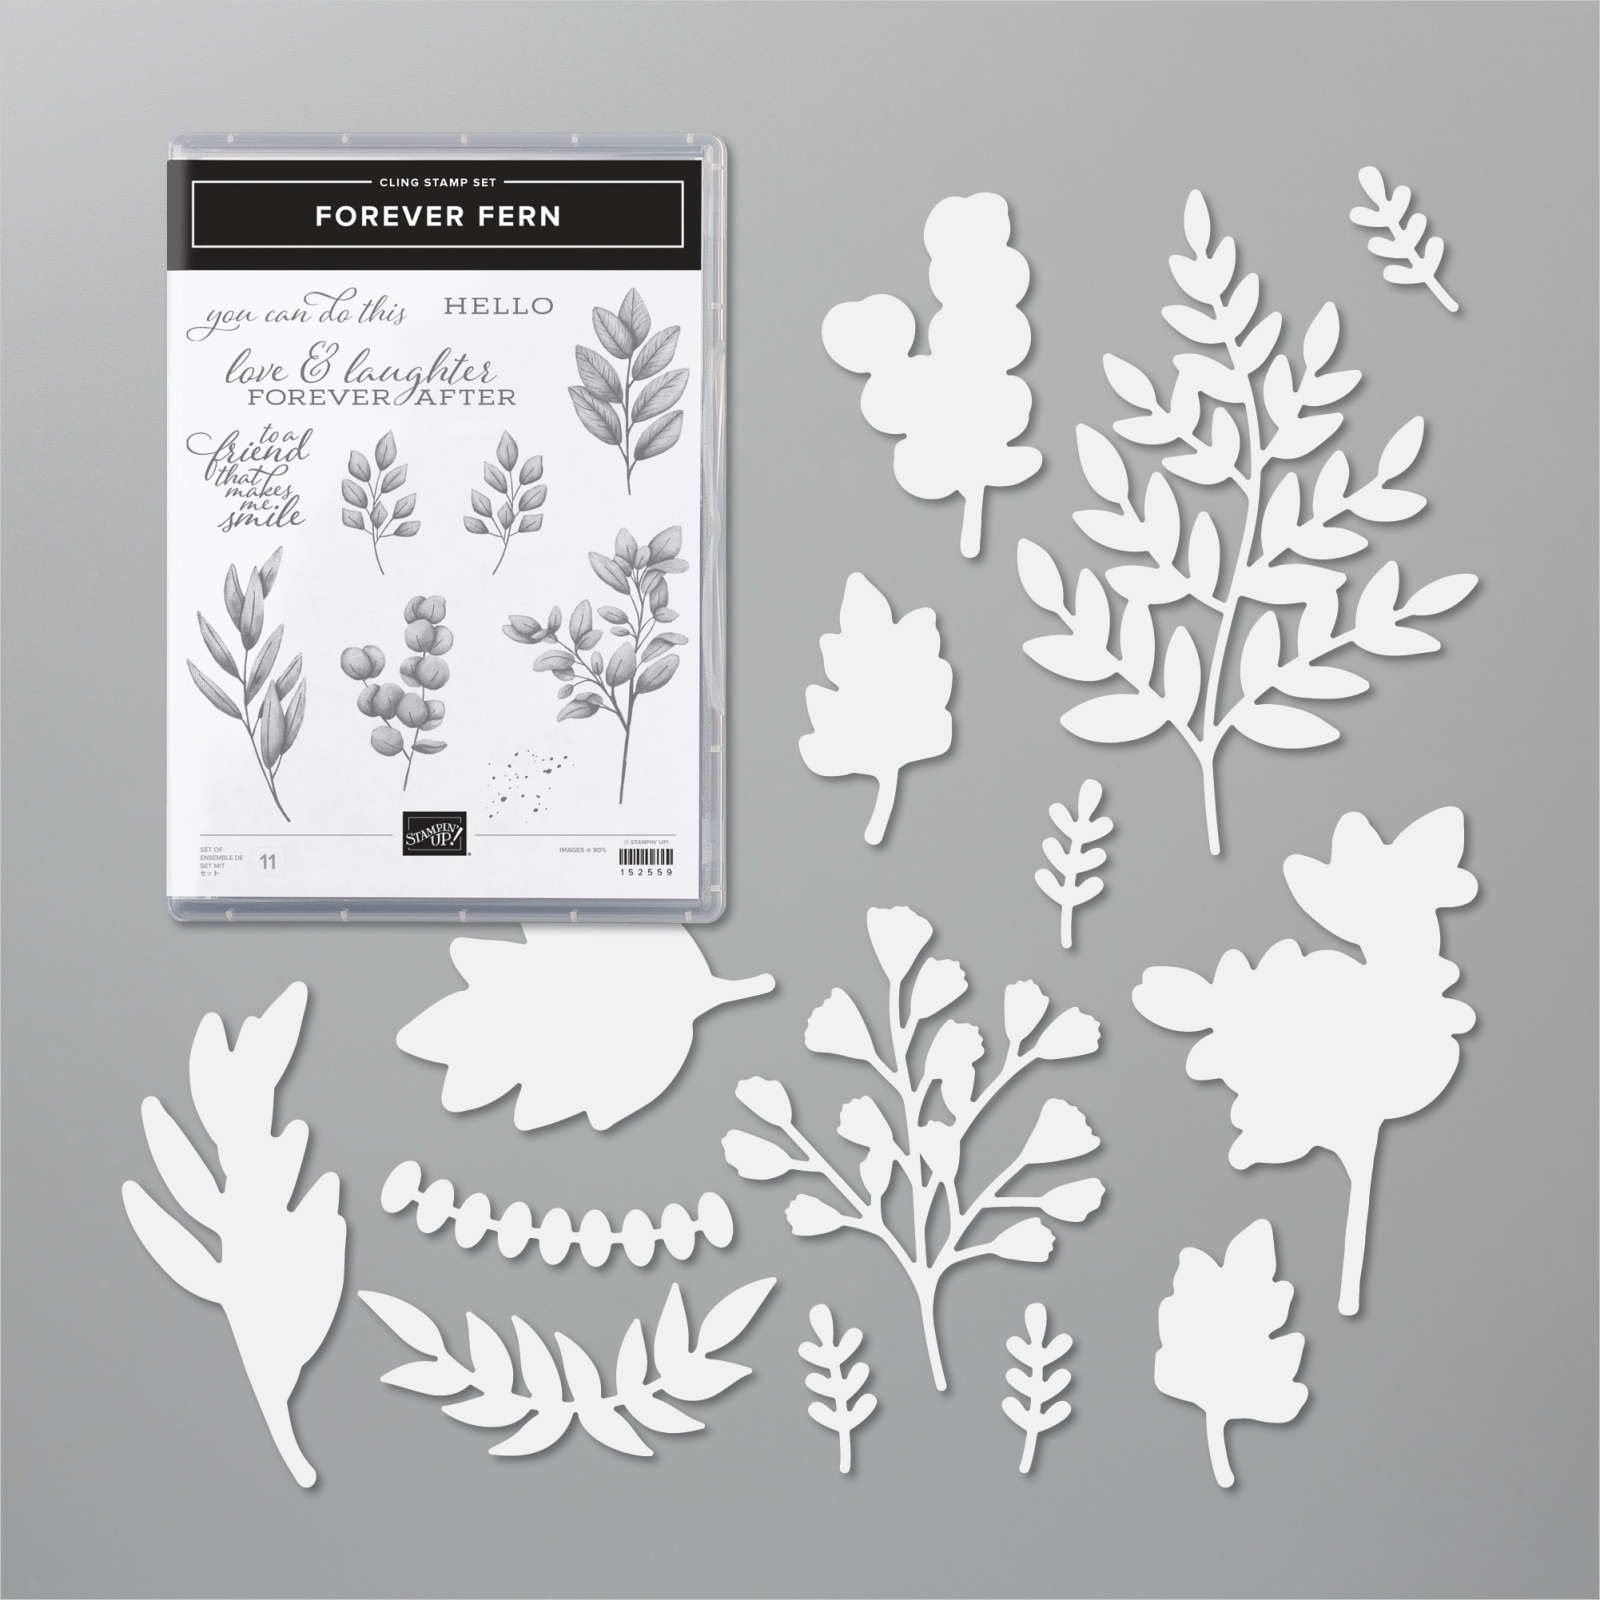
I stamped one of the leaves from the Forever Fern stamp set onto Whisper White card using Shaded Spruce ink and cut them out using the co-ordinating Forever Flourishing Die. I stamped the flower centre from the Floral Essence stamp set three times onto Whisper White card using Daffodil Delight ink. I curled the petals of each of the flowers and attached two flowers together using Glue Dots. I cut down the leaves to create a small section and attached them to the back of the flowers. I attached a small piece of Gold Twine from the Tag Buffet Kit to the Soft Sea Foam card and attached the flowers over the top.

I stamped “Congratulations” from the Peaceful Moments stamp set onto Whisper White card using Shaded Spruce ink. I cut out the greeting using one of the Stitched Rectangle Dies. I coloured around the edge of the die using the Dark Shaded Spruce Stampin’ Blend and attached the greeting to the card front using dimensionals. To decorate the inside of the card, I stamped the greeting from the Forever Blossoms stamp set onto Whisper White card using Shaded Spruce ink. I used the opposite side of the Soft Sea Foam and Gold Foil card which I cut for the card front to add to the bottom of the stamped card. I did emboss the Soft Sea Foam card using the Tasteful Textile 3D Embossing Folder before I attached it.
Bye for now,
Kris
Product Used:


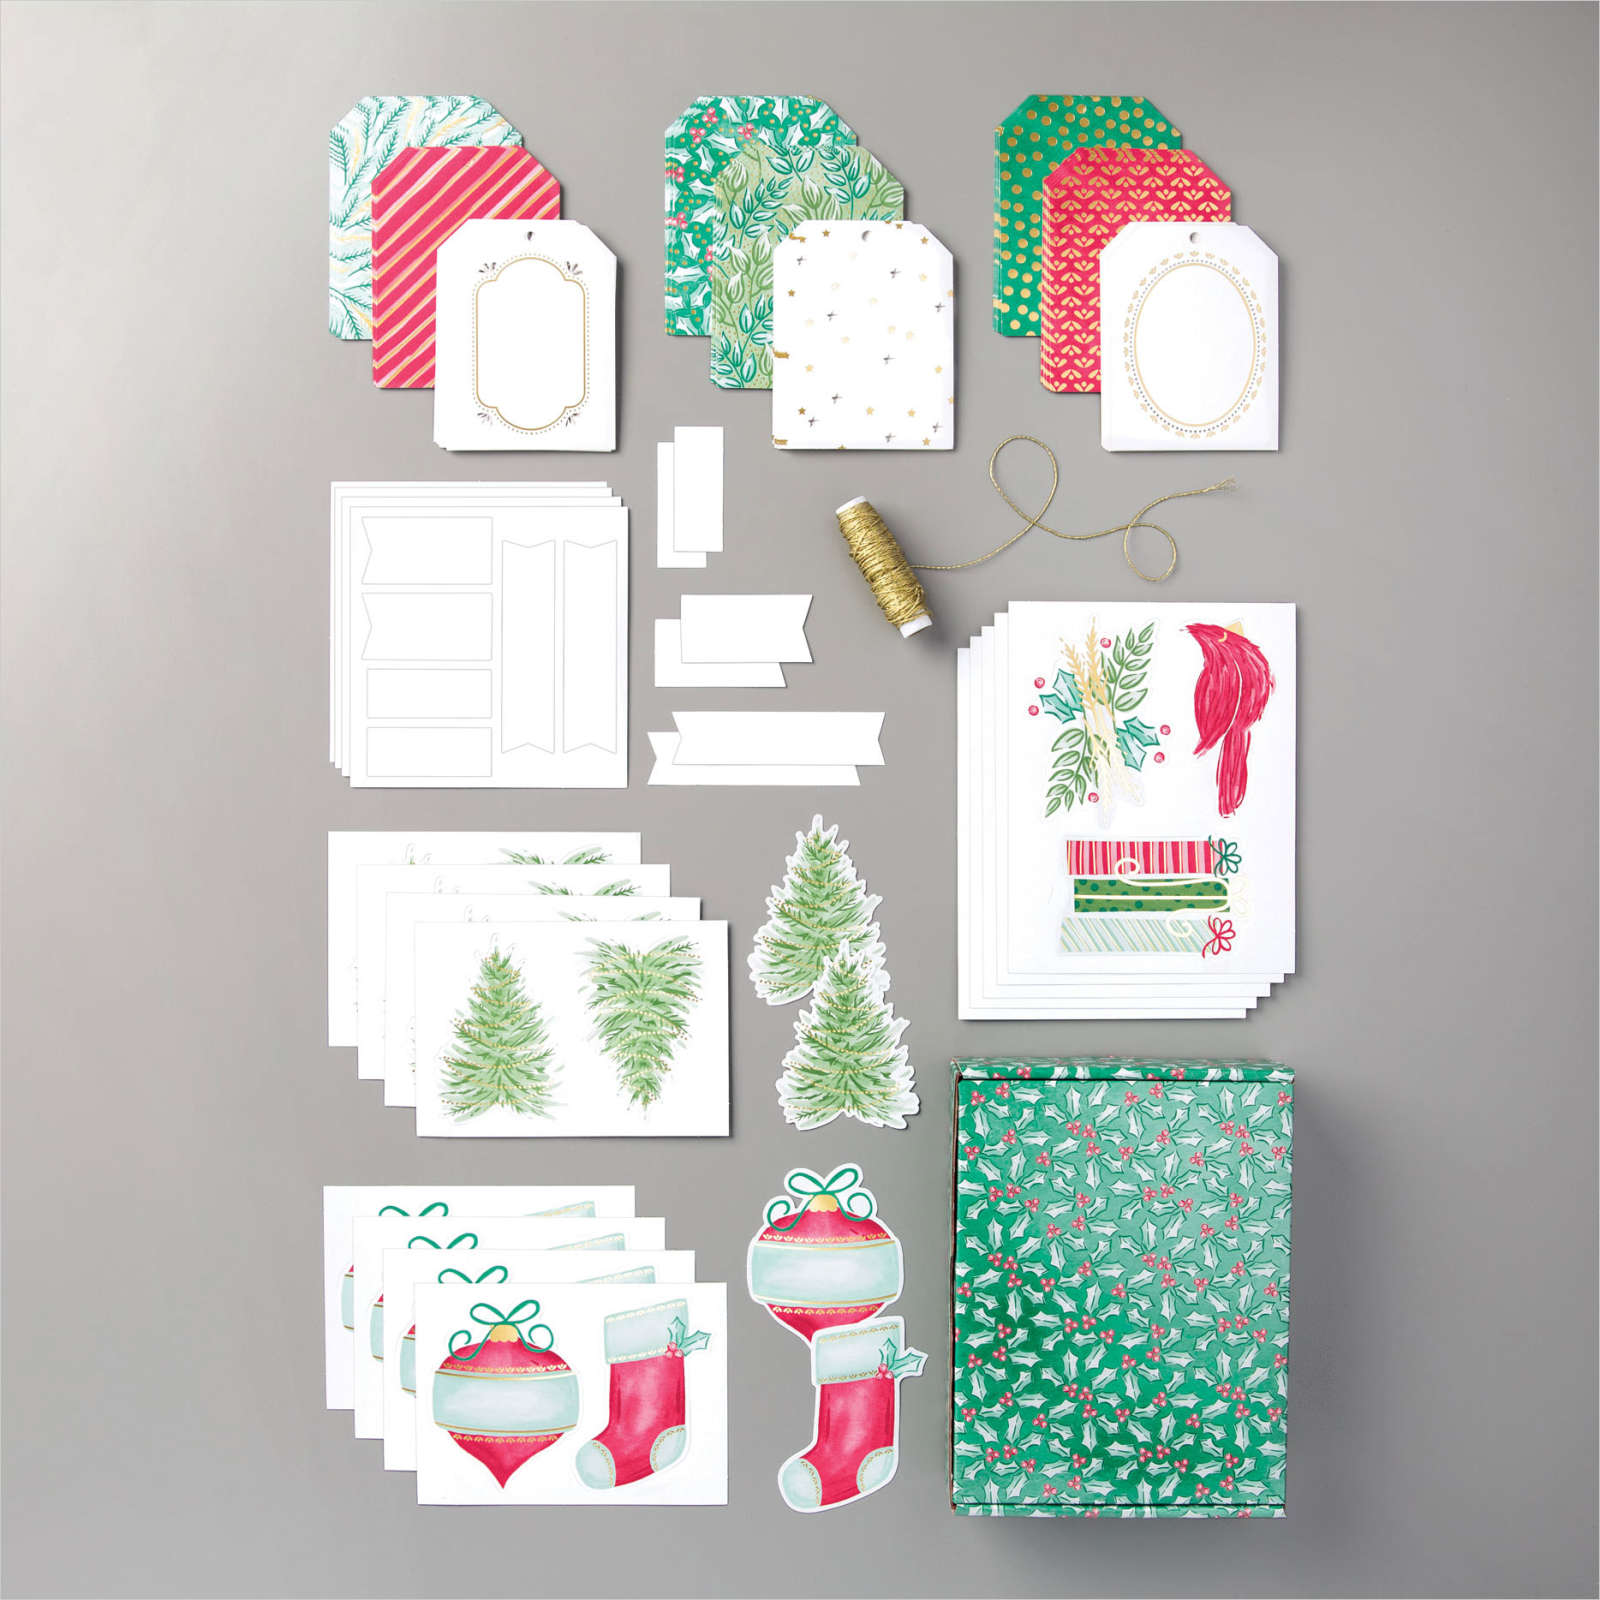


Christmas Decoration
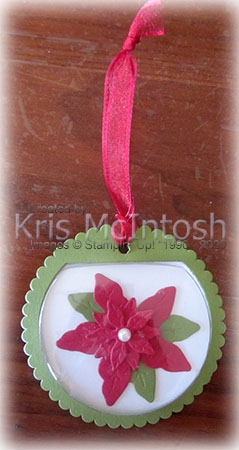
Yesterday on my Facebook Live, I shared how to make some Christmas Decorations using the Snow Globe Shaker Domes. This decoration I am sharing with you today is one I made for the ladies who support me all year in my business. I cut Real Red card using the smaller petal and the really small petal die from the Poinsettia Dies. I layered the petals on top of each other using Glue Dots. I cut the smaller petal from Old Olive card and cut it into 2 two leaf and 1 one leaf sections. I attached one two leaf and one single leaf pieces to the back of the flower. Lastly I added a large Basic Pearl. To create the decoration, I cut two of the largest scalloped circles from Old Olive card and one from Whisper White card.

I also cut one circle from Whisper White card using the Layering Circle Dies. I cut the centre from one of the Old Olive scalloped circles using the Snow Globe Scenes Die. To put it together, I trimmed down the sides of the Snow Globe Shaker Dome (they are designed to fit behind a larger piece of card). I attached the Old Olive with the centre cut out to the front of the Shaker Dome. I attached the flower to the centre of the Whisper White scalloped circle and attached it to the back of the Shaker Dome. I attached the Whisper White circle to the remaining Old Olive scalloped circle before attaching it to the back of the Shaker Dome. I used my Crop-A-Dile to punch a hole in the top of the ornament and tied a length of Real Red 3/8″ Sheer Ribbon through the top. I like to write the year on the back of the ornament so that I can remember when it was created.
I hope you like the idea of creating these for yourself. If you want more instruction, take a look at my Facebook Live video here.
Bye for now,
Kris
Product Used:


Framed Art 2020
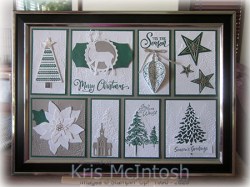
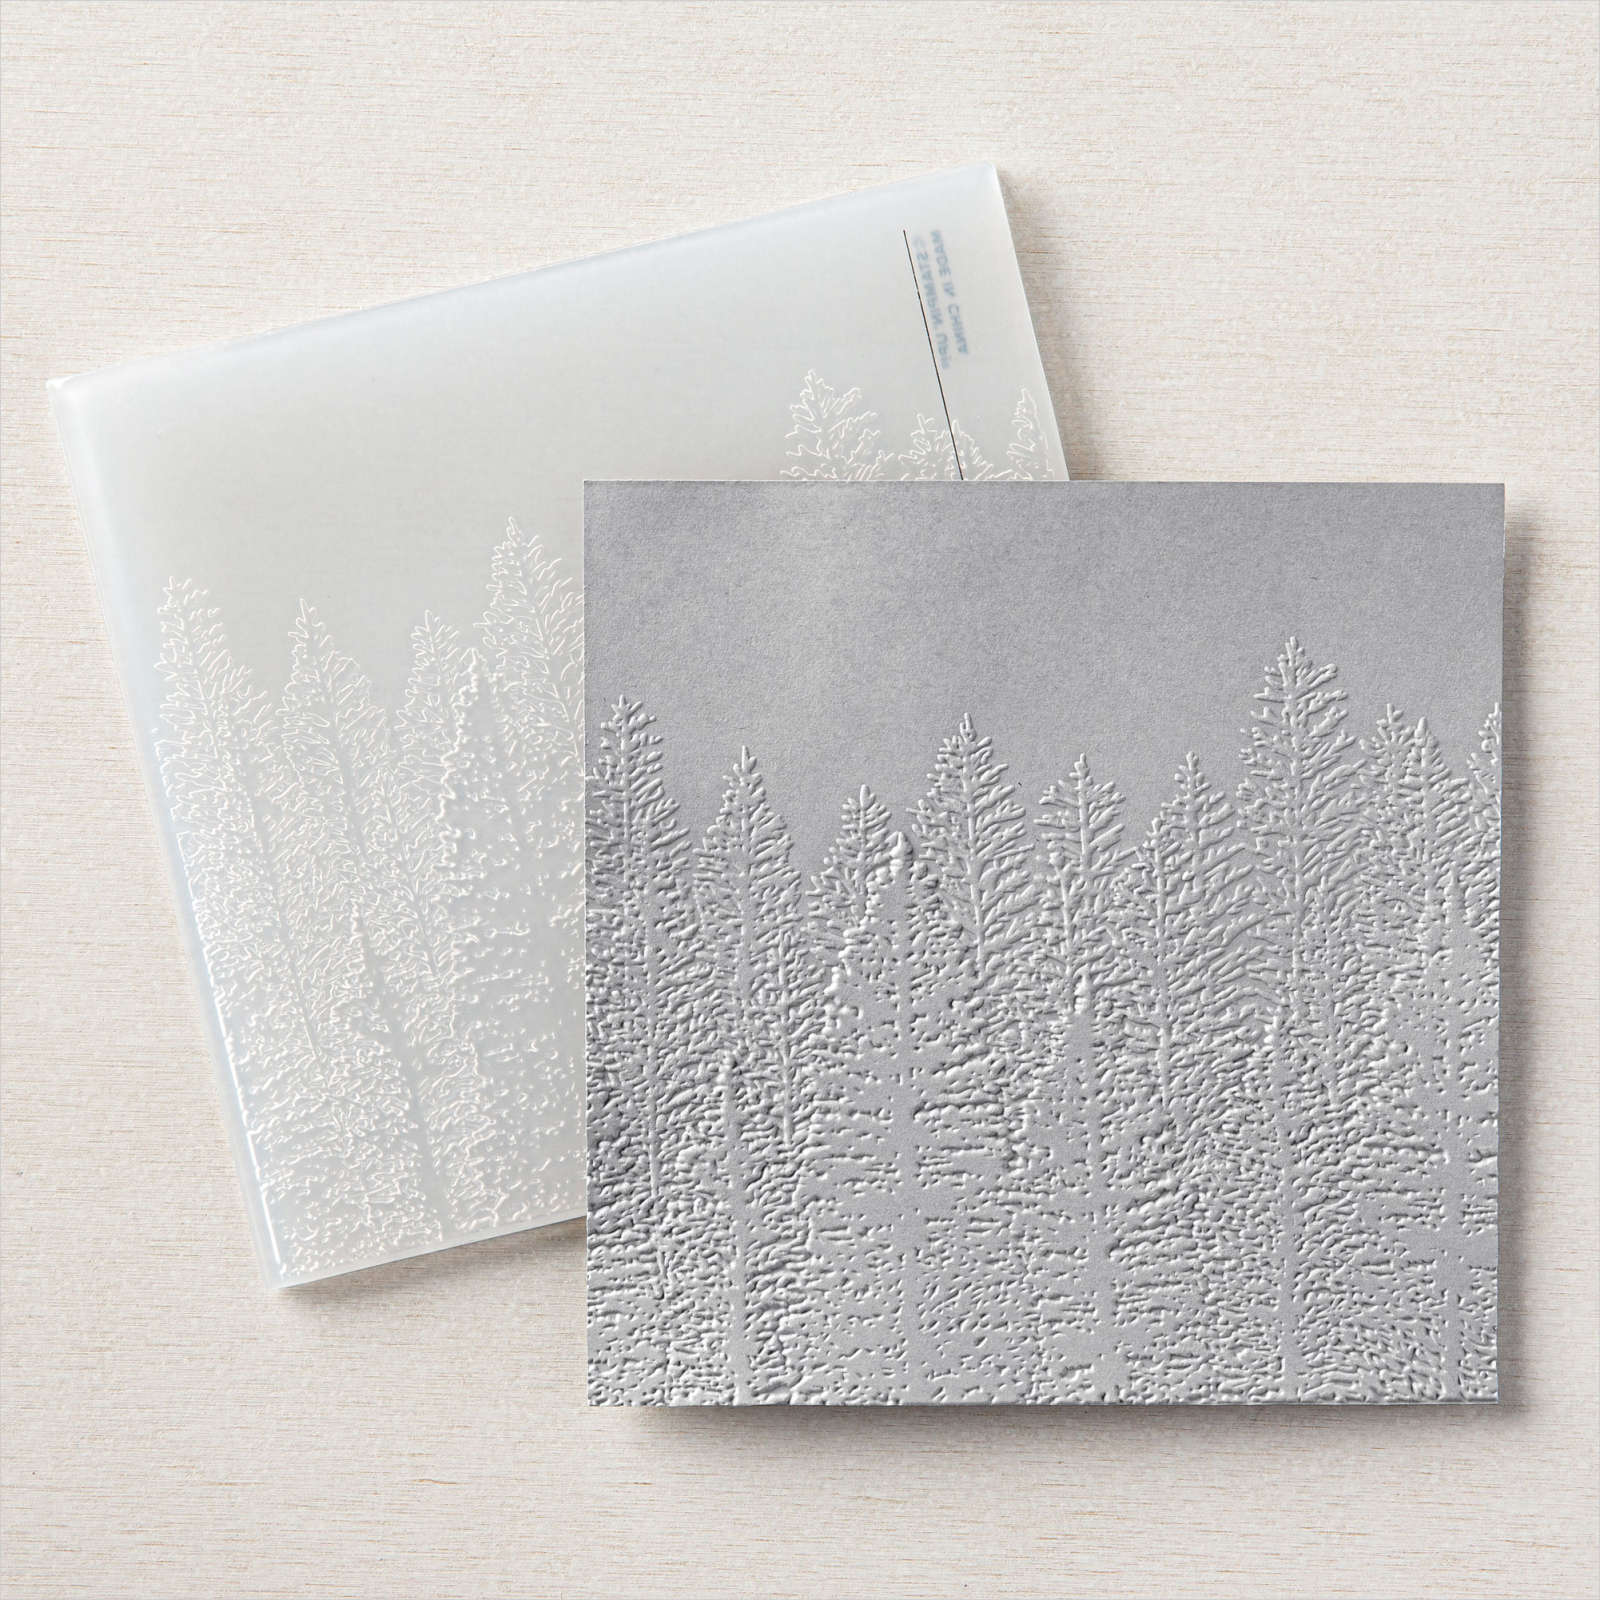
Over the last week or so I have held a number of classes to finish off the crafting year. One of the projects we made was this framed art piece. The frame is an A4 Document Frame and we used Gray Granite card for the background. Each of the panels is embossed using the Evergreen Forest 3D Embossing Folder. A number of stamp sets and dies were used but the basic theme was use Shaded Spruce/Gray Granite and Whisper White to create the panels. Since there is such a lot going on with this frame, I have uploaded the PDF to my Free Tutorials Page for you to download and re-create if you wish. Of course, each of these panels could be used as a card front too.
I’d love to know what you think of my “art work”.
Bye for now,
Kris
Product Used:


Tuesday Morning Sketch 583

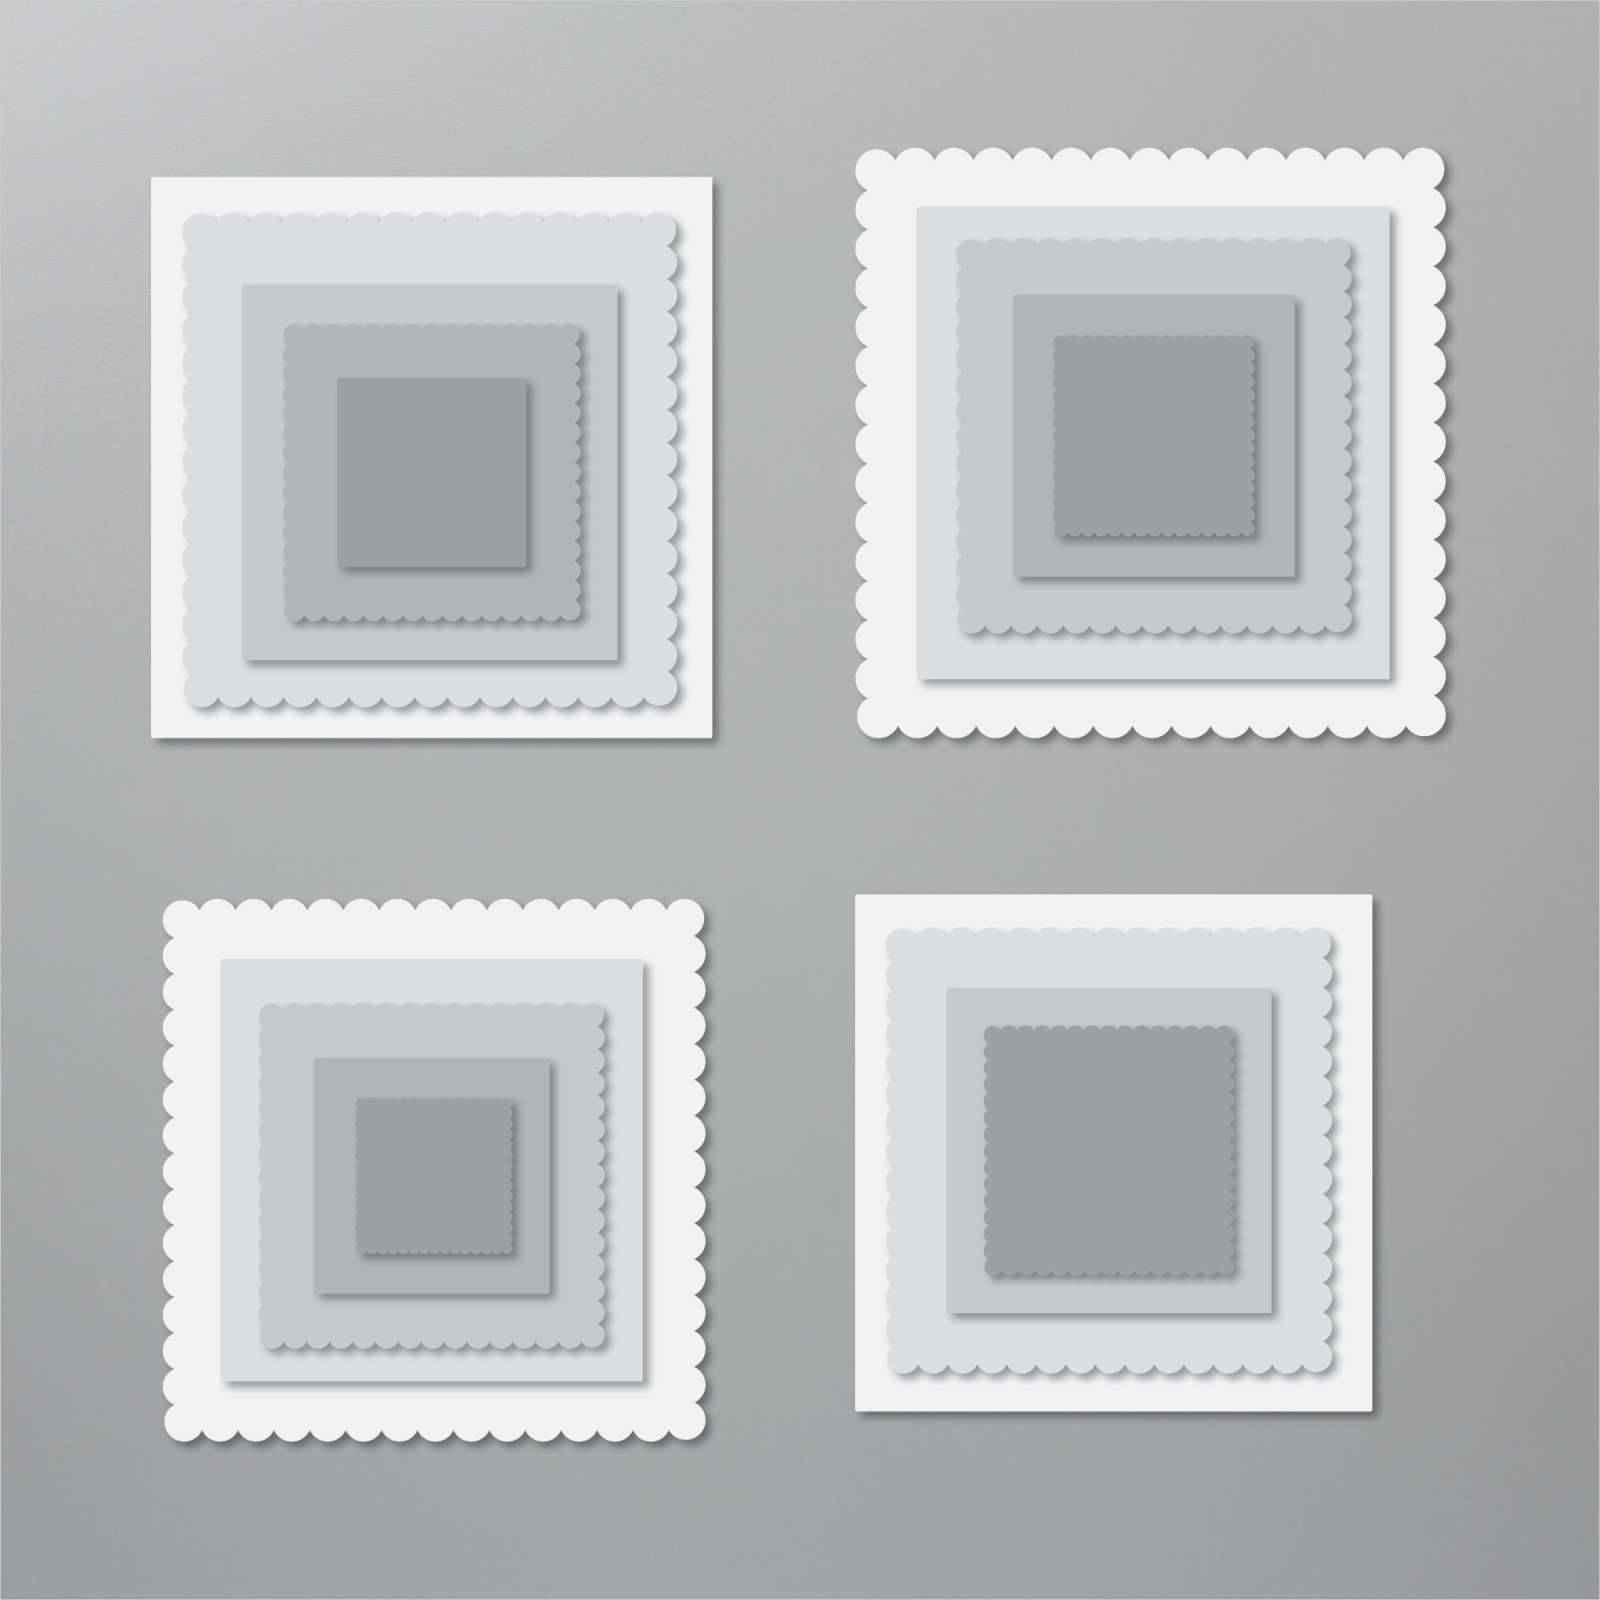
I thought the sketch at Tuesday Morning was really lovely and wanted to play along. I embossed the top portion of Whisper White card using one of the Wrapped in Texture Embossing Folders. I cut Cherry Cobbler card using one of the scalloped squares from the Layering Squares Dies, trimmed it and attached it behind the left hand side of the Cherry Cobbler patterned paper from the Classic Christmas 6″ x 6″ Designer Series Paper. This gave me the same look as the edging on the scalloped oval! I attached a Shaded Spruce patterned paper from the same Designer Series Paper across the bottom of the embossed panel and attached the Cherry Cobbler panel on top.
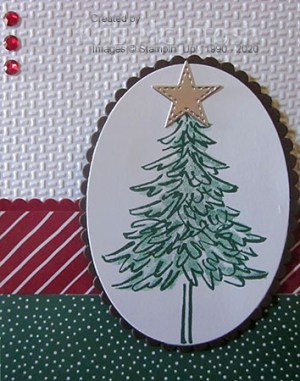
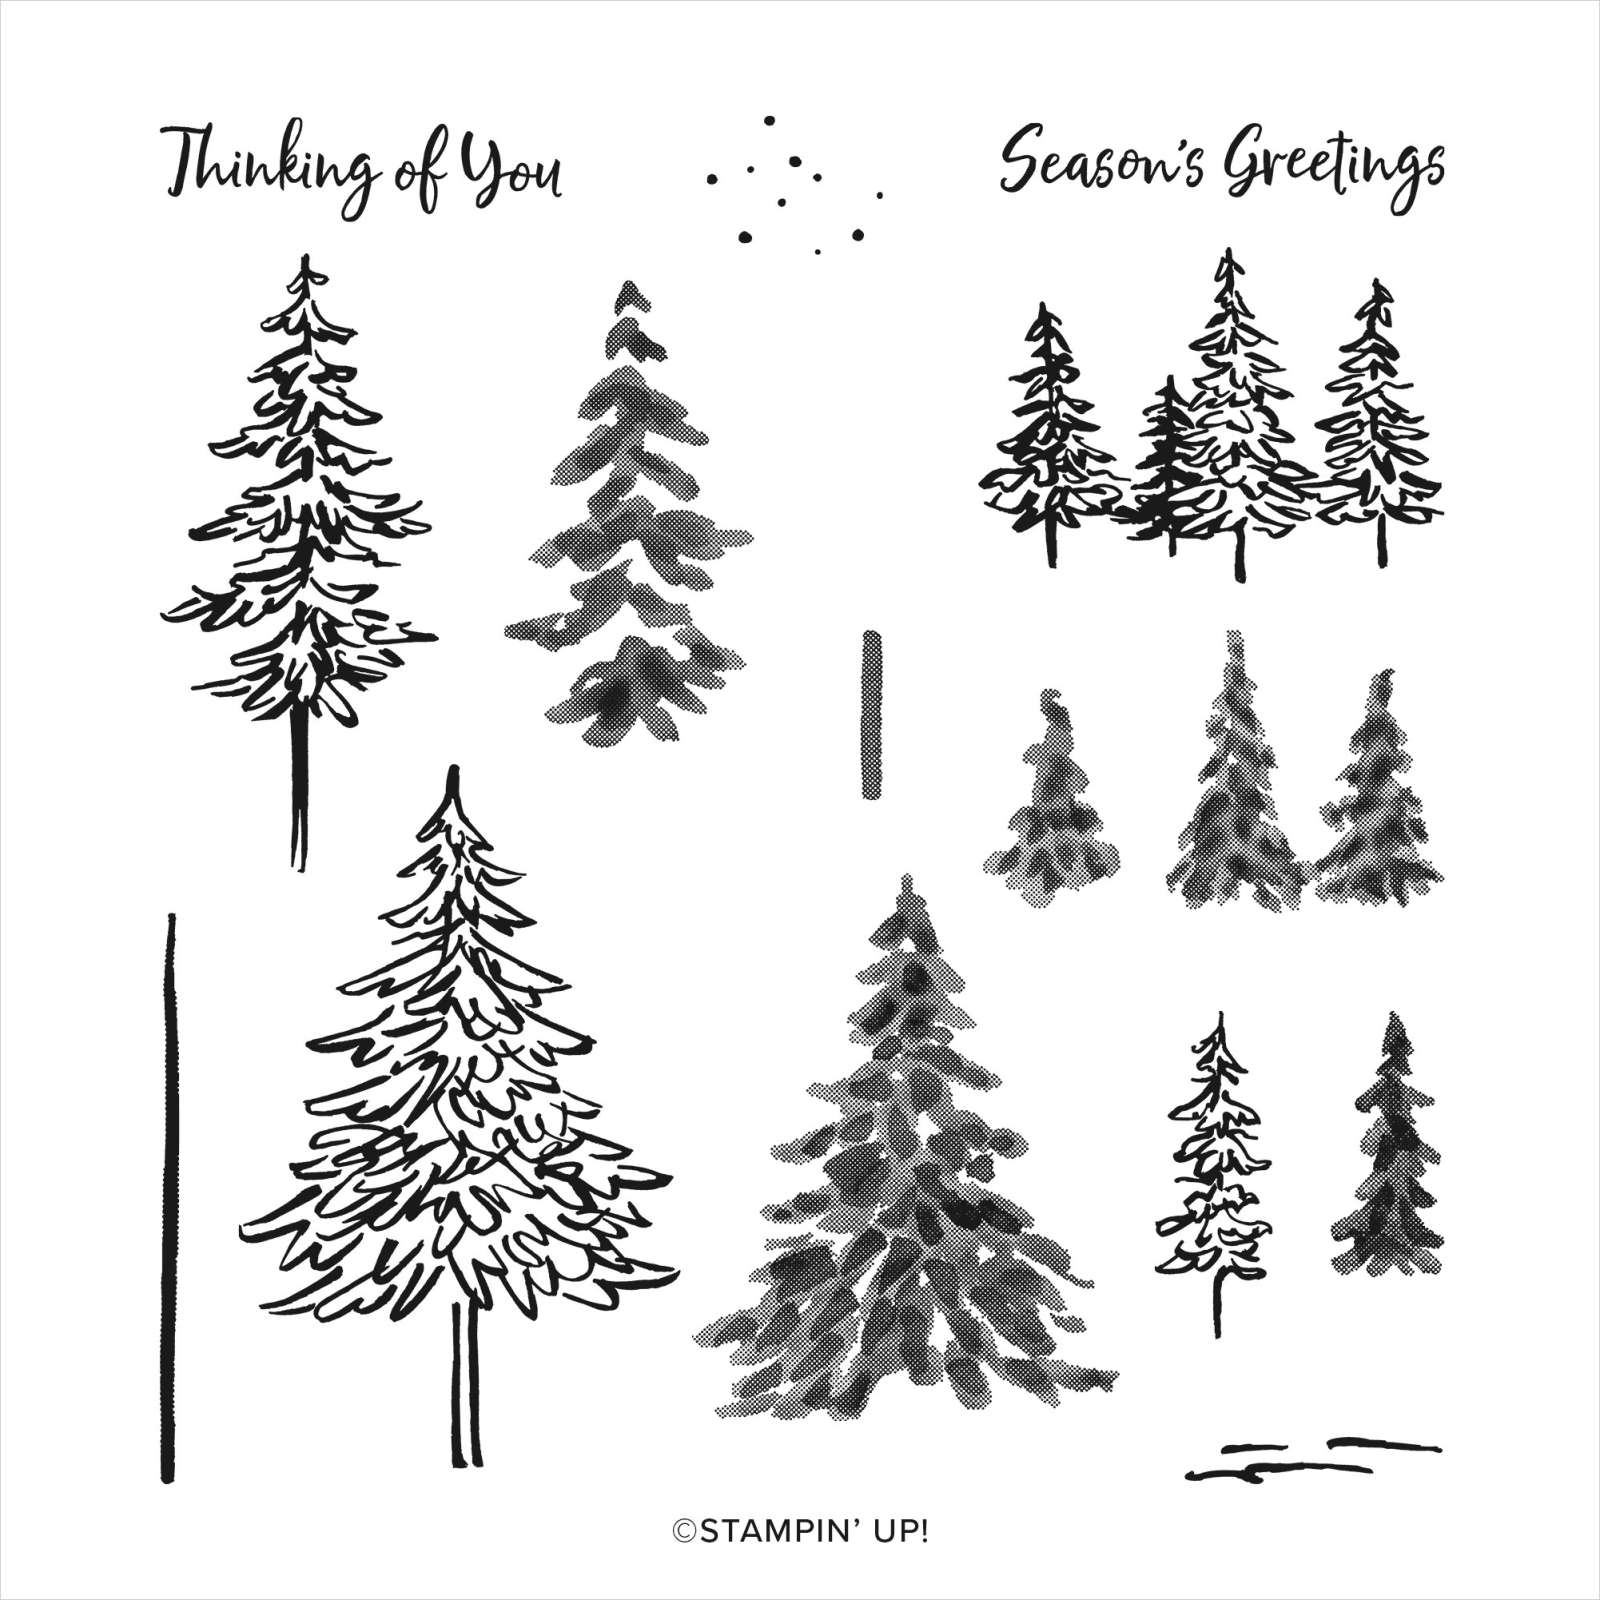
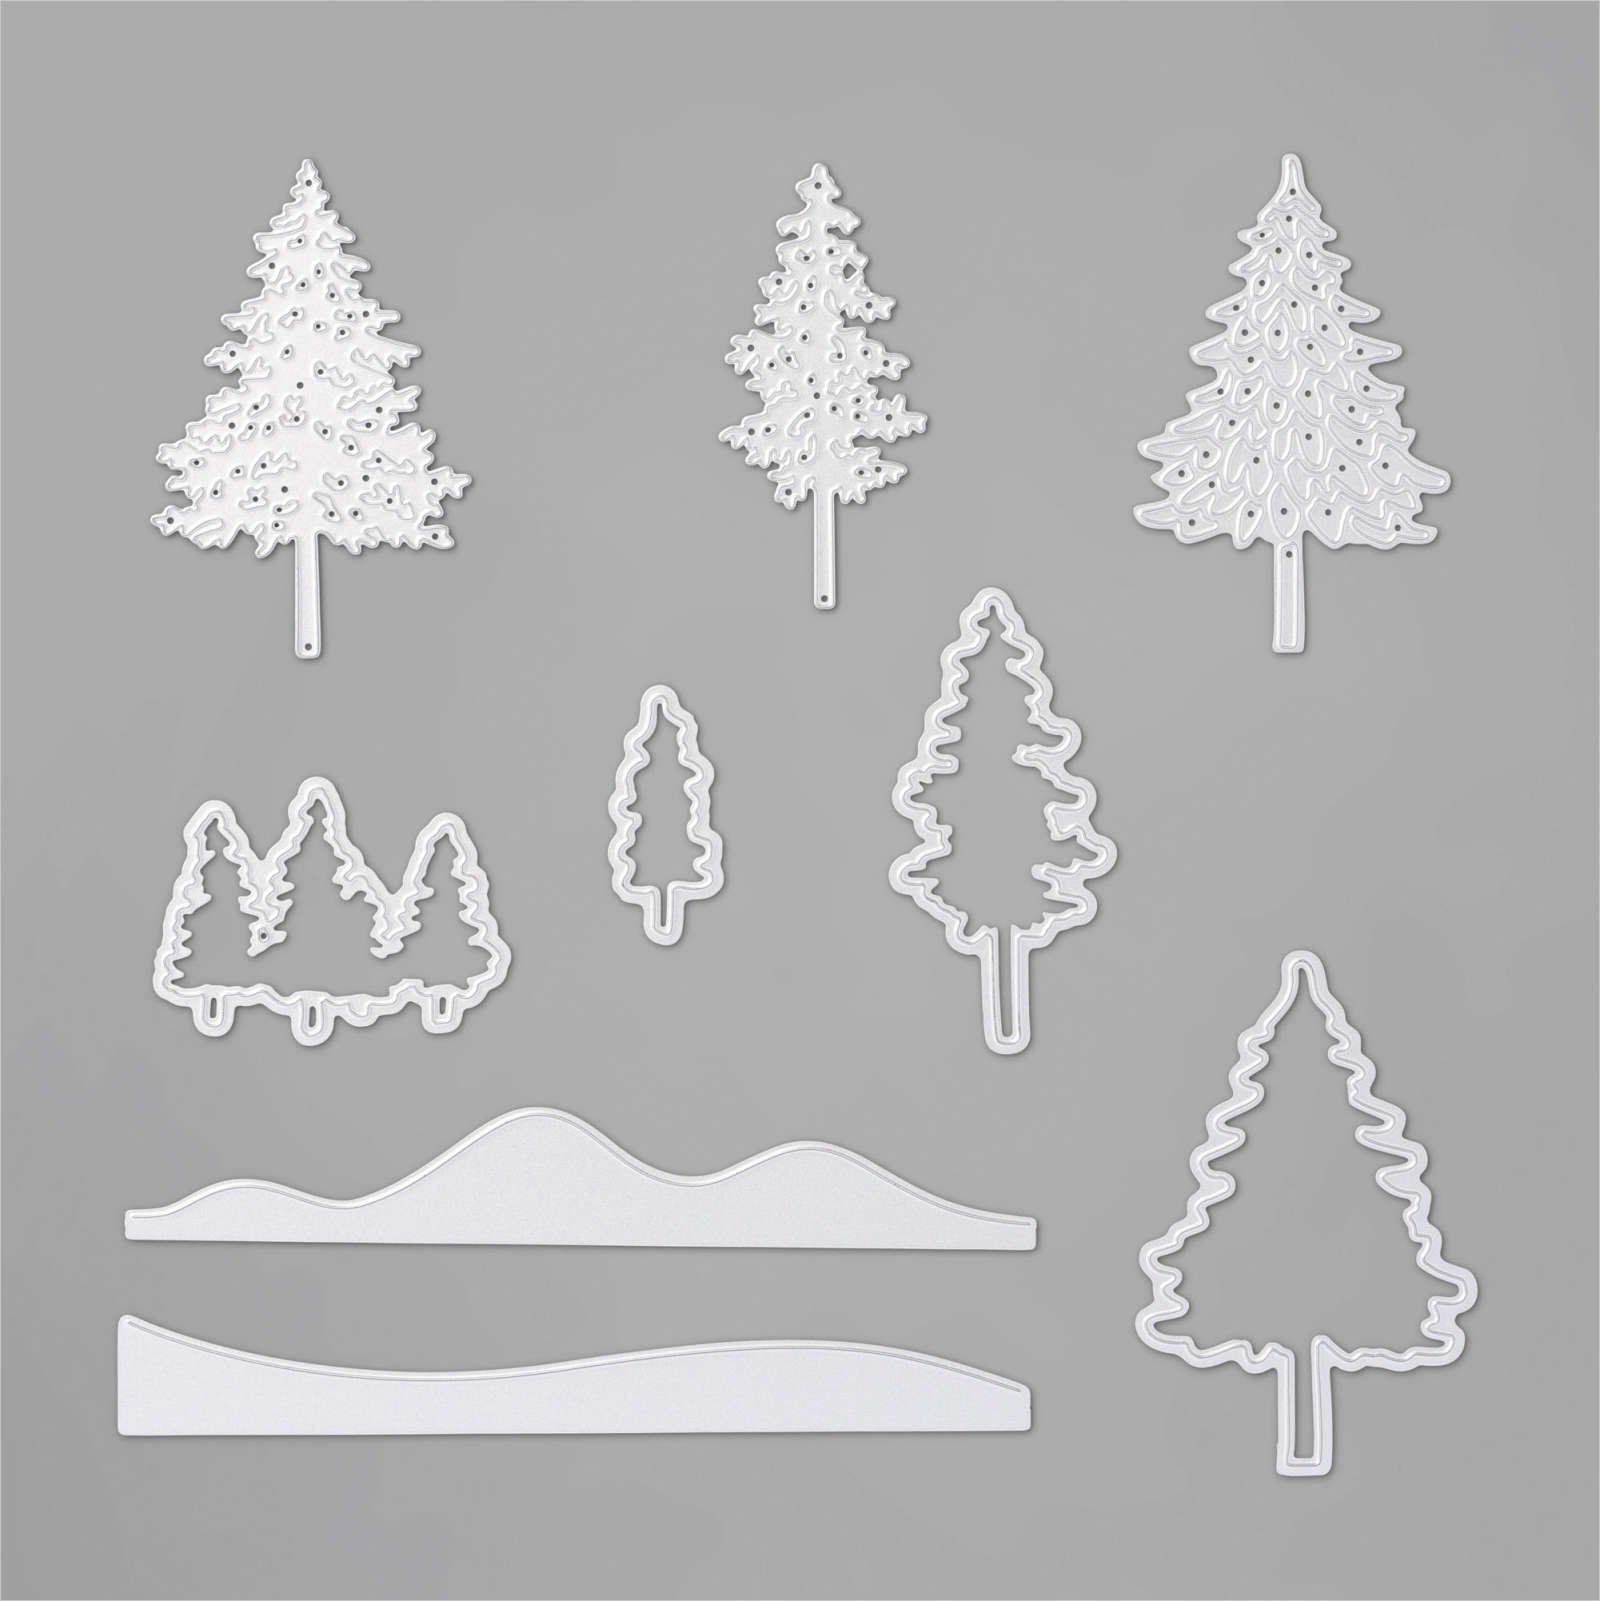
The whole piece is attached to scored and folded Early Espresso card. I stamped the tree from the In The Pines stamp set onto Whisper White card using Shaded Spruce ink. I stamped the fill image using Shaded Spruce ink which I had stamped off first. I cut out the tree using one of the Layering Oval Dies and attached it to an Early Espresso scalloped oval cut using the same dies.

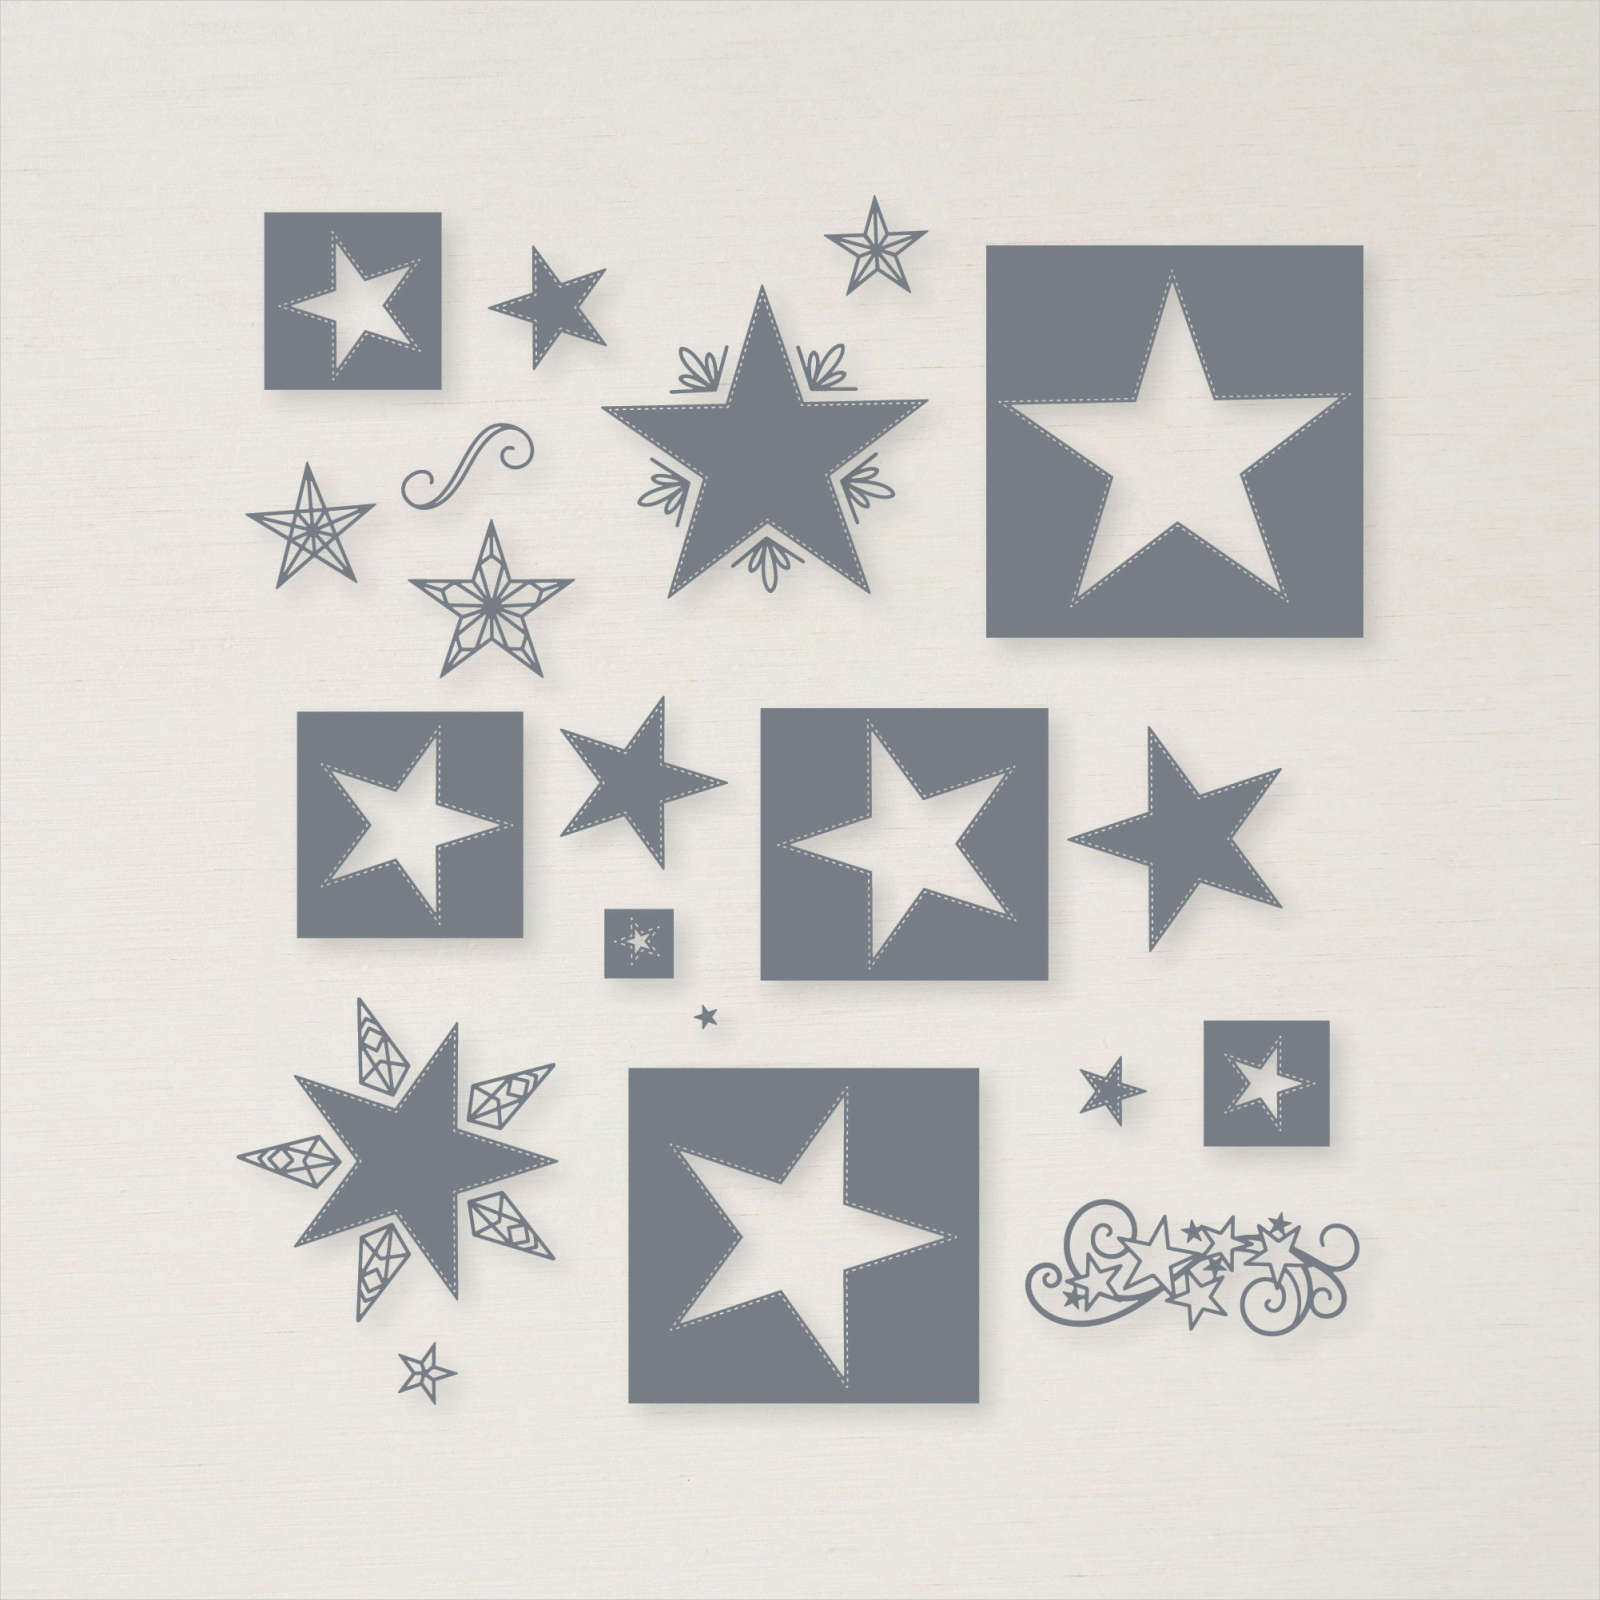
The image panel is attached to the card front using dimensionals. I cut the smallest star from the Stitched Stars Dies from Silver Foil card and attached it to the top of the tree. I coloured three Basic Rhinestones using the Dark Cherry Cobbler Stampin’ Blend and added them to the upper left hand corner of the embossed Whisper White card. To decorate the inside of the card, I stamped the greeting from the Itty Bitty Christmas stamp set onto Whisper White card using Cherry Cobbler ink. I attached a narrow strip of Early Espresso card behind one long edge of a narrow strip of the Cherry Cobbler patterned paper from the Classic Christmas 6″ x 6″ Designer Series Paper. The patterned paper is attached across the bottom of the stamped Whisper White card.
I love the effect of layering the different Designer Series Paper patterns onto the Whisper White panel, don’t you? Sooo, thank you Tuesday Morning Sketches for the inspiration.
Bye for now,
Kris
Product Used:


Giant End of Year Closeout

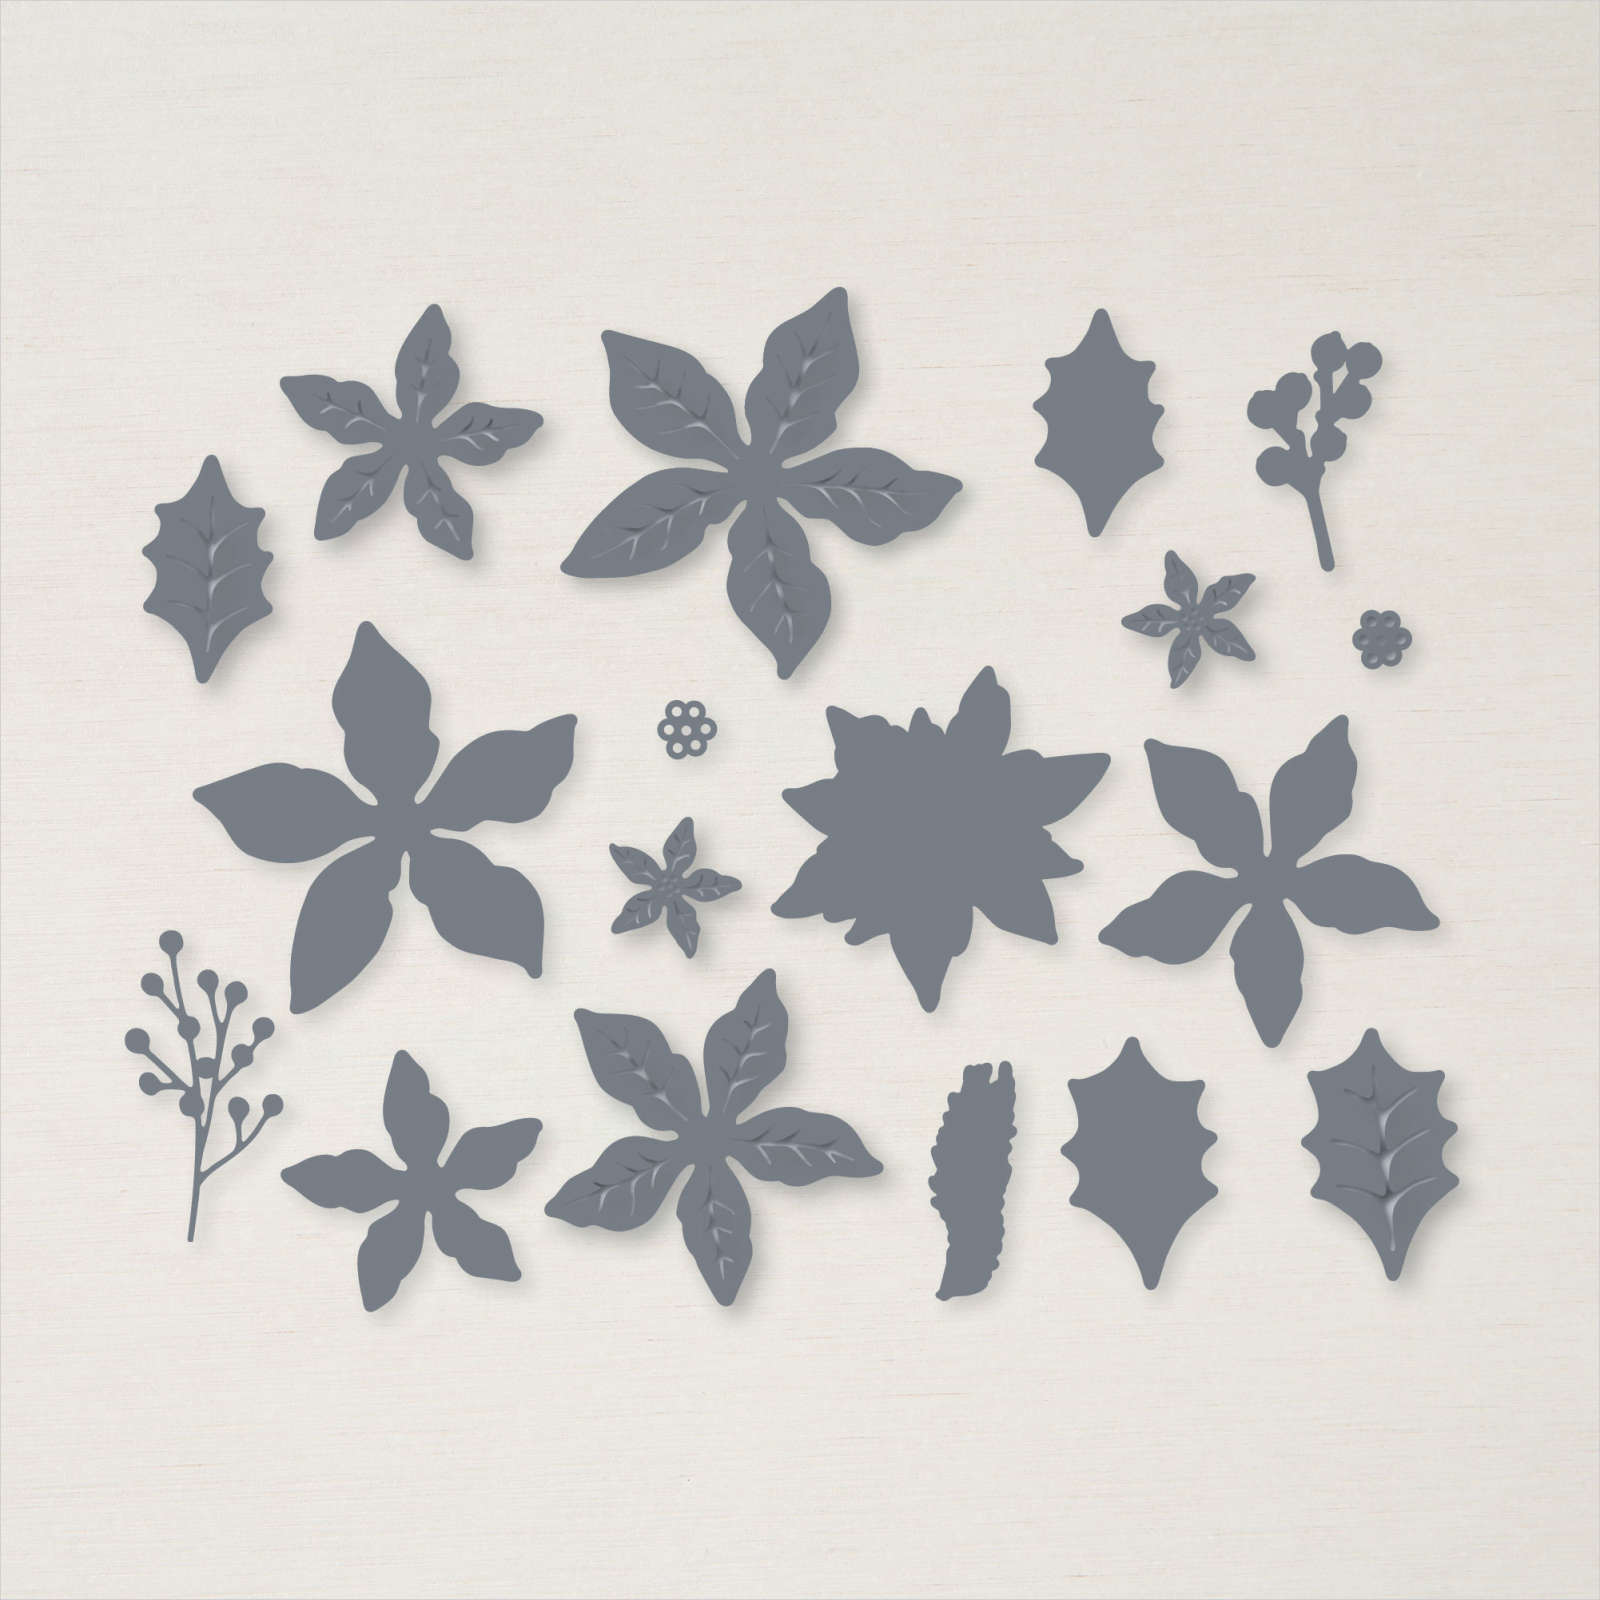
From the 8th December to the 4th January on a while stocks last basis, lots of your favourite products from the August to December Mini Catalogue will be discounted. You can download a list of the product that will be retiring with the end of this catalogue here. These products will never to be seen again, so if you want it don’t wait order it because when it’s gone, it’s gone. You can also download a list of the product that will be carrying over to the next annual catalogue here. One thing I am really excited about is that the Poinsettia Petals stamp set and Poinsettia Dies are on the carryover list. Yay!
I have added a Host Code for the month of December (W72XDA74) for orders of less than $250.00
I hope you act quickly to get your hands on something you love. There are some really great bargains to be had but only while stocks last.
Bye for now,
Kris
Lunch Date

I was lucky enough to be invited to join my daughter and granddaughter for lunch during the week. Abi is in year 10 and finished school earlier than her brother and sister and so it was just the three of us. It was lovely to spend time with them. I created a simple page to show off our “selphie” taken by Abi. I used one of the pieces from the Forever Gold Specialty Designer Series Paper and cut it in half. I attached one half to each side of the photo before attaching Merry Merlot behind the Gold Die cuts.

The panel is attached to the upper left hand side of 12″ x 12″ Whisper White card. I printed my journaling onto Whisper White card and cut it out using one of the Layering Circle Dies. I also cut a scalloped circle from Merry Merlot using the same dies.
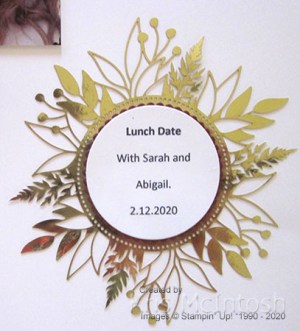
The journaling is attached to the Merry Merlot scalloped circle and then another of the die cuts from the Forever Gold Specialty paper. Creating memory keeping pages to help me remember happy events is one of my favourite things to do. I have been working through all the photos from this year and also trying to catch up on previous years. I am happy to say, I am starting to win the battle! What about you? How is your memory keeping progressing?
Bye for now,
Kris
Product Used:

Left over card kits

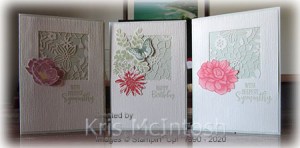
I found a box with some retired ribbon and card kits in my stash and although I won’t use the ribbon on my projects, I thought I would use up the card kits. I had cut some of the Laser Cut Specialty Design Paper from a previous catalogue into pieces which I attached to Soft Sea Foam card. I cut a window in Very Vanilla card using the Layering Squares Dies and stamped them with sentiments – “happy birthday” and “With Deepest Sympathy” from the Peaceful Moments stamp set using Soft Sea Foam ink. I embossed the stamped panels and attached the Designer Series Paper panels behind the opening.
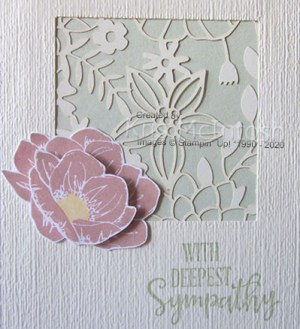
The whole piece is attached to scored and folded Soft Sea Foam card. For the first “With Deepest Sympathy” card, I stamped the two solid floral images from the Floral Essence stamp set onto Very Vanilla card using Blushing Bride ink.
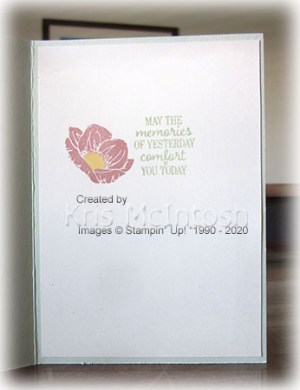
I coloured the centre of the small flower using the Dark So Saffron Stampin’ Blend and cut out the flowers. I attached the small flower to the large flower using dimensionals before attaching the flower to the card front. To decorate the inside of this card, I stamped the greeting from the Timeless Tulips stamp set onto Very Vanilla card using Soft Sea Foam ink.
I also stamped the small flower from the Floral Essence stamp set beside the greeting using Blushing Bride ink and coloured the centre of the flower using the Dark So Saffron Stampin’ Blend.
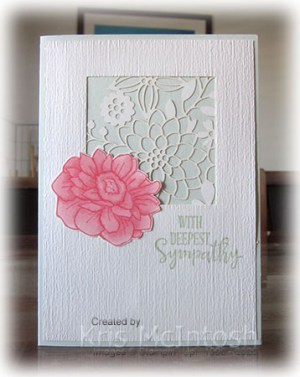
For the second “With Deepest Sympathy” card I stamped the large flower from the Band Together stamp set onto Very Vanilla card using Flirty Flamingo ink. I coloured the flower using the Flirty Flamingo Stampin’ Blends and cut it out. The flower is attached to the card front. To decorate the inside of this card, I stamped the same greeting from the Timeless Tulips stamp set onto Very Vanilla card using Soft Sea Foam ink and added another flower which I had stamped, coloured and cut out.
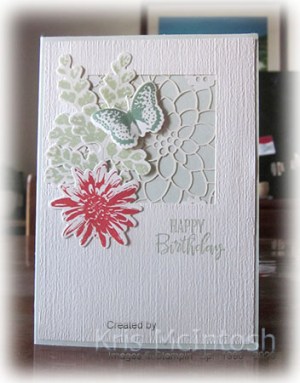
For the “Happy Birthday” card I stamped the leaf image from the Positive Thoughts stamp set twice onto Very Vanilla card using Soft Sea Foam ink. I stamped the flower from the same stamp set onto Very Vanilla card using Calypso Coral ink. I also stamped the butterfly from this stamp set onto Very Vanilla card using Mint Macaron ink. I cut out each of the images using the co-ordinating Natures Thoughts Dies and attached them to the card front. I did add mini dimensionals underneath the wings of the butterfly and a glue dot in the centre of the body to give it some dimension. To decorate the inside of this card, I stamped the greeting from the Peaceful Moments stamp set onto Very Vanilla card using Soft Sea Foam ink. I also stamped the butterfly from the Positive Thoughts stamp set three times around the greeting using Mint Macaron ink.
I really love these card, I hate throwing out kits when I find them but sometimes I just don’t have time to make them up. Unfortunately I did need a couple of Sympathy cards for which I think these soft colours are just perfect.
Bye for now,
Kris
Product Used:


One design 3 ways

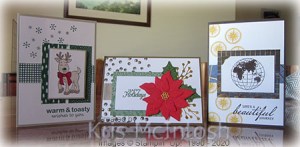
When we had our recent Onstage Online event, I was away and could only pop on now and then to watch the presentations live. I was fortunate enough to catch Donna Griffin give her Stamp and Share presentation. We were given information before the event to have supplies on hand to create along with her. I loved the layouts that she shared and yesterday on my Facebook Live I shared one of the layouts and today I am sharing a different one.

The first card uses the Warm and Toasty stamp set and the Classic Christmas 6″ x 6″ Designer Series Paper. I used the star image from the Warm and Toasty stamp set and Shaded Spruce ink to add some dimension to the top left hand corner of Whisper White card.

I also stamped the greeting from the same stamp set using Shaded Spruce ink onto the lower right hand corner of the Whisper White card. I cut three pieces of Designer Series Paper following the dimensions we were given and attached them to the stamped Whisper White card. The whole panel is attached to scored and folded Sahara Sand card. I stamped the reindeer image from the Warm & Toasty stamp set onto Whisper White card using Memento Tuxedo Black ink and coloured the image using Crumb Cake, Dark Cherry Cobbler and Light Flirty Flamingo Stampin’ Blends. I attached the image to Sahara Sand card and then the card front using dimensionals.

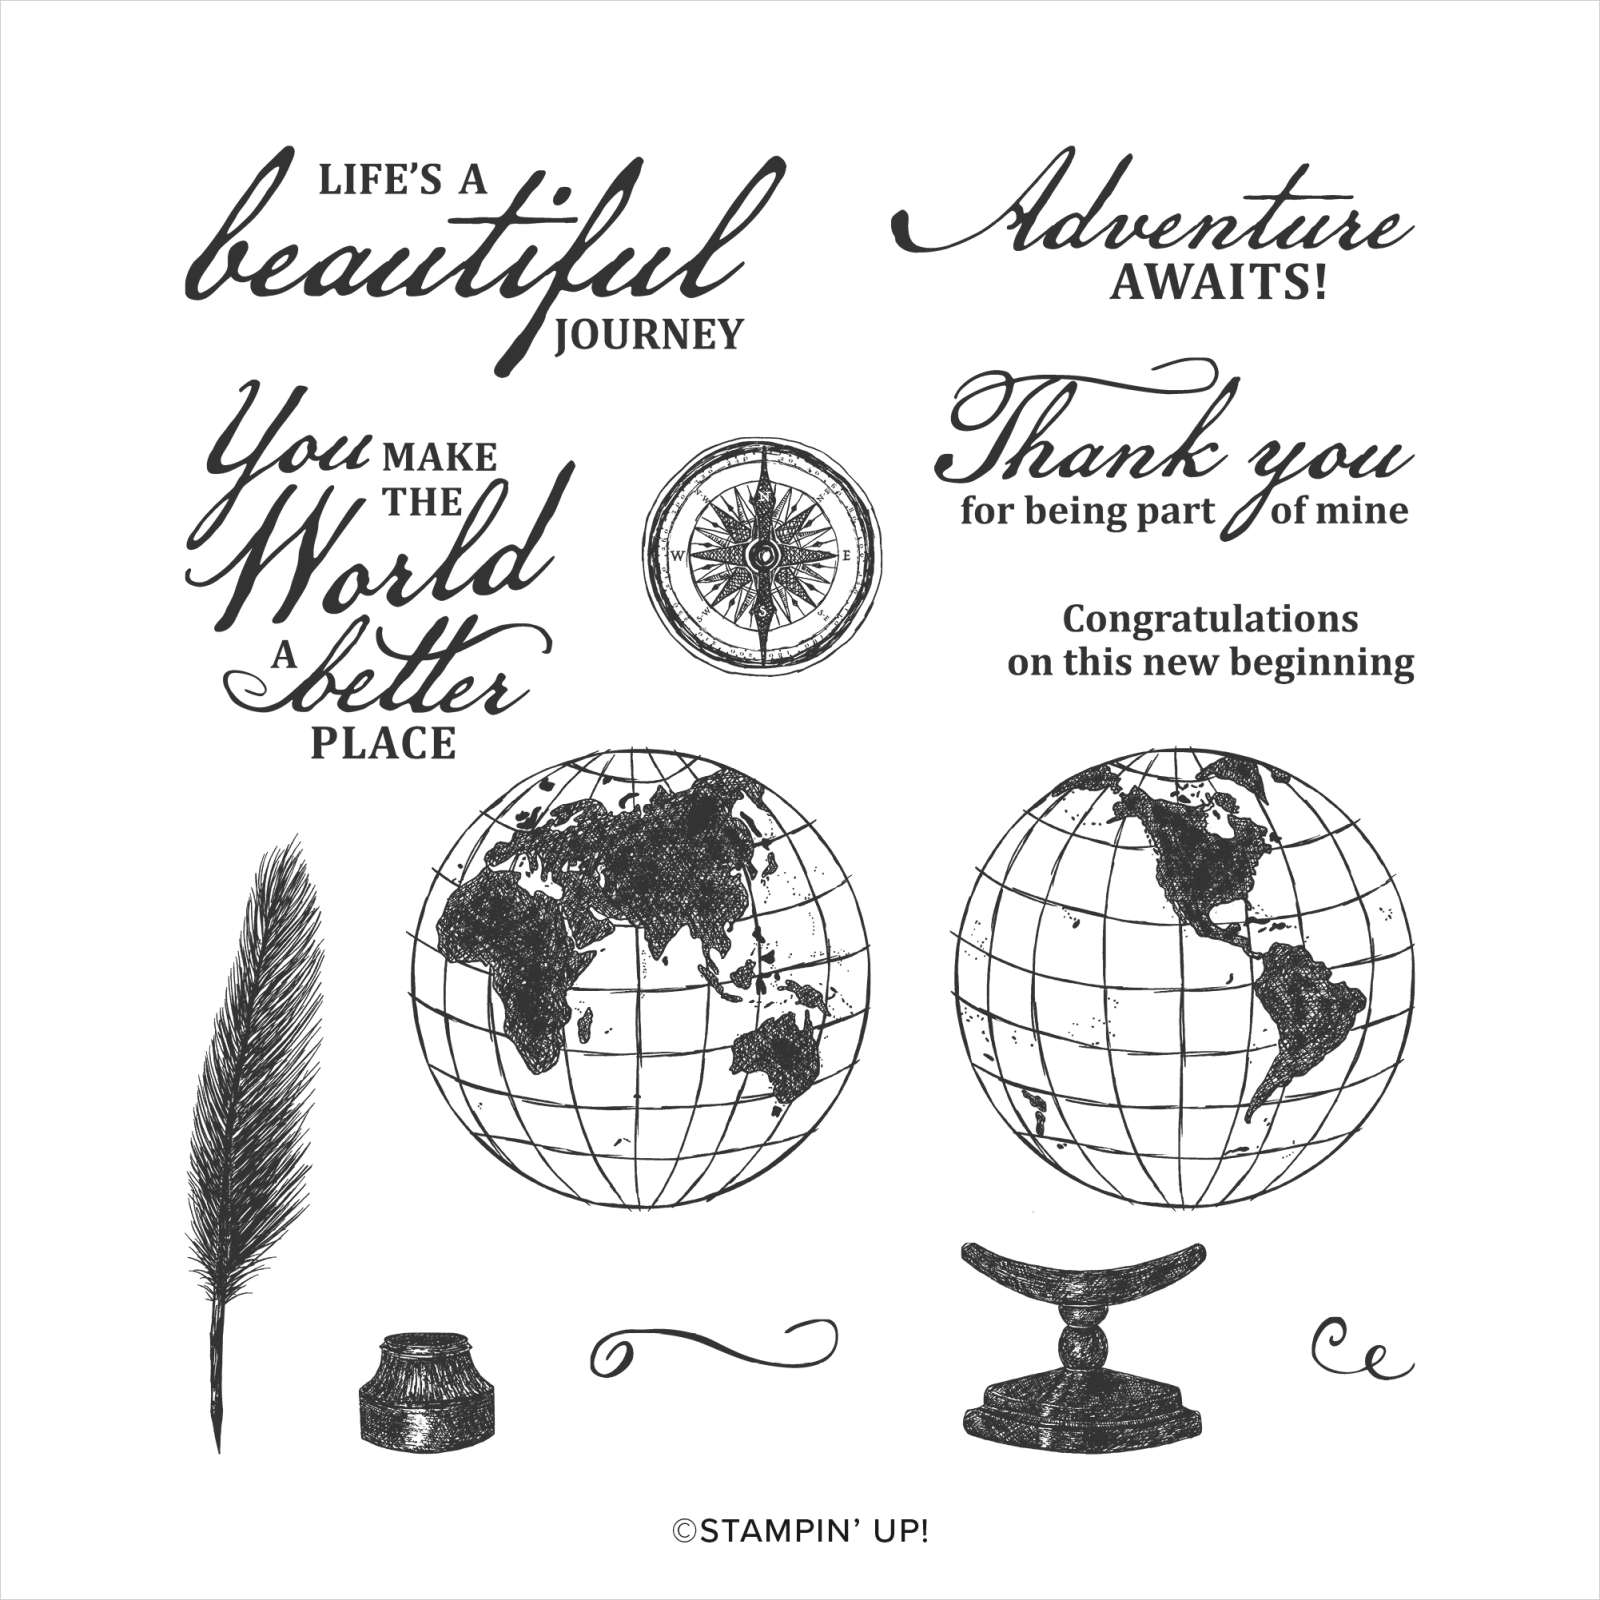
To decorate the inside of the card, I stamped the greeting from the Poinsettia Petals stamp set onto Whisper White card using Shaded Spruce ink.I attached a narrow strip of Sahara Sand card behind one long edge of one of the designs from the Classic Christmas 6″ x 6″ Designer Series Paper which I attached to the bottom of the stamped Whisper White card. For the second card, I stamped the image from the Beautiful World stamp set down the left hand side of Whisper White card using Bumblebee ink. I cut three pieces of the World of Good Specialty Designer Series Paper and attached them to the stamped card.
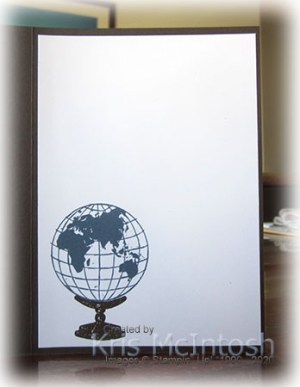
I also stamped the greeting from the Beautiful World stamp set onto the lower right hand corner of the Whisper White card using Early Espresso ink. I stamped the globe image from the Beautiful World stamp set onto Whisper White card using Early Espresso ink before attaching the panel to the card front using dimensionals. To decorate the inside of the card, I stamped the globe stand from the Beautiful World stamp set onto the lower left hand corner of Whisper White card using Early Espresso ink. I stamped the globe image onto the globe stand using Misty Moonlight ink.
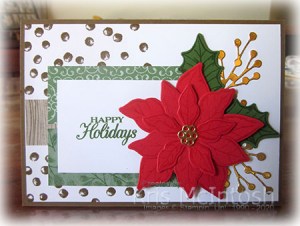
For the last card, I stamped the dots from the Poinsettia Petals stamp set onto the left hand side of Whisper White card using Soft Suede ink. I cut three pieces of the Poinsettia Place Designer Series Paper to the left hand side of the stamped Whisper White card. I stamped the three images to create the flower onto Poppy Parade card using Poppy Parade ink and cut them out using the co-ordinating Poinsettia Dies. I also stamped the small leaf image from the Poinsettia Petals stamp set onto Garden Green card using Garden Green ink and cut them out using the co-ordinating Poinsettia Die.

I cut Gold Foil card twice using the Poinsettia Dies which I attached to the card front along with the leaves. I used Glue Dots to attach the poinsettia petals to each other before using dimensionals where necessary to attach the flower to the card front. I cut the flower centre from Gold Foil card using the Poinsettia Die and attached it to the centre of the flower. To decorate the inside of the card, I stamped the greeting from the Poinsettia Petals stamp set onto Whisper White card using Garden Green ink. I attached a narrow strip of Soft Suede card behind one long edge of a piece of the Poinsettia Place Designer Series Paper and attached it to the bottom of the stamped card.
I really had fun playing with these great layouts and using some of Donna’s ideas to use different stamp sets than the one for which they were designed.
Bye for now,
Kris
Product Used:


20th Wedding Anniversary
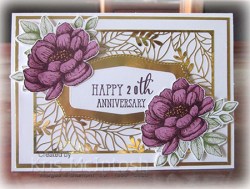
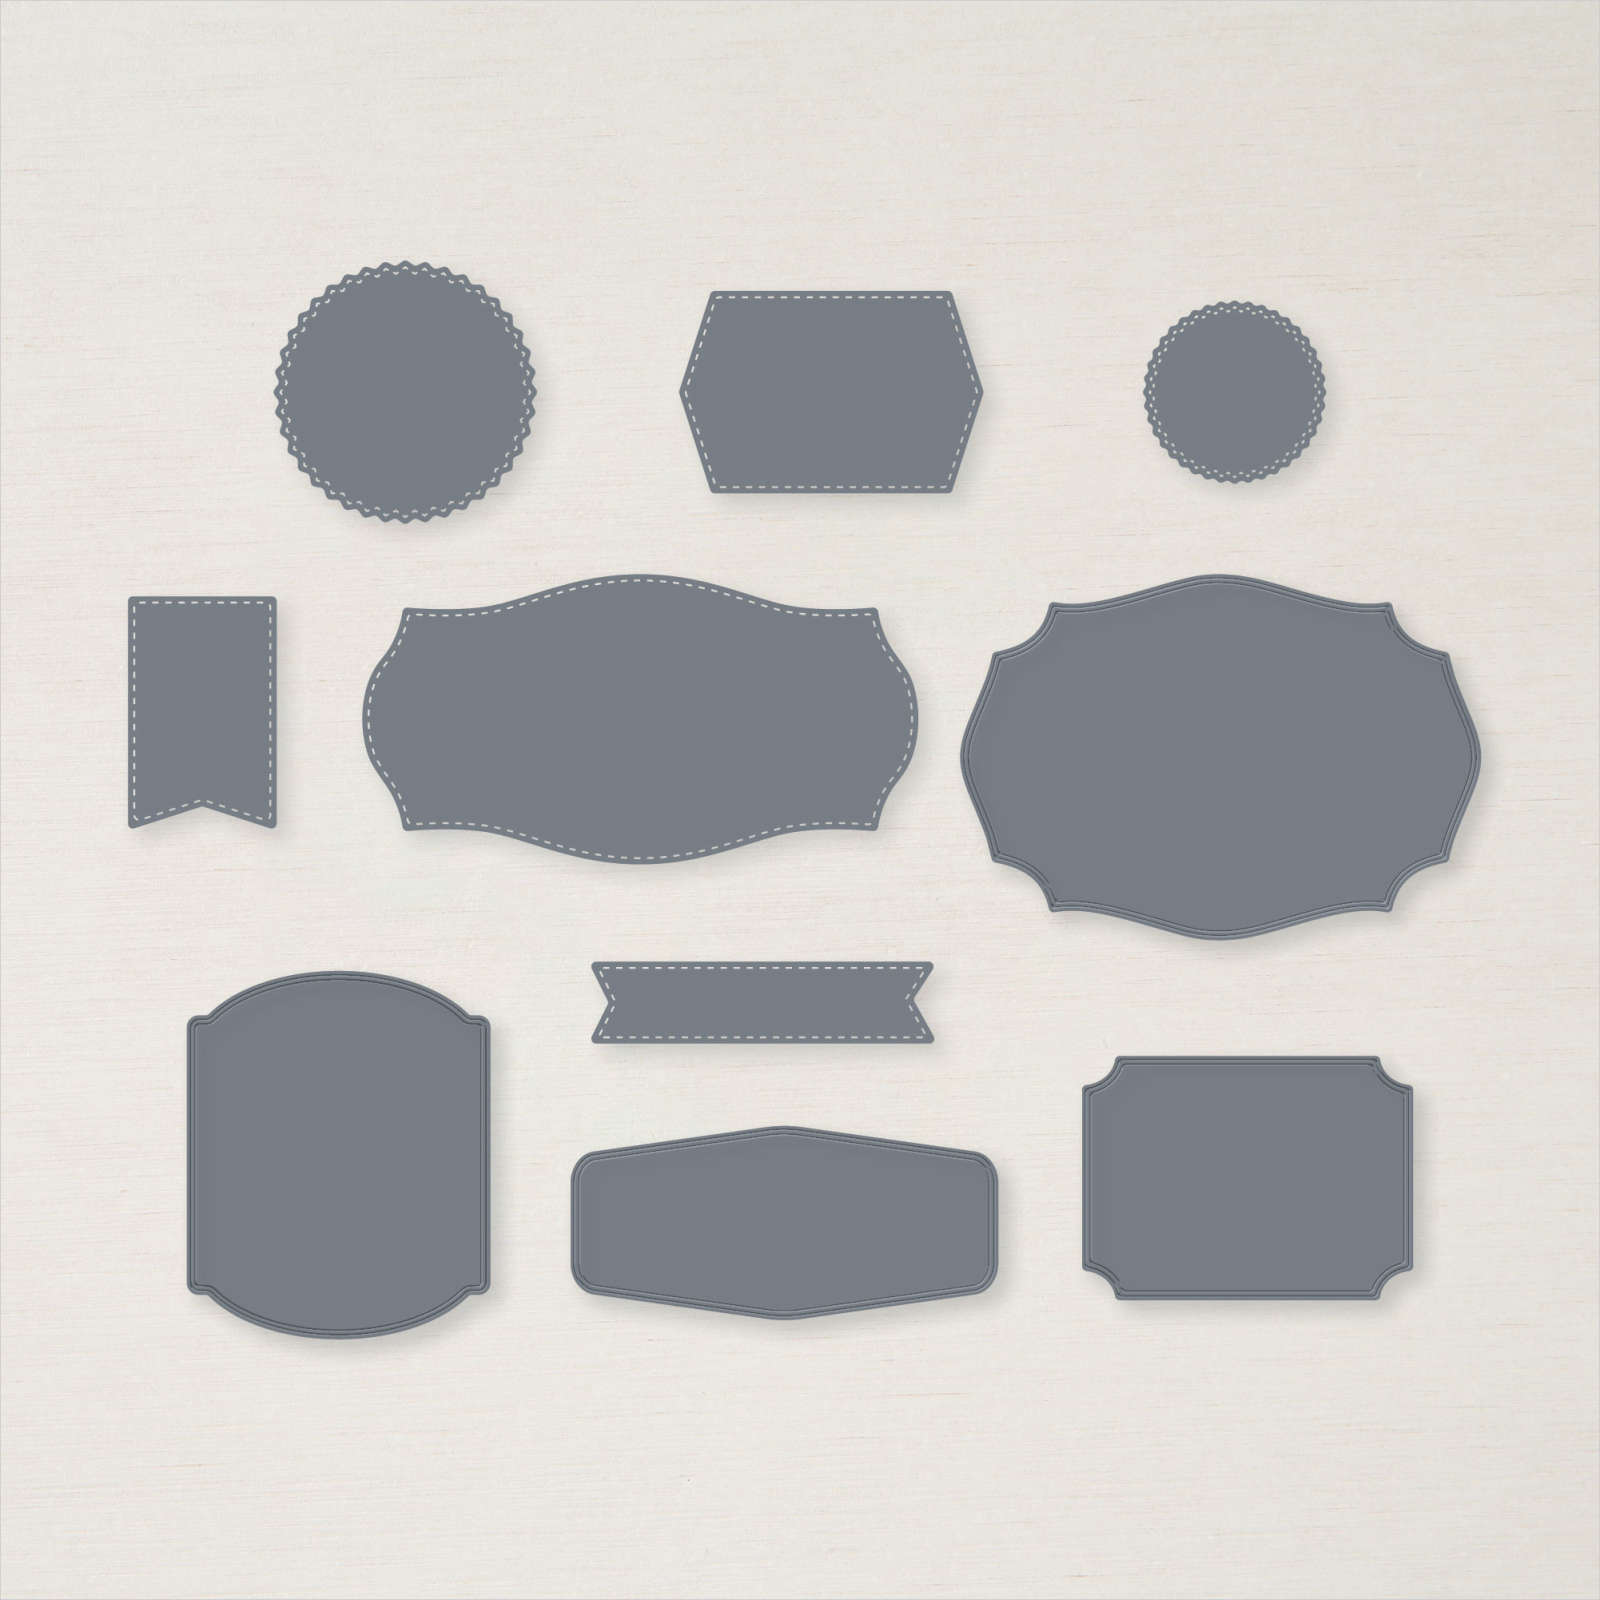
My daughter and son-in-law celebrated their 20th Wedding Anniversary last Wednesday. I am so proud of them, they are wonderful people and amazing parents to their three children. Unfortunately, I couldn’t share the card before now, because Sean was working away all last week. I wanted to create something special so I got out the Forever Gold Specialty Designer Series Paper. I attached the card front piece of this paper to Whisper White card and then Gold Foil card and lastly scored and folded Thick Whisper White card. I cut Gold Foil card using the Tasteful Labels Dies and attached it to the centre of the die cut using dimensionals.

I stamped the “happy” and “Anniversary from the Well Said stamp set onto Whisper White card using Blackberry Bliss ink. I added “20th” using the Make A Difference Stamp set also using Blackberry Bliss ink. I cut out the greeting using another of the Tasteful Labels Dies and attached it to the centre of the Gold Foil die cut. I stamped the flower from the Tasteful Touches stamp set onto Whisper White card three times using Blackberry Bliss ink. I coloured the flowers using the Light Blackberry Bliss and Dark Daffodil Delight Stampin’ Blends and cut them out.

I stamped several of the leaves from the Forever Fern stamp set onto Whisper White card using Old Olive ink and cut them out using the co-ordinating Forever Flourishing Die. I attached the leaves to the back of the flowers and then the card front using mini dimensionals. To decorate the inside of the card, I stamped the greeting from the Forever Blossoms stamp set using Rich Razzleberry ink. I attached some leaves to the back of the last flower and attached it to the lower left hand corner.
It’s easy to make a pretty card using the gorgeous Forever Gold Specialty Designer Series Paper. So, once more, Happy Anniversary Sarah & Sean.
Bye for now,
Kris
Product Used: