For My Grandchildren
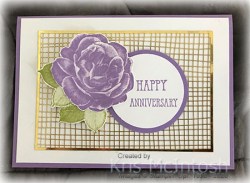
This is the card I made for my grandchildren to give to their parents on the occasion of their 20th Wedding Anniversary. Once more I attached one of the card front pieces from the Forever Gold Specialty Designer Series Paper to Whisper White card and then scored and folded Highland Heather card. I stamped “happy” and “anniversary” from the Well Said stamp set onto Whisper White card using Highland Heather ink.
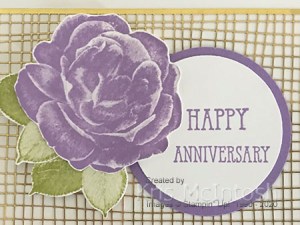
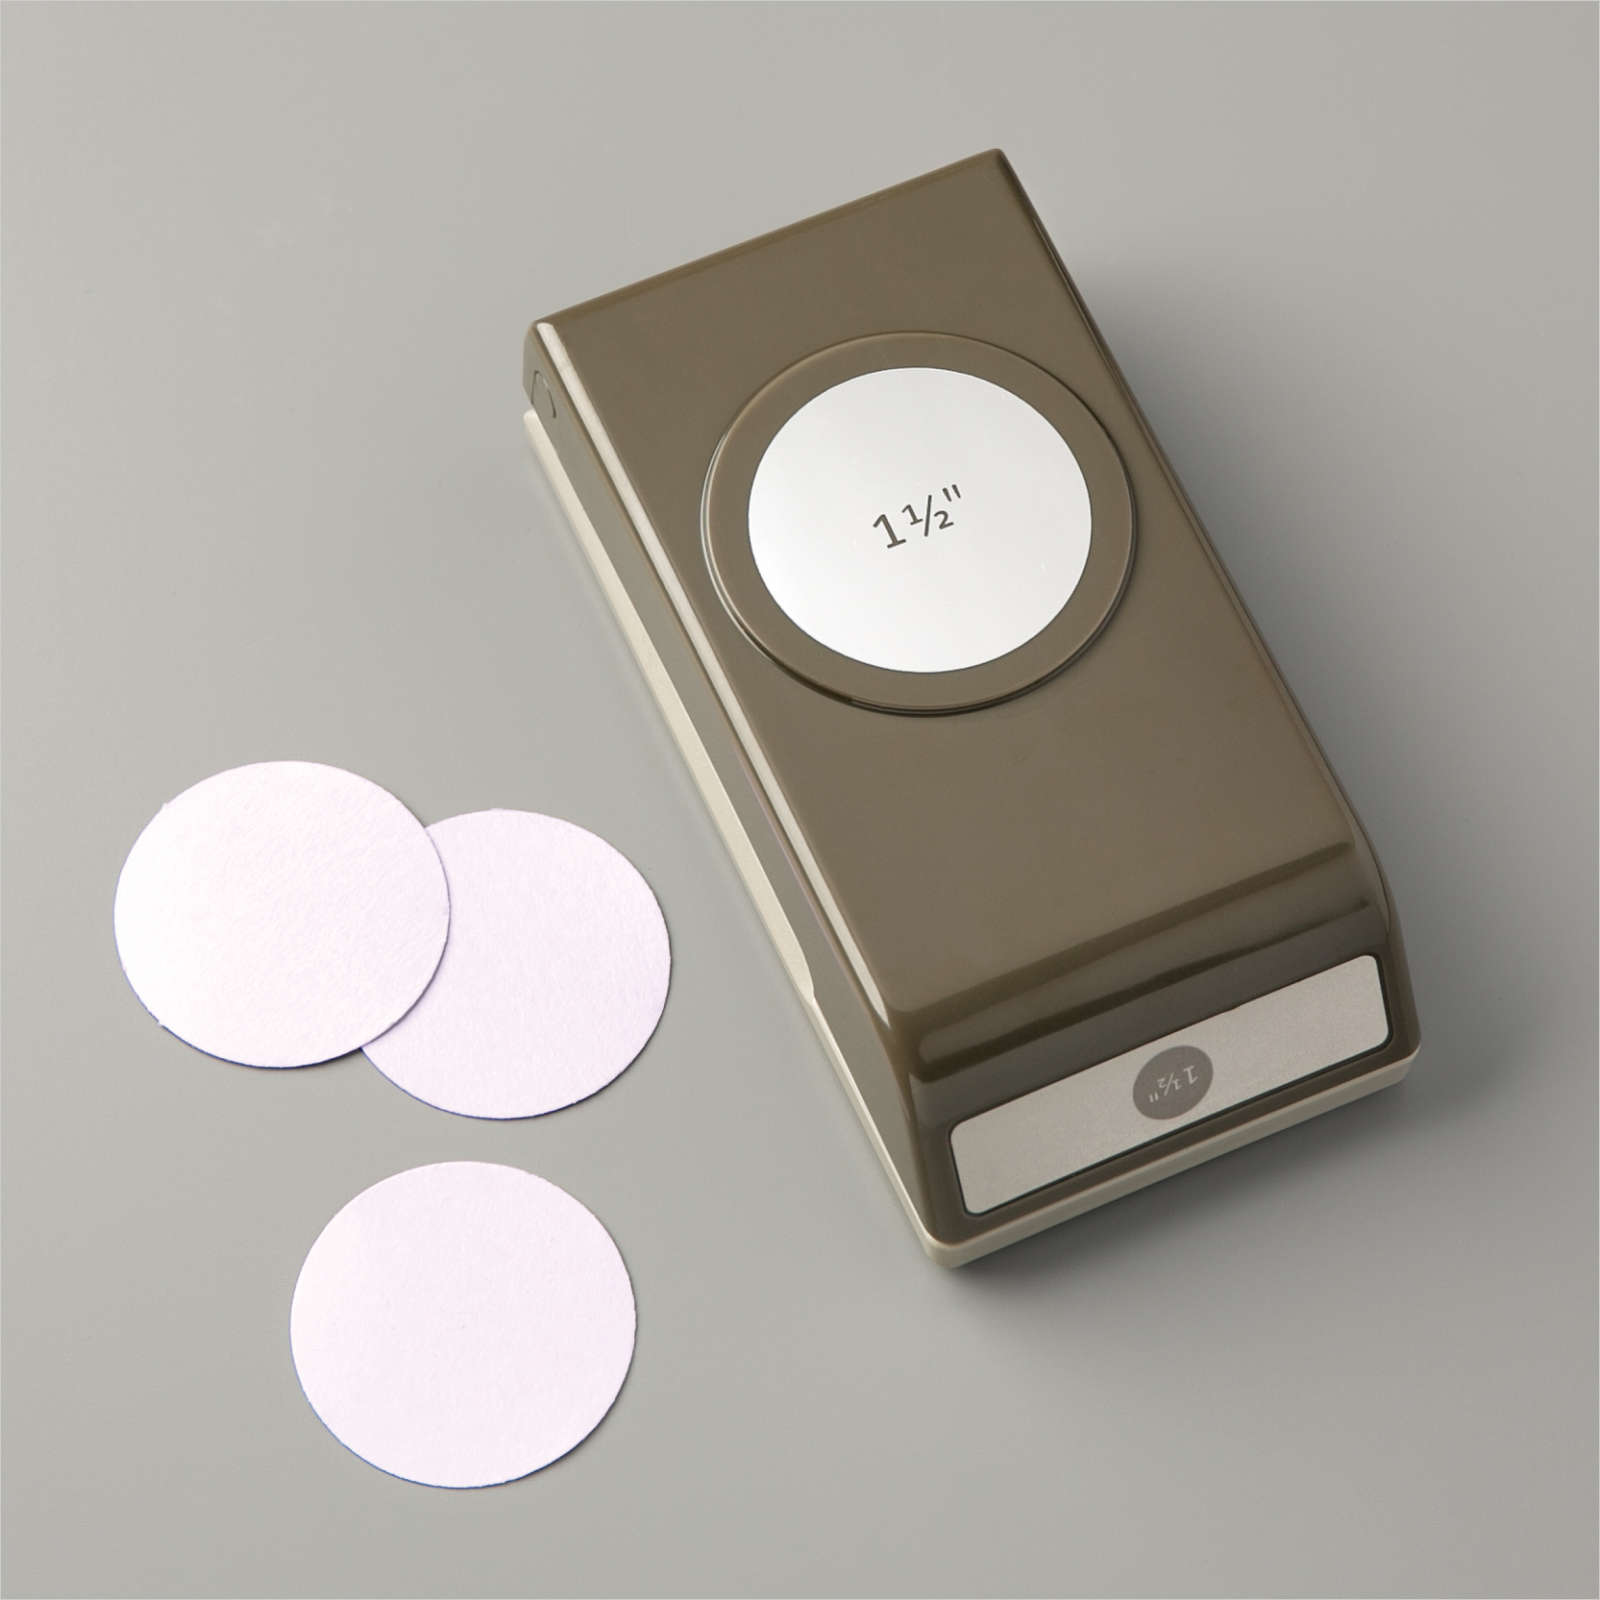
I punched out the greeting using the 2″ Circle punch and attached it to a 2-1/4″ circle punched from Highland Heather card. The greeting is attached to the centre of the card front. I stamped the flower from the Healing Hugs stamp set twice onto Whisper White card using Highland Heather ink and cut them out. I stamped the leaf from the Healing Hugs stamp set four times onto Whisper White card using Pear Pizzazz ink and cut them out.
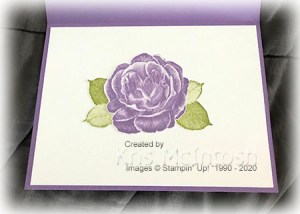
I attached two sets of leaves to one of the flowers and attached it to the card front using dimensionals and partially covering the greeting panel. To decorate the inside of the card, I attached two sets of leaves to the remaining flower and attached them to Whisper White card.
Another pretty card! I am loving this Forever Gold Specialty Designer Series Paper. I am sure I will have more ideas to share with you in the future.
Bye for now,
Kris
Product Used:


Family – Friends
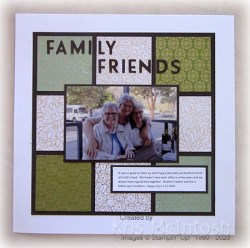
Today’s page shows off a photo taken recently of Ron’s Cousin and her best friend with me at Scott’s Head. We haven’t seen each other in a while and we always have a great time together. To begin decorating my page, I cut two 3″ x 3″ squares from three different designs in the Ornate Garden Specialty Designer Series Paper. I attached the Designer Series Paper panels around the edge of a piece of Early Espresso card before attaching to a 12″ x 12″ Whisper White Page.

I attached my photo to Early Espresso card before attaching to the page. I created the journaling onto Whisper White card and attached it to Early Espresso card before attaching to my page. I cut the title from Early Espresso card using the Playful Alphabet Dies. I love these dies! They are just the right size for my memory keeping. As always my page is relatively simple but with the beautiful paper what else do I need! I’d love to hear what you think.
Bye for now,
Kris
Product Used:


Purple Sympathy
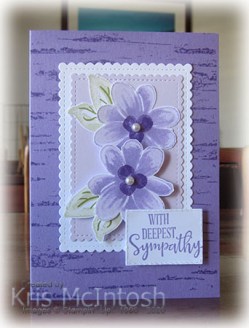
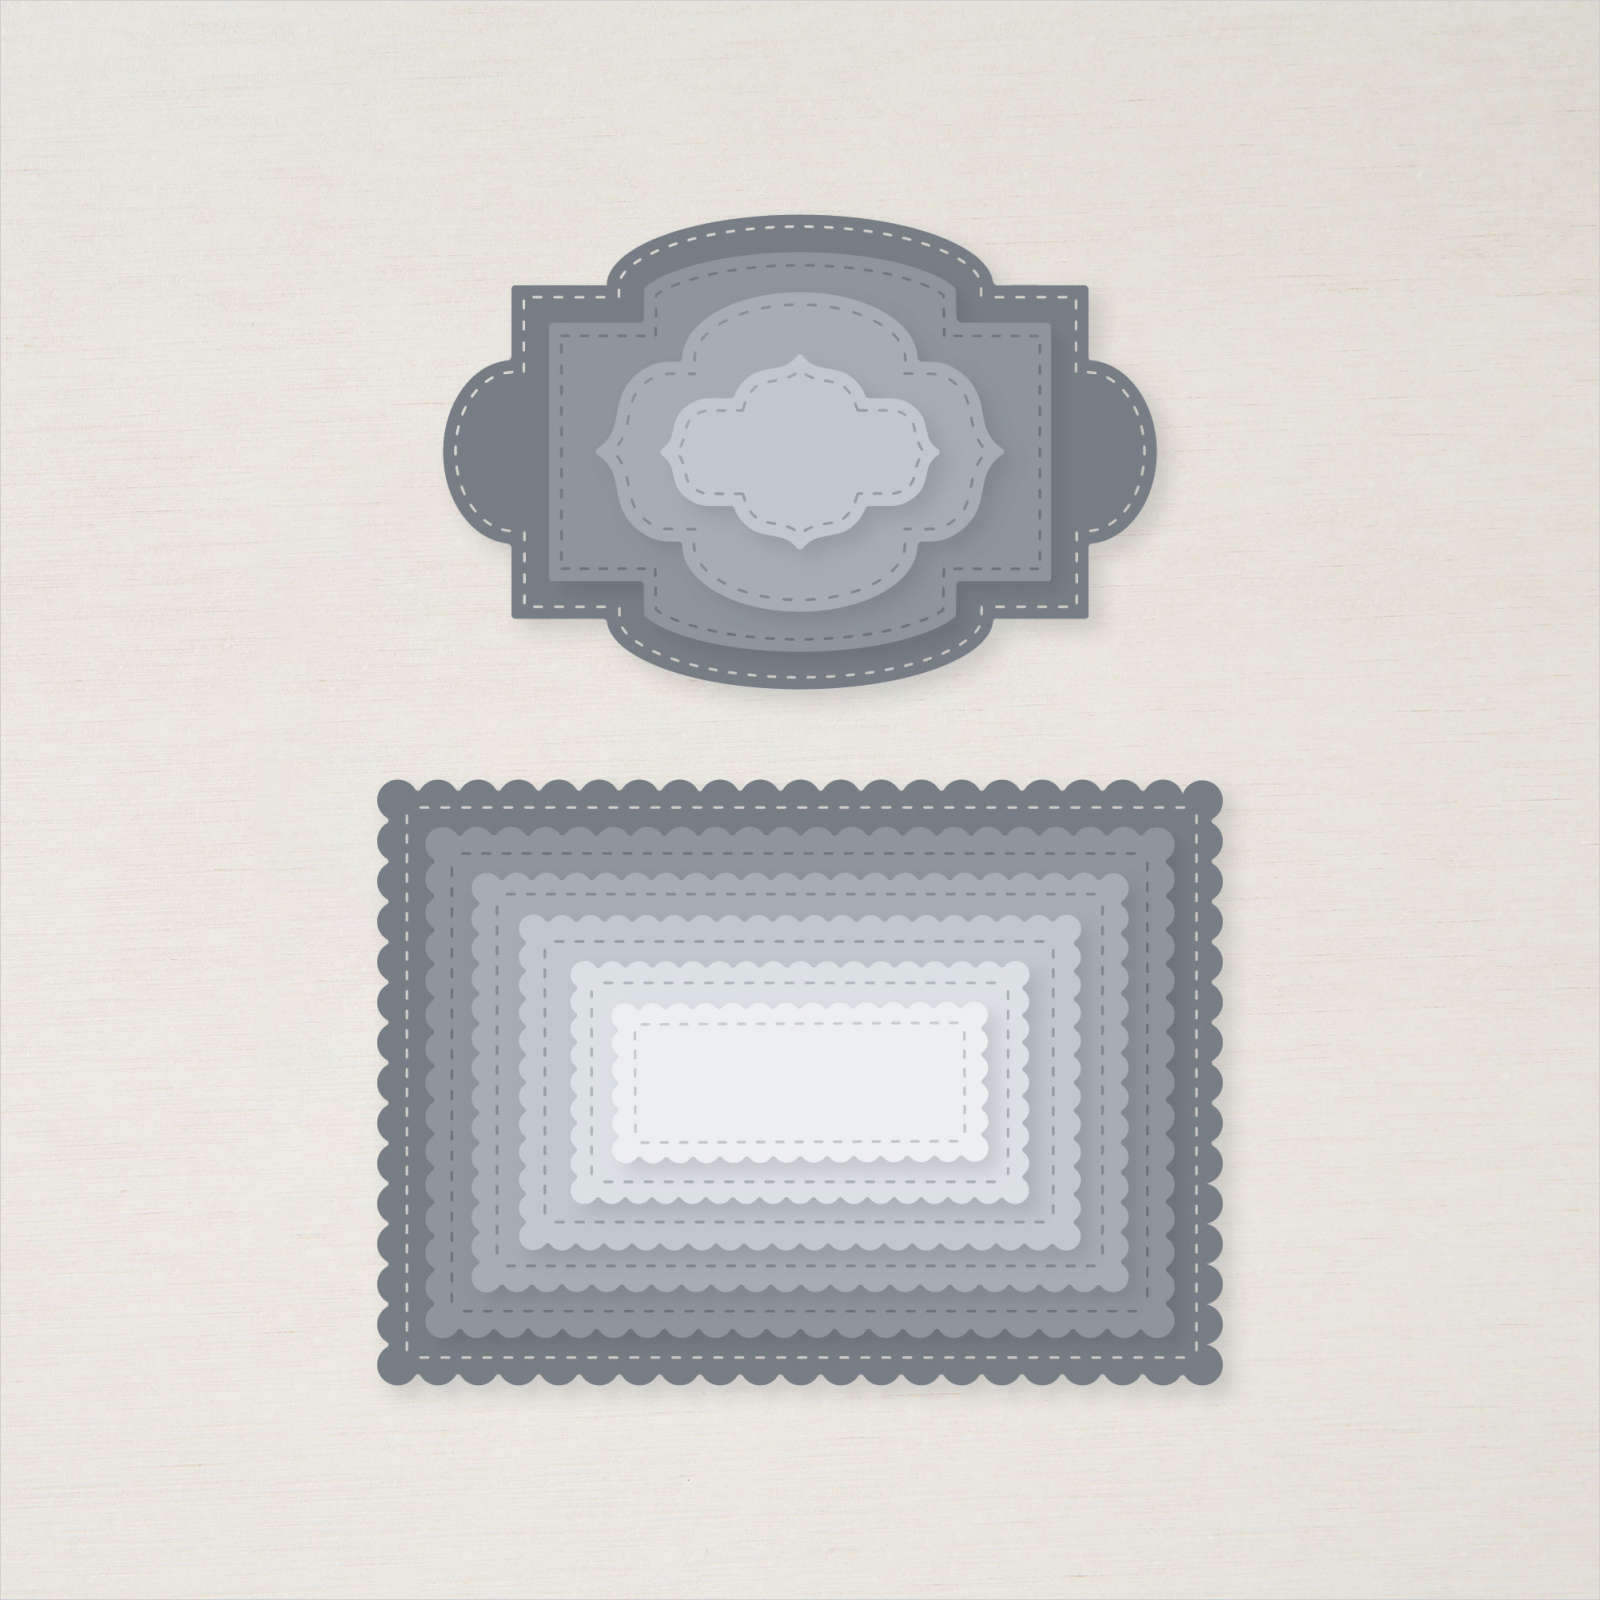
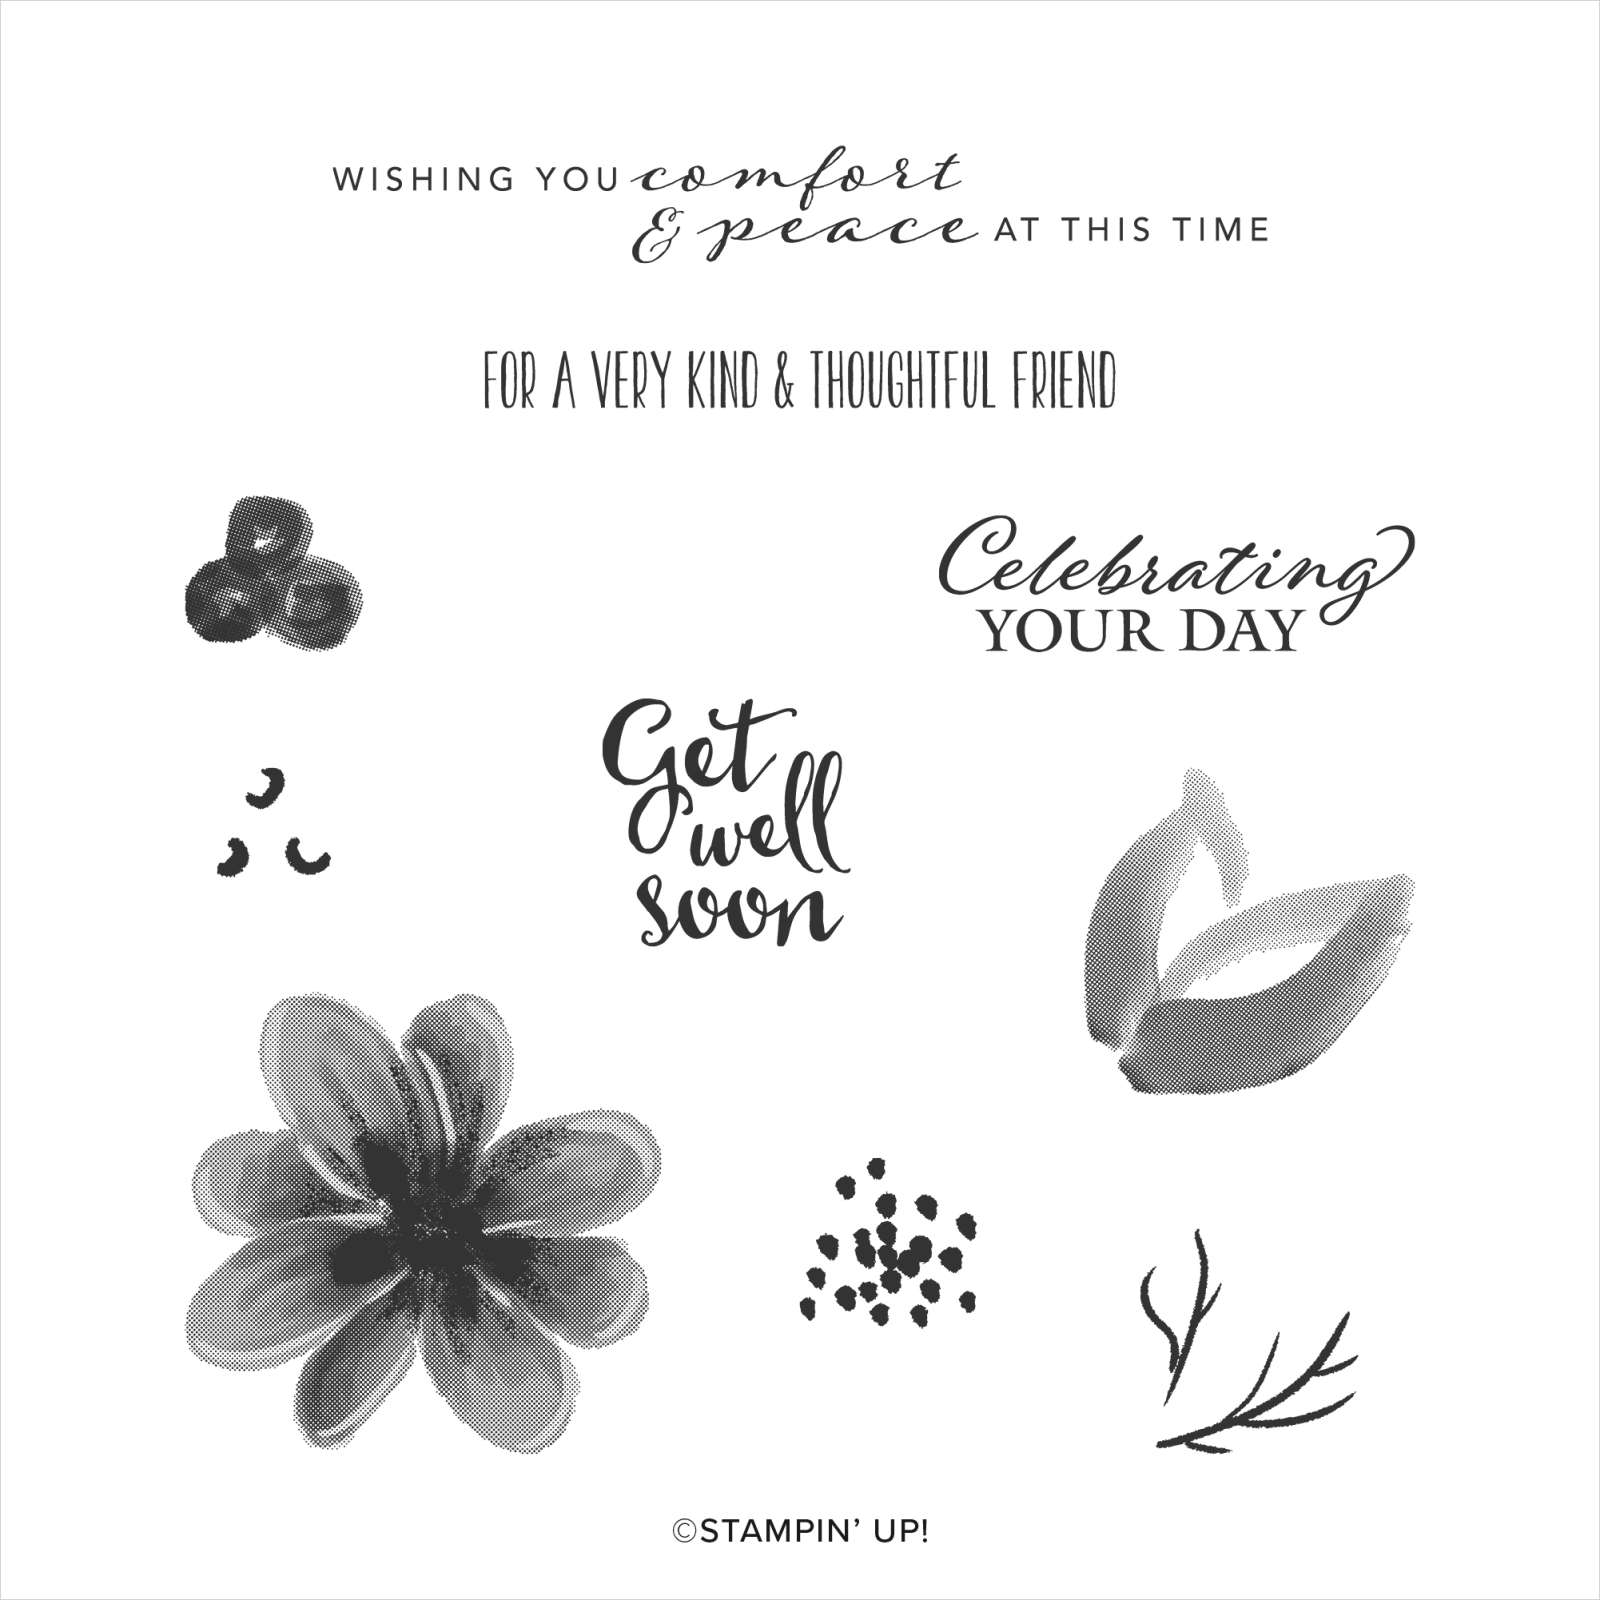
Today’s card was inspired by this one I found on Pinterest by Susan Edwards. I did change it up a bit, as you do! I began by stamping the front of scored and folded Highland Heather using the Birch Background and Highland Heather ink. I cut Whisper White and Purple Posy card using different sized dies from the Stitched So Sweetly Dies. I layered them together and attached them to the card front. I stamped the flower from the Gorgeous Posies stamp set onto Whisper White card twice using Highland Heather ink. I stamped the flower centre on top using Gorgeous Grape ink.
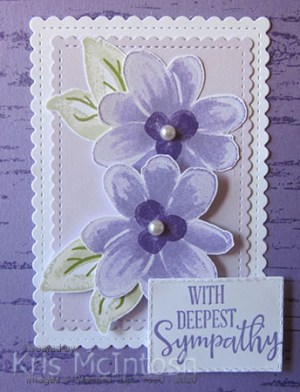
I stamped the solid leaf from the Gorgeous Posies stamp set twice onto Whisper White card using Soft Sea Foam ink and added the leaf stems using Pear Pizzazz ink. I cut out all of the images by hand! I attached one leaf behind one flower and attached it to the Purple Posy die cut. I attached the second set of leave to the second flower and then the card front using dimensionals. I added a large Basic Pearl to the centre of each flower.
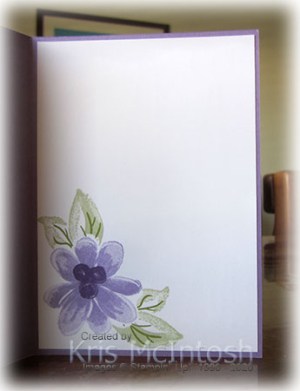
I stamped “with deepest sympathy” from the Peaceful Moments stamp set onto Whisper White card using Highland Heather ink and cut it out using one of the Stitched Rectangle Dies. The greeting is attached to the card front using dimensionals. To decorate the inside of the card, I stamped the flower from the Gorgeous Posies stamp set onto the lower left hand corner of Whisper White card using Highland Heather ink. I covered the stamped image with a post-it-note and stamped the leaves using Soft Sea Foam and Pear Pizzazz ink. I removed the post-it-note and stamped the flower centre using Gorgeous Grape ink. I love how this turned out, so soft and pretty, so once more thanks Susan for the inspiration.
Bye for now,
Kris
Product Used:


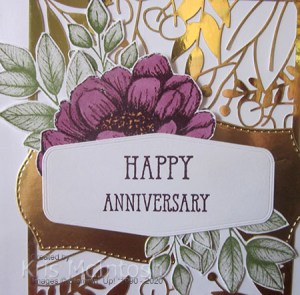
Another Anniversary Card
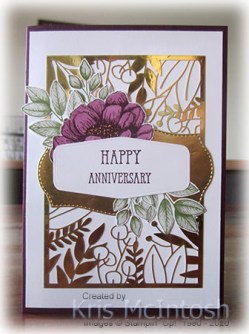
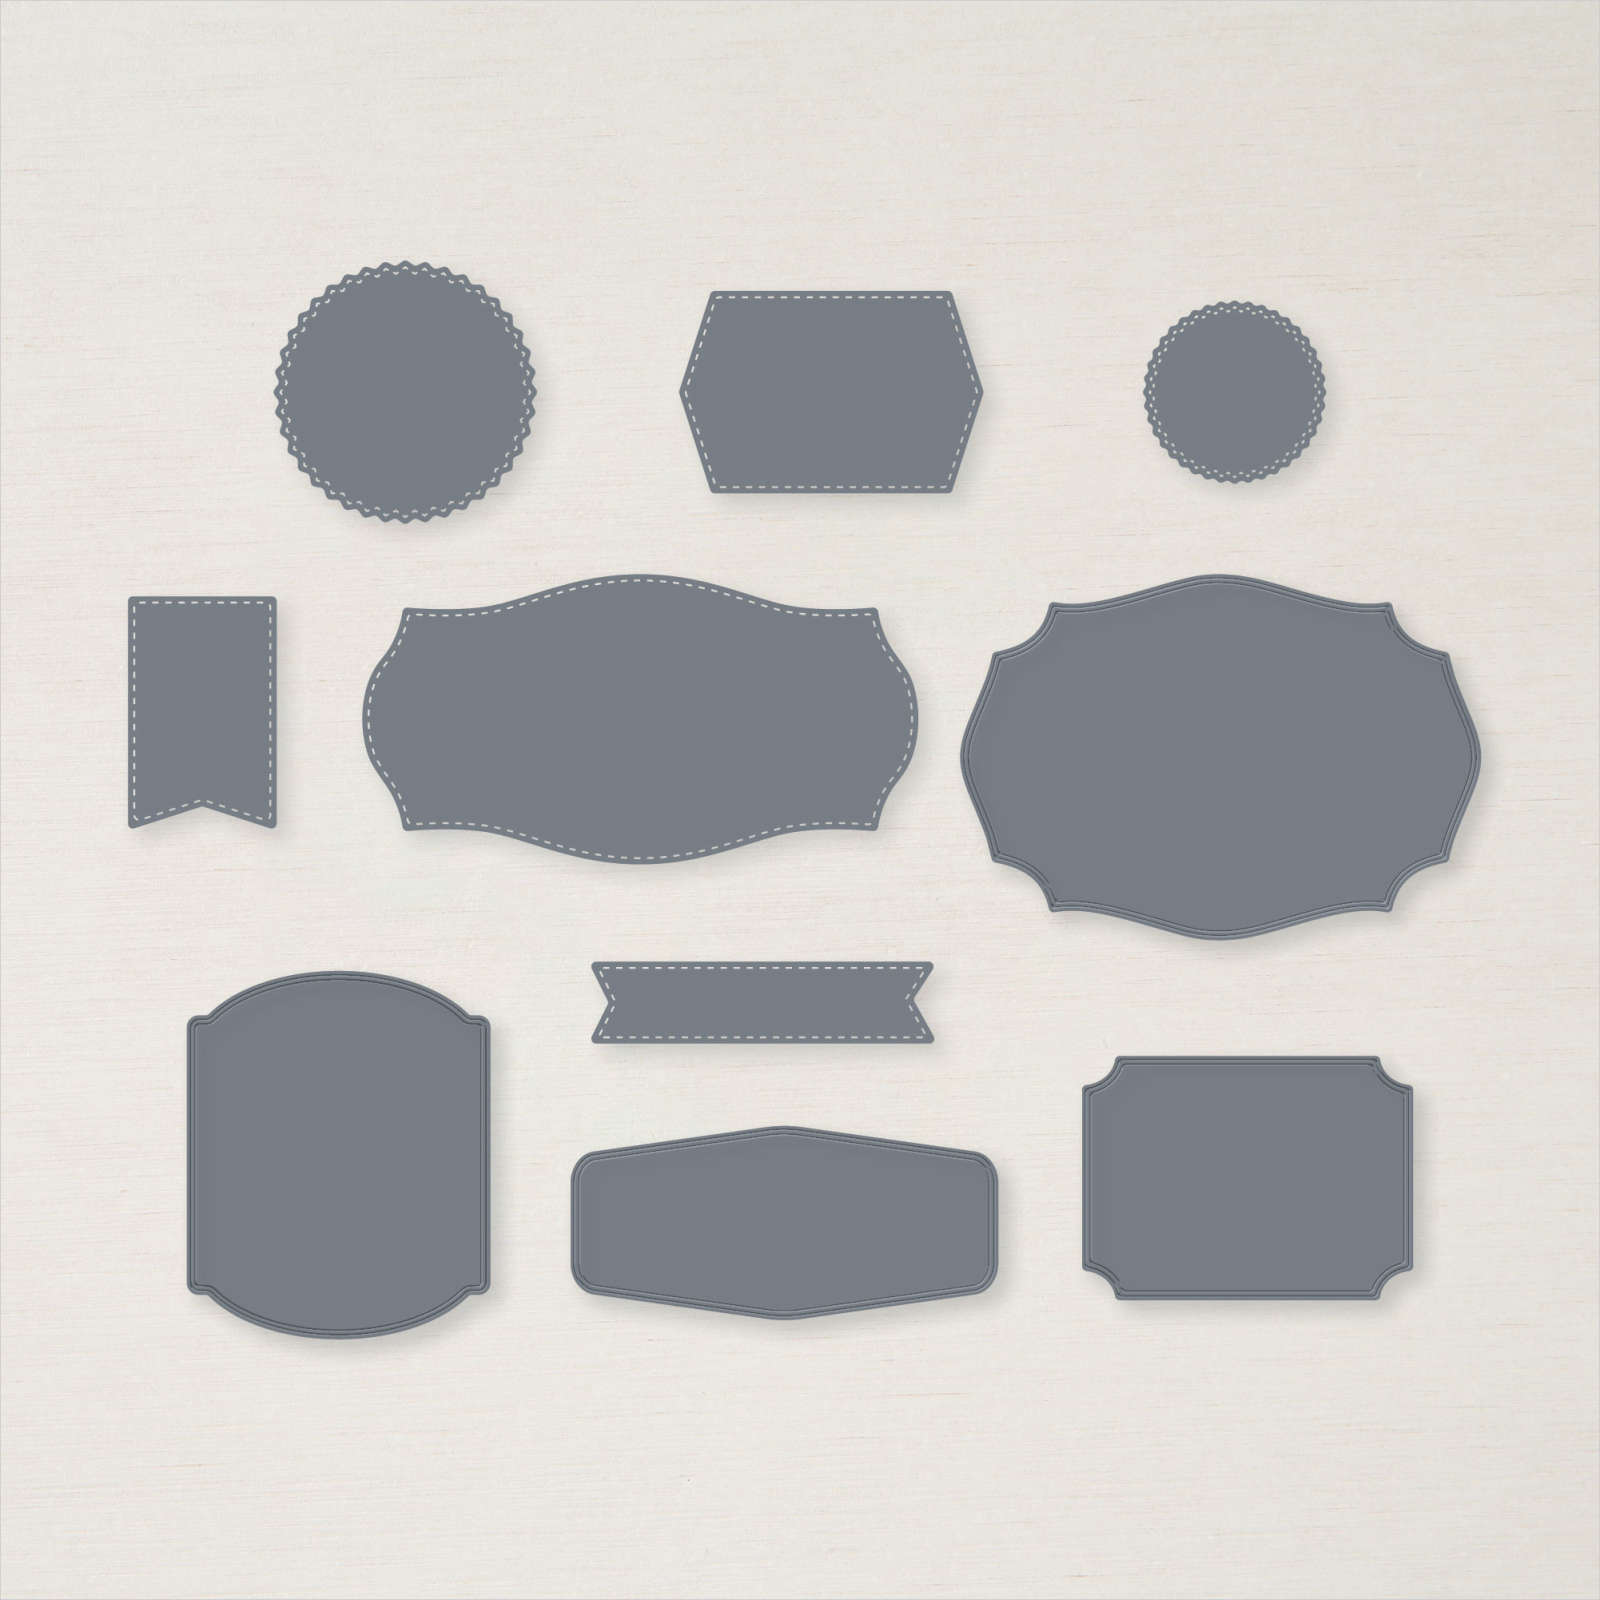
My sister and her husband celebrate their Wedding Anniversary yesterday, so I thought I would share the card I made for her with you. I attached another of the card front pieces from the Forever Gold Specialty Designer Series Paper to Whisper White card and then scored and folded Blackberry Bliss card. I cut Gold Foil card using the Tasteful Labels Dies and attached it to the card front. I stamped two of the flowers from the Tasteful Touches stamp set onto Whisper White card using Blackberry Bliss ink.
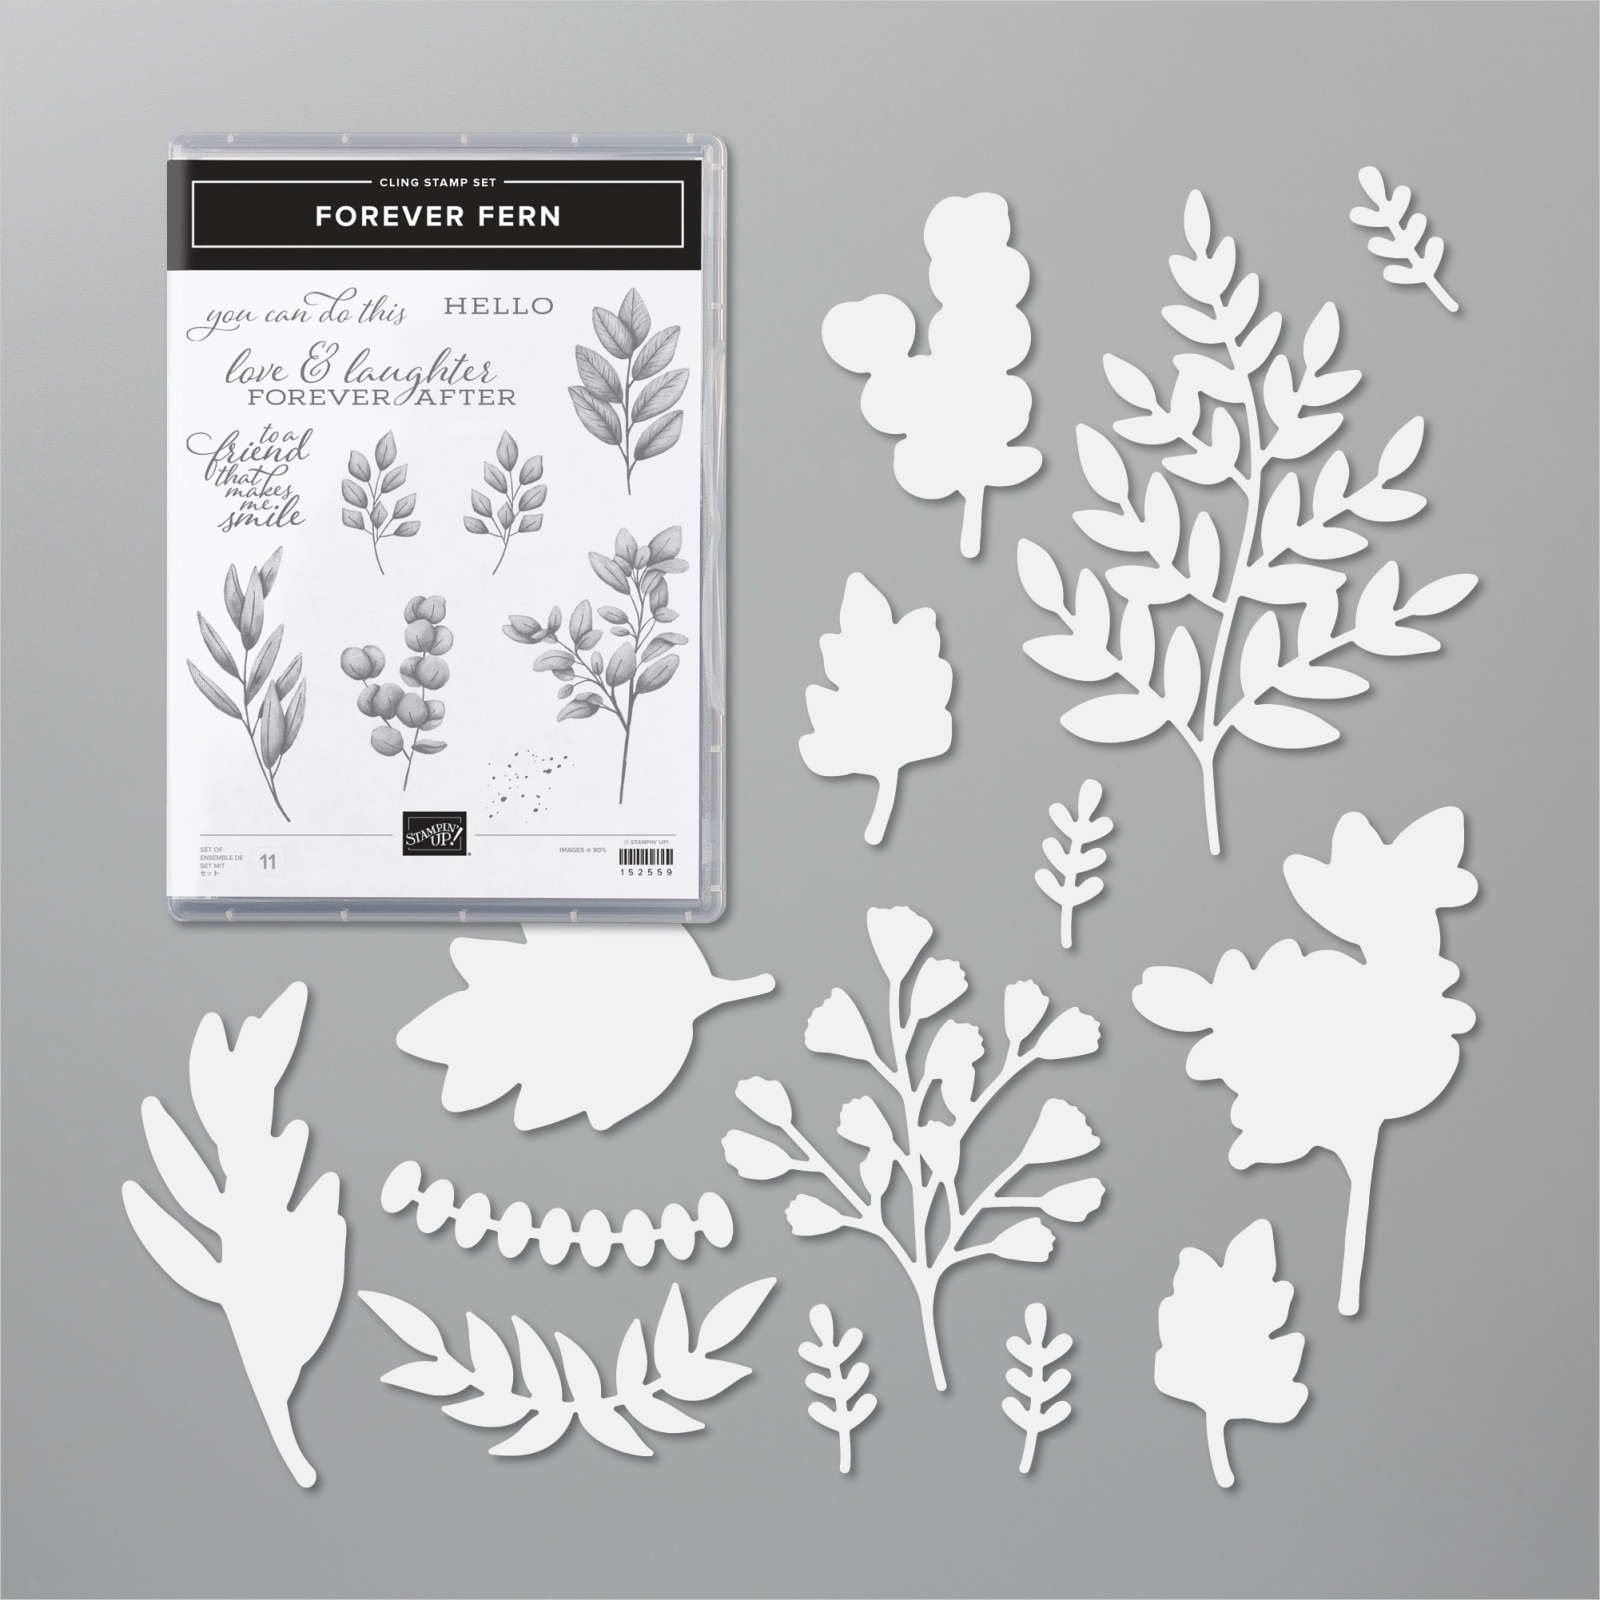
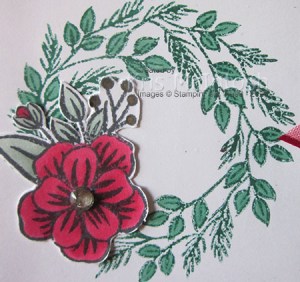
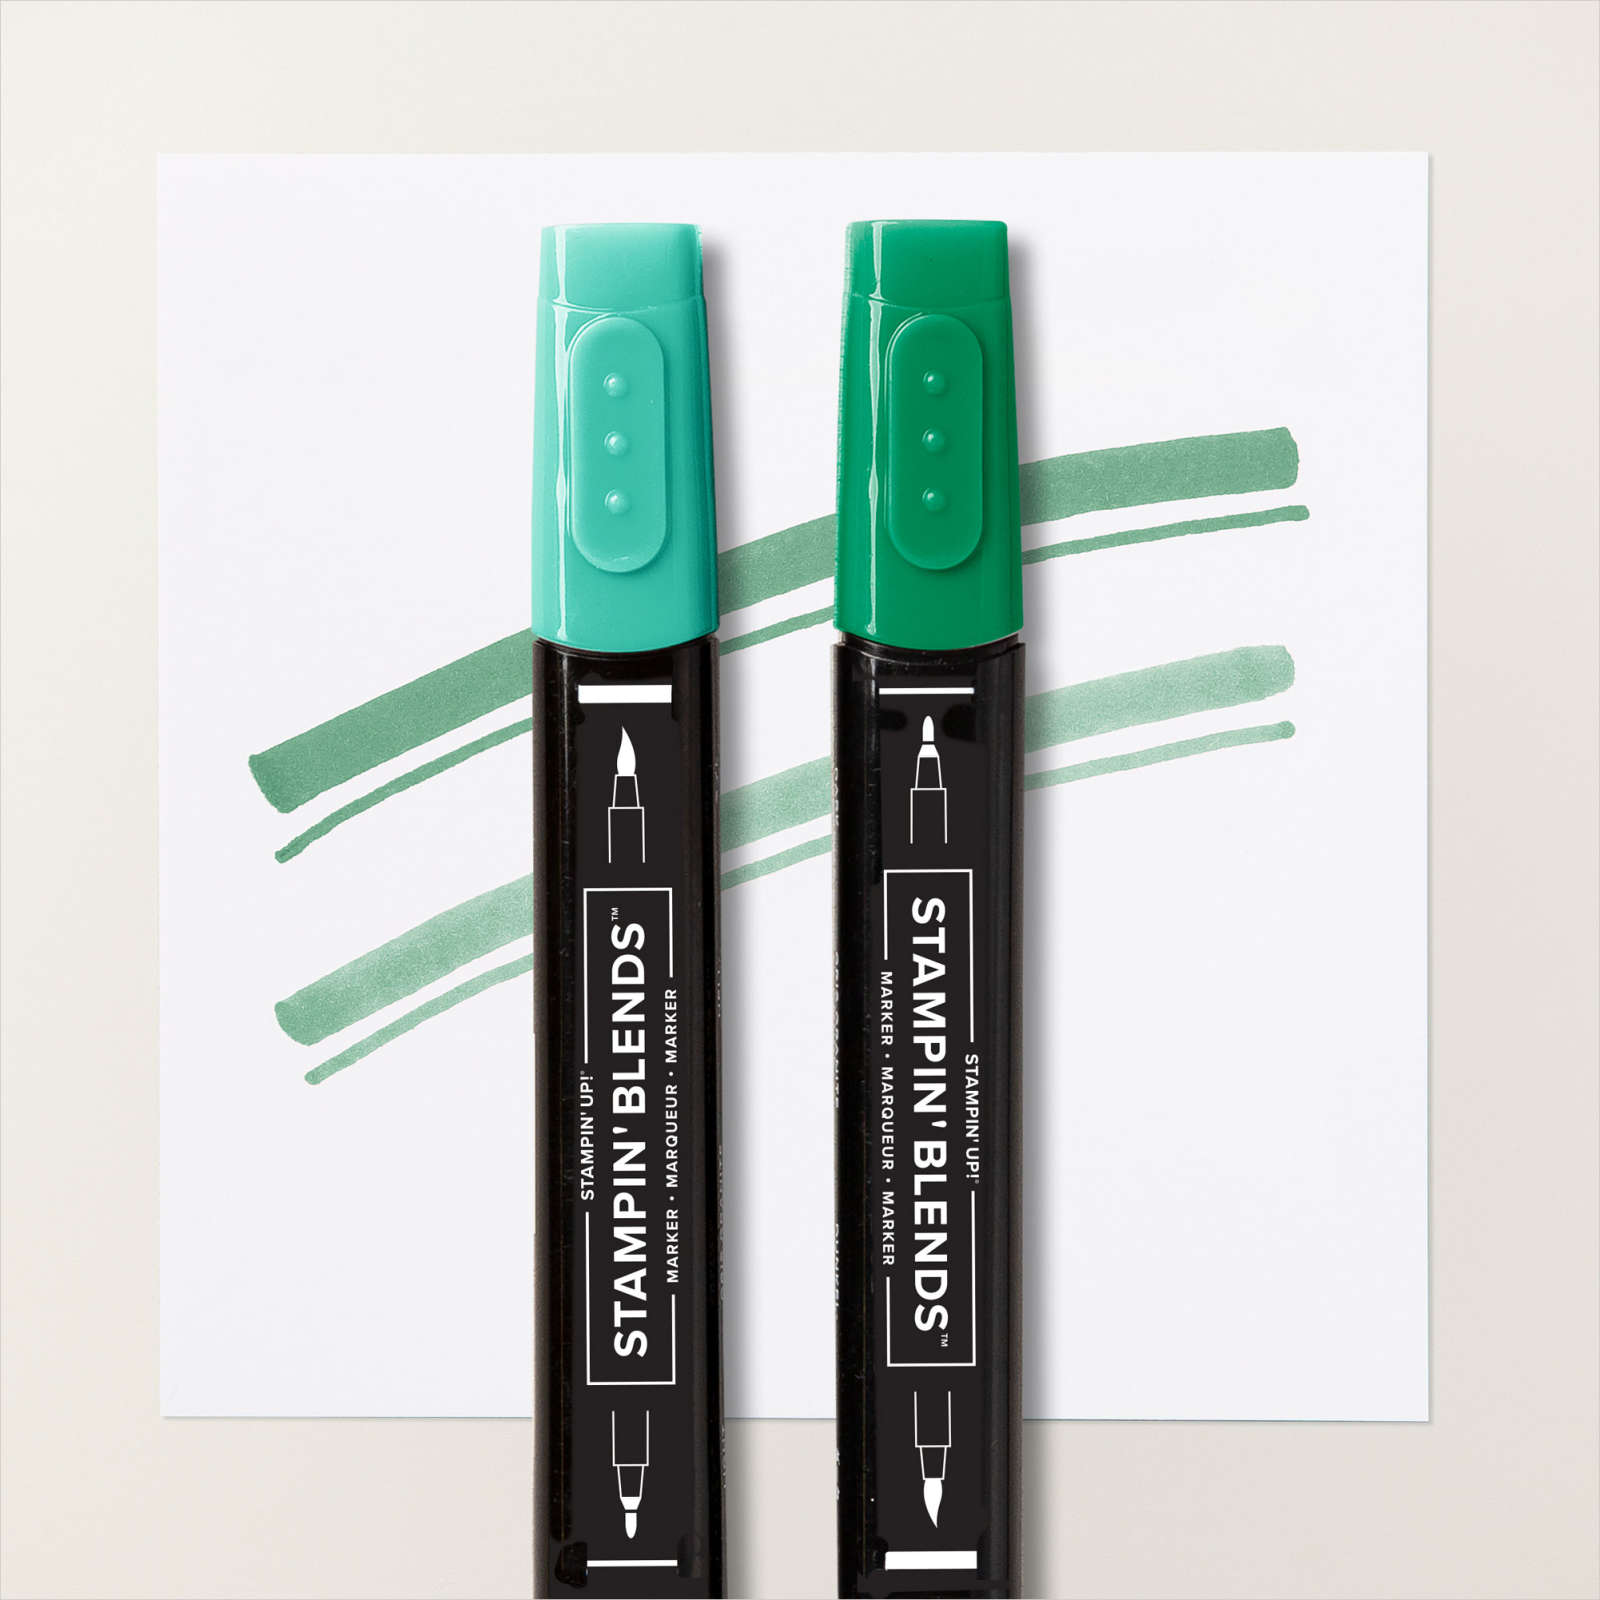
I coloured in the flowers using the Light Blackberry Bliss and Dark Daffodil Delight Stampin’ Blends and cut them out. I stamped several of the leaves from the Forever Fern stamp set using Old Olive ink and cut them out using the co-ordinating Forever Flourishing Dies.

I attached a couple of leaves to the back of the flower before attaching it to the top left hand corner of the Gold Foil die cut. I added a couple of leaves to the bottom right hand corner of the Gold Foil die as well. I stamped “happy” and “anniversary” from the Well Said stamp set onto Whisper White card using Blackberry Bliss ink. I cut out the greeting using one of the Tasteful Label Dies and attached it to the card front. To decorate the inside of the card, I stamped the greeting from the Forever Blossoms stamp set onto Whisper White card using Blackberry Bliss ink. I stamped one of the leaf images from the Forever Fern stamp set twice onto the lower left hand corner of the Whisper White card using Old Olive ink. I added one more leaf which I had stamped and die cut and then the remaining flower.
Again, such a pretty card. Don’t you think?
Bye for now,
Kris
Product Used:


Joyful Wreath

Today’s card once more uses the stamp set in the Joy To The World Paper Pumpkin Kit. For this card I attached a piece of the Shaded Spruce paper from the Classic Christmas 6″ x 6″ Designer Series Paper across the bottom of Whisper White card. I wrapped the top of the Designer Series Paper with the Real Red 3/8″ Sheer Ribbon and tied a knot. I stamped “joy” and “to the world” from the Joy To The World stamp set onto the right hand side of the Whisper White card using Real Red ink.
I stamped the wreath image from the Joy To The World stamp set onto Whisper White card using Shaded Spruce ink. I coloured the leaves using the Light Shaded Spruce Stampin’ Blend. I cut out the wreath using the largest square from the Stitched Shapes Dies. I cut a scalloped square from Sahara Sand card using the Layering Squares Dies. The image panel is attached to the Sahara Sand scalloped square and then the card front using dimensionals. I stamped the floral image from the Joy To The World stamp set onto scrap Whisper White card. I coloured the image using Real Red, Soft Sea Foam, Soft Suede and Crumb Cake Stampin’ Blends.

I cut out the image and attached it to the stamped wreath. To decorate the inside of the card, I stamped the greeting from the Joy To The World stamp set onto Whisper White card using Real Red ink. I attached a piece of the same paper from the Classic Christmas 6″ x 6″ Designer Series Paper across the bottom of the stamped card. I wrapped the top of the Designer Series Paper using the Real Red 3/8″ Sheer Ribbon. I stamped the floral image onto scrap Whisper White card using Memento Tuxedo Black ink. I coloured the image as before, cut it out and attached it to the left hand side of the Designer Series Paper.
I am really loving the stamp set from the Joy To The World Paper Pumpkin Kit. If you haven’t purchased your kit yet, you should hurry because they are only available while stocks last.
Bye for now,
Kris
Product Used:
You can see the Joy To The World Paper Pumpkin Kit here.


Sketchy Tag Buffet
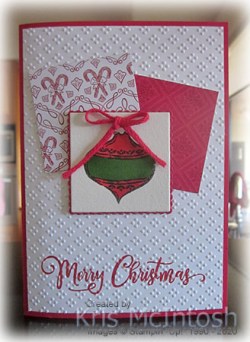
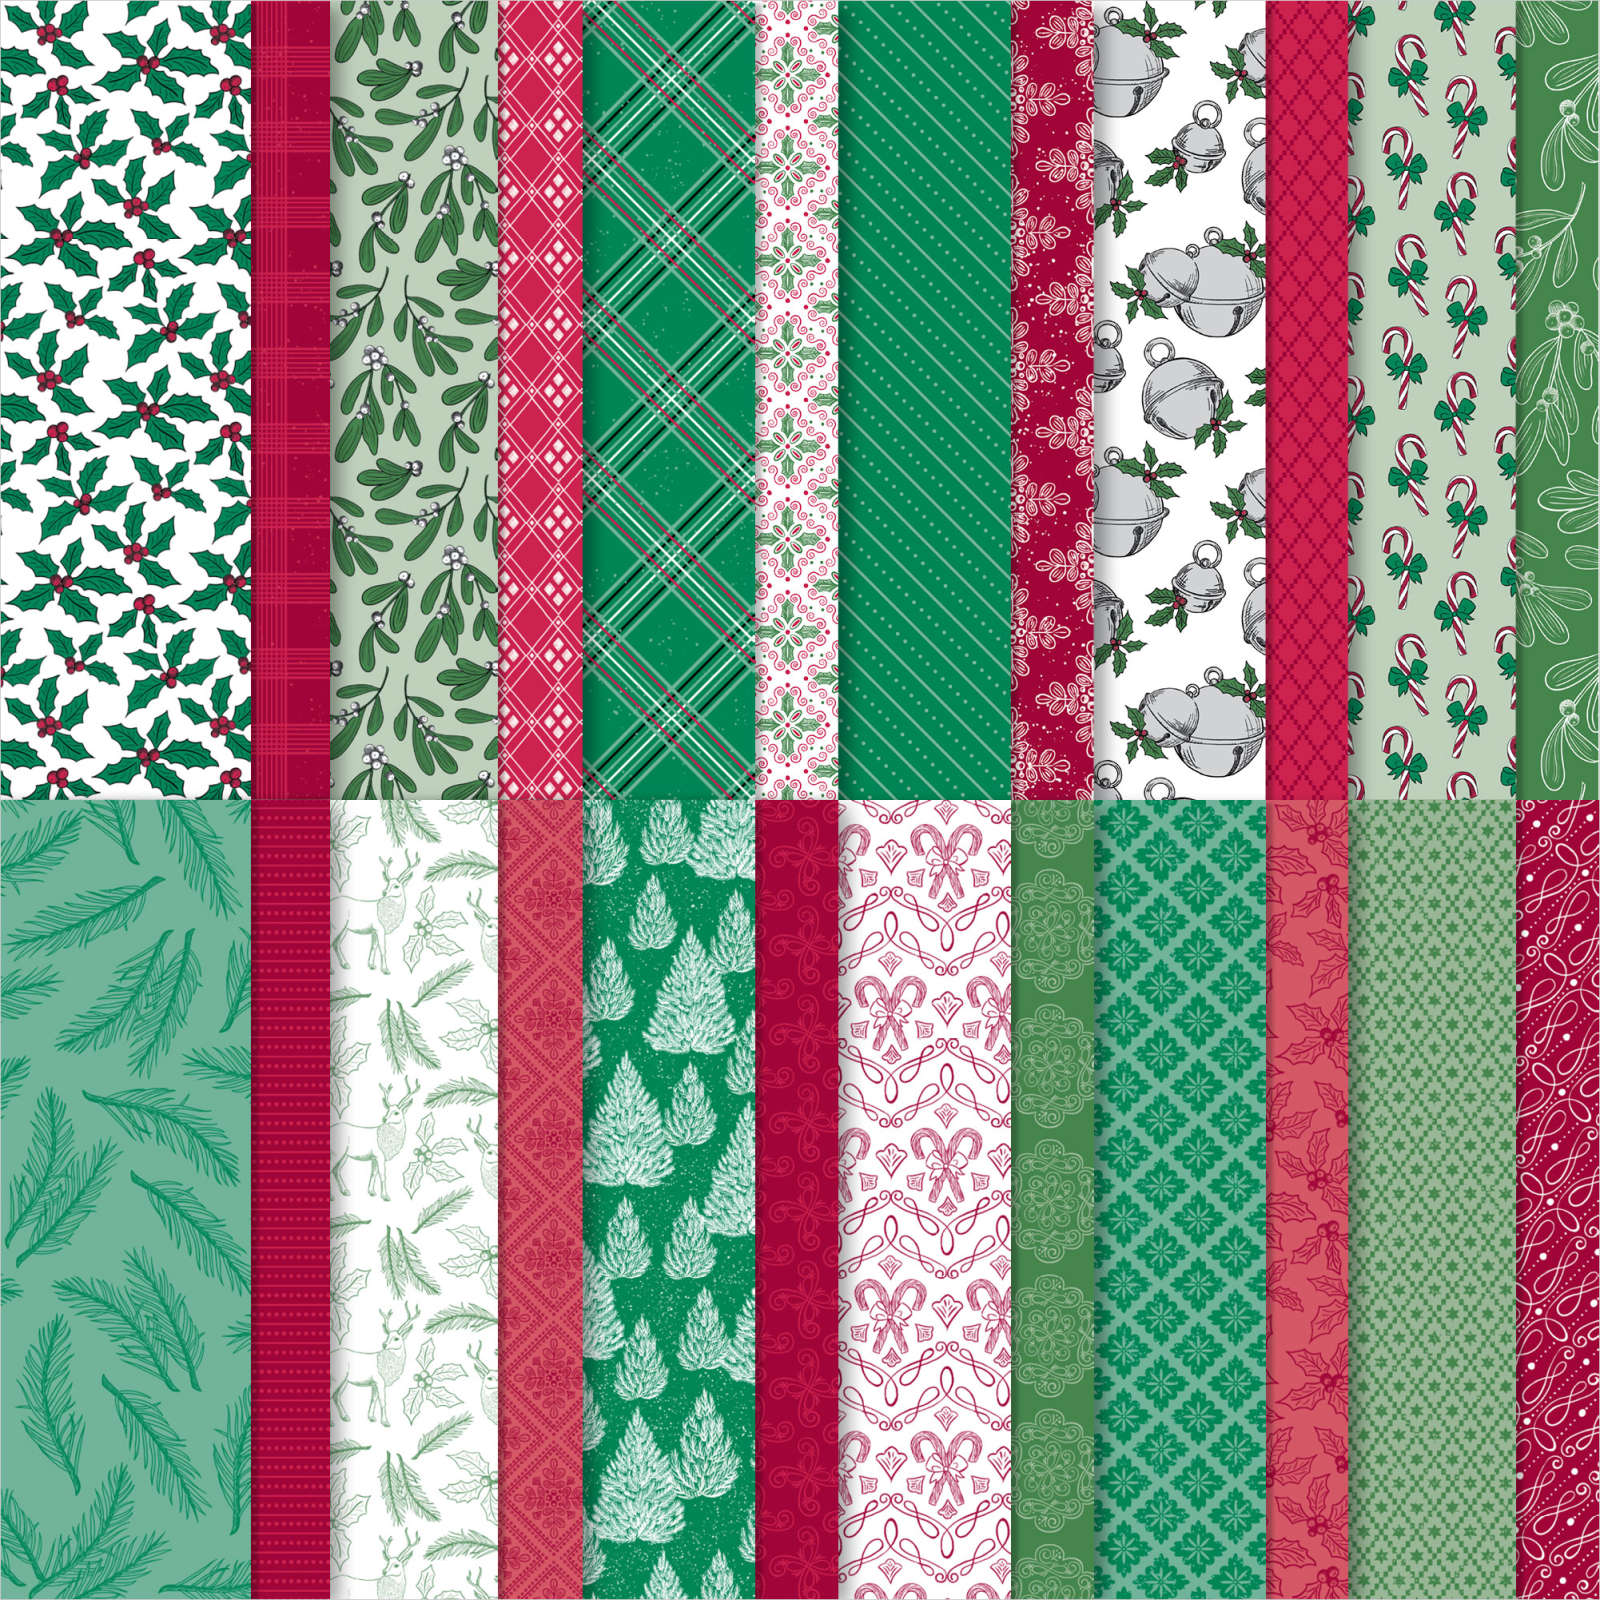
This card is made using the sketch challenge at Freshly Made. I stamped “Merry Christmas” from the Tag Buffet stamp set onto Whisper White card using Real Red ink. I embossed the stamped Whisper White card using one of the Wrapped in Texture Embossing Folders. The embossed panel is attached to scored and folded Real Red card. I cut two 2″ squares from different patterned paper from the ‘Tis the Season 6″ x 6″ Designer Series Paper. The Designer Series Paper pieces are attached to the embossed card front.

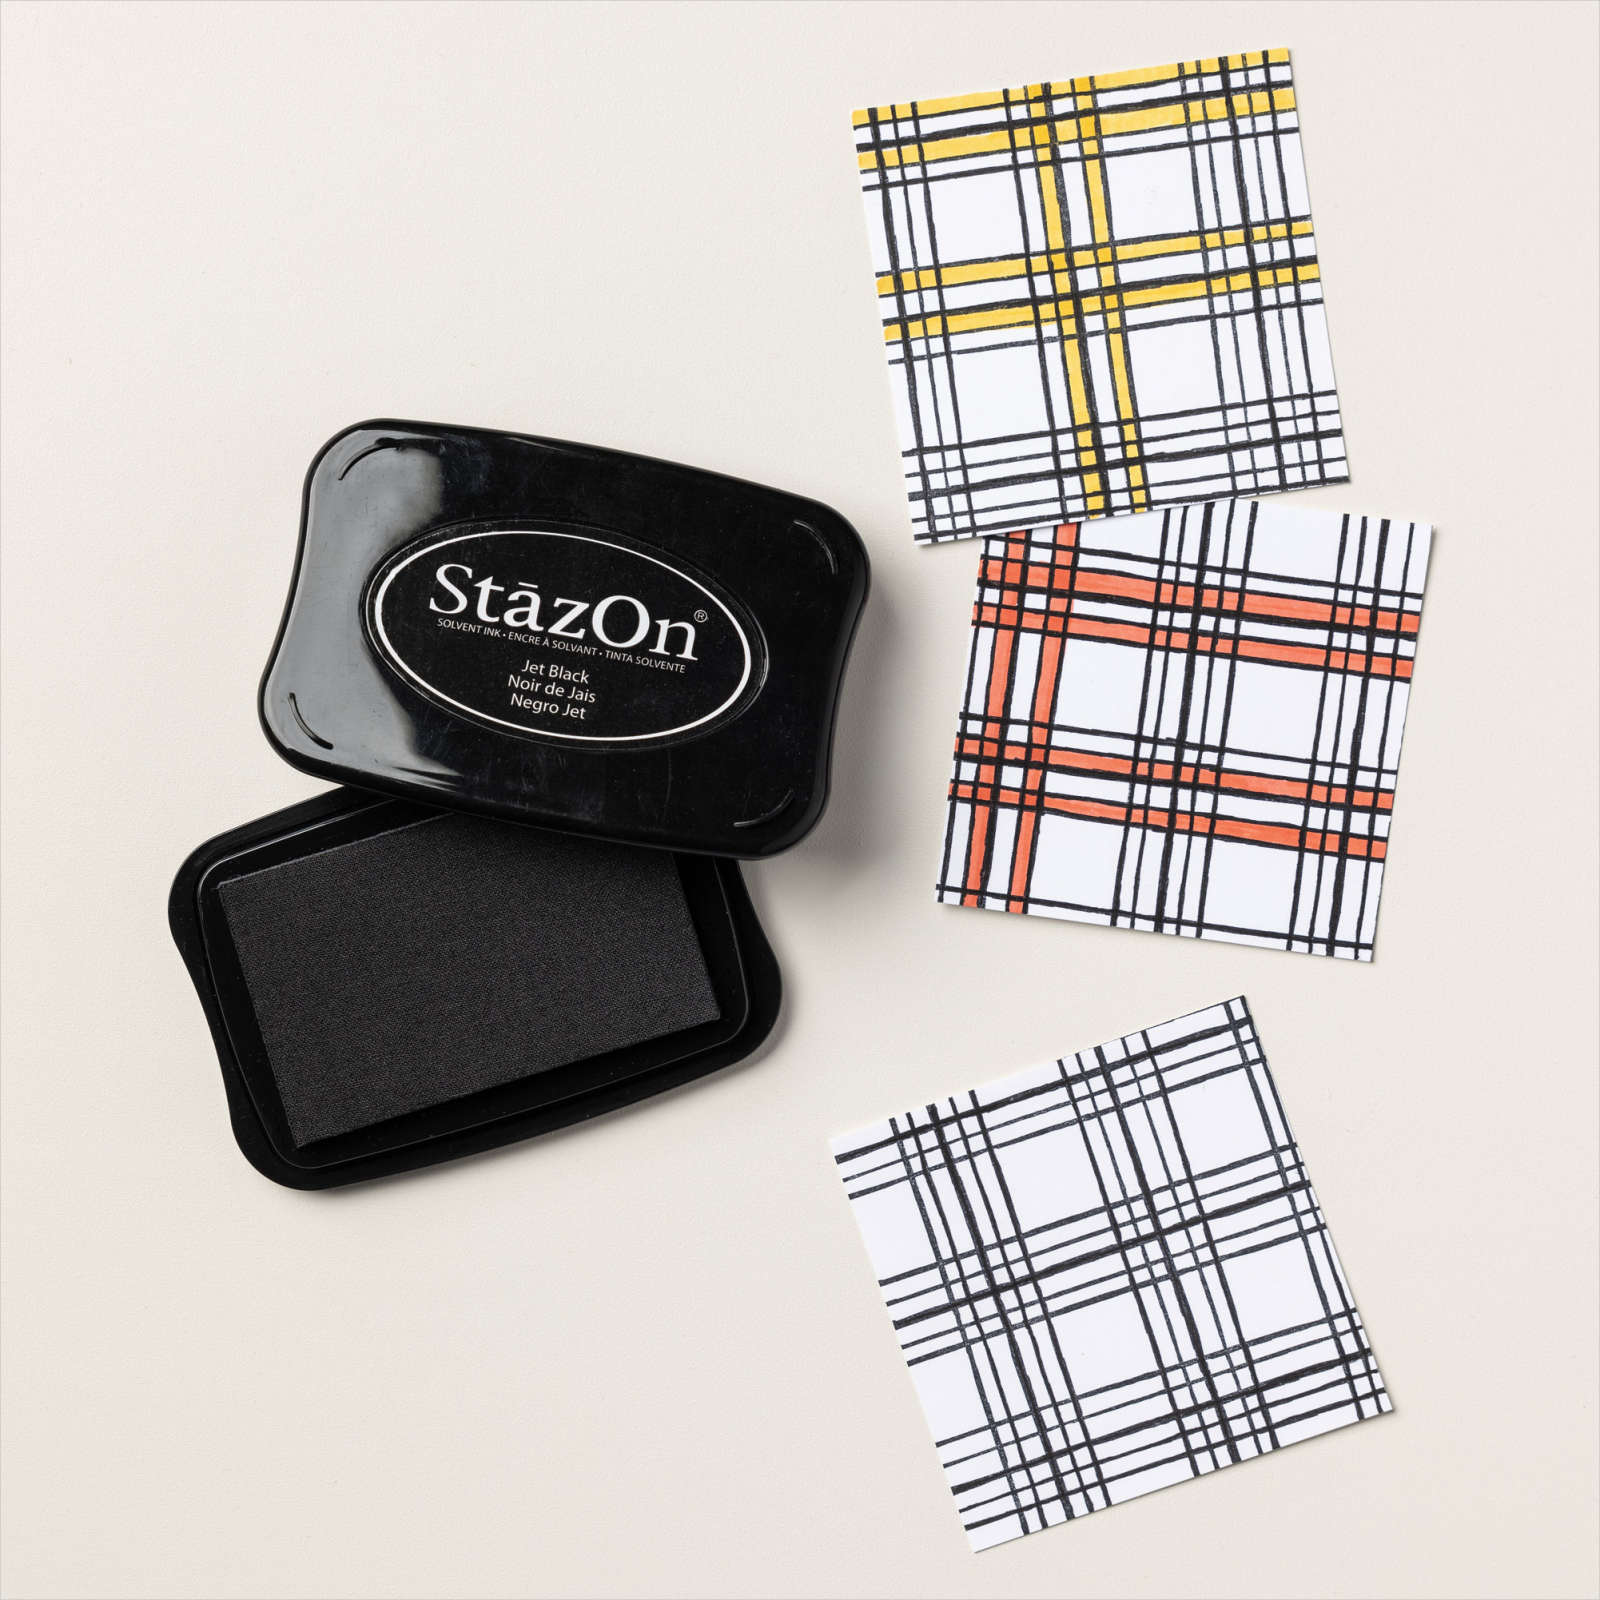
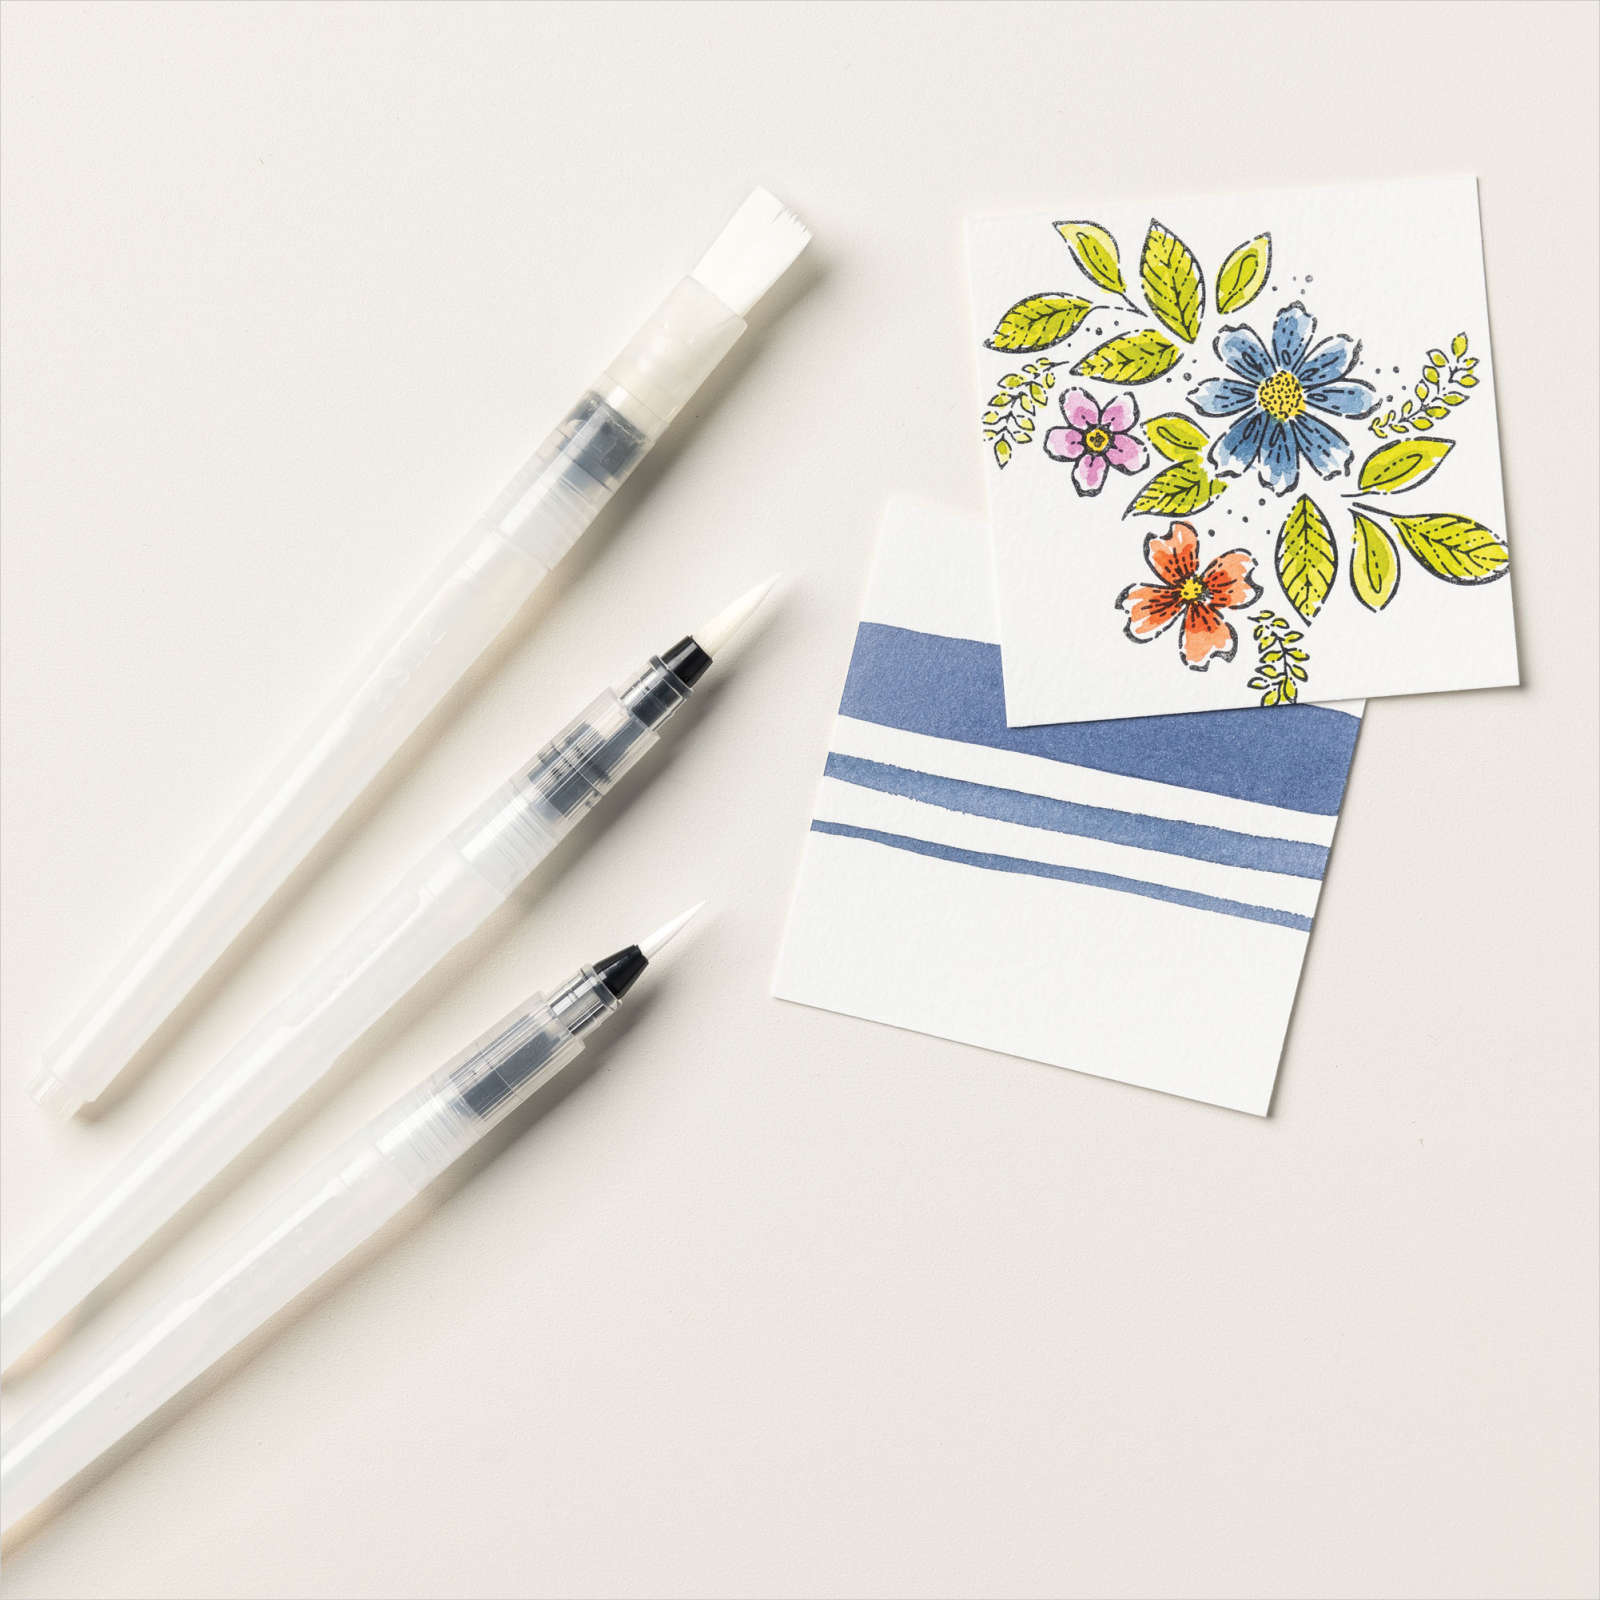
I stamped the bauble image from the Tag Buffet stamp set onto Fluid 100 Watercolour paper using Stazon Jet Black ink. I used my Water Brush to add Real Red and Garden Green ink to the image.

I cut the image using one of the Layering Squares Dies. The image is attached to a Real Red scalloped square cut using the Layering Squares Dies. The panel is attached to the card front using dimensionals. I tied a bow in a length of Real Red Braided Trim and attached it to the top of the bauble using a glue dot. To decorate the inside of the card, I stamped the greeting from the Tag Buffet stamp set onto Whisper White card using Real Red ink. I attached a narrow strip of Real Red card behind one long edge of the a piece of one of the same patterned papers used on the card front. The panel is attached across the bottom of the stamped Whisper White card.
Such a great layout, which I will be using again.
Bye for now,
Kris
Product Used:


Birthday Celebration
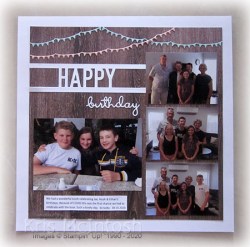
A couple of weeks ago we had a birthday lunch with Jae, Noah and Ethan. Jae celebrates her birthday in October and the boys in May and June. Because of COVID we didn’t have the chance to take the boys out for lunch, so we had one the one lunch to celebrate the three birthday. Such a lovely thing to spend time eating out with my lovely grandchildren. I cut Whisper White card using the Happy Die and attached it across the left hand side of a piece of In Good Taste Designer Series Paper. I did have to trim the piece to get longer strips at the top and the bottom of the die cut.

I cut Whisper White card using “birthday” from the Well Written Dies and attached it to the Designer Series Paper below the “happy”. I printed and attached the photos directly onto the Designer Series Paper. I use the banner die from the Happy Dies to cut Pool Party and Blushing Bride card and attached the banners across the top of the page. I printed my journaling onto Whisper White card and attached it to the bottom of the page. The whole piece of Designer Series Paper is attached to a 12″ x 12″ Whisper White page. I love how this turned out. The Designer Series Paper is the perfect backdrop to these gorgeous photos.
Bye for now,
Kris
Product Used:


Male cards
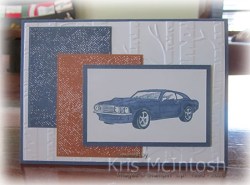
I struggle sometimes to come up with ideas for cards for the males in my life. I have oodles of stamp sets suitable for females but not so many for males. So today I made an effort to create a set of male cards. I began by embossing Whisper White card using the Woodlands Embossing Folder. I attached the embossed card to scored and folded Misty Moonlight card.
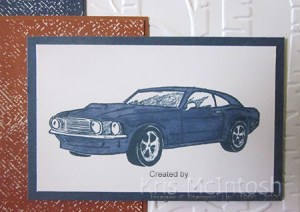
I attached pieces of Misty Moonlight and Cinnamon Cider paper from the 2020-2022 In-colour Designer Series Paper to Misty Moonlight and Cinnamon Cider card. The panels are cut to different sizes and placed in different layouts to create three slightly different cards.

The main image panel is the car from the All Geared Up stamp set which is stamped in Misty Moonlight ink onto Whisper White card. I used the Light Misty Moonlight Stampin’ Blend to add some more colour to the card. The image panels are attached to Misty Moonlight card and then the card front using dimensionals. To decorate the inside of the card, I stamped the greeting from the Geared Up Garage stamp set using Misty ink. I attached a narrow strip of Misty Moonlight card behind one long edge of Whisper White card embossed using the Woodland Embossing Folder which is attached across the bottom of the stamped Whisper White card.
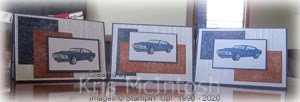
I think these cards are really lovely and just what guys usually want, clean and simple!
Bye for now,
Kris
Product Used:


Joy To The World

Yesterday in my Facebook Live, I shared a couple of more cards made using the Joy To The World Paper Pumpkin Kit. Today I thought I would share some cards created using the stamp set only from the kit. I cut a piece of the Classic Christmas 6″ x 6″ Designer Series Paper using the Curvy Dies. I also cut a piece of Real Red card using the same die. I attached the Designer Series paper to the Real Red card and then Whisper White card.
I stamped the floral image from the Joy To The World stamp set onto the left hand side of the Whisper White card using Memento Tuxedo Black ink. I coloured the image using the Real Red, Soft Sea Foam, Dark Soft Suede and Dark Crumb Cake Stampin’ Blends. I stamped “Joy” and “to the world” from the Joy to the World stamp set onto the right hand side of the Whisper White card using Real Red ink. I attached the panel to scored and folded Soft Sea Foam card.

I stamped the floral image onto scrap Whisper White card using Memento Tuxedo Black ink and coloured the image using the same Stampin’ Blends. I cut out the image and attached over the stamped image using dimensionals so that the leafy parts of the stamped image showed. I added a large Basic Rhinestone to the centre of the flower. To decorate the inside of the card, I stamped the greeting from the Joy To The World stamp set onto Whisper White card using Real Red ink. I stamped the flower onto scrap Whisper White card using Memento Tuxedo Black ink, coloured it as before and cut it out. The flower is attached to the bottom left hand corner of the stamped Whisper White card.
I really love the softness of this card, the Real Red is toned down by the Soft Sea Foam. Do you agree?
Bye for now,
Kris
Product Used:
You can see the Joy to the World Paper Pumkin Kit here.

Another Pop Up Cube card
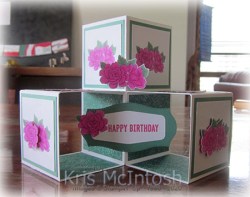
Today’s card was made with a special friend in mind. I wanted to create a card that would be super special and I think this one has delivered. I cut the card base pieces from Thick Whisper White card and attached pieces of the Just Jade 2020-2022 In-colour Designer Series Paper to the inside panels and a couple of the outside panels.
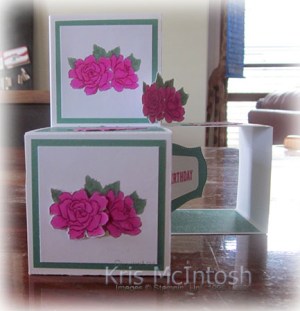
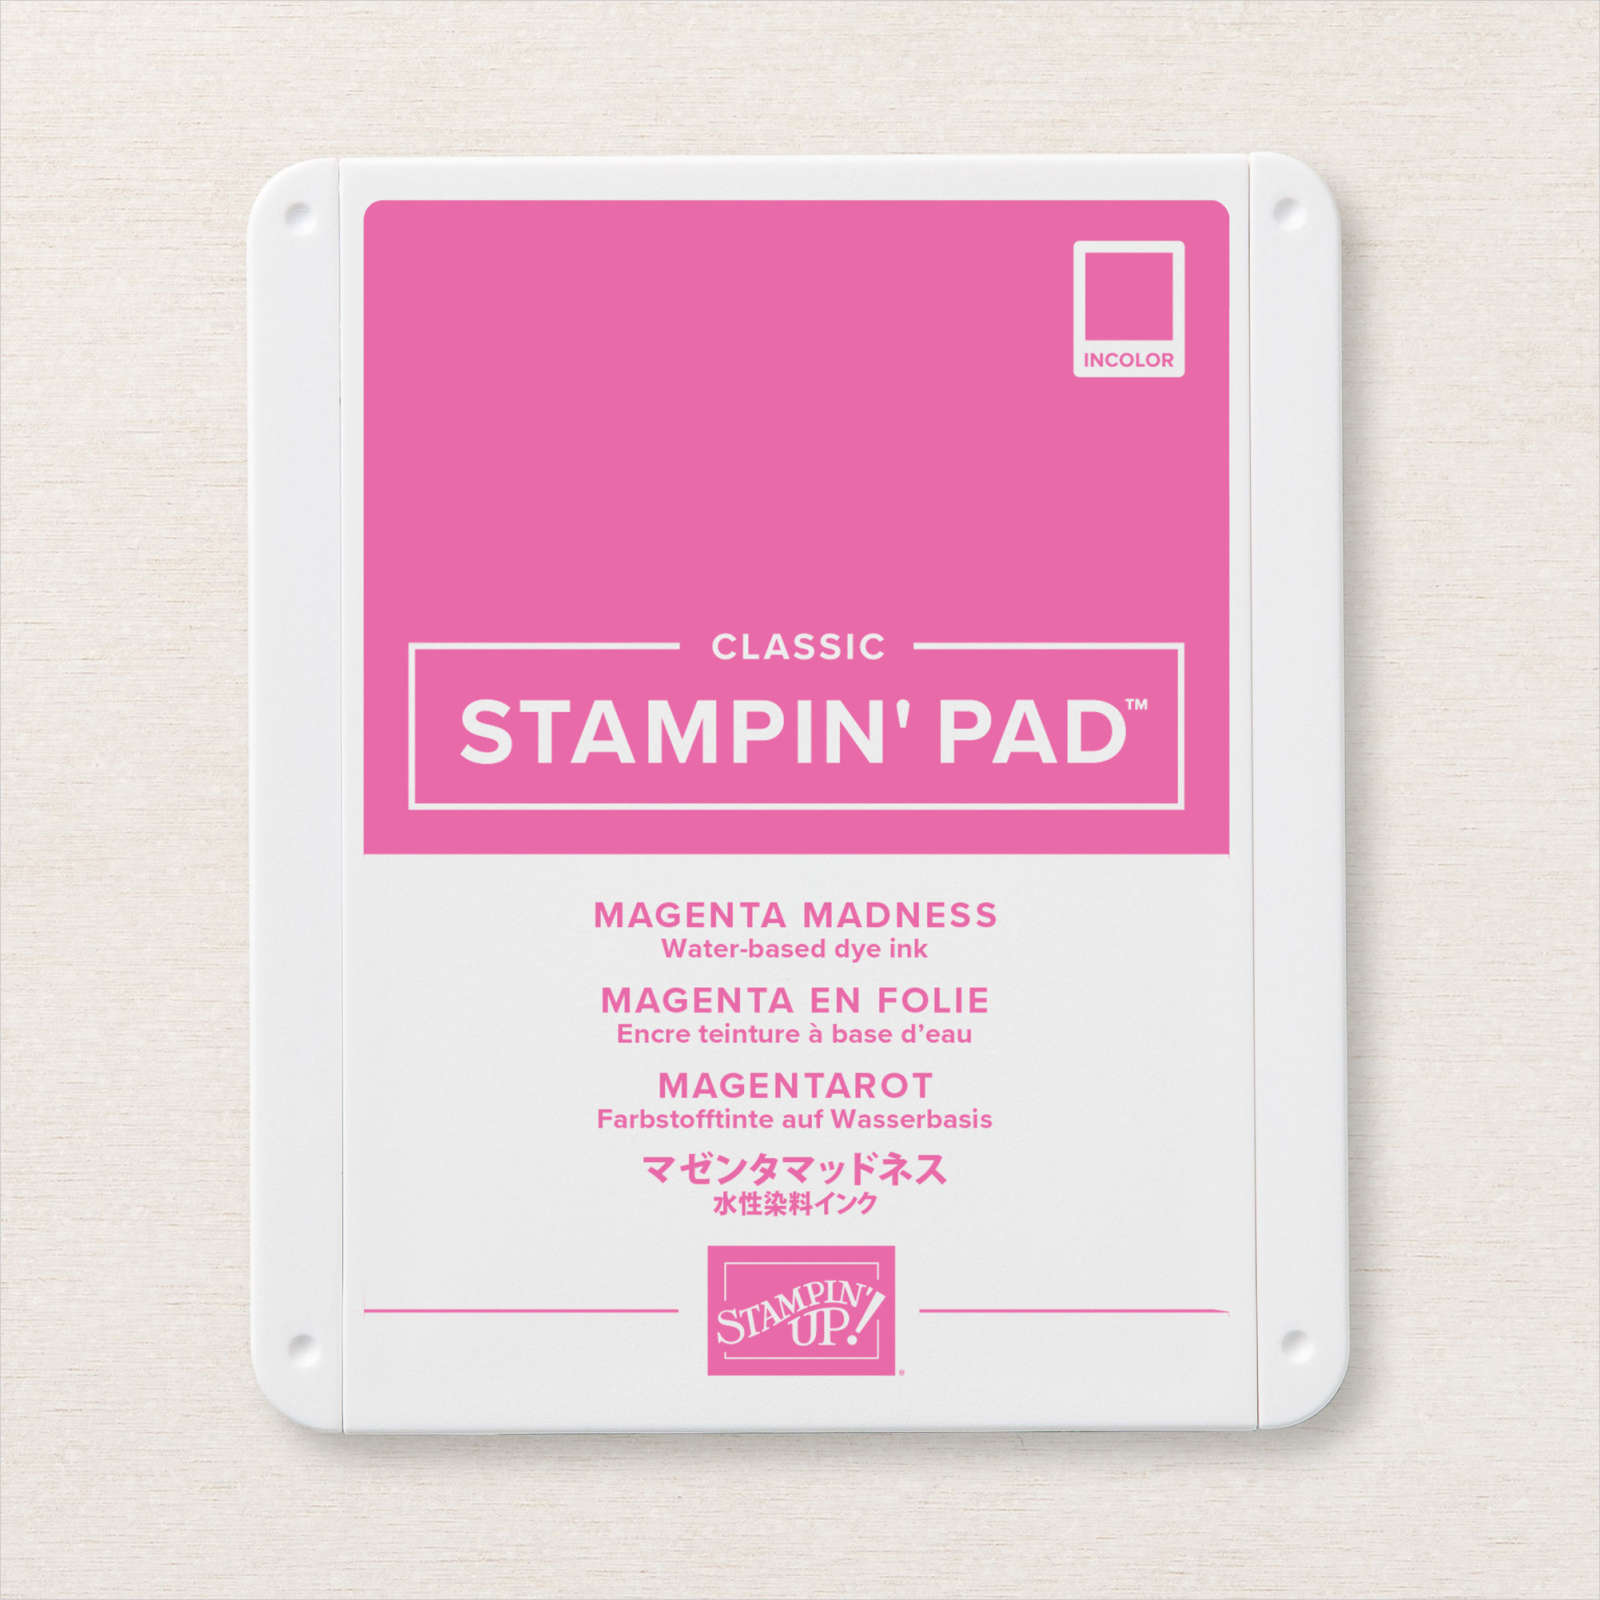
I stamped the floral image from the Four Season Floral stamp set onto three separate squares of Whisper White card using Smoky Slate ink. I coloured the images using the Magenta Madness and Just Jade Stampin’ Blends. I attached the panels to Just Jade card before attaching one panel to each of the panels on the Large Cube and to the front panel of the smaller left hand cube.
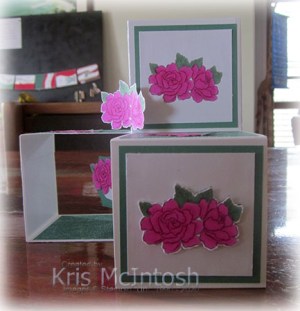
I stamped the same image from the Four Season Floral stamp set six times onto scrap Whisper White card. I coloured the images using the Magenta Madness and Just Jade Stampin’ Blends and cut out the images. I attached one image to the front of the large cube and one each to two of the Designer Series Paper panels. I attached one to a Whisper White square using dimensionals before attaching to Just Jade card and then the front of the small right hand cube.
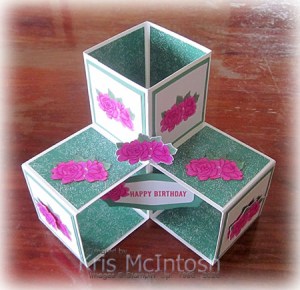
I cut the larger flower from each of the two remaining images and attached one over the image on the front of the left hand small cube using dimensionals. I stamped “happy birthday” from the Itty Bitty Birthday stamp set onto Whisper White card using Magenta Madness ink. I cut out the greeting using one of the Tasteful Labels Dies. I also used one of the Tasteful Labels Dies to cut Just Jade card. I attached the two labels together and added the last large flower to the panel. The whole piece is attached to the inside of the small cubes. I attached the same Just Jade 2020-2022 In-Colour Designer Series Paper to one of the panels on the back of the large cube. The second panel has a Whisper White panel attached to Just Jade card so that I have somewhere to write my message.
These Pop-Up Cube cards are seriously addictive. If you haven’t tried one, you really should.
Bye for now,
Kris
Product Used: